Give your friends $10 off their first order!
Refer a FRIEND


WHAT YOU WILL NEED:
Red top folding card blank (8 1/4 x 5 3/4")
Black card (7 3/4 x 5 1/4")
White card (7 1/2 x 5")
Reach For The Stars Stamp Collection
Every New Day Stamp Collection
Stylized Star stencil
Versafine Ink Pad: Onyx Black
Izink Pigment Ink Pad: White
Izink Pigment Ink Pad Classic Collection: Red
Distress Oxide: Black Soot
Blending tool
Pearlywinks Pearl Mist: Glitter Pearl
Paint brush
White gel pen
Eureka 101
Paper Trimmer
Perfect Together Glue
[click image to enlarge] 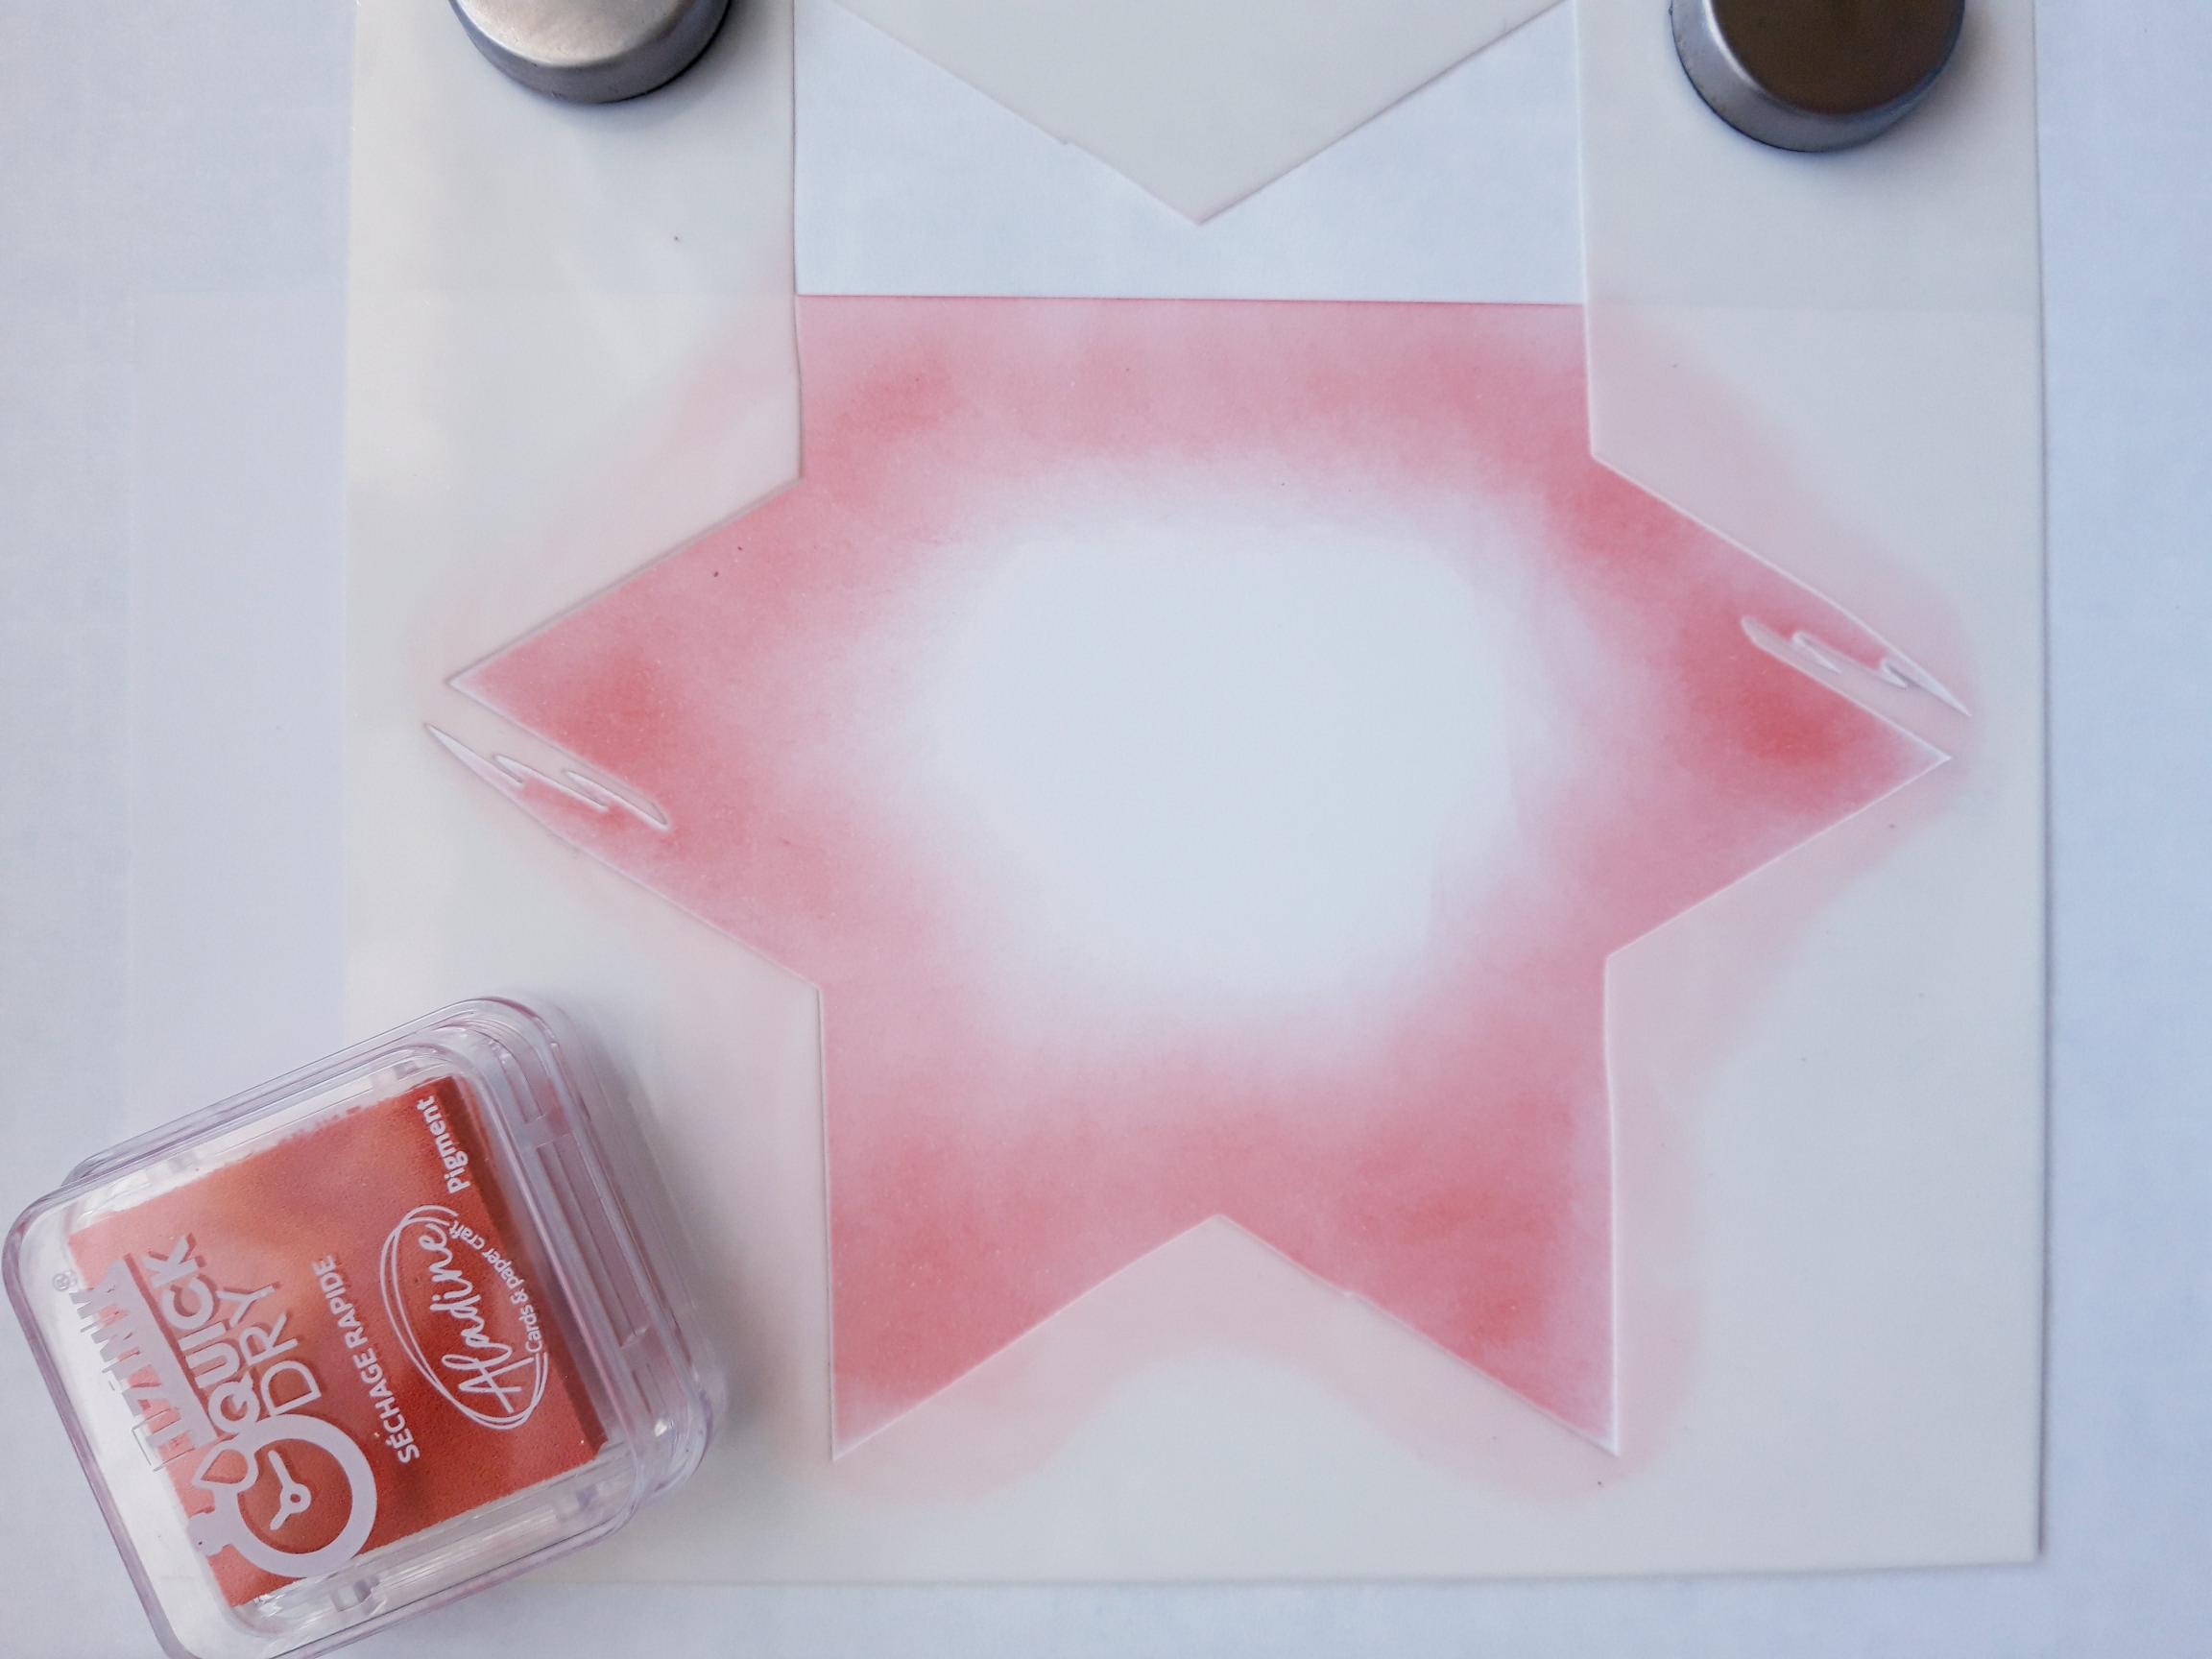
|
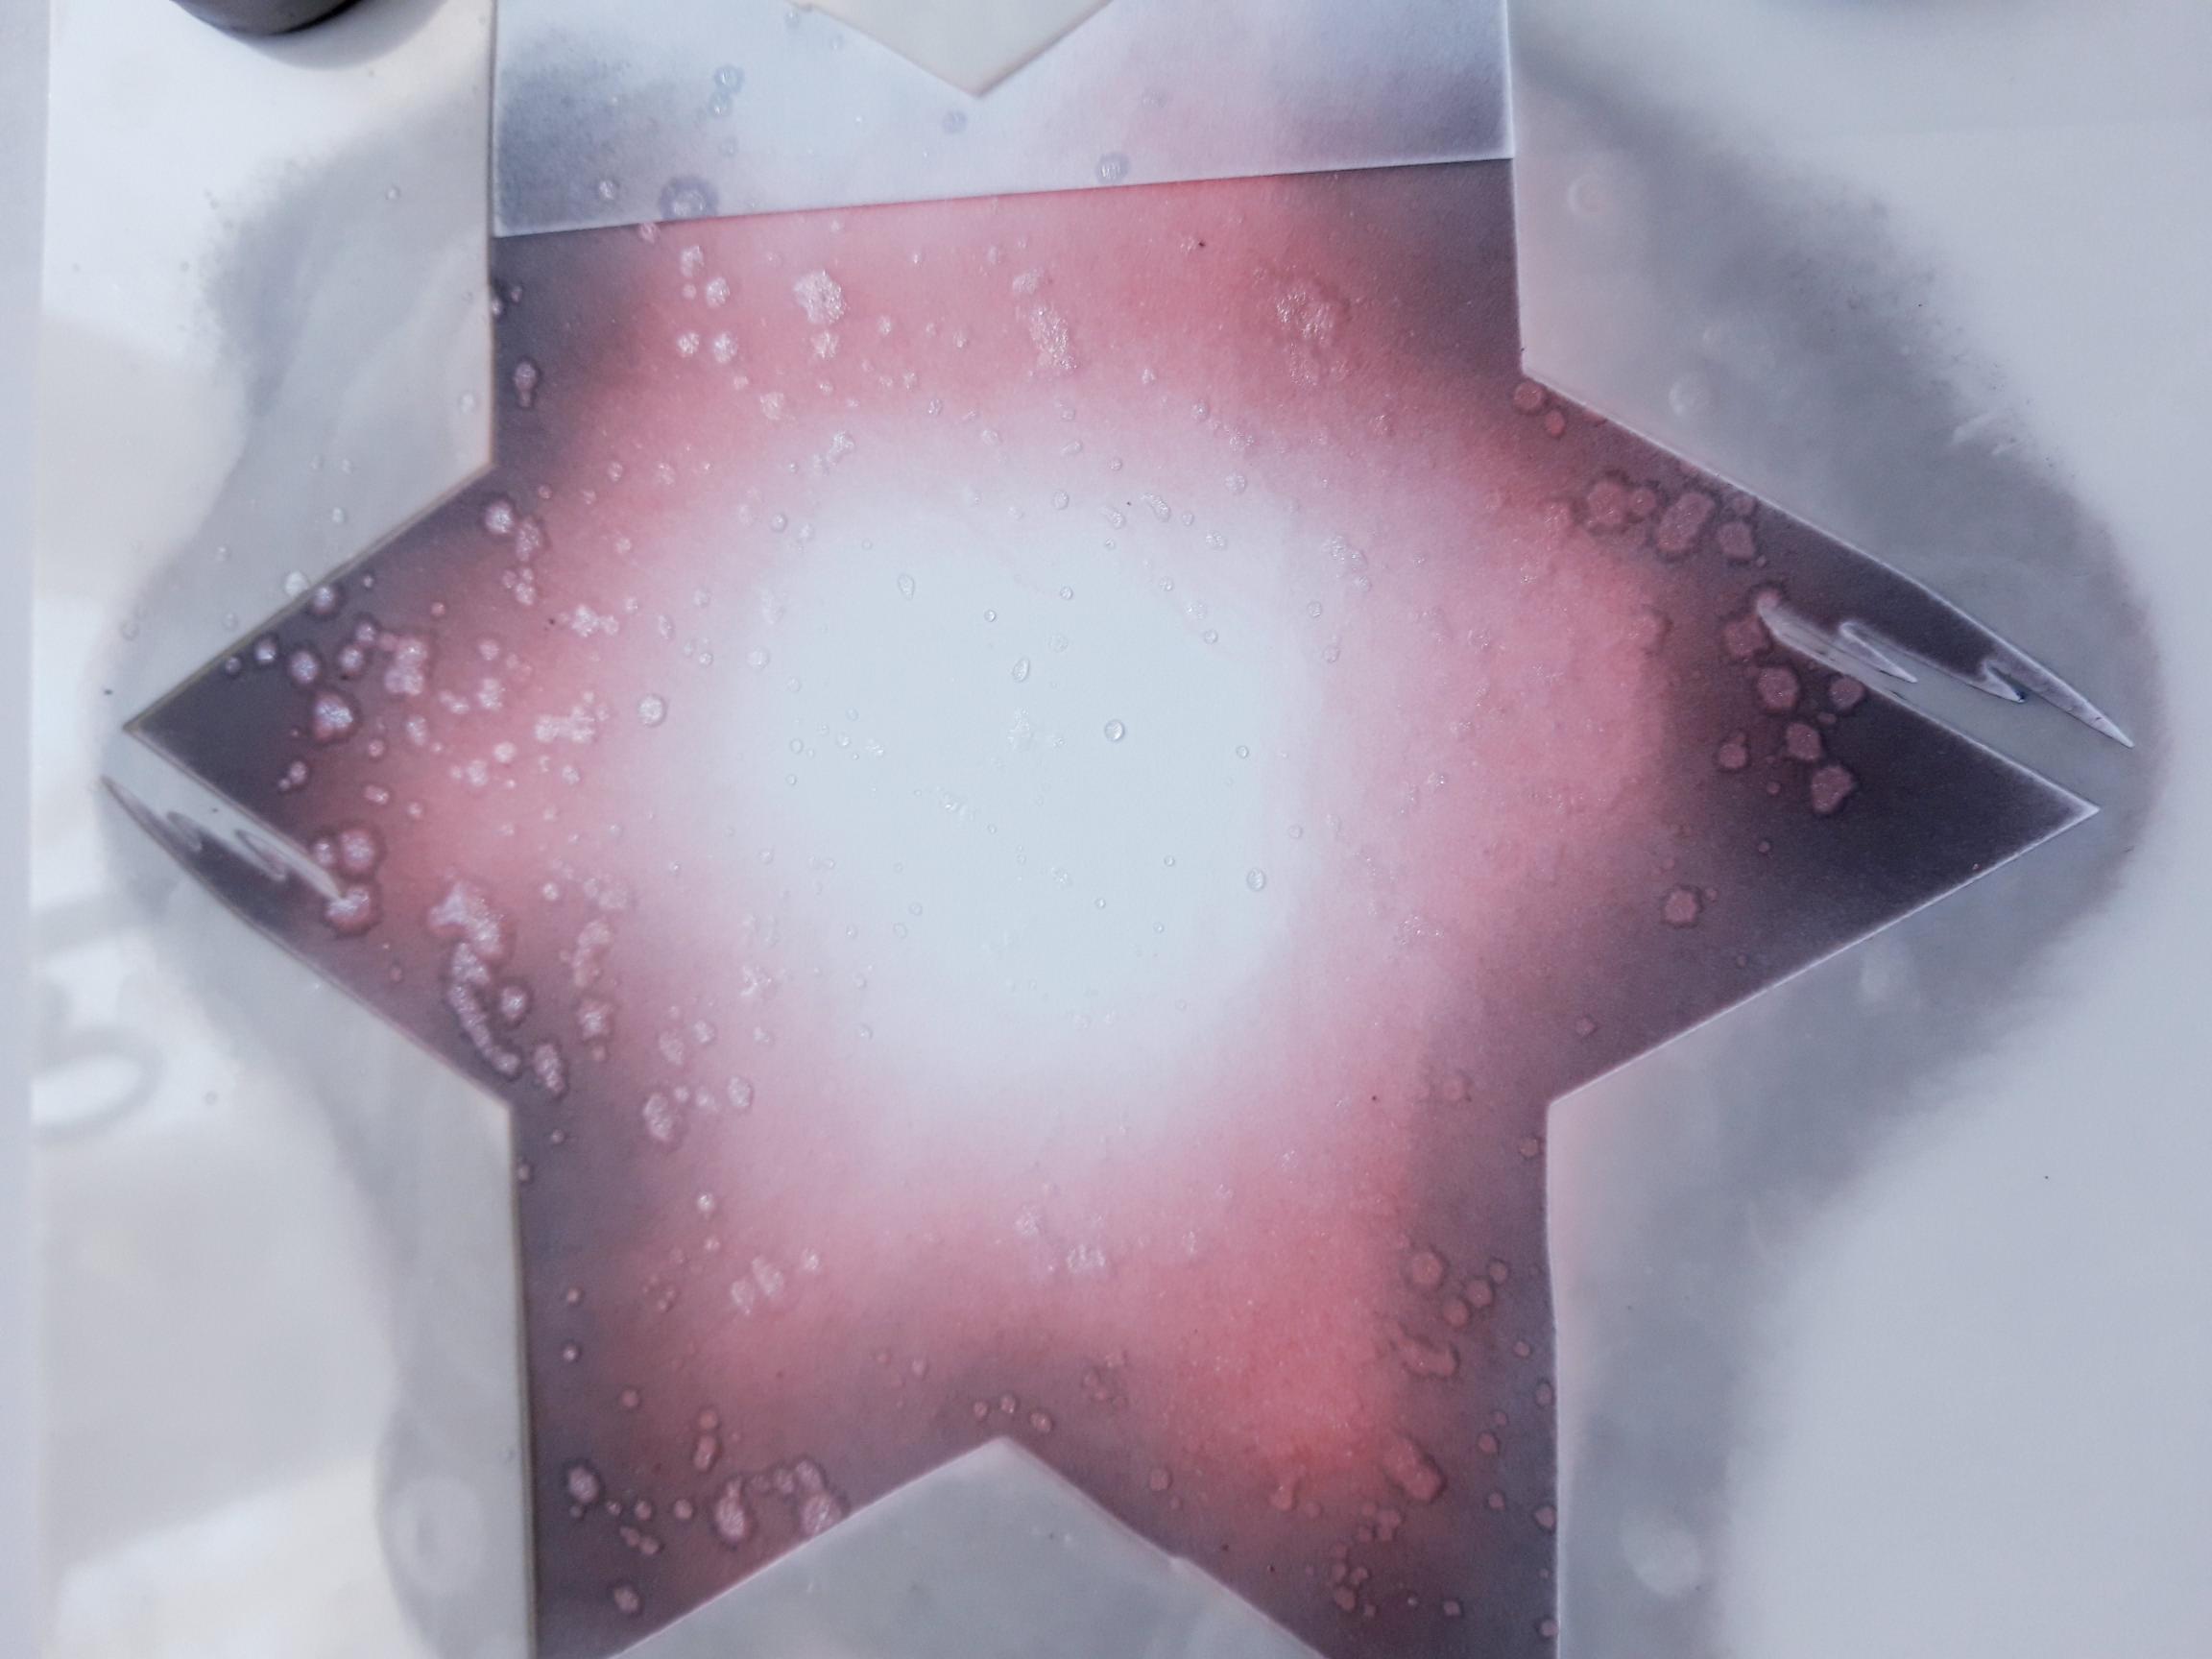
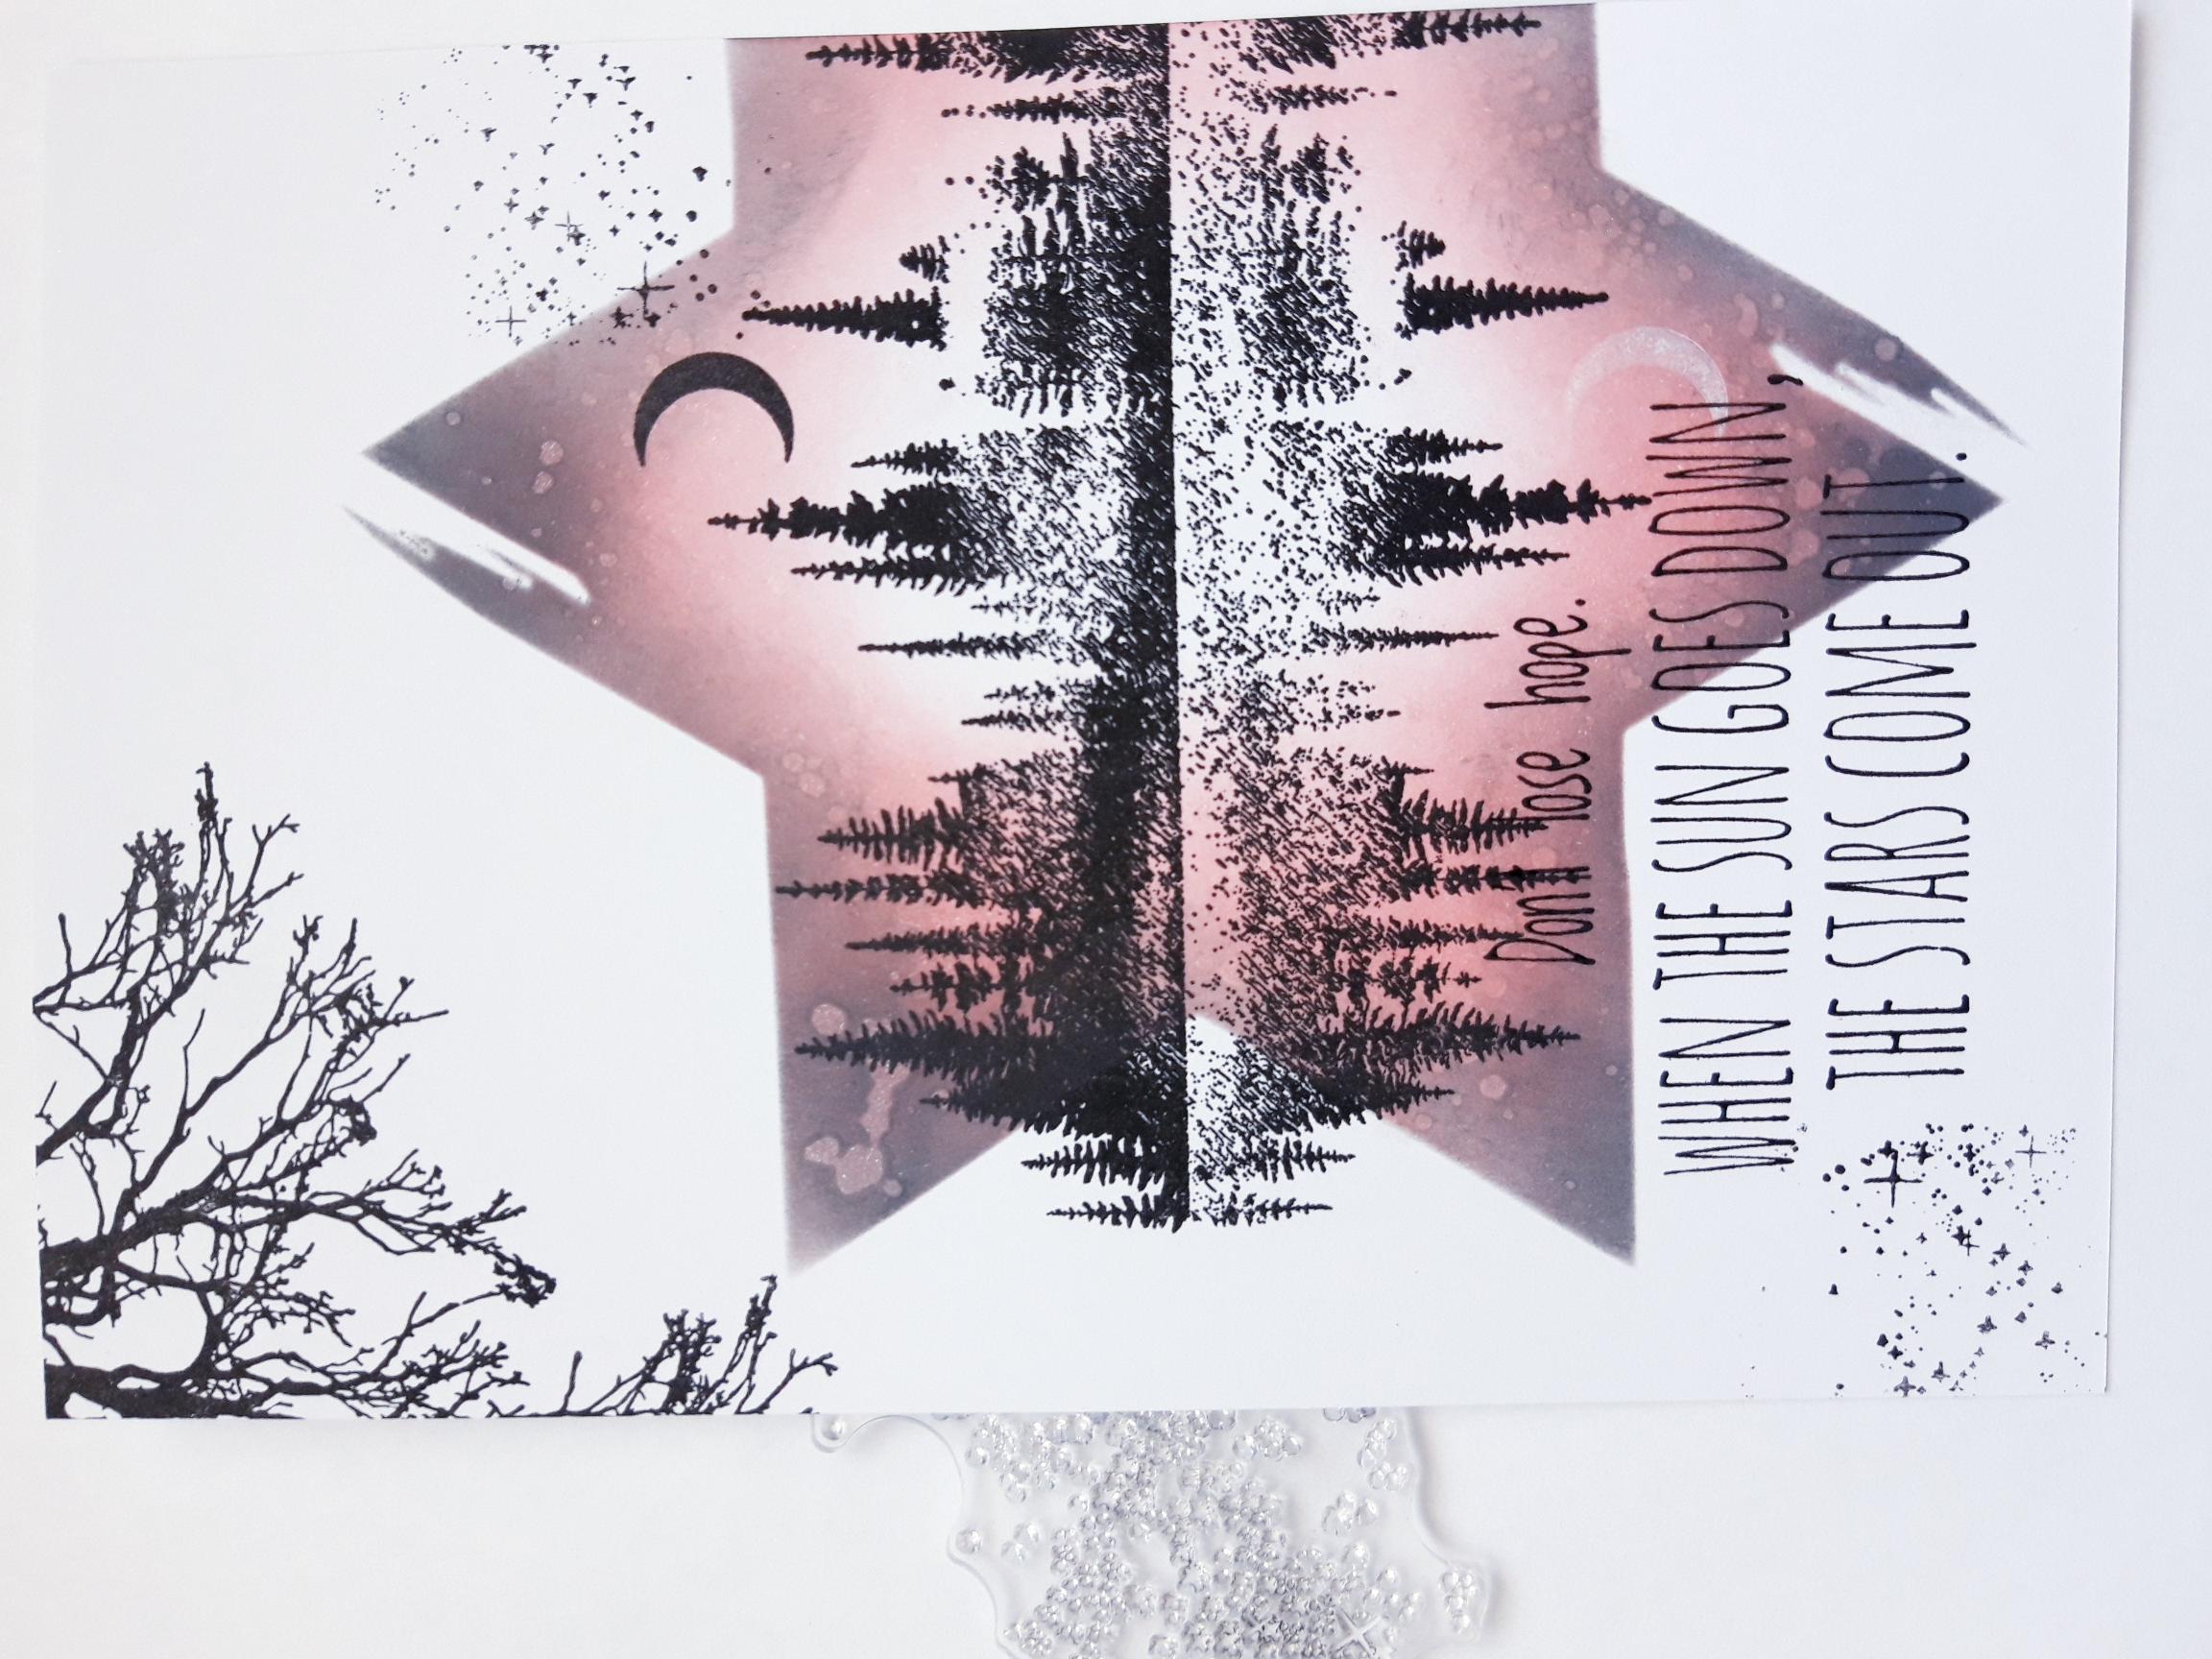
Place the star stencil off the right hand edge of the white card (8 x 5 1/2"). Use a blending tool to apply the red ink, from the Izink Pigment Classic Collection, within the stencil, fading the colour out, as you move inwards. |
|
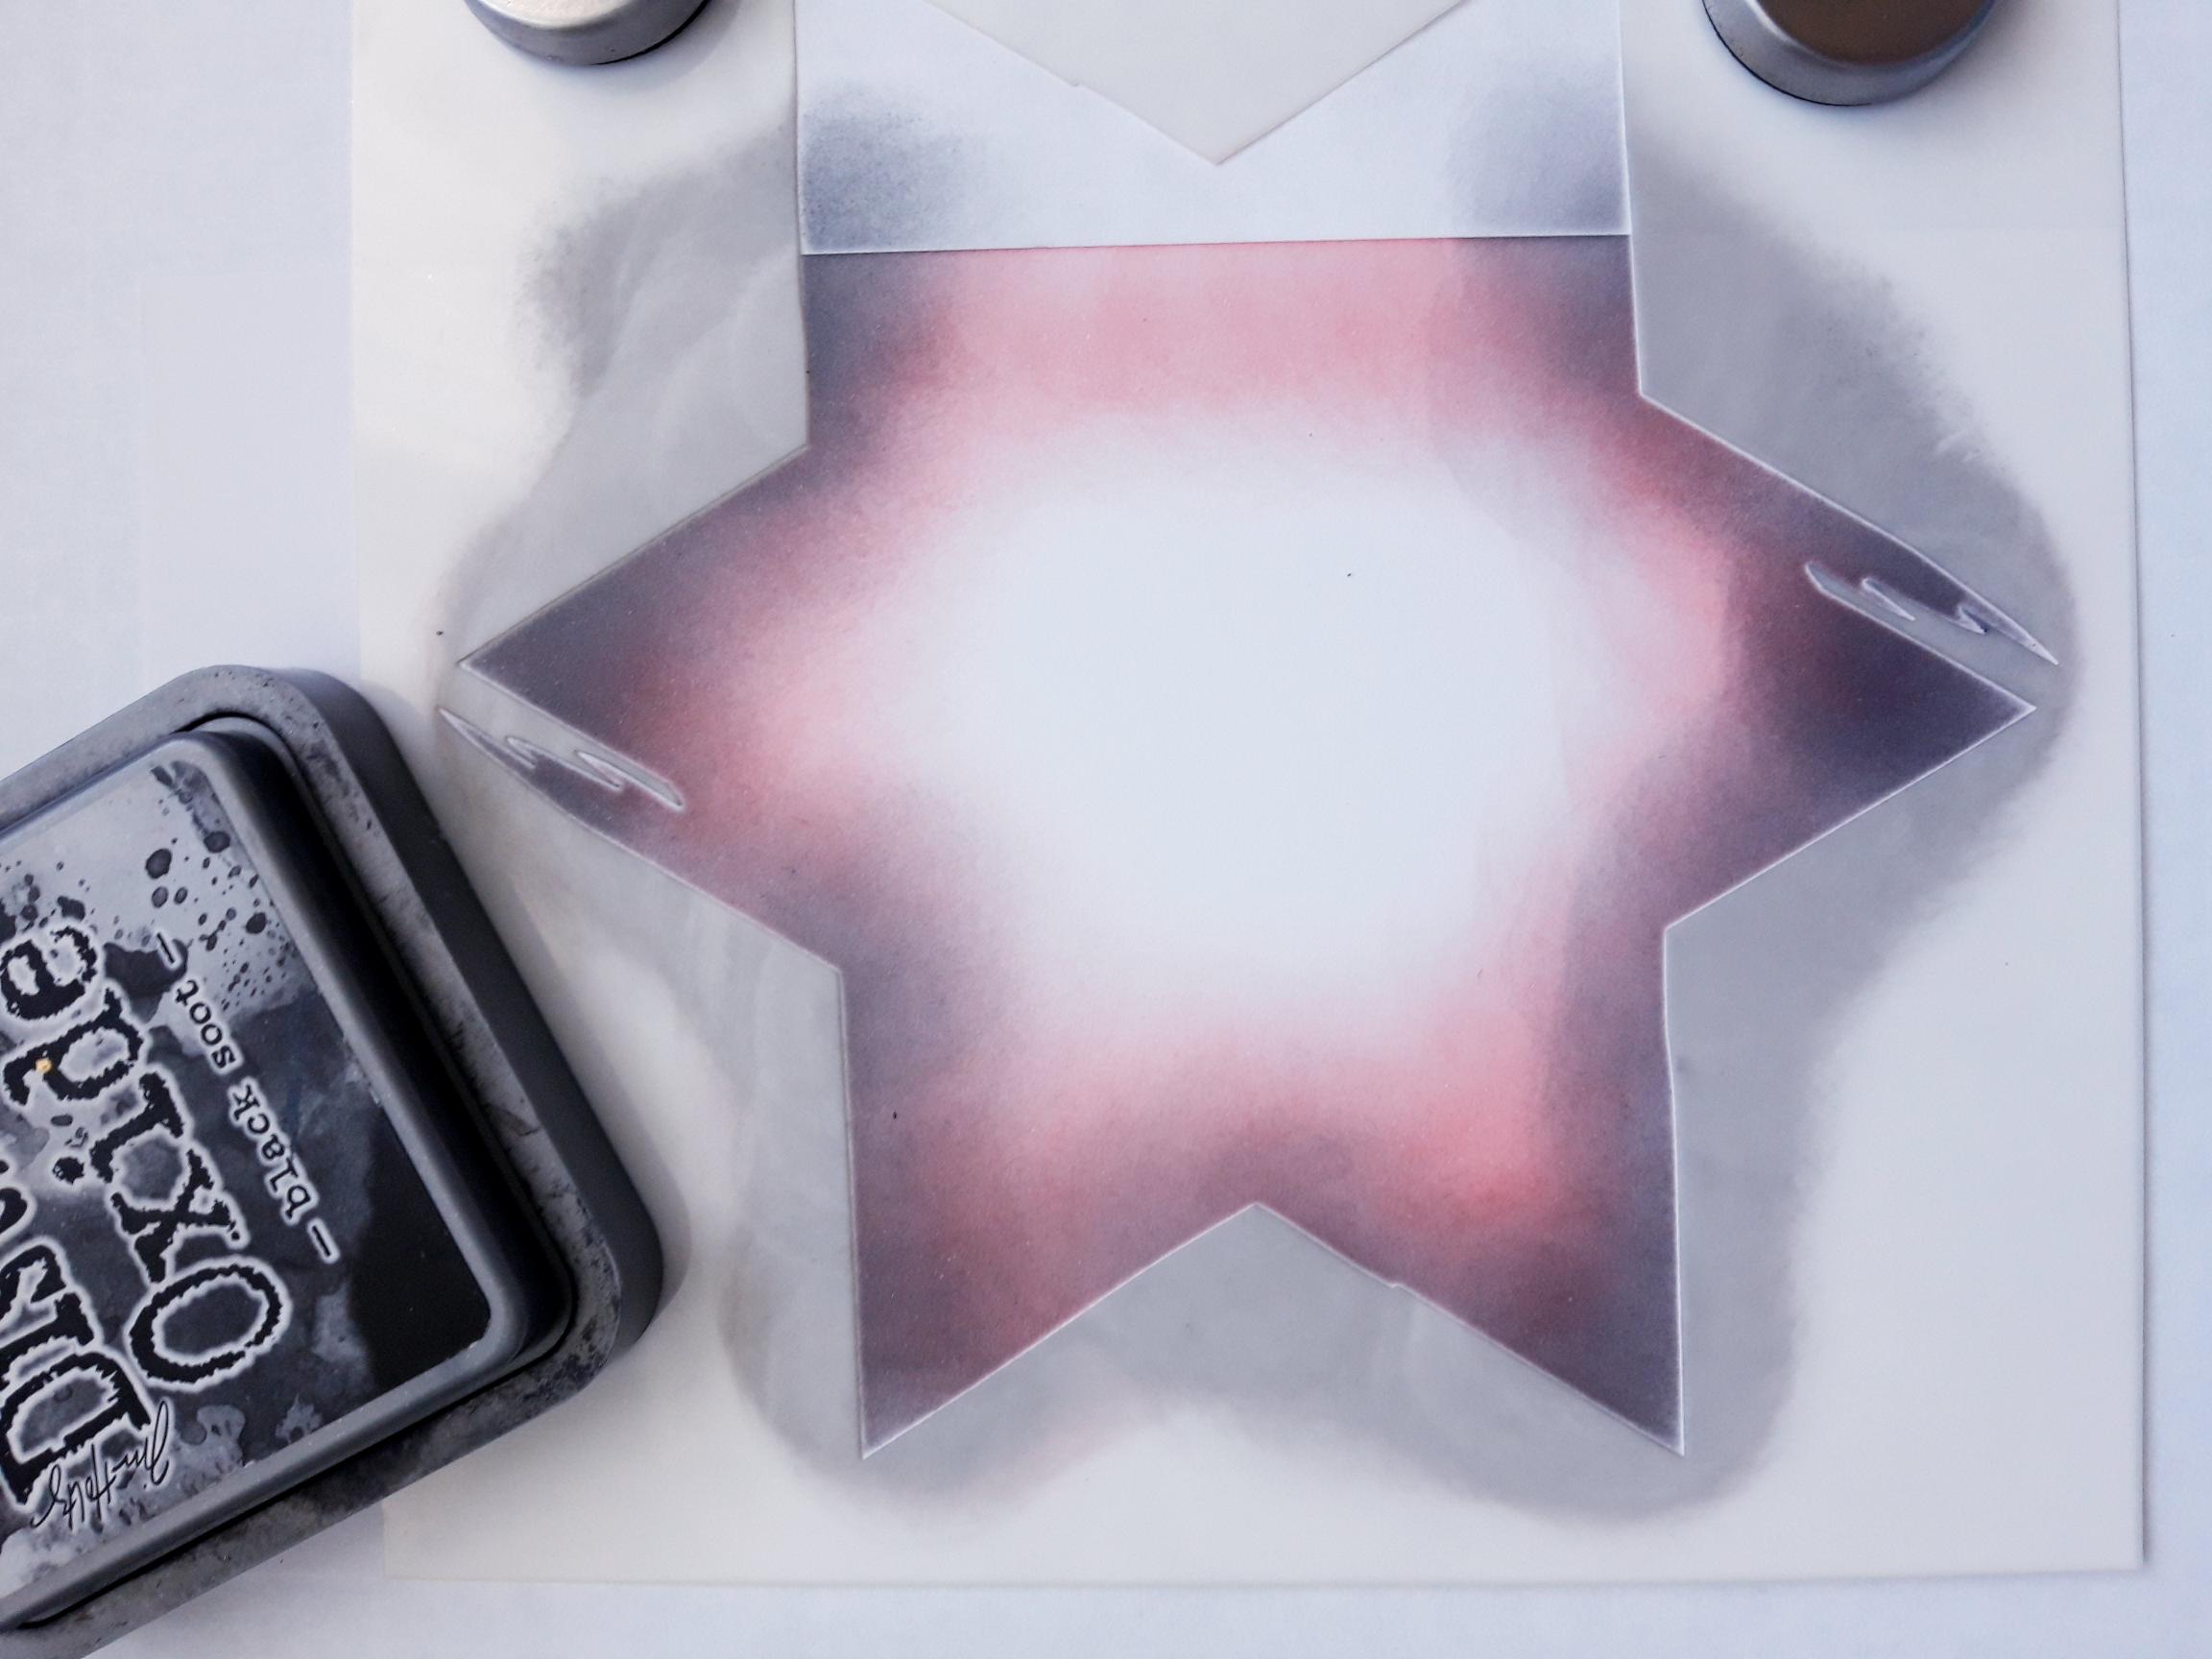
Blend the Black Soot Oxide around the outer edge of the inked star. |
|
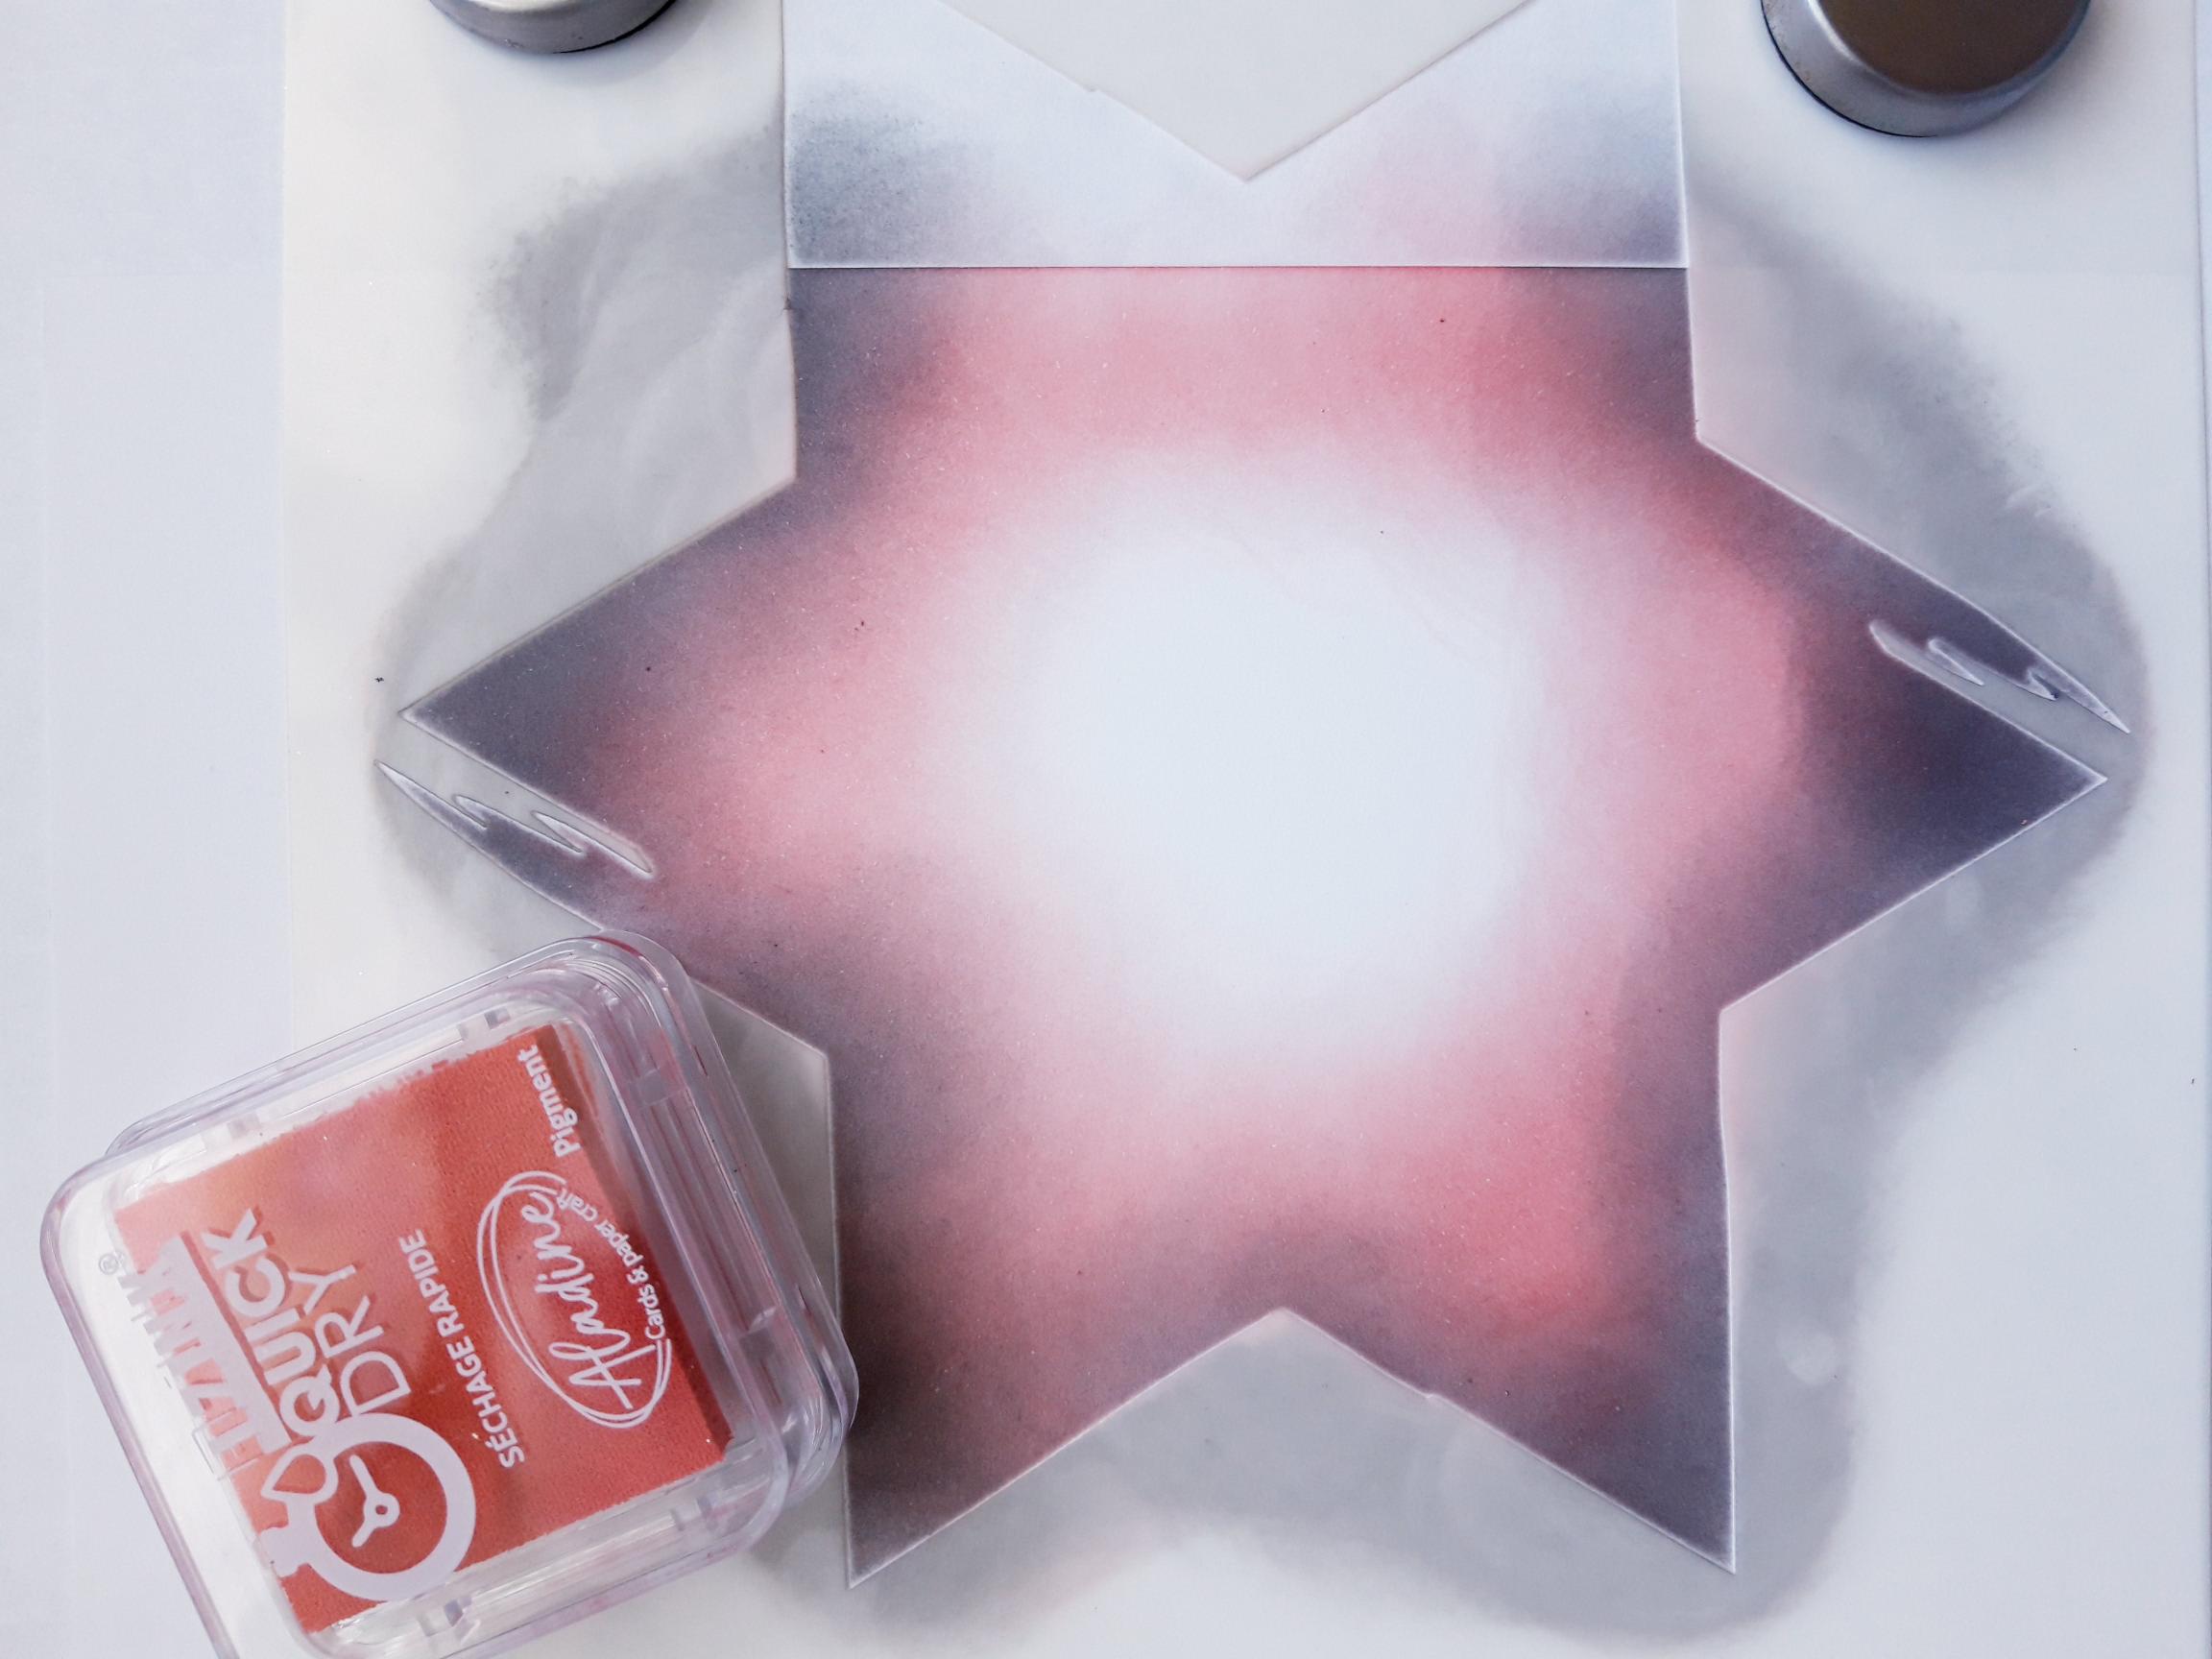
Go back in and blend out any of the harsh black edges, with the red ink. |
|
Spray the Pearlywinks Glitter Pearl Mist on to your craft mat, and use a paint brush to splatter droplets all over your inked star. Remove the stencil and dry off your background. |

|
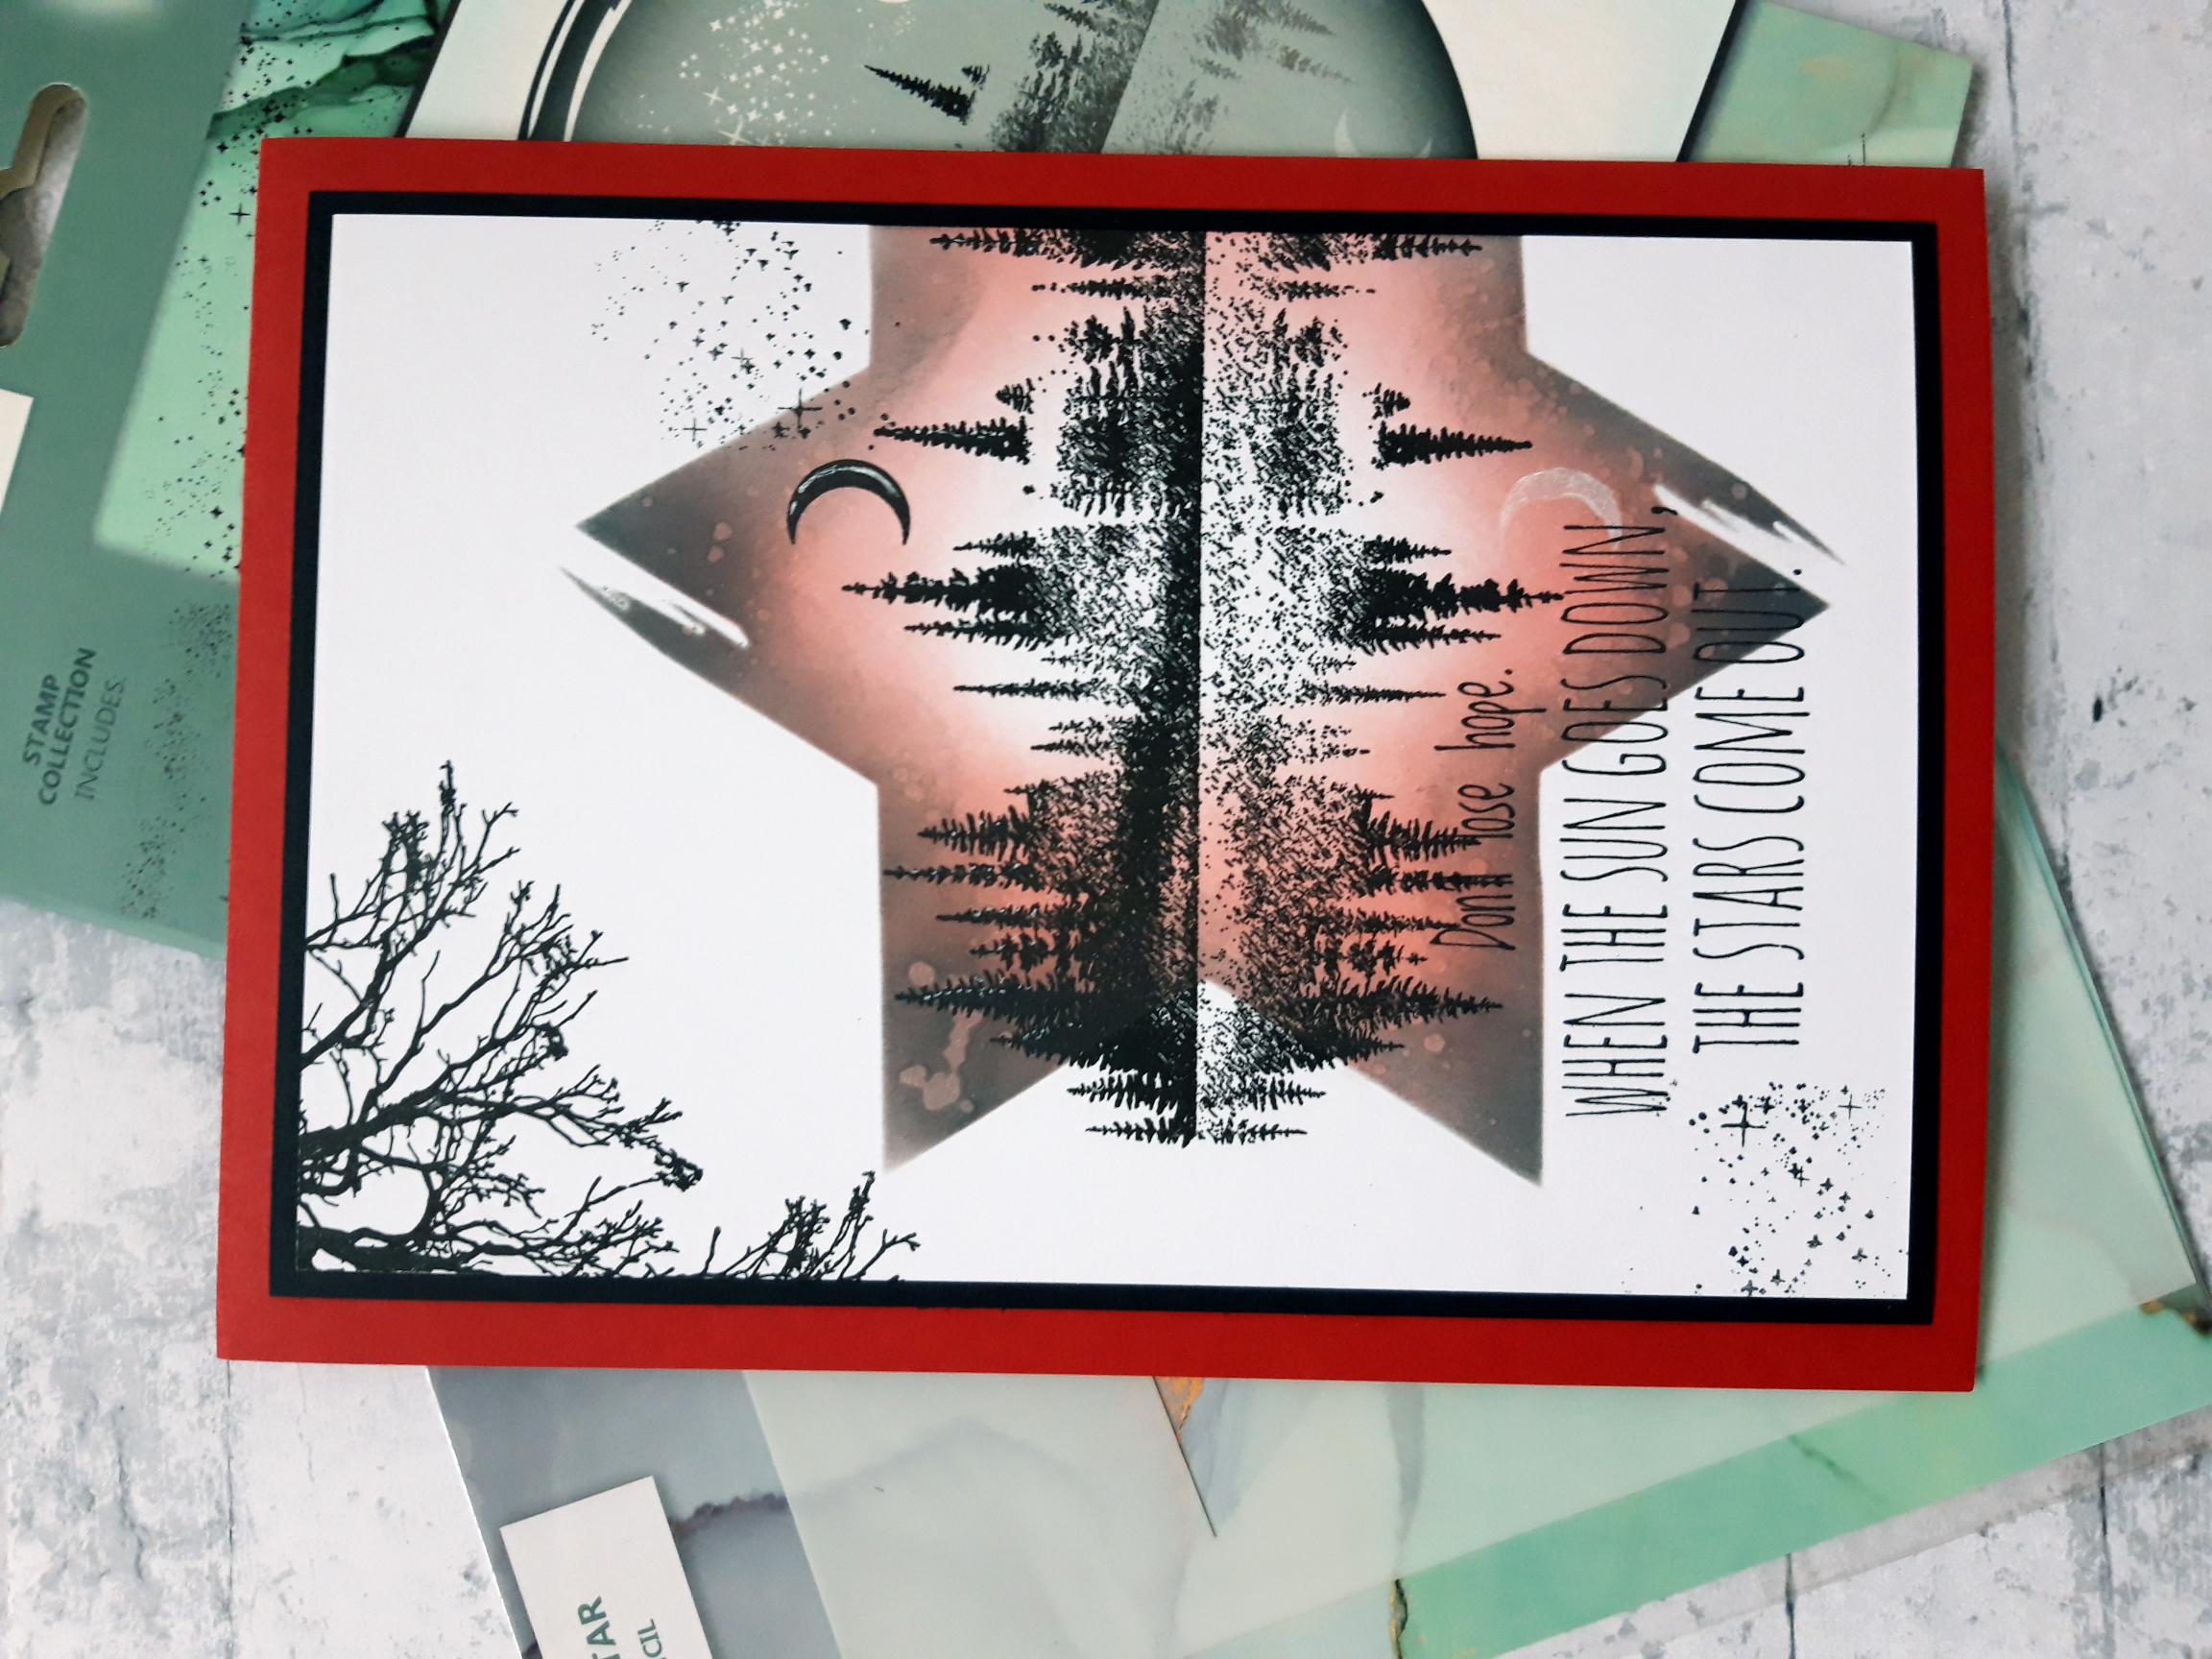
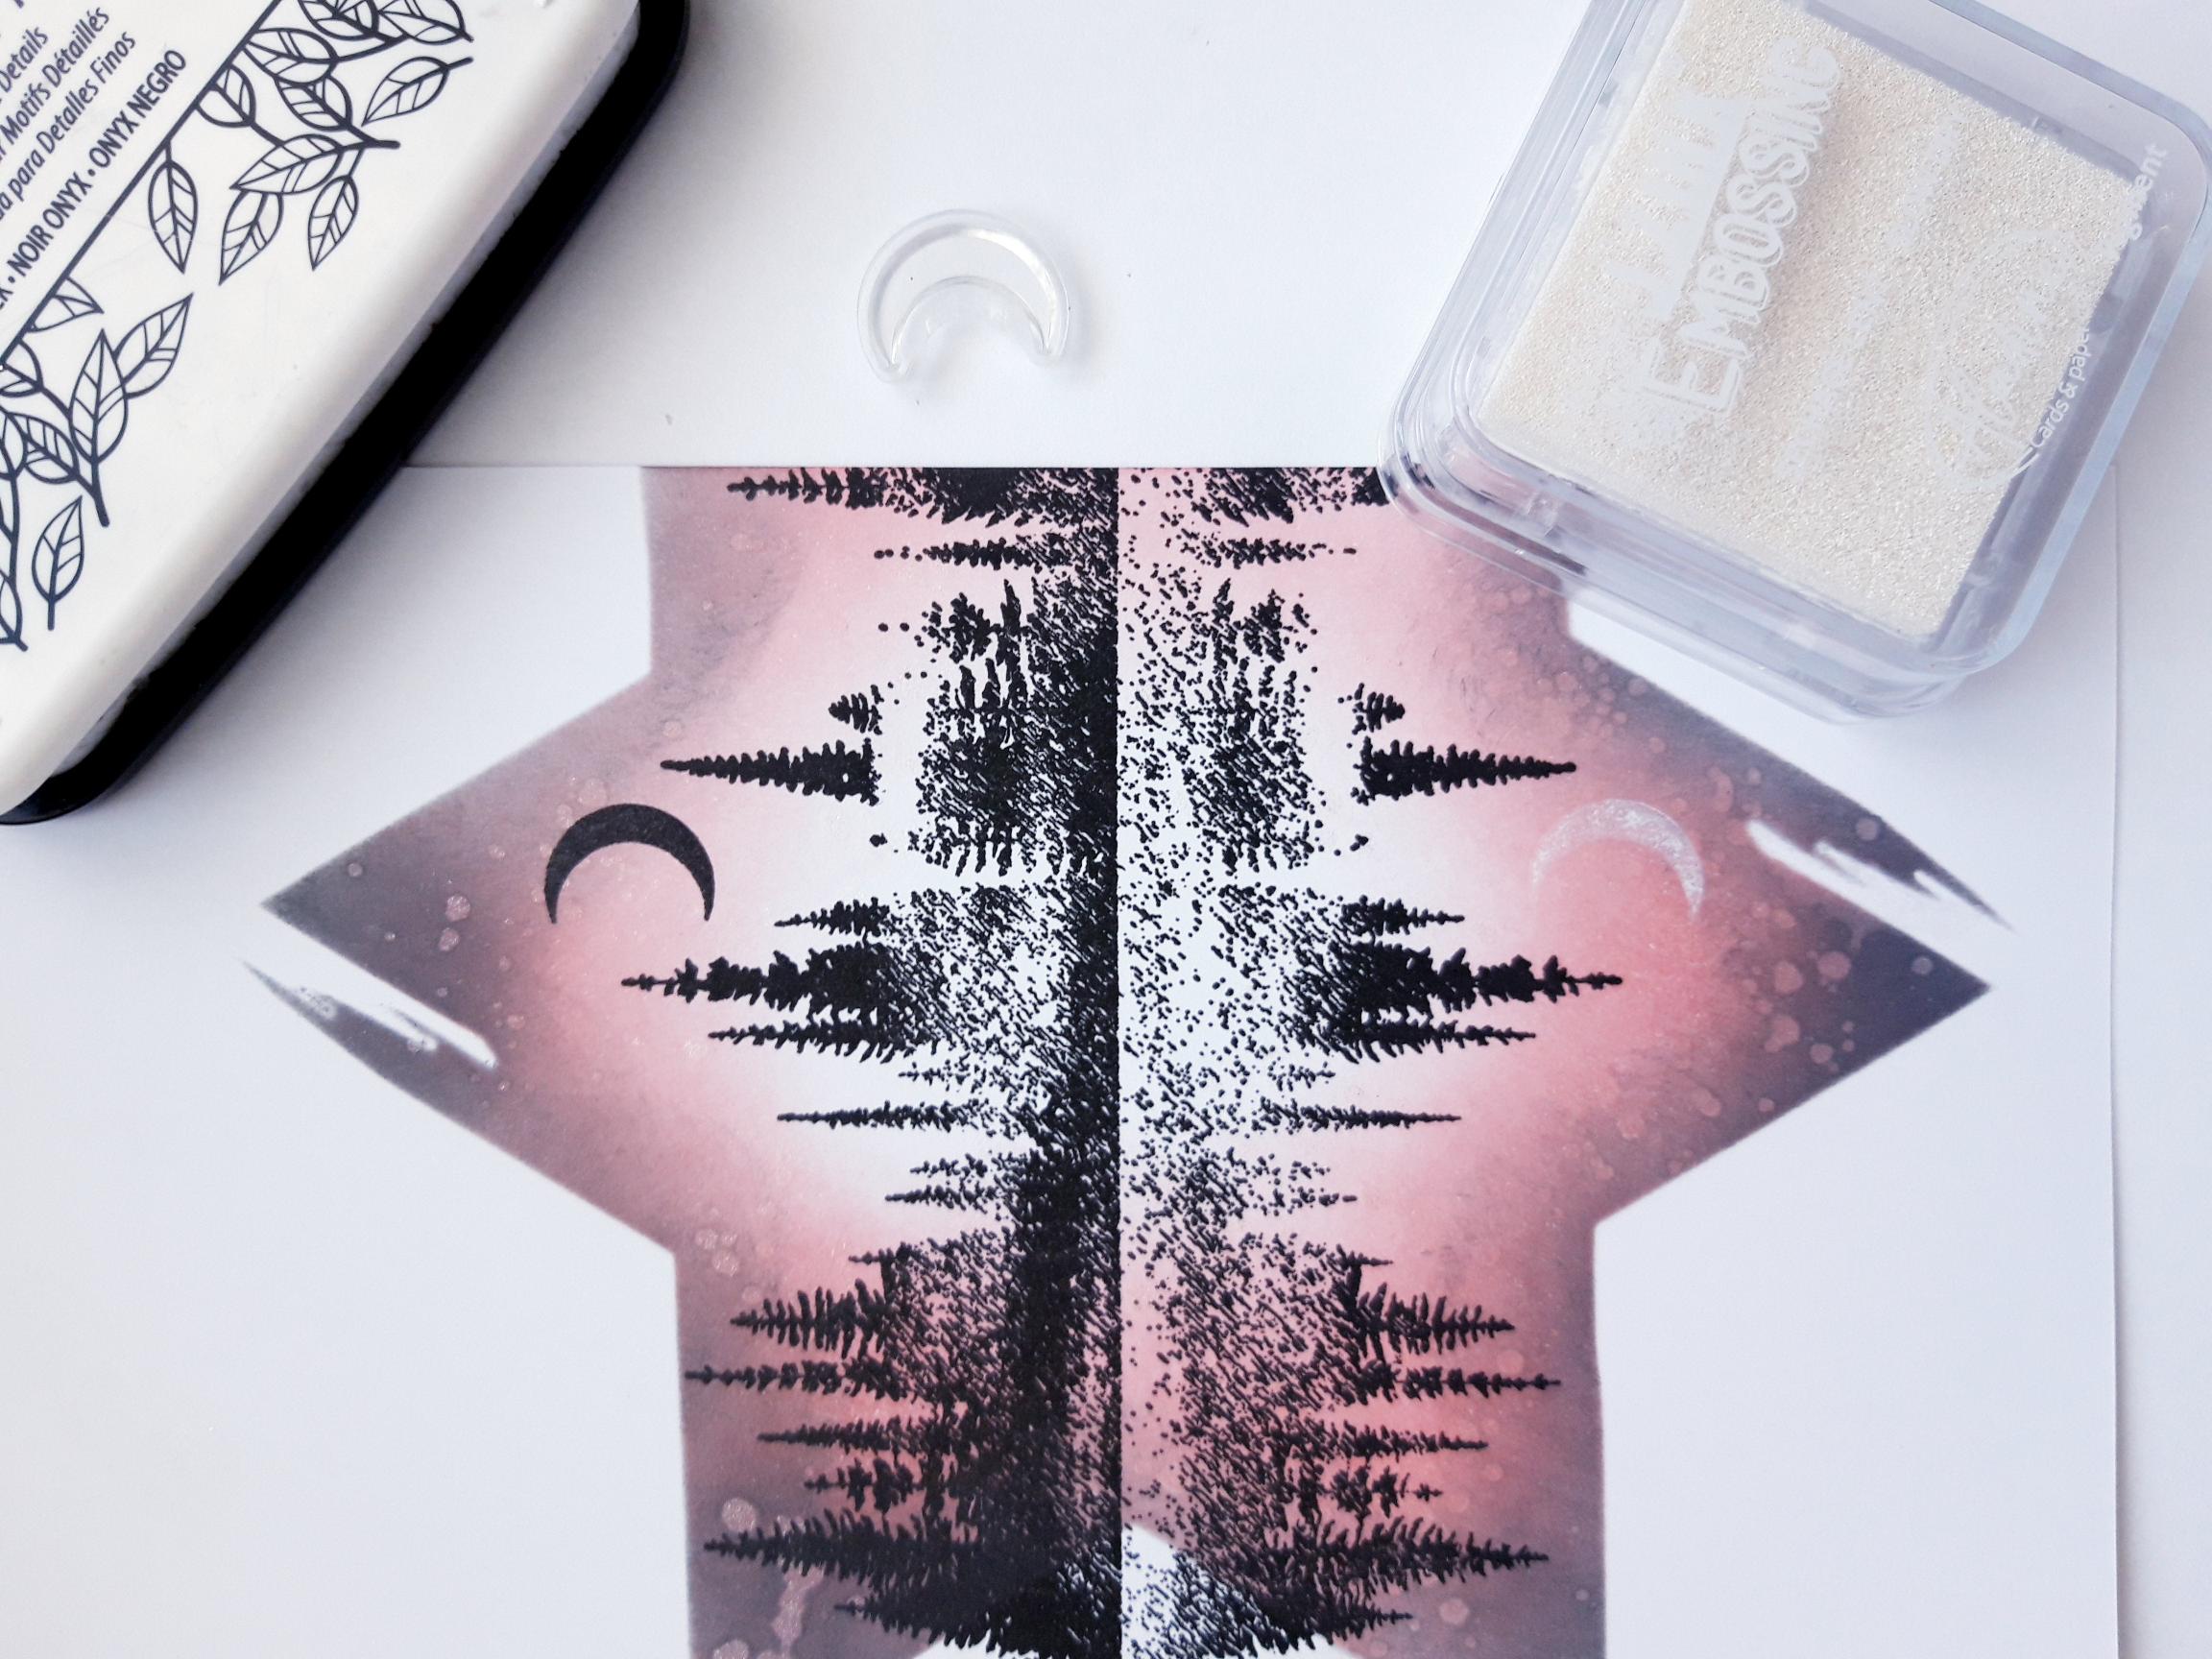
Ink up the stamp with the Onyx Black Versafine and stamp across the inked star. |
|
Ink up the moon stamp with the Versafine, and stamp where required. Reink it with the white Izink Embossing/Pigment ink and stamp where the reflection would be. |
|
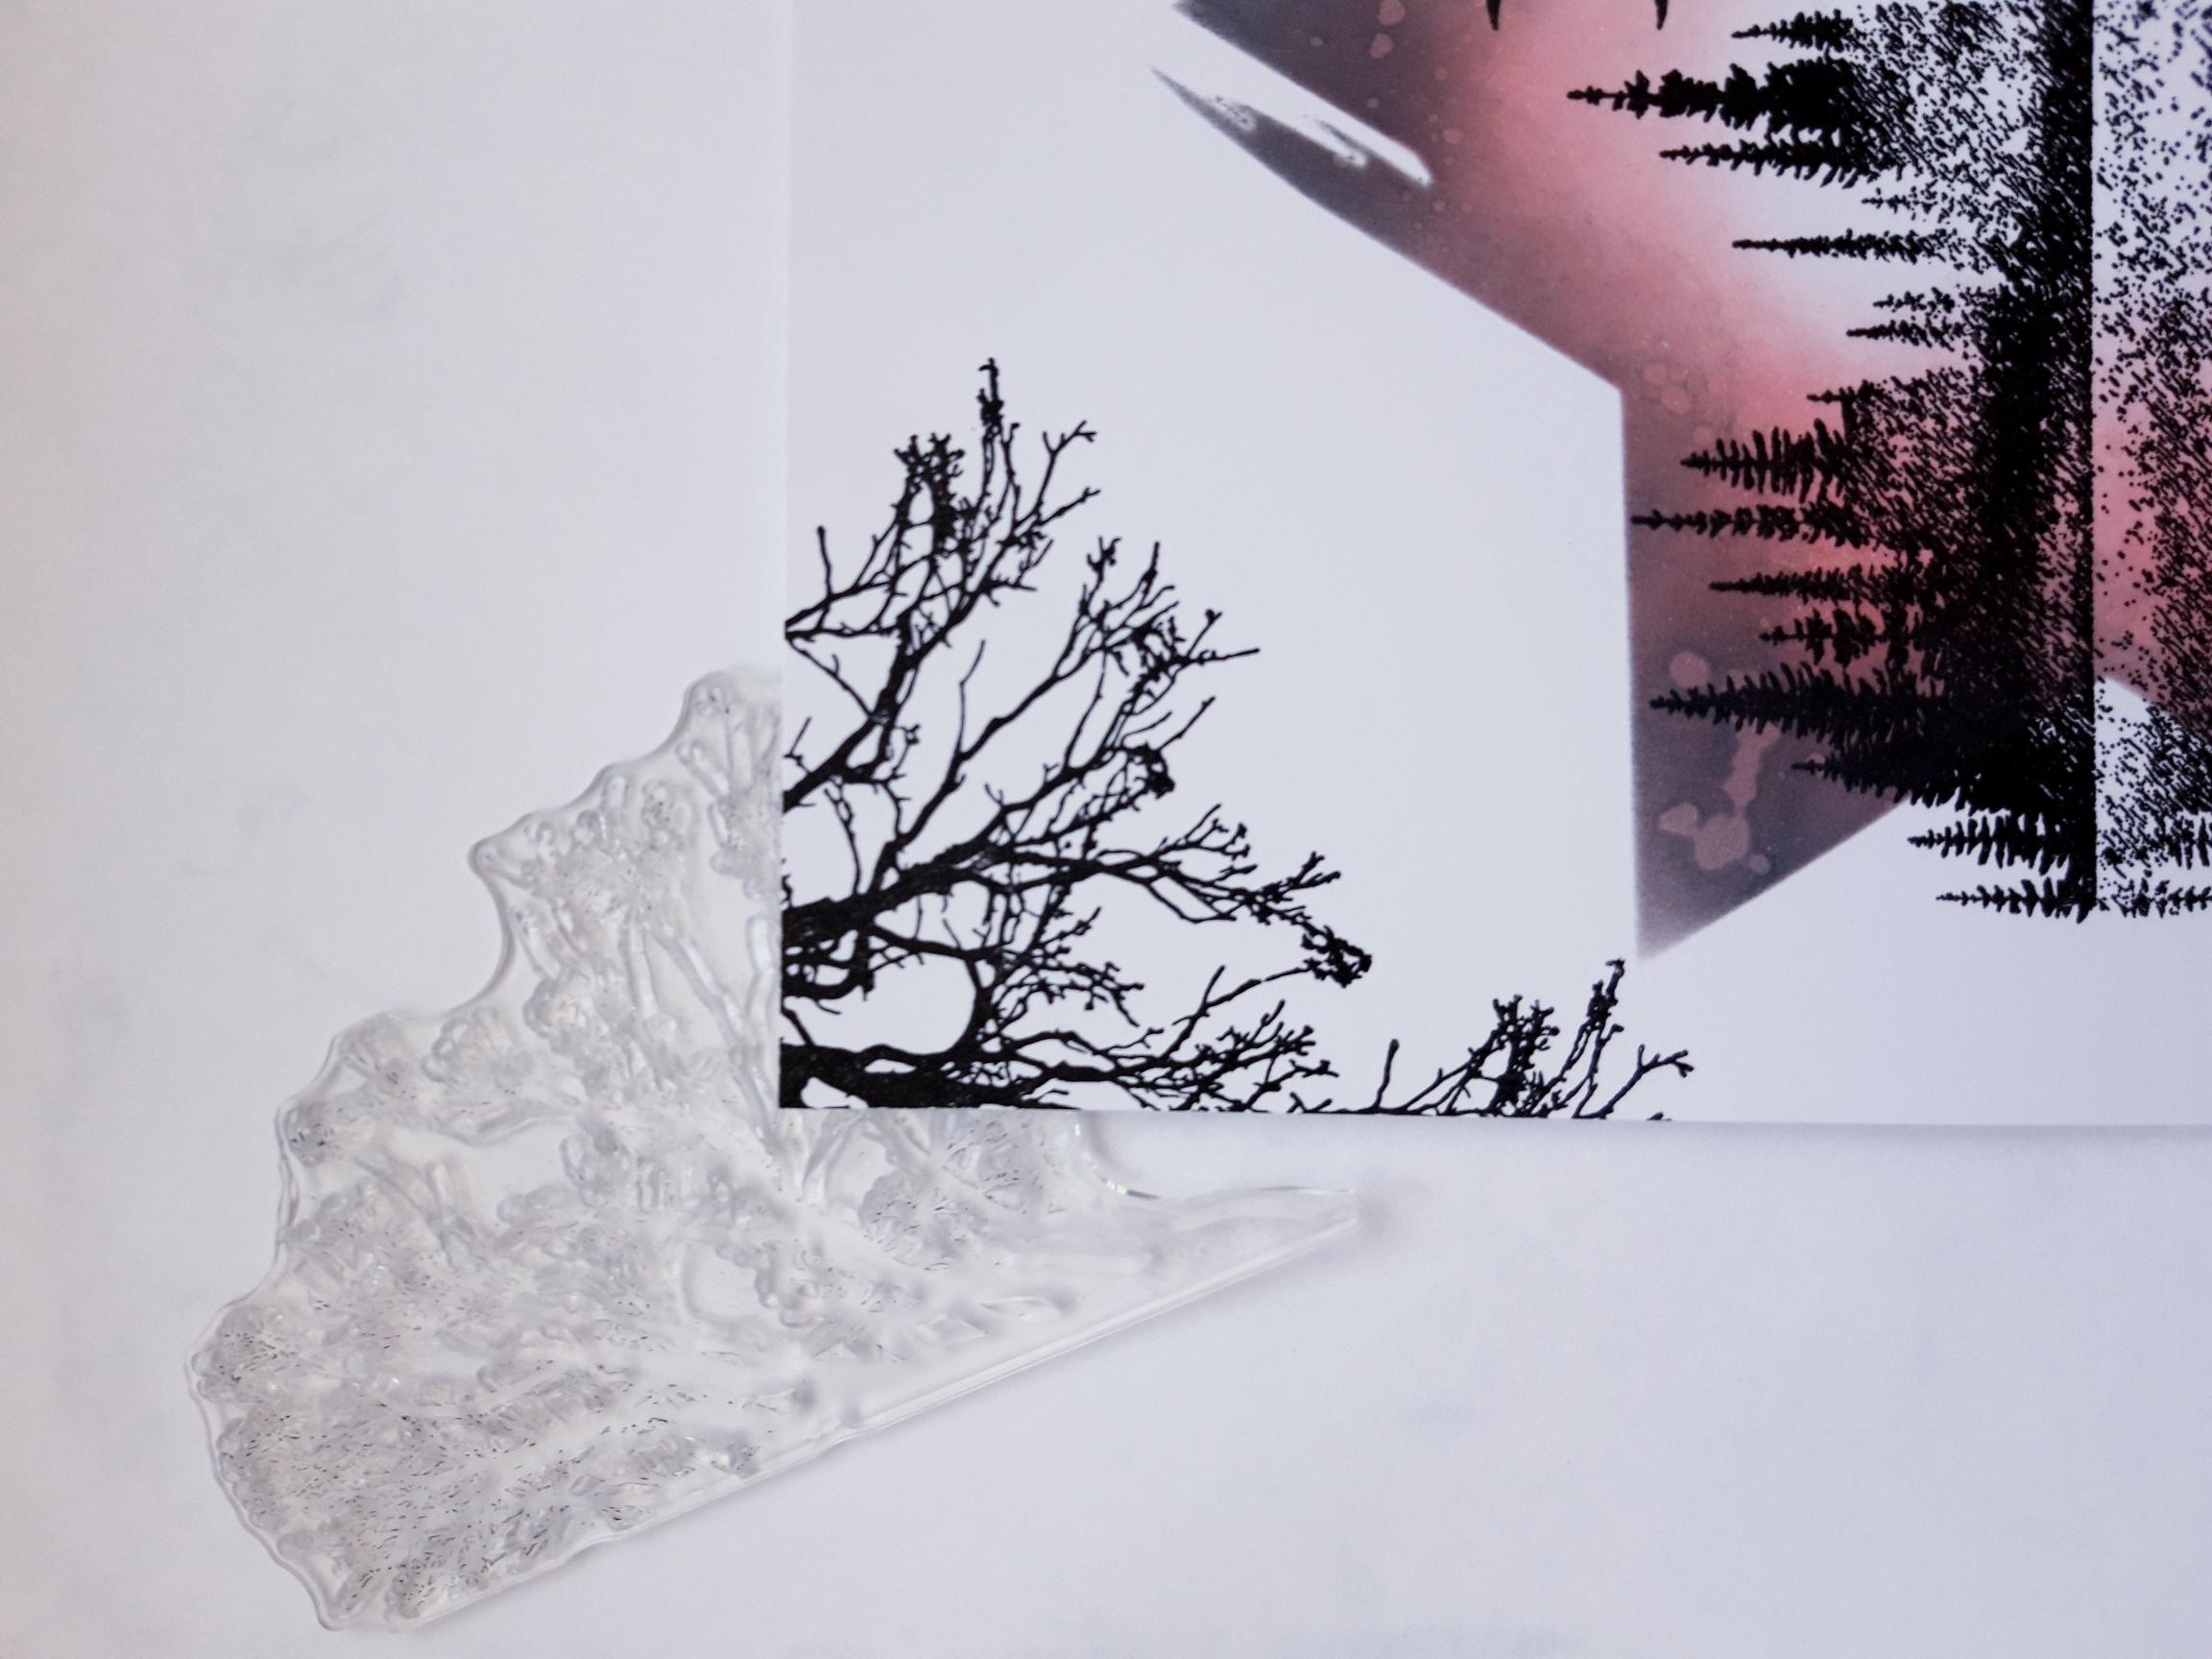
Ink up this leafy stamp, from the Every New Day Stamp Collection, with the Versafine and stamp coming down from the top left hand corner, as required. |
|
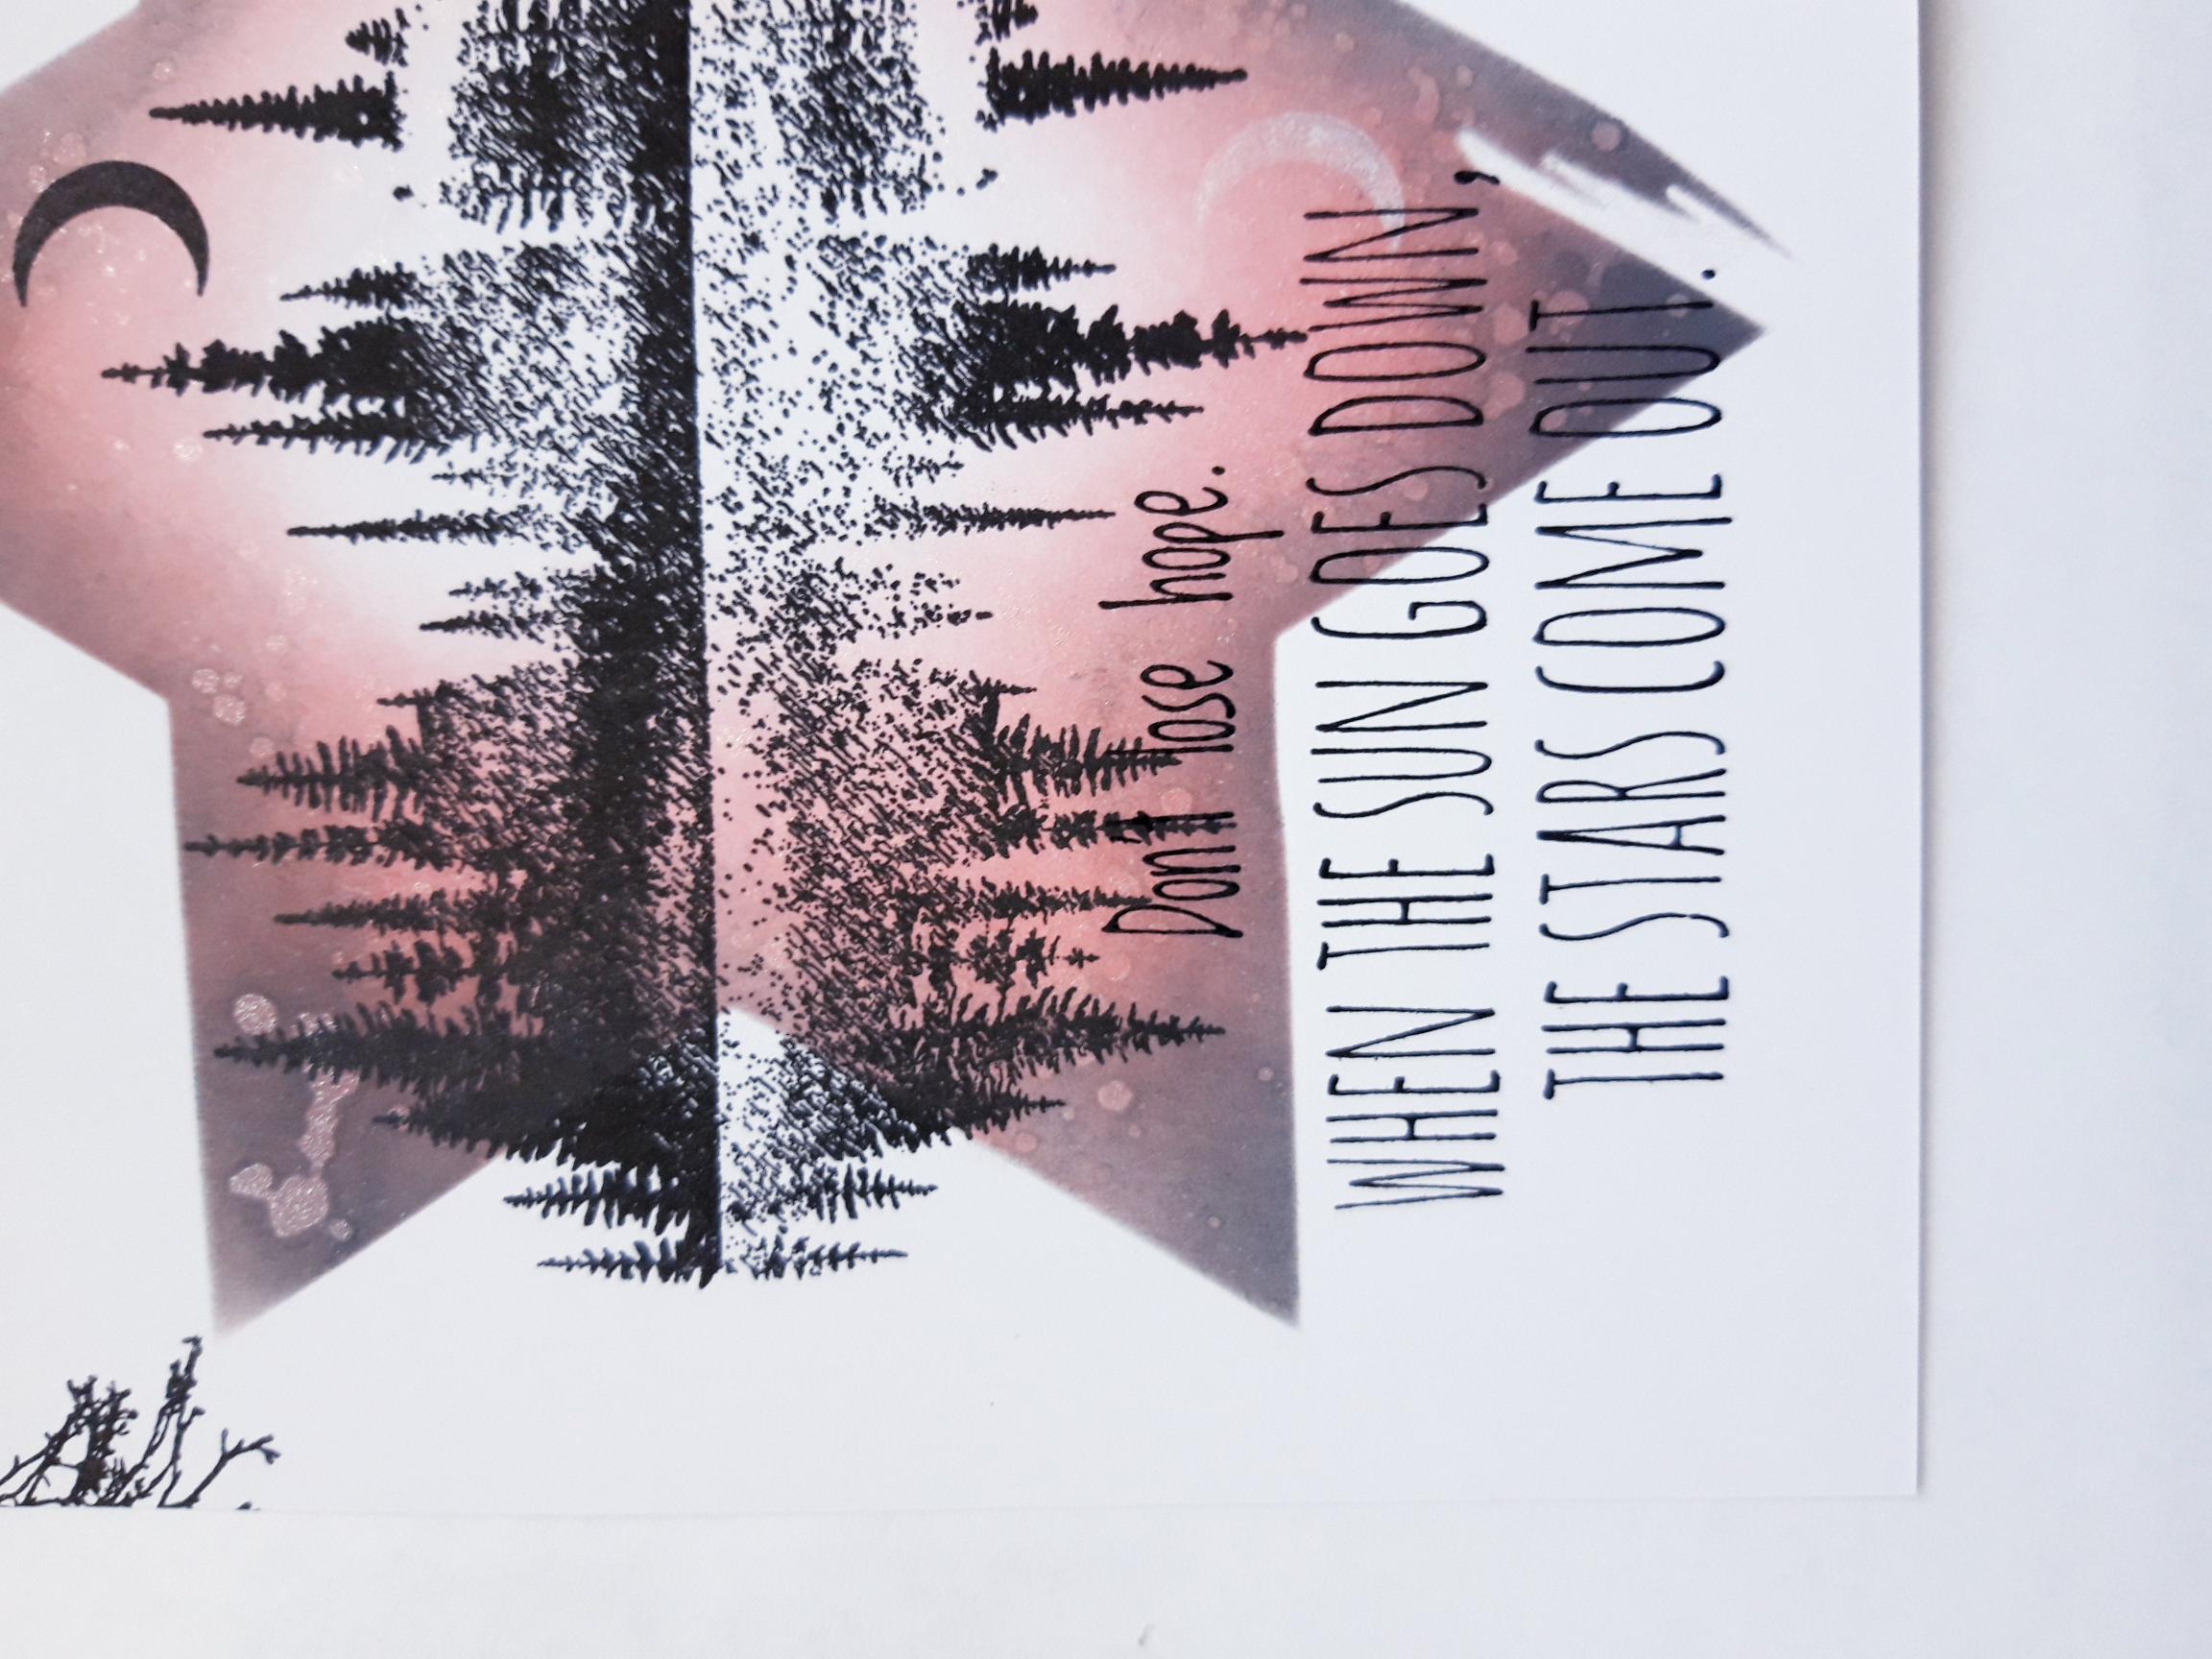
Ink up the sentiment from Reach For The Stars Stamp Collection, with the Versafine and stamp across the bottom left of your artwork. |
|
Ink up the sparkle/stars stamp from the same collection, with the Versafine and stamp on to your artwork as required. |
|
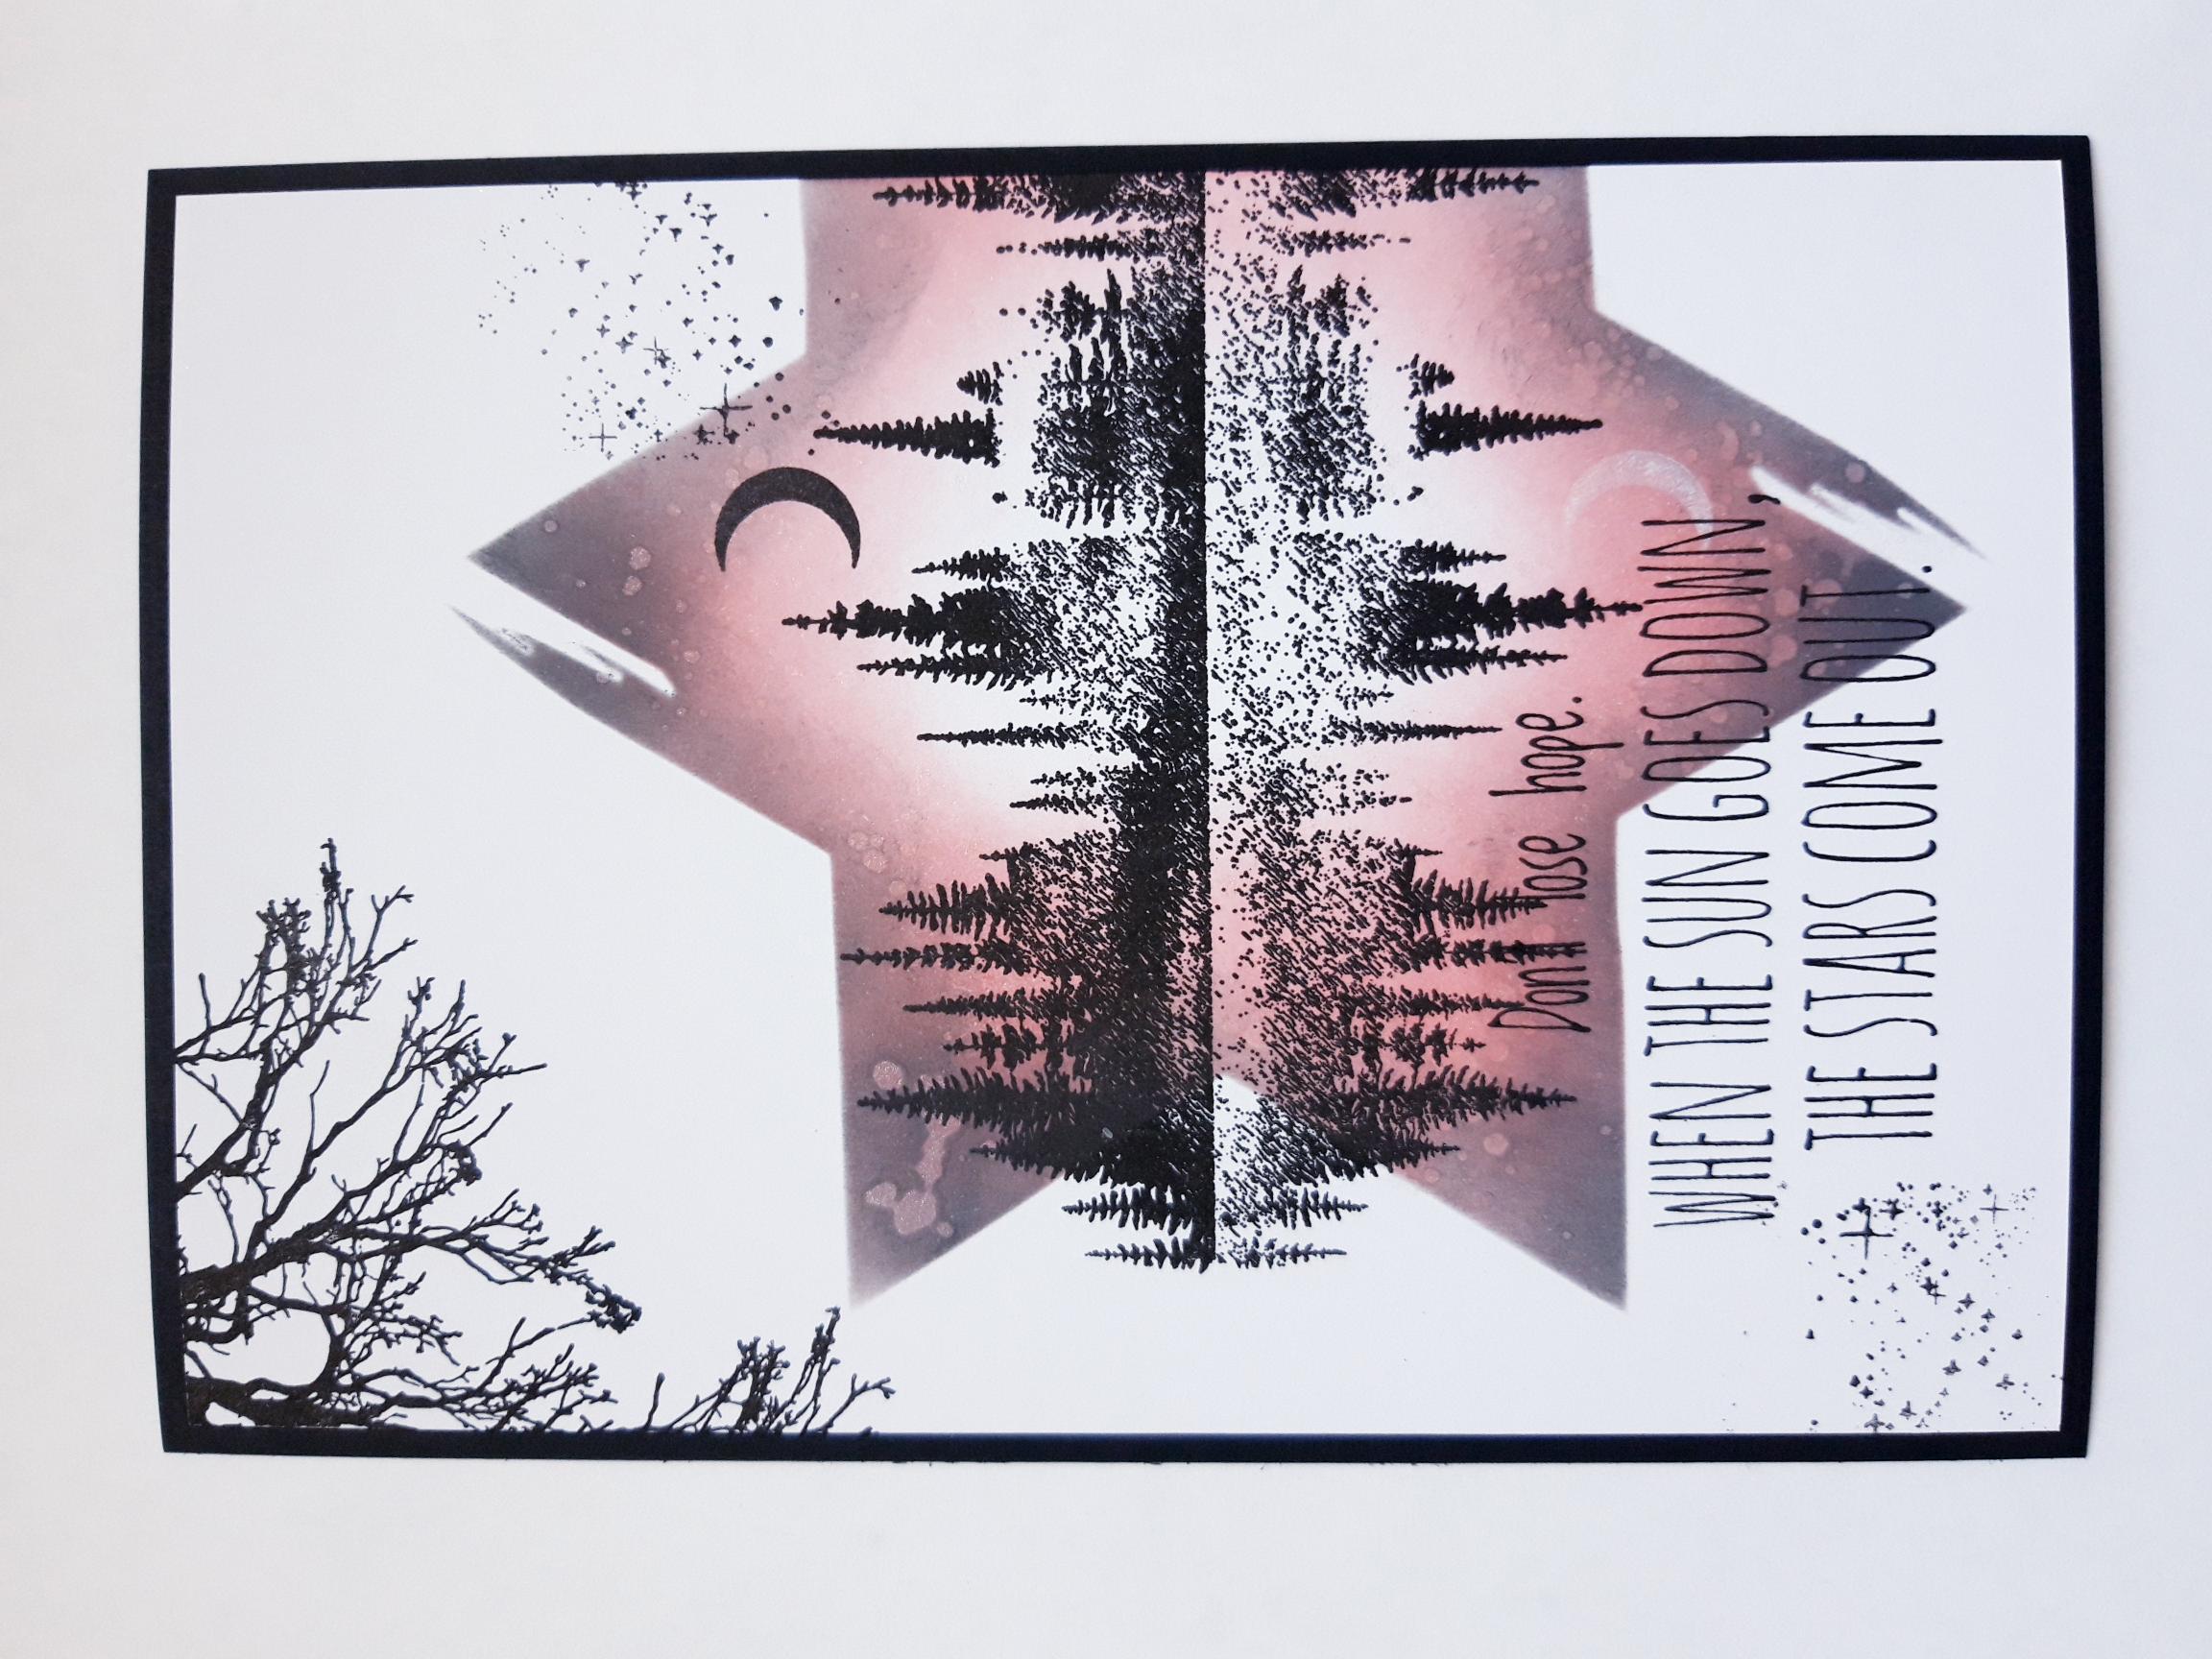
Adhere your dried artwork on to the black card. |
|
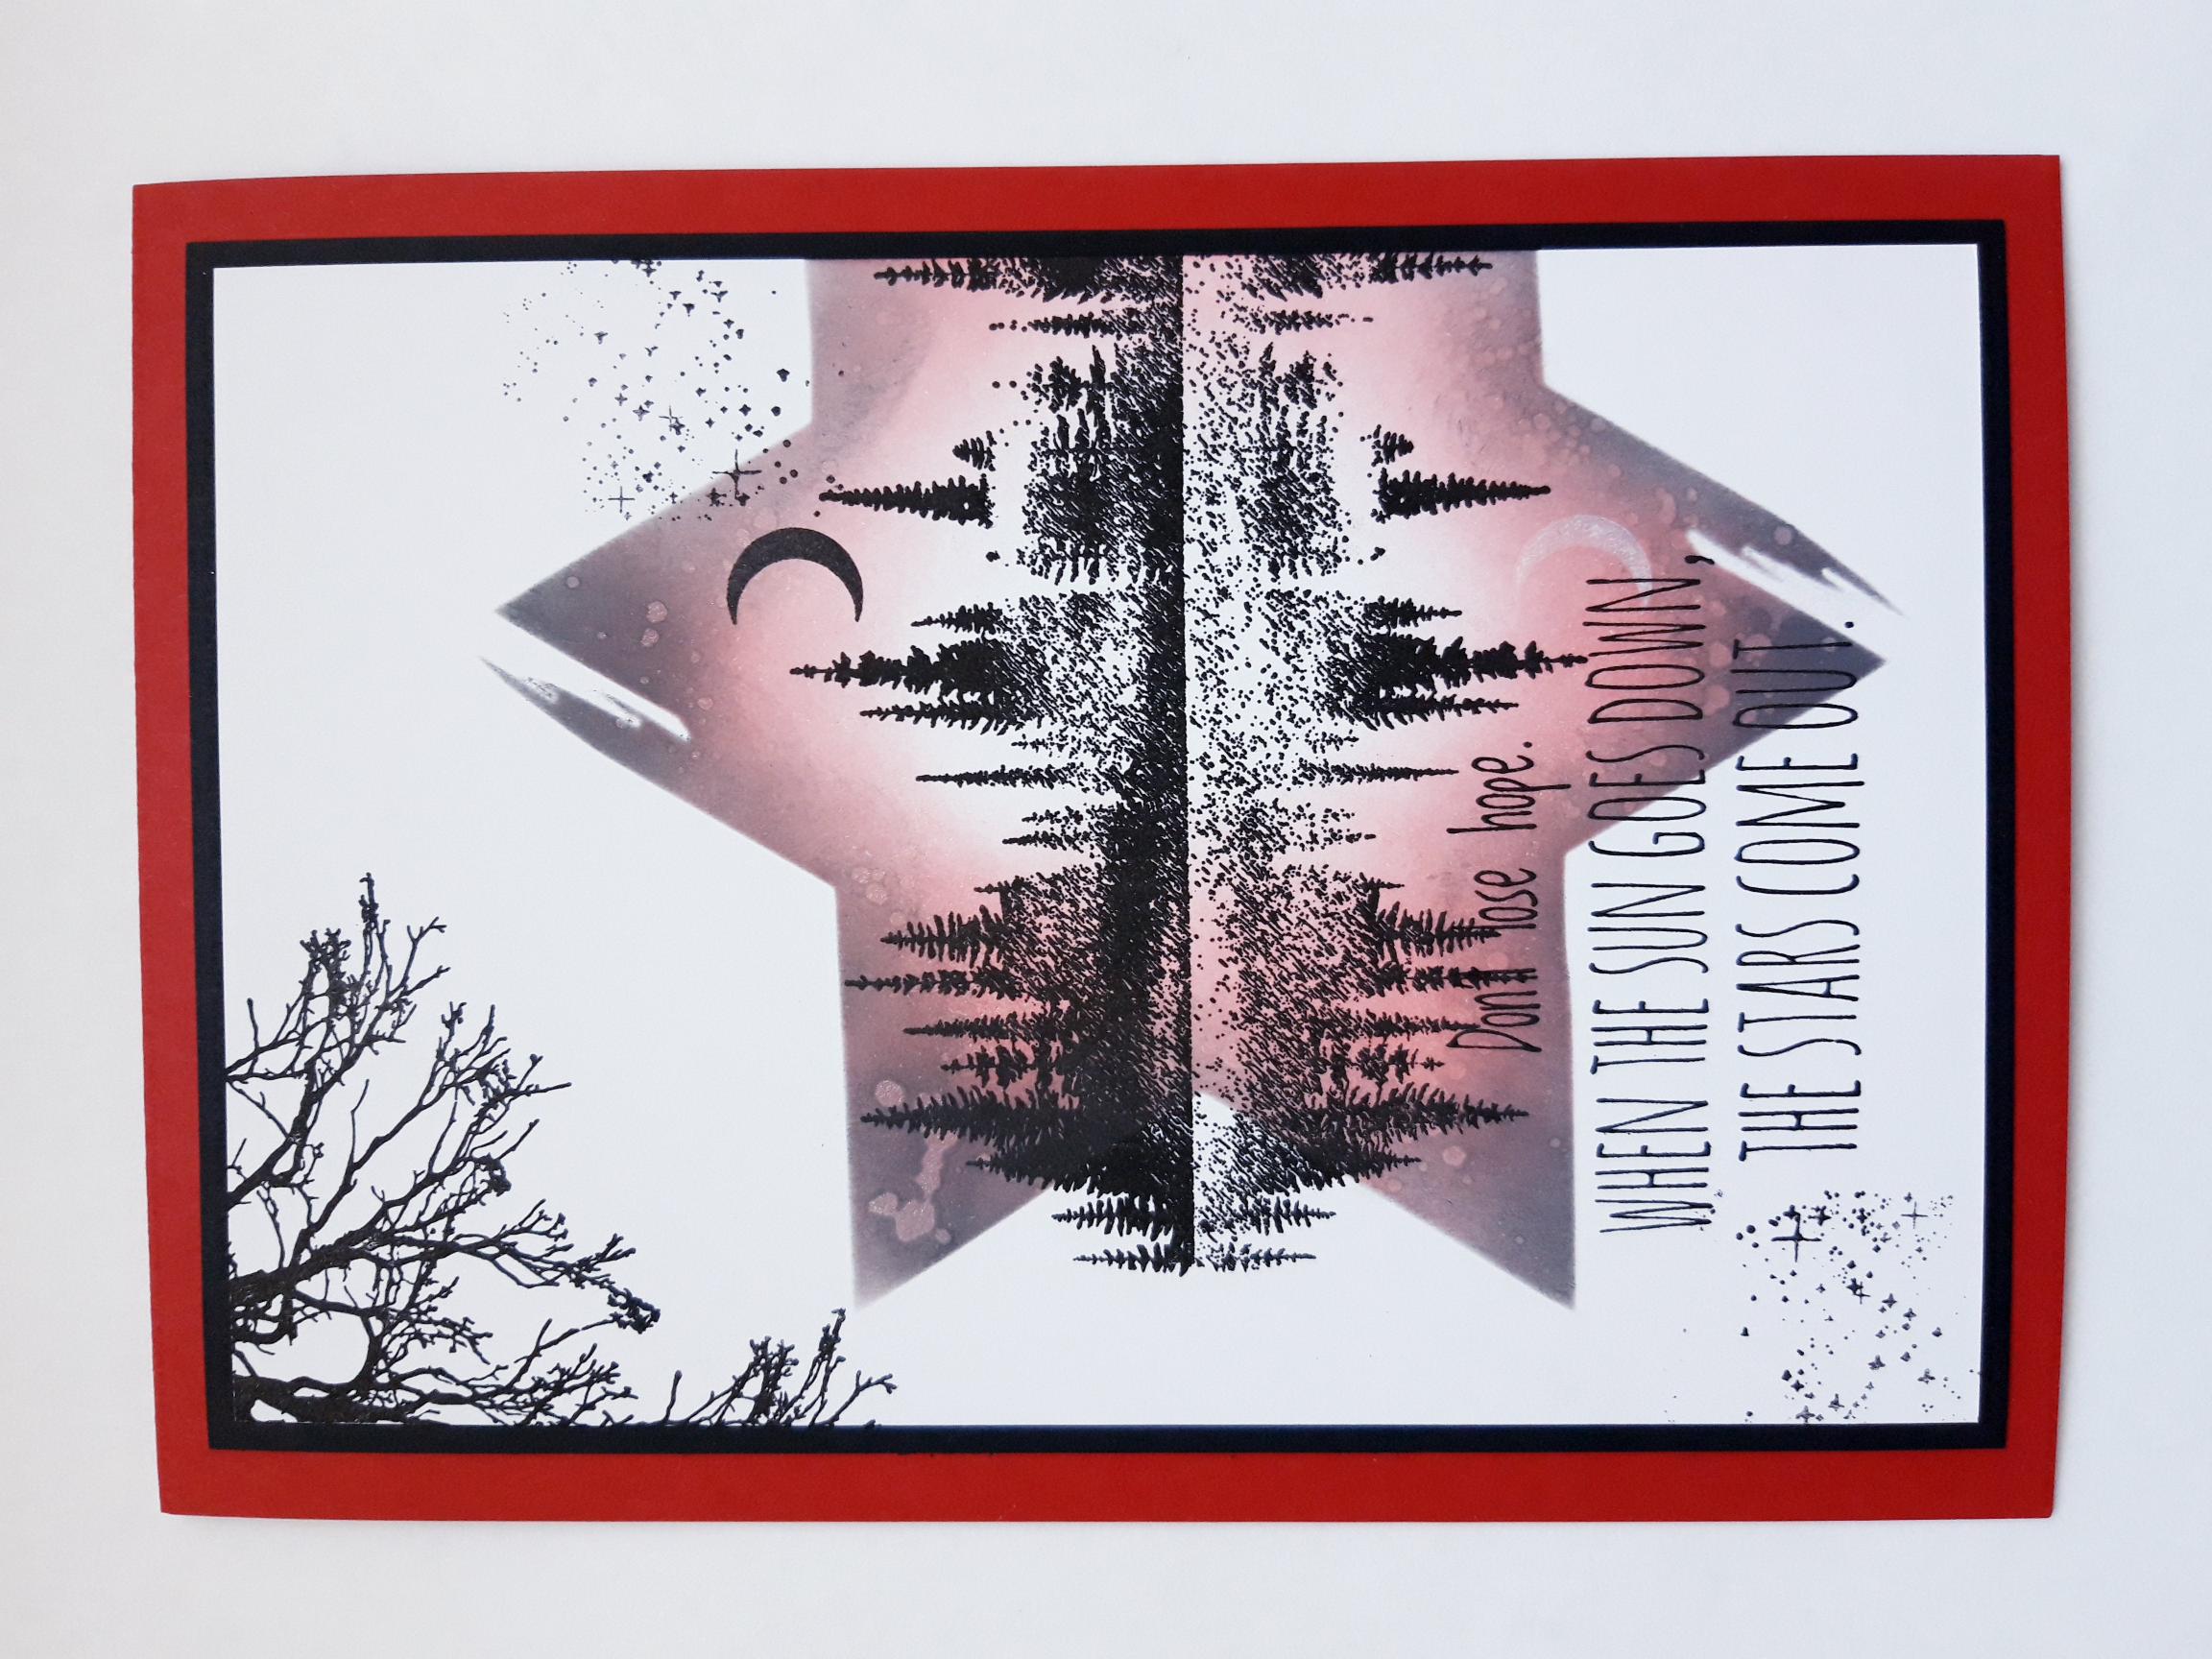
Adhere on to your red, top folding card blank. |
|
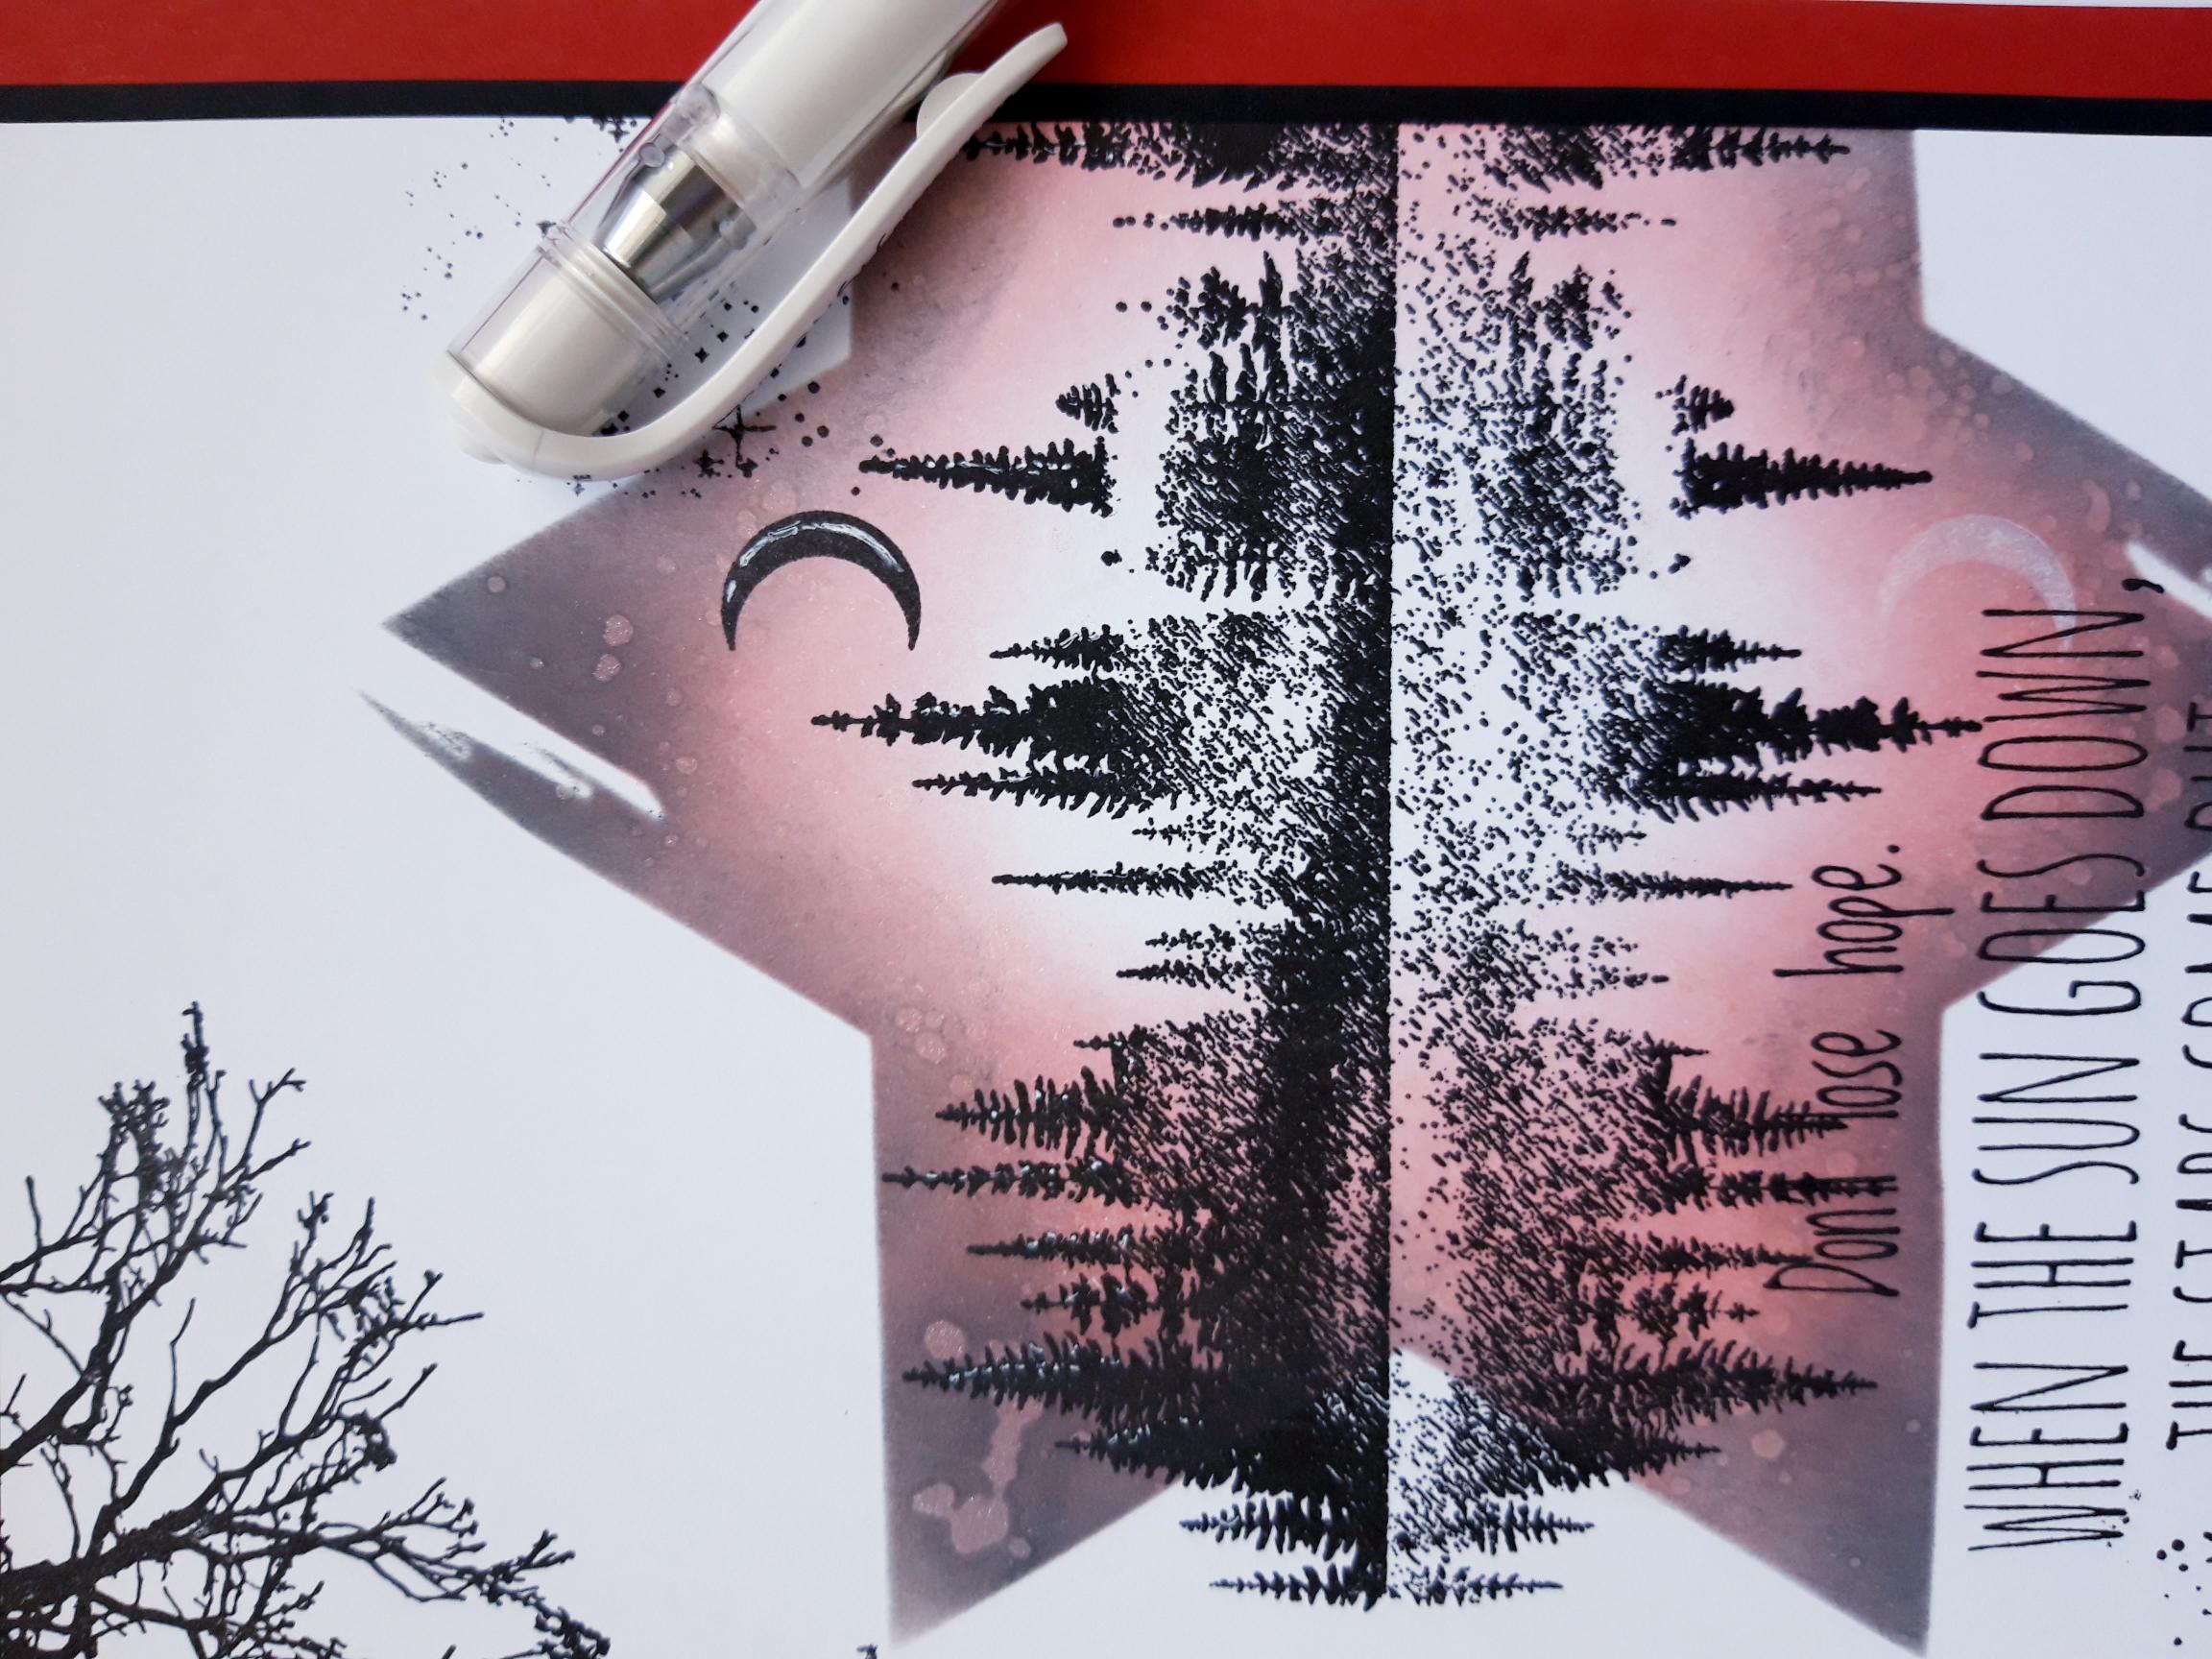
to finish, use your white gel pen to add accents and highlights to your artwork. |