Give your friends $10 off their first order!
Refer a FRIEND


WHAT YOU WILL NEED:
Black top folding card blank (8 1/4 x 5 3/4")
Vellum - tear strip to approx 7 x 2"
Subtle Tranquility 8 x 8" Paper Pad
Every New Day Stamp Collection
Your Only Limit Is You Stamp Collection
Versafine Ink Pad: Onyx Black
Circle mask approx 2" diameter (or a die cut circle from copier paper)
Izink Pigment Ink Pad Vintage Collection: Pink/purple
Anti static bag
WOW Embossing Ink pad
Black Embossing Powder
WOW Heat tool
Pearlywinks Pearl Mist: Glitter Pearl
Paint brush
Blending tool
White gel pen
Eureka 101
Paper Trimmer
Perfect Together Glue
Double sided tape
[click image to enlarge] 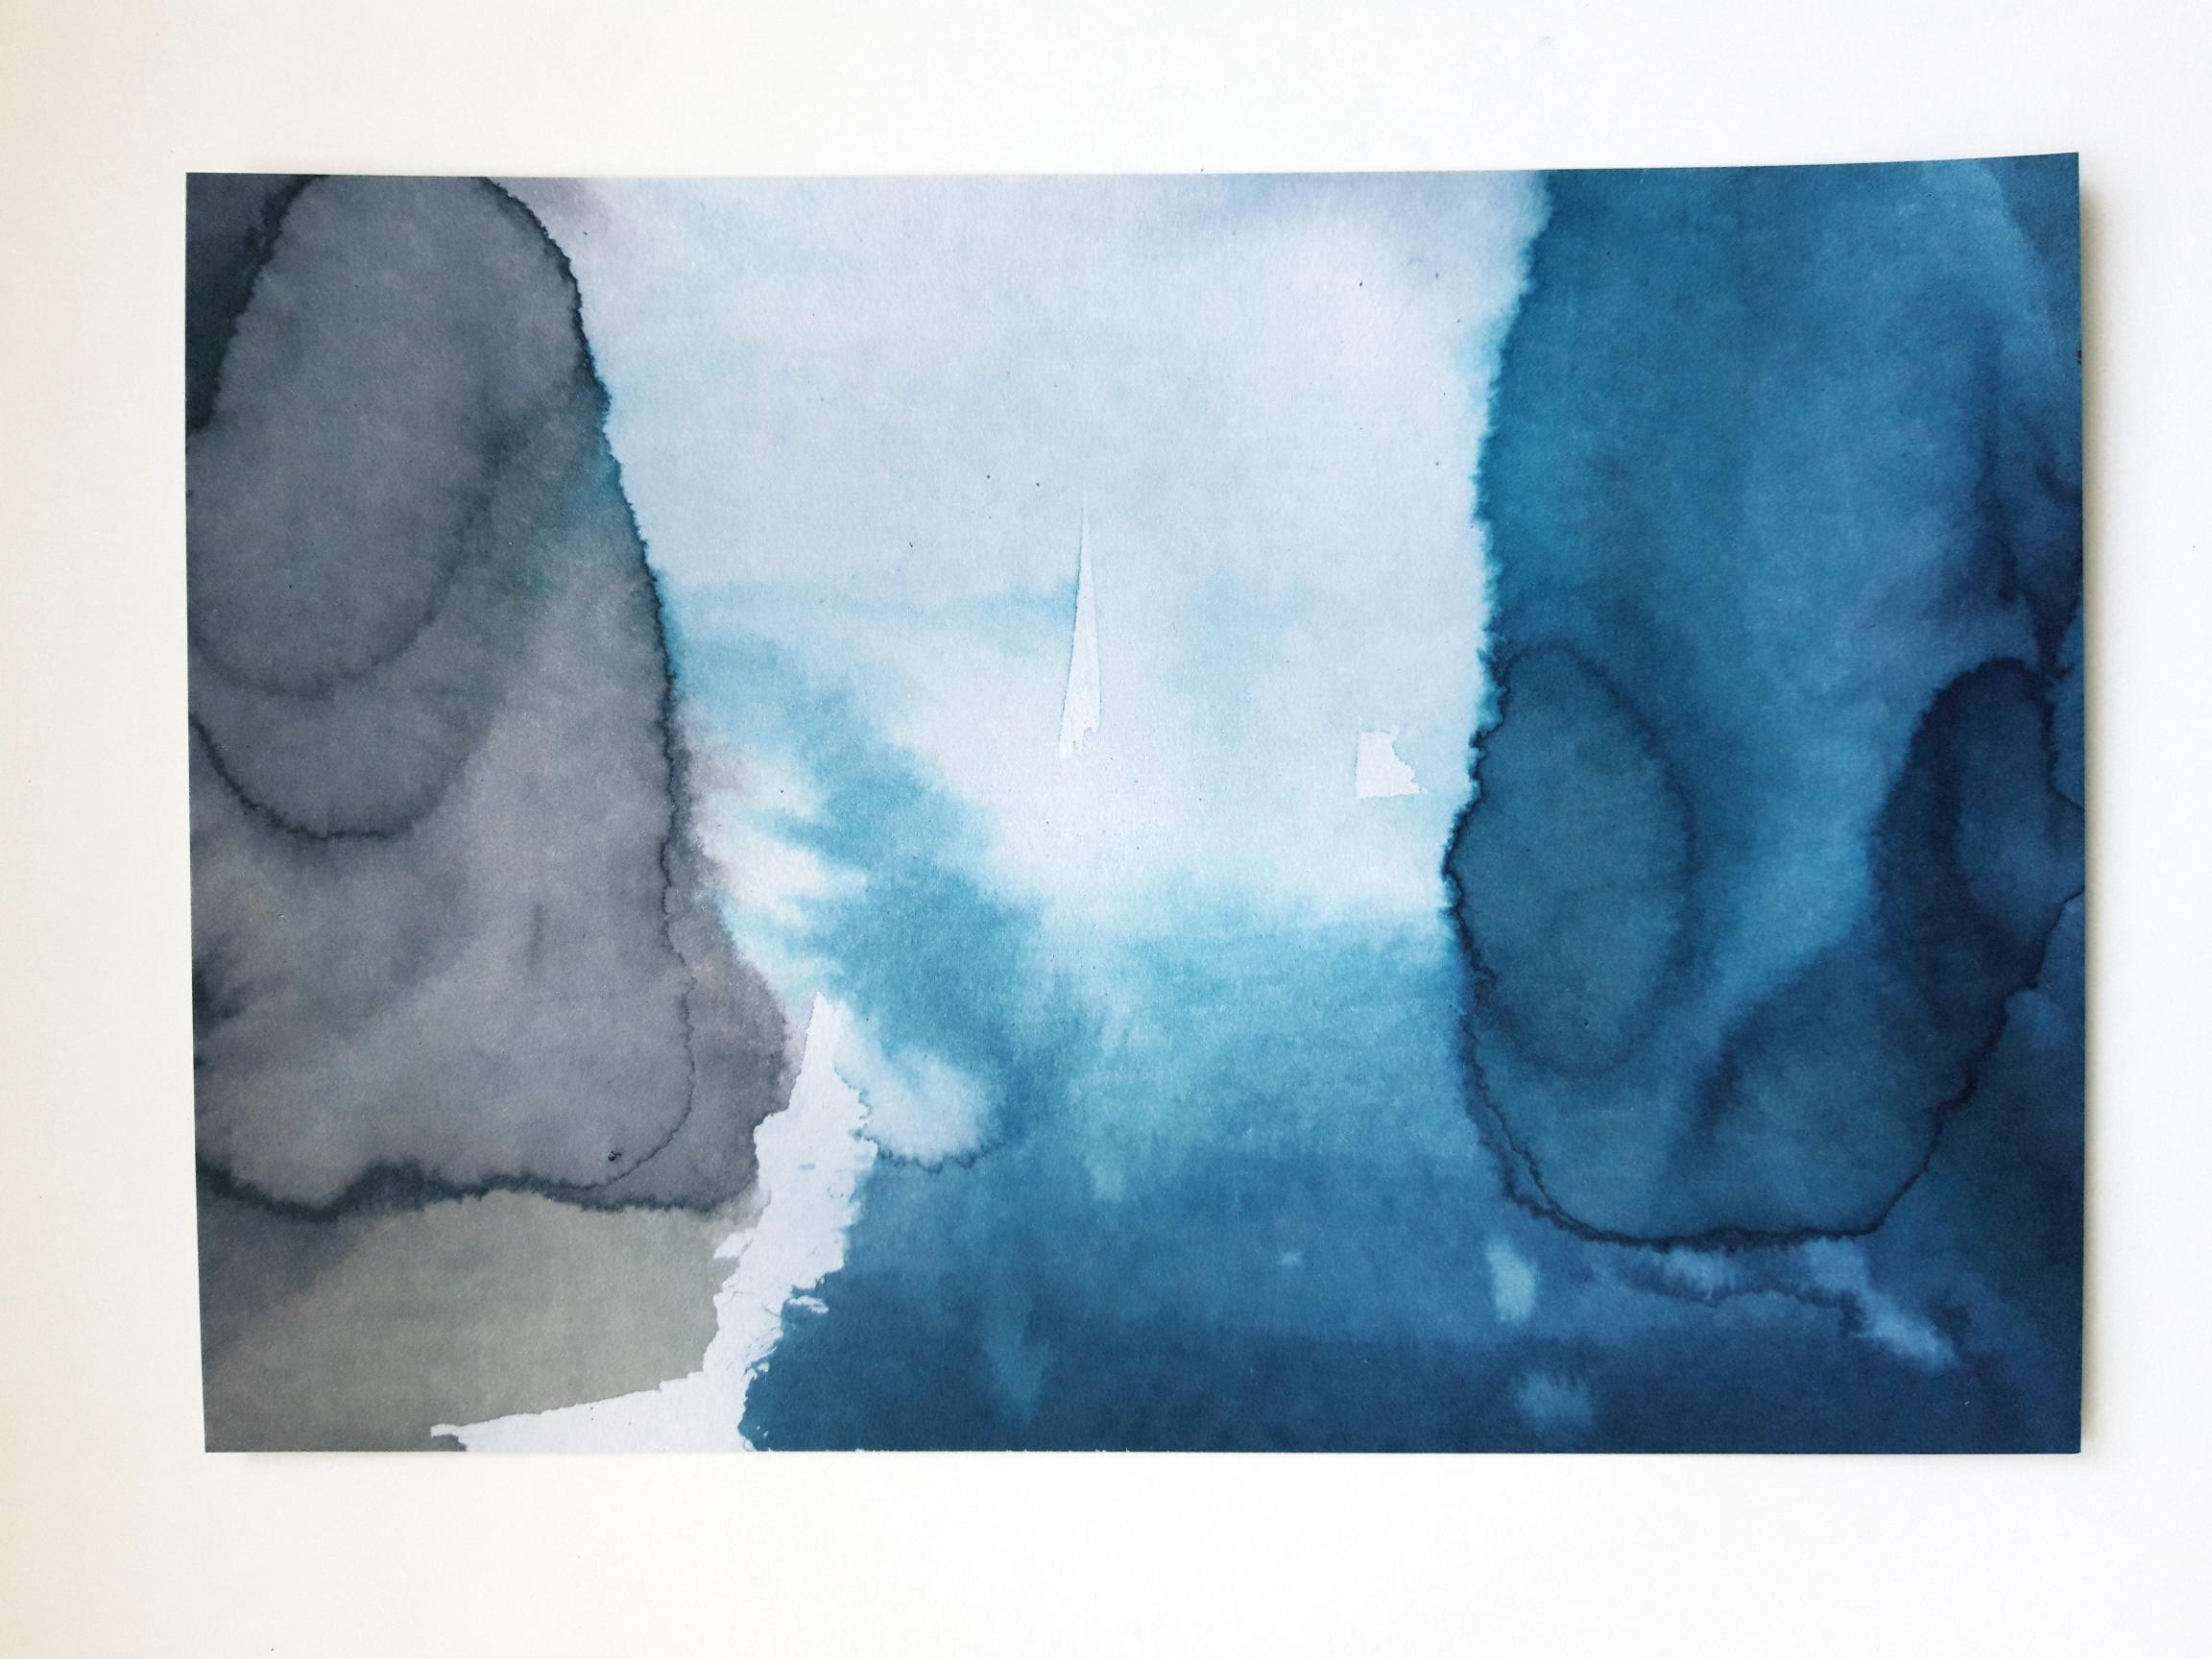
|
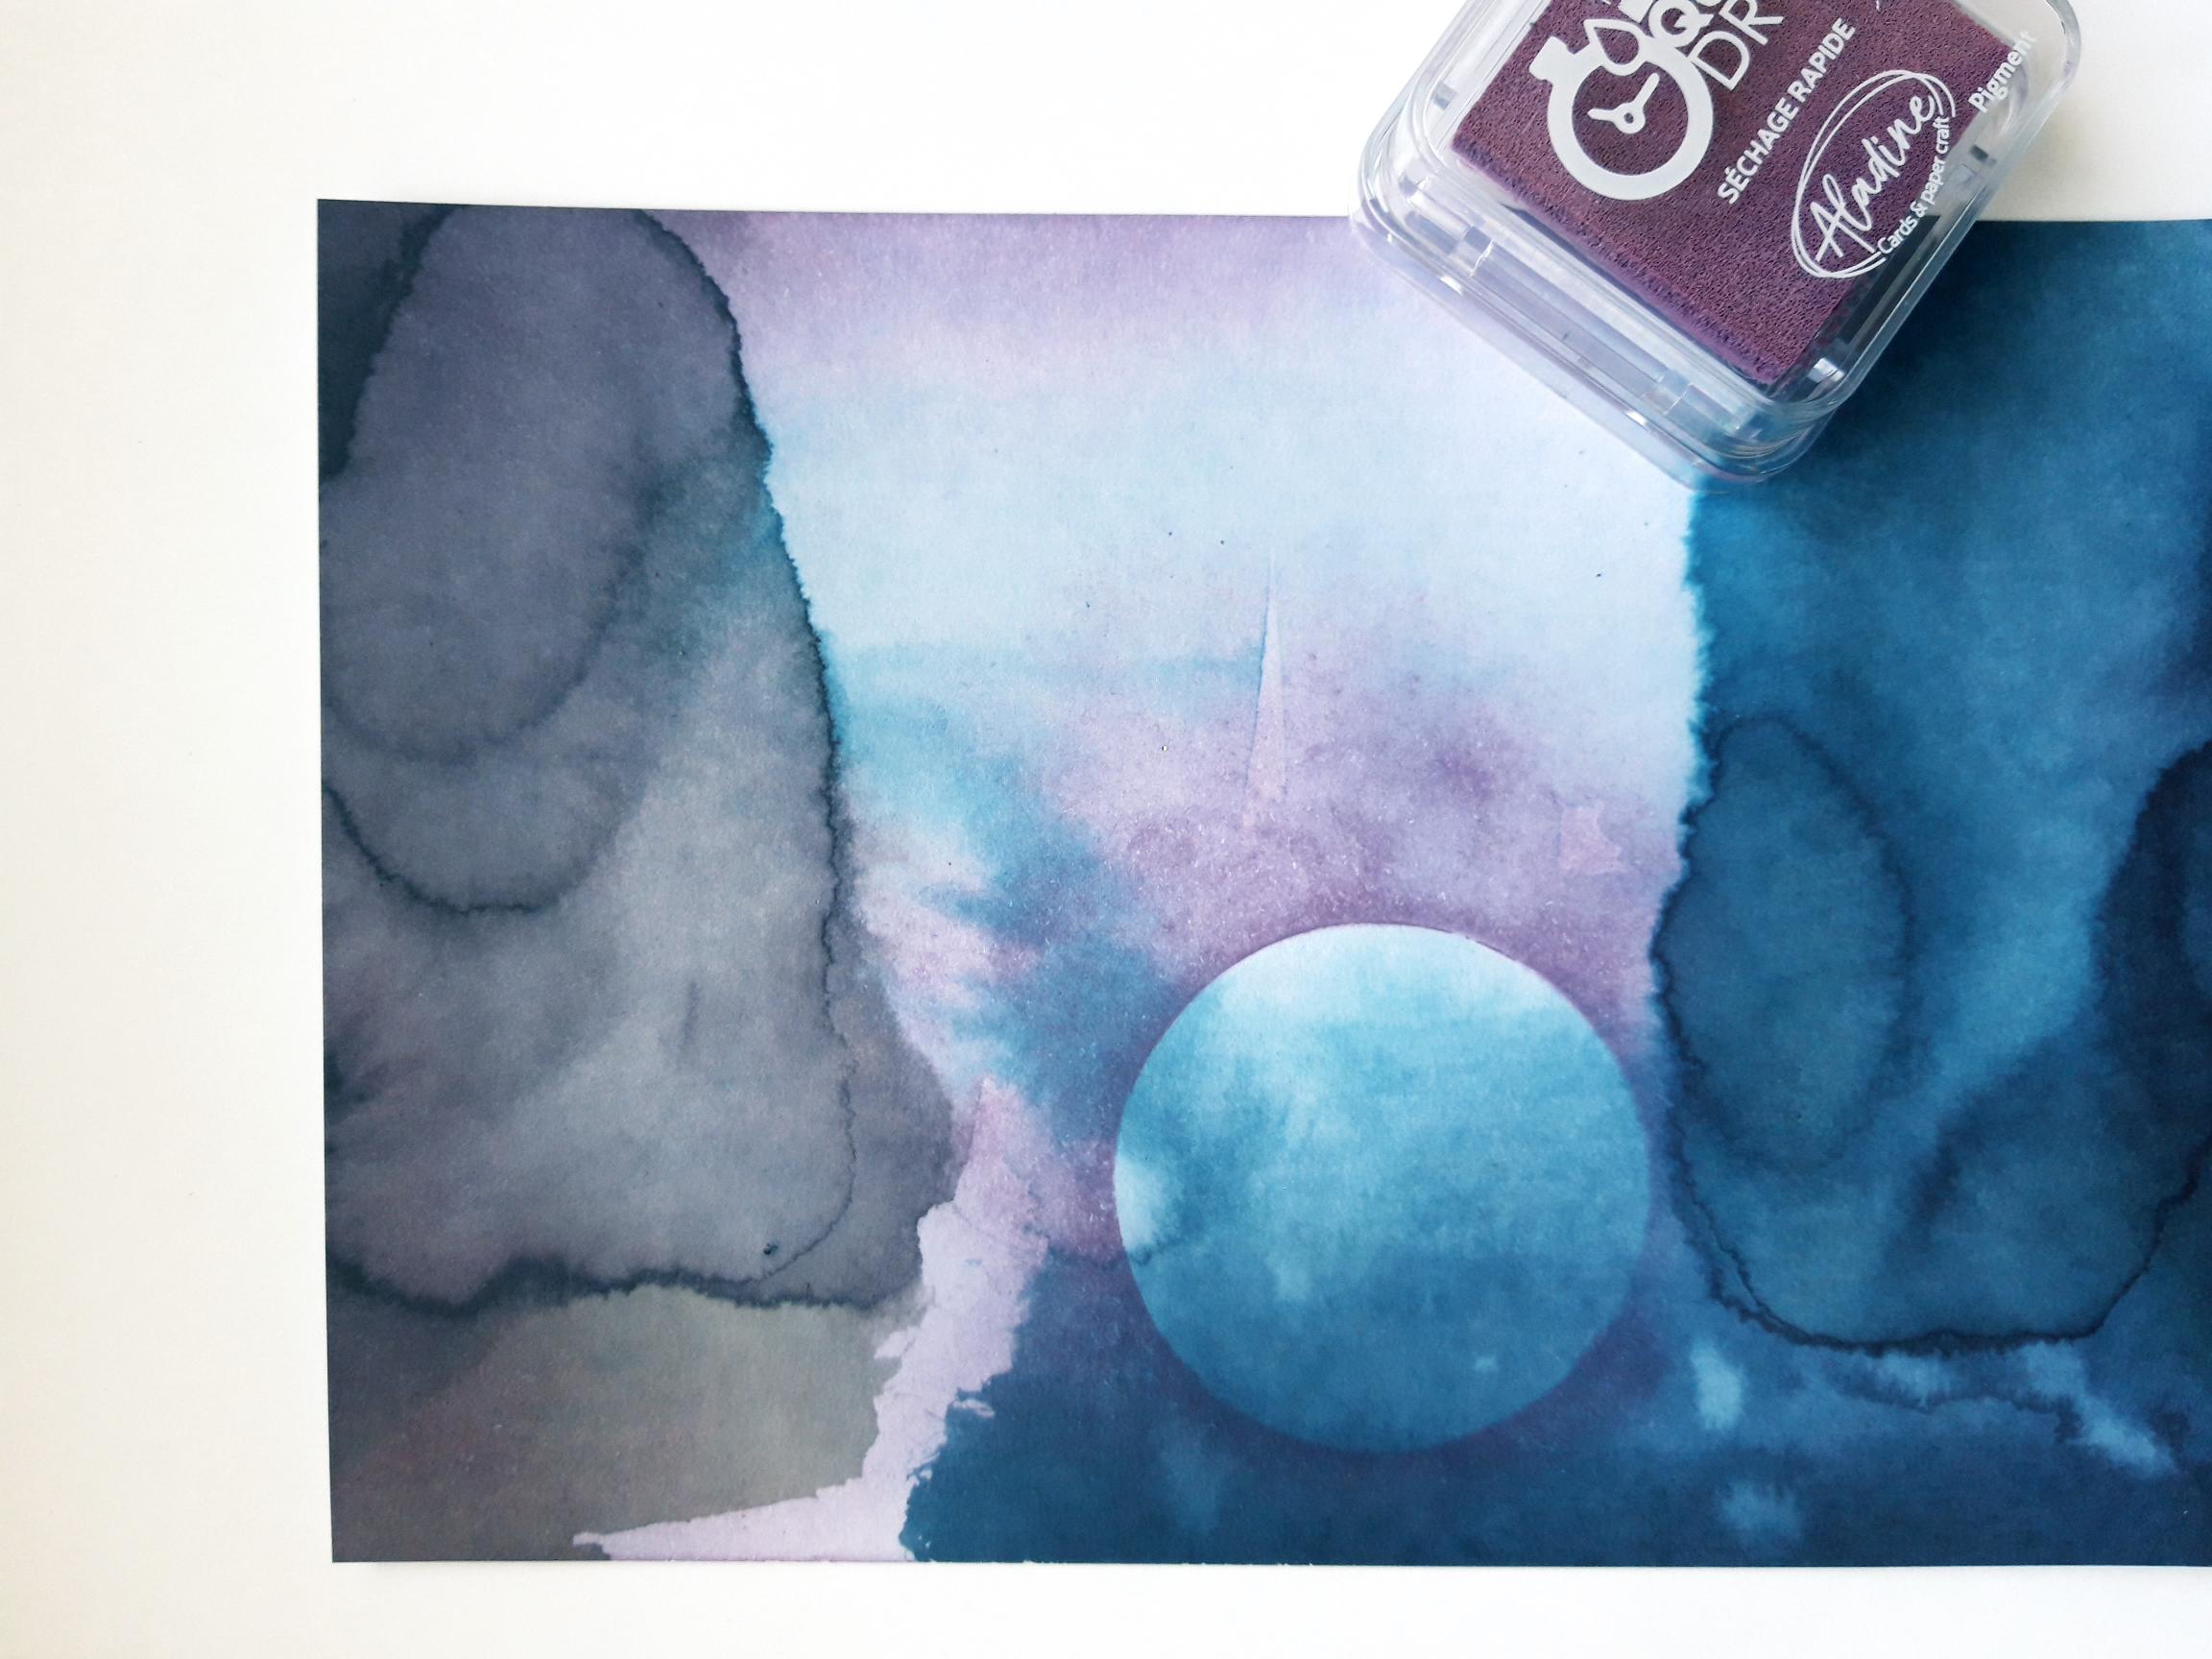
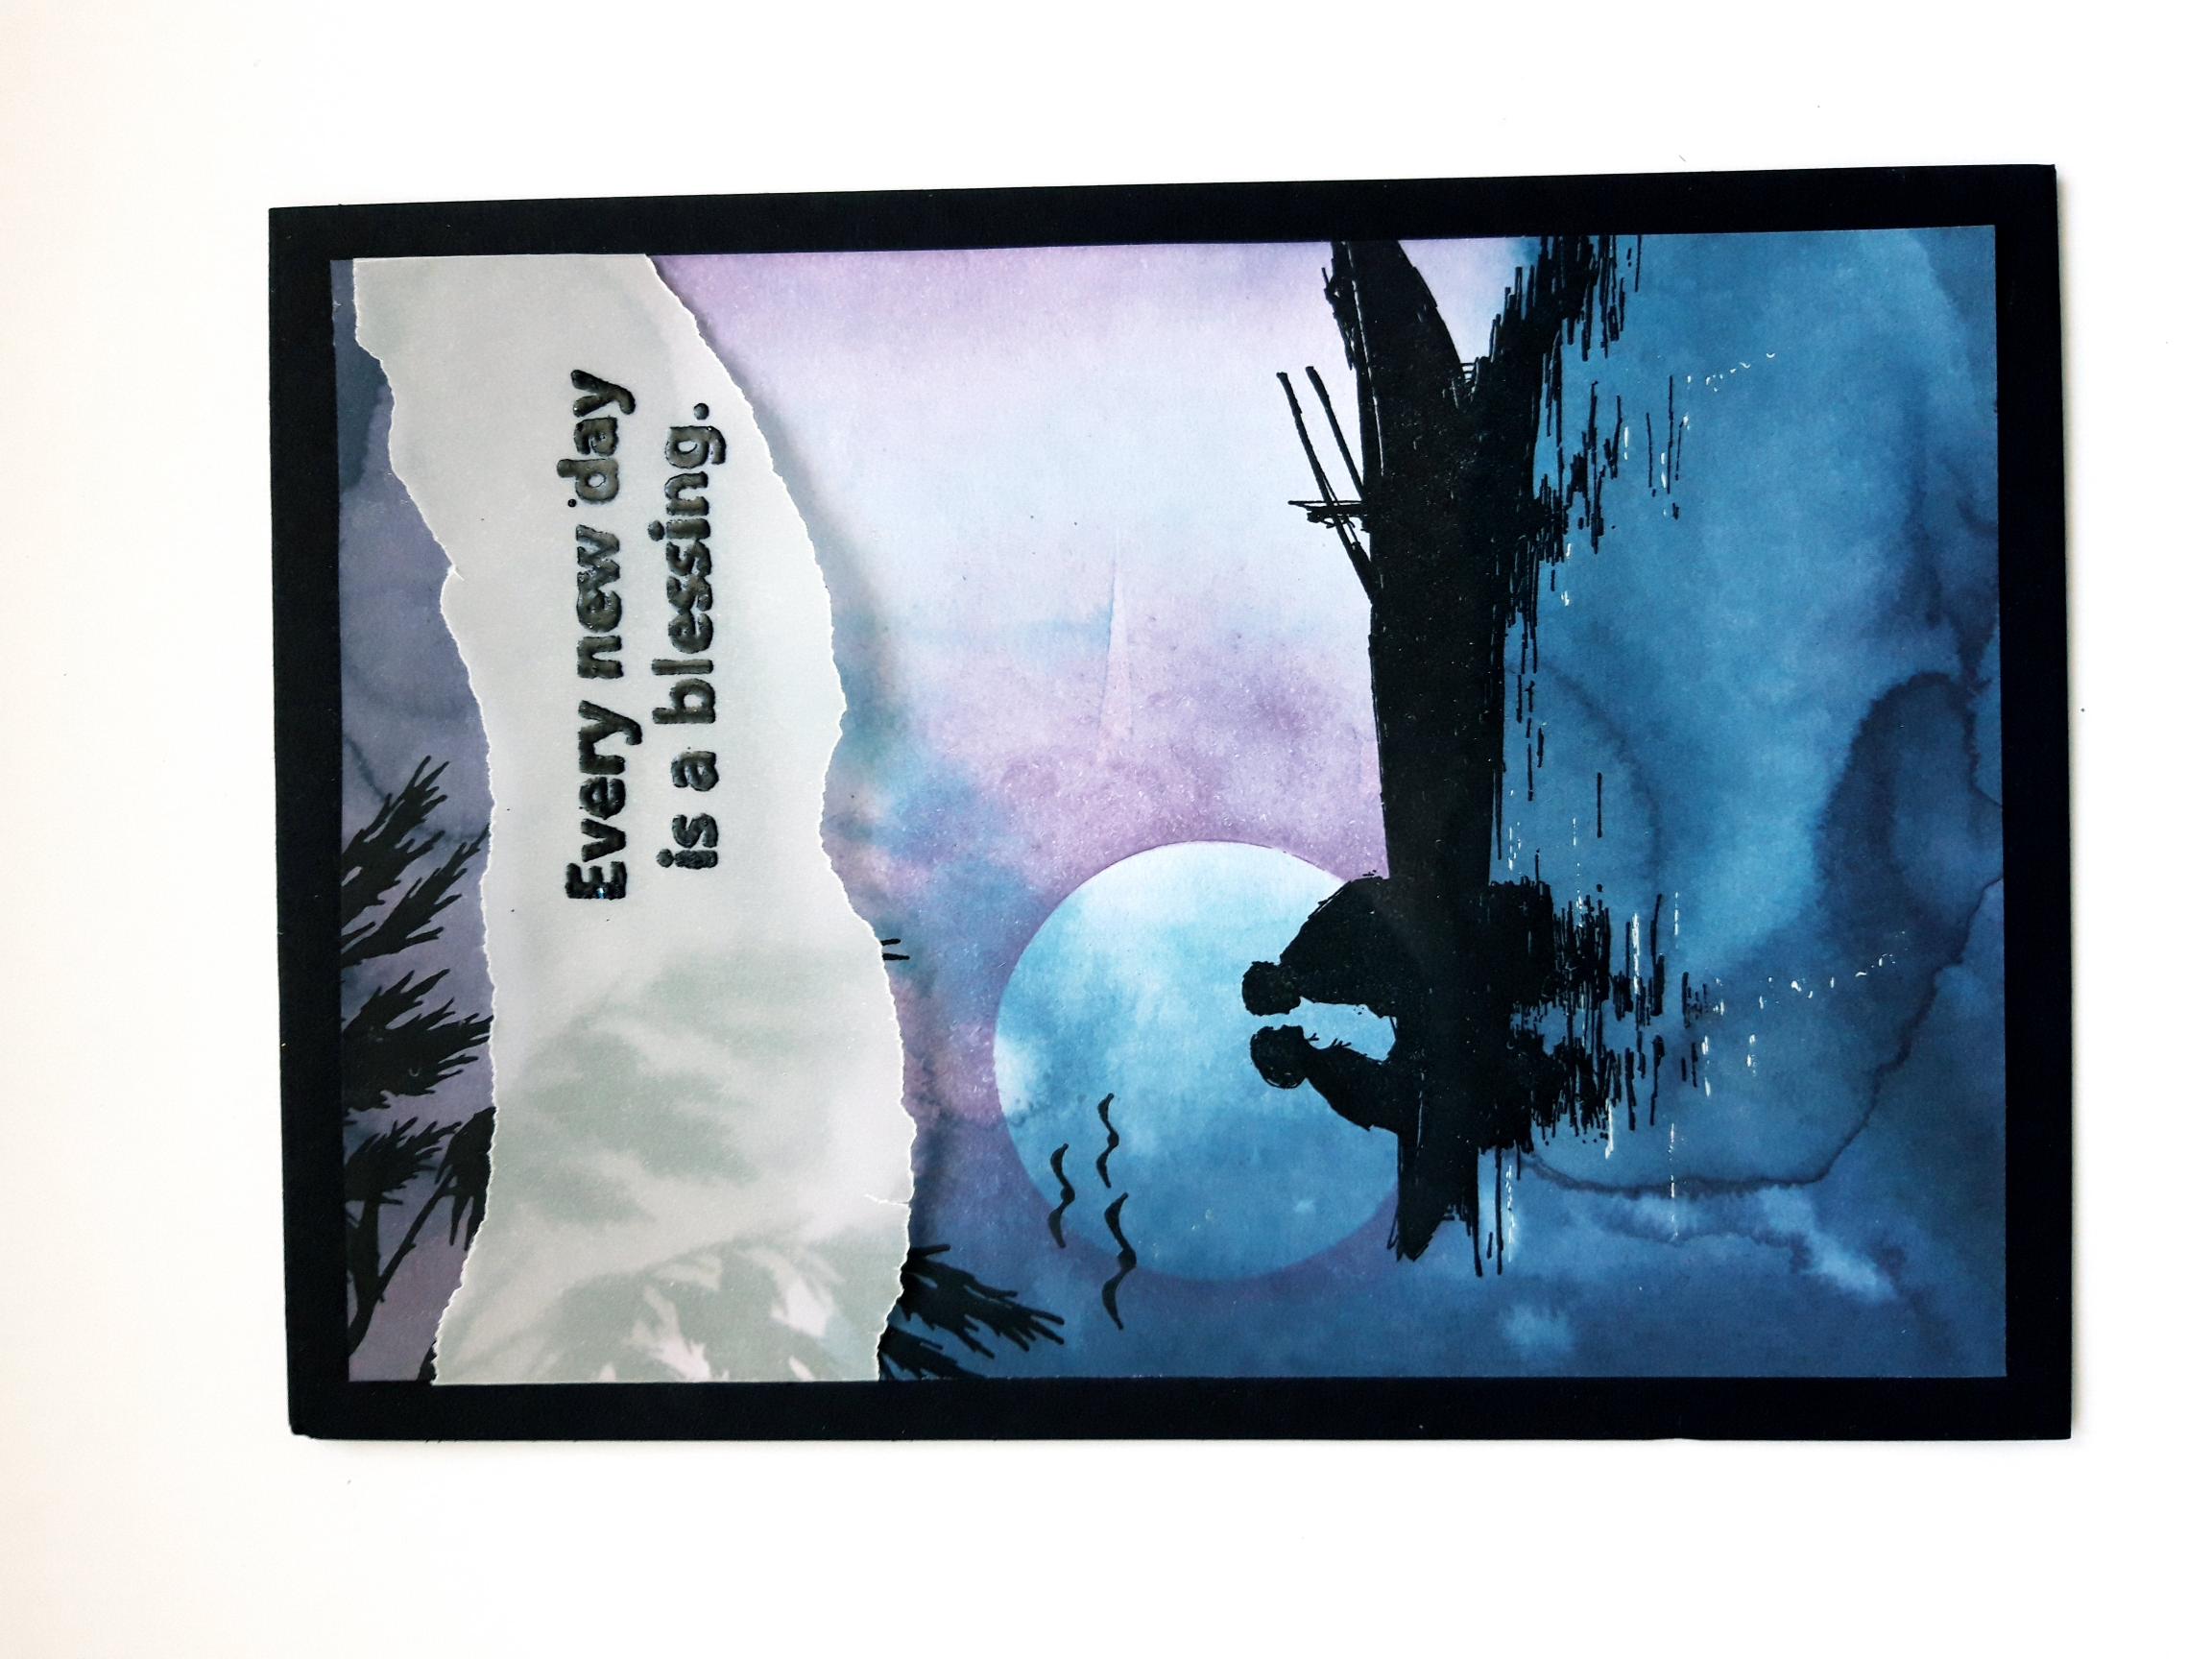
Tear out this sheet, from the Subtle Tranquility paper pad, and trim to 7 3/4 x 5 1/4" |
|
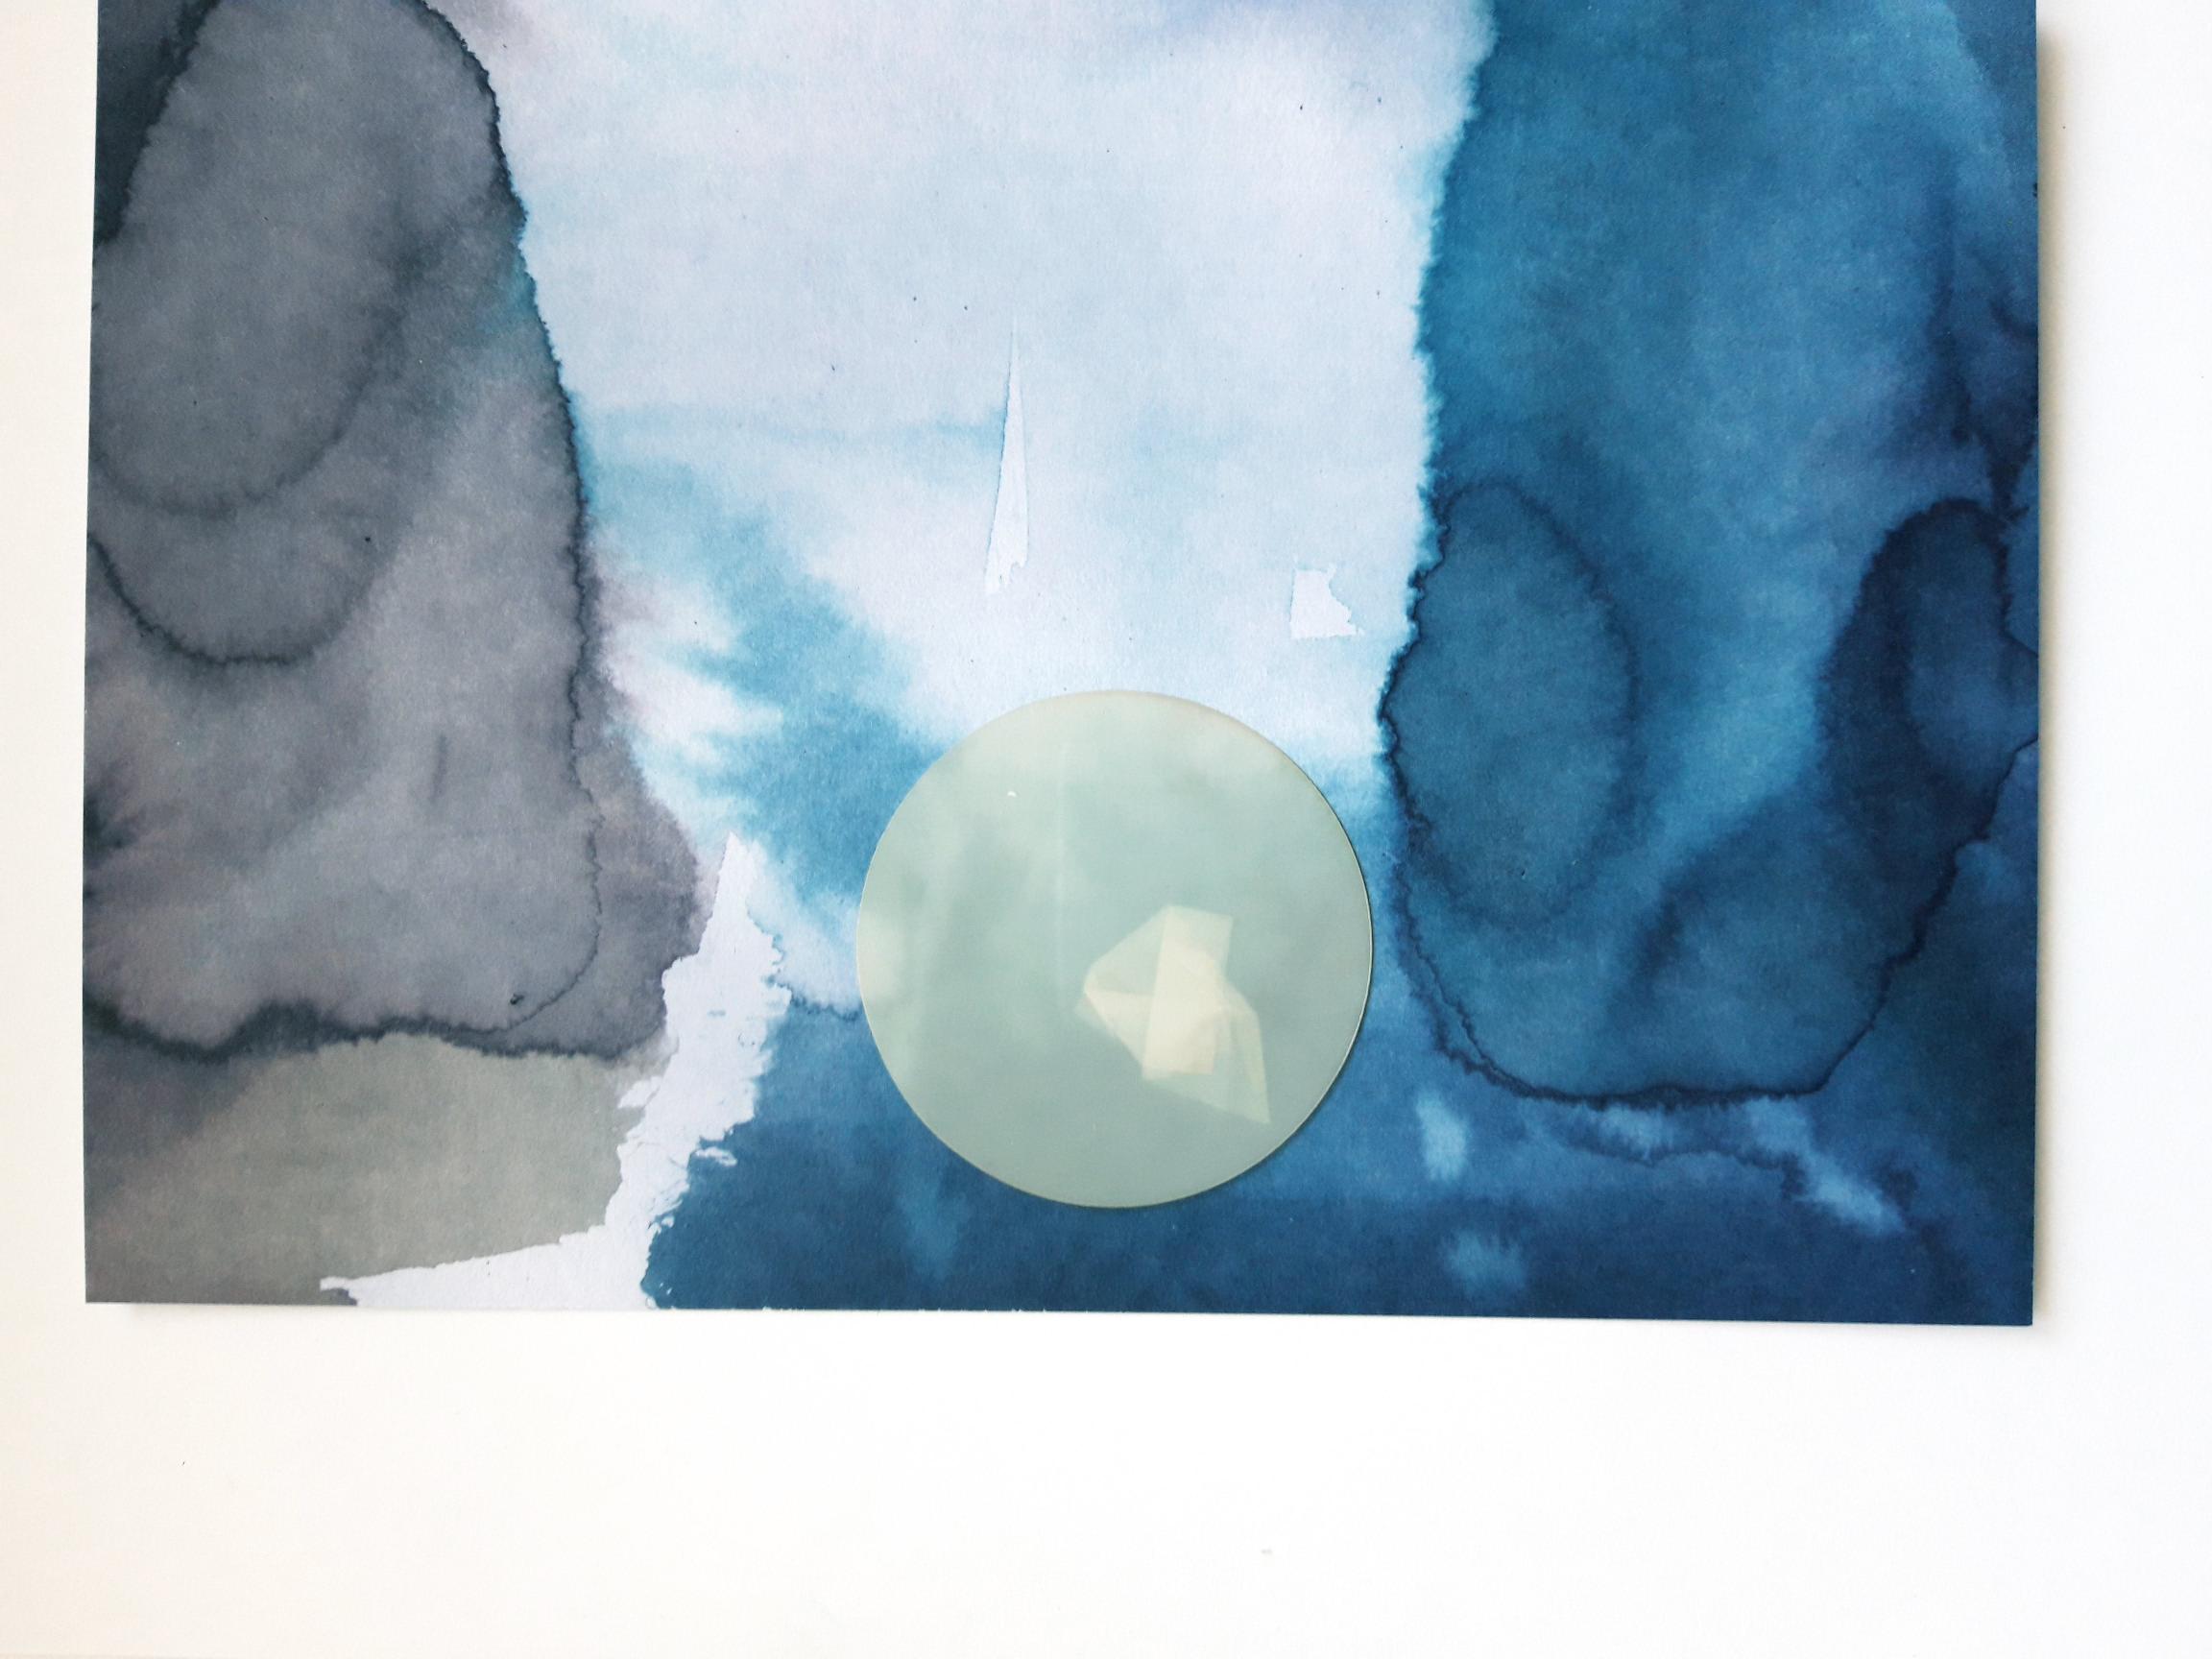
Place the circle mask centrally, to the left of the paper. Tip: I held my mask in place with low tack tape |
|
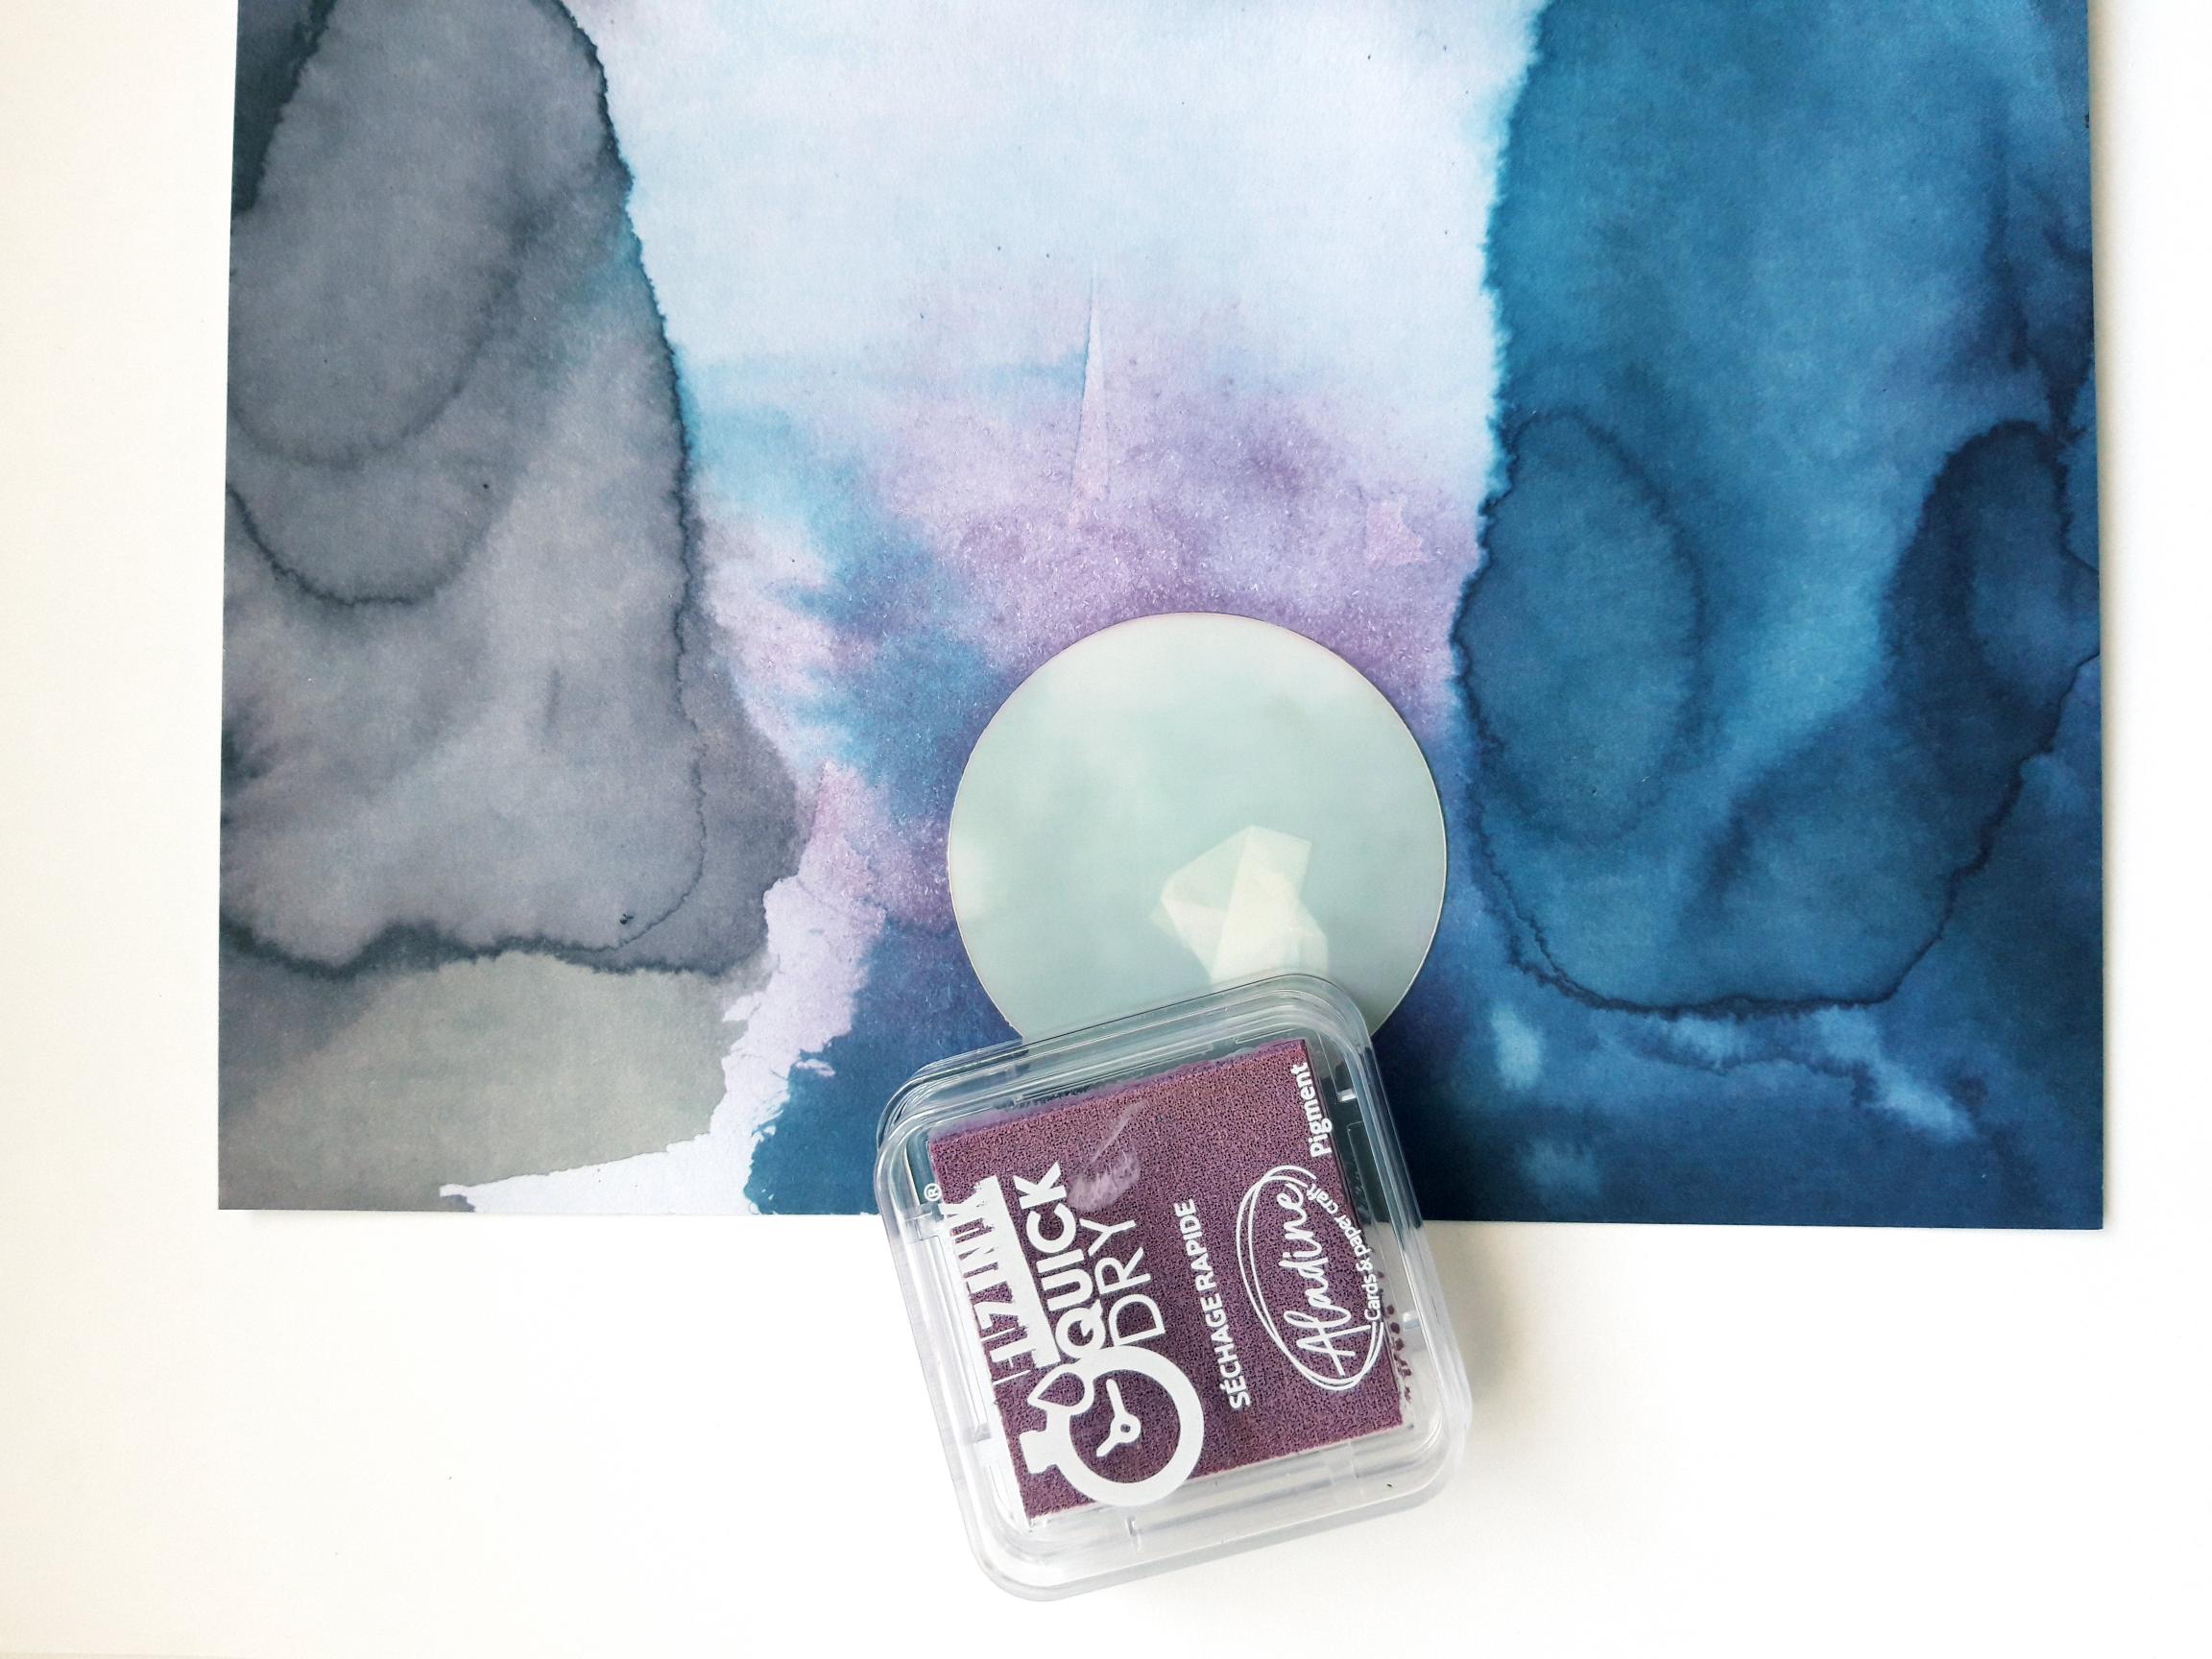
Blend the Izink pink/purple pigment ink so it fades away from your circle mask. |
|
When the mask is removed you have your moon/sun. You can go back in and add more ink, depending on how intense you want your moon to be. |
|
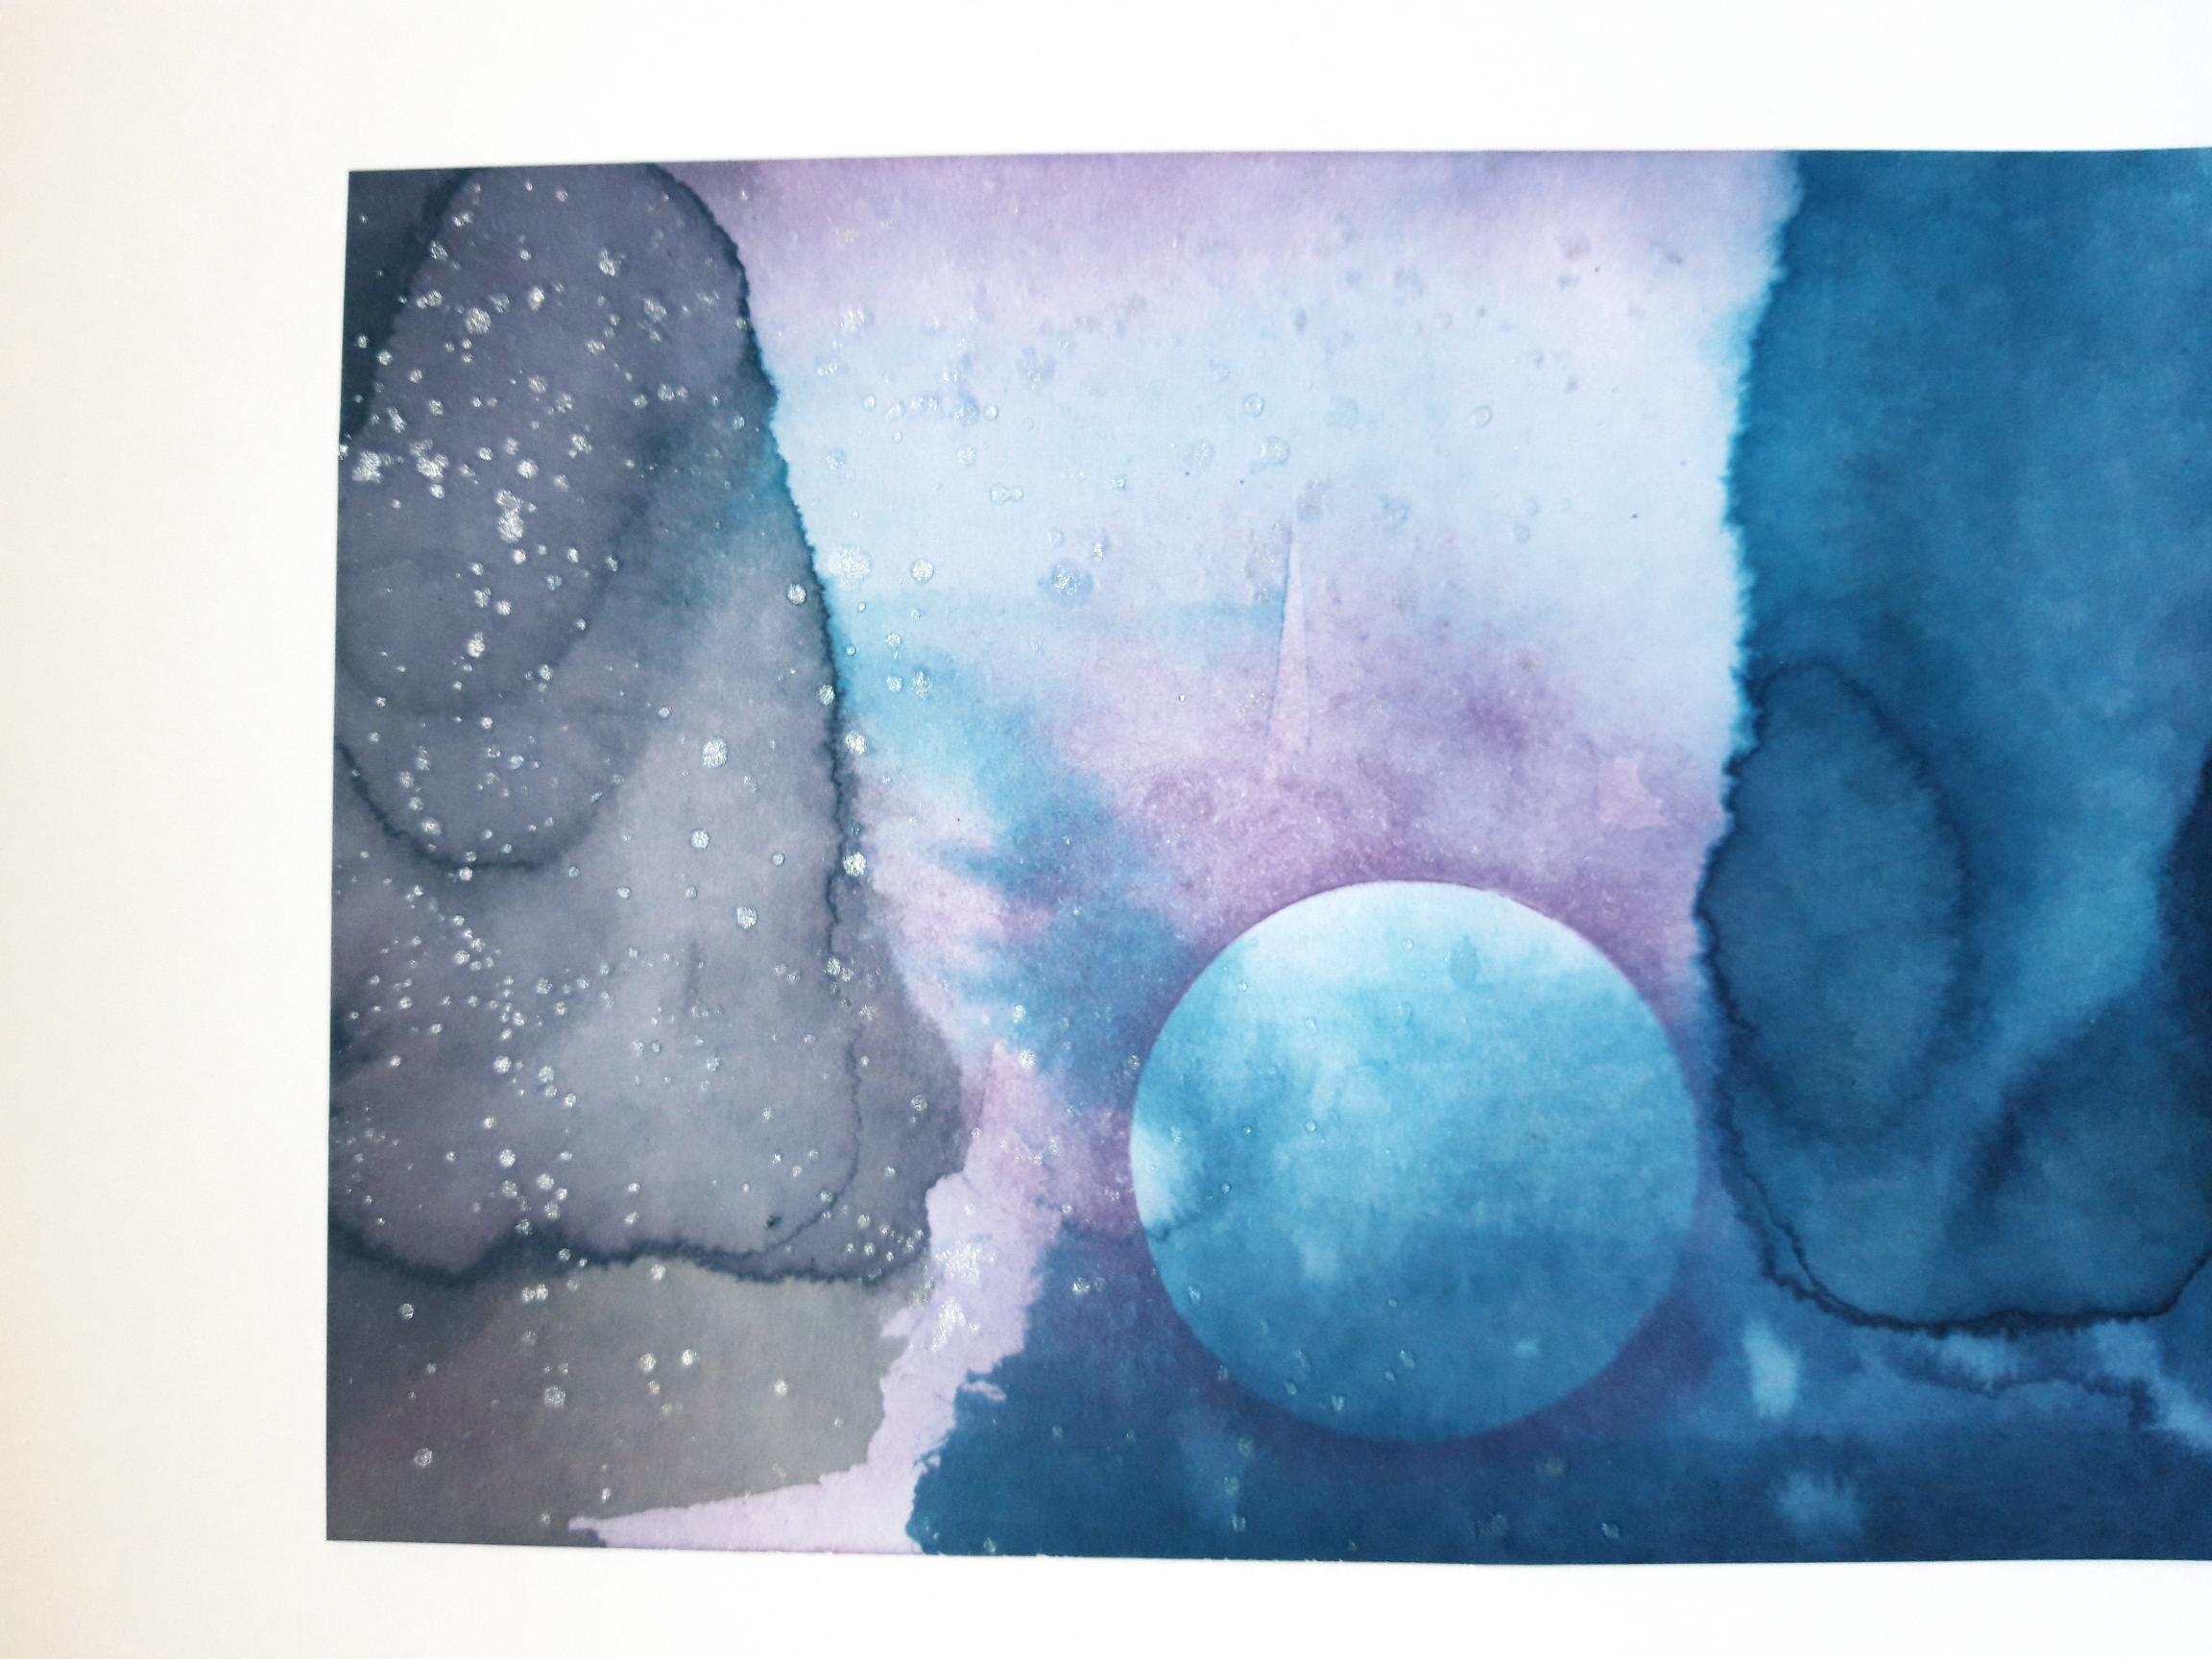
Add water to your Confetti paint, and splatter it all over the top half of your paper. If possible allow the paint to dry naturally, as it leaves a better textured effect. |
|
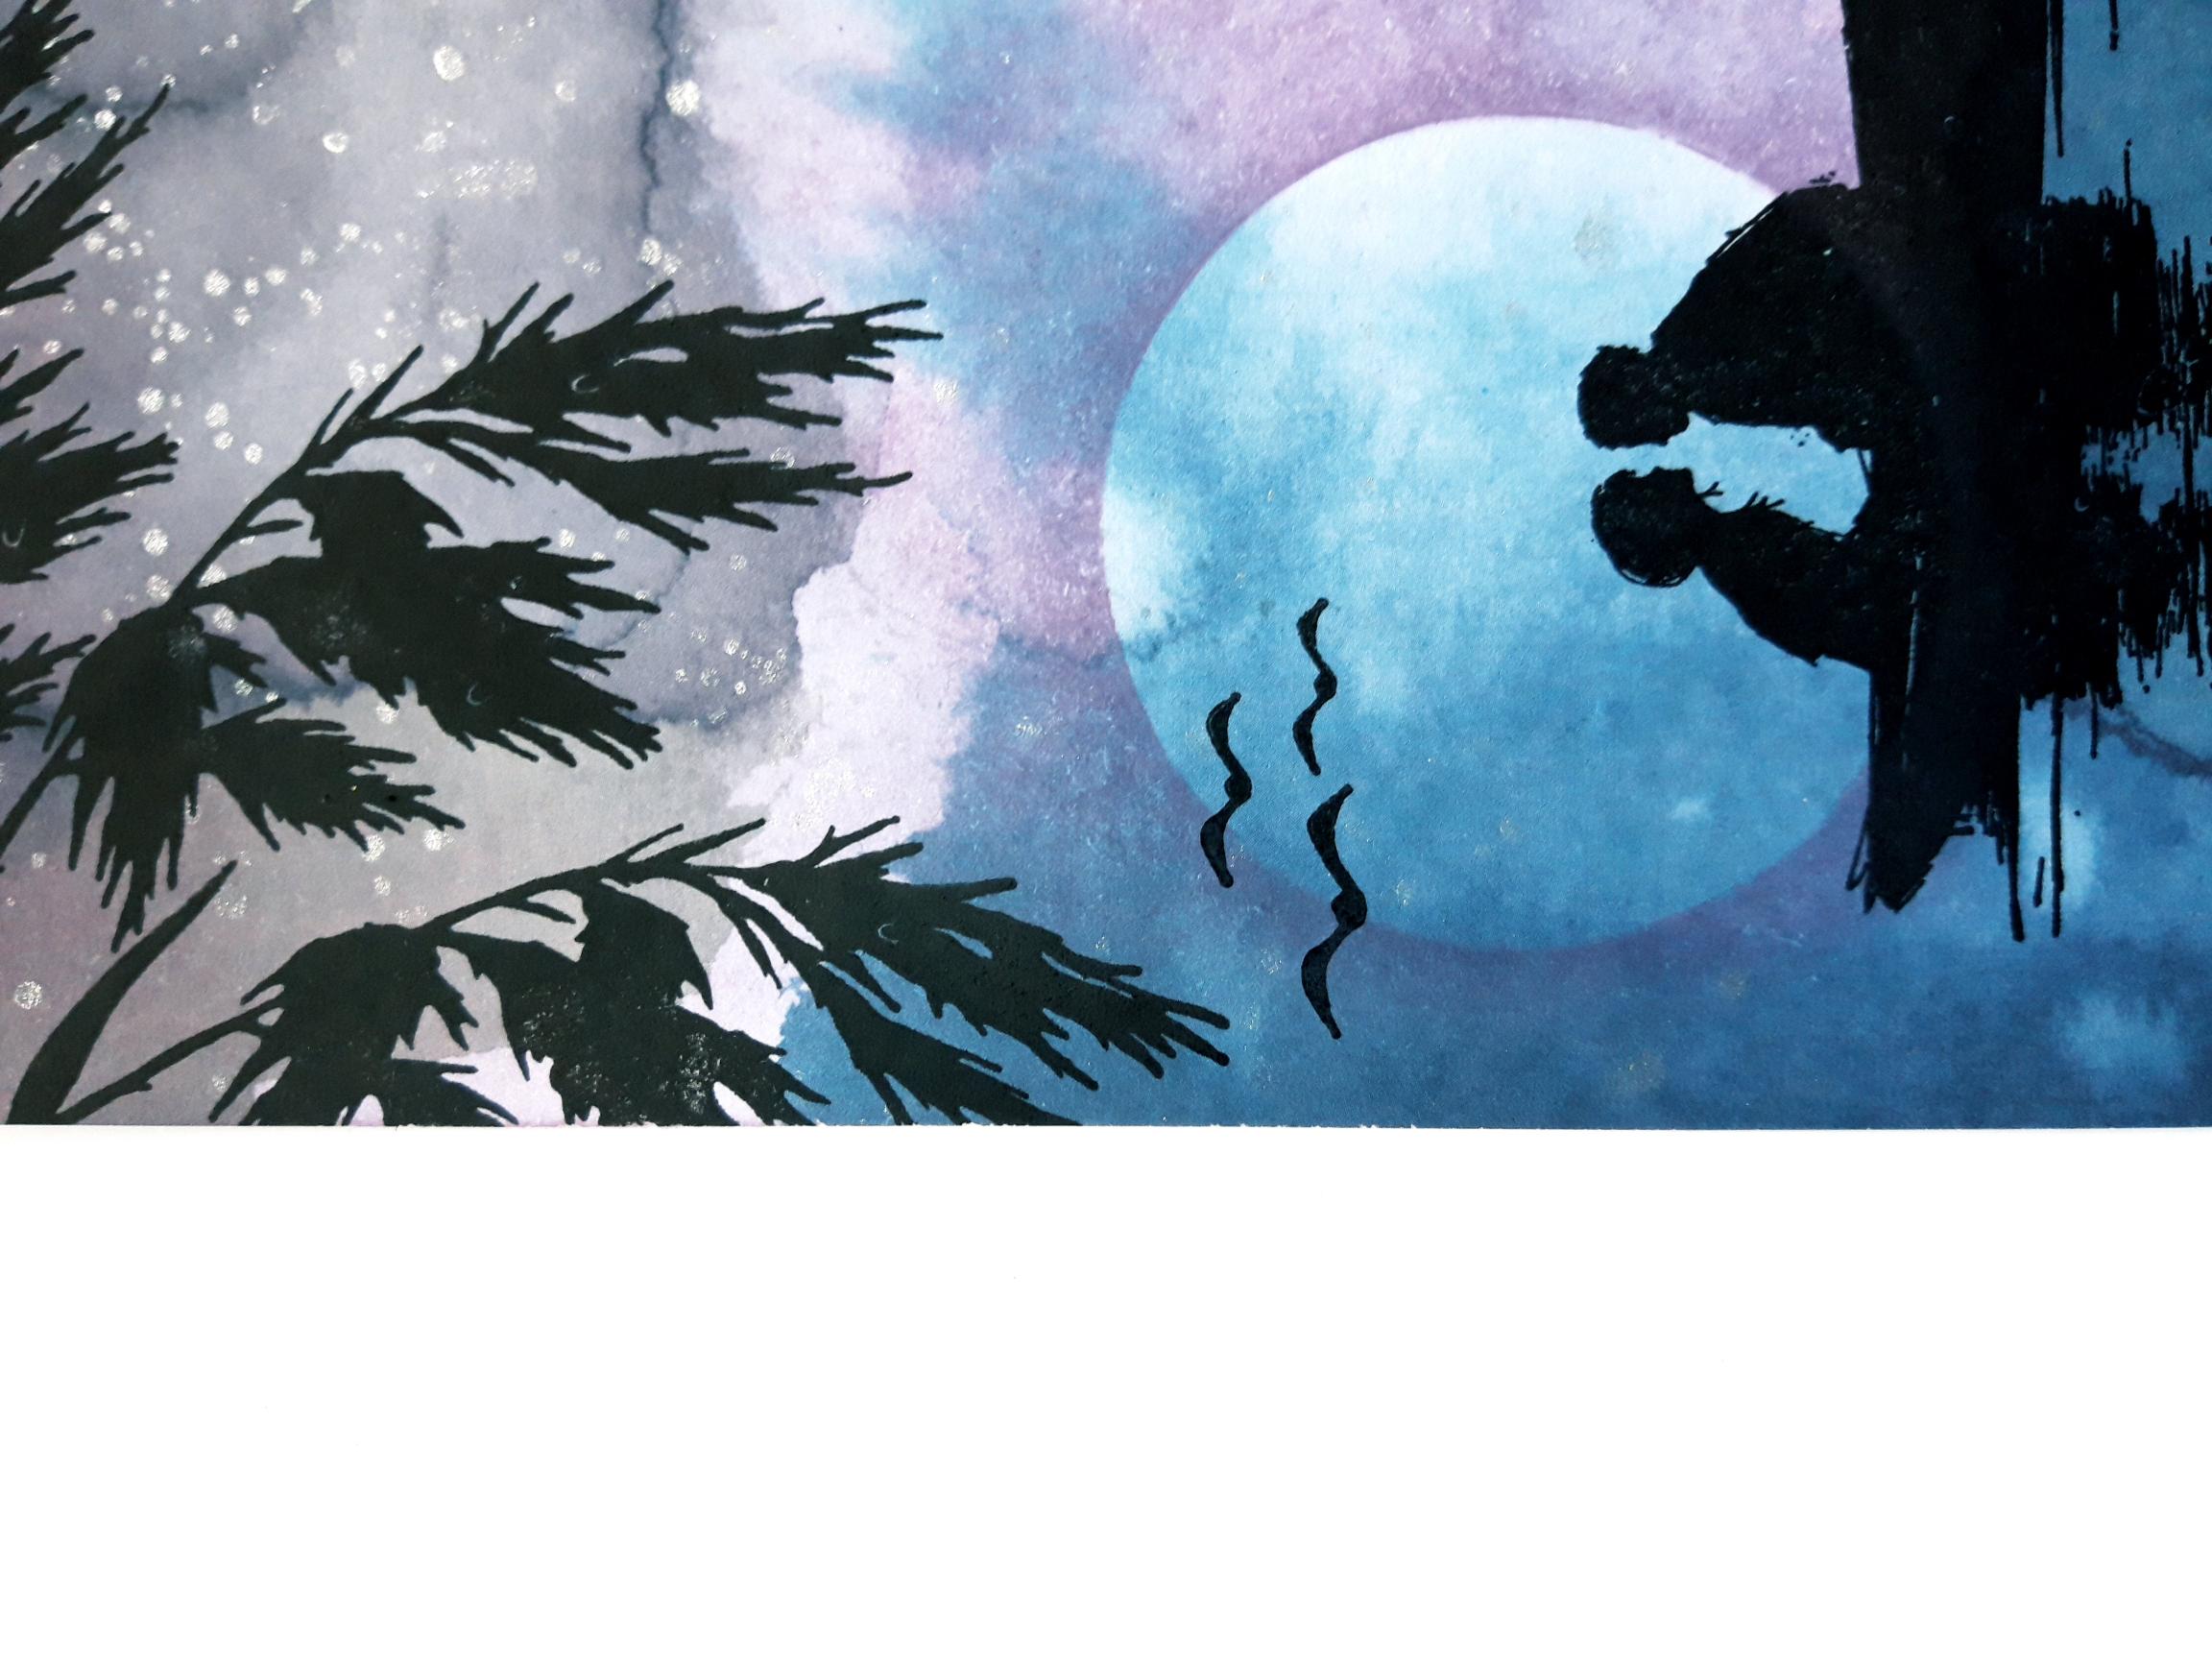
Ink up the stamp from the Every New Day Stamp Collection, with the Onyx Black Versafine, and stamp where required on the inked paper. |
|
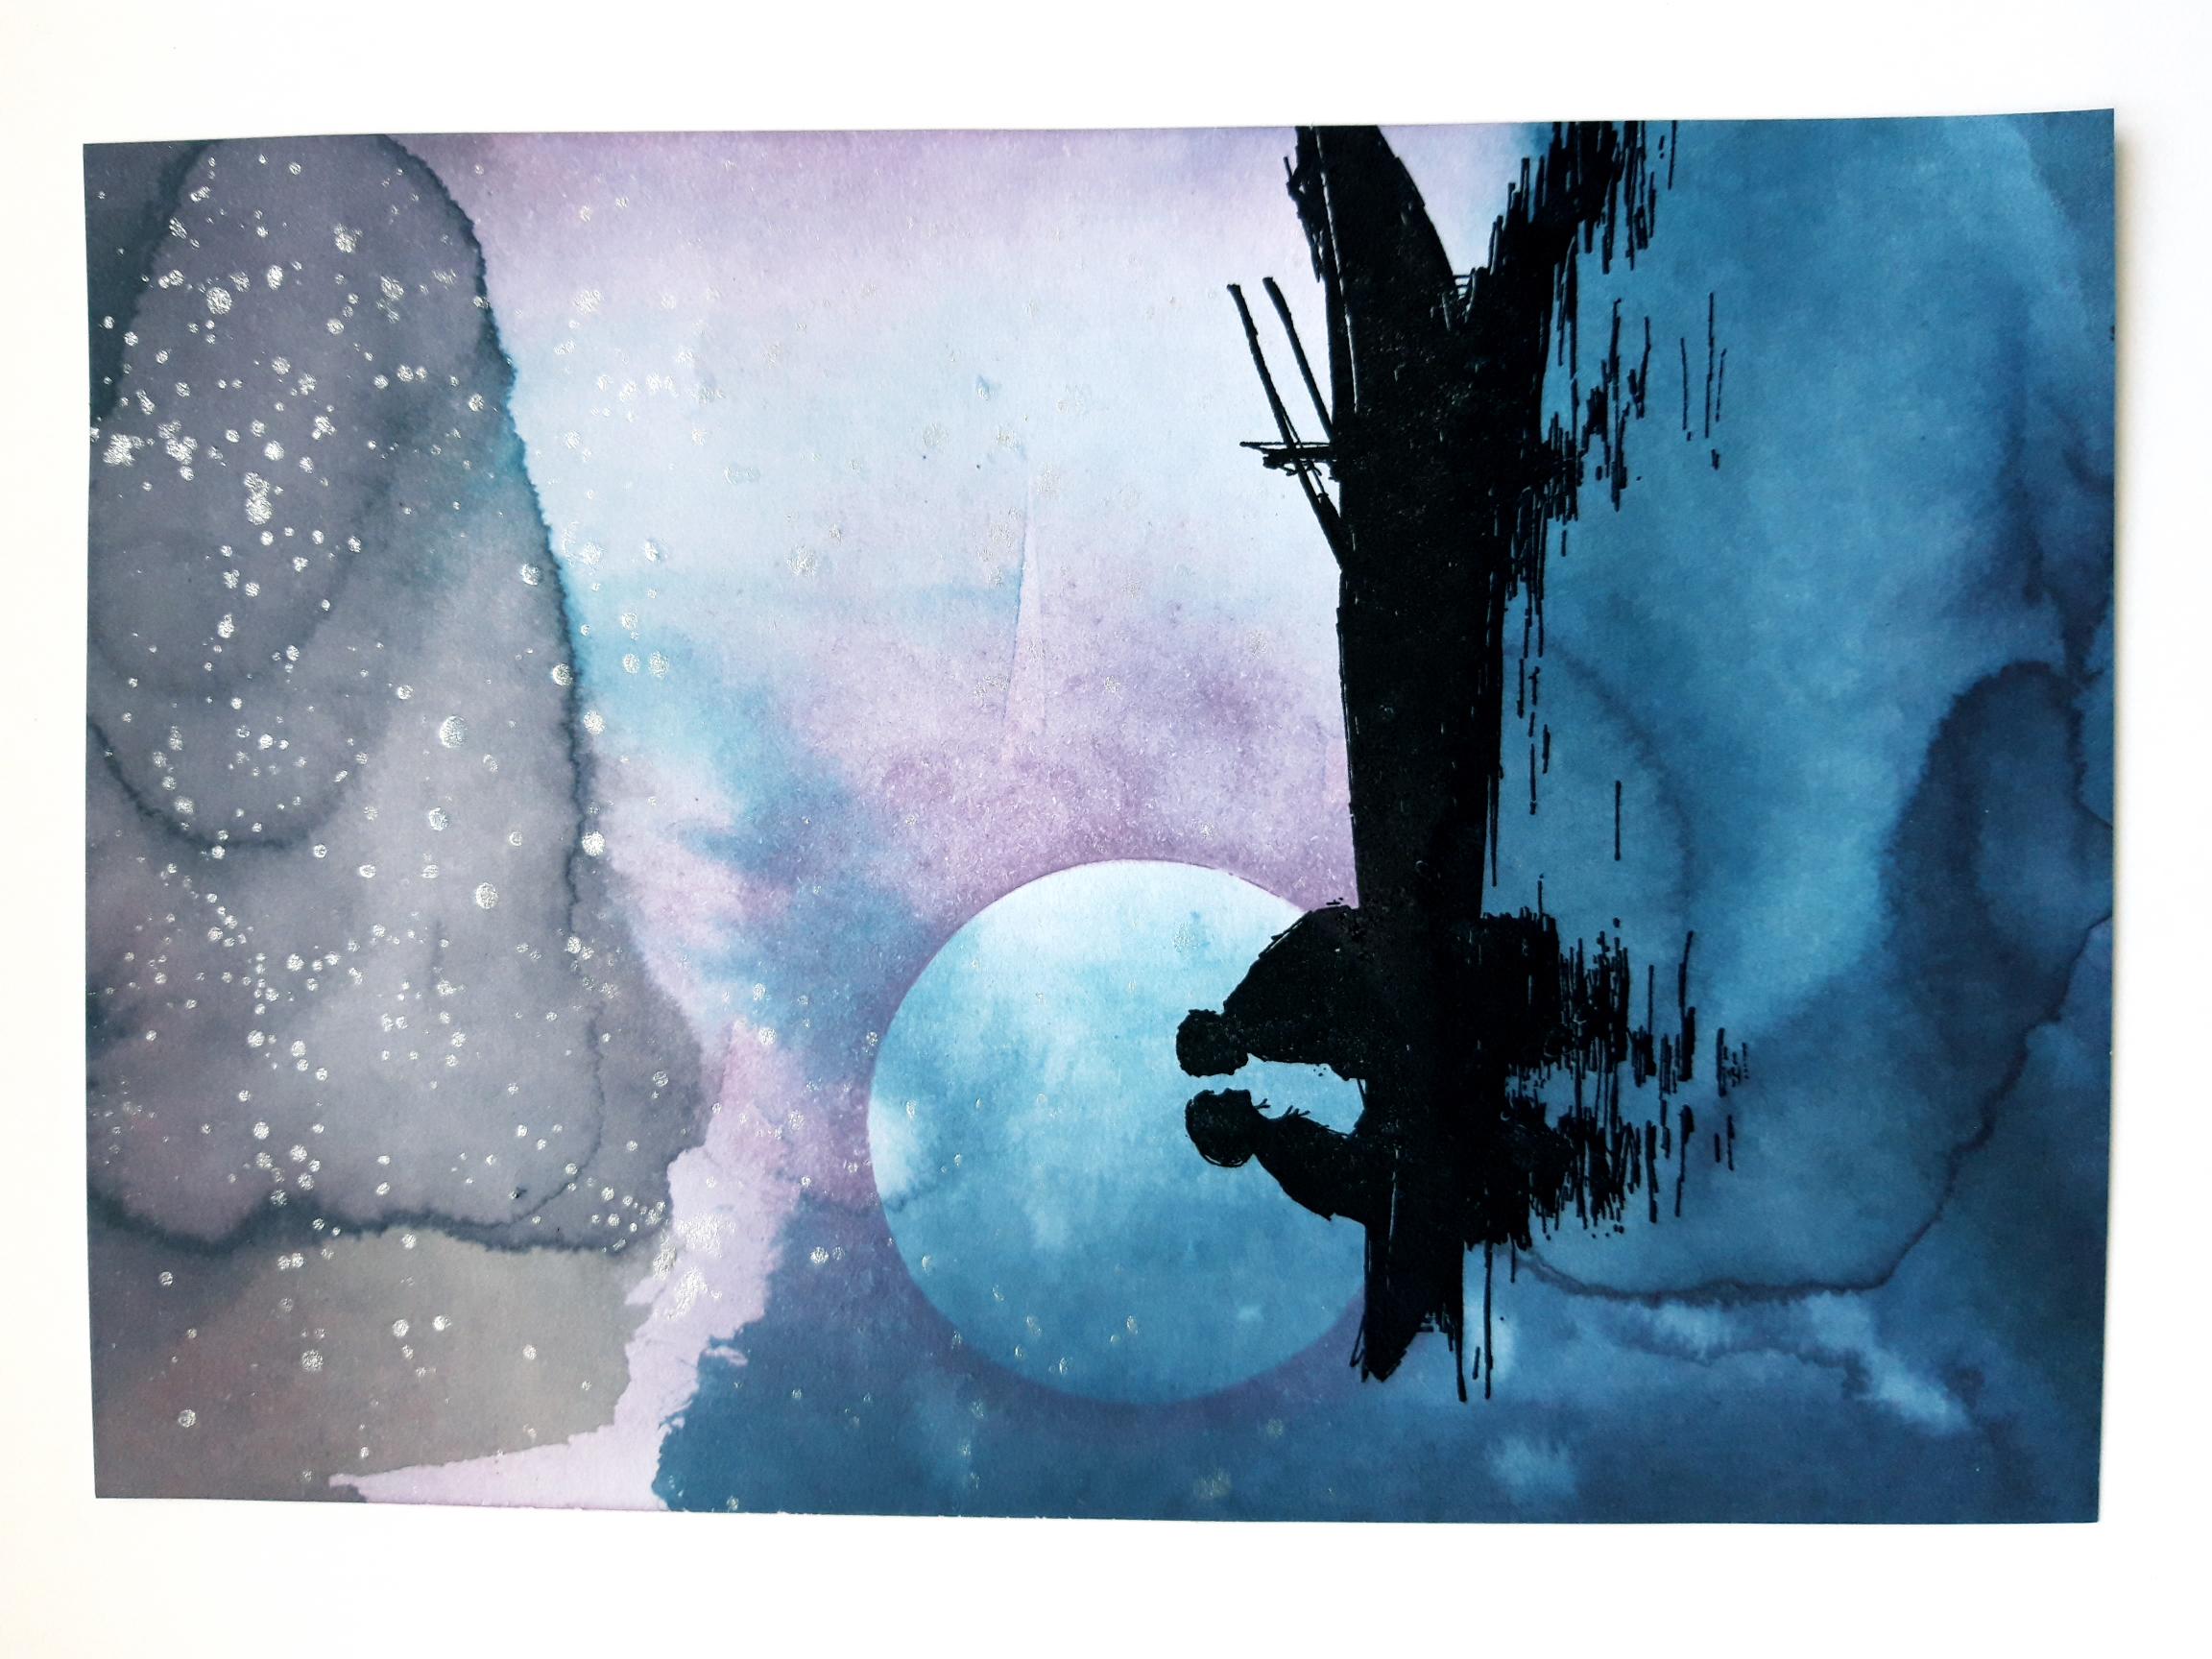
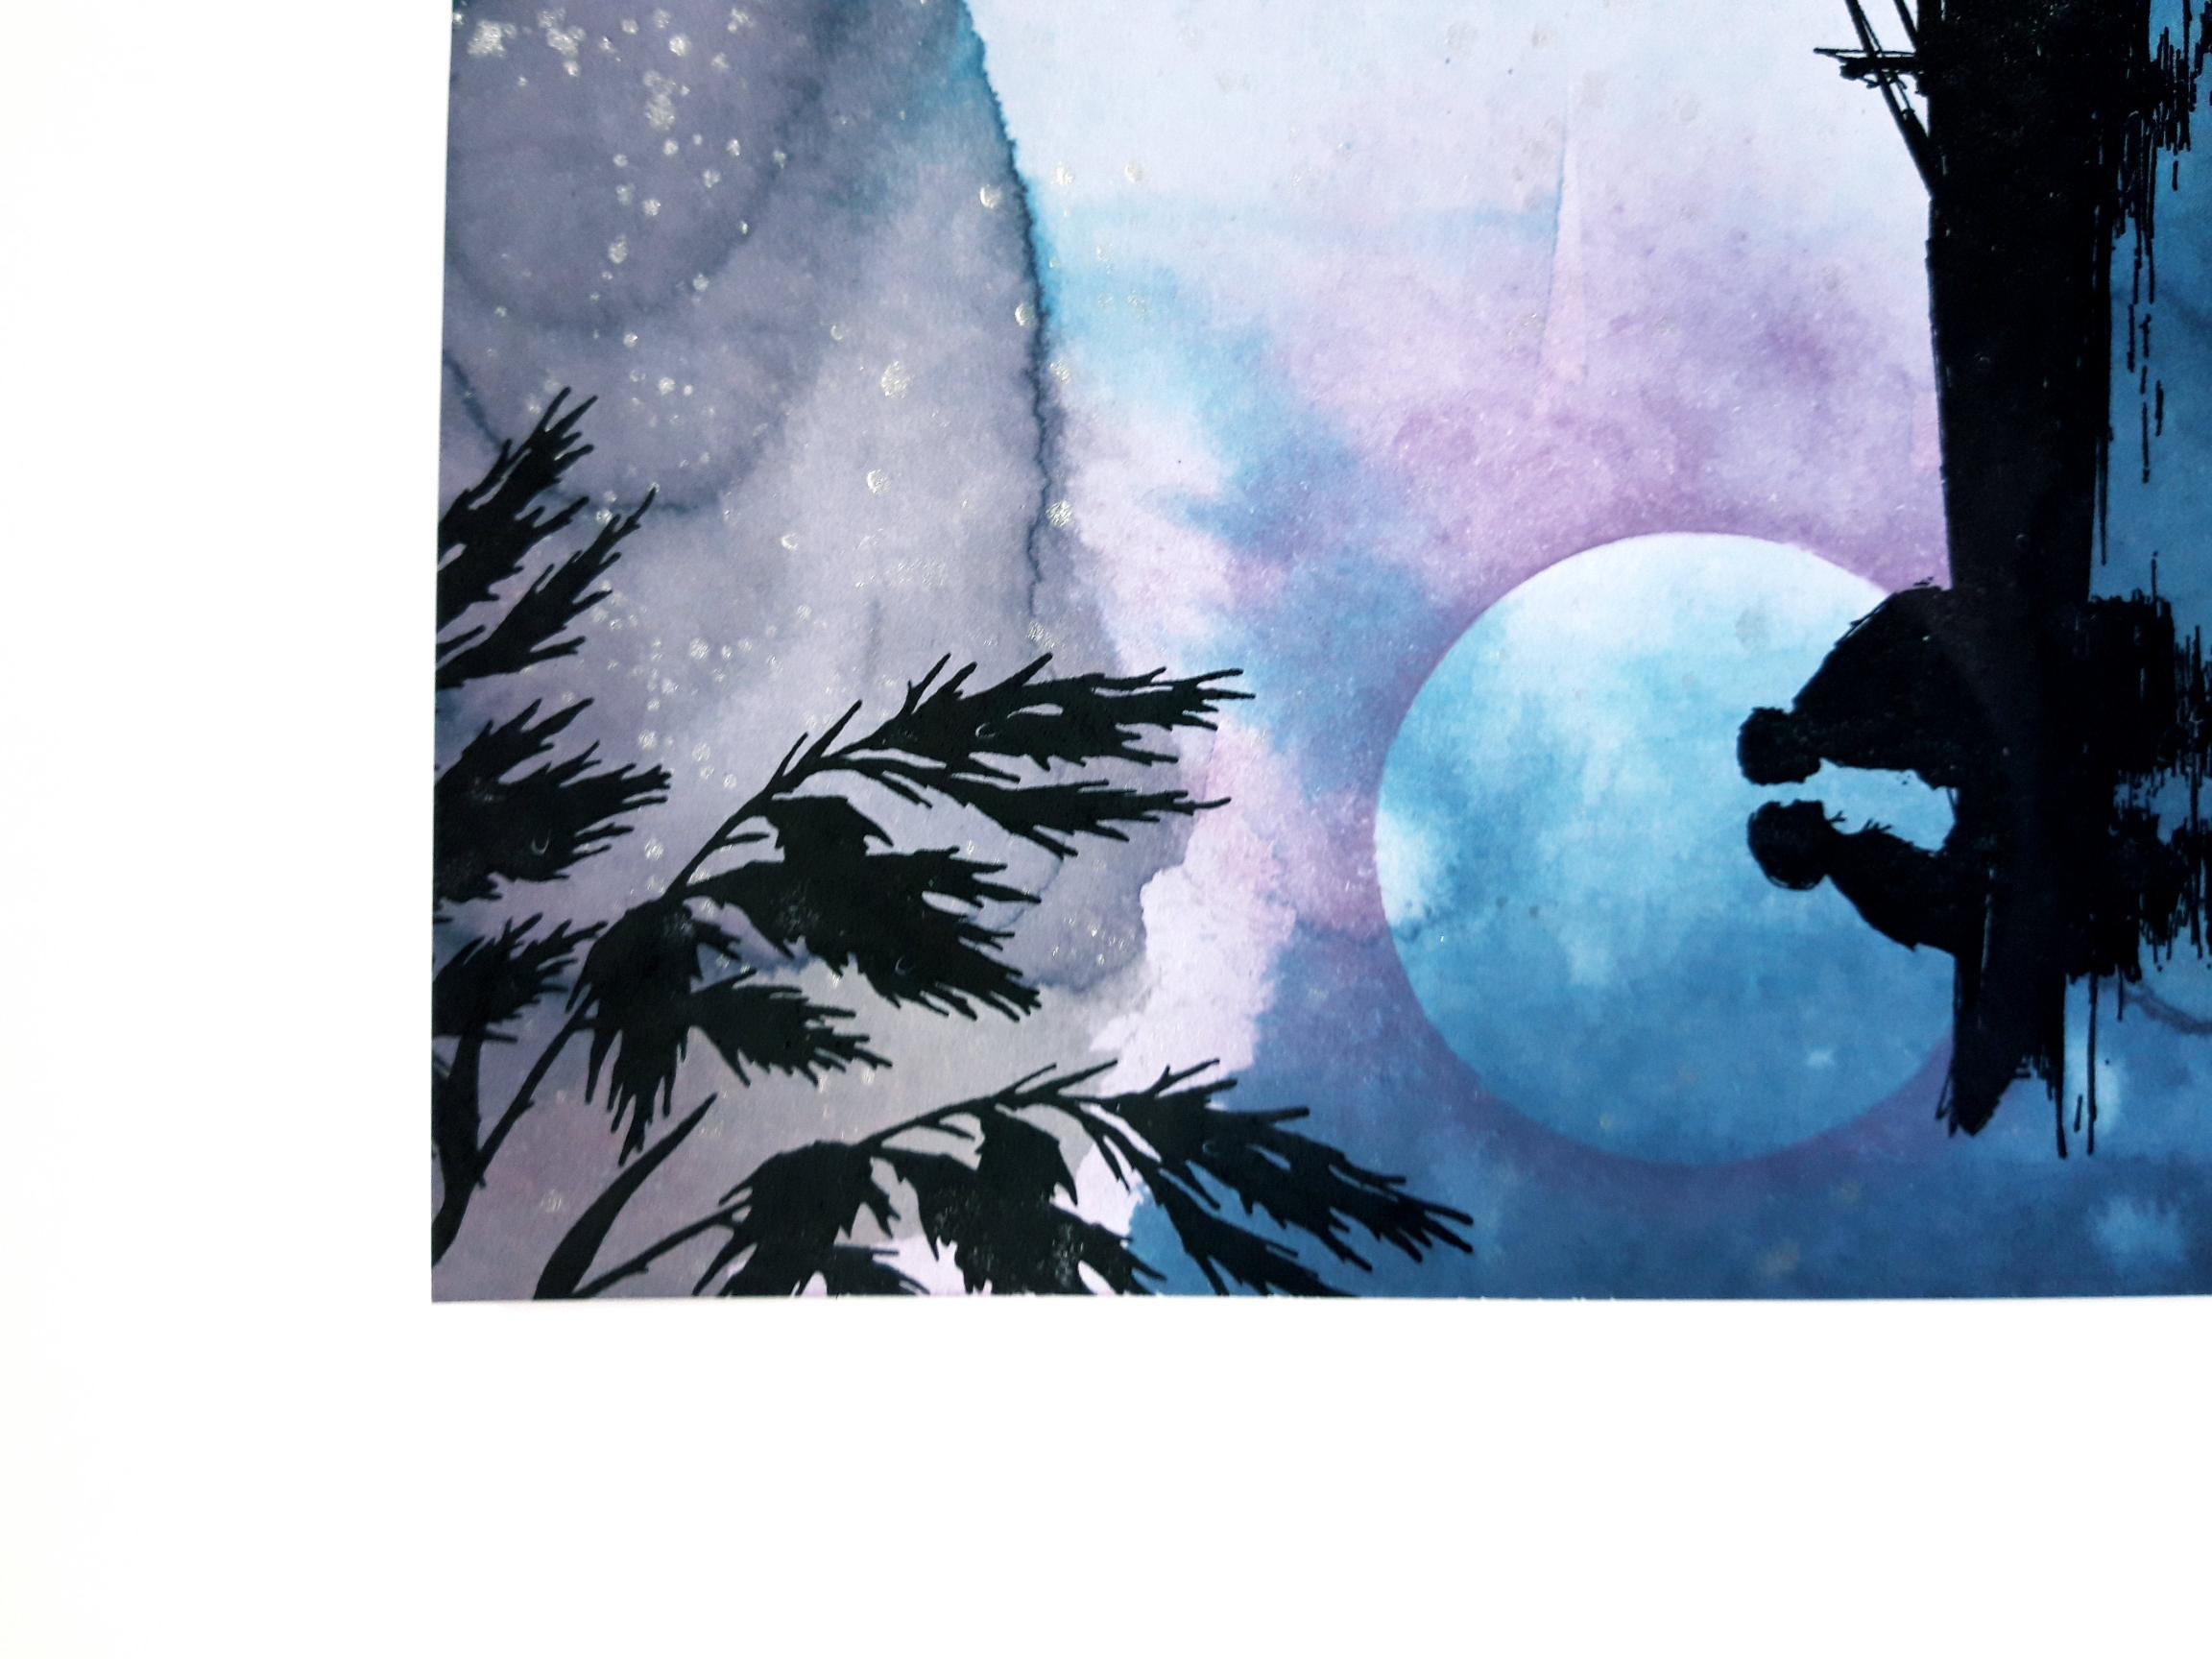
Ink up the leaves stamp, from Your Only Limit Is You Stamp Collection, with the Versafine, and stamp it coming down from the top left corner. You can reink and stamp, until happy with the design. |
|
Ink up the birds stamp, from the Every New Day Collection, with the Versafine, and stamp them flying across the moon. |
|
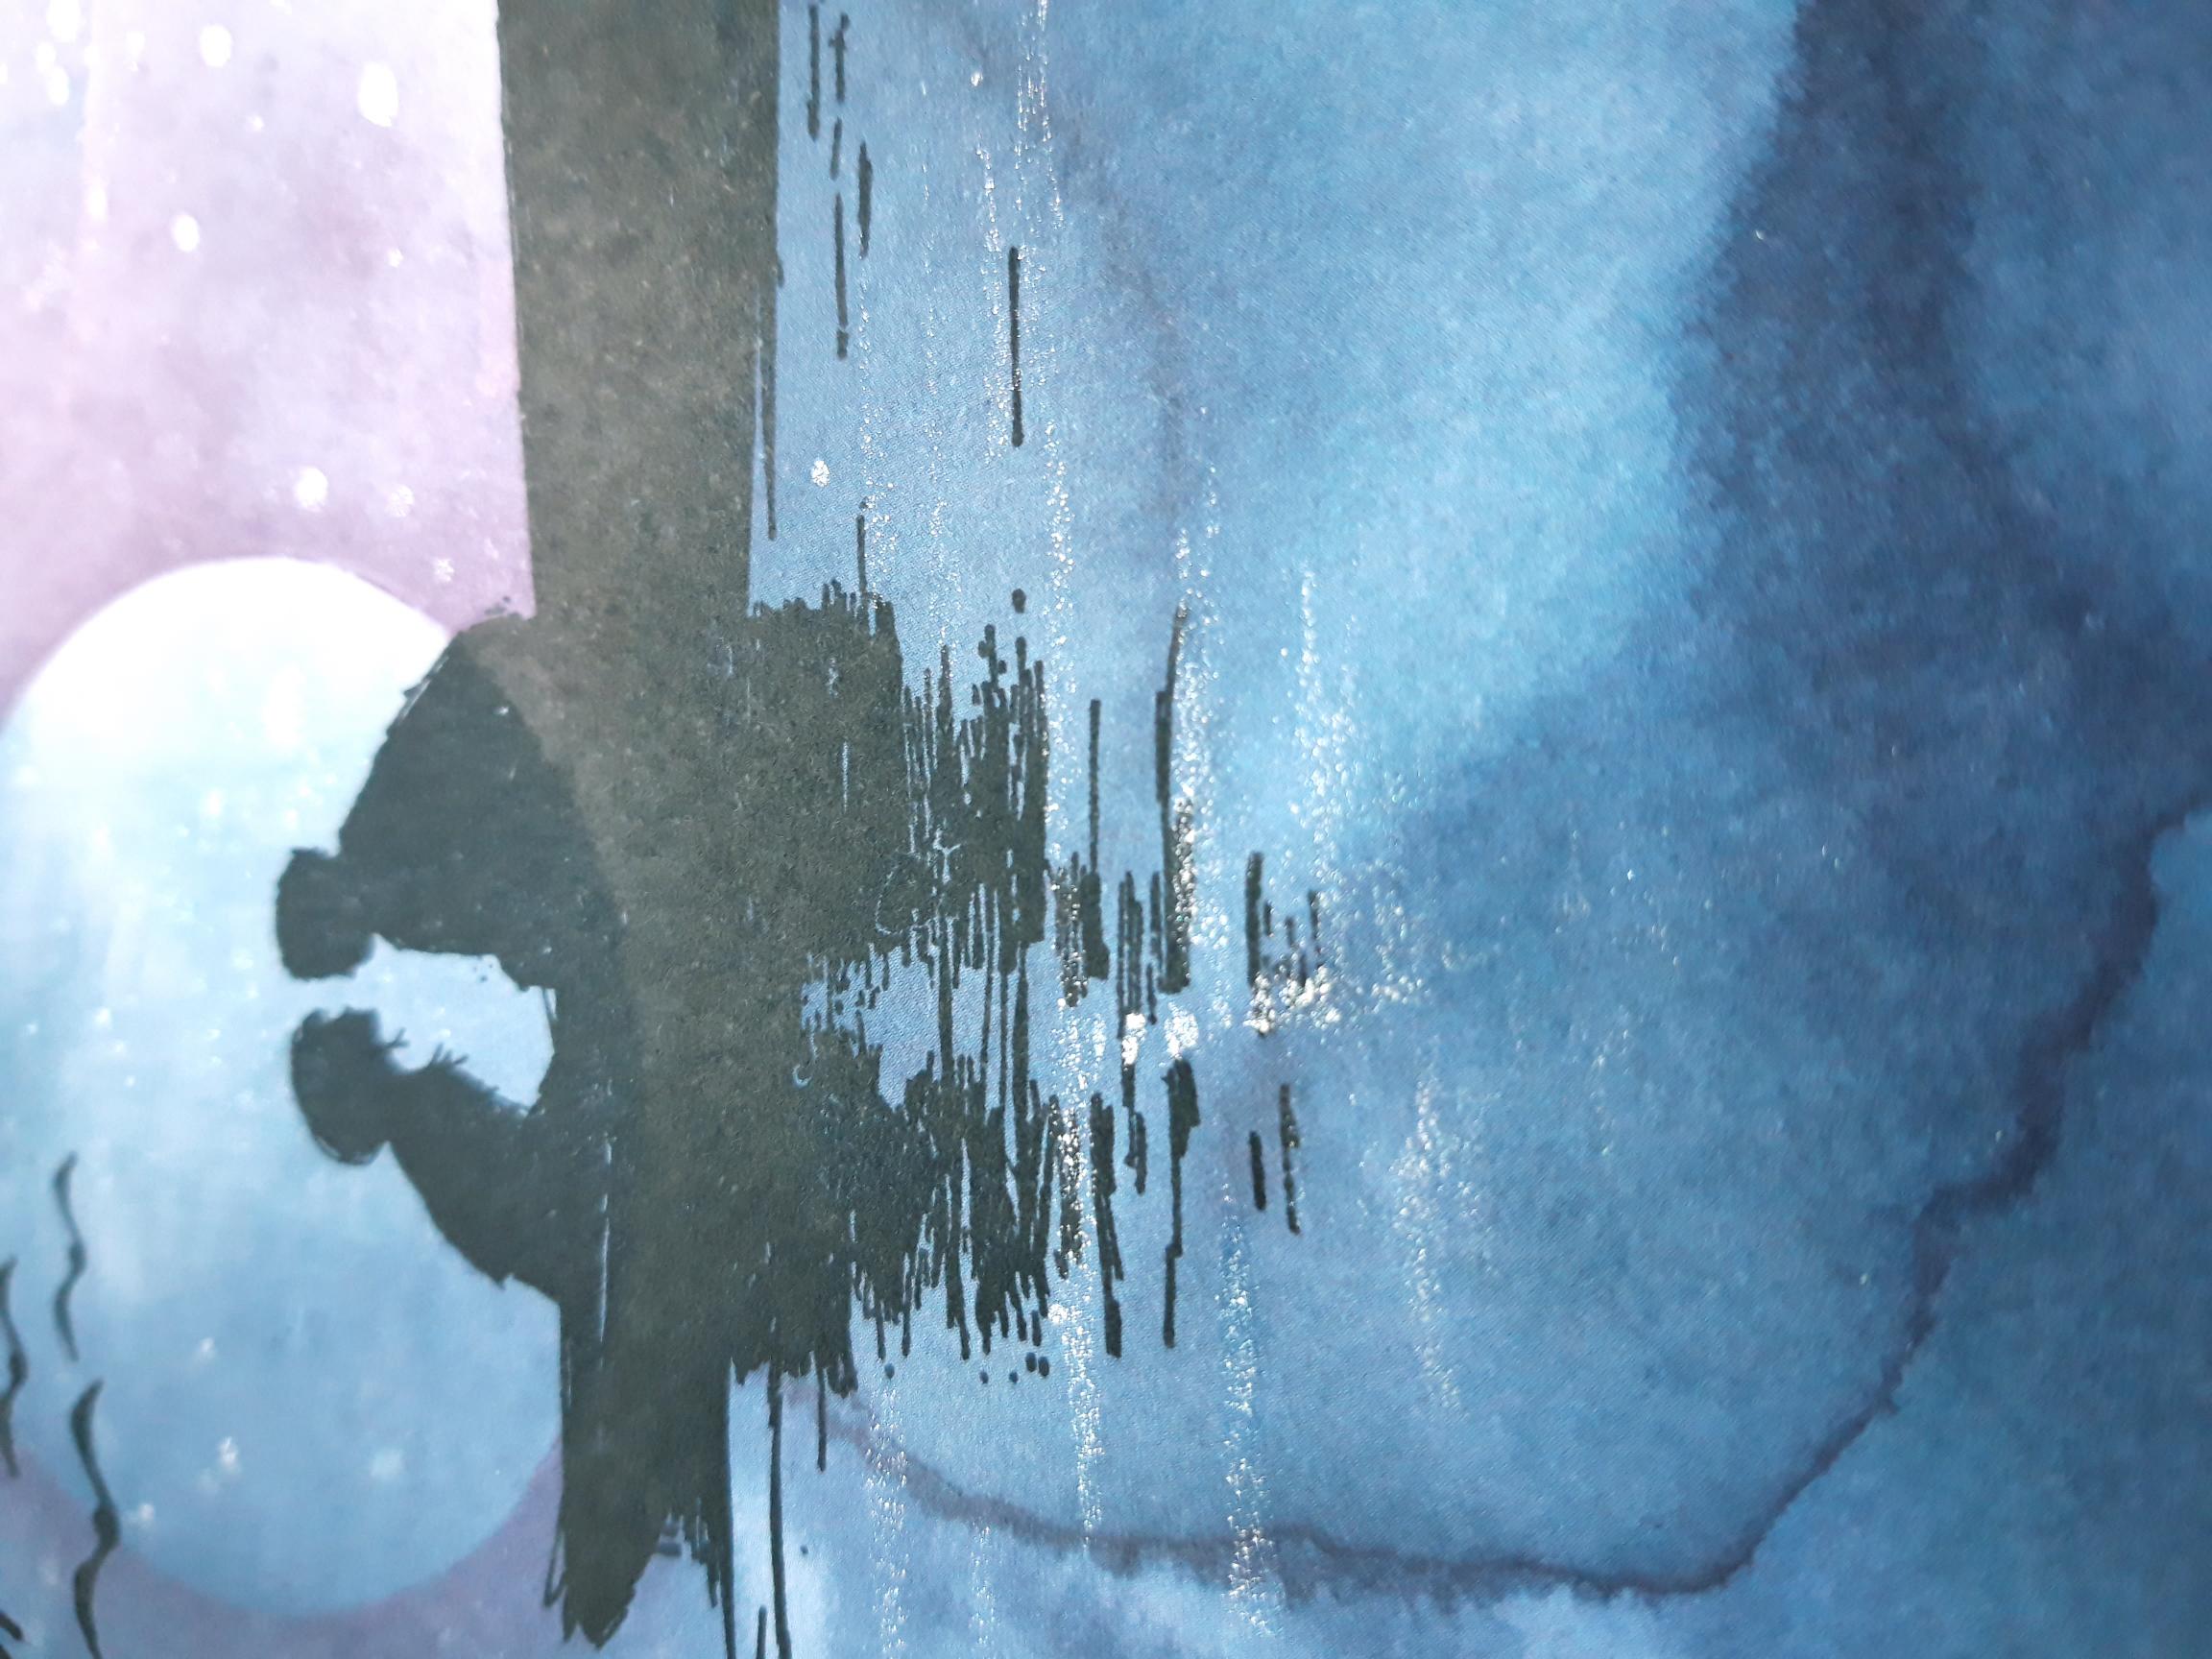
Spray the Pearlywinks Mist on to your craft mat, then use a paint brush to highlight the reflection in the water. You can add as little, or as much, of the pearl mist as required. |

|
Use a white gel pen to add accents and highlights, to your artwork as required. Set to one side to dry. |
|
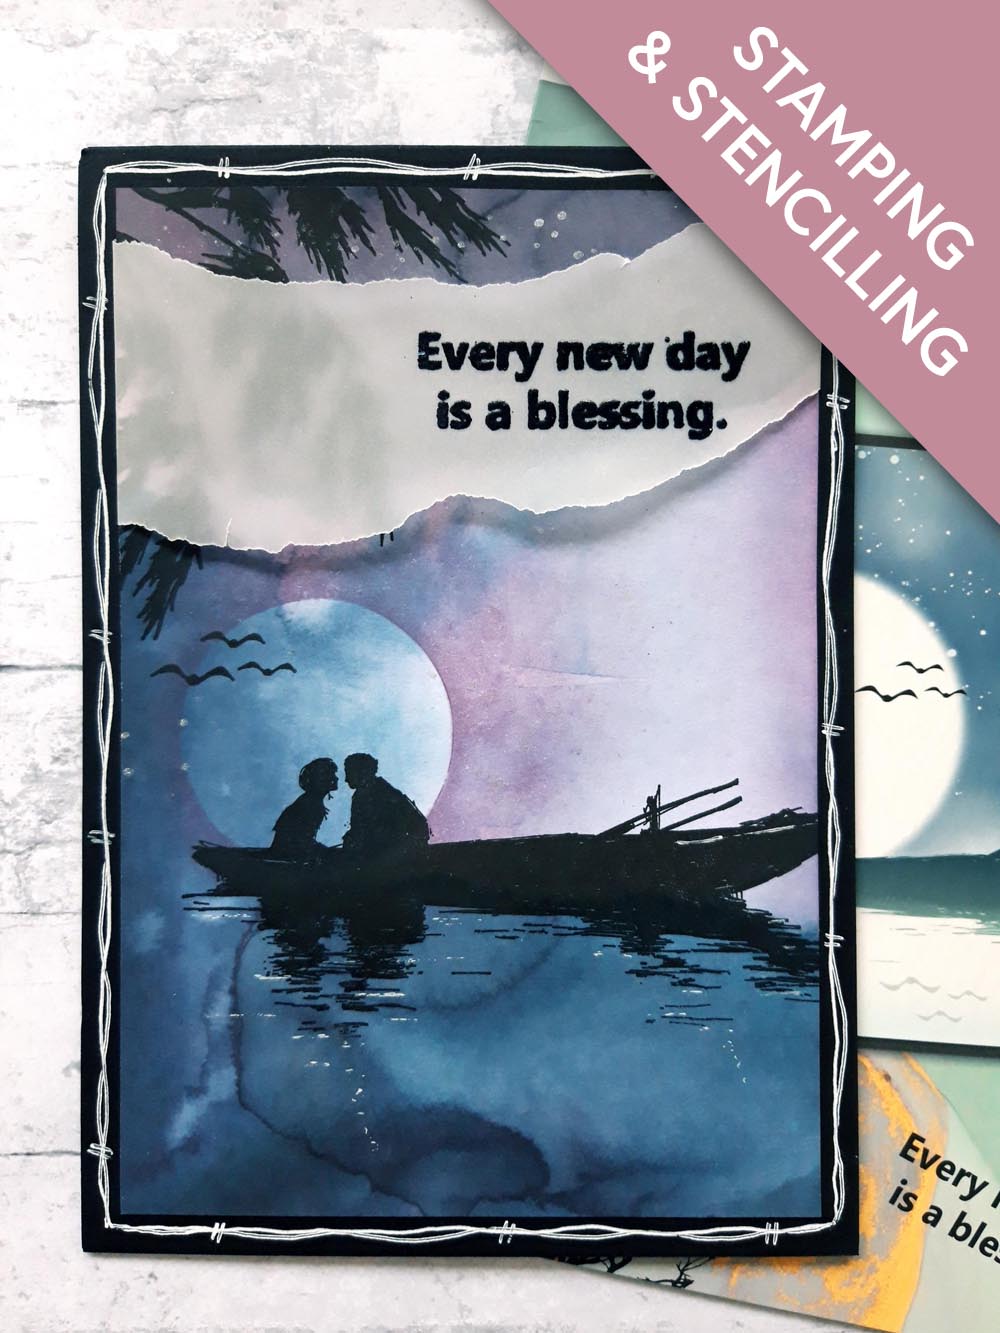
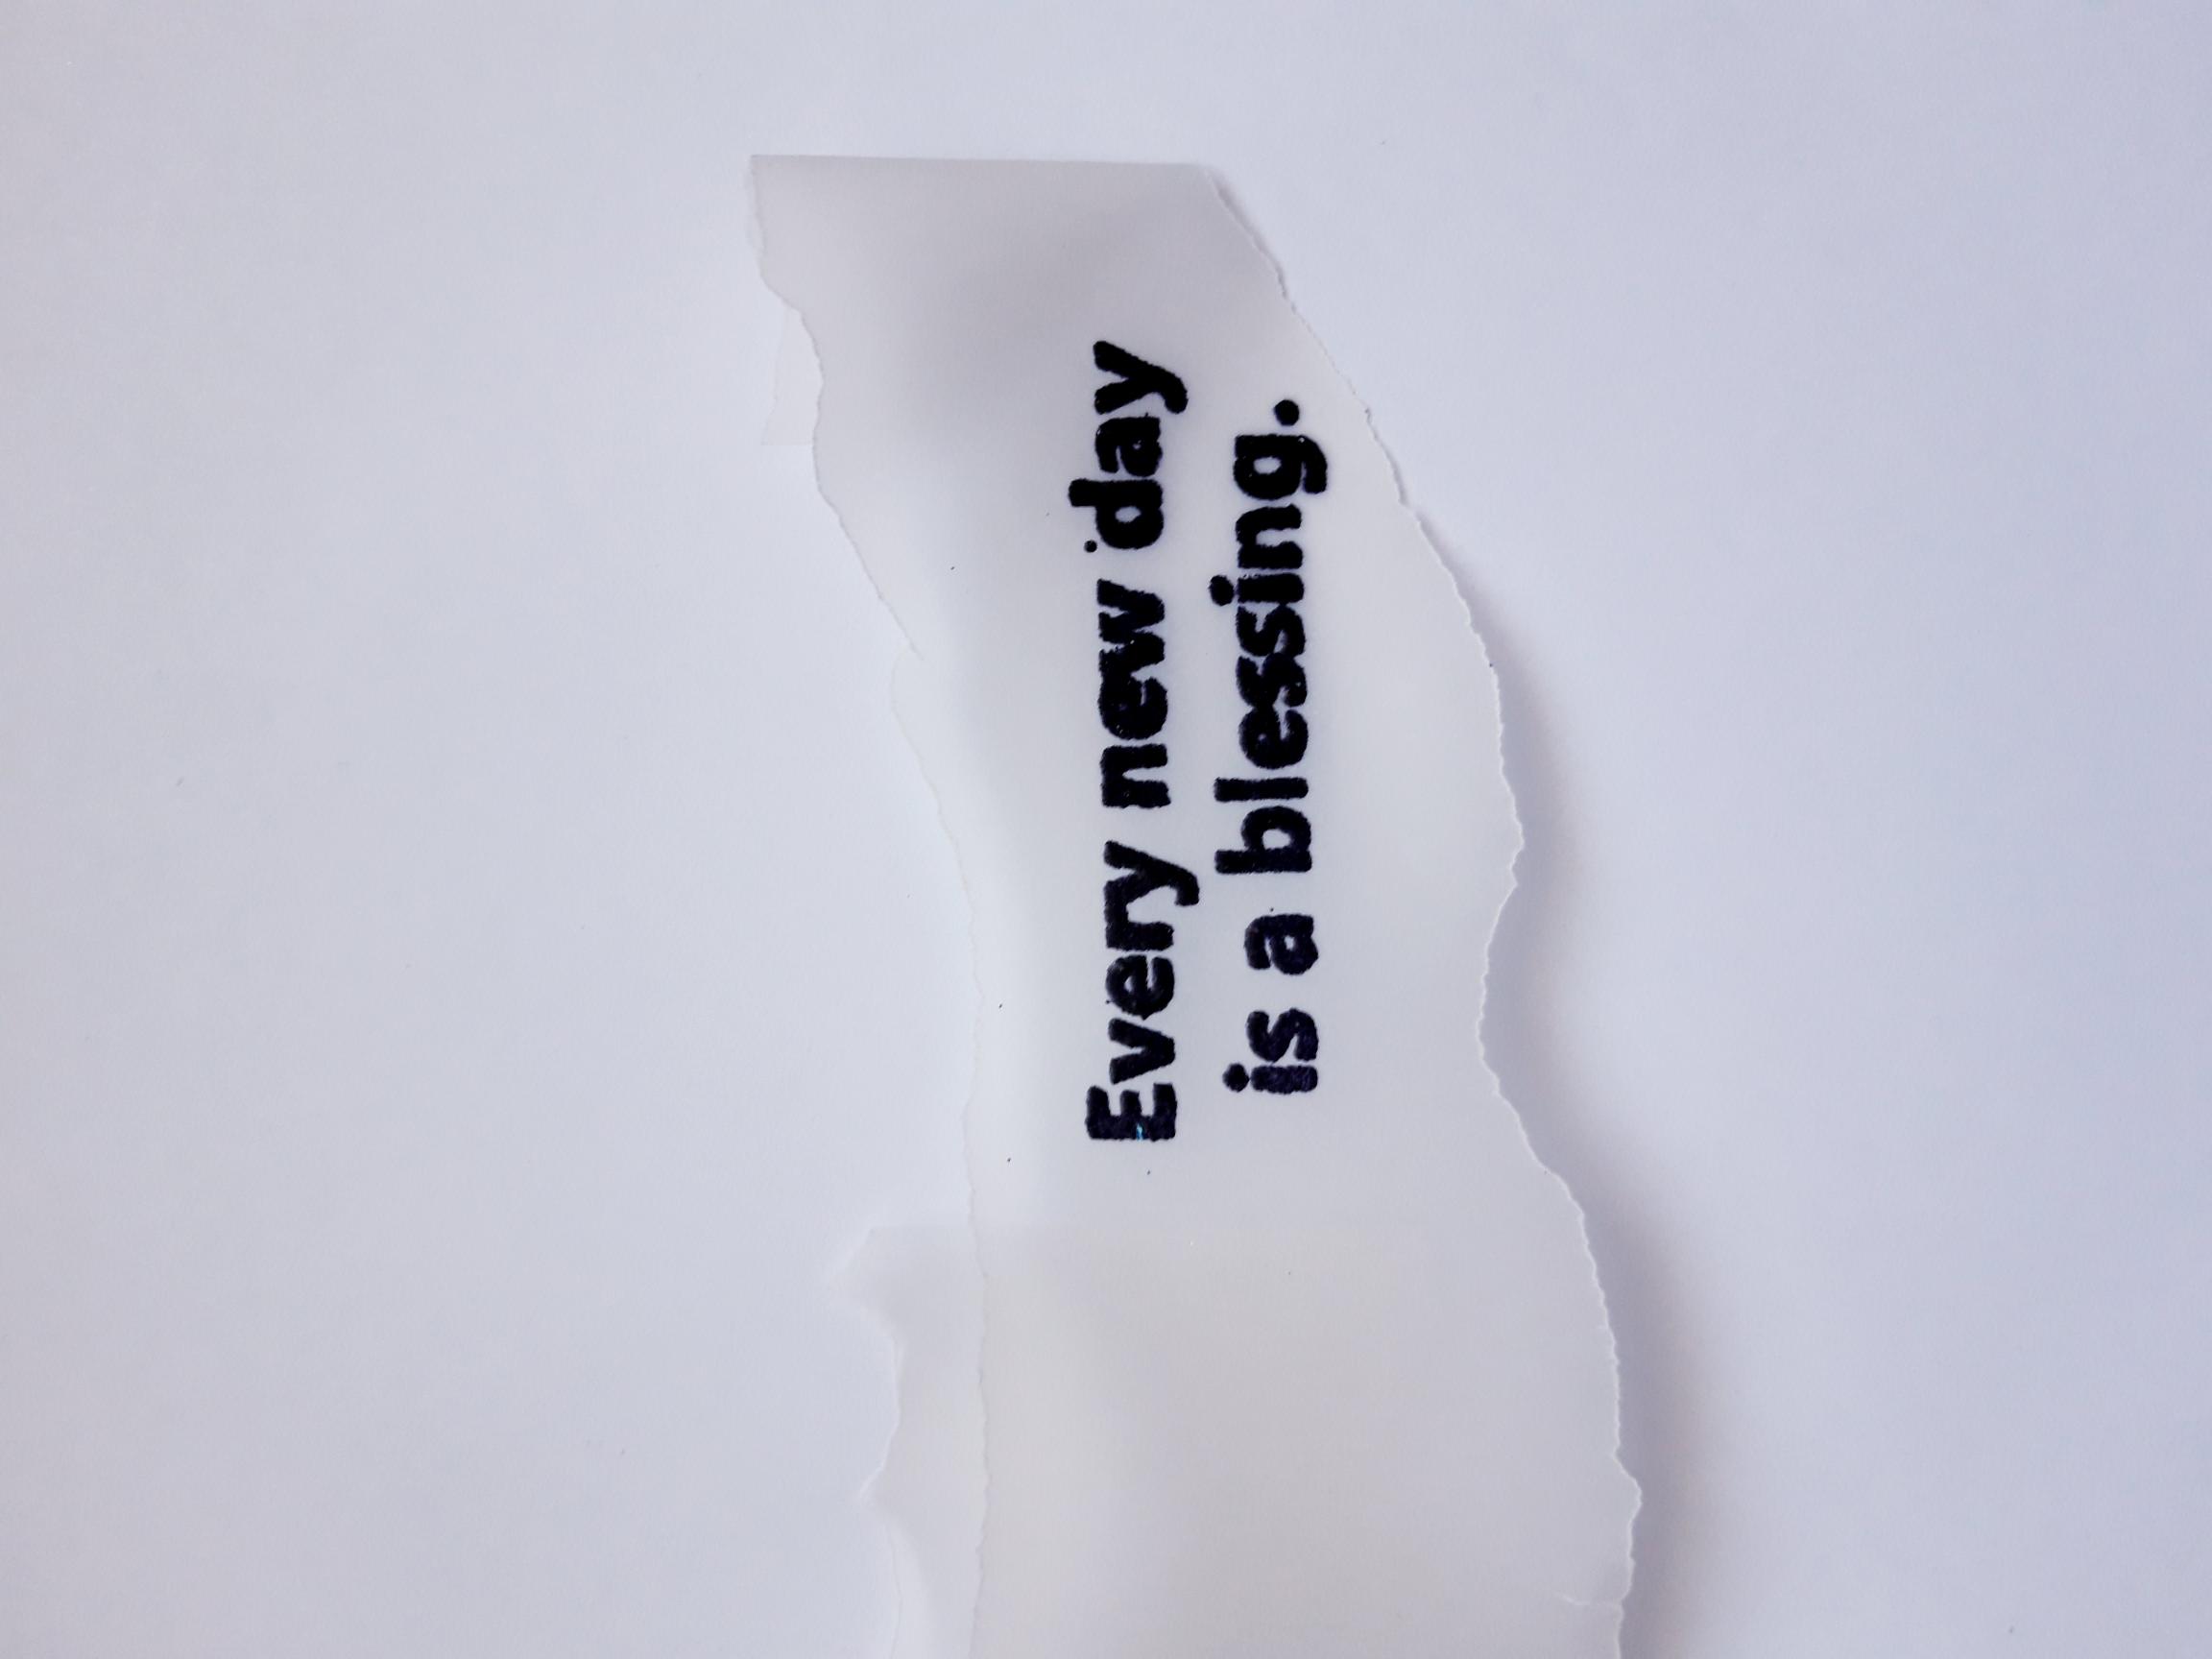
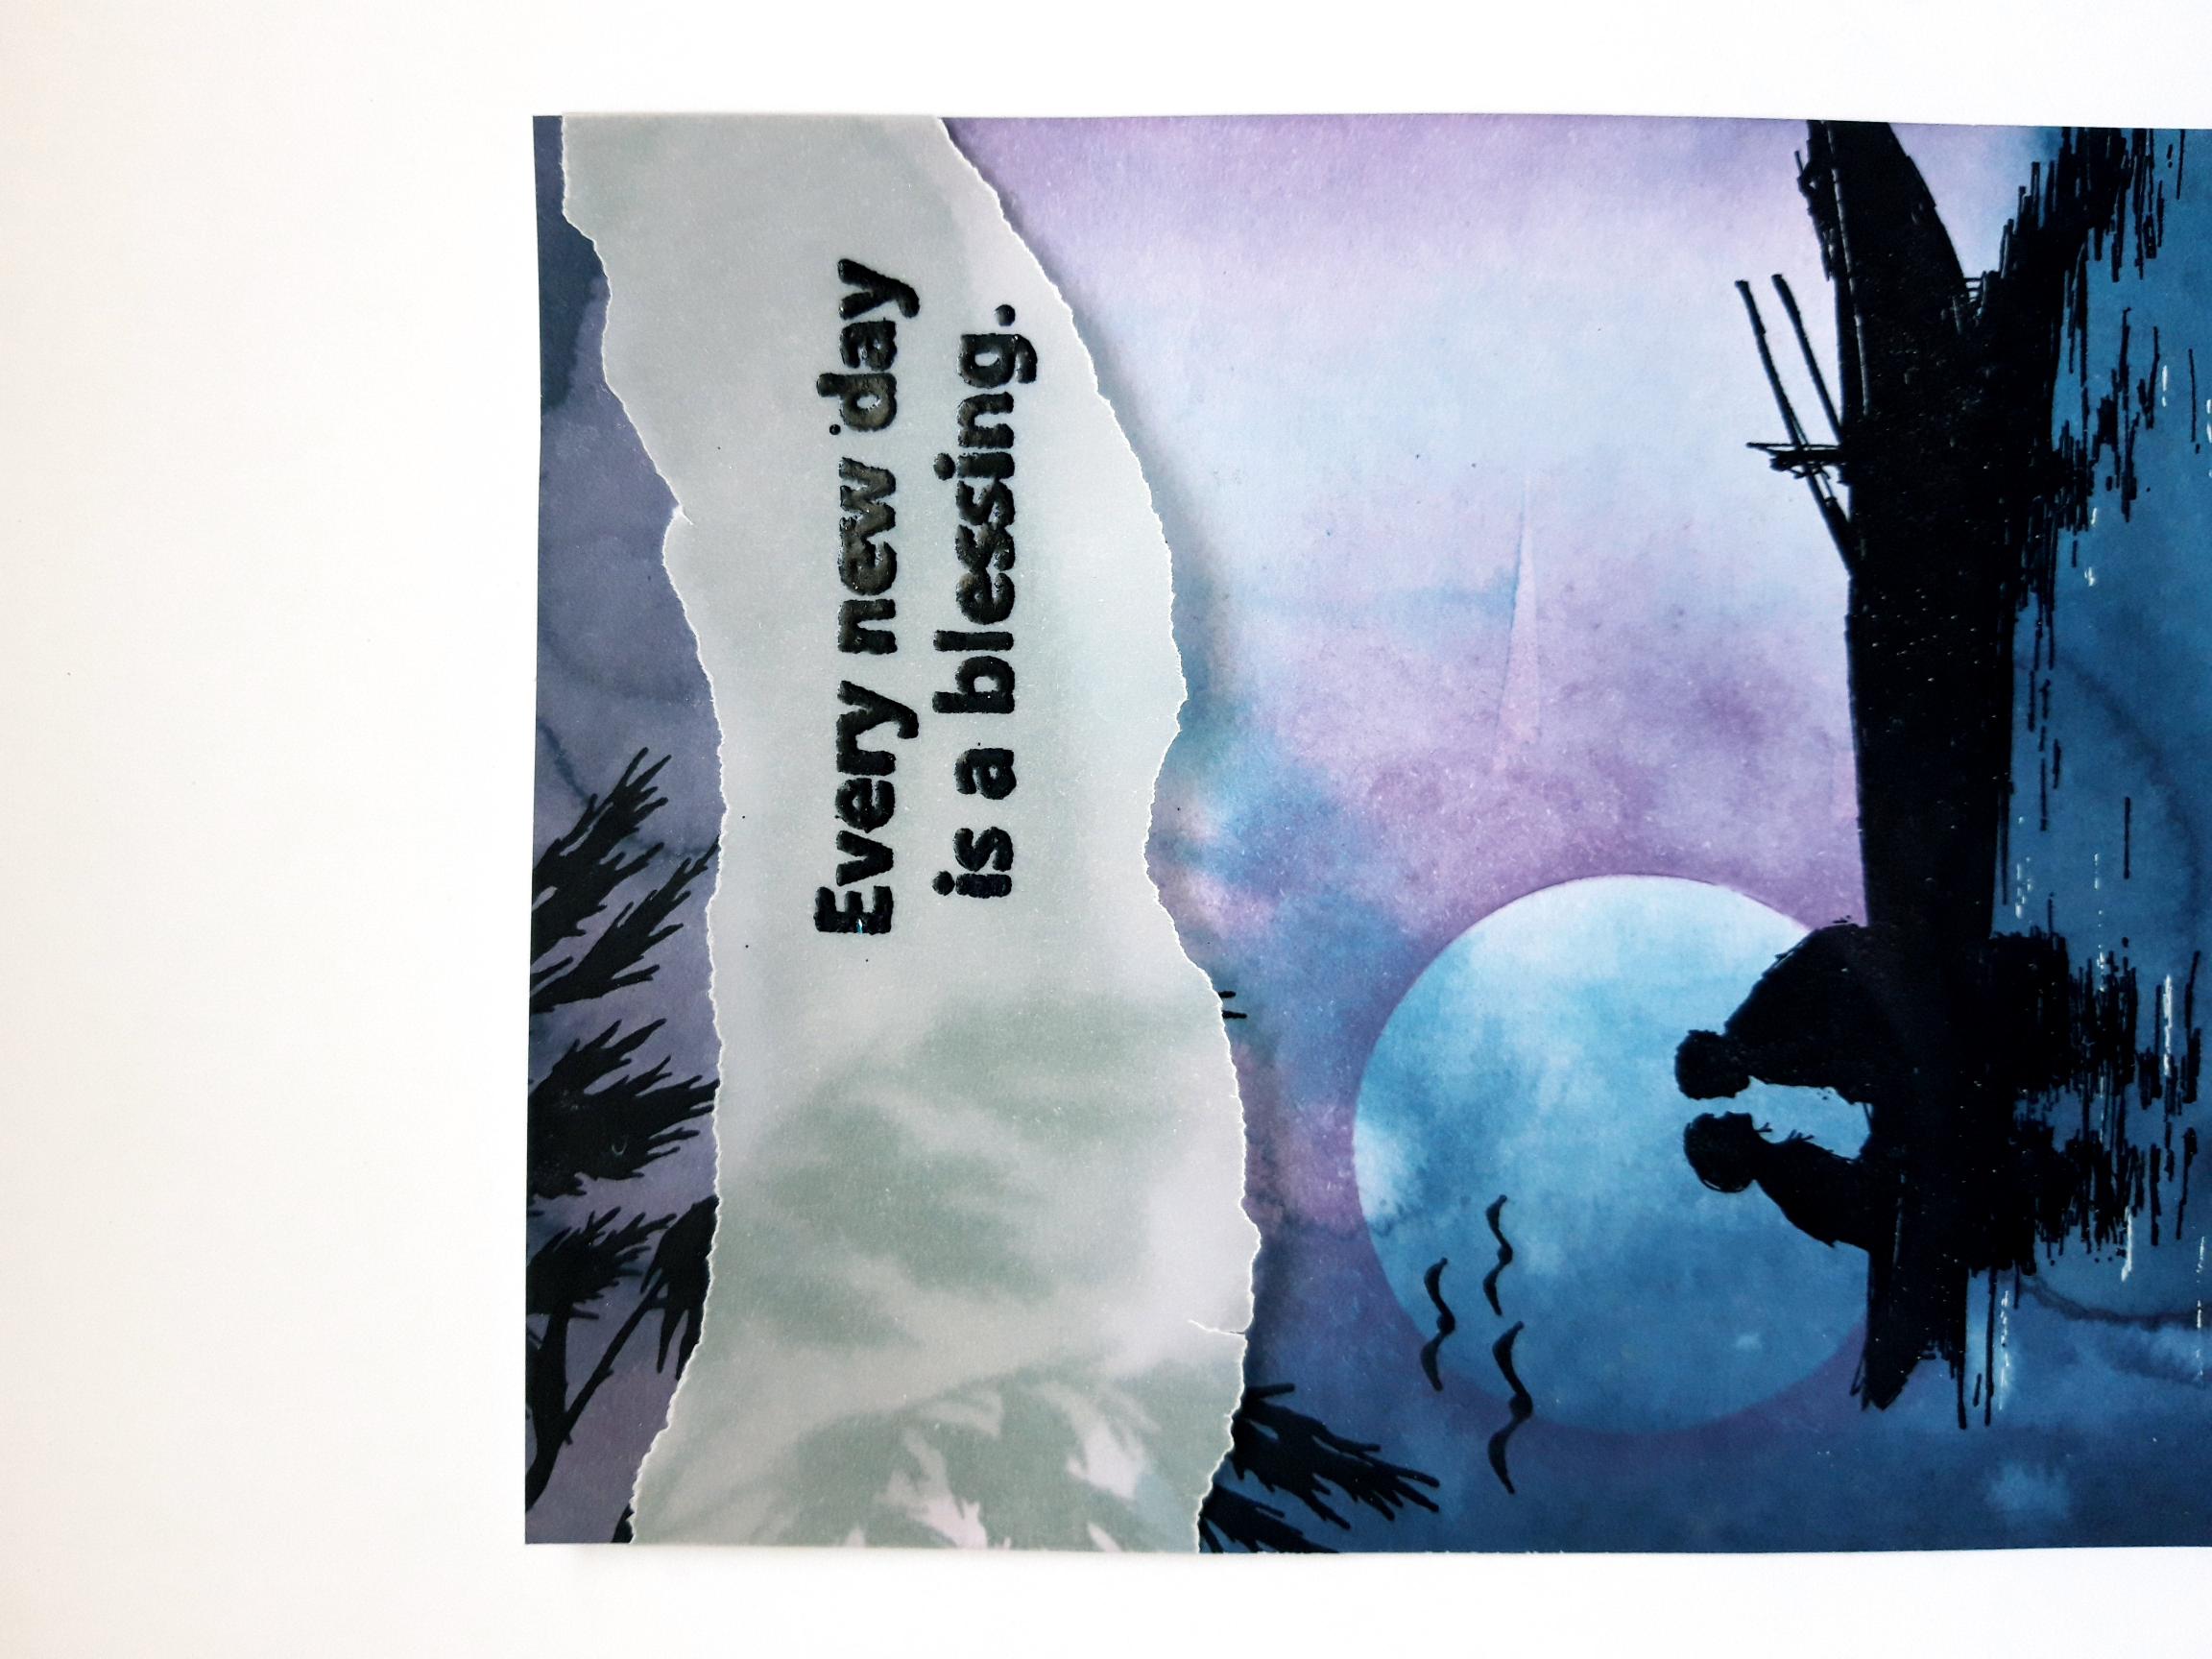
Having placed the vellum strip over your artwork, to decide where you want your sentiment to go, wipe it over with an anti static bag. Ink up the sentiment from the Every New Day Collection, with the WOW embossing ink pad, and stamp it where required. Apply the black embossing powder over the stamped sentiment, and when your heat tool is nice and hot, heat set the powder. As soon as the powder starts to turn, move your heat tool, to prevent the vellum from burning or warping. |
|
Place the vellum strip over your background, tuck the ends over the edge of the card, and secure in place on the reverse, with double side tape, or a tape runner. |
|
Adhere your artwork on to your black, top folding card blank. |
|
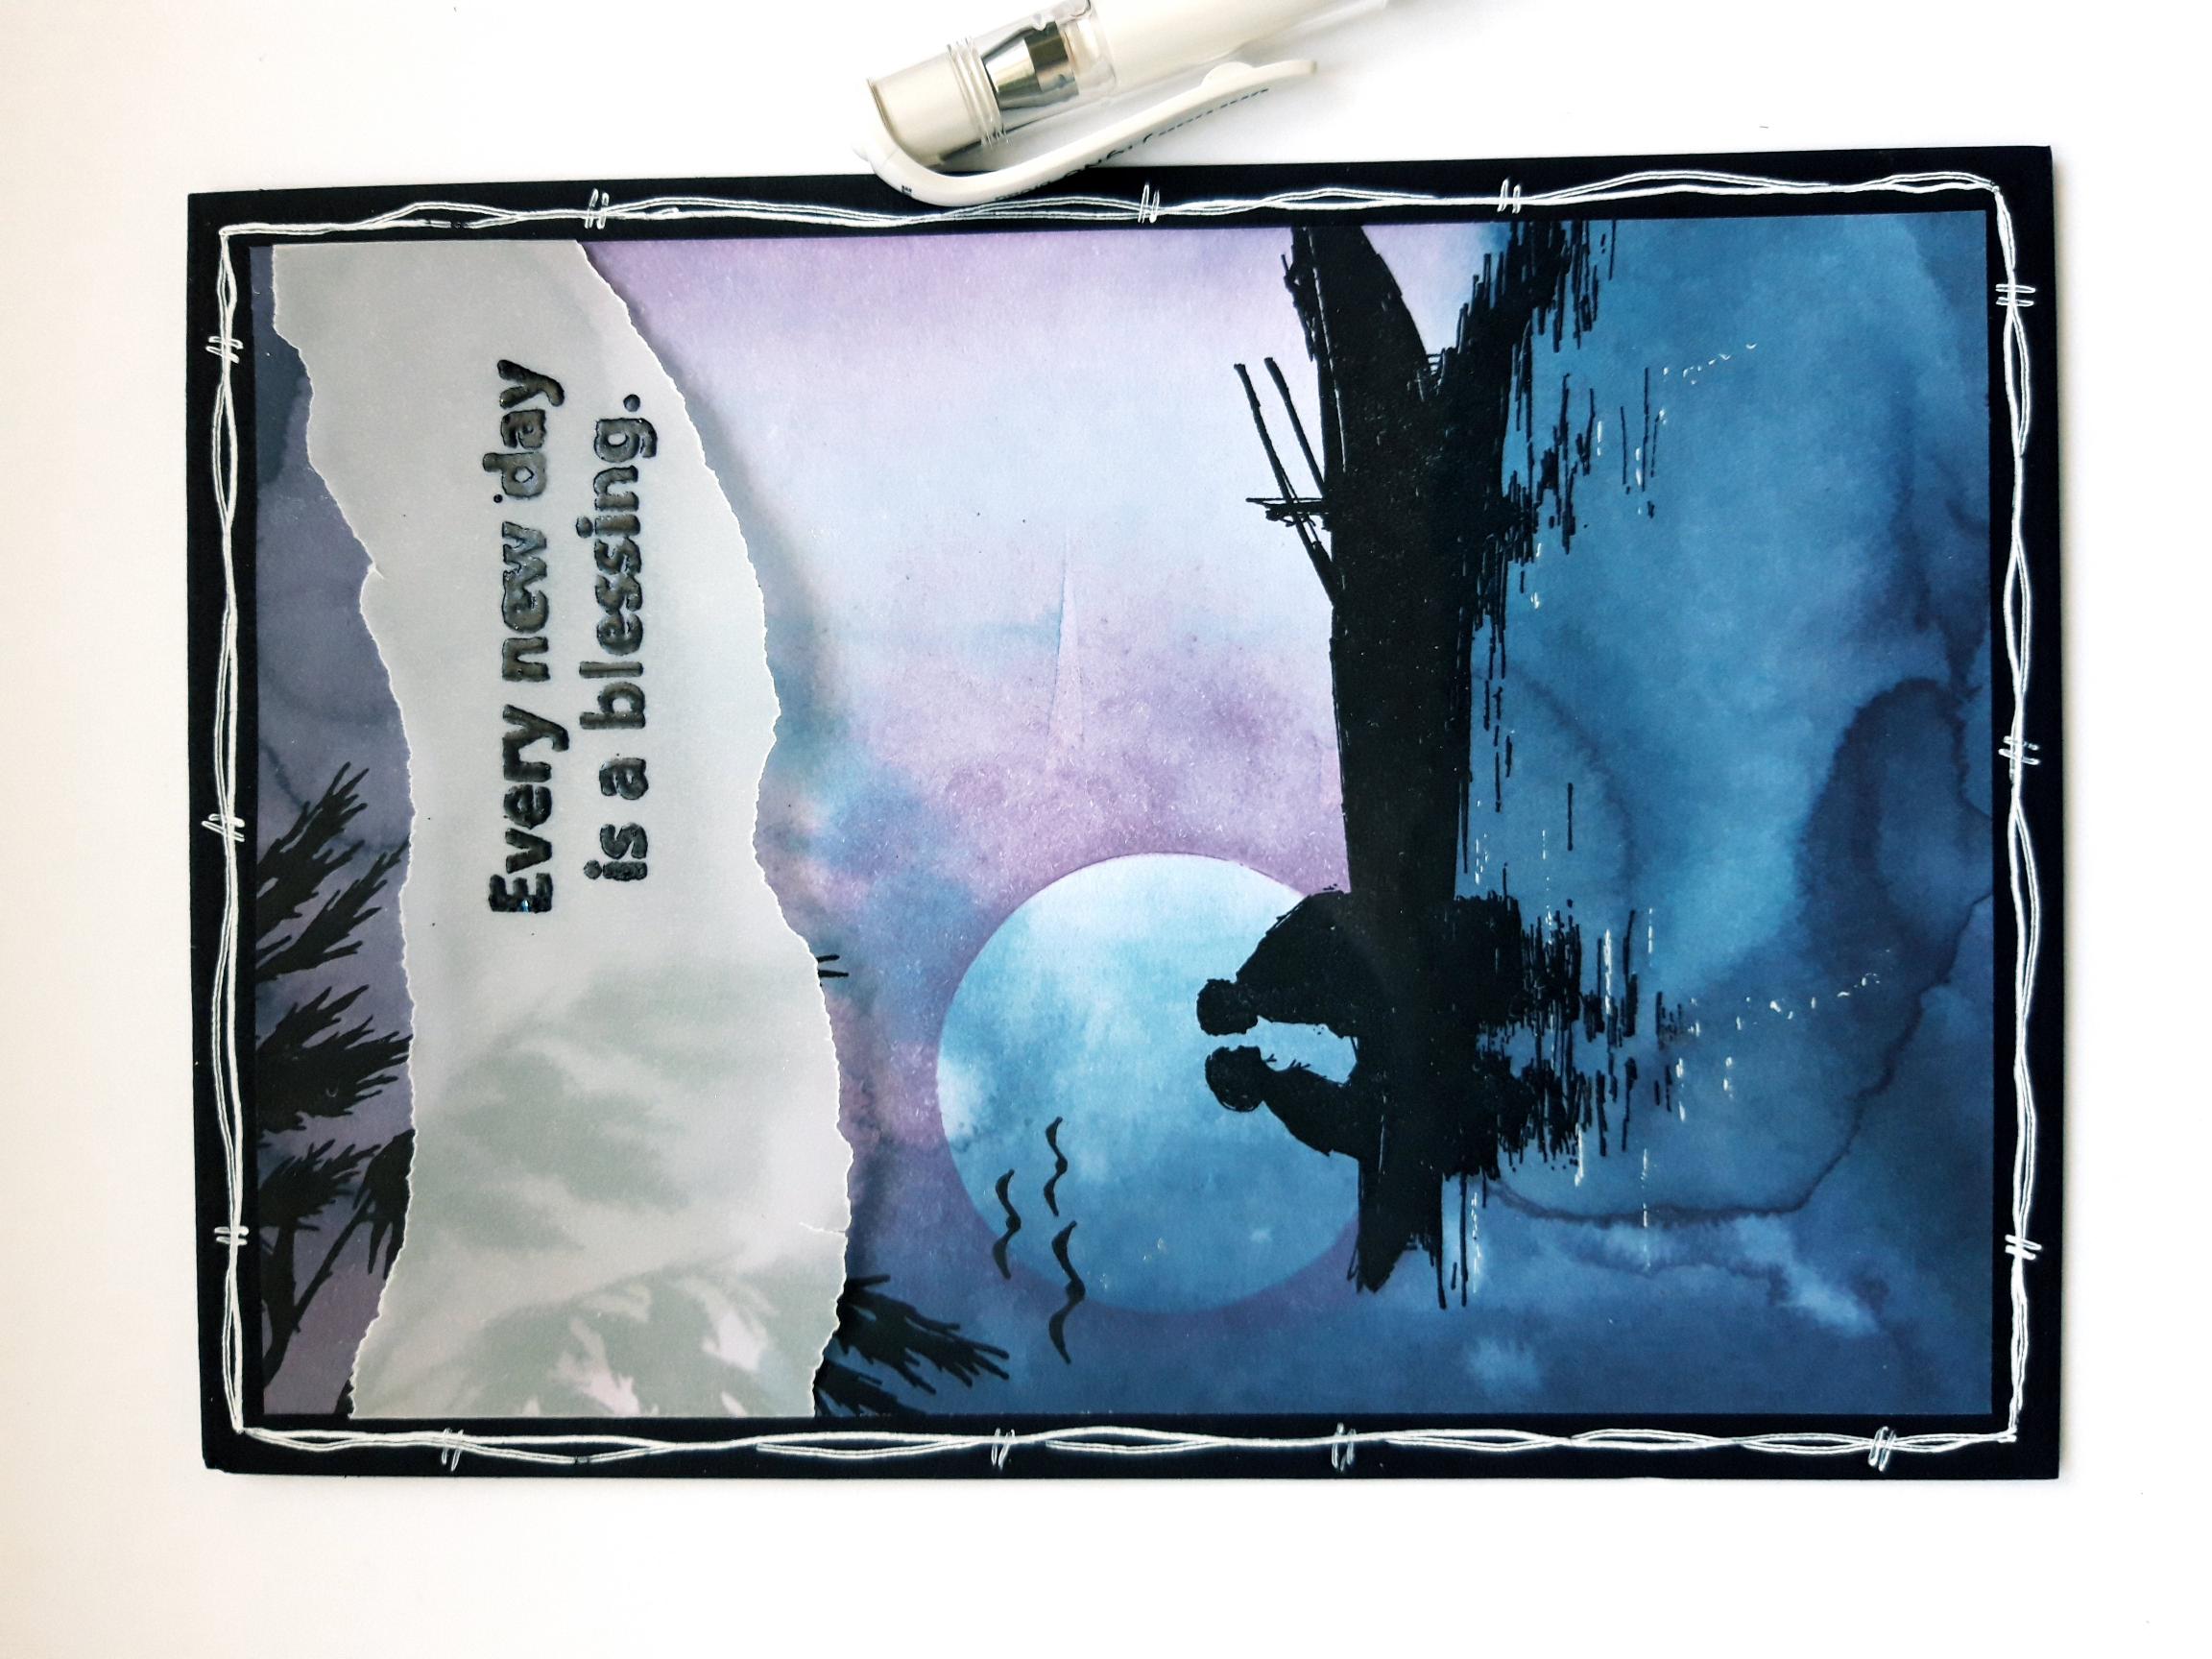
To finish use your white gel pen to add a decorative, wiggly frame around your artwork. |