Give your friends $10 off their first order!
Refer a FRIEND


WHAT YOU WILL NEED:
Pink top folding card blank (8 1/4 x 5 3/4")
Black card (7 3/4 x 5 1/4")
White card (7 1/2 x 5")
Book page (tear to approx 6 1/2 x 3 1/2")
White scrap card (for sentiment)
Thirsty Brush Unltd Dots and Banners Stencil
Thirsty Brush UnLtd Lush Leaves Creative Stamps
Thirsty Brush UnLtd More Than Words Creative Stamps
Versafine Ink Pad: Onyx Black
Izink Pearly Paste: Restless Rose
Izink Pearly Spray: Vert D'Eau, Shiny Yellow
Palette knife
Izink Pigments: Mimosa, Avalanche, Wet Meadow
Water spray bottle
Paint brush
White gel pen
Black pen
Eureka 101
Paper Trimmer
Perfect Together Glue
[click image to enlarge] 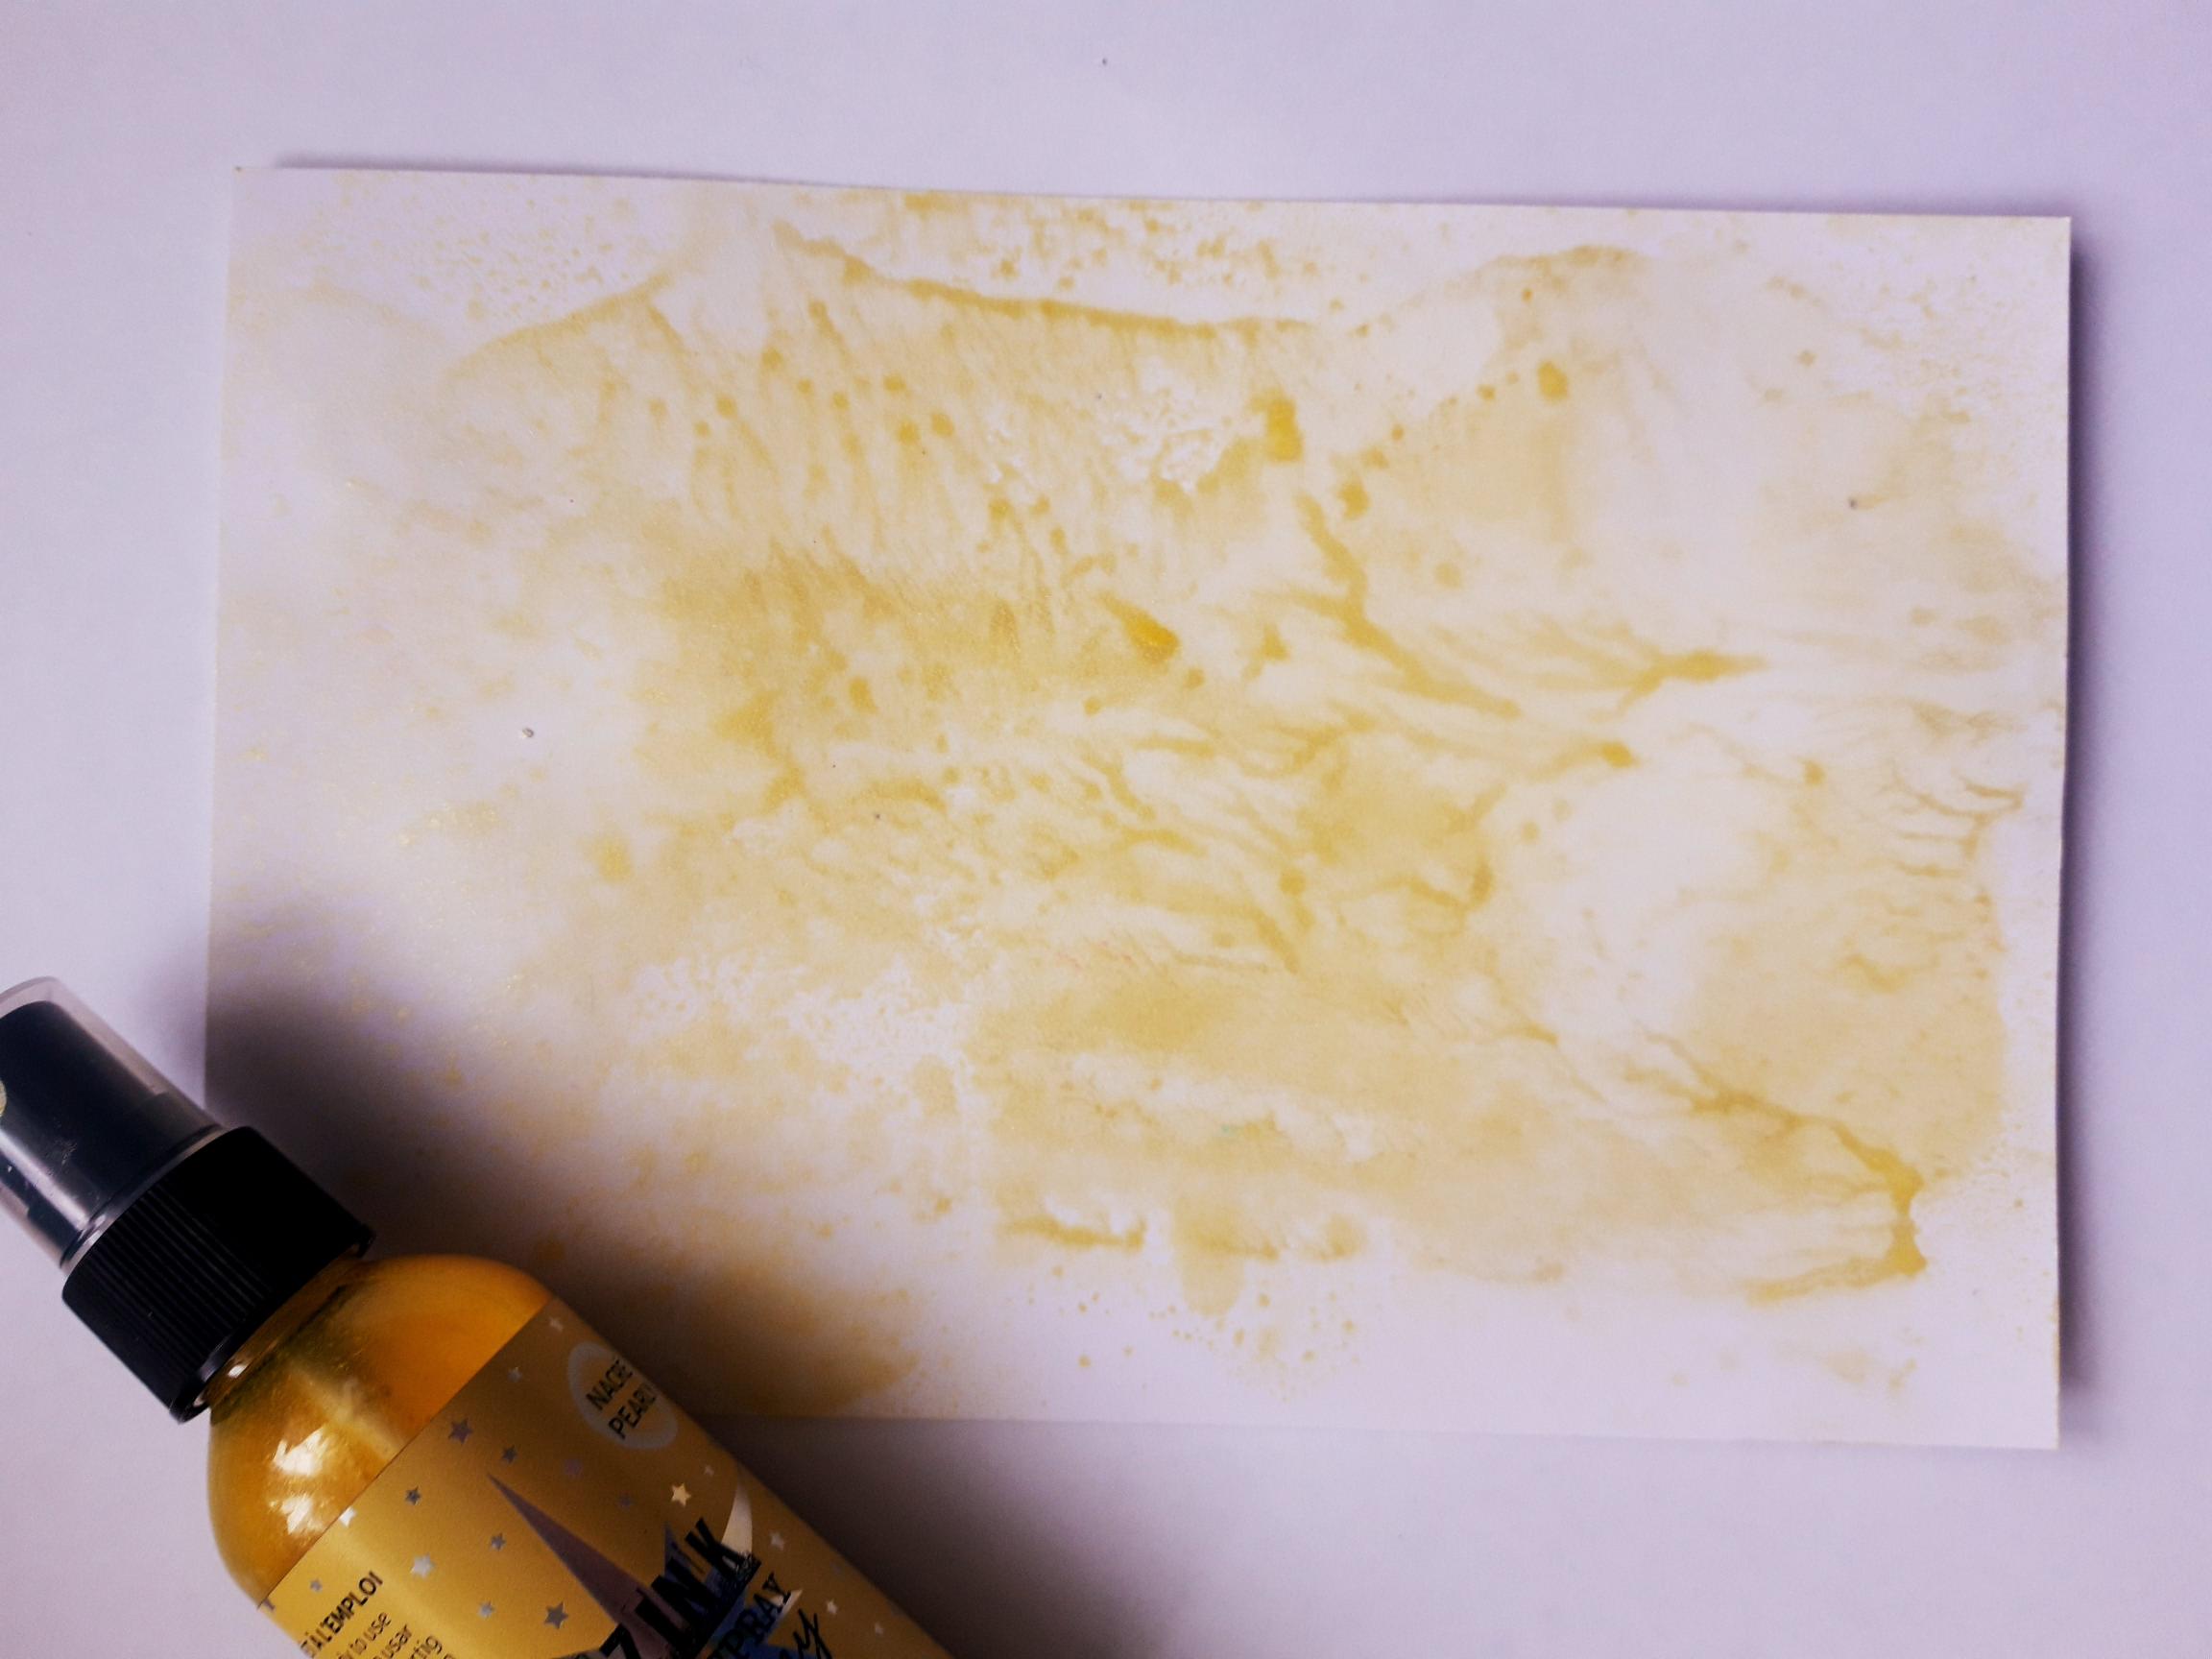
|
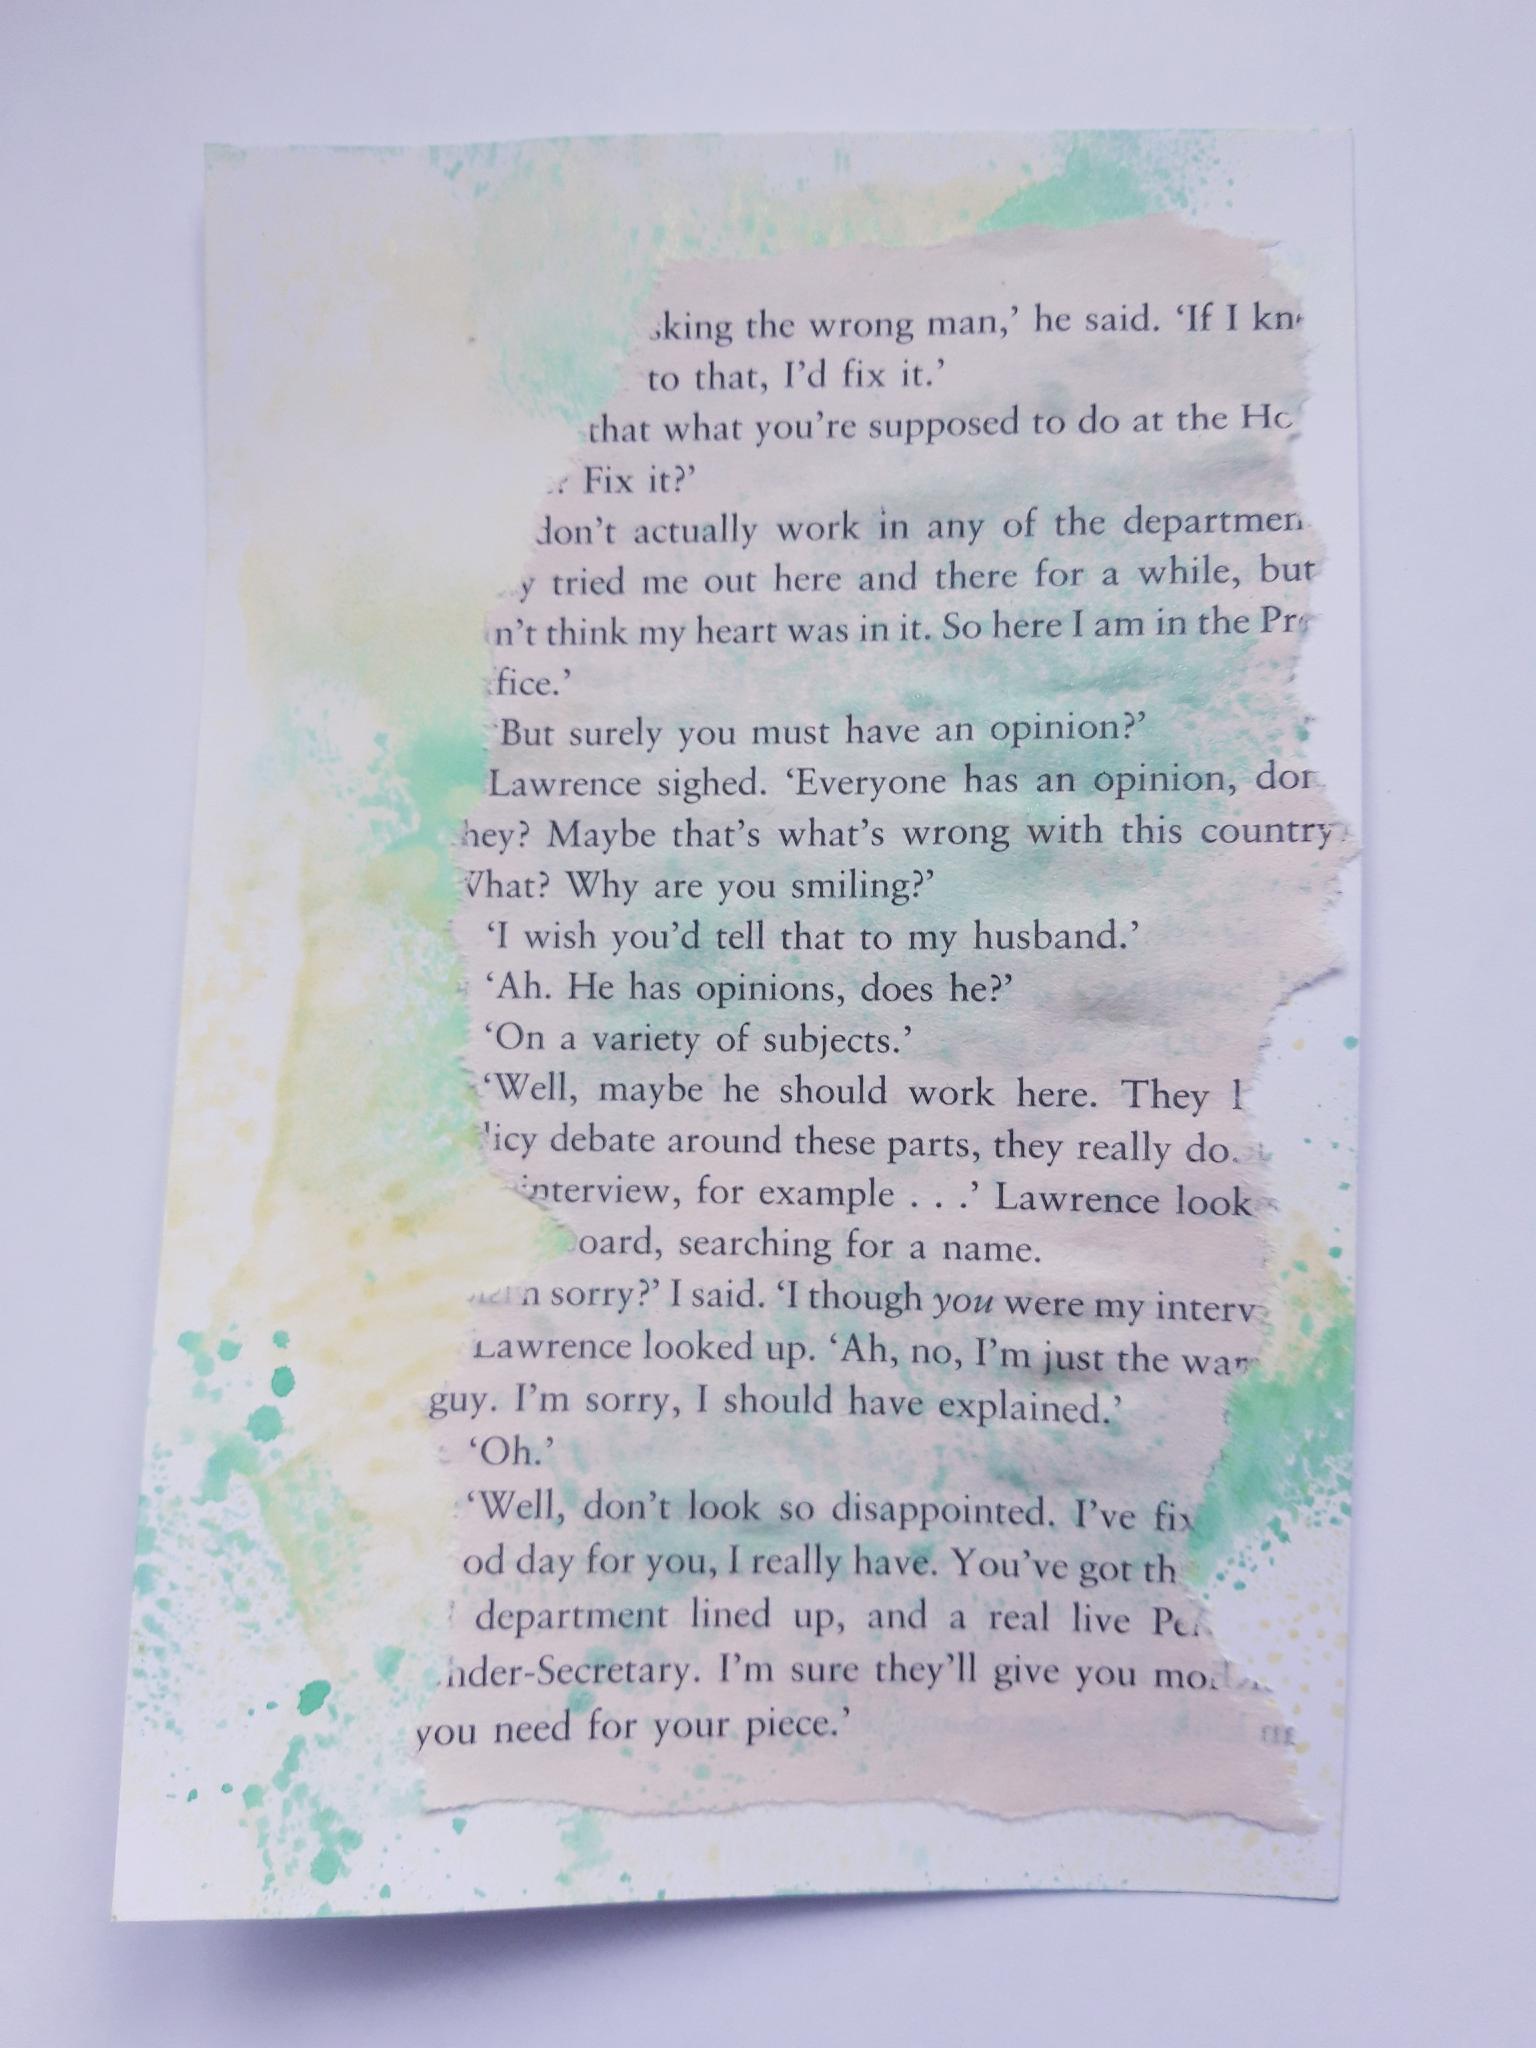
Shake the Izink Pearly Shiny Yellow Spray from side to side, to activate the mica, then spray on to your craft/glass mat. Add a little water, then pick up the ink on to the white card (7 1/2 x 5"). Dry off the ink a little. |
|
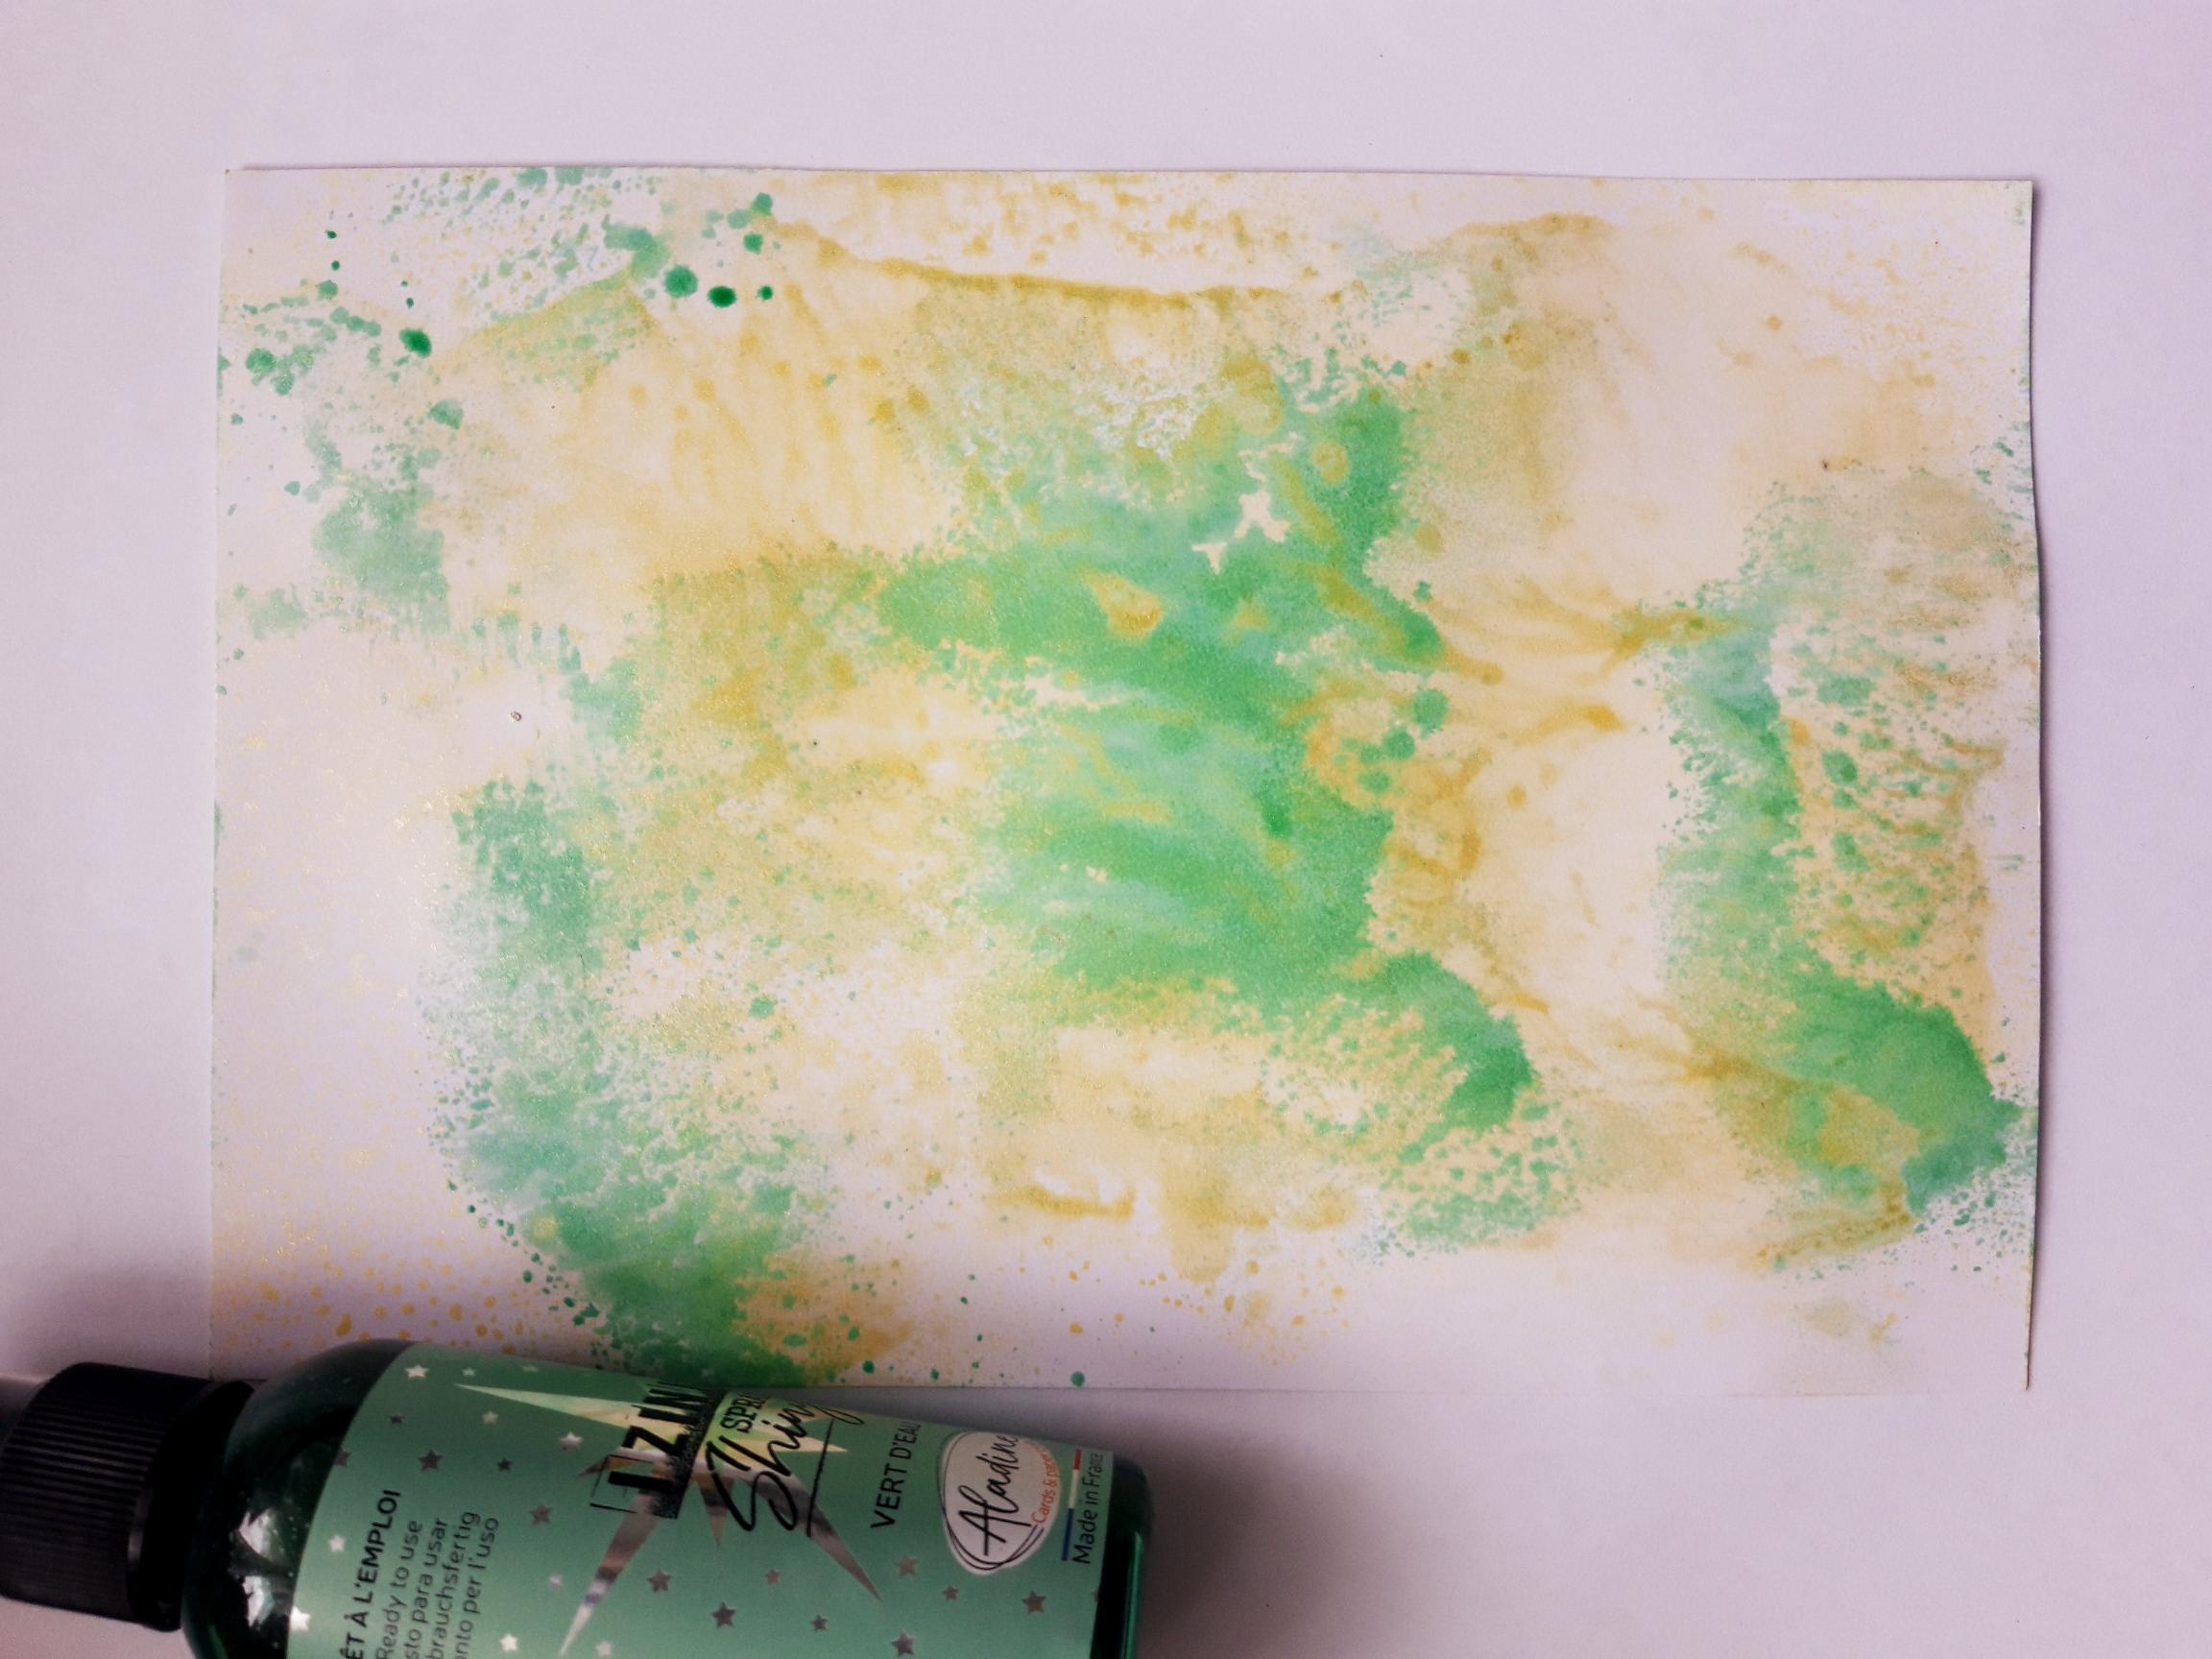
Repeat step 1, with the Izink Shiny Vert D'Eau spray, and set to one side to dry. |
|
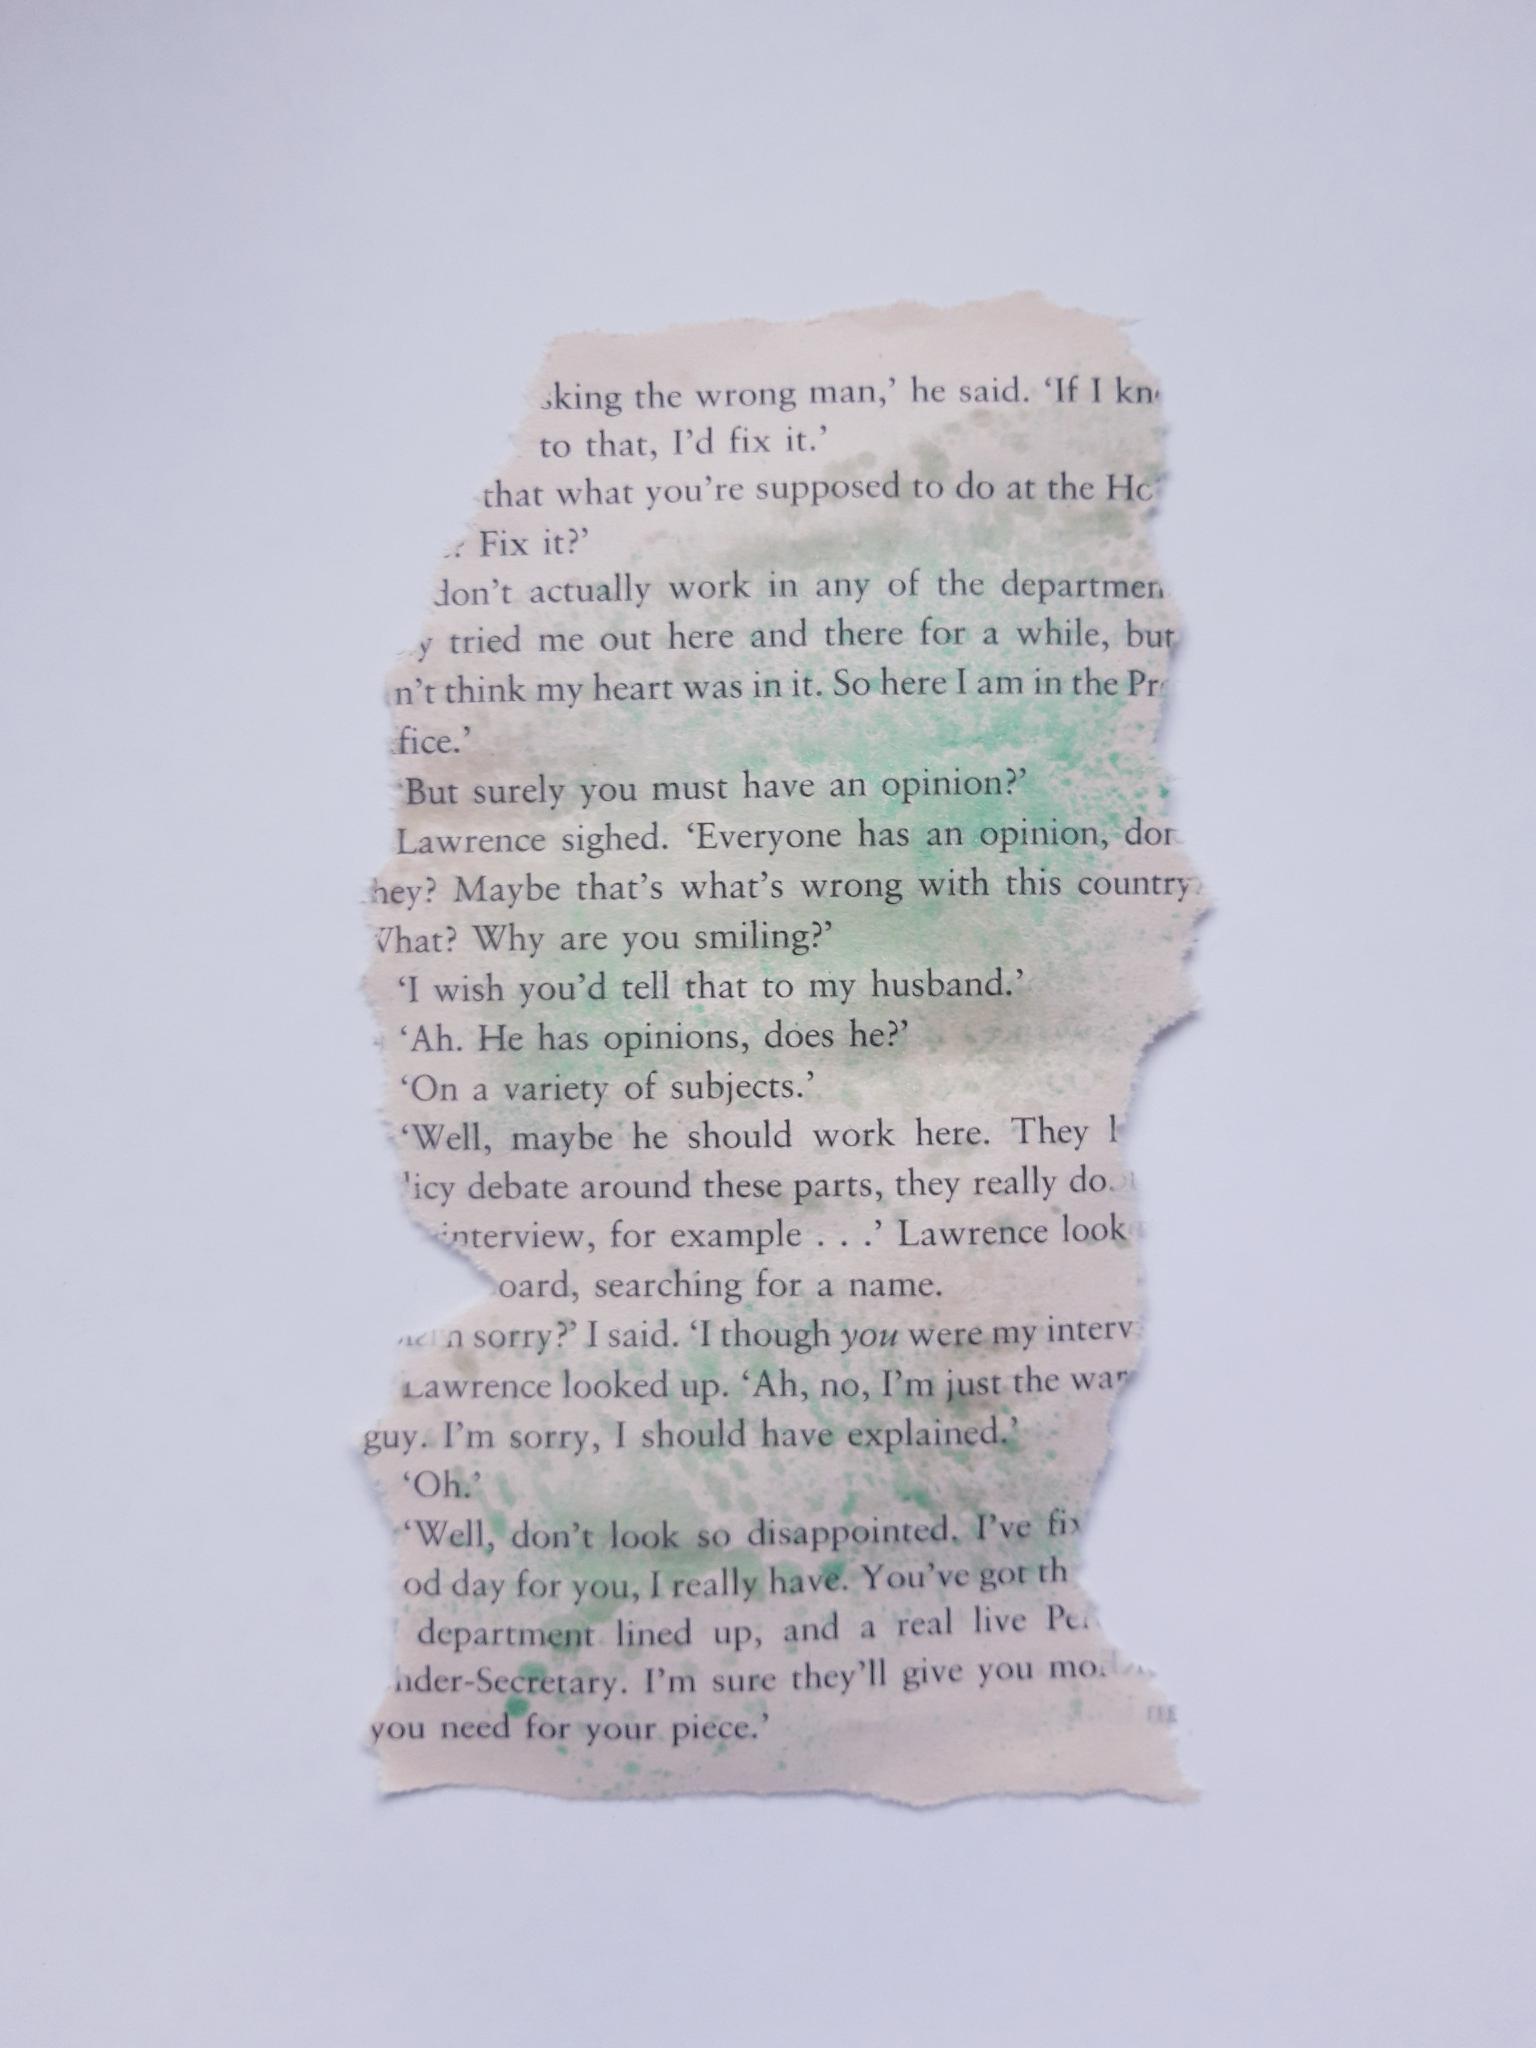
Repeat step 1 again, but this time picking up the Vert D'Eau ink, on to your torn book page. Dry it off. |
|
Adhere the inked book page on to the right hand side of your dried, inked background. |
|
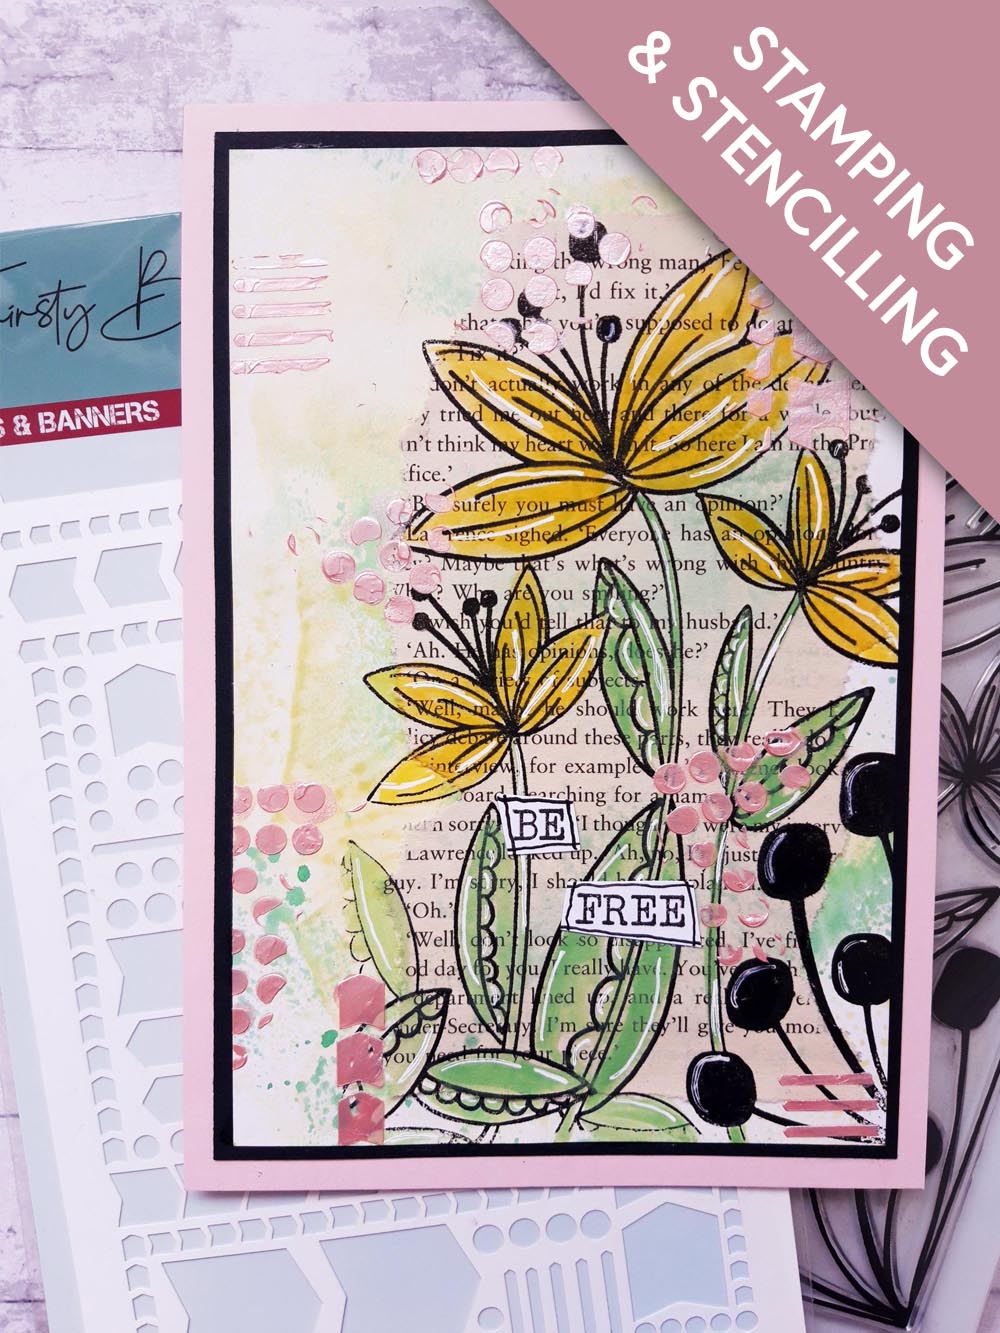
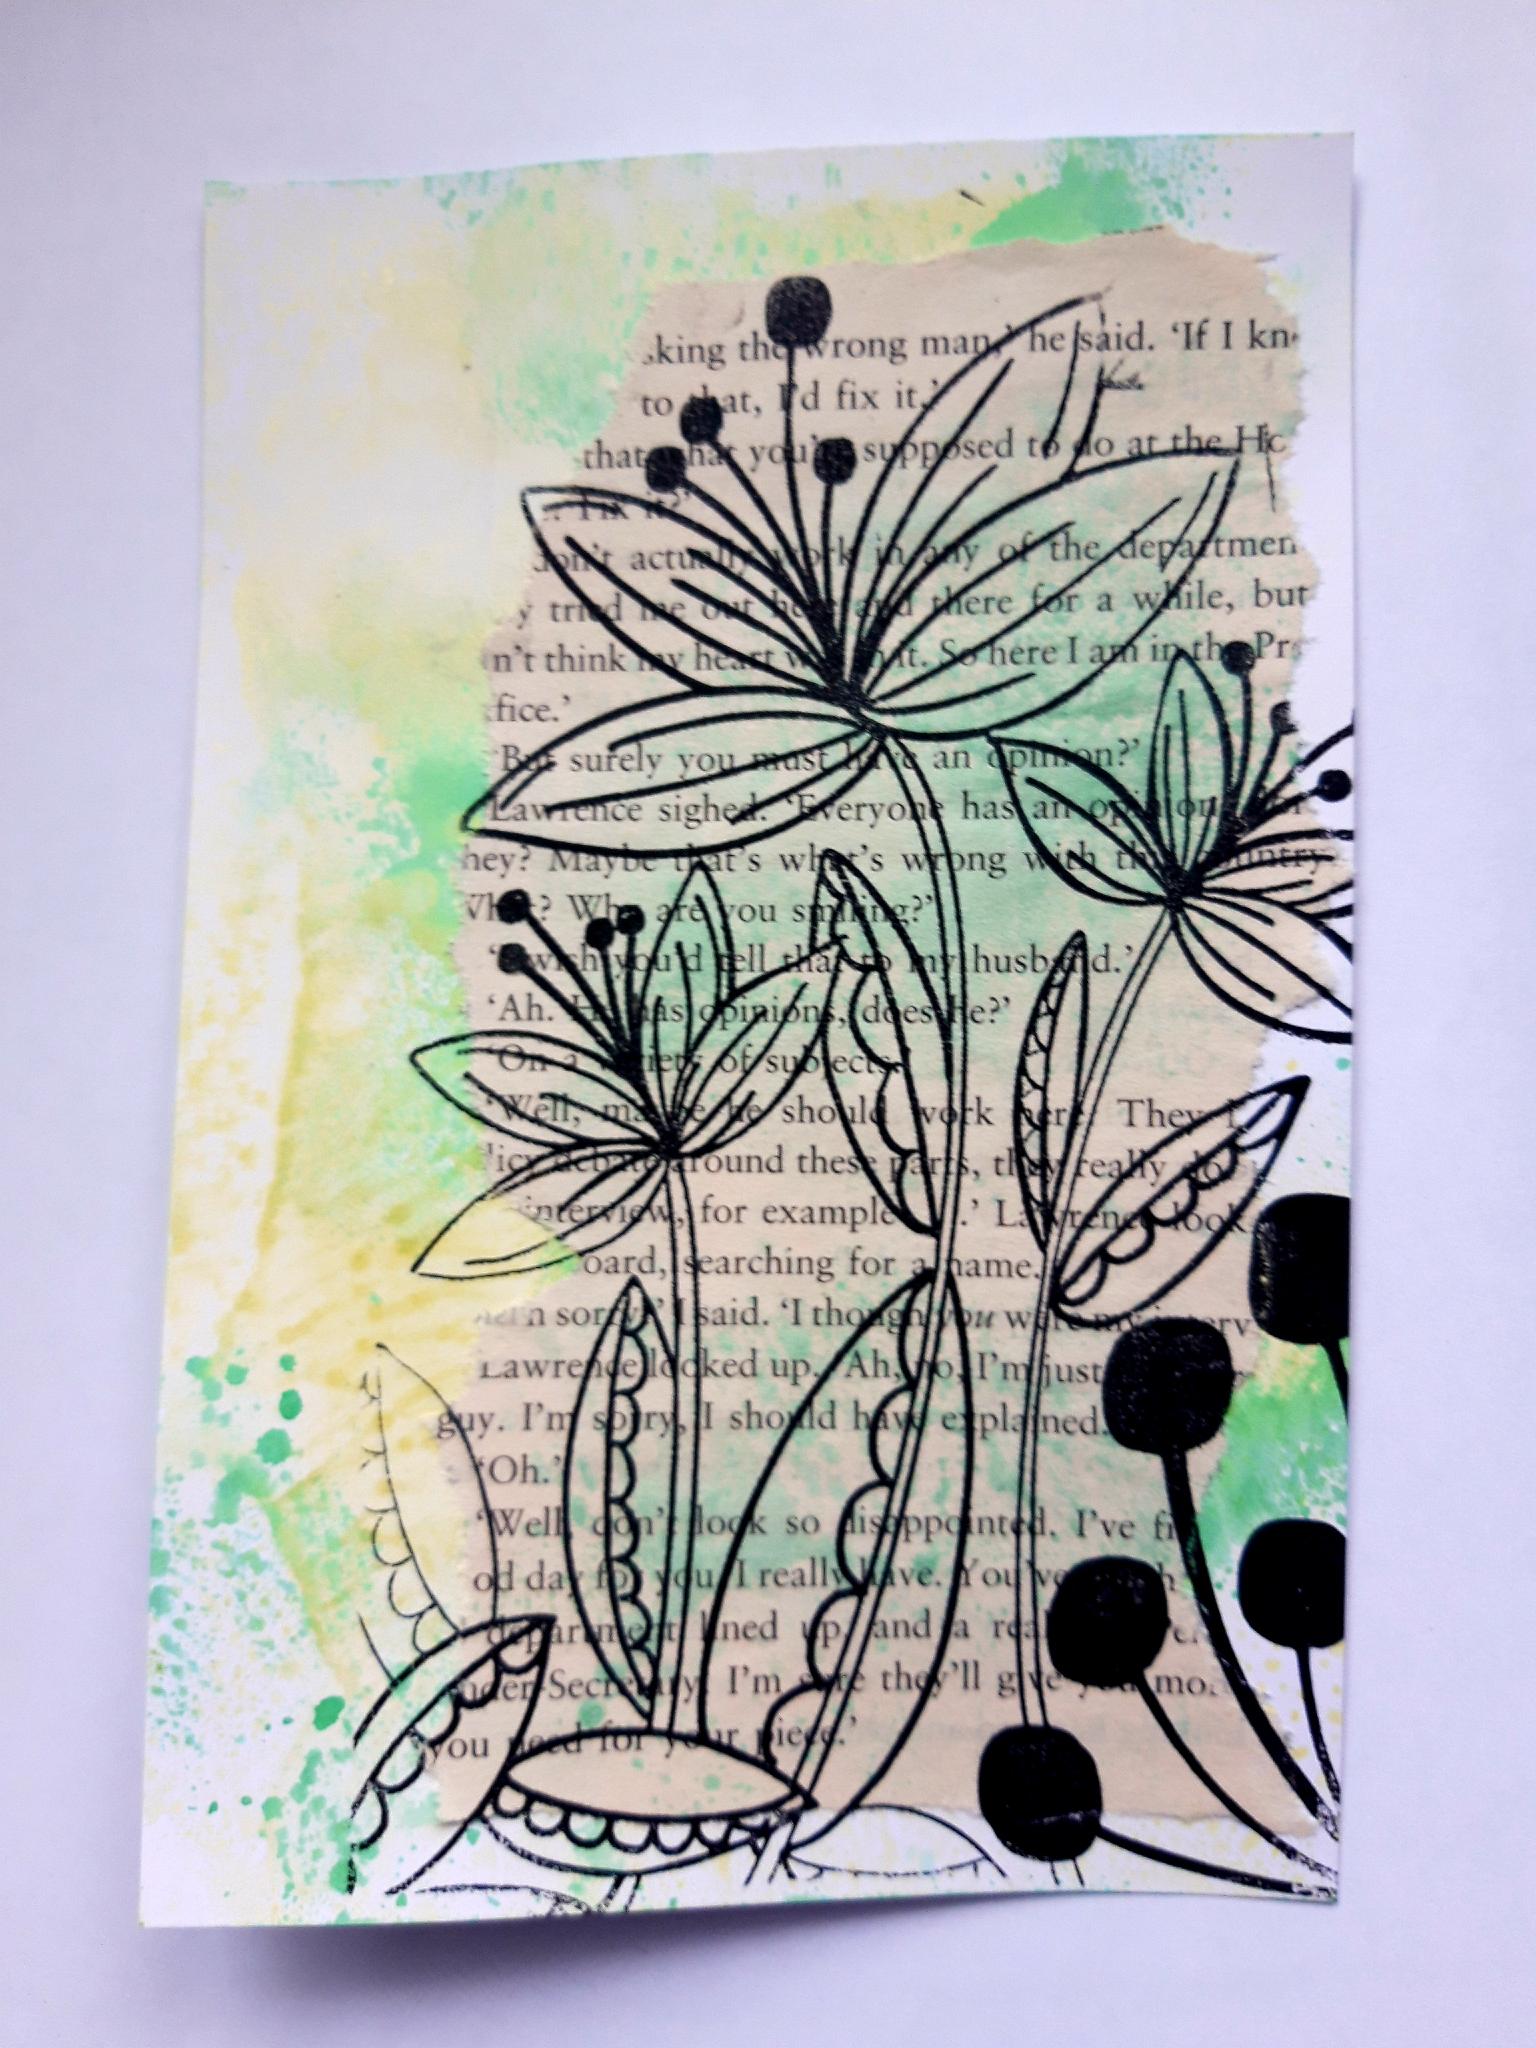
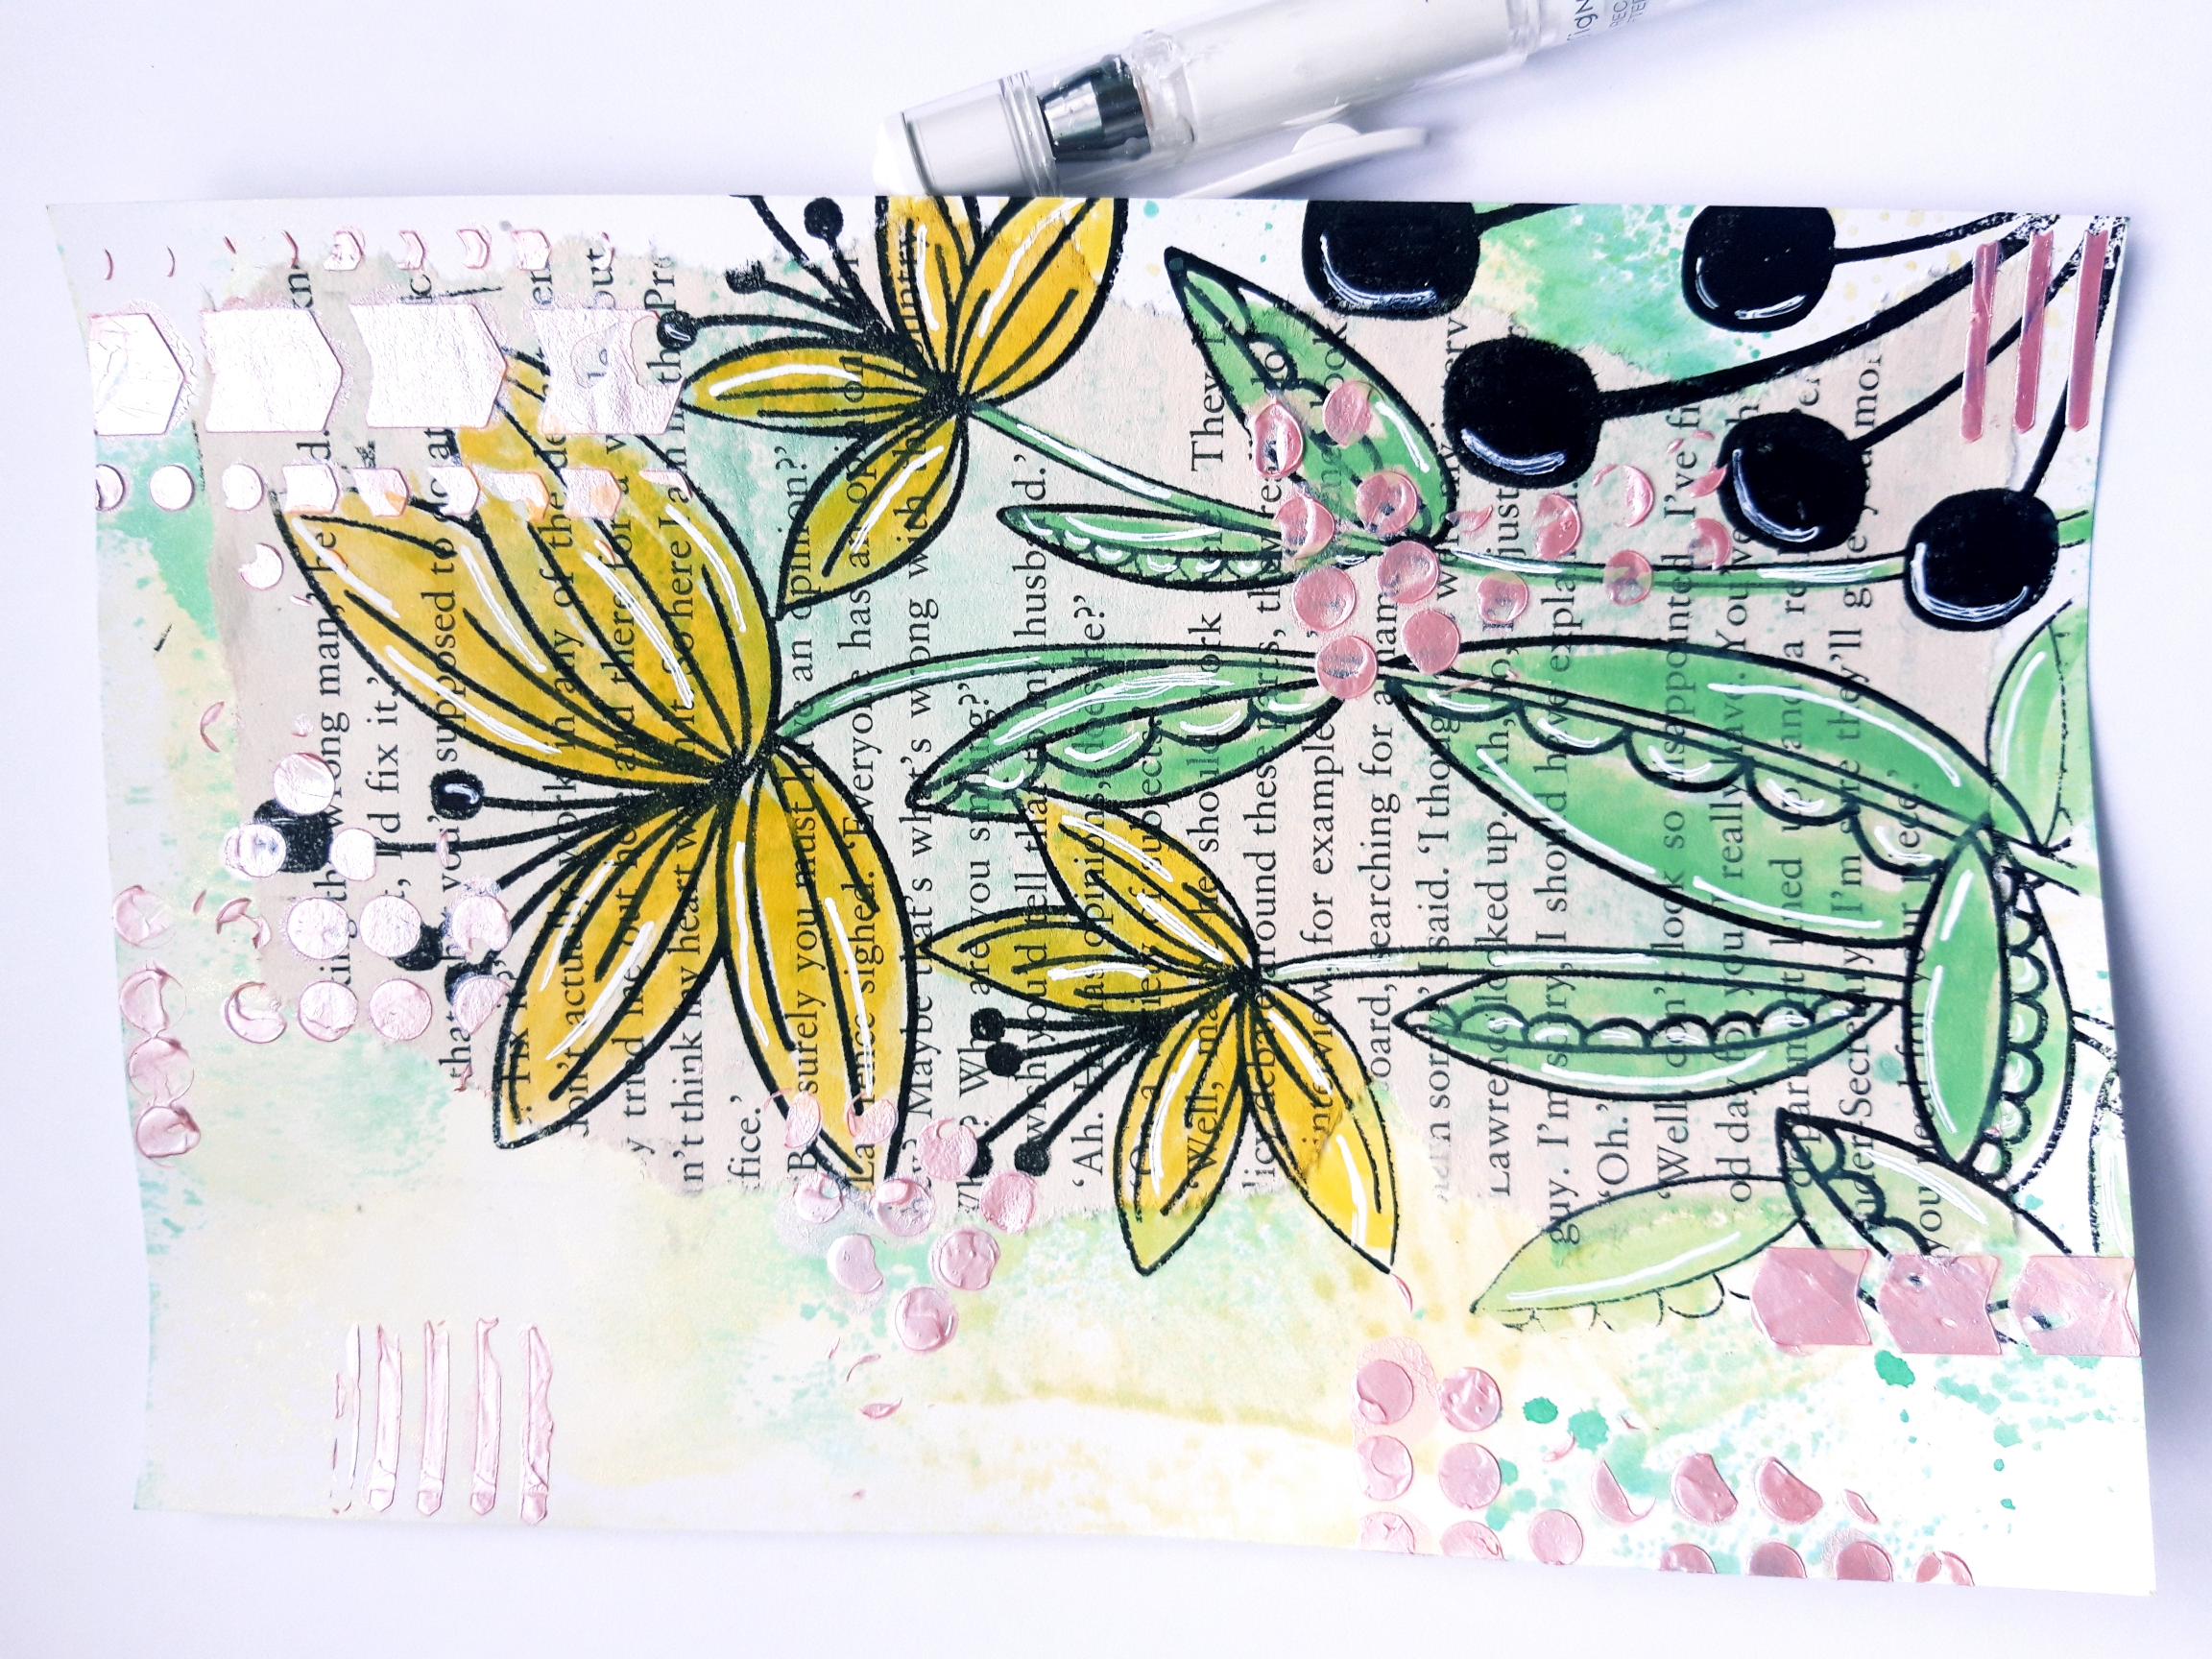
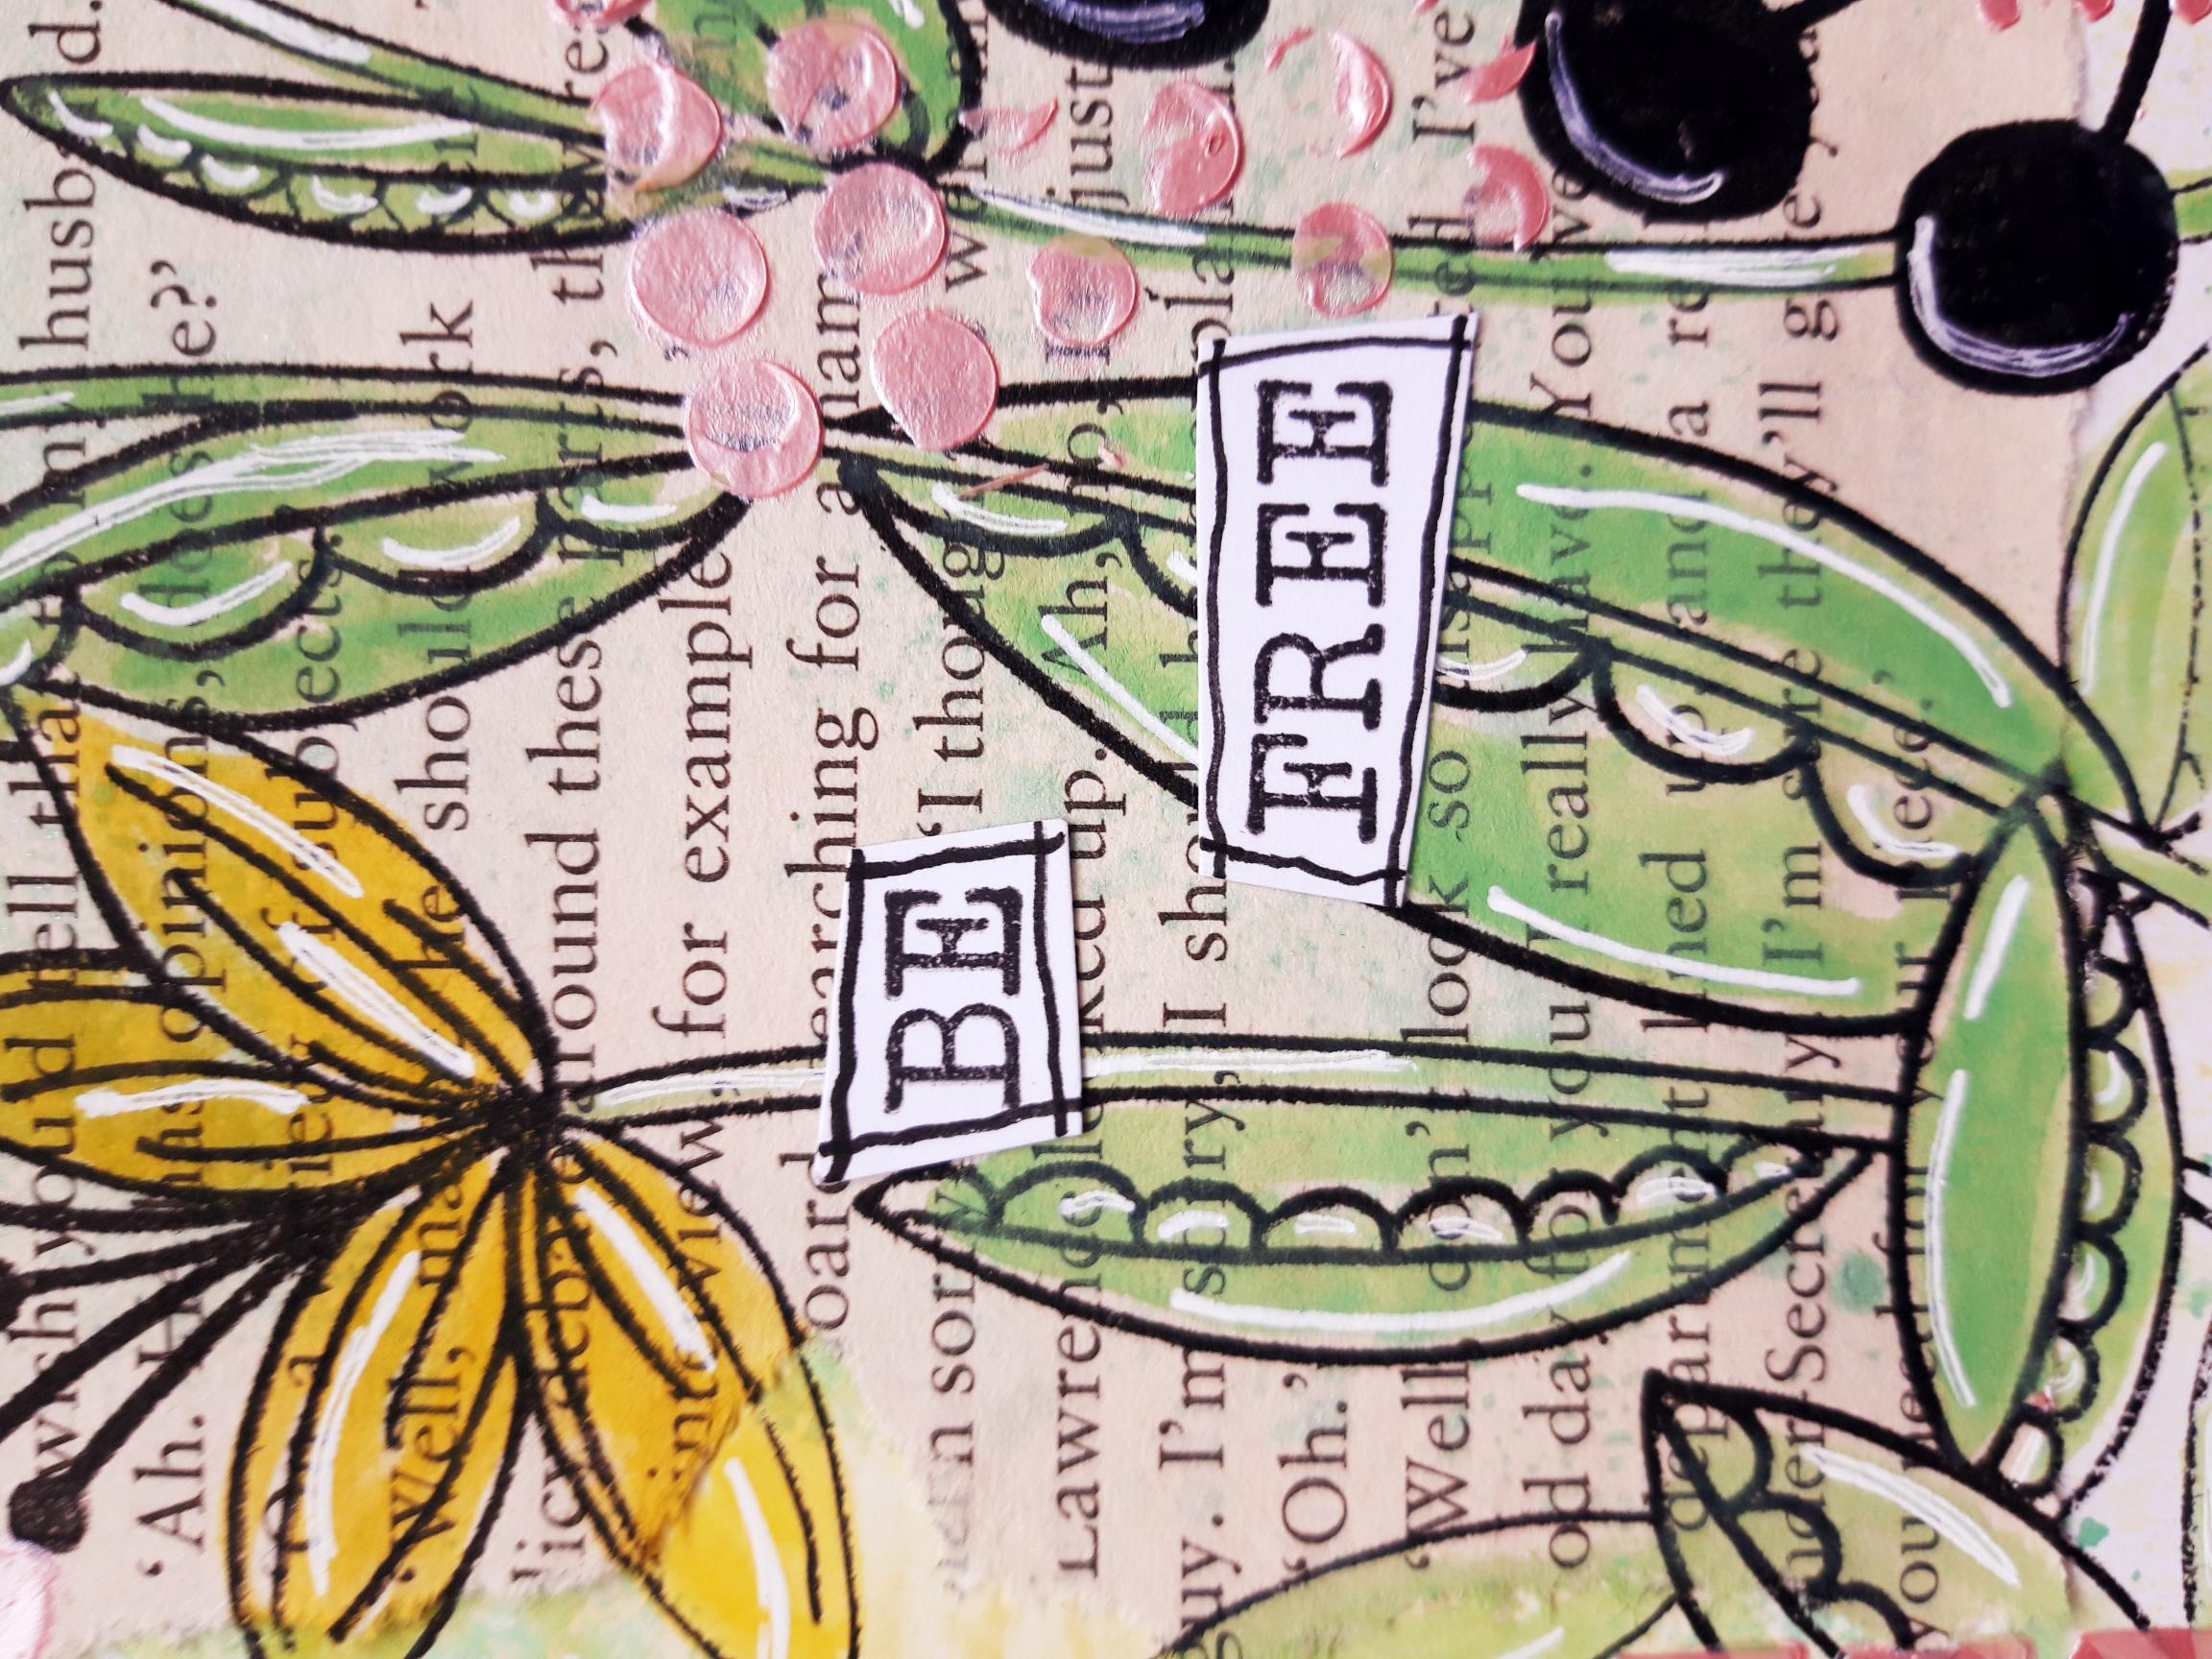
Ink up the stamp from the Lush Leaves Creative Stamps, with the Onyx Black Versafine. Stamp off the right hand edge of your background. Dry off the ink thoroughly, before proceeding to the next step. |
|
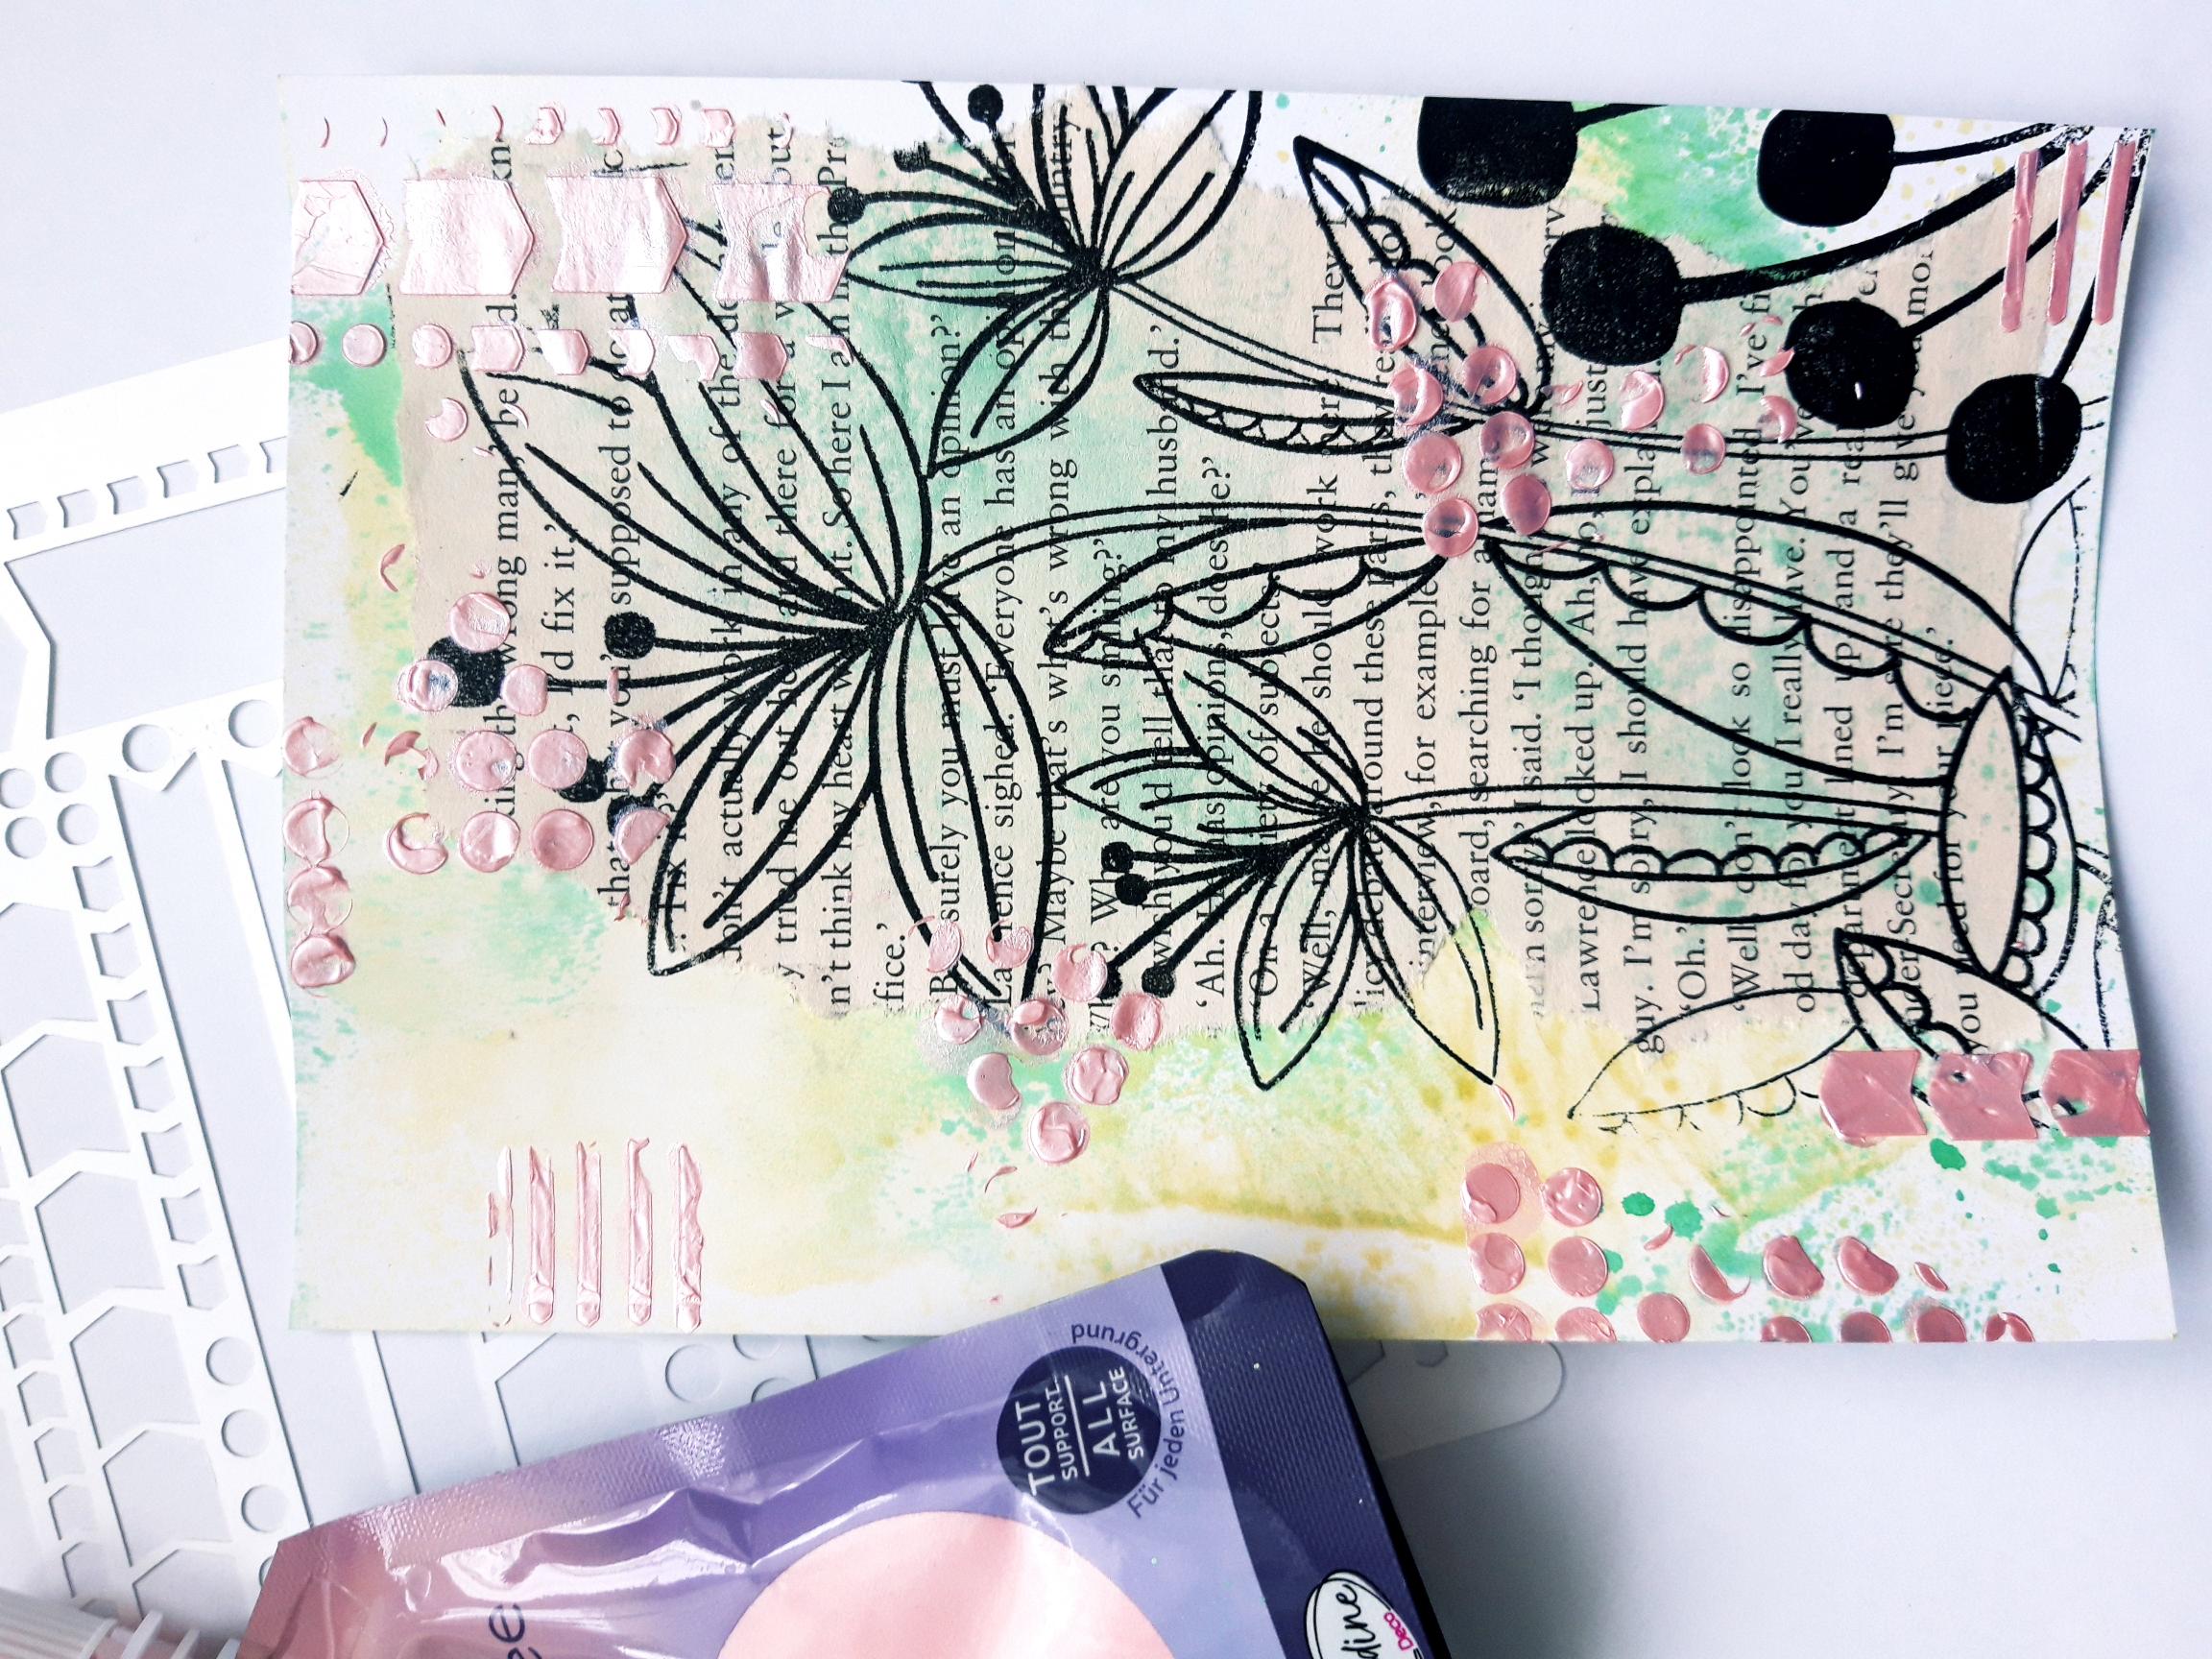
Apply the Izink Restless Rose Pastel Paste randomly through the Dots And Banners stencil, using a palette knife. The idea is to create a distressed, random look, to your artwork. Allow the paste to dry naturally, it doesn't take too long. But, if you're impatient like me, you can speed it up with a heat tool!! |
|
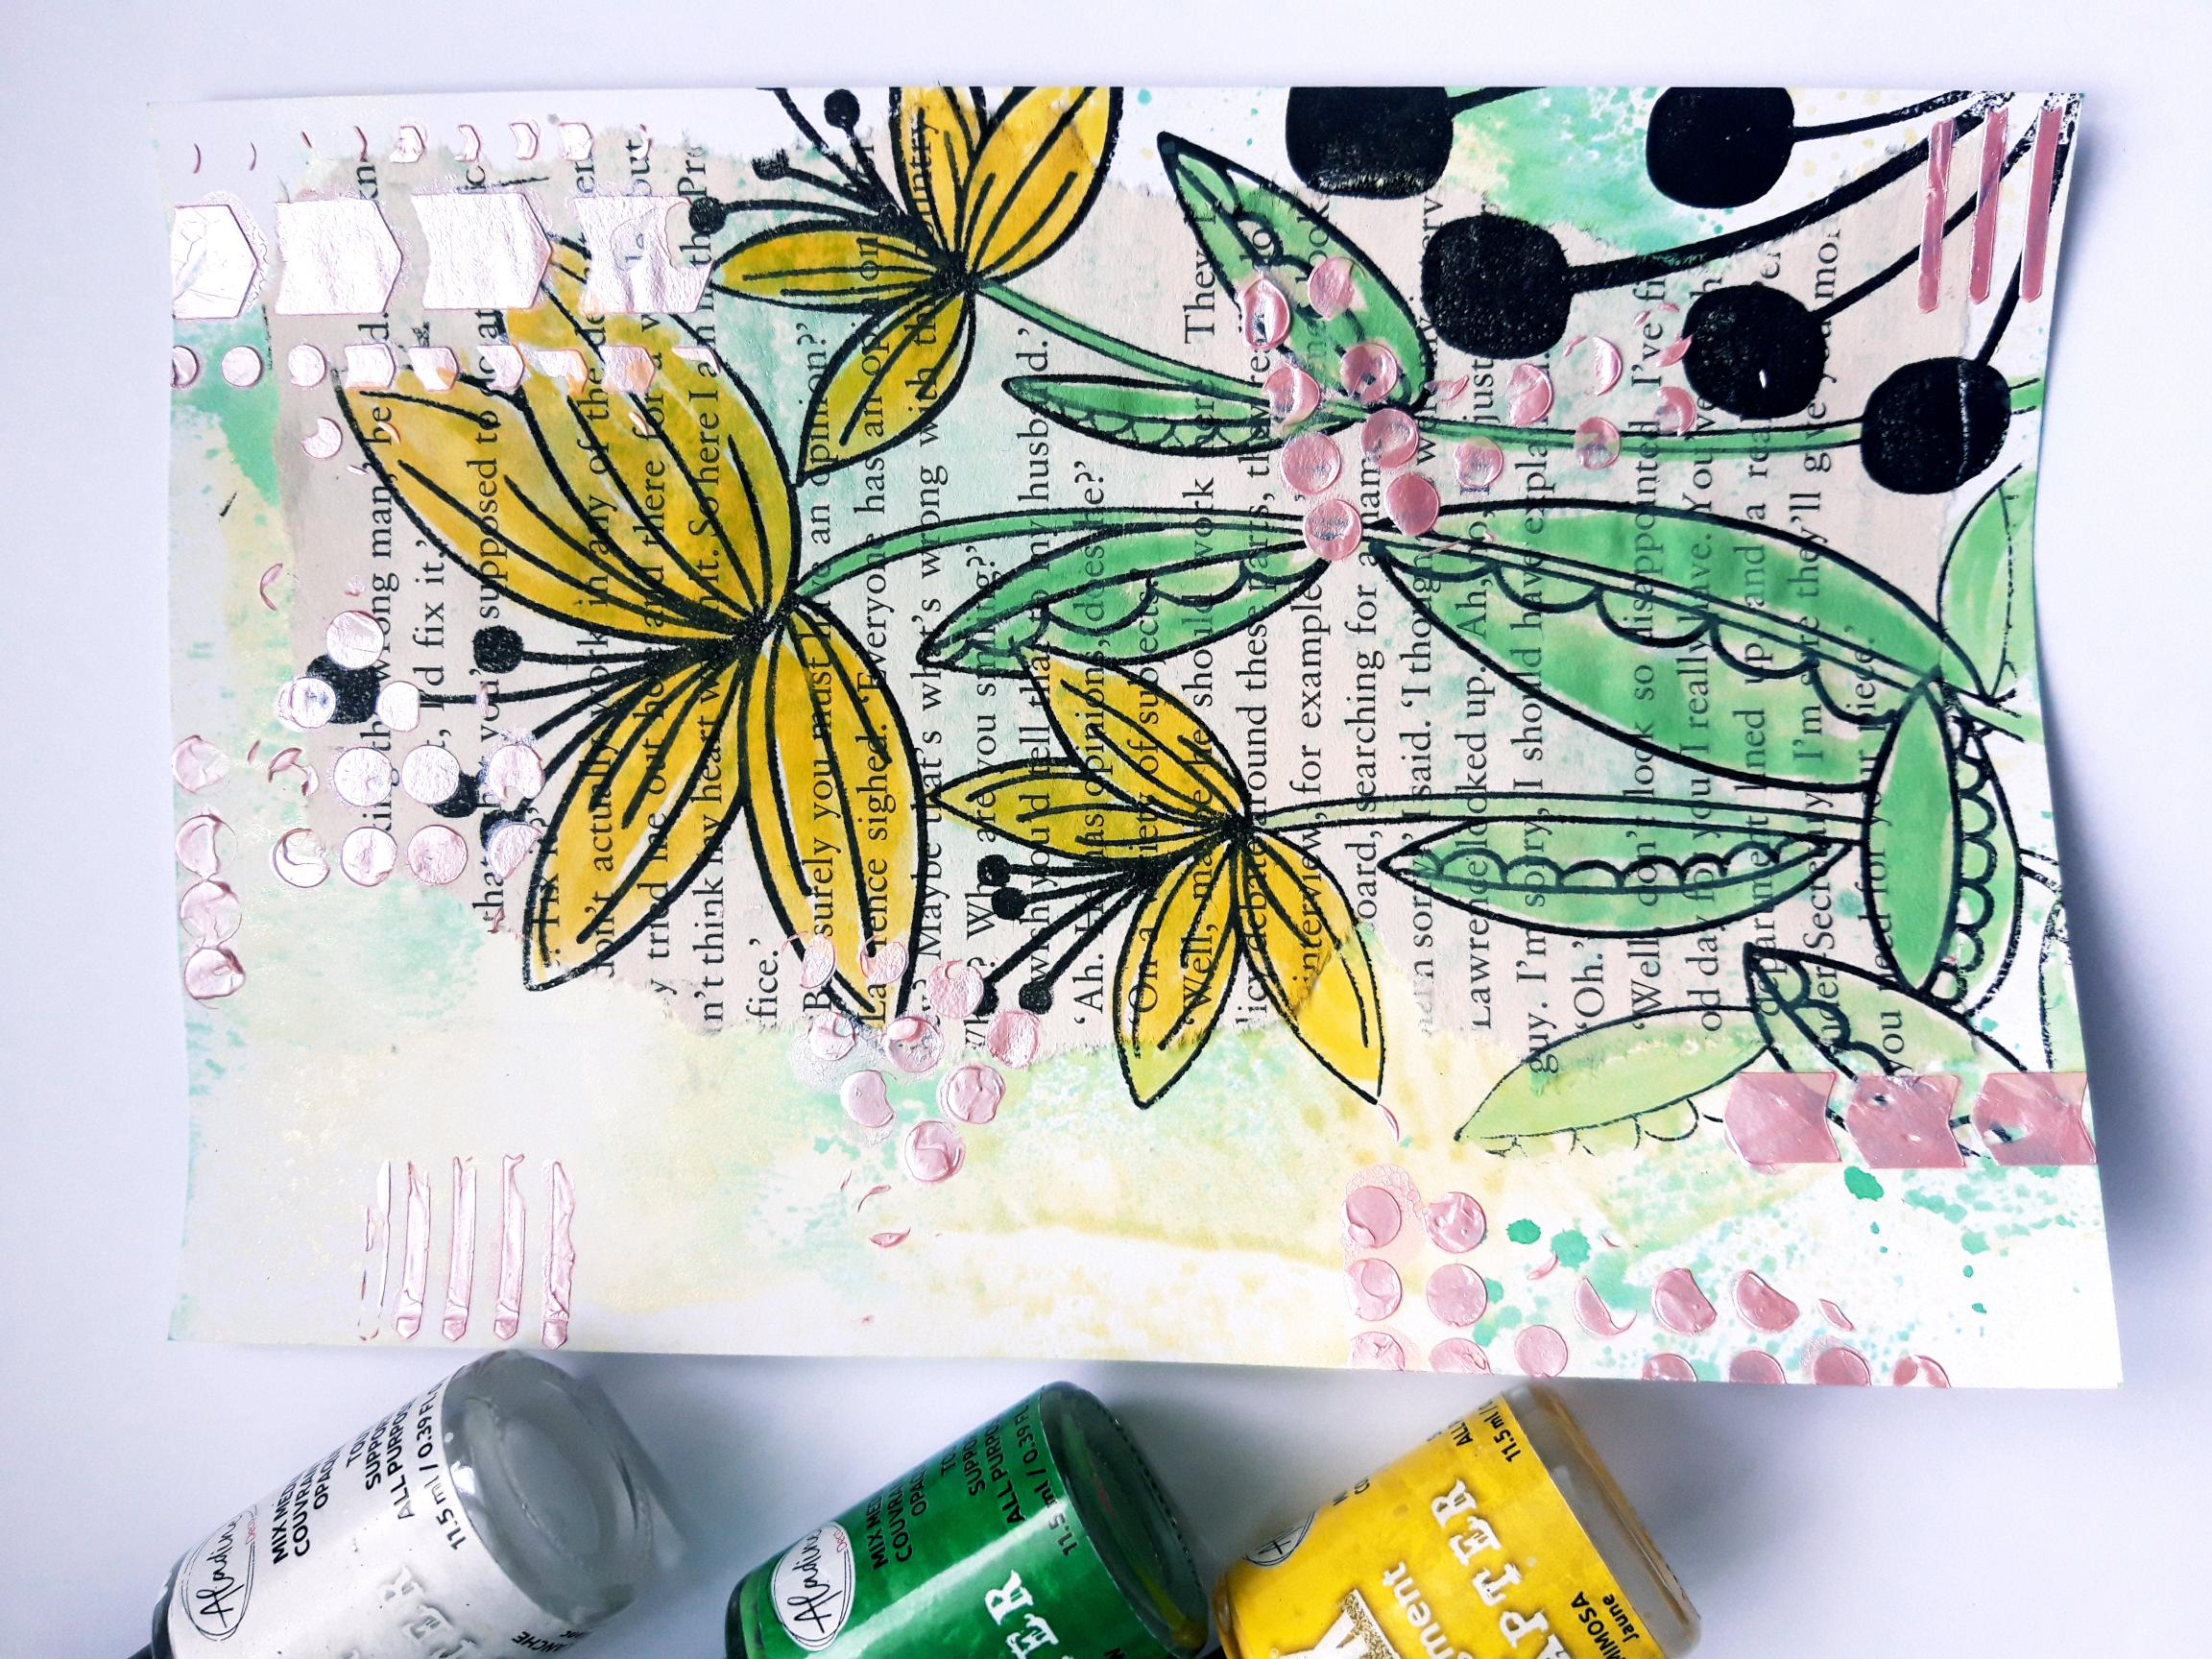
Apply a little of the Izink Pigments to your craft/glass mat, add a little water, and paint your stamped image. You can use the Avalanche to create paler tones, or to add highlights. |
|
Once the Pigments are completely dry, you can use a white gel pen to add accents, and highlights, to your artwork. |
|
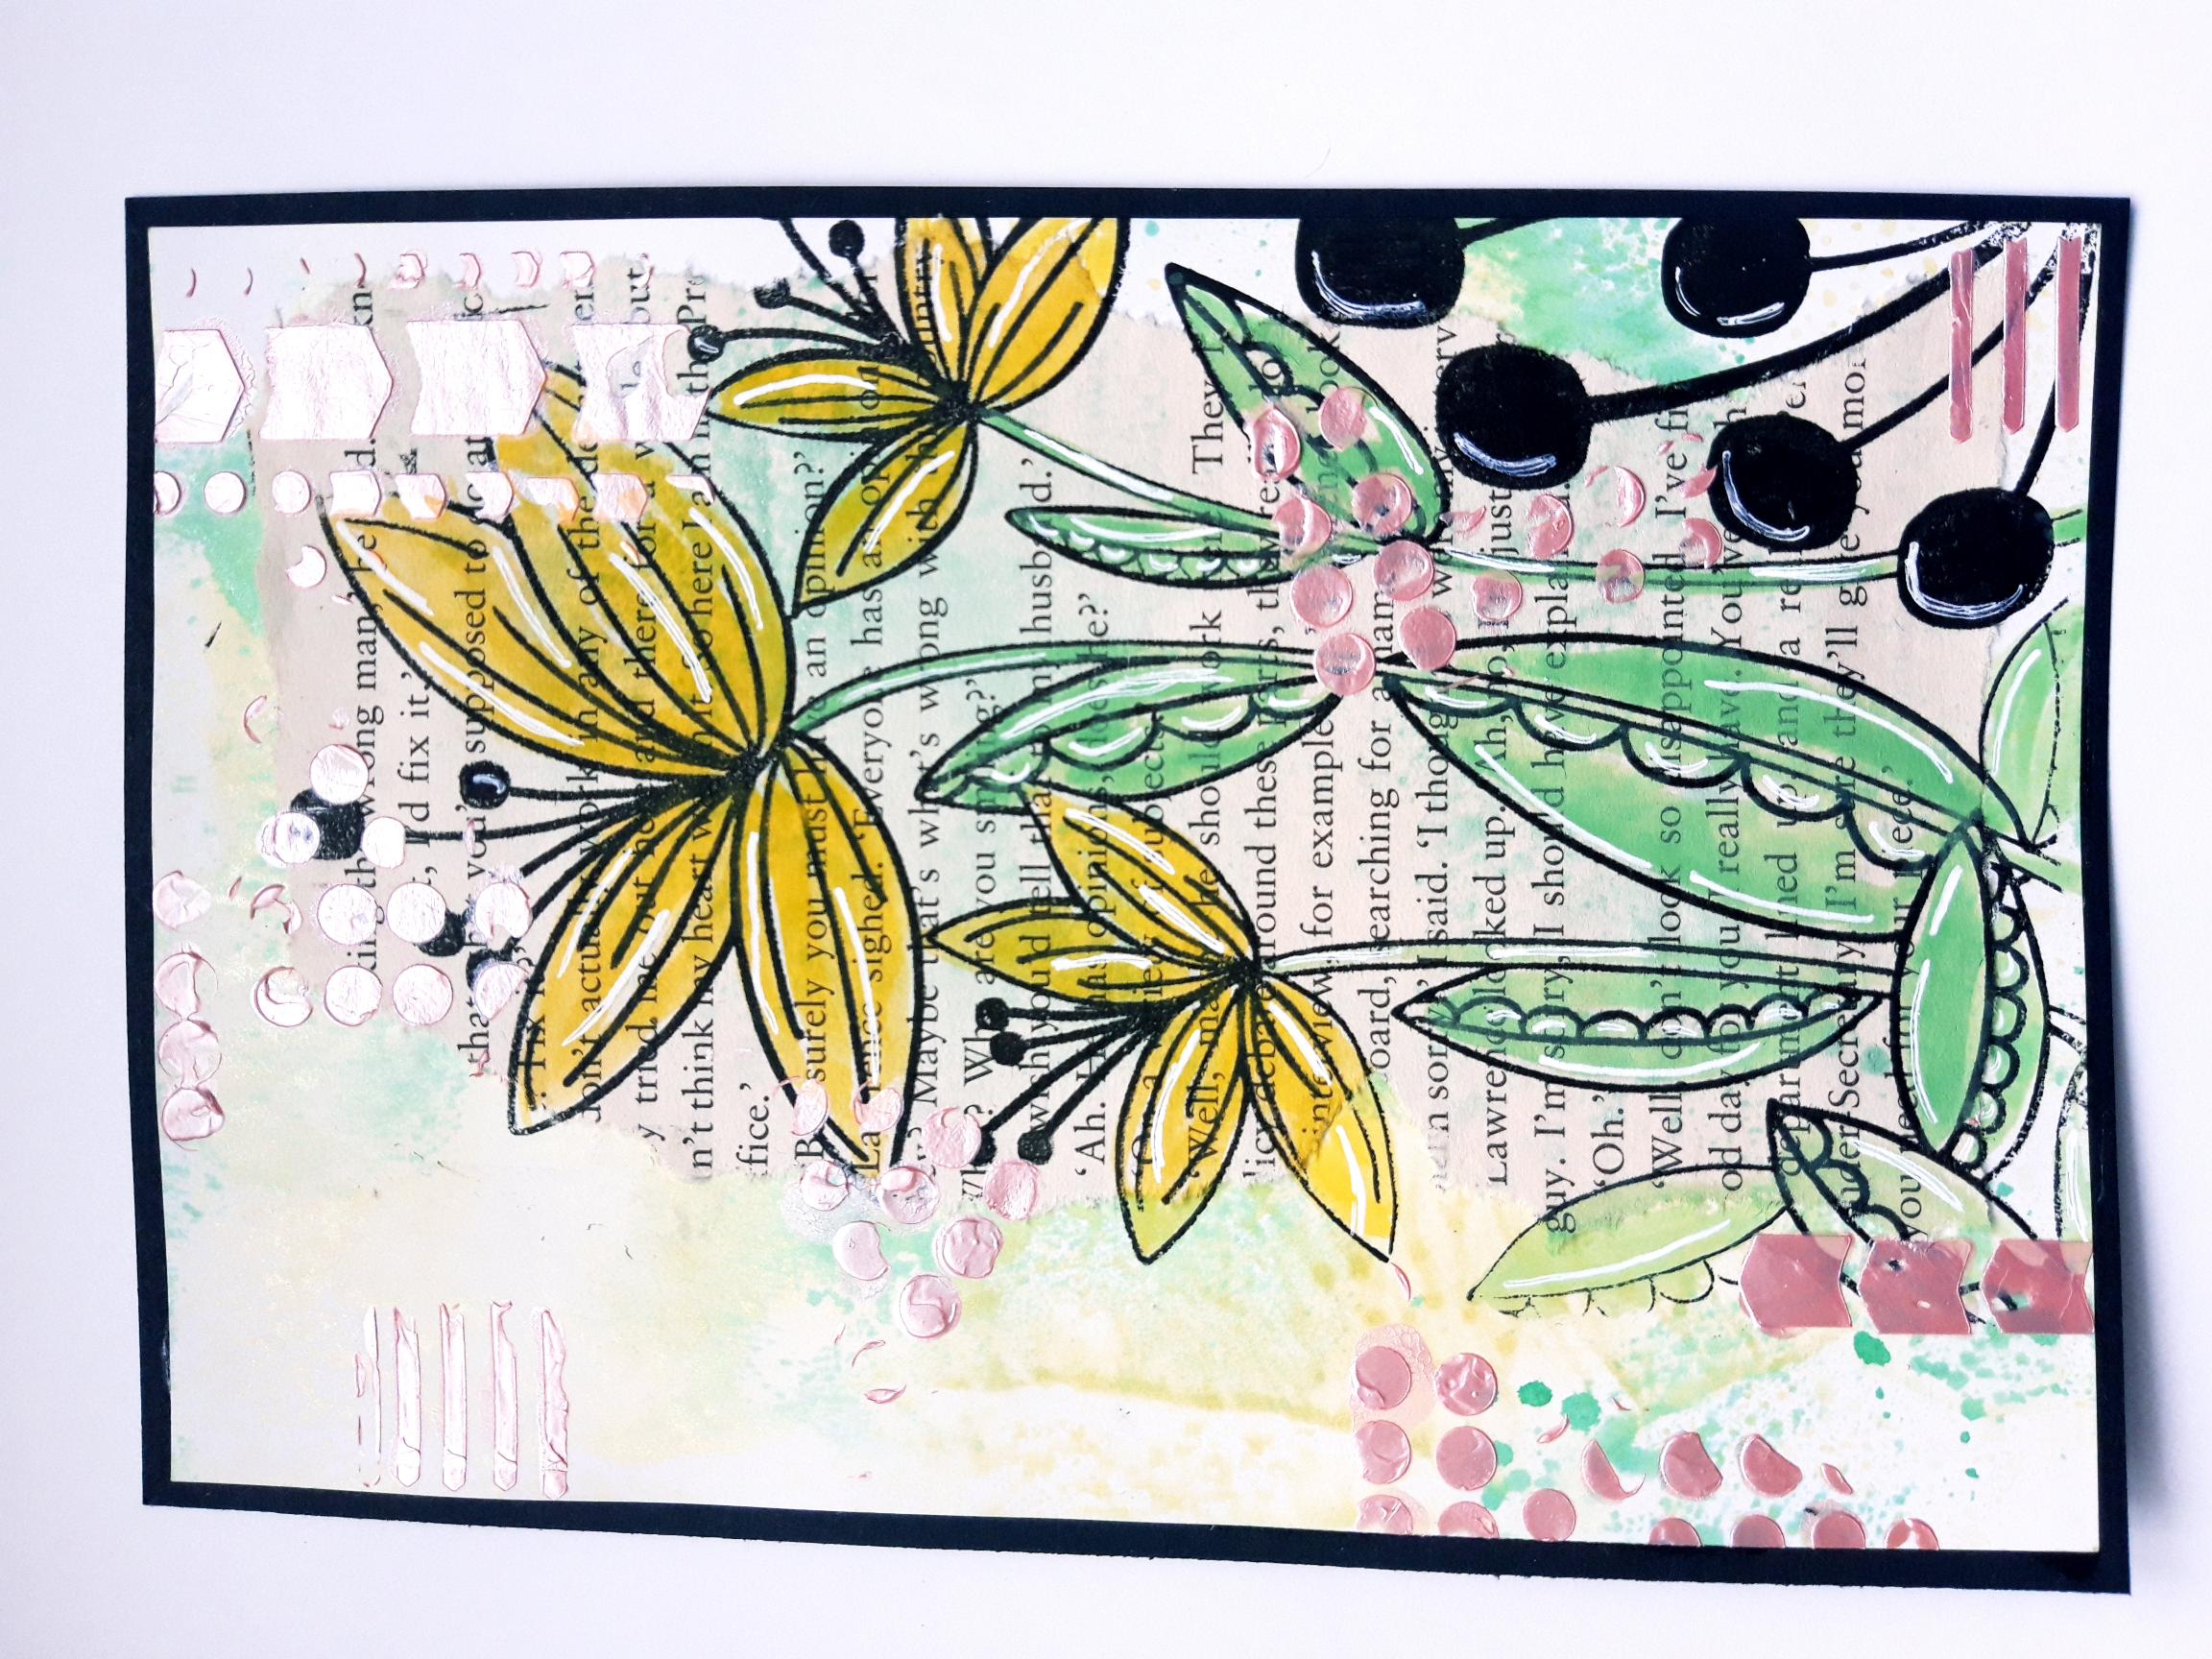
Adhere on to the black card (7 3/4 x 5 1/4") |
|
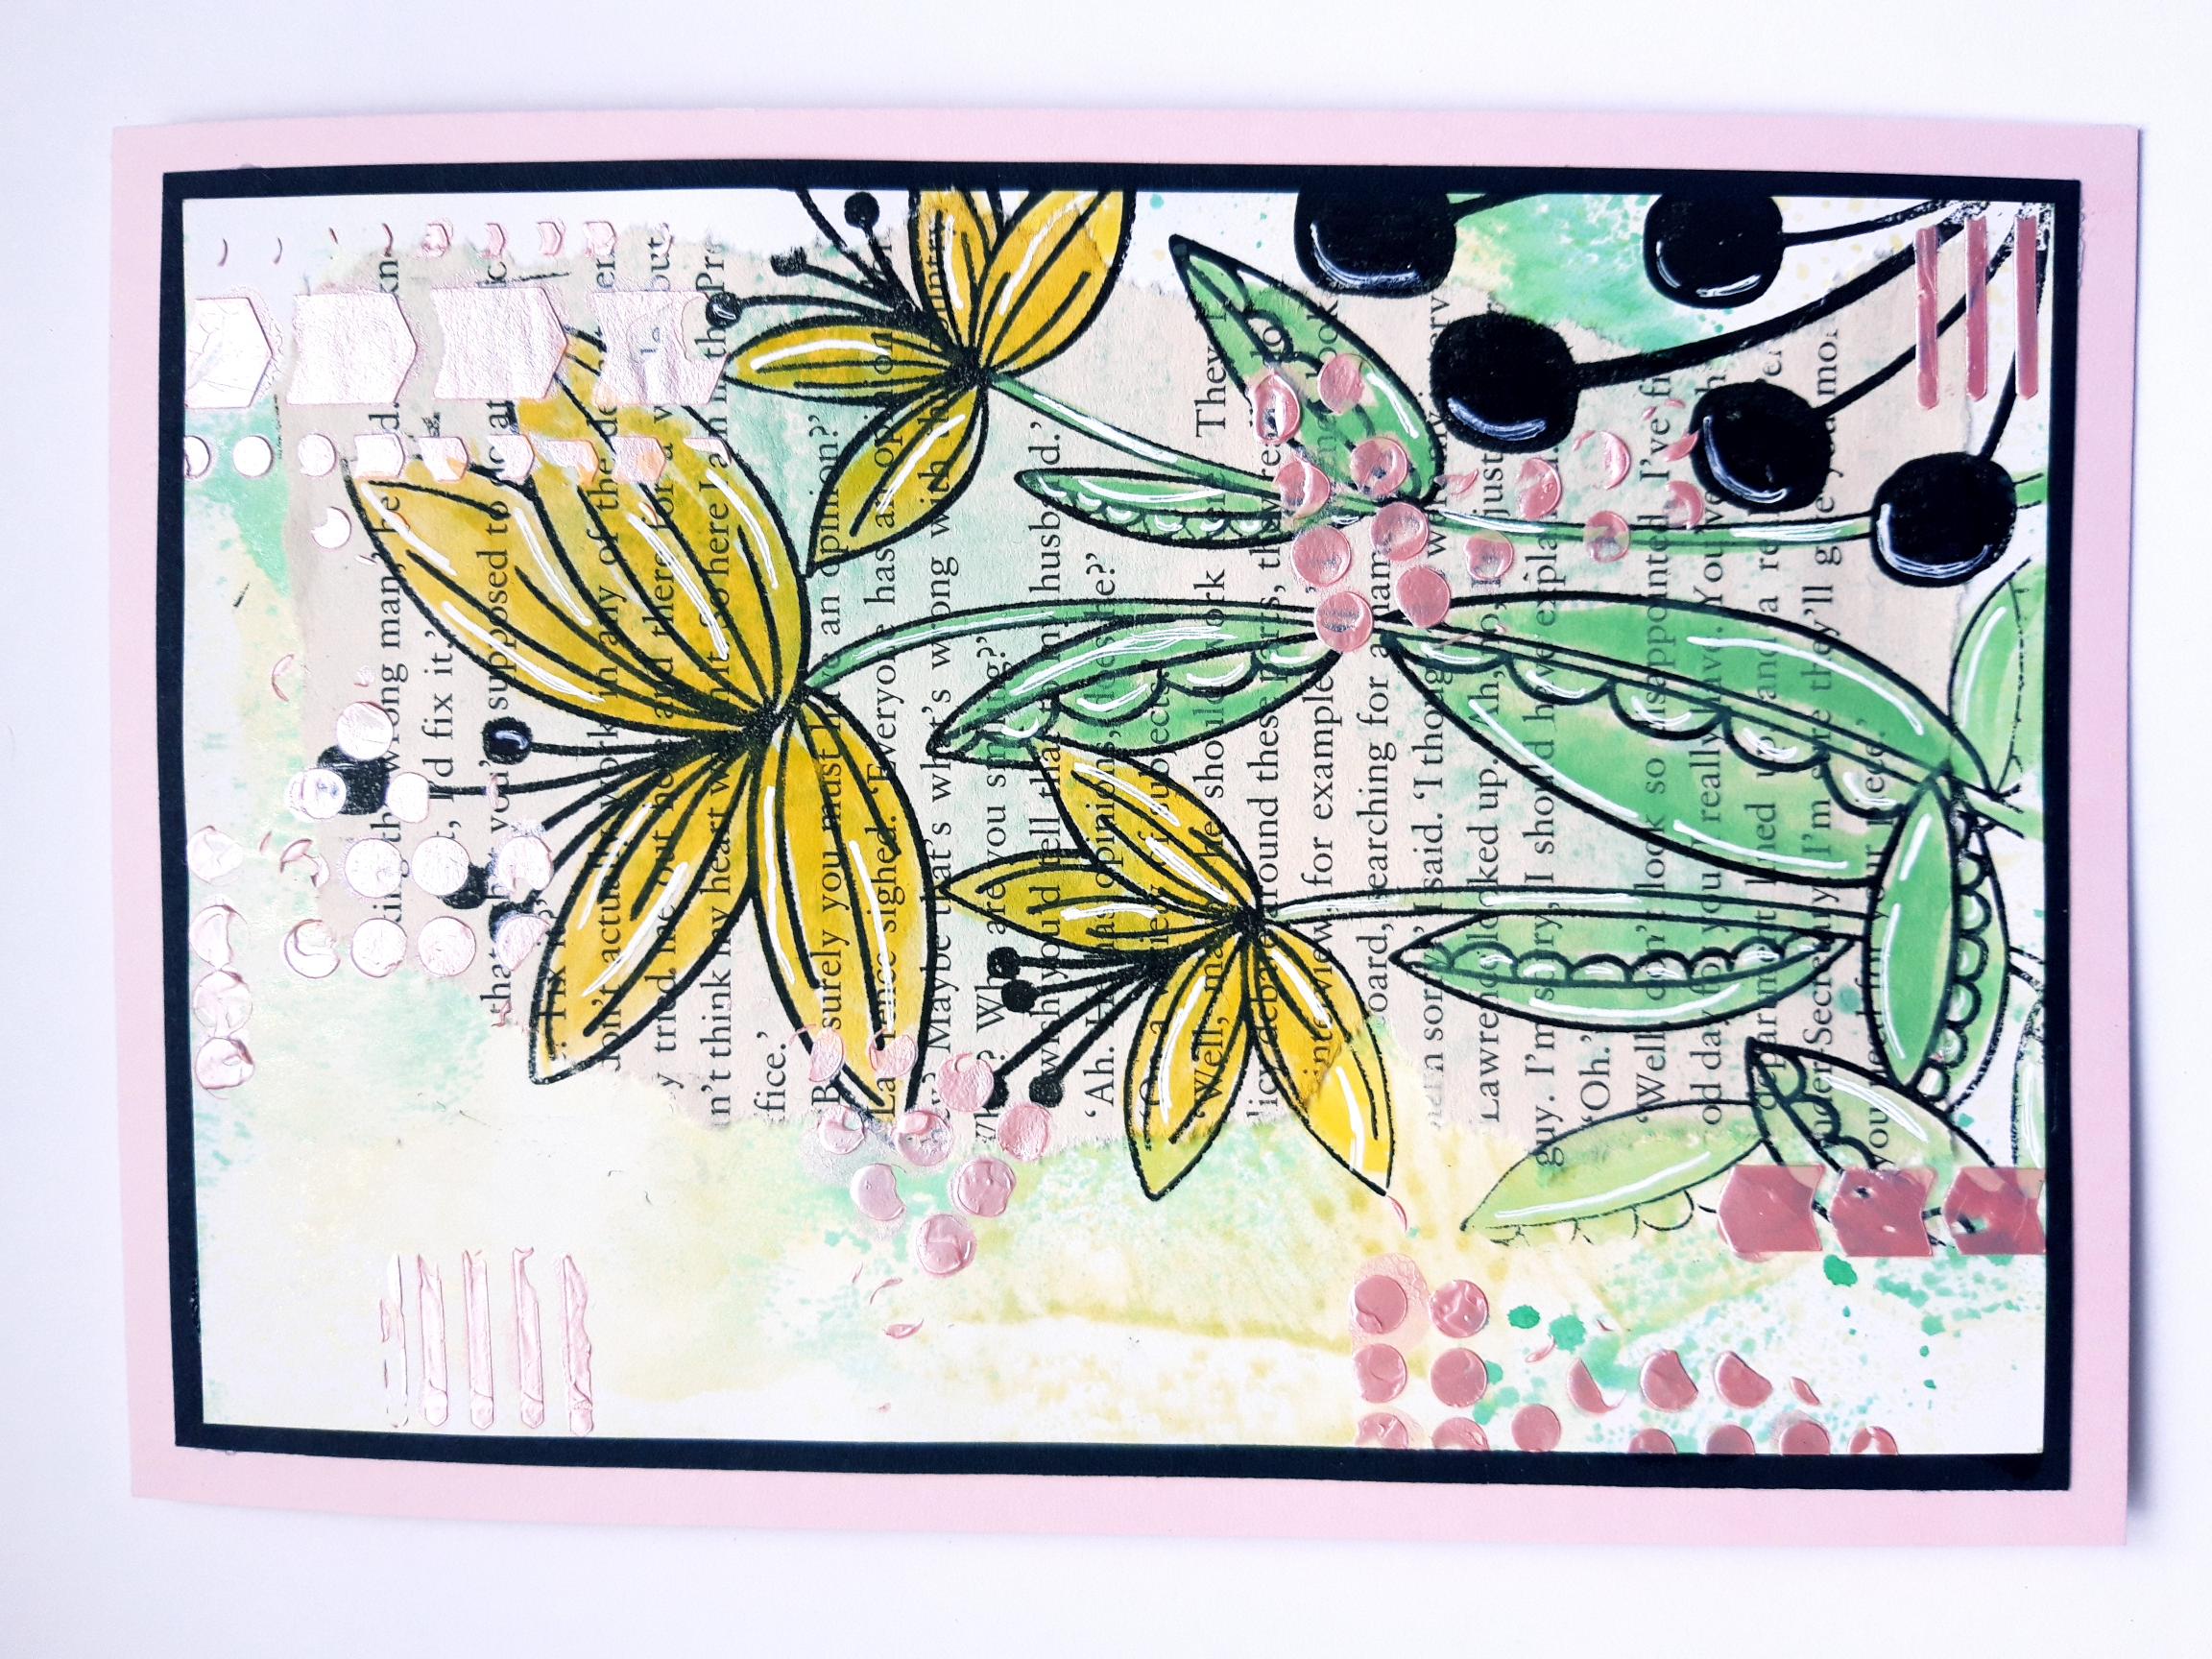
Adhere on to the front of your pink, top folding card blank. Set this to one side. |
|
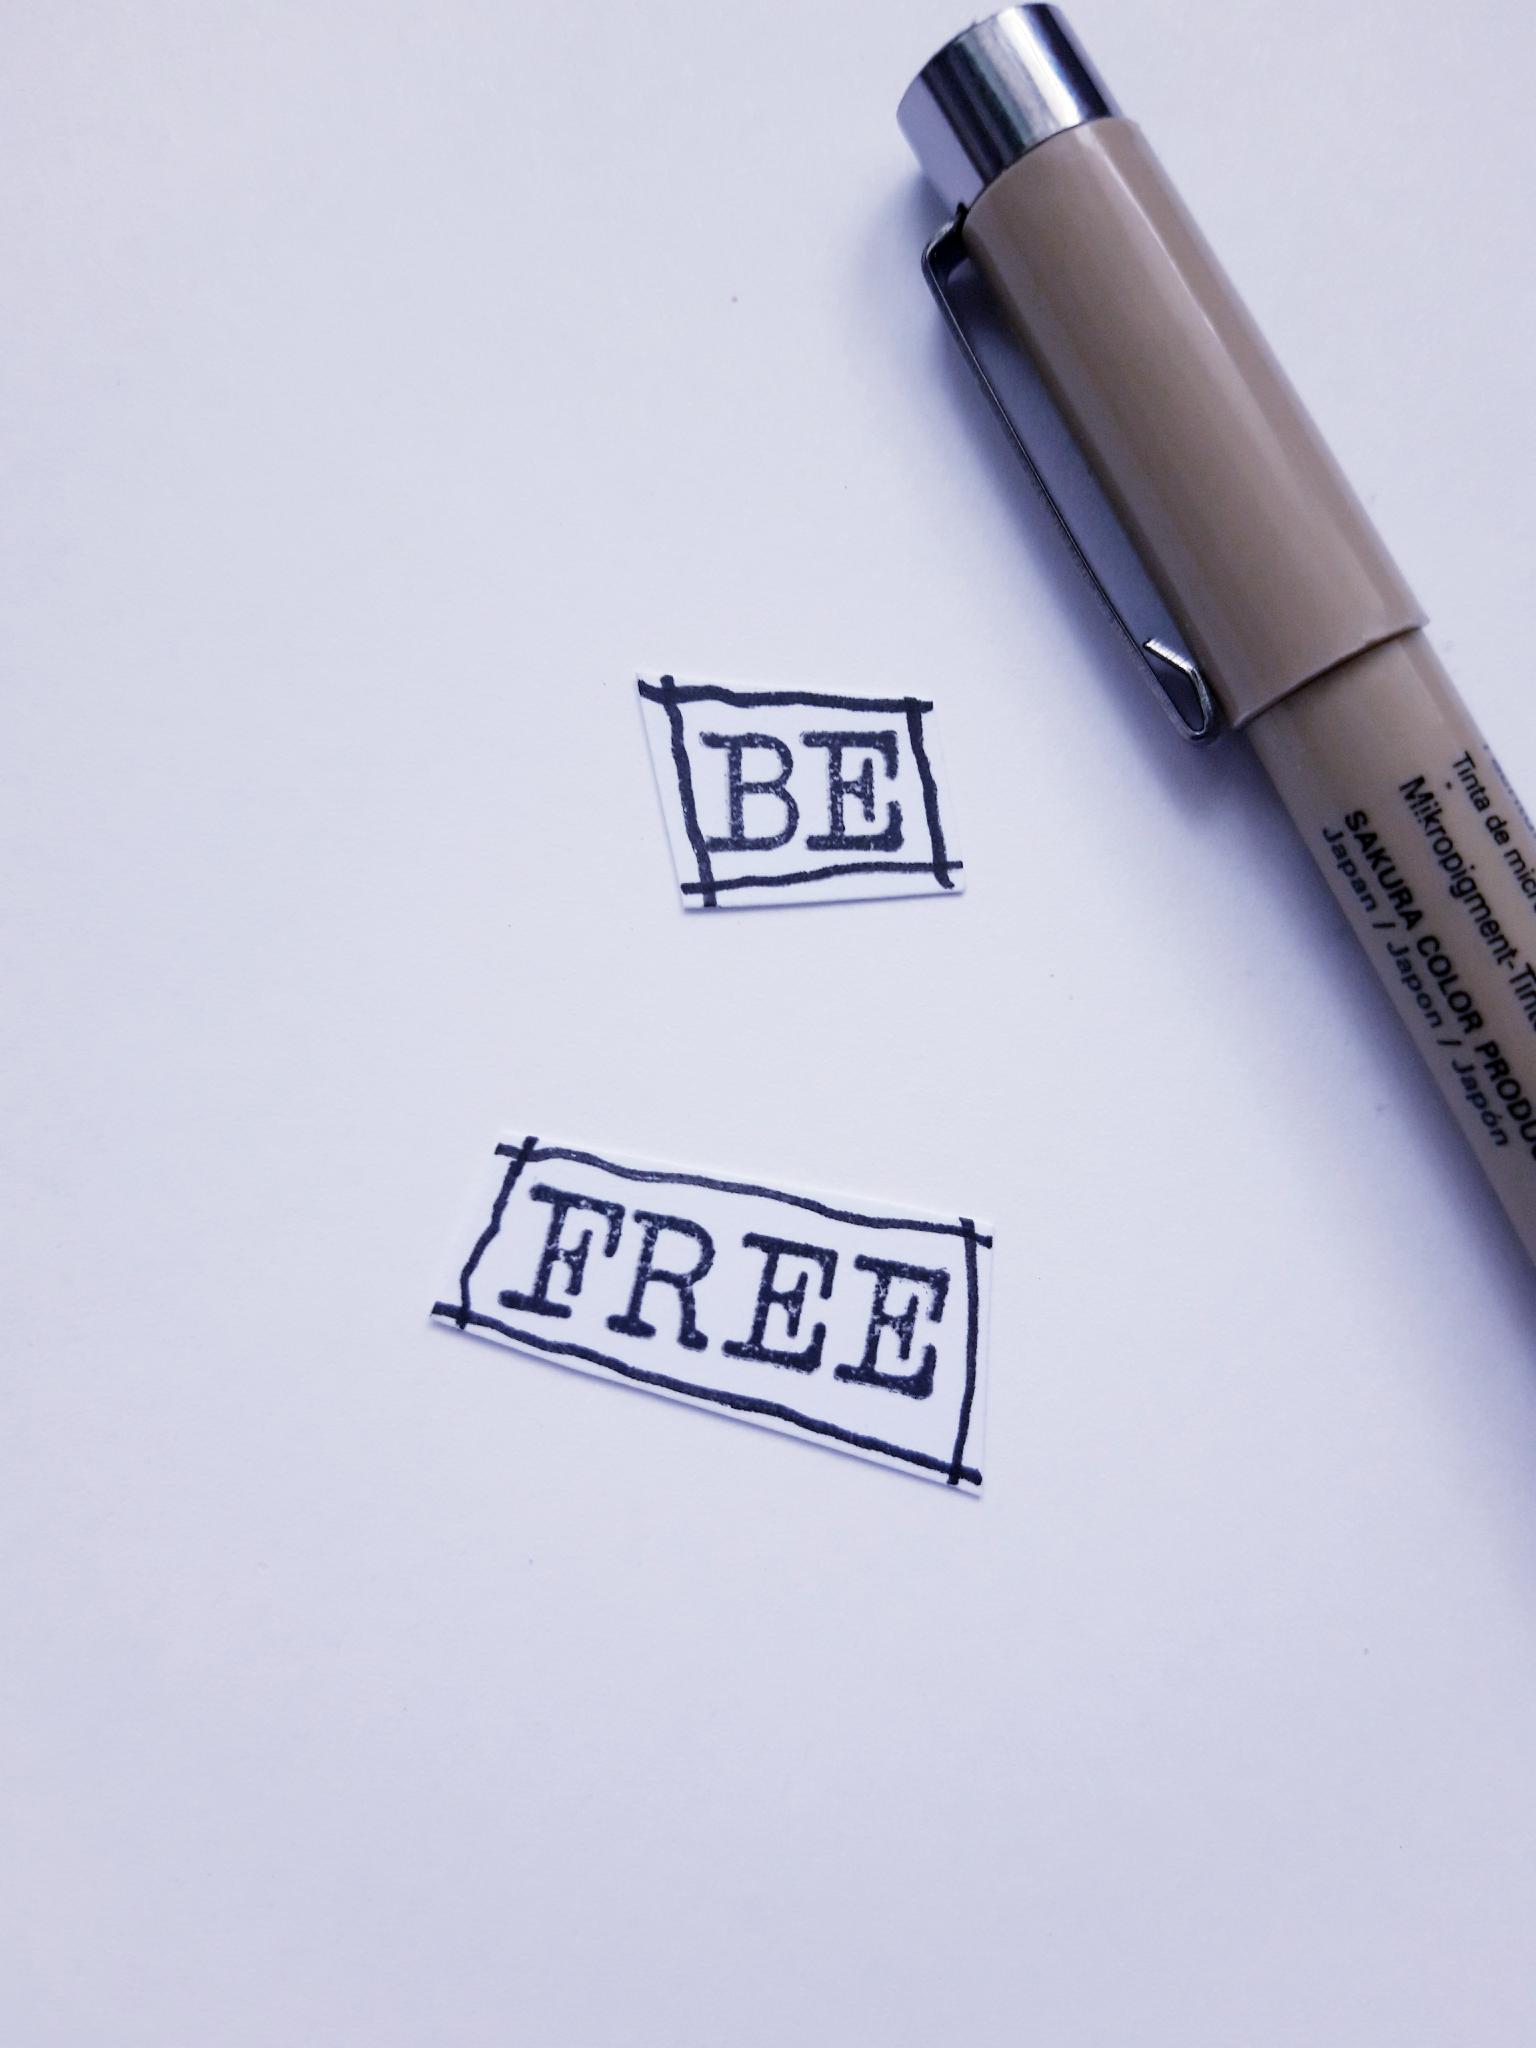
Ink up your chosen word stamps, from the More Than Words Creative Stamps, with the Versafine, and stamp on to the scrap white card. Cut them in to strips, and use a black pen to draw a decorative, wiggly frame, around them. |
|
To finish, adhere your sentiments on to your card, where required. |