Give your friends $10 off their first order!
Refer a FRIEND


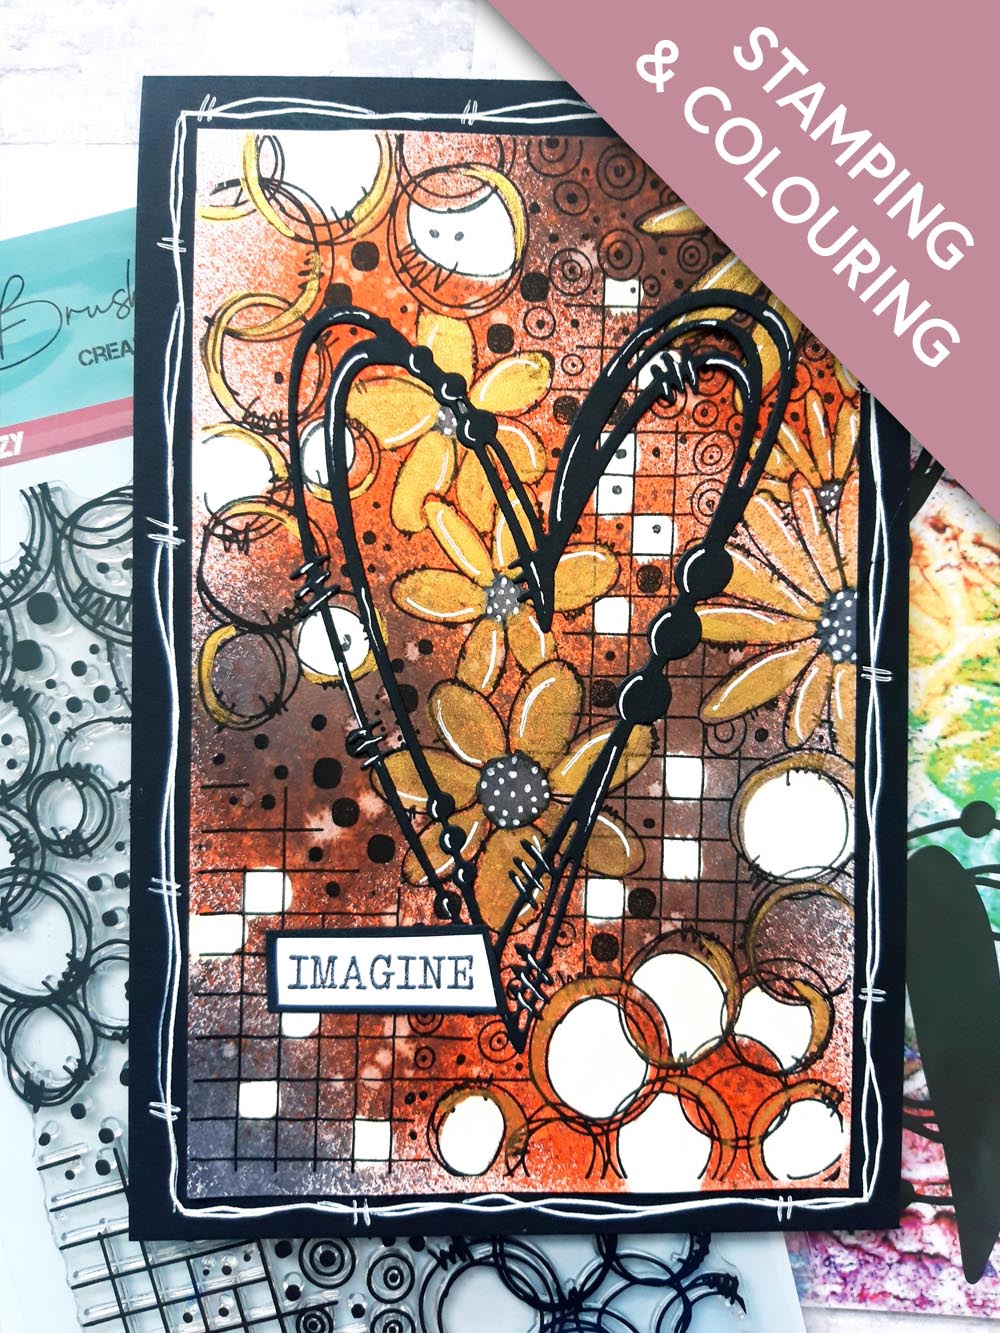
WHAT YOU WILL NEED:
Black top folding card blank (cut to 8 1/4 x 5 1/2")
White card (7 1/2 x 4 3/4")
Black card (6 x 4")
White card (scrap piece)
Thirsty Brush UnLtd Flower Frenzy Creative Stamps
Thirsty Brush UnLtd Mixed Up Hearts Creative Dies
Thirsty Brush UnLtd More Than Words Creative Stamps
Versafine Ink Pad: Onyx Black
Izink Dye Spray: Rusty Saffron, Black Liquorice
Paint brush
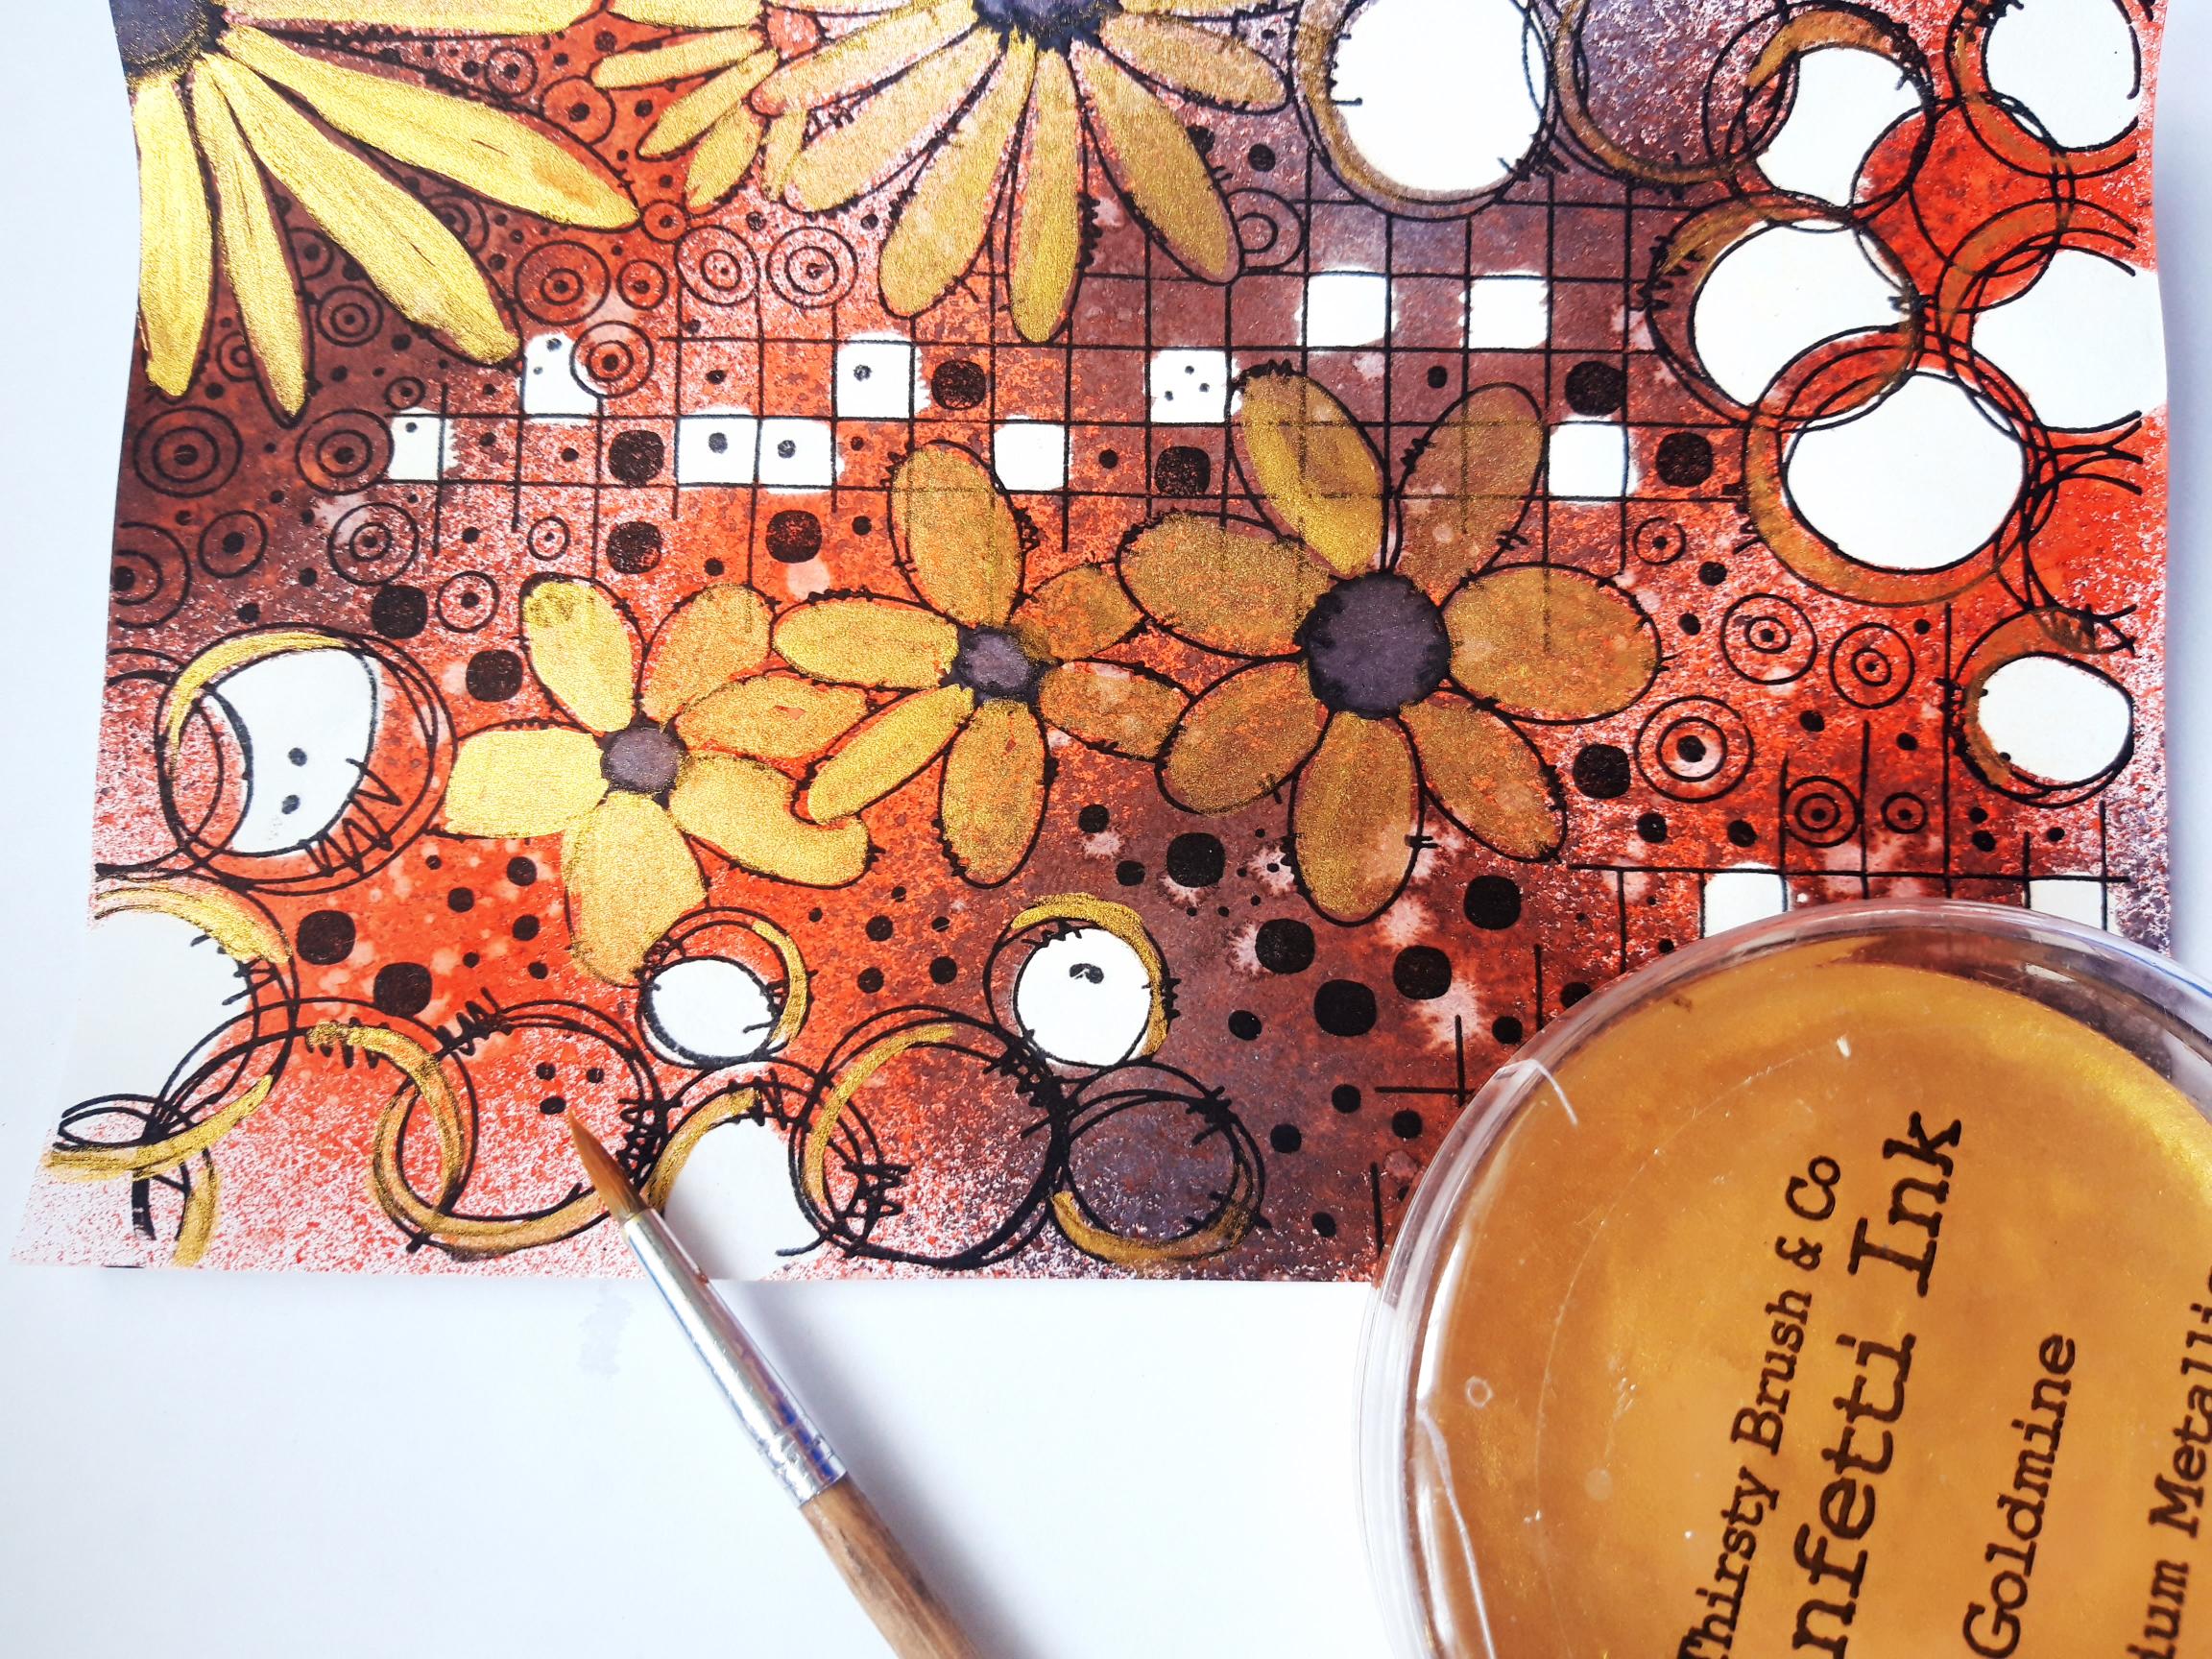
Thirsty Brush Confetti Paint: Goldmine
White gel pen
Eureka 101
Paper Trimmer
Perfect Together Glue
Die Cutting machine
[click image to enlarge] 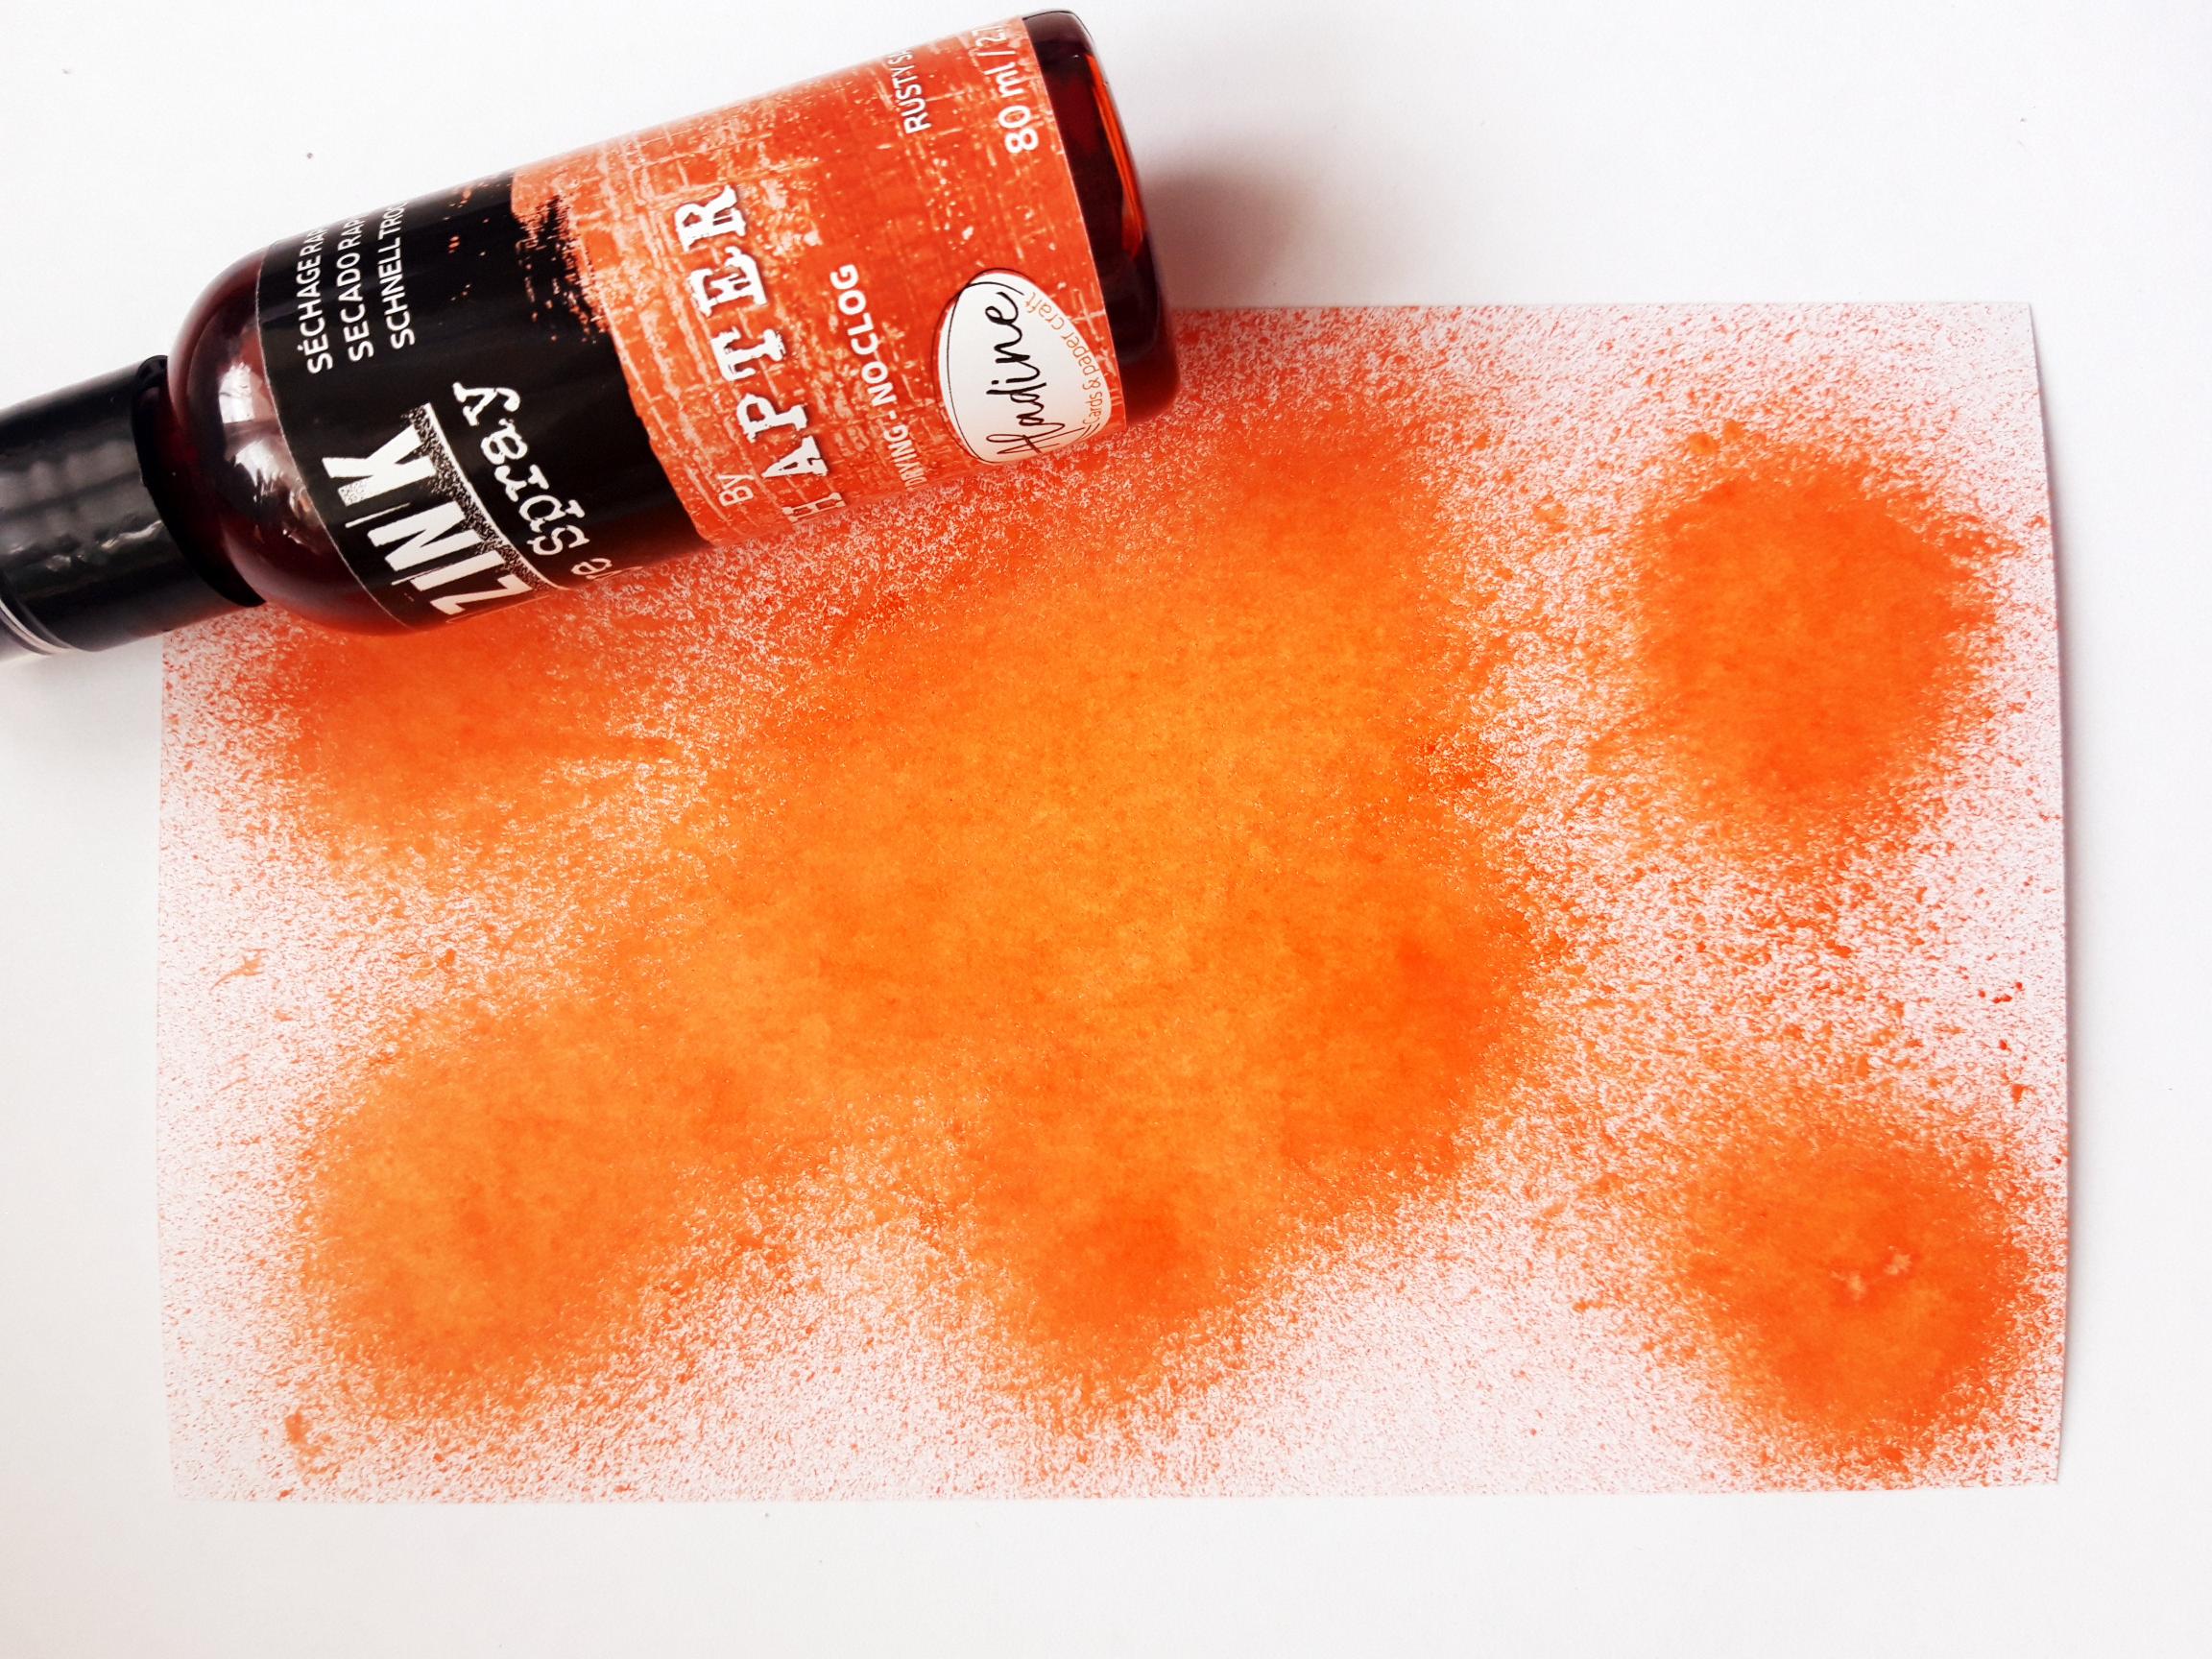
|
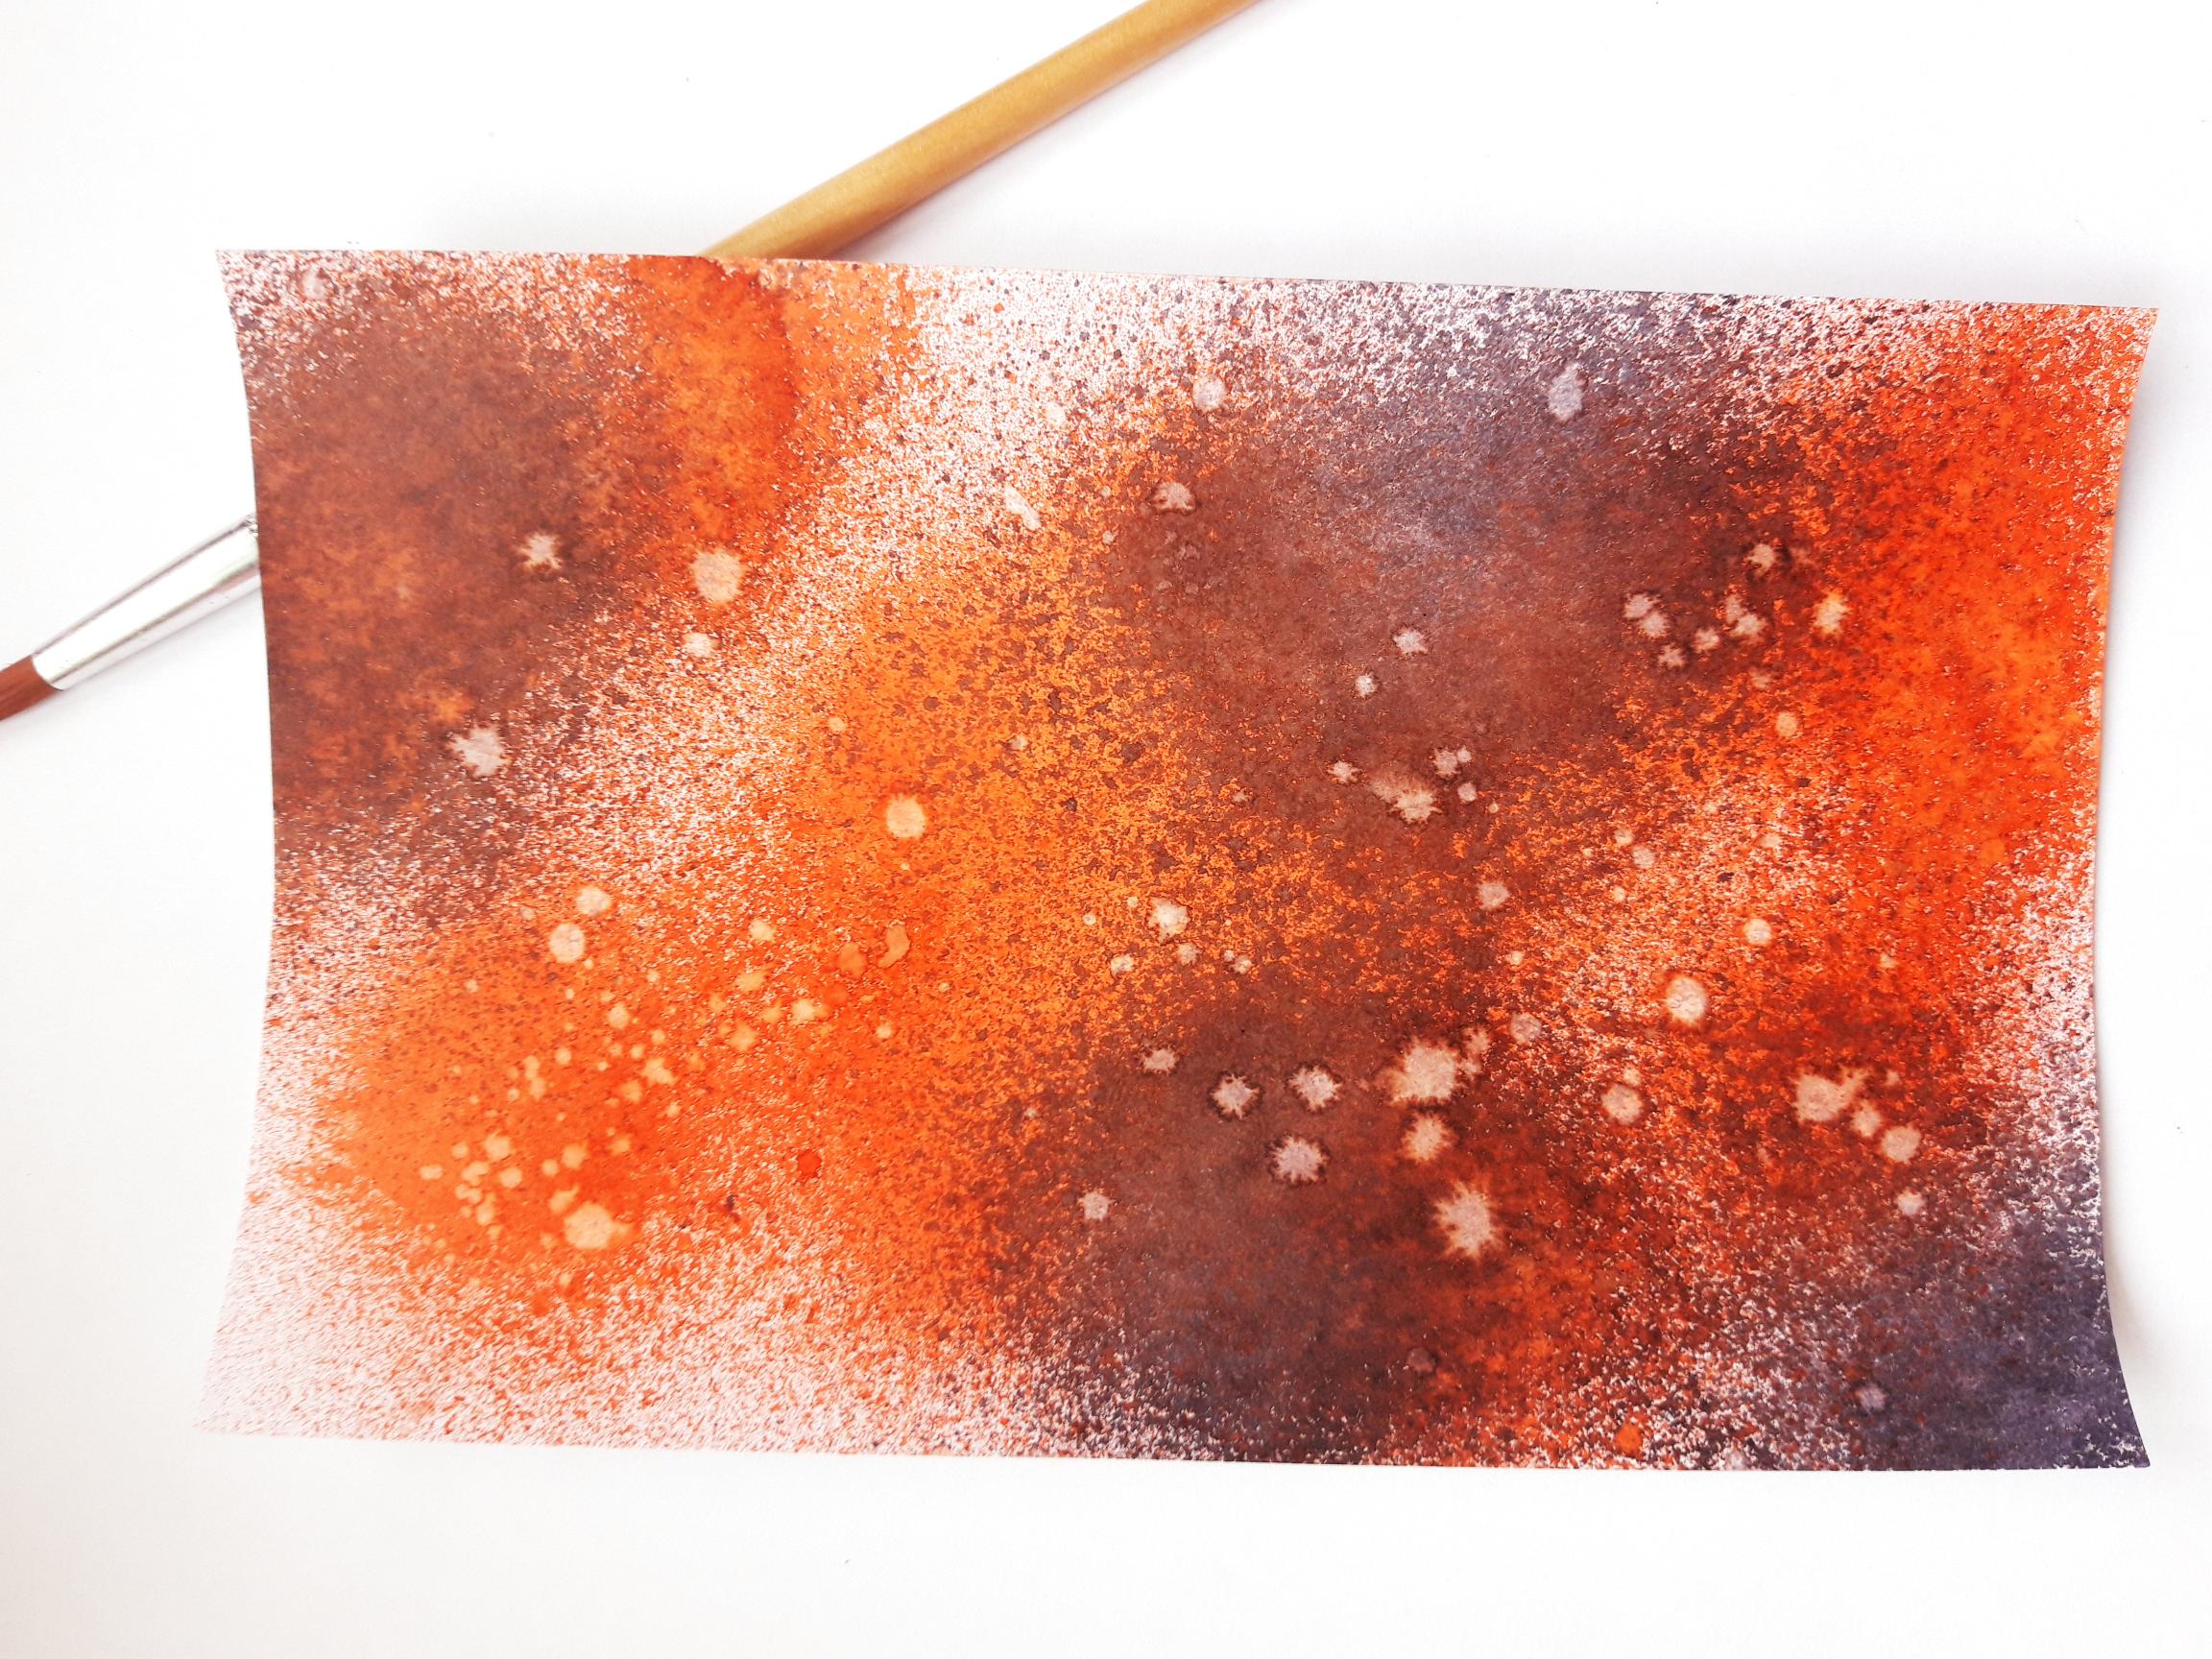
Spray the Izink Rusty Saffron randomly, on to the white card (7 1/2 x 4 3/4") |
|
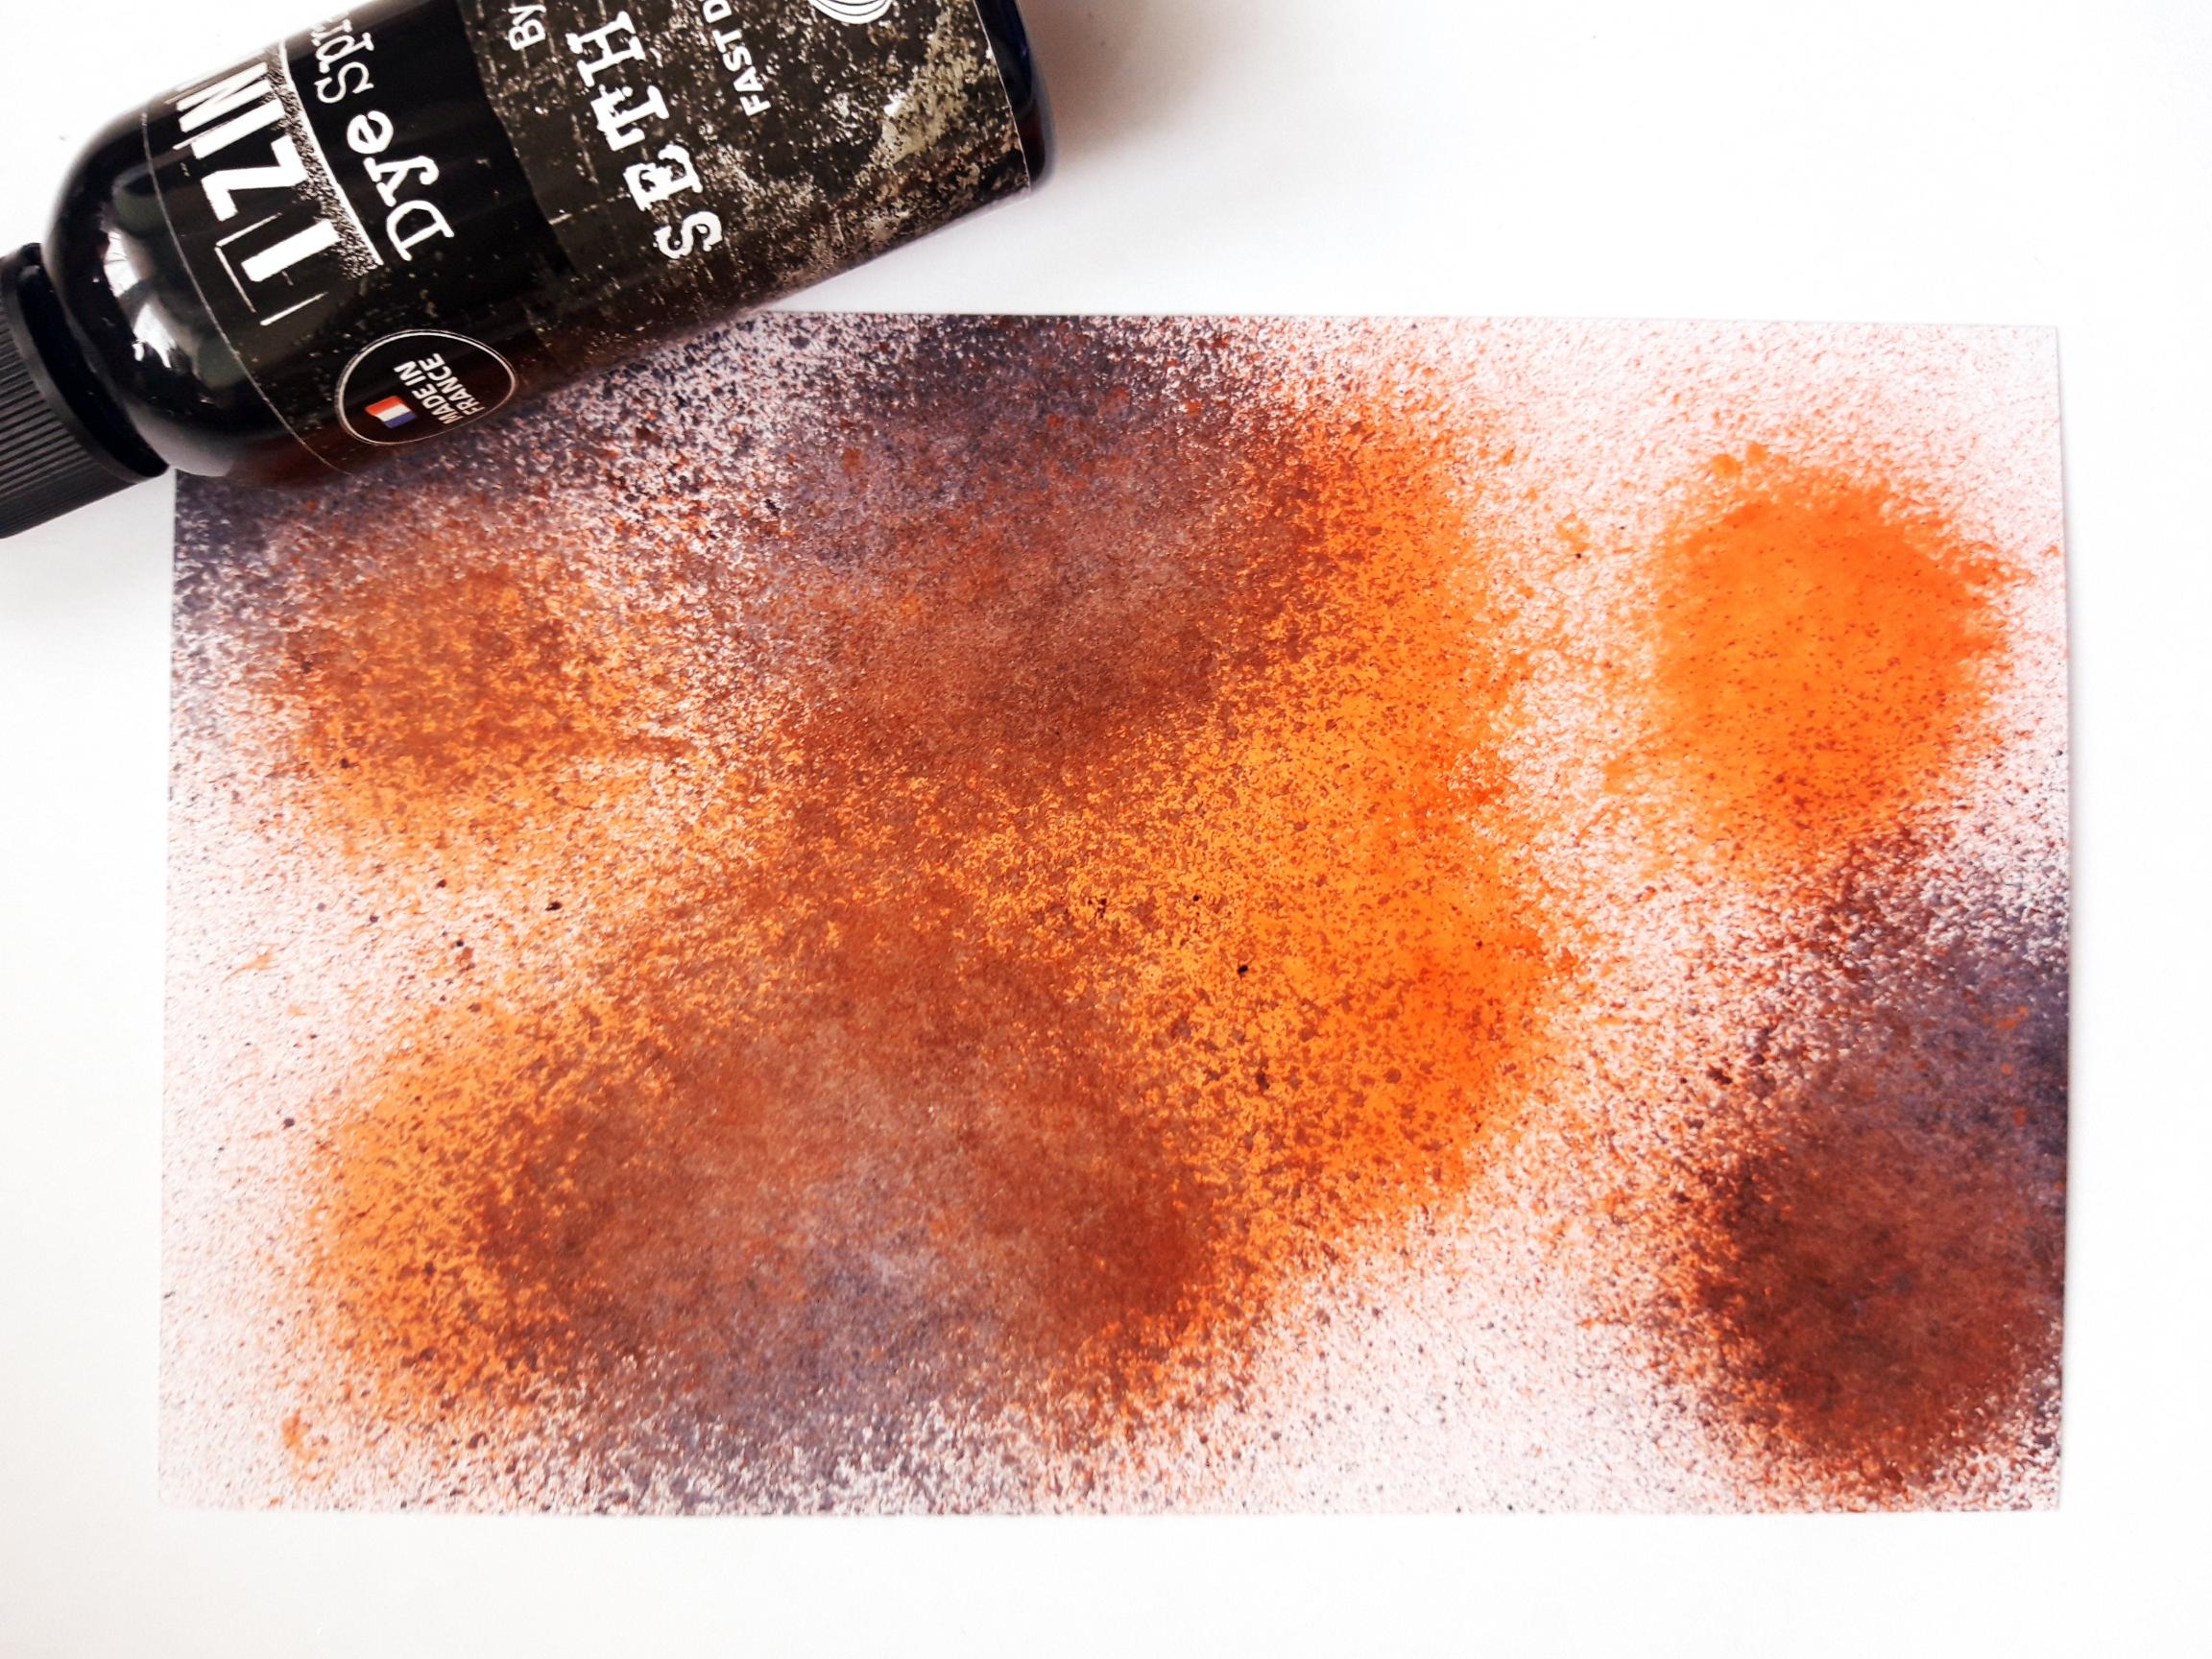
Spray the Izink Black Liquorice randomly, on to the card. |
|
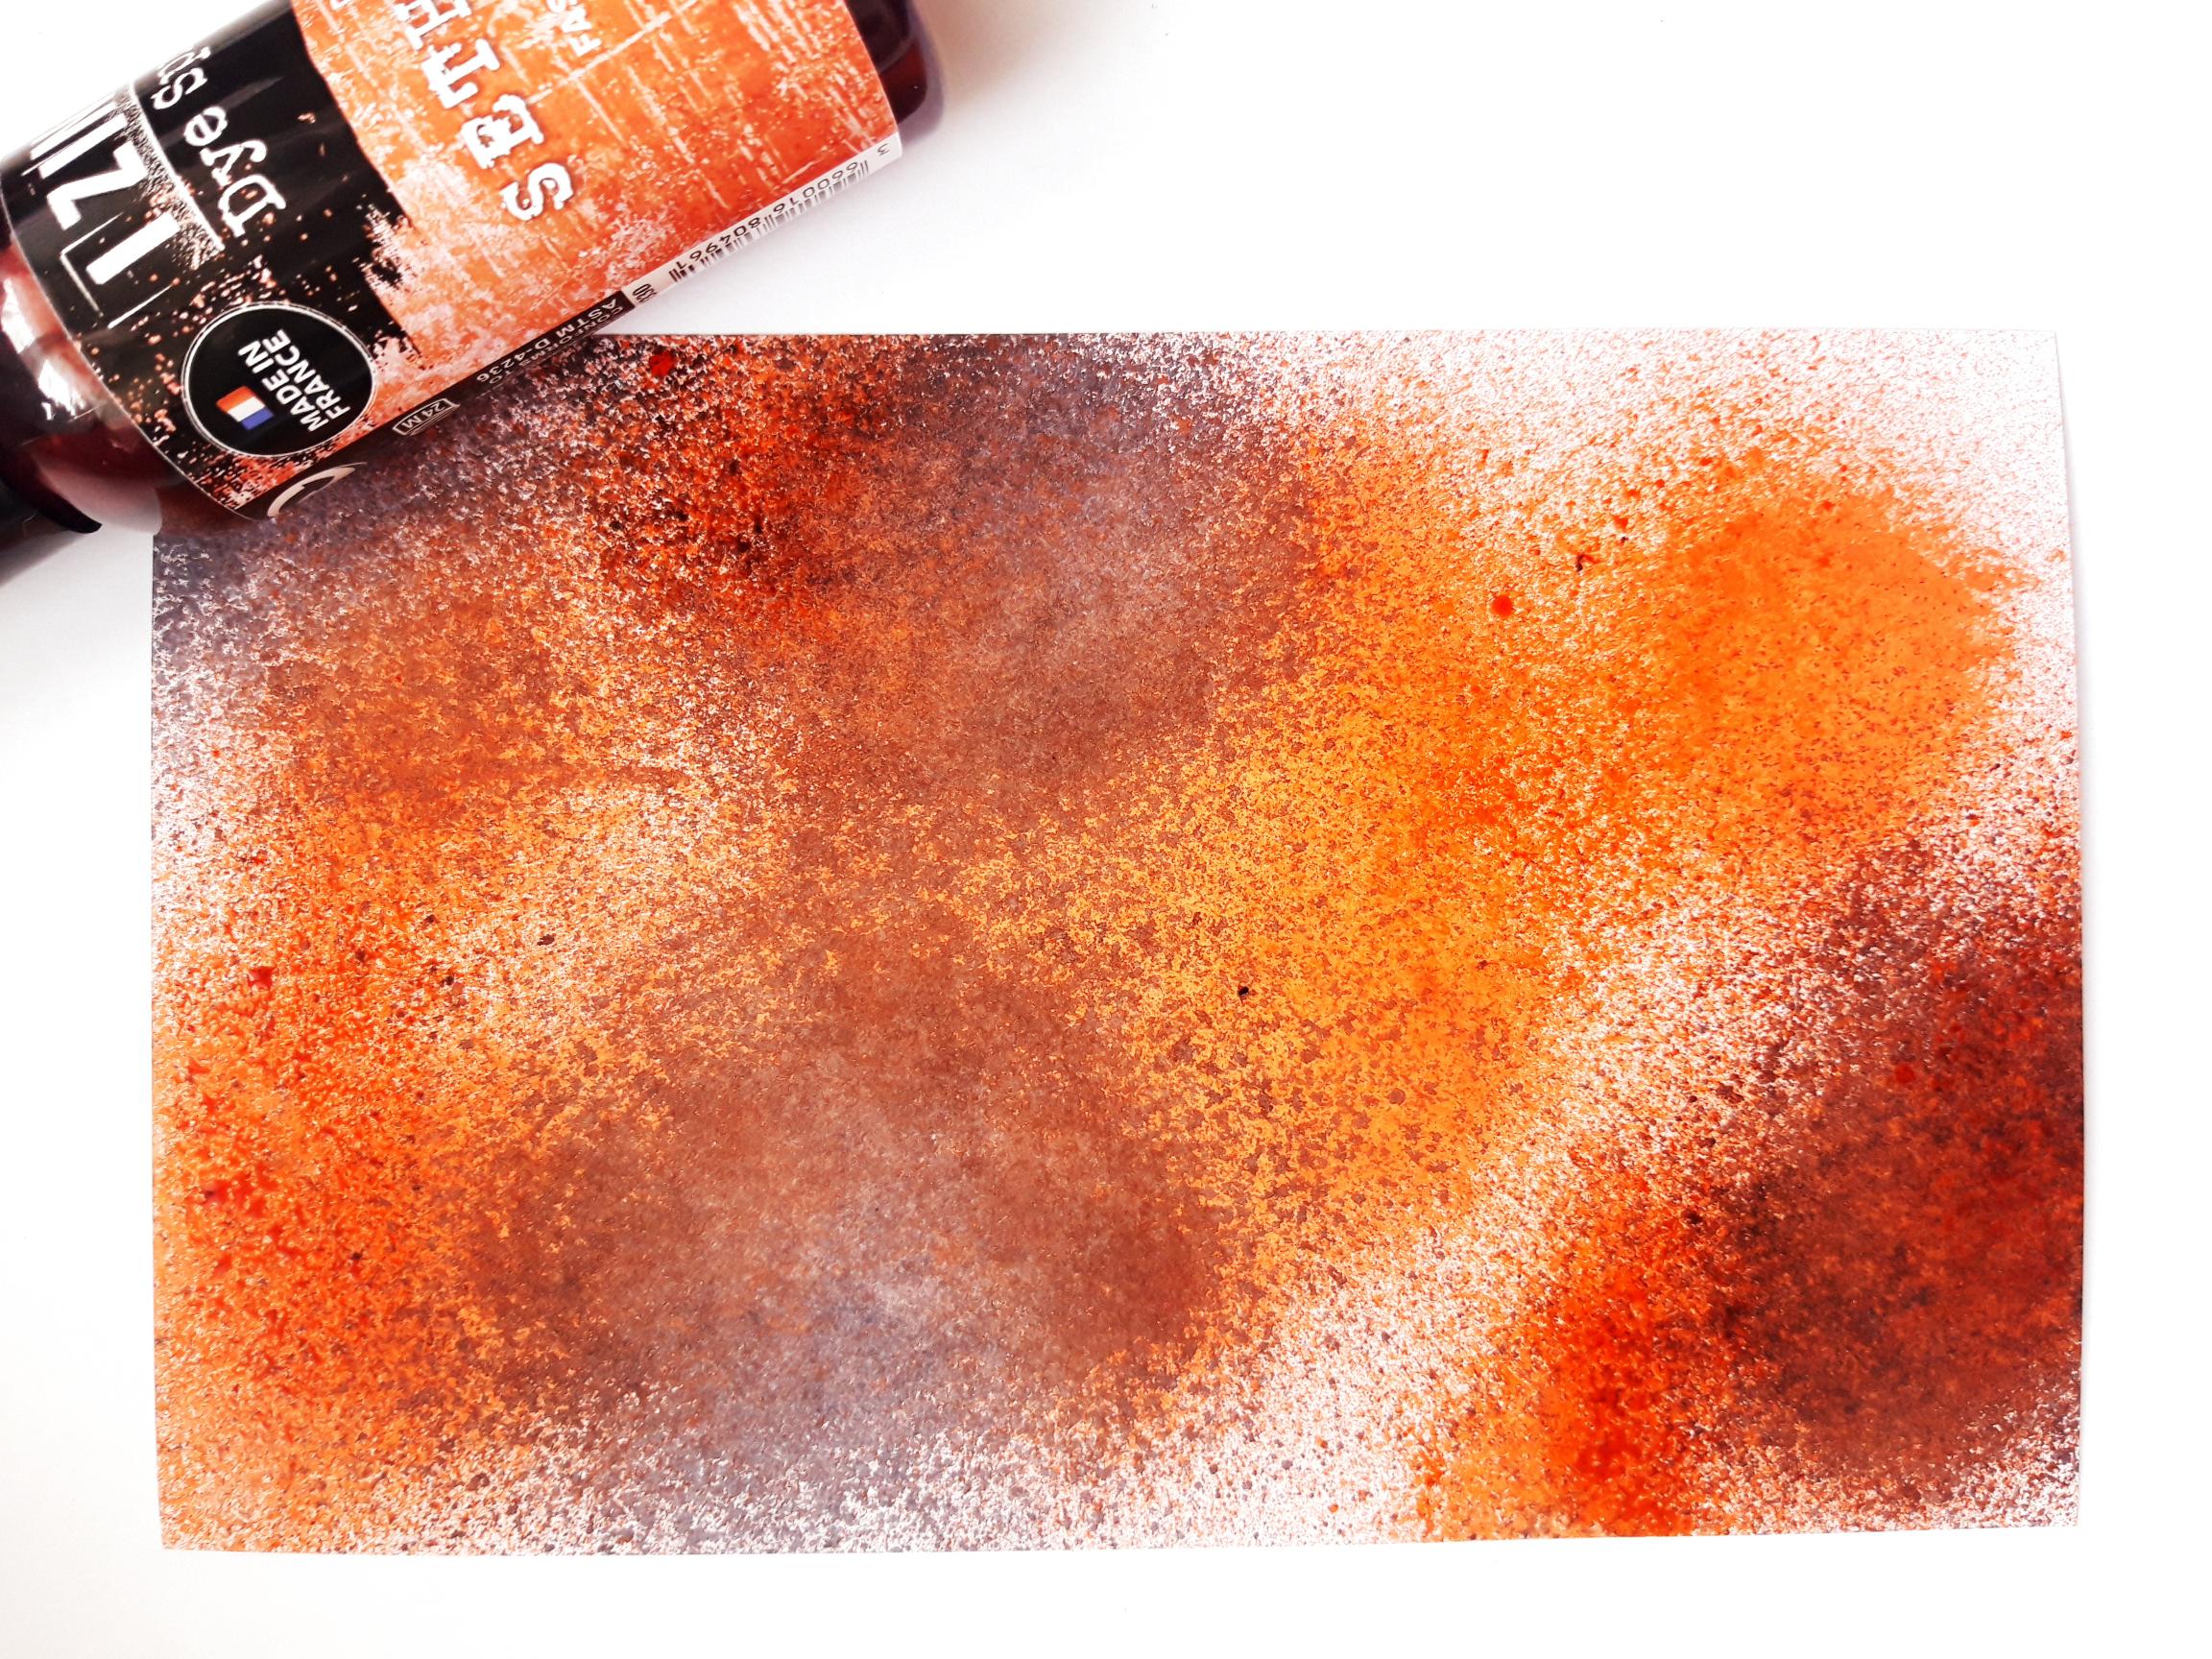
I then decided to go back in and spray a bit more of the Rusty Saffron, on to my background. You can add more, of either colour, until you are happy with the result. |
|
Splatter water over your background, using a paint brush. Wait a few seconds, then mop up any excess water with a paper towel. Dry off your background thoroughly. |
|
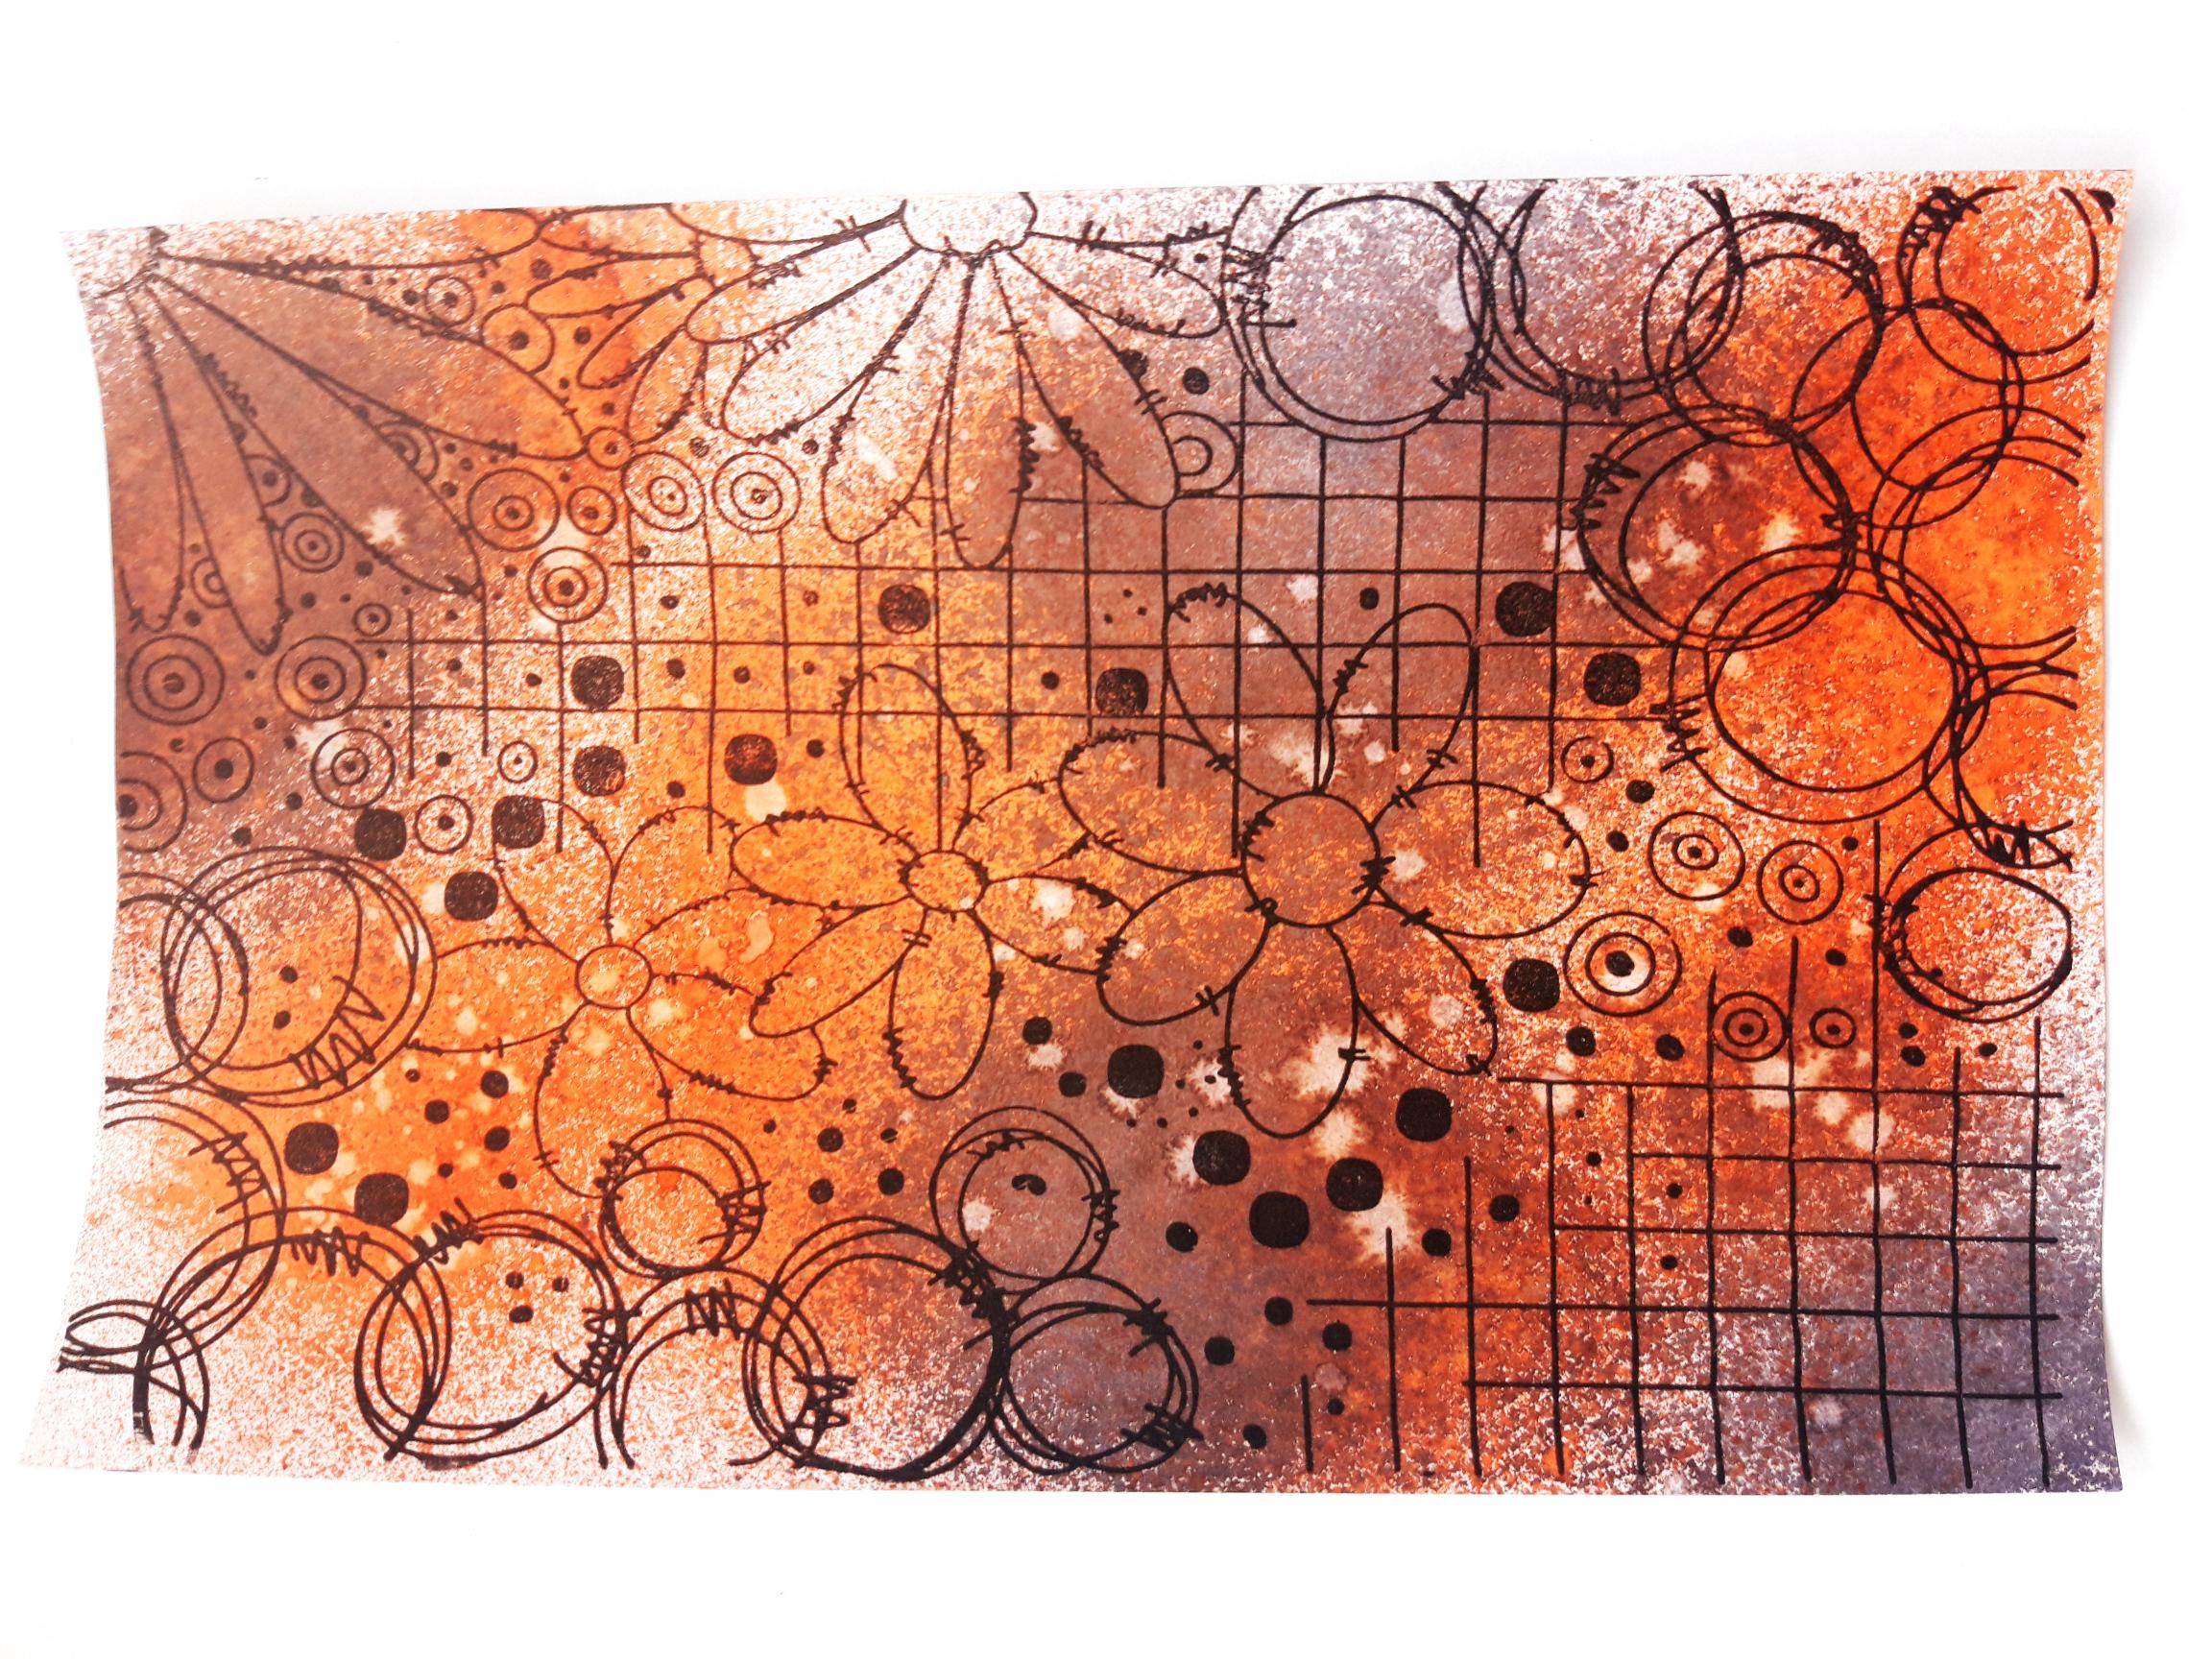
Ink up the Flower Frenzy stamp, with the Onyx Black Versafine, and stamp on to your background. Make sure the ink is dry, before moving on to the next step. |
|
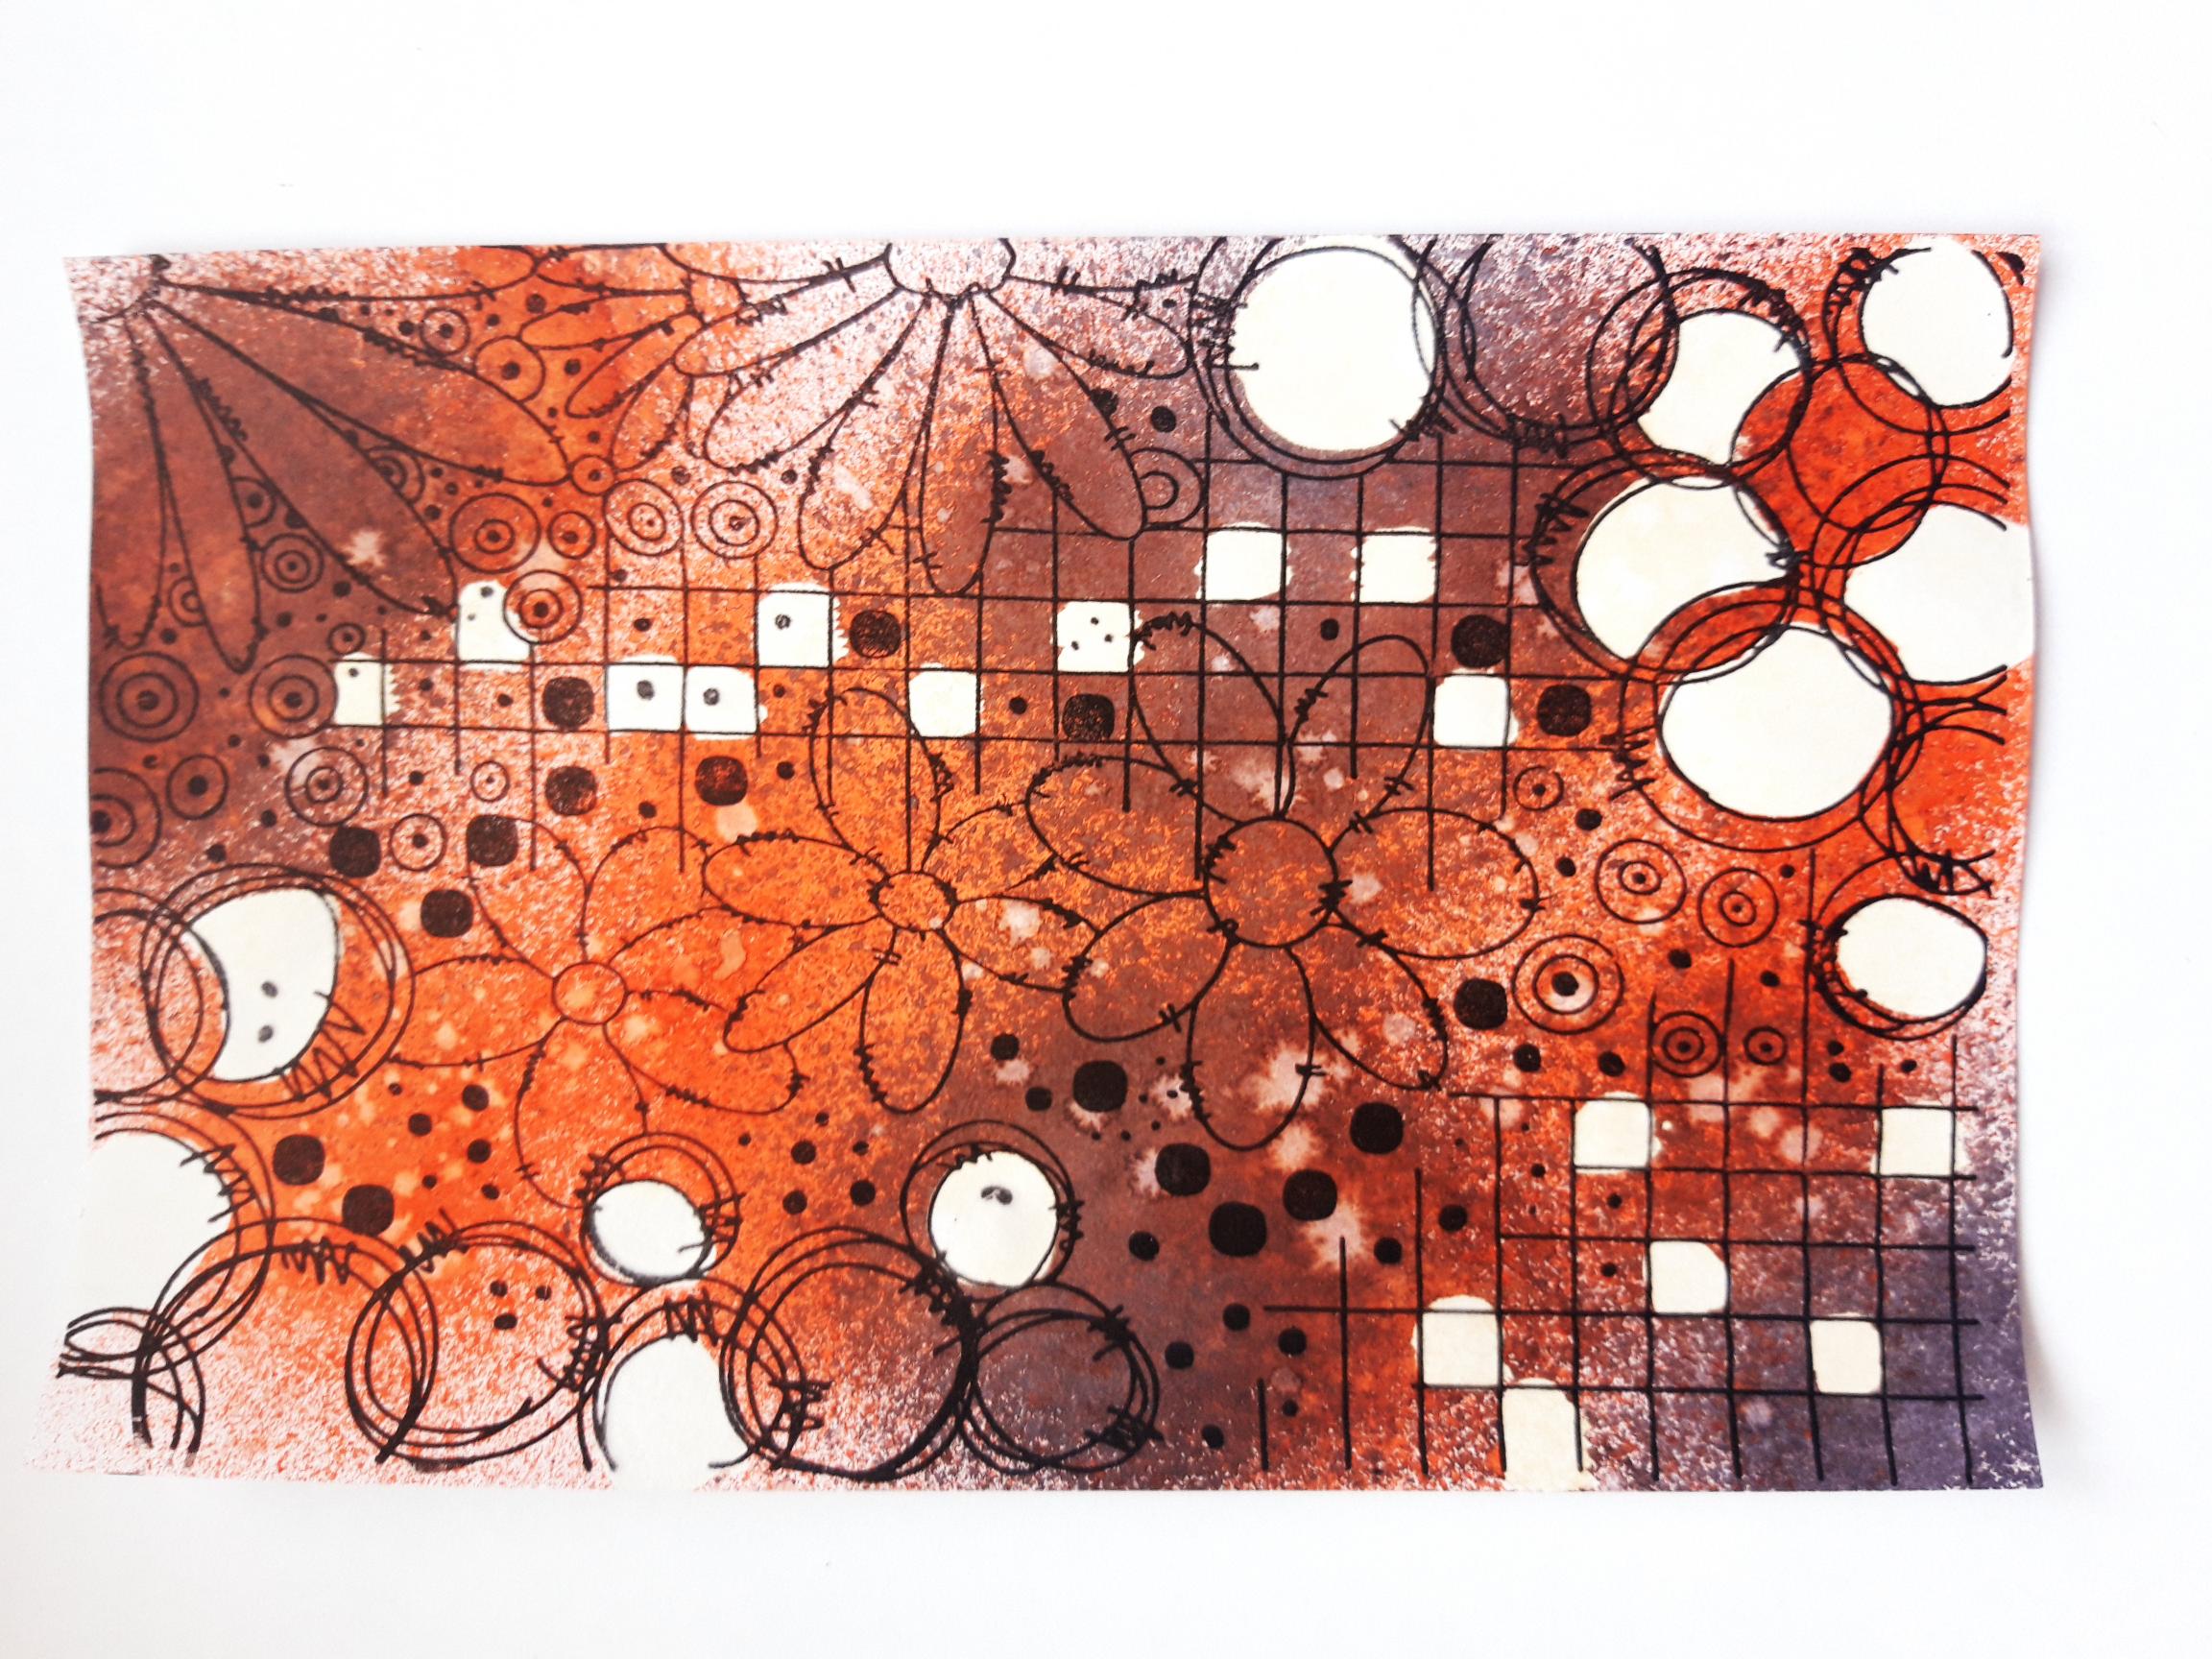
Use a paint brush to apply water, or diluted household bleach, to random areas of the stamped image. Wait a few seconds, then lift up the ink with a paper towel. This is called the "faux bleach" technique. |

|
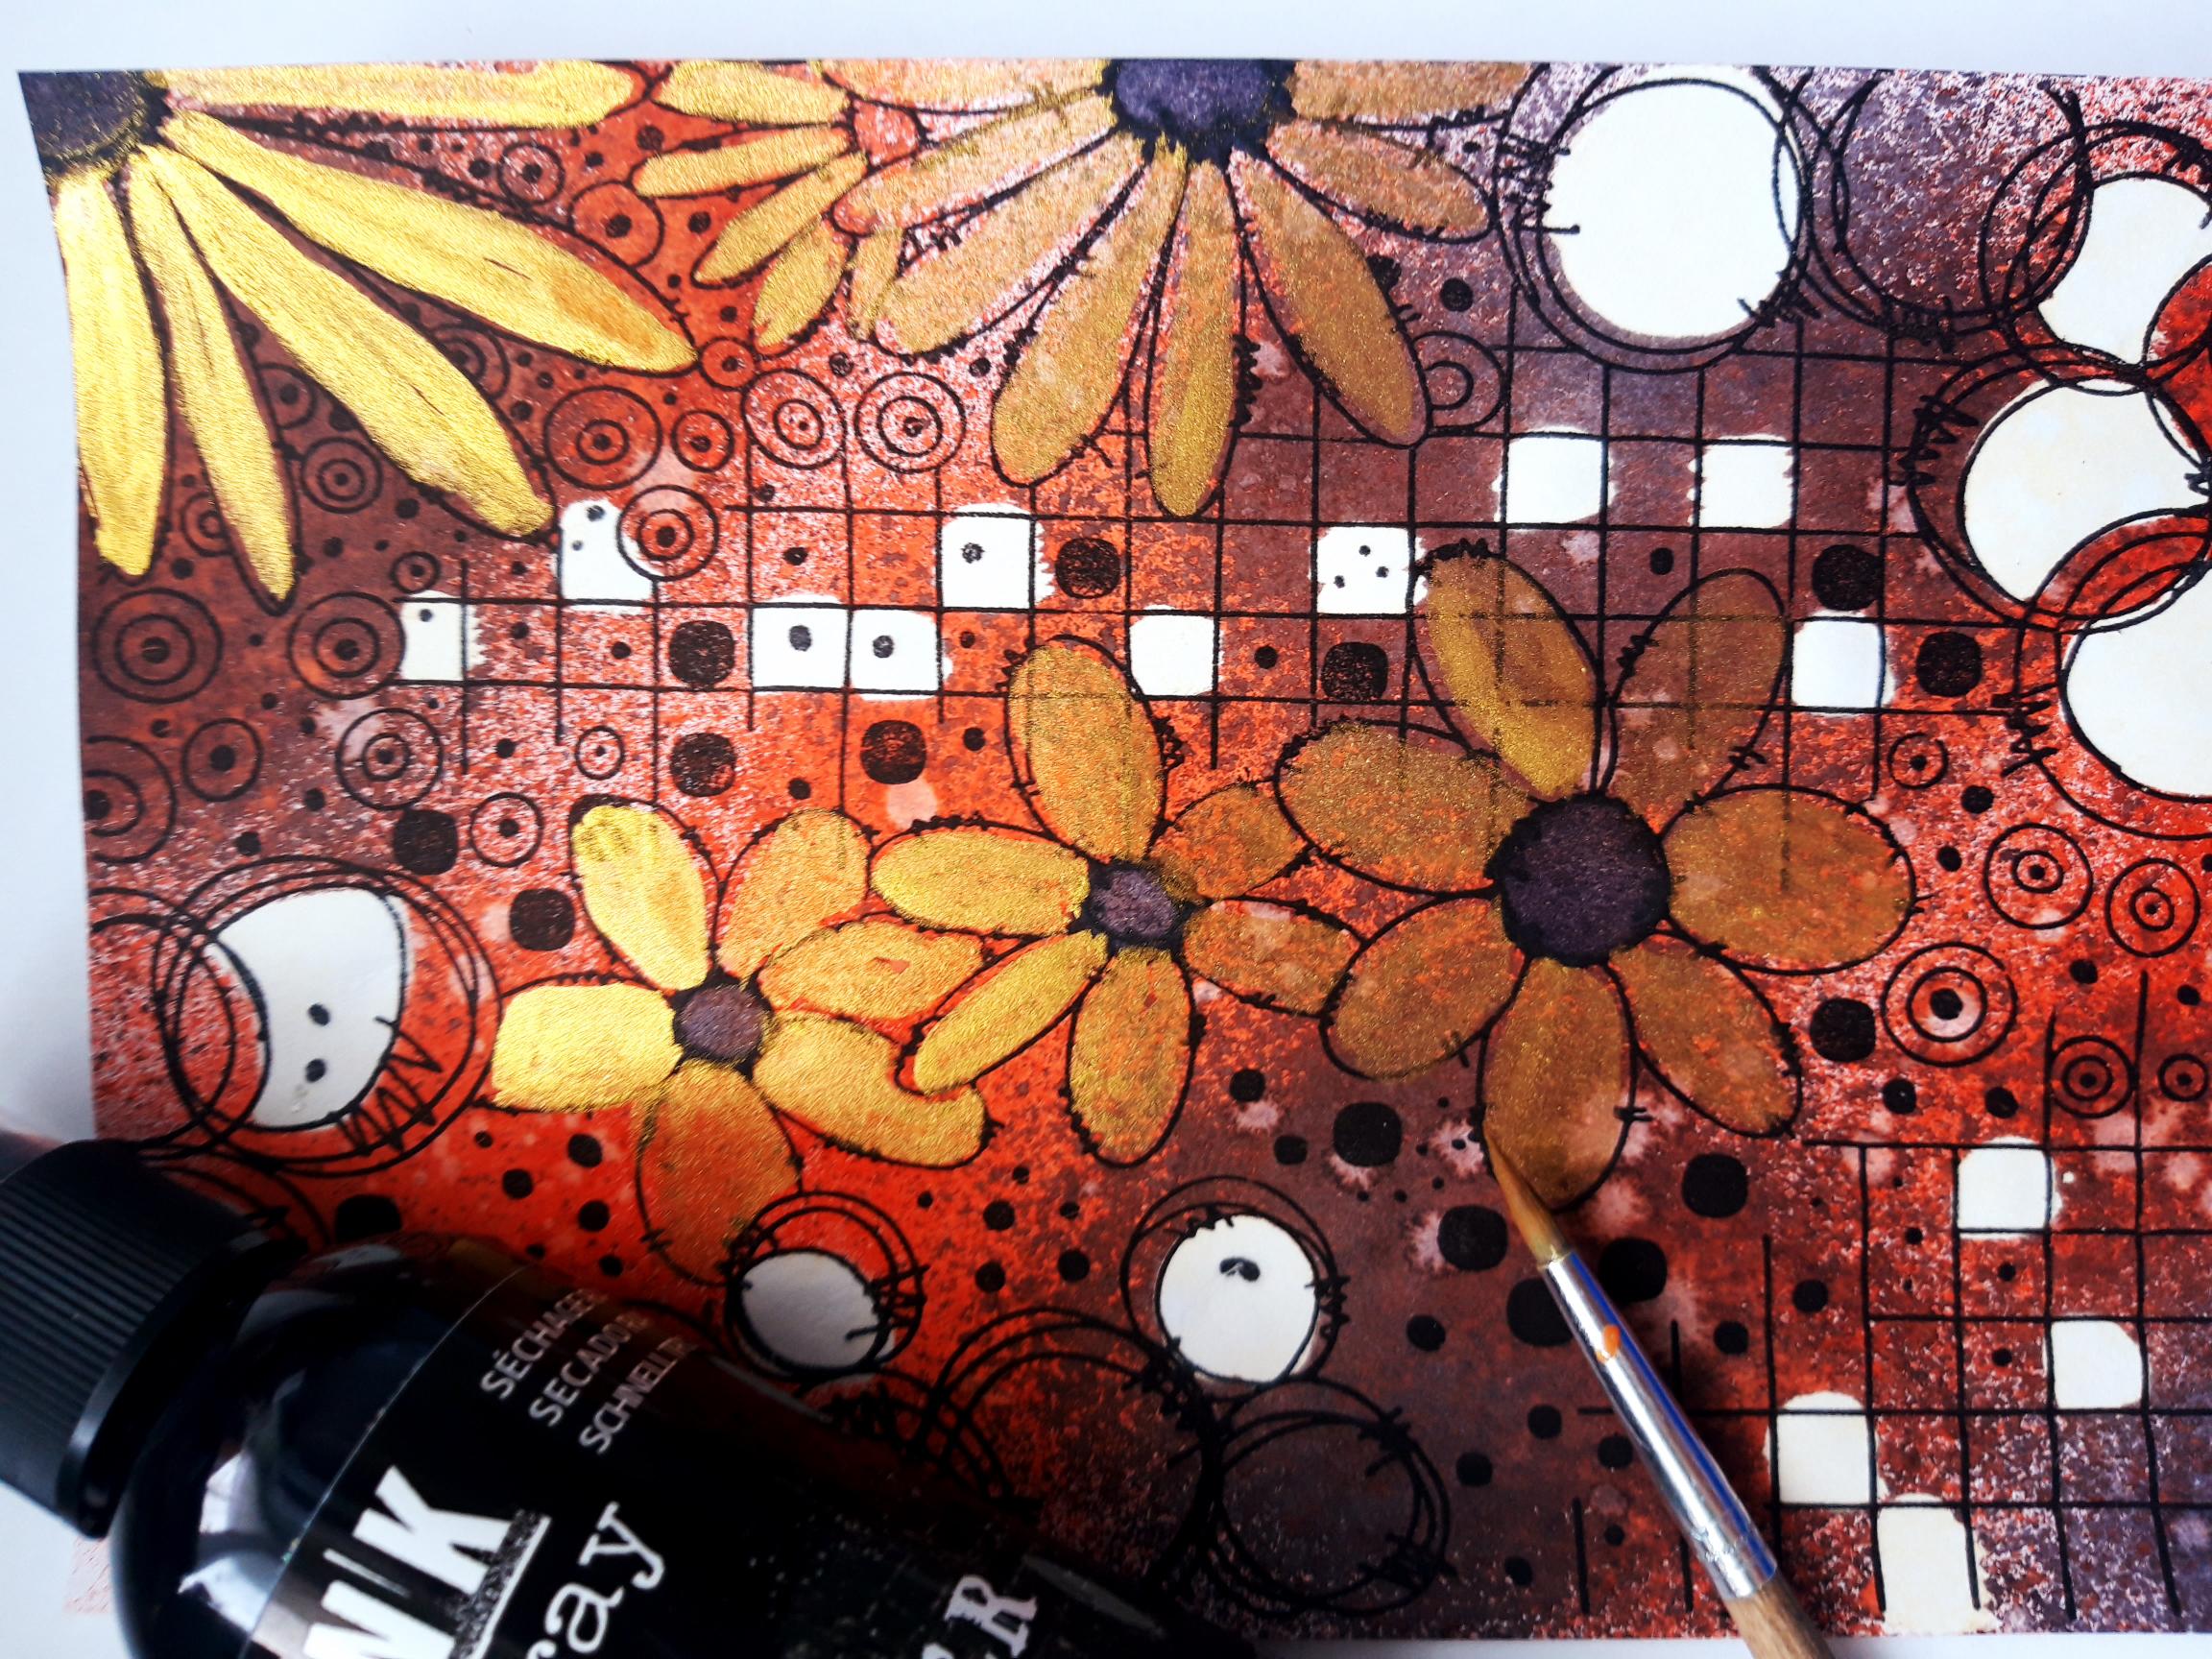
Add water to your Goldmine Confetti Paint, and colour in the floral elements of your artwork. |
|
Spray a little of the Izink Black Liquorice, on to your craft, or glass mat, and use your paint brush to paint the centres of your flowers. |
|
Use the Confetti Goldmine paint, to add accents, and highlights, to areas of your stamped image, like the edges of the circles. |
|
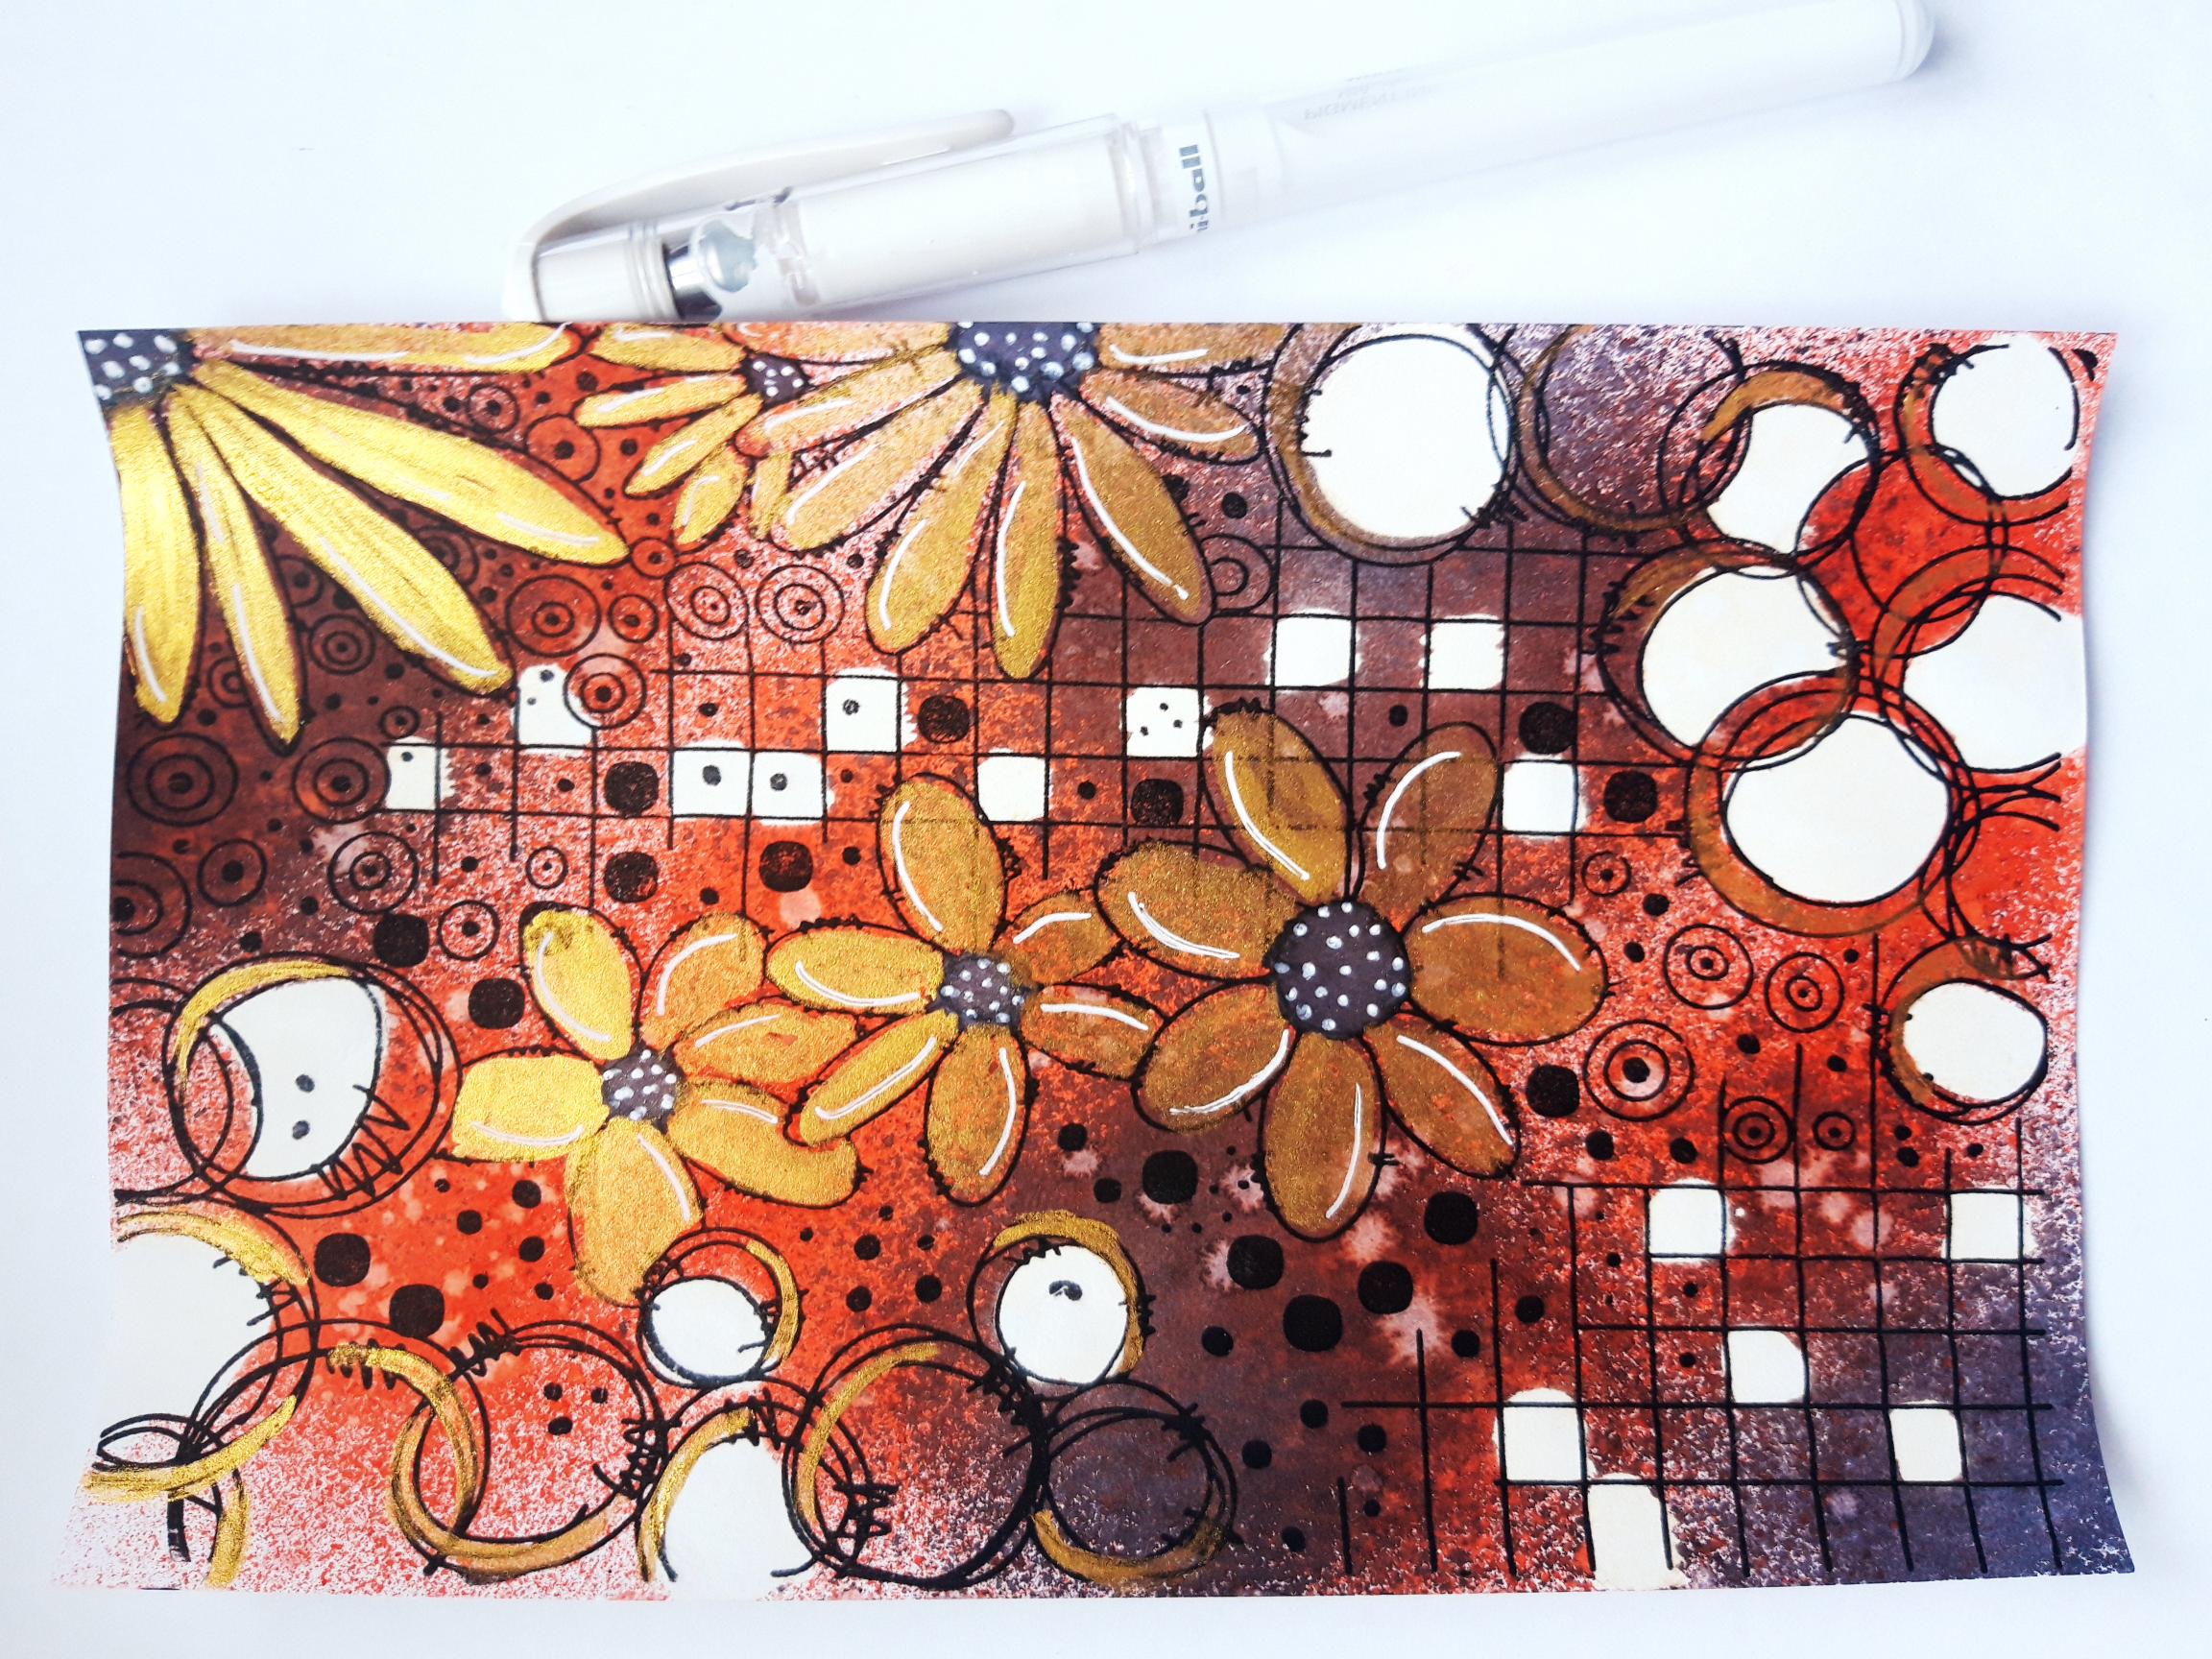
Ensure all the ink and paint is dry, before adding accents, and highlights, to your artwork, using a white gel pen. Set this to one side. |
|
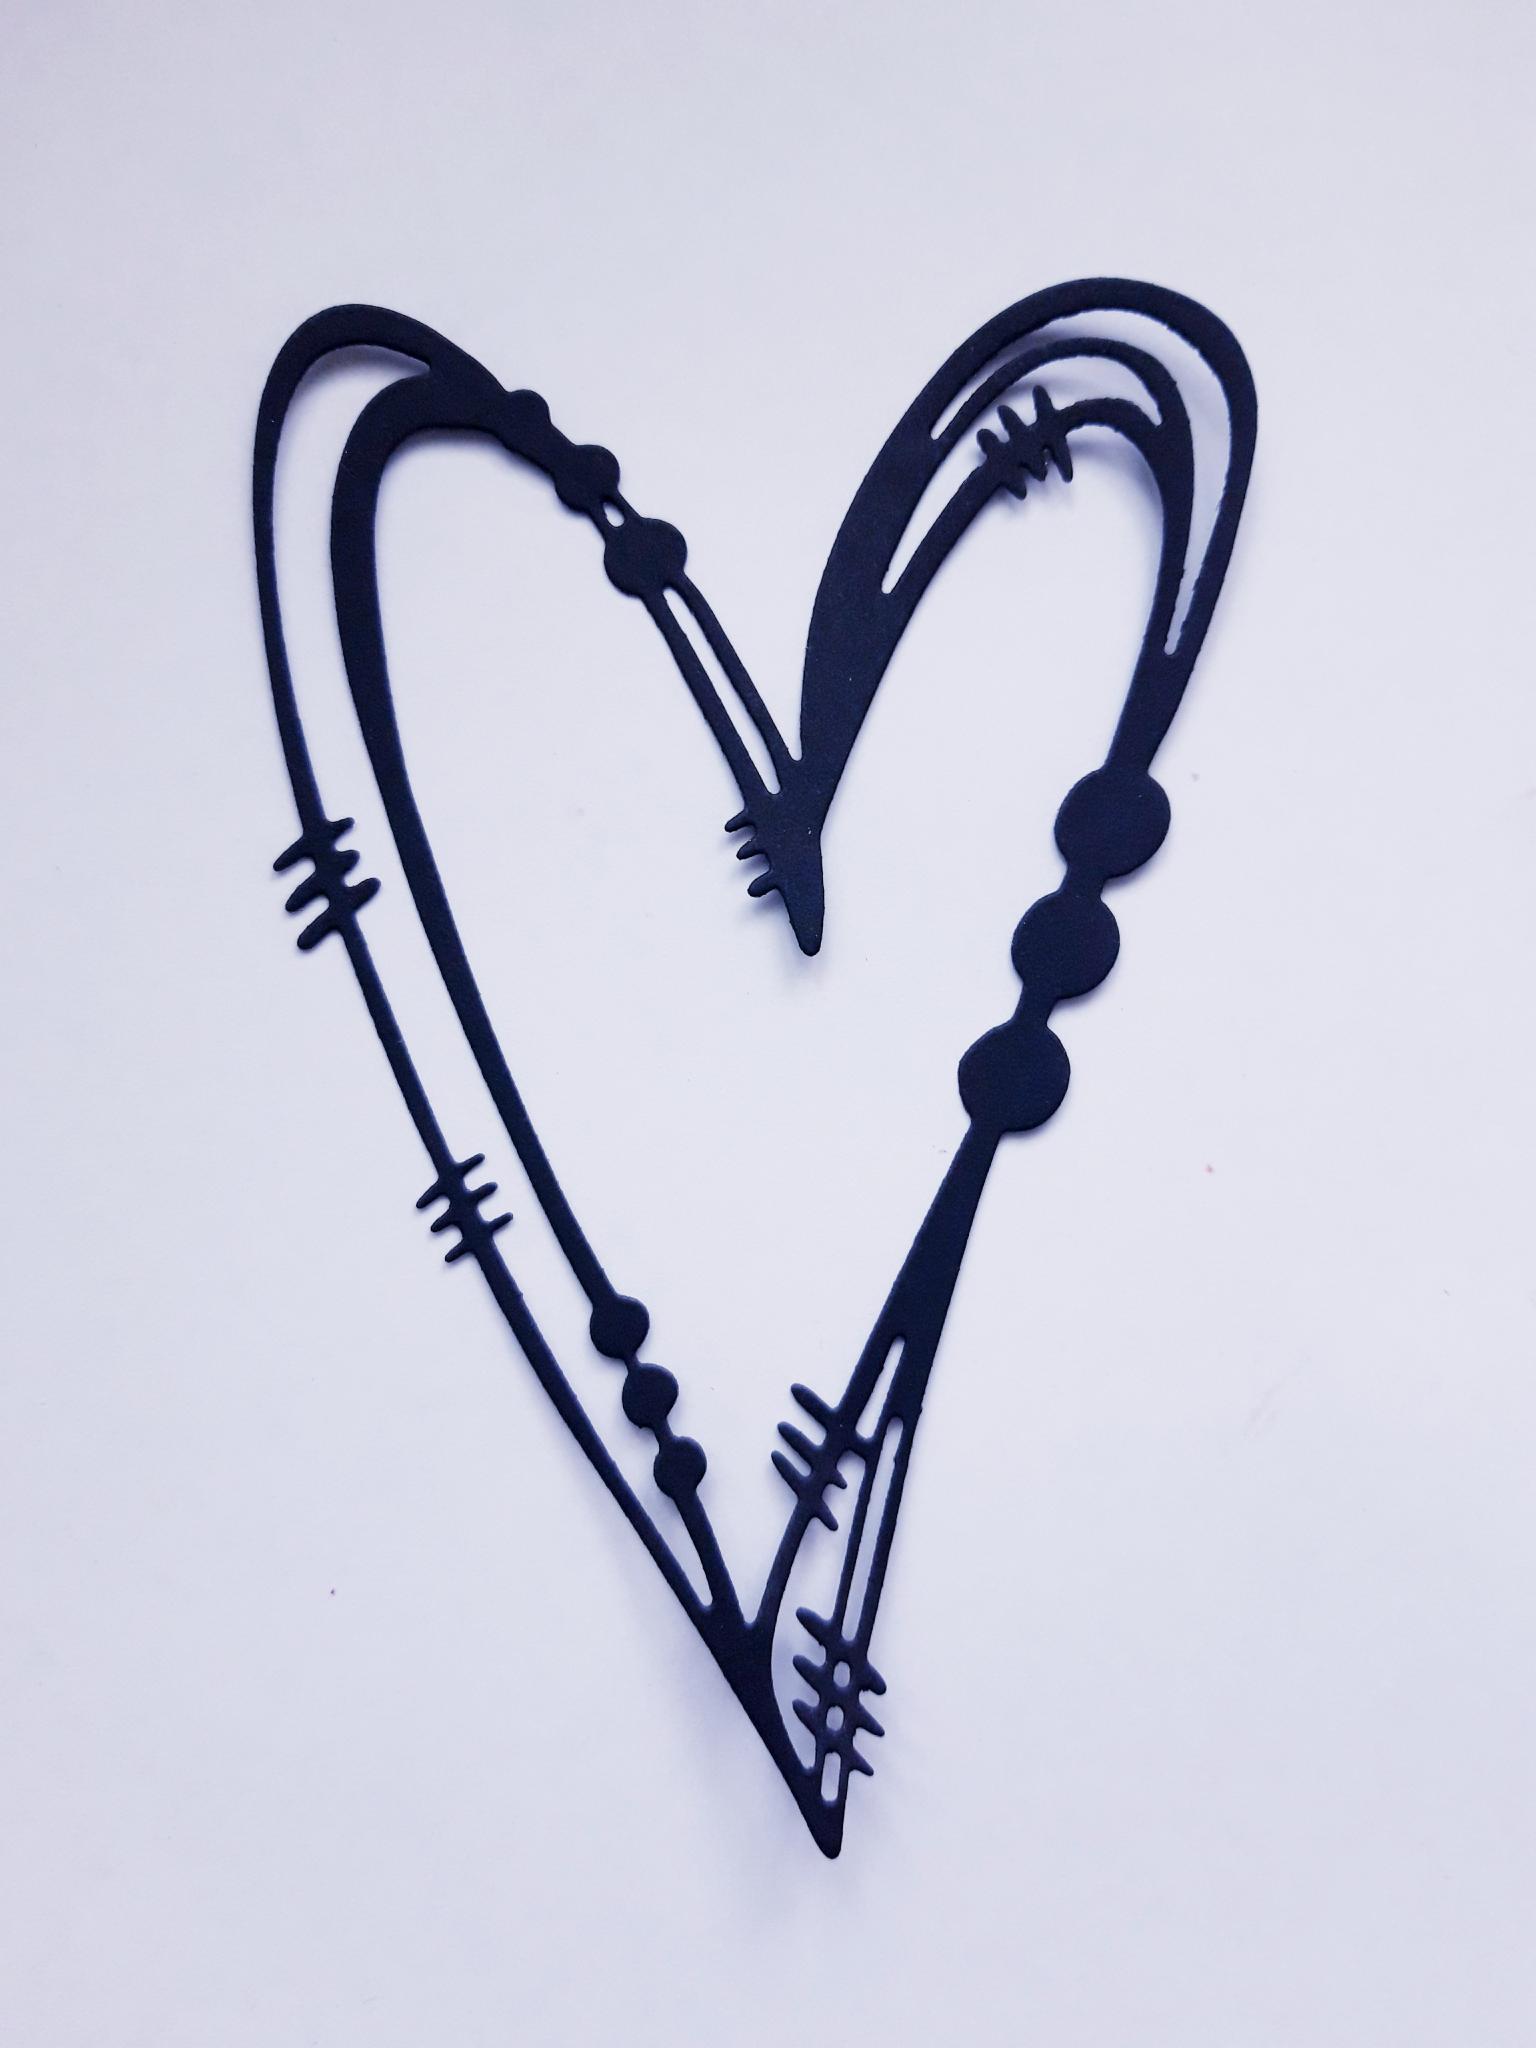
Place this heart die, from the Mixed Up Hearts Creative Dies, on to the black card (6 x 4"), and run it through your die cutting machine. Put the left over black card to one side. |

|
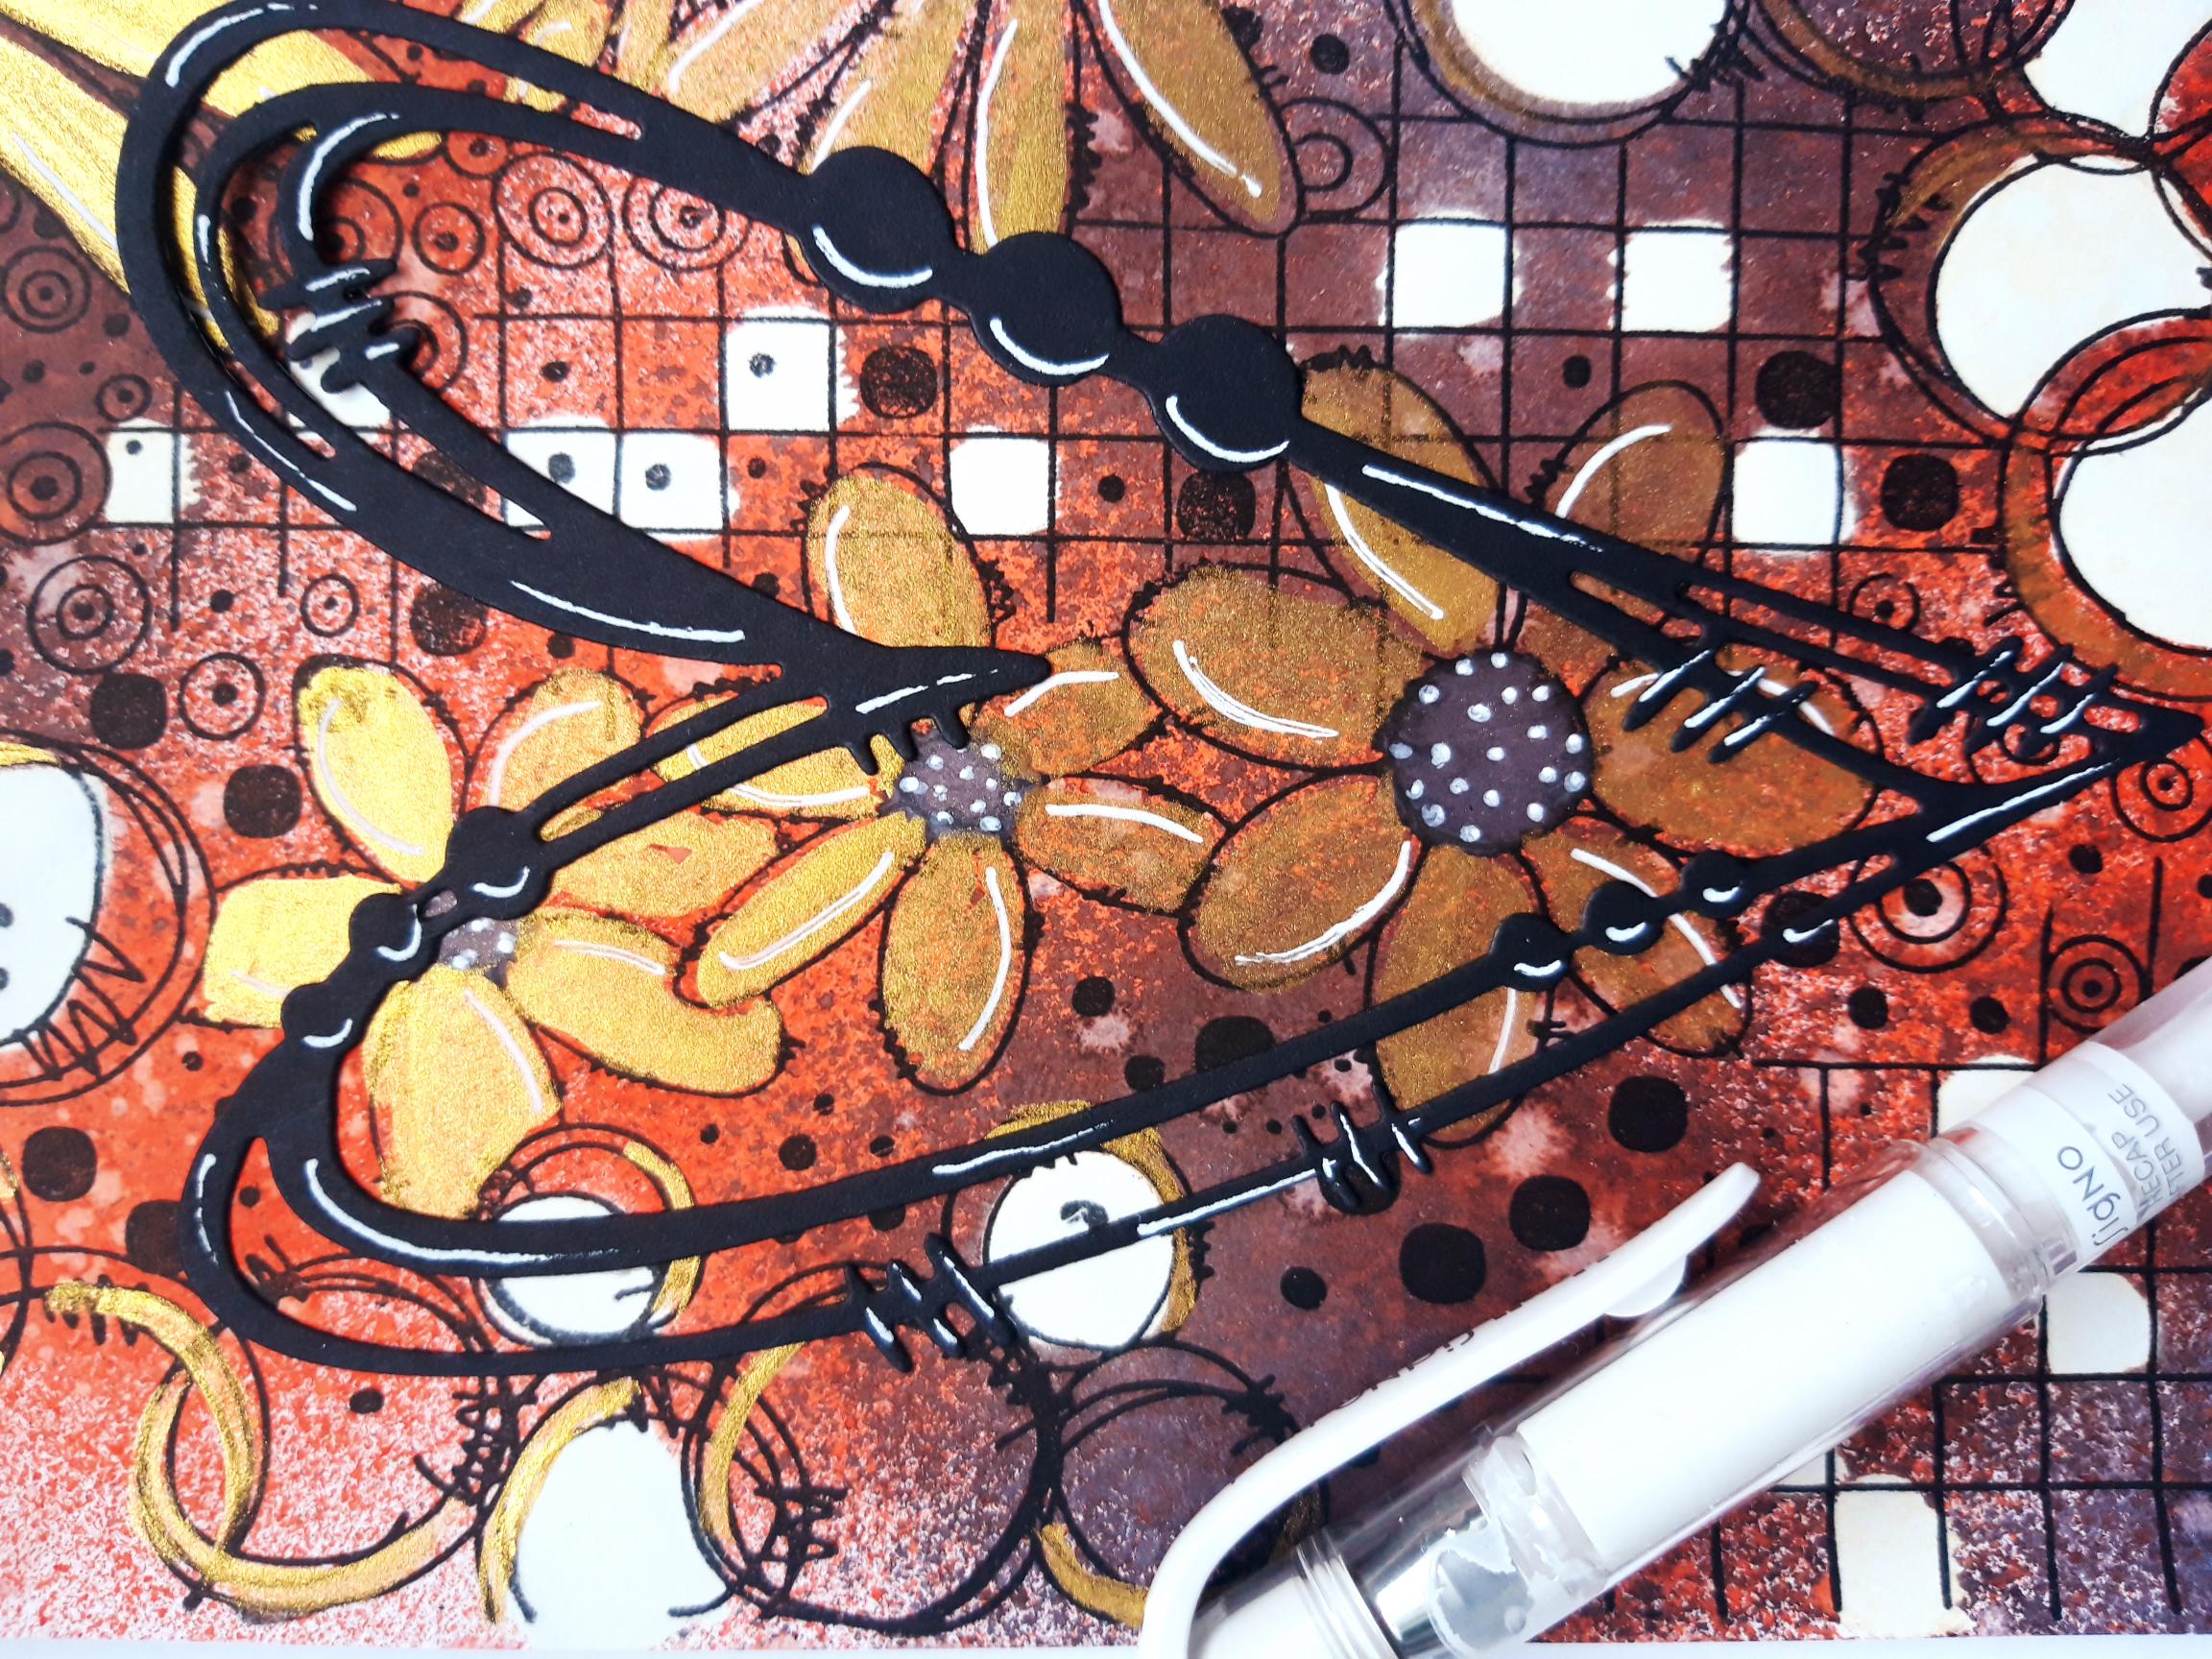
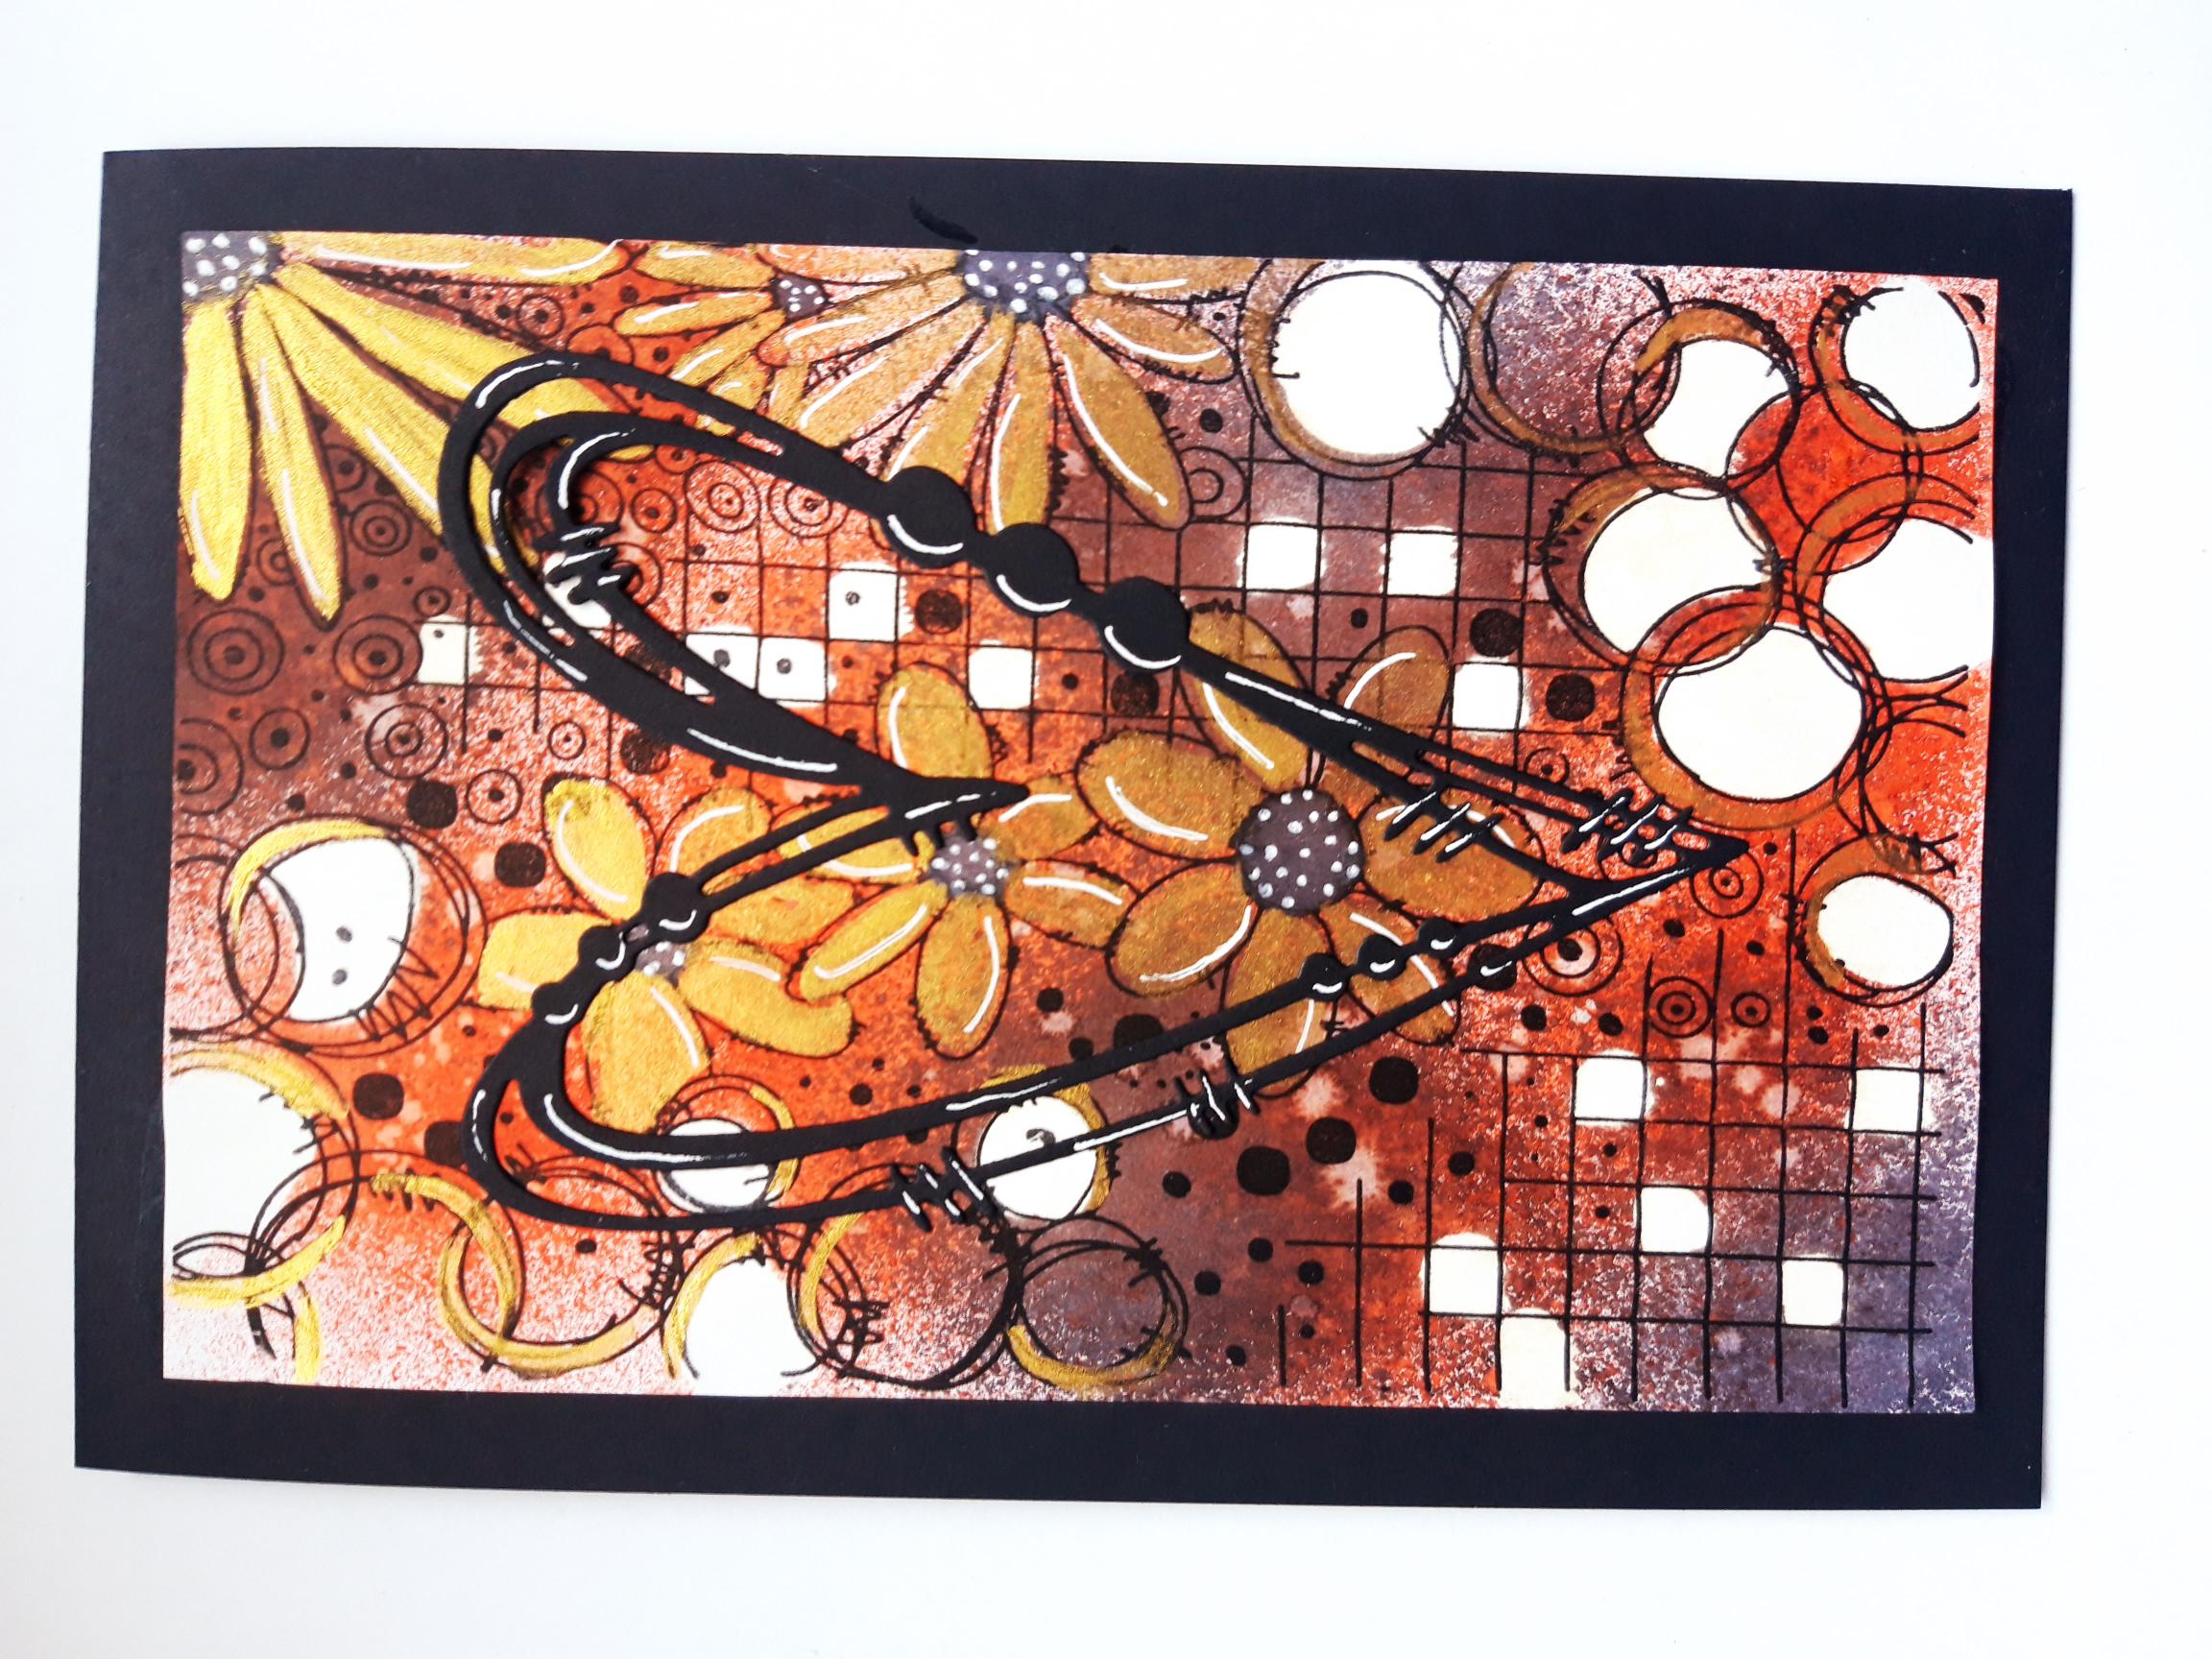
Adhere your die cut heart, on to your background. |
|
Use your white gel pen to add highlights, to your die cut heart. |
|
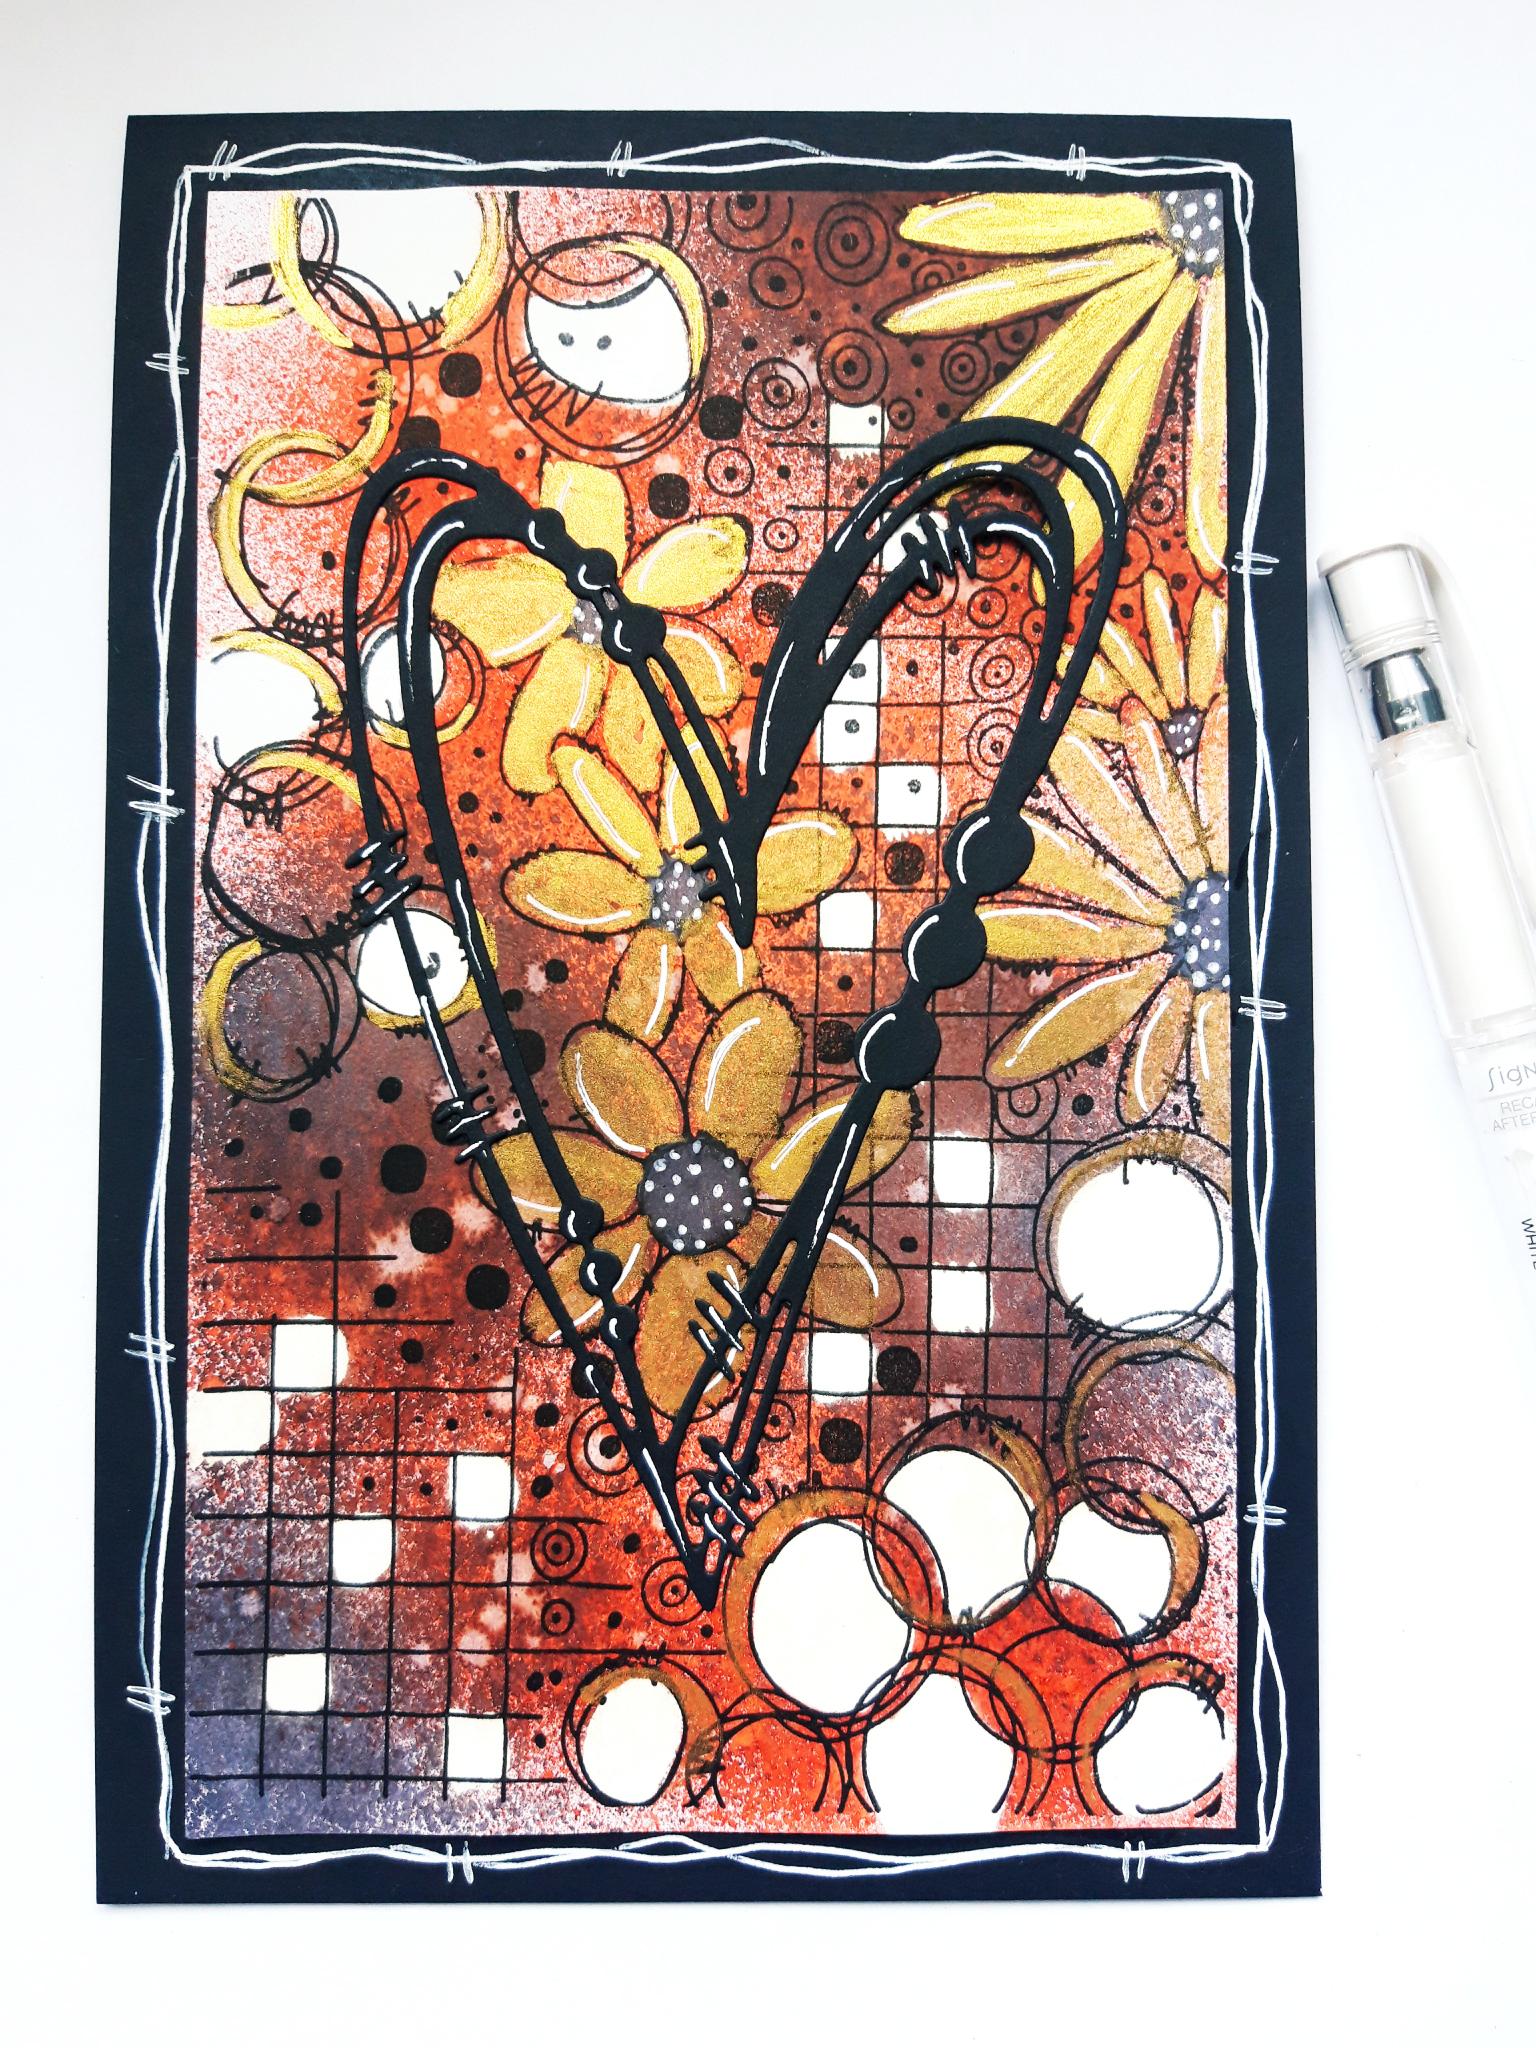
Adhere your artwork on to your black, top folding card blank. |
|
Use your white gel pen to draw a decorative, wiggly frame, around your artwork. |
|
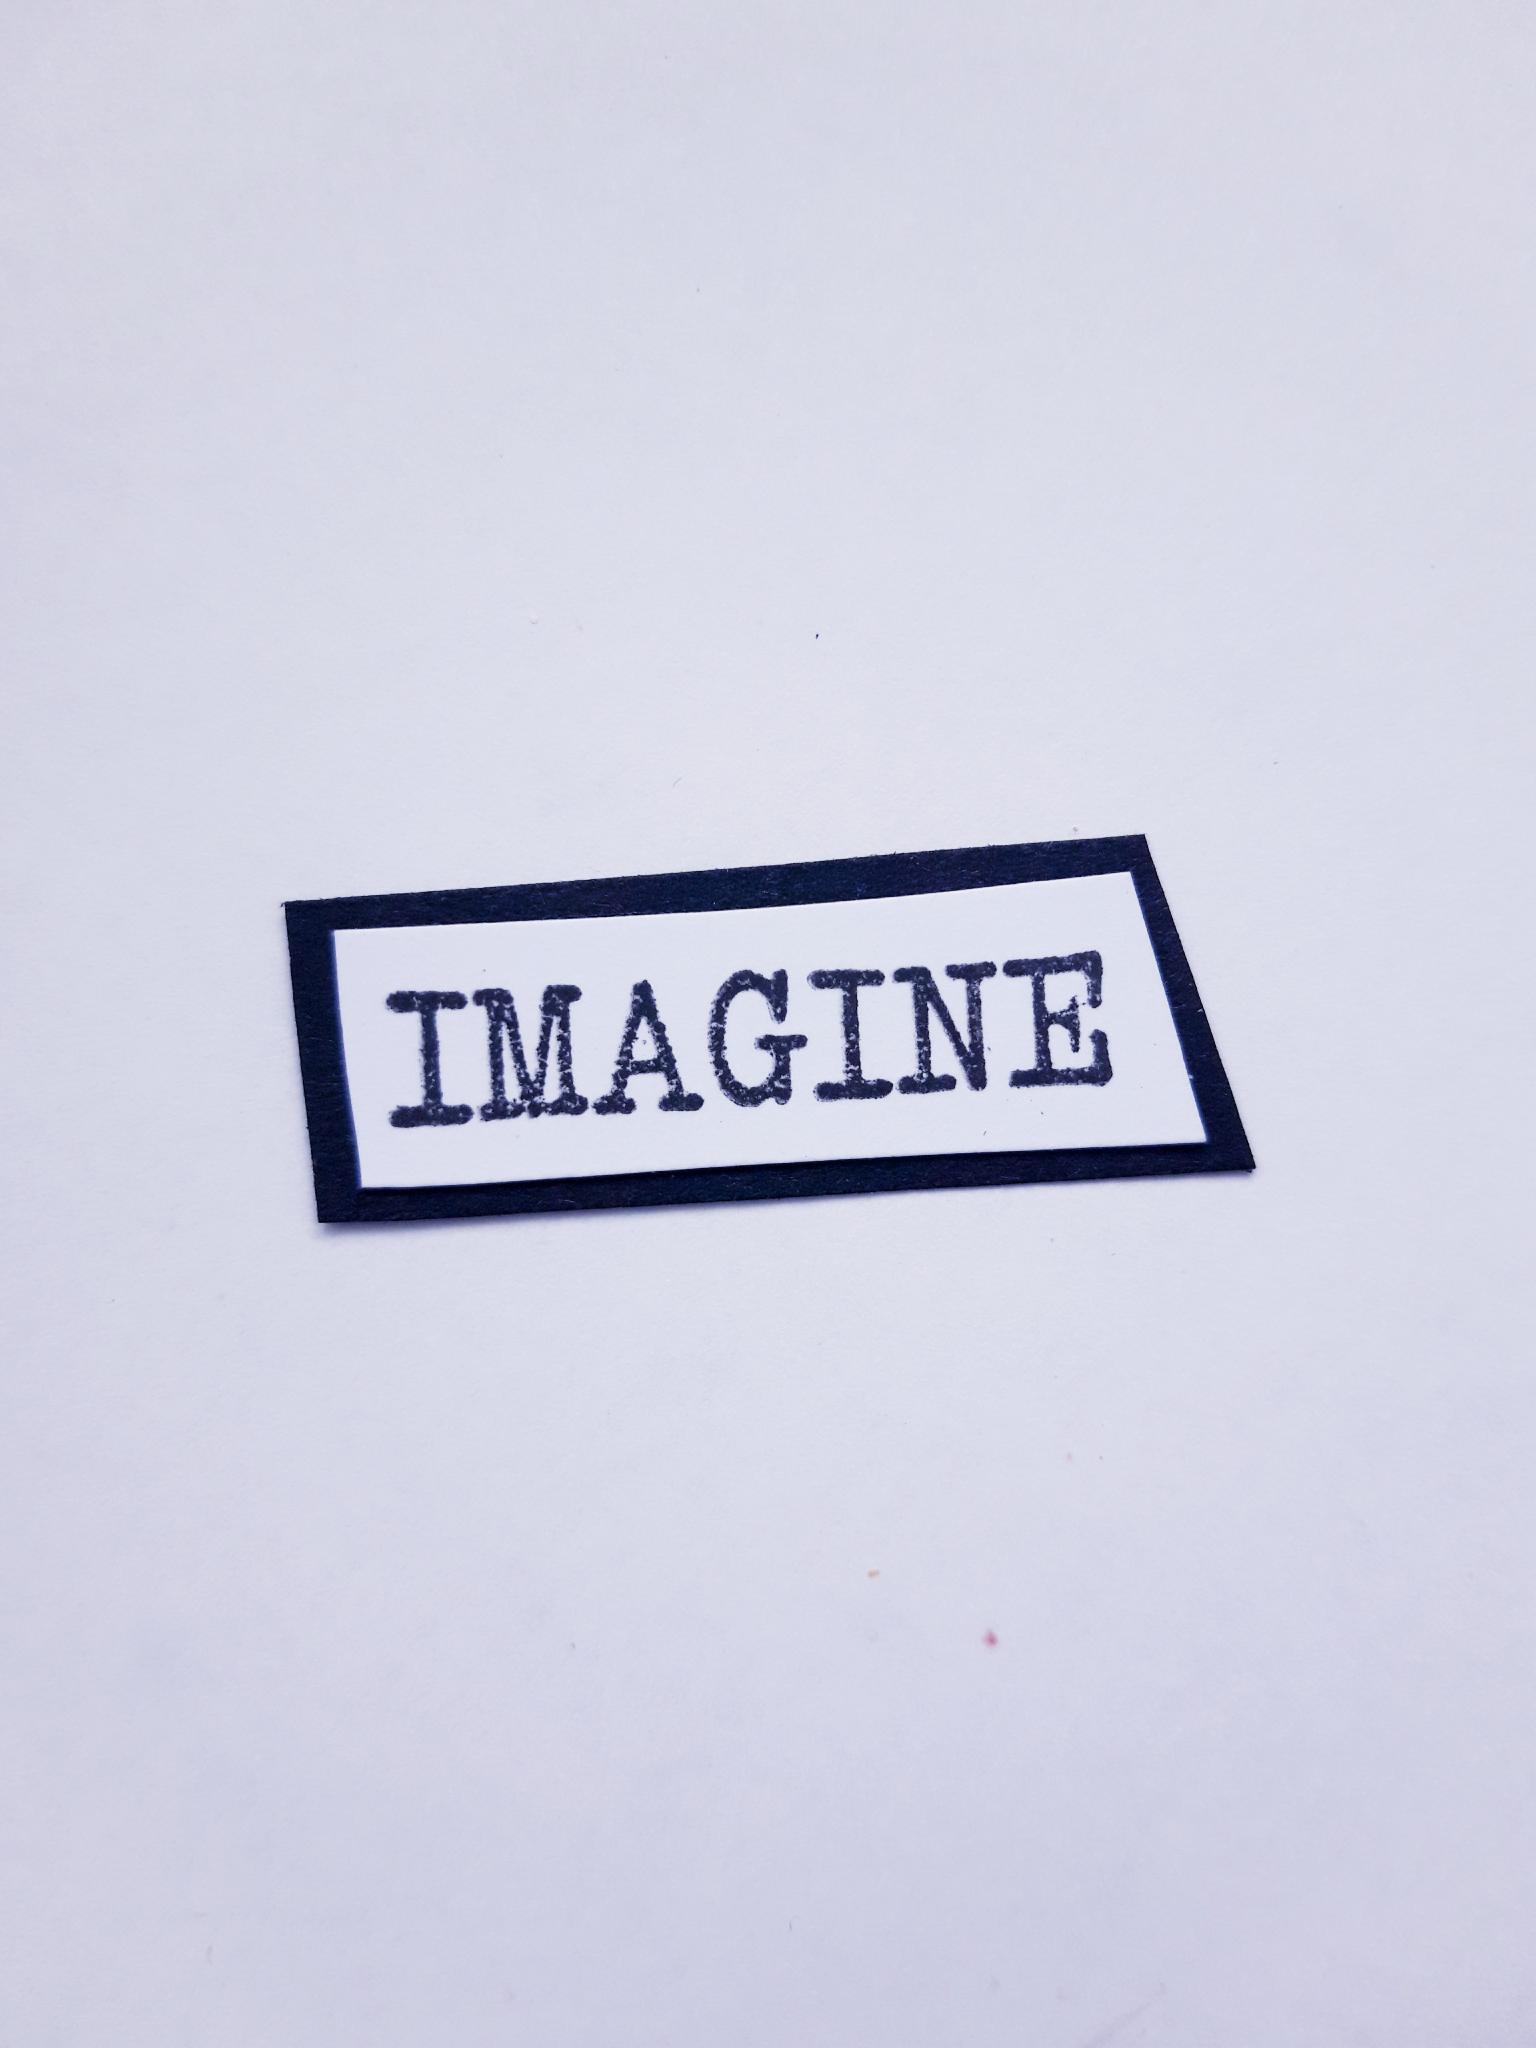
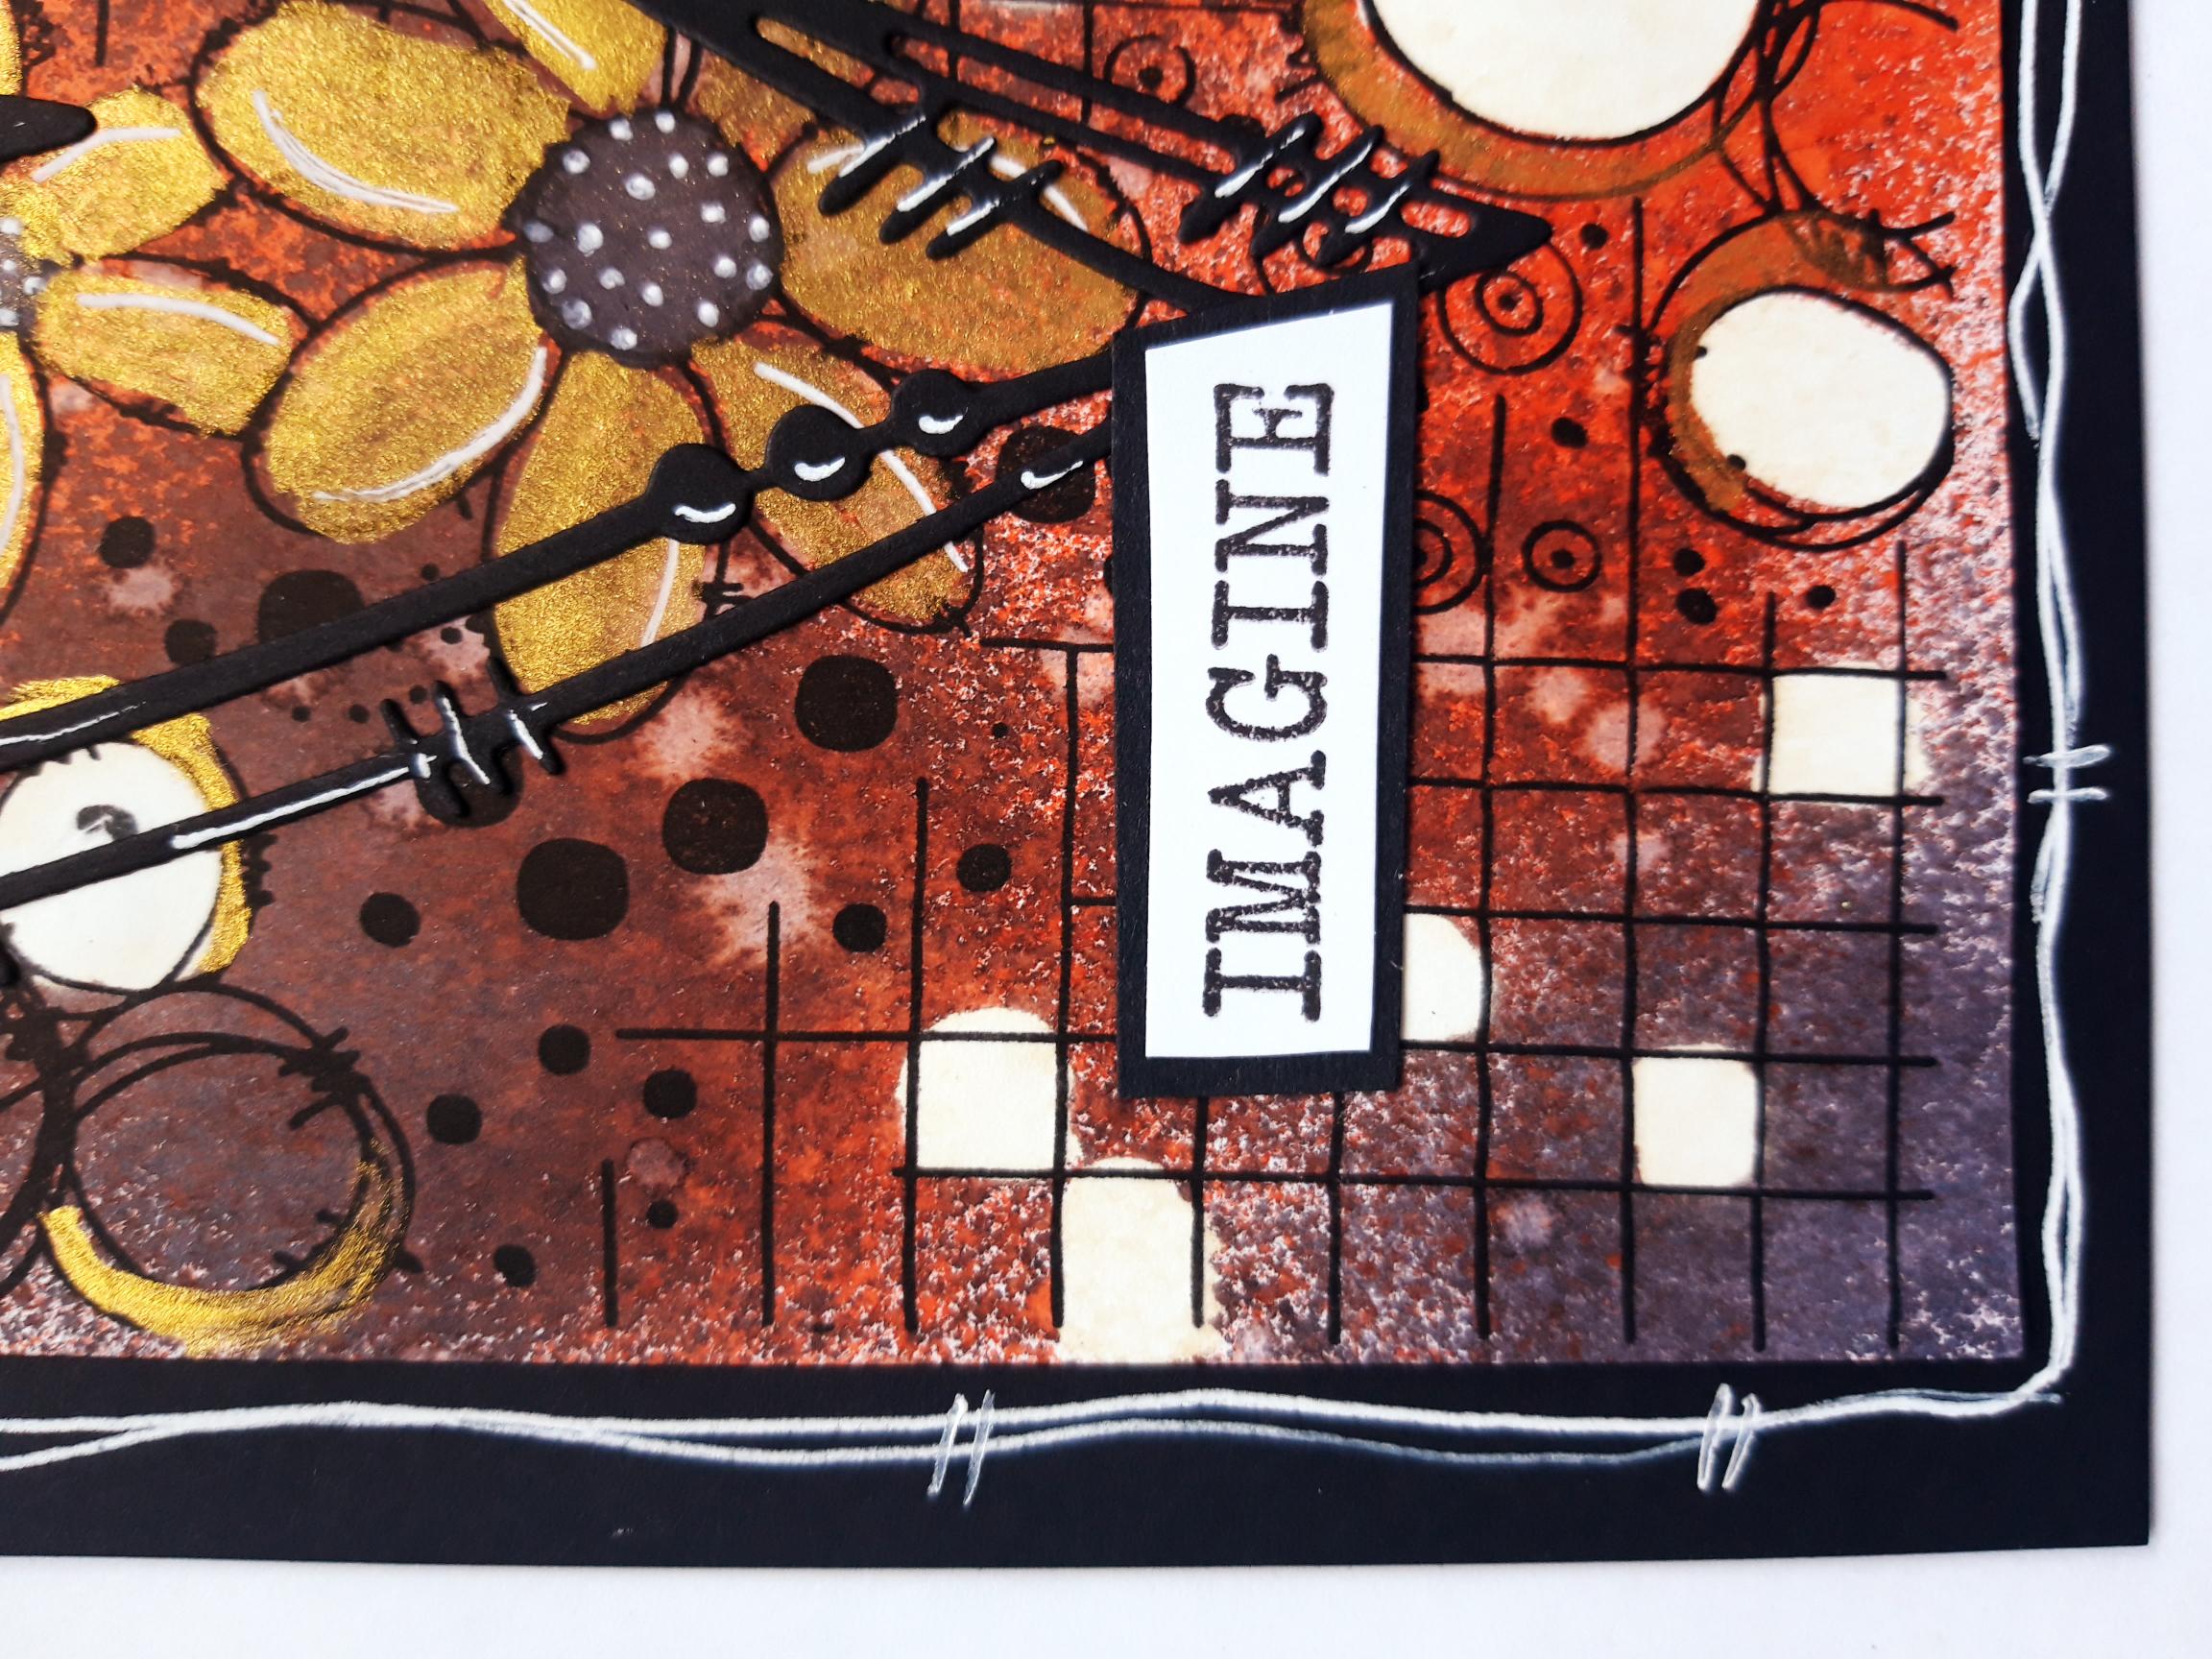
Ink up the IMAGINE stamp, from the Thirsty Brush More Than Words Creative Stamps, with the Onyx Black Versafine, and stamp on to some scrap, white card. Cut it out, straight, or wonky like mine! Adhere this on to the leftover black card you set aside earlier, then cut around it, to create a black mat. |
|
Adhere it to the bottom, left of your card, to finish. |