Give your friends $10 off their first order!
Refer a FRIEND


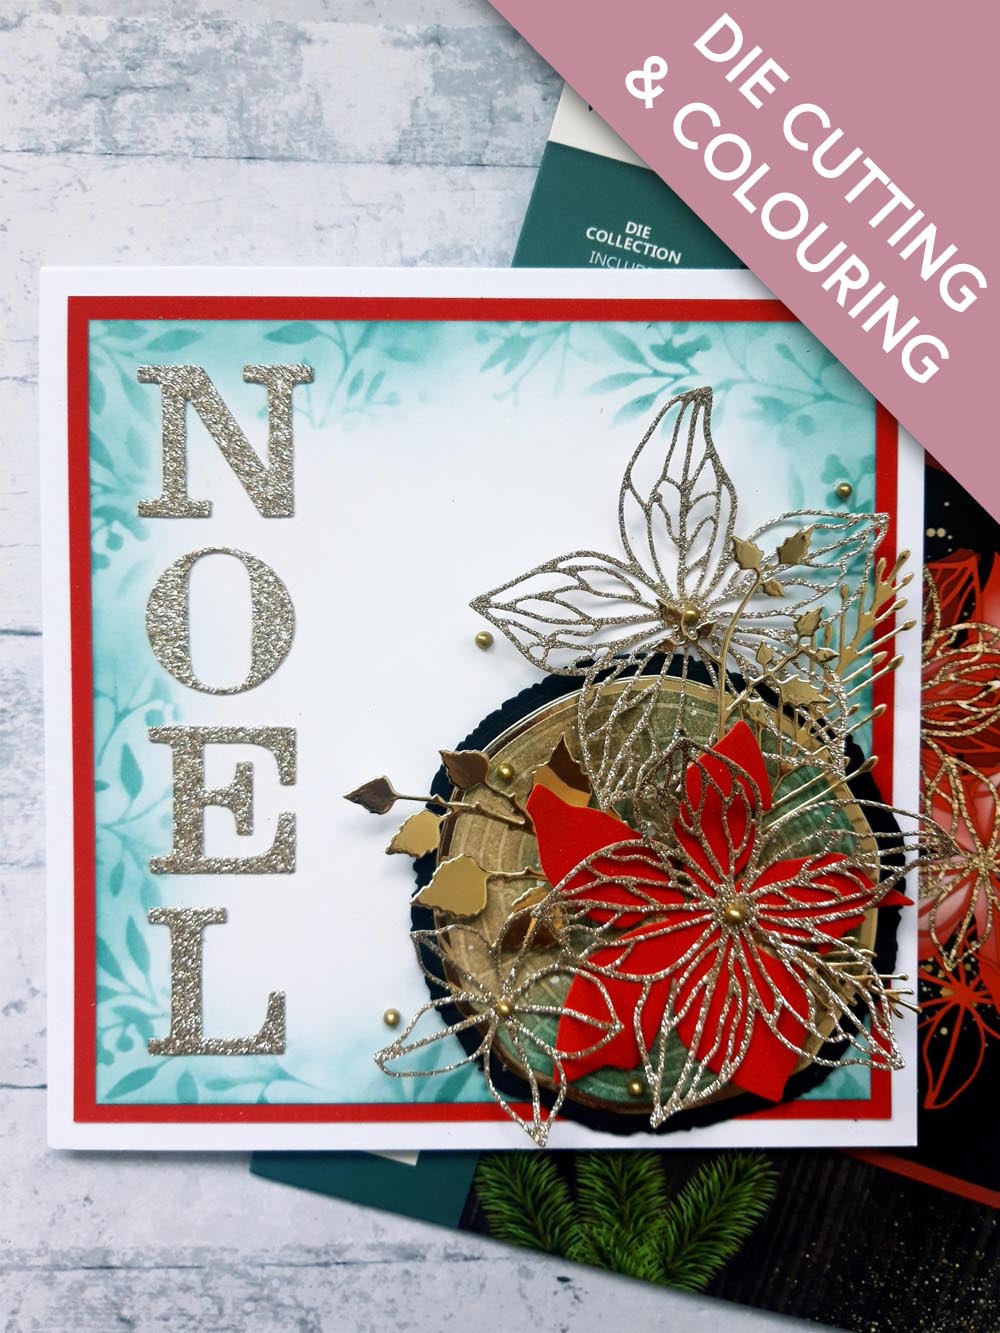
WHAT YOU WILL NEED:
White card blank (7 x 7")
White card A4
Red card A4
Black card (5 x 5")
Gold Glitter and/or Gold Mirri card A4
Dies from Winter Sparkles Die Collection
Dies from Festive Sparkles Die Collection
Dies from the Oak Ornaments Die Collection
Berry Branches Stencil
Izink Pigment Vintage ink pad collection: Brown, dark green
Liquid Pearl Drops: Gold Pearl
Thirsty Brush Confetti Paint: White Lace
Paint brush
Blending tool
Paper Trimmer
Perfect Together Glue
Foam Pads
Die Cutting machine
[click image to enlarge] 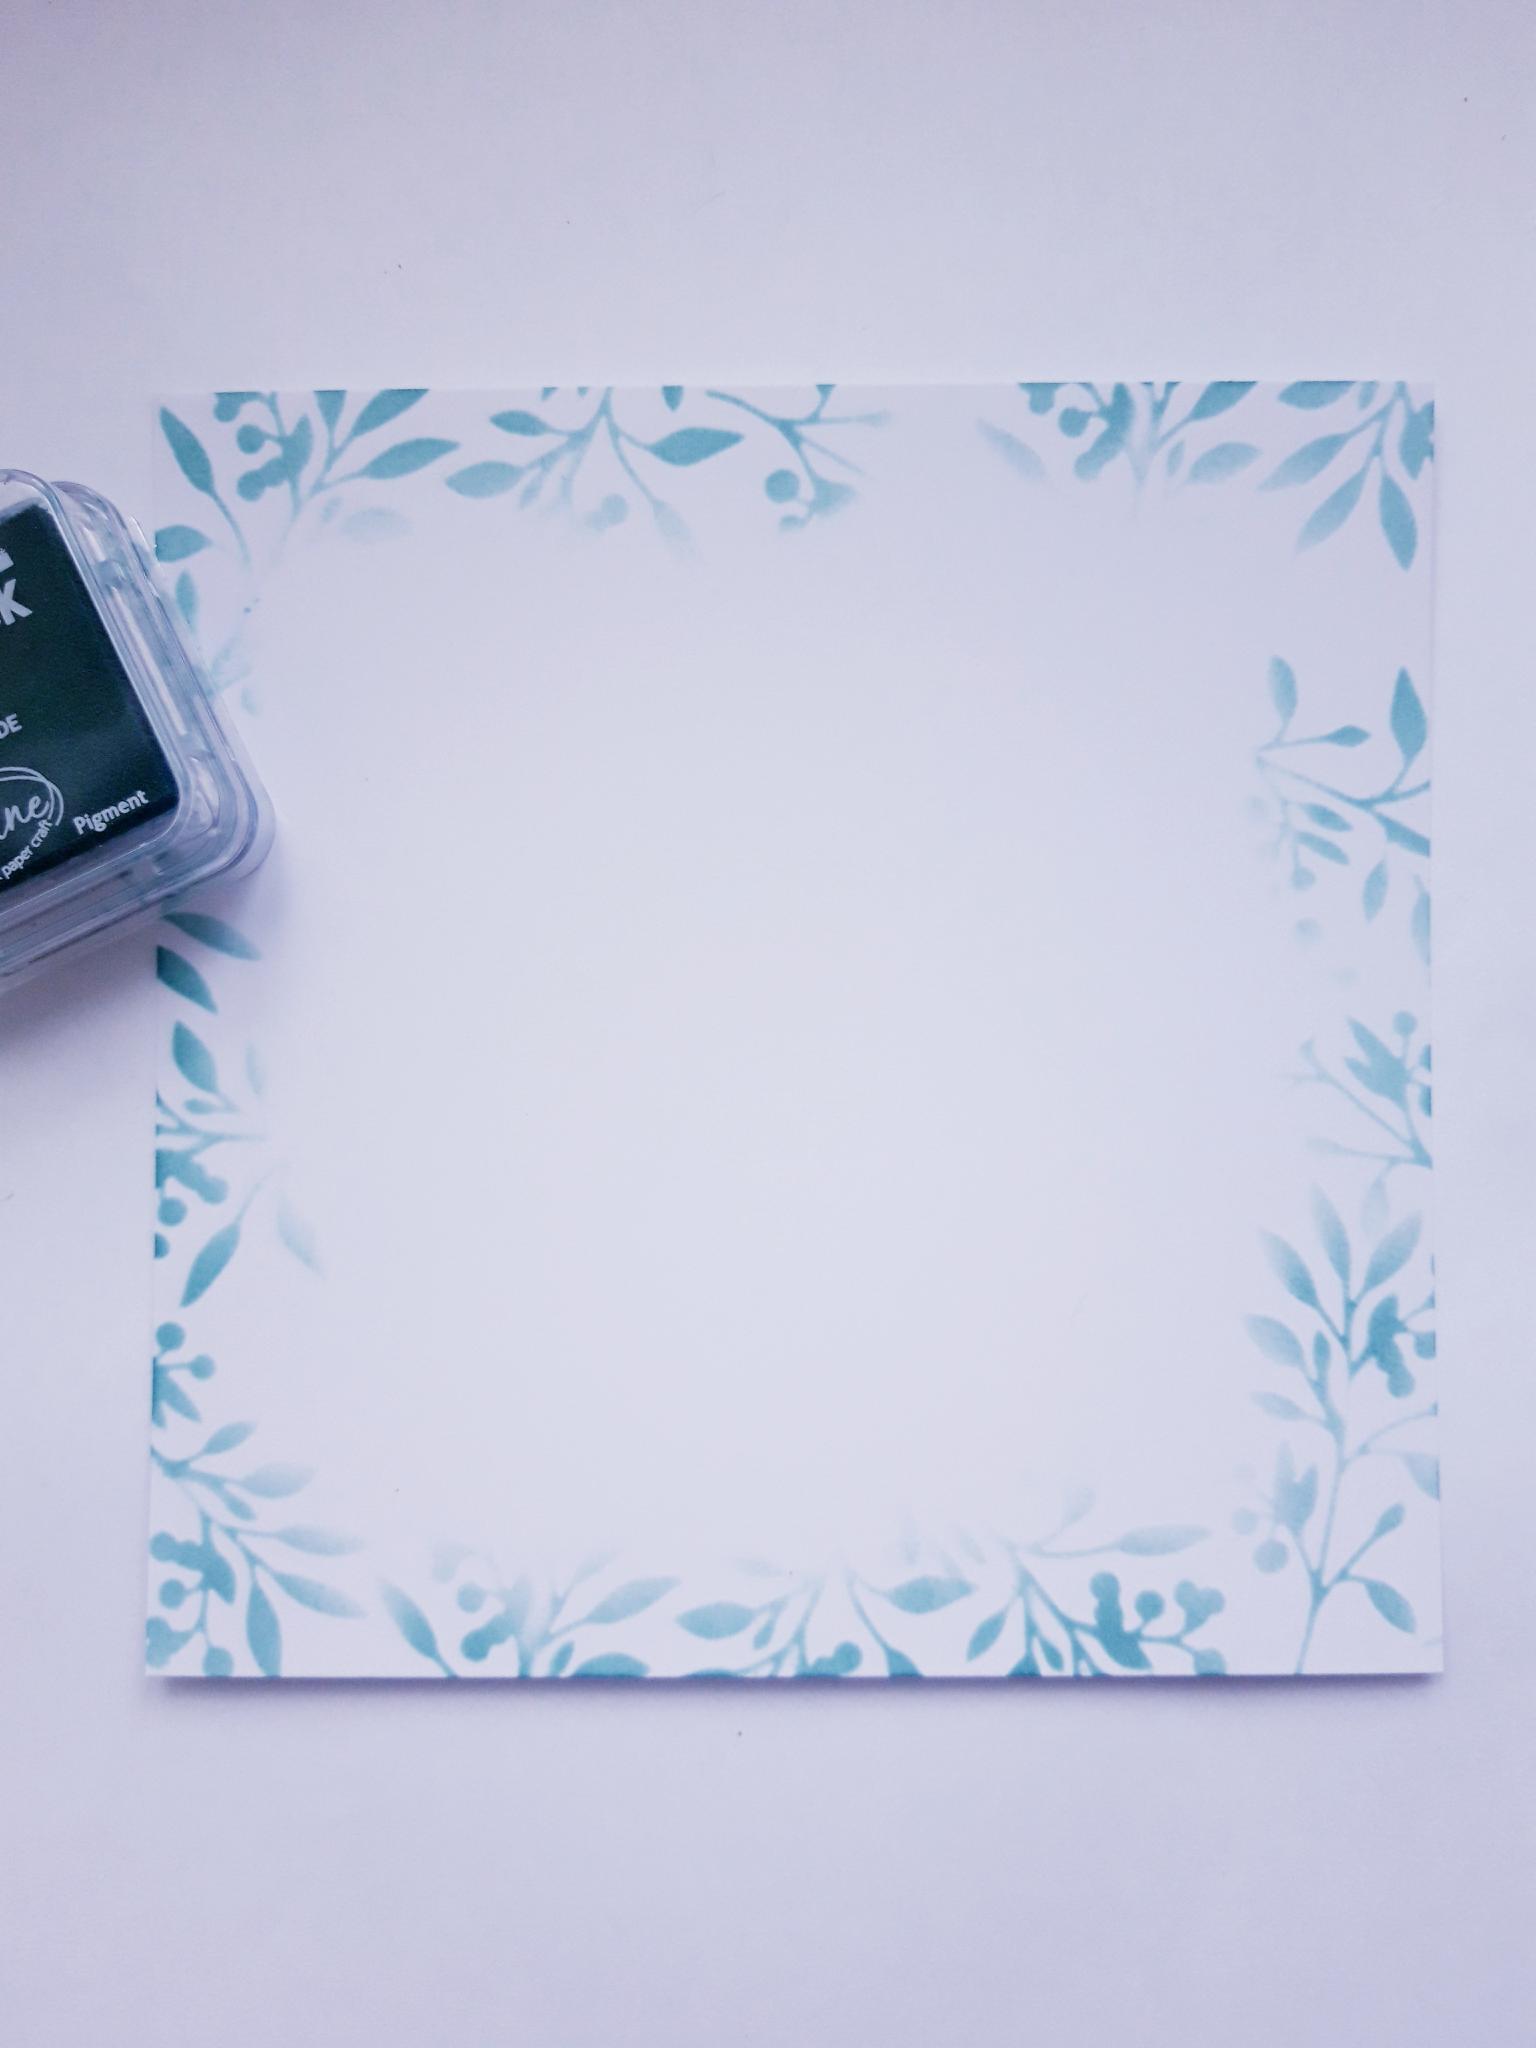
|
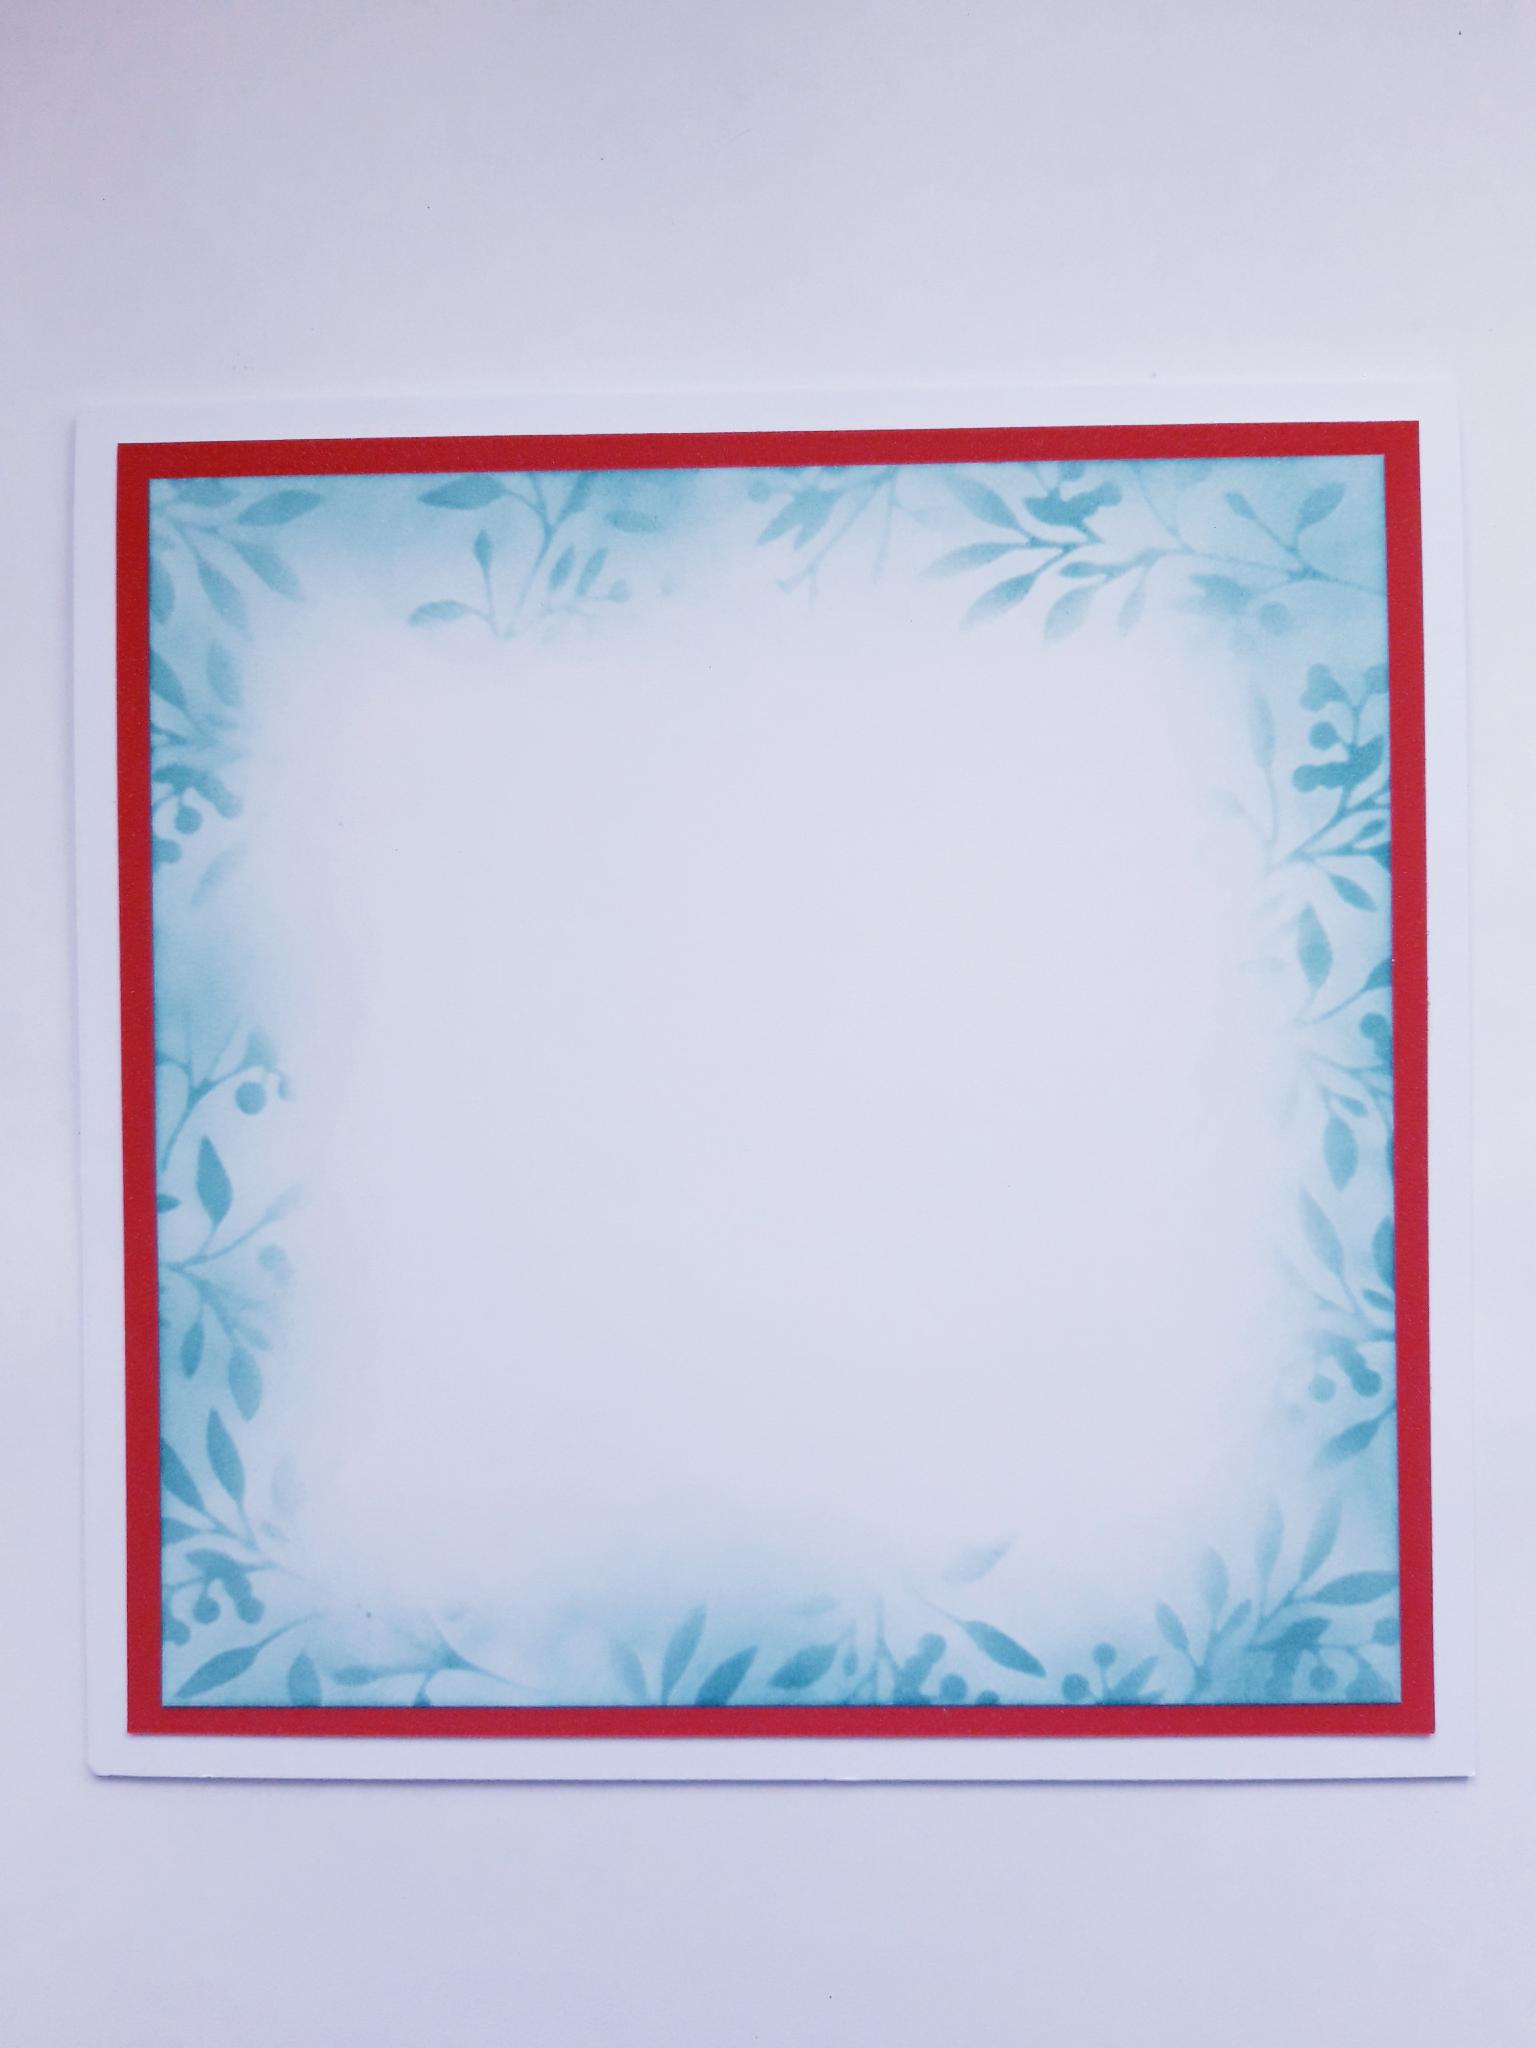
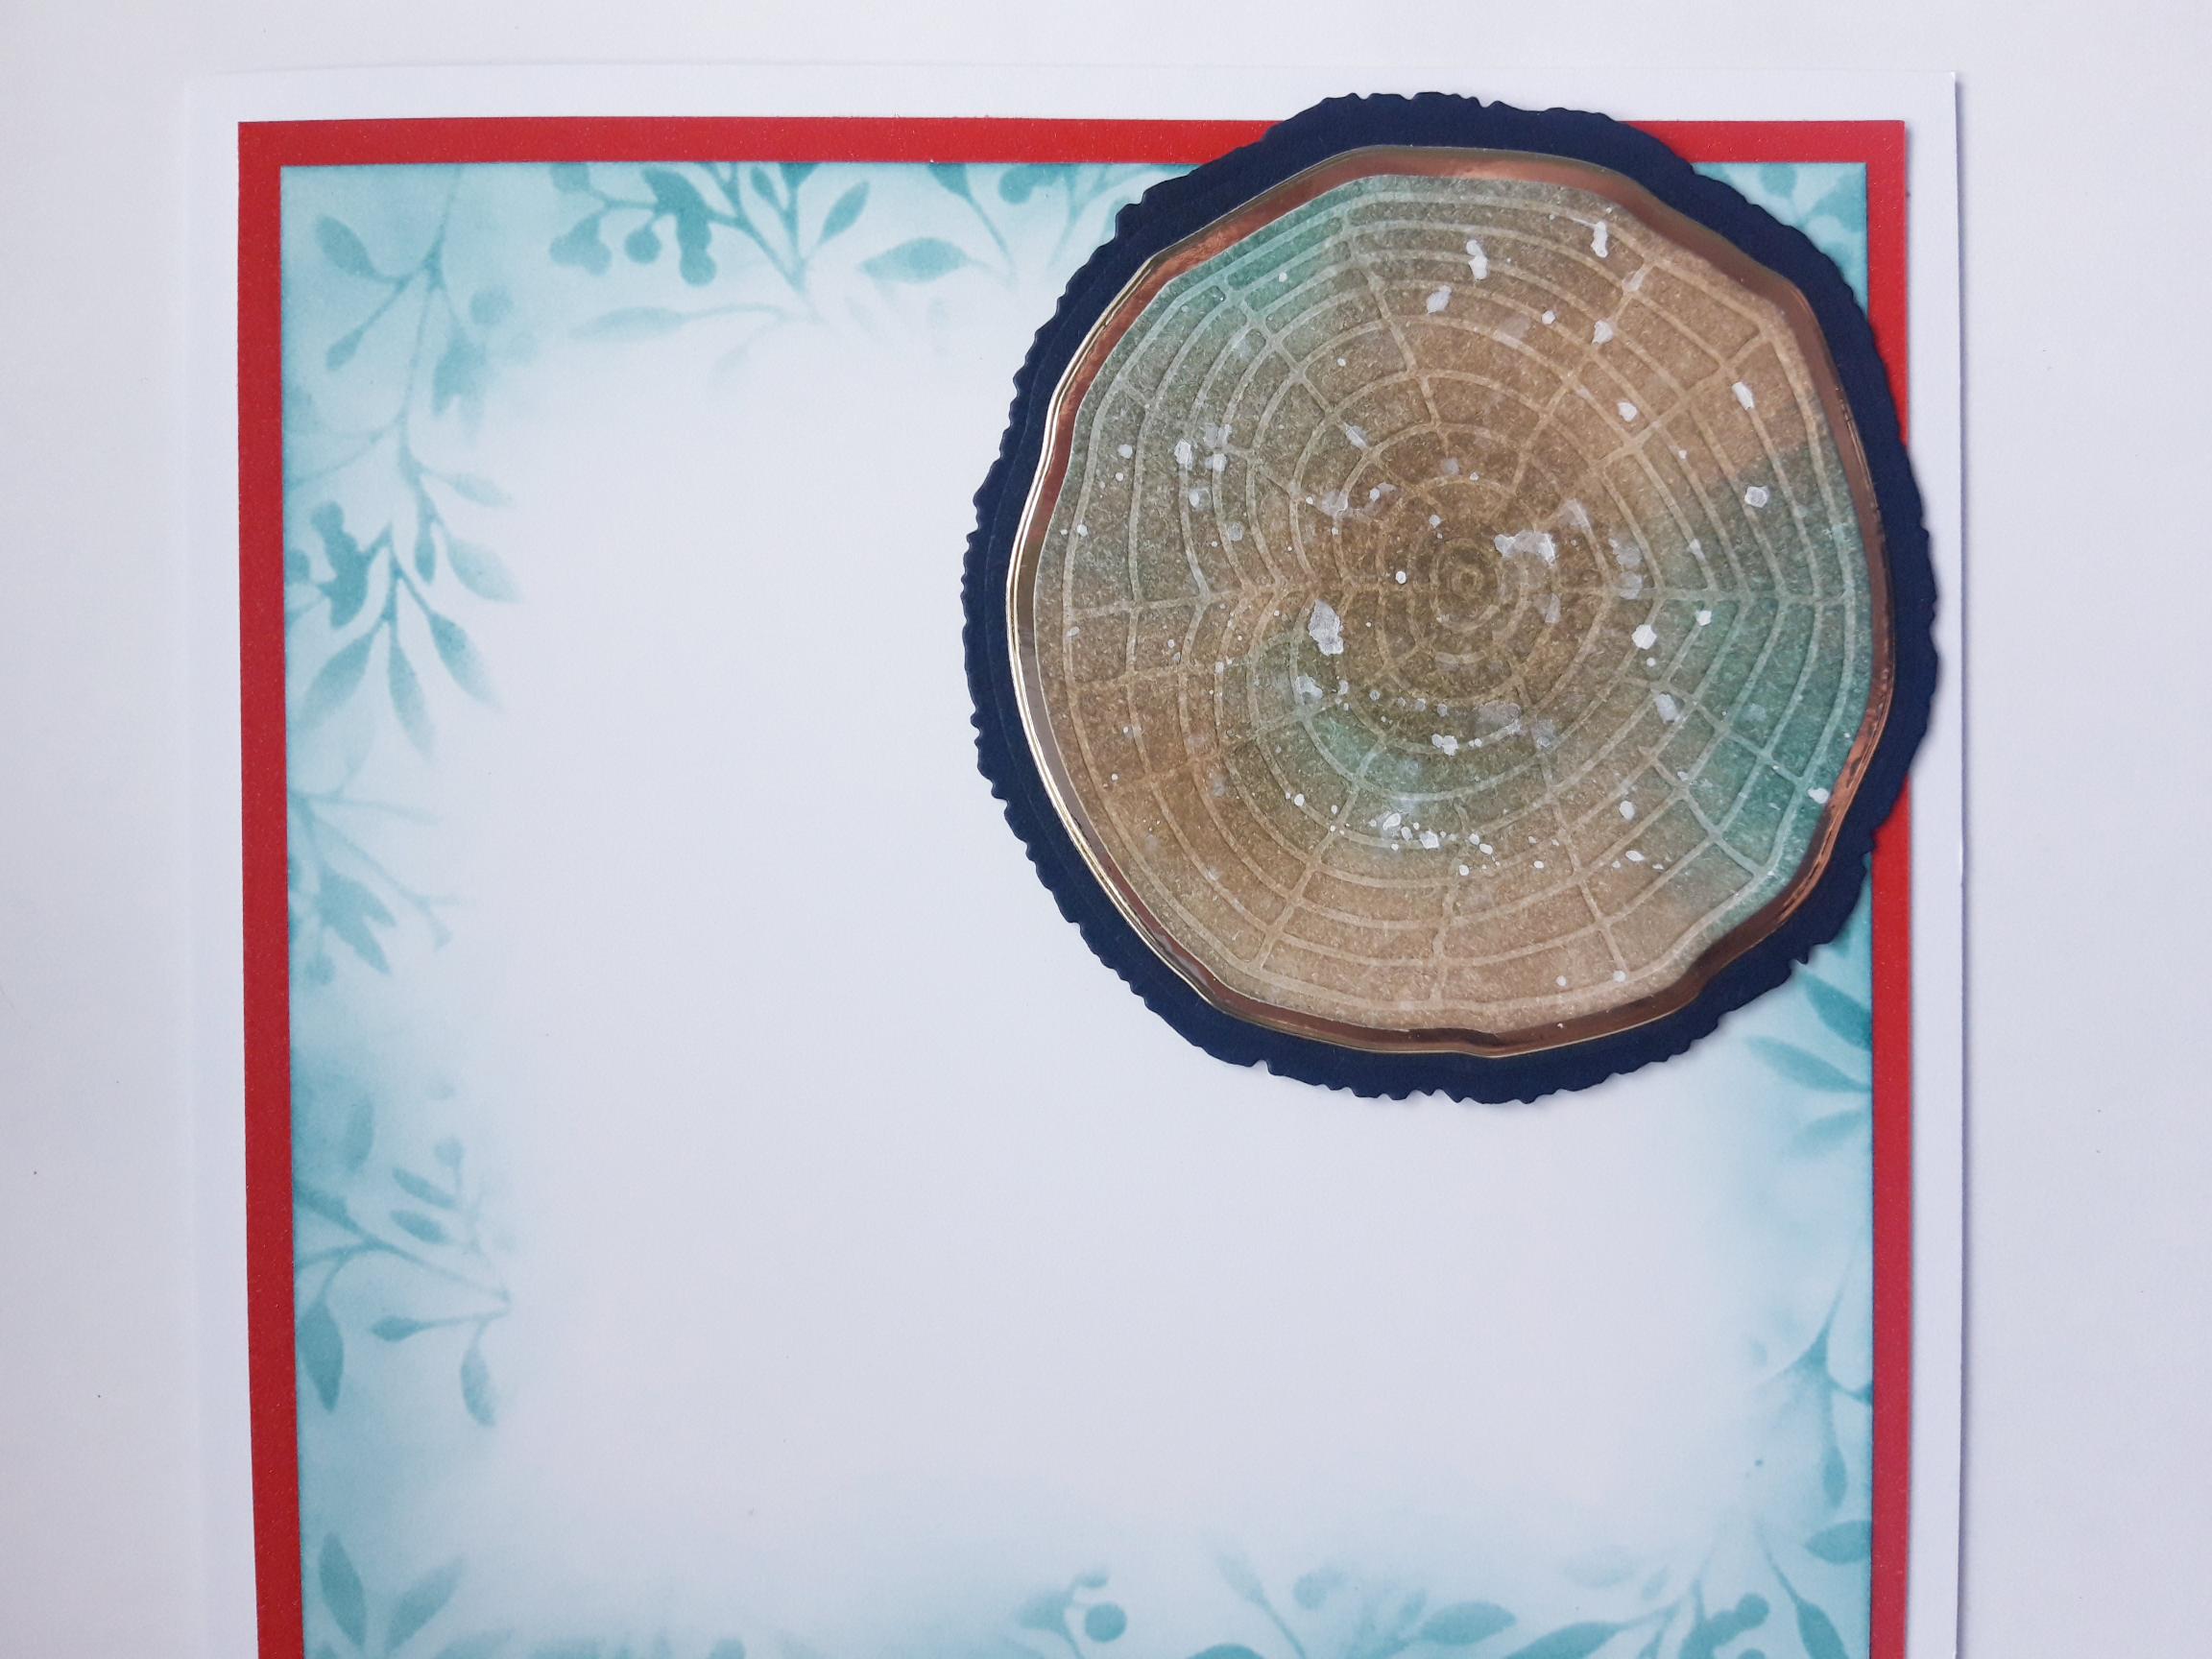
Cut the A4 white card down to 6 1/4 x 6 1/4", setting the remaining card to one side, to be used for die cutting elements, in a later step. Place the Berry Branches stencil on top of the card, and blend the dark green Izink Pigment ink round the edges of the card, to create a stencilled border. |
|
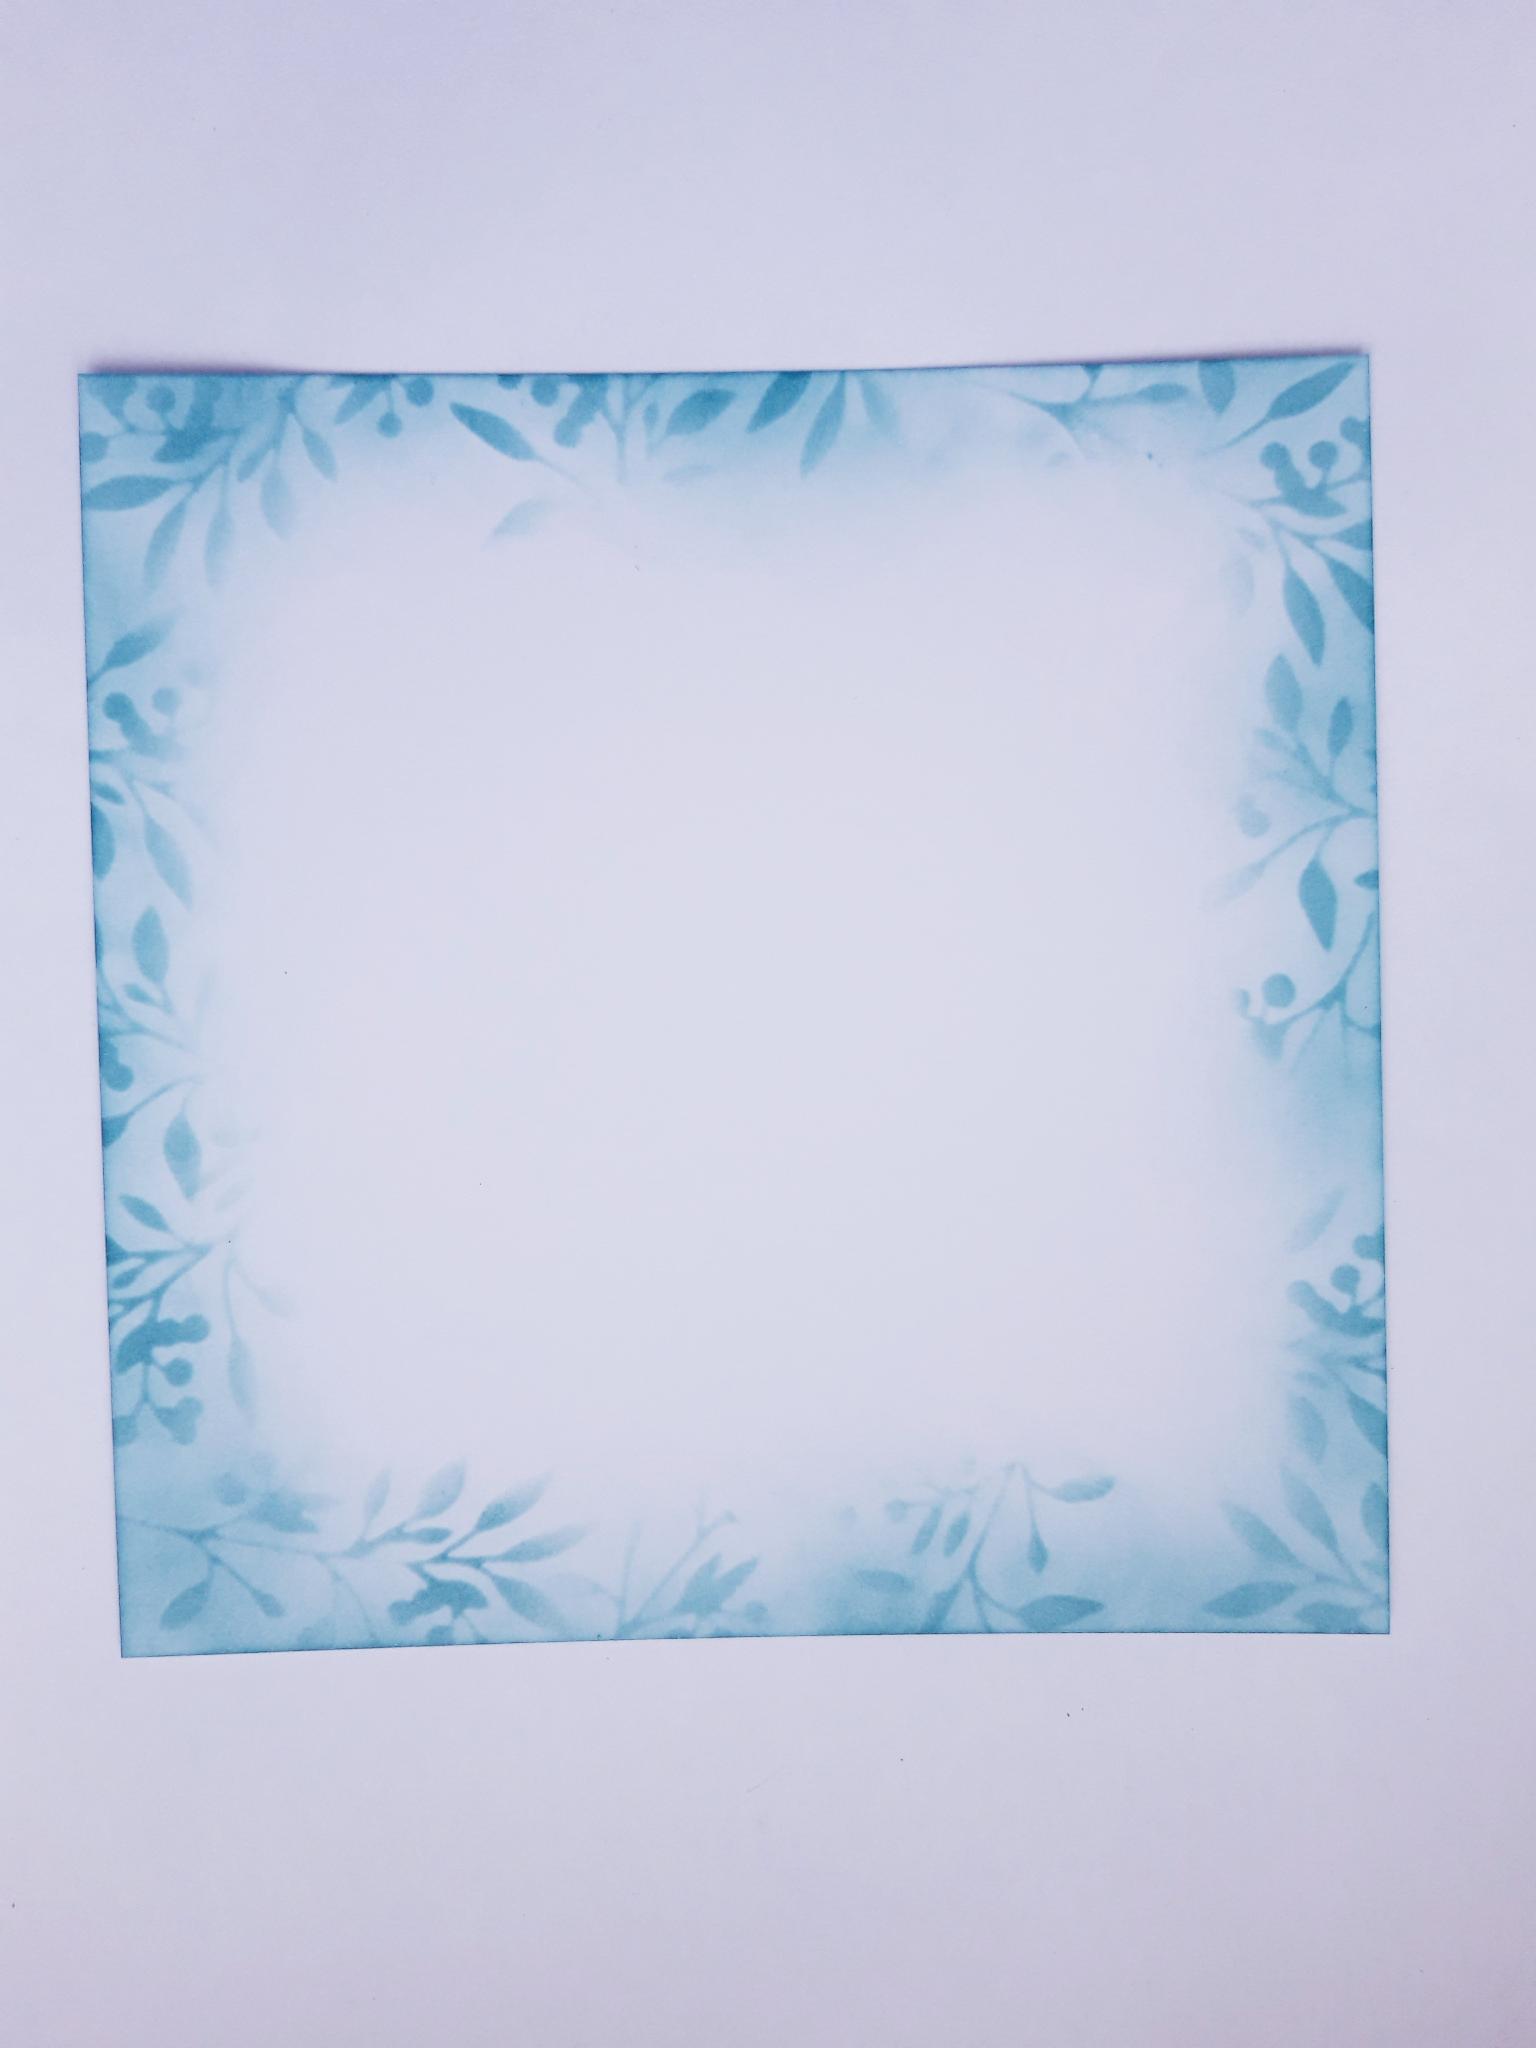
Remove the stencil and blend the same ink around the edges, as shown here. |
|
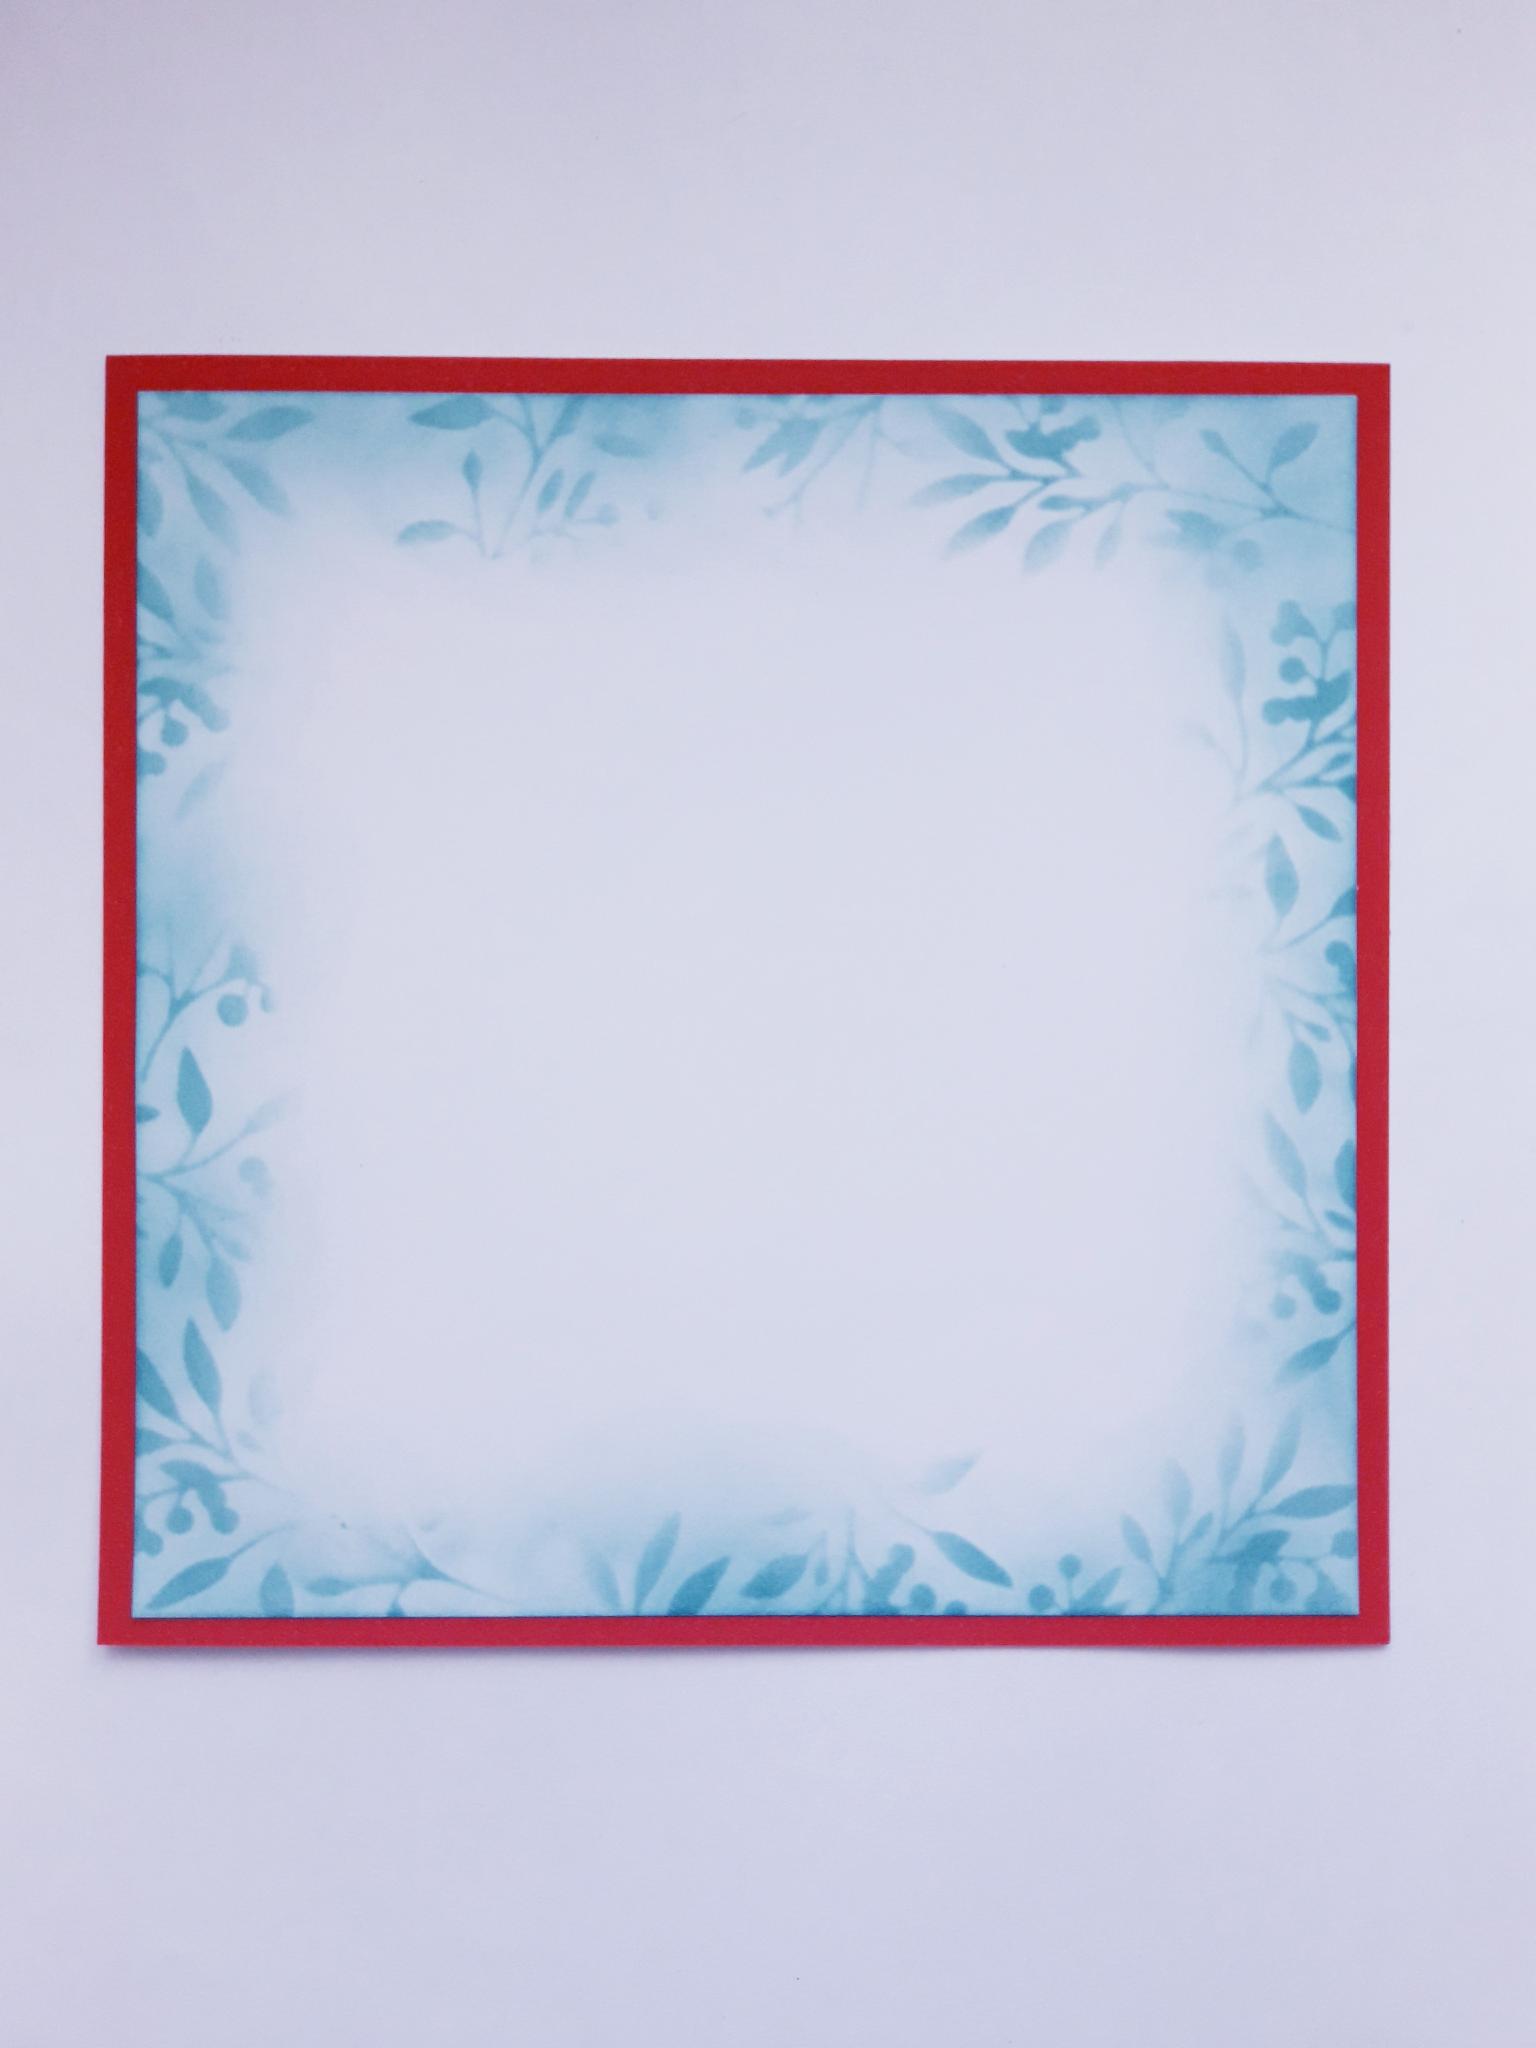
Cut the A4 red card down to 6 1/2 x 6 1/2", setting the remaining card to one side, to be used for die cutting elements, in a later step. Adhere your stencilled background on to the red card. |
|
Adhere this on to your card blank, and set to one side. |
|
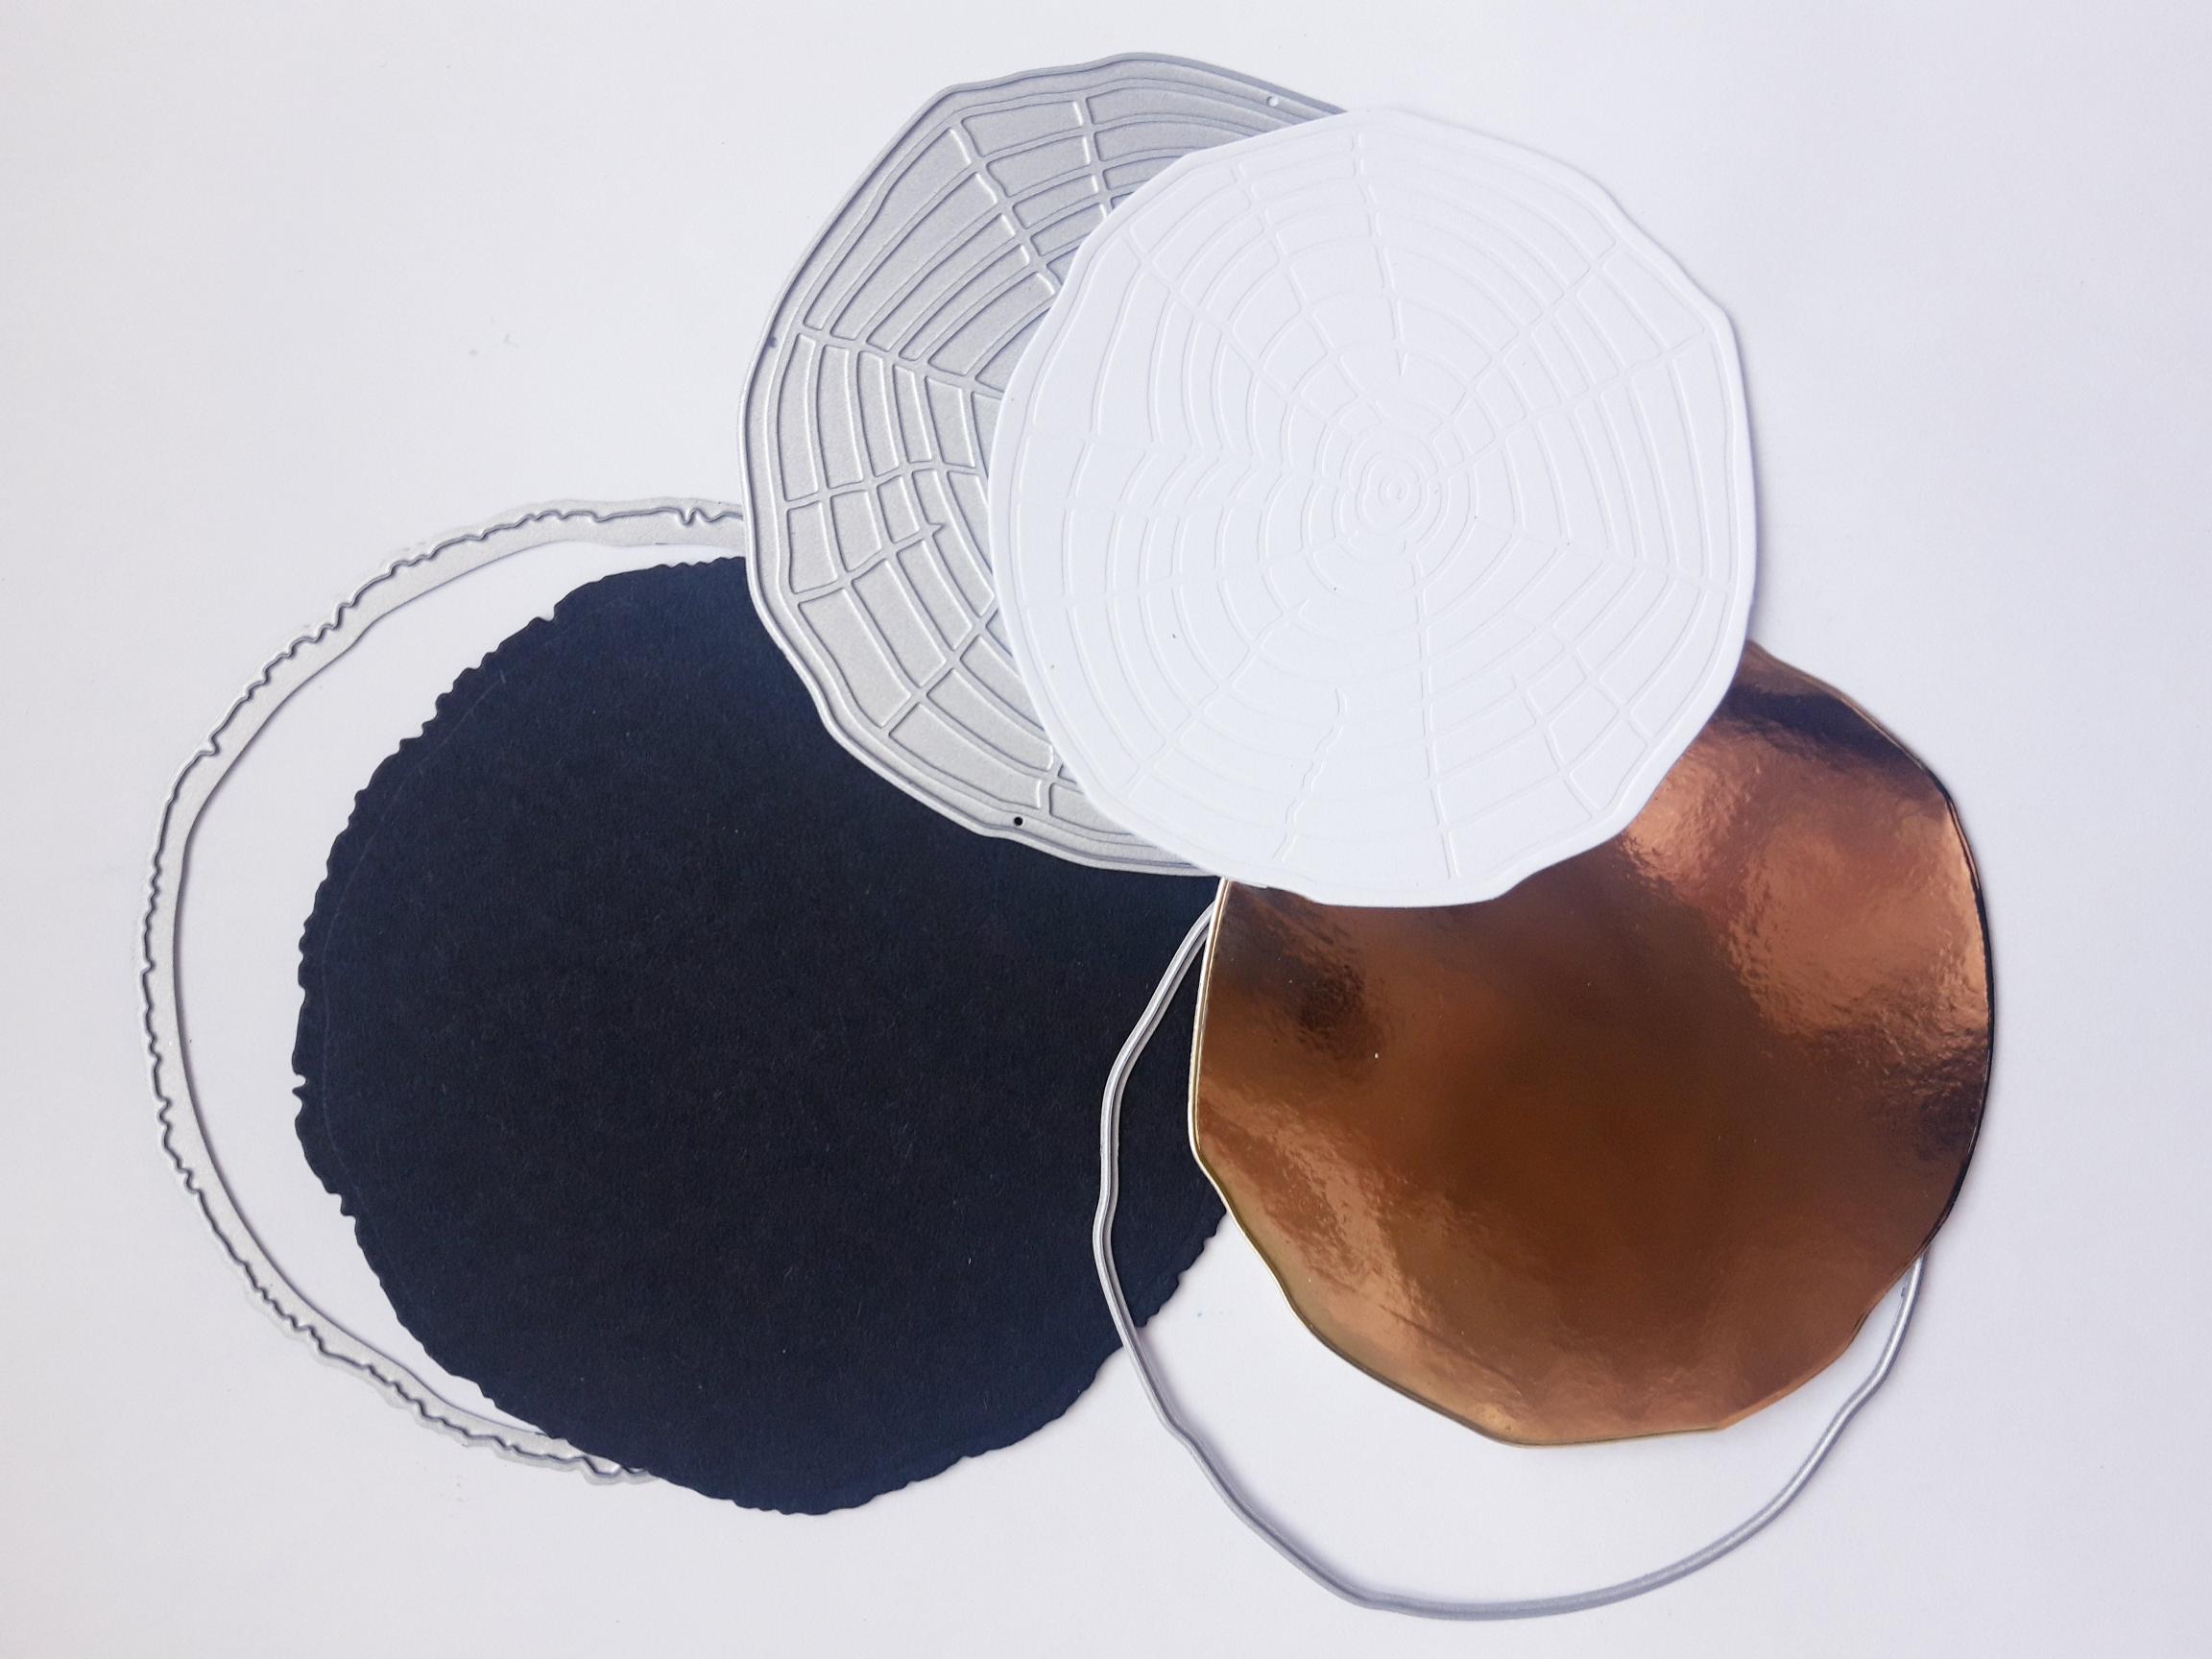
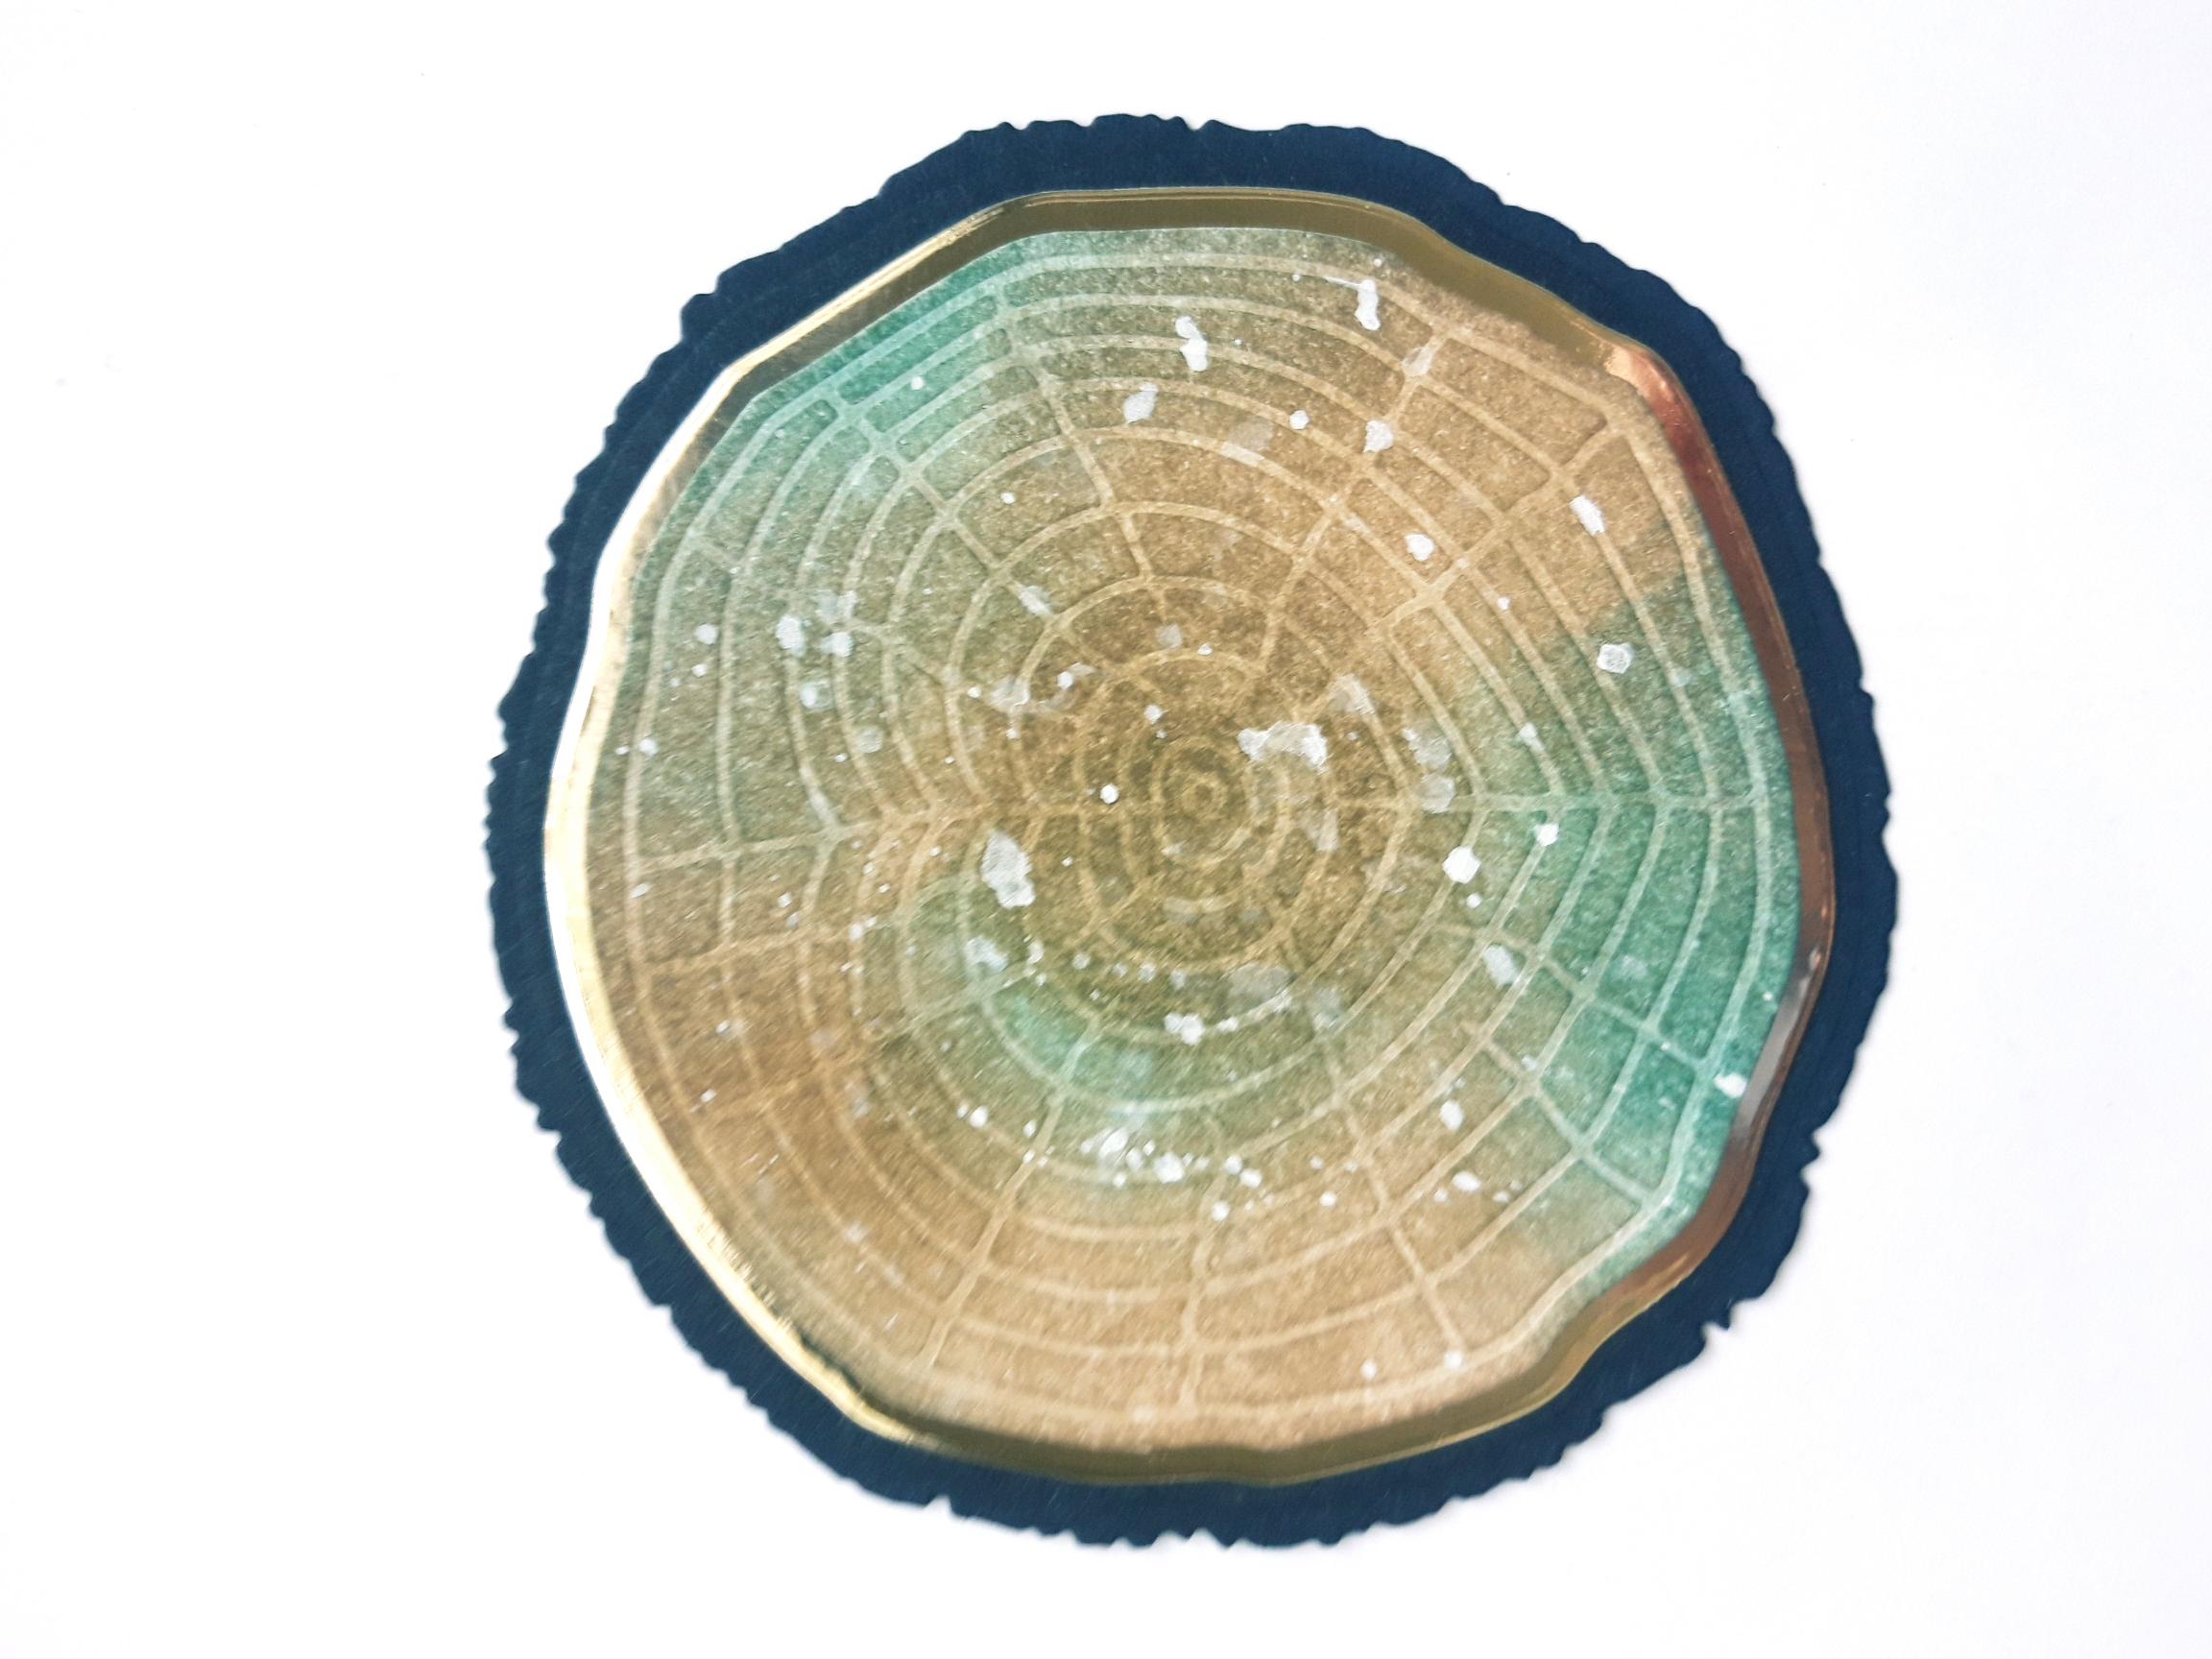
Place the largest circle log die, from the Oak Ornaments Die Collection, on to the black card (5 x 5"). The second coordinating die, on to a piece from the Gold Mirri or Glitter card. The third embossed log slice die, on to a piece from the remaining white card, set aside earlier. Run these through your die cutting machine, seperately, or together (secured with low tack tape), depending on the size of your machine. |
|
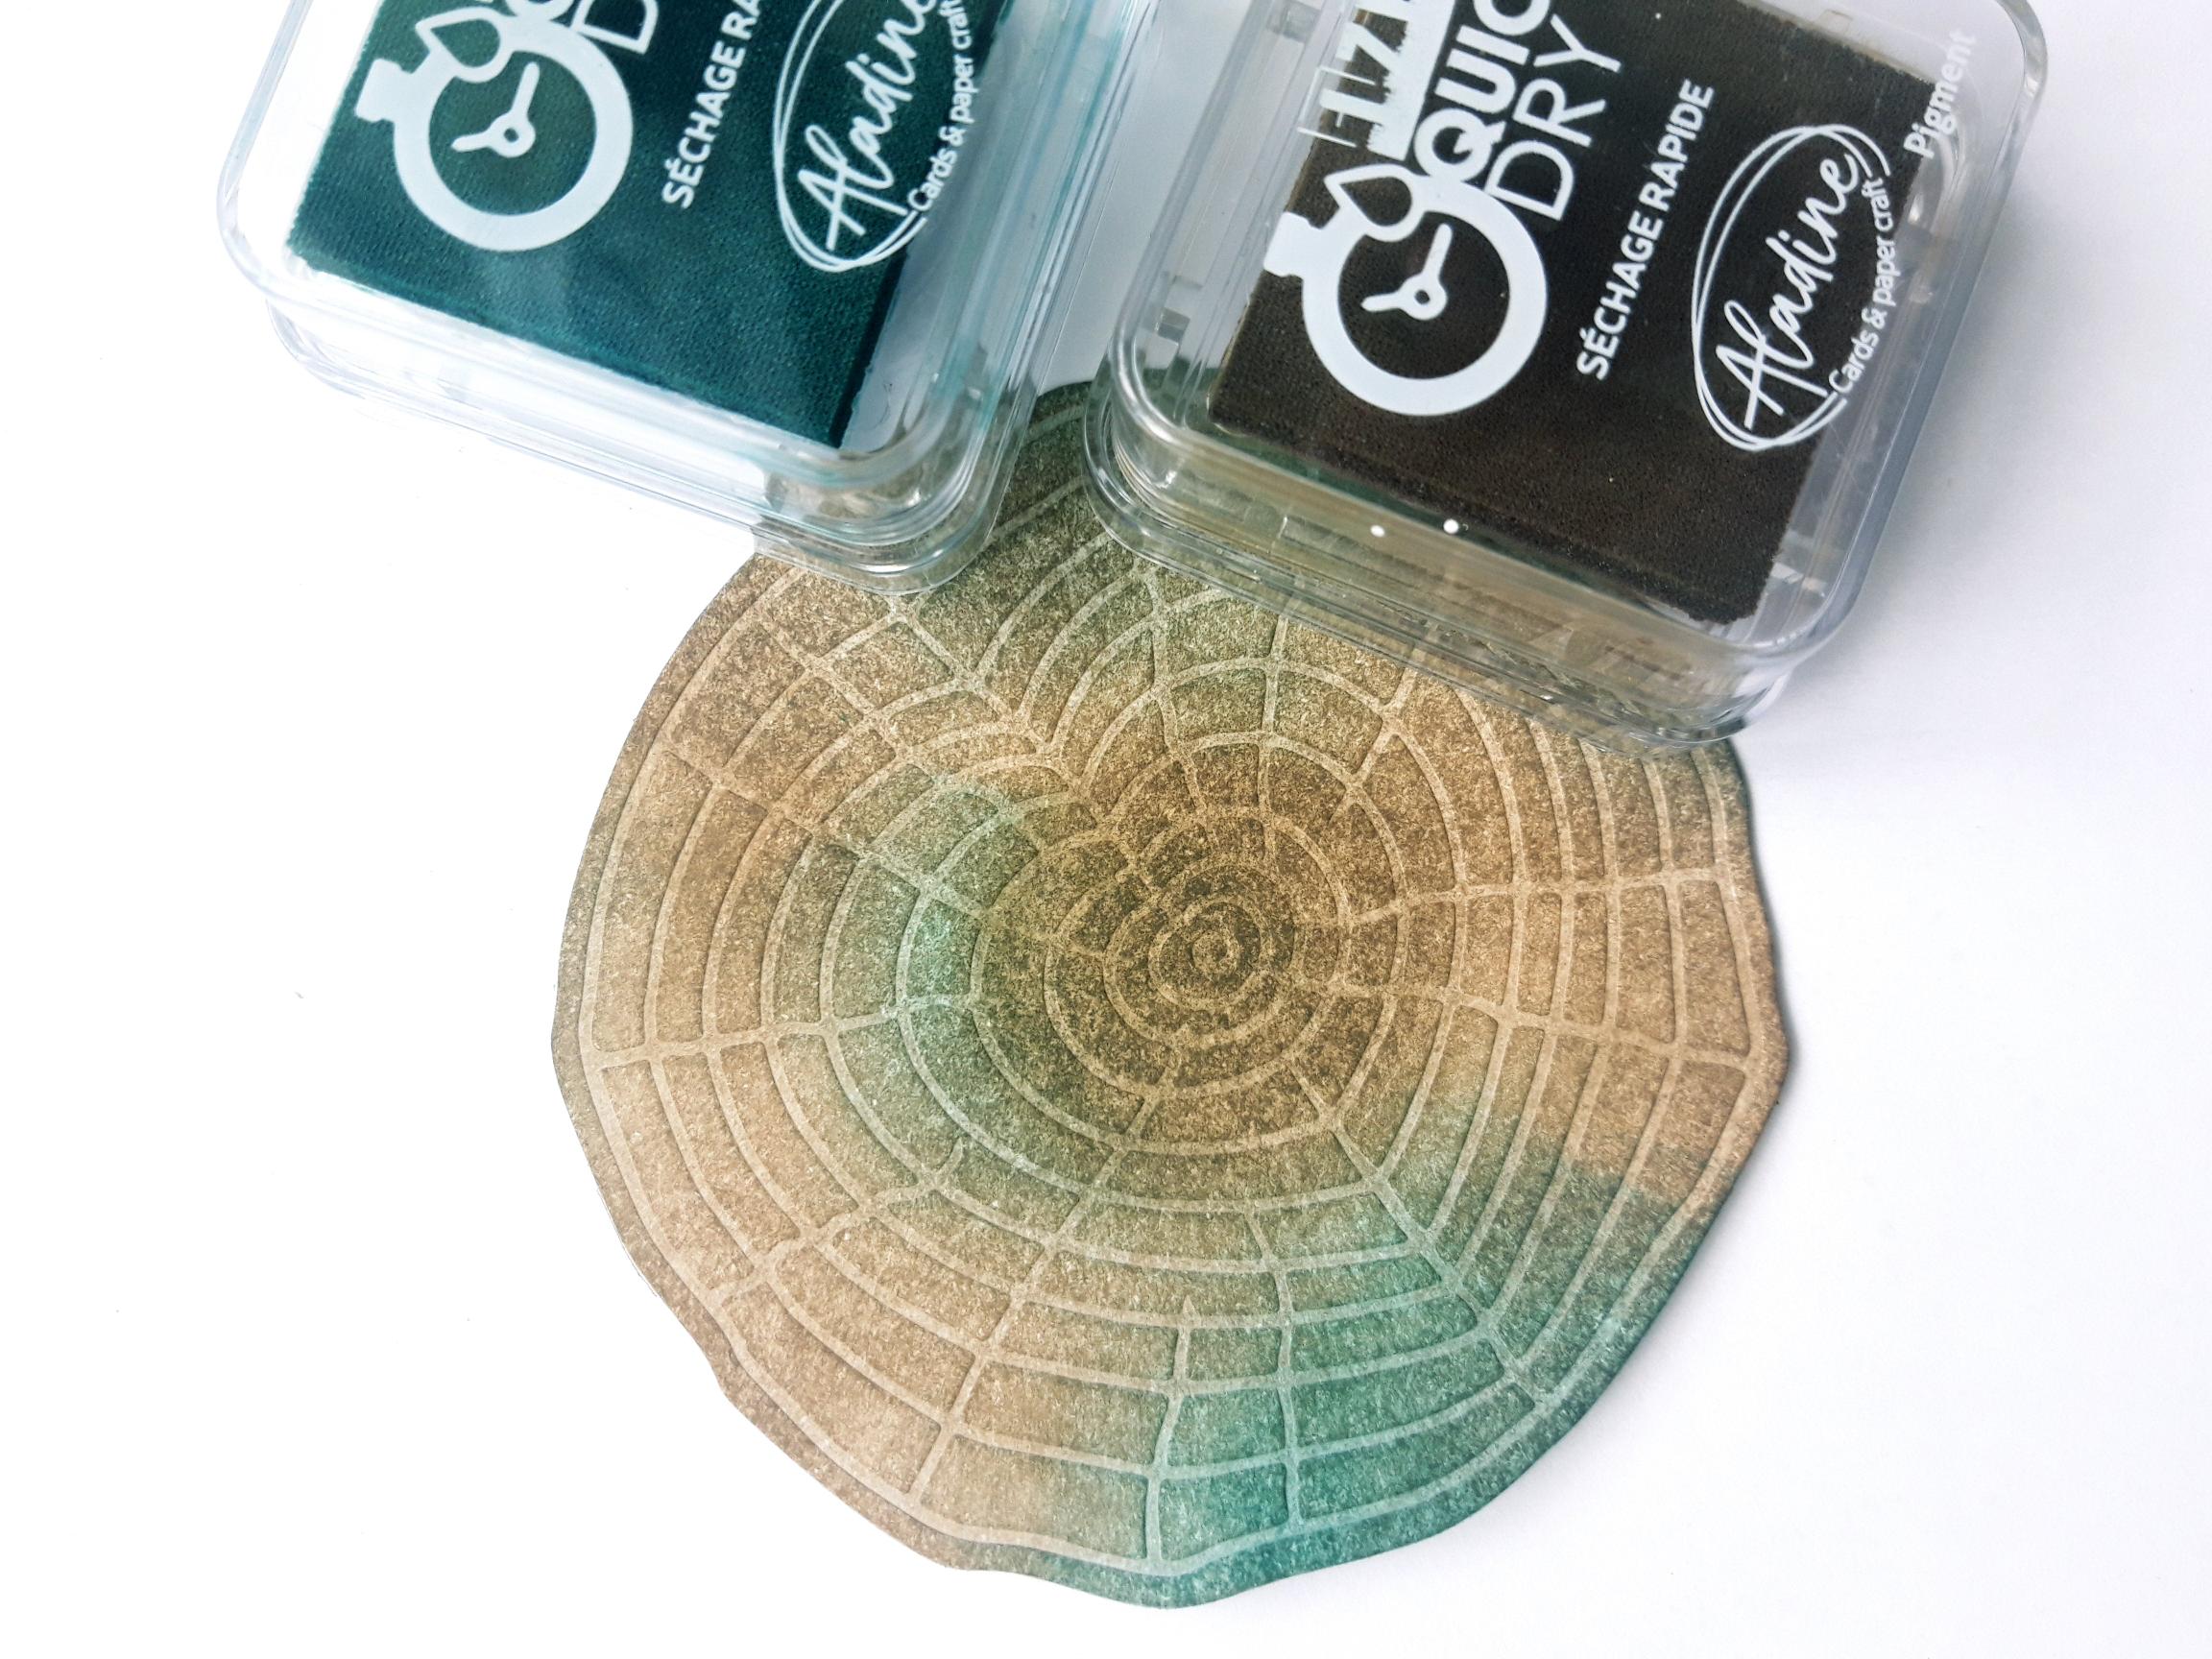
Blend the Izink Pigment inks on to the embossed, die cut log slice. Dry off the ink thoroughly. |
|
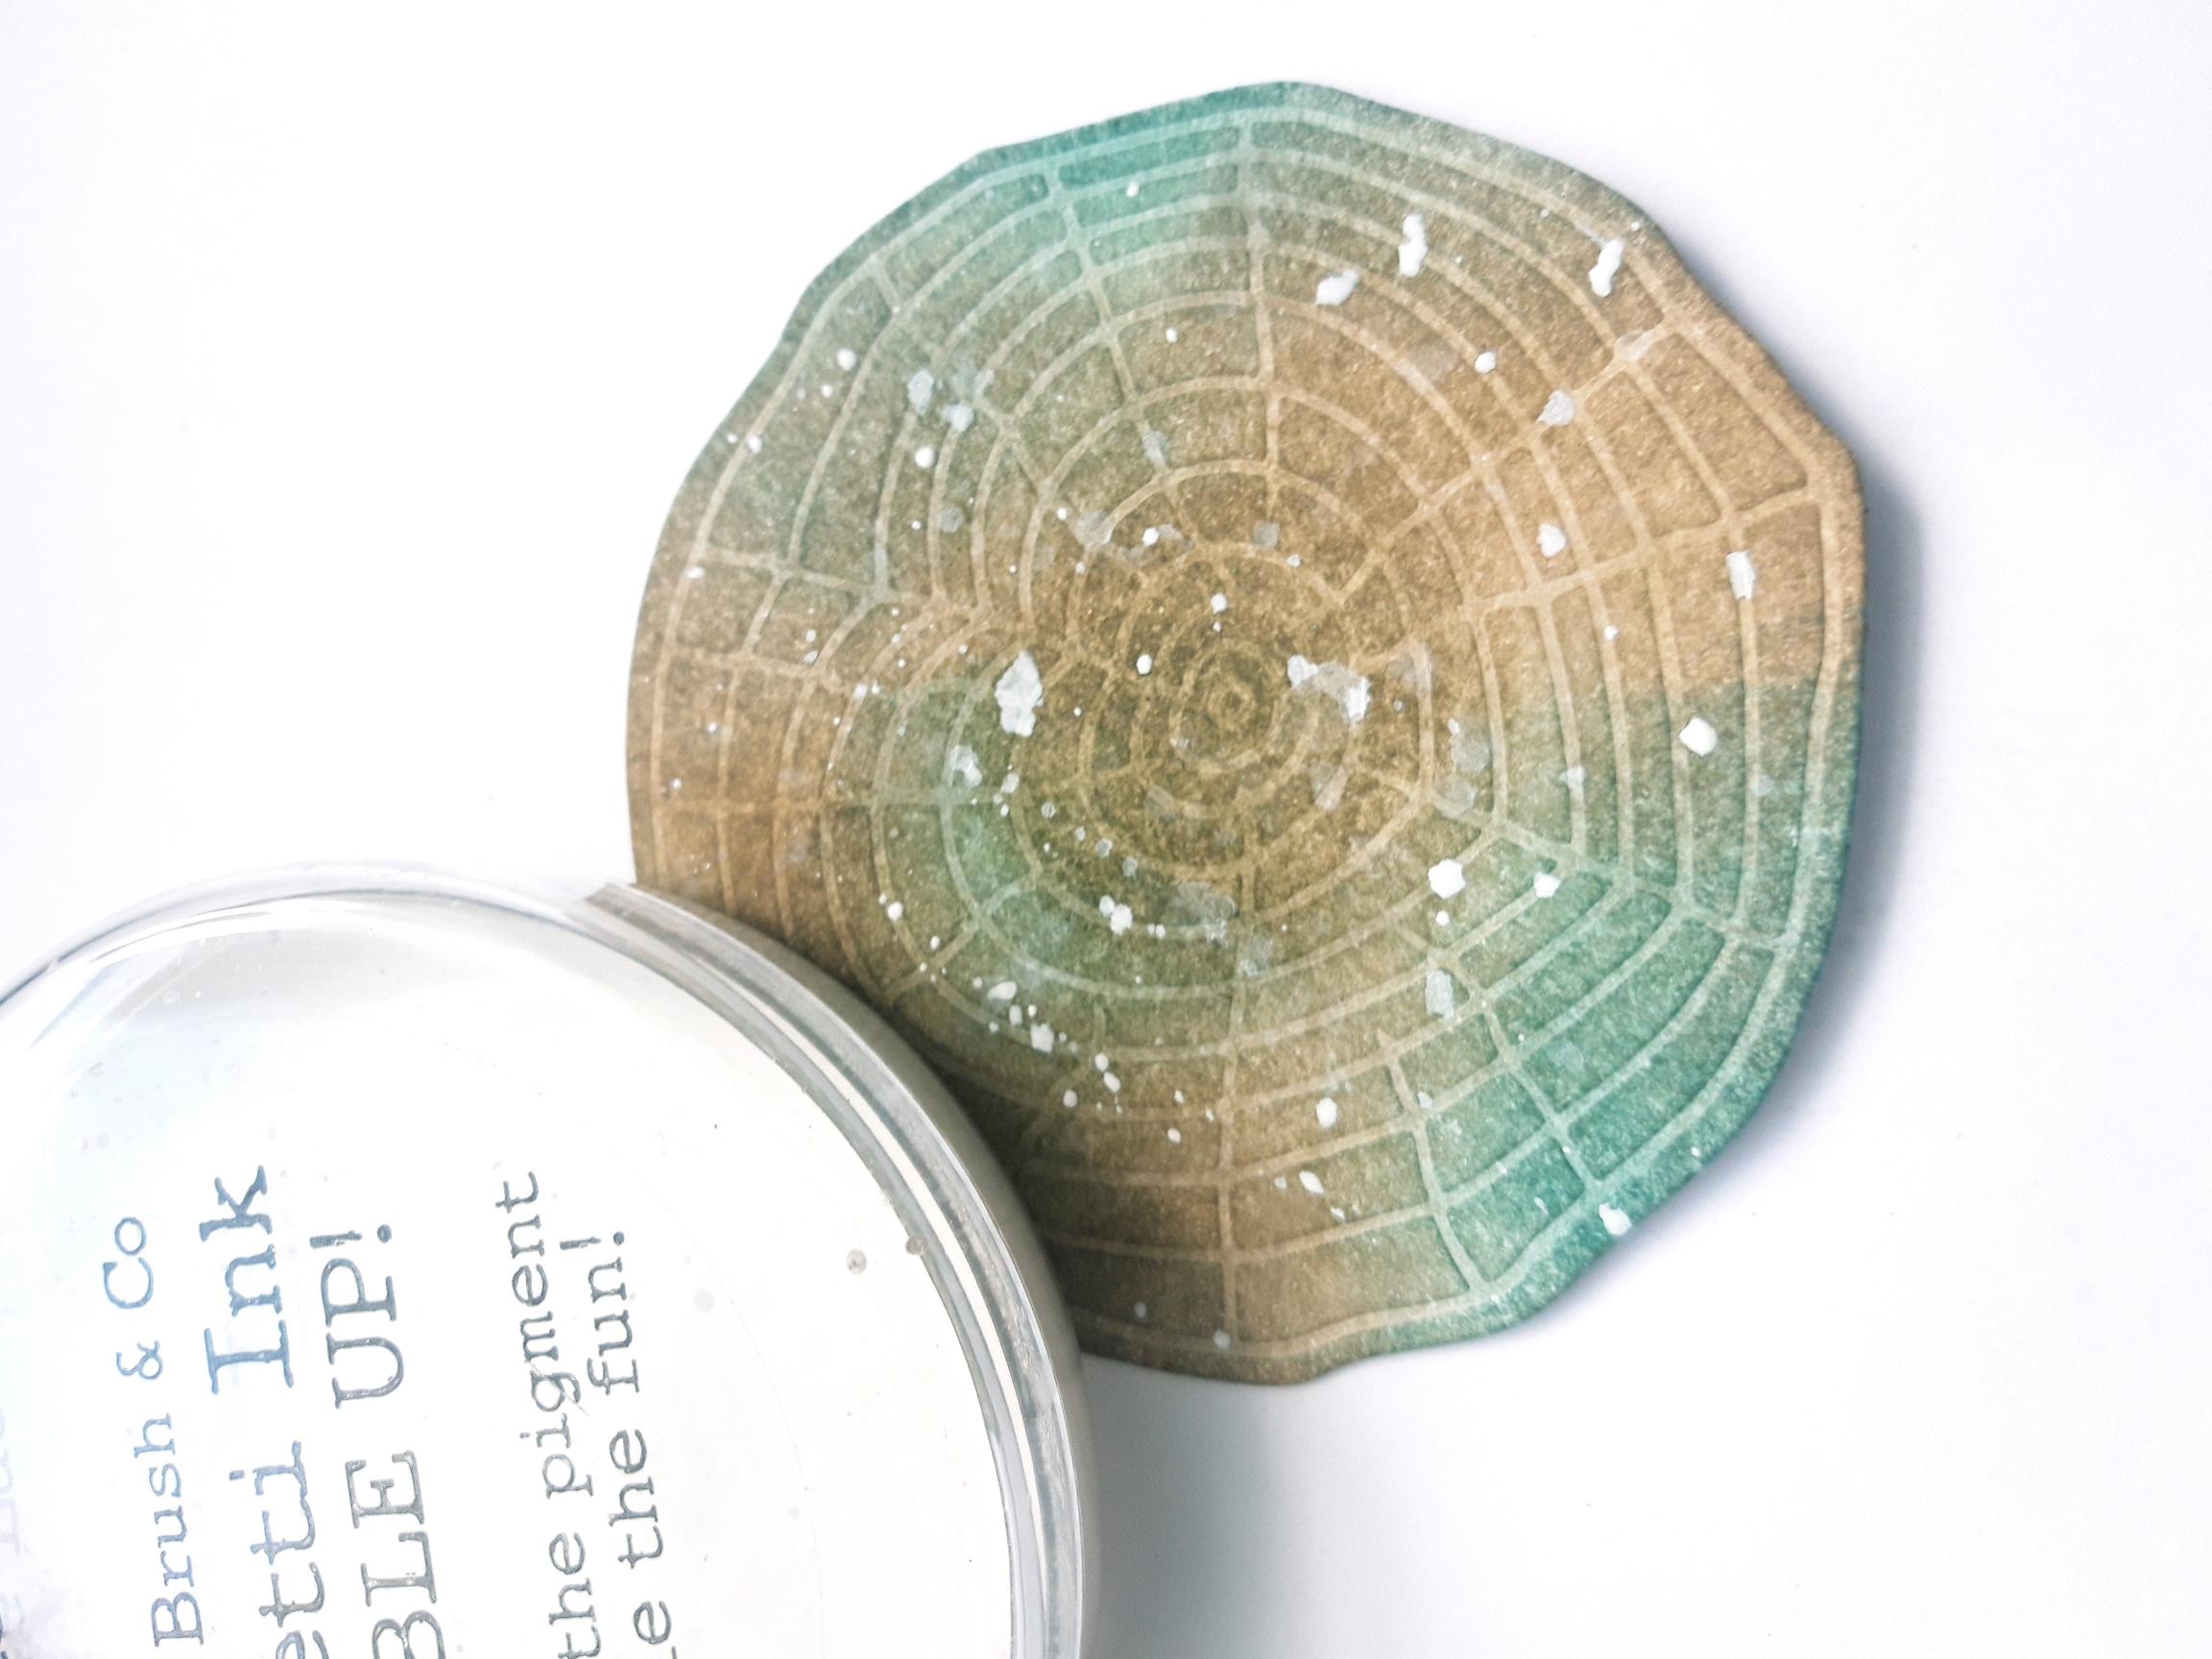
Spray water on to your Confetti Paint, and splatter the inked log slice. If possible allow the paint to dry naturally, as it leaves a better, raised texture. However, if impatient, then you can blast it off with a heat tool. |
|
Once dry adhere the inked log slice, on to the black log slice, then on to the gold one.
|
|
Adhere this on to the bottom, right corner, of your stencilled background. Set to one side. |
|
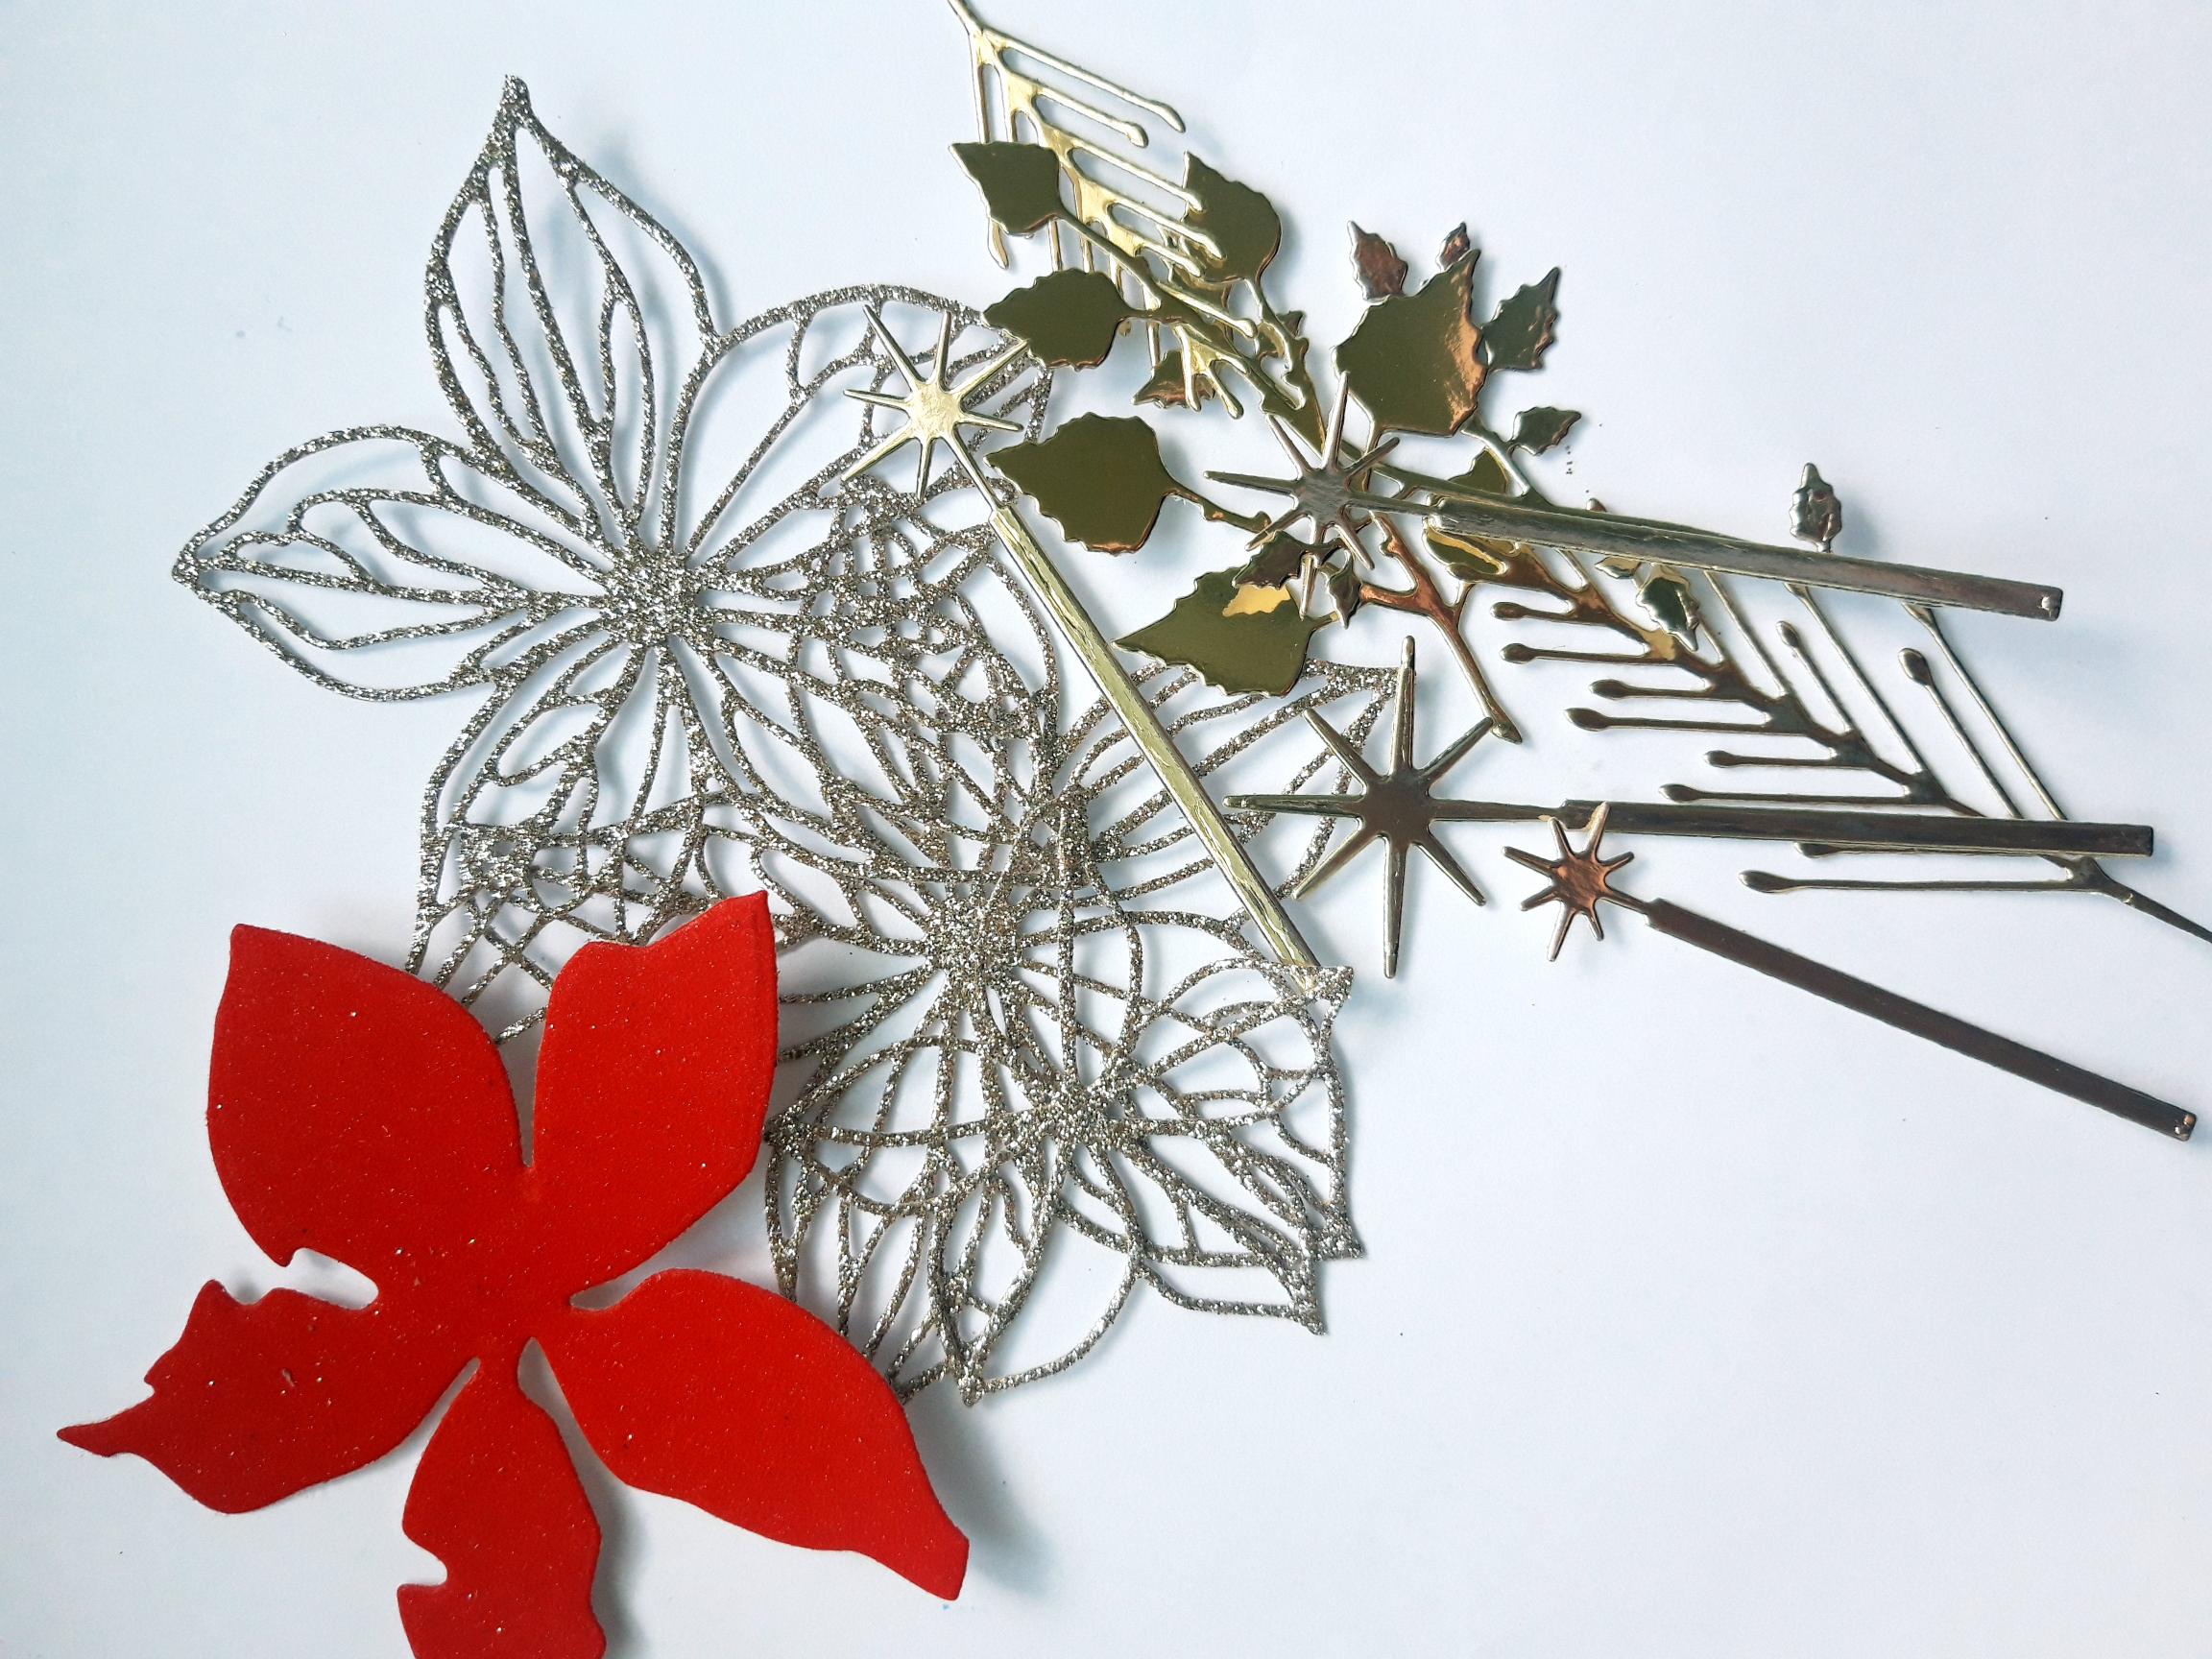
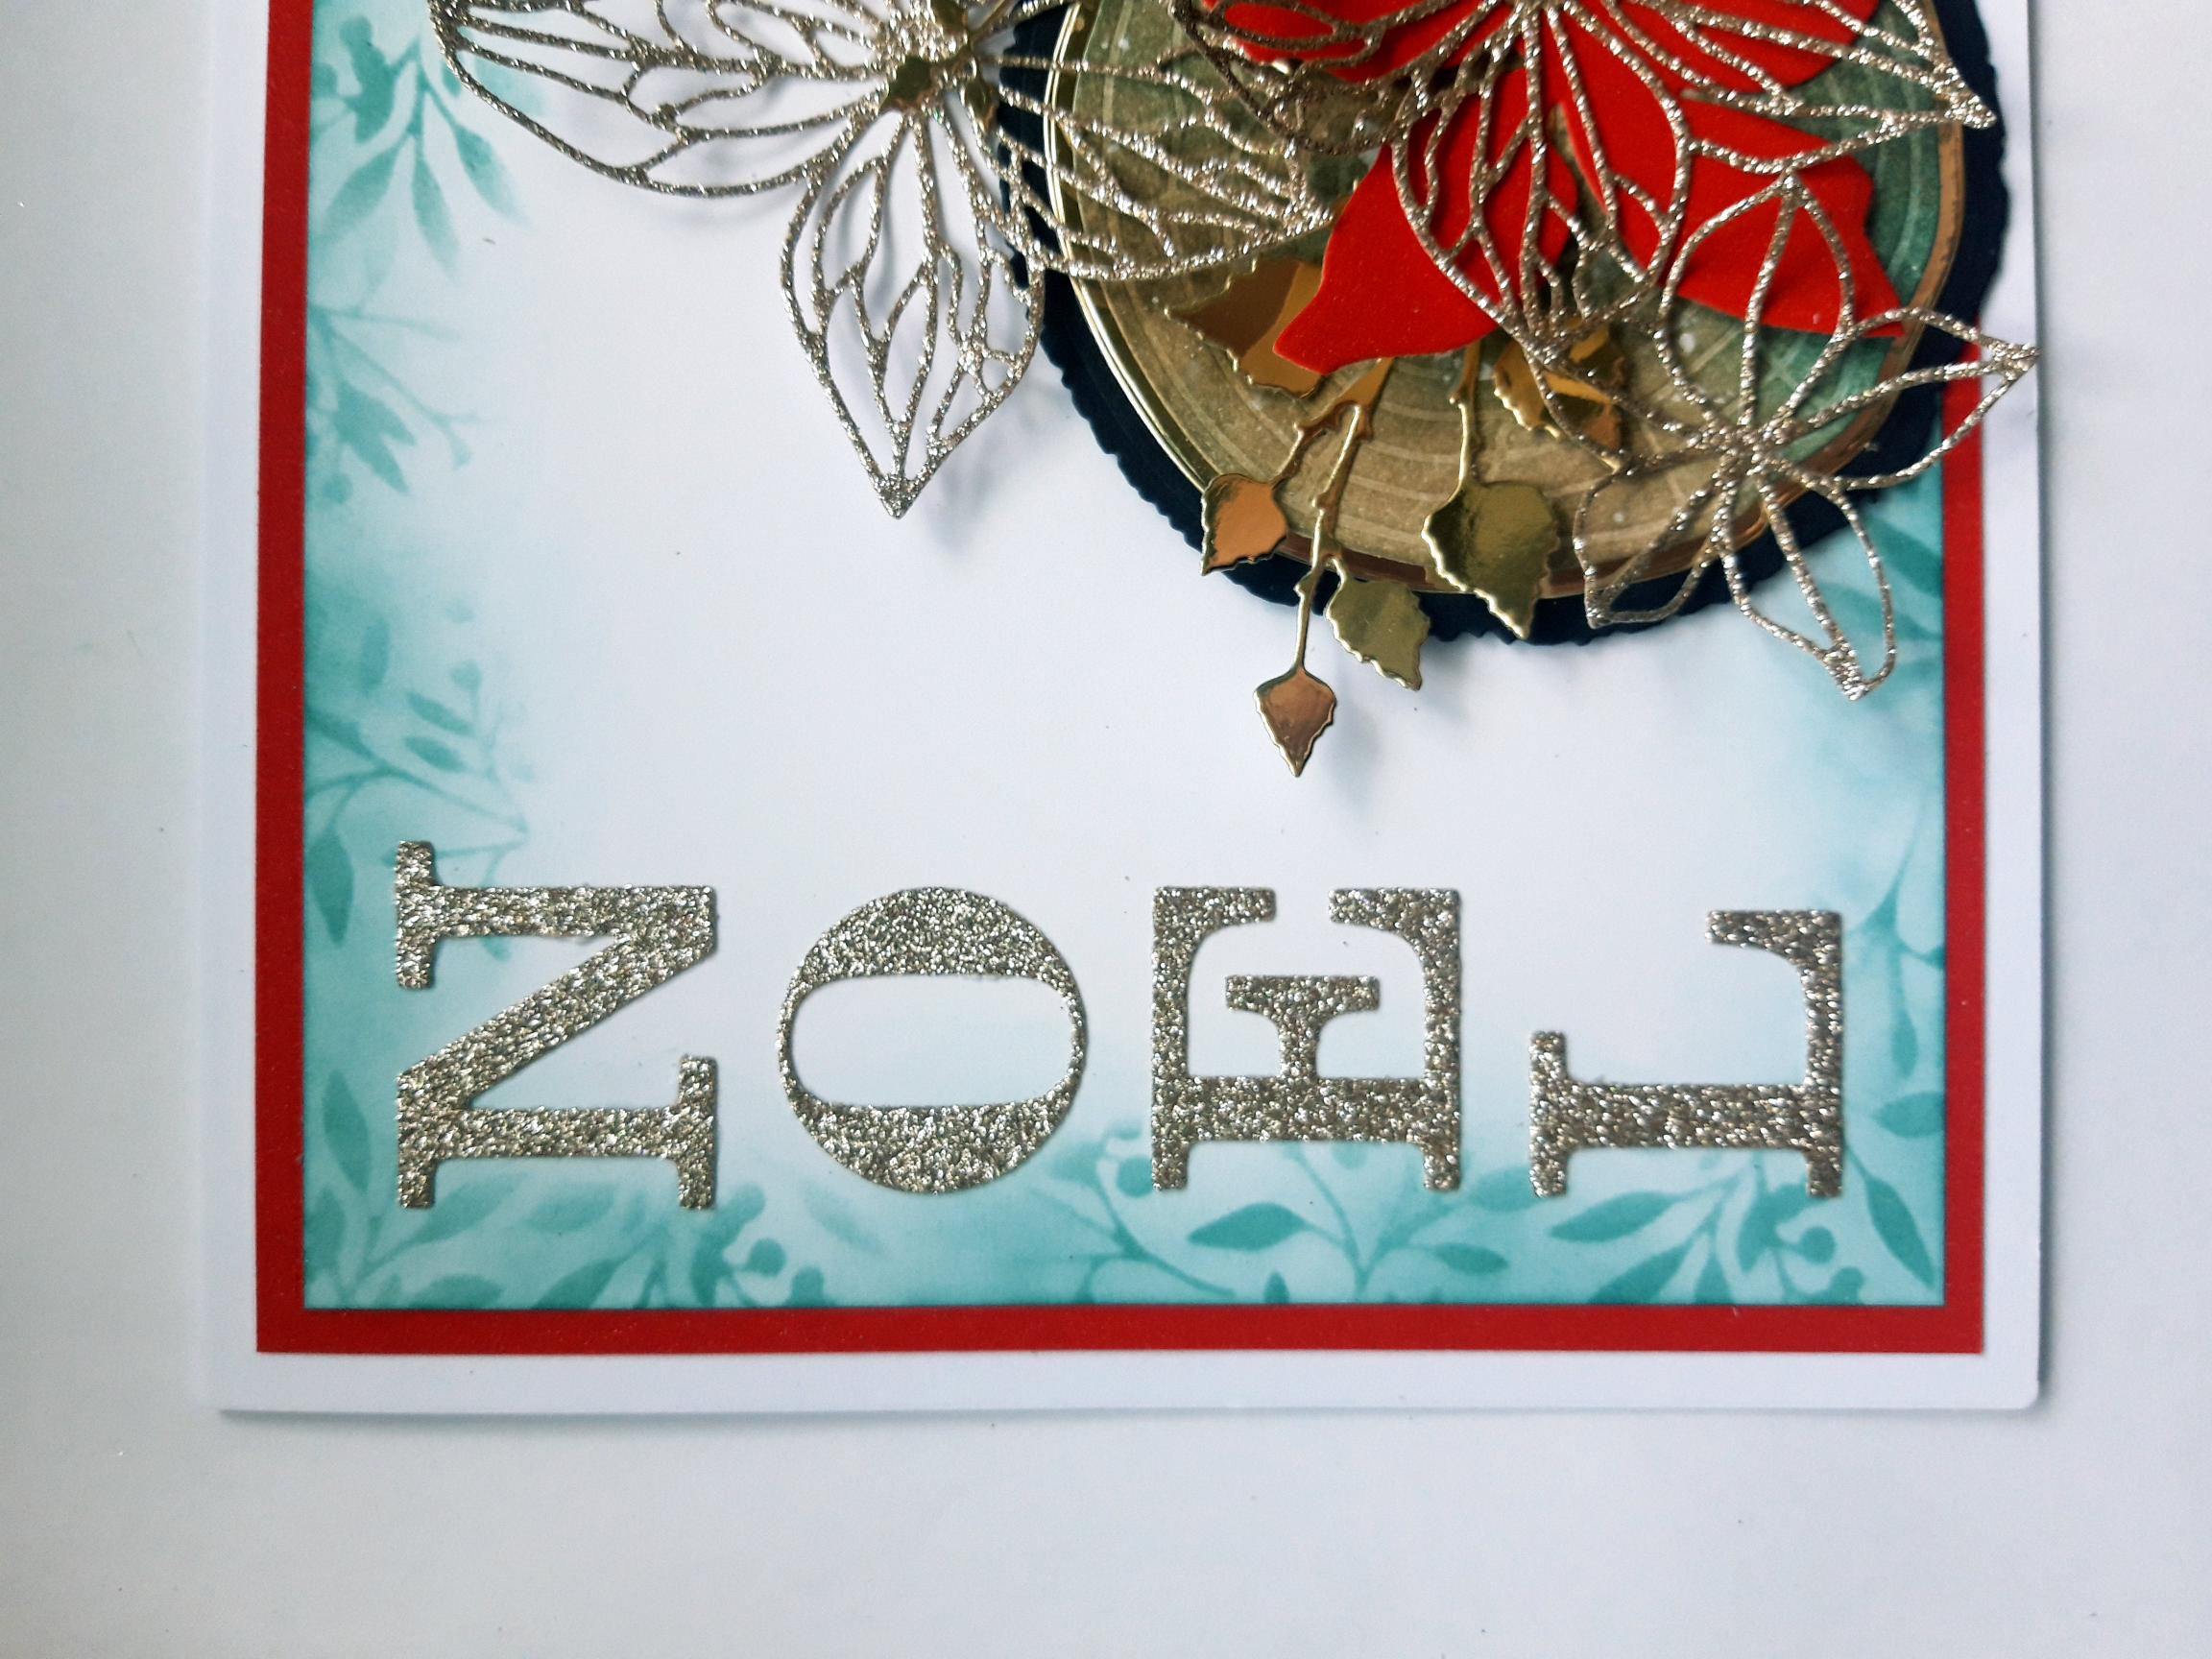
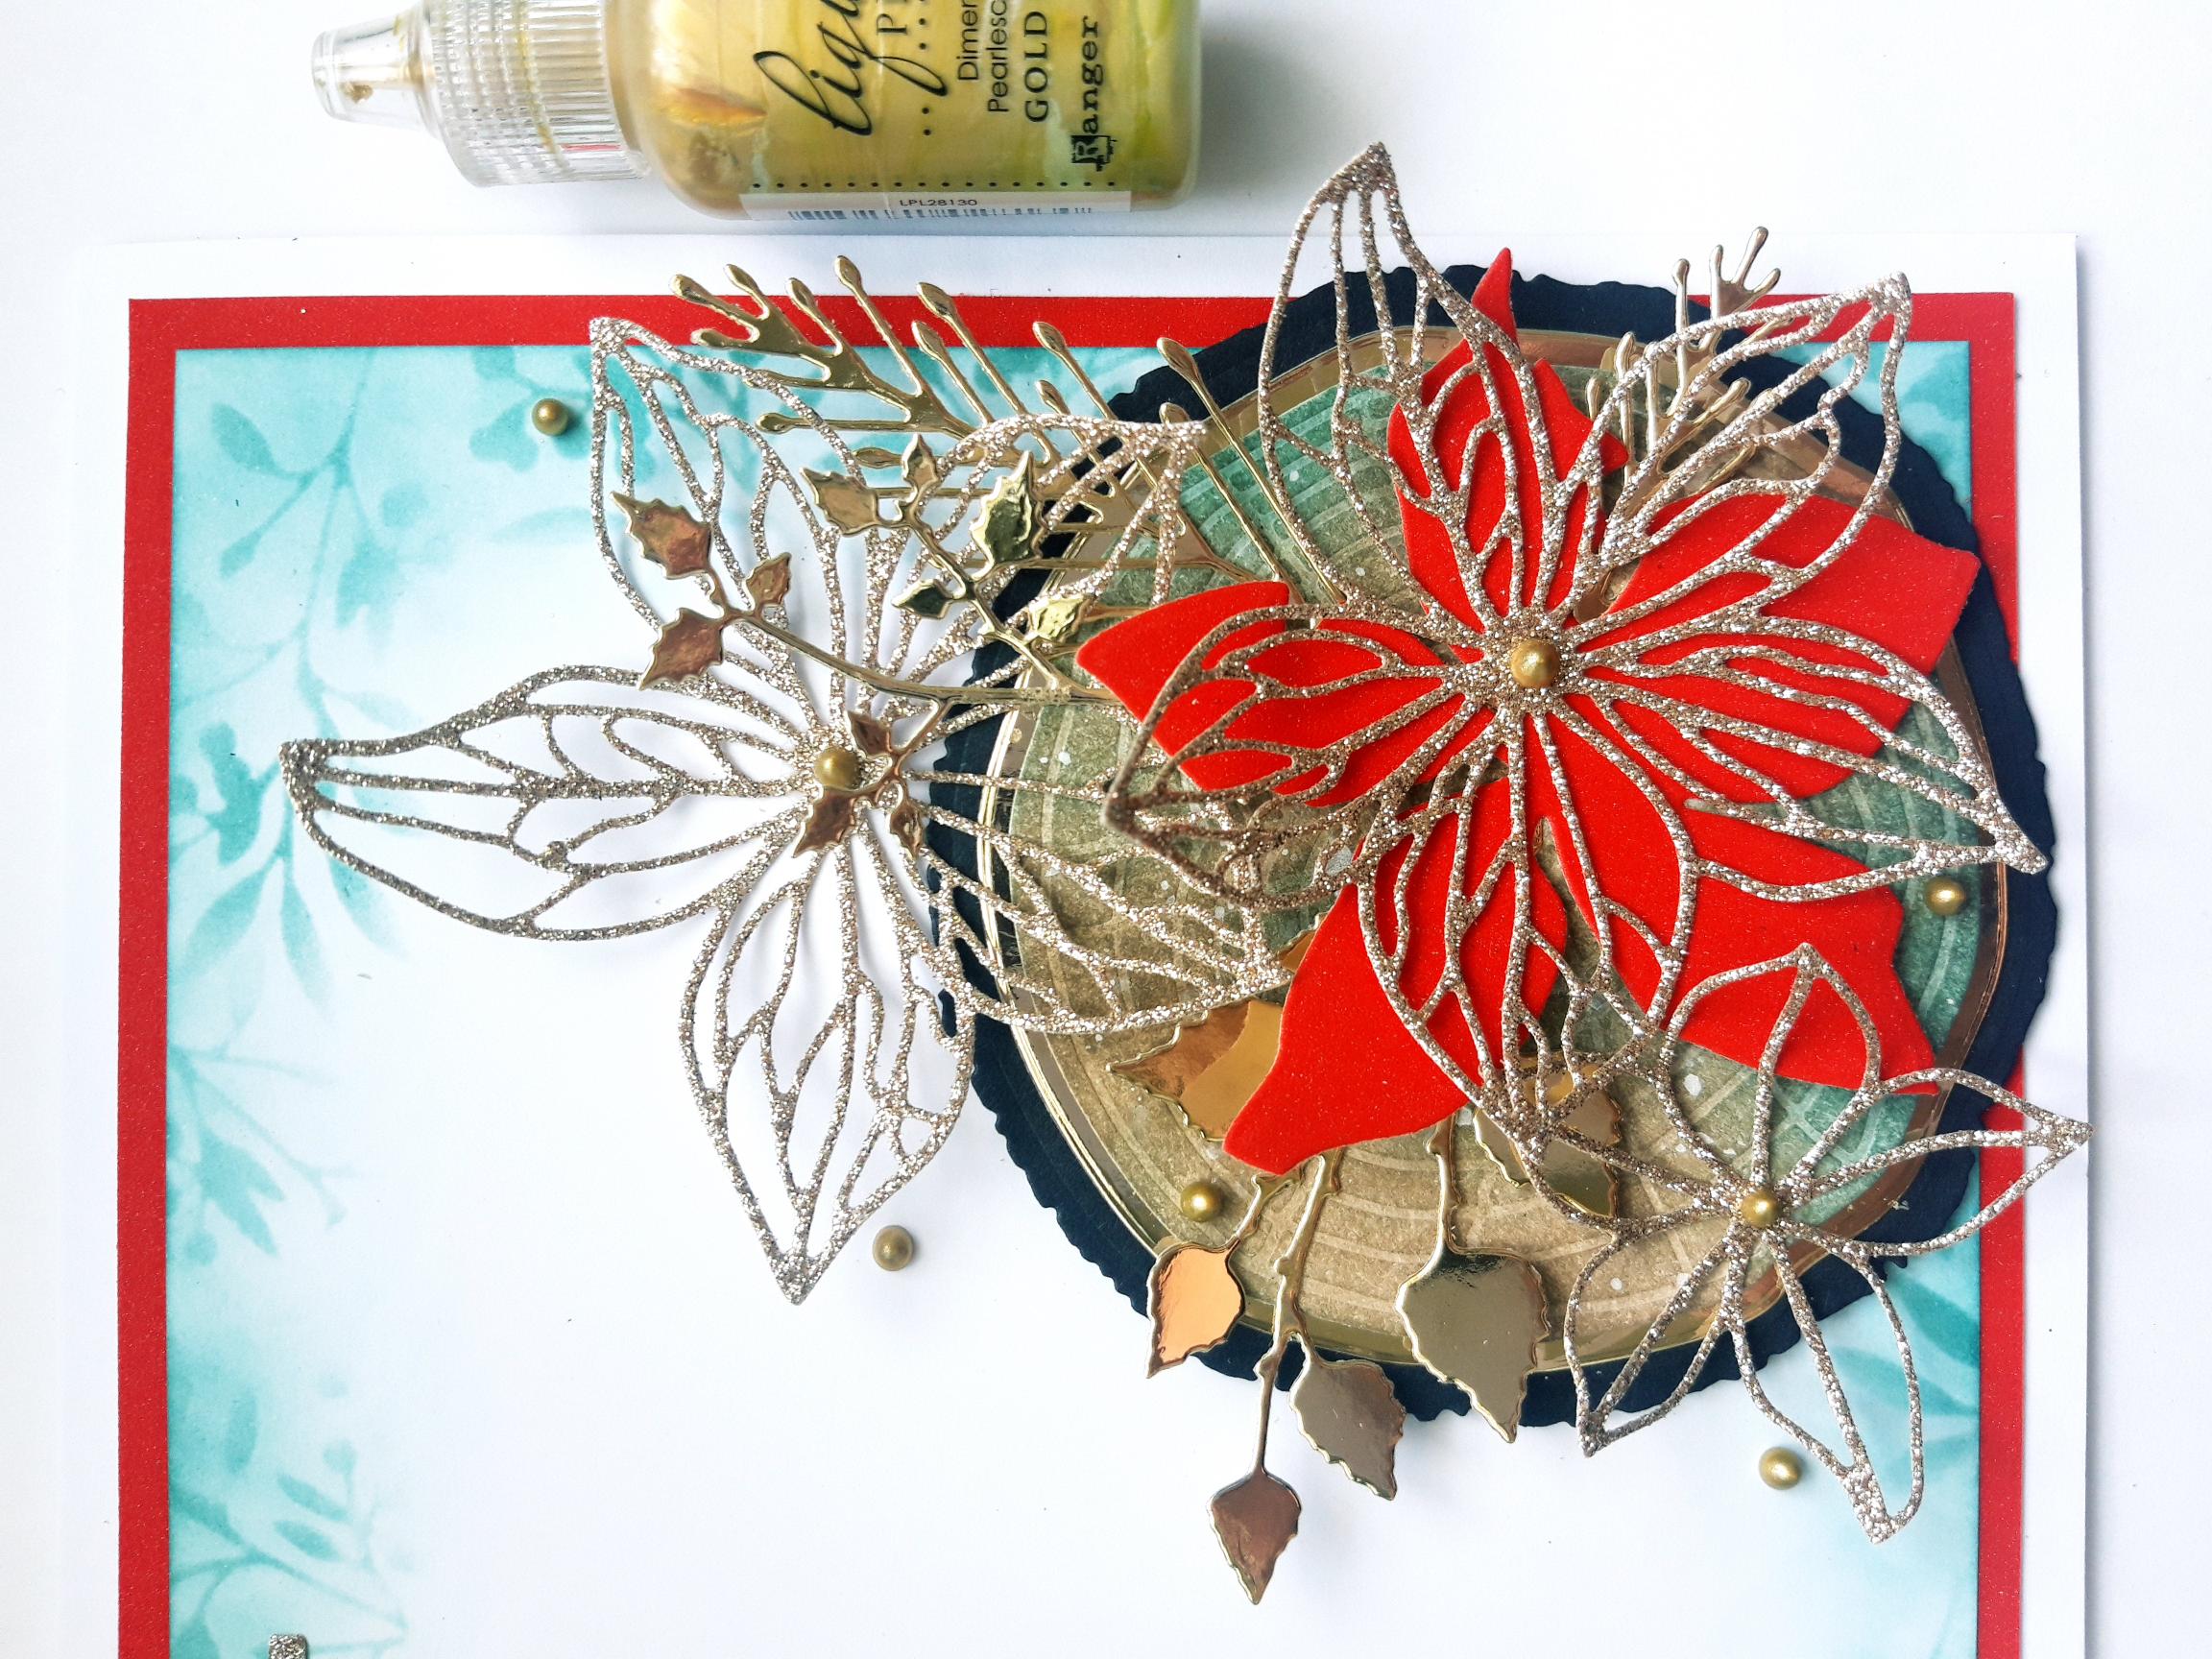
Die cut a selection of floral, foliage and pin elements, from the red and gold mirri/glitter card set aside, using dies from both the Winter Sparkles, and Festive Sparkles, Die Collections. NB: You will need to set aside enough Gold mirri/ glitter card, to die cut the NOEL letters, in a later step. |
|
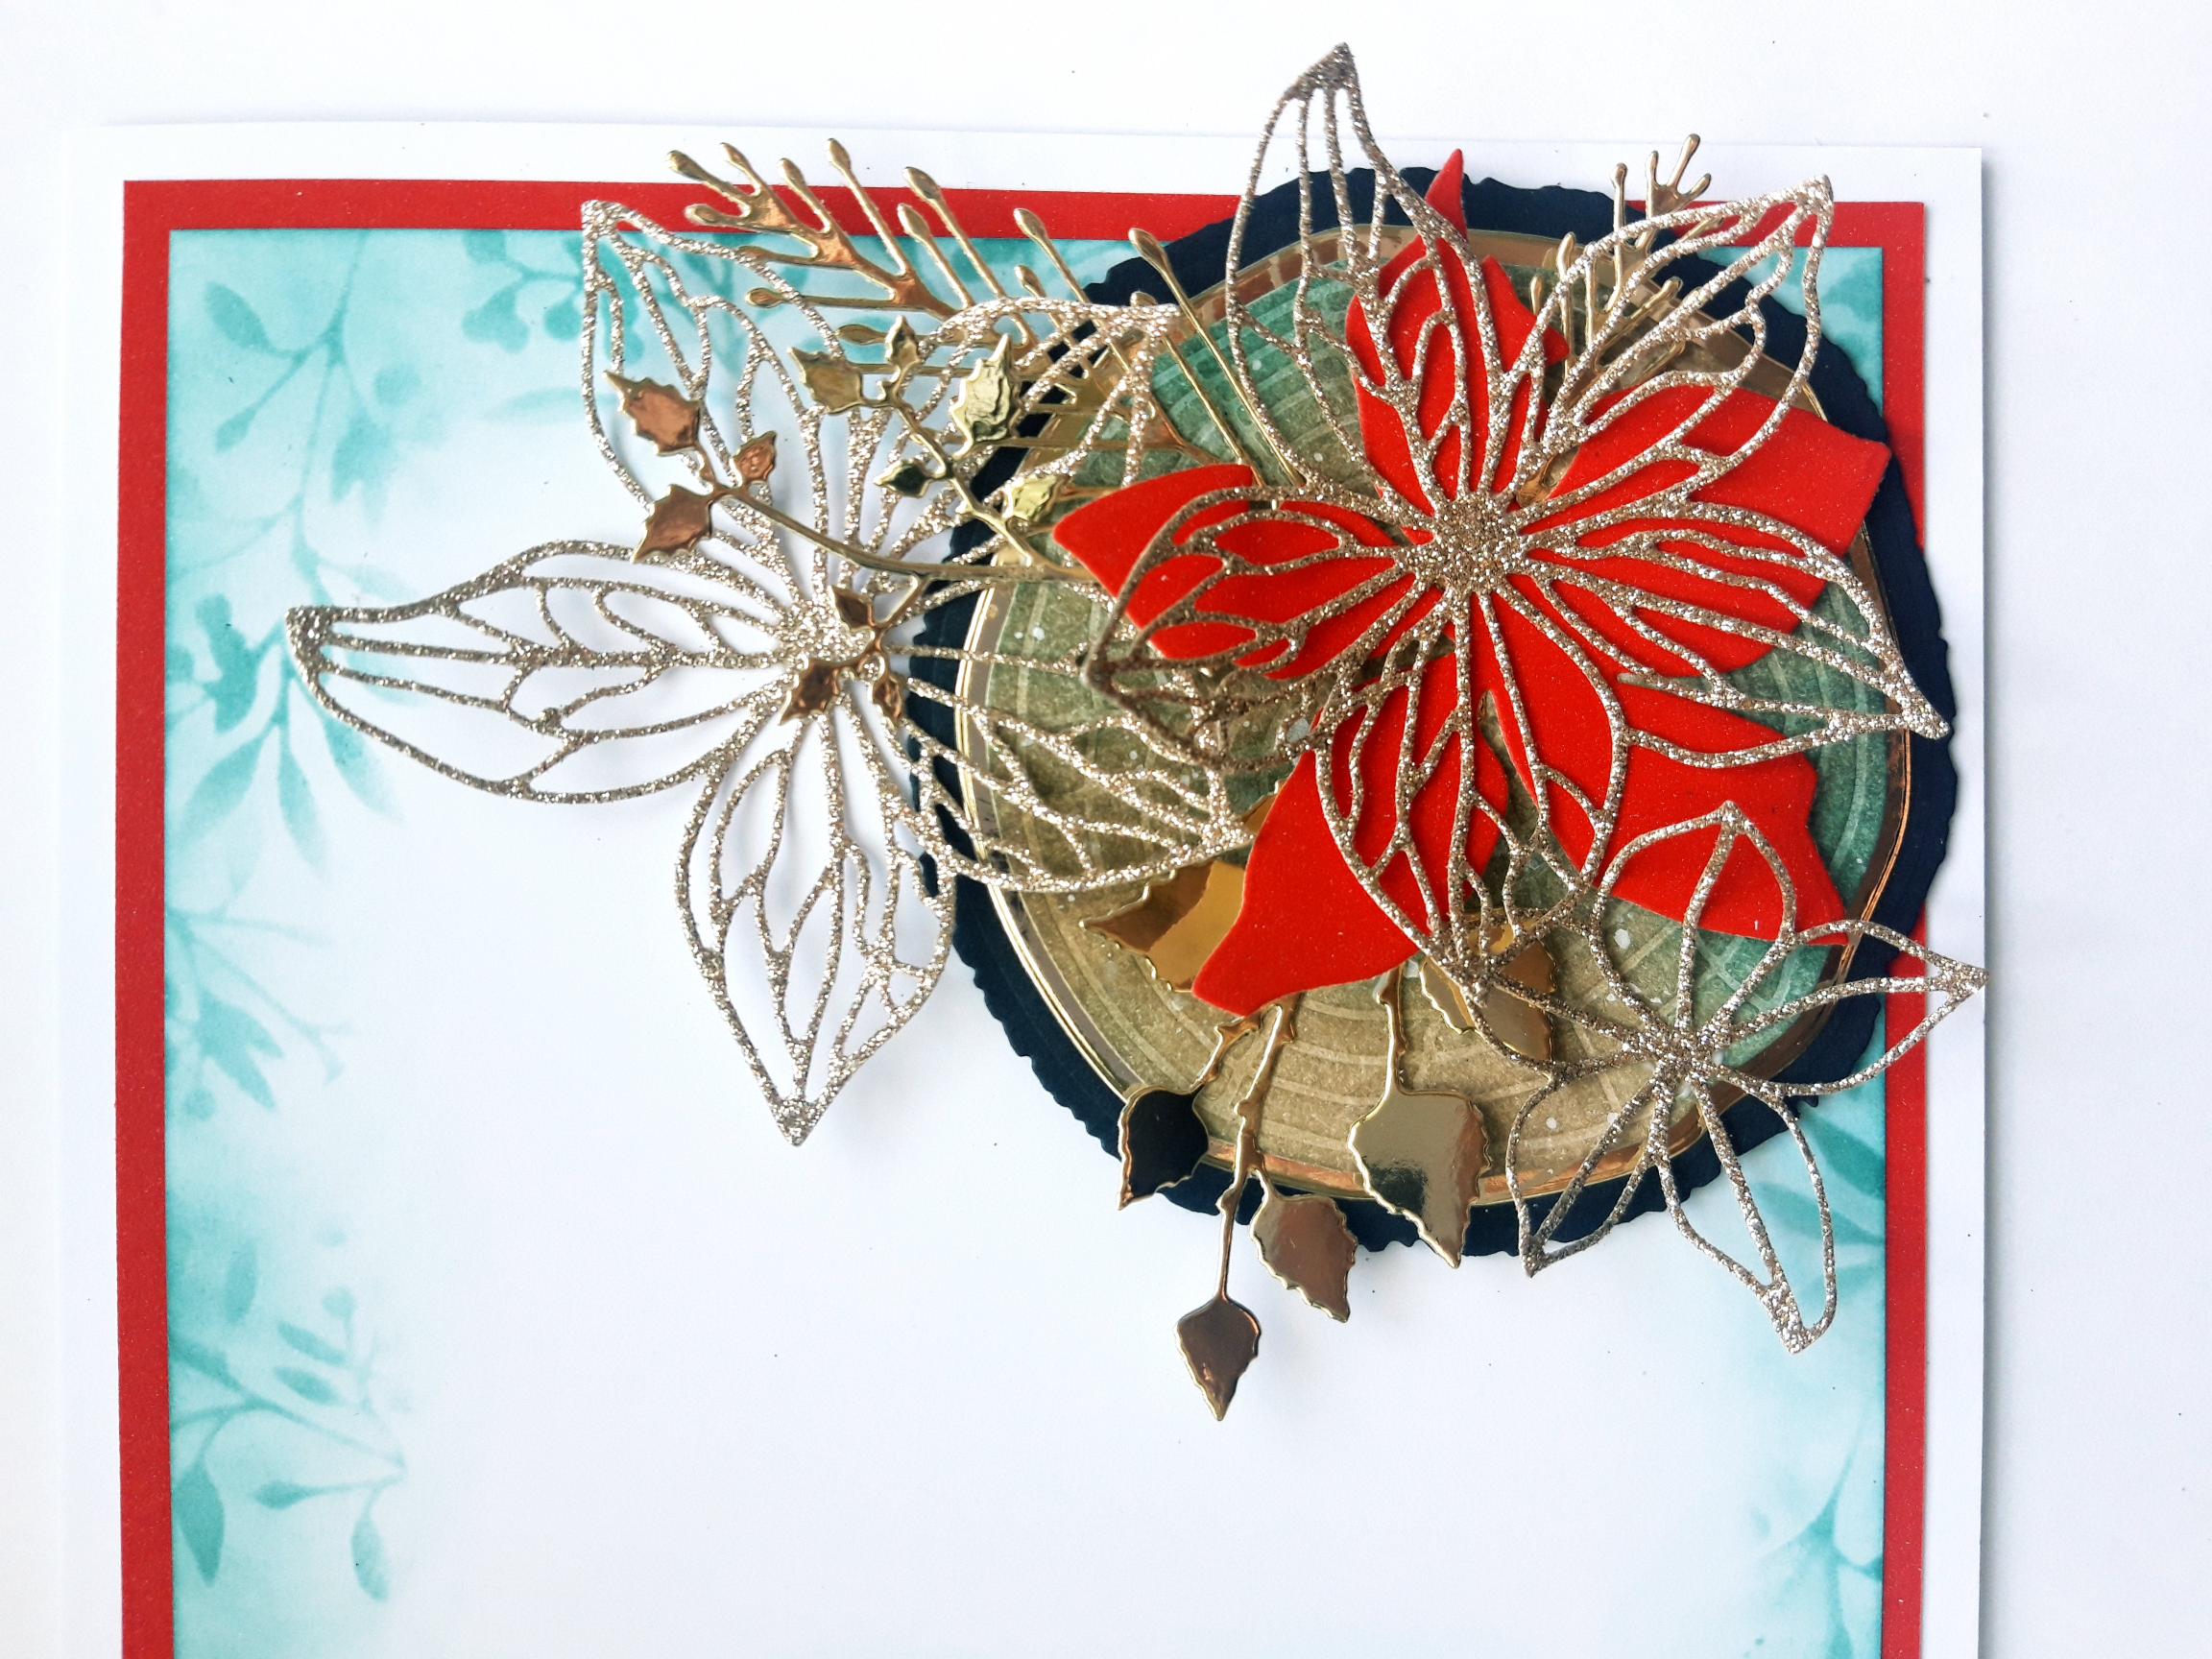
Having played with, and decided on your 3D floral layout, adhere the die cut elements in place, on top of the oak slice. Any left over elements can be kept for a future project. |

|
Place the dies, from the NOEL Die Collection, on to your gold mirri/glitter card, and run it through your die cutting machine. |
|
Adhere the die cut letters vertically, down the left side of your card. |
|
To finish, add Gold Pearl Liquid pearl Drops on, and around, your 3D display. |