Give your friends $10 off their first order!
Refer a FRIEND


WHAT YOU WILL NEED:
Top folding white card blank (8 1/4 x 5 3/4")
Black cardstock A4
White cardstock A4
Thirsty Brush Sunflower and Blooms stamp set
Thirsty Brush Blooming Foliage stamp set
Thirsty Brush Blooming Fantastic stamp set
Golden Sunflowers stamp and die collection
Rectangle Deboss Nesting Dies collection
Onyx Black Versafine
Izink Mini Dye Ink Pads: Aurore, Cire, Miel, Grenadine, Rosee, Mer Du Sud
Sequins from Creative Box
Perfect Together Glue
Foam Pads
Eureka 101
Die cutting and embossing machine
Paper Trimmer
Black fineline pen
Paint brush
[click image to enlarge] 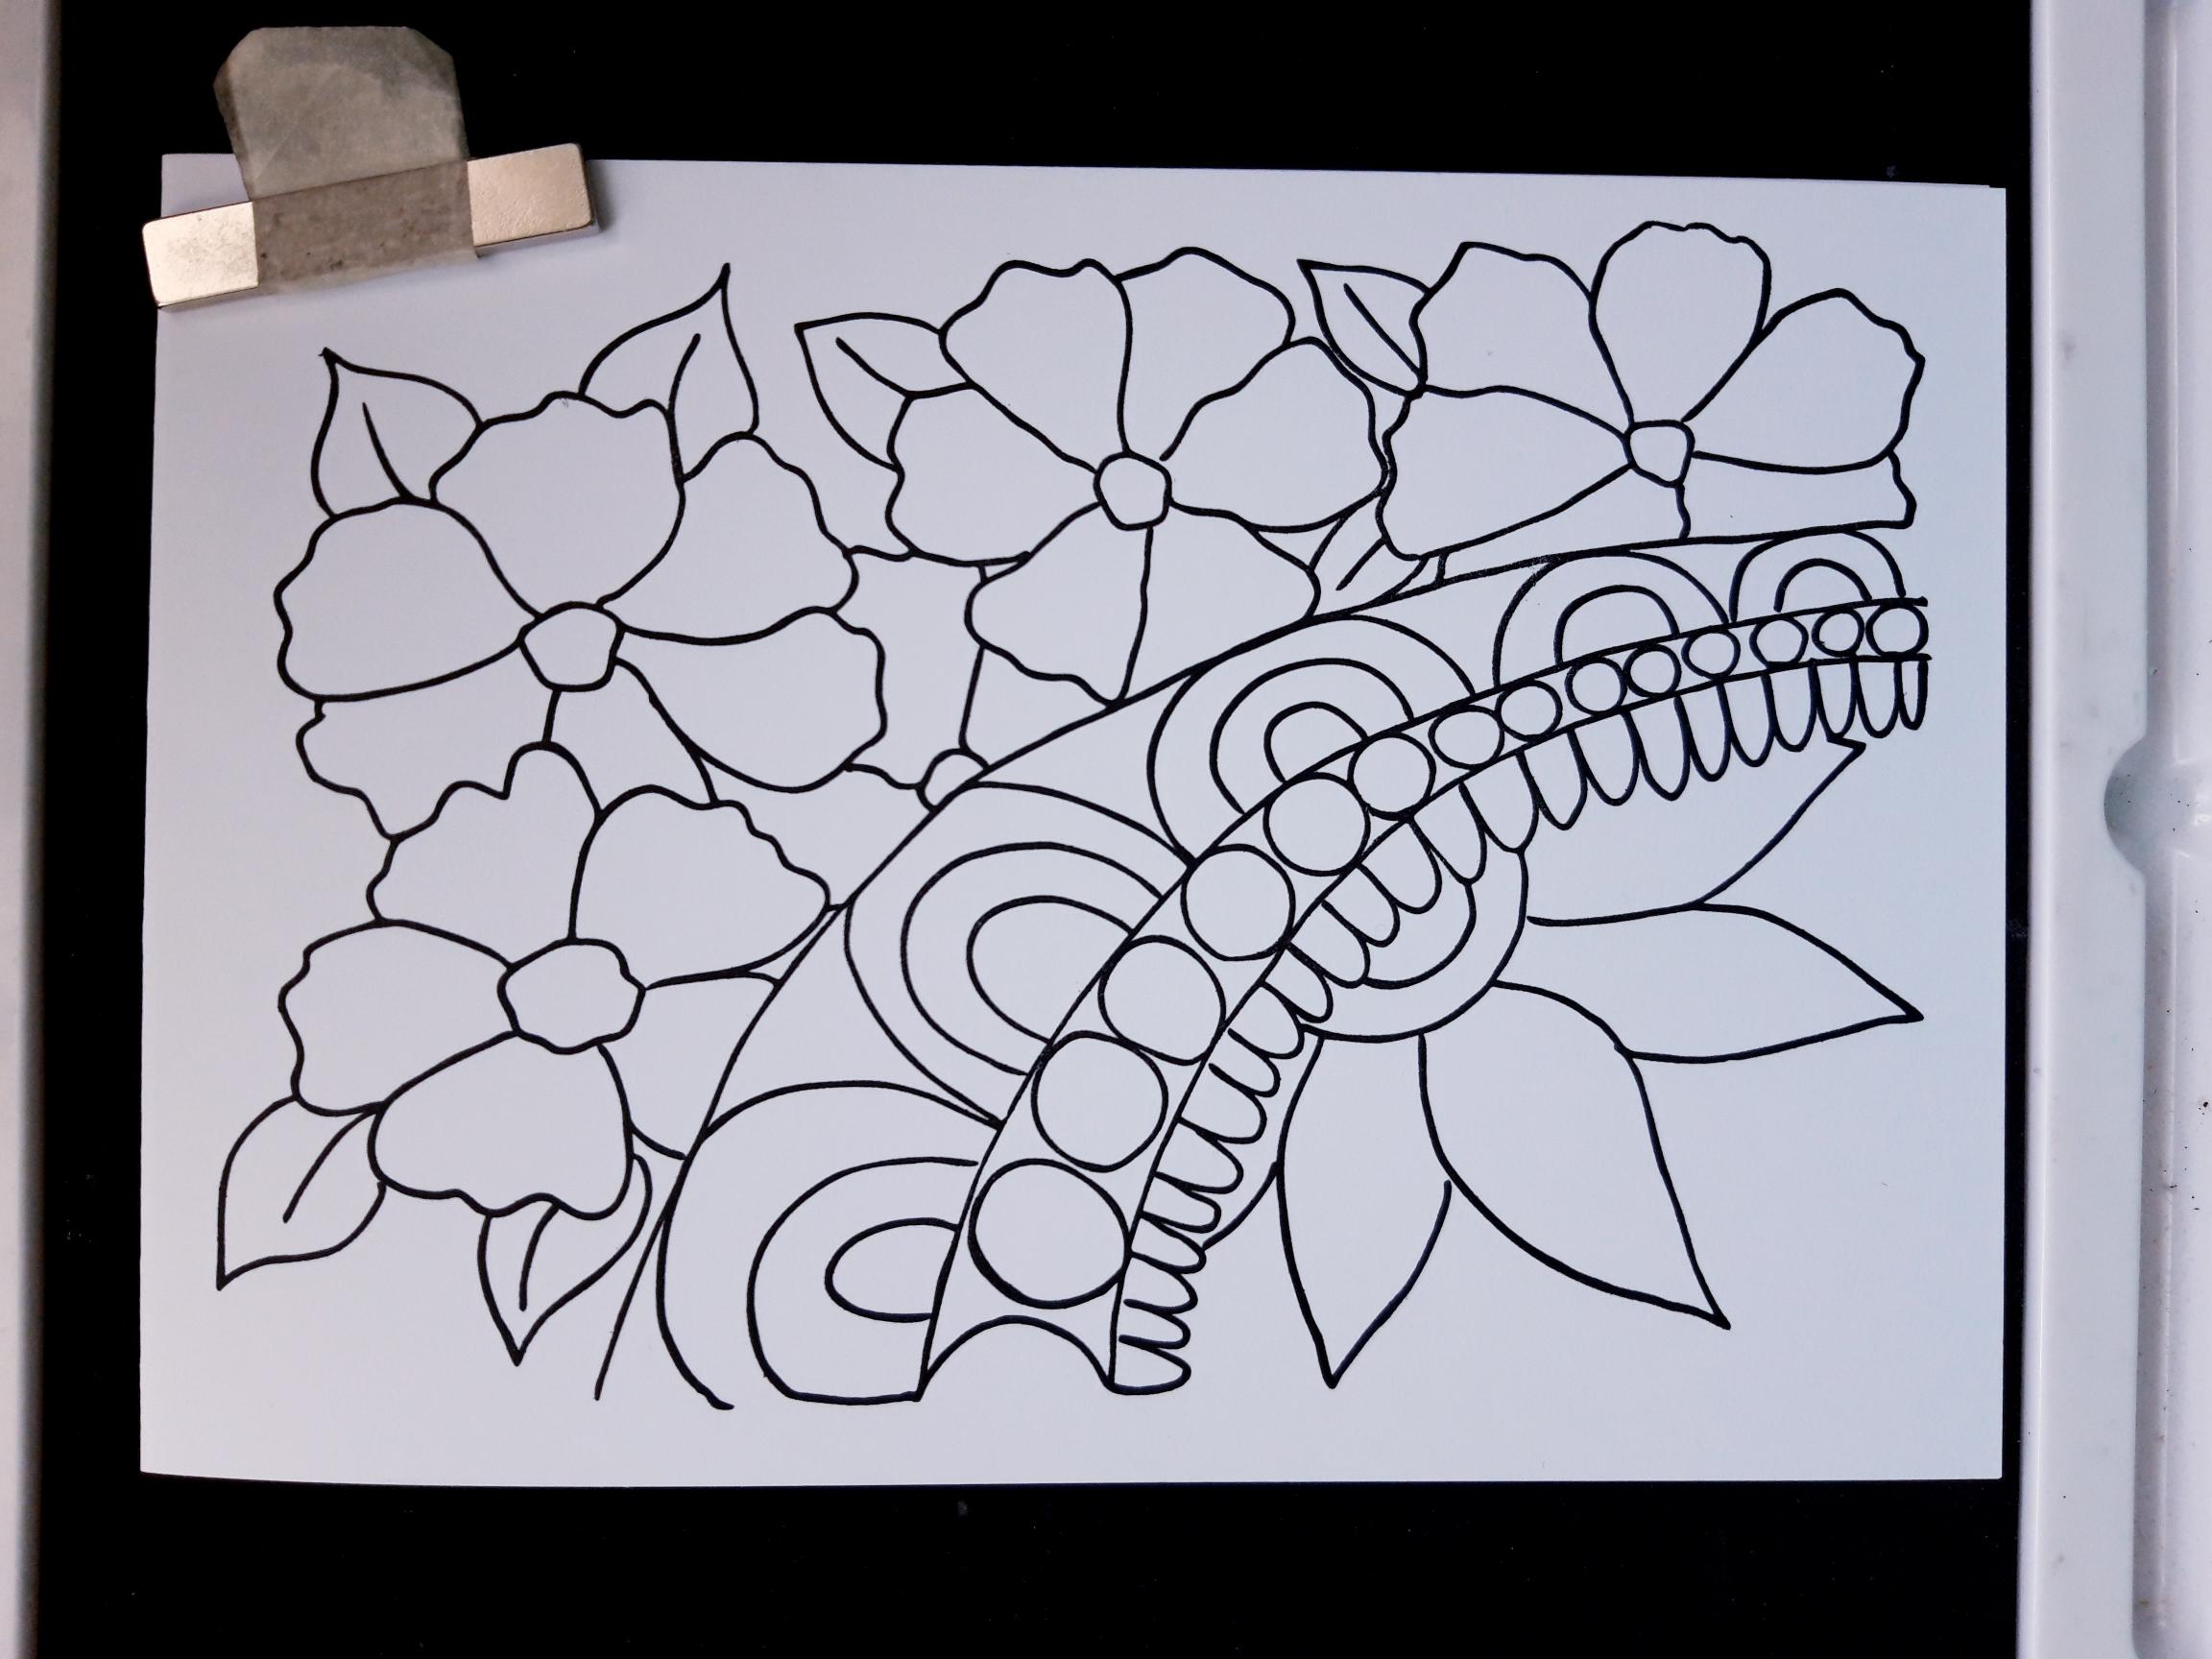
|
Ink up the stamp from the Sunflower And Blooms stamp set, in the Onyx Black Versafine. Stamp directly on to the front of your white top folding card blank. |
|
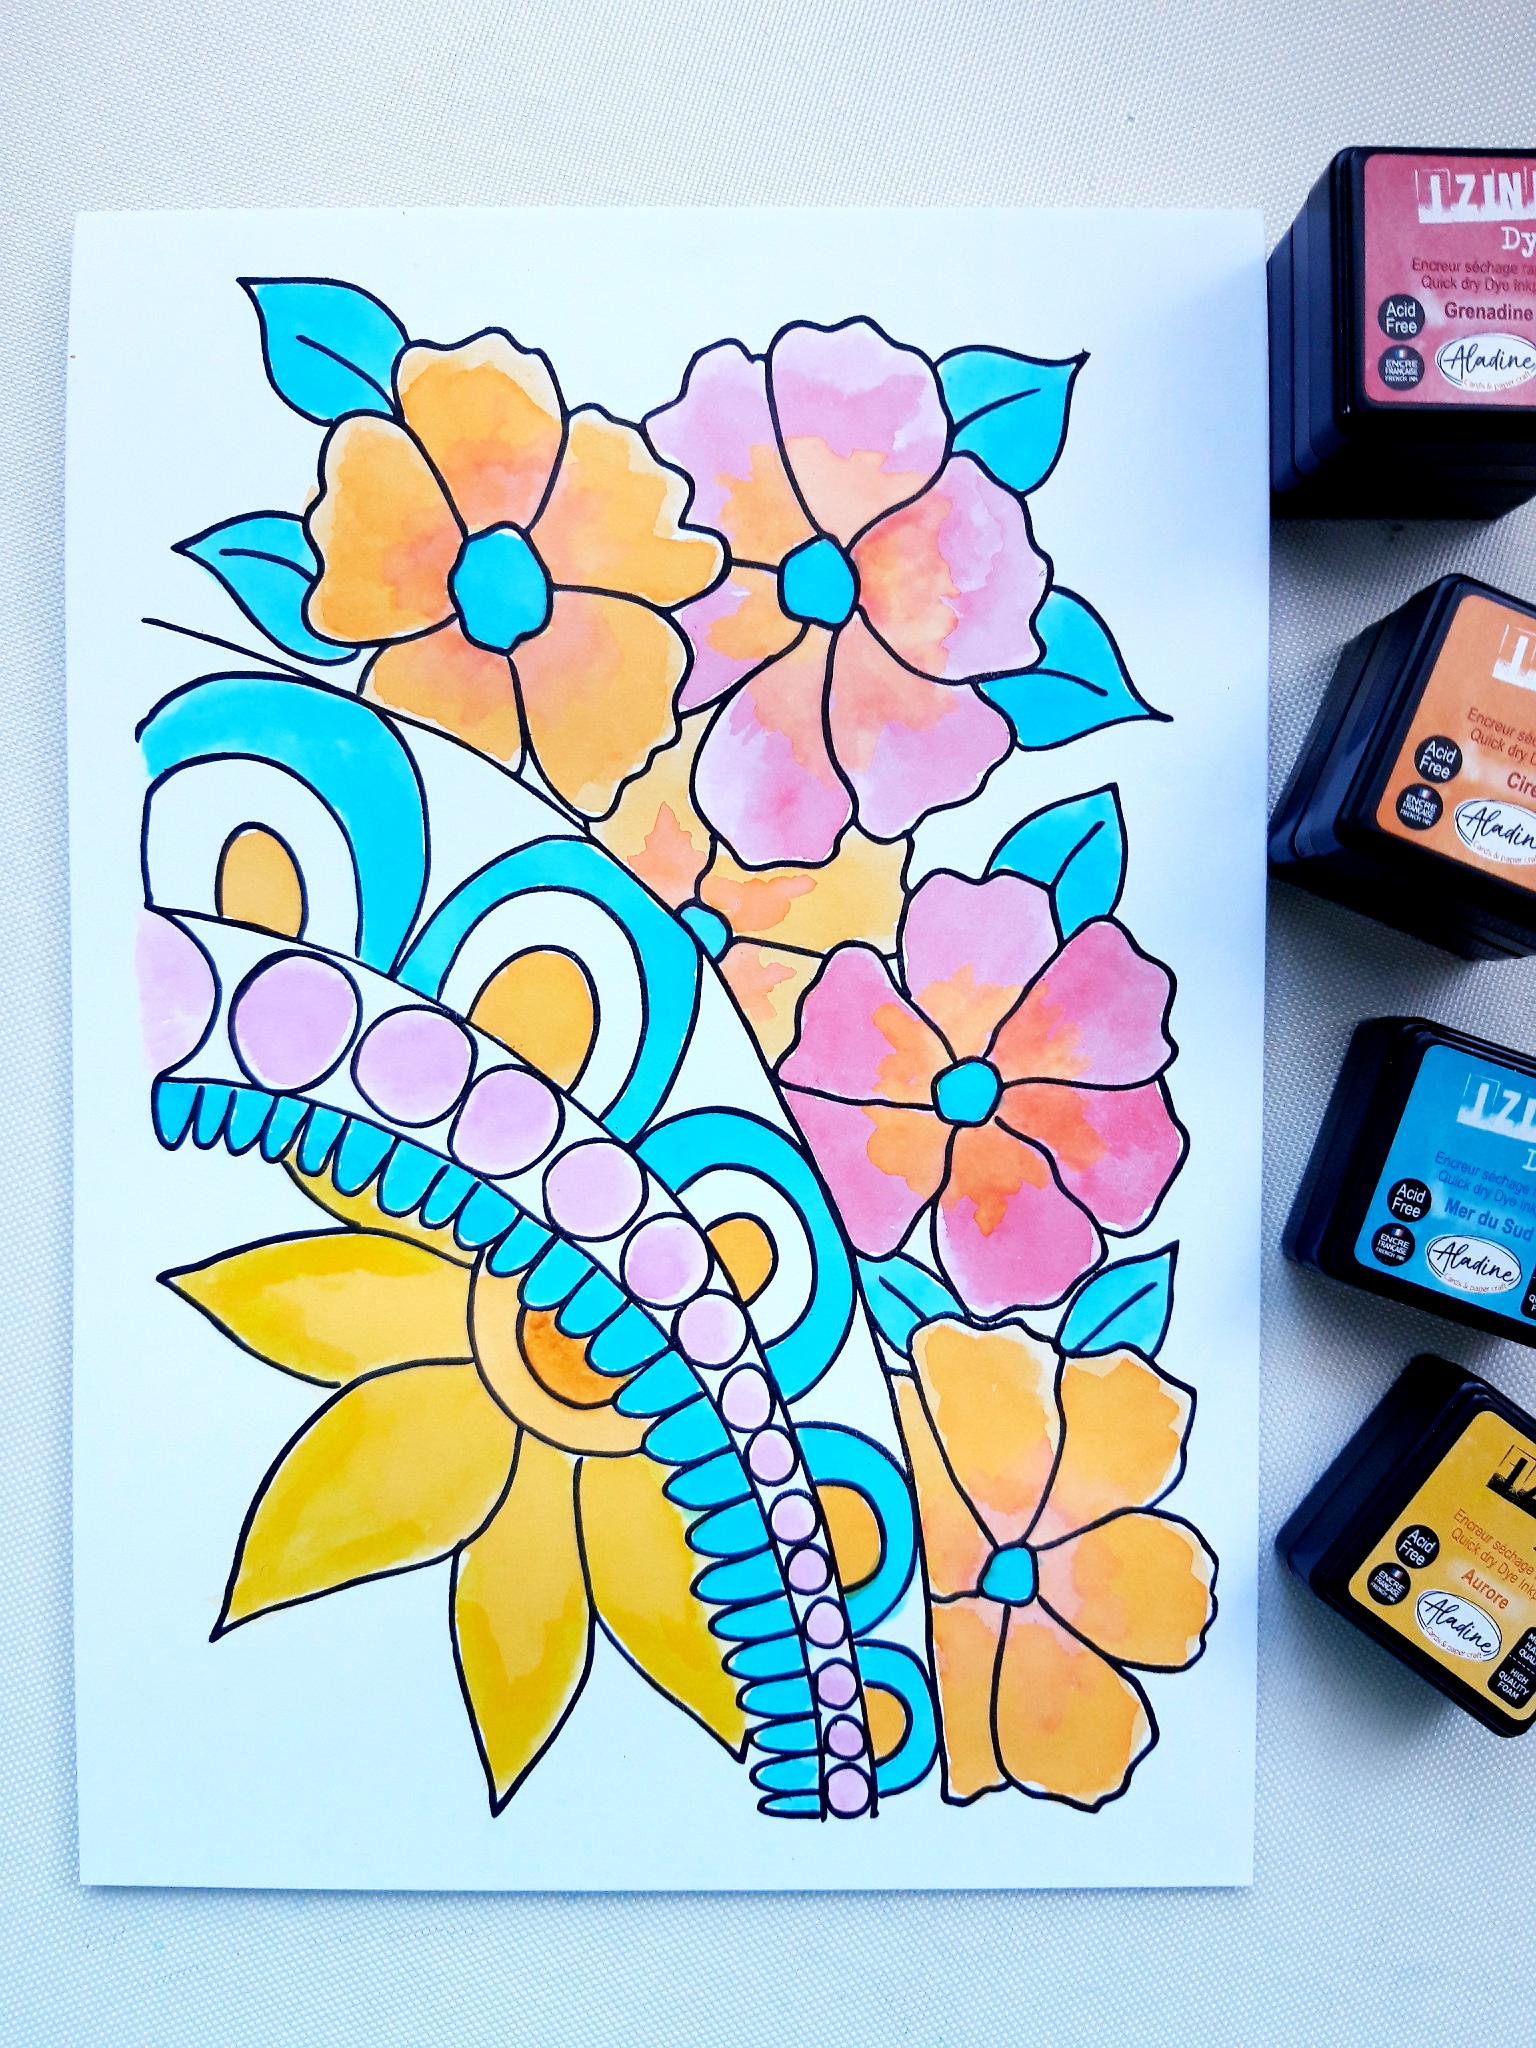
Paint your image using the Izink dye ink pads. Smoosh a little of each colour on to a craft or glass mat, and use your paint brush, with a little water, to watercolour the image, mixing and blending colours to create light, shade and dimension to your artwork. |
|
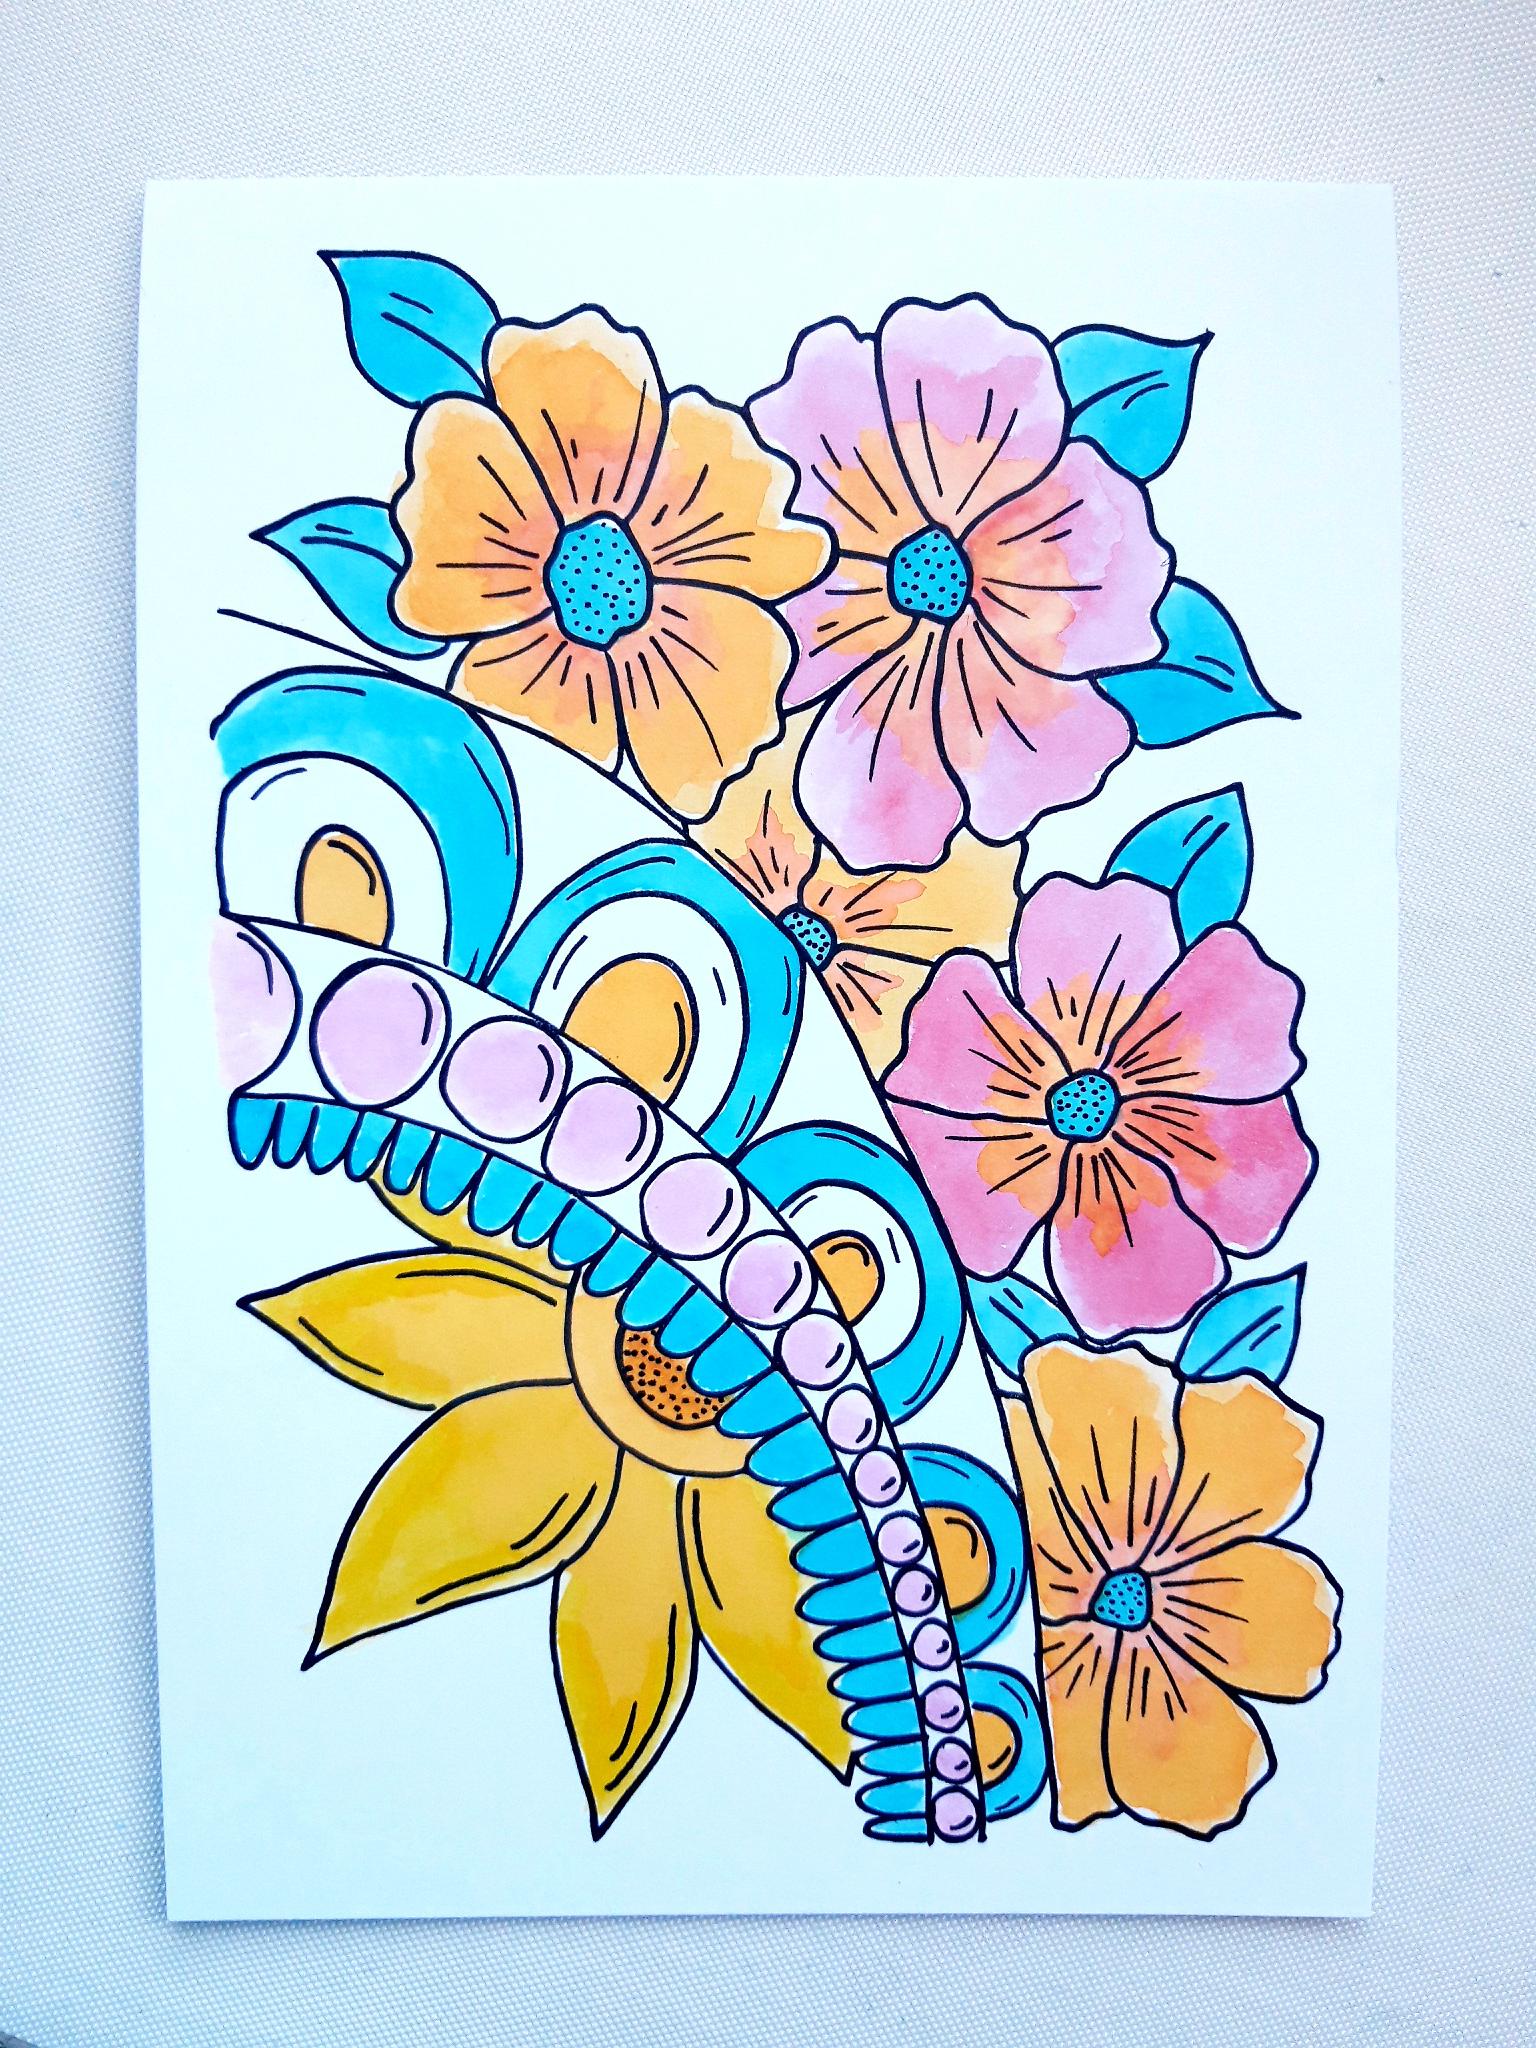
Once your painted image is dry, use a black fine line pen to add detail to your image. It doesn't have to be perfect, so don't overthink it, just go for it!! Set this to one side. |

|
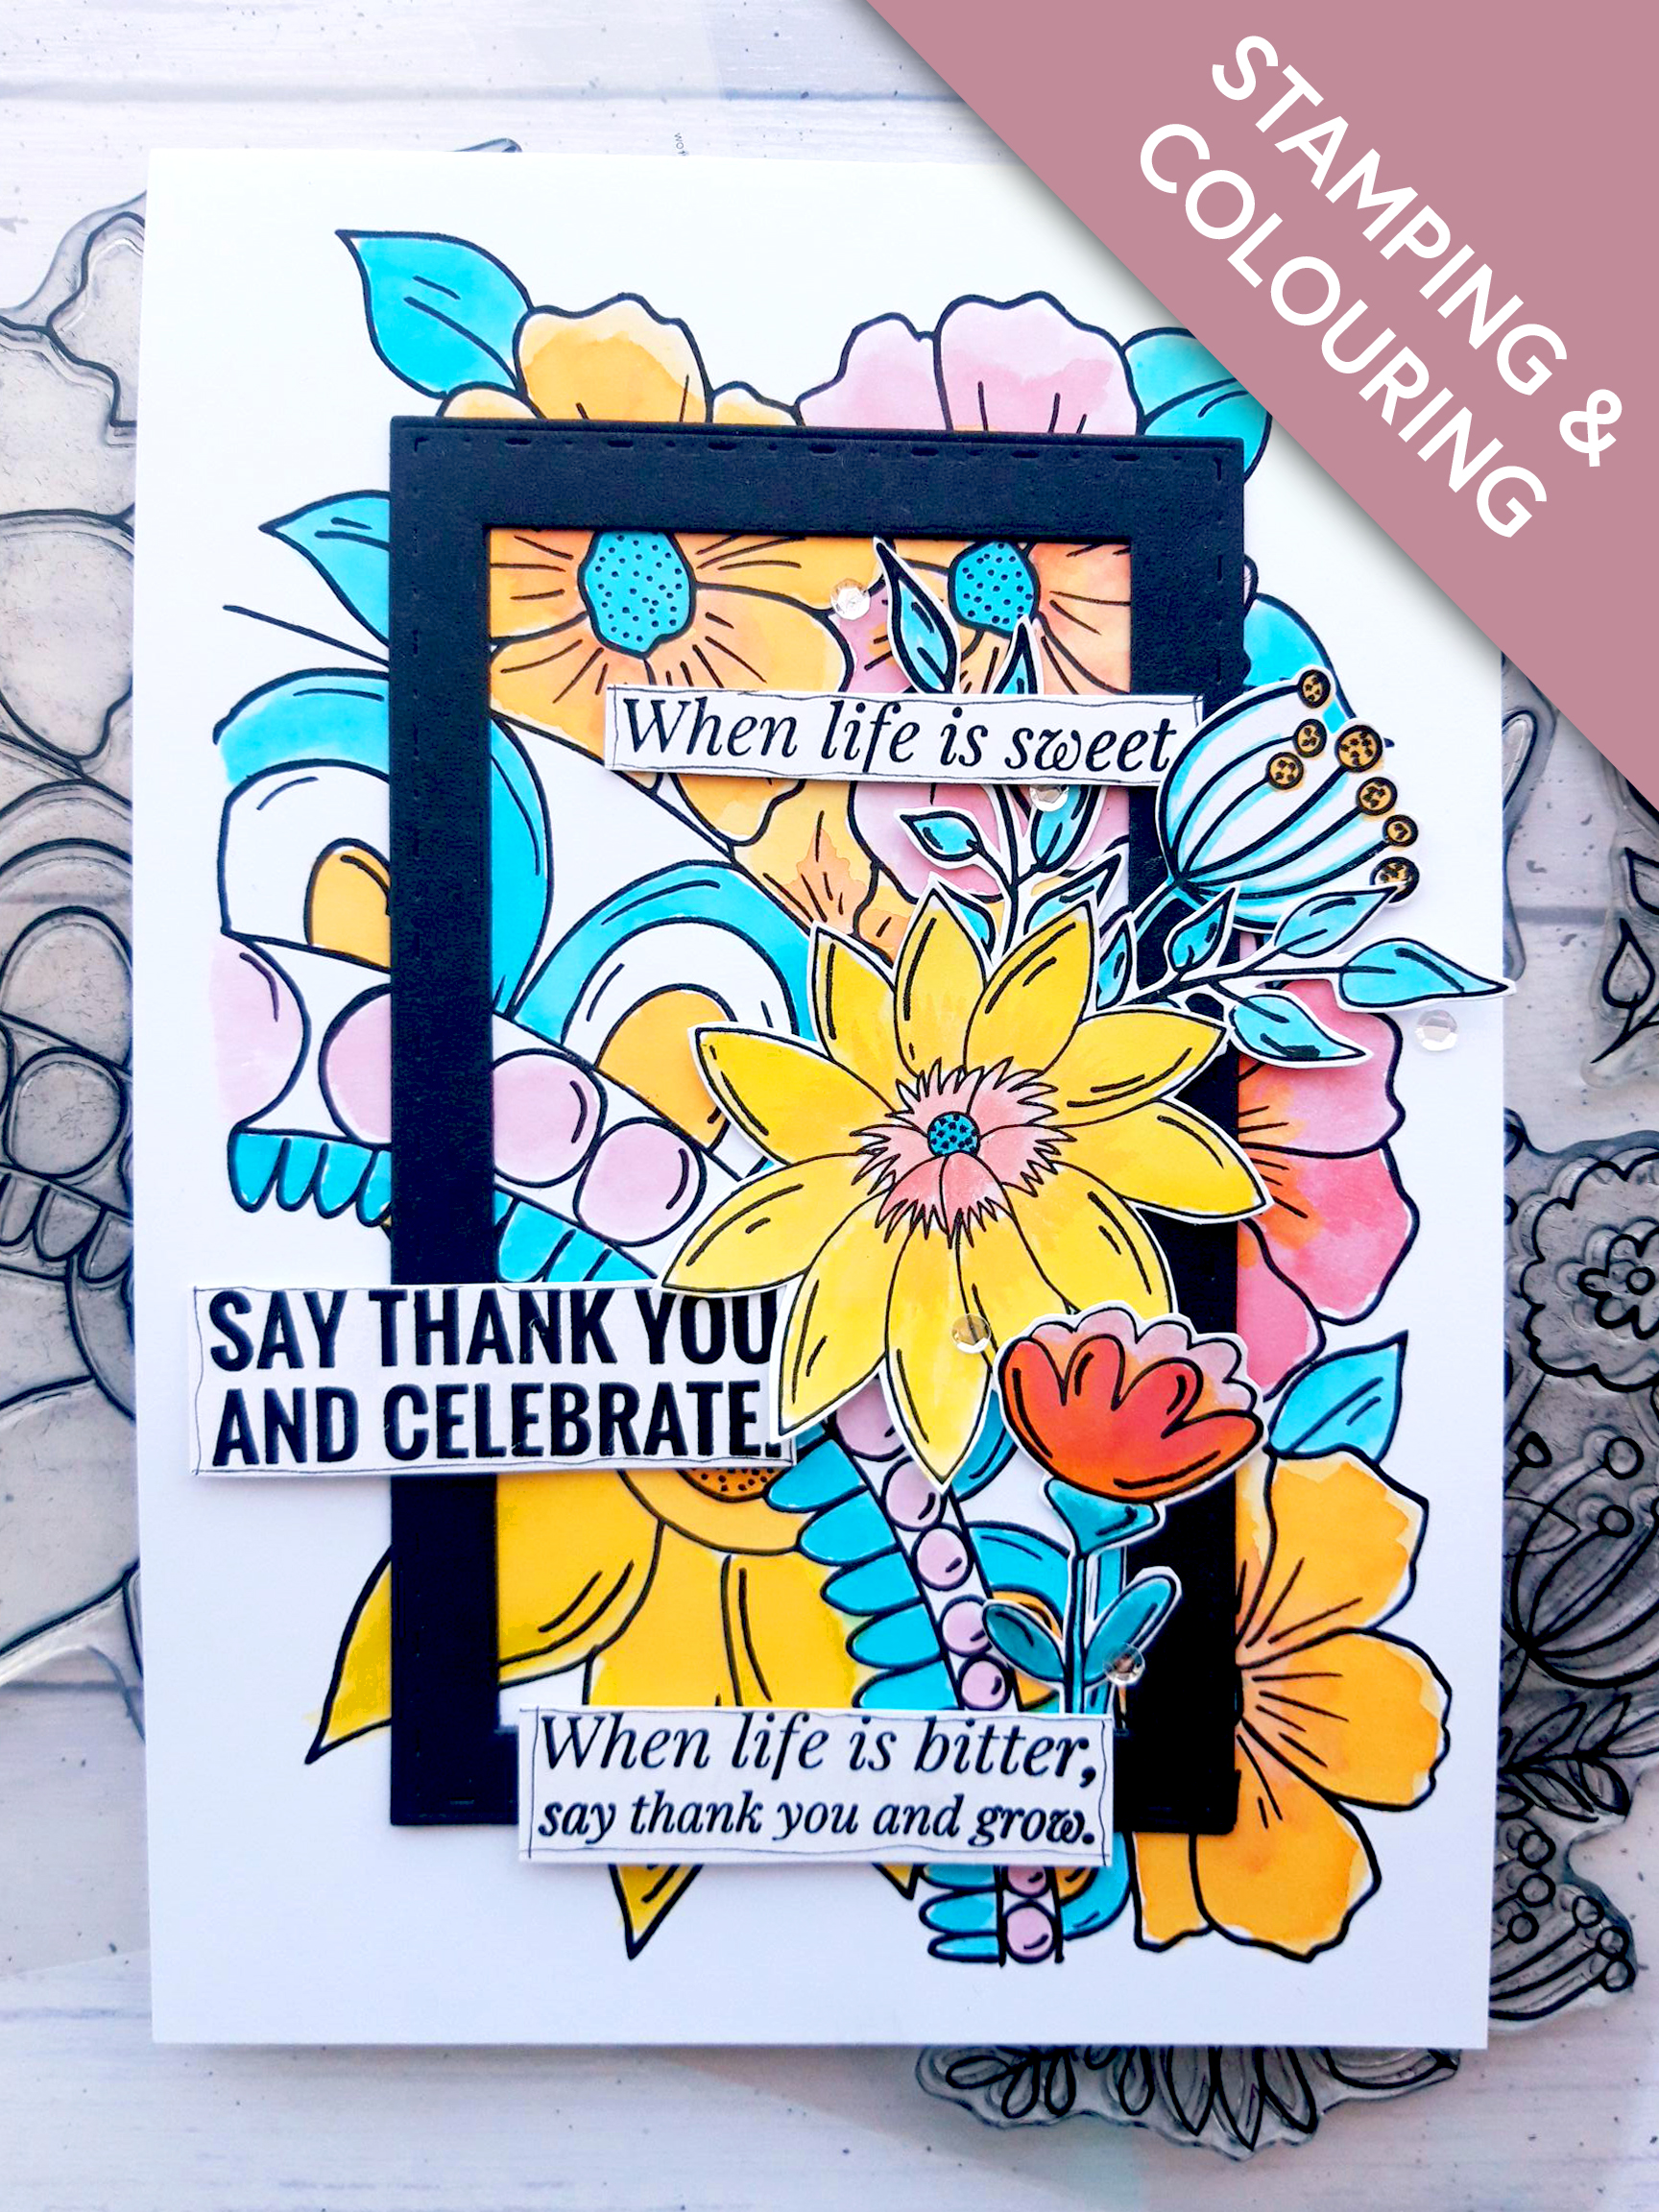
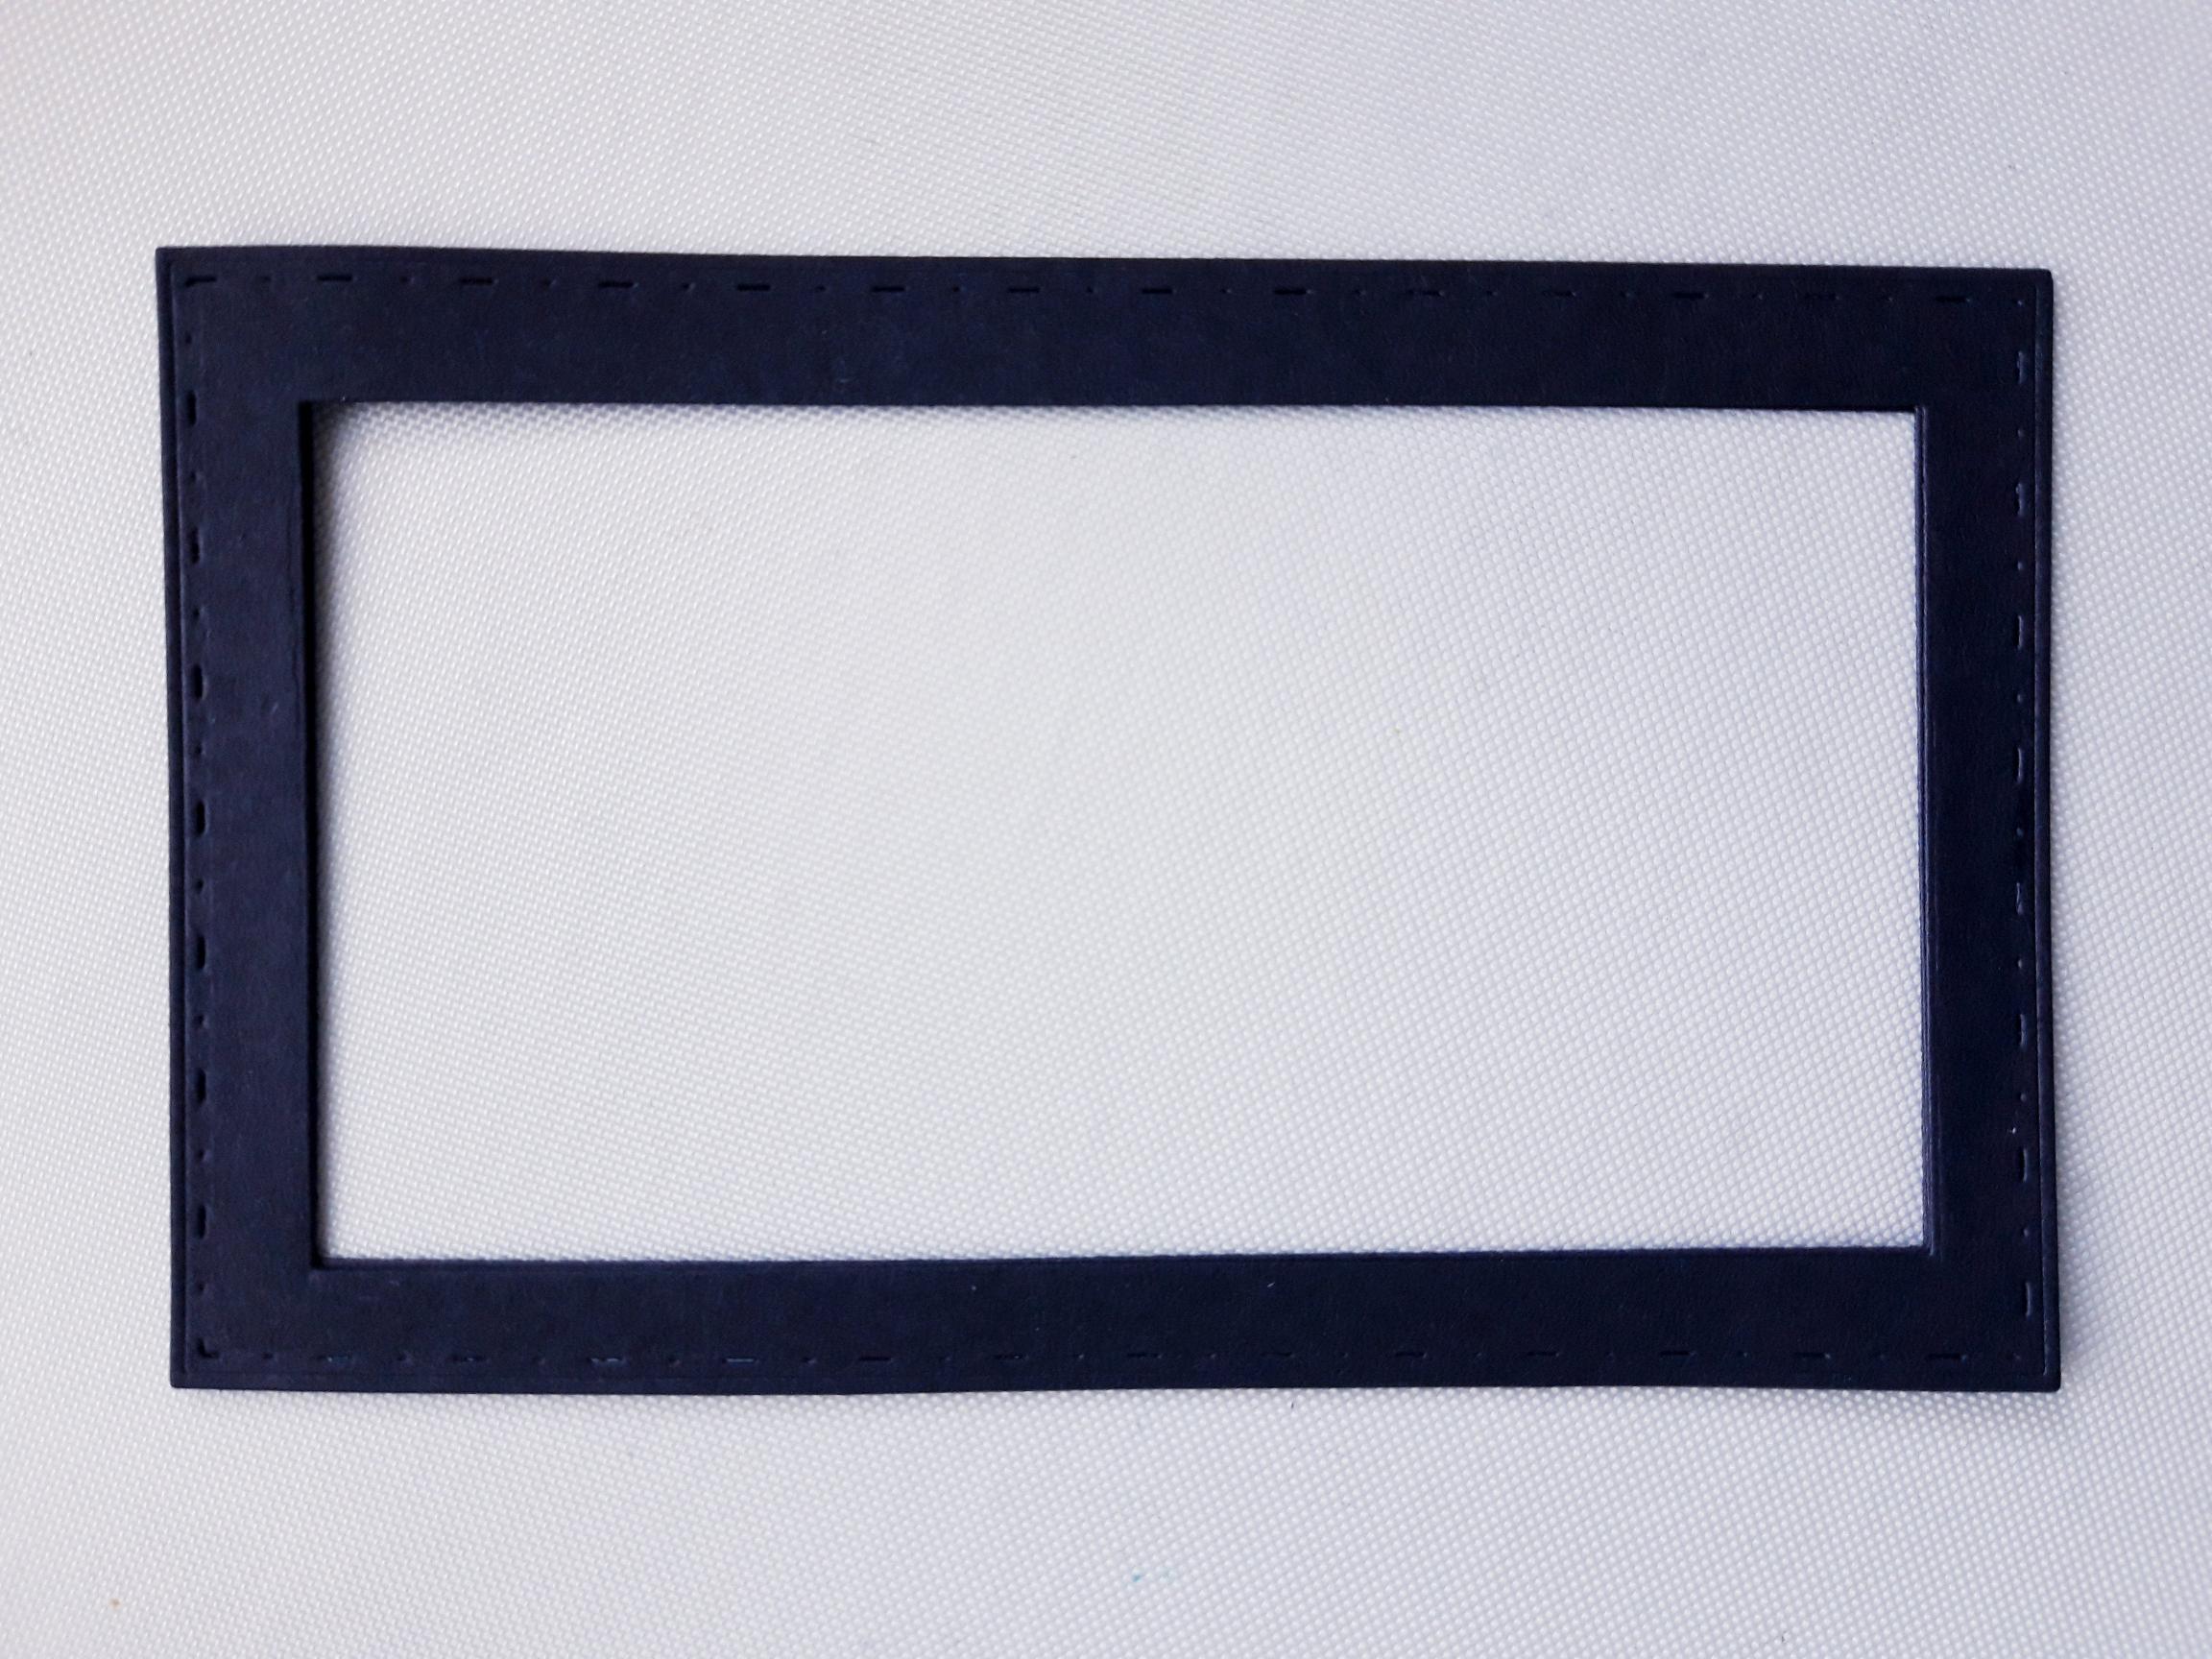
Choose 2 dies, from the Rectangle Nesting dies set, to create a frame. I used one's that measured approx 6 x 3 1/4" and 5 1/4 x 2 3/4". Cut out THREE frames from the A4 black cardstock. (You can either tape down the 2 frames, one inside the other, on your die cutting plate, or, if you are nervous of causing damage to your dies, cut out the biggest die first then cut out the smallest). |
|
Glue the THREE die cut frames on top of each other, to create a more substantial, dimensional frame. |
|
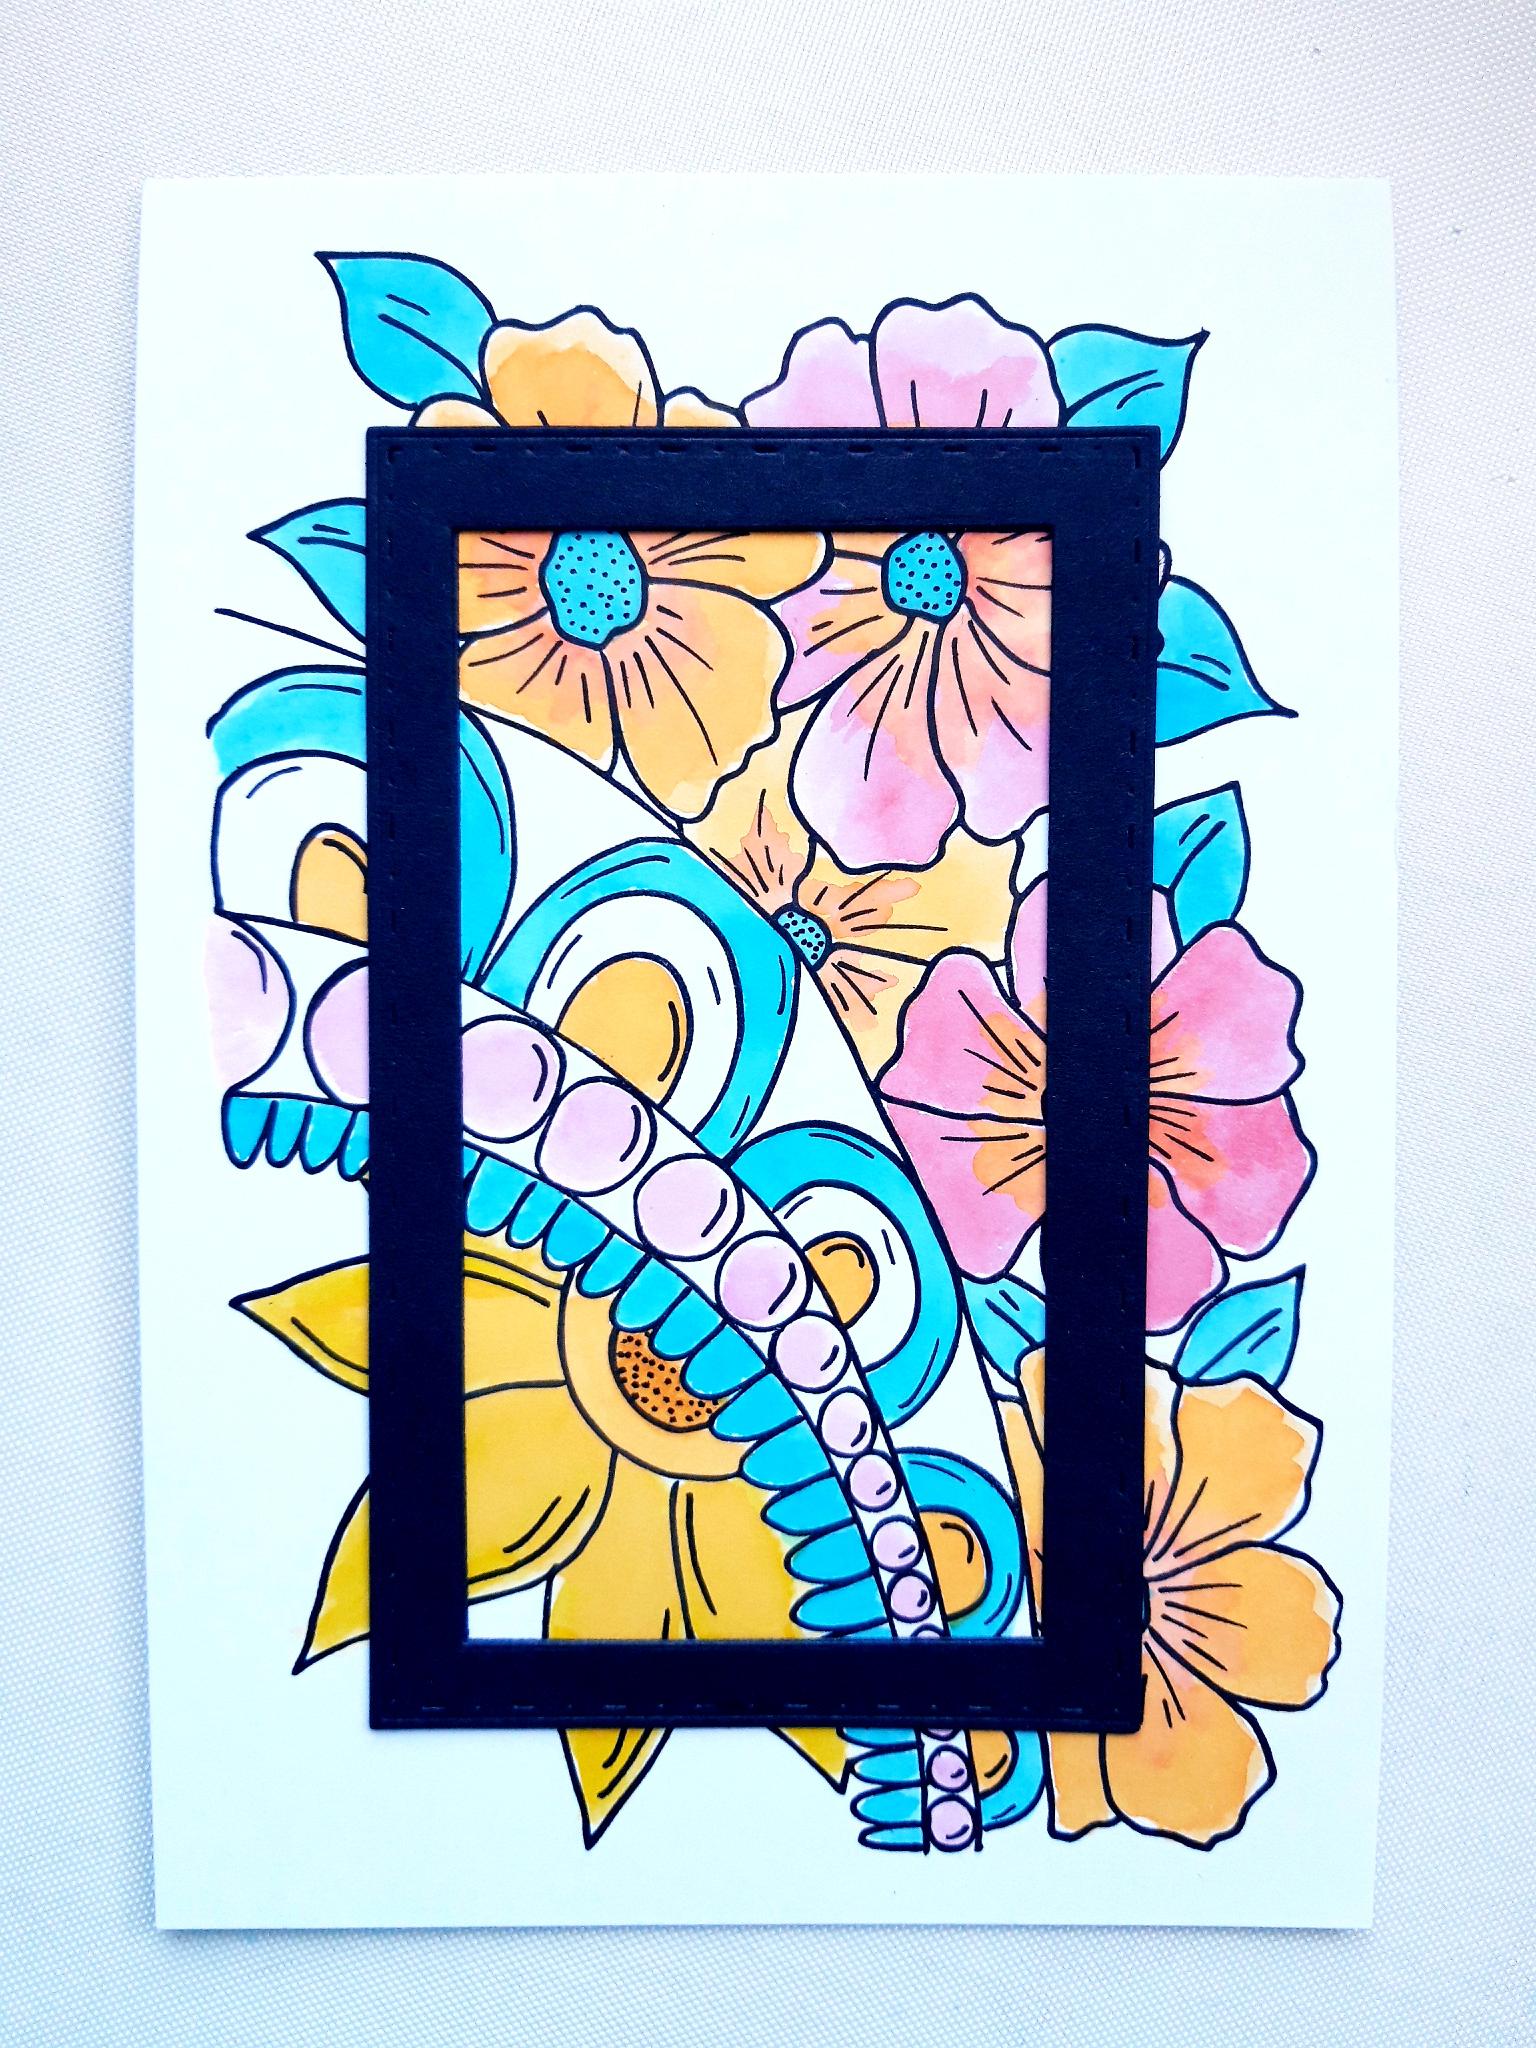
Adhere your frame, centrally, on top of your watercoloured artwork. You can glue it down flat, or with foam pads, but dont glue right to the edges of the frame as you will need to "tuck" die cut flowers and foliage under and around the bottom and right hand side of the frame, at a later stage. |
|
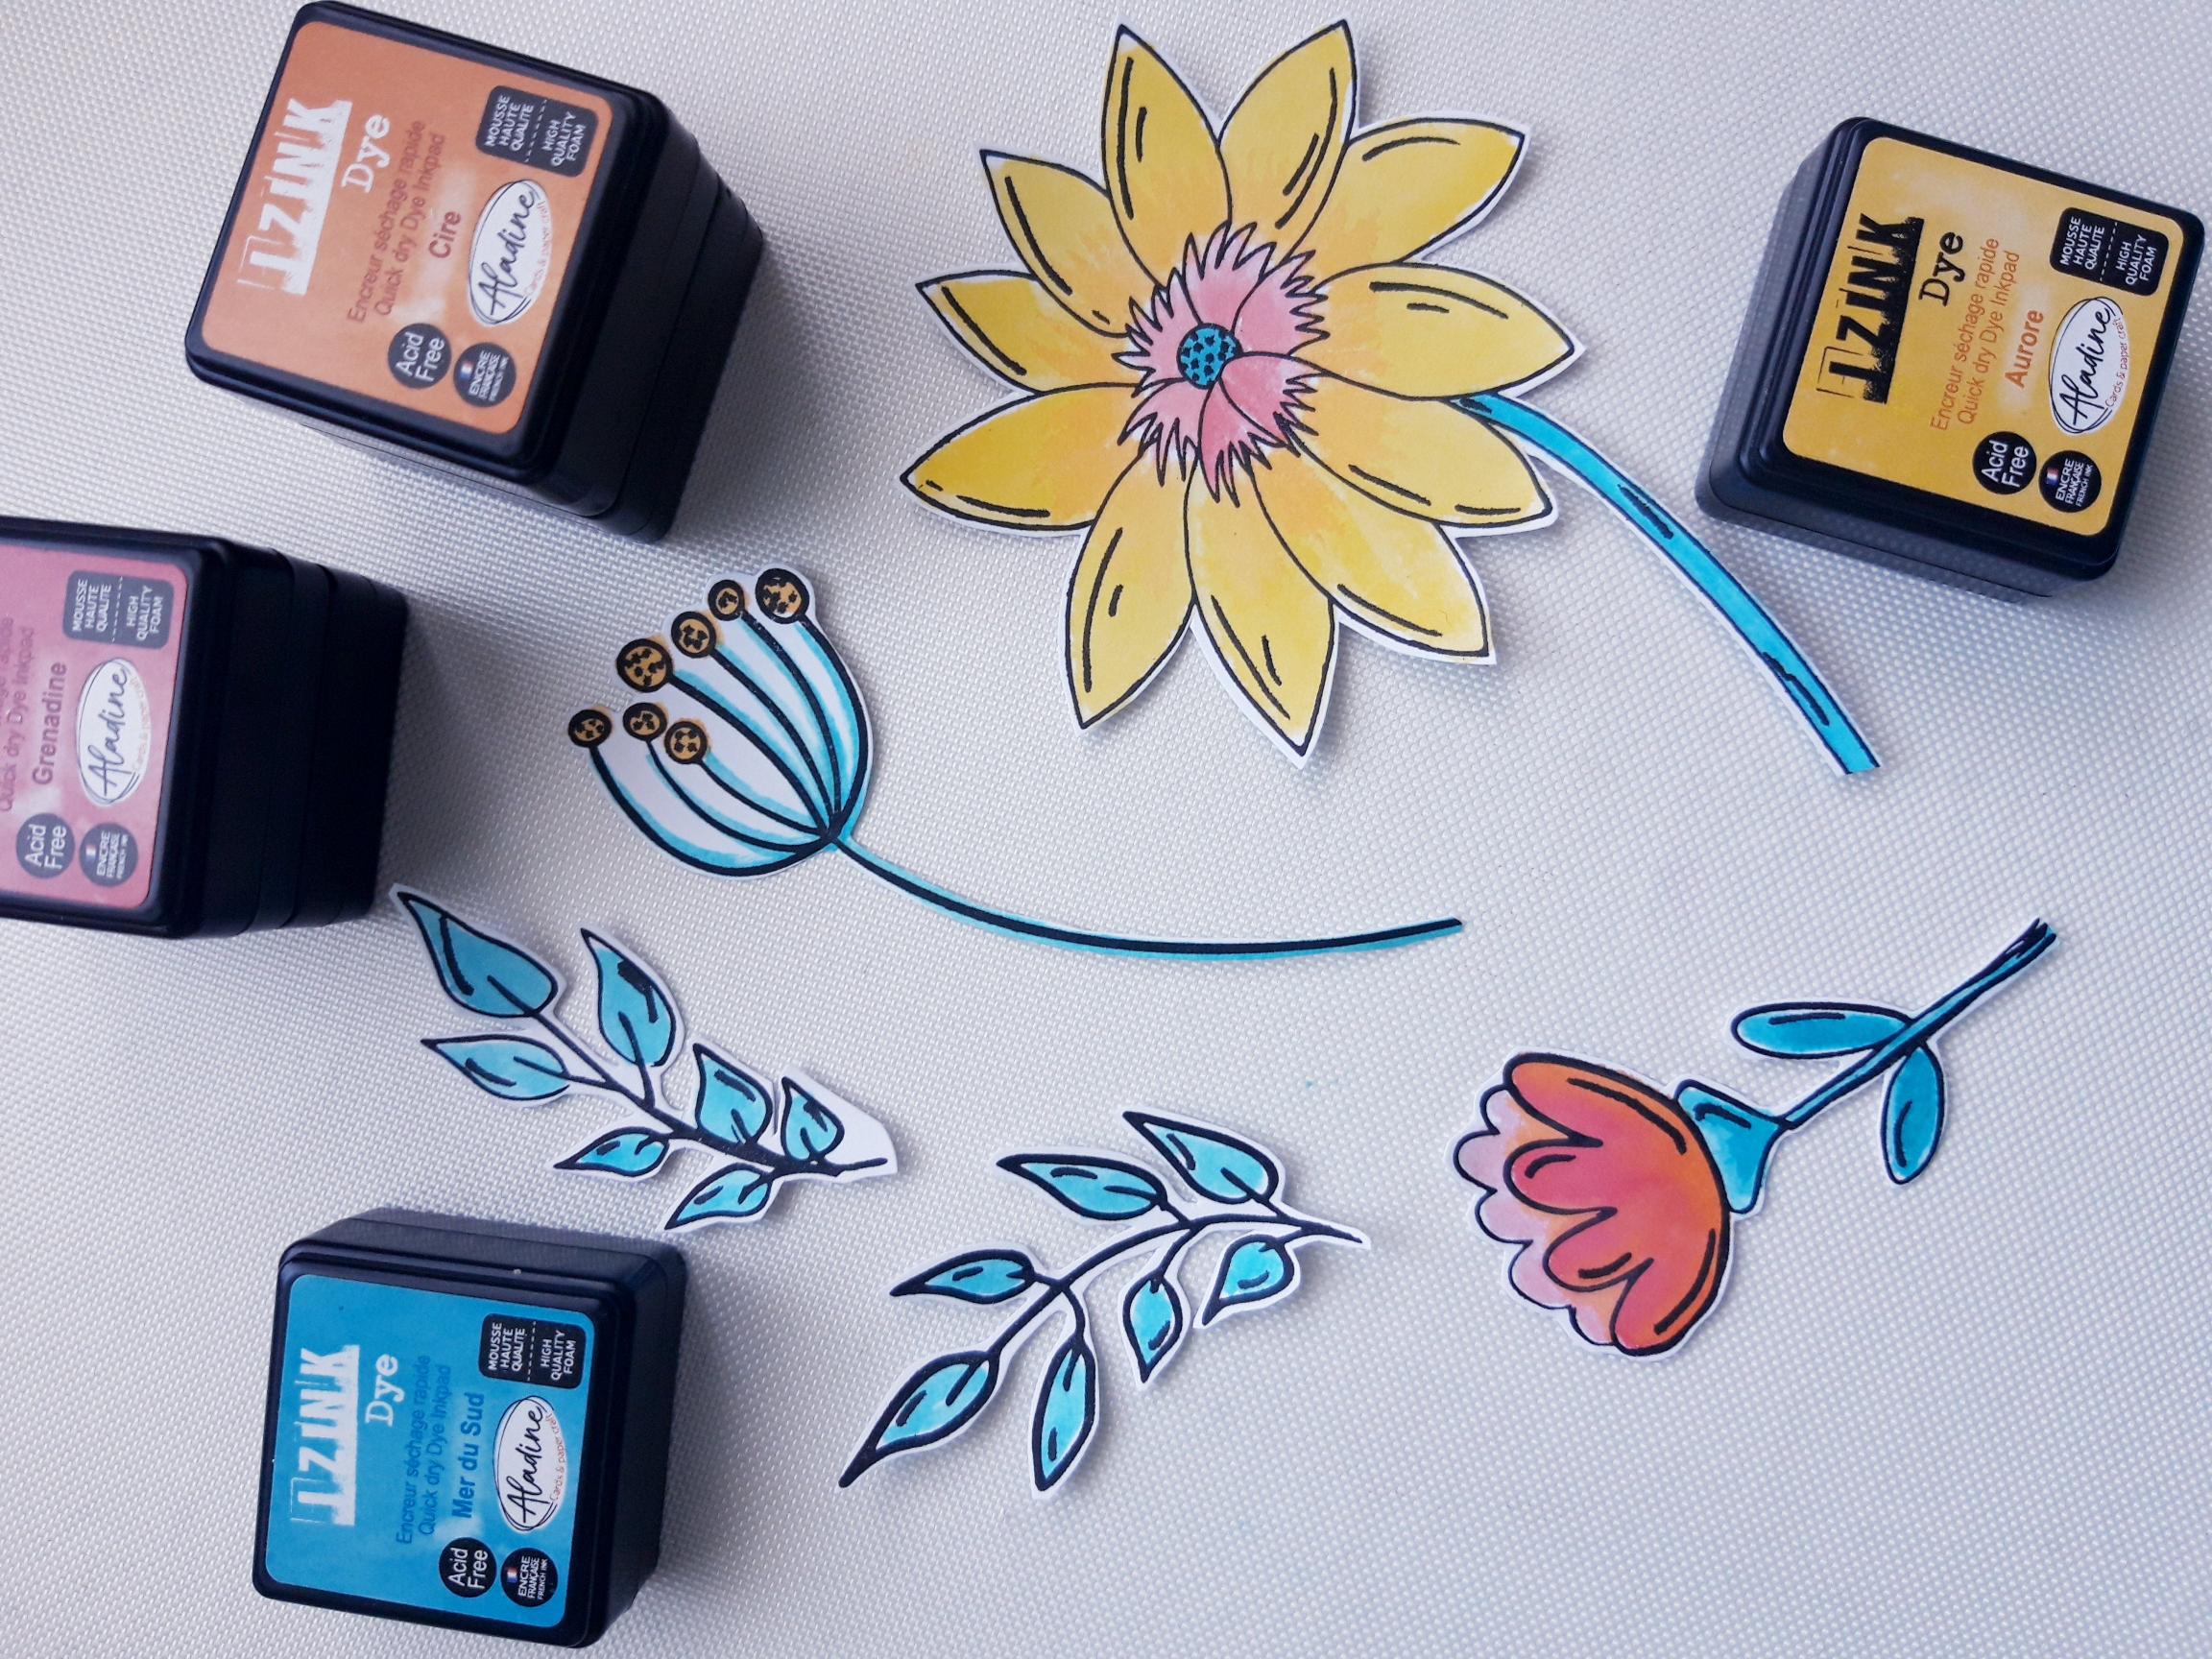
Ink up a selection of stamps from the Blooming Fantastic, and Blooming Foliage stamp sets, in the Onyx Black Versafine, and stamp on to the A4 white cardstock. It's up to you which, and how many, you wish to use on your artwork. Use your Izink inks to watercolour the stamped images, as before. Fussy cut them all out, either before or after you paint them, whichever is your preferred method. Keep any spare white cardstock for later. |
|
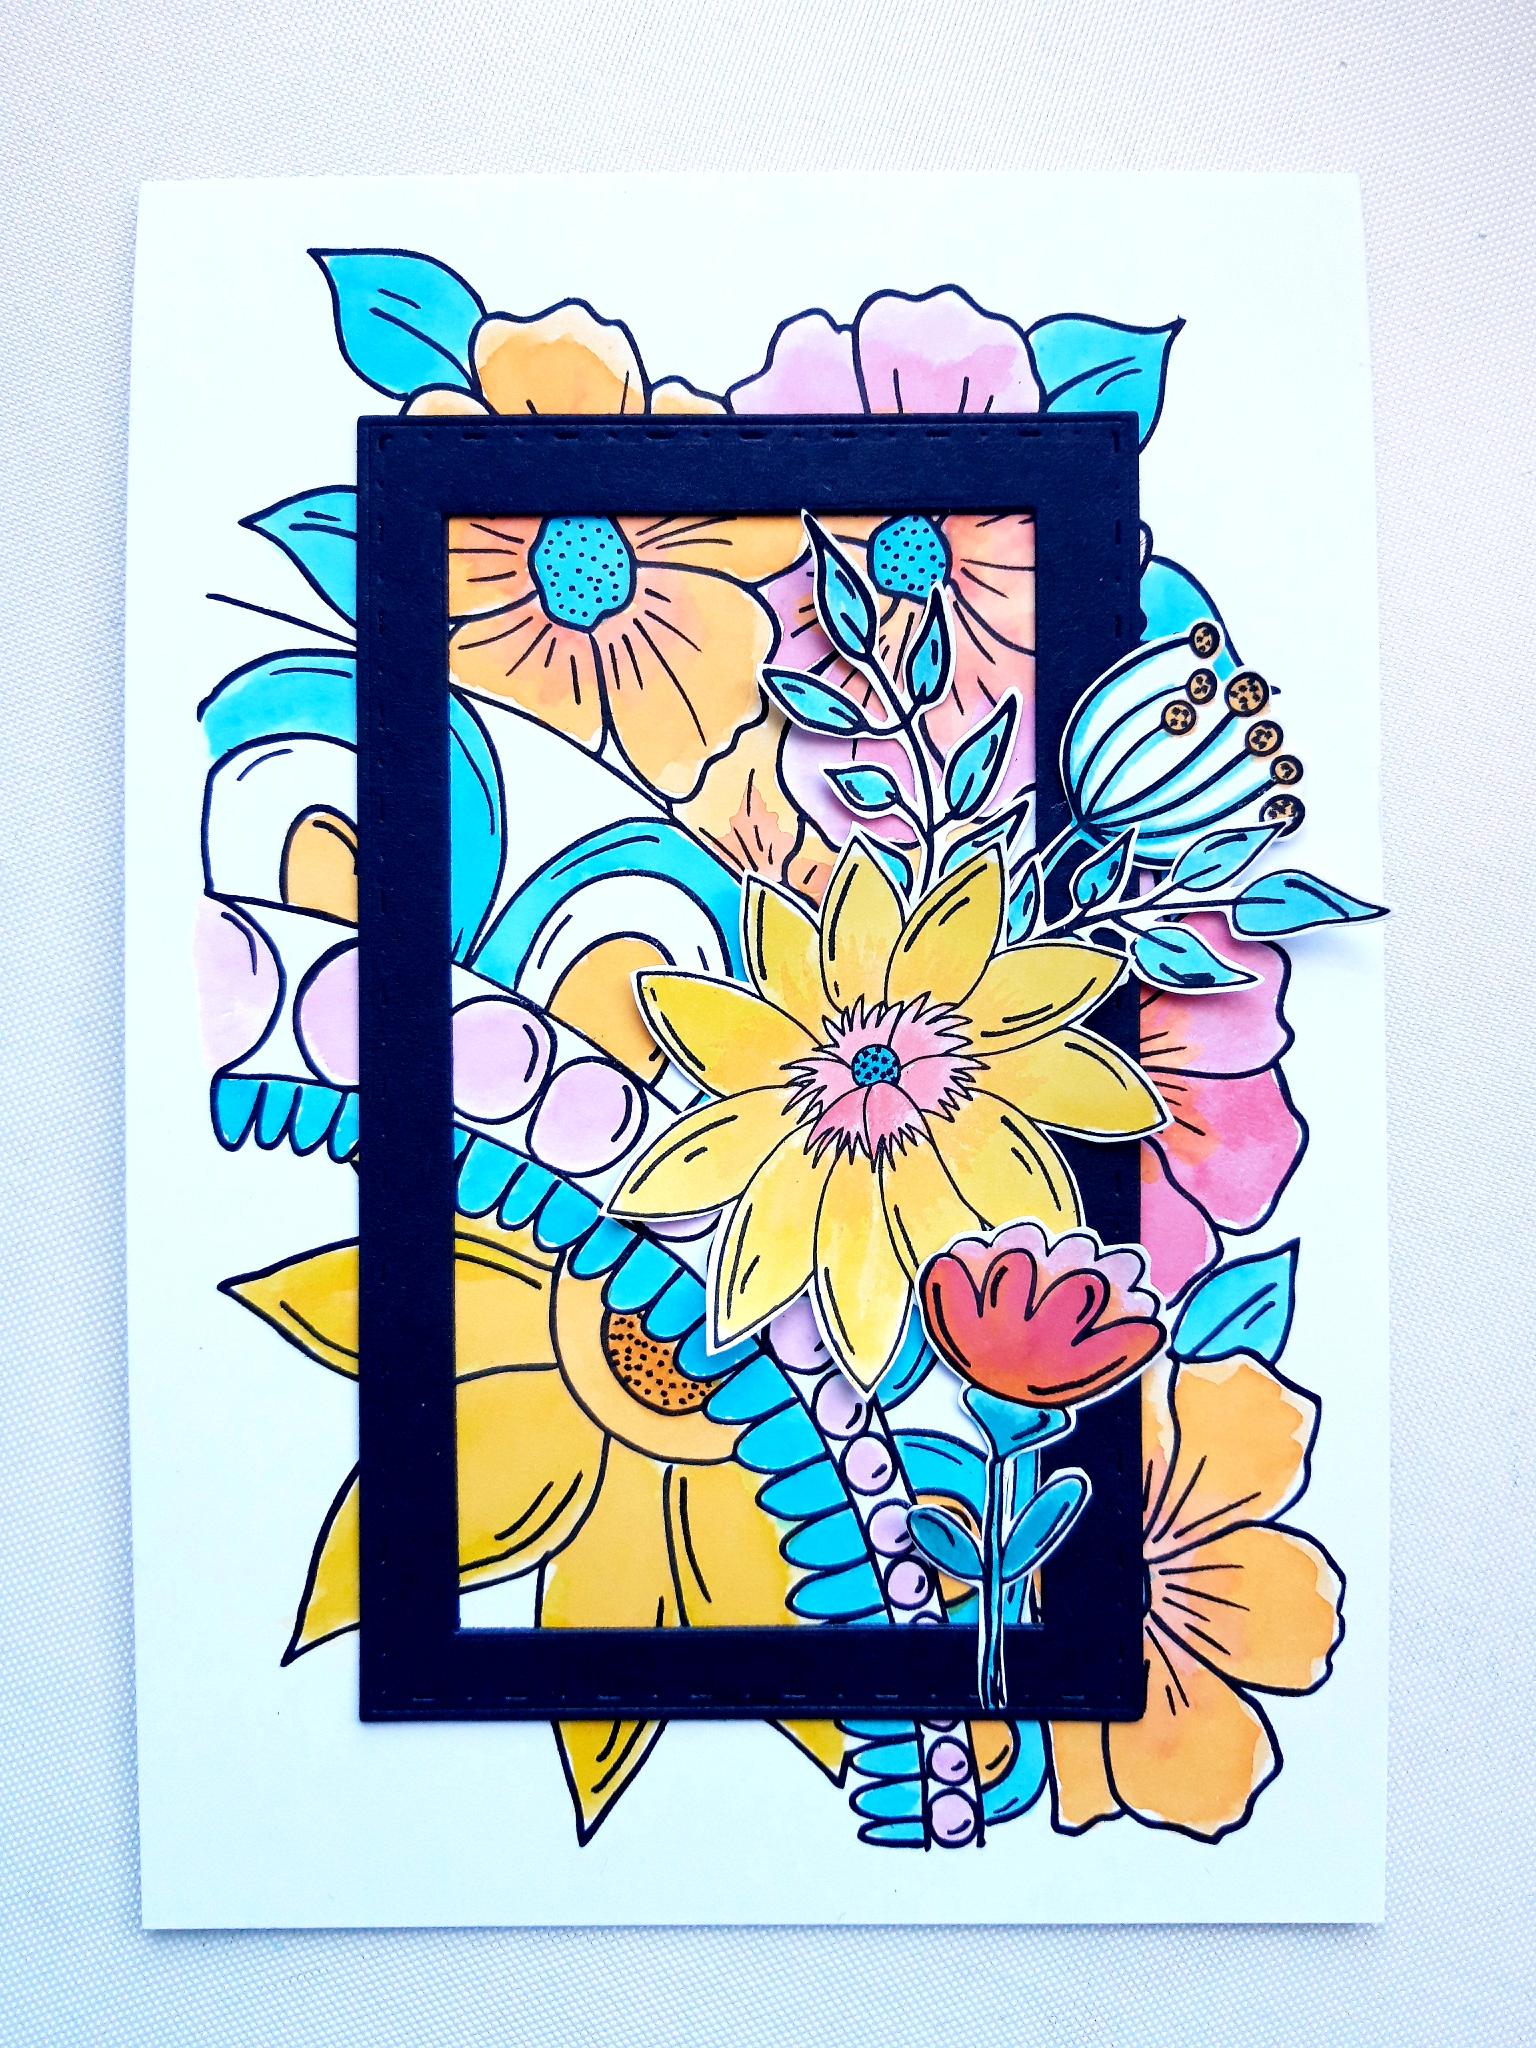
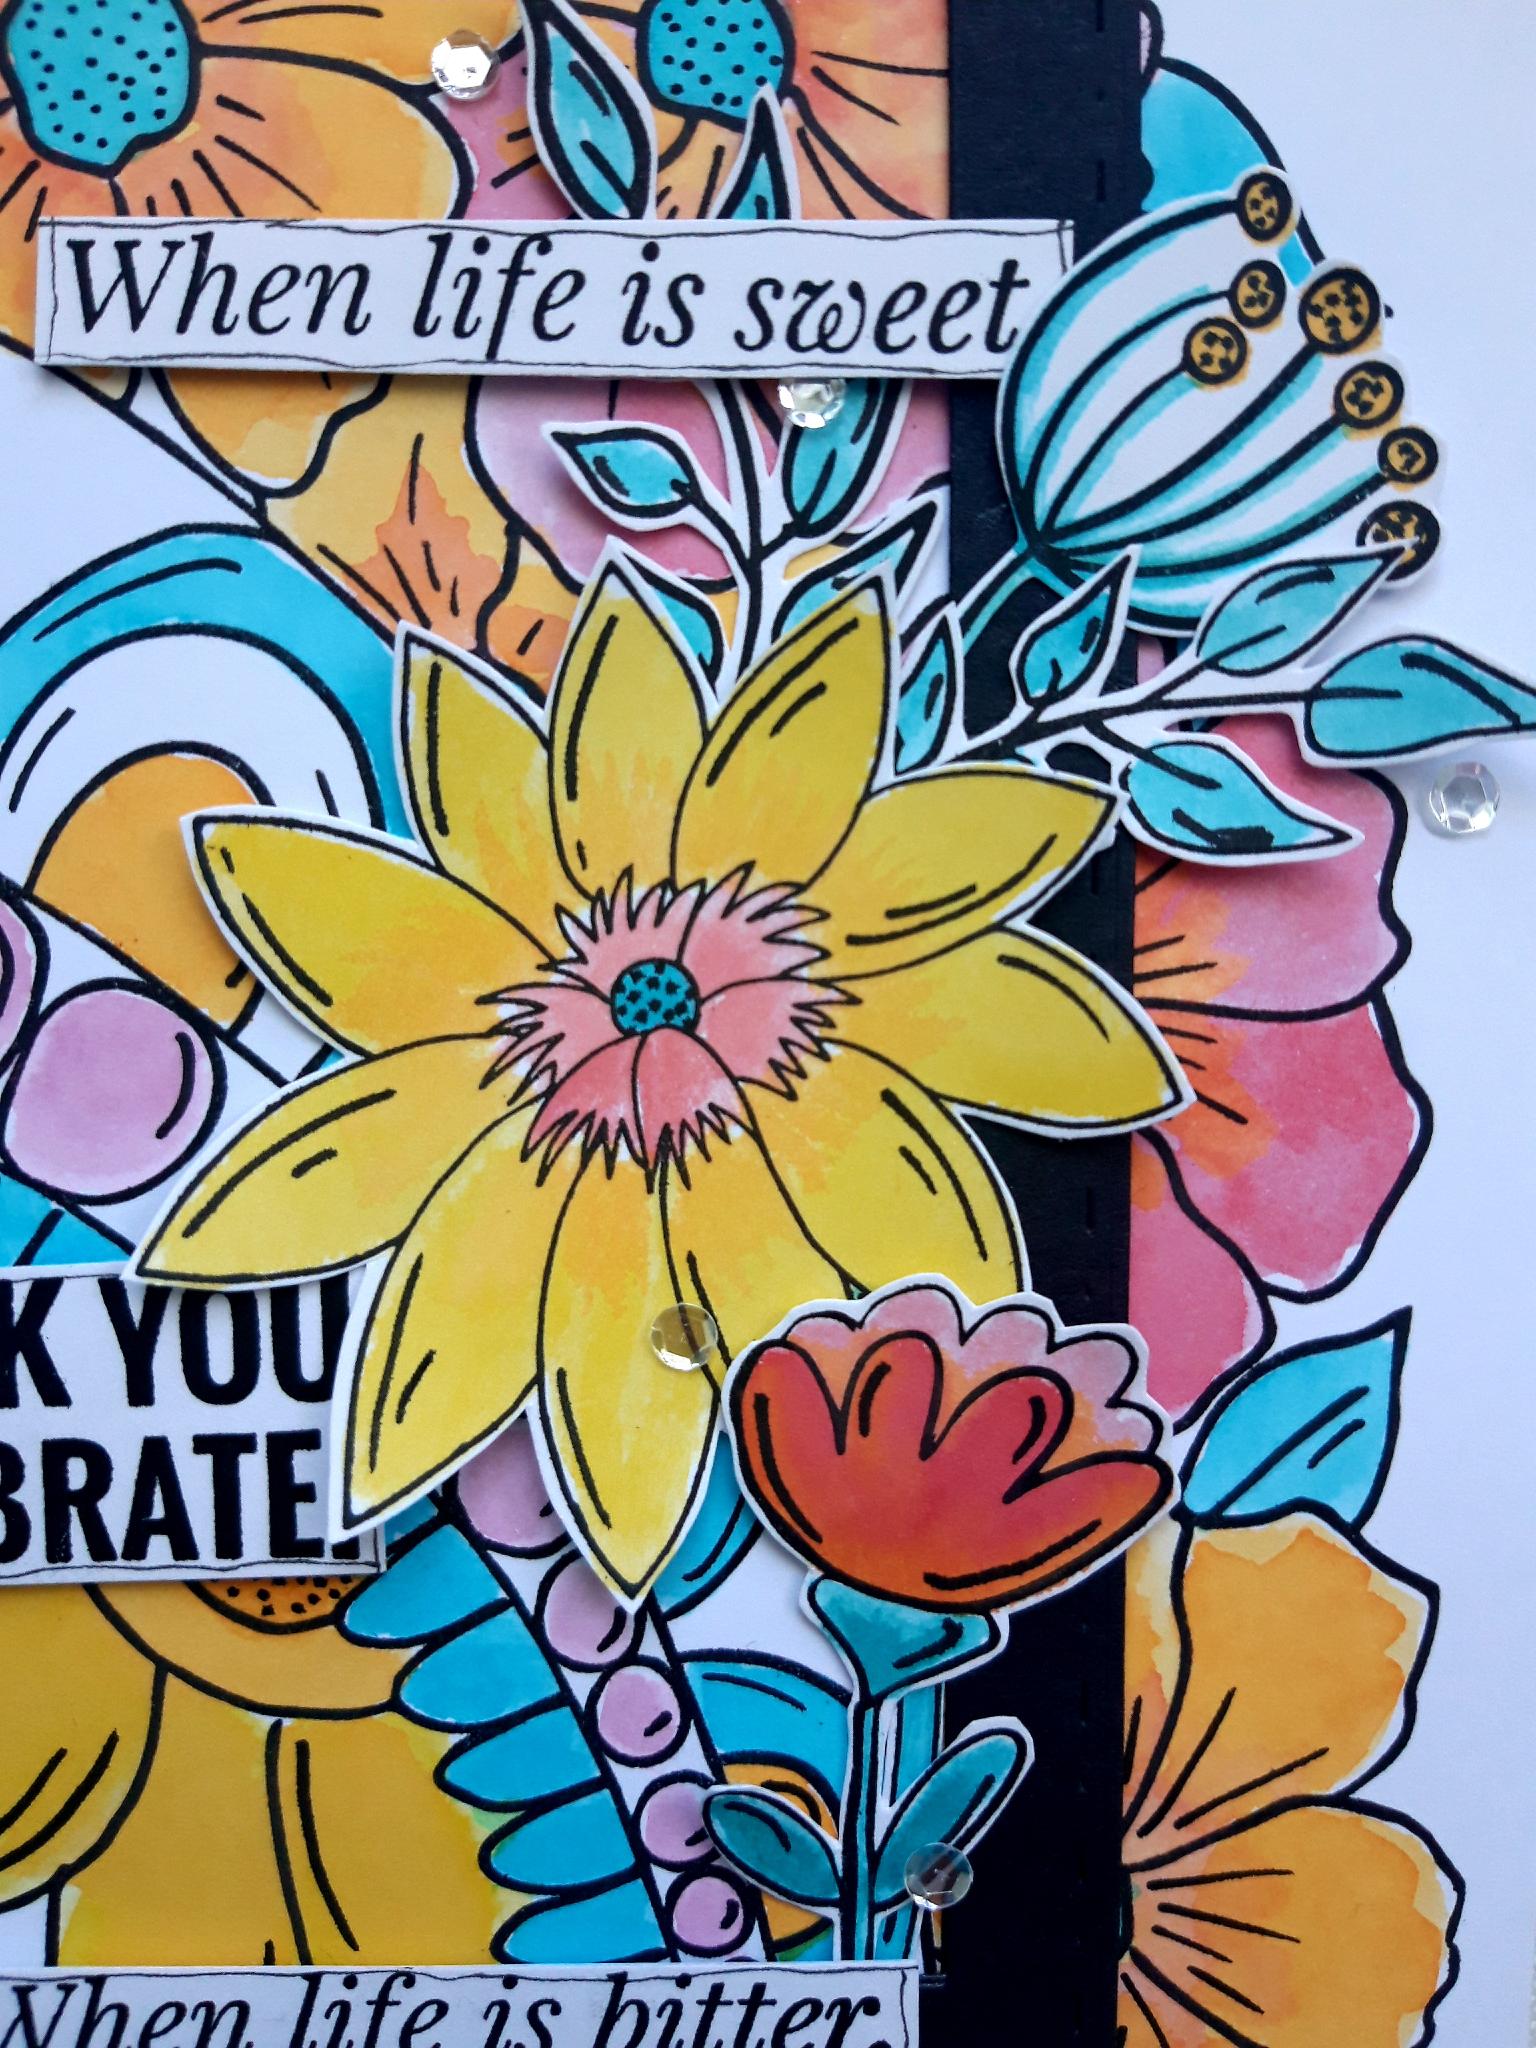
Use a combination of wet glue and foam pads to adhere your die cut flowers and foliage around the right hand side of your frame. Tuck some under the frame as well as on top of the frame, as this gives dimension to your artwork. |
|
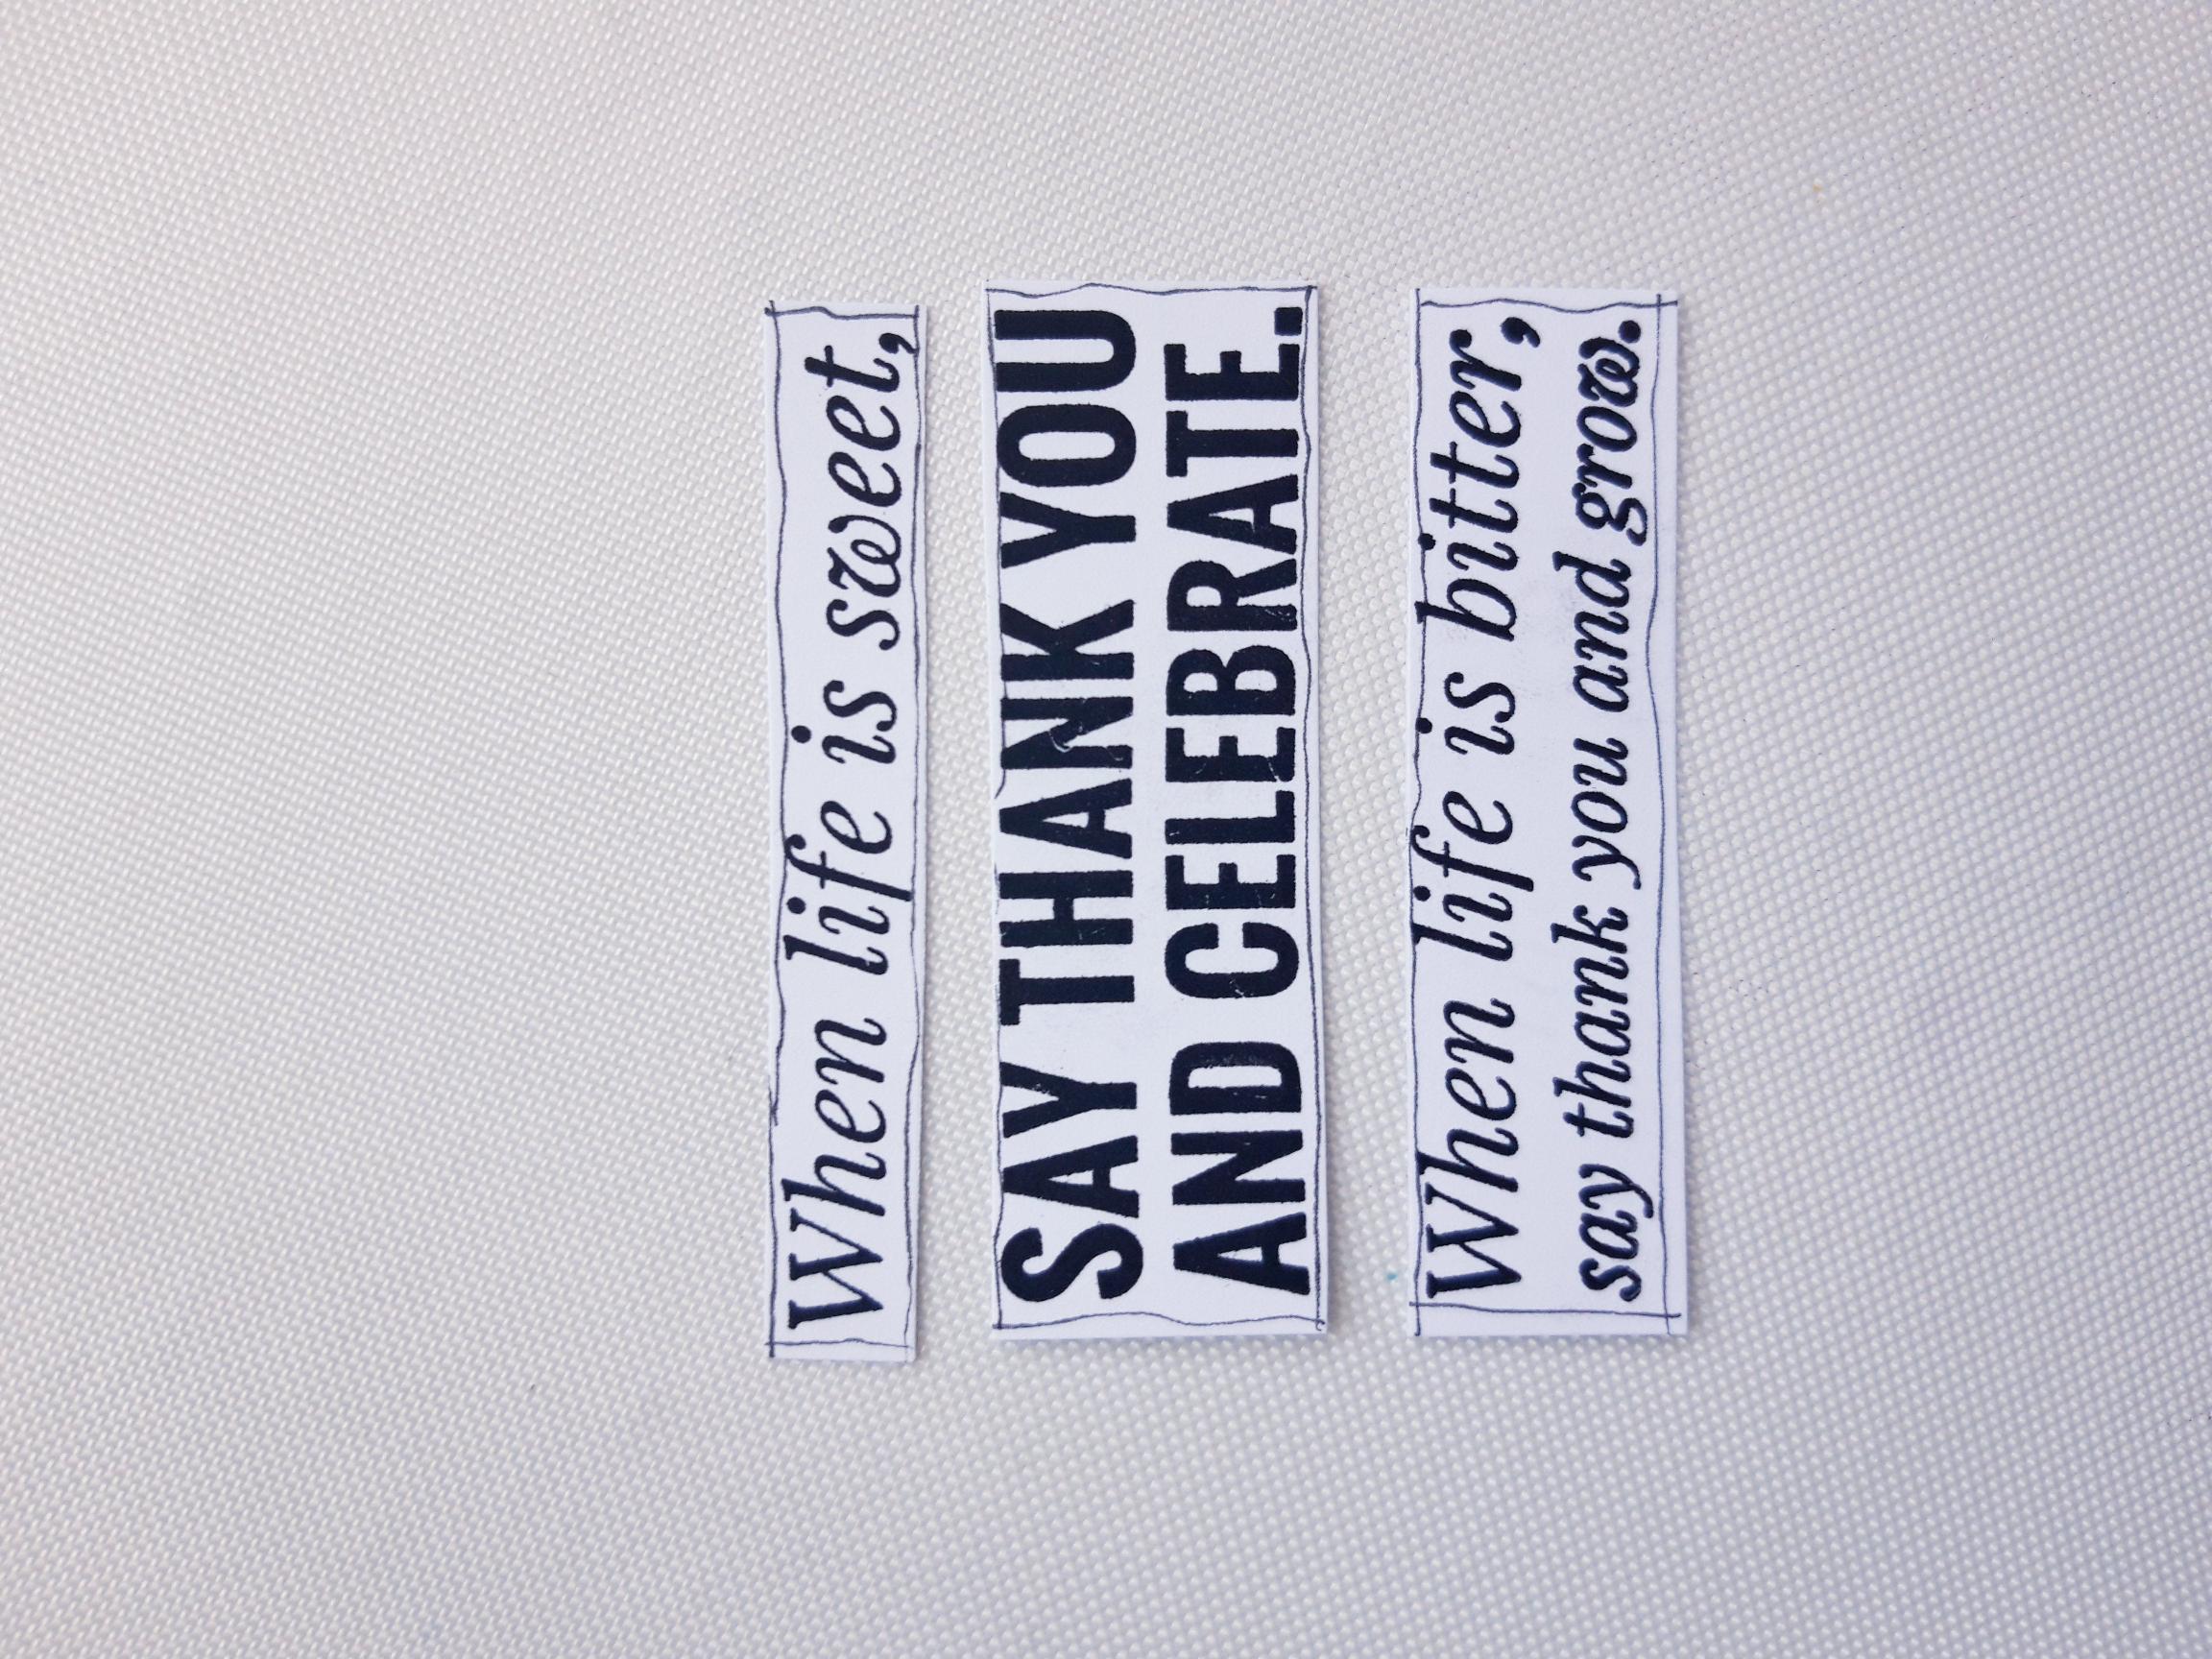
Ink up the sentiment stamp, from the Golden Sunflowers stamp and die set, in the Onyx Black Versafine, and stamp on some of the leftover white cardstock. Once dry, cut up the sentiment in to strips (Don't be afraid to cut the strips at jaunty angles, if you prefer). Use a black fine line pen to draw a wiggly frame around each sentiment strip. |
|
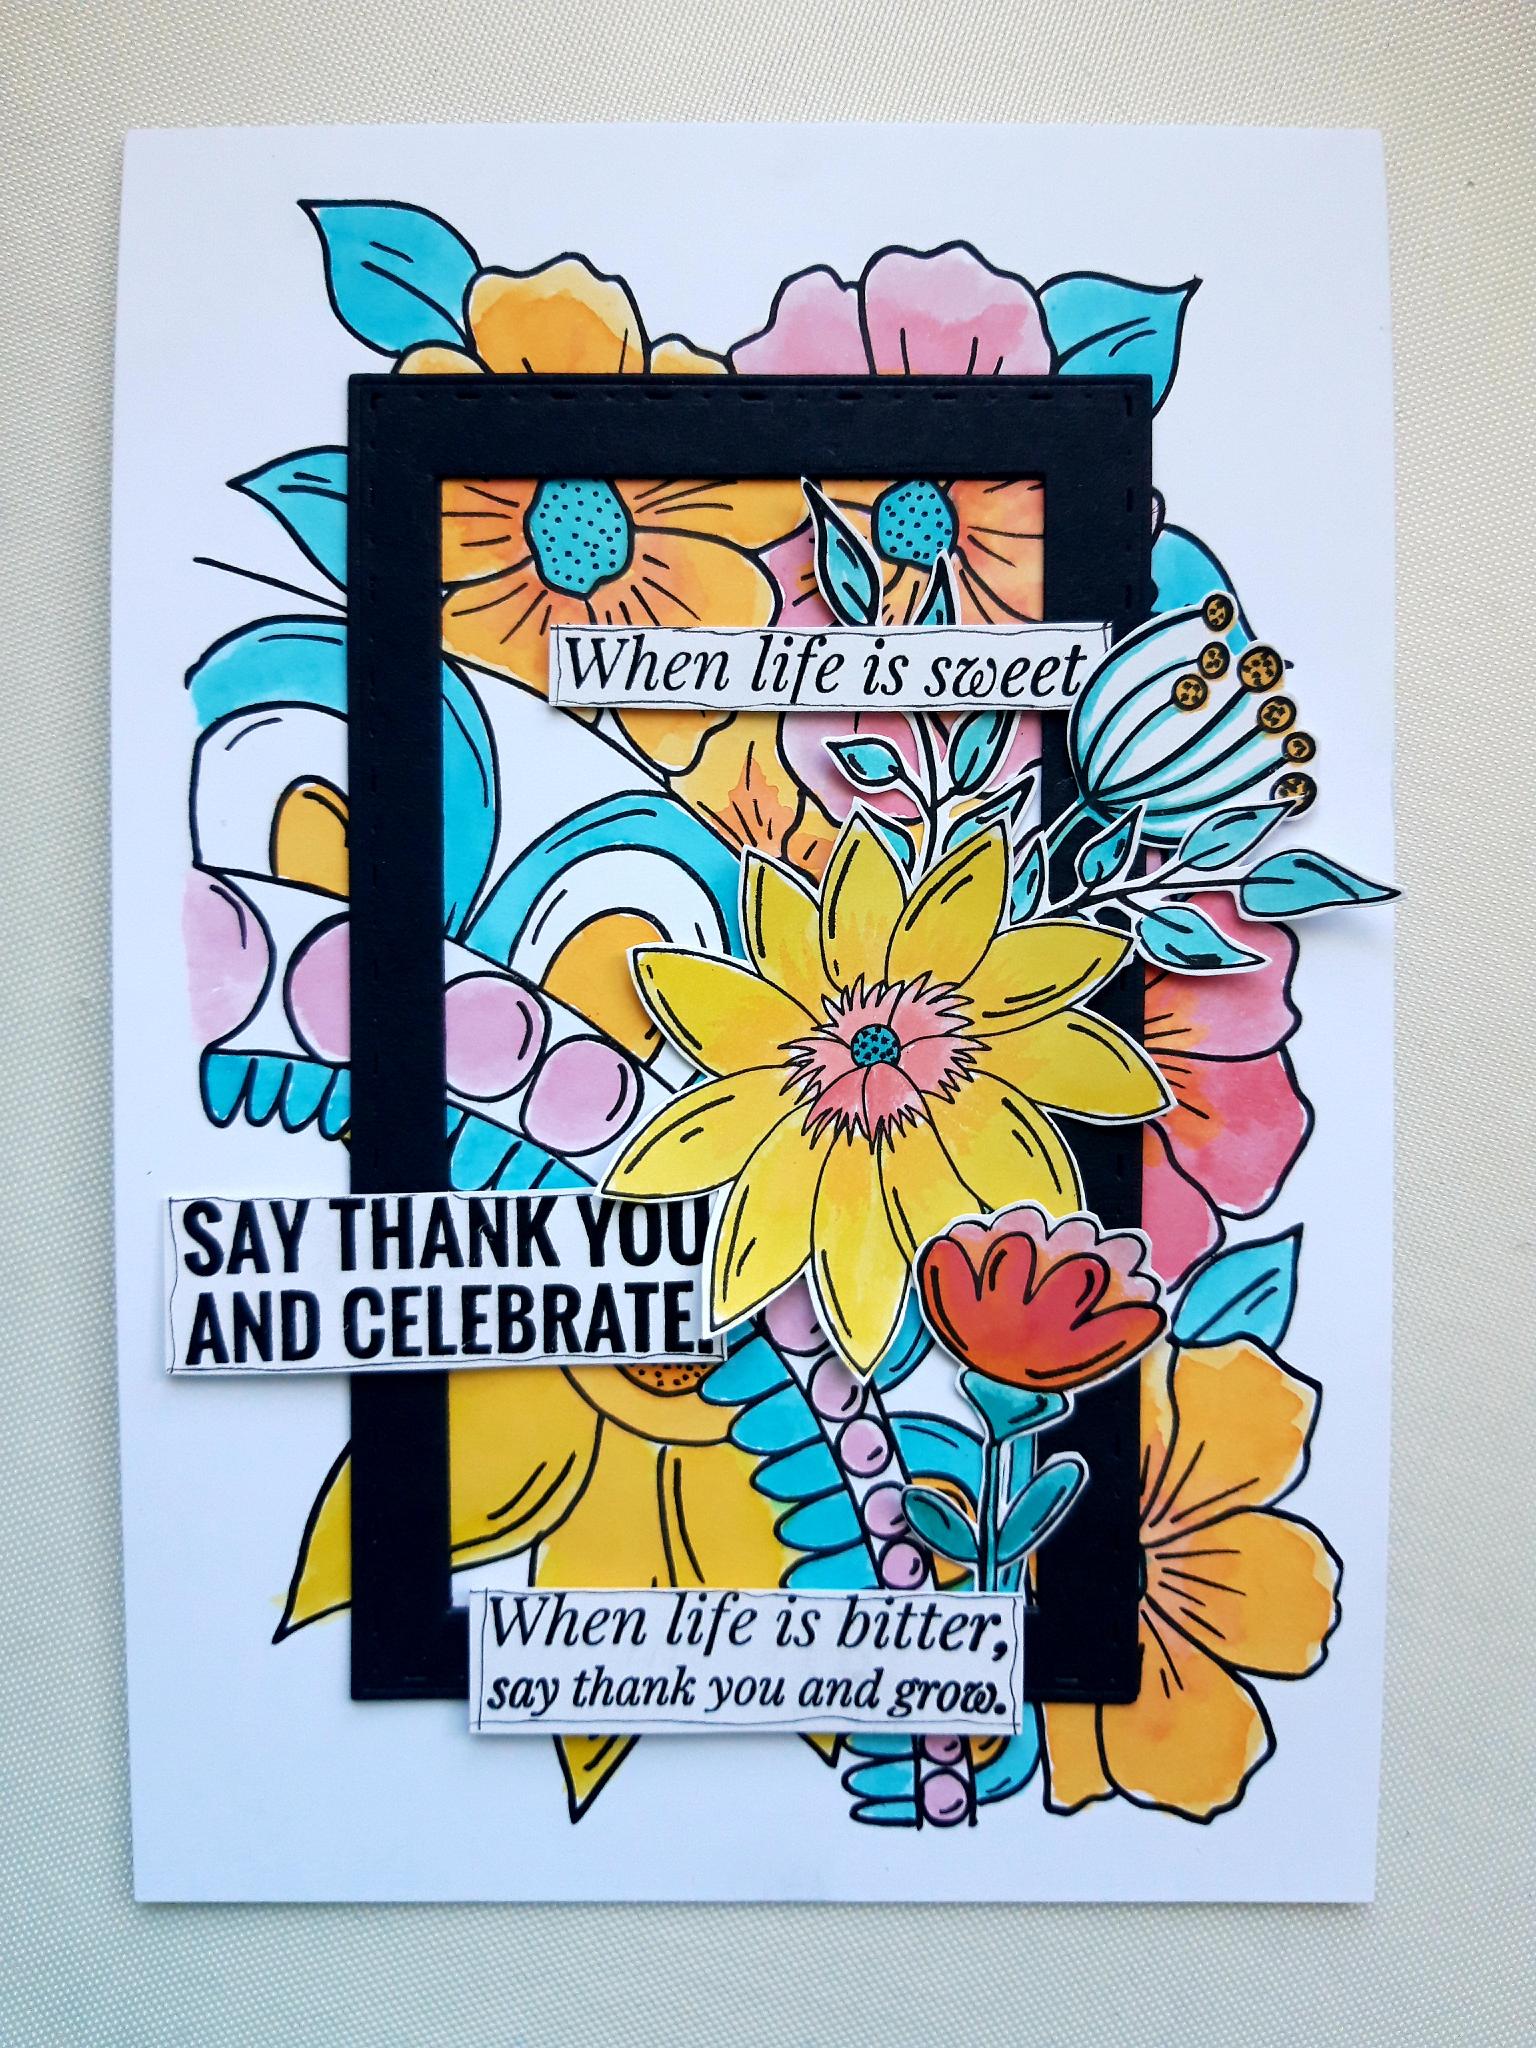
Adhere your sentiment strips randomly, around your artwork, either with wet glue, or foam pads. |
|
To finish off your card add some sequins randomly, around your artwork, as desired. |