Give your friends $10 off their first order!
Refer a FRIEND


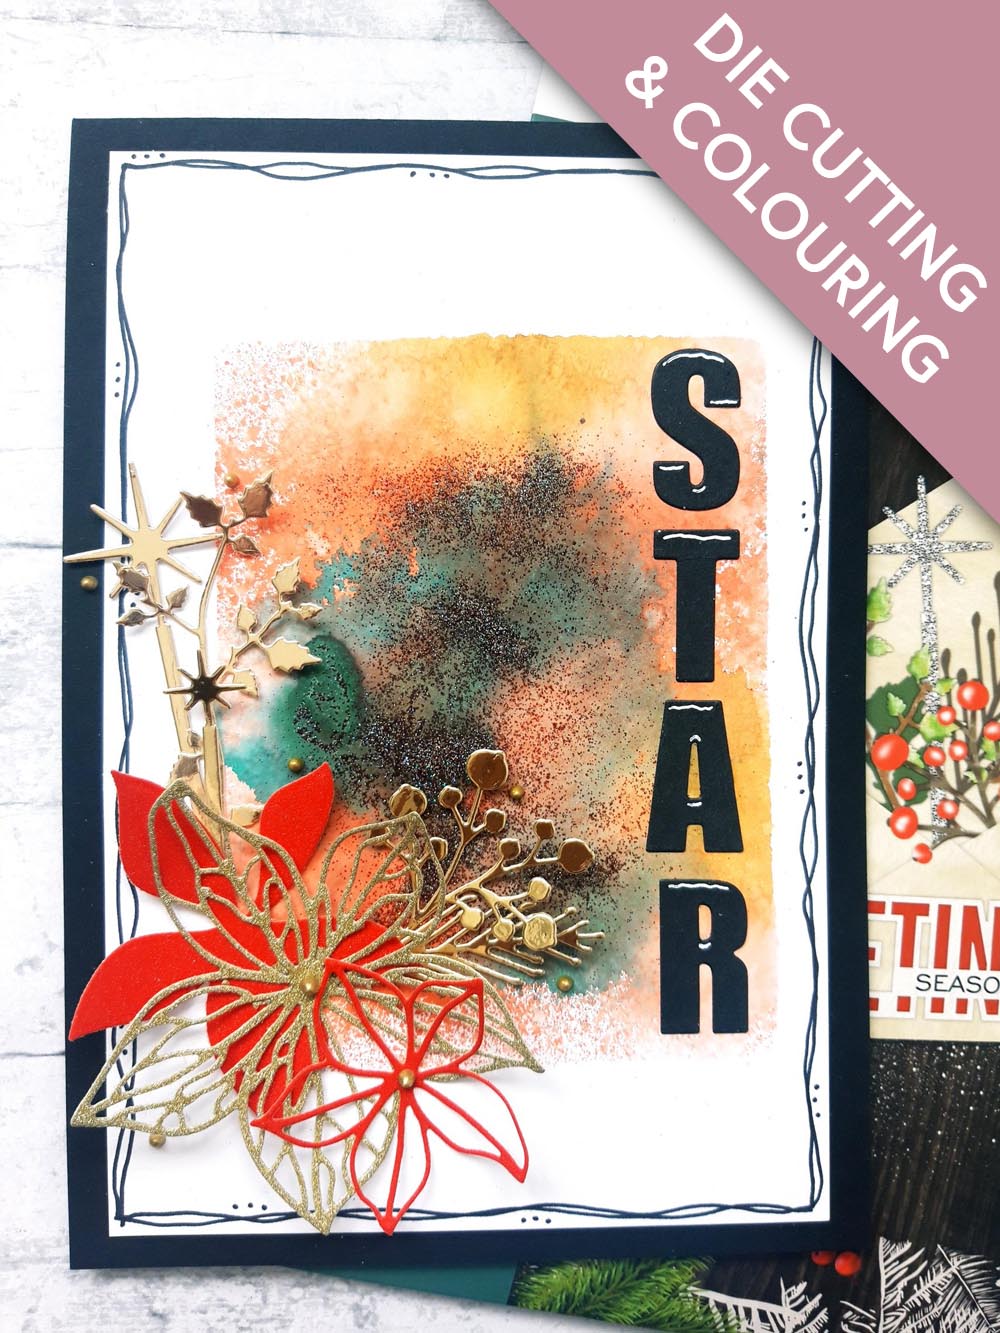
WHAT YOU WILL NEED:
Black top folding card blank (8 1/4 x 5 3/4")
White card (7 3/4 x 5 1/4")
Black card (6 1/4 x 2")
Gold Mirri, Glitter, Sparkle card (as required for floral elements)
Red Mirri, Glitter, Sparkle card (as required for floral elements)
Dies from Festive Sparkles Die Collection
Dies from Winter Sparkles Die Collection
Dies from STAR Die Collection
Izink Dye Spray: Butterscotch, Rusty Saffron, Underwater
Acrylic Block (approx 5 1/2 x 4")
Water spray bottle
Liquid Pearl Drops: Gold Pearl
White gel pen
Black pen
WOW Embossing Powder: Don't Be Fooled Collection - Hey You
WOW Heat tool
Paper Trimmer
Perfect Together Glue
Die Cutting machine
[click image to enlarge] 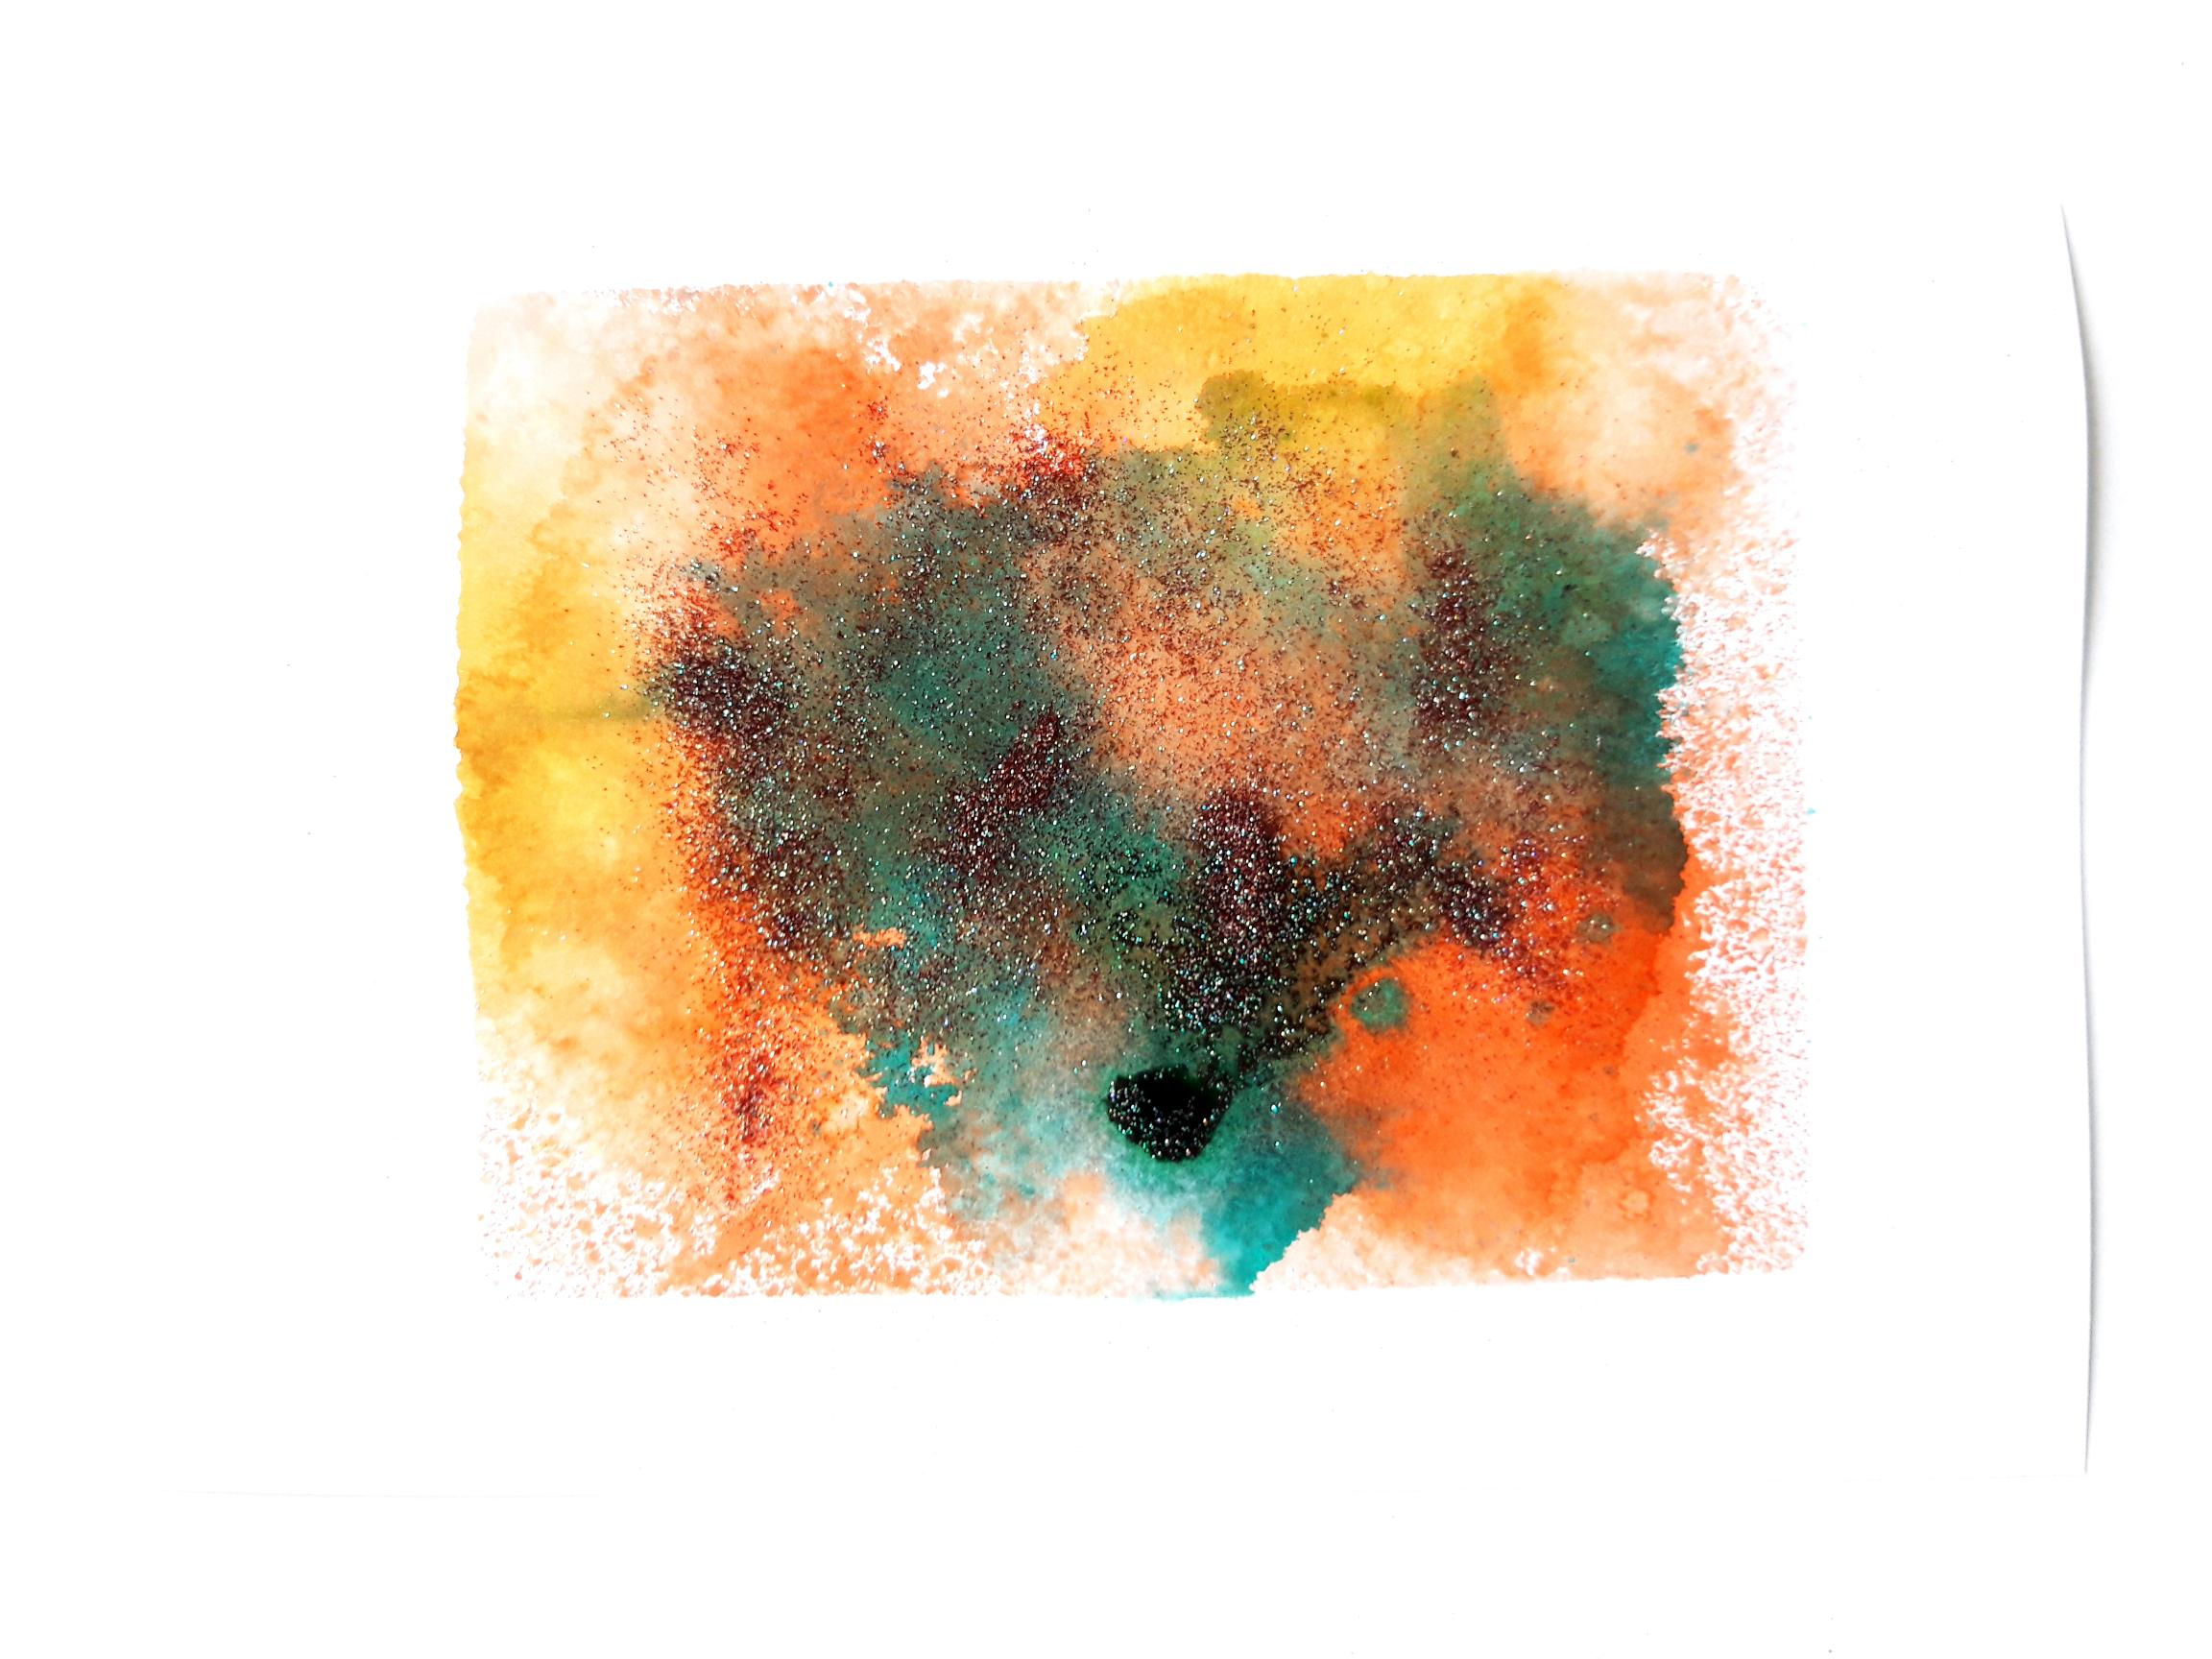
|
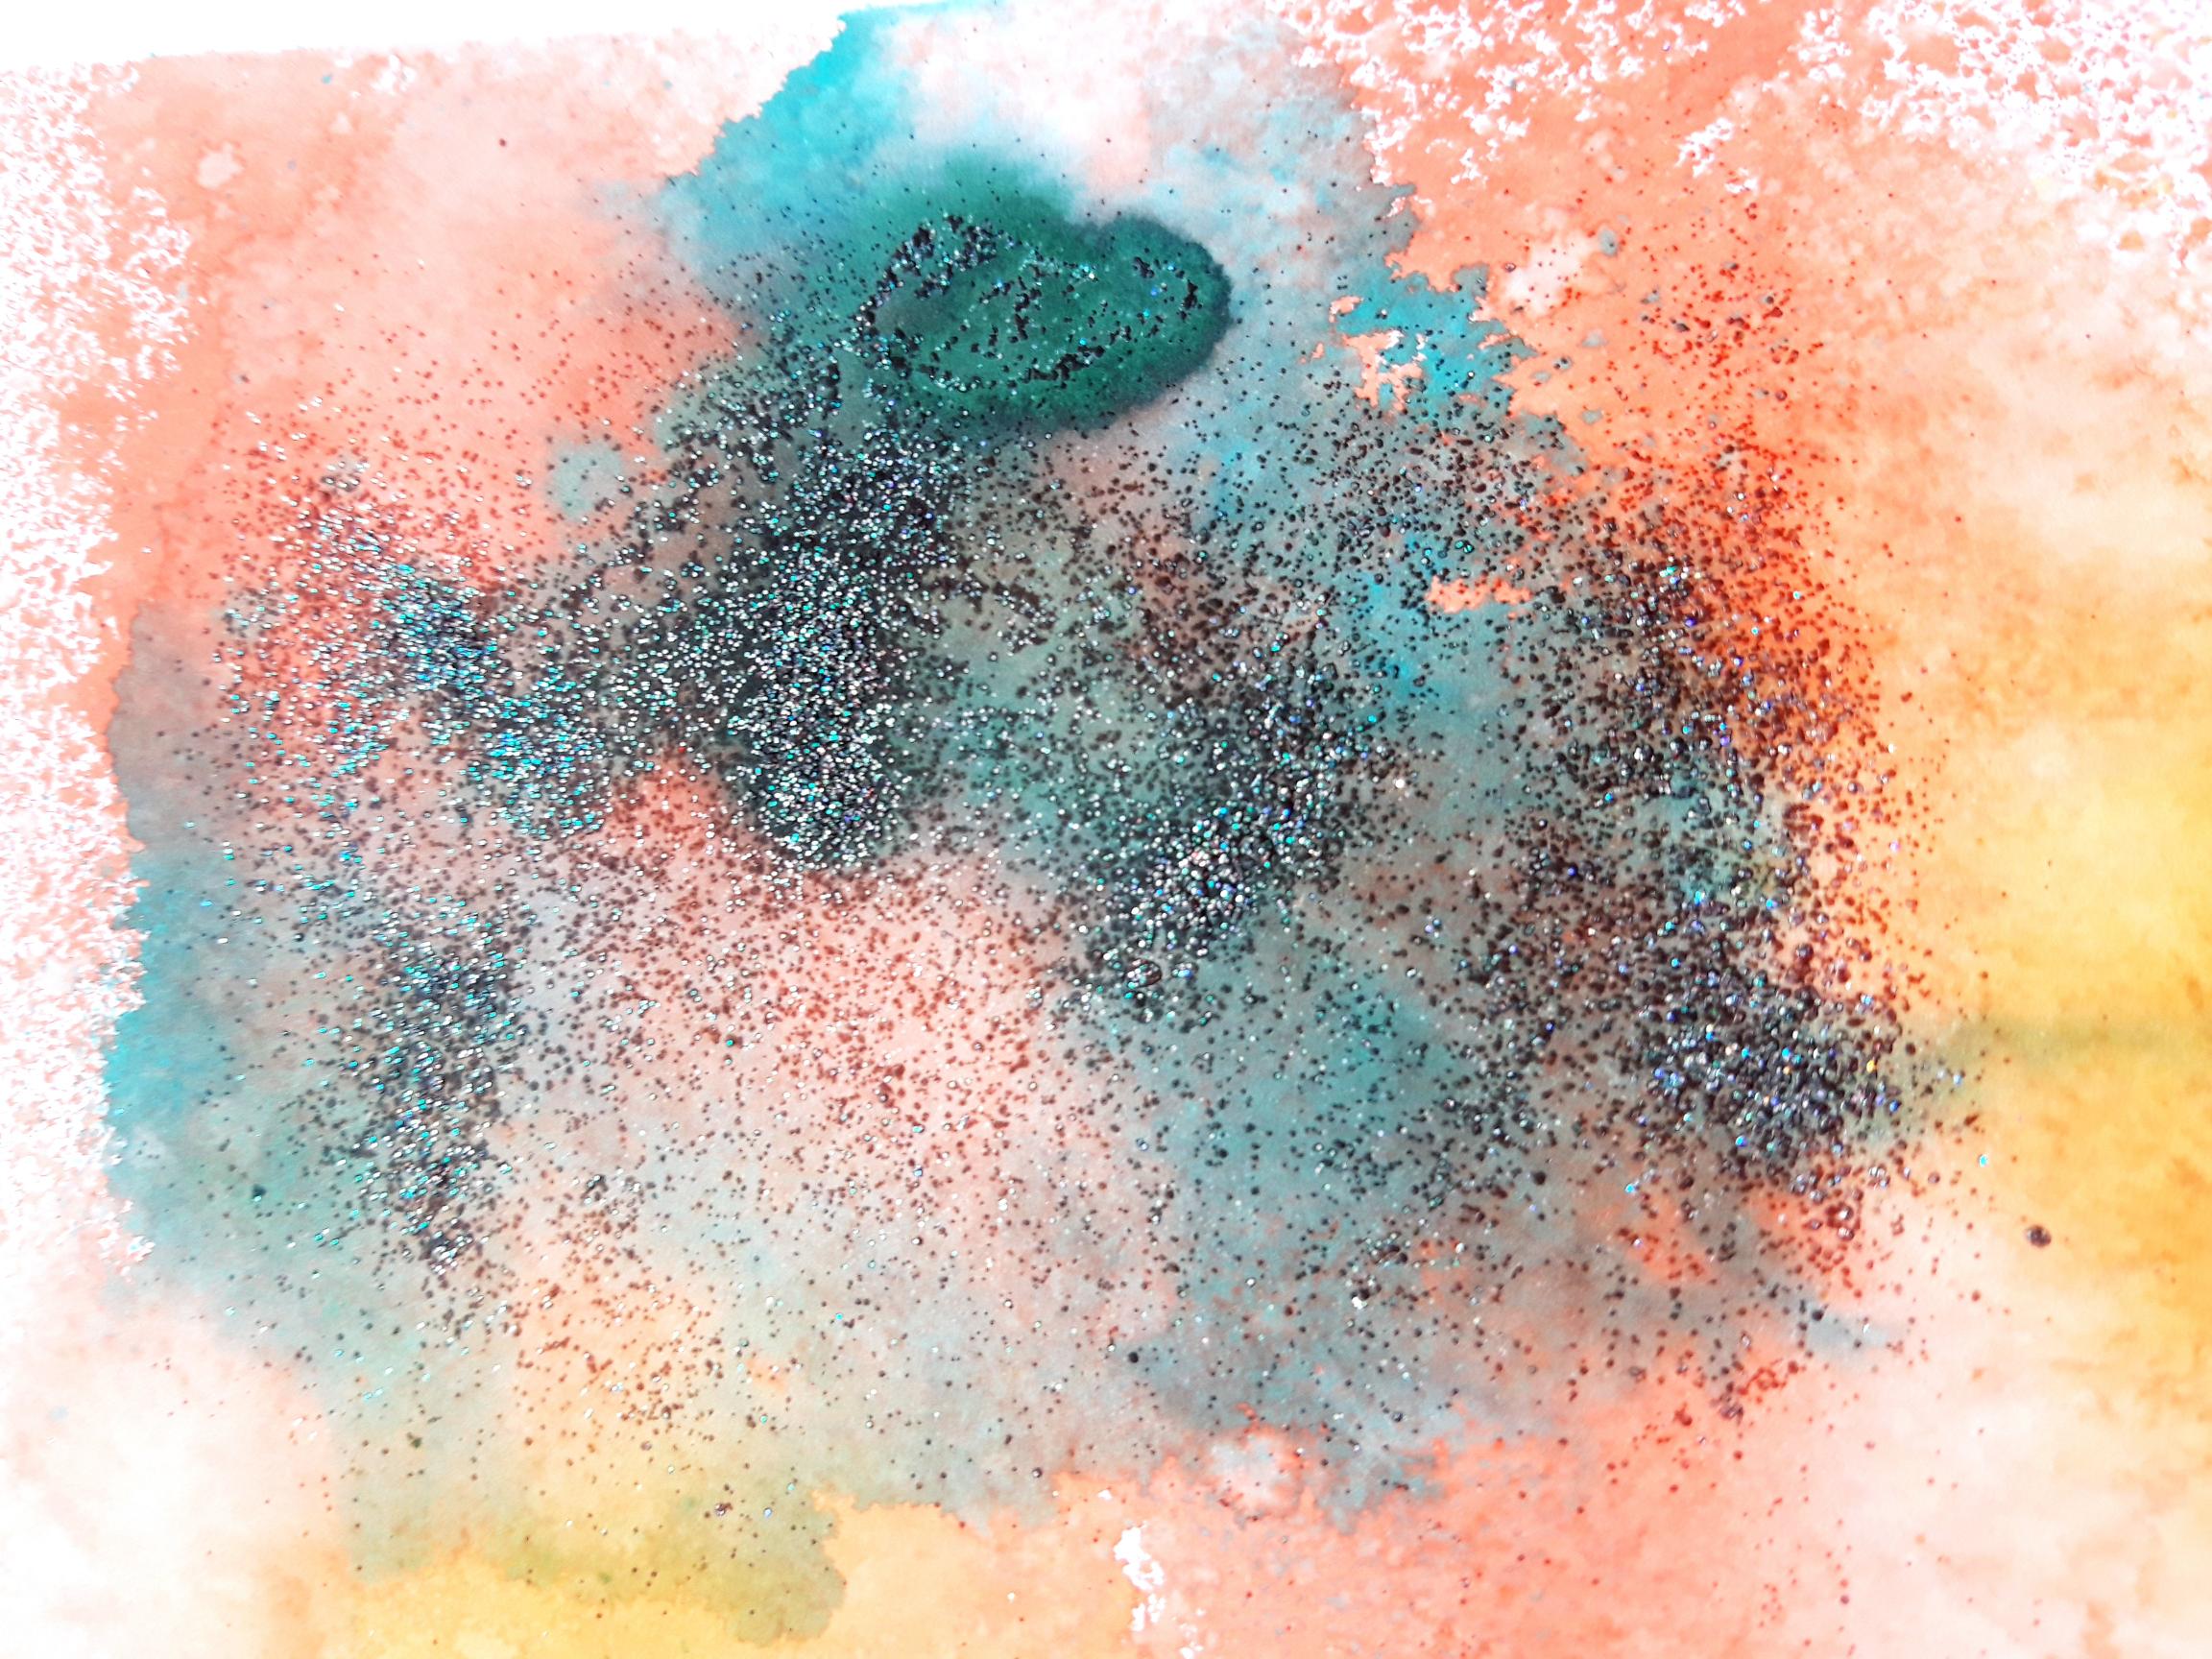
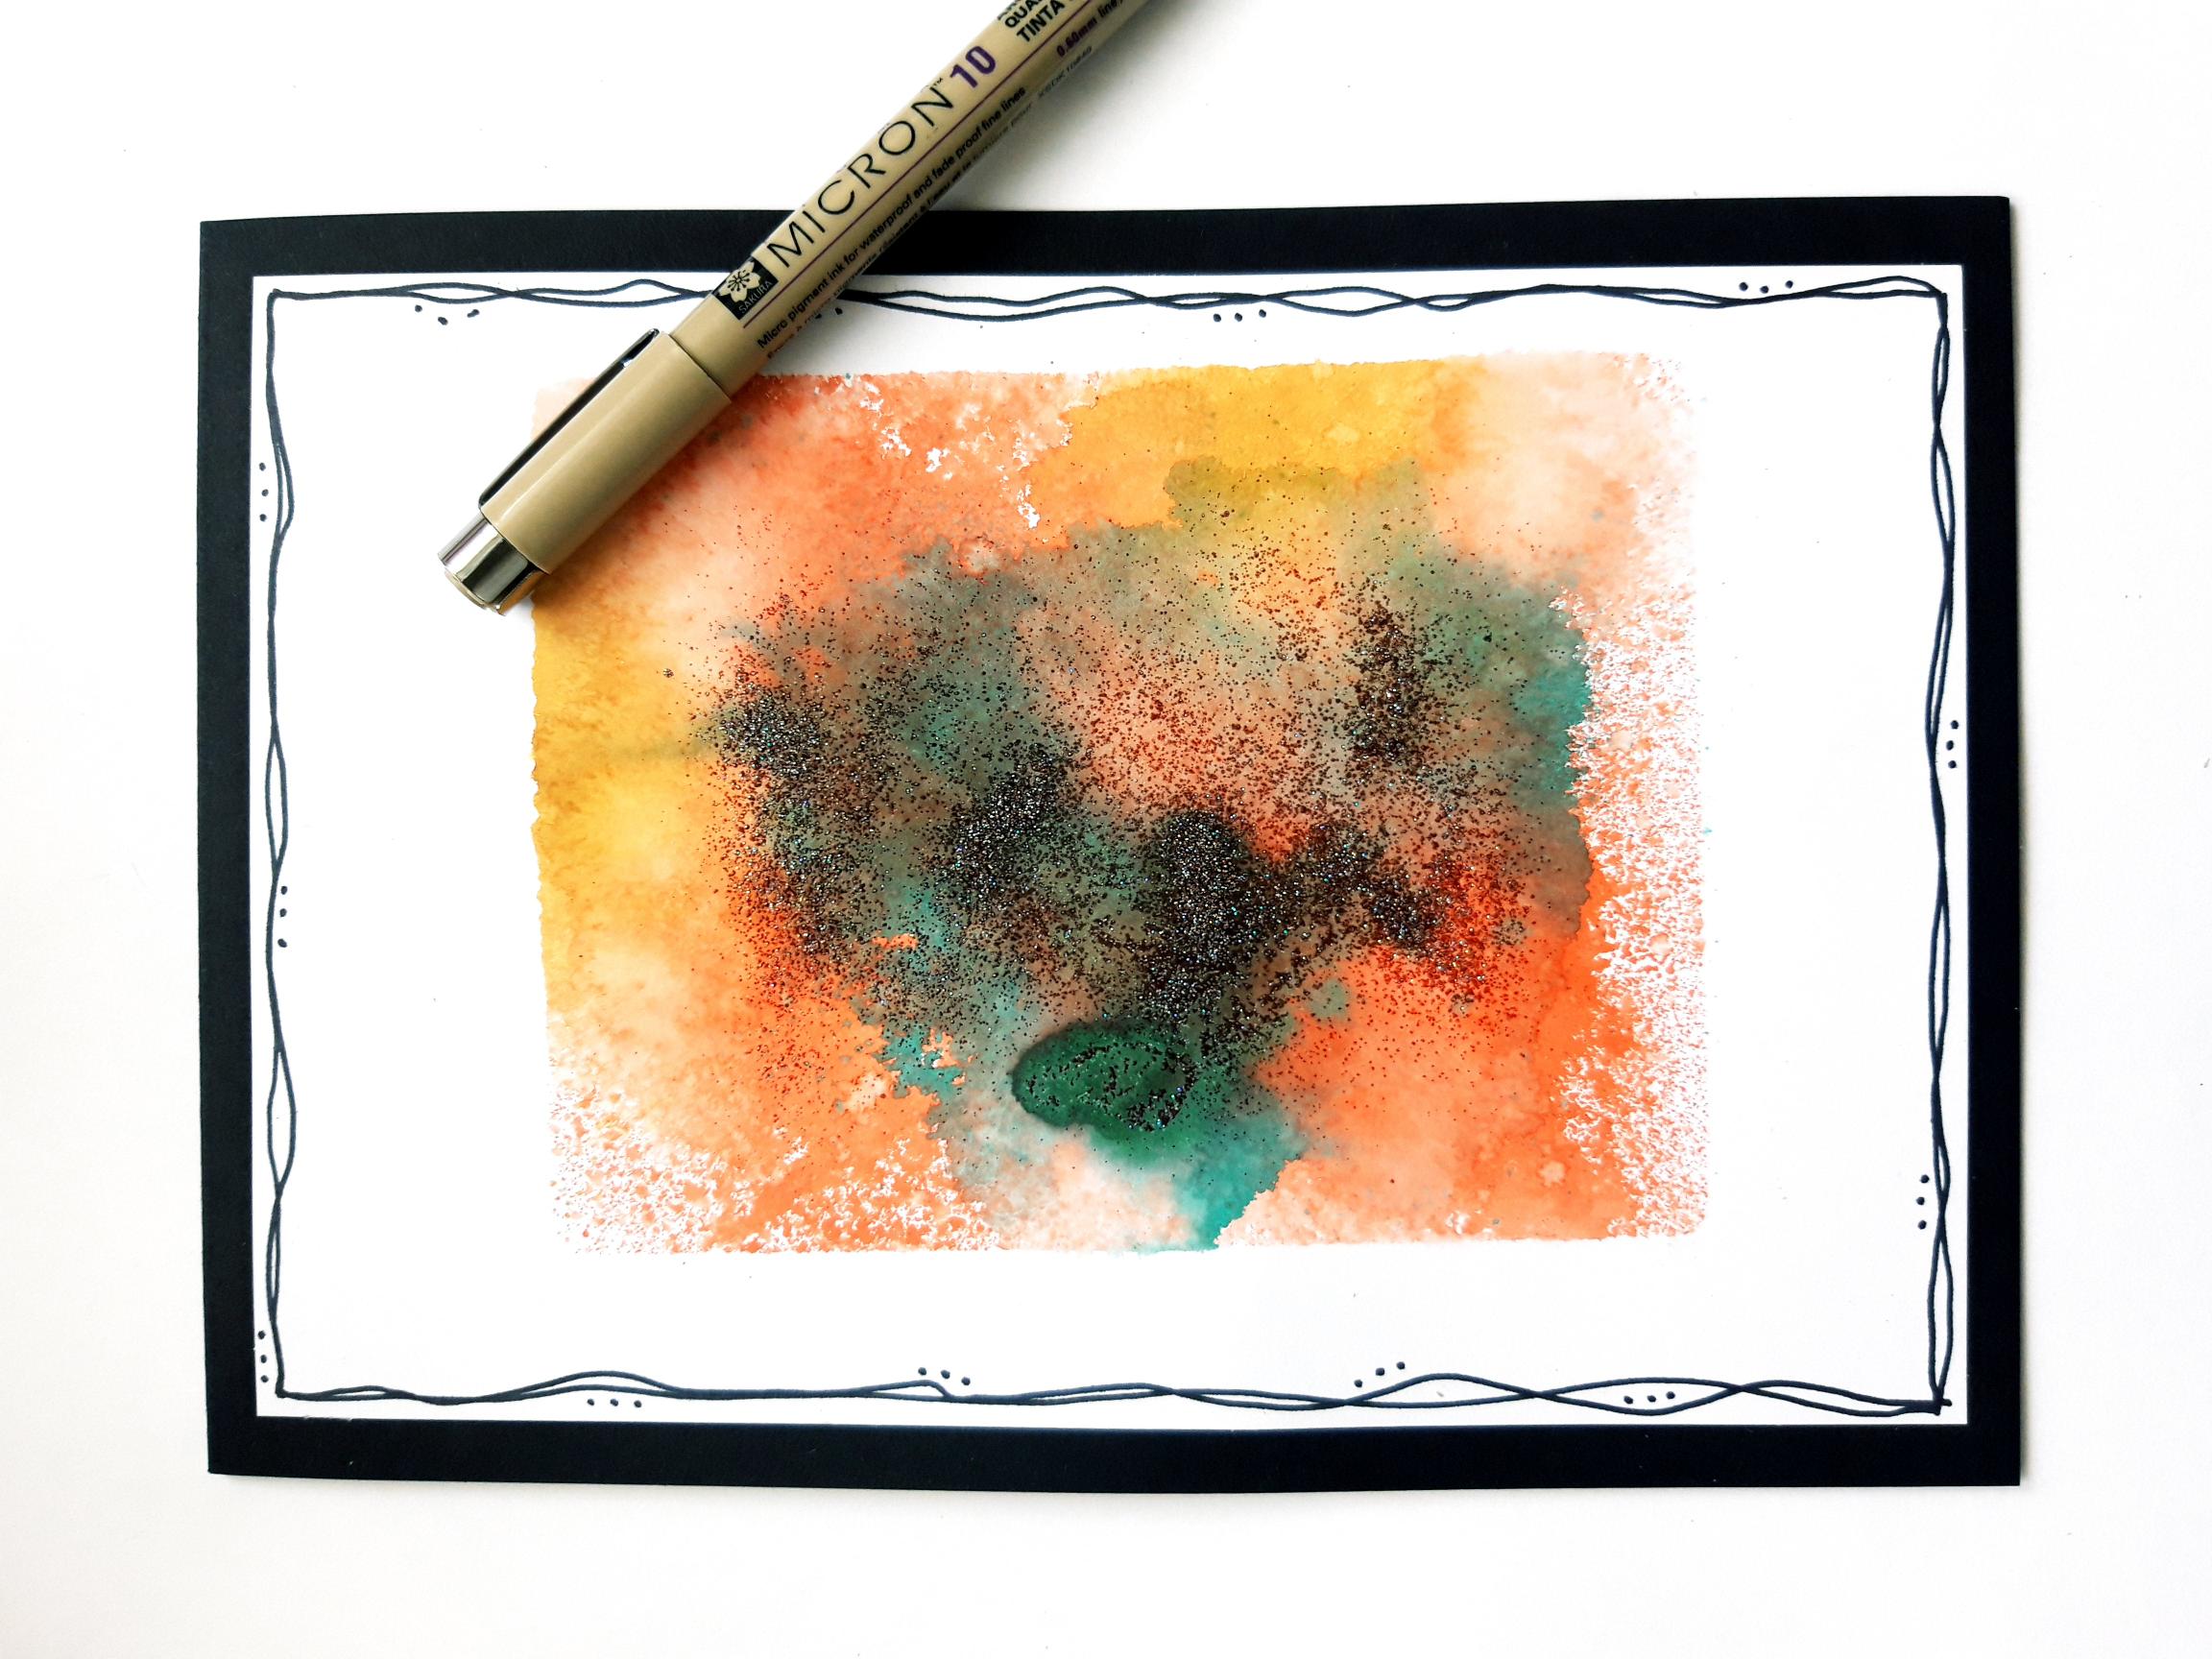
Spray the Izink Dye Sprays on to your acrylic block. Turn over block and place it centrally, on to the white card (7 3/4 x 5 1/4"), allowing the card to drink up the ink. If easier, you can place acrylic block face up on your mat, and place the card on top of the block, again giving it time to drink up the ink. Carefully remove the block and sprinkle the Hey You WOW embossing powder, with your fingers, in random areas of the wet ink. |
|
Allow your WOW heat tool to get good and hot, before heat setting the loose powder, from underneath the card. This avoids the loose powder being blown off the ink, before it has time to turn. TIP: If you find heat setting from underneath awkward, just give the powder a quick blast from underneath, to melt it slightly, then heat set fully from above as usual. Set to one side. |
|
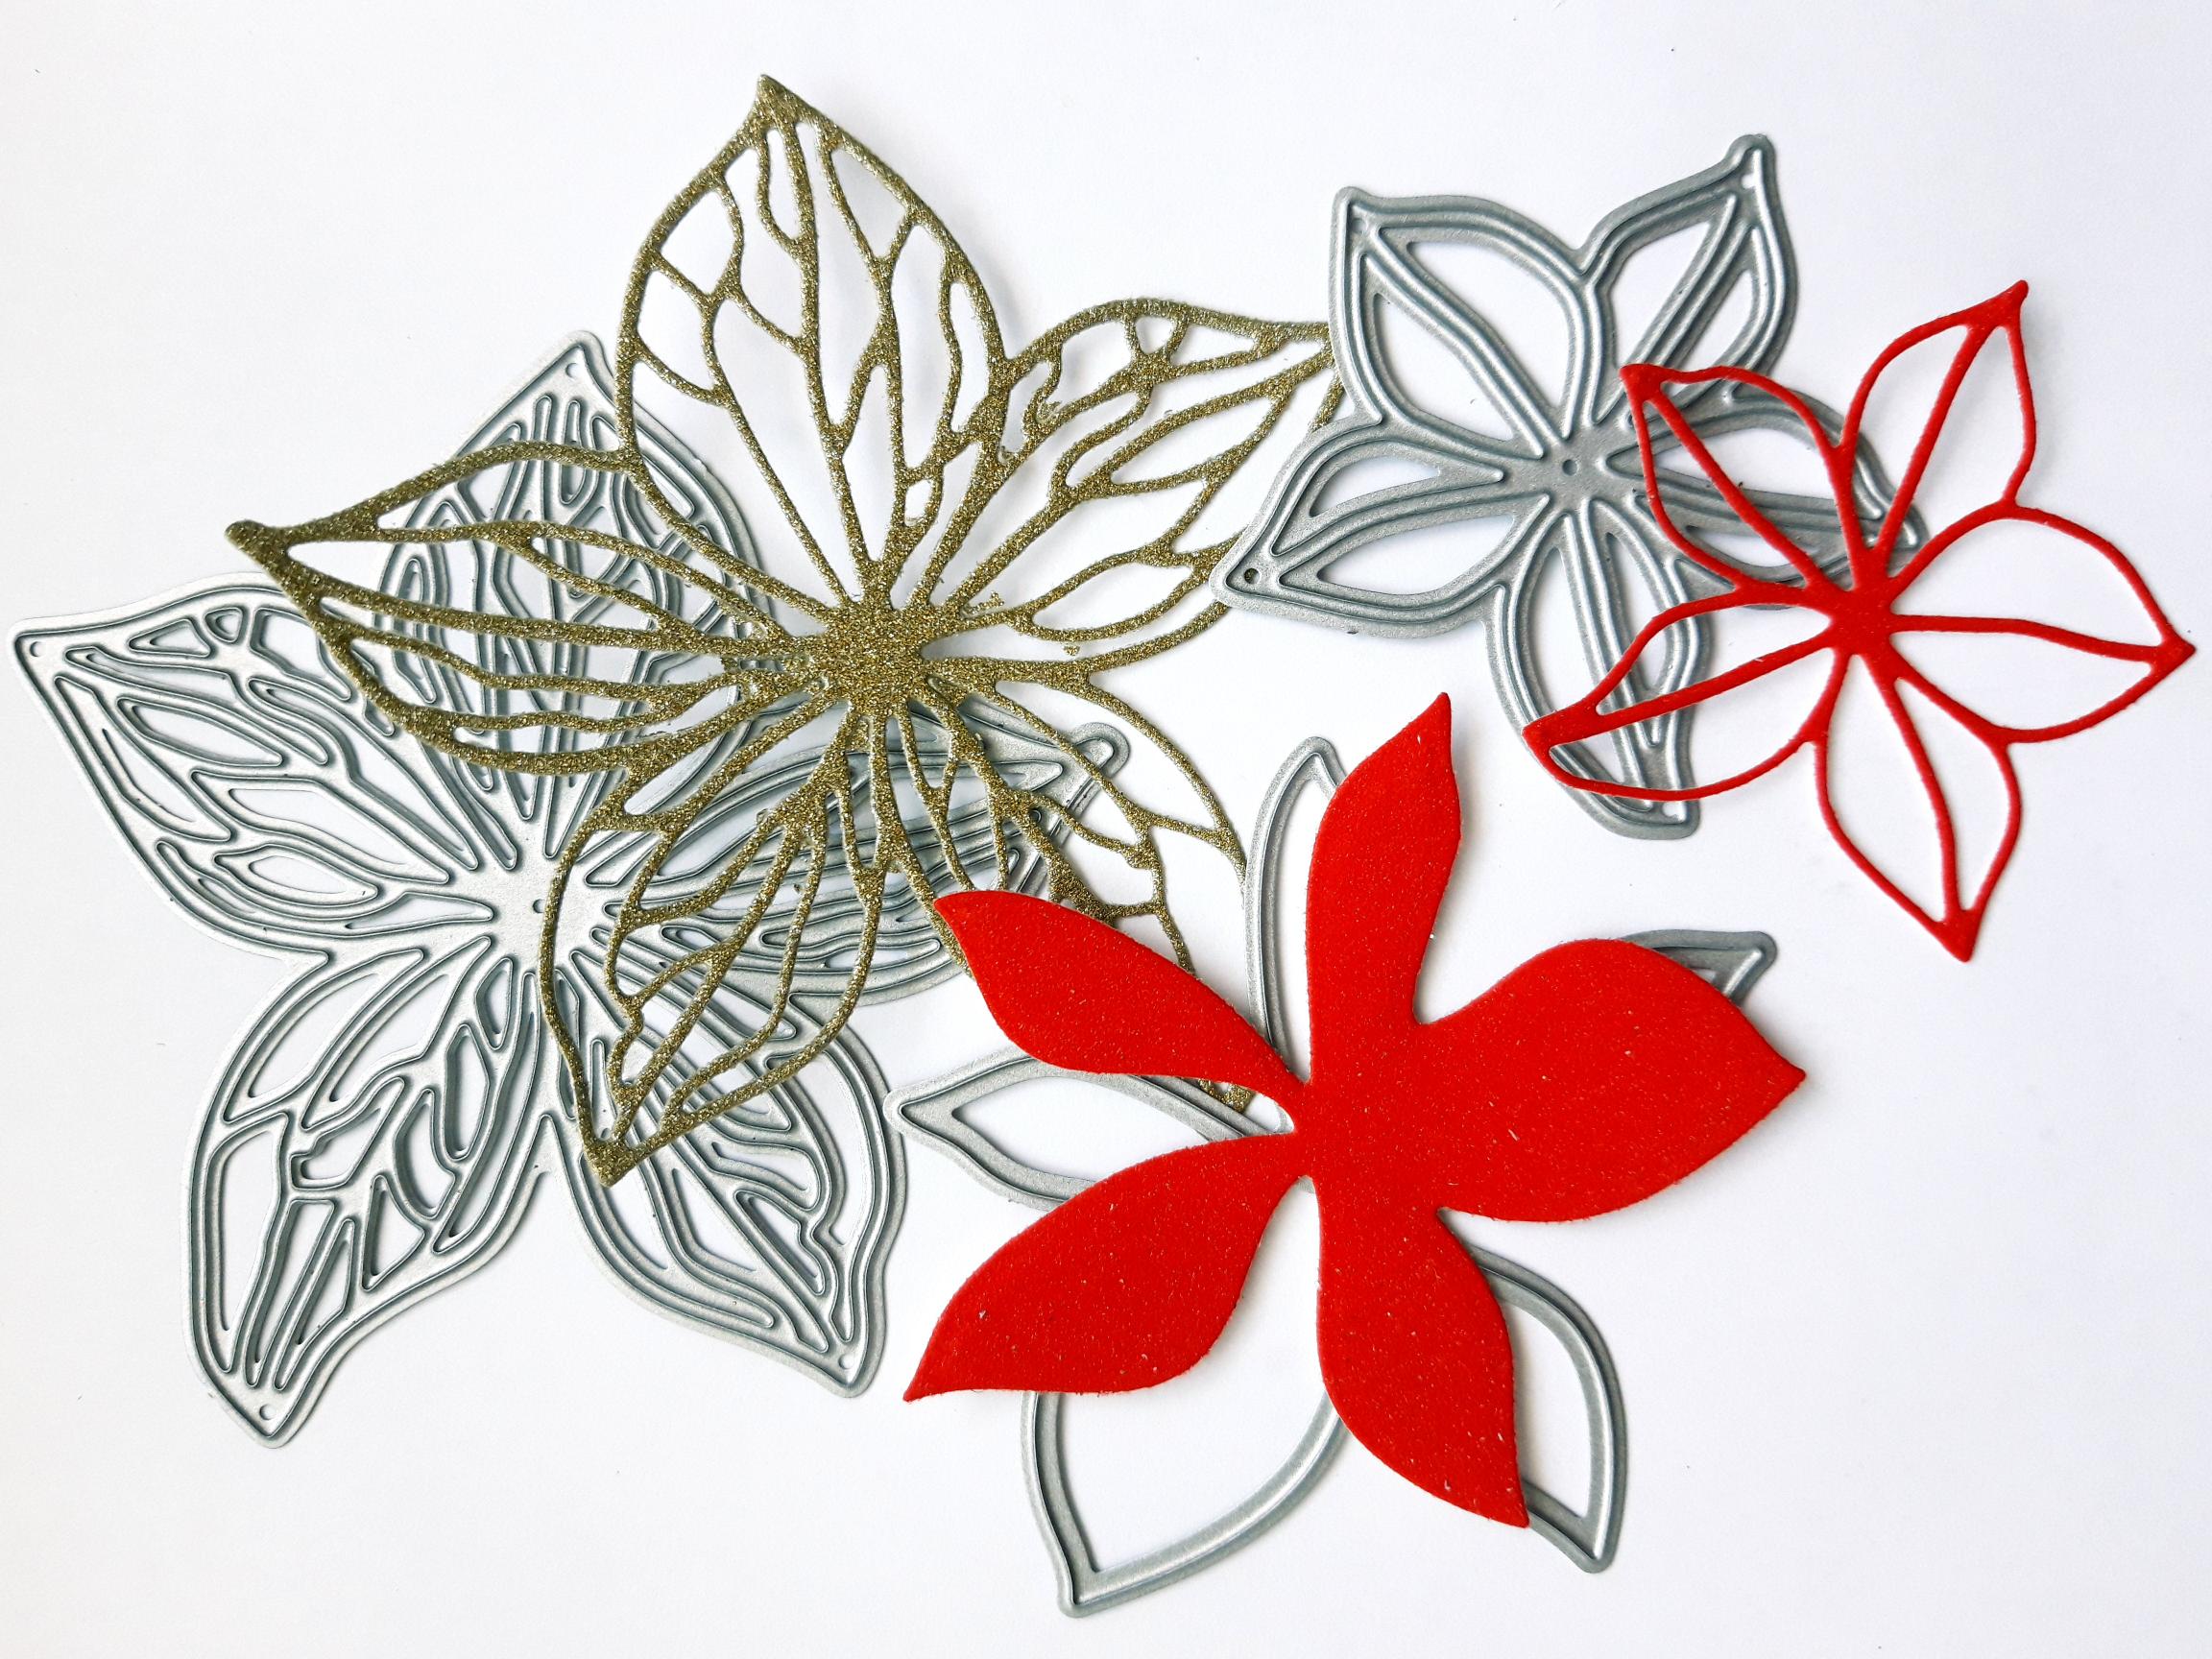
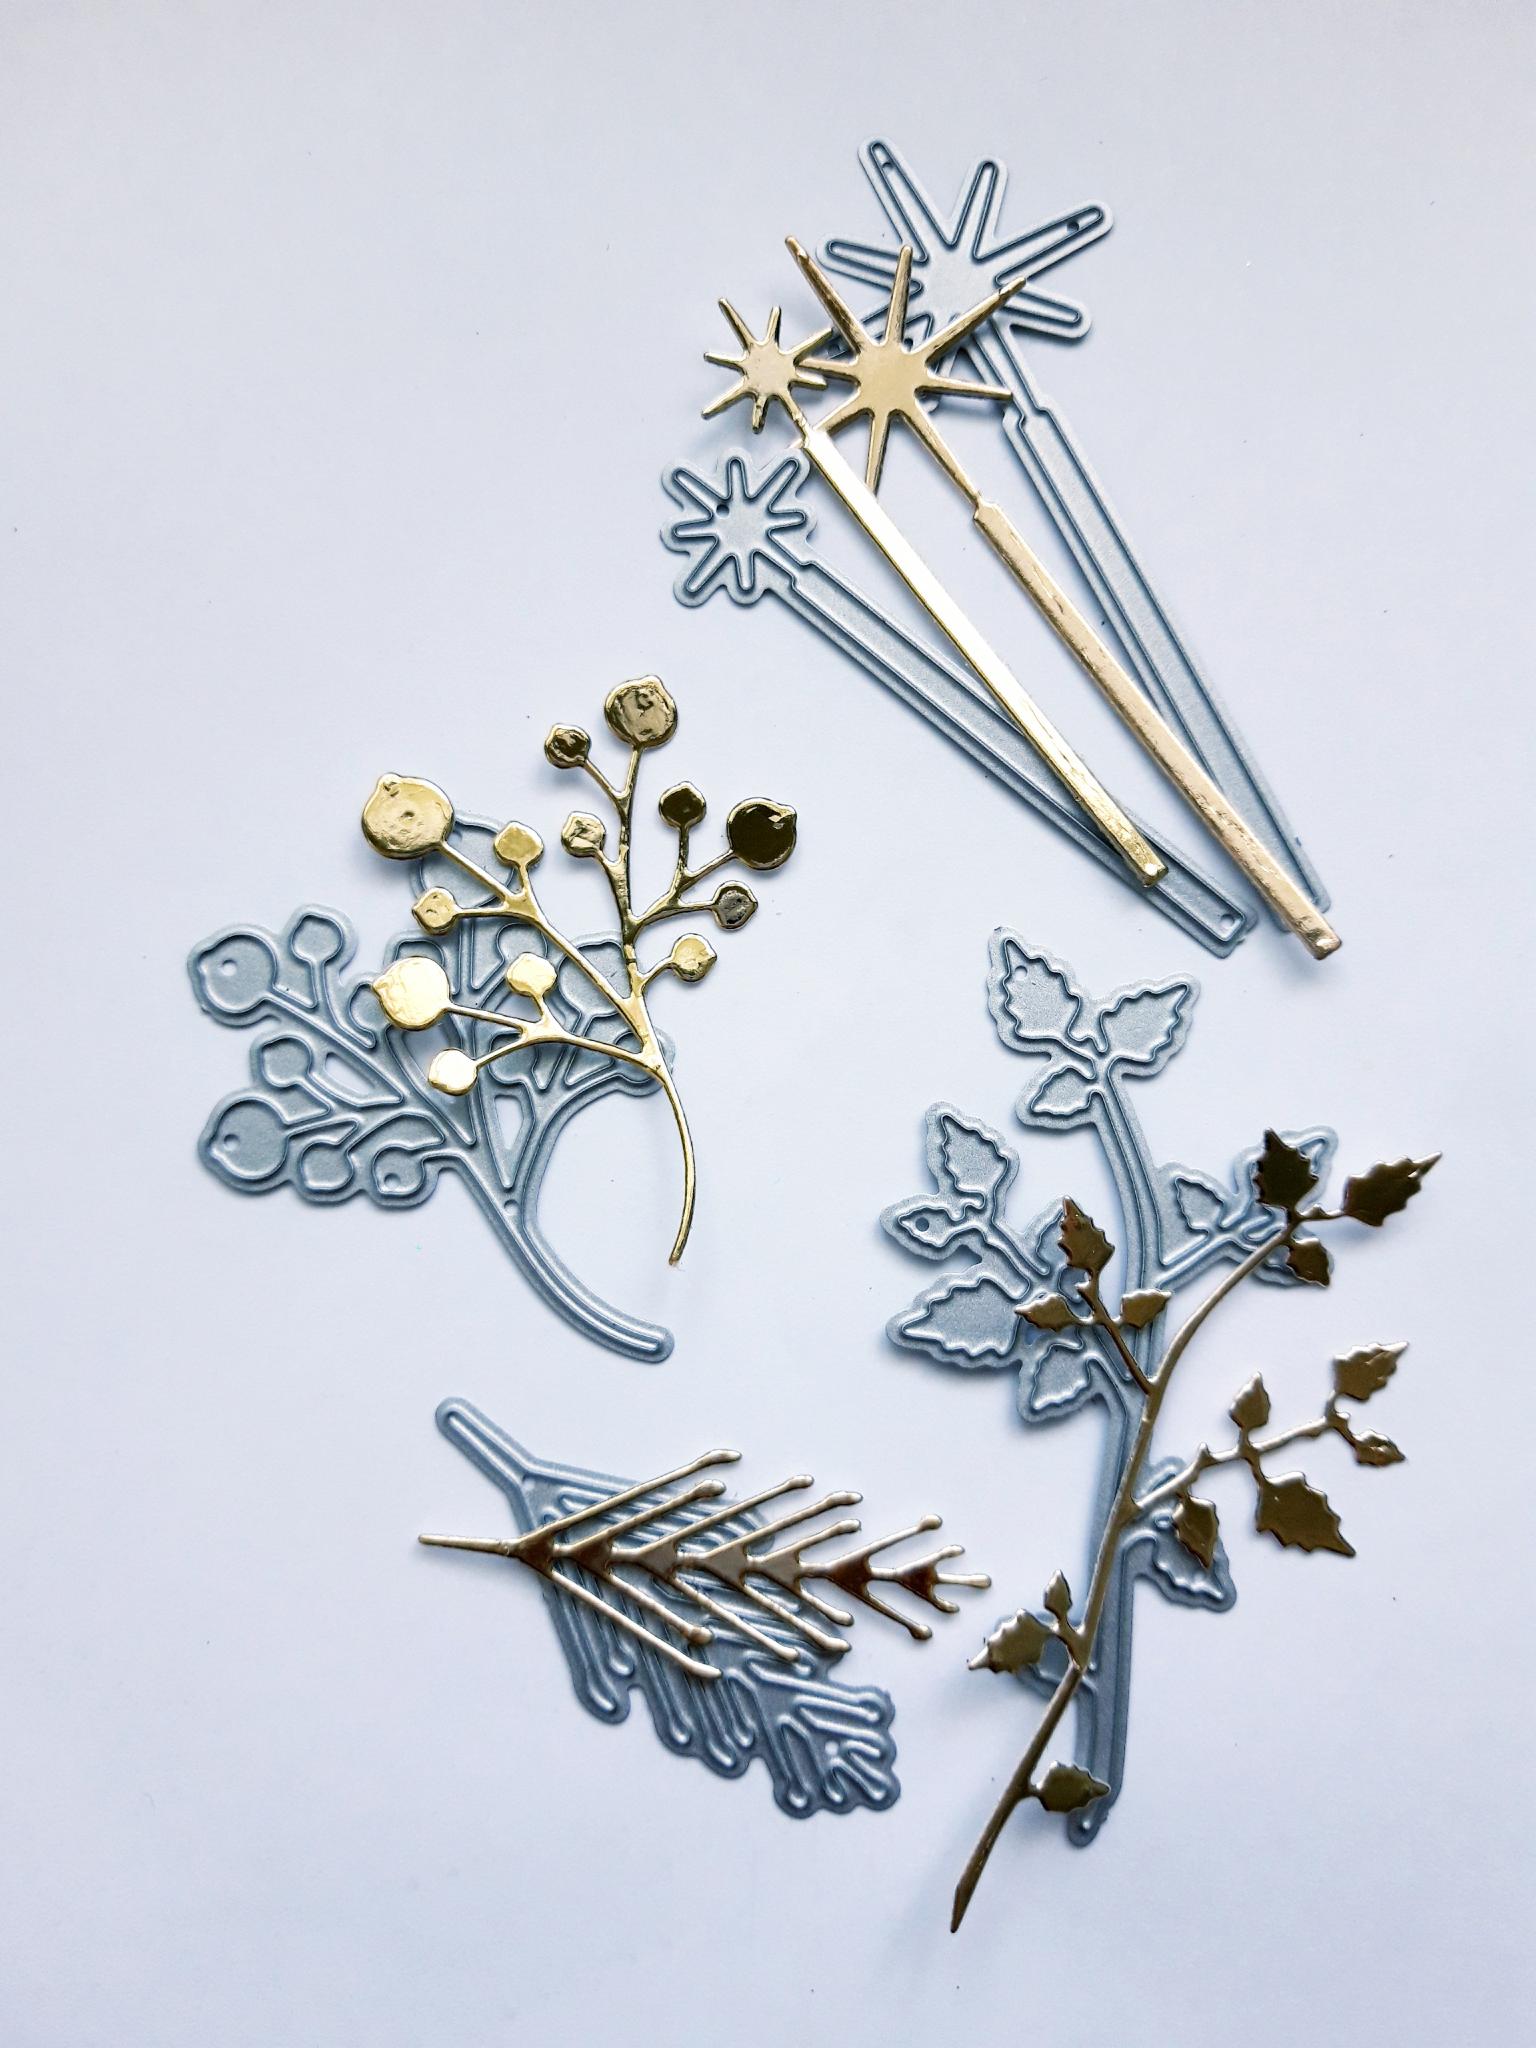
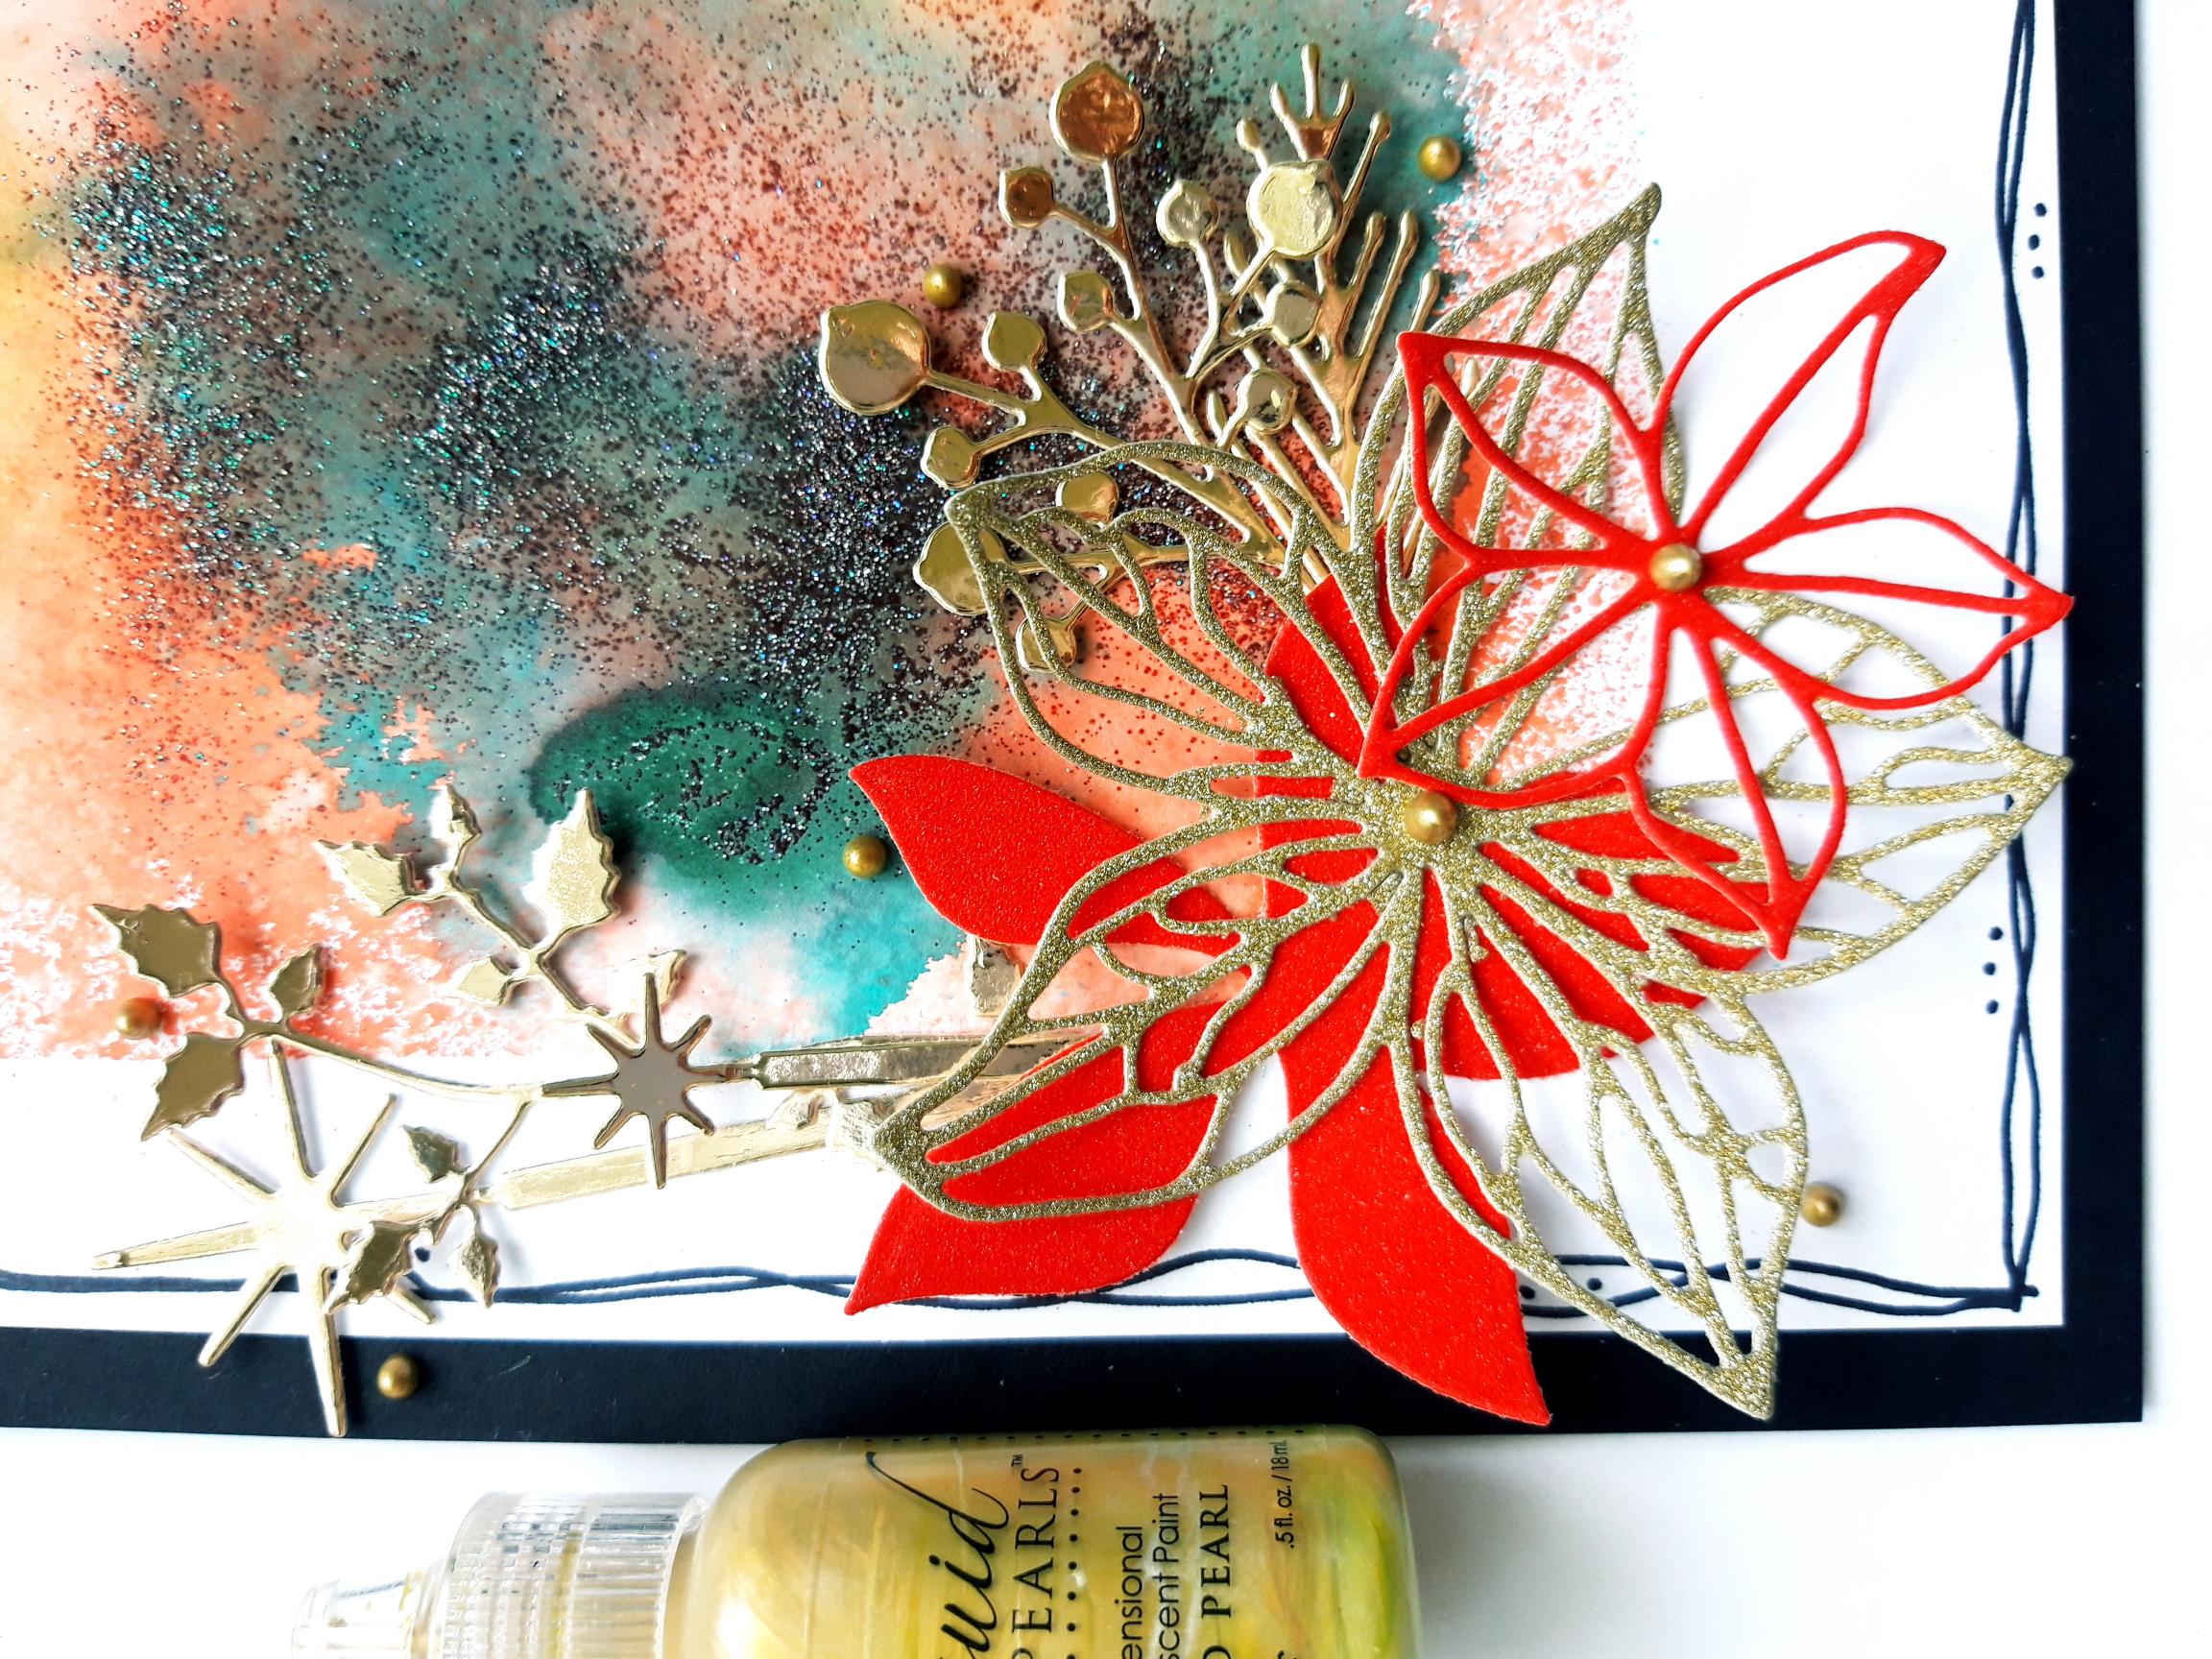
Die cut a selection of floral elements, from some of your red and gold card, using dies from the Winter Sparkles Die Collection. You can die cut as many as you want, as any excess elements can be kept for another project. |
|
Die cut a selection of foliage and pin elements, from your gold card, using dies from the Festive Sparkles Die Collection. Set all your die cut elements to one side. |
|
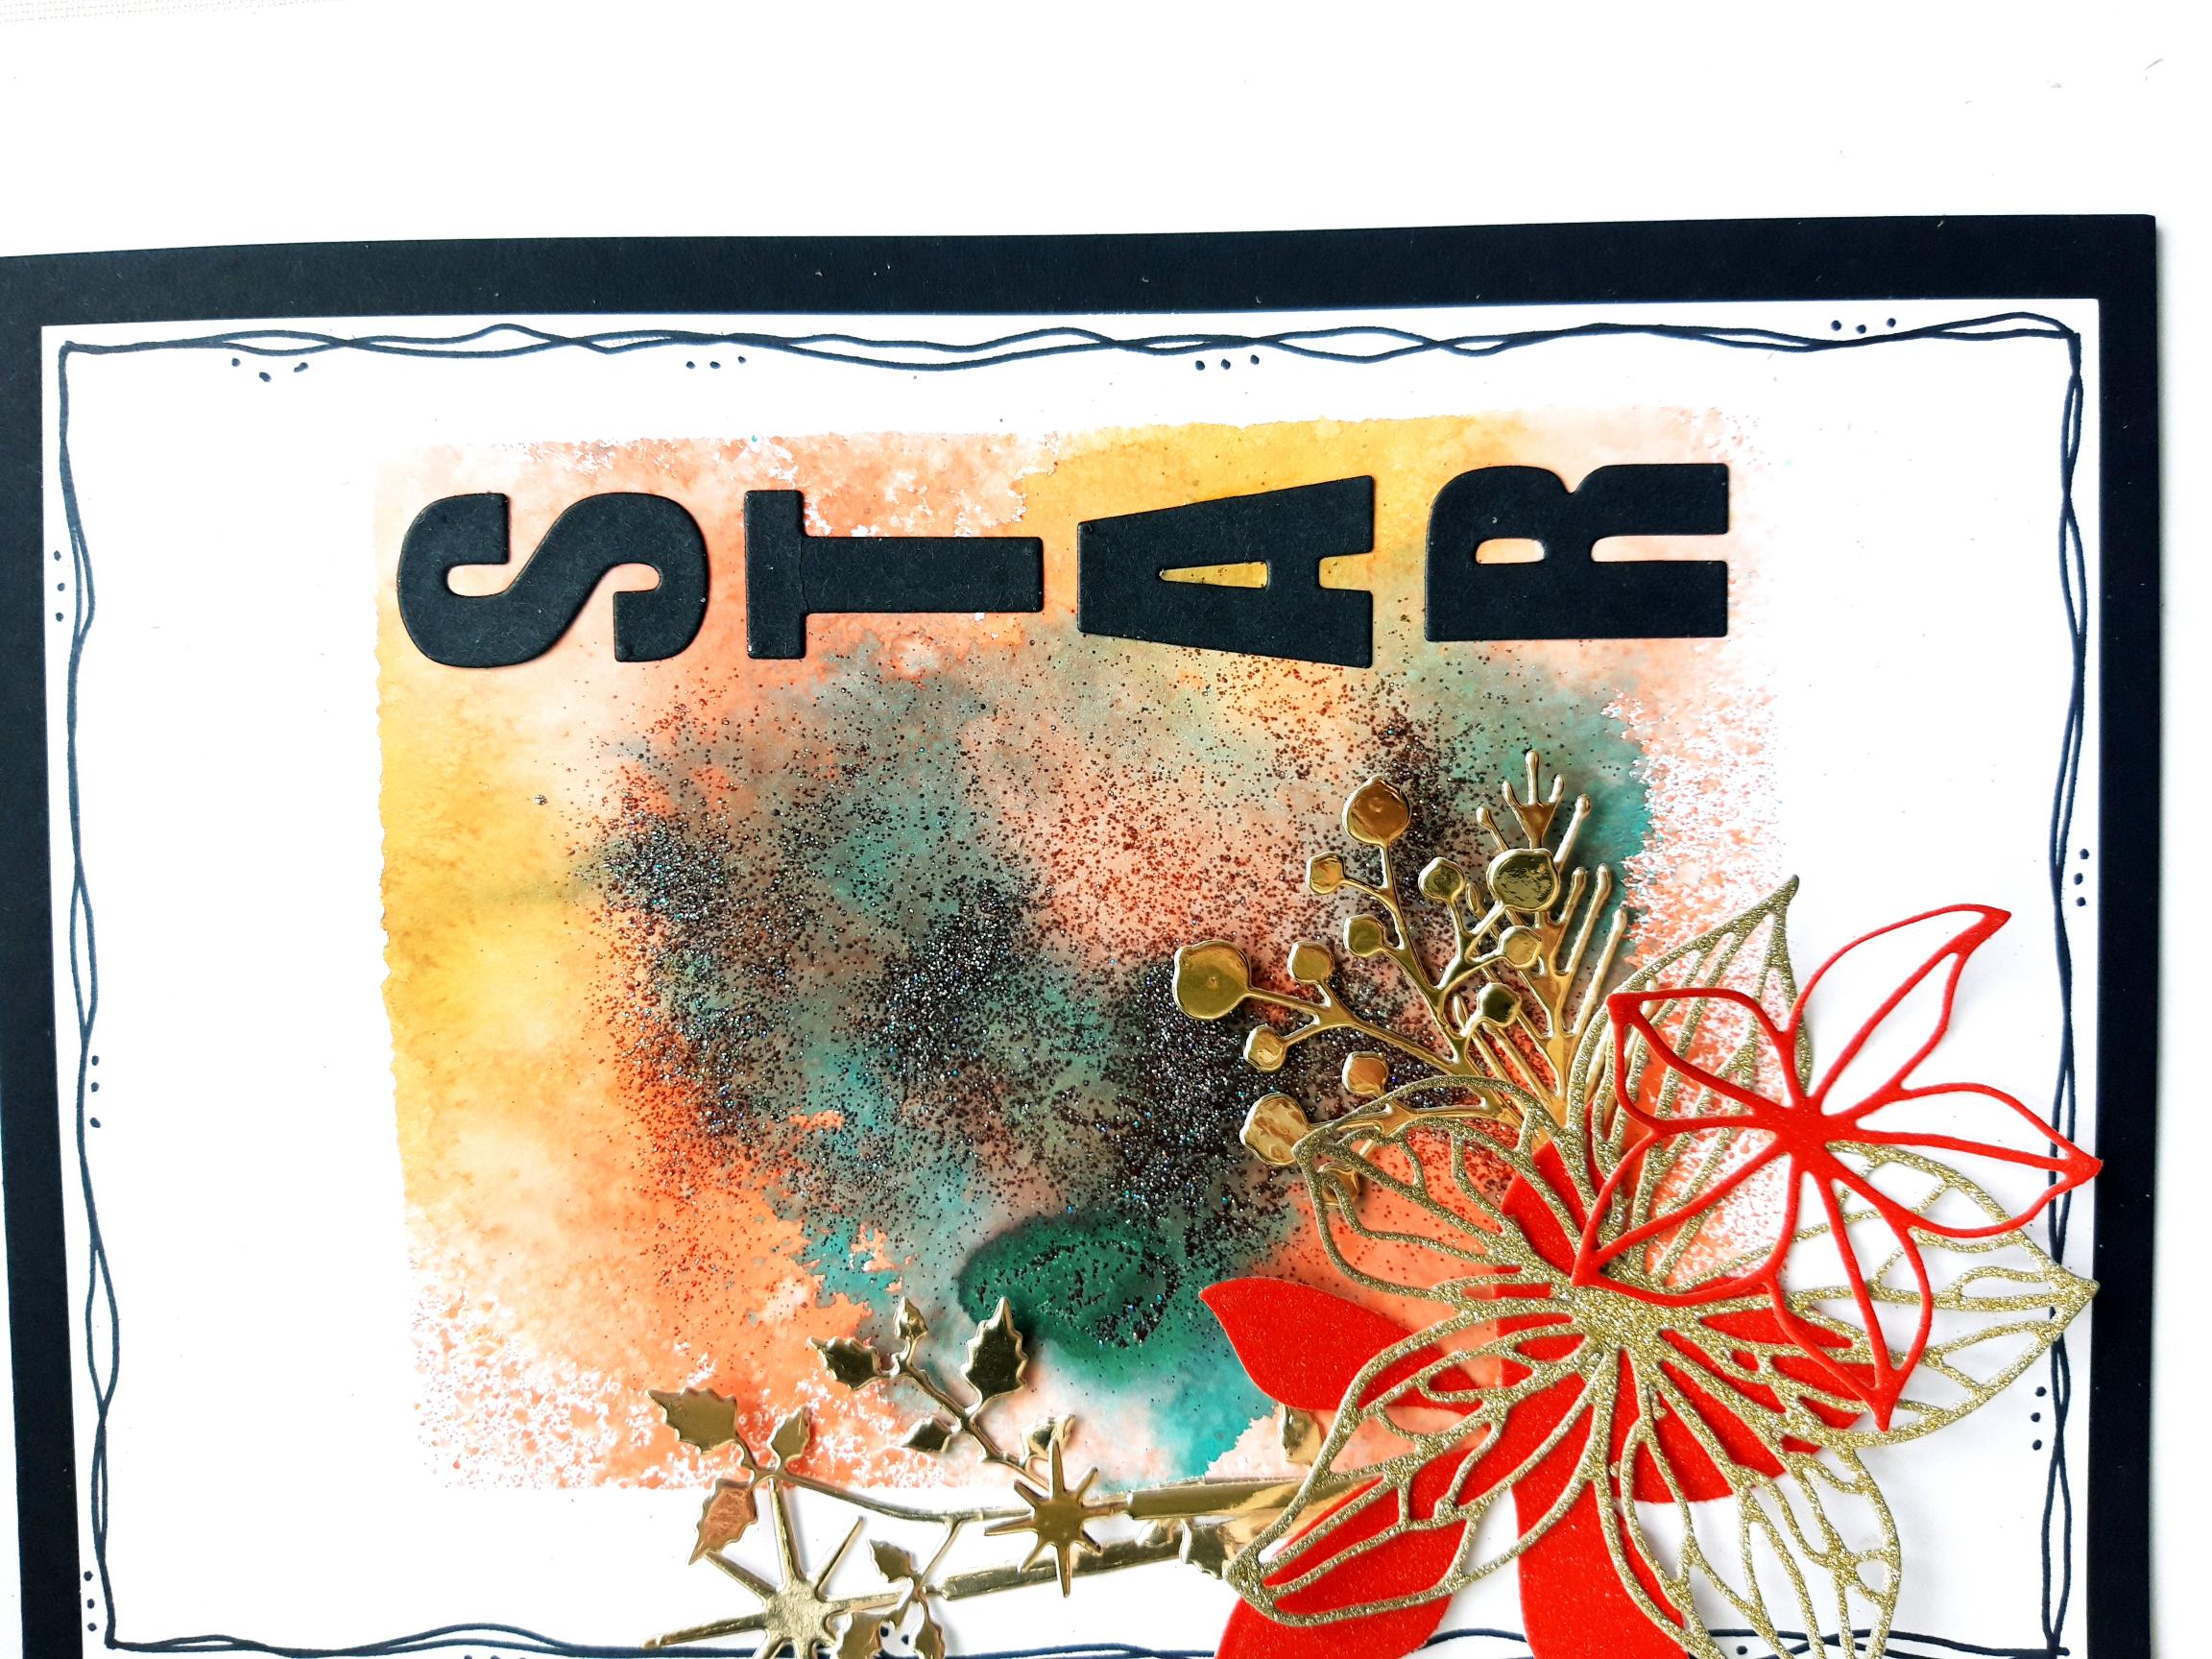
Adhere your dried, embossed background, on to the black, top folding card blank. Use a black pen to draw a decorative, wiggly frame around the card. |

|
Having played, fuffed!, and decided how to arrange your floral elements, adhere them down, in the bottom left corner of your background. |
|
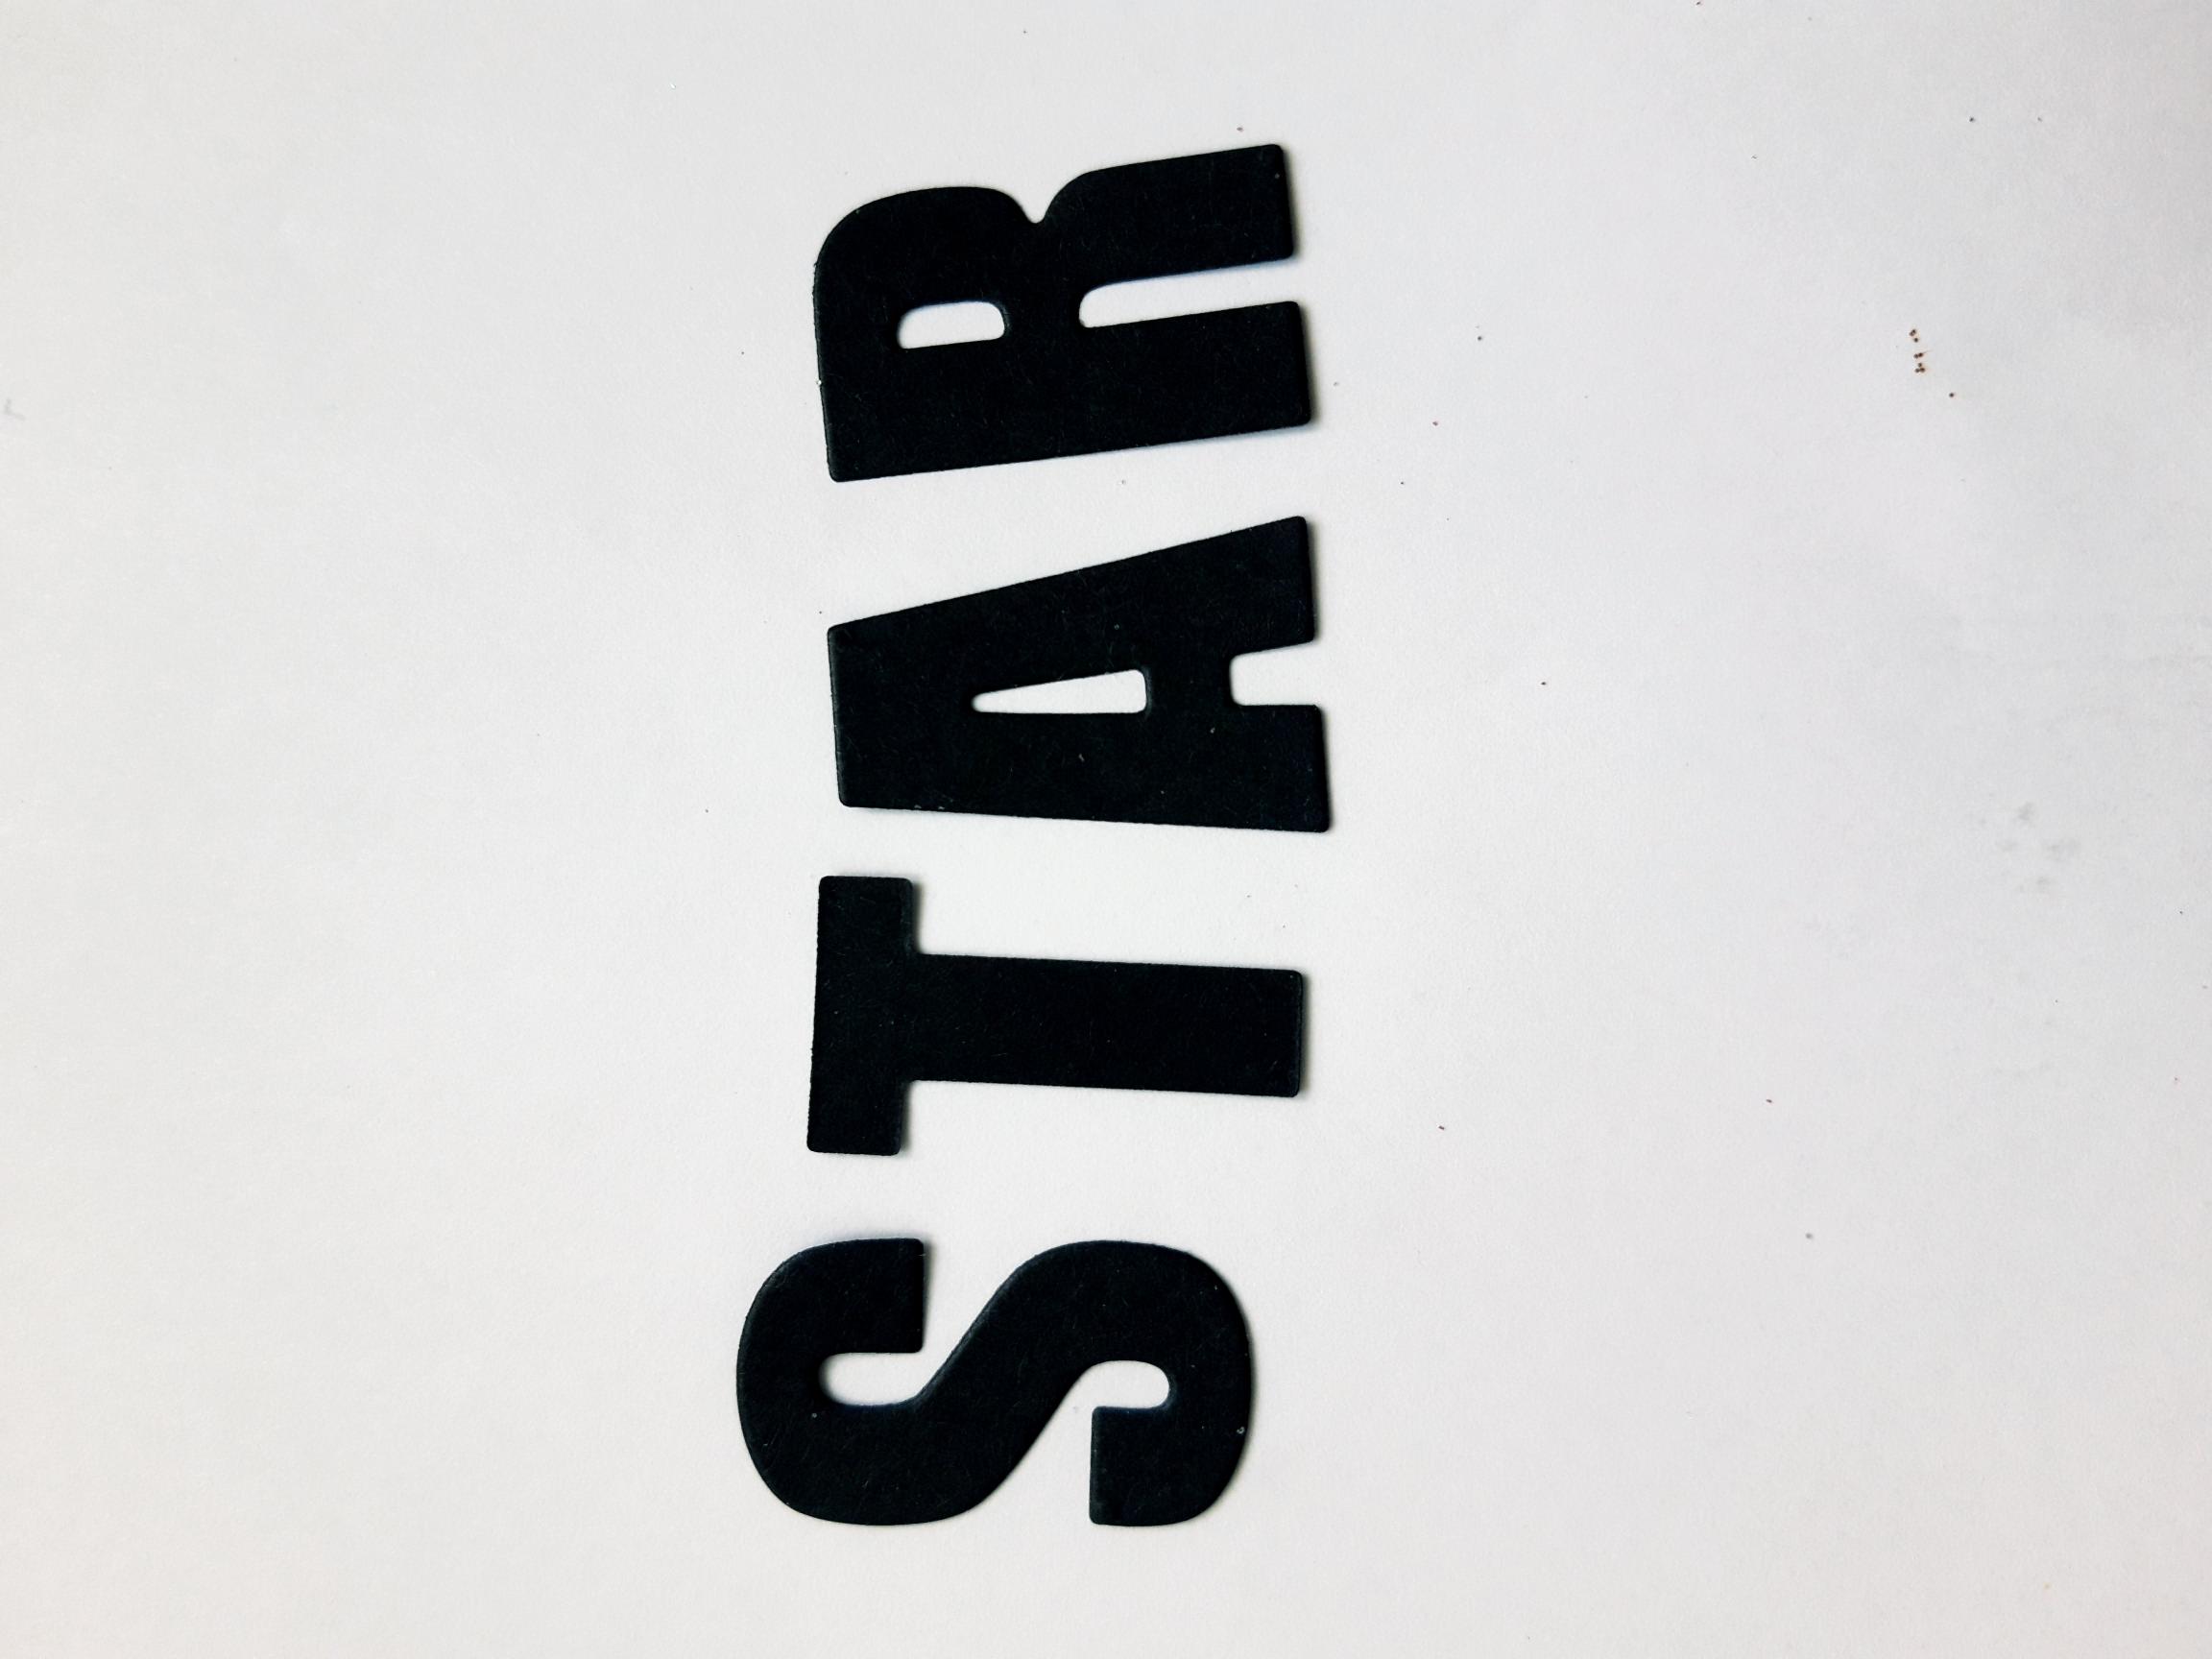
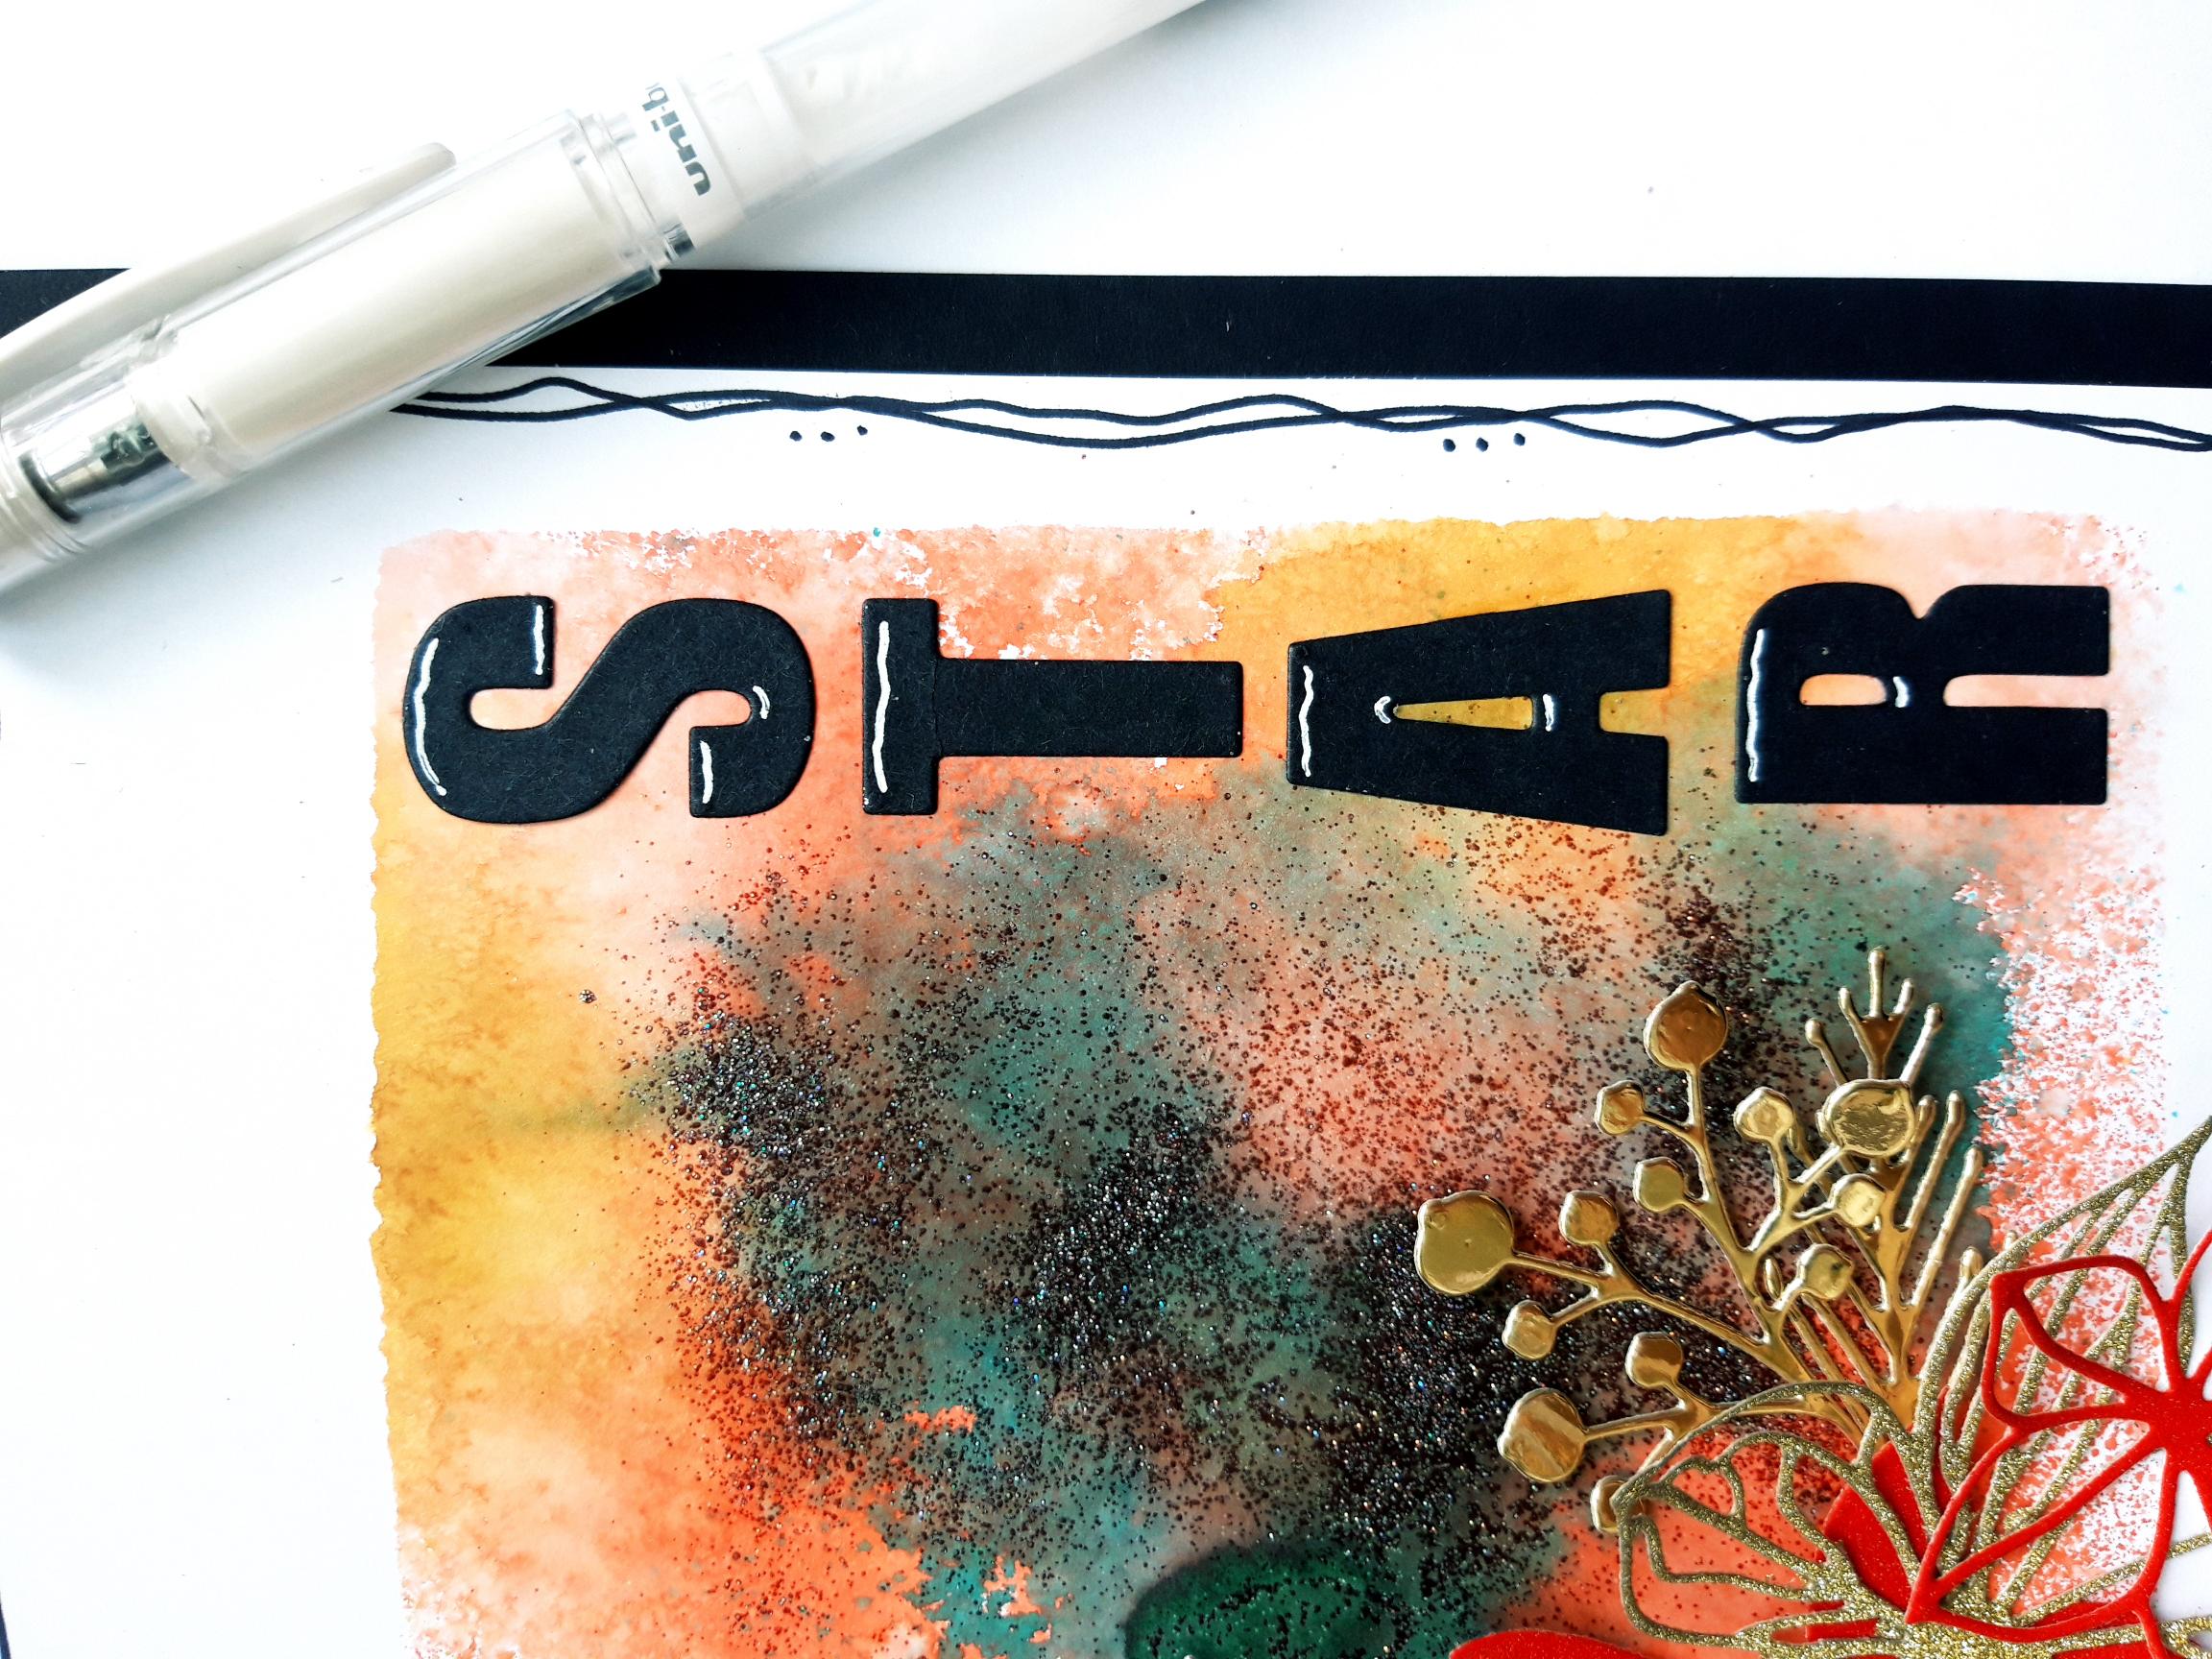
Place the STAR dies on to the black card (6 1/4 x 2"), and run through your die cutting machine. |
|
Adhere the die cut letters, vertically, down the right hand side of the embossed, inky panel. |
|
Use a white gel pen to add highlights, to the die cut letters. |
|
To finish, add Gold Pearl Liquid Drops on, and around, your 3D floral display. |