Give your friends $10 off their first order!
Refer a FRIEND


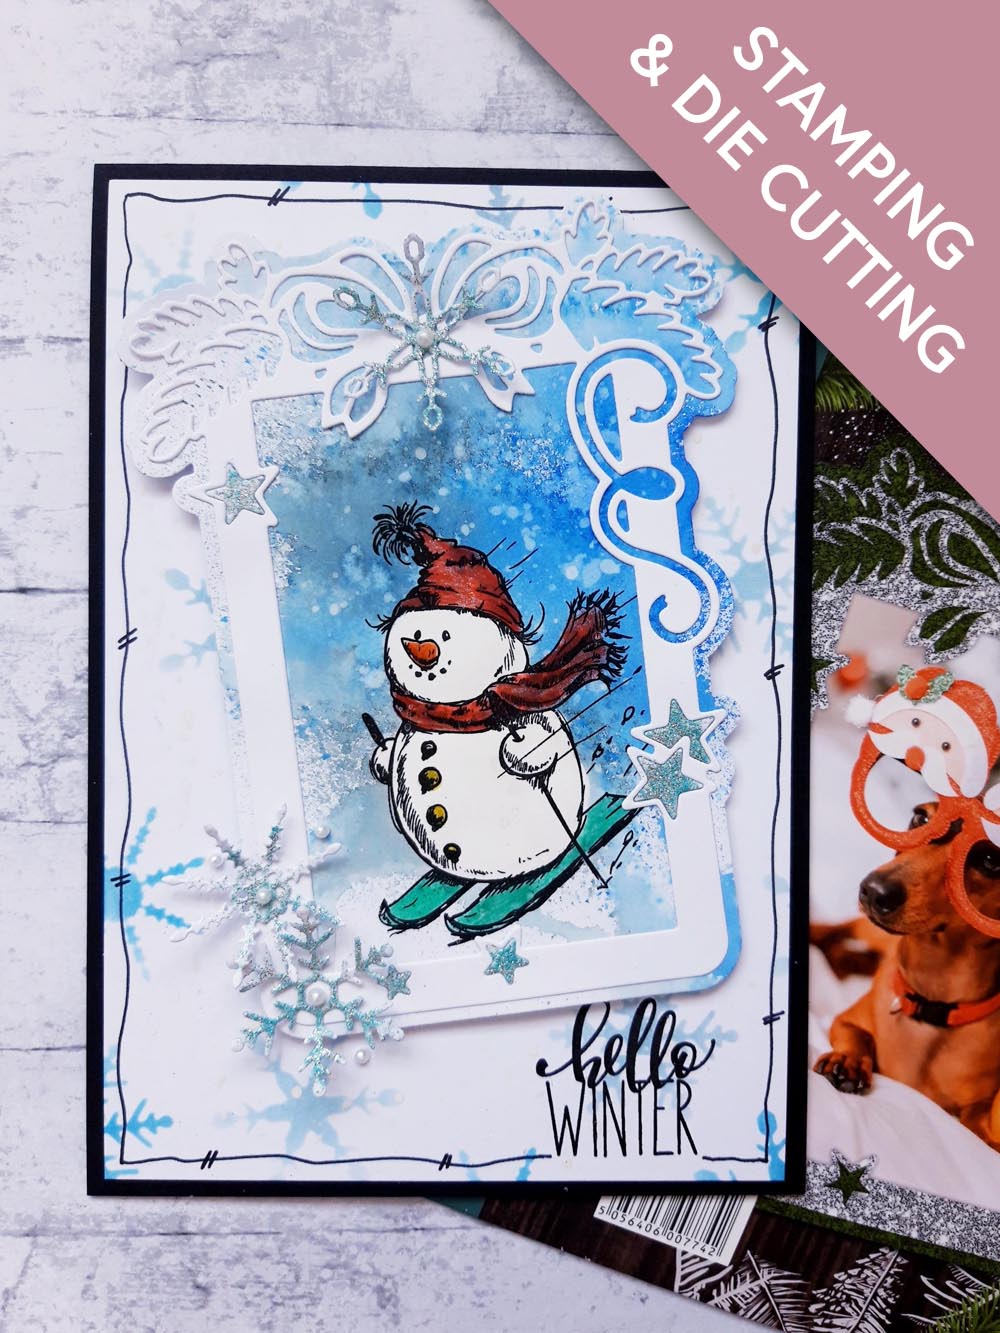
WHAT YOU WILL NEED:
Black top folding card blank (8 1/4 x 5 3/4")
White card (8 x 5 1/2")
White card A4
Dies from Take The Photo Die Collection
Stamps from Dashing Through The Snow Stamp Collection
Stamps from Christmas Blessings Stamp Collection
Versafine Ink Pad: Onyx Black
Izink Dye Spray: Morning Mist, Blue Moon
Izink Pigment Vintage Collection: Blue, grey, pale blue
Water spray bottle
Paint brush
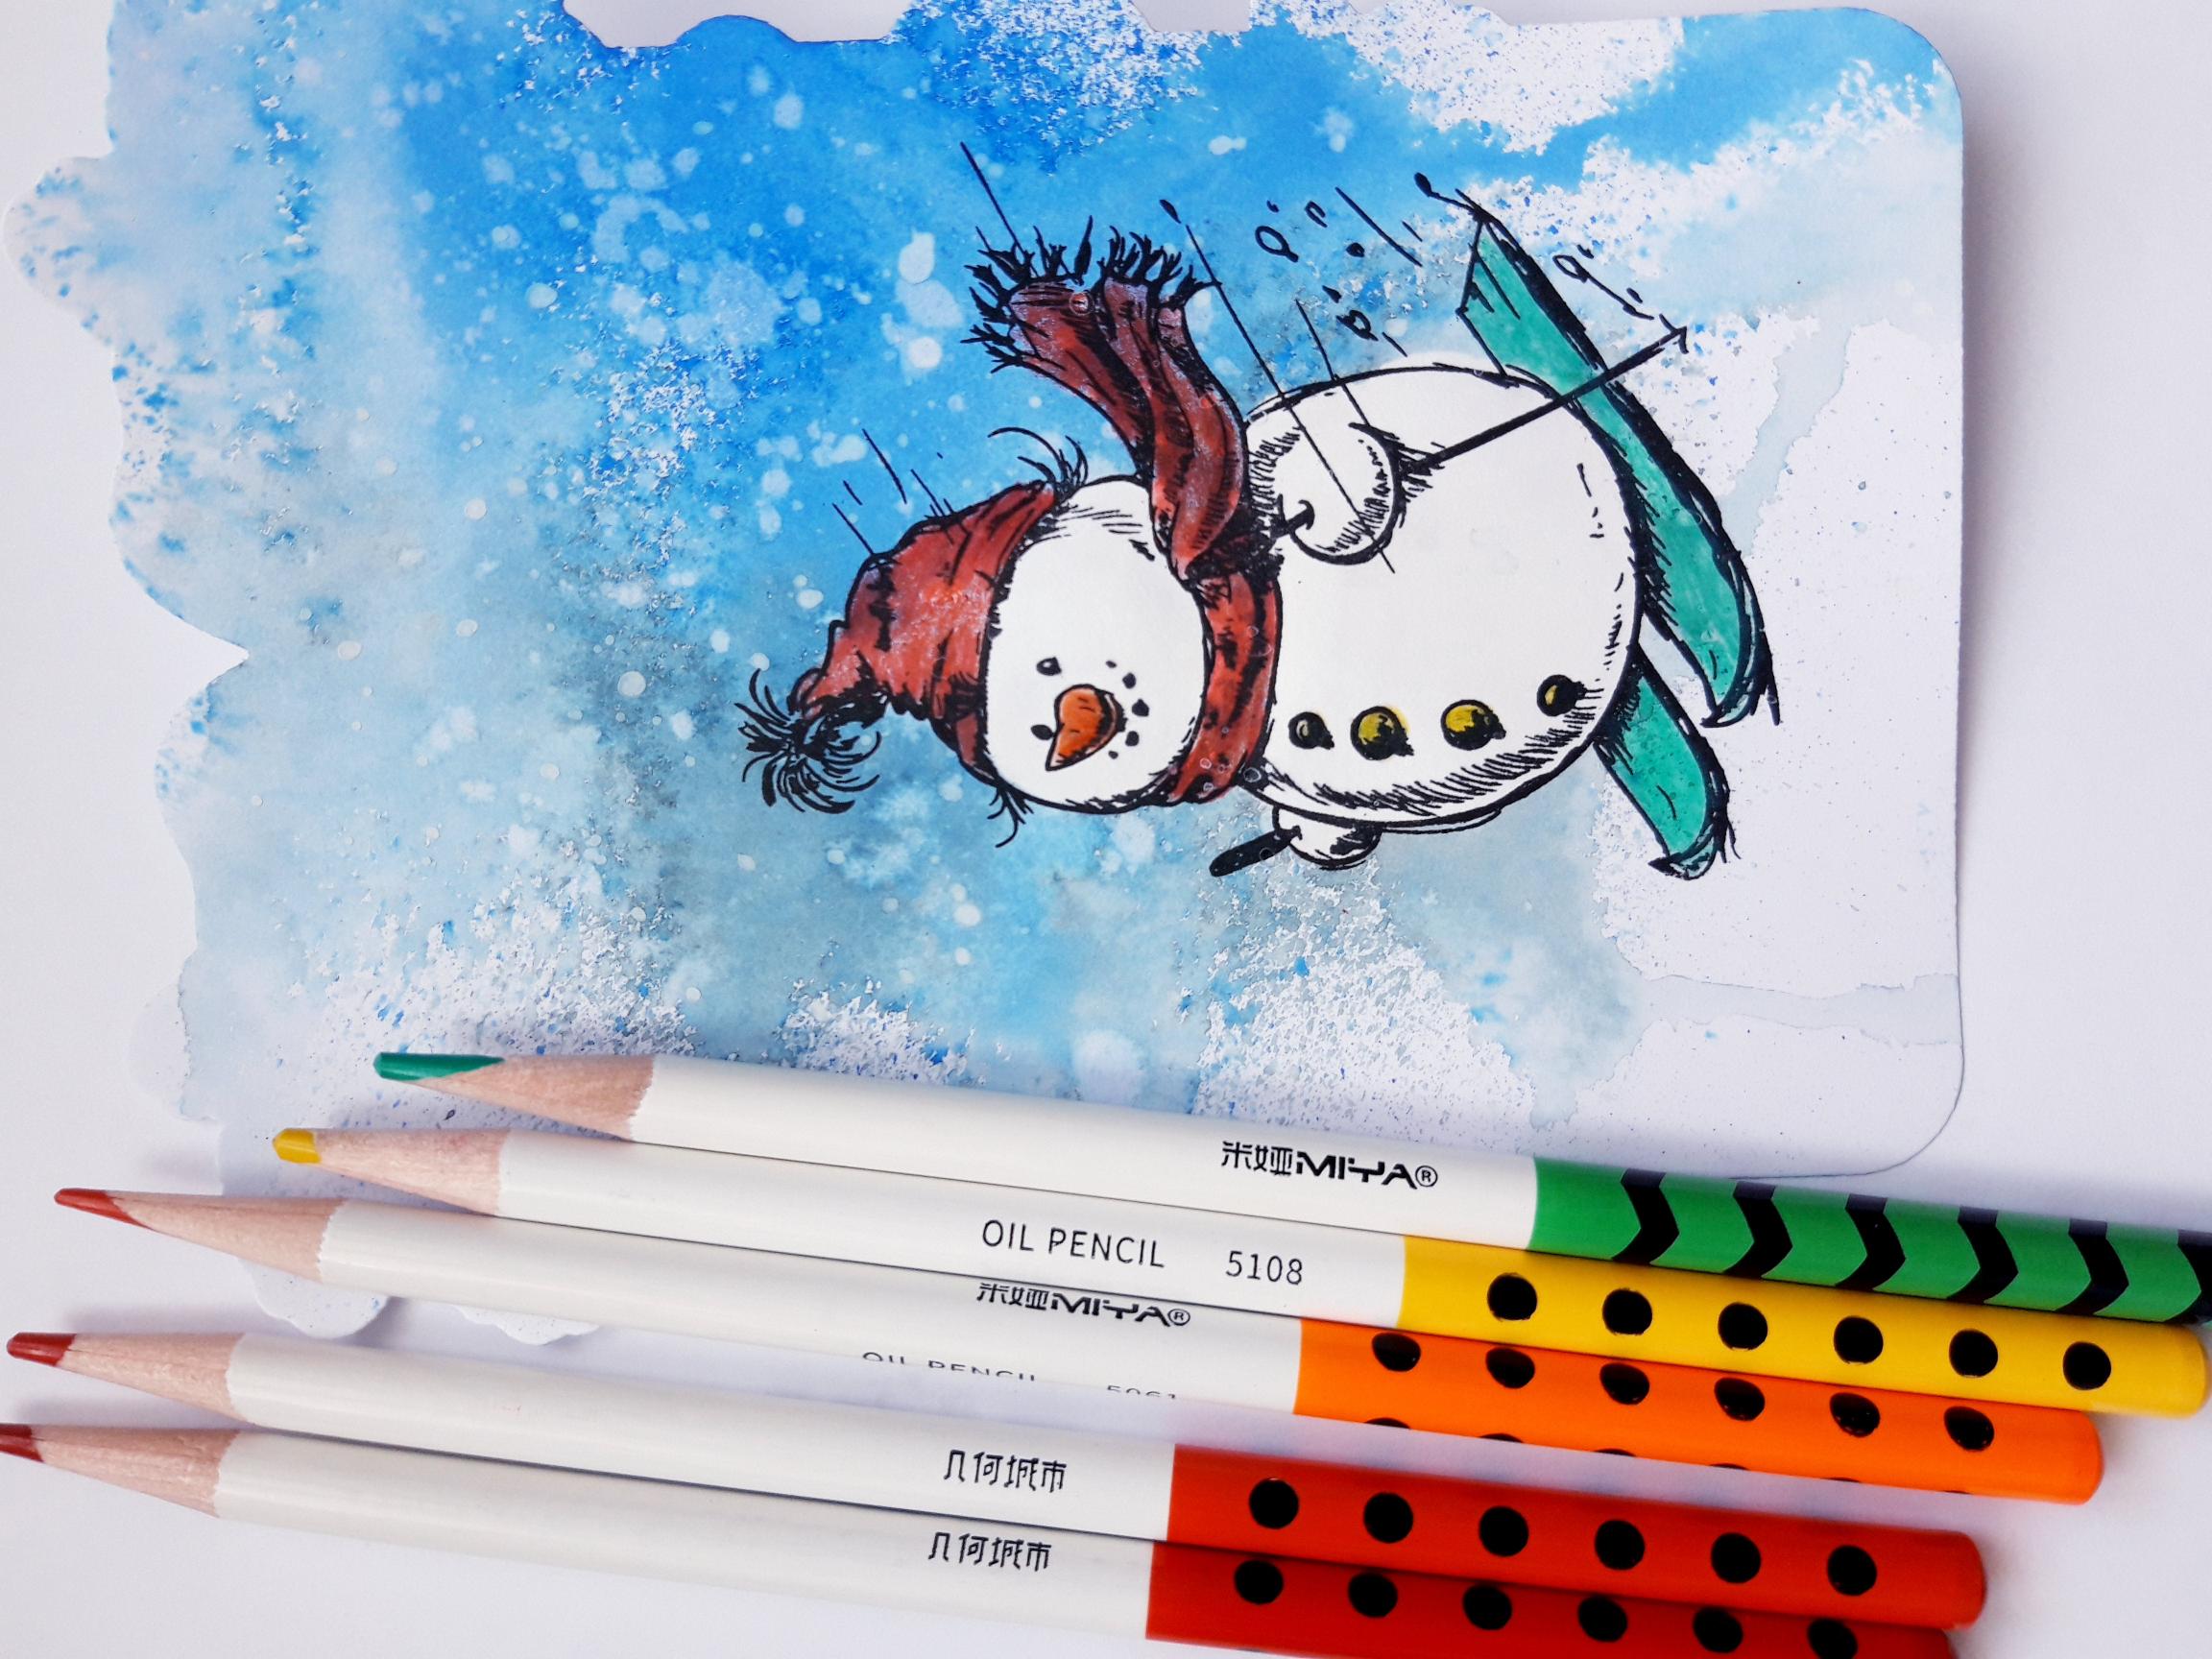
HIMI Oil Pencils: Green (5038), red (5003), red (5111), orange (5061), yellow (5108)
Black pen
WOW Embossing ink pad
WOW Heat Tool
WOW Powder: Don't Be Fooled Collection by Toni Darroch: Emerald Fitzgerald
Thirsty Brush Confetti Ink Paint: White Lace
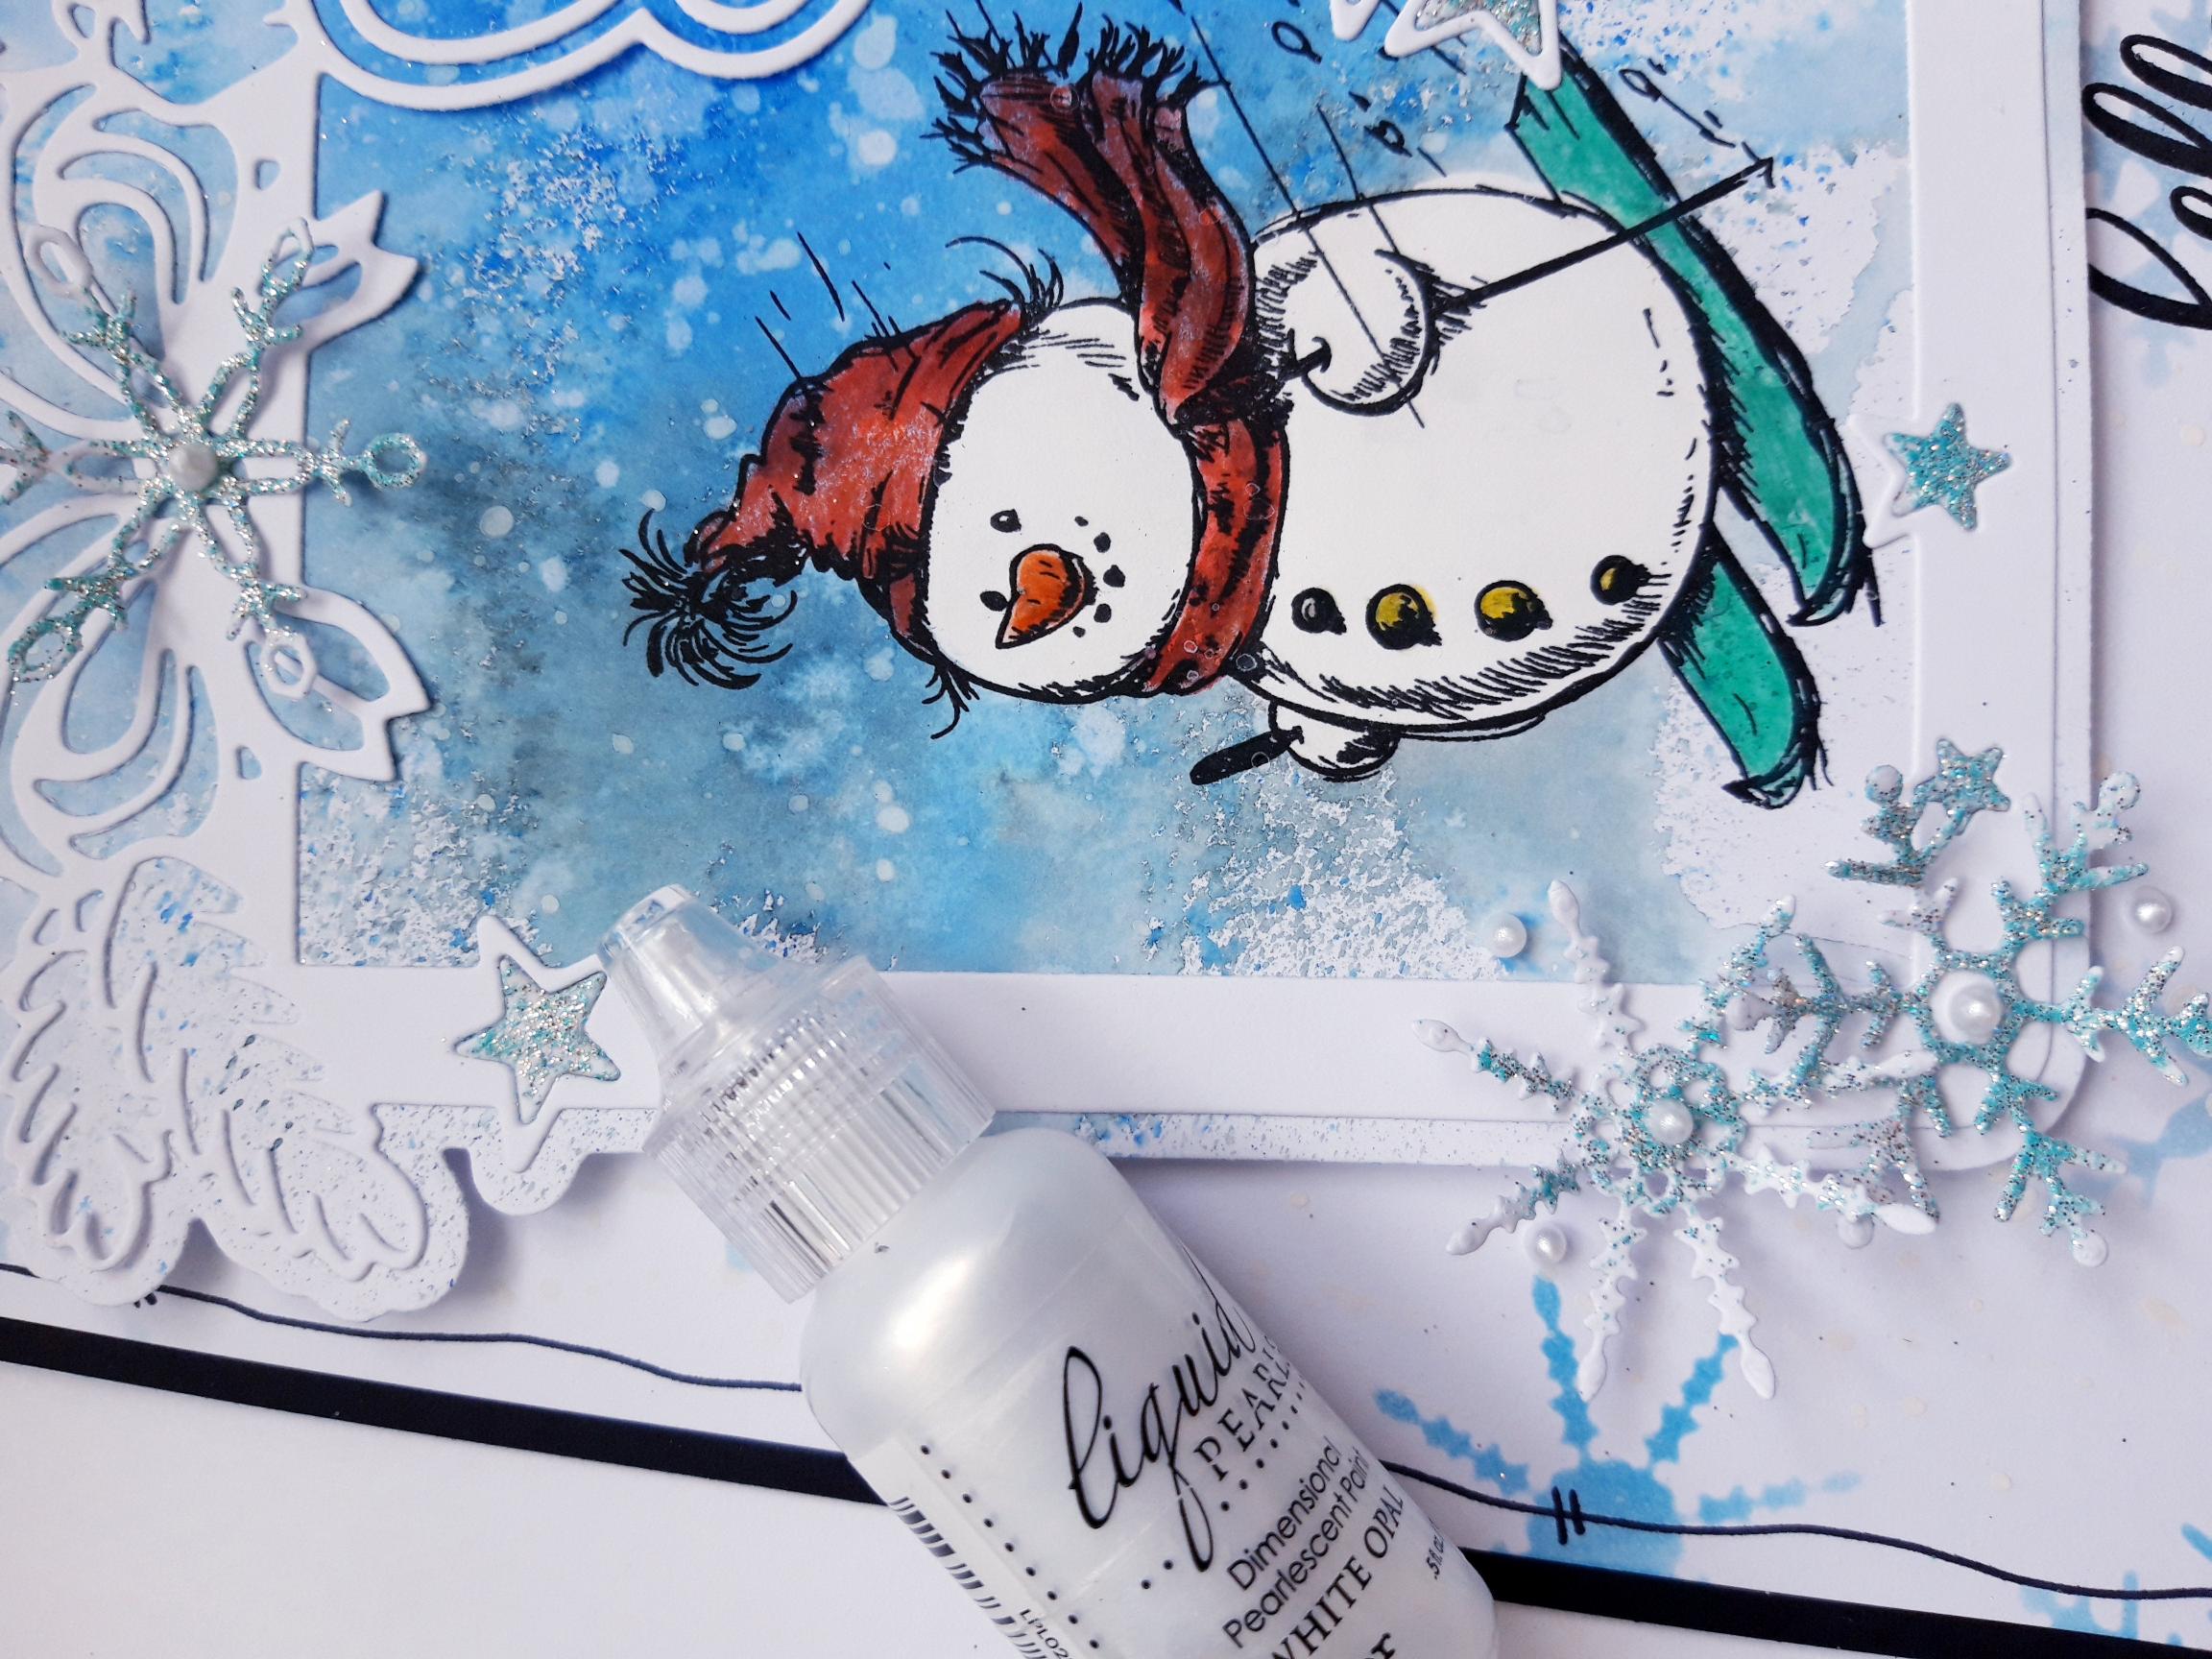
Liquid Pearl drops: White Opal
Eureka 101
Paper Trimmer
Perfect Together Glue
Foam Pads
Die Cutting machine
[click image to enlarge] 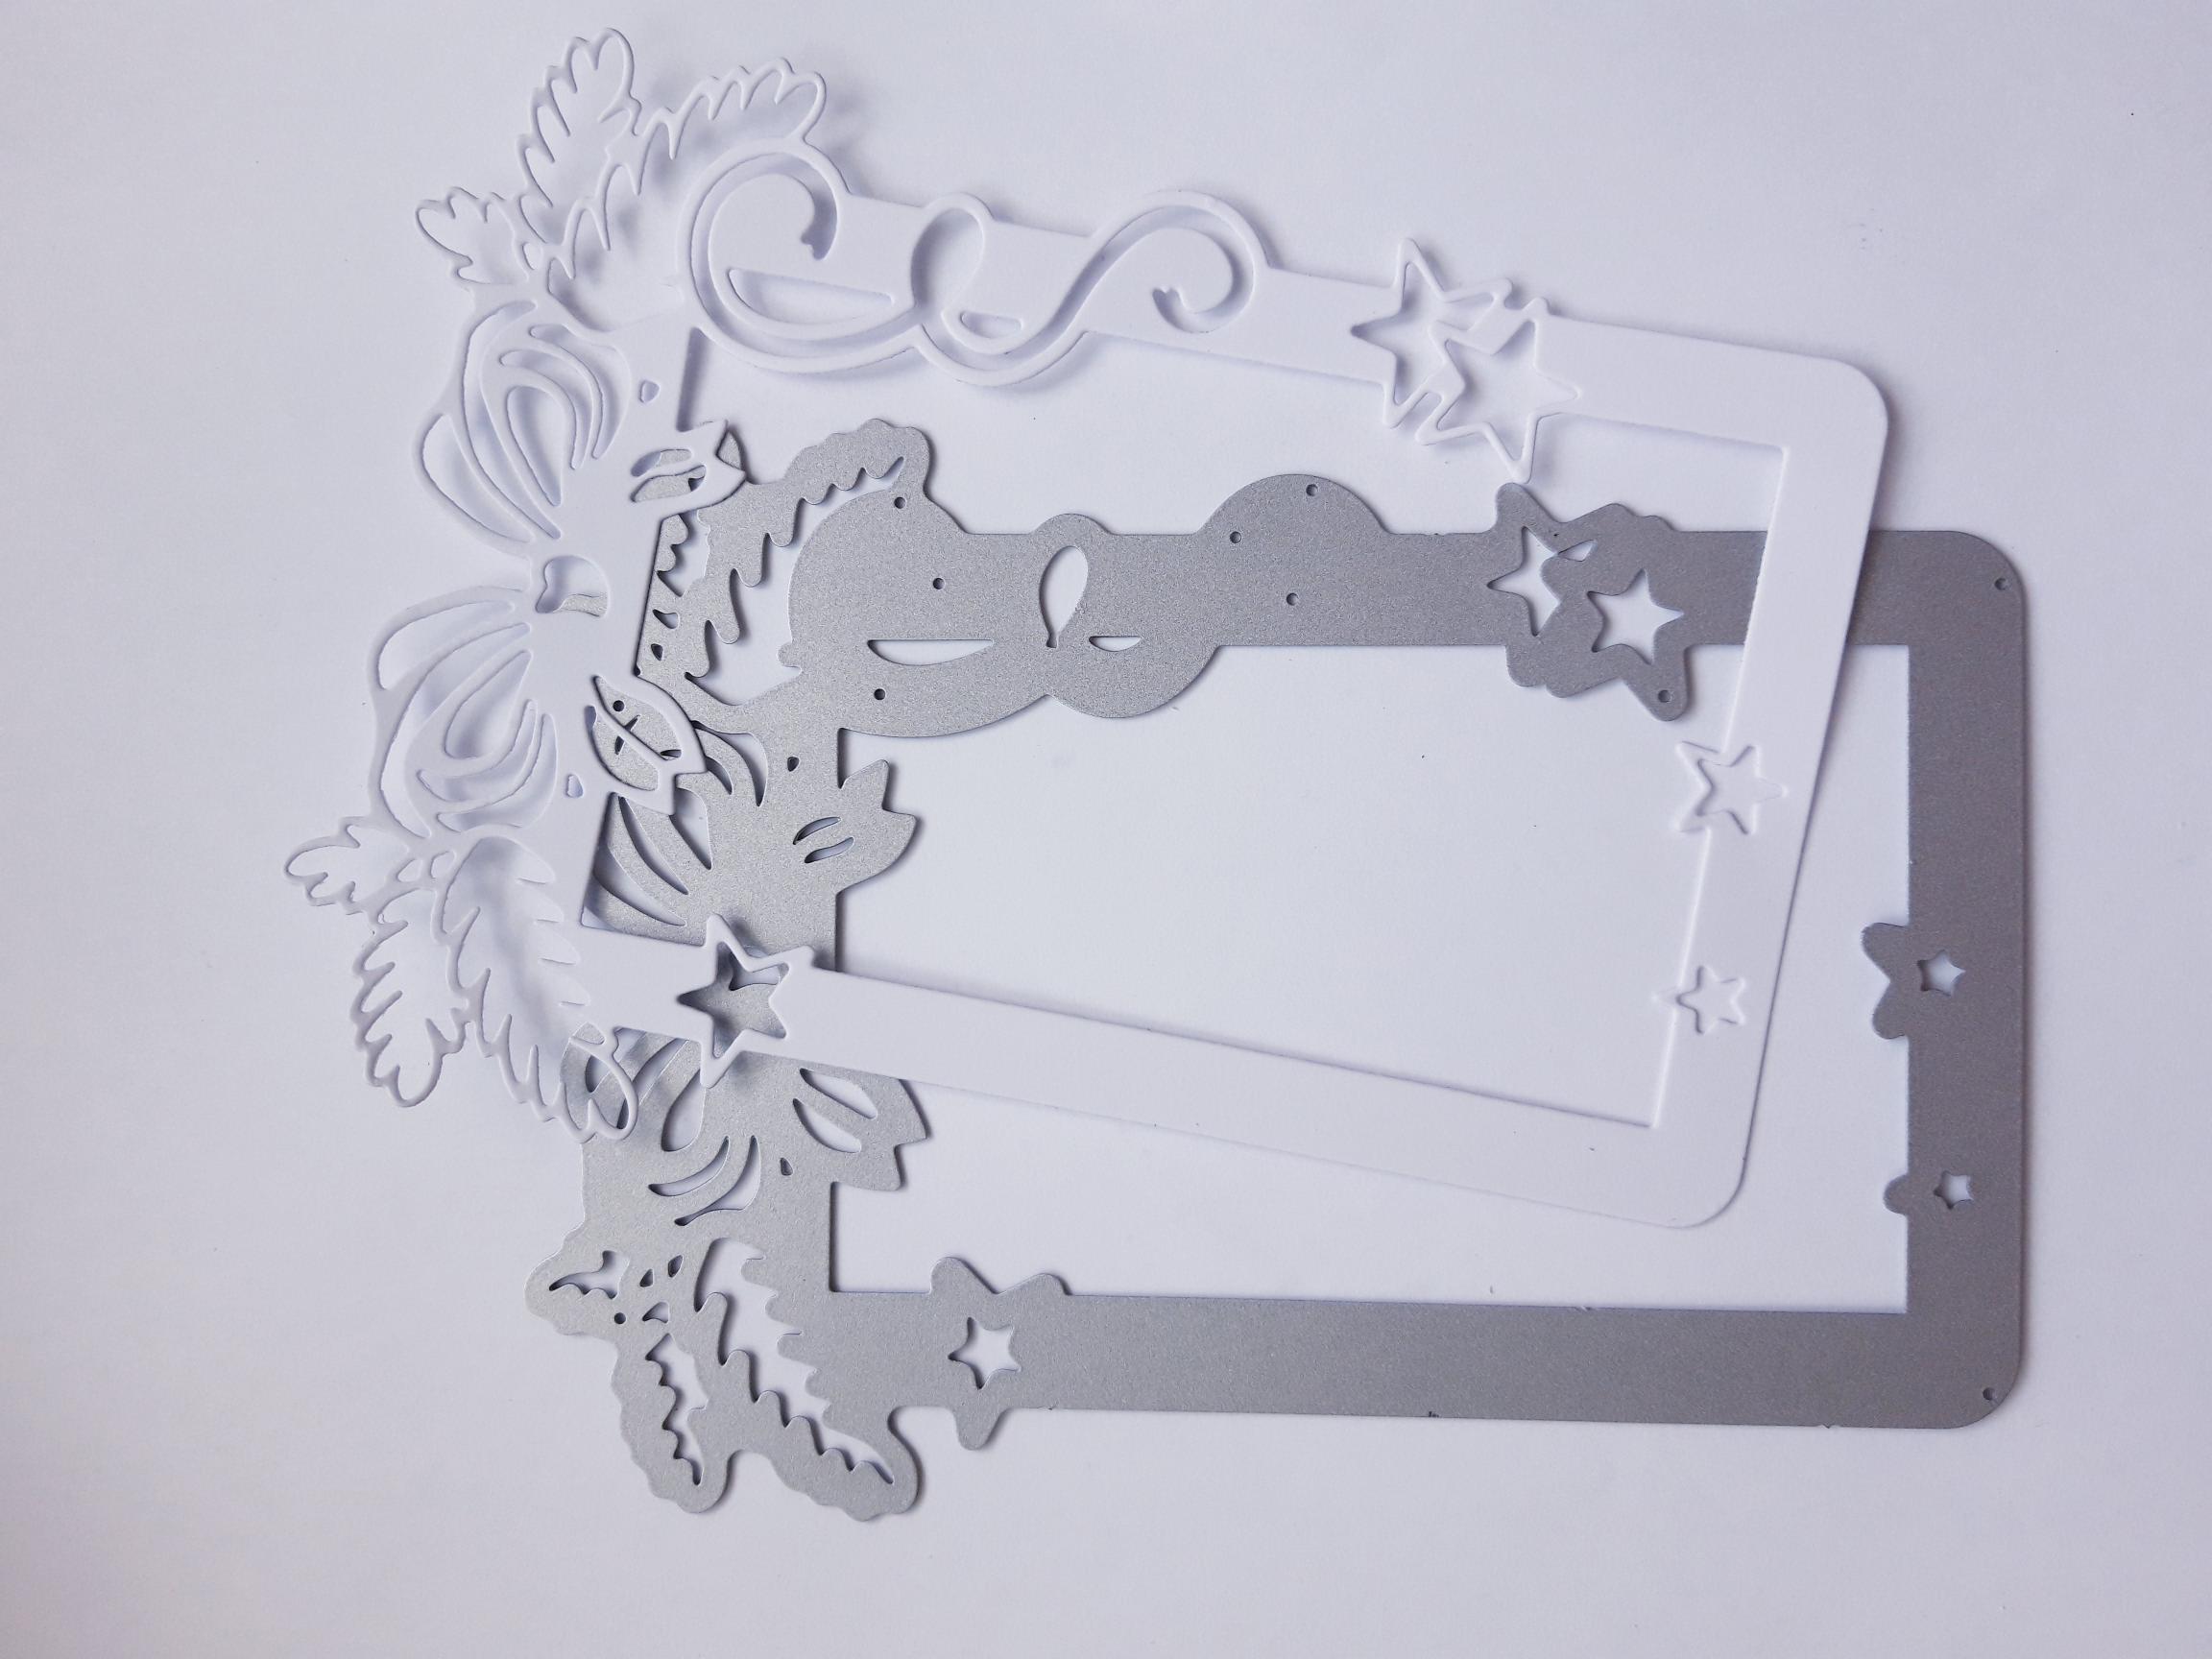
|
Place the detailed frame die, from Take The Photo Die Collection, on one side of the A4 white card, and run it through your die cutting machine. NB: KEEP ALL THE BITS THAT FALL OUT OF THE FRAME, FOR PAPER PIECING IN A LATER STEP. |
|
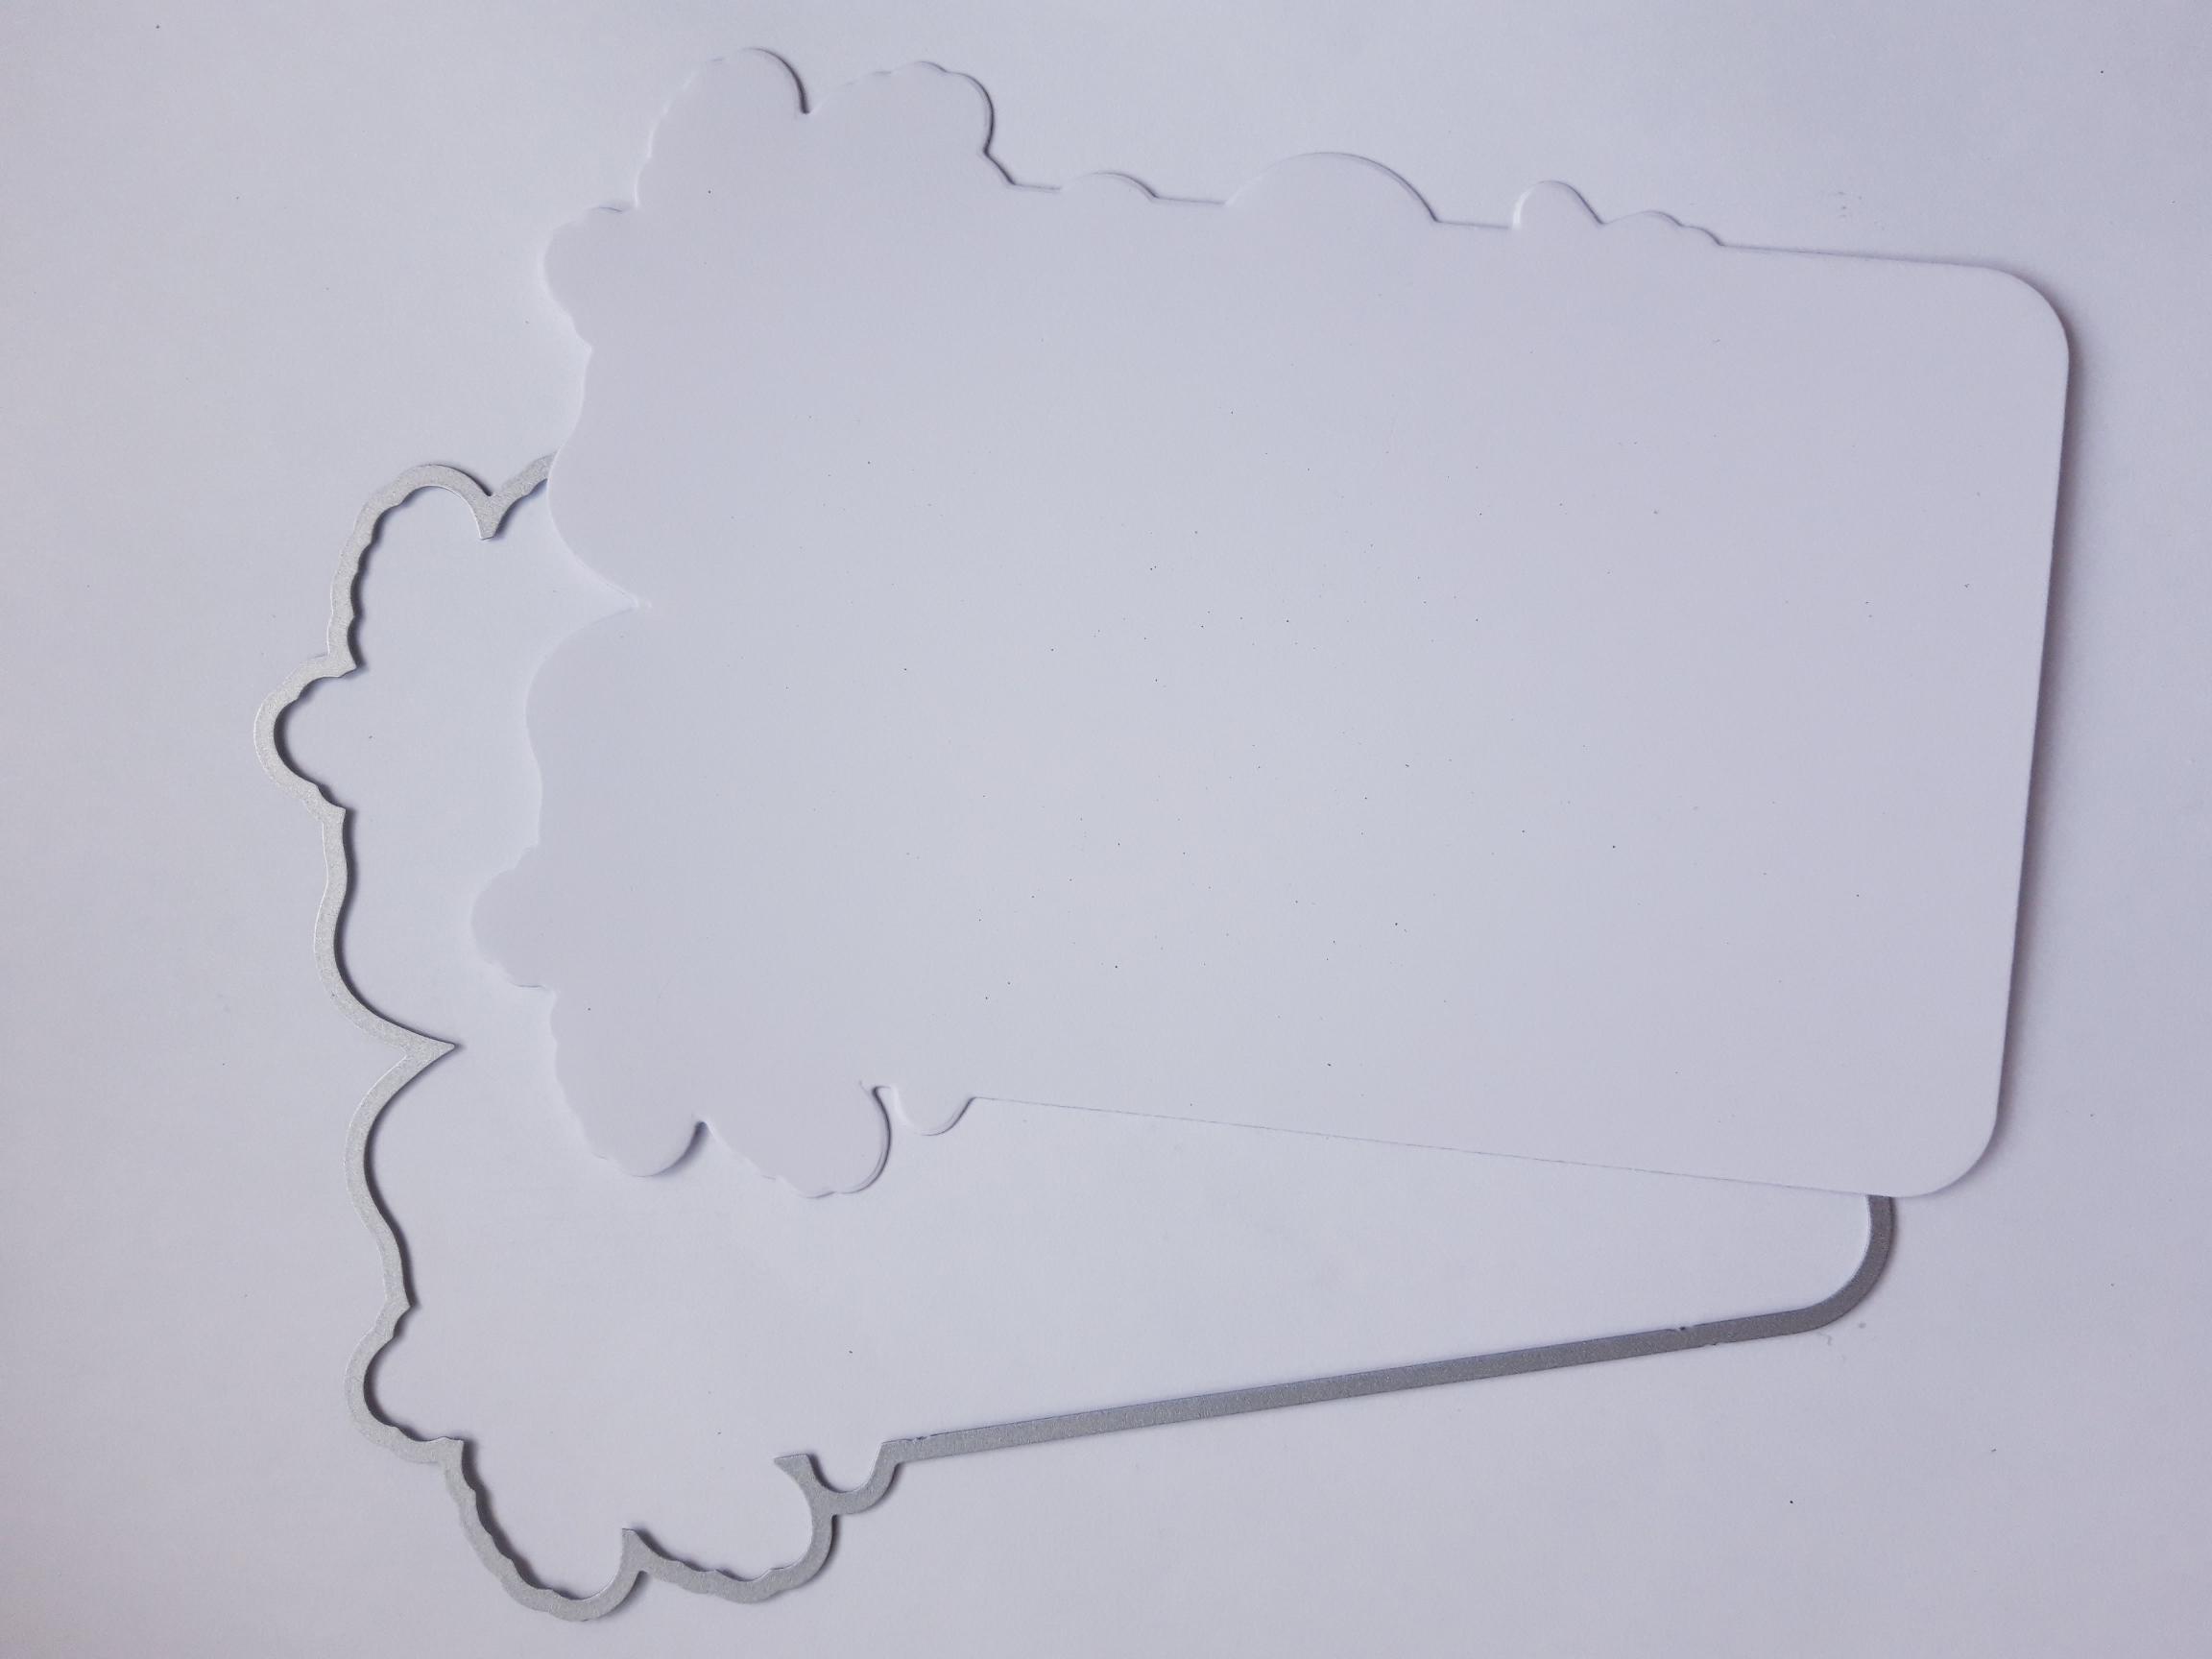
Place the coordinating mat die, on the remaining white card, and run it through your machine. Save any left over card for snowflake dies, in a later stage. |
|
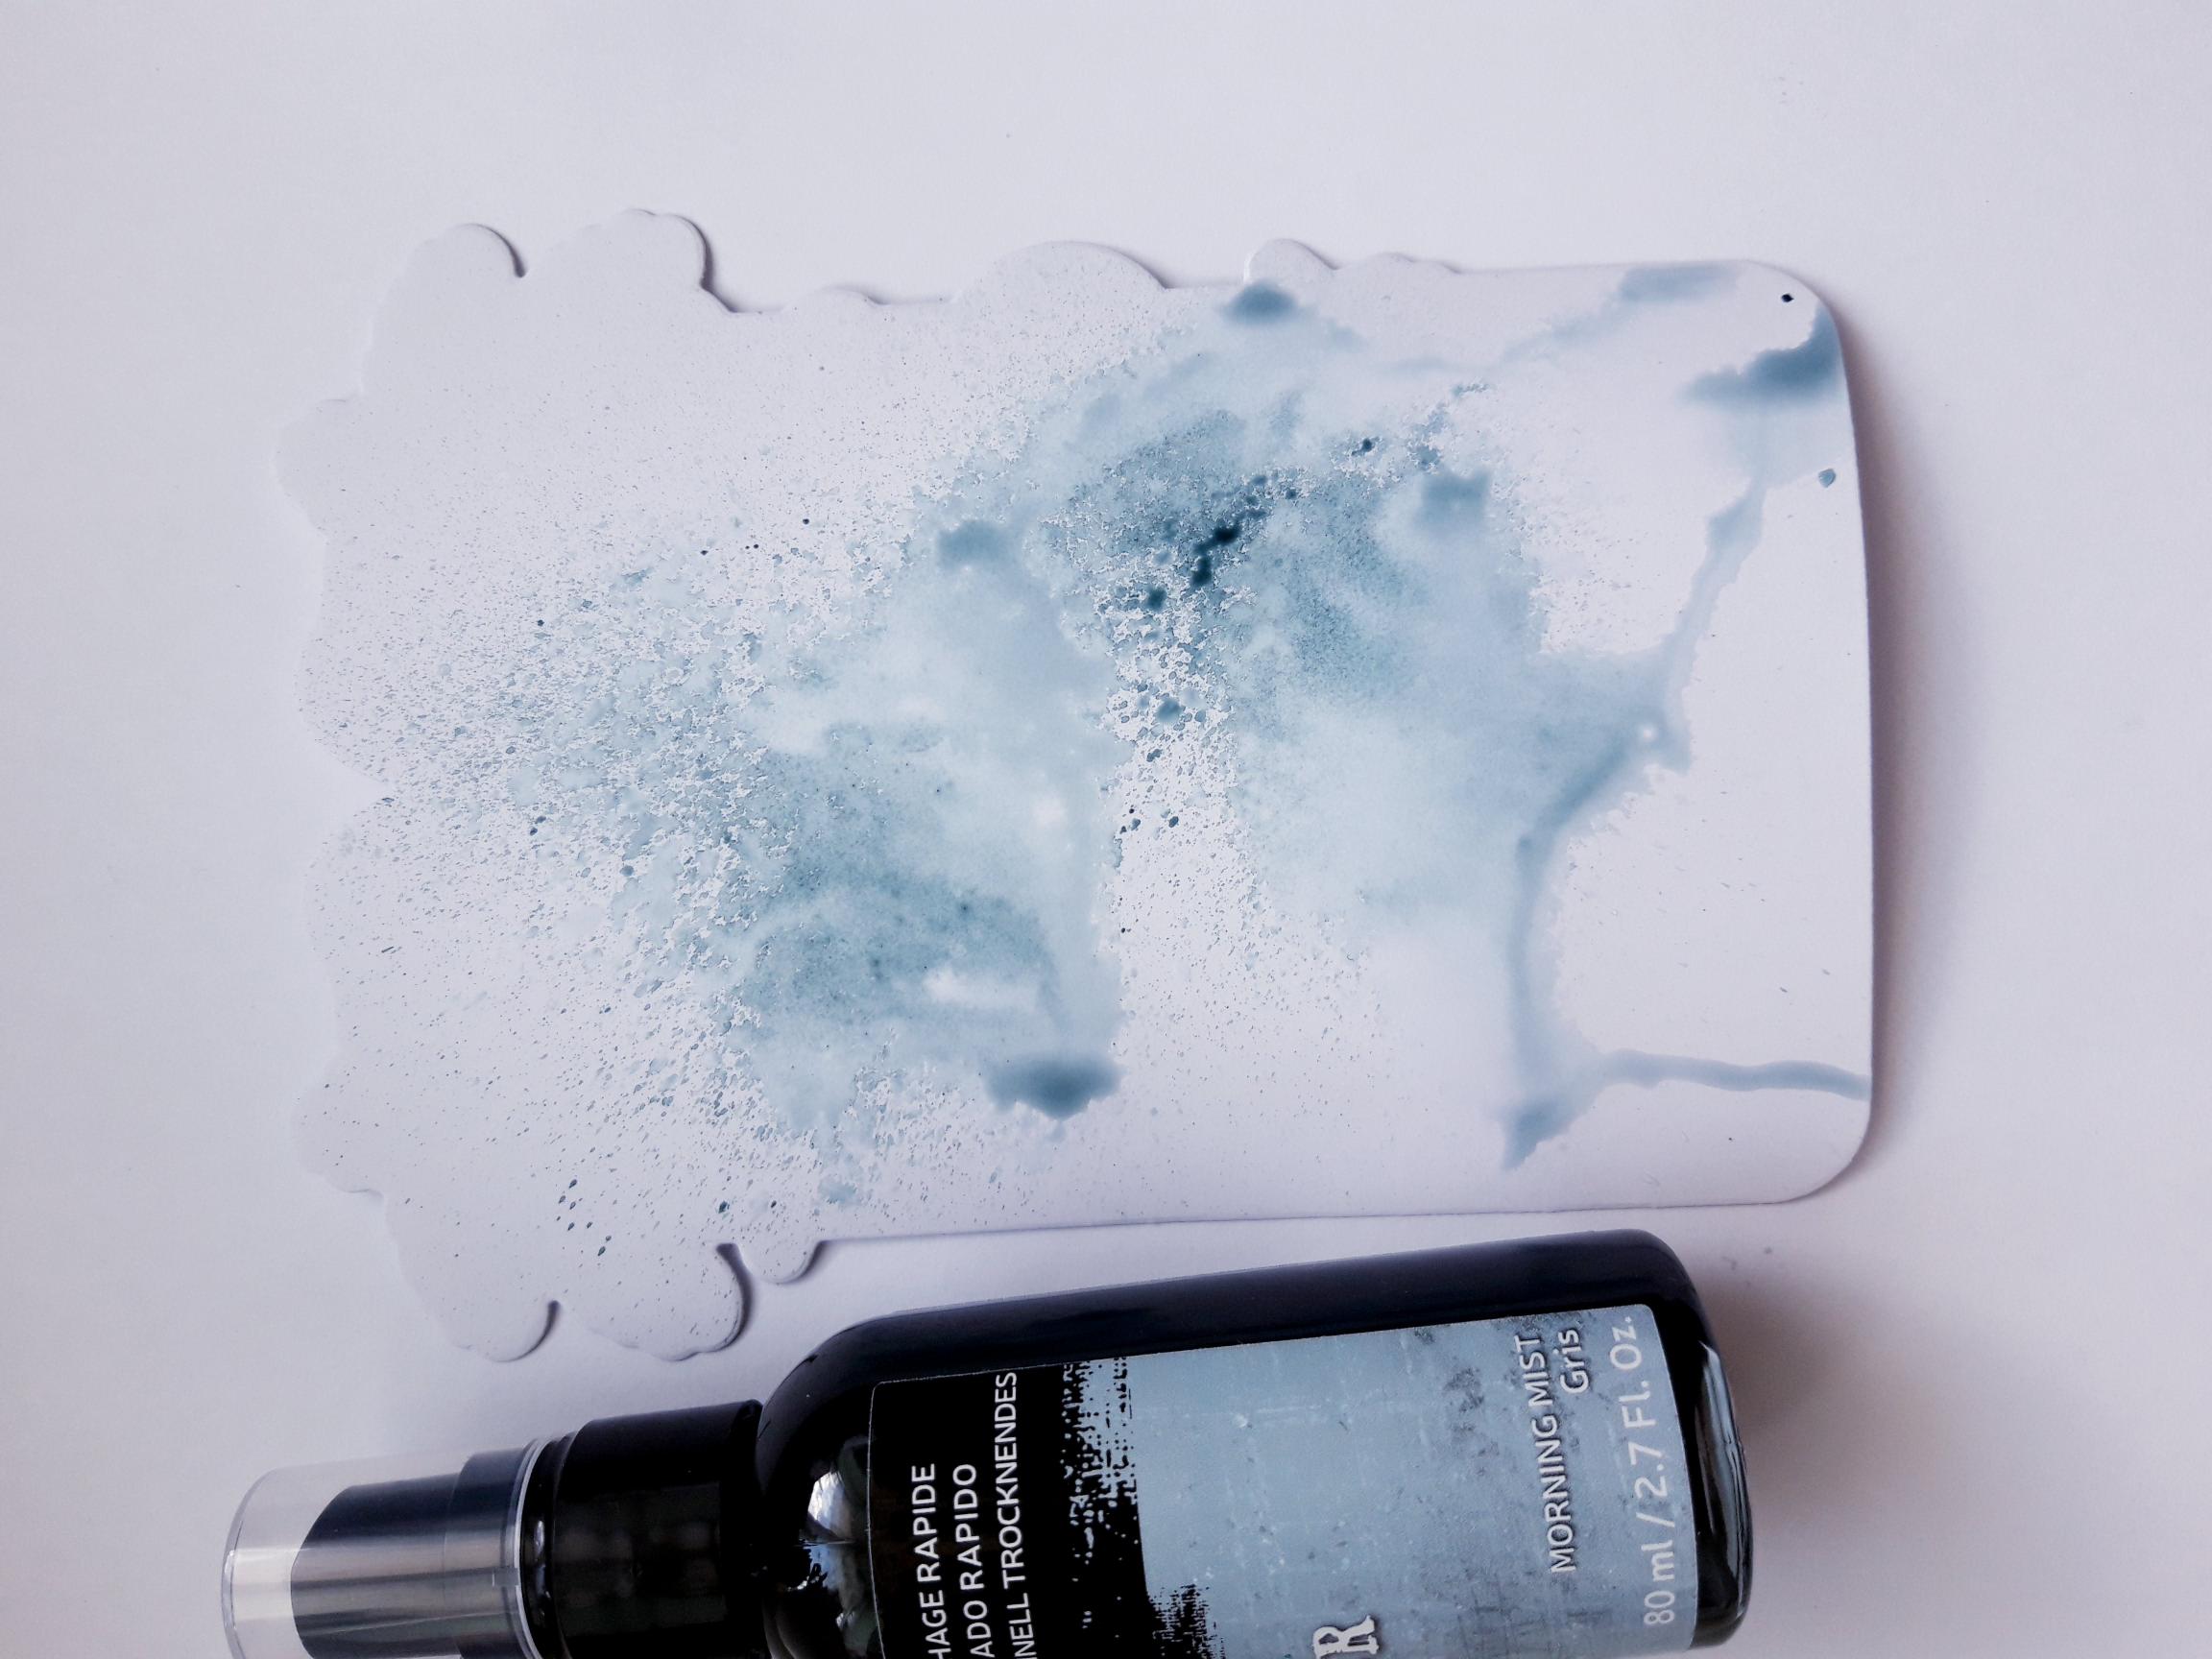
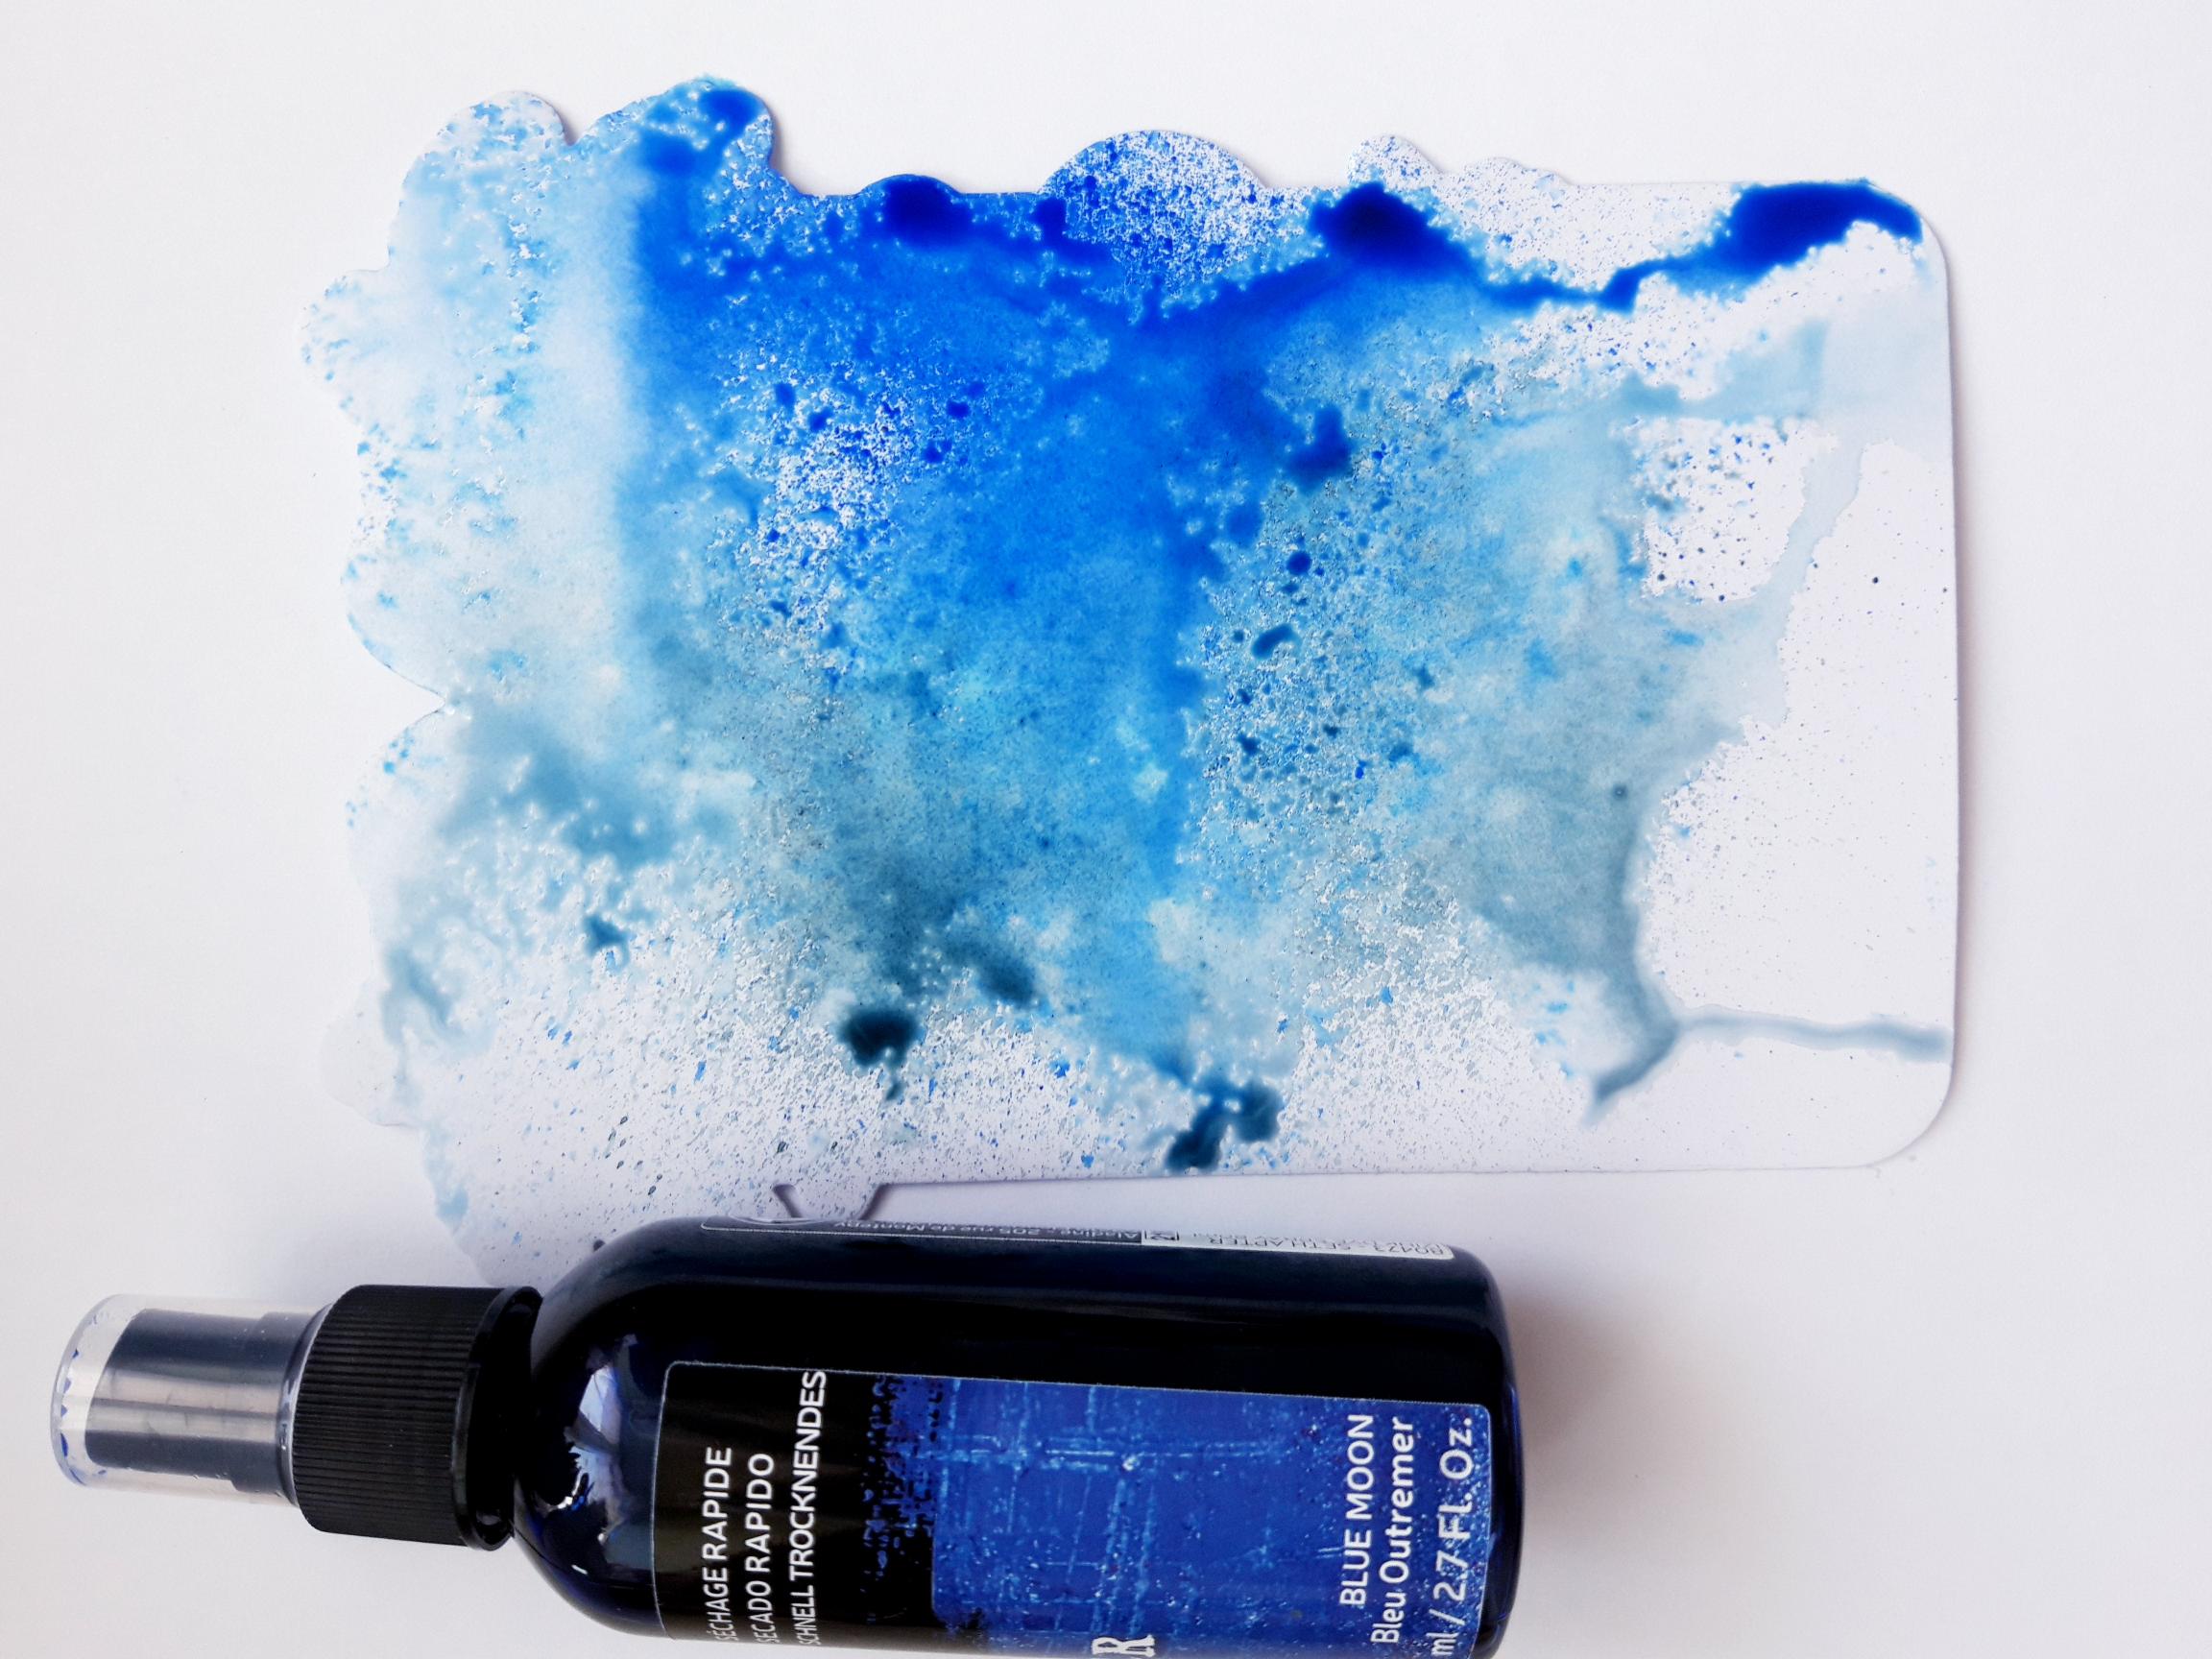
Spray water on to the white die cut mat. Spray the Izink Morning Mist on to the card, and allow it to move freely in the water.
|
|
Spray the Izink Blue Moon on to the card. If you need more movement of the ink, lightly spritz the card again, and tip it up, creating drips and runs. Dry off the ink. |
|
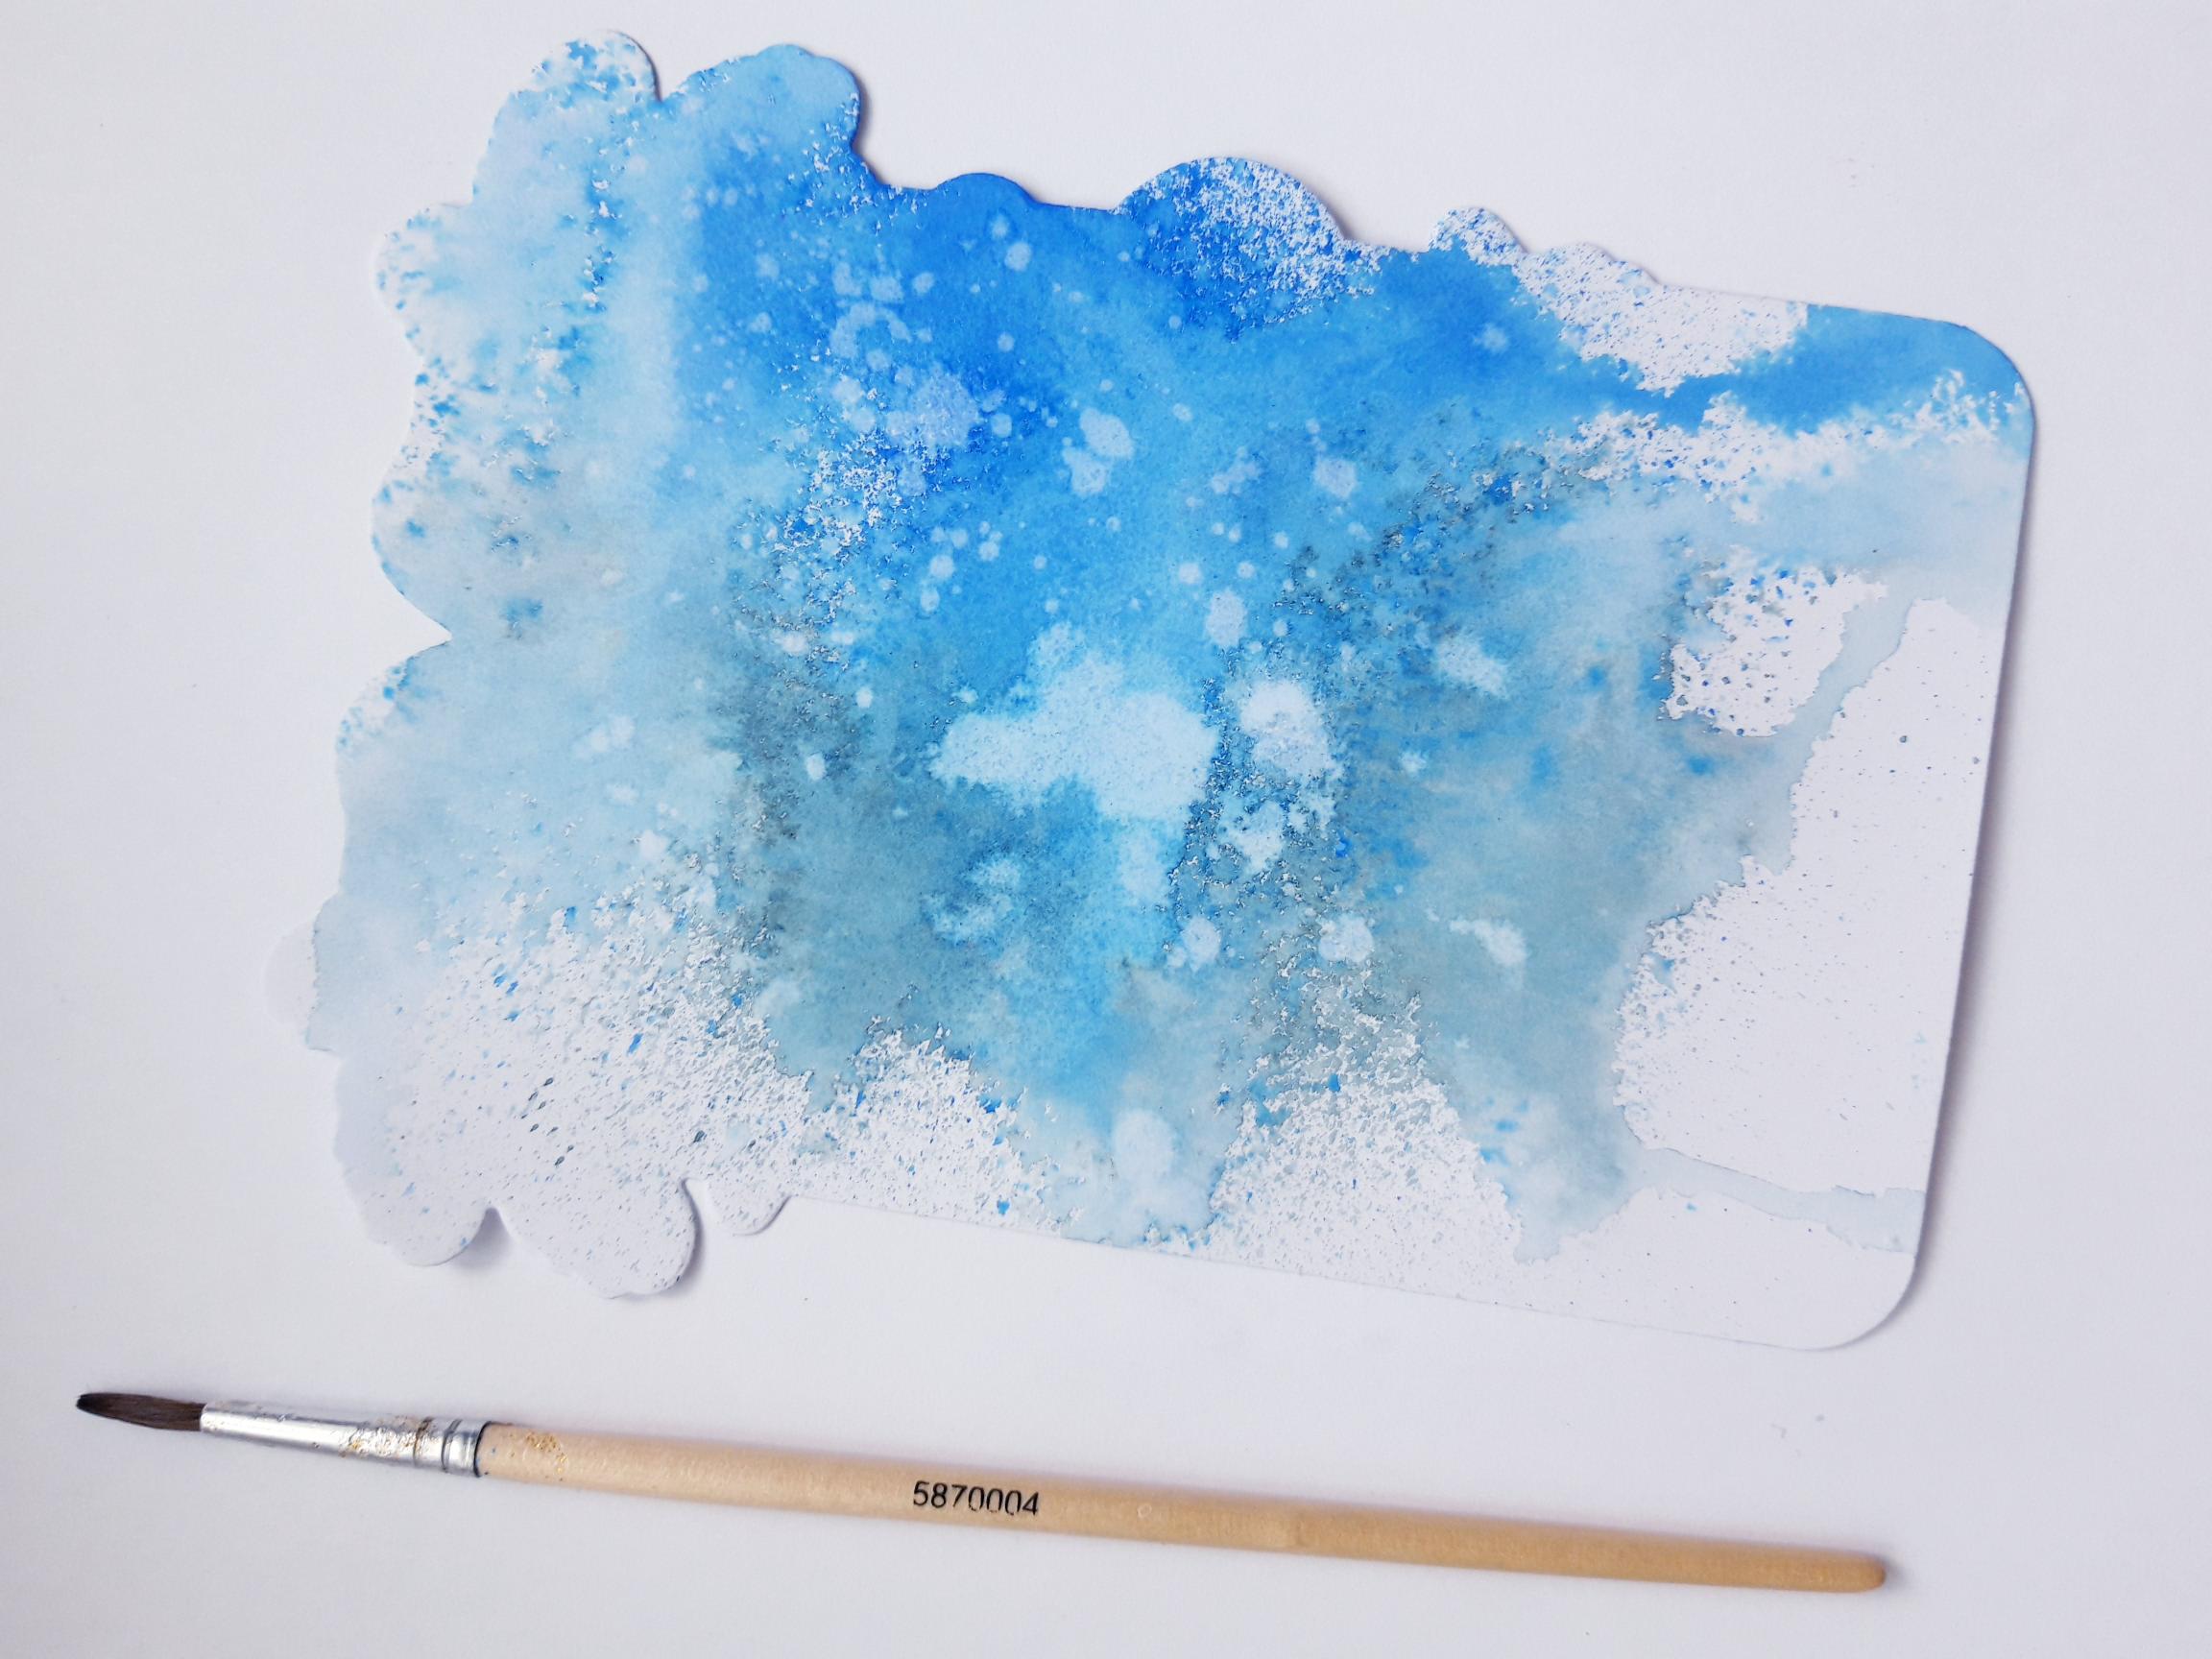
Splatter the background with water, wait a few seconds, then mop up the excess with a paper towel. Dry off the card. |
|
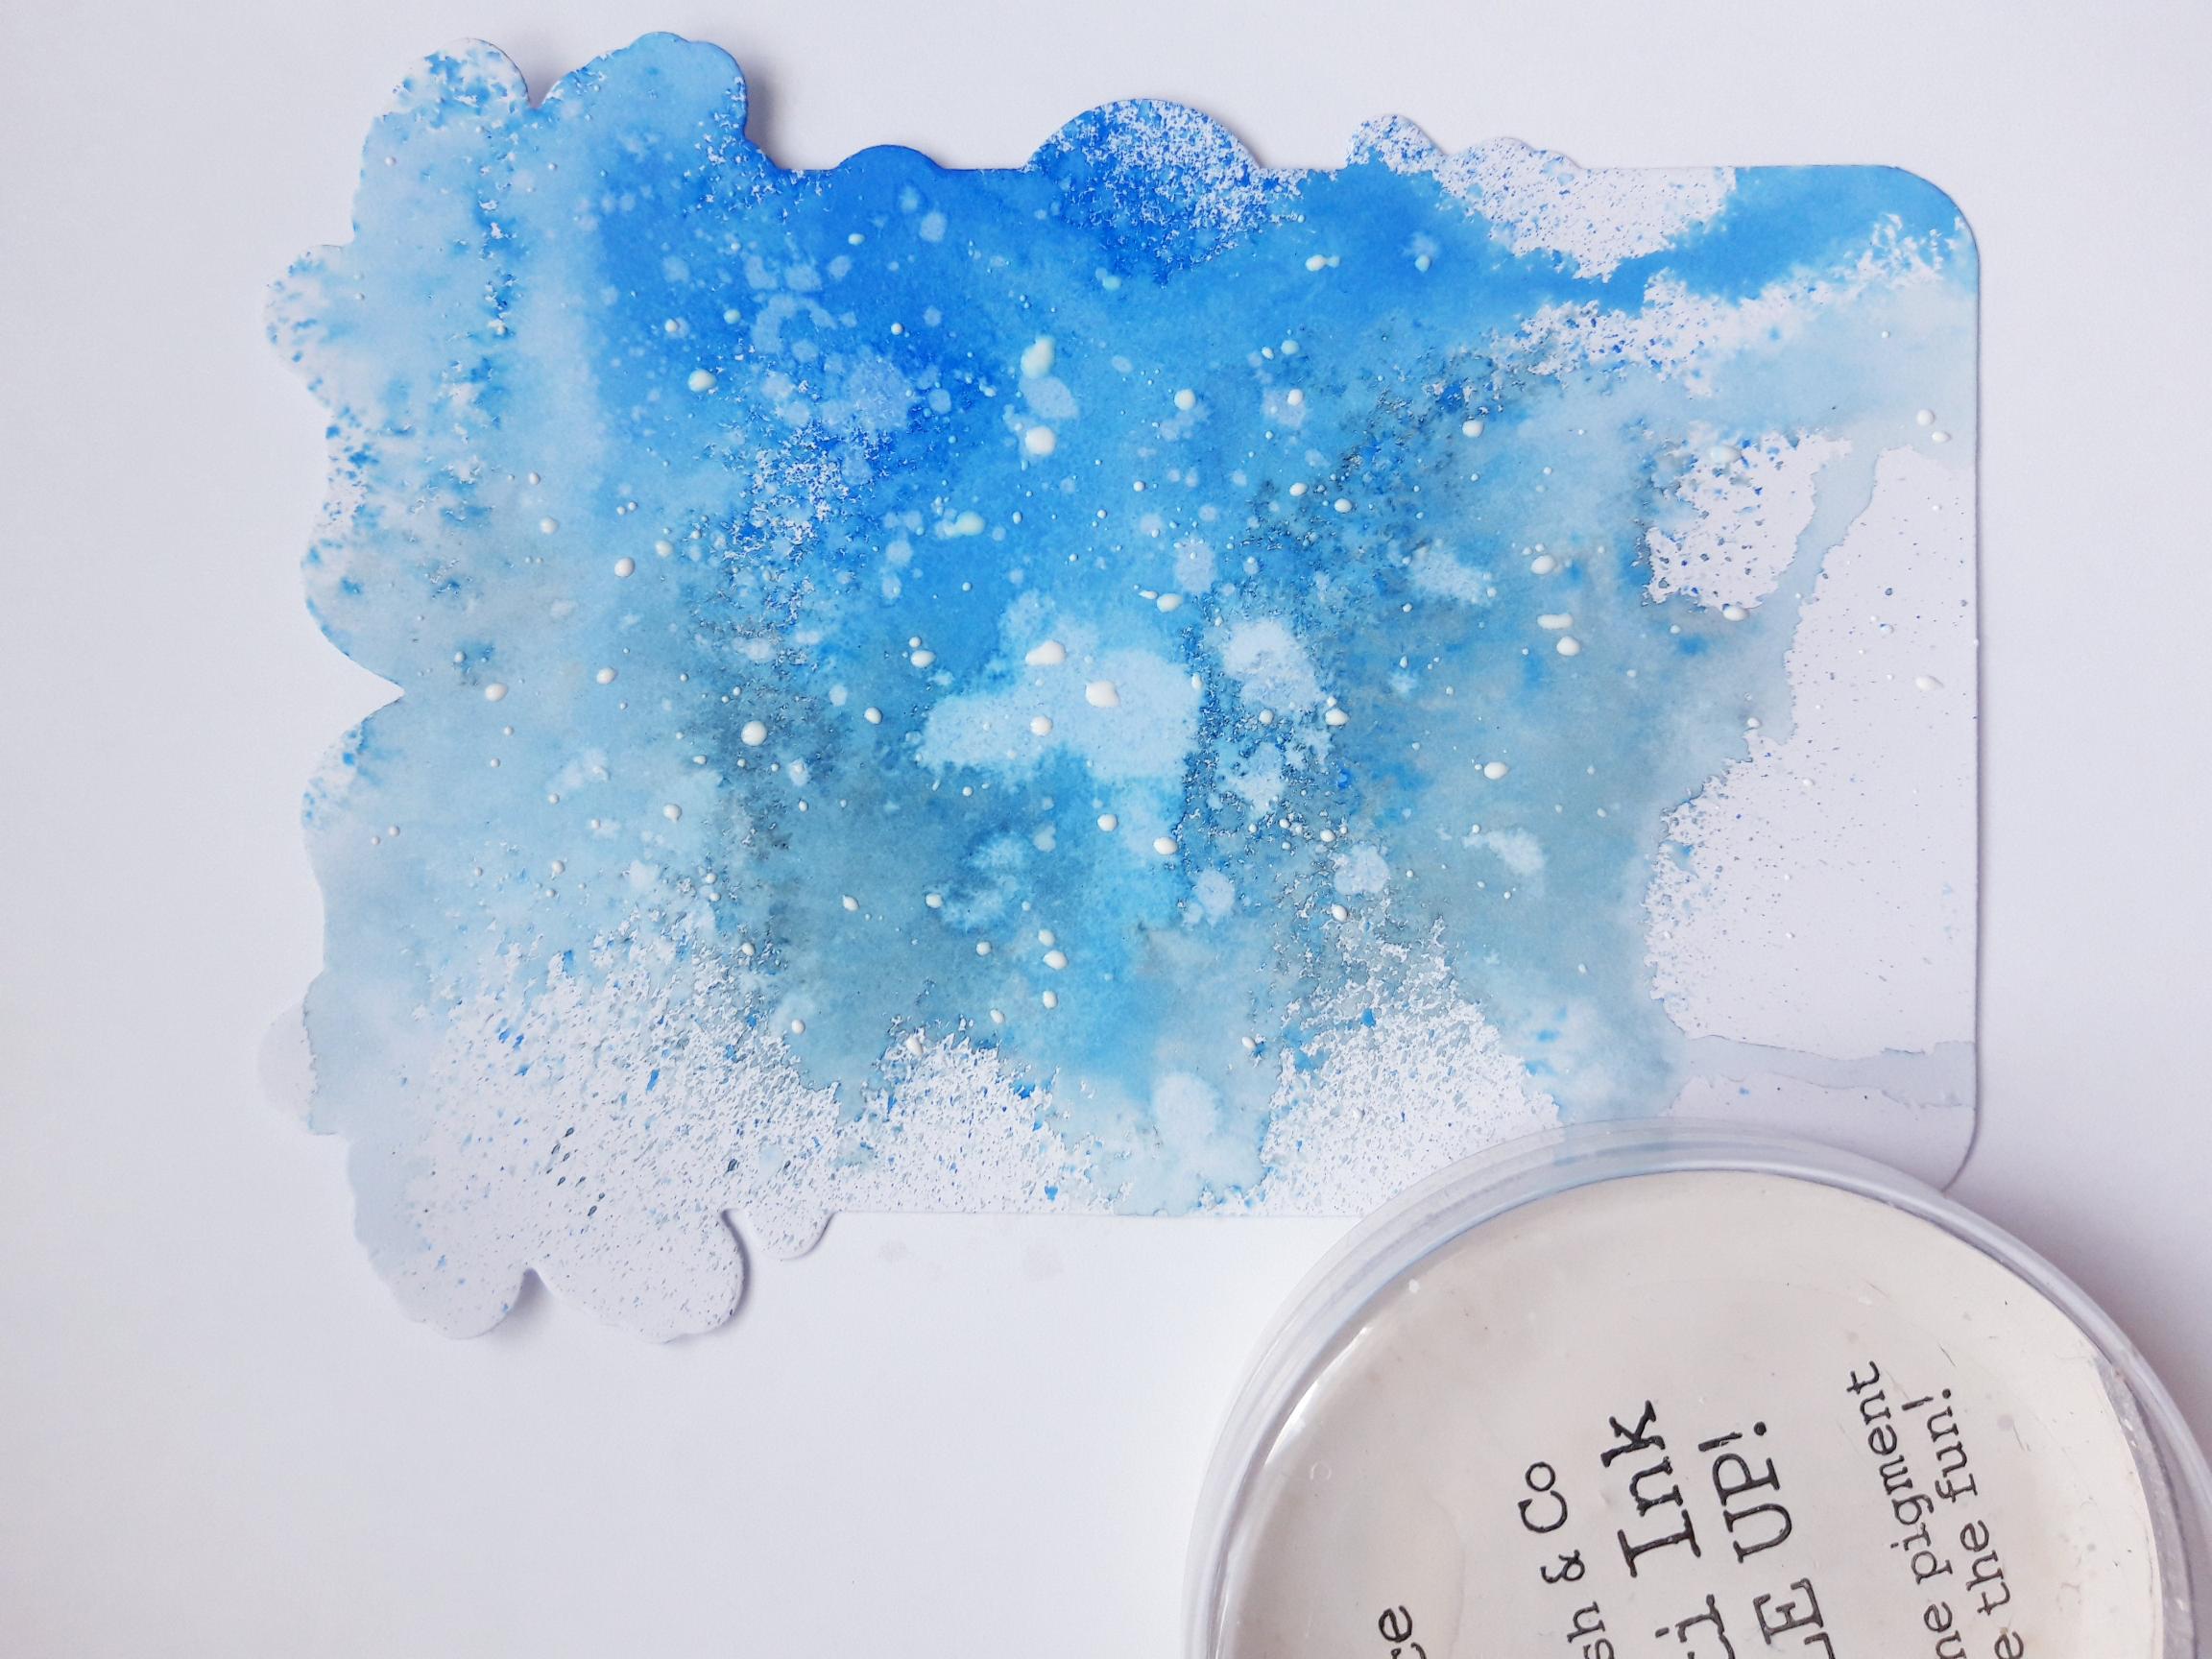
Spray water on to the Confetti Paint, and splatter over your background. Confetti Paint is best left to dry naturally, as it gives it a raised texture, but you can blast with a heat tool, if needed. |
|
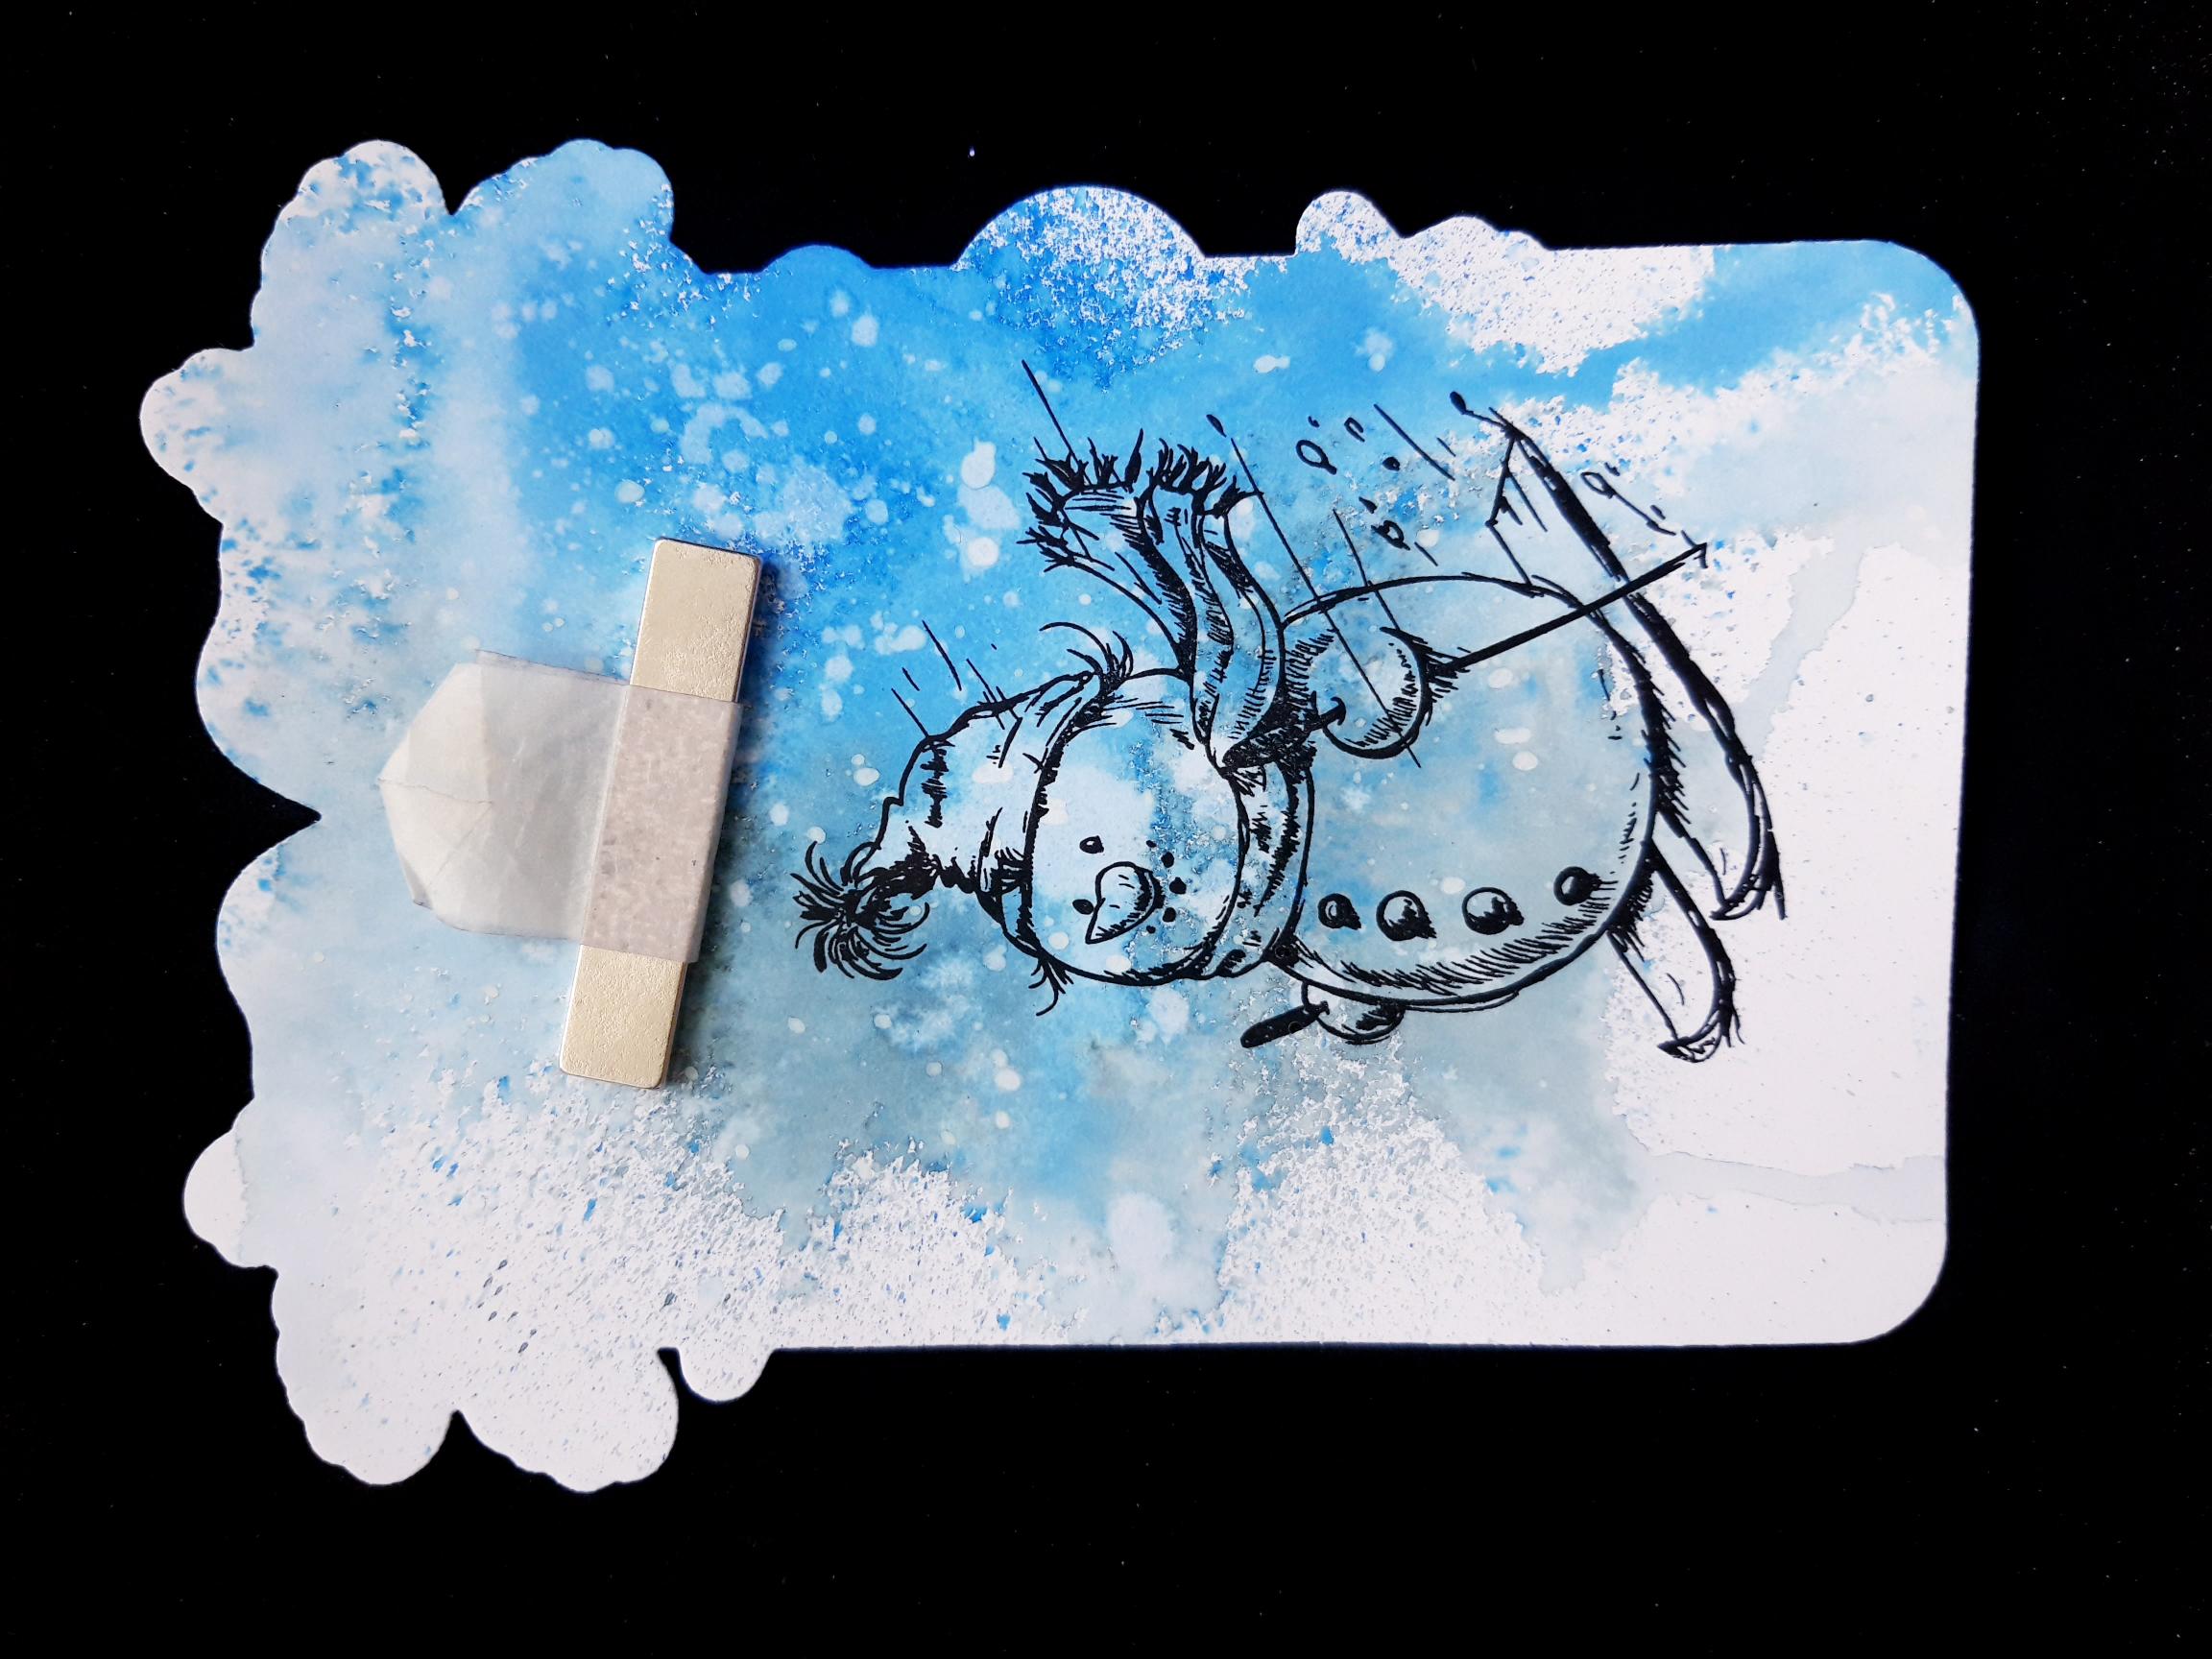
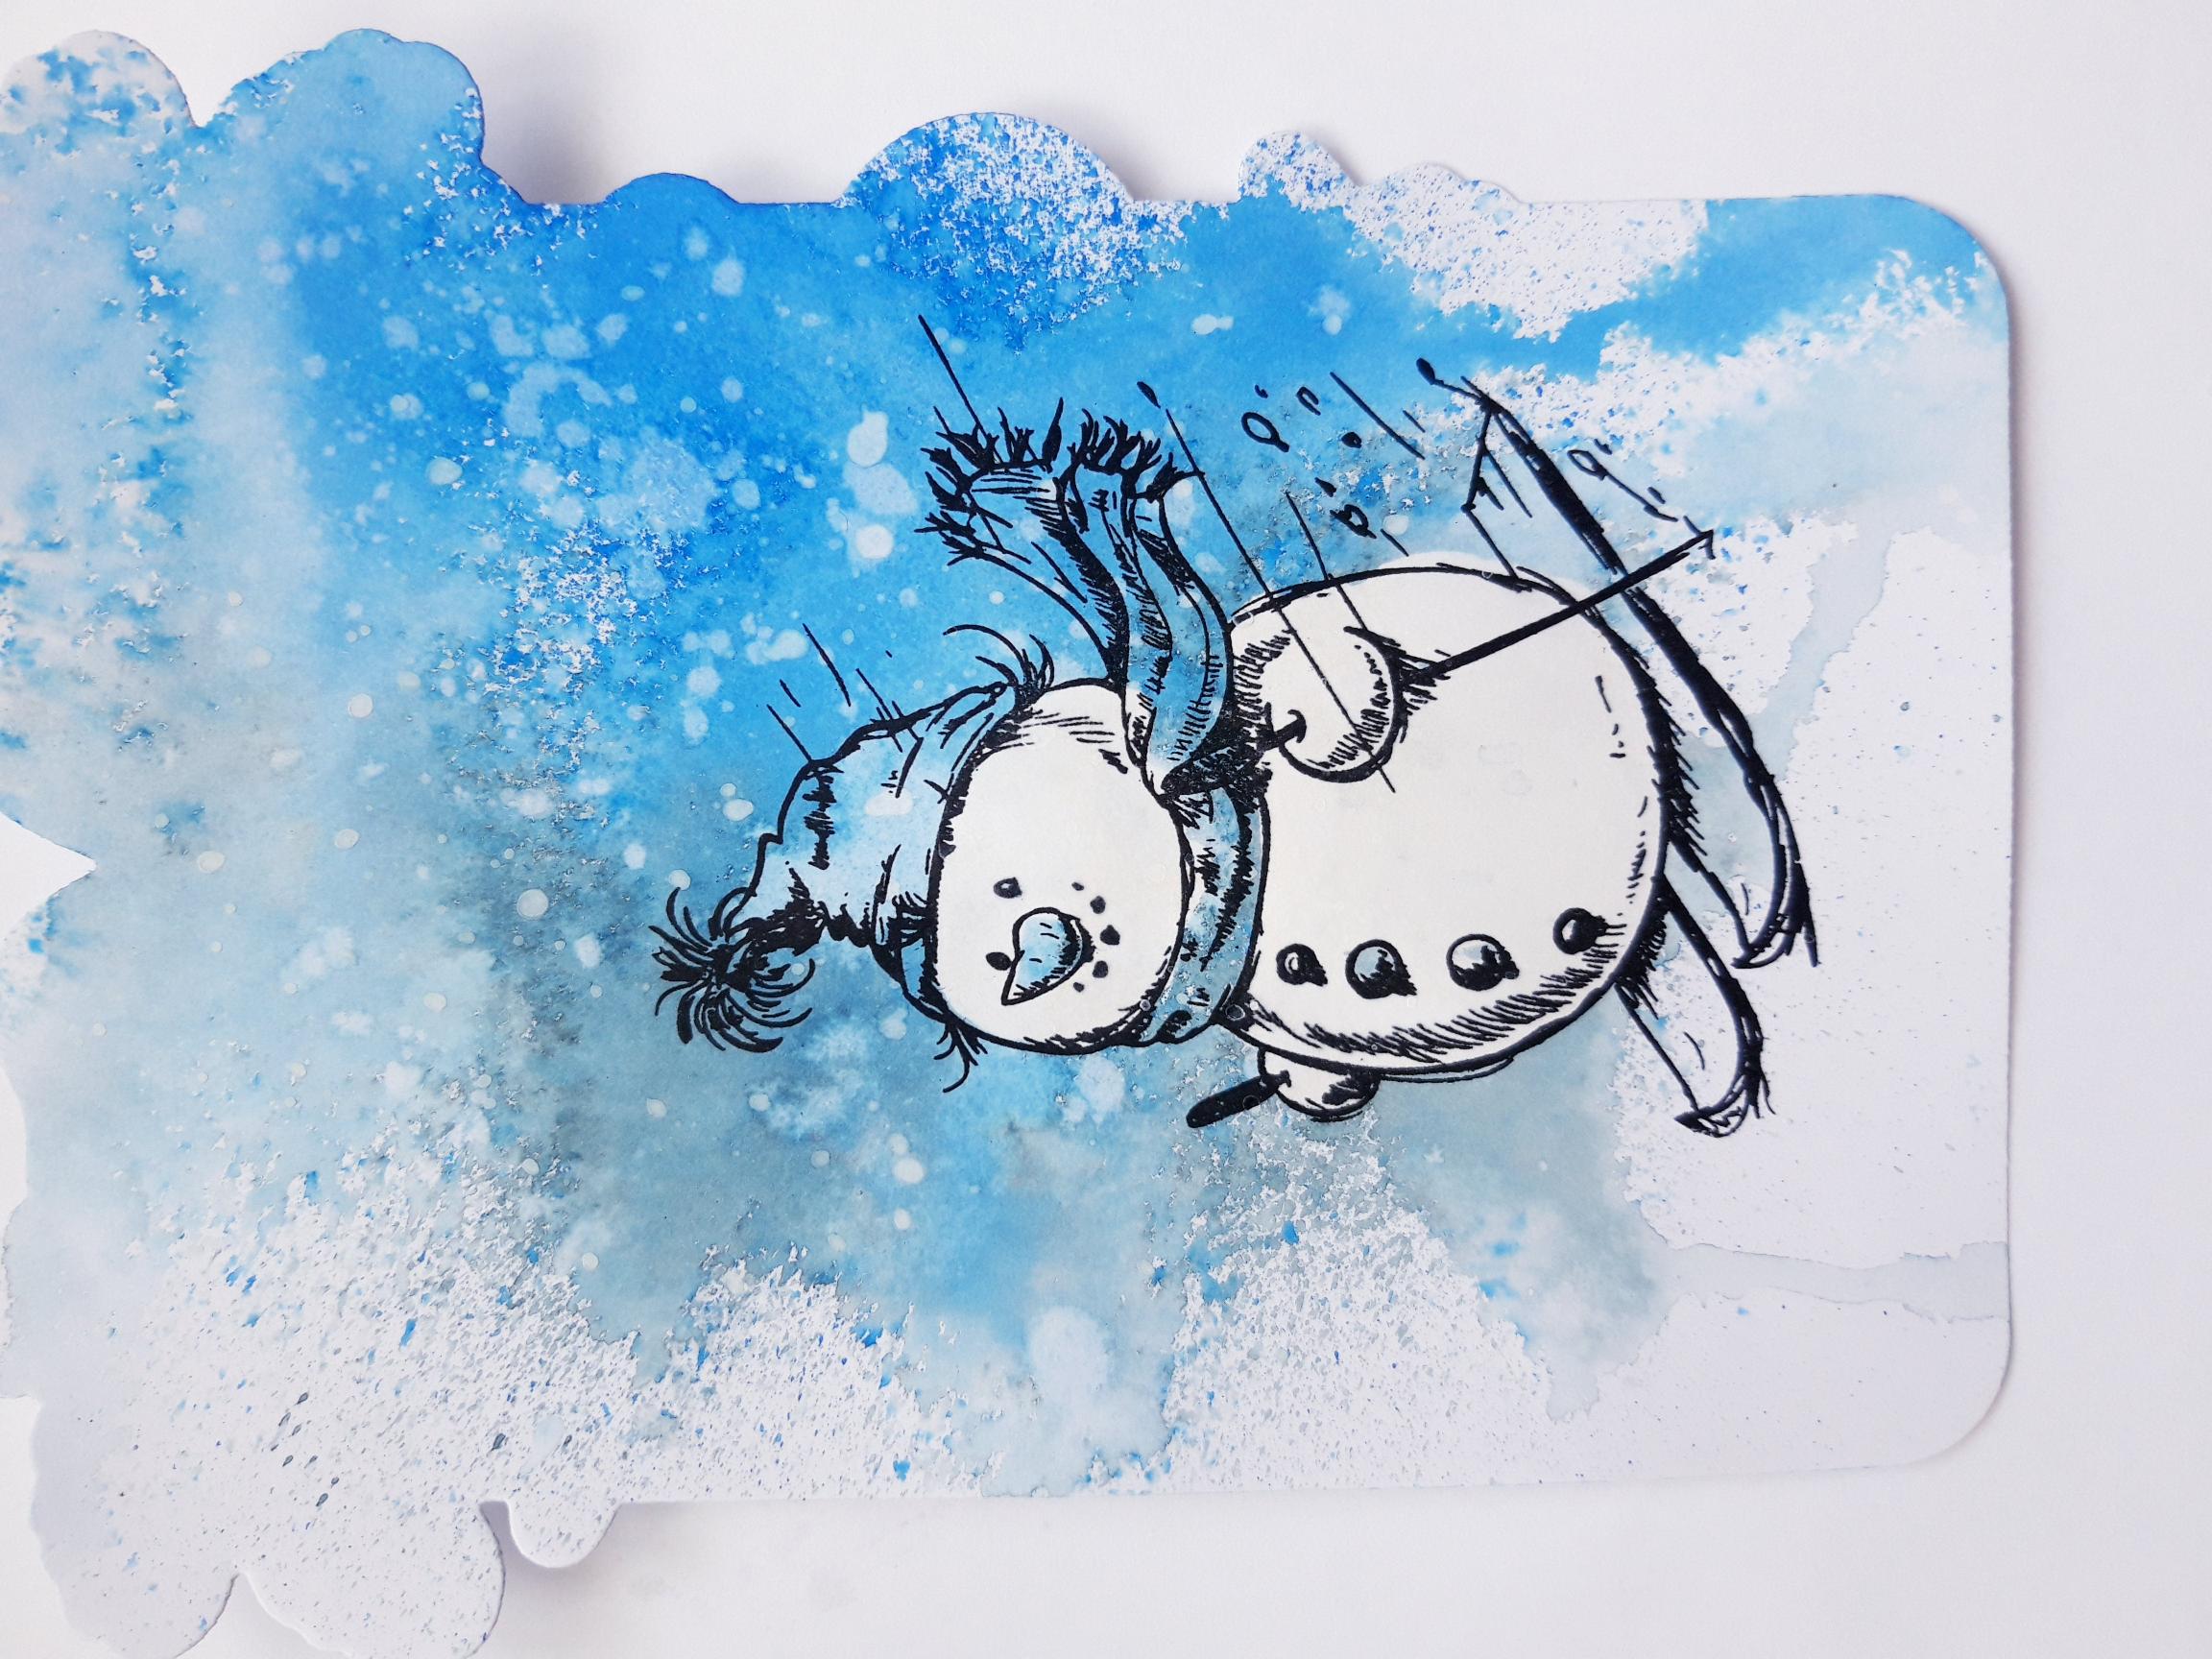
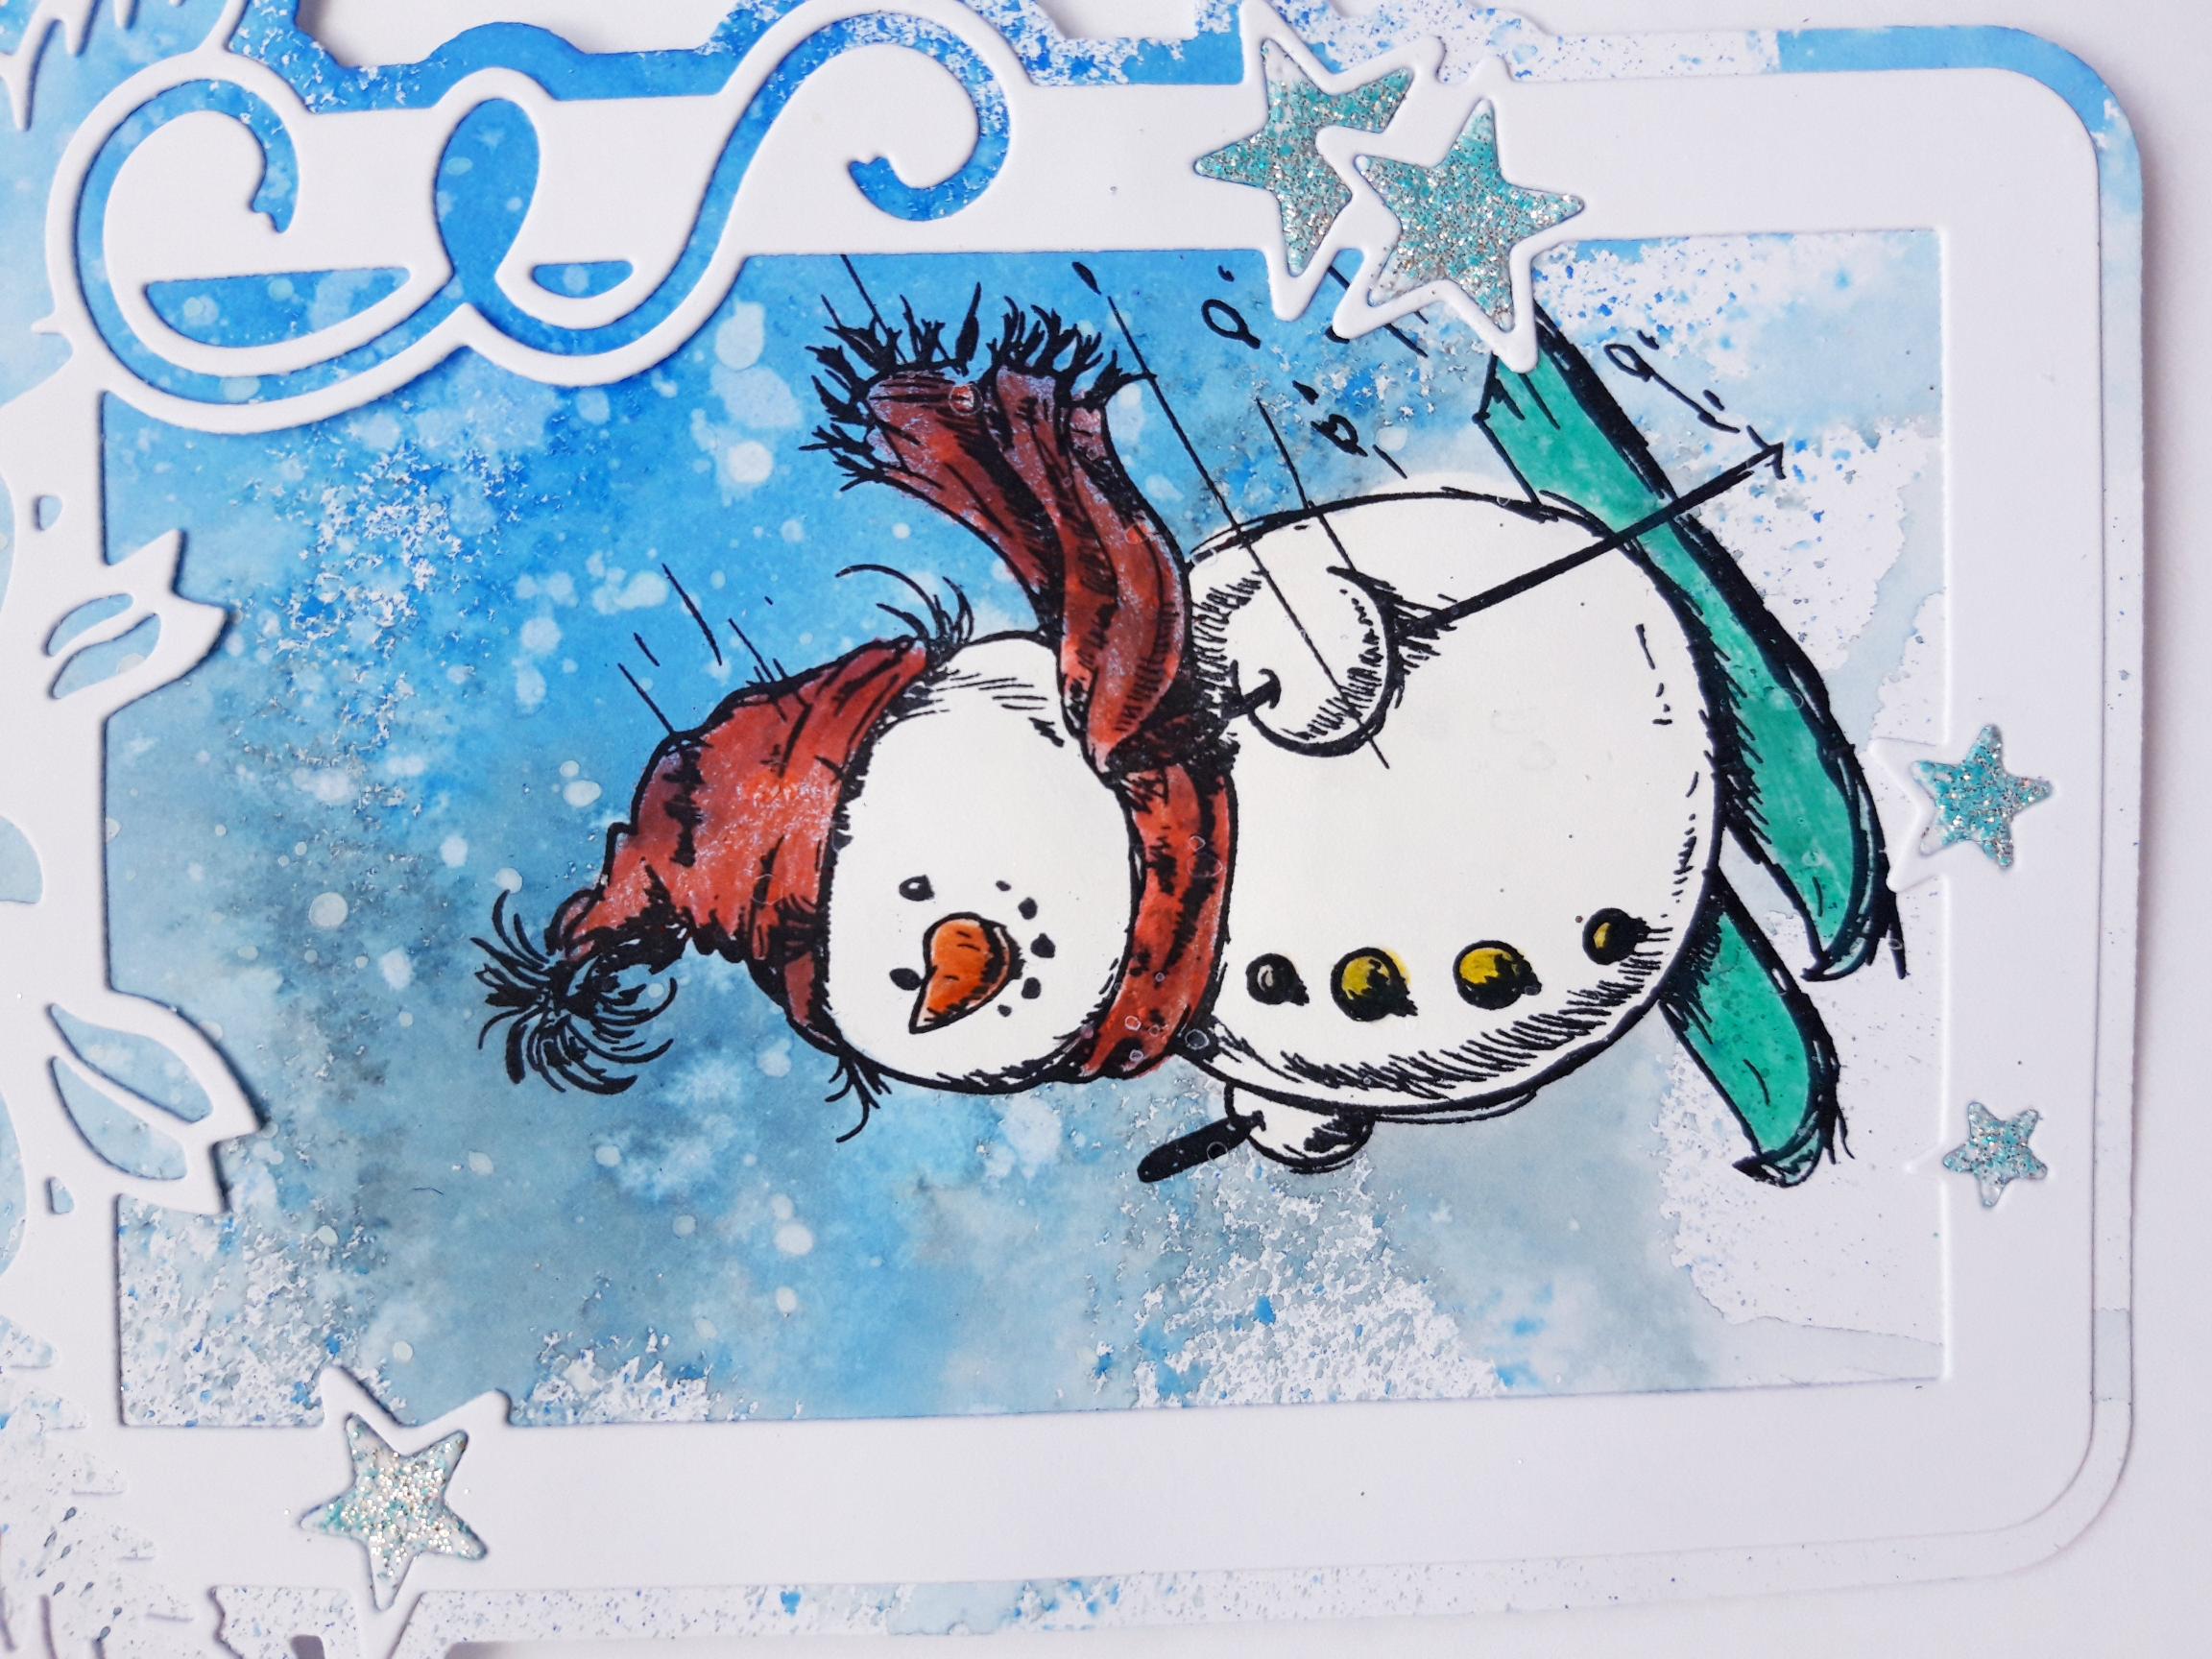
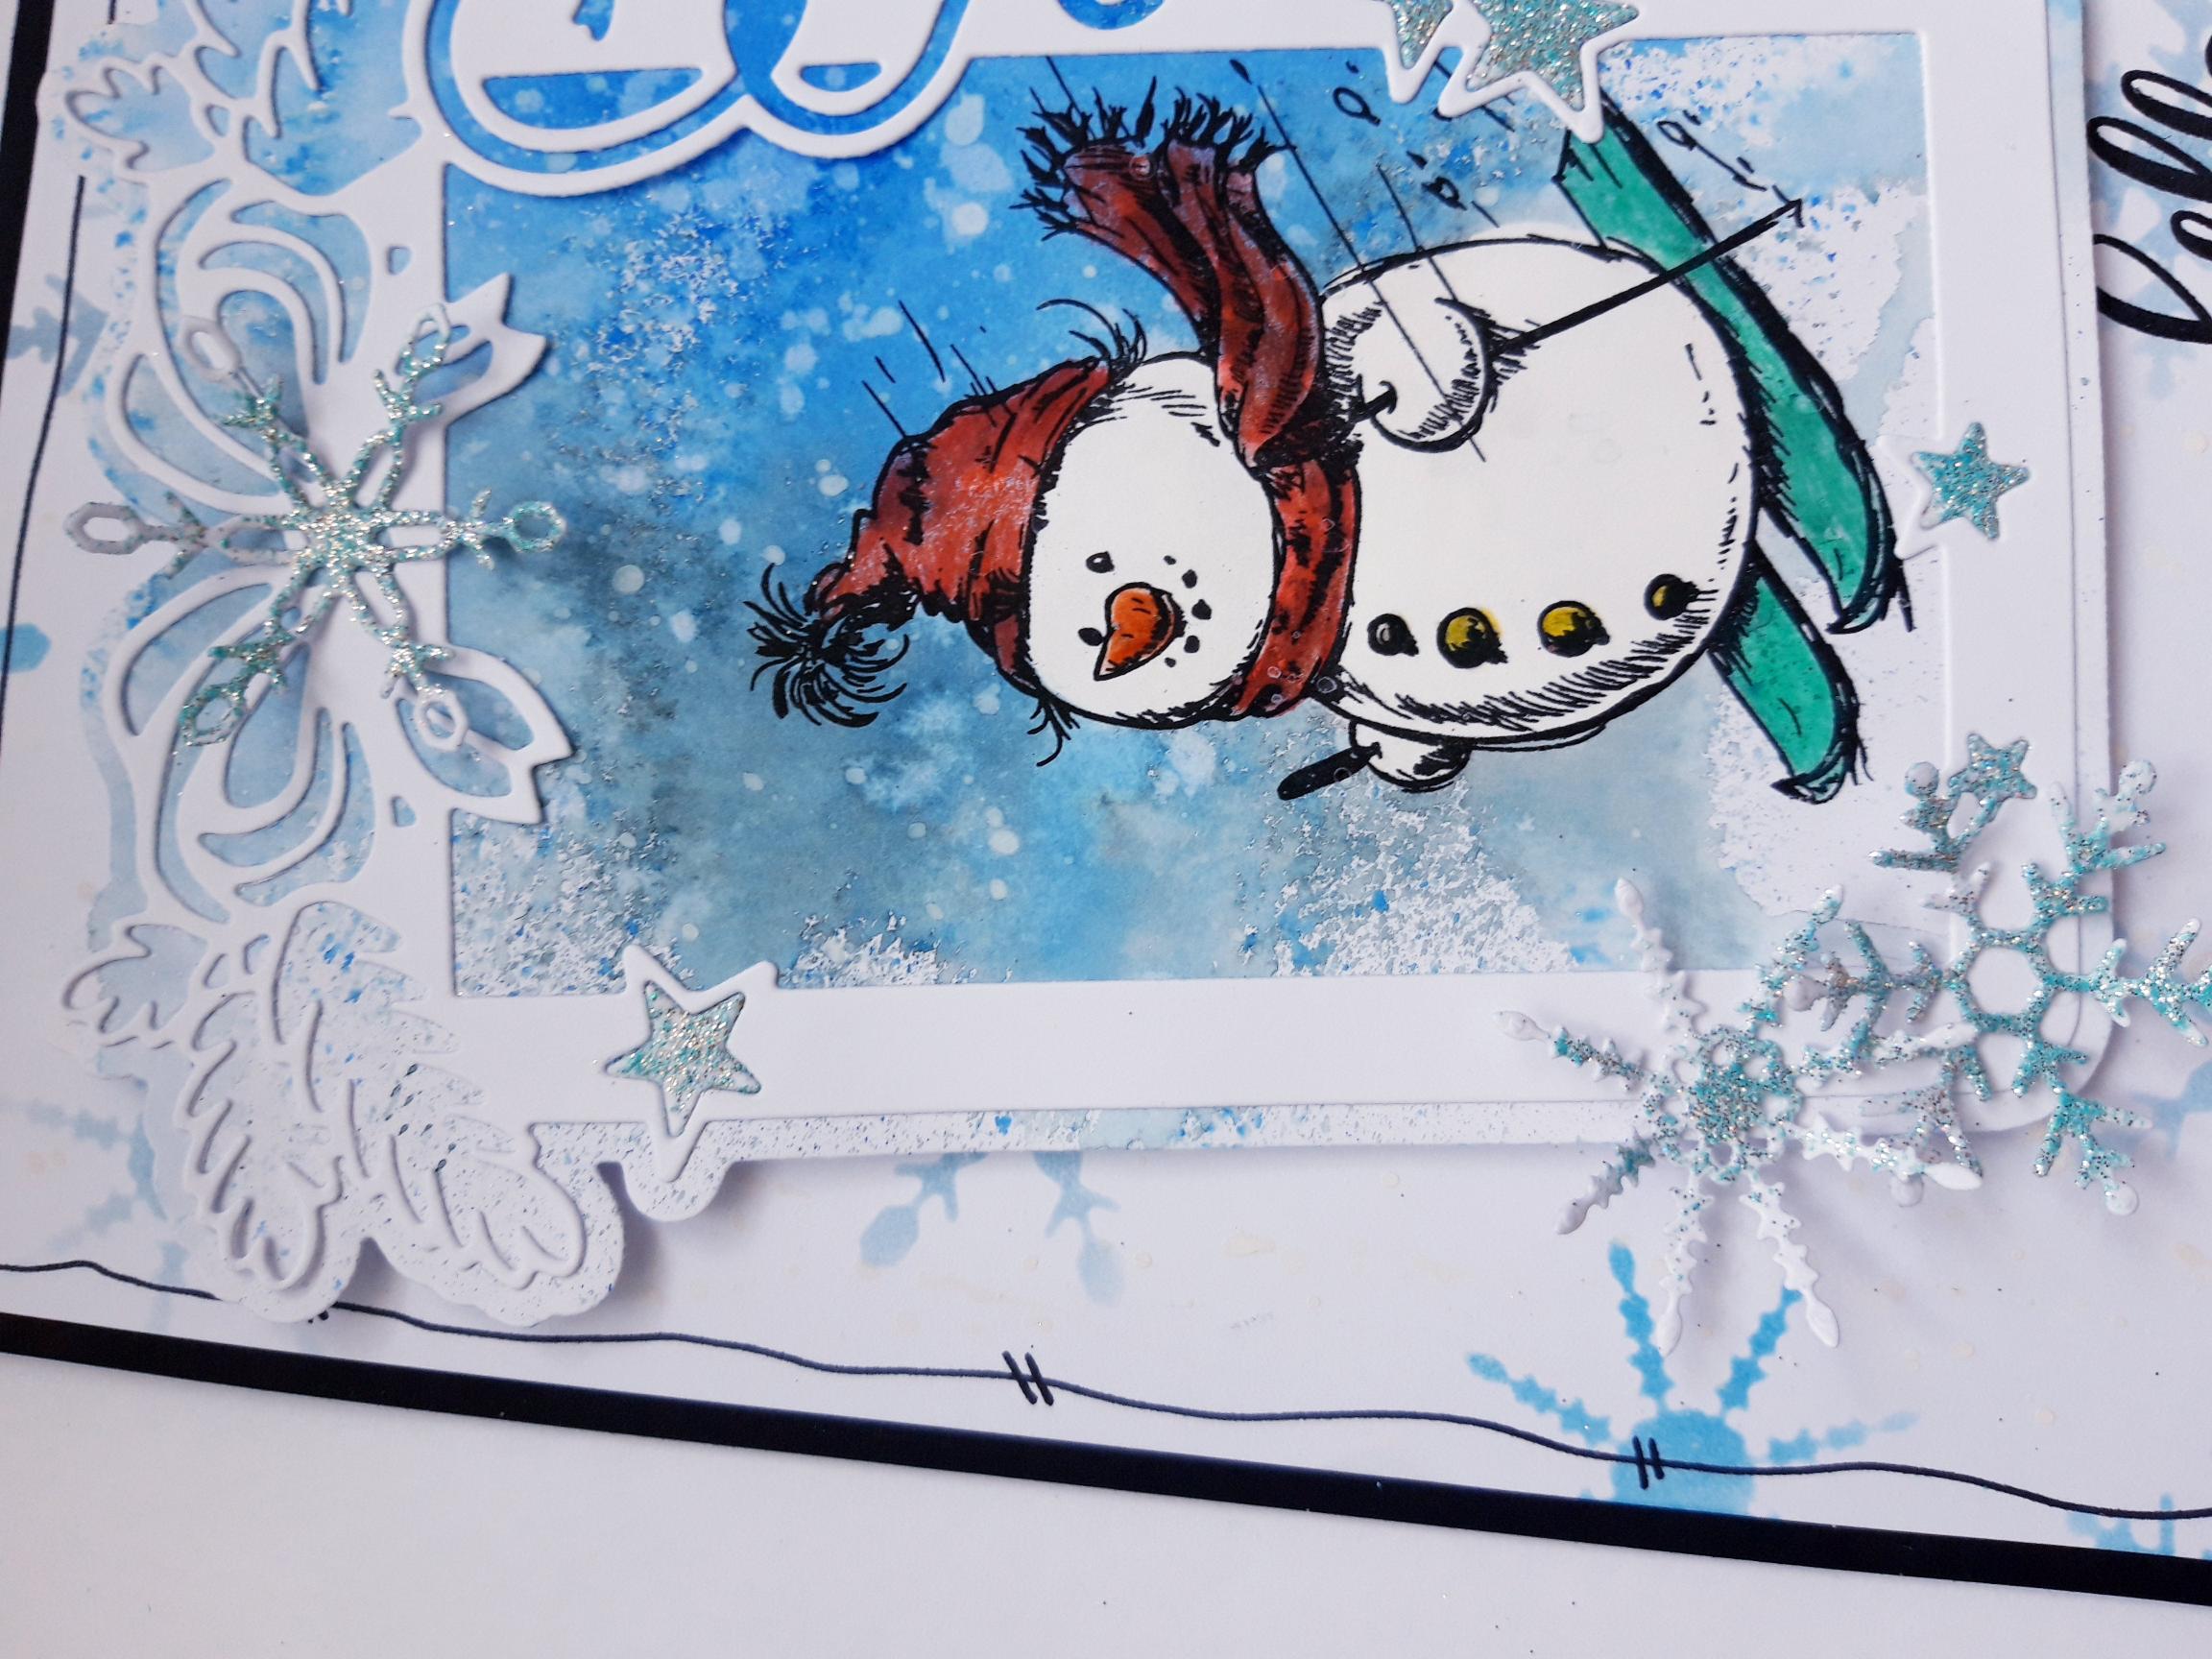
Ink up the Snowman stamp, from Dashing Through The Snow Stamp Collection, with the Onyx Black Versafine. Stamp on to your background. |
|
Apply water to your Snowman, wait a few seconds then "lift" out the ink, with a paper towel. This is called the "faux bleach" technique. You can also use diluted bleach, for a stronger lift. |
|
Colour in your stamped image with your HIMI Oil Pencils |
|
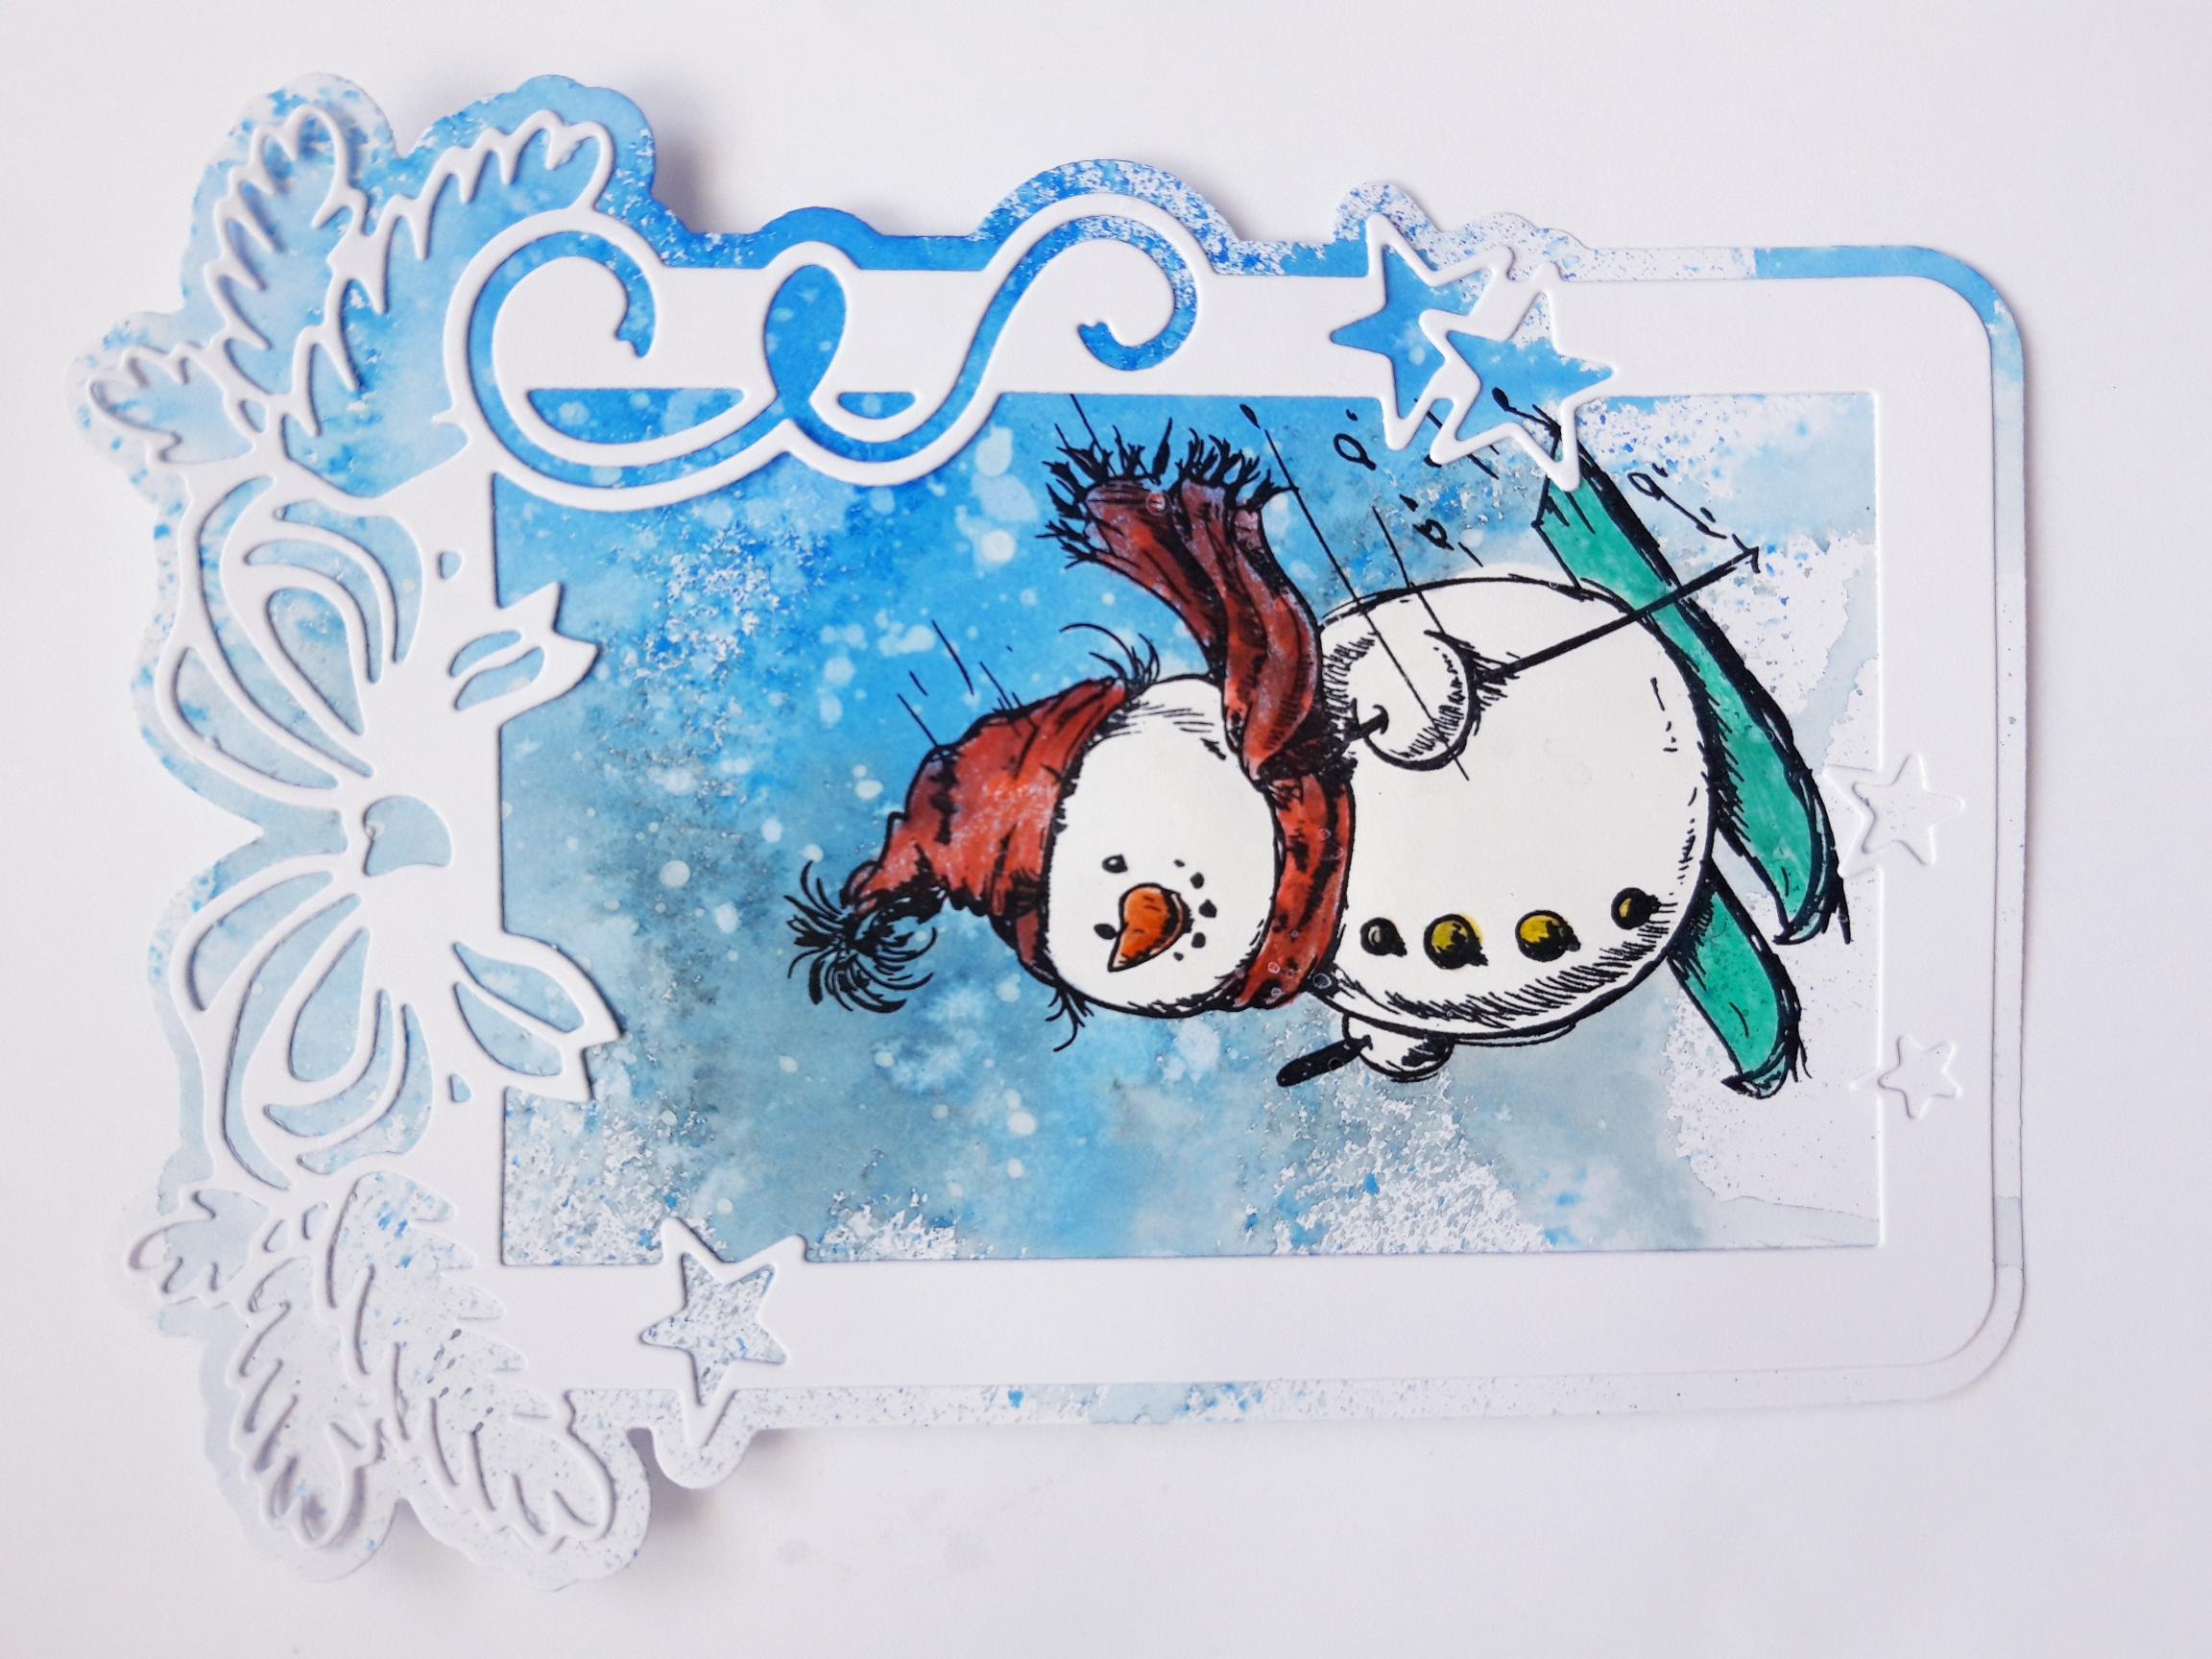
Adhere the white, die cut frame, in place, on to your artwork. Set to one side. |
|
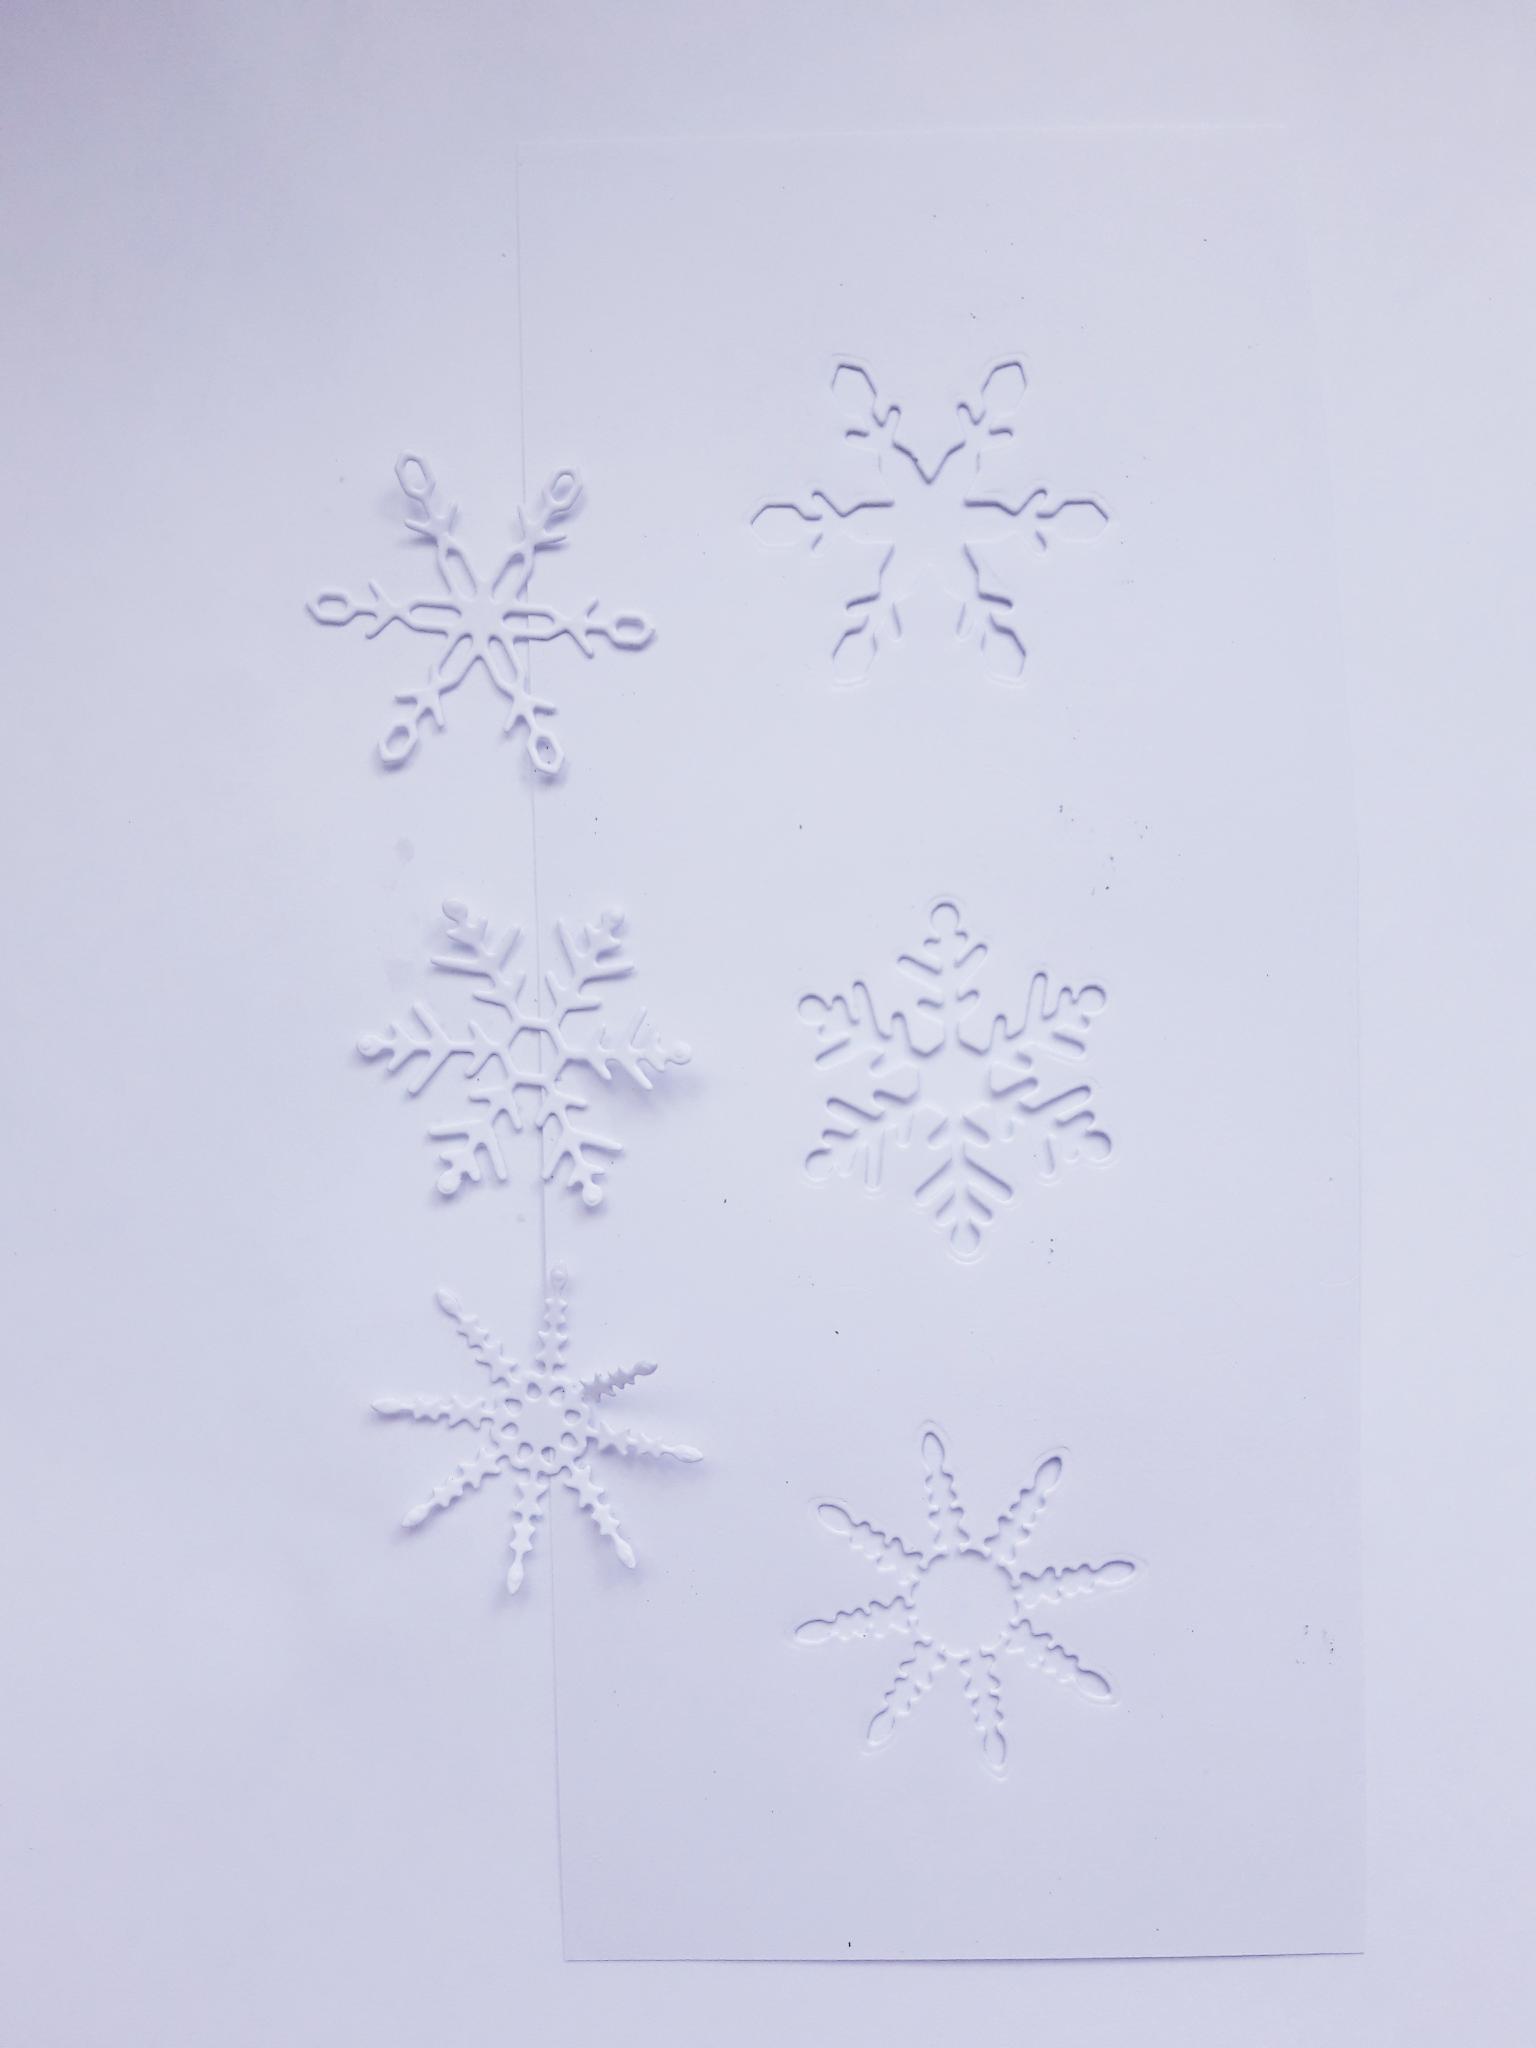
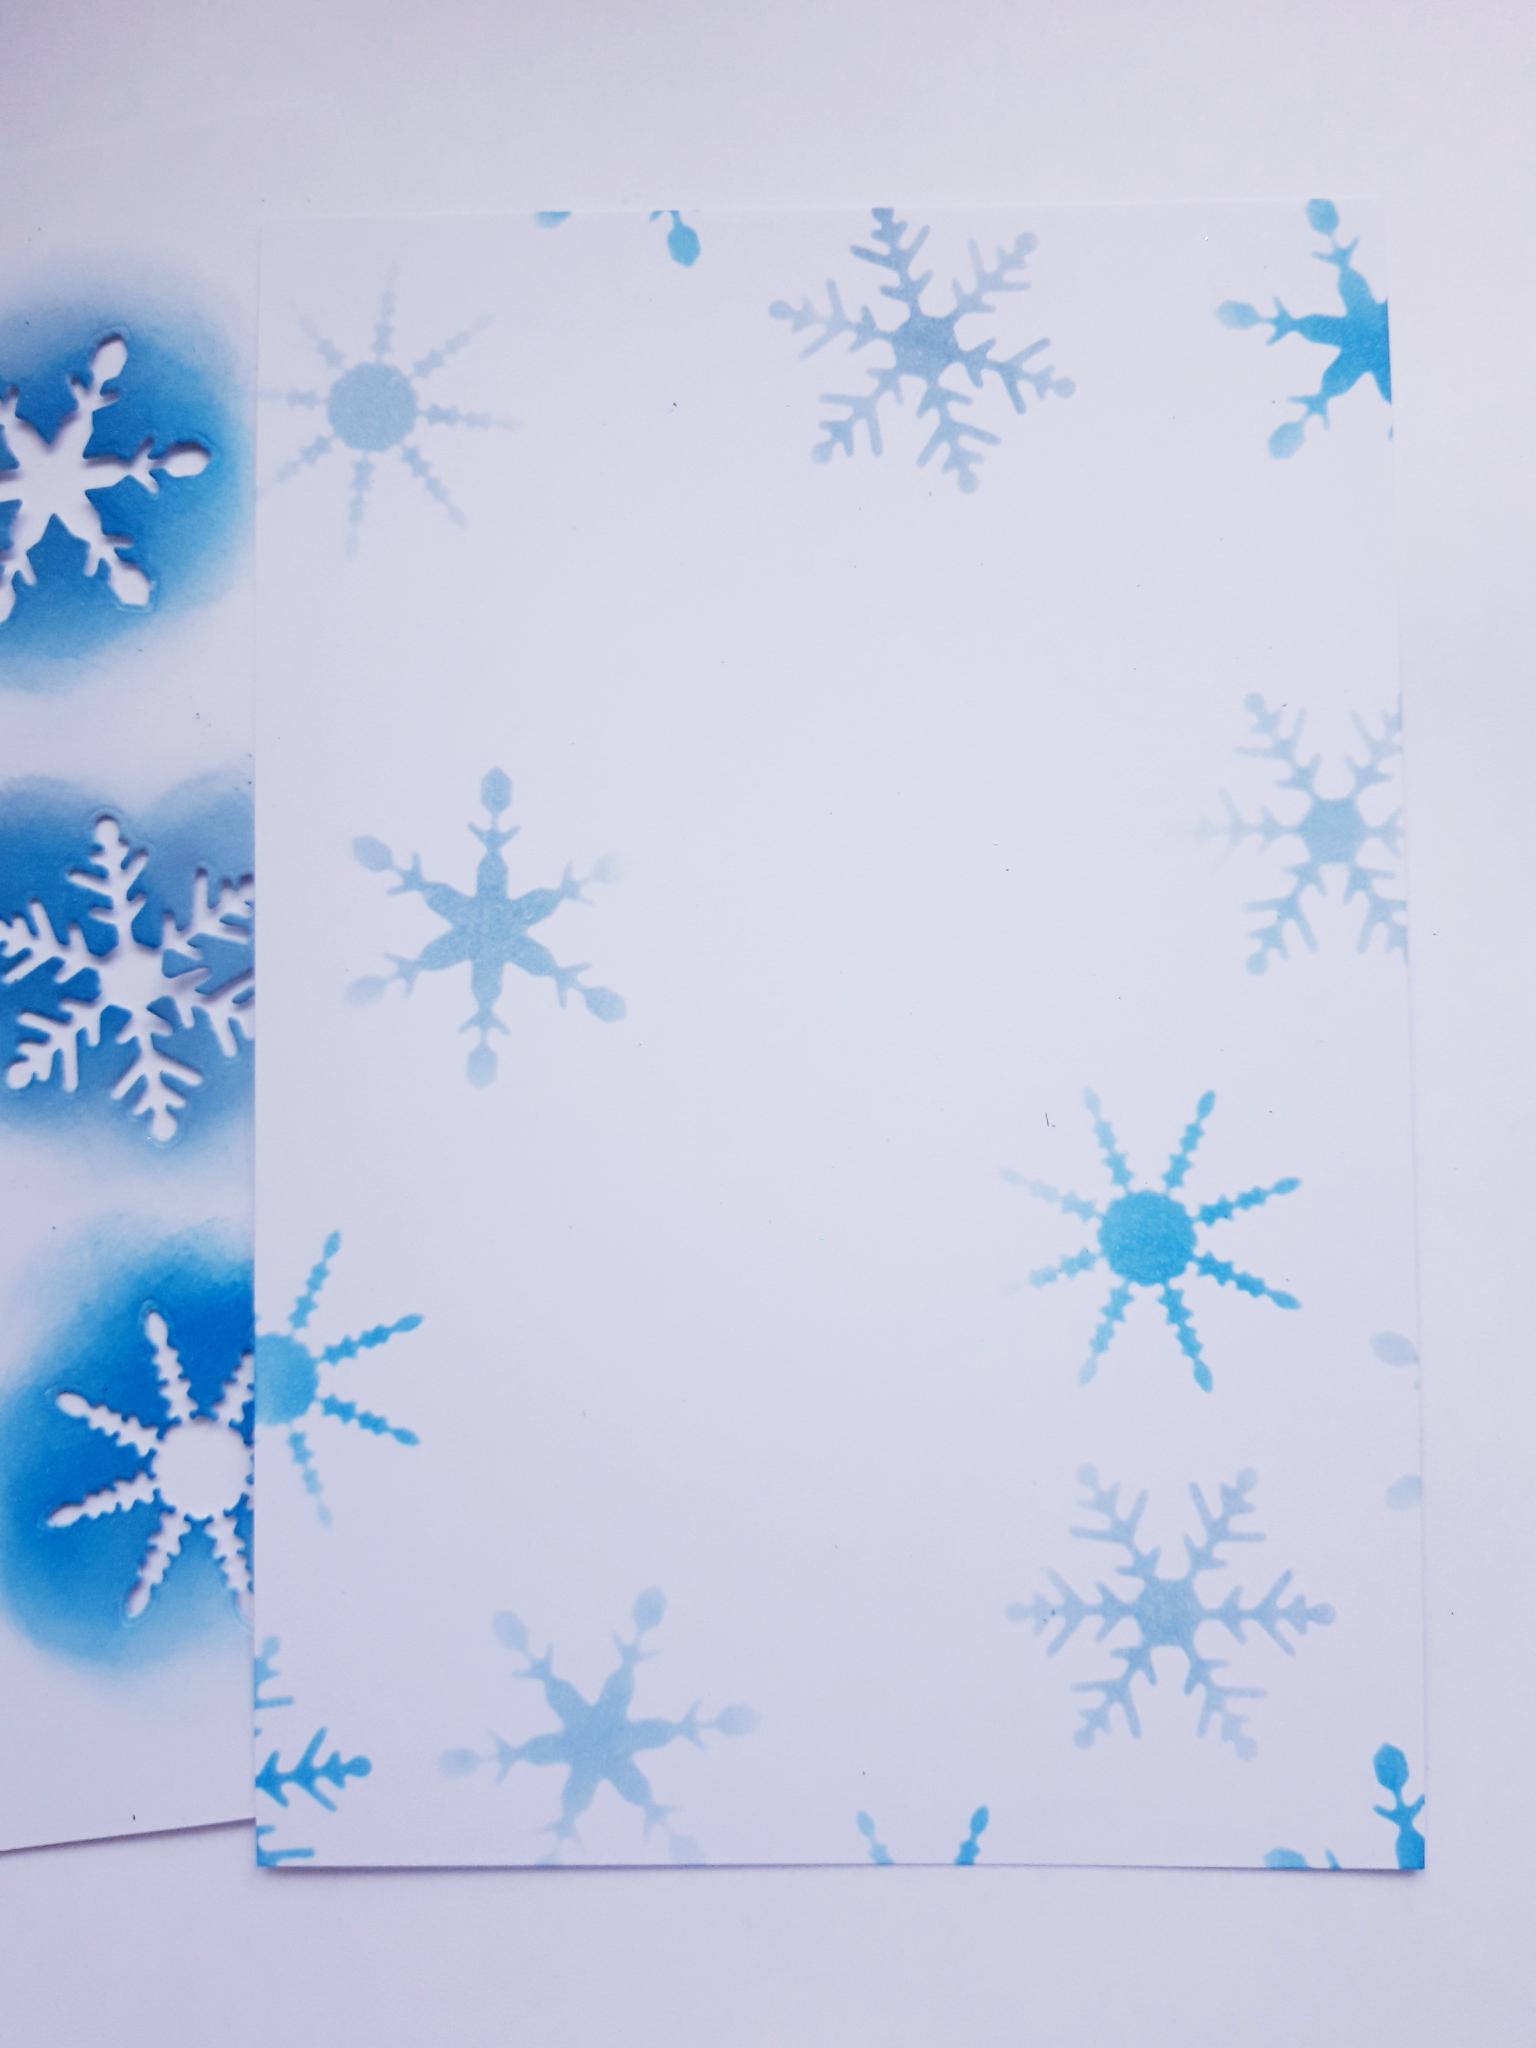
Die cut THREE snowflakes, from the white card set aside earlier, noting that the "waste" card will be used as a stencil. So think about the placement of the dies, before running them through your machine. NB: If you have any of the other frame die sets then you will be able to cut out three different snowflakes. |
|
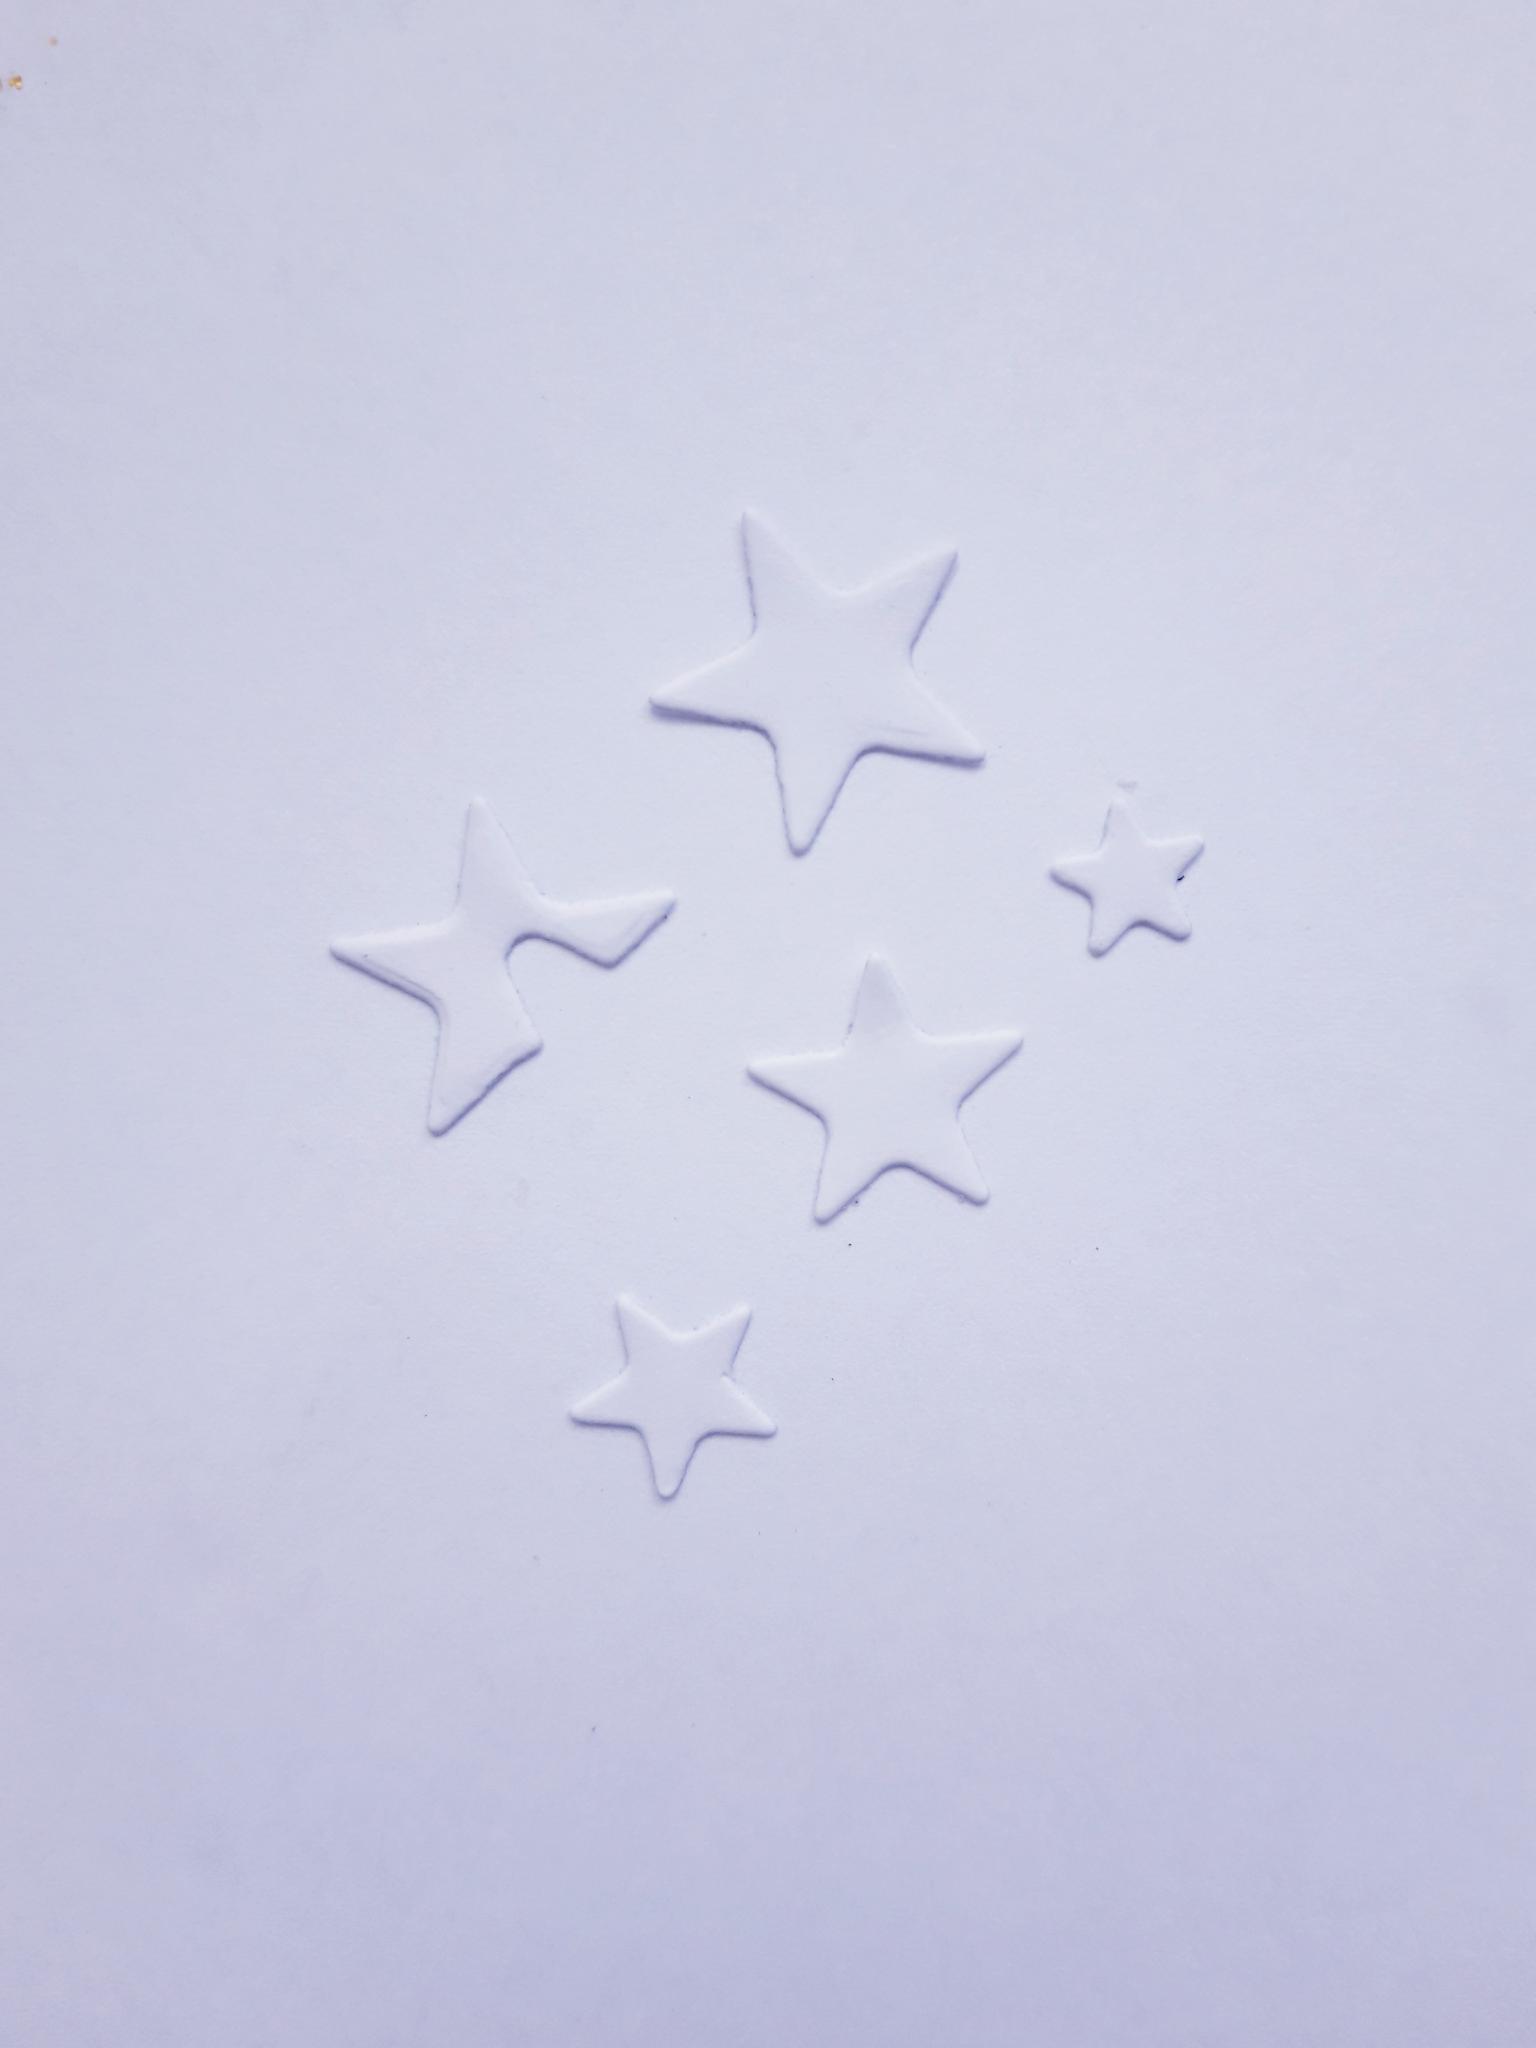
From the "bits" that fell out of the die cut frame (that you set aside earlier), decide which pieces you wish to paper piece back in. You can discard the rest. As you can see from this photo I chose a few of the stars. |
|
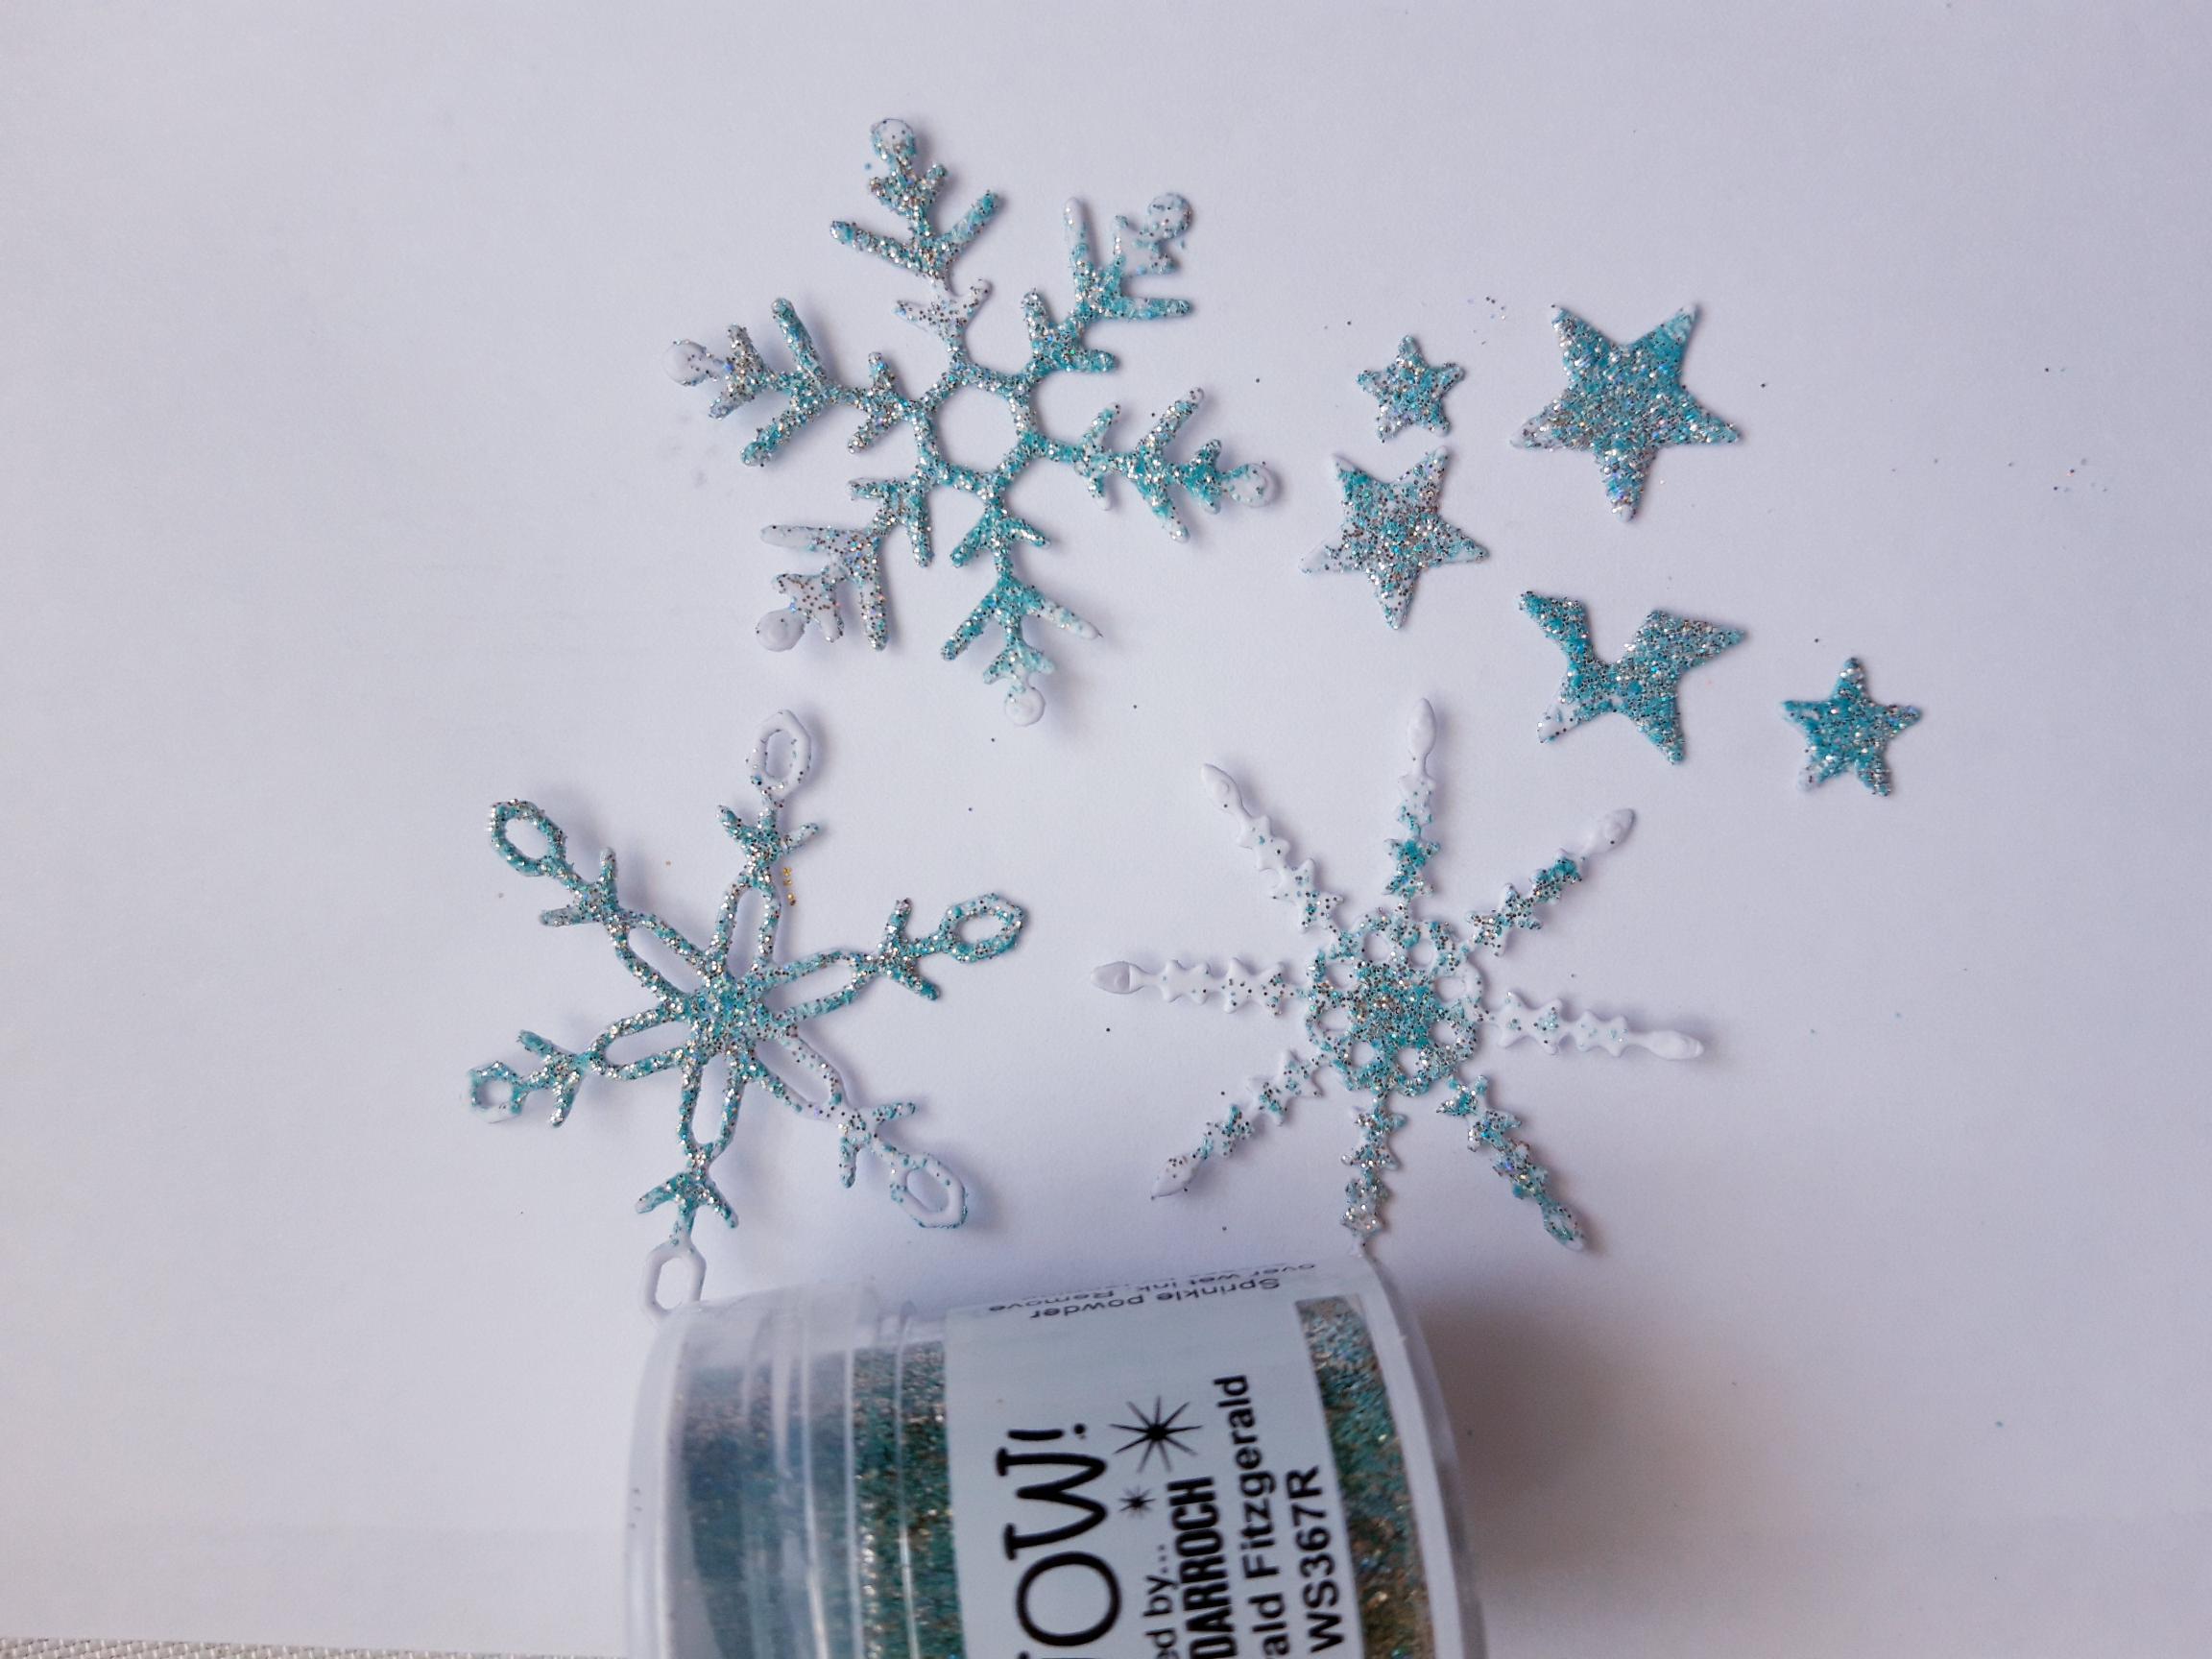
Push each of the die cut elements in to the WOW Embossing ink Pad. Cover with the WOW Emerald Fitzgerald Embossing powder, then heat set with your WOW heat tool. TIP: I held each die cut element with tweezers, to heat set the powder, without burning my fingers. Set the snowflakes to one side. |
|
Paper piece the elements you embossed, back in to the frame. Set this to one side. |
|
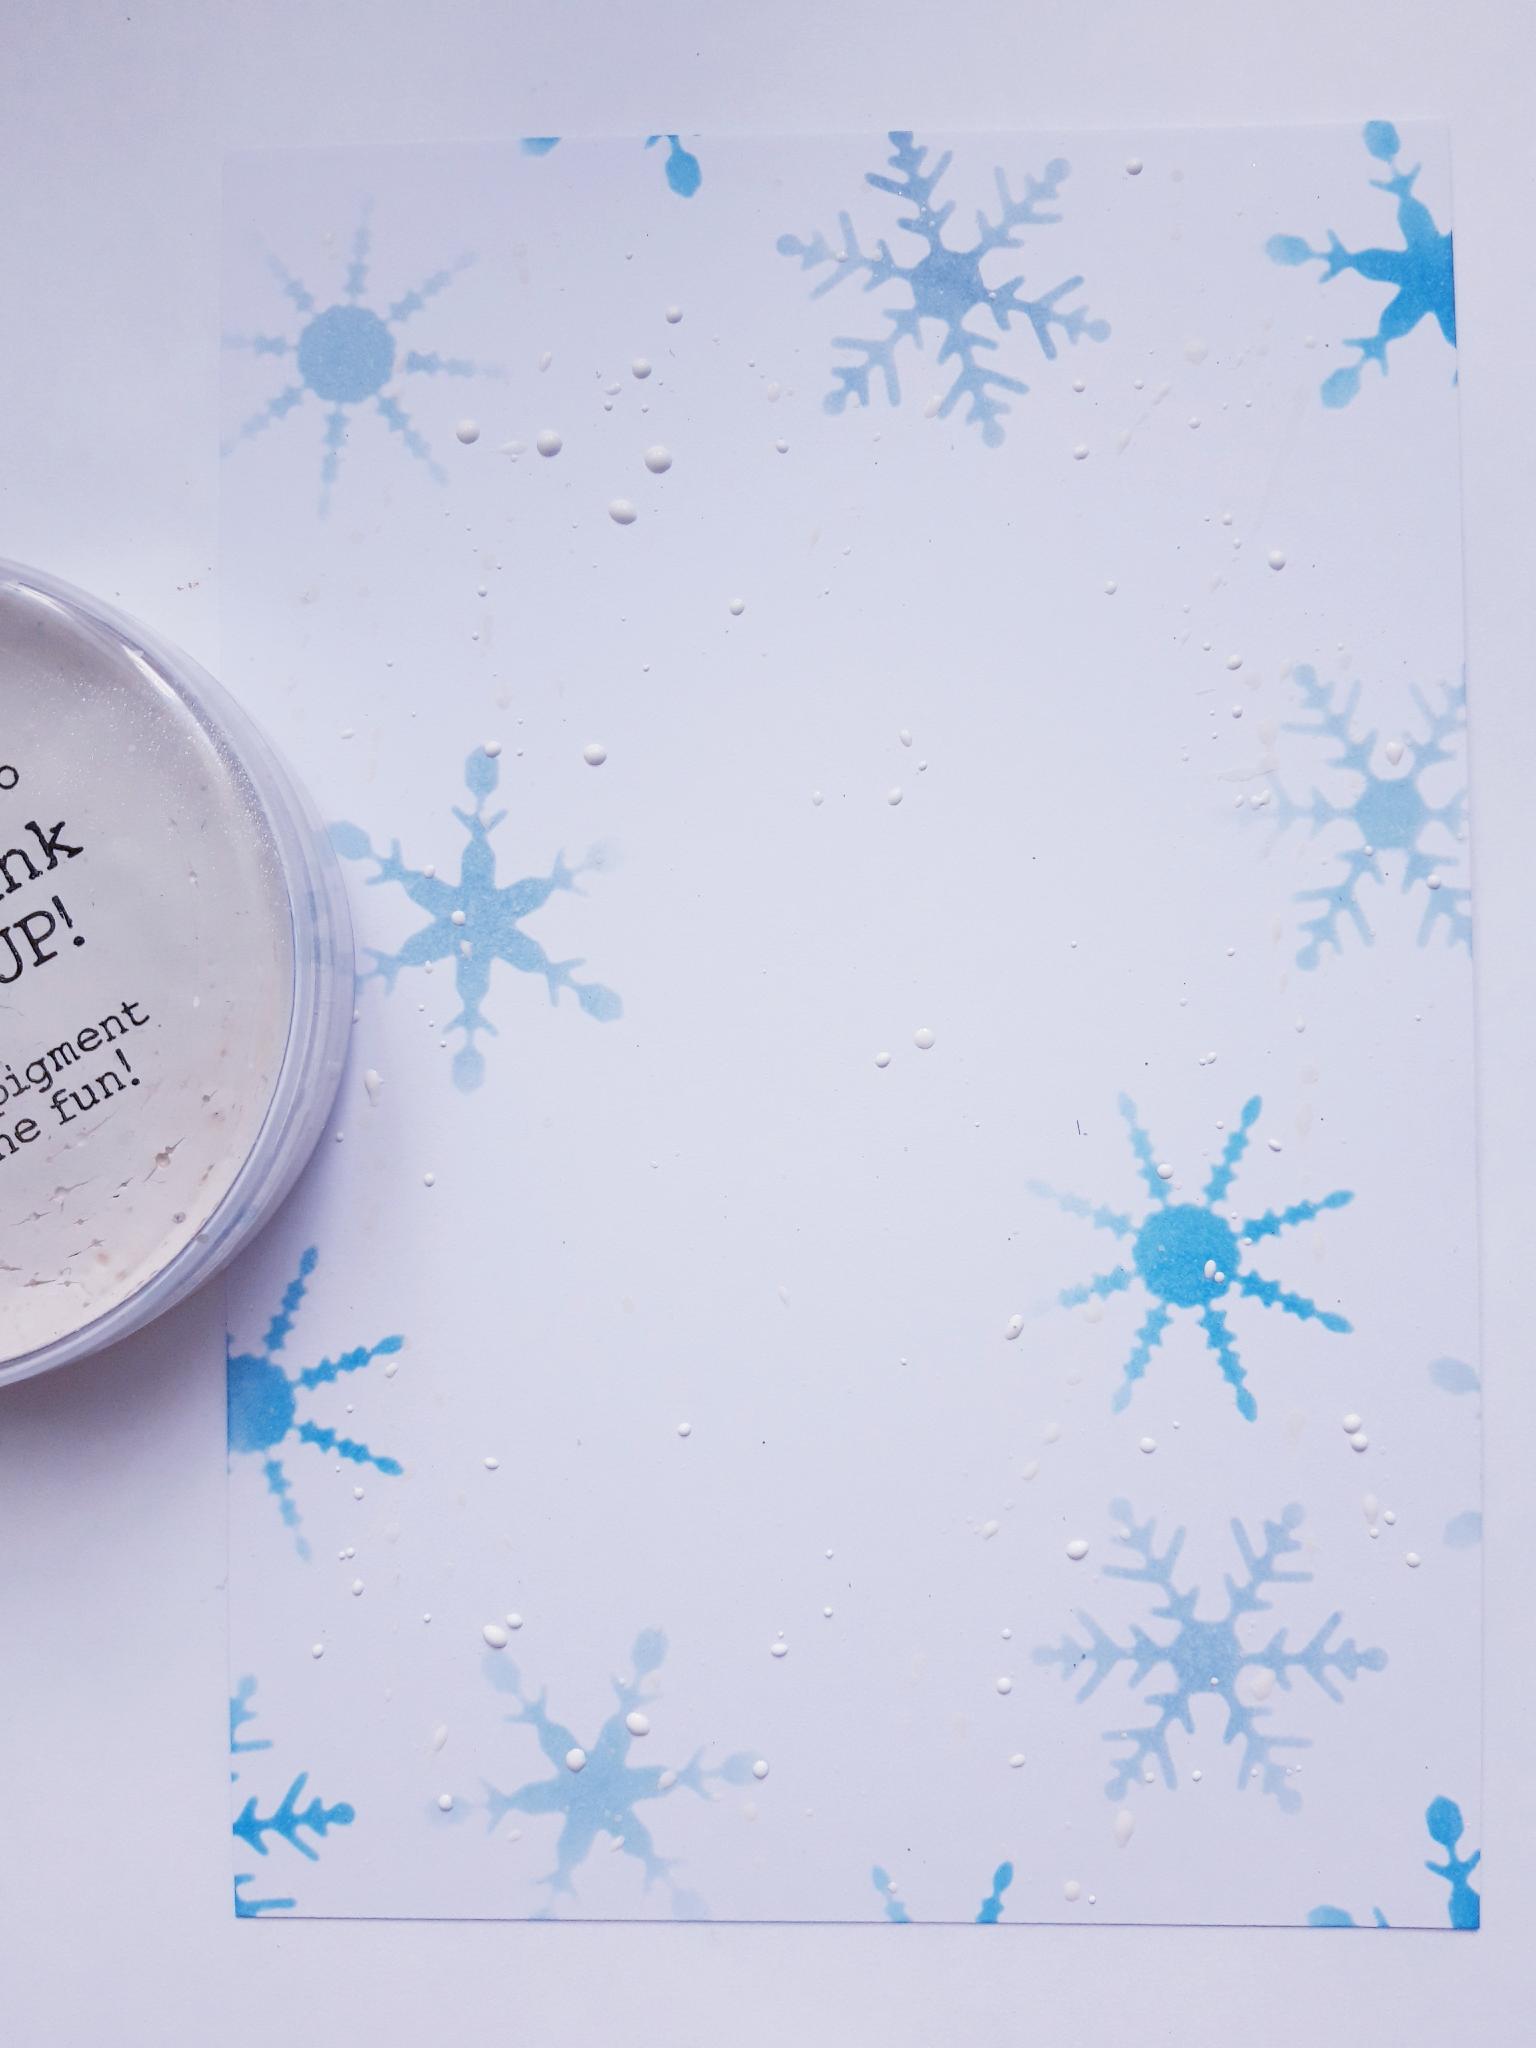
Using the stencil you created from the waste of the die cut snowflakes, blend the Izink Pigments randomly over the white card (8 x 5 1/2"), to create a decorative background. |
|
Add water to the Confetti Paint, add splatter over your stencilled background. |

|
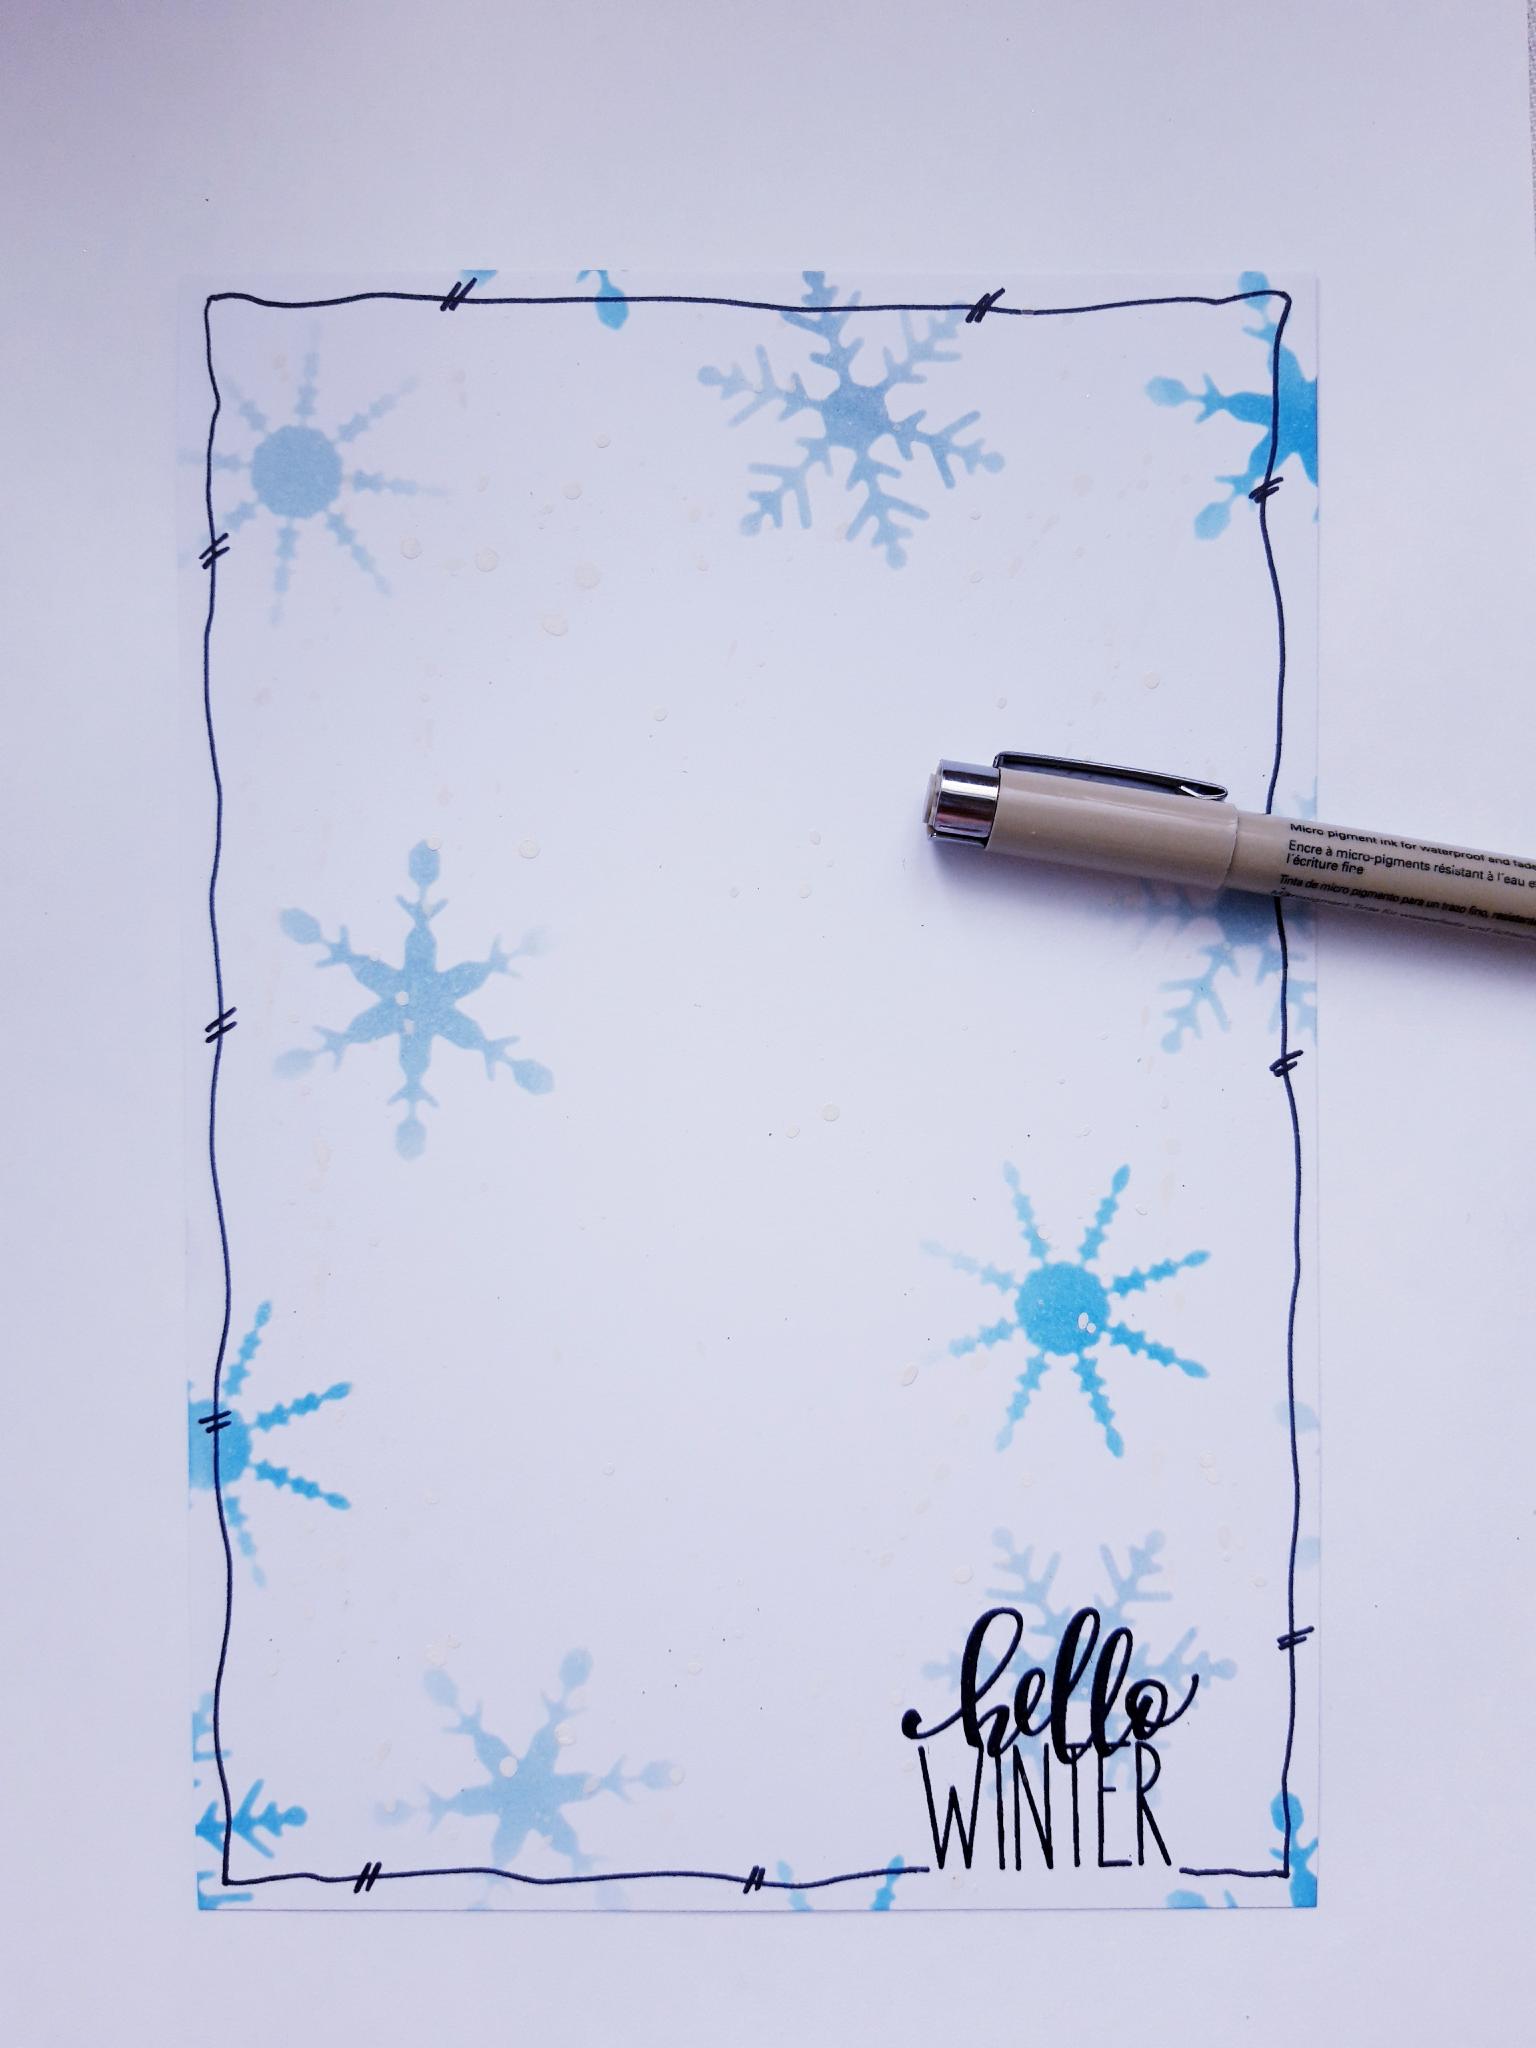
Ink up the sentiment, from the Christmas Blessings Stamp Collection, with the Onyx Black Versafine, and stamp in the bottom right corner of your background. TIP: Use your framed artwork as a guide, to make sure you stamp the sentiment in the correct place. |
|
Use a black pen to draw a decorative, wiggly frame, around your background. |
|
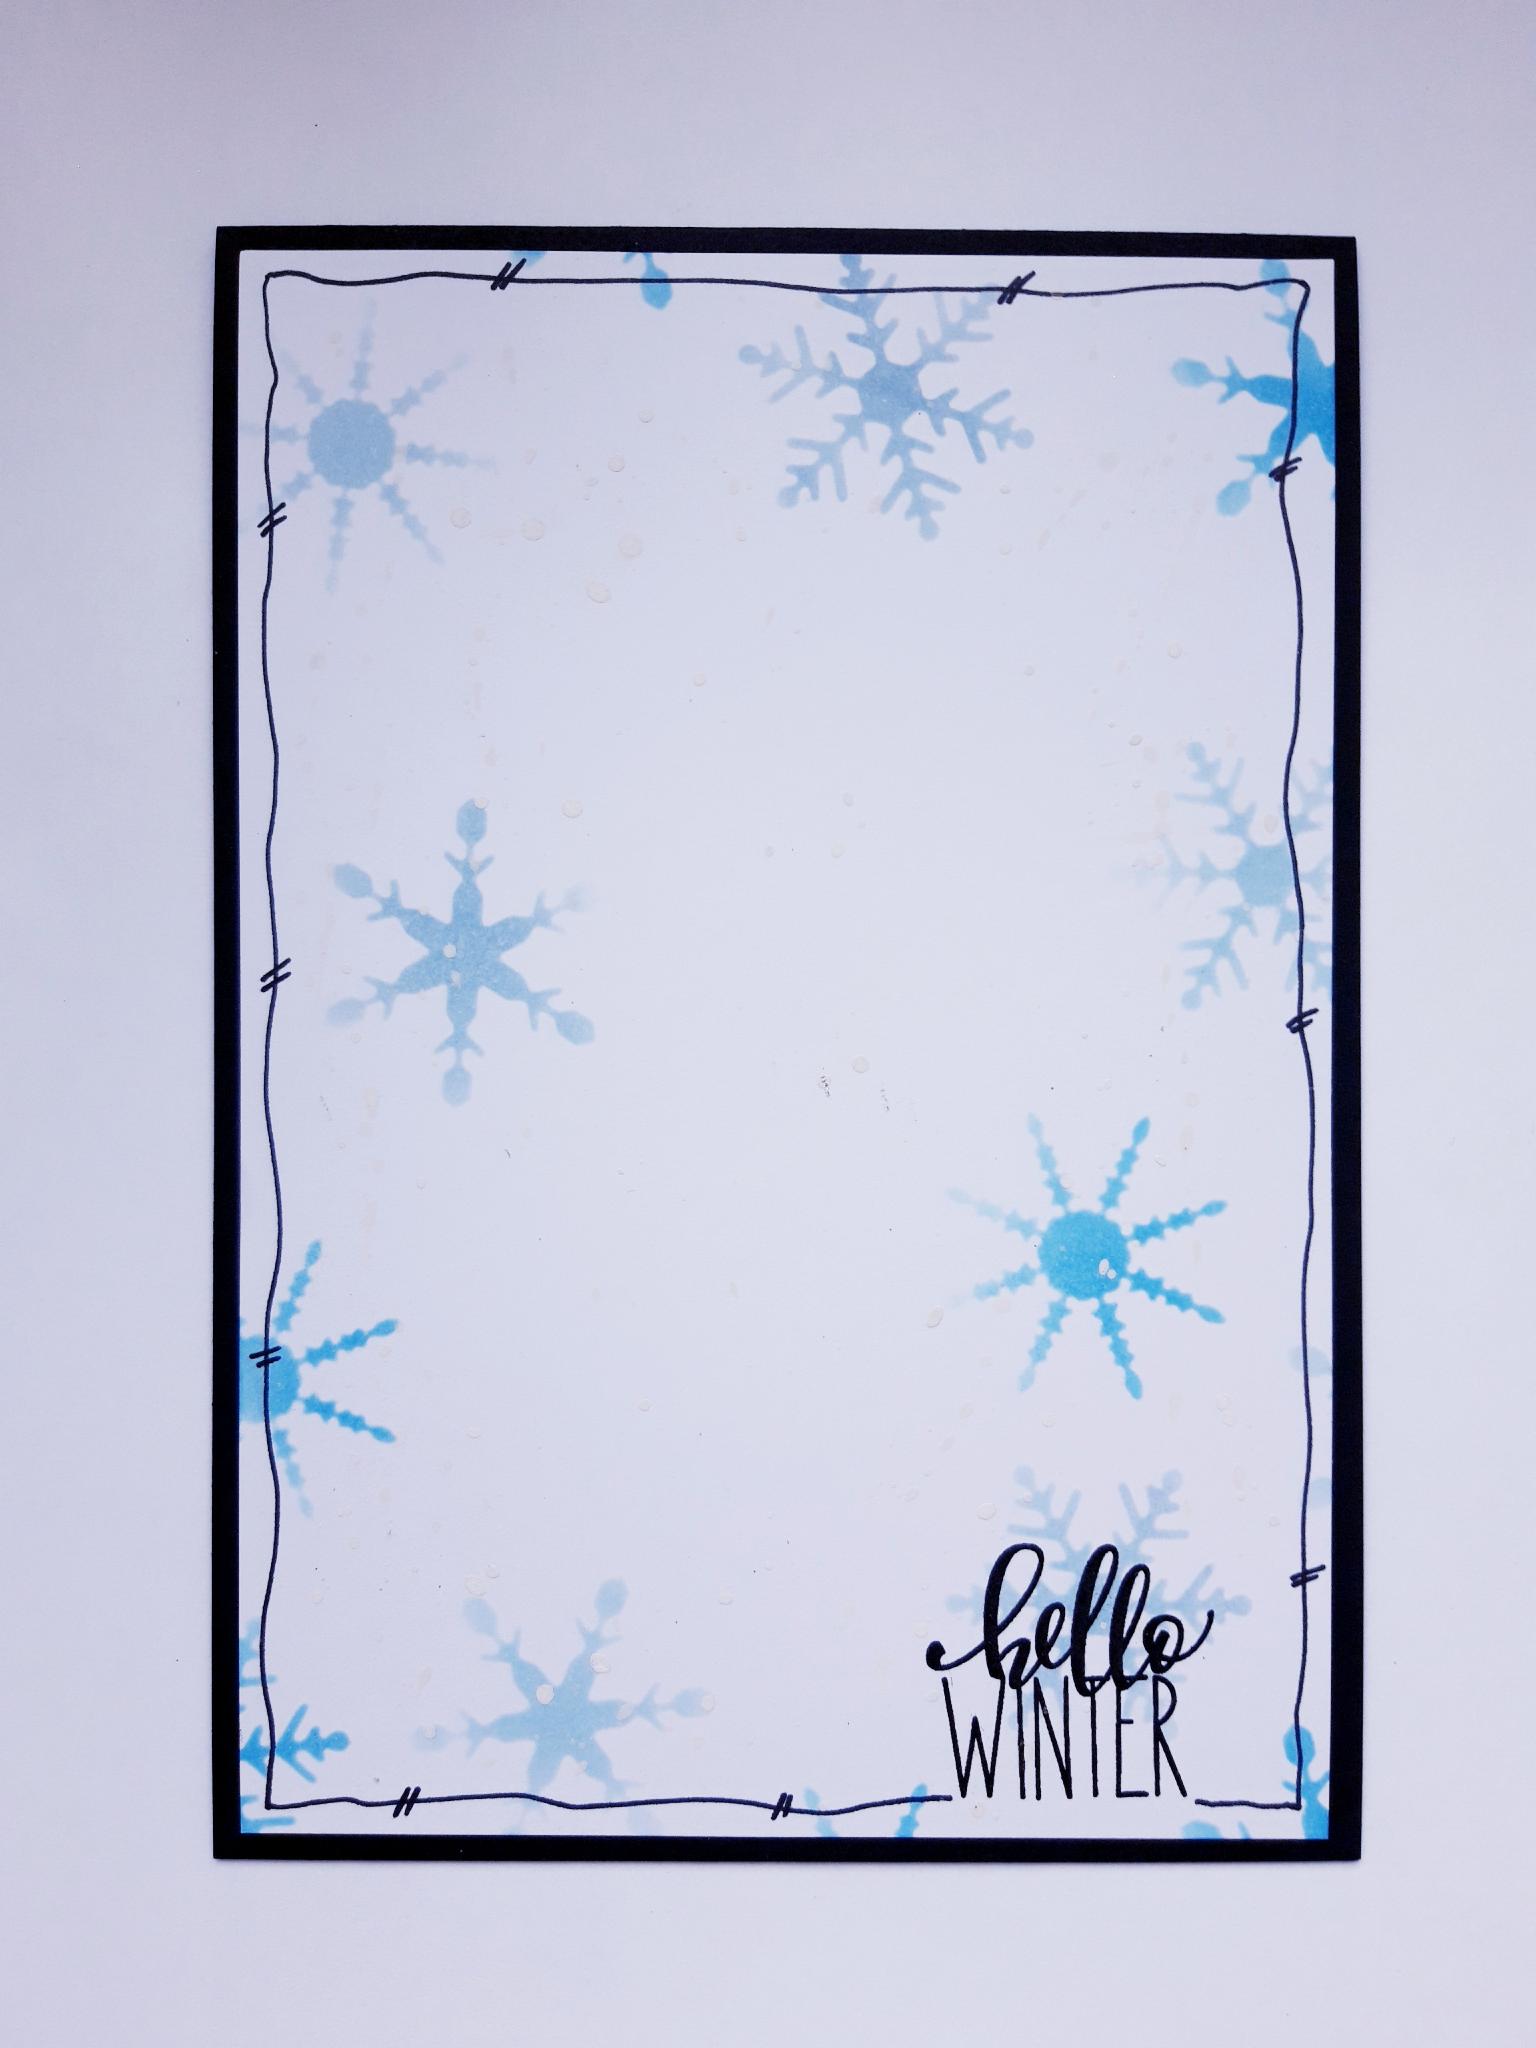
Adhere your background on to the front of your black, top folding card blank. |
|
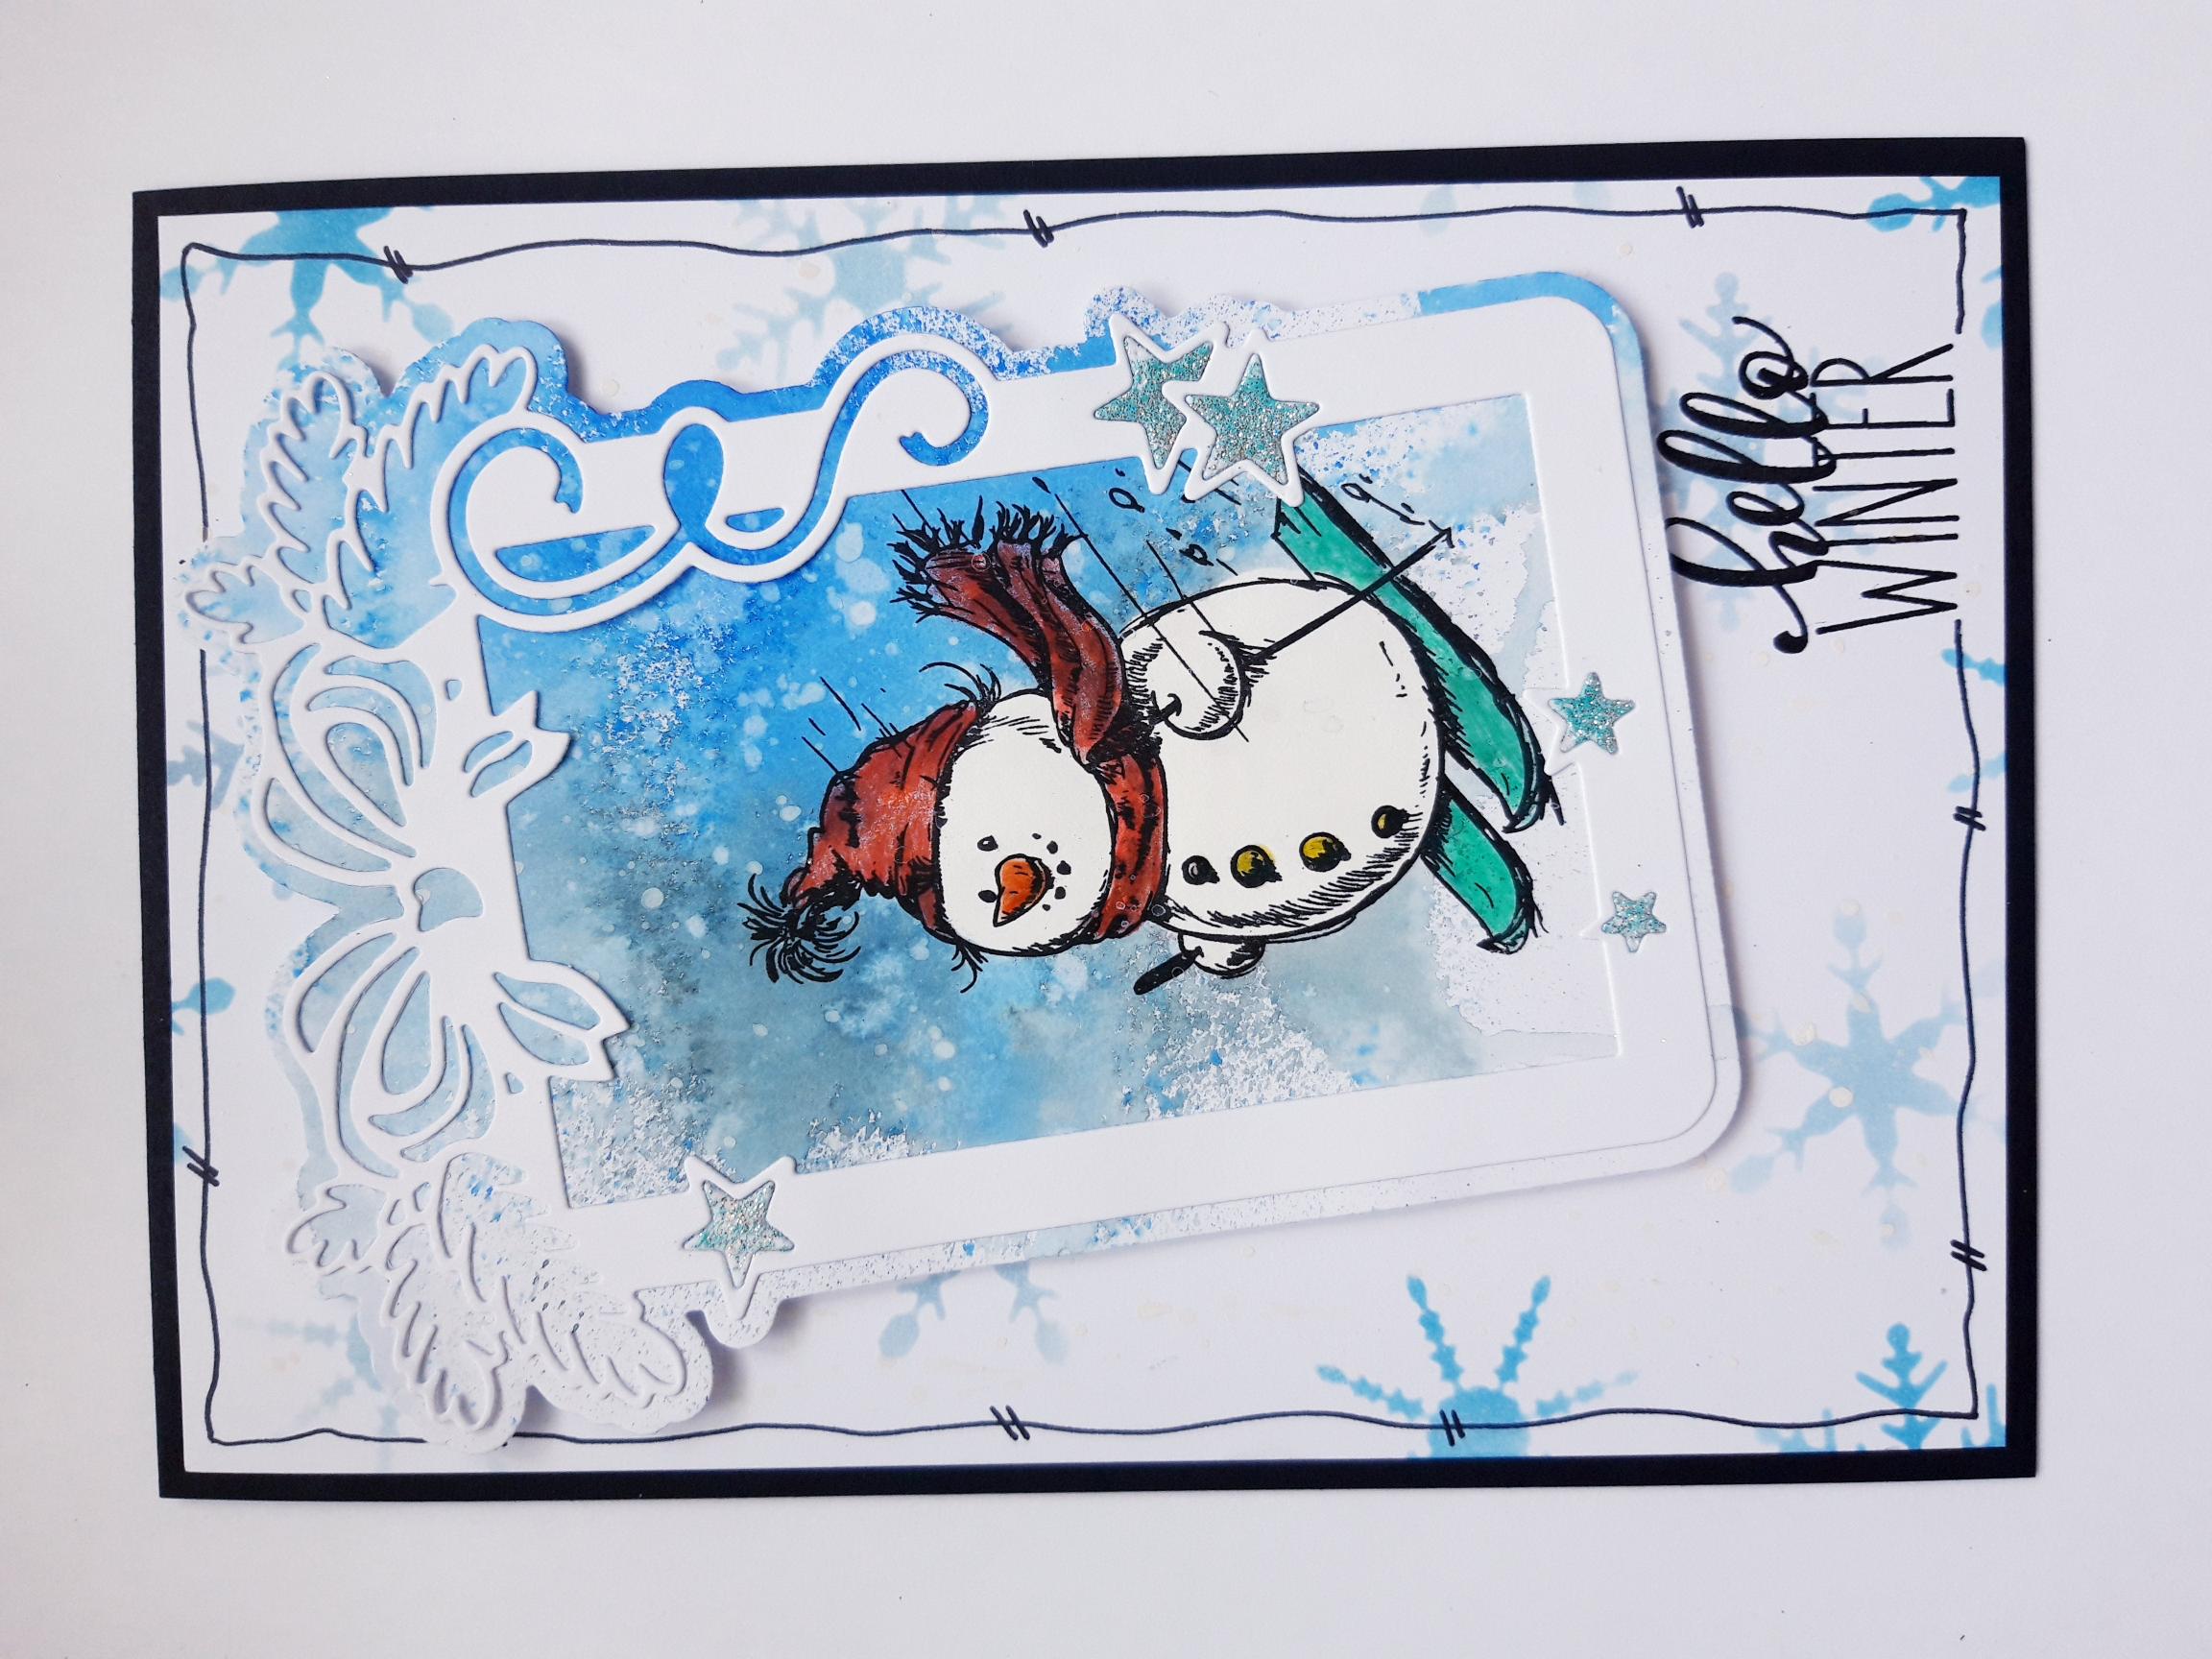
Adhere your framed artwork on to the card, wonky...or straight!! And flat with wet glue, or raised with foam pads, for added dimension. You choose... |
|
Adhere your embossed snowflakes, around your frame, where required. |
|
Add Liquid Pearl drops on, and around, the snowflakes, to finish. |