Give your friends $10 off their first order!
Refer a FRIEND


WHAT YOU WILL NEED:
Pink top folding card blank (Cut to 7 x 5")
Black card (6 3/4 x 4 3/4")
White card (6 1/2 x 4 1/2")
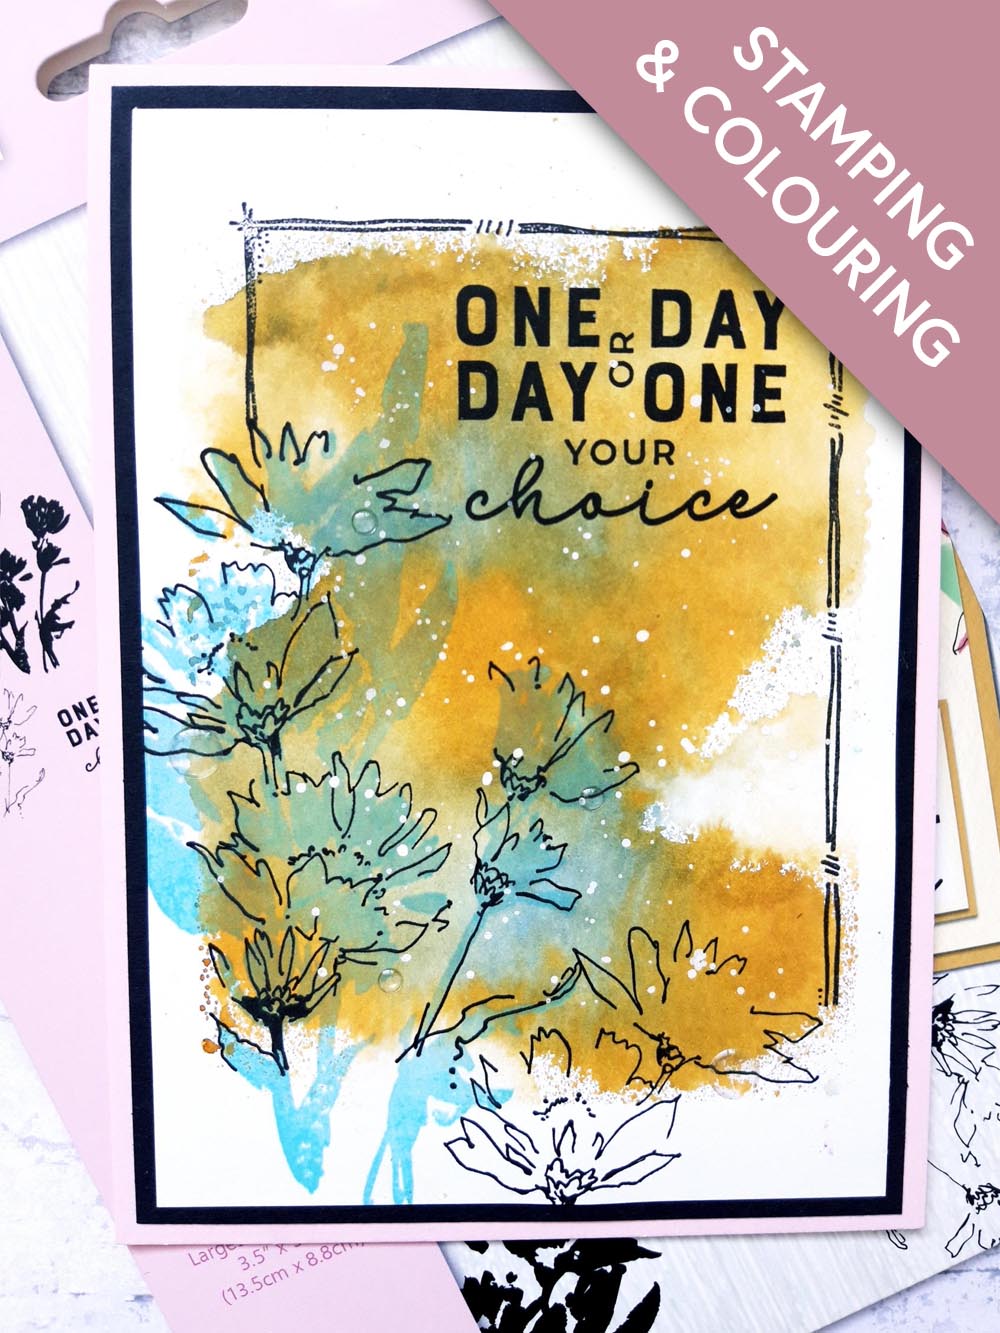
Stamps from Your Choice Lamination Stamp Collection
Stamps from Dash Frame Stamp Collection
Acrylic Block (approx 5 1/4 x 4")
Versafine Ink Pad: Onyx Black
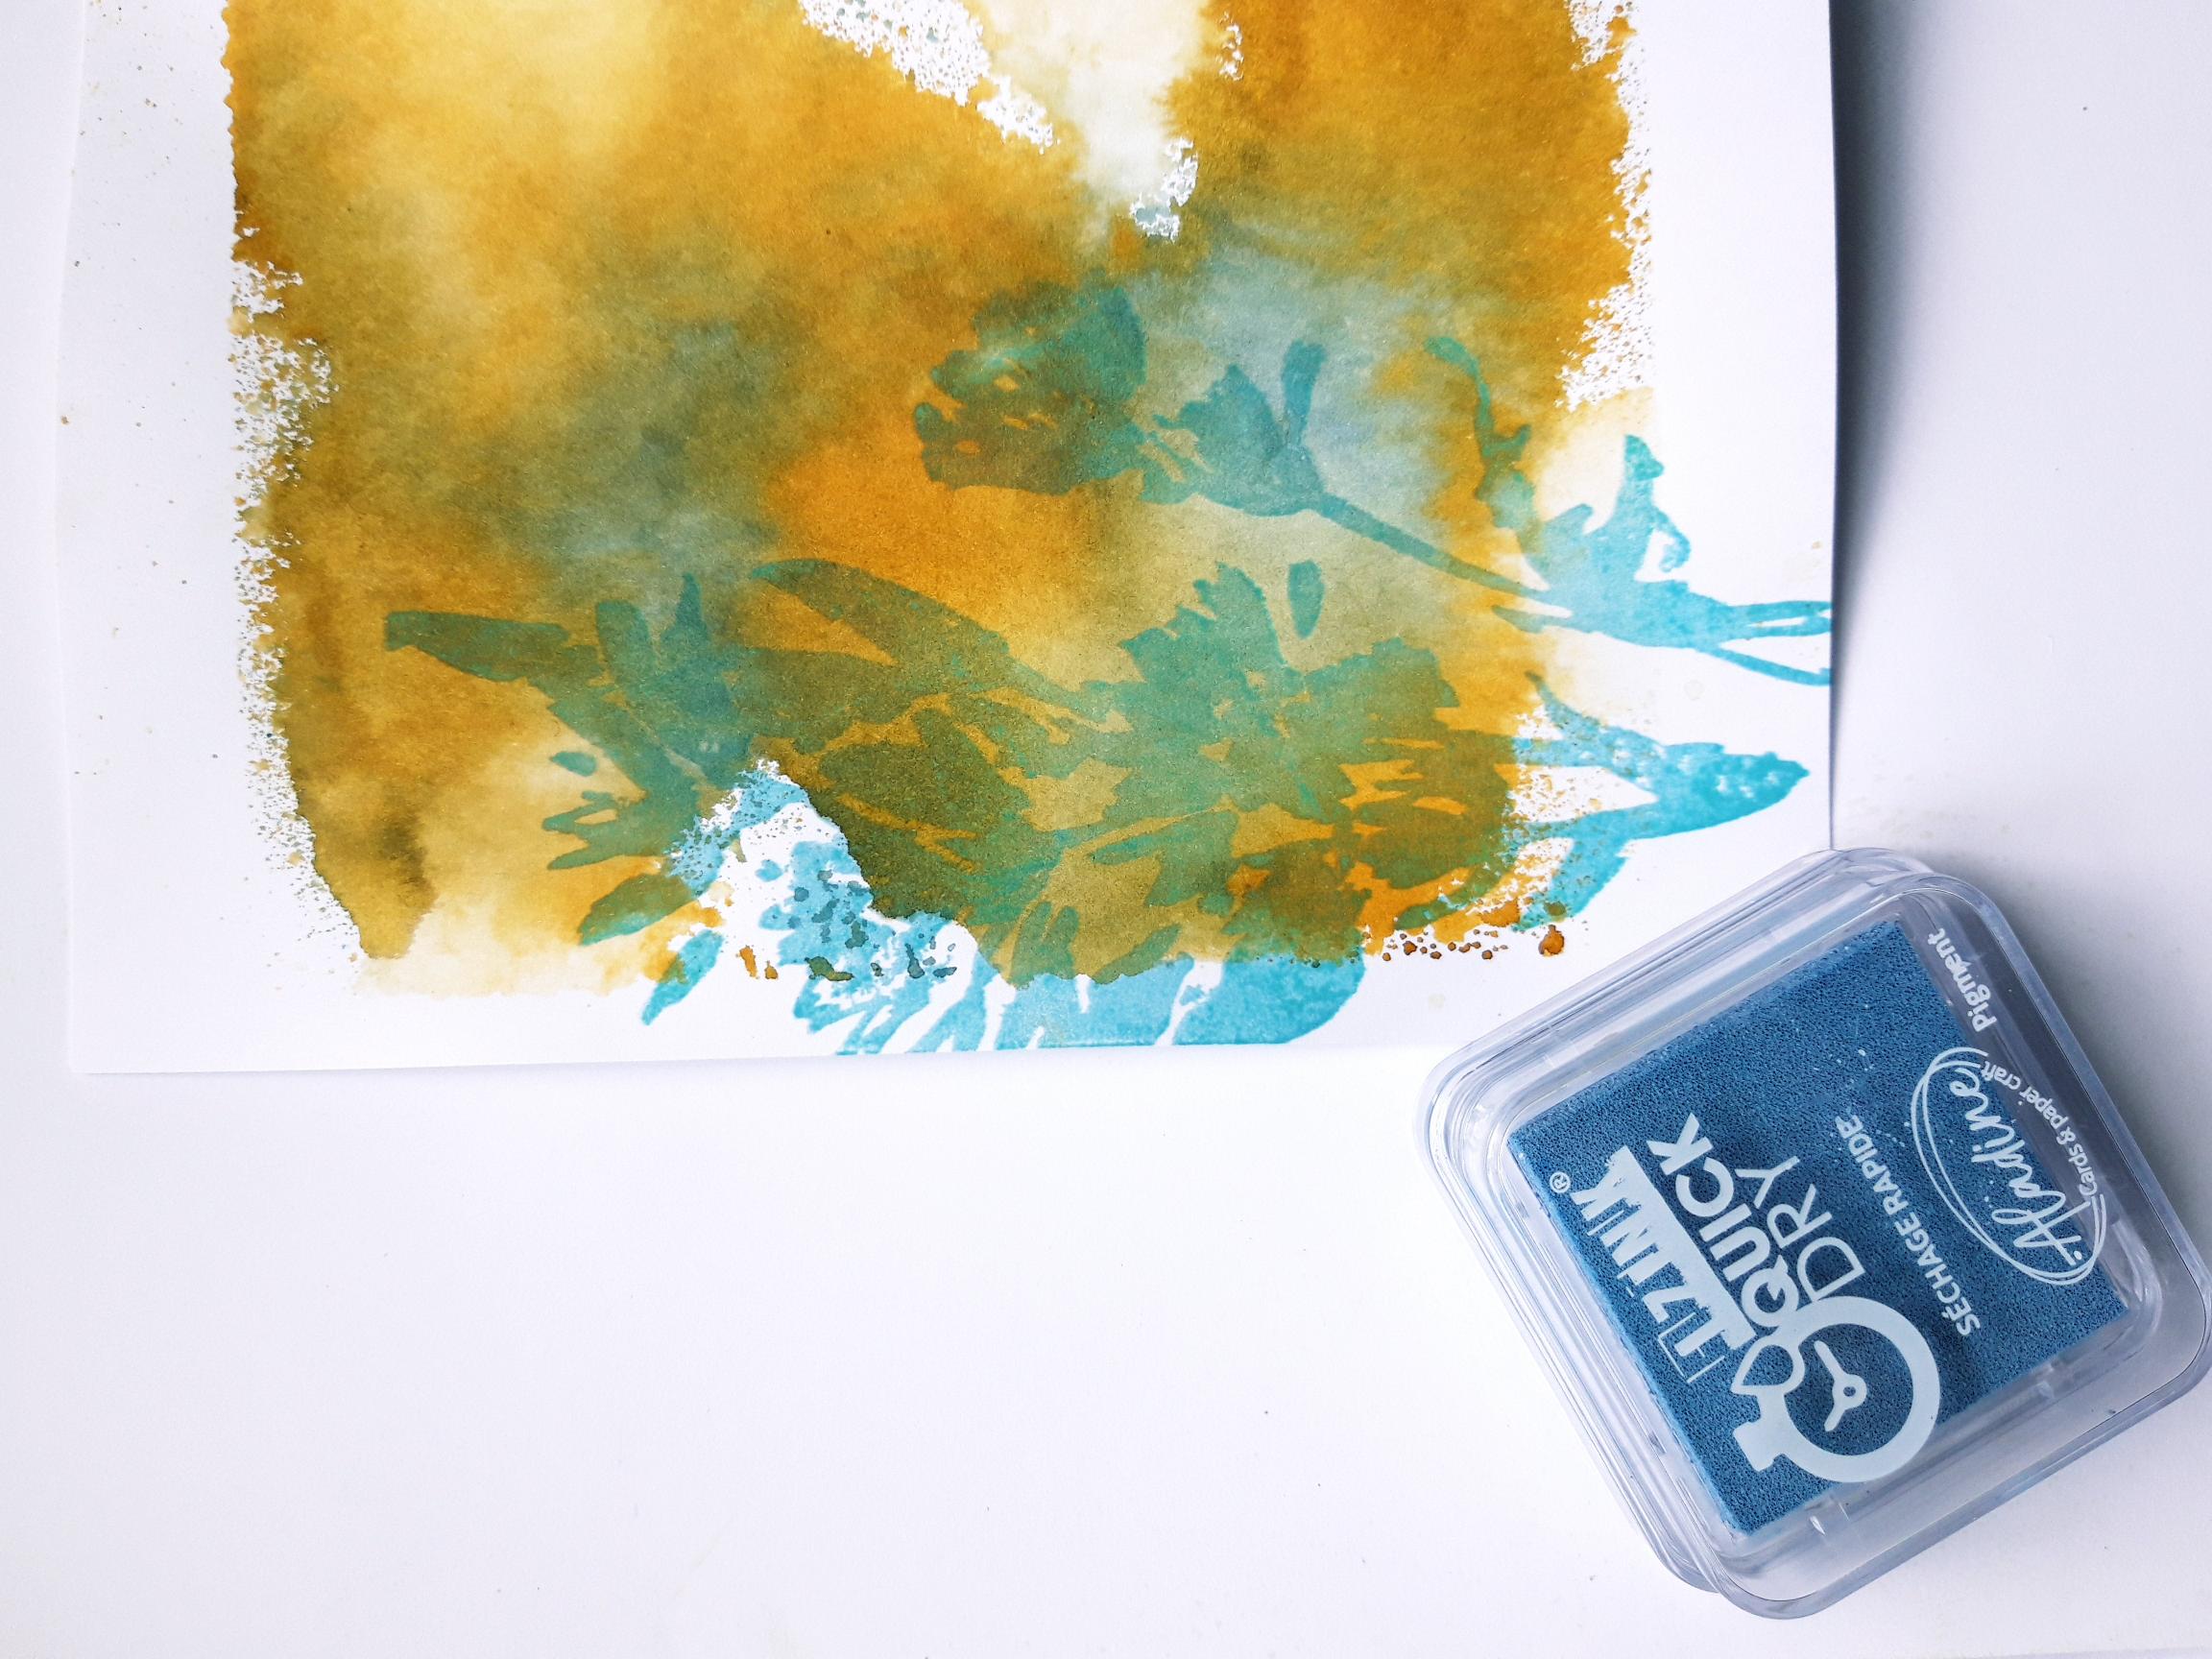
Izink Dye Spray: Morning Mist, Butterscotch
Izink Pigment ink pad collection: Vintage: Dark blue
Water spray bottle
Thirsty Brush Confetti Paint: White Lace
Paint brush
Clear adhesive gems
Eureka 101
Paper Trimmer
Perfect Together Glue
[click image to enlarge] 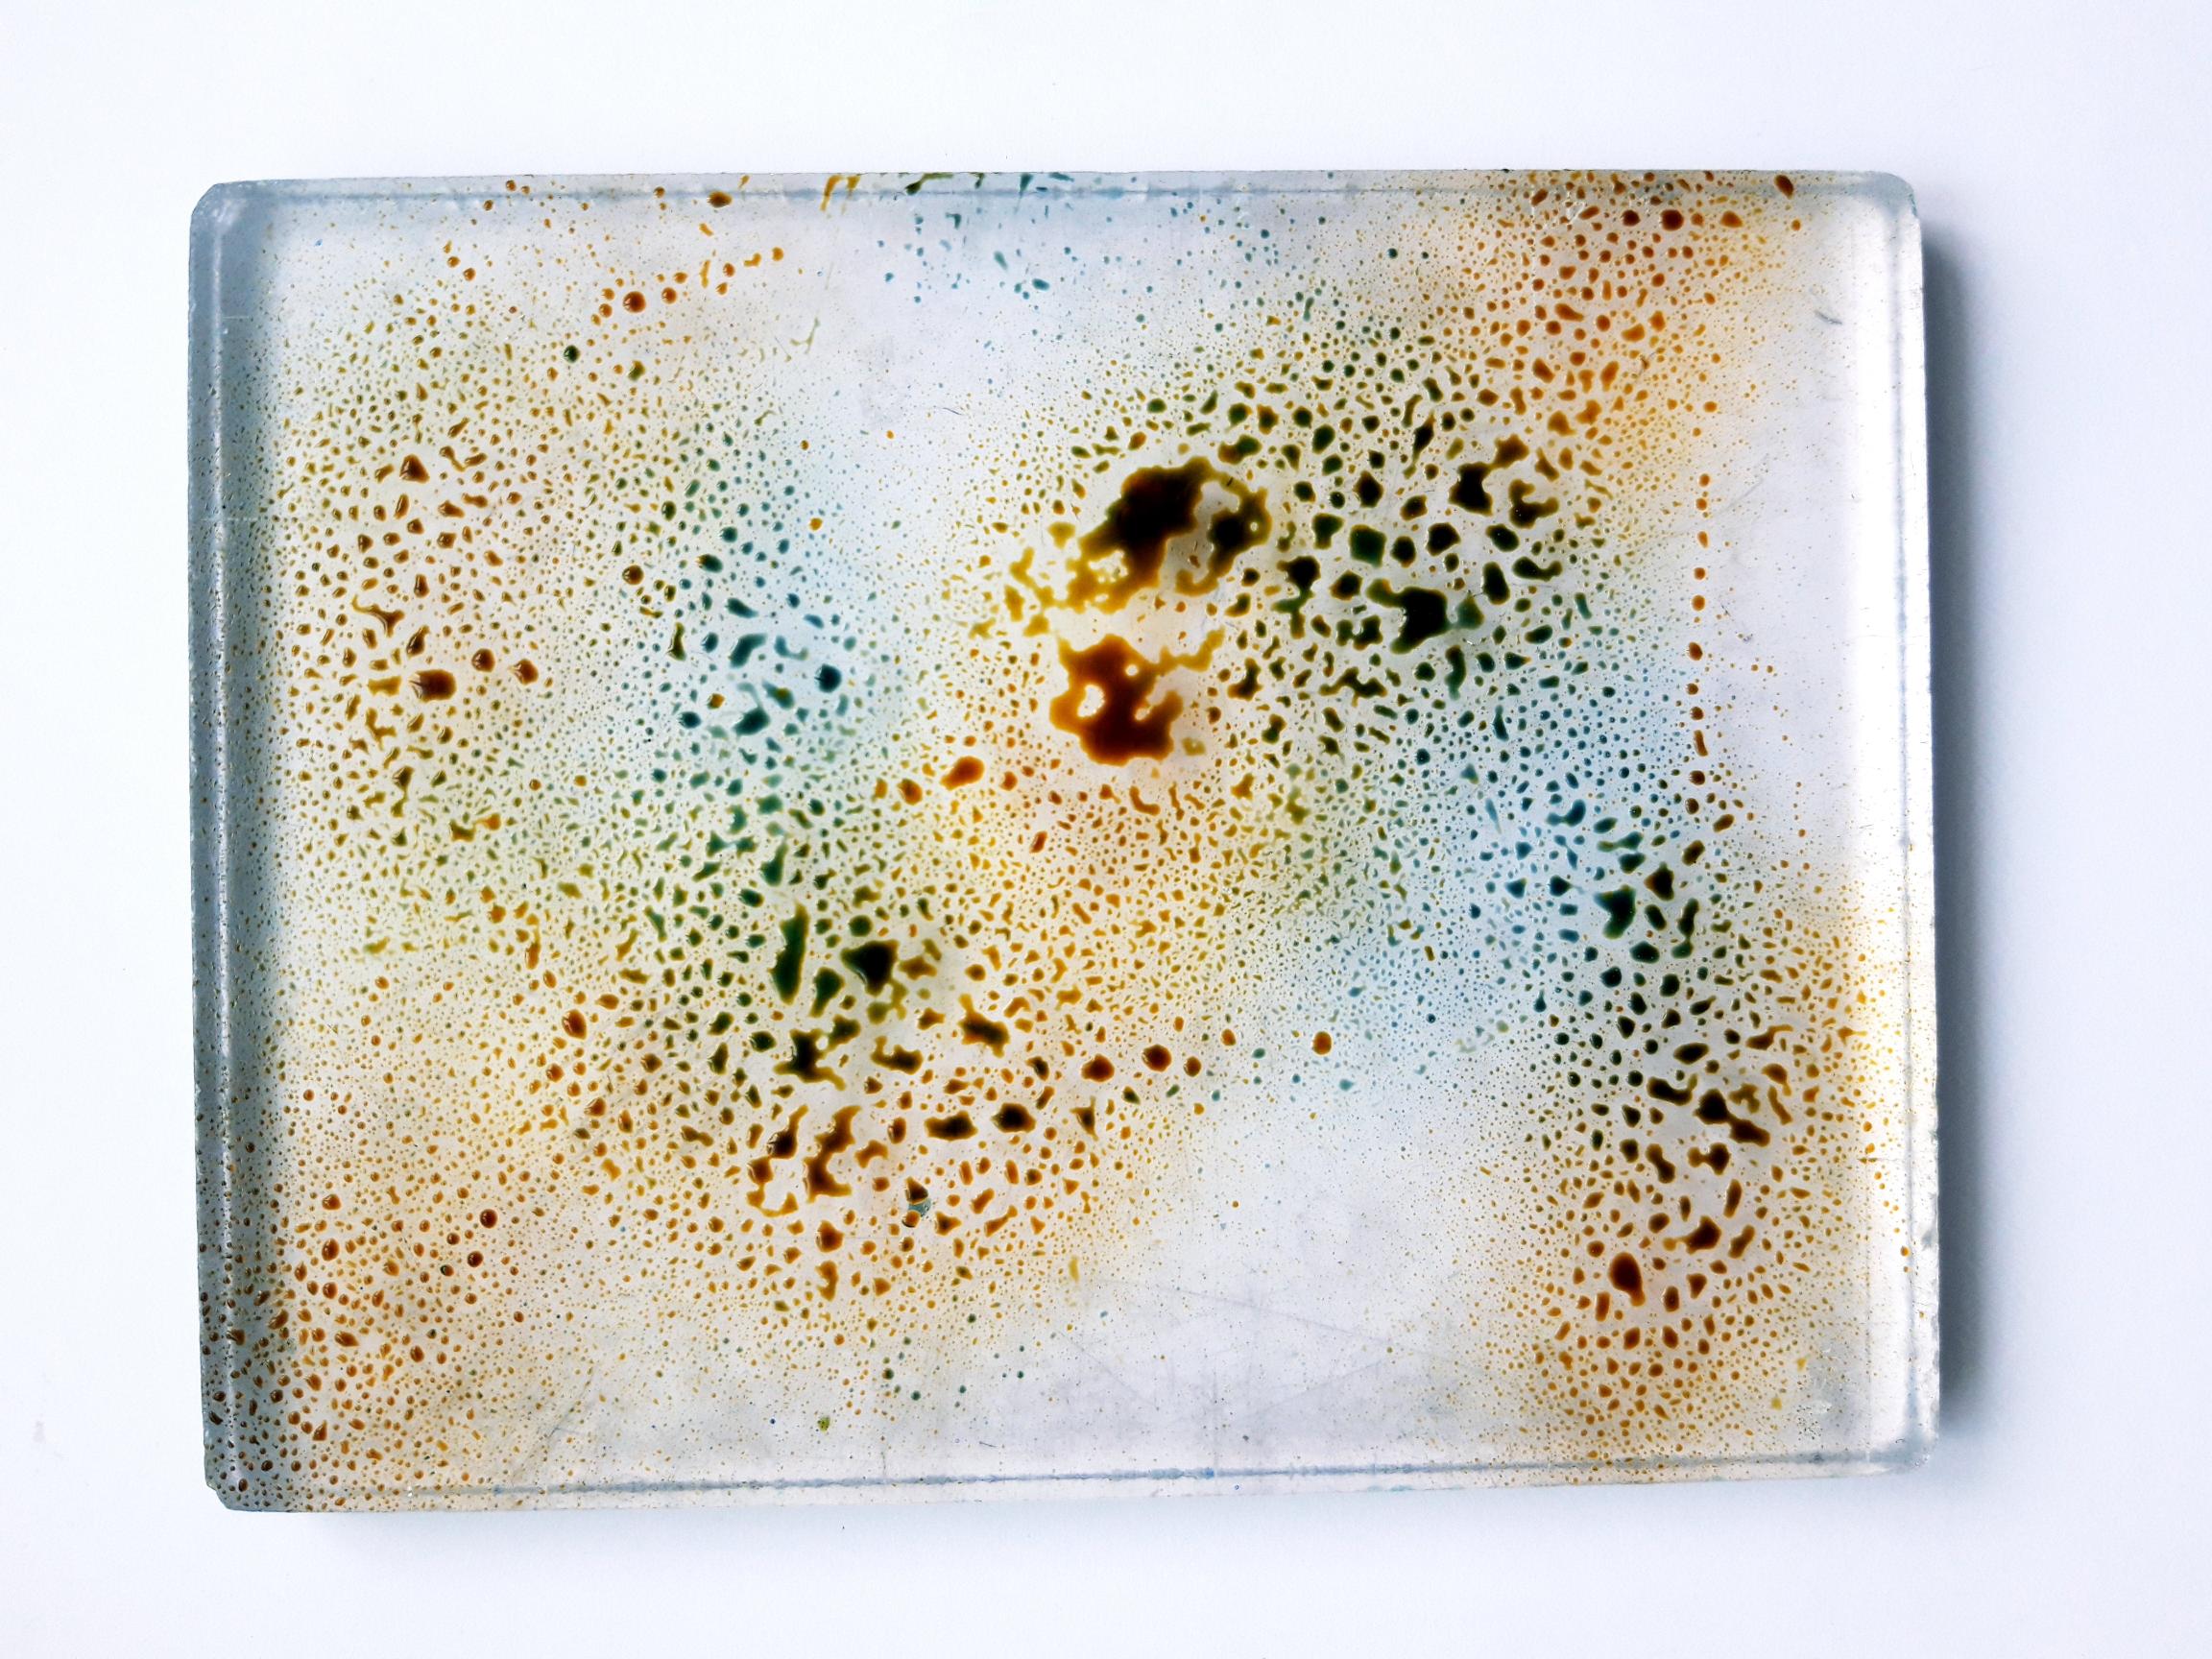
|
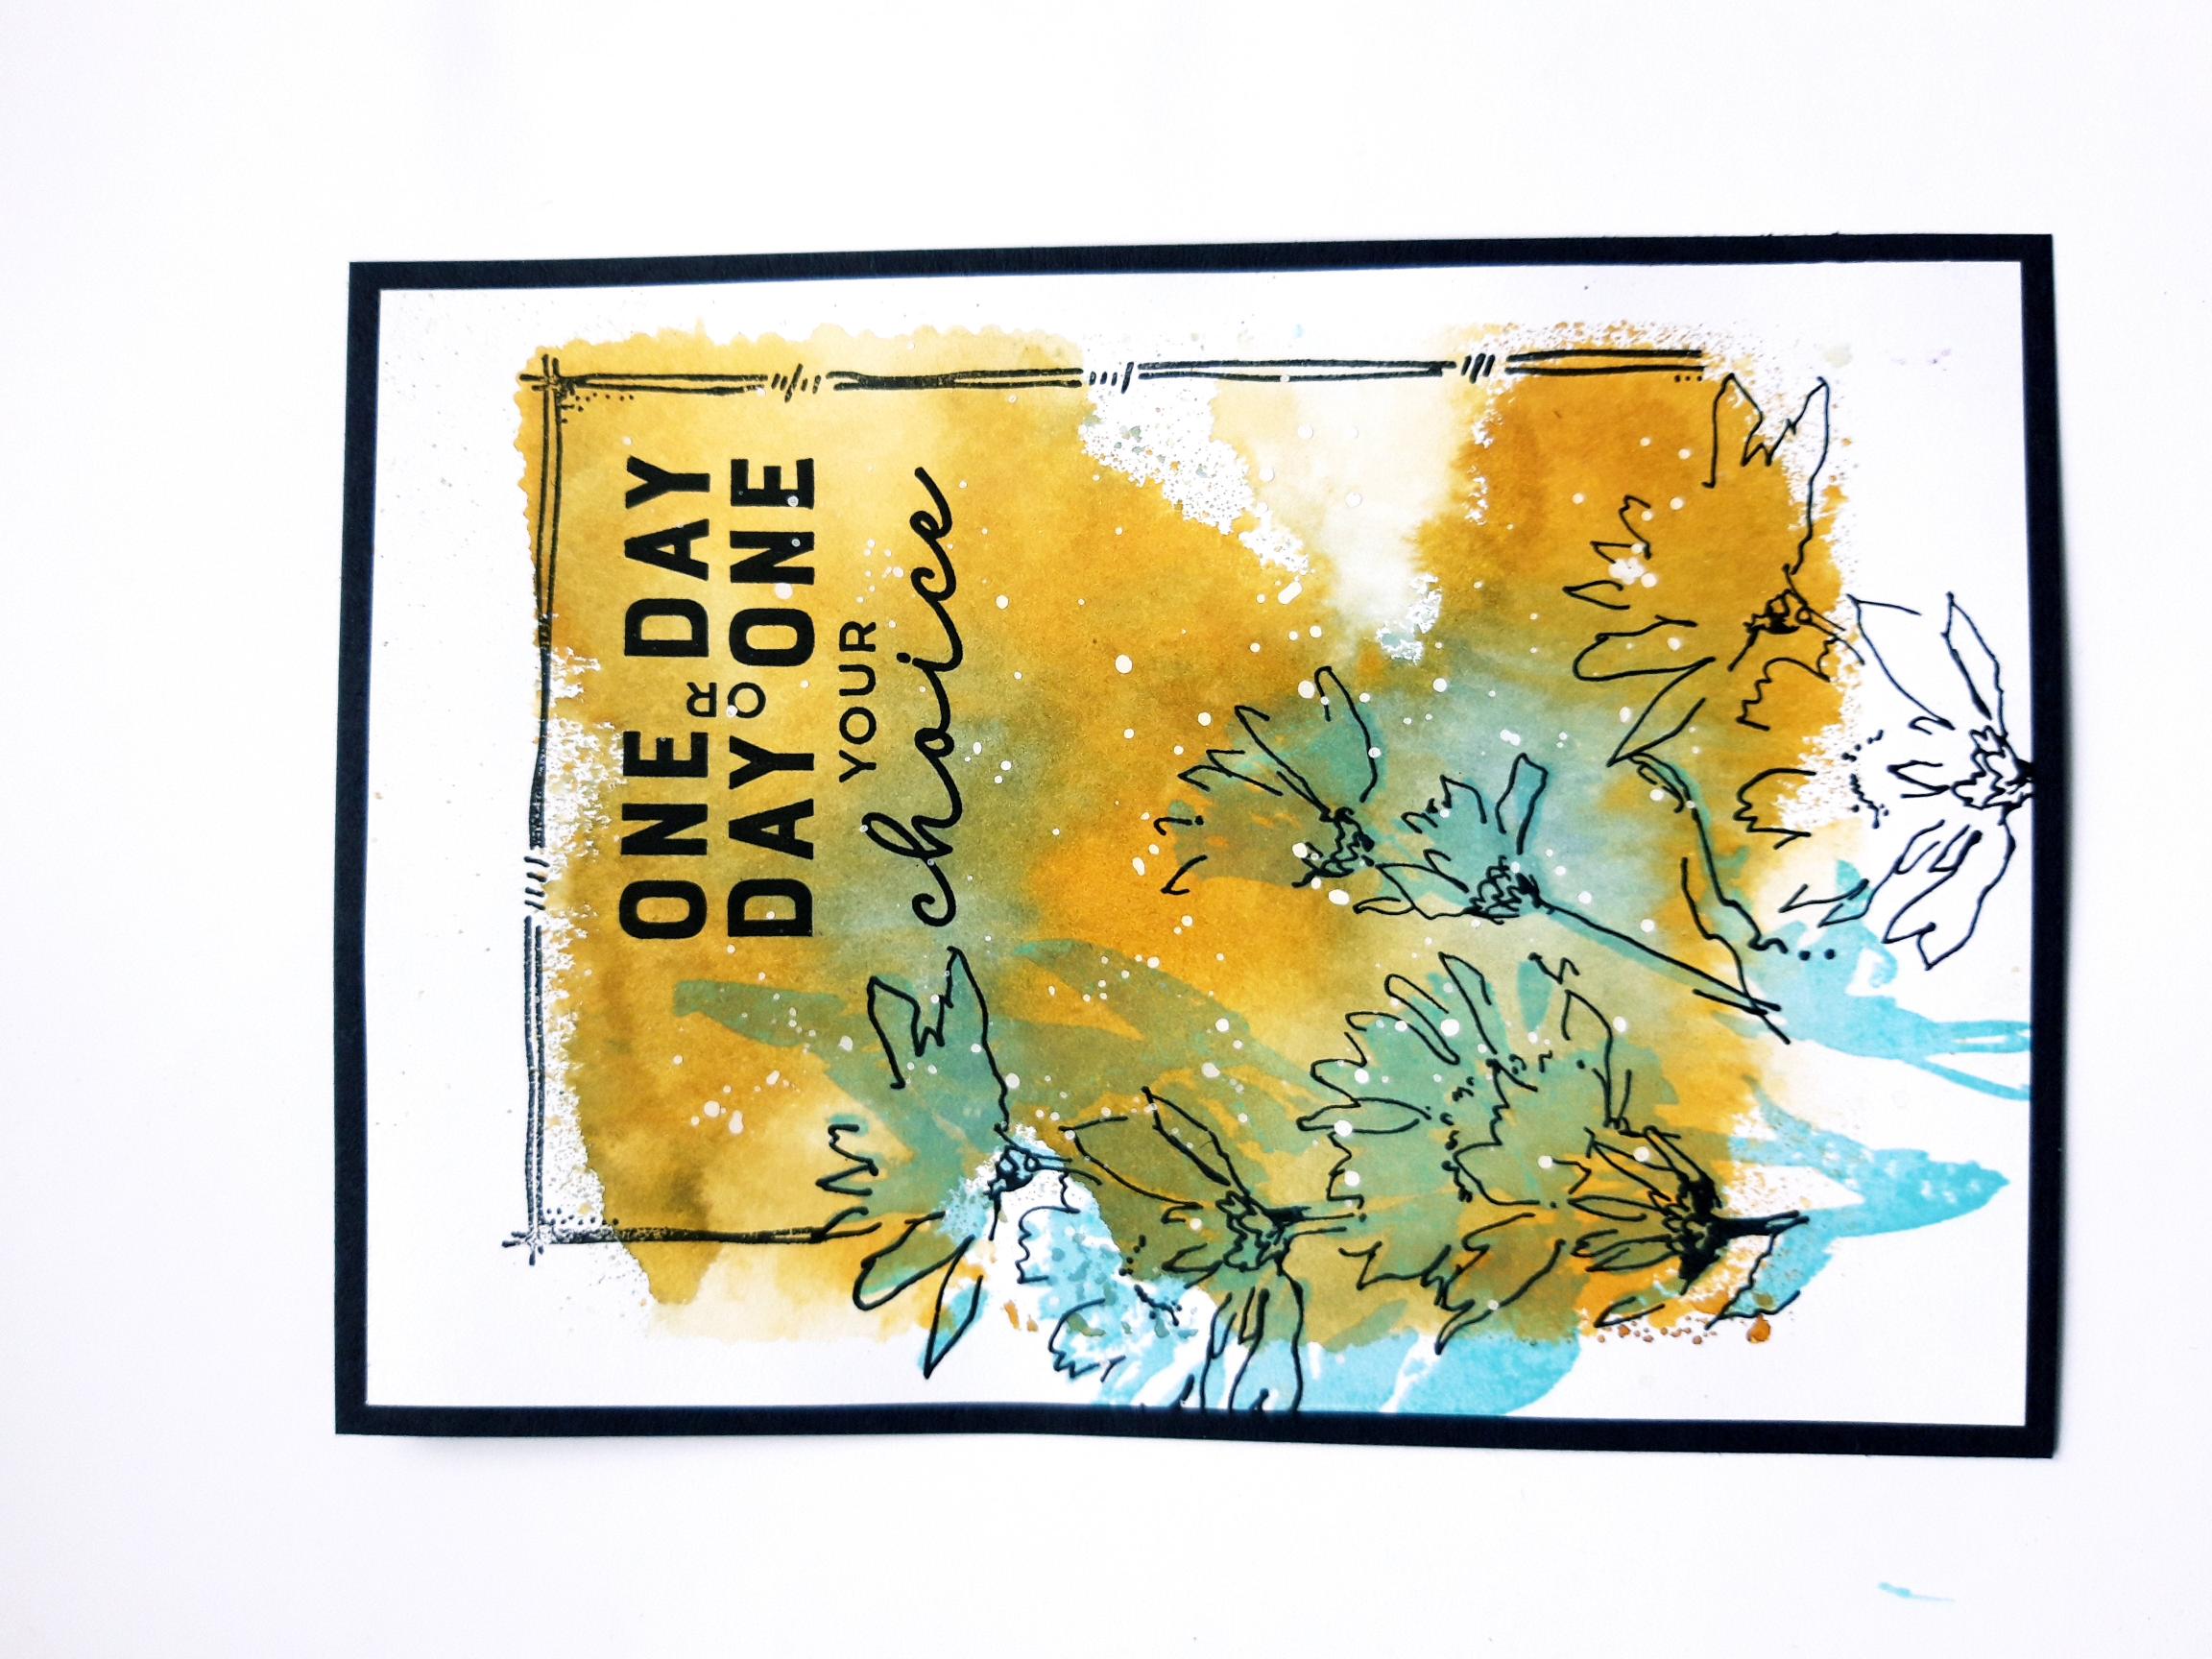
Spray the Izink Dye Sprays on to your acrylic block, and mist lightly with water. Turn block over and place centrally on to your white card. Alternatively, you can lay acrylic block inky side up, and place your card centrally on top of the block...whichever you find the easiest. Allow the card to drink up the ink, before carefully removing the block/card. Ideally allow the ink to dry naturally, but if you are impatient, like me, then you can speed it up with your heat tool!! |
|
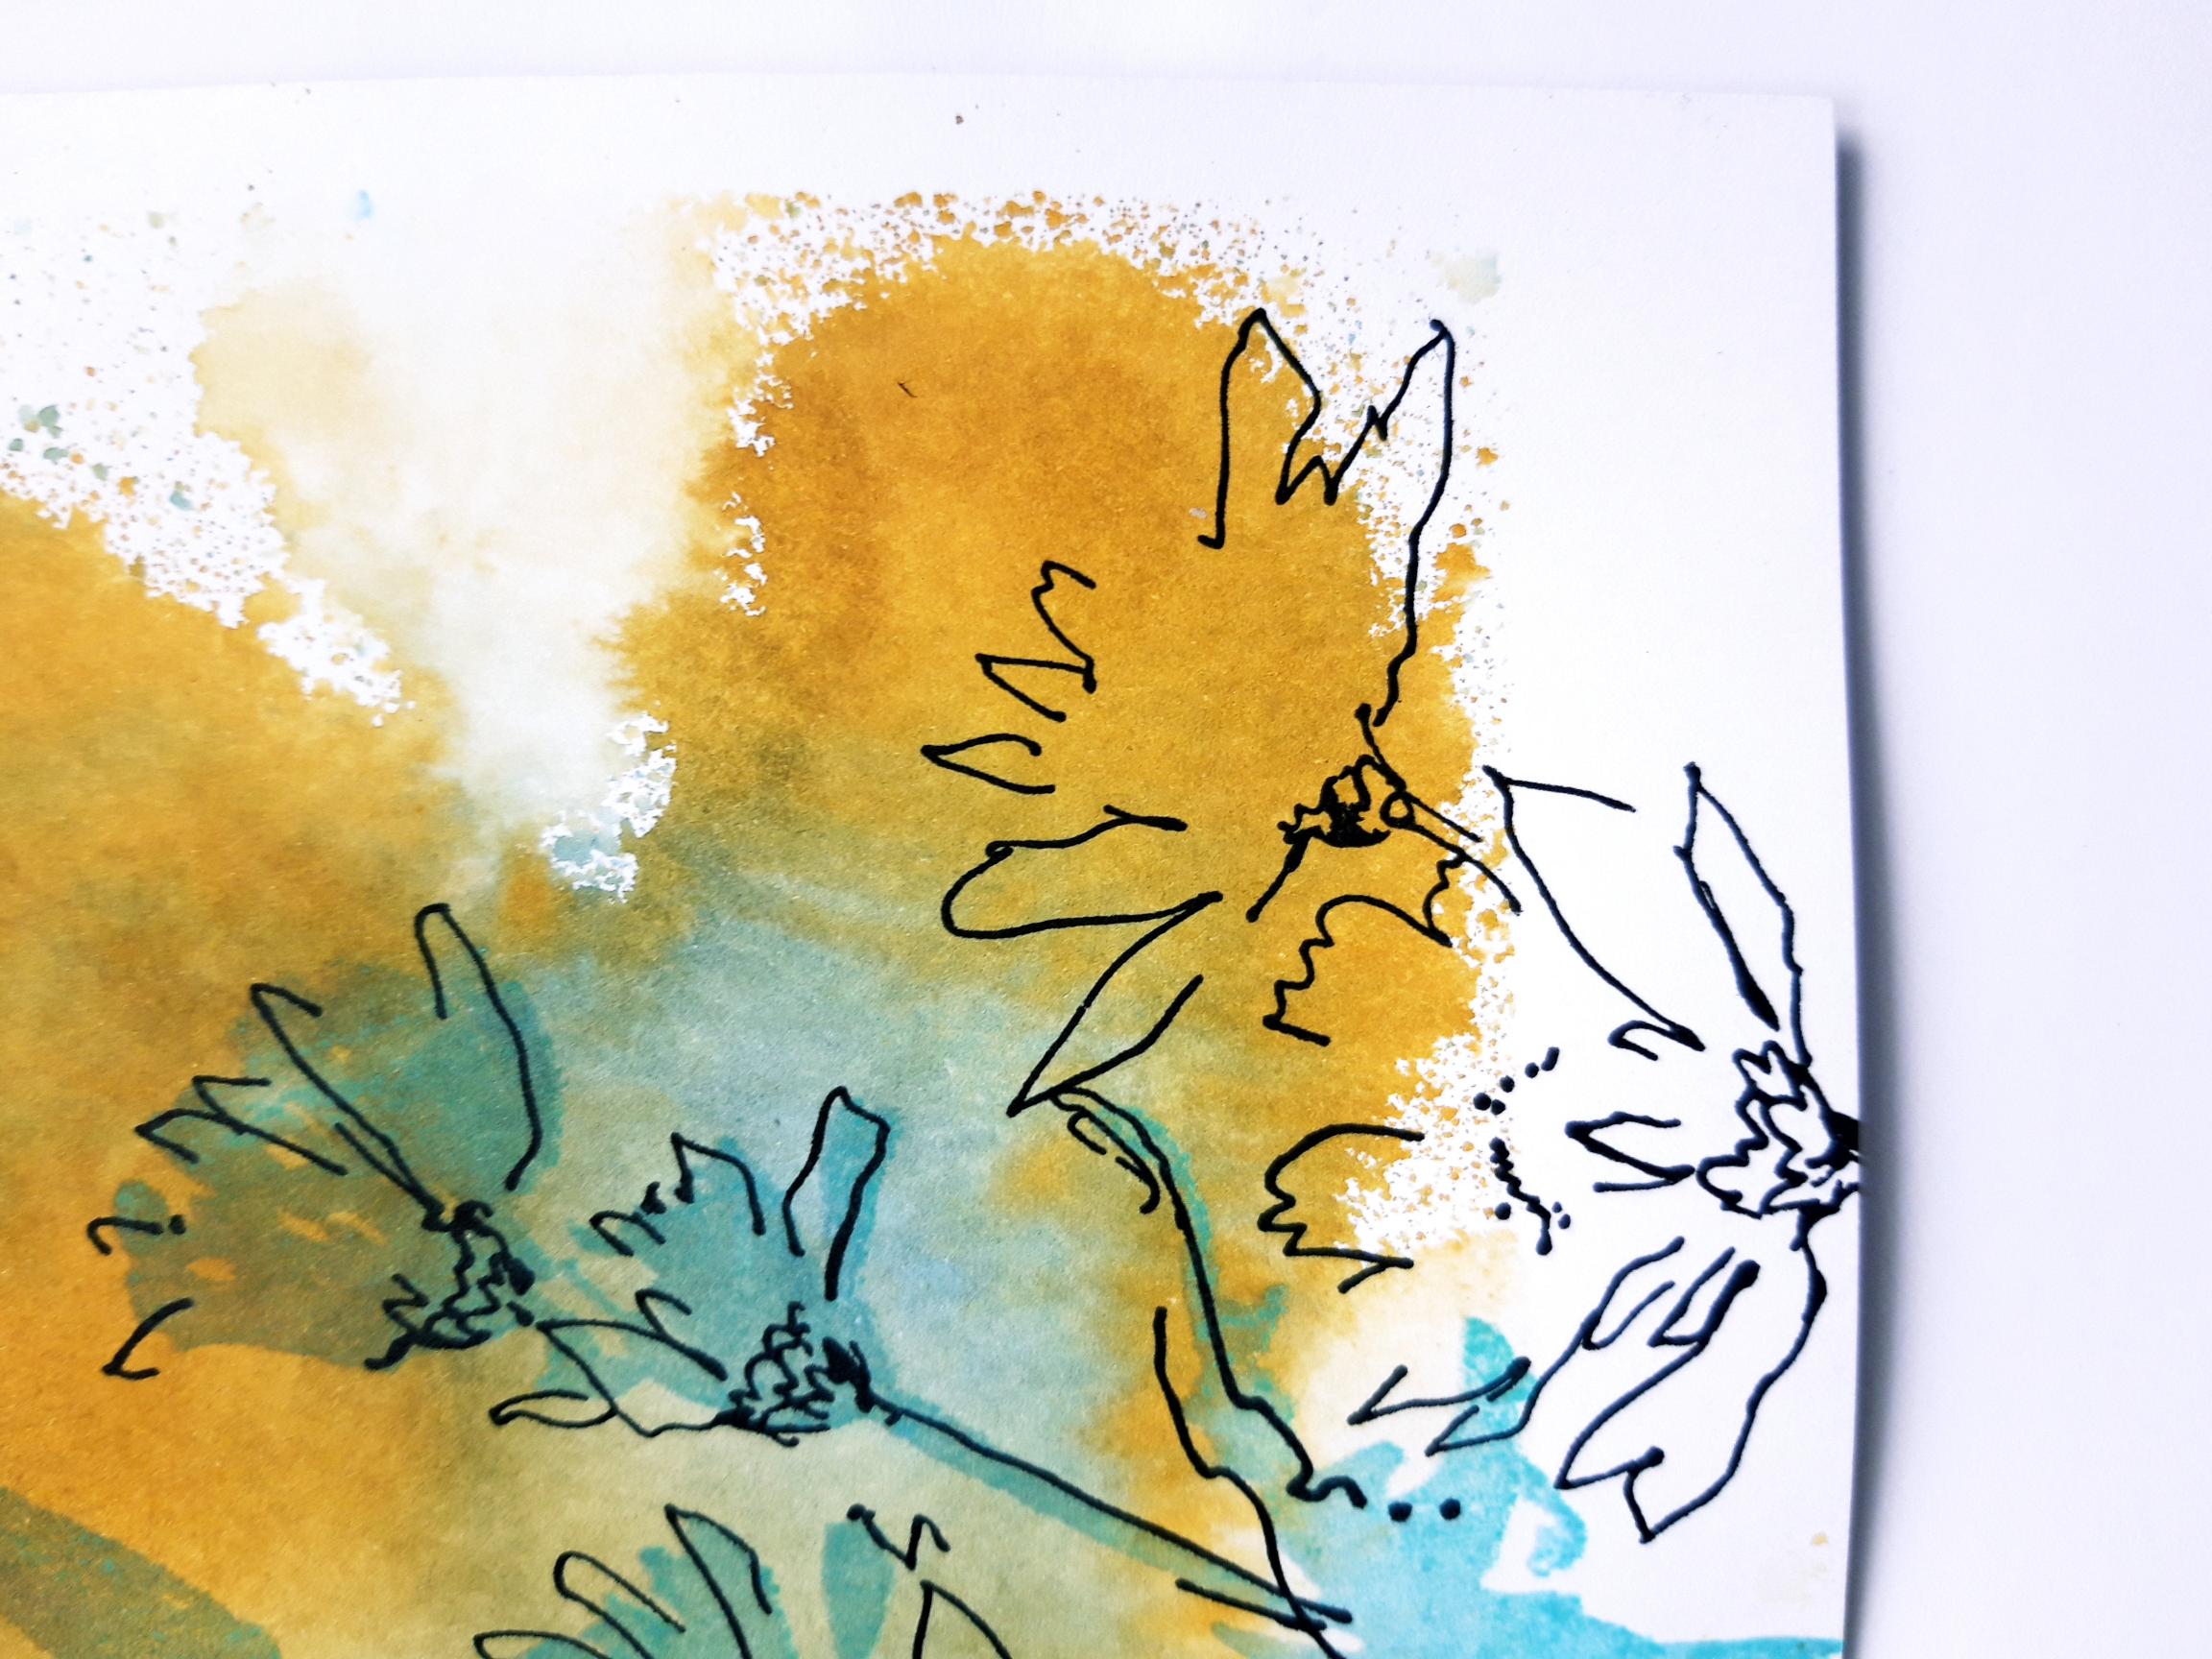
Ink up the solid floral stamp, from Your Choice Lamination Stamp Collection, with the blue Izink Pigment ink pad. Stamp just off the bottom left corner of your inky background. You can reink and stamp, until happy with the depth of colour. Dry the ink thoroughly. |
|
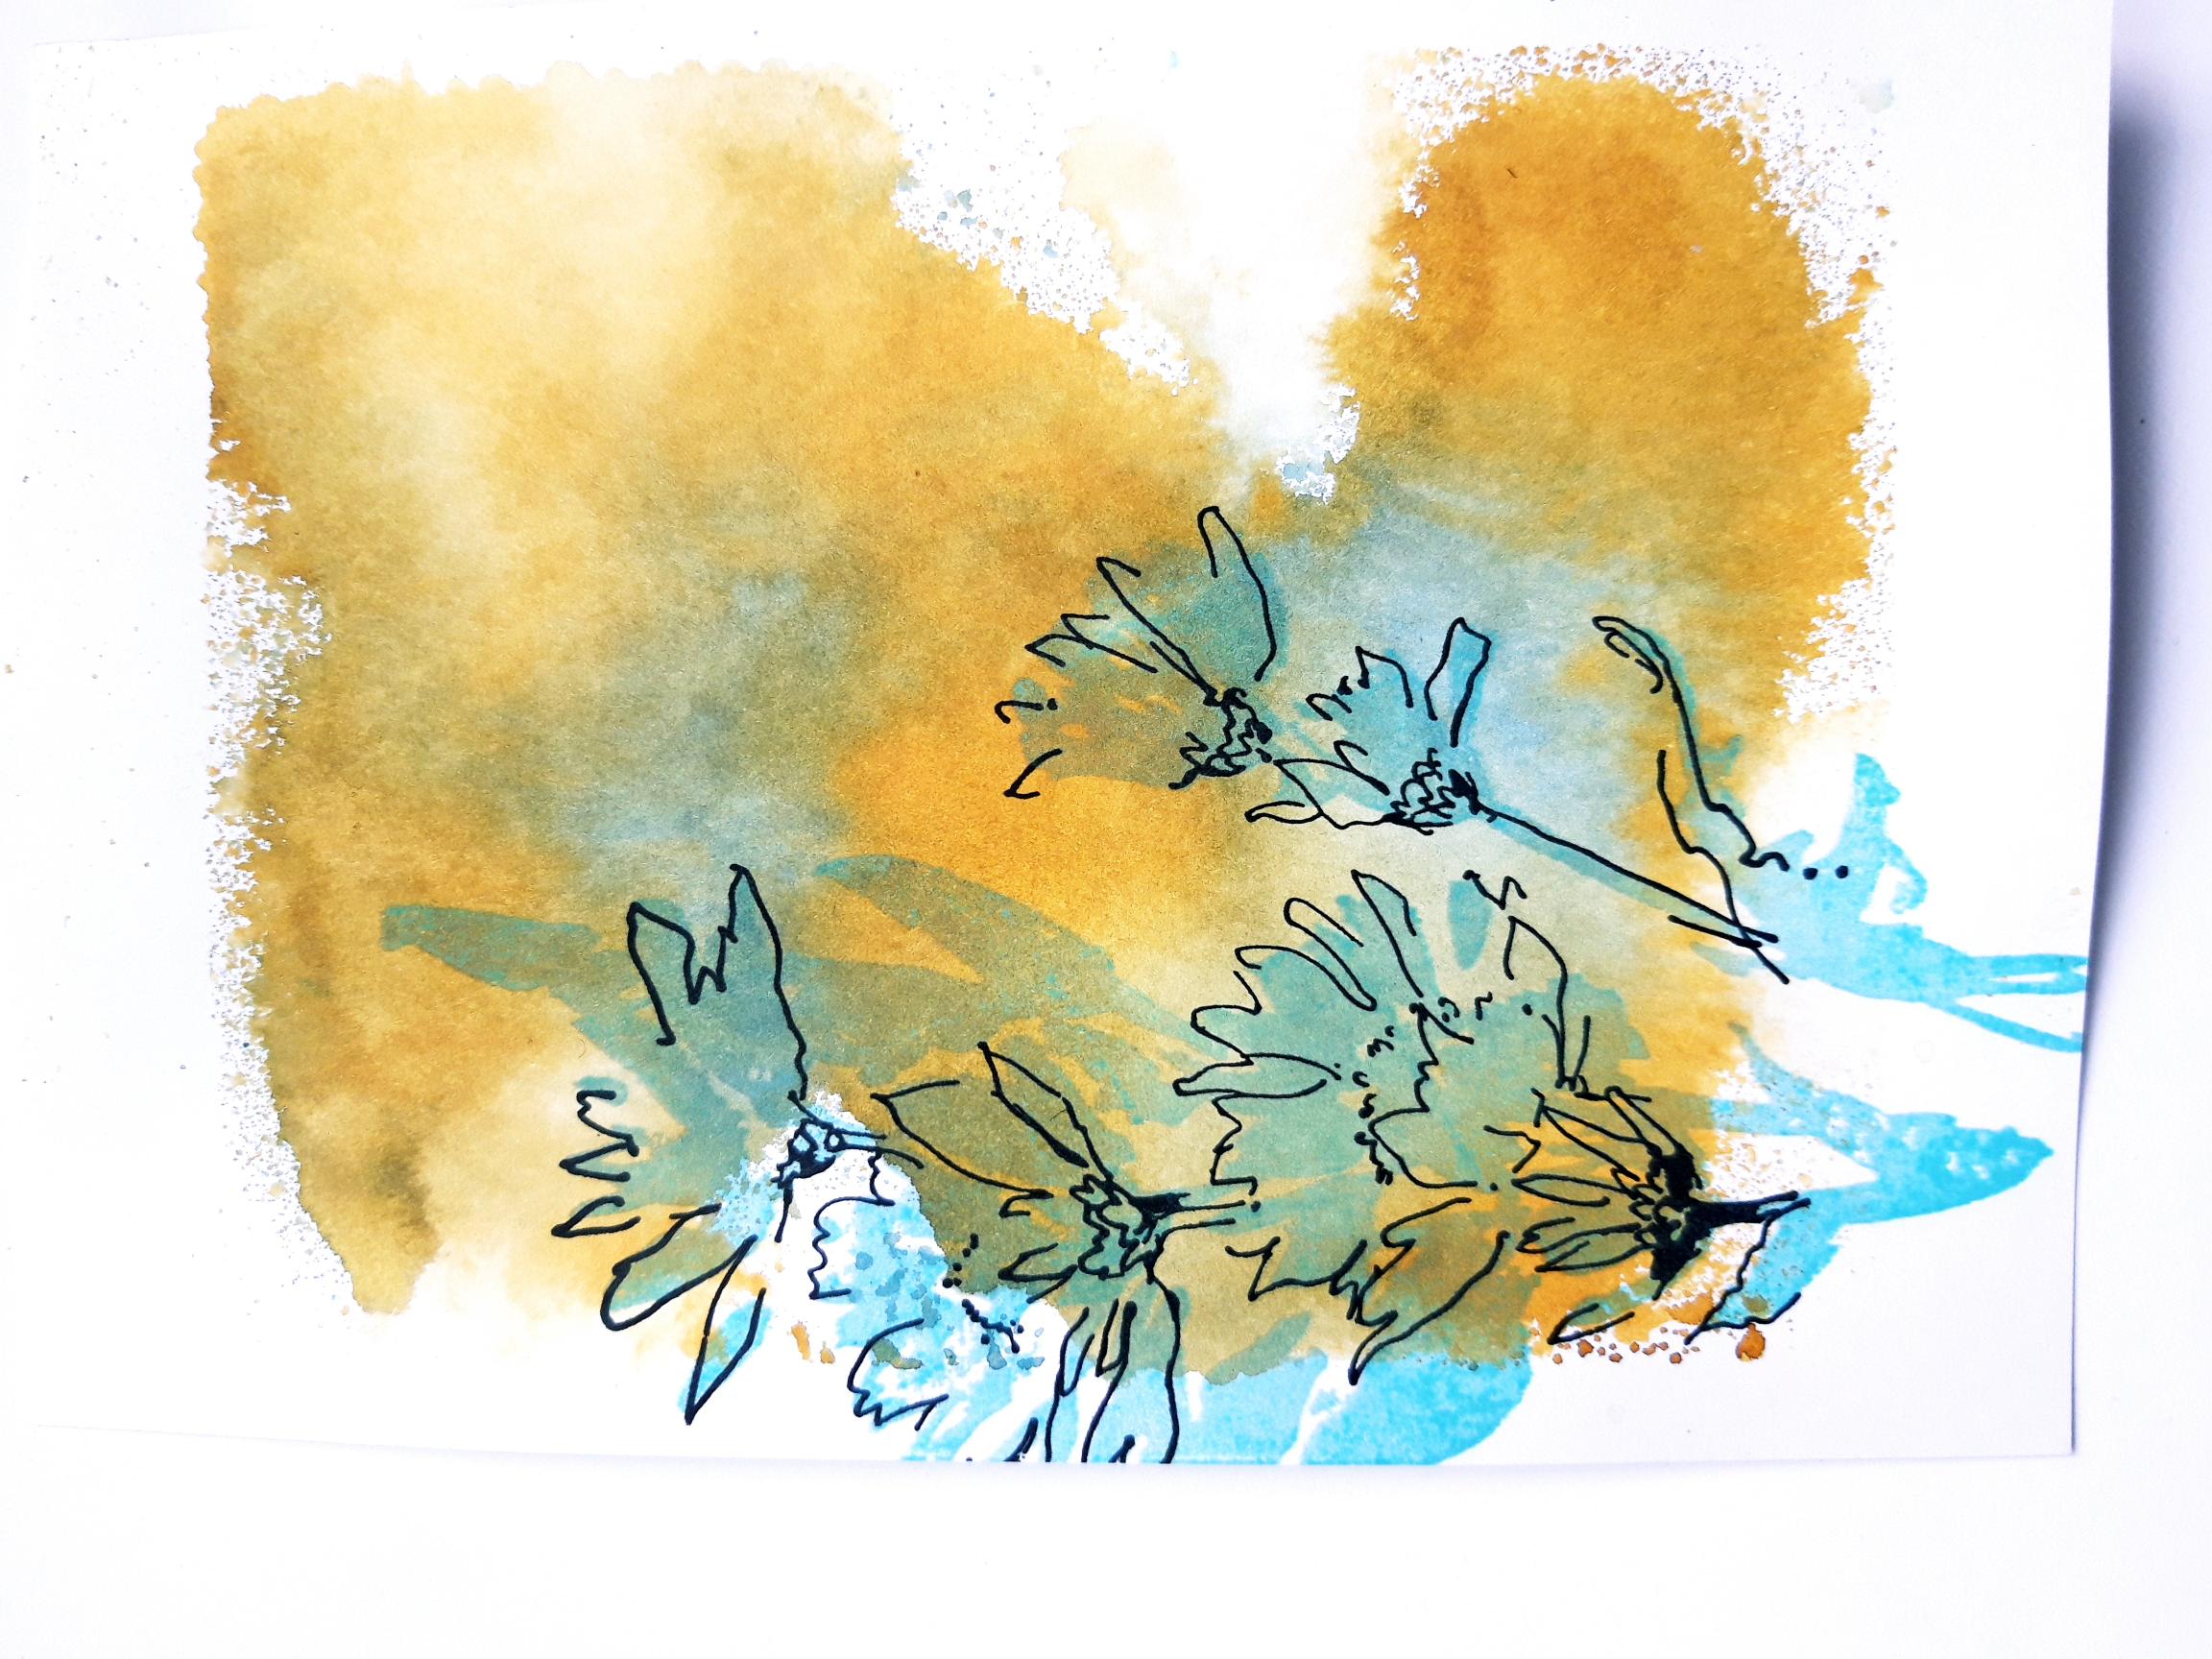
Ink up the coordinating detailed, floral stamp, with the Onyx Black Versafine. Line it up, and stamp on the top of your floral image. If you are unsure how to line it up, the image on the packaging will help. |
|
Ink up the same, detailed stamp again, and stamp it just coming up from the bottom of the card, adjacent to the previous stamped image. |
|
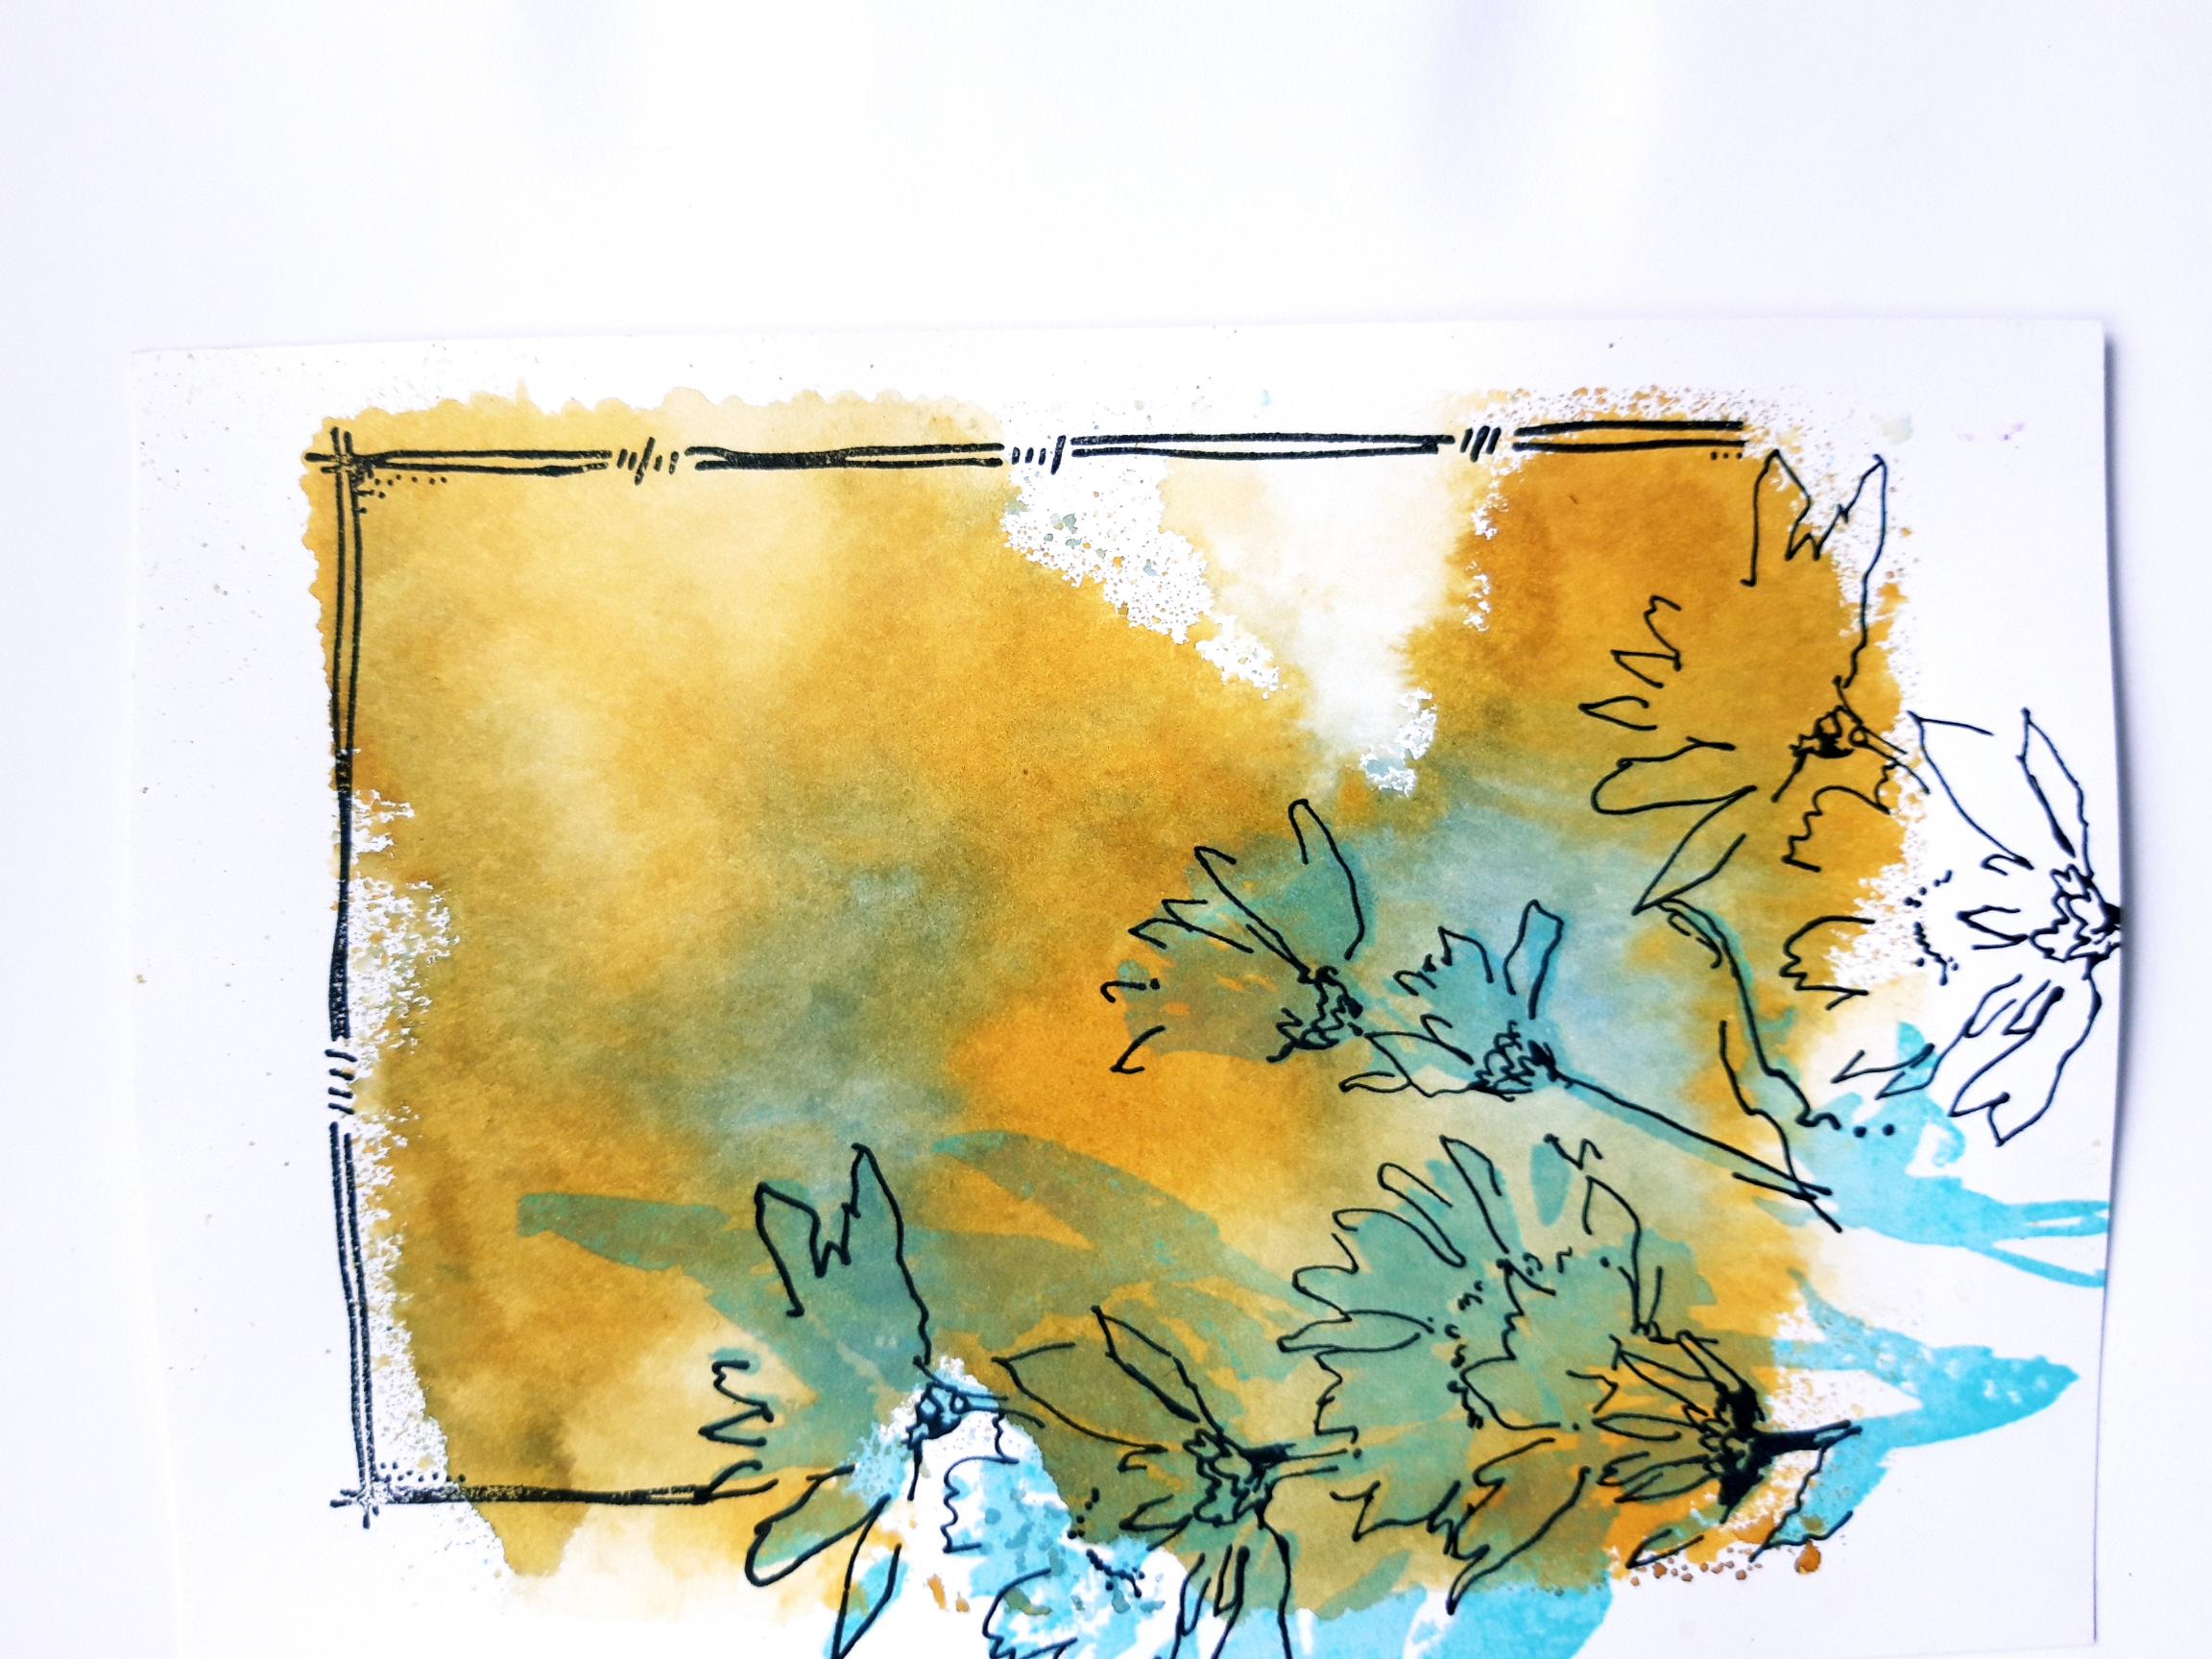
Ink up the largest Dash Frame stamp, with the Onyx Black Versafine, wiping off the ink from areas that will stamp on top of your floral image, before stamping it in place. You want it to frame your artwork, as seen here. |
|
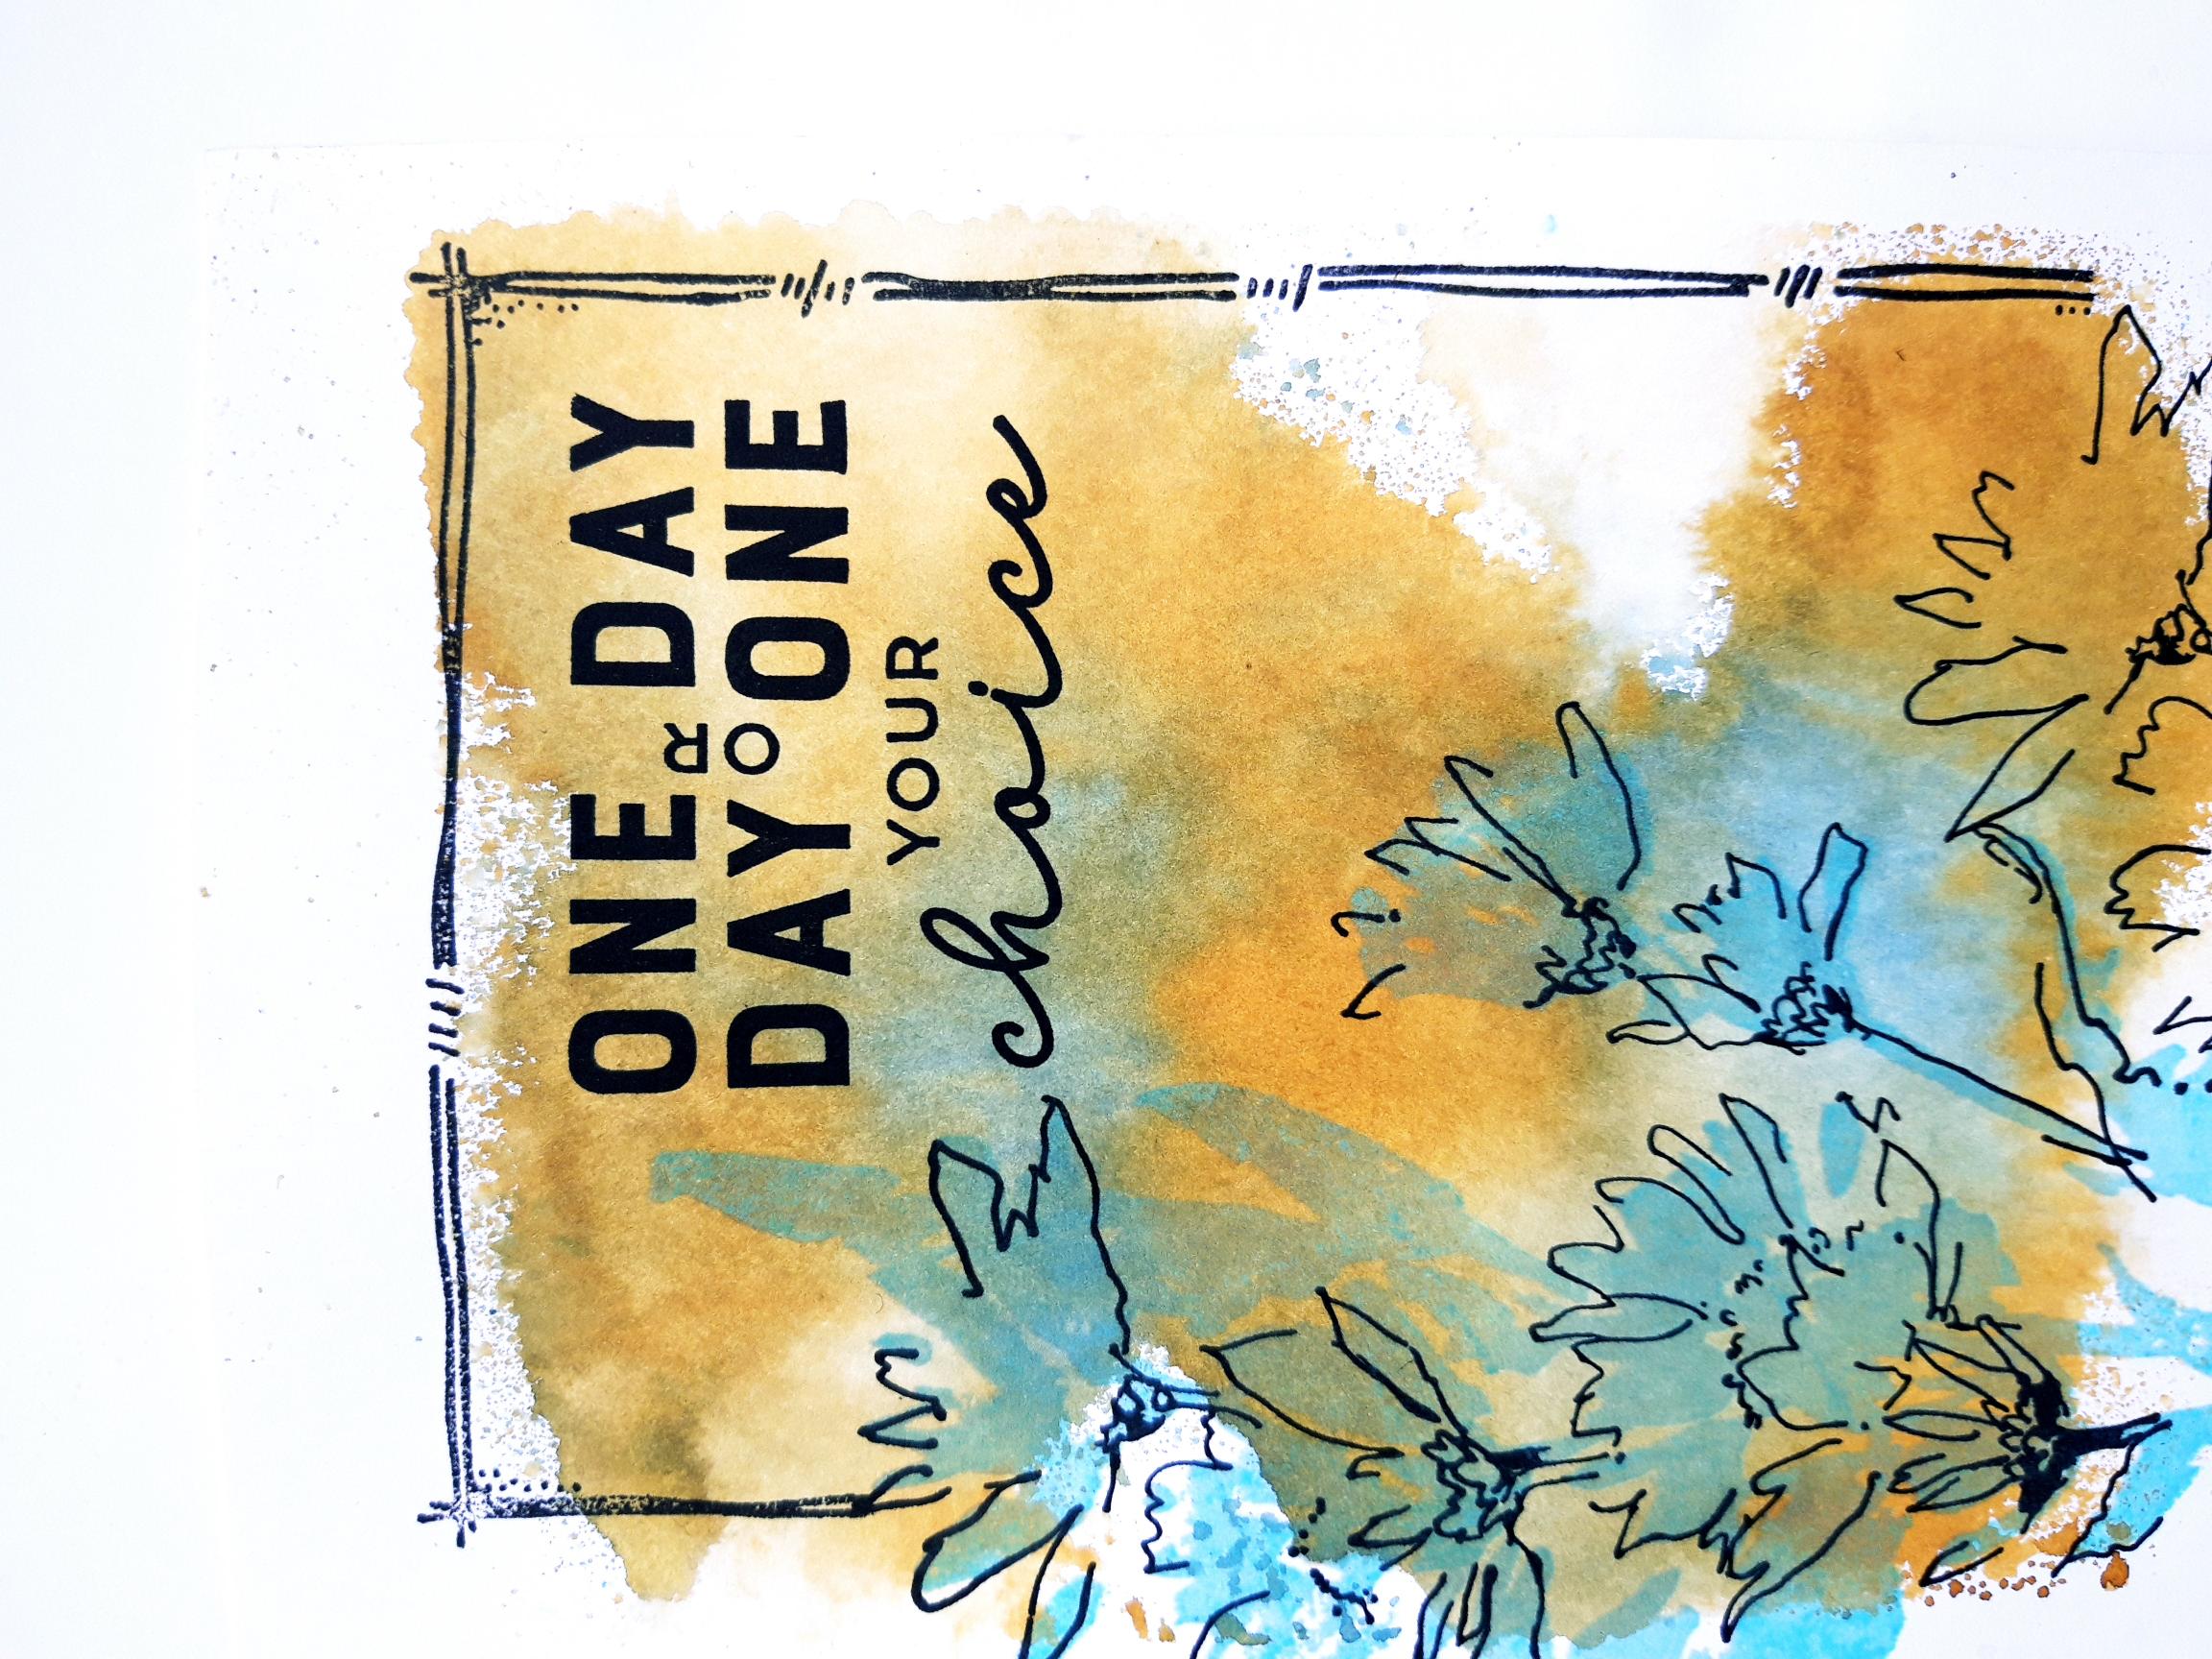
Ink up the sentiment with the Versafine, and stamp top right of your artwork. Dry off all the ink, before proceeding to the next step. |
|
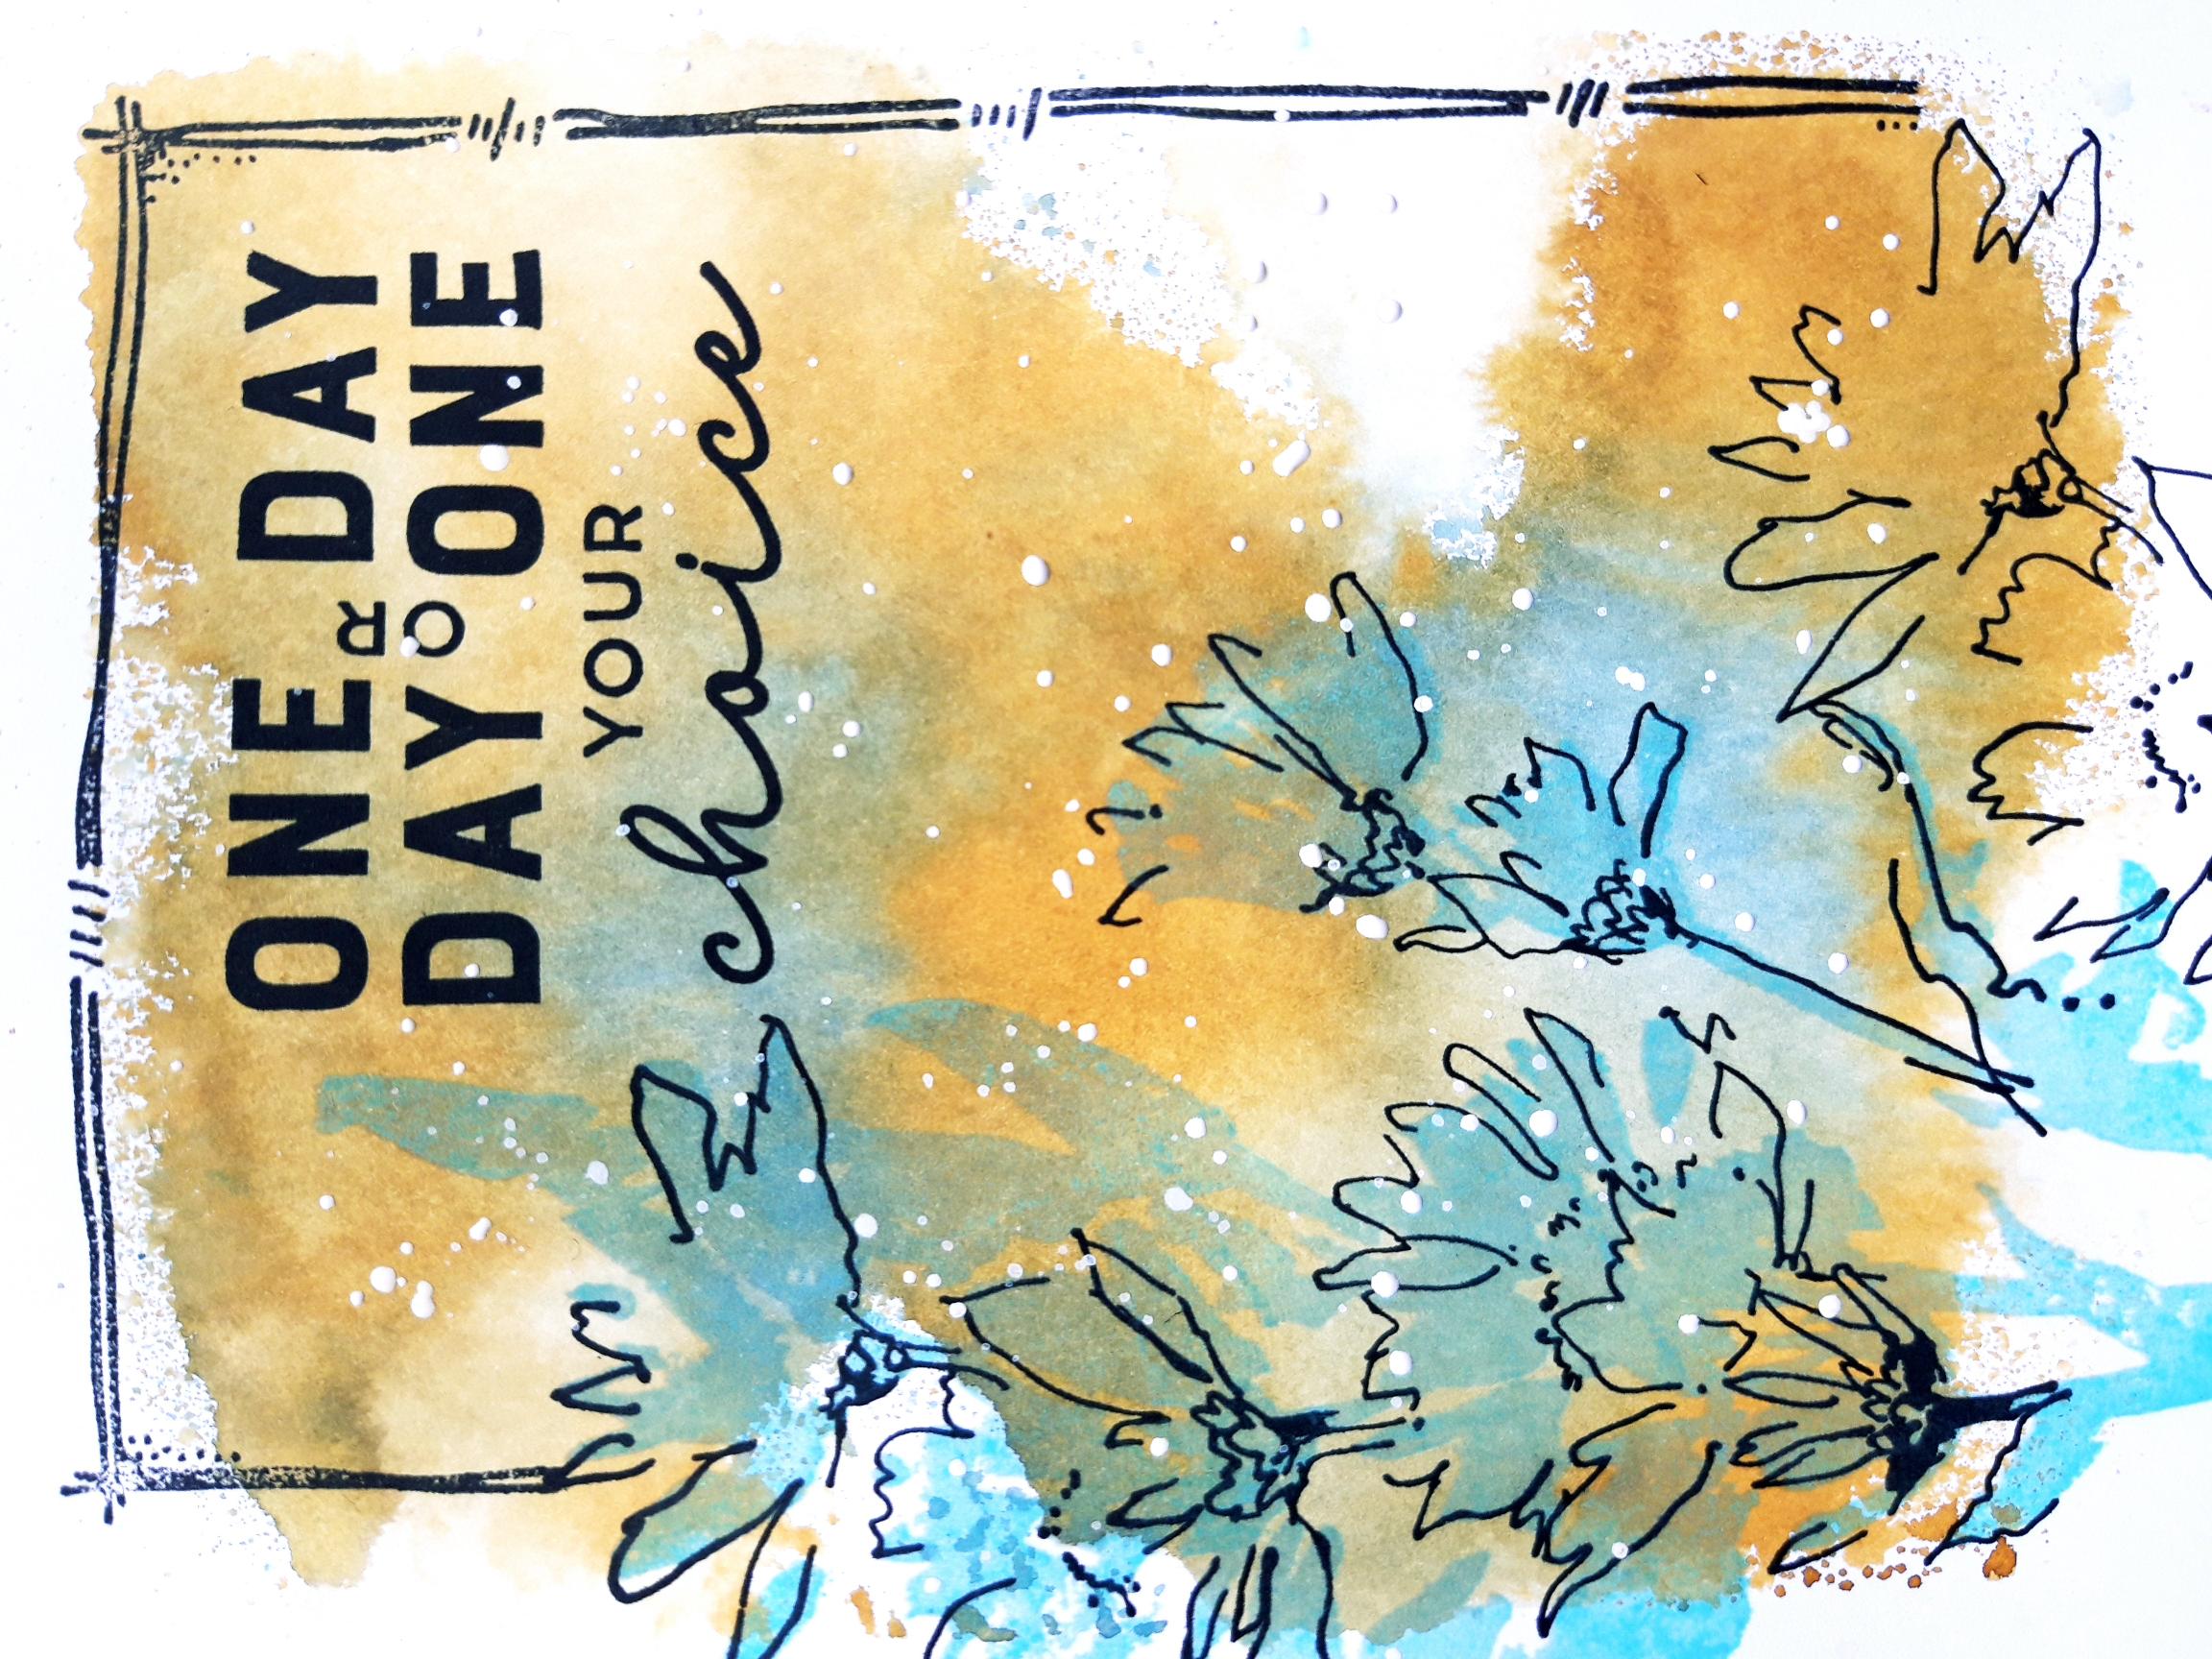
Add water to your Confetti Ink, then splatter it all over your artwork, with a paintbrush. I like LOTS of splats, but it's your choice as to how much you splatter!! If possible allow the Confetti Ink to dry naturally. |
|
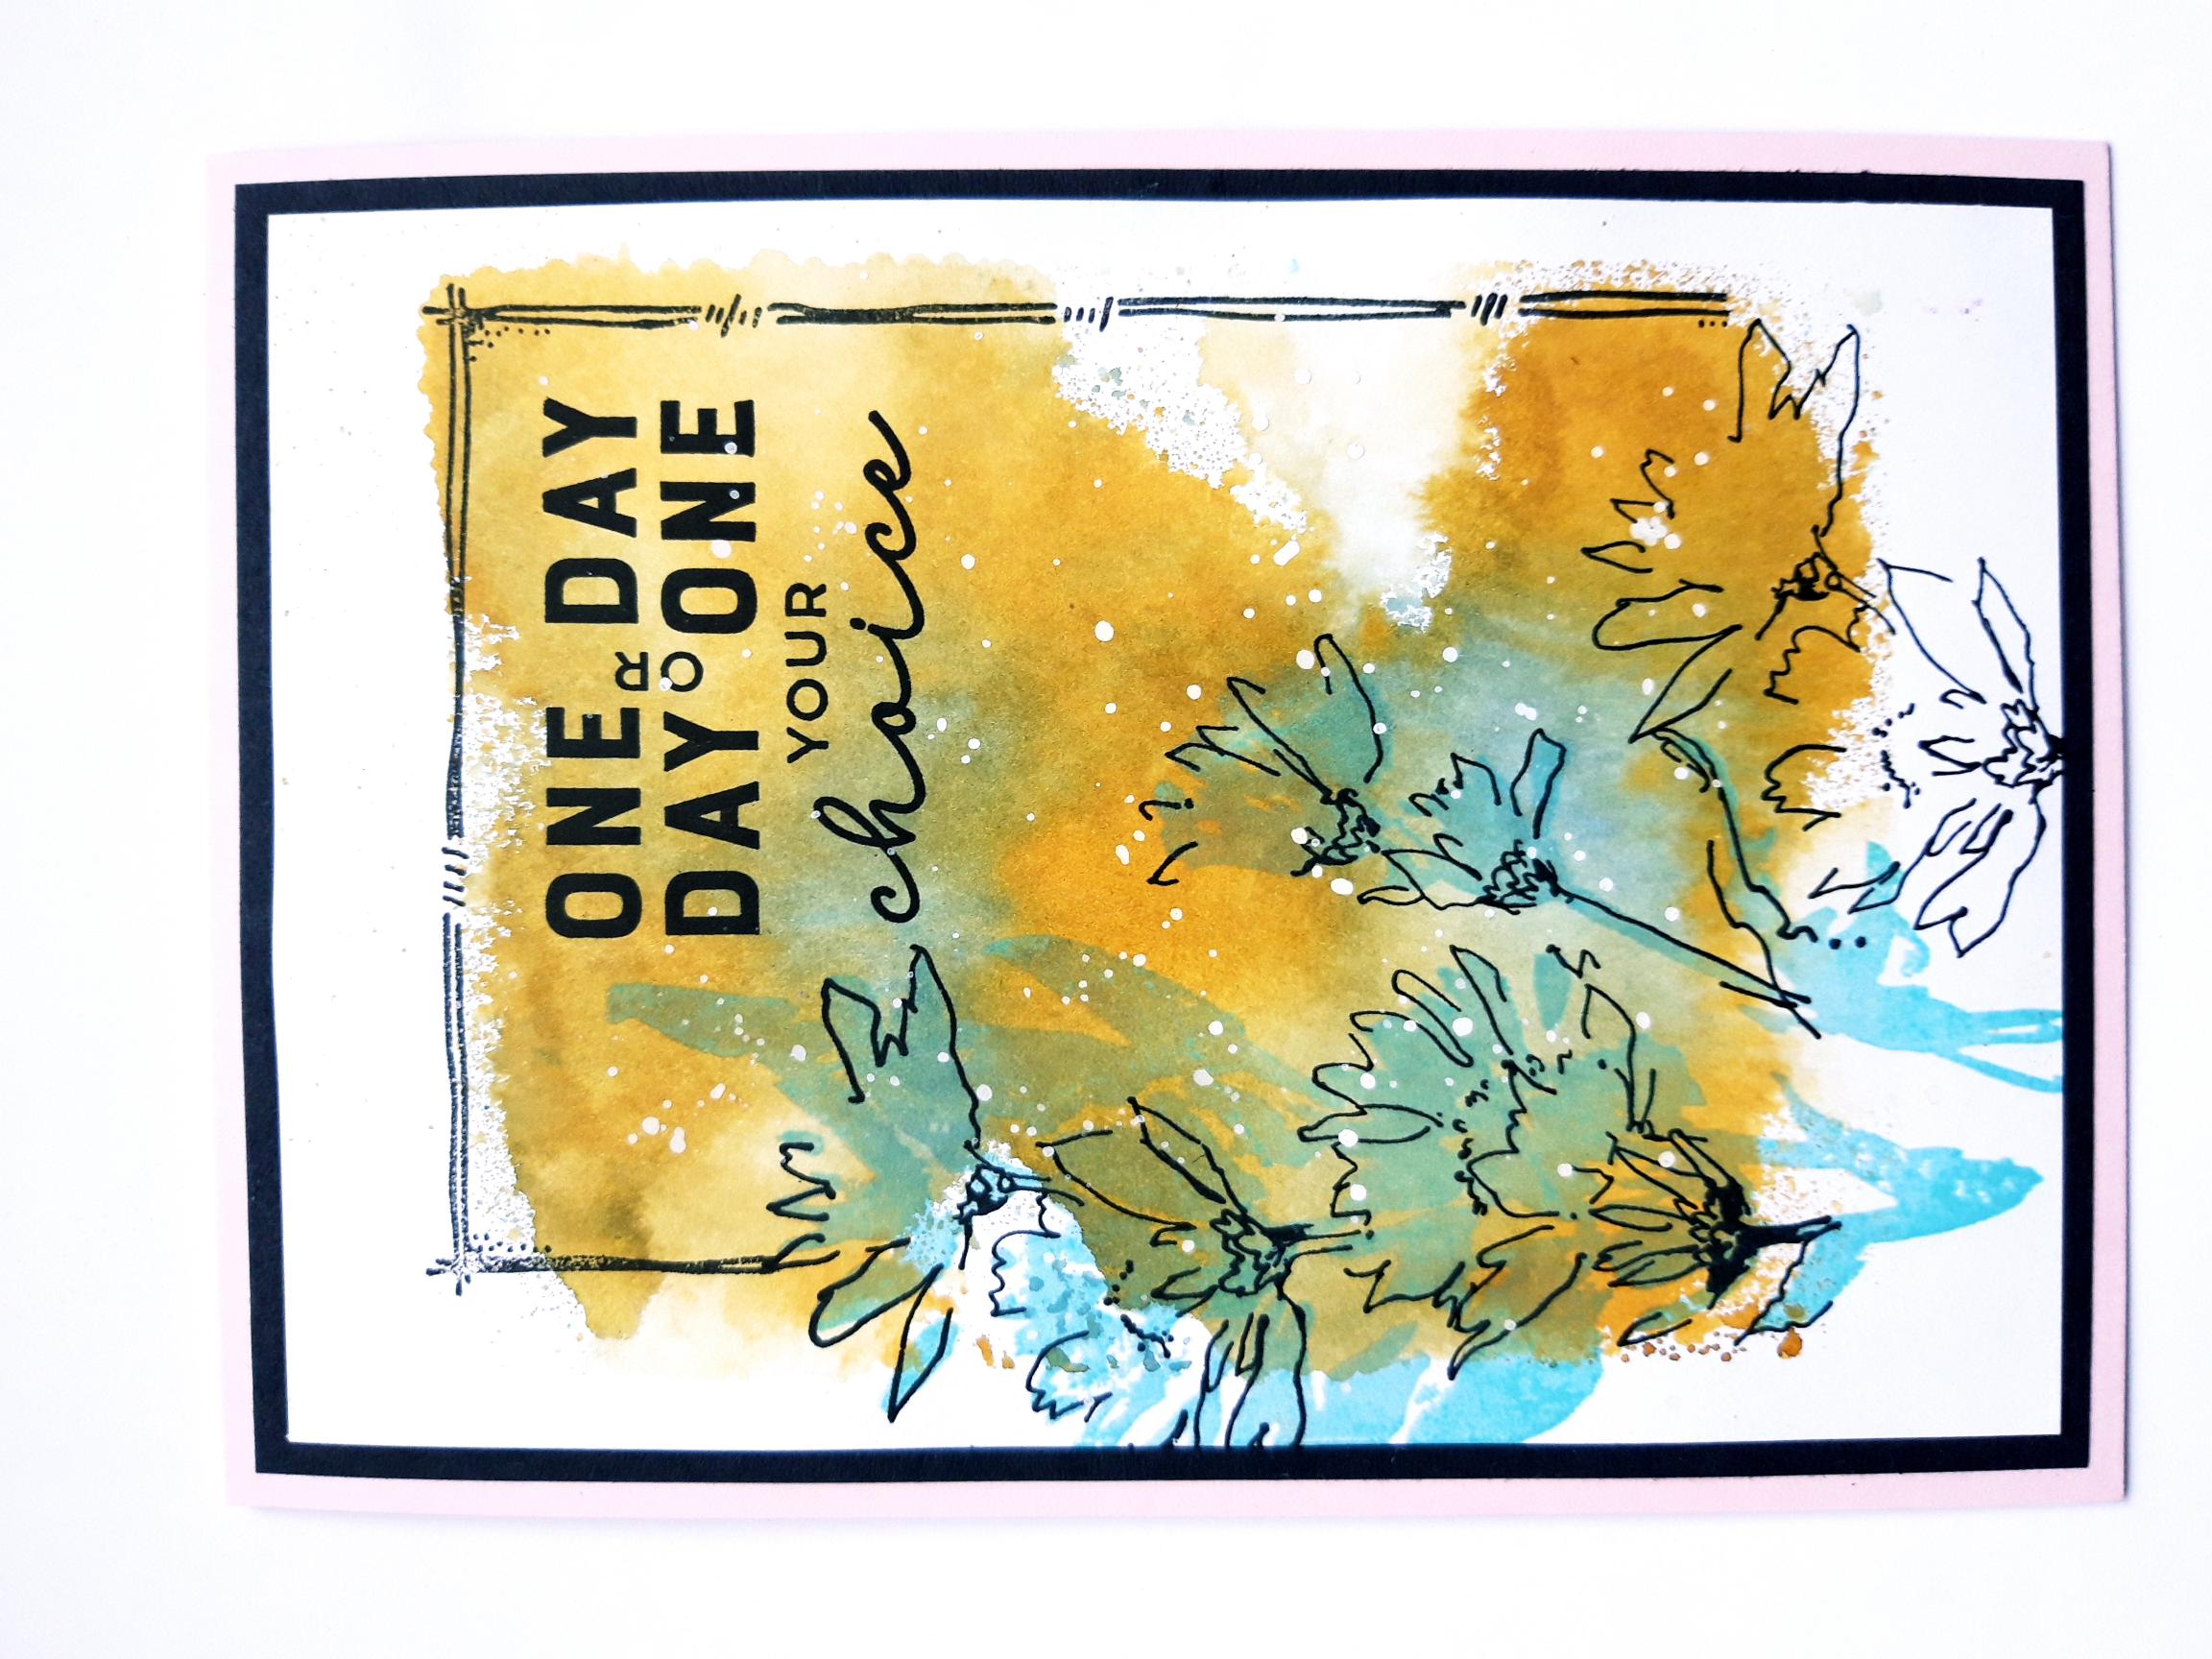
Once dry, mount your artwork on to the black card. |
|
Adhere this on to the front of your top folding, pink card balnk. |
|
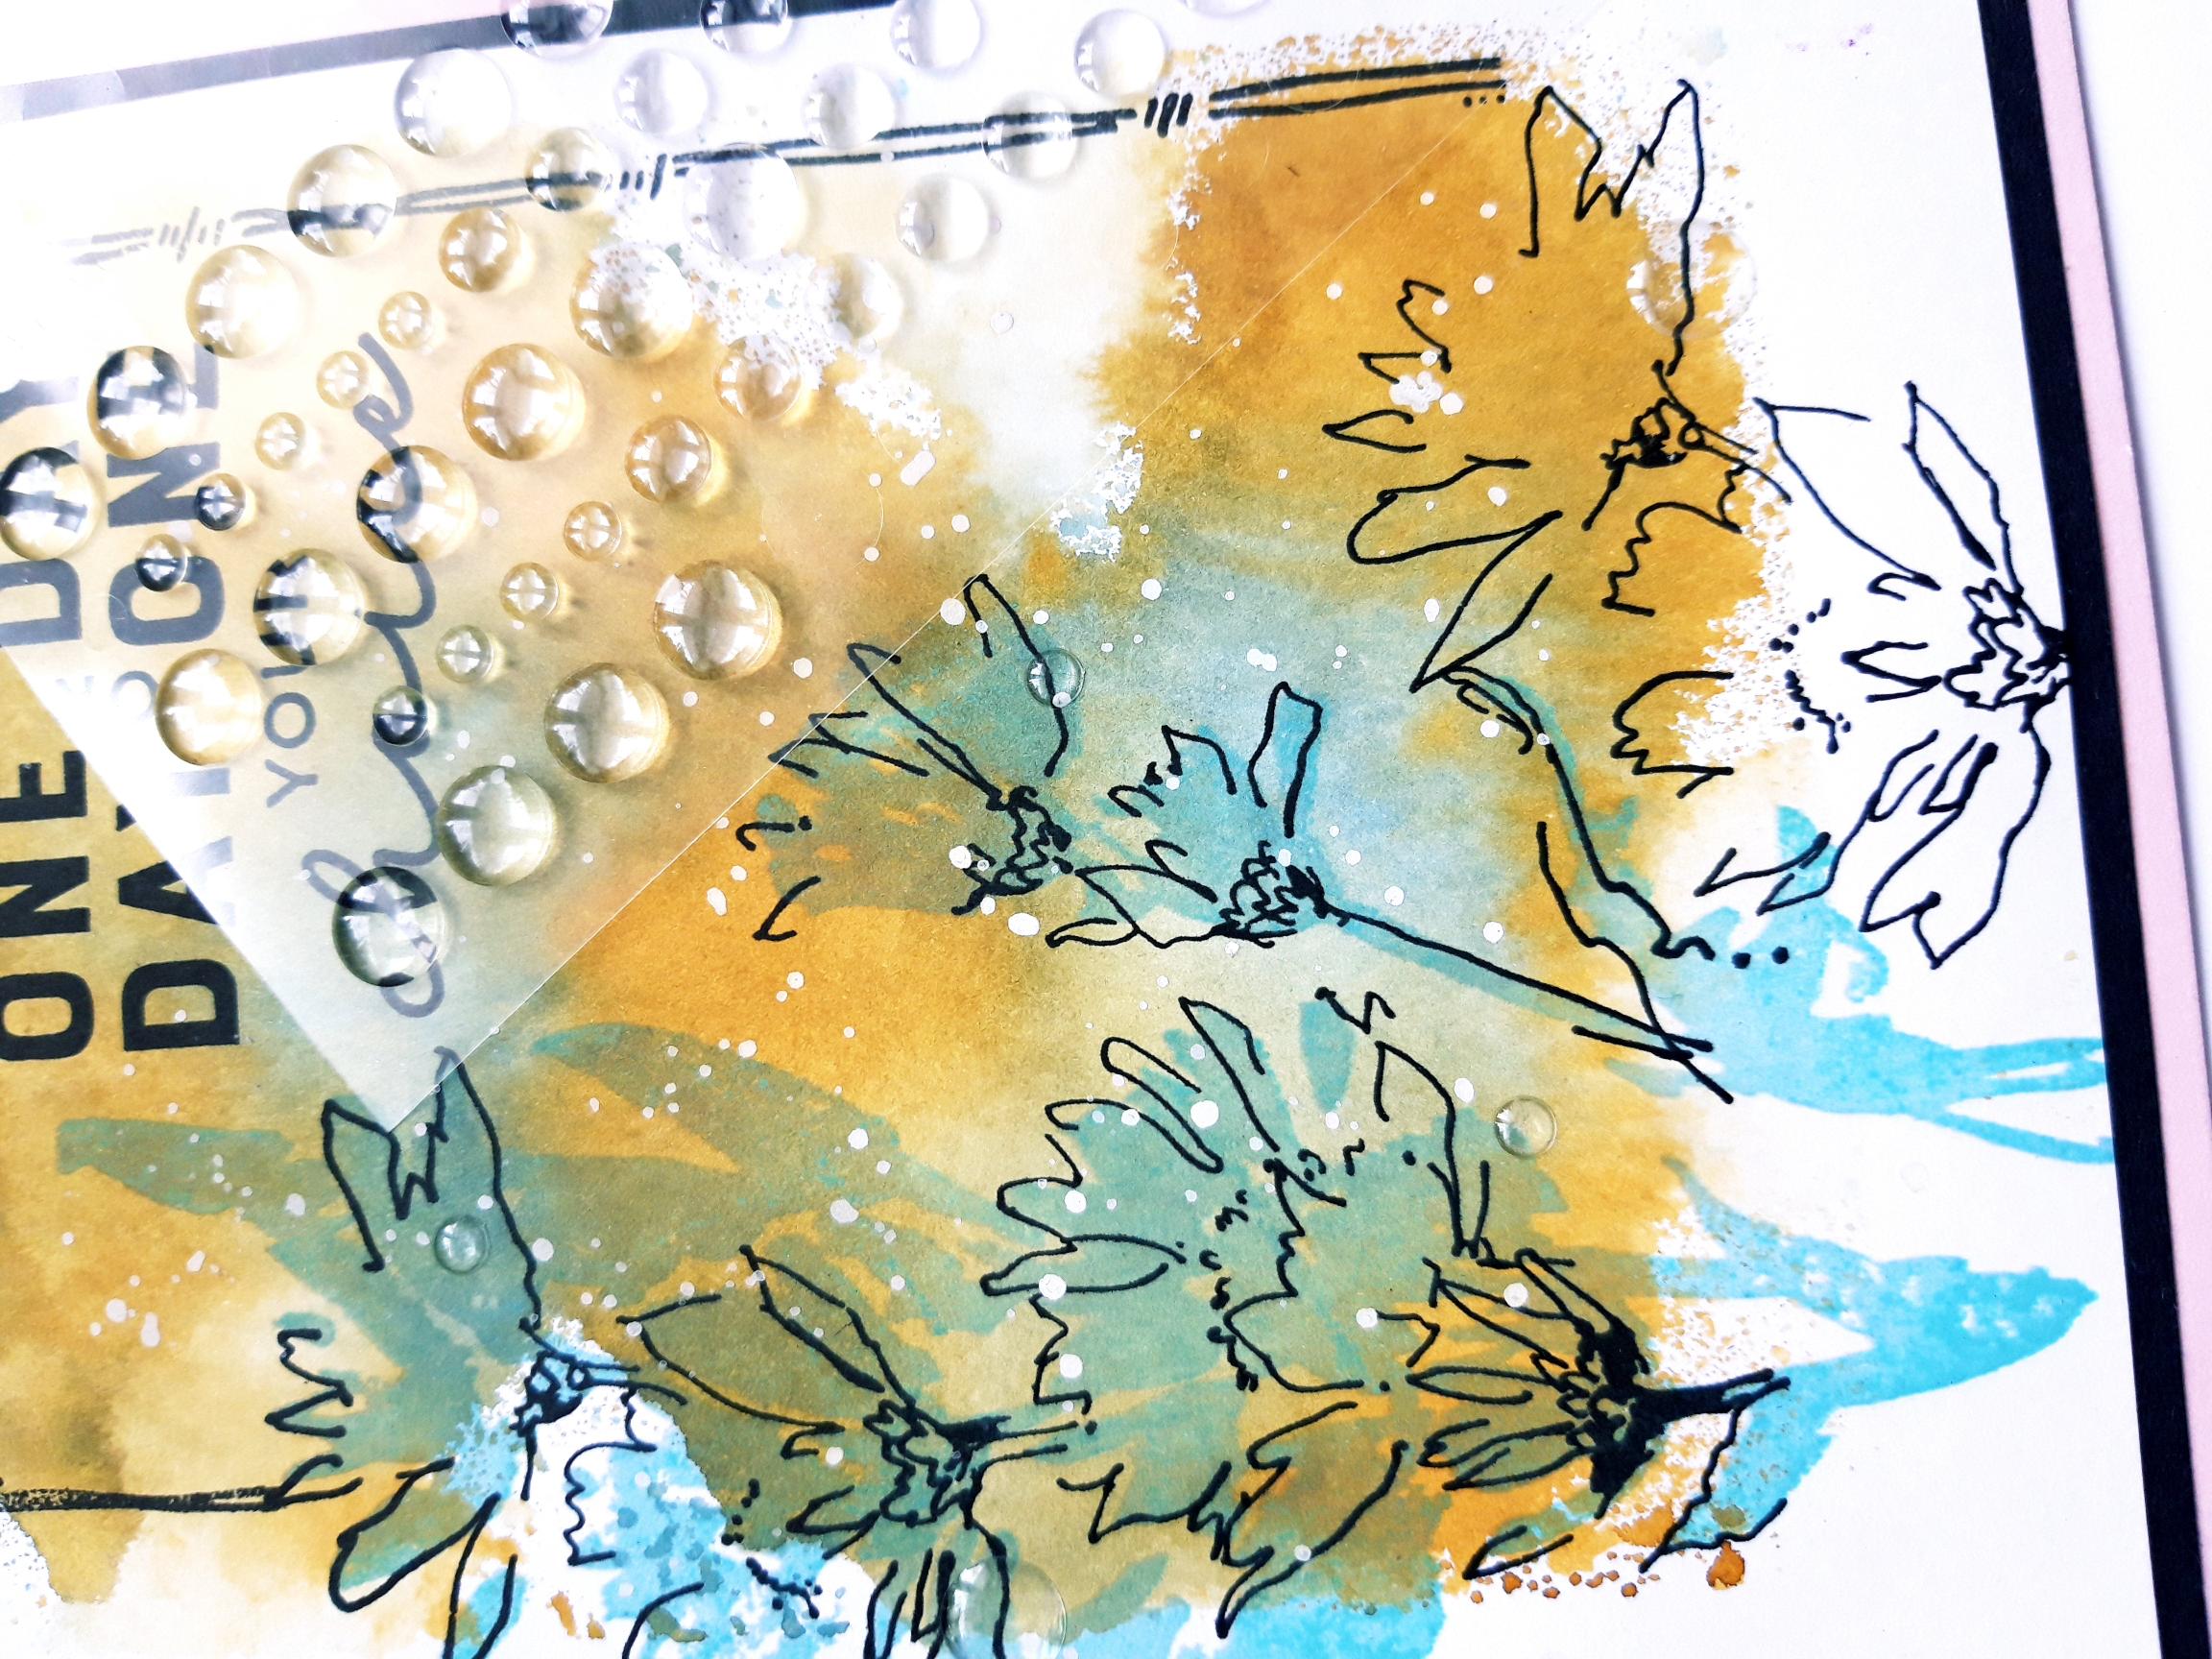
To finish, add clear, adhesive water gems to your artwork. |