Give your friends $10 off their first order!
Refer a FRIEND


WHAT YOU WILL NEED:
Die from Pop Up Gift Card Holder Die Collection
Pop Up Gift Card Pretty In Pink Paper Pad
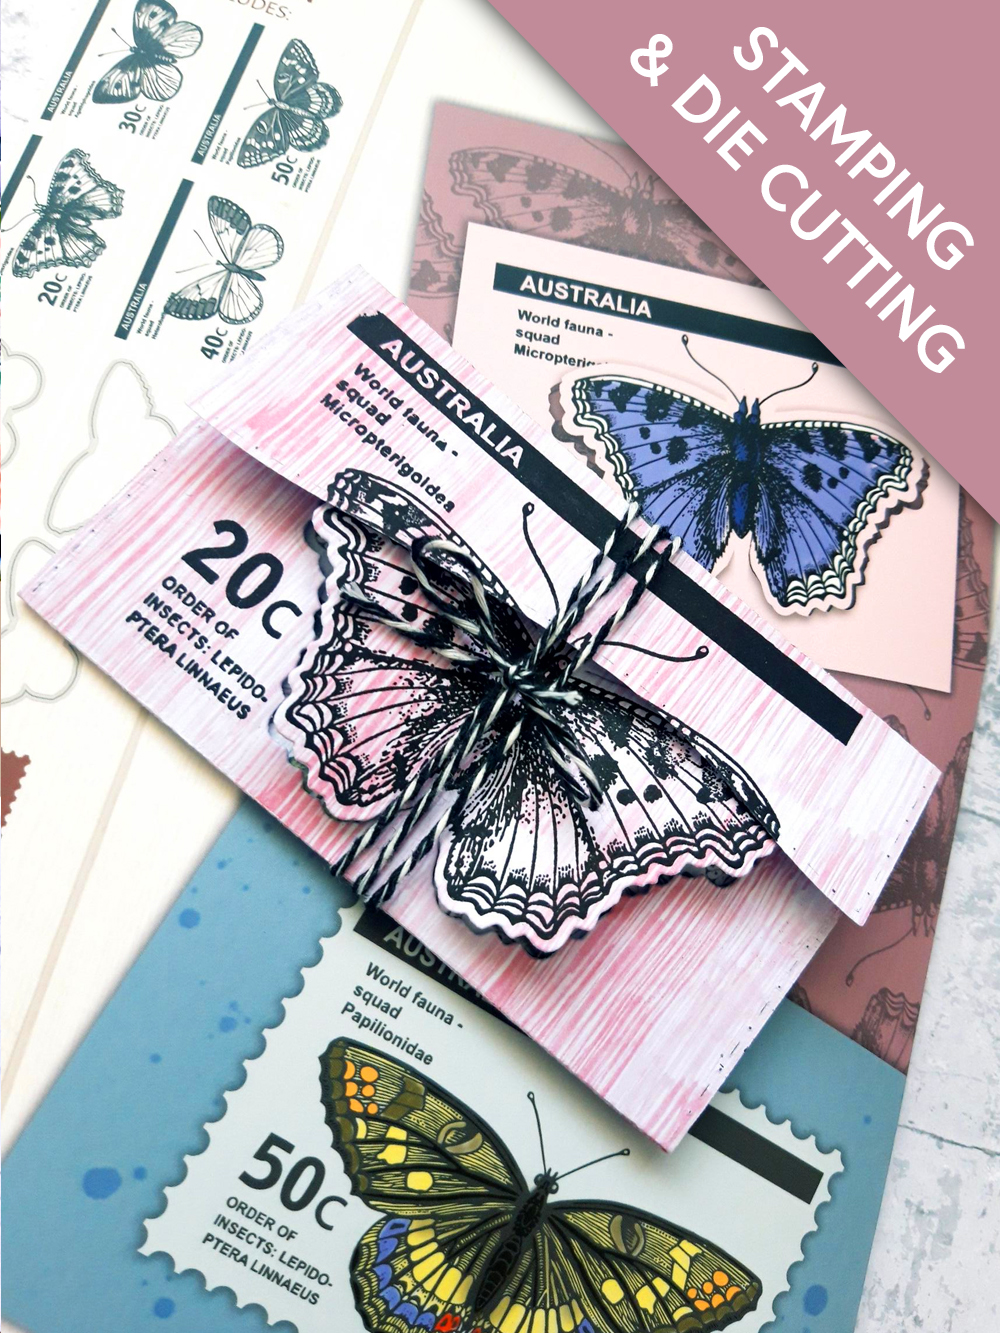
Stamps and dies from Vintage Butterflies Stamp And Die Collection
Versafine Ink Pad: Onyx Black
Gossip Glitter Pen: Clear Overlay
Bakers twine
Eureka 101
Double sided adhesive tape
Die Cutting machine
[click image to enlarge] 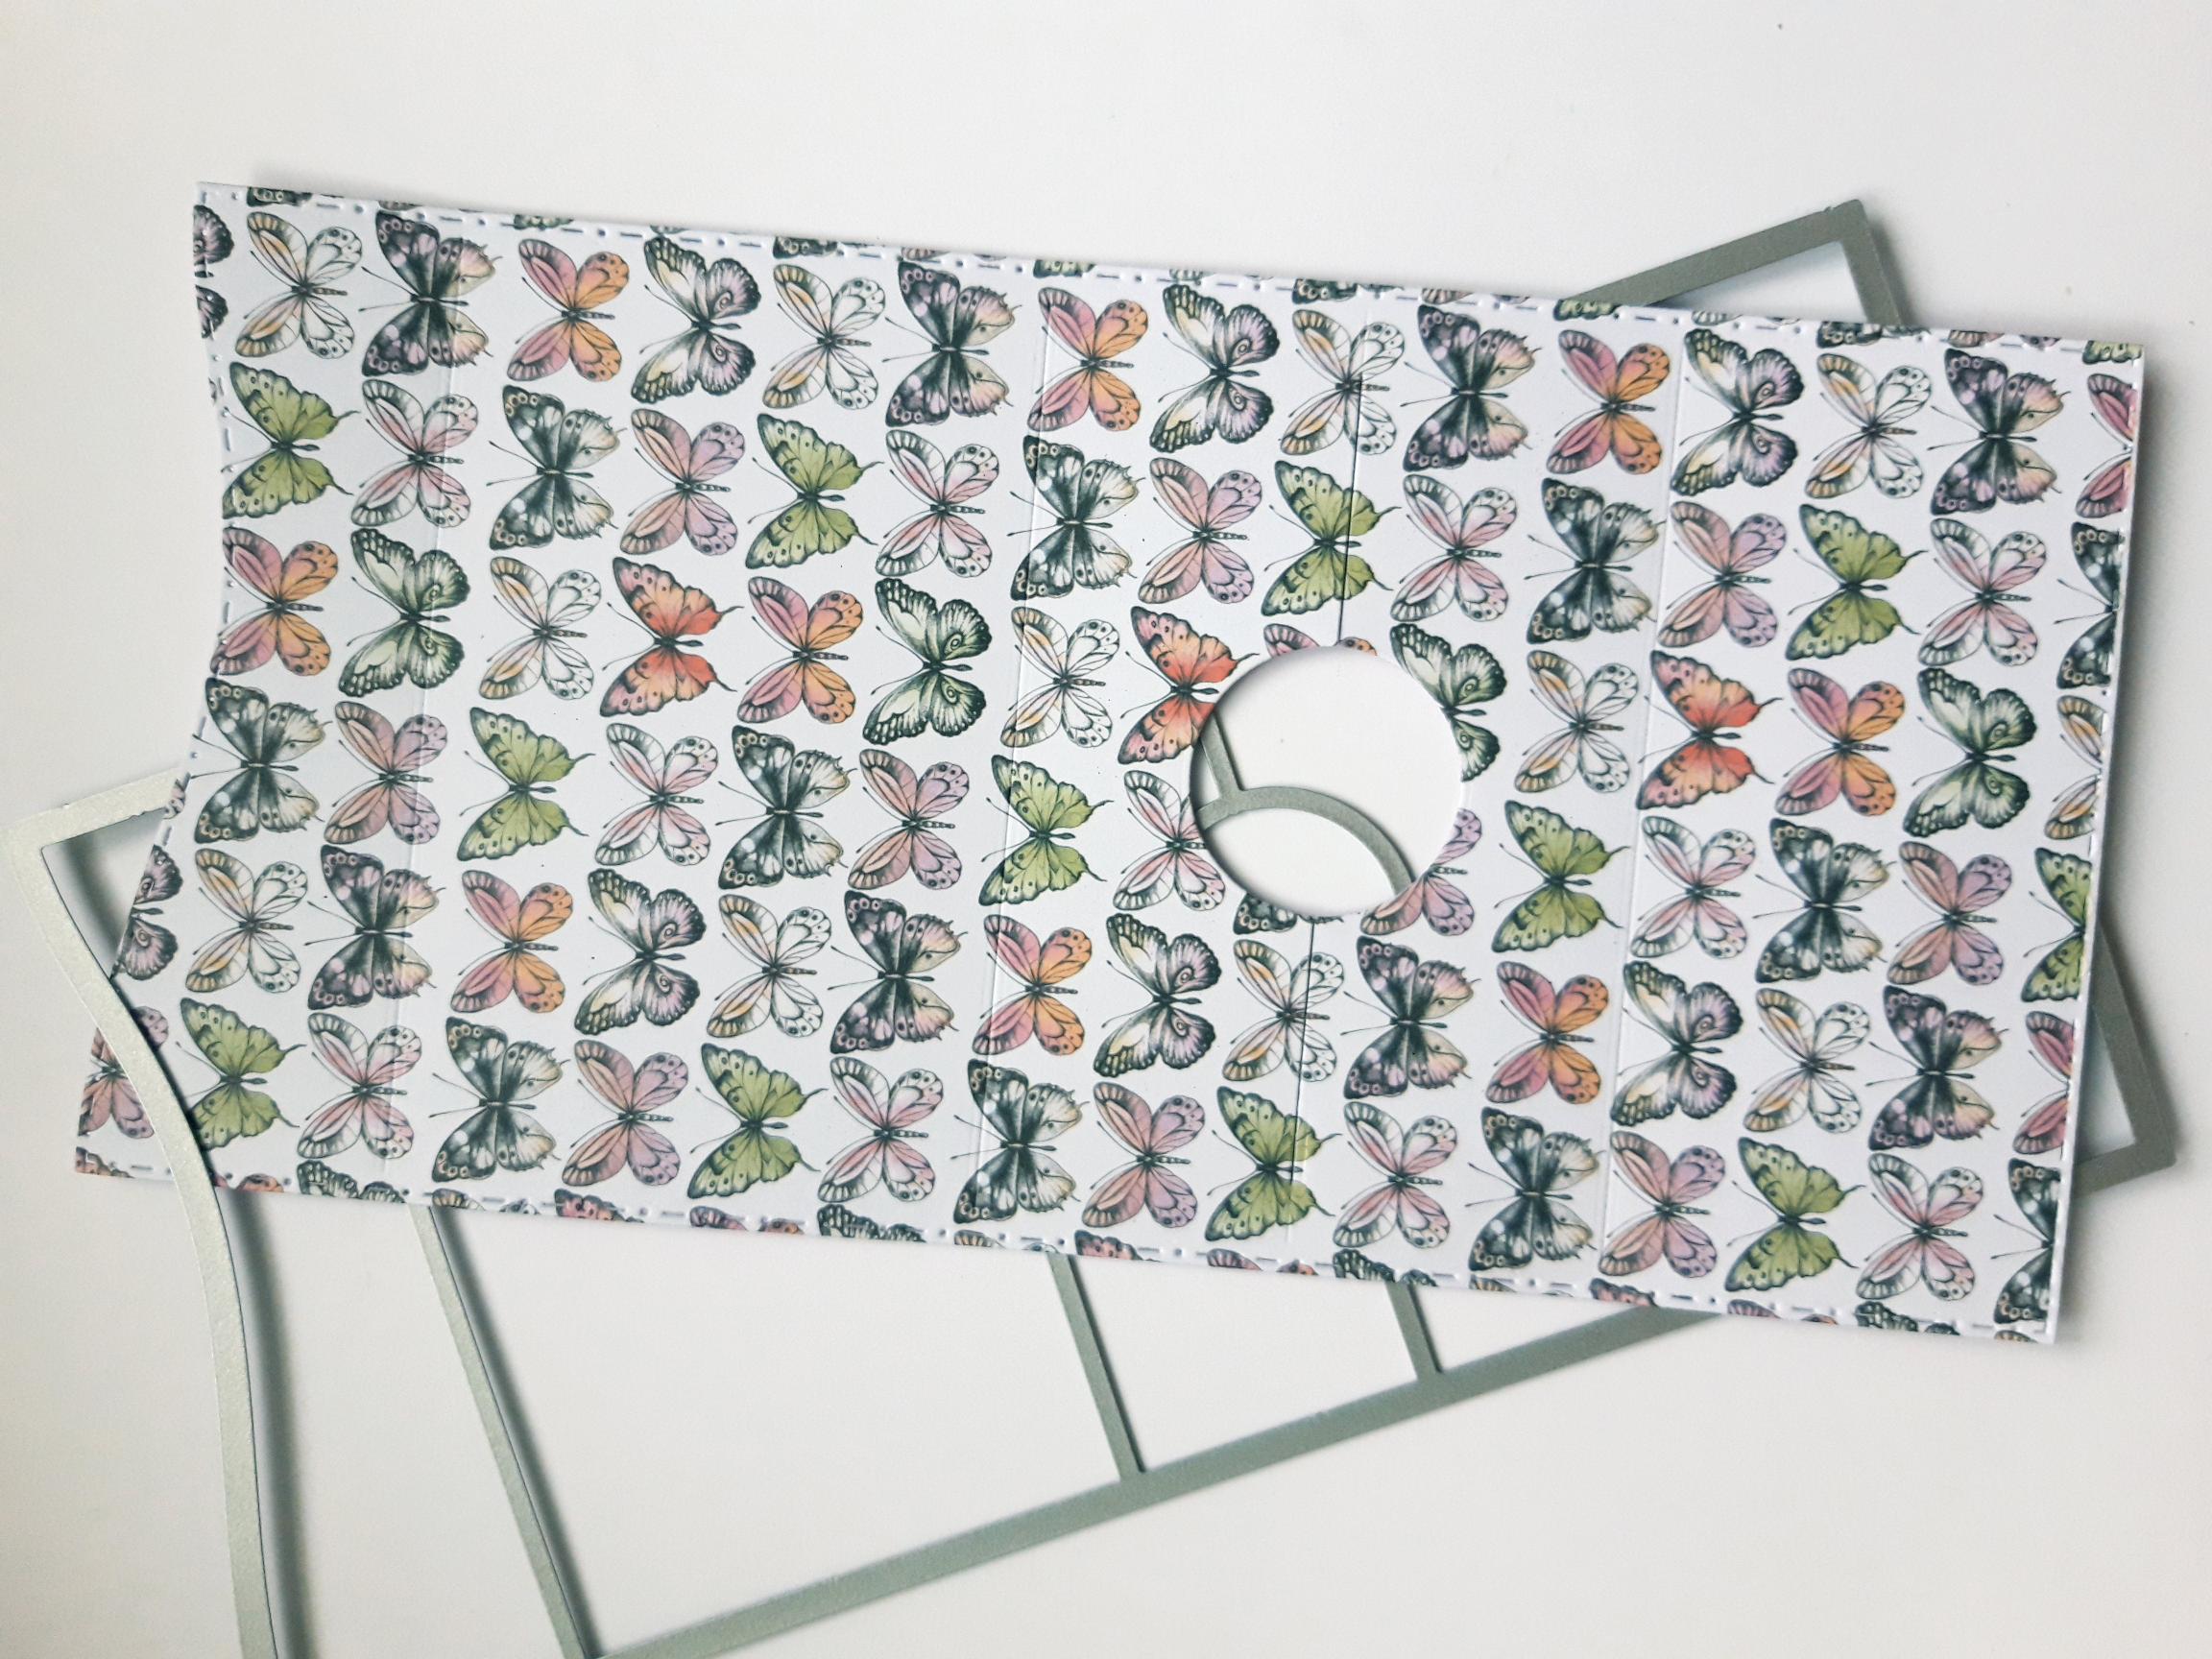
|
Tear out this decorative sheet, from the Pop Up Gift Card Pretty In Pink Paper Pad. Place the coordinating die, from the Pop Up Gift Card Holder Die Collection, on to the paper, and run it through your die cutting machine. |
|
Use your bone folder score tool, to fold and crease along all the score lines. Apply the double sided adhesive tape, along the bottom of one of the centre panels, as shown here. |
|
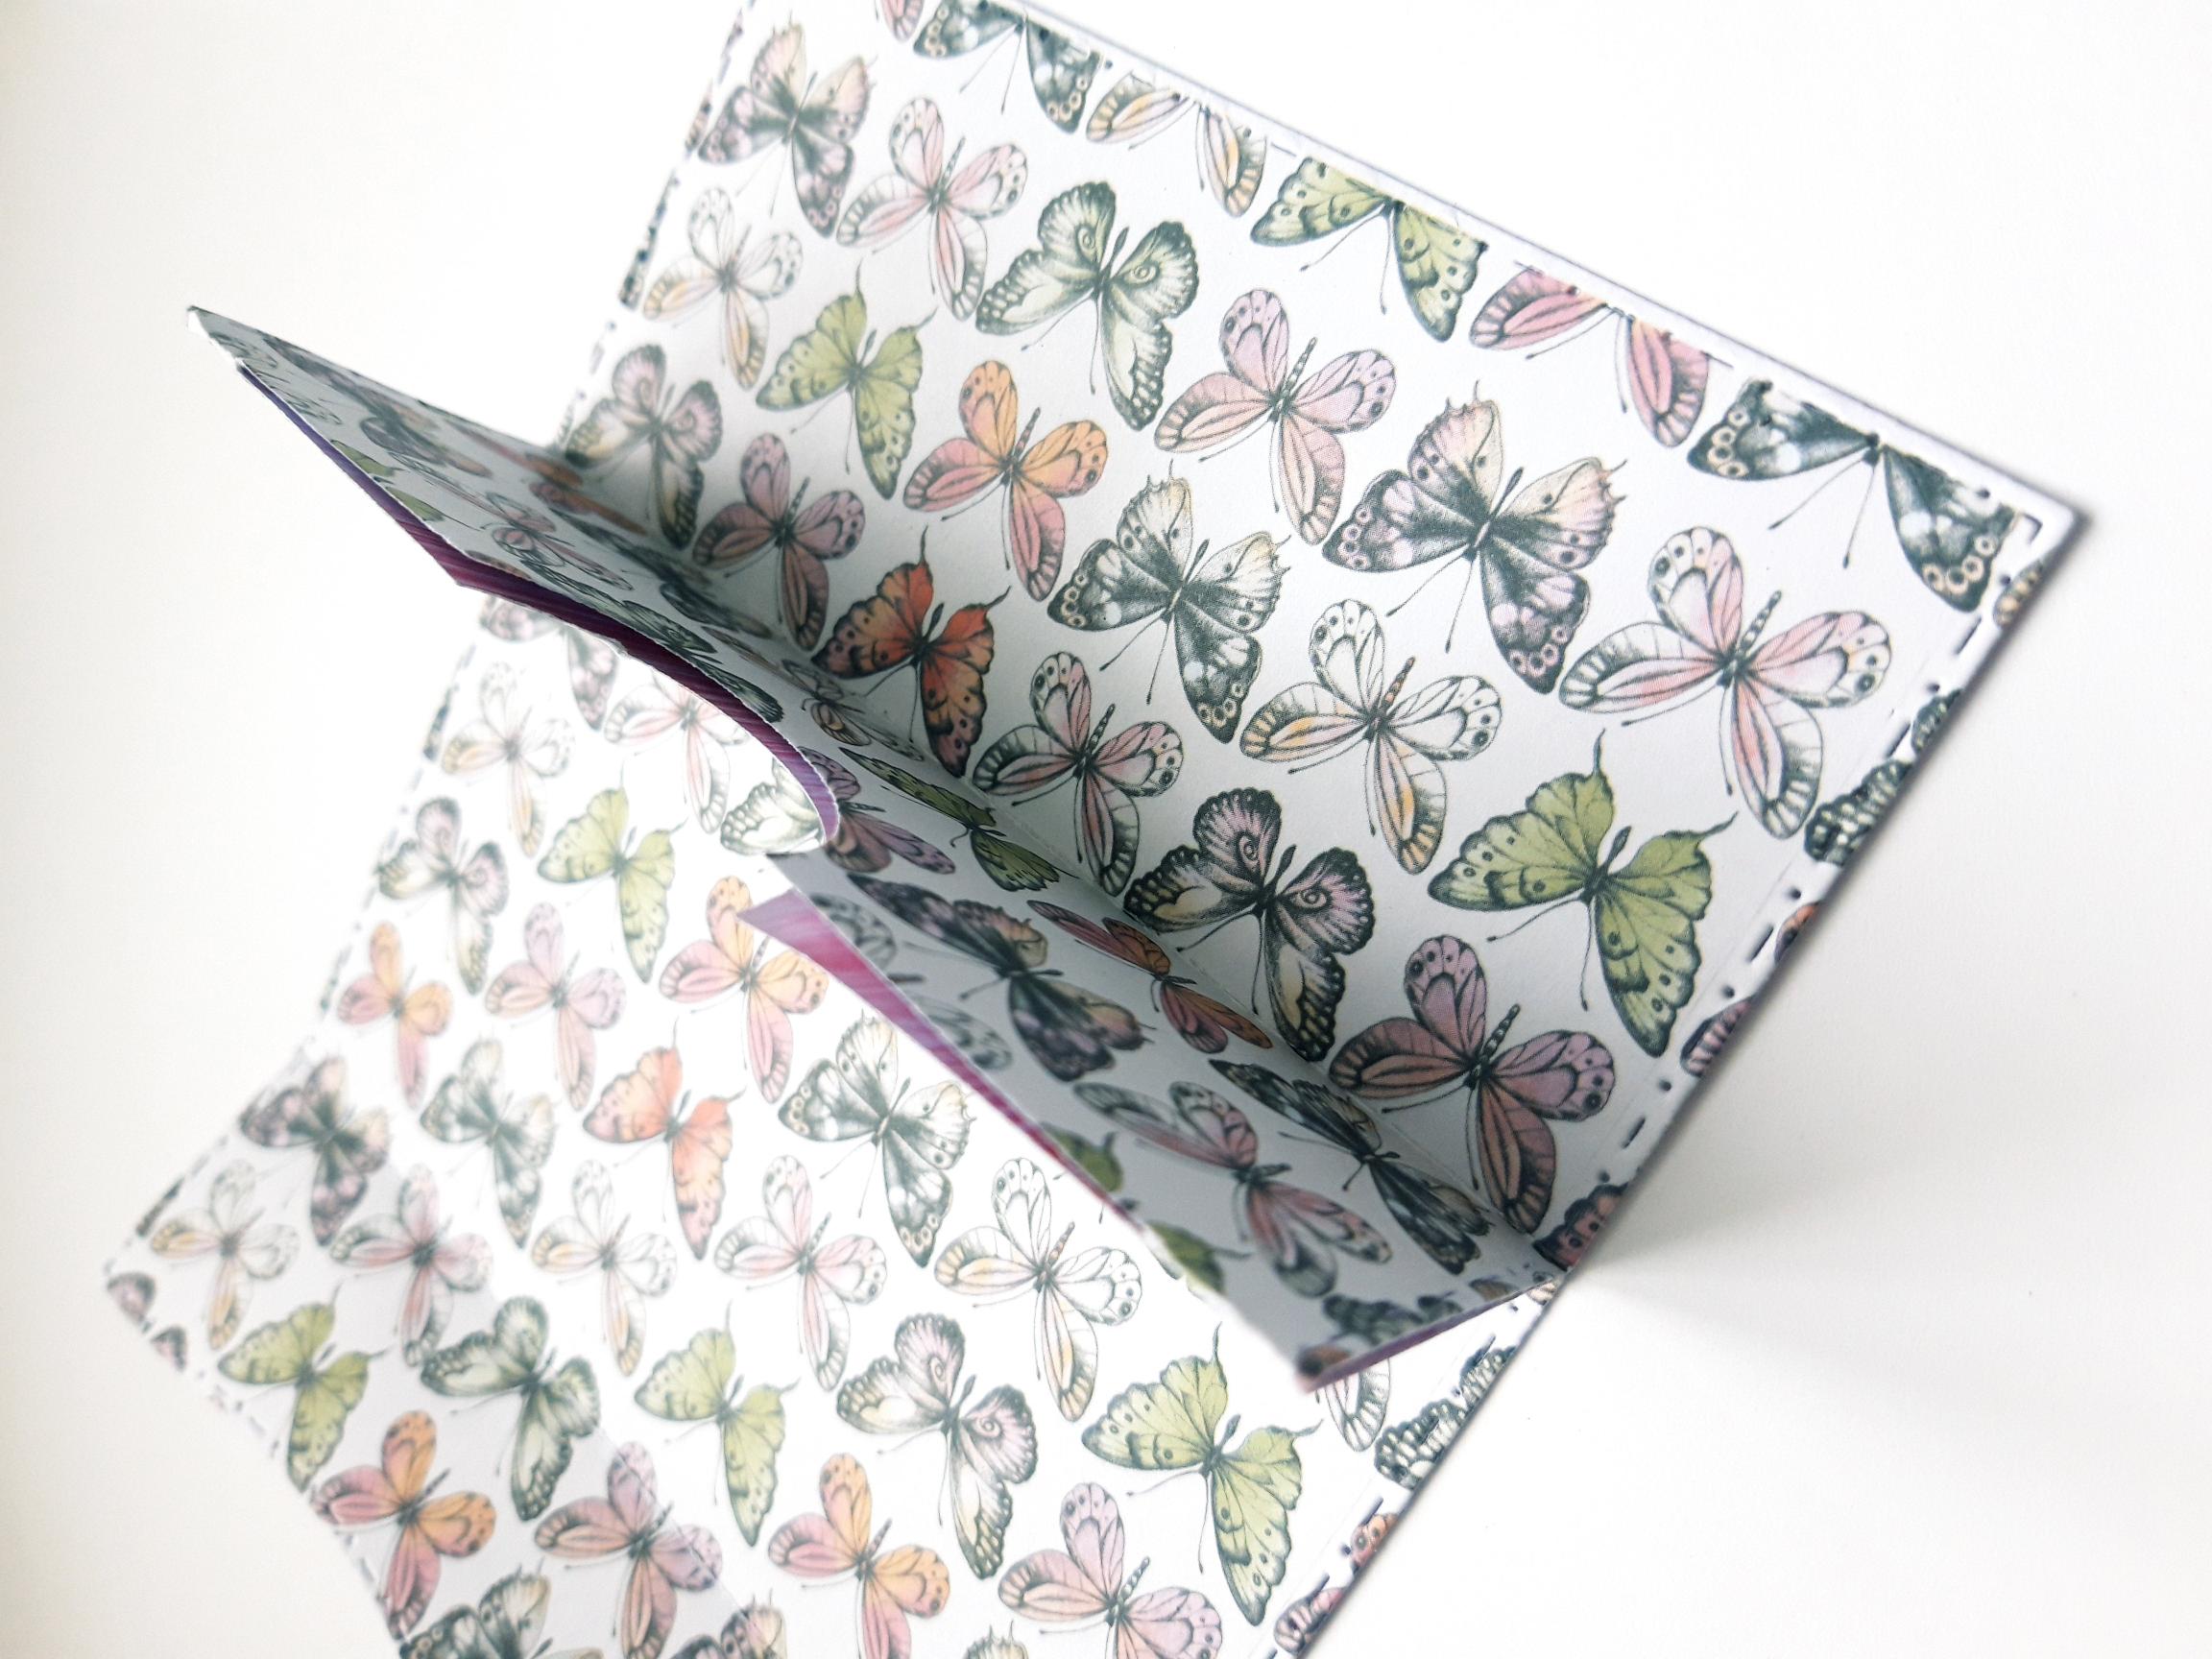
Remove the backing tape, from the double sided adhesive tape. Refold the gift card holder, so the centre panel adheres together, to create the pop up element that will house your gift card etc. |
|
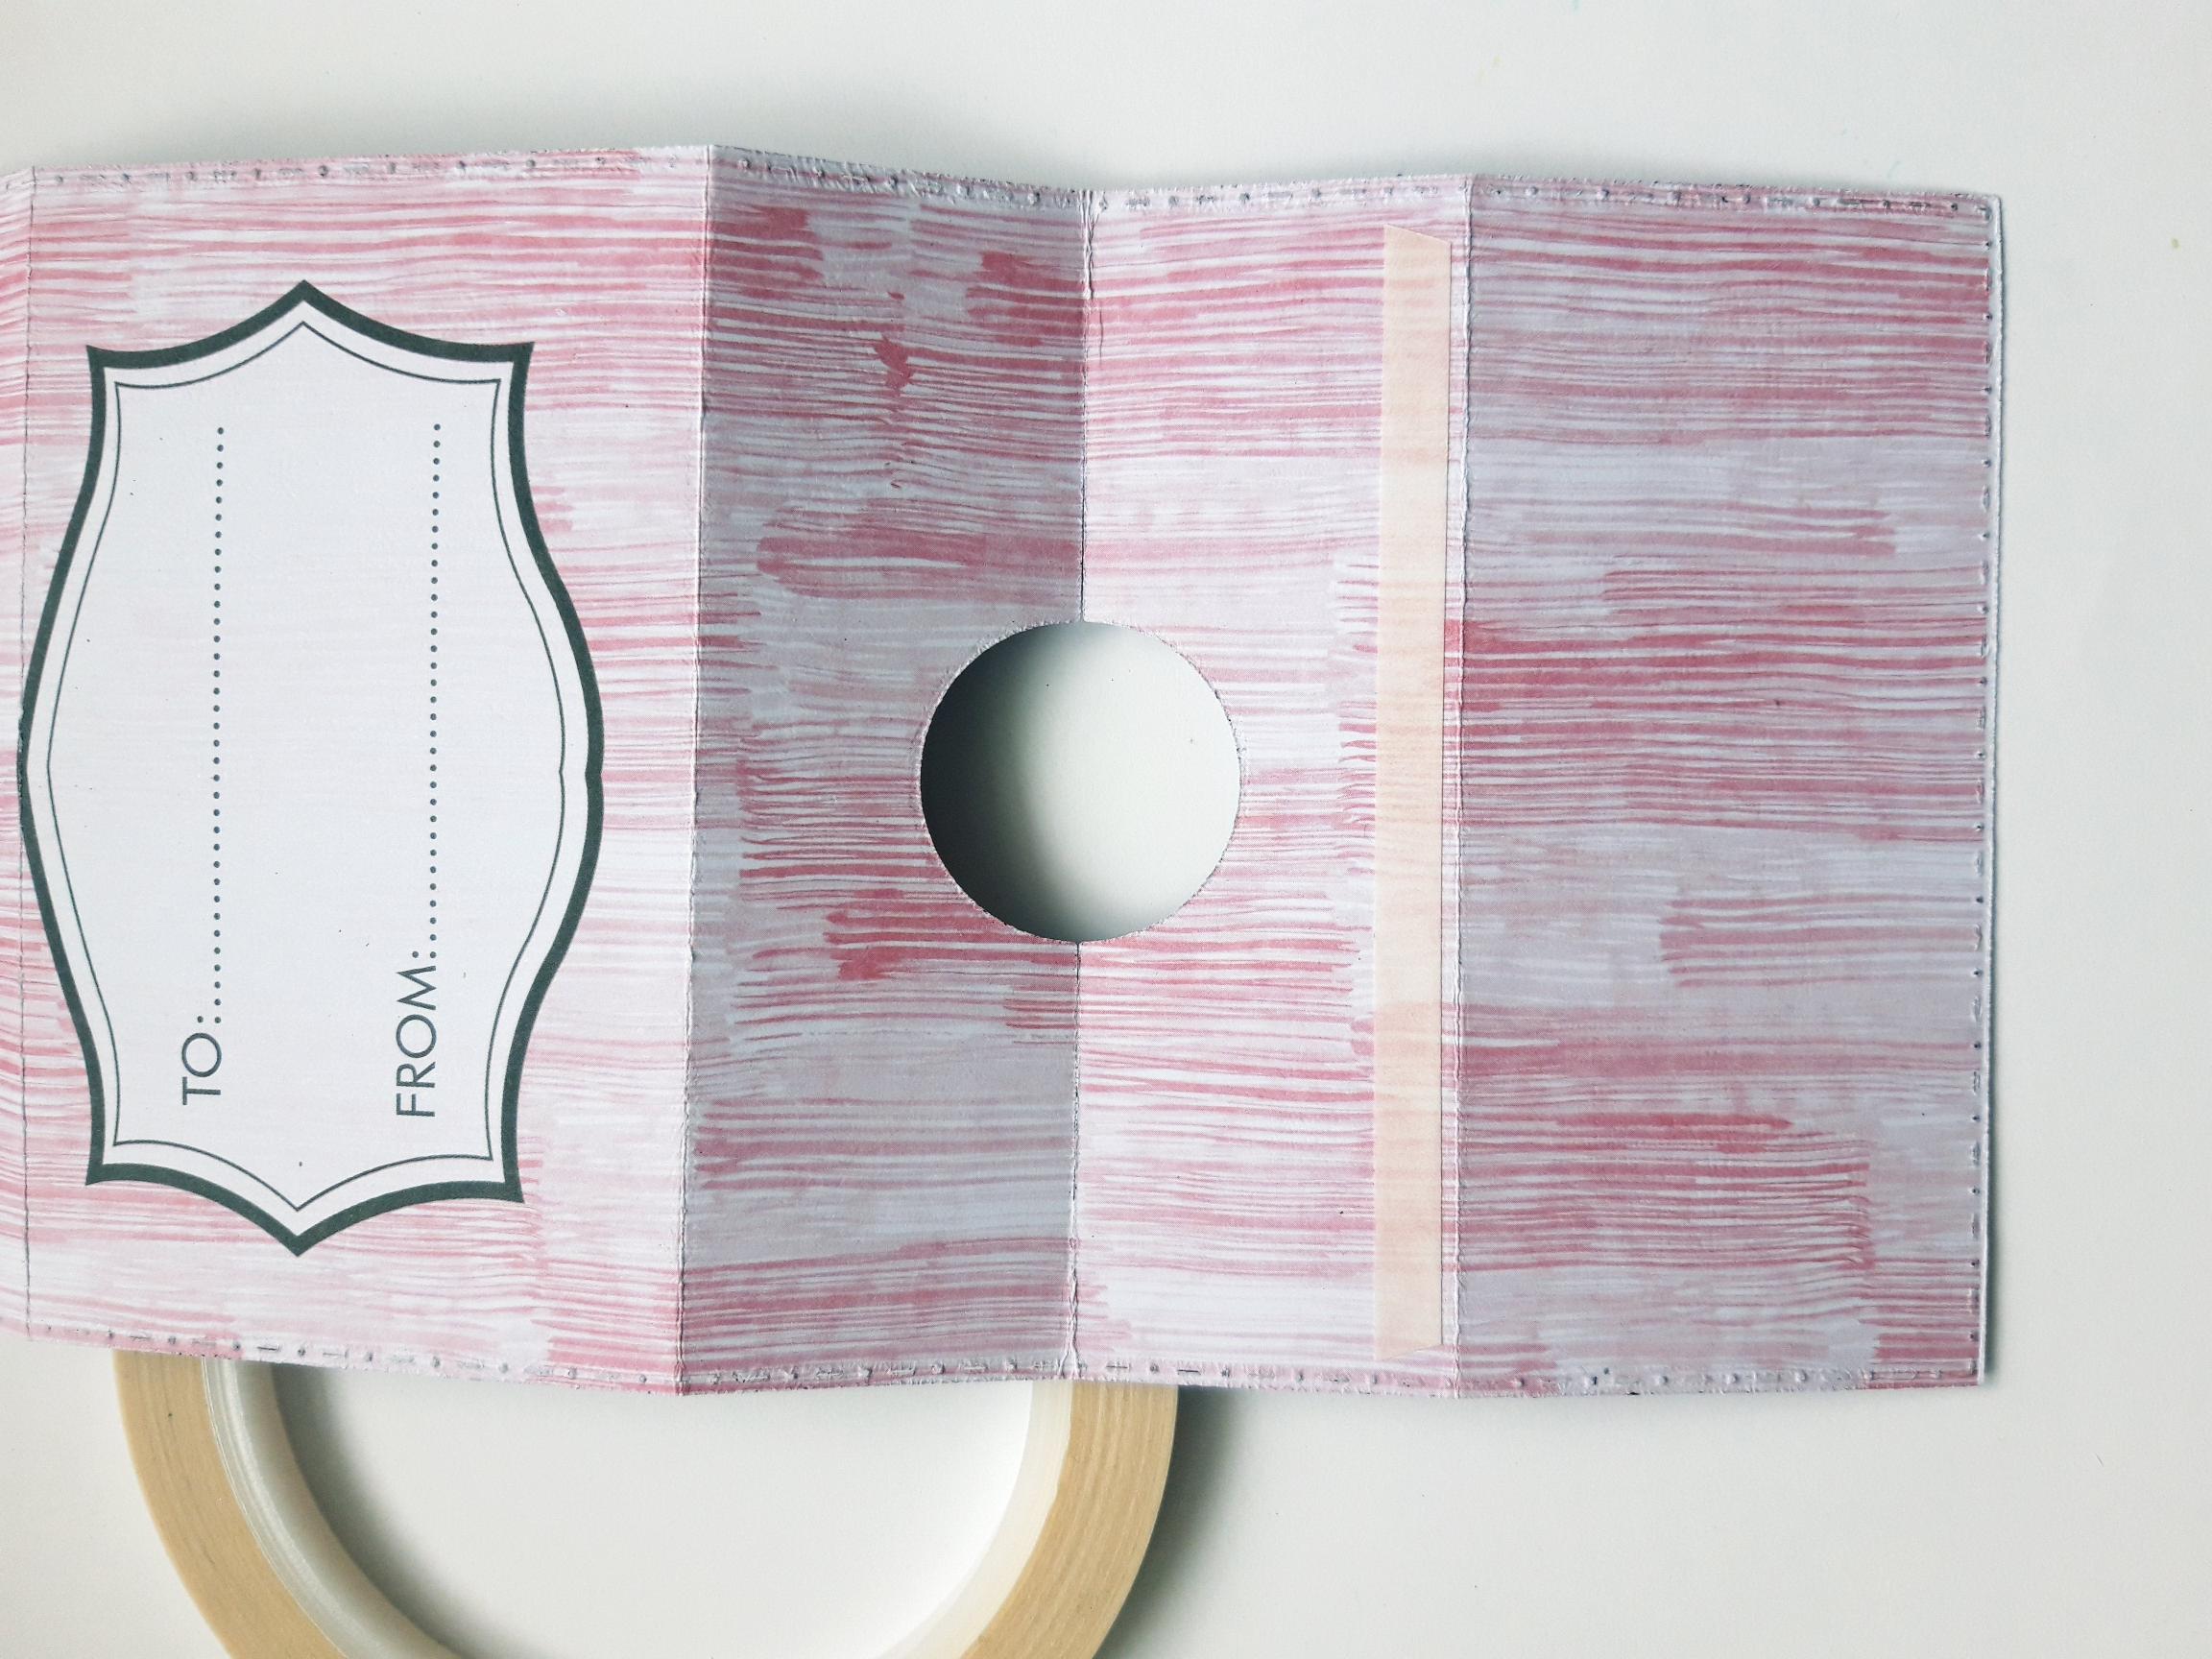
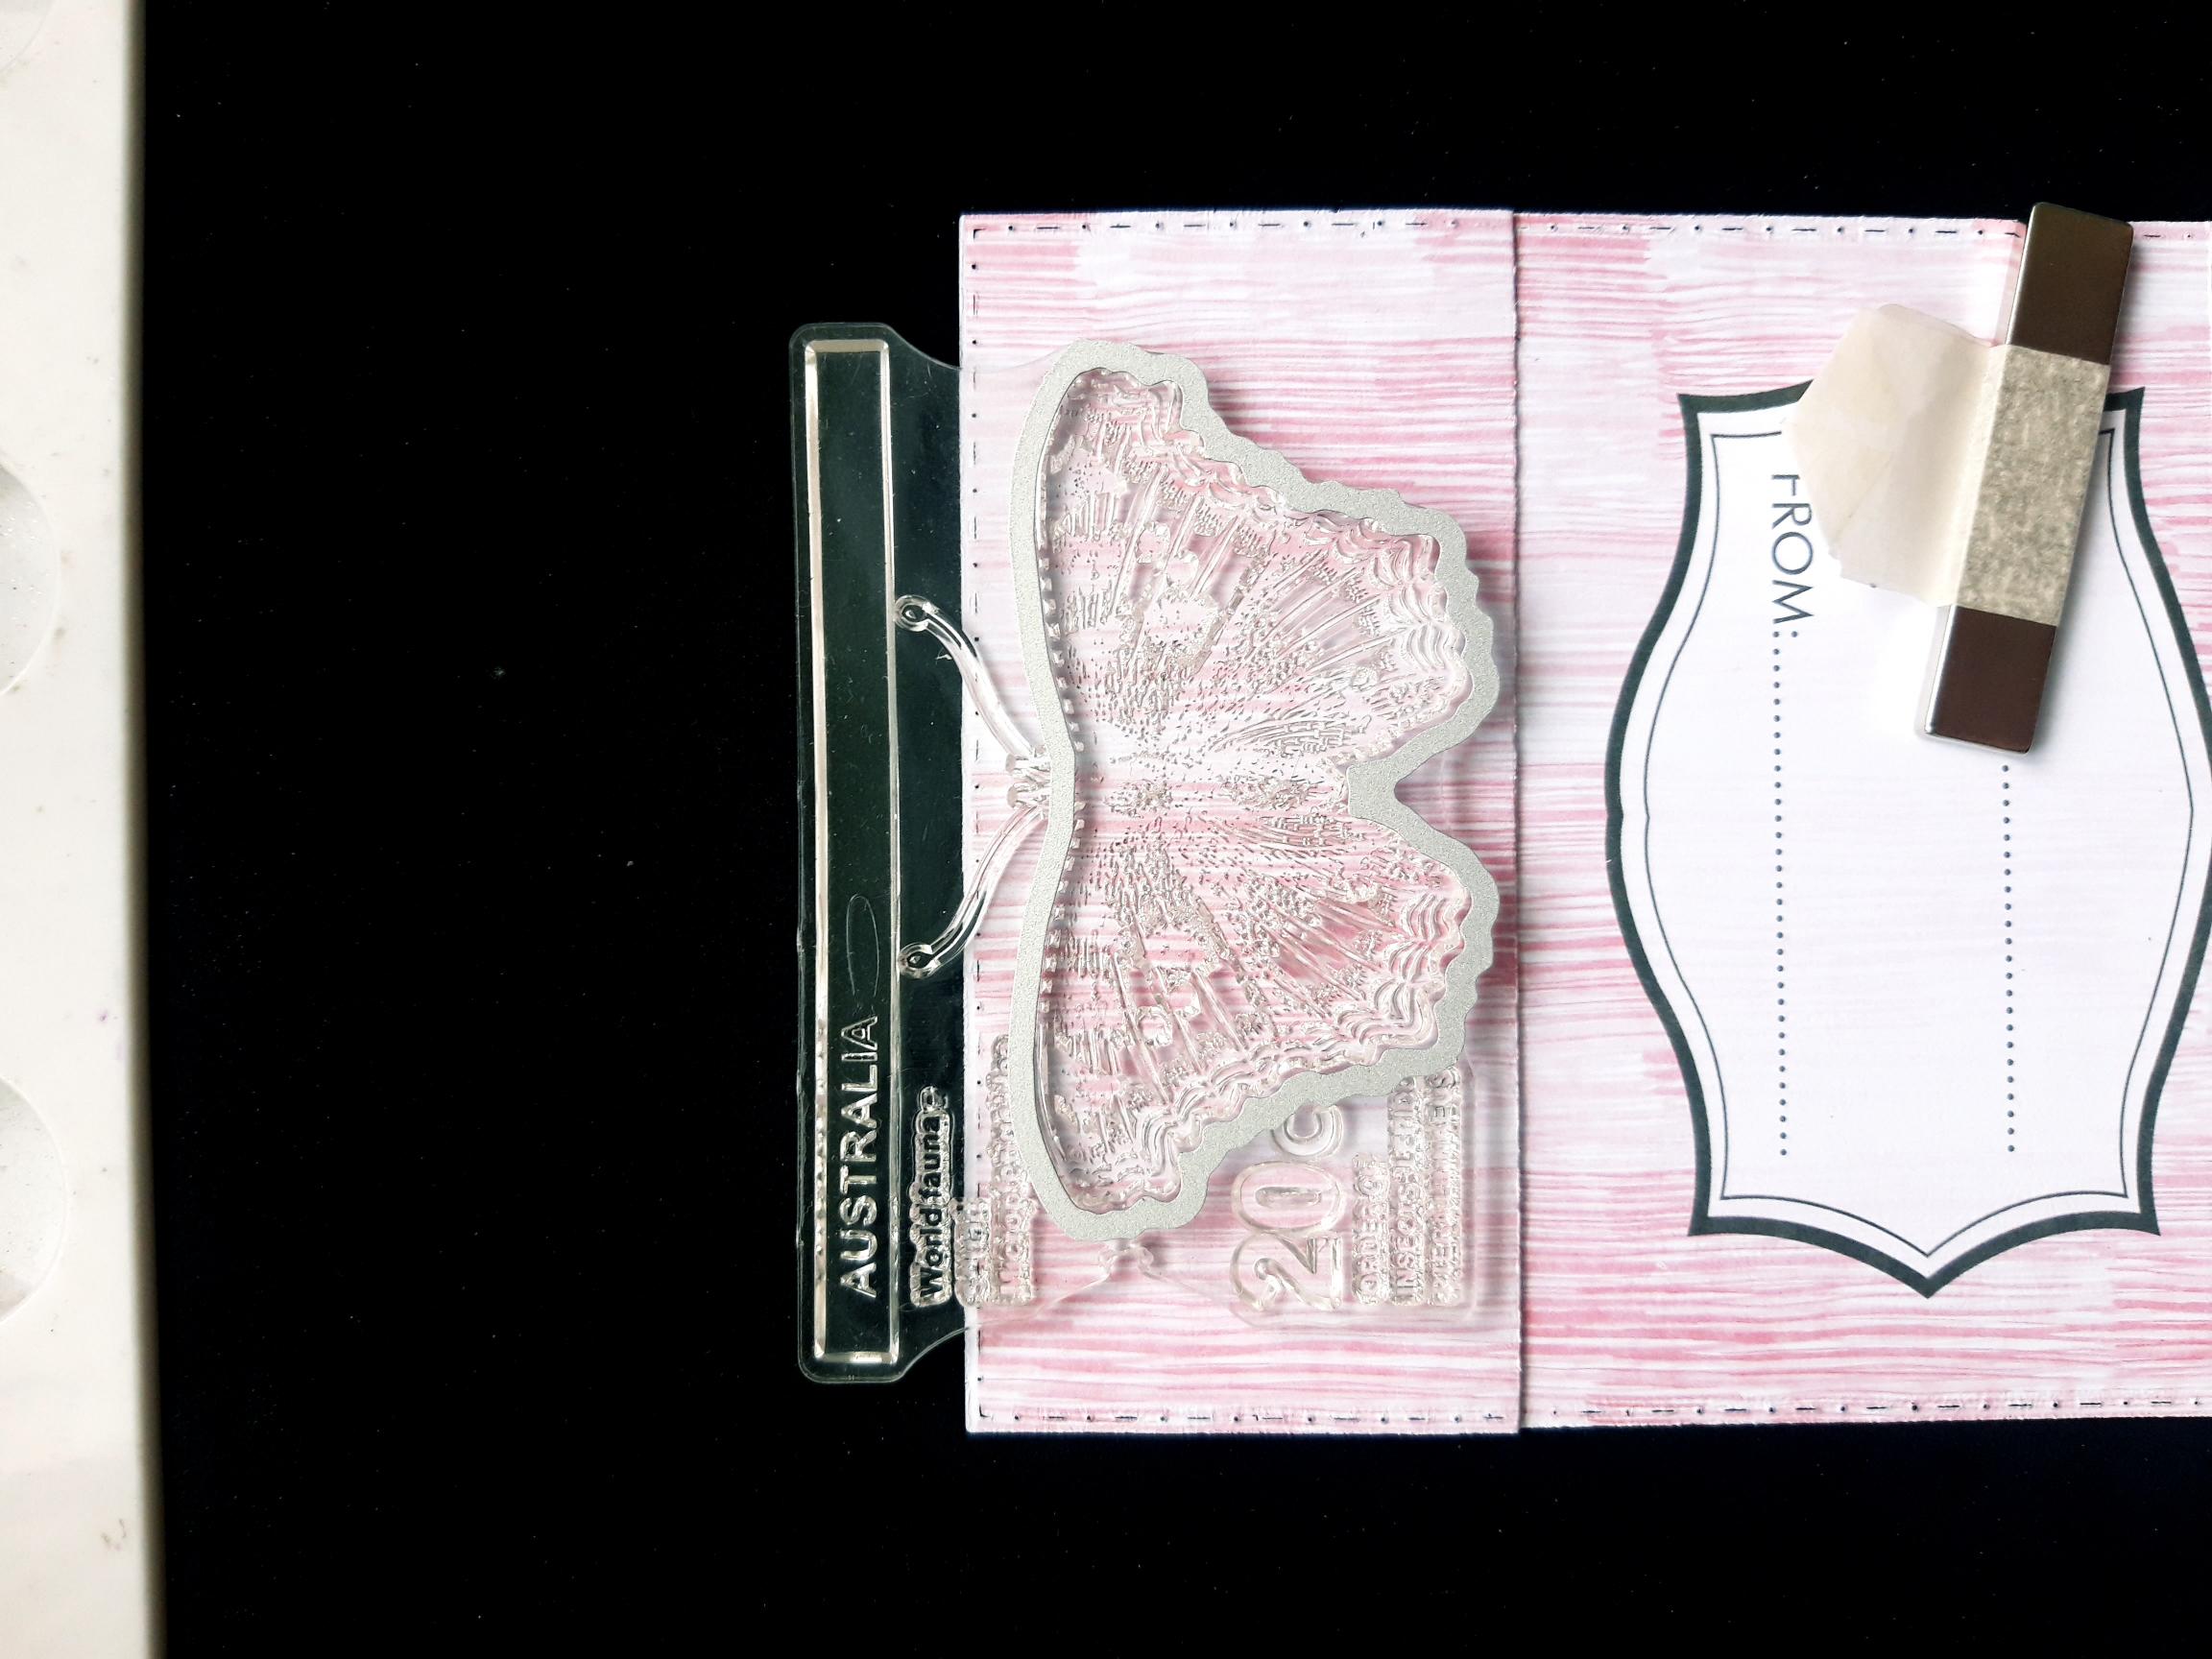
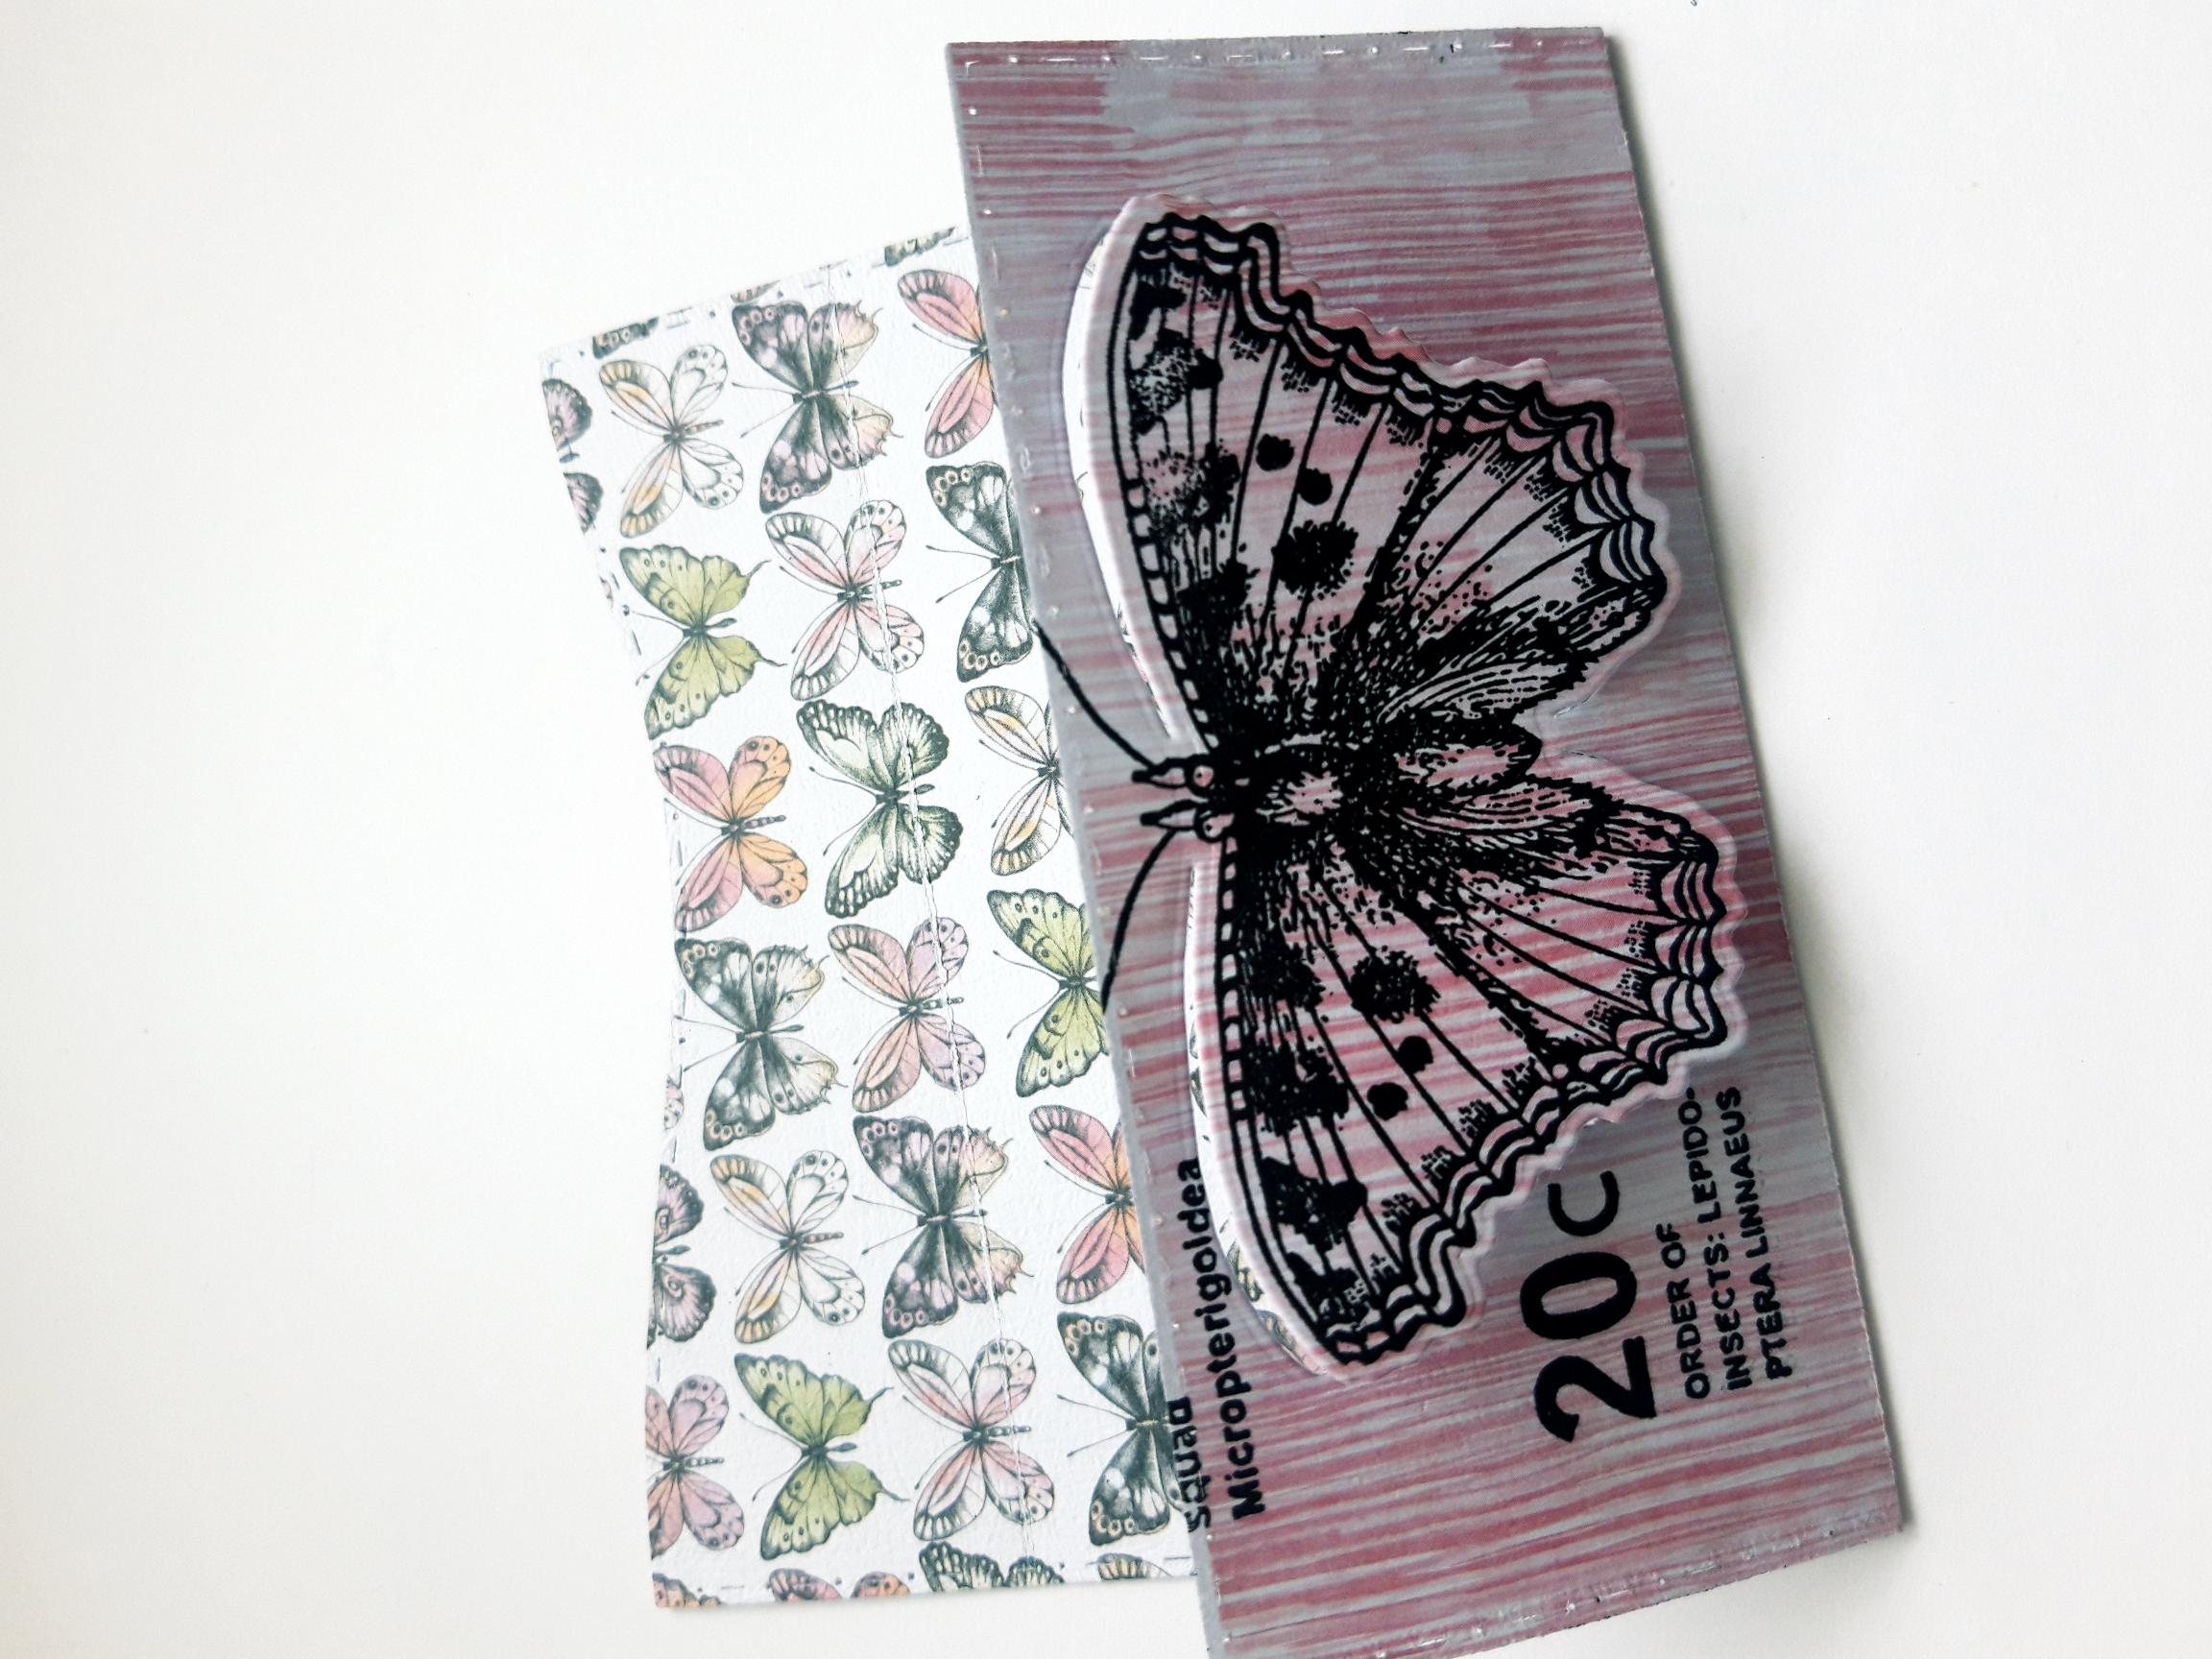
Open up the wallet as seen here, and place in your Eureka 101 (NB: the TO/From panel is upside down!) Place your chosen stamp from the Vintage Butterflies Stamp and Die Collection, on to the paper panel, ABOVE the To/From panel. I laid the coordinating die, from the same set, on top of the stamp, to help me get the placement of the stamp correct, as the die must sit within this paper panel, and not cross the top or bottom edge! |
|
Once you are happy with the placement, remove the die, ink up the stamp with the Onyx Black Versafine, and stamp it in position. |
|
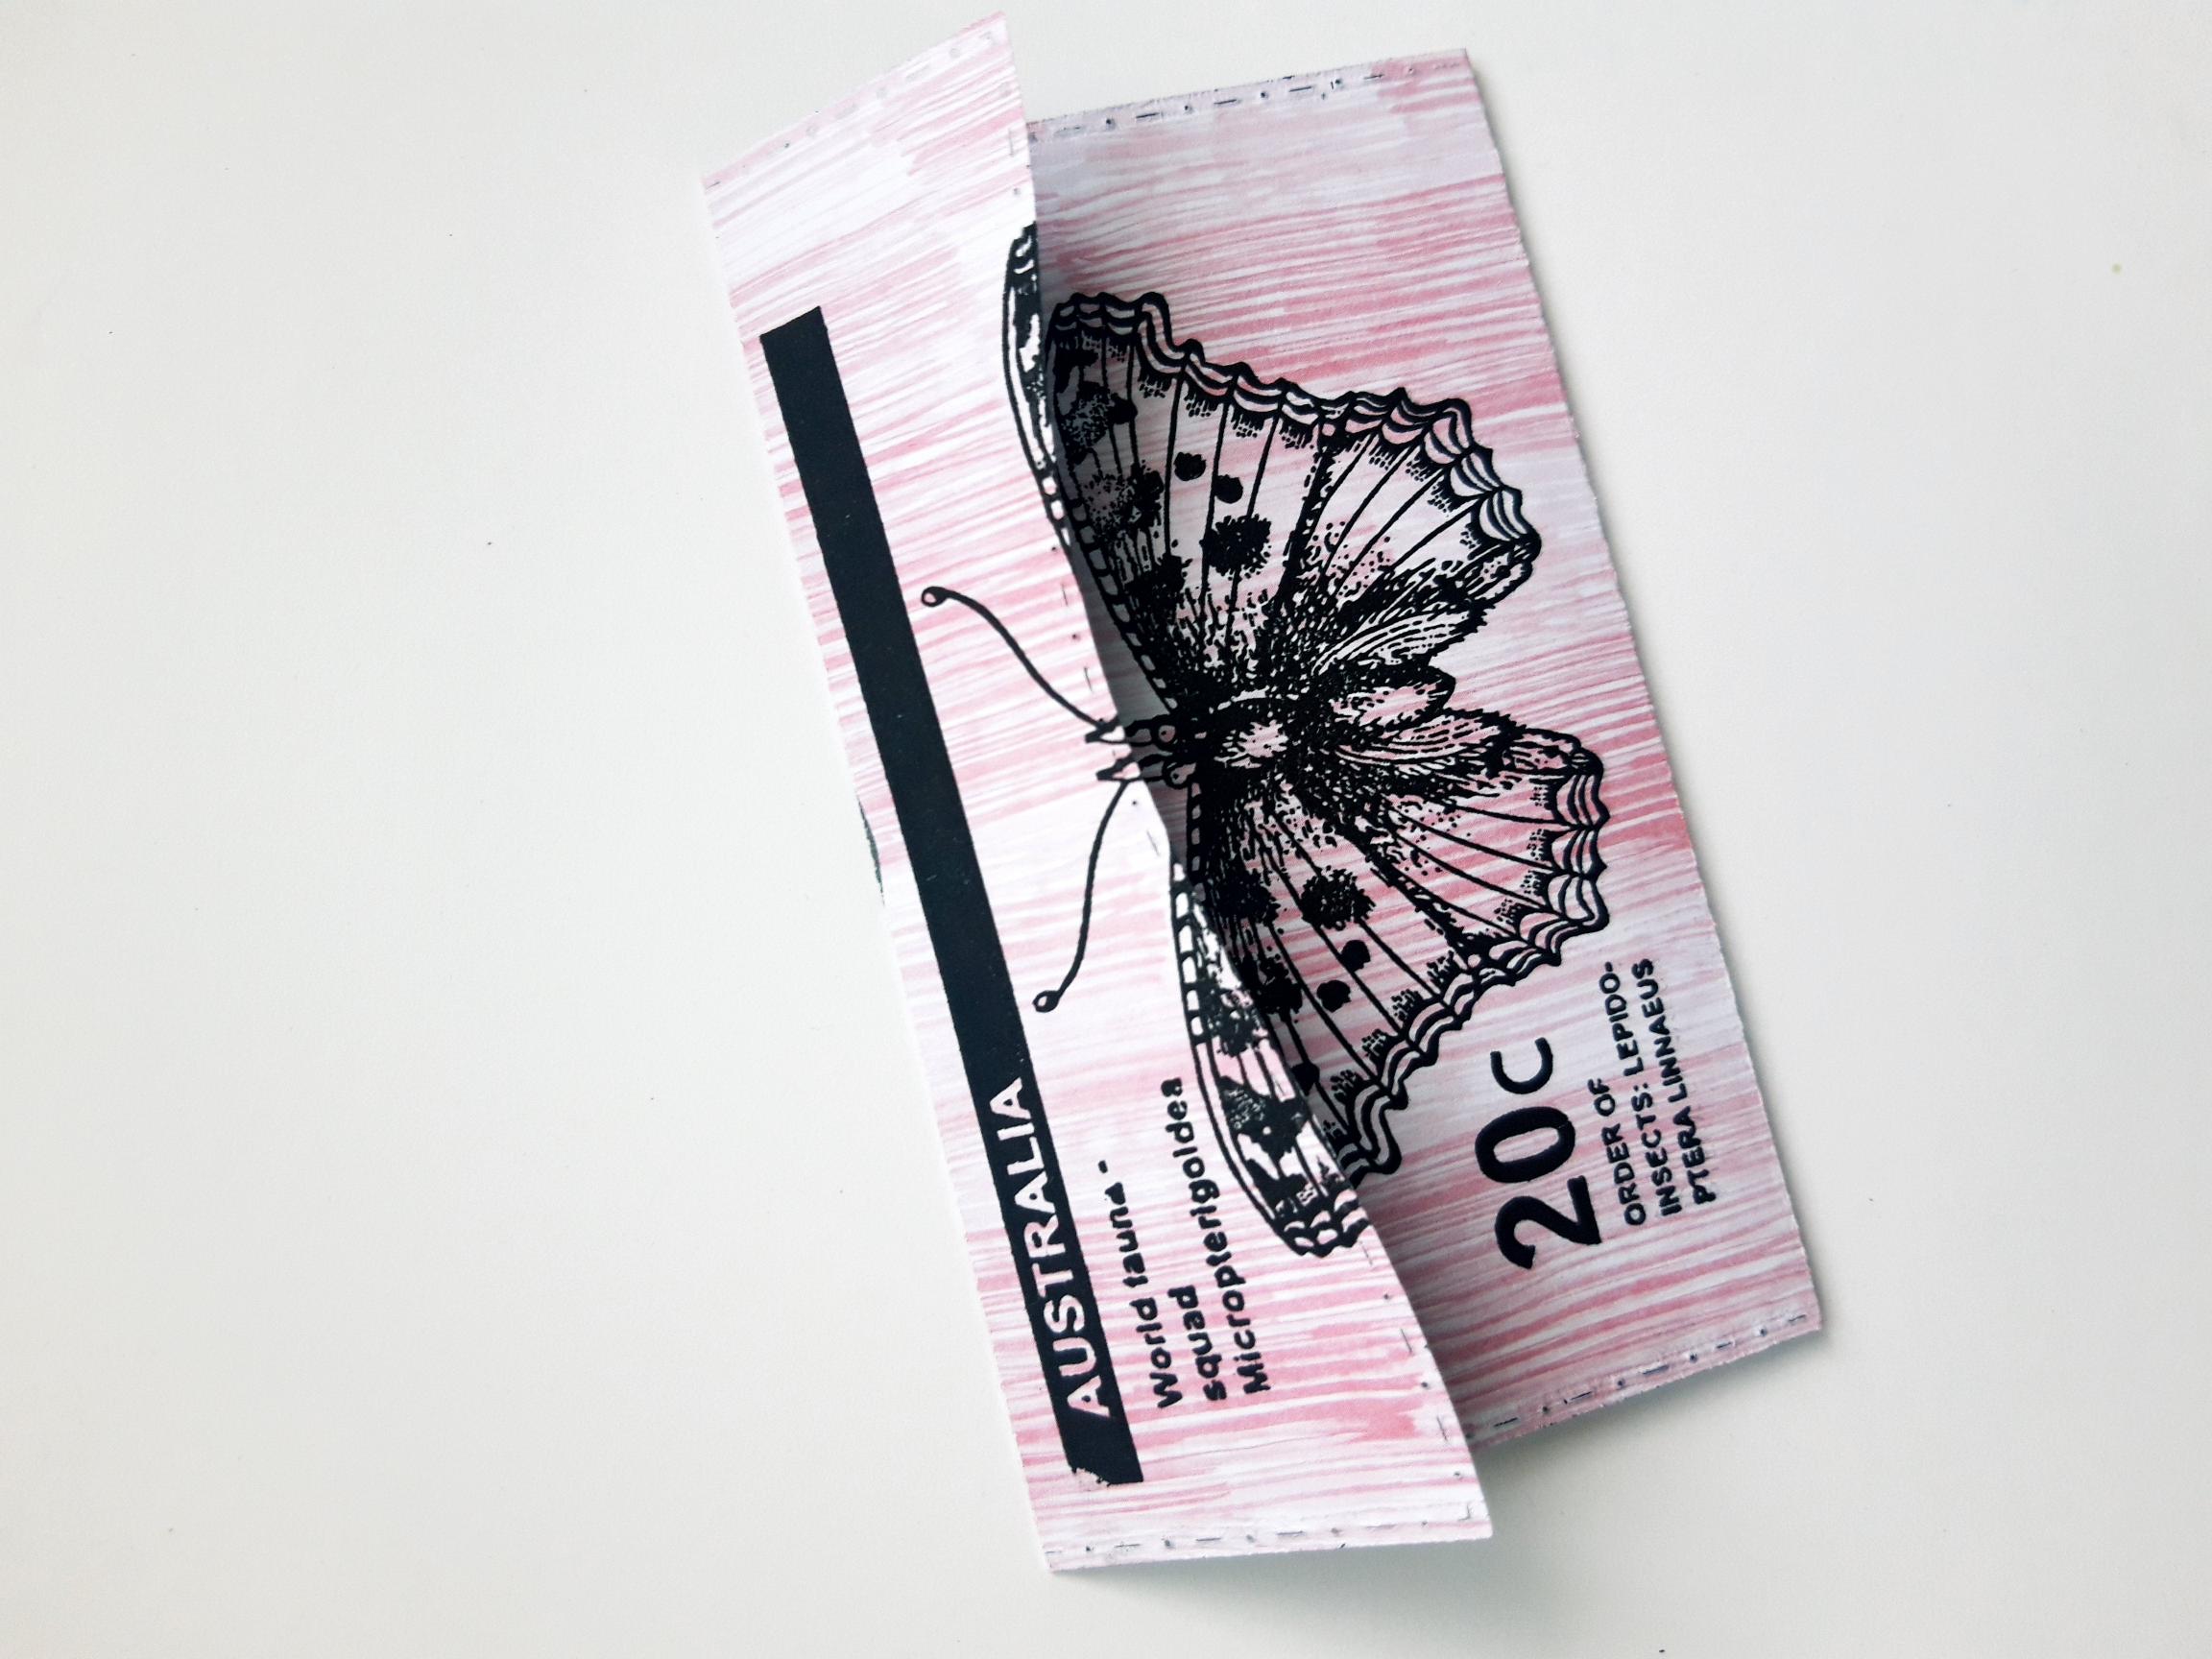
Once the ink is dry, place the stamped wallet, back in the Eureka 101, folded as shown here, with the top, closure flap folded over the stamped image. Place the stamp back in position, lined up on top of your stamped image. Place a piece of copier paper over the stamped image (to protect it/mask it off). Ink the stamp up again, with the Versafine, and stamp the top of the butterfly stamp on to the top, closure flap. Remove the copier paper and allow the ink to dry. |
|
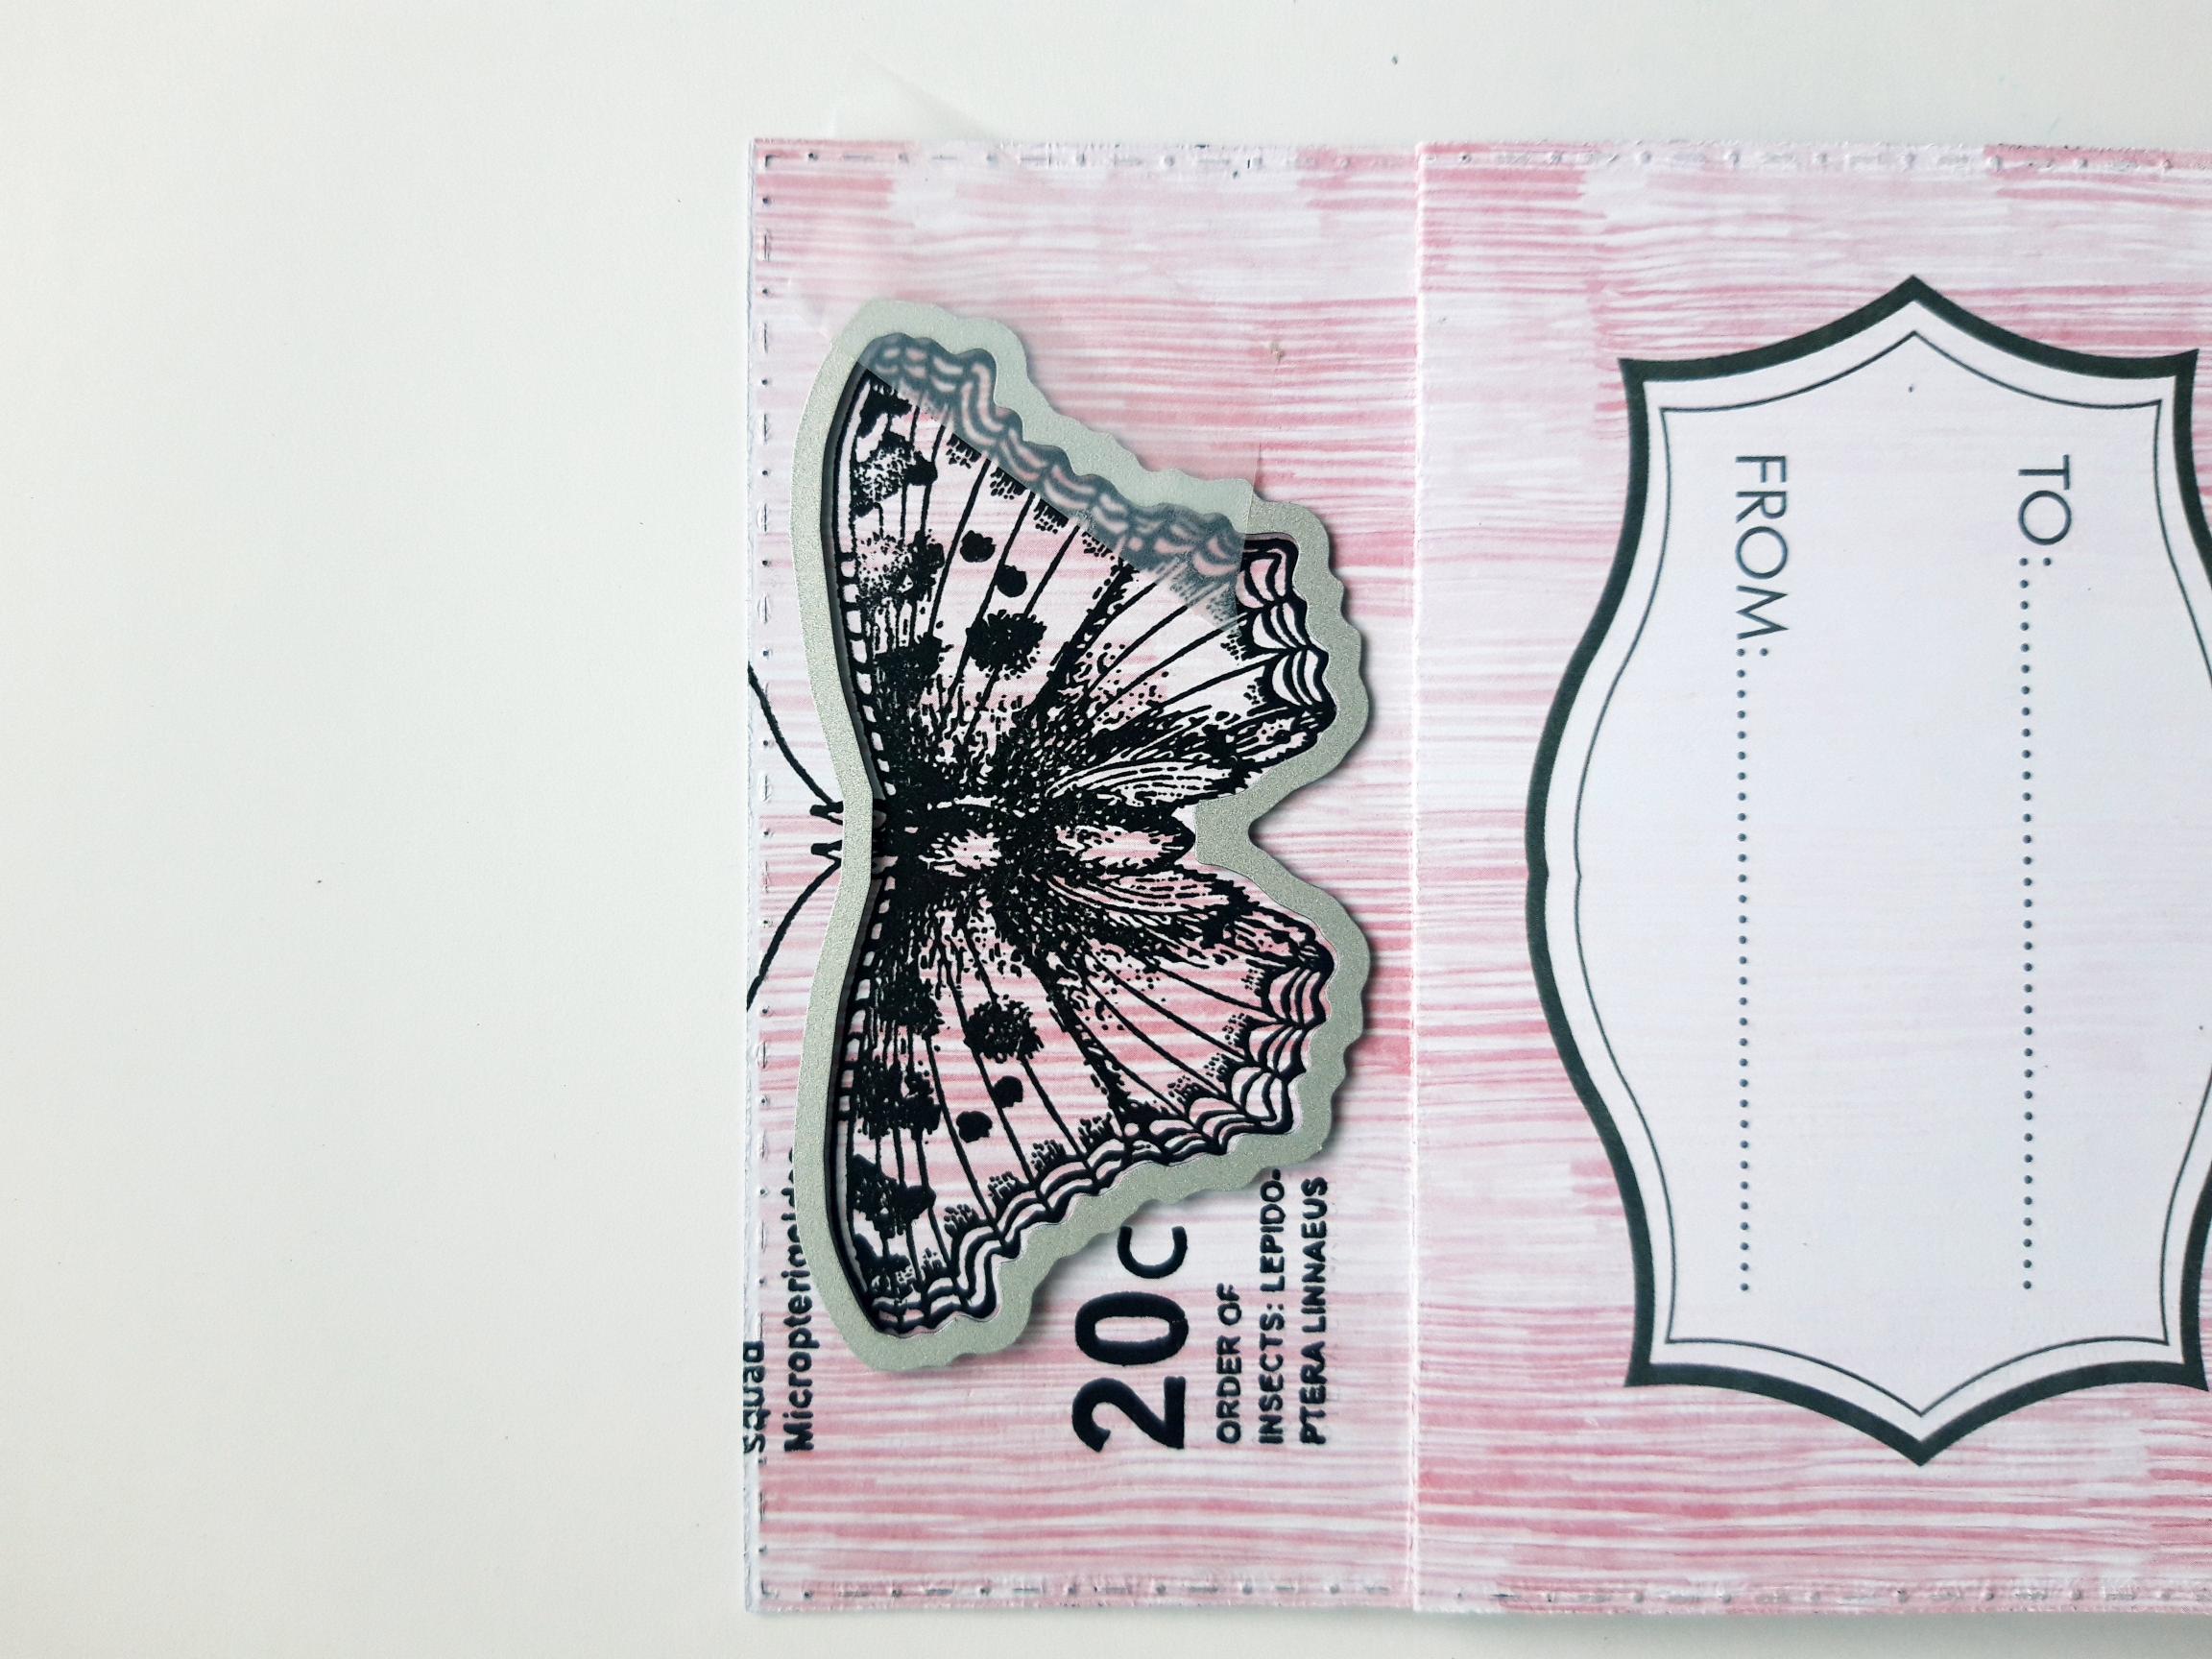
Place the coordinating die, over your stamped butterfly wings, as seen here, and run it through your die cutting machine. |
|
You can now lift up the die cut wings, of the butterfly. |
|
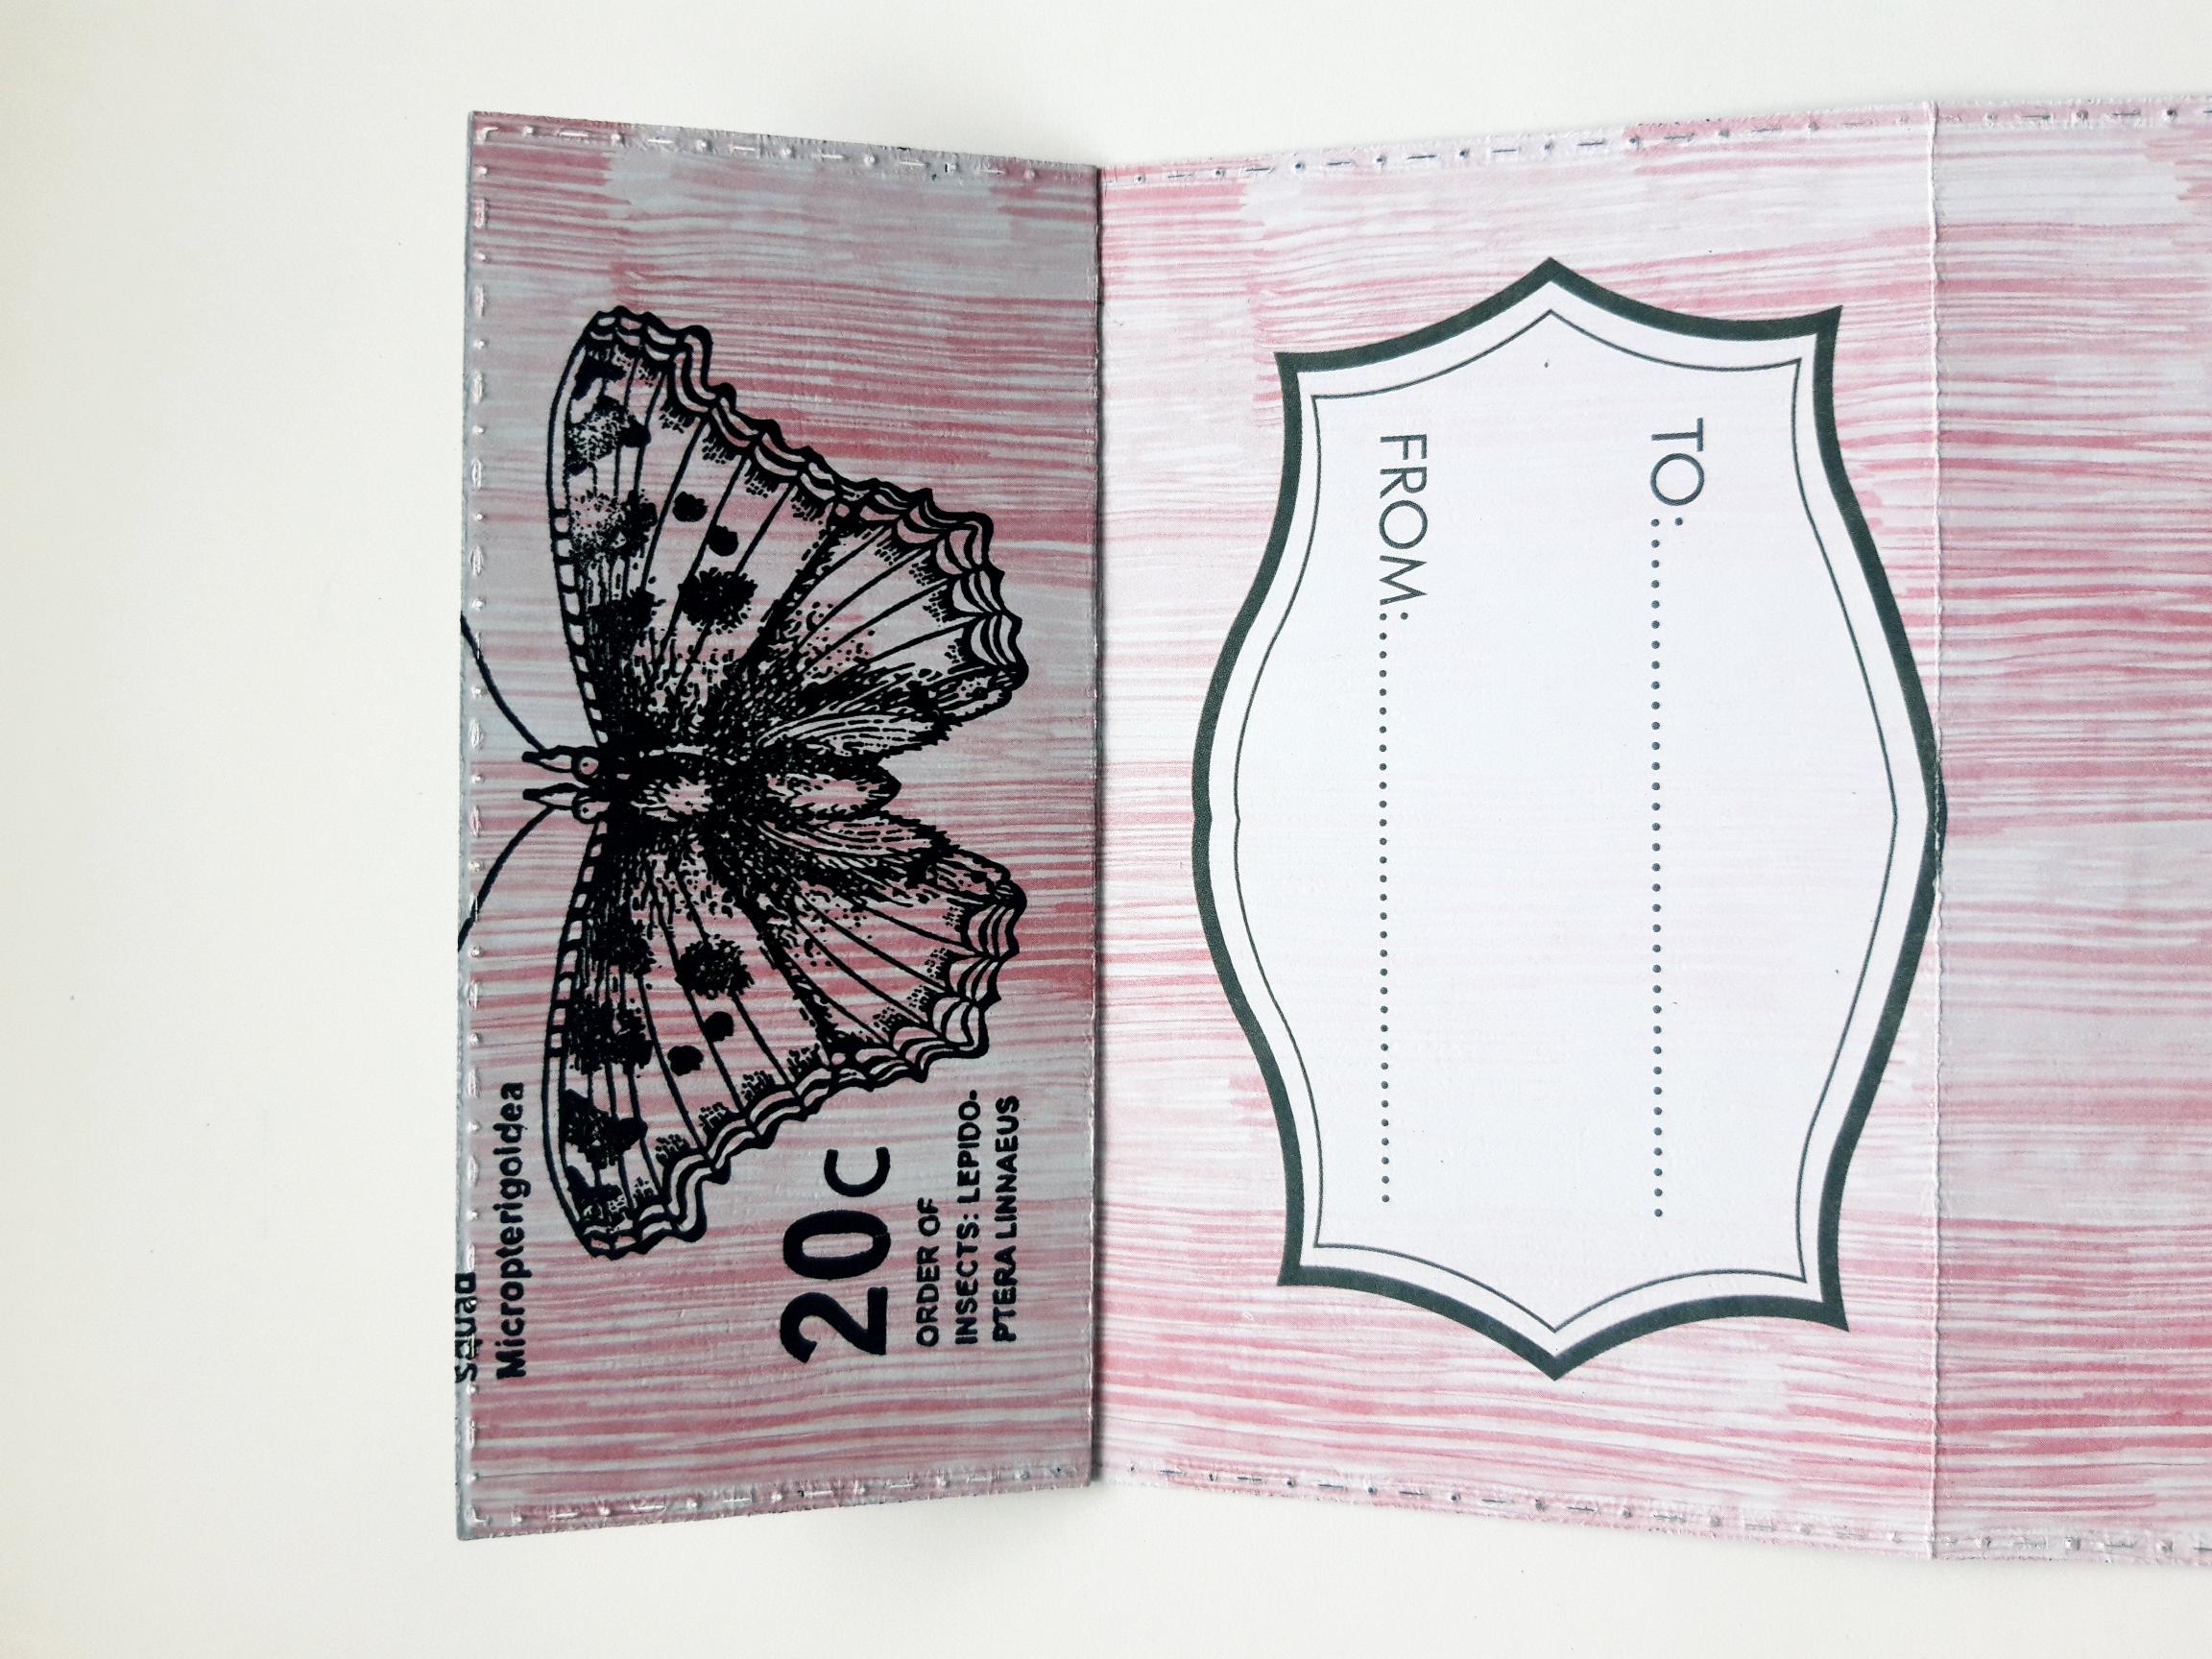
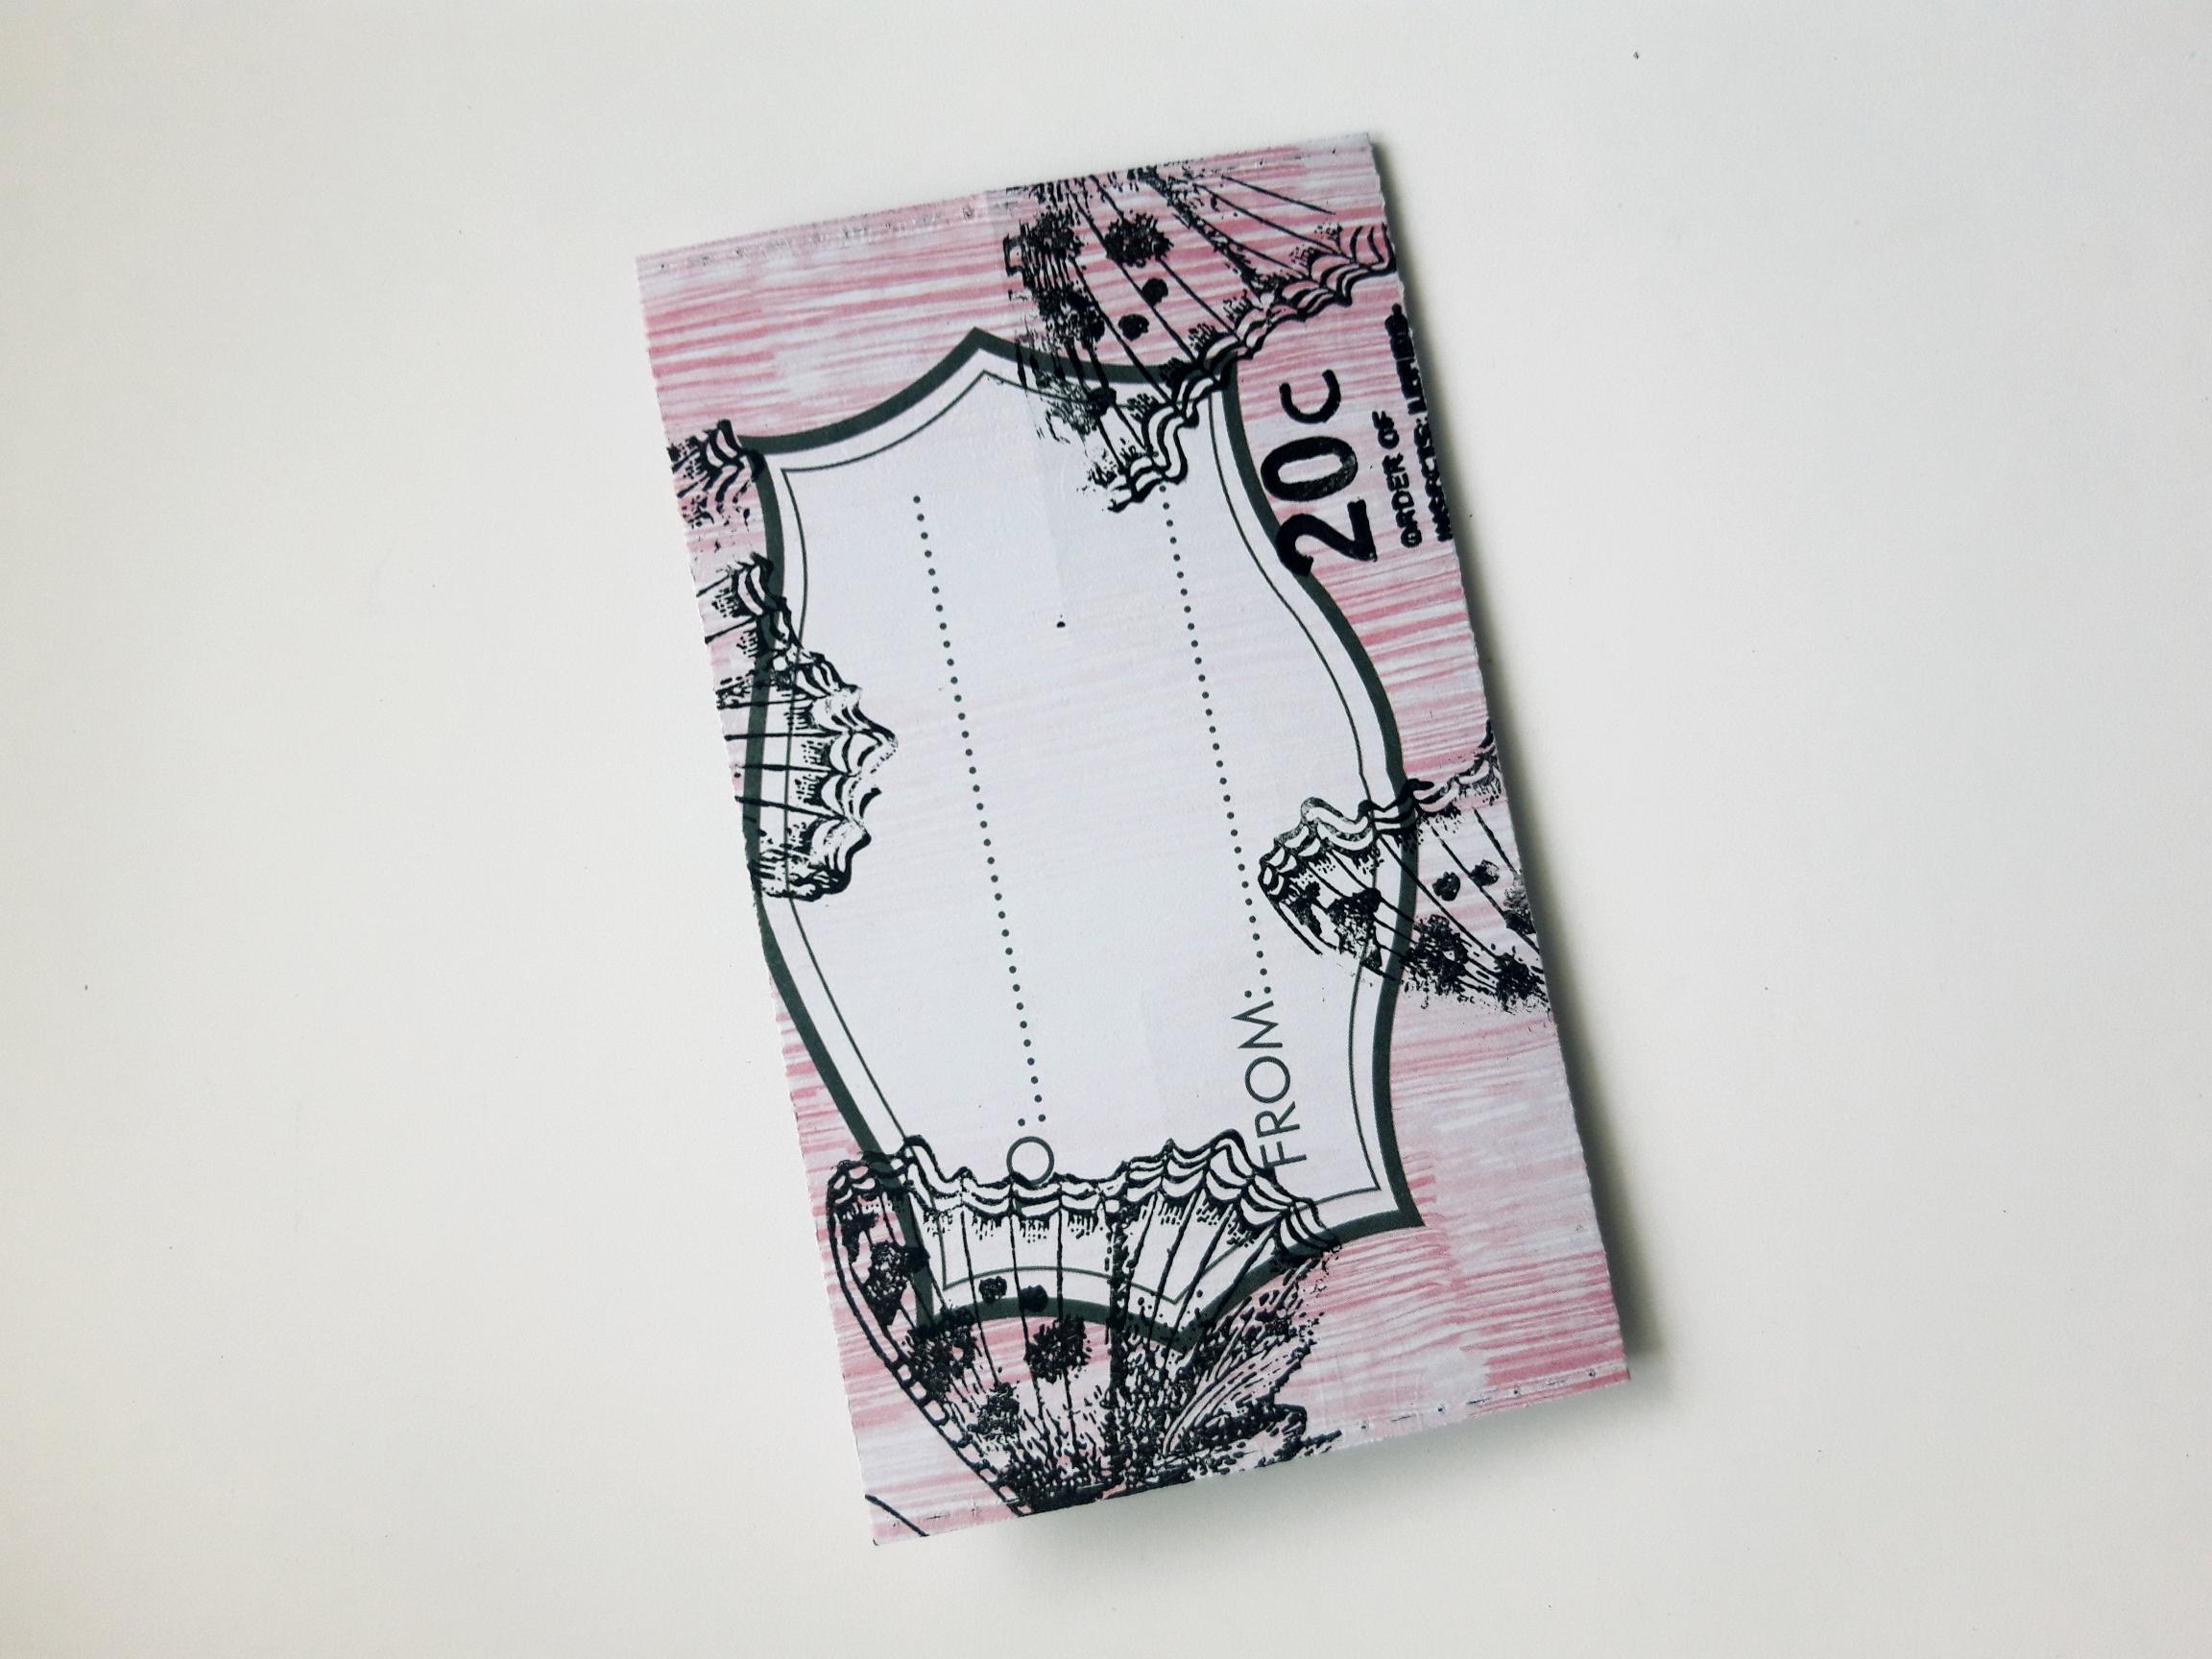
Ink up the butterfly stamp again, and randomly stamp on to the To/From panel, as required. |
|
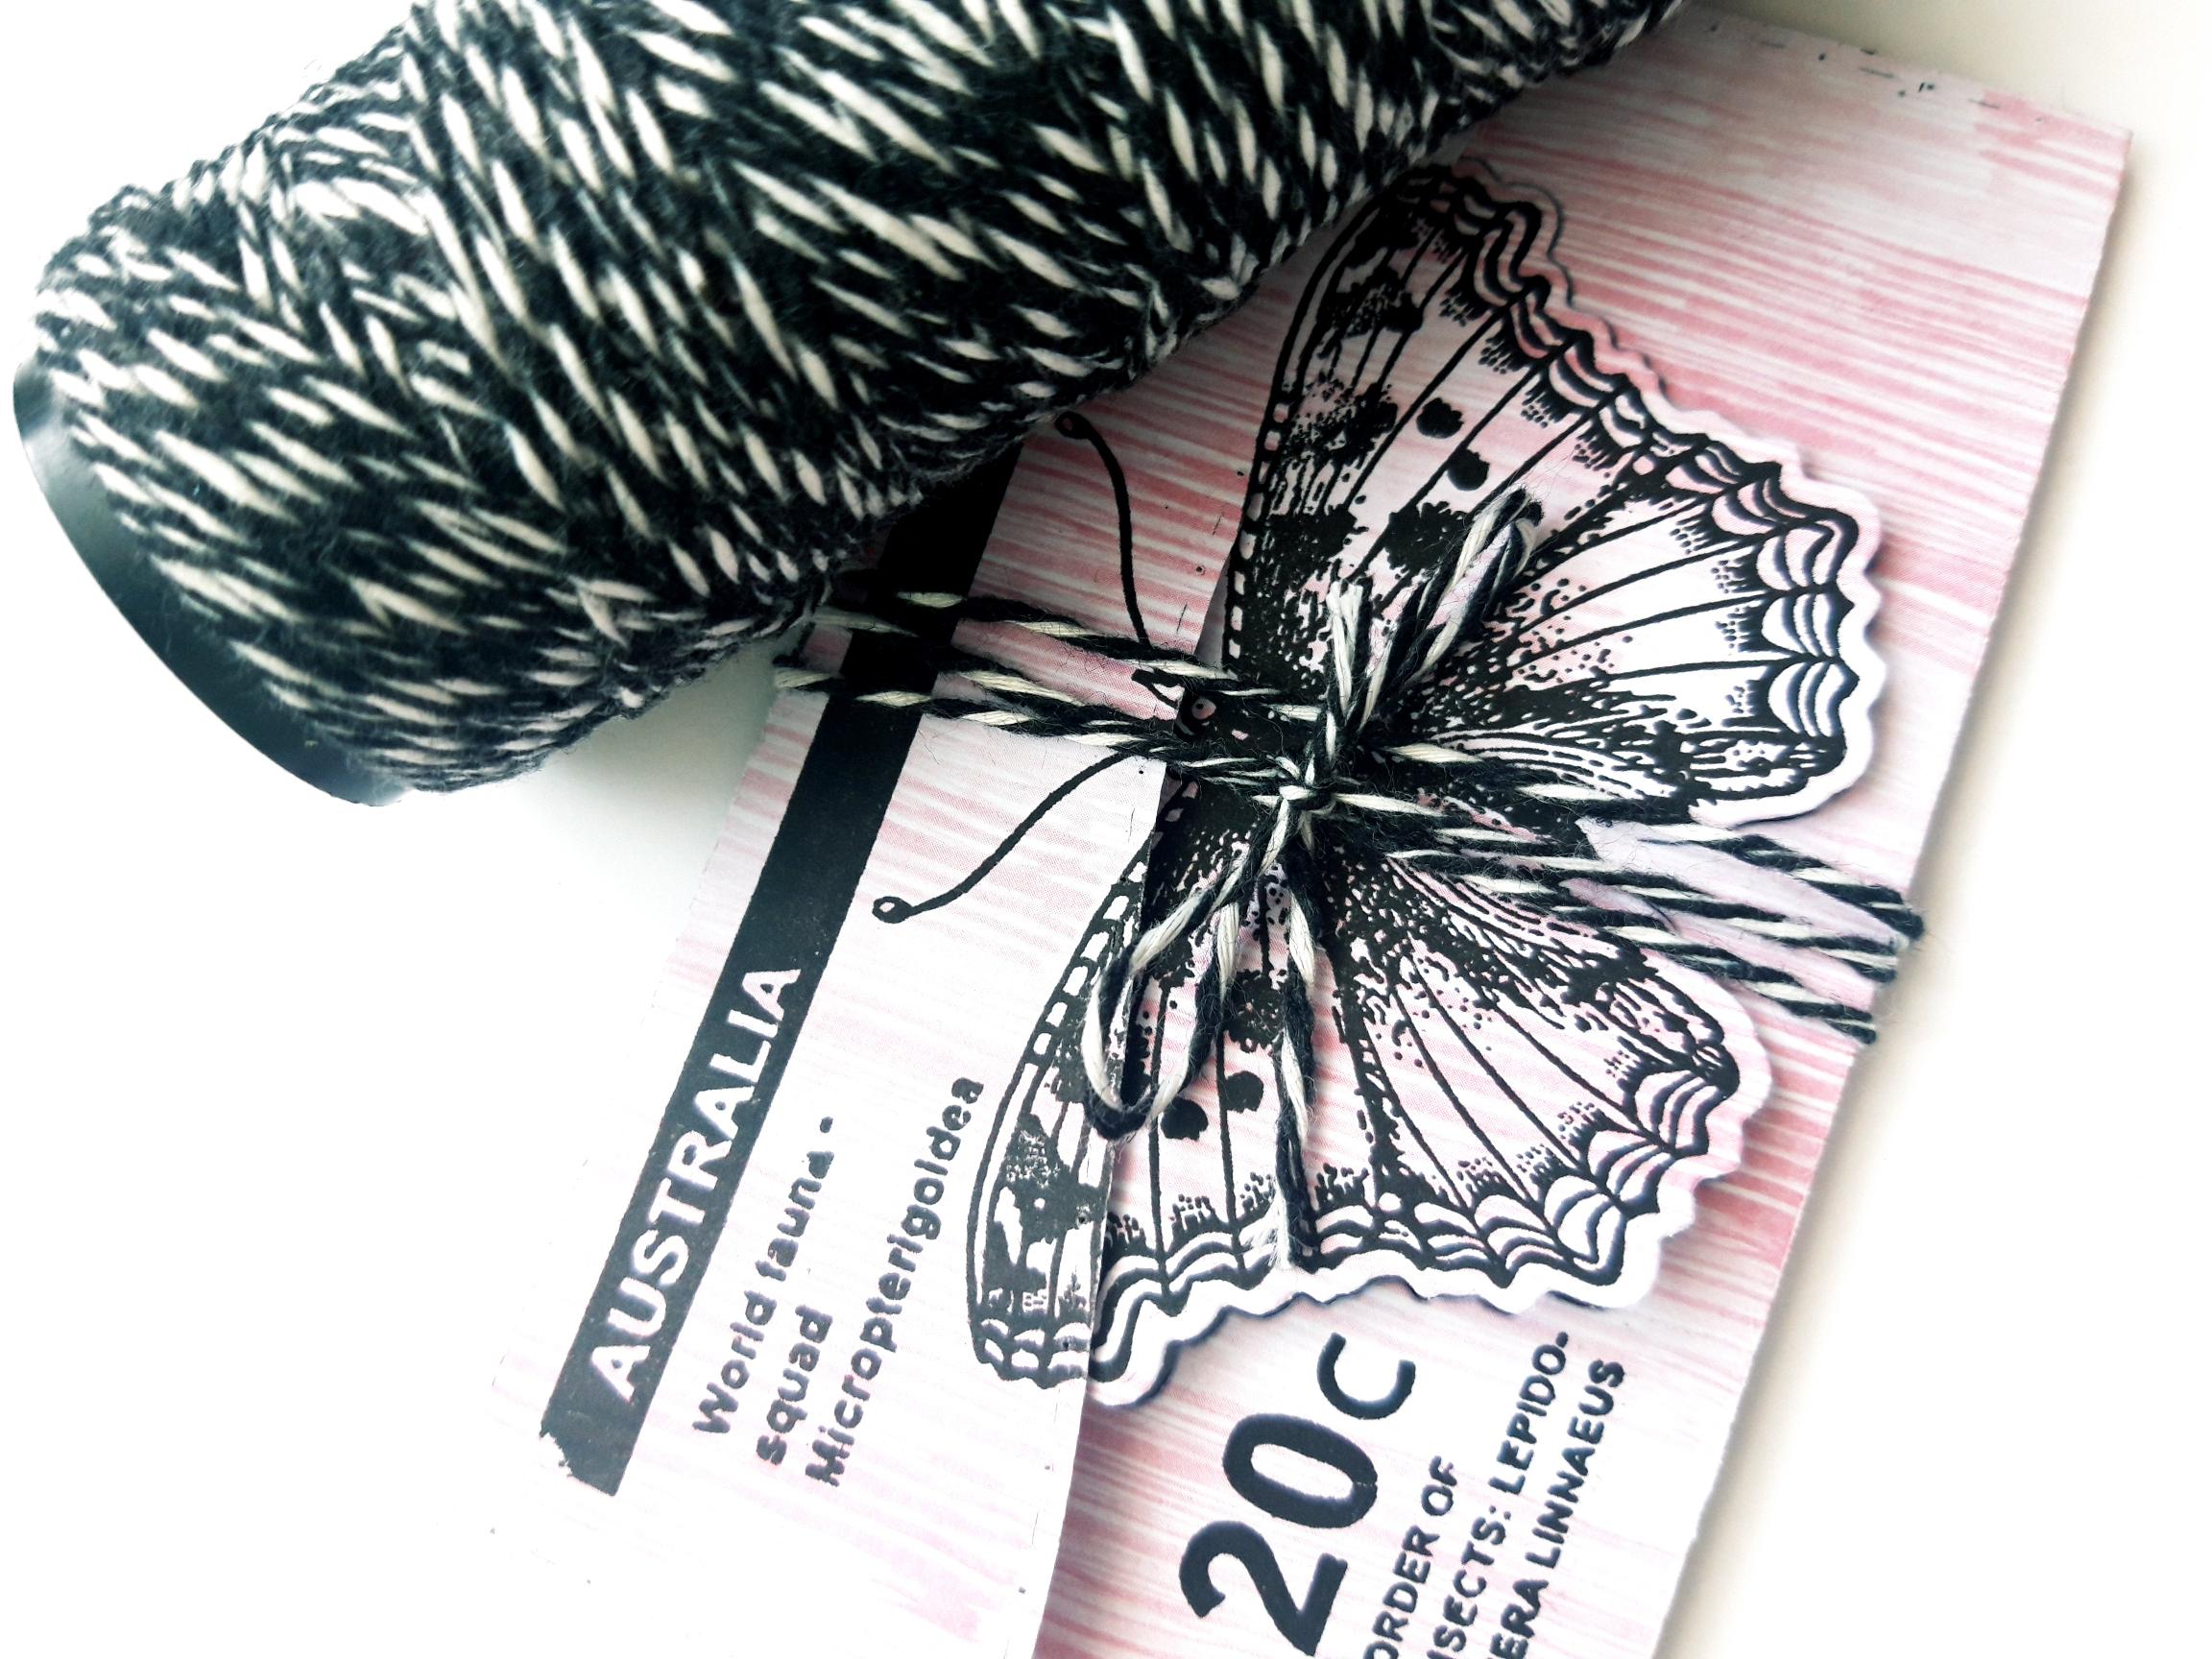
To secure your gift wallet, wrap Bakers Twine vertically around it, several times, and tie with a bow. |
|
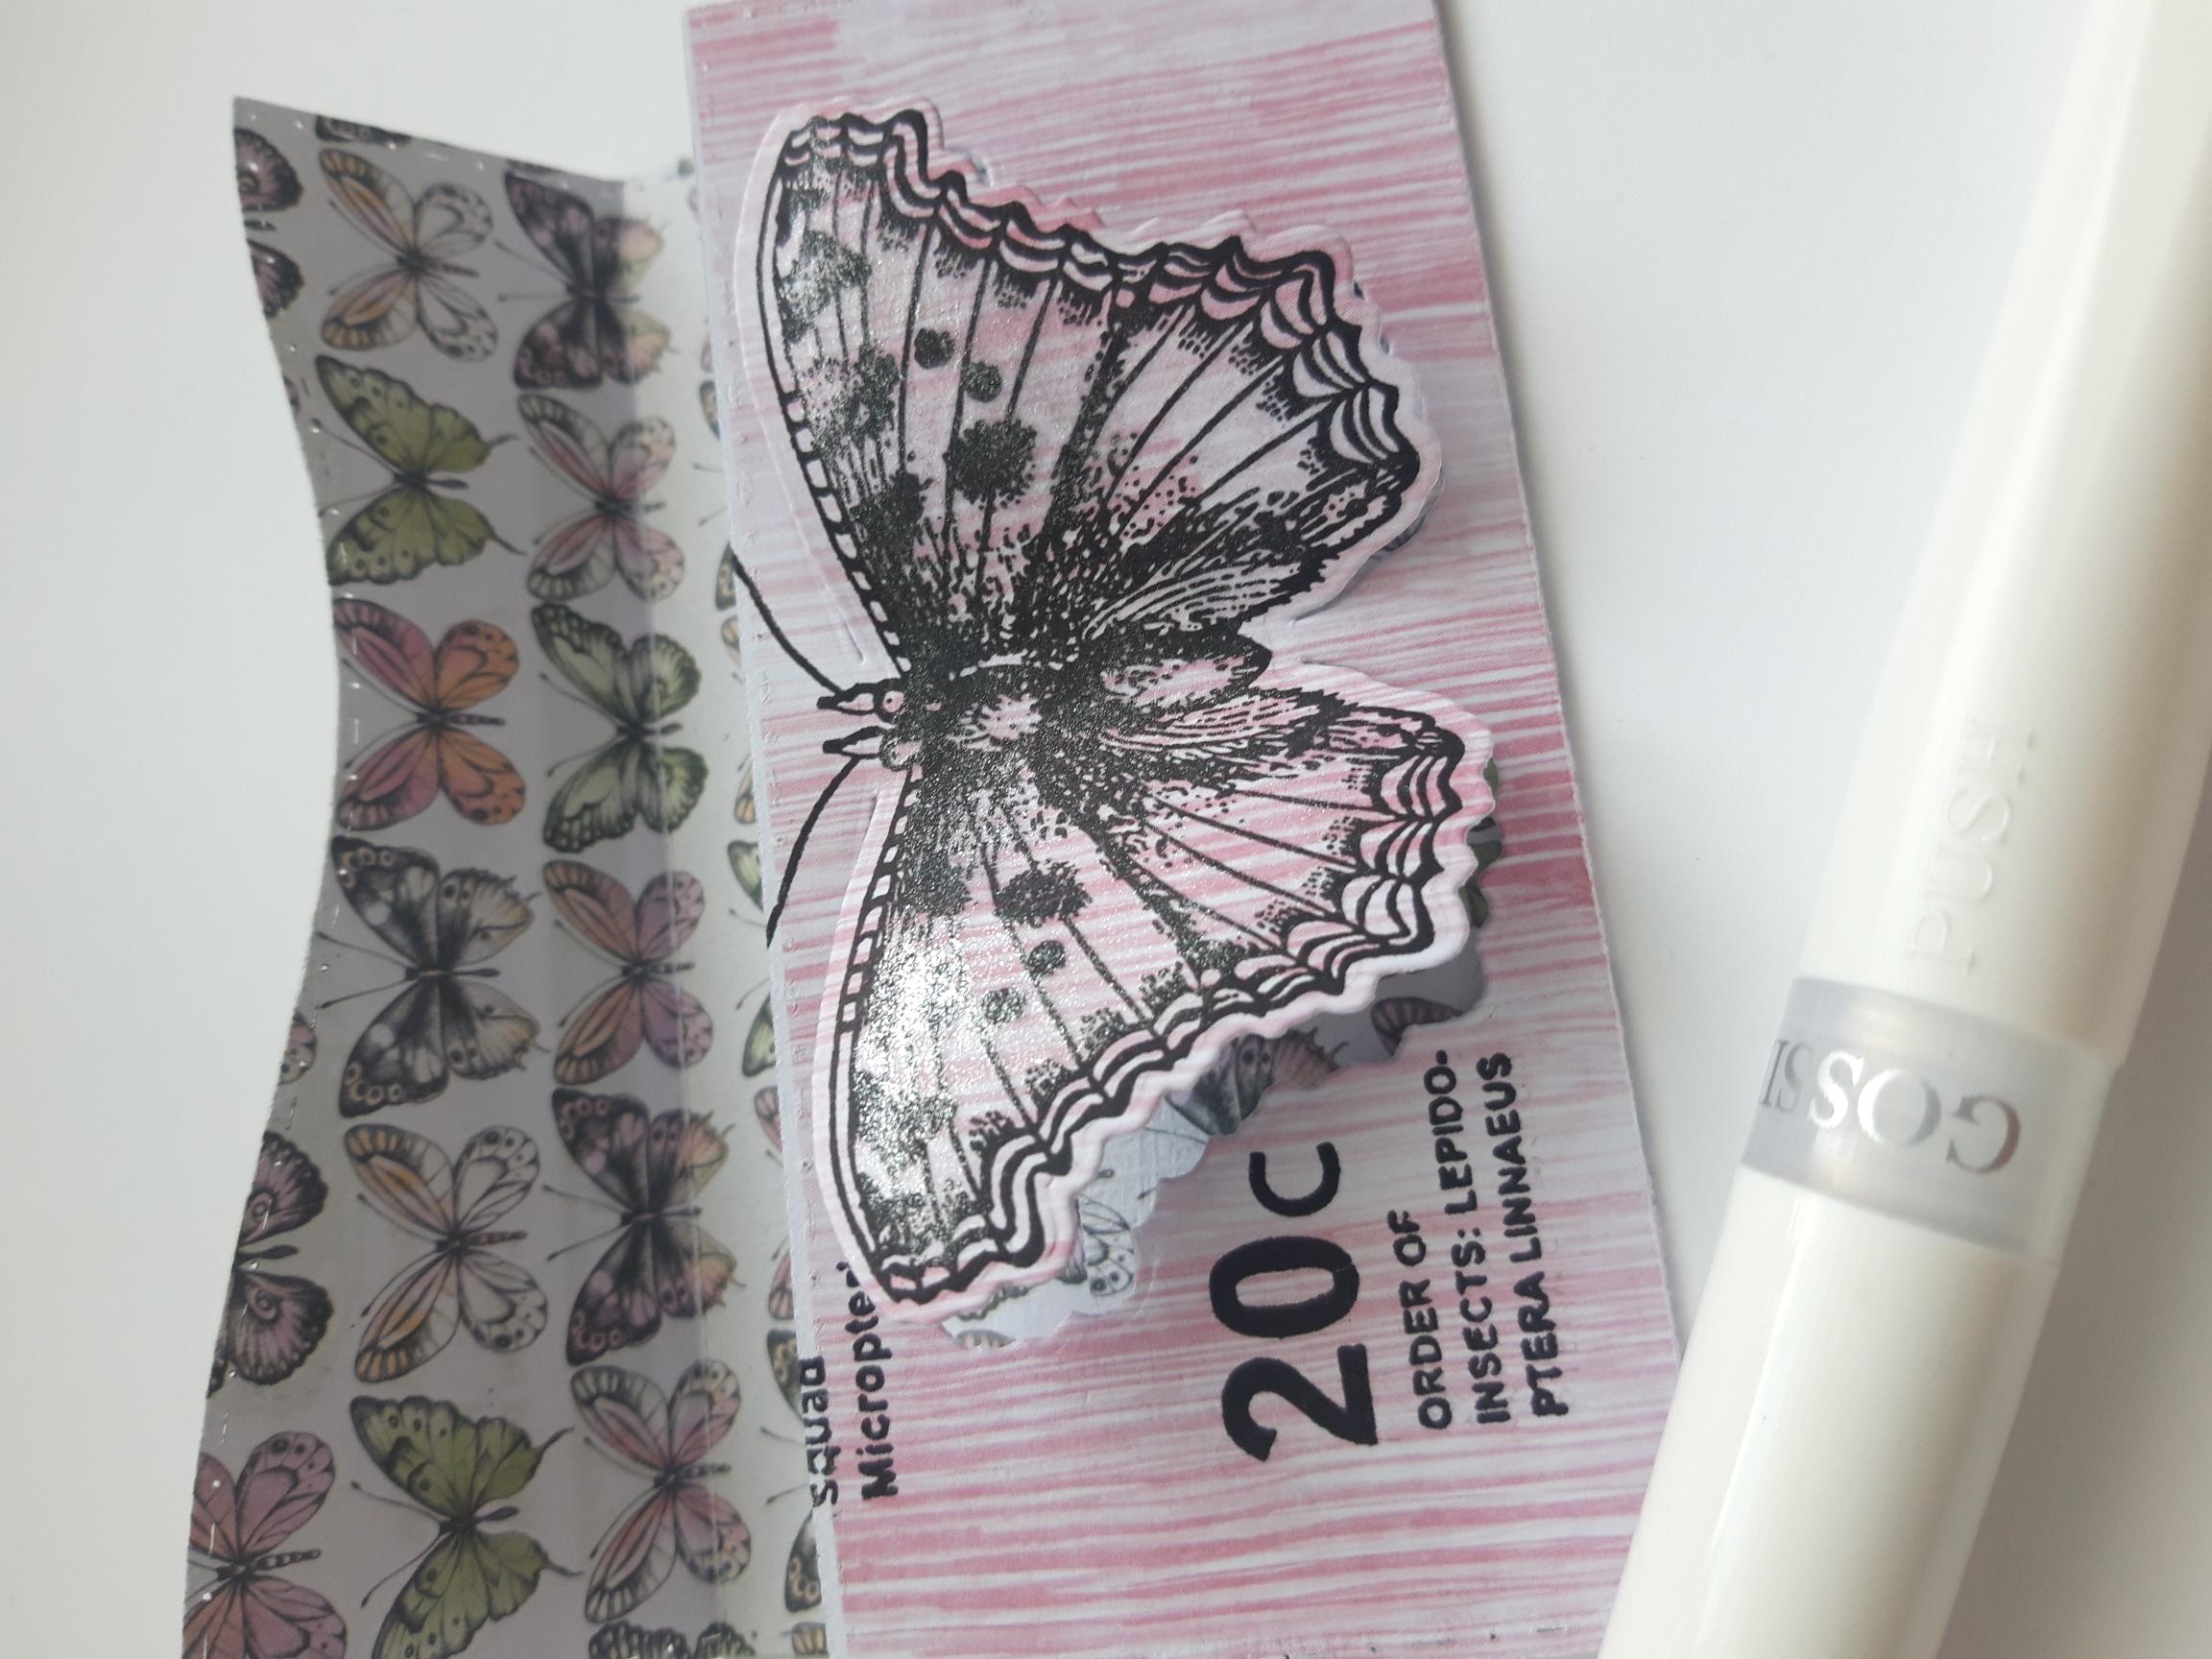
To finish, use your Gossip clear glitter pen, to add a touch of sparkle to your Butterfly wings. |