Give your friends $10 off their first order!
Refer a FRIEND


YOU WILL NEED:
Black top folding note card (8 1/4 x 5 3/4")
White cardstock (7 3/4 x 5 1/4")
White cardstock (2 1/2 x 6 1/4")
Lamination - Go After Your Dreams stamp set
Retro Stamps set
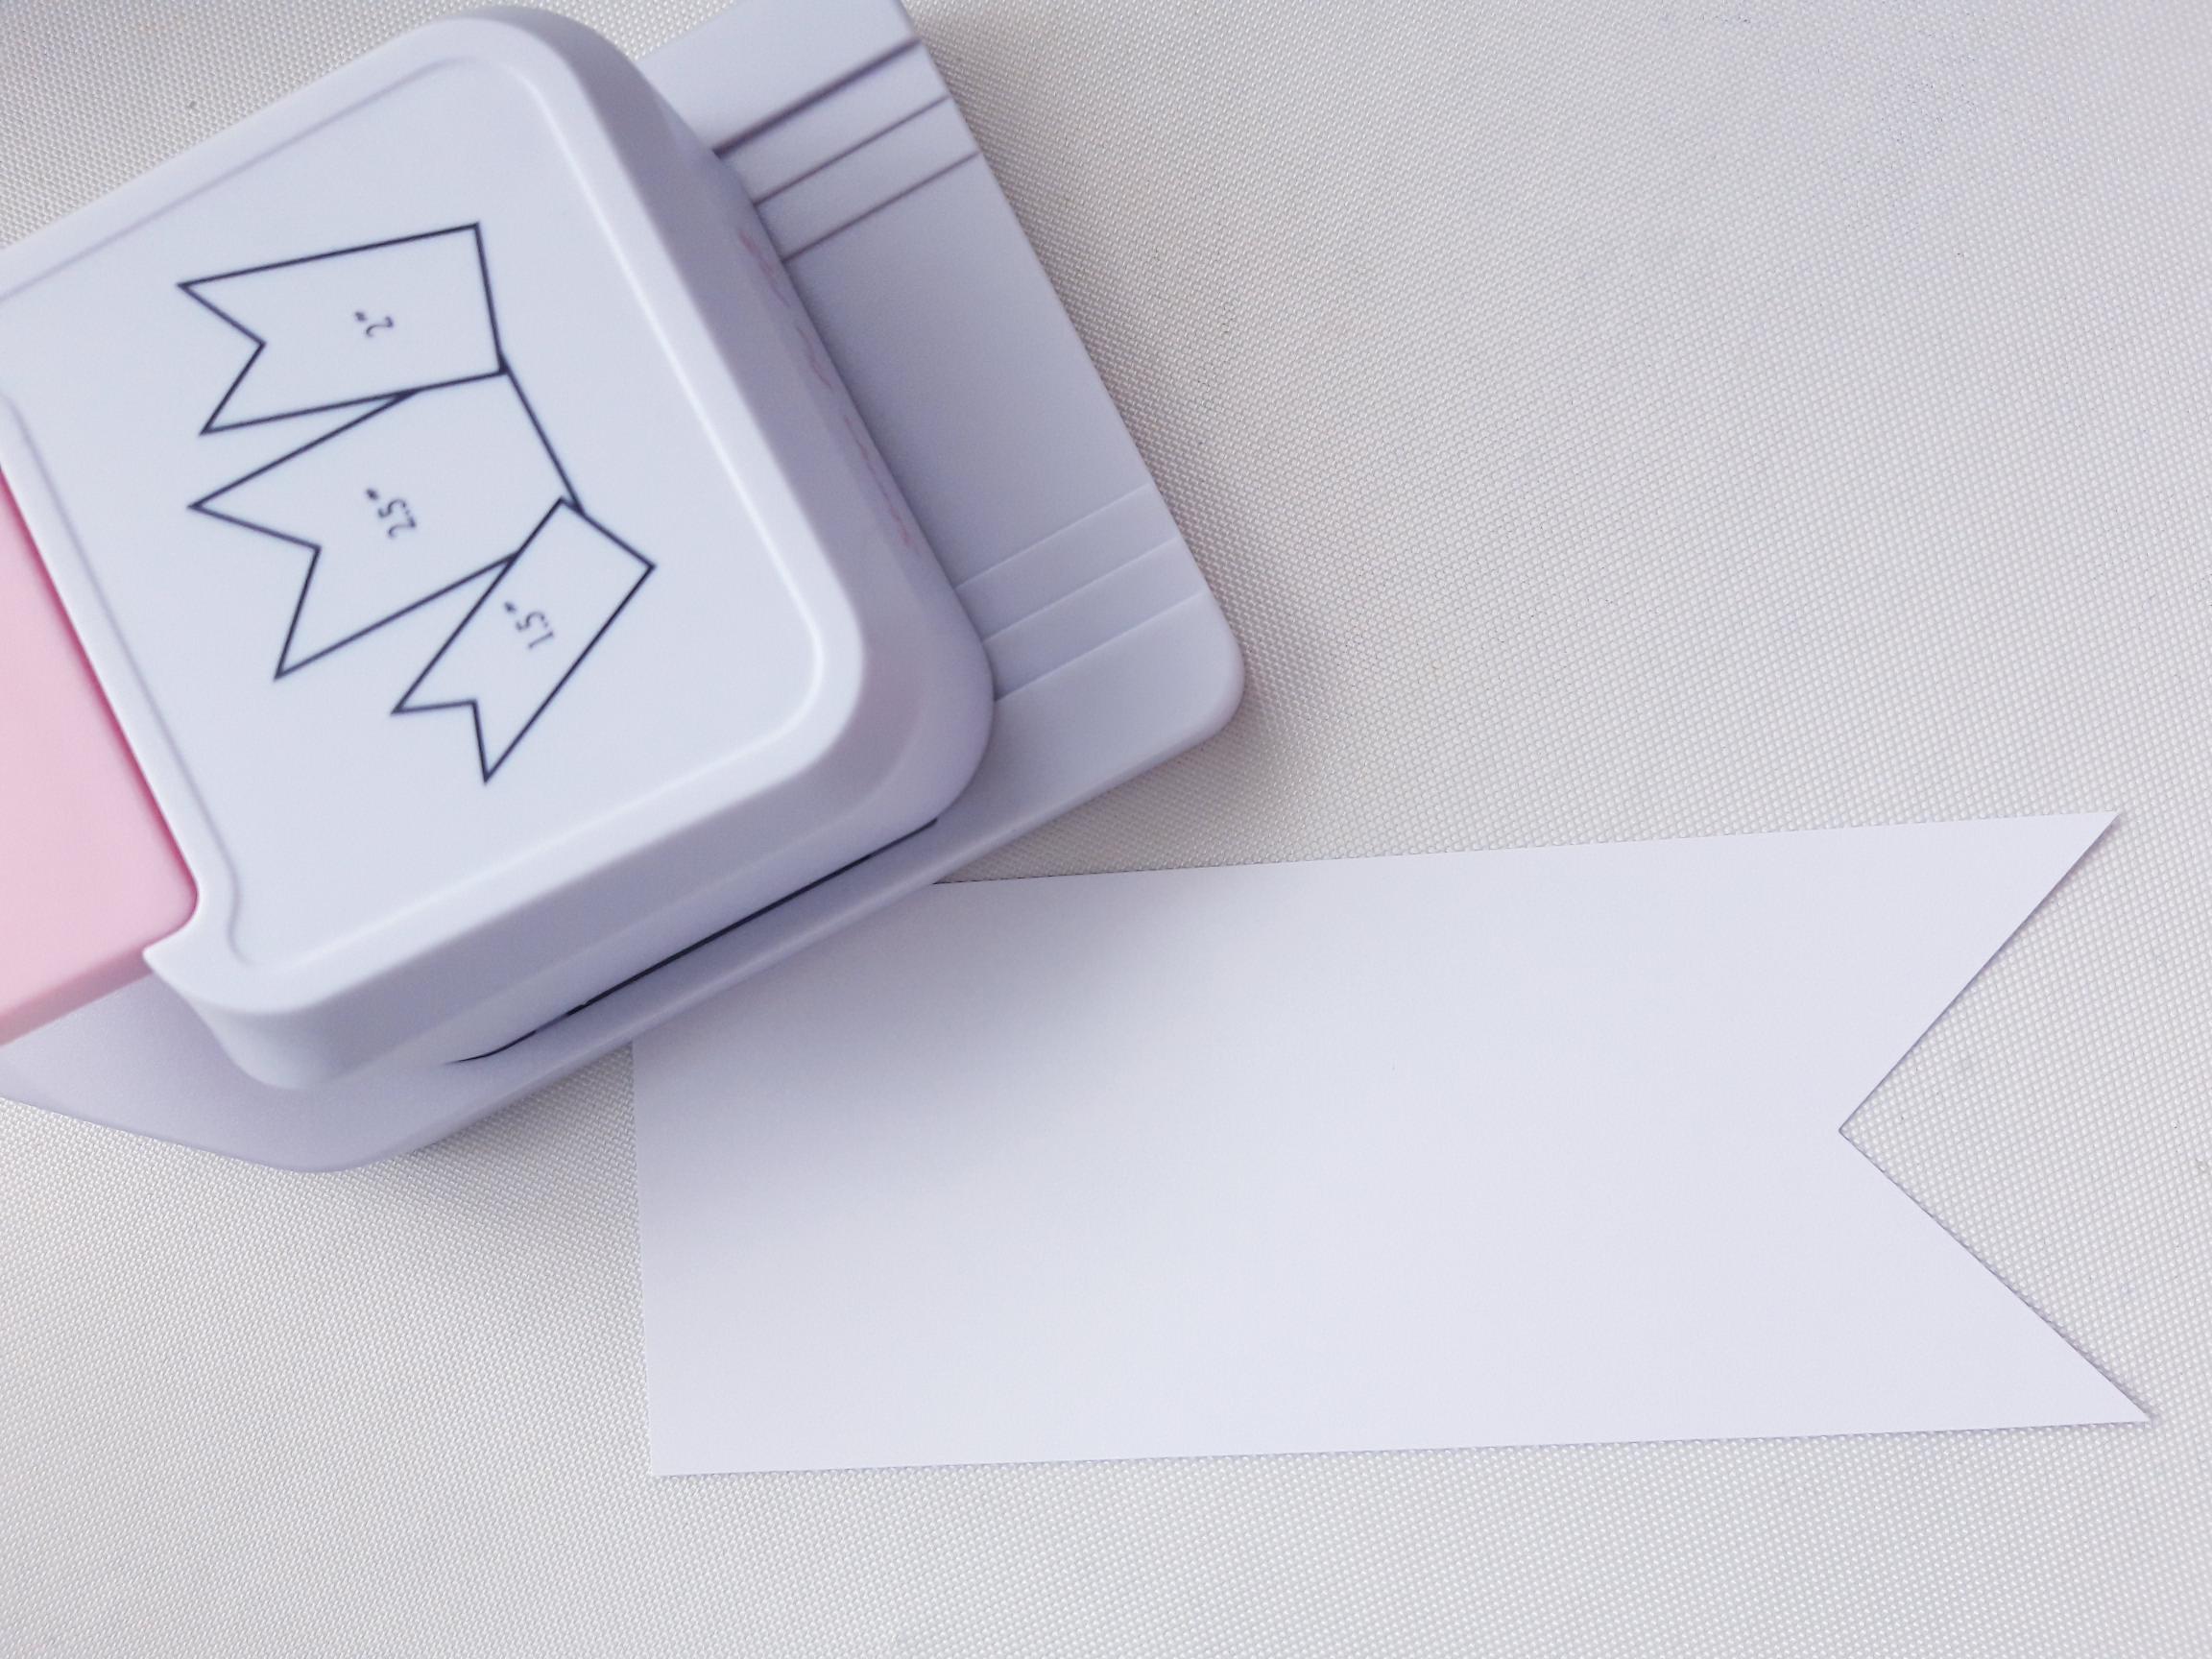
Banner Tag Punch
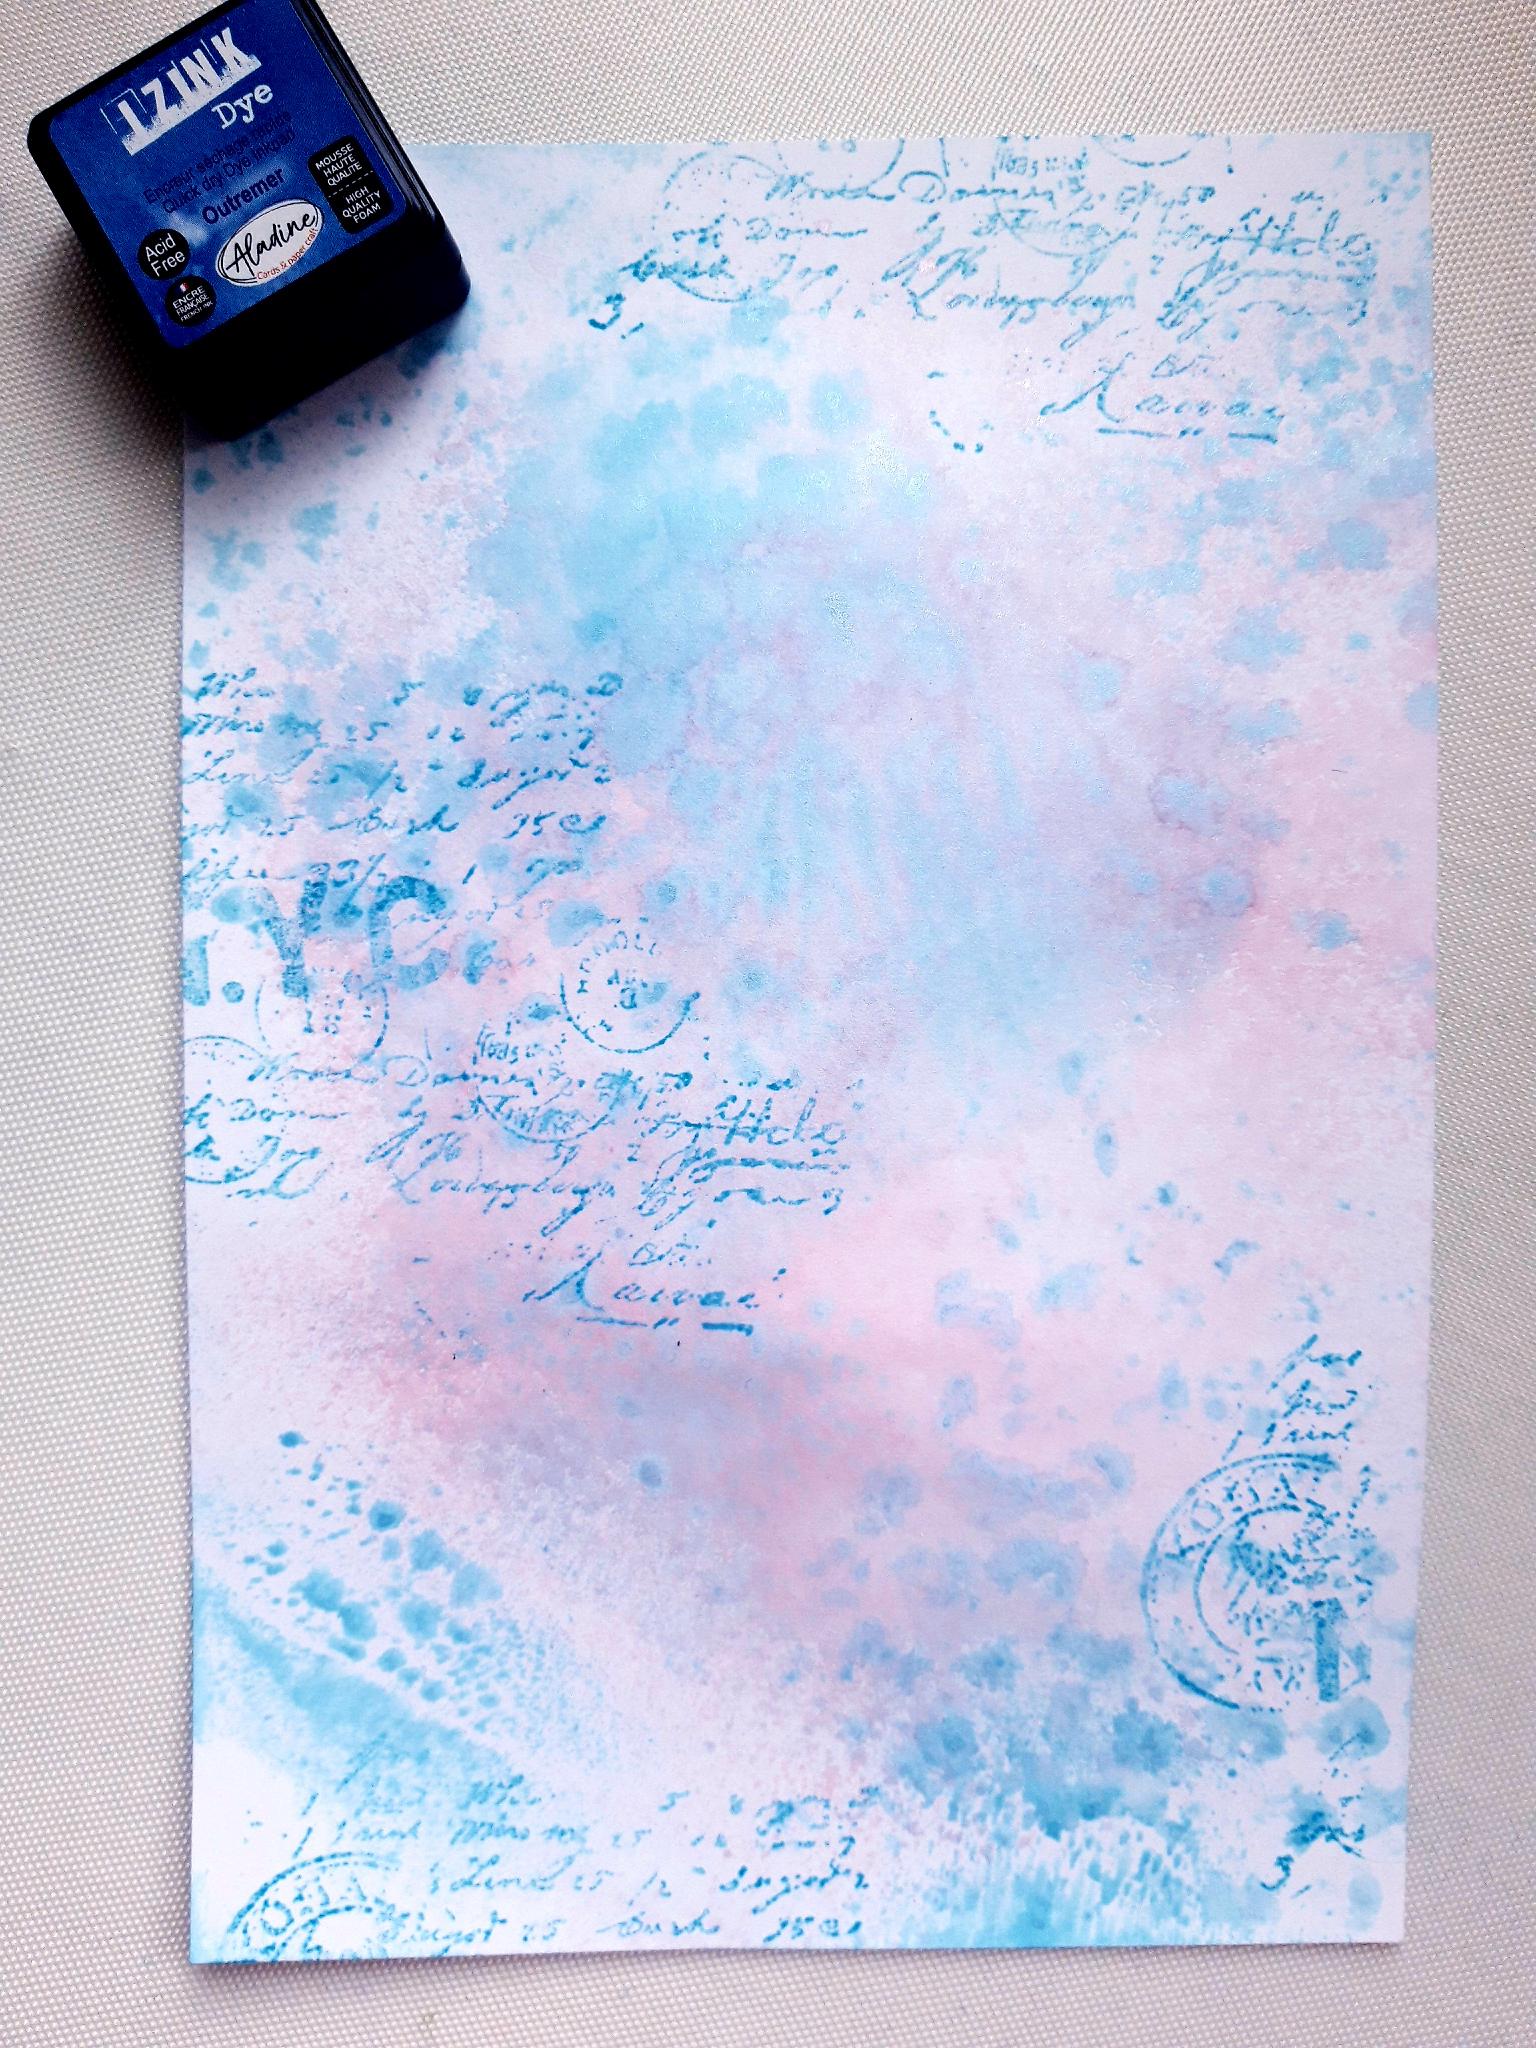
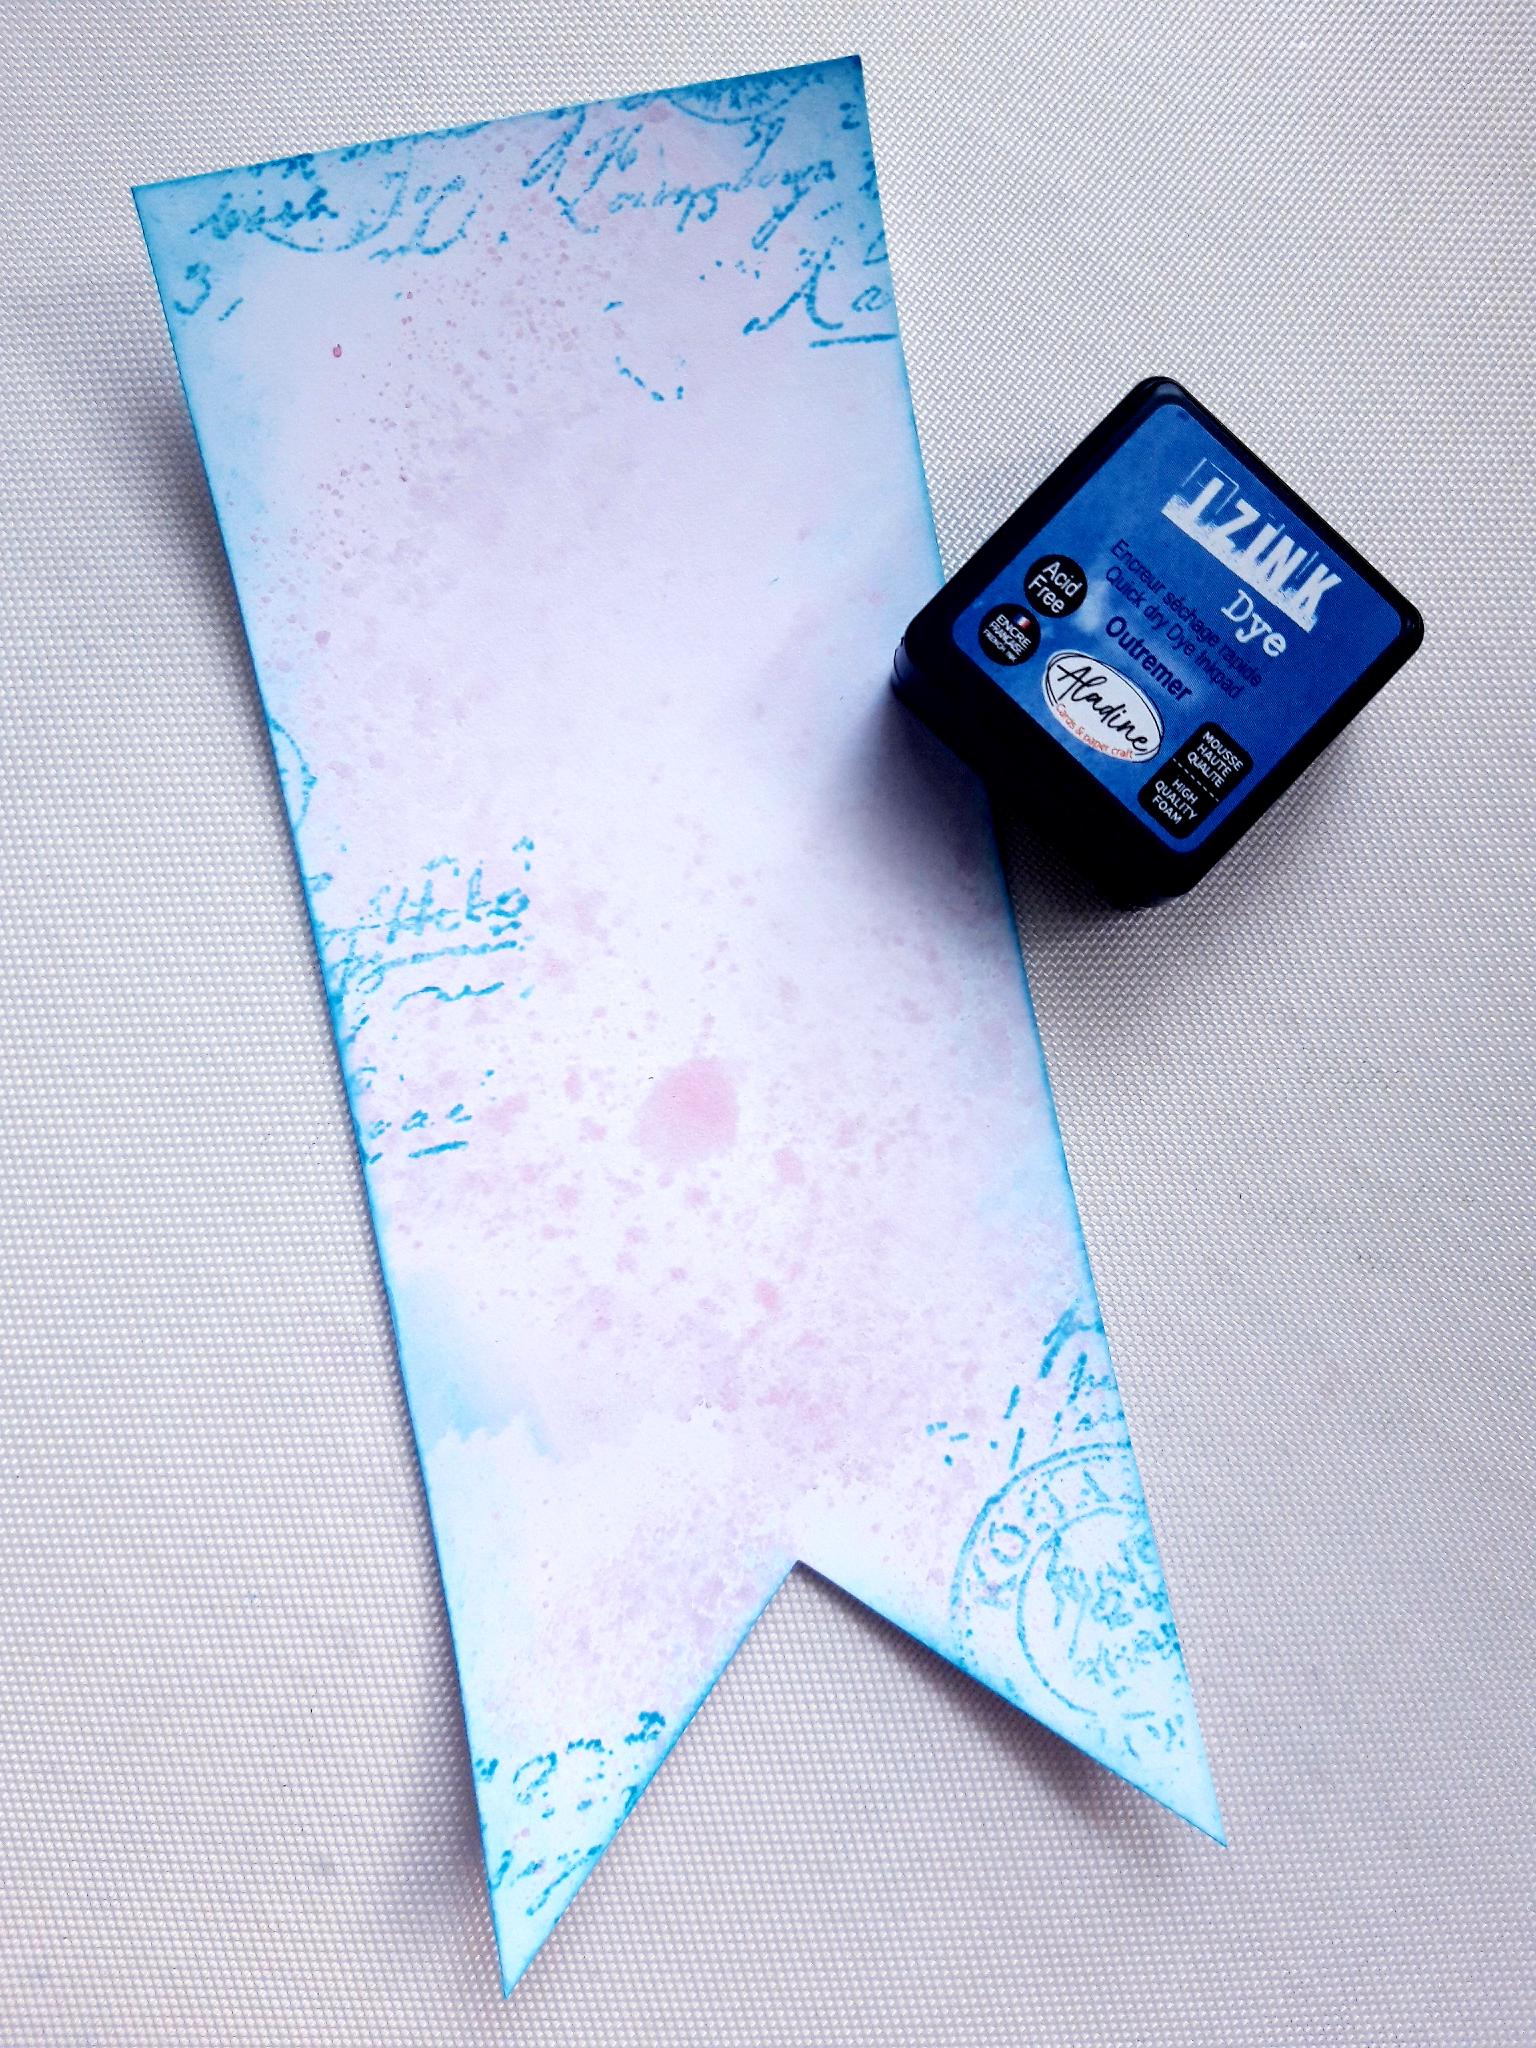
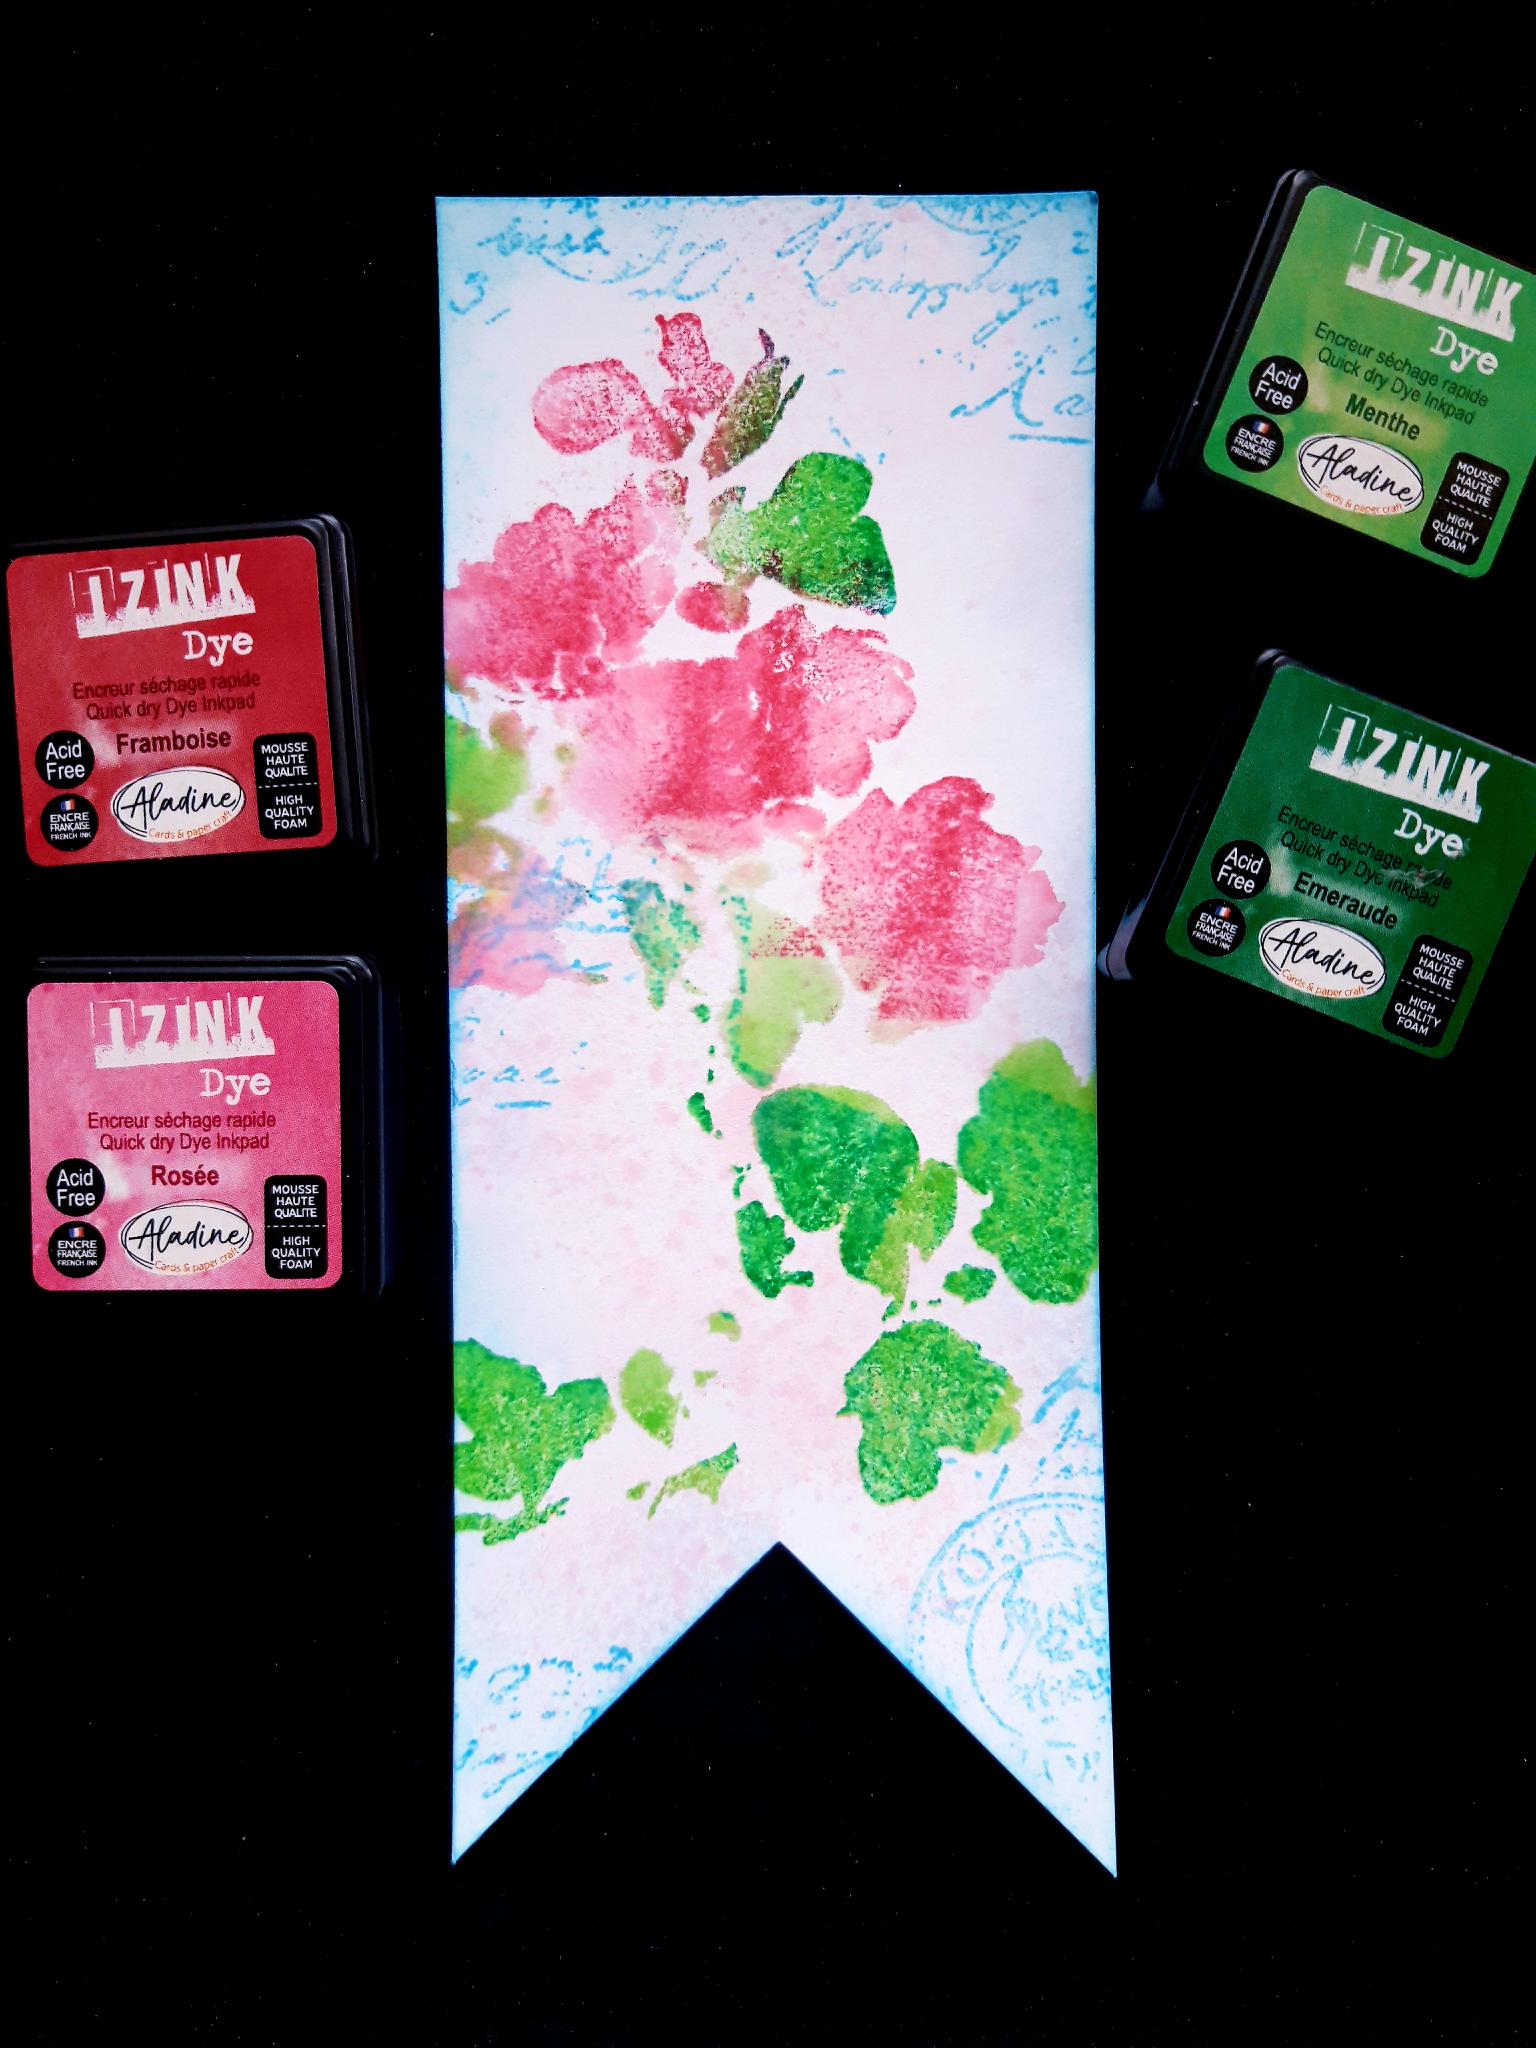
Izink Dye Ink Pads: Rosee, Framboise, Menthe, Emeraude, Outremer
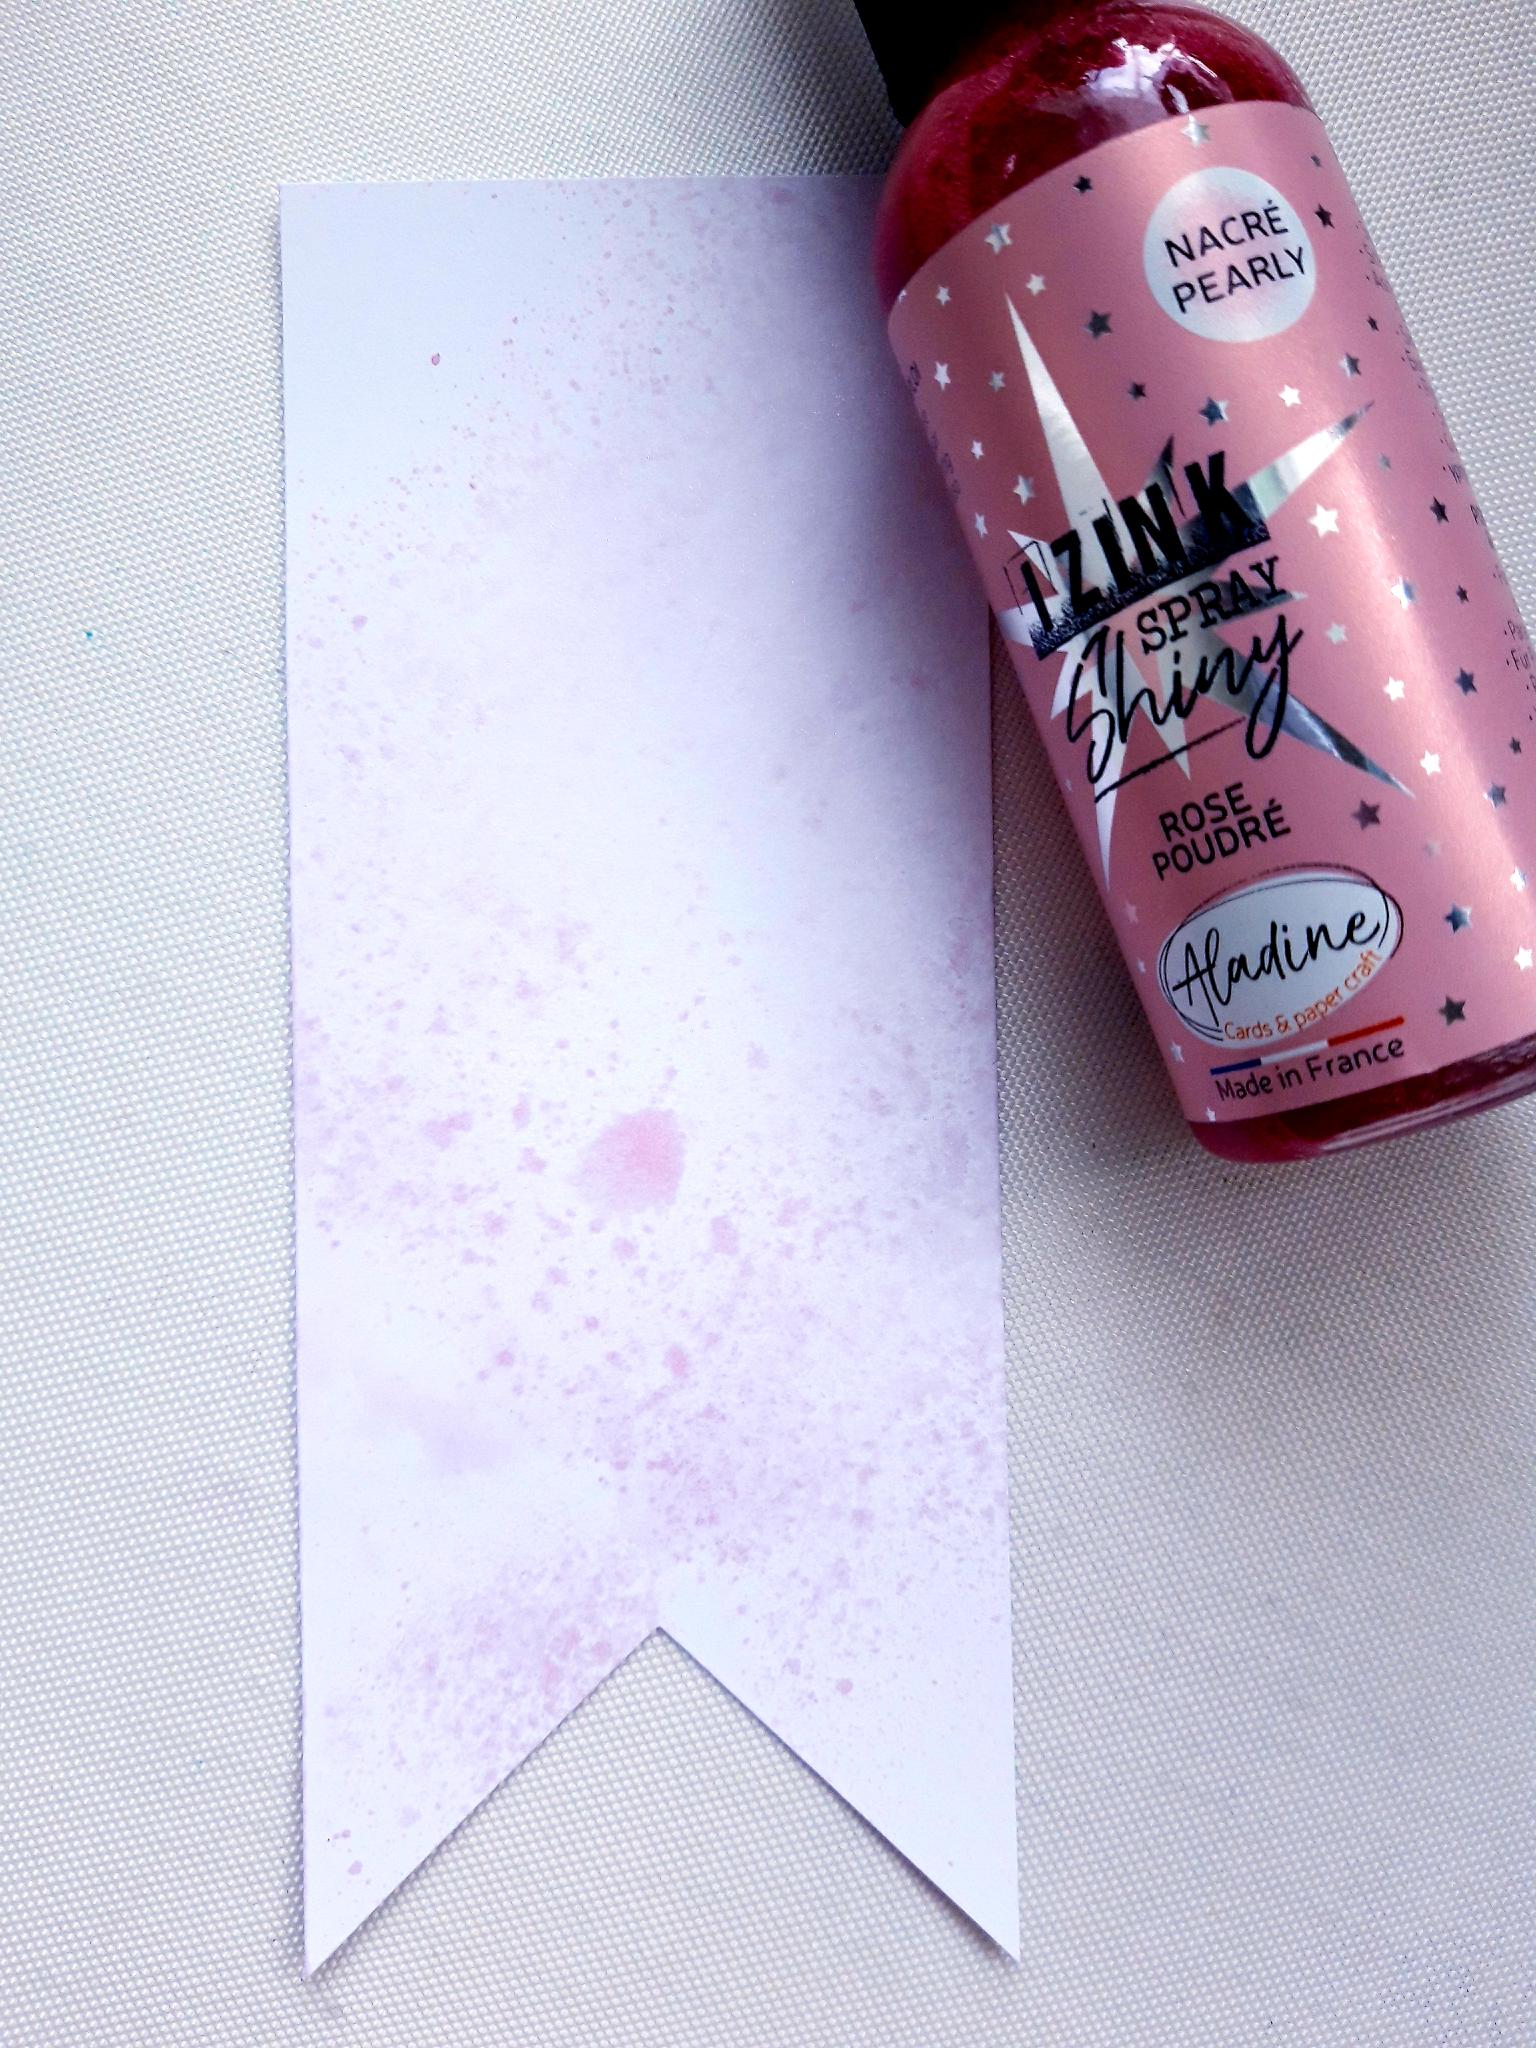
Izink Shiny Sprays: Rose Poudre, Bleu Ciel
Onyx Black Versafine
Sequins from Creative Box
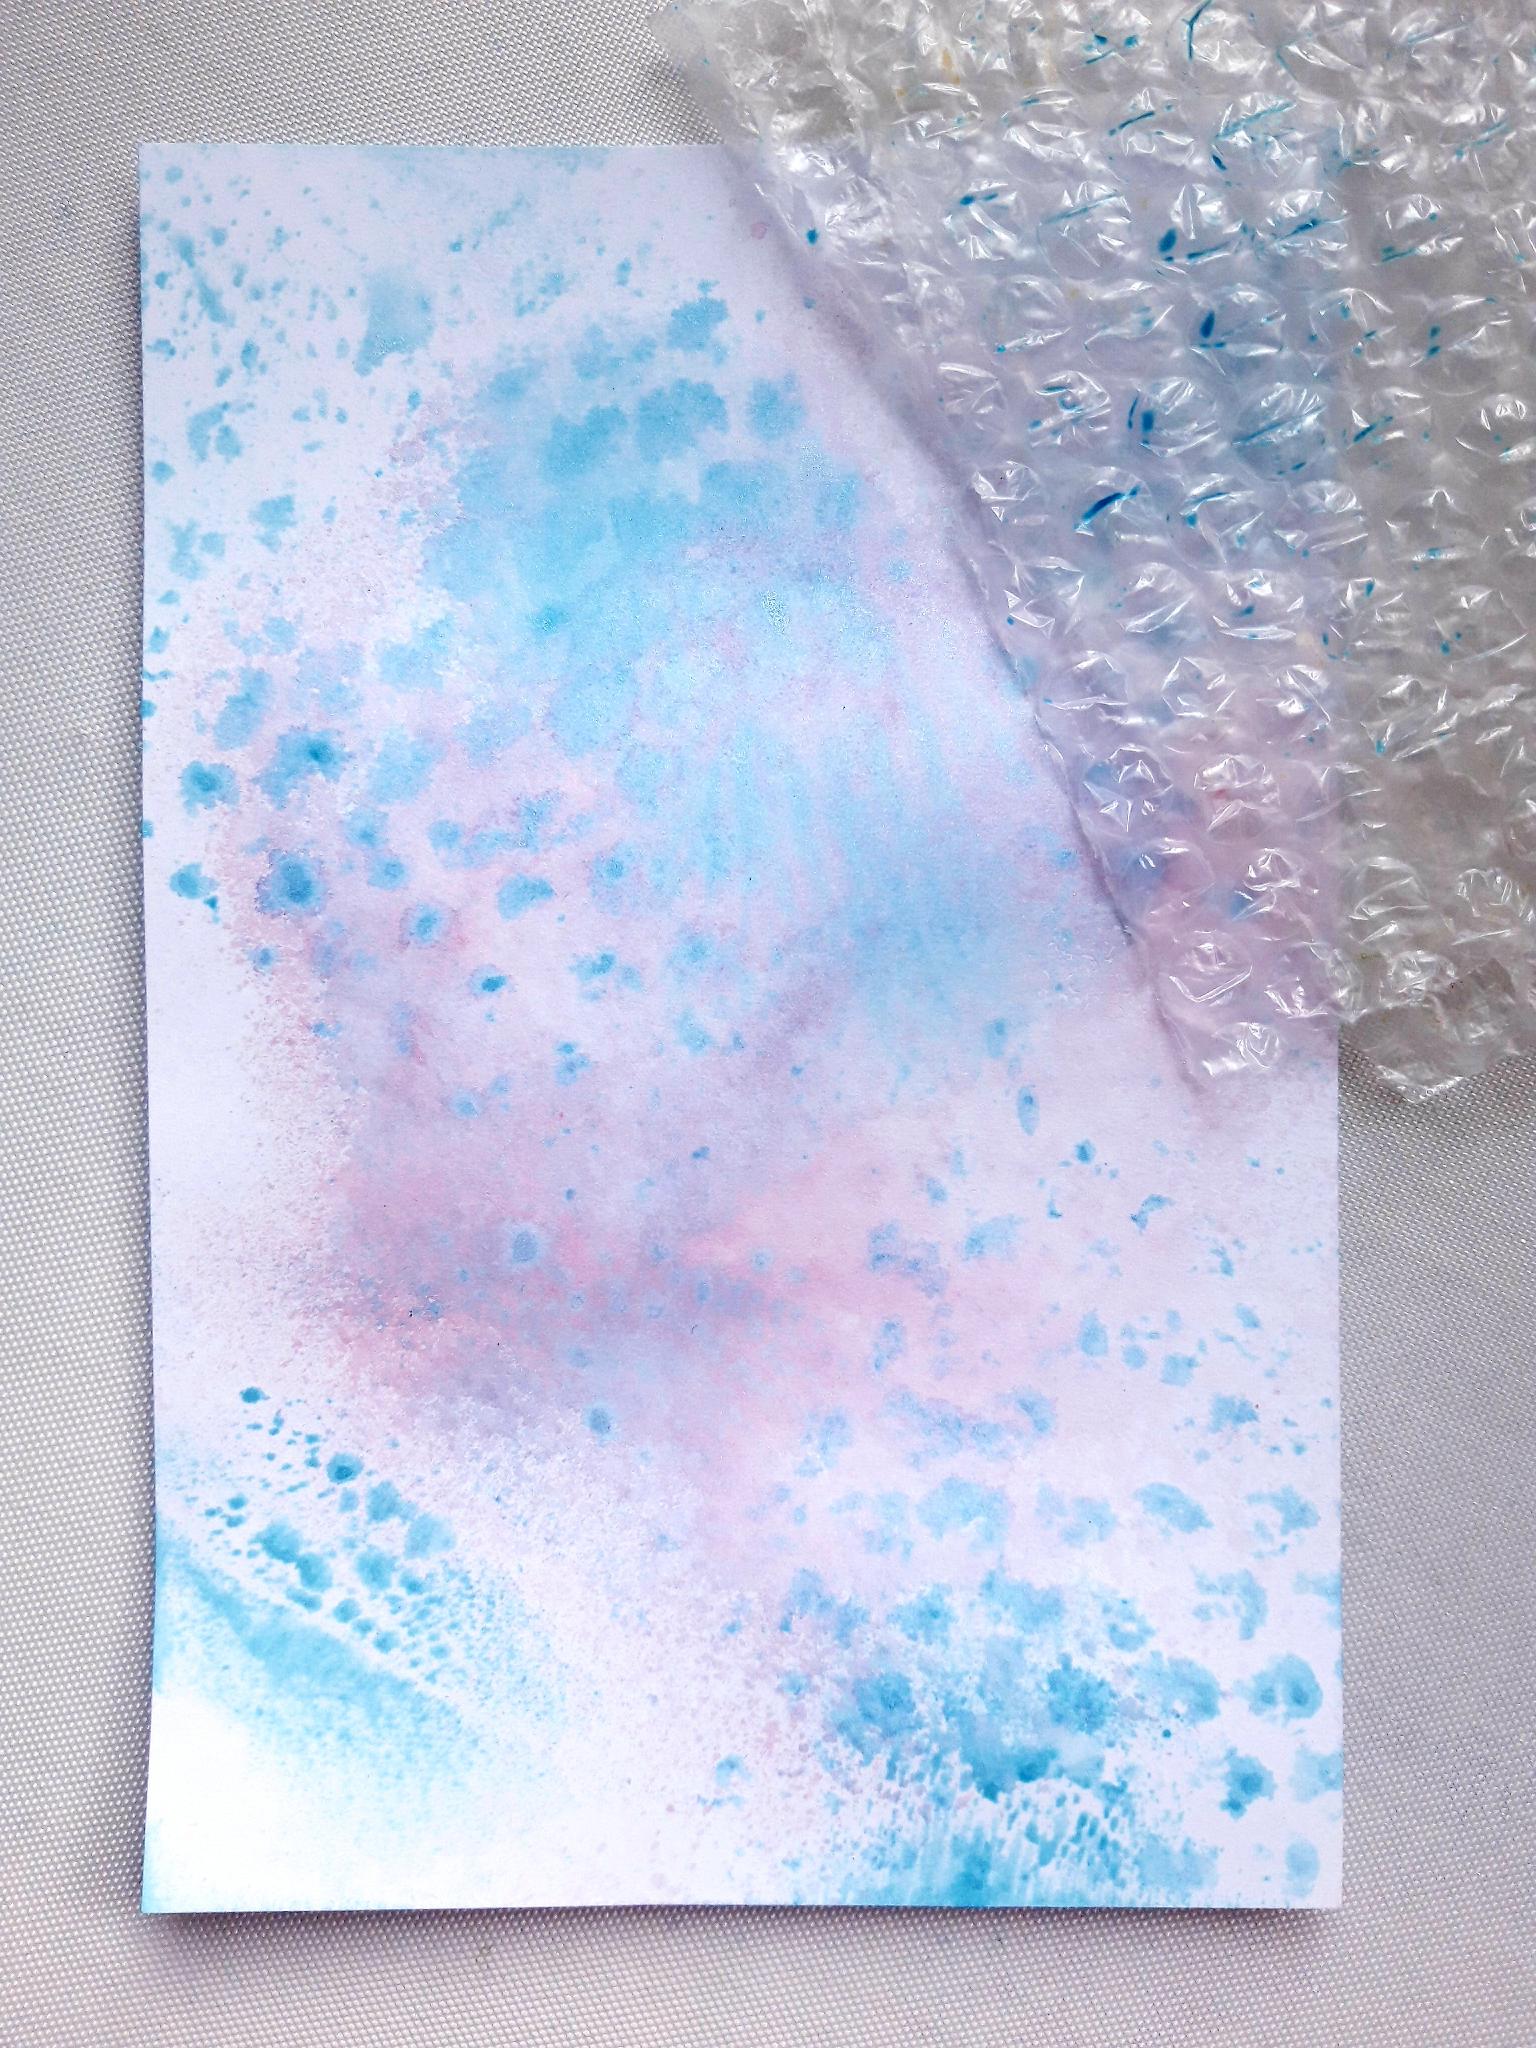
Bubblewrap
Eureka 101
Perfect Together Glue
Black Fineline pen
Paper Trimmer
Water Spray bottle
[click image to enlarge] 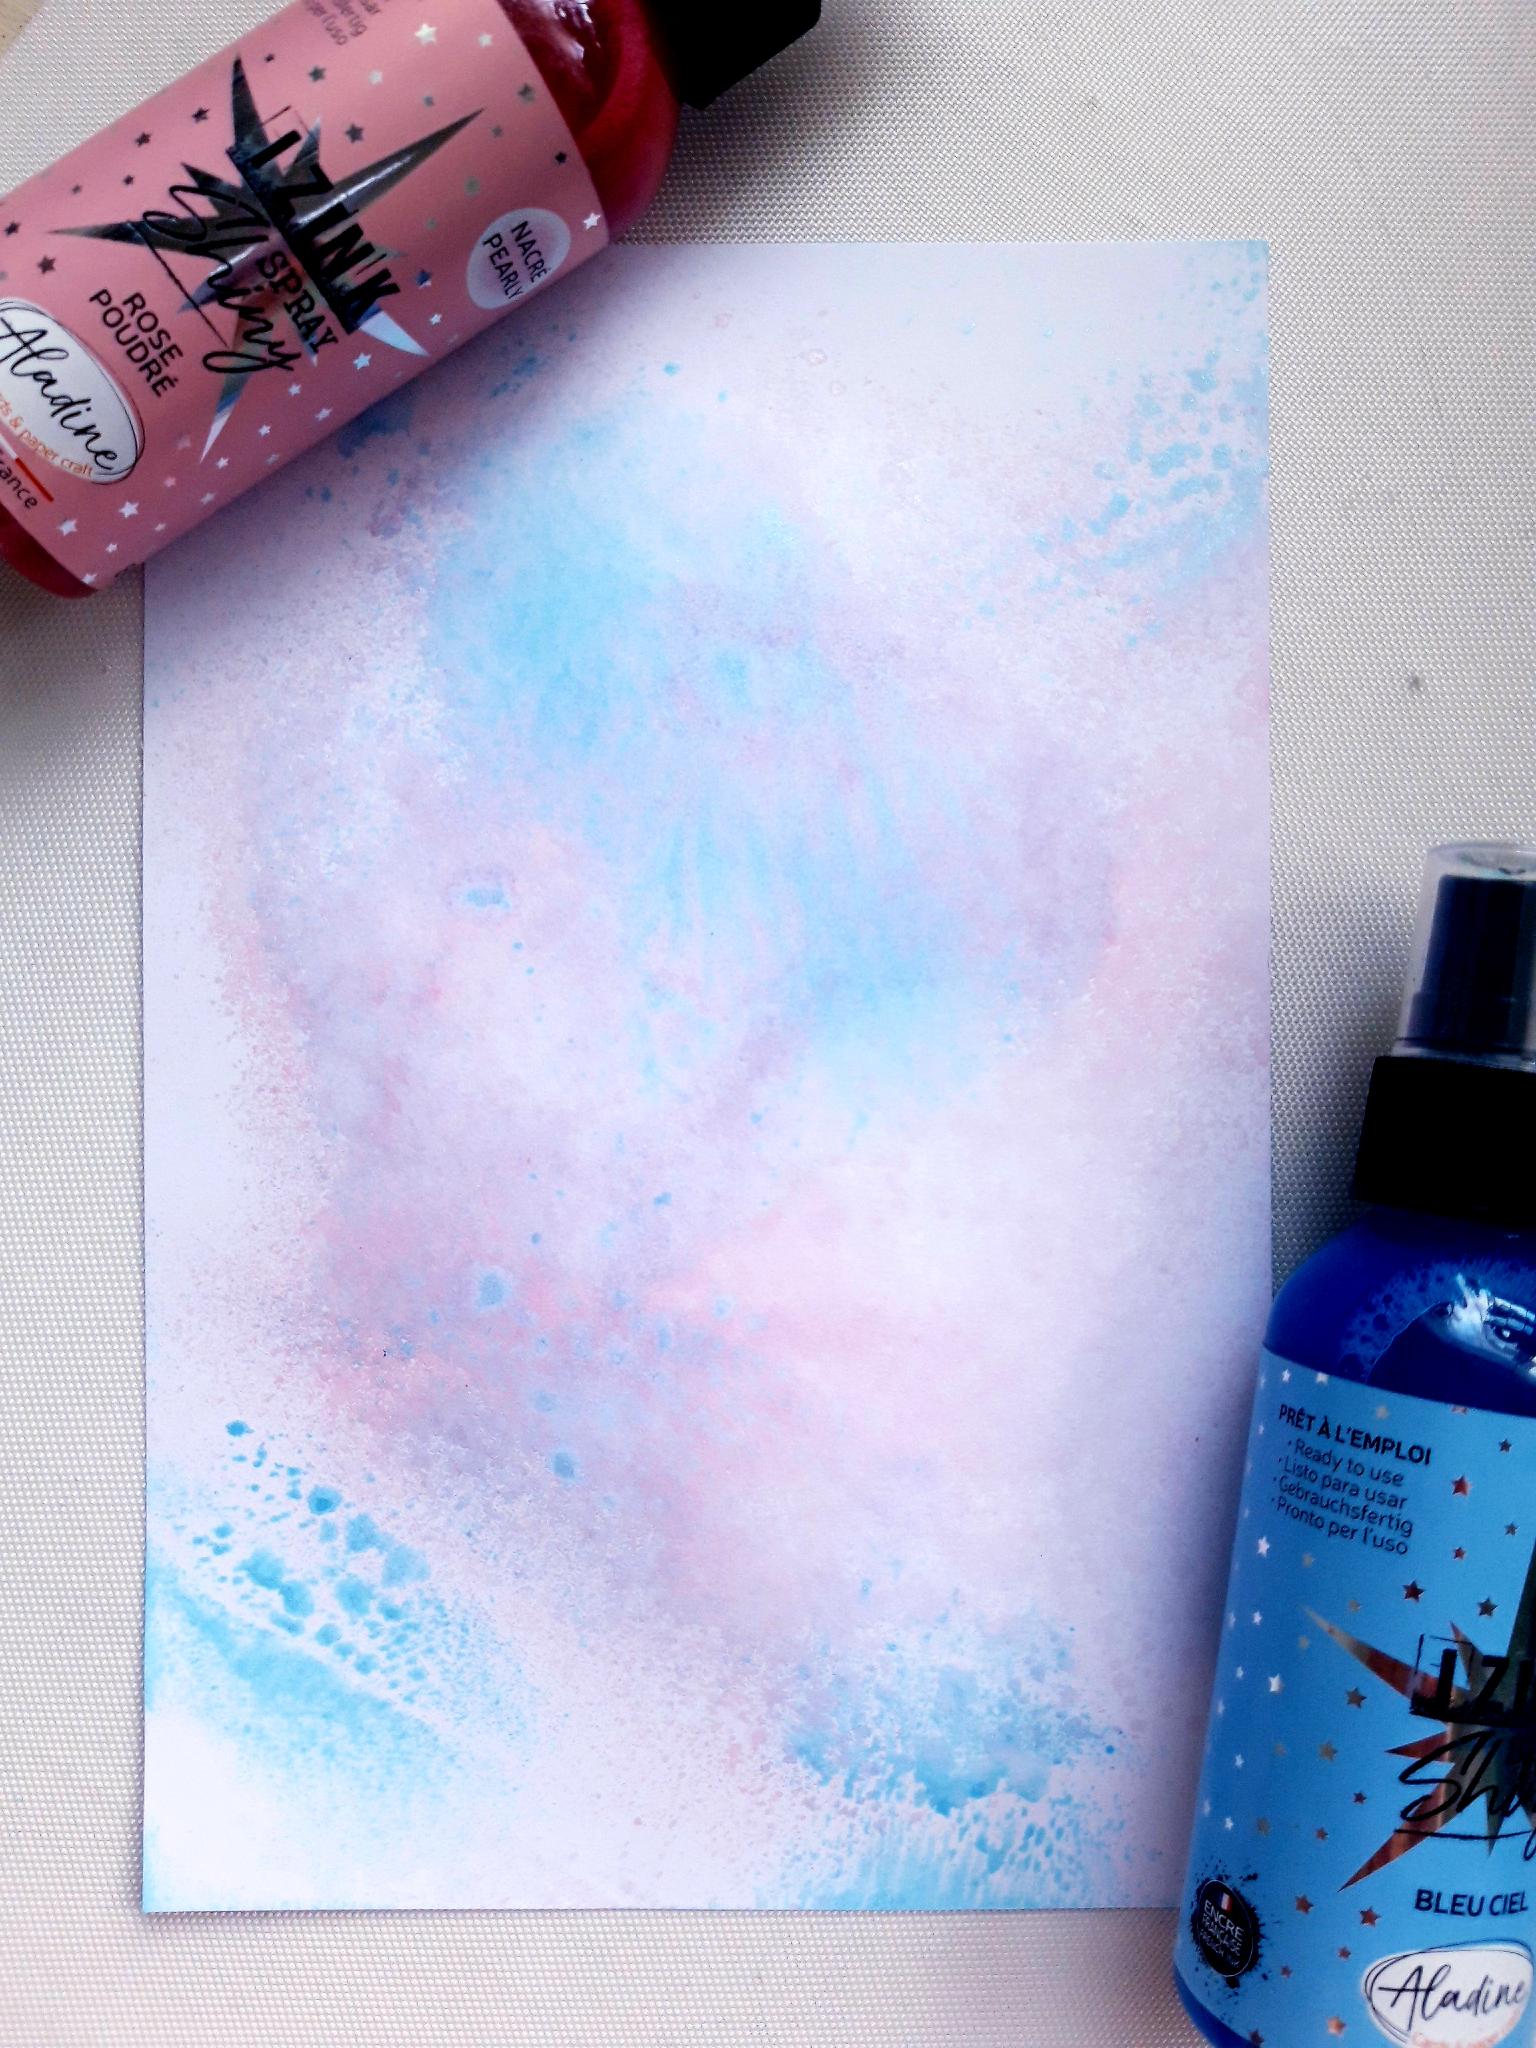
|
Spray the Izink Rose Poudre on to a glass or craft mat and spritz with a little water. Pick up the ink on to your white cardstock (7 3/4 x 5 1/4"). Repeat this with the Izink Bleu Ciel spray, to create a loose, watercolour background. |
|
Spray the Izink Bleu Ciel on to your craft or glass mat. Pick up the ink with some bubblewrap, and pounce it randomly on to your inked background, to create texture.
|
|
Ink up one of the stamps from the Retro Stamps set, with the Izink Outremer ink pad, and stamp randomly over your inked background. The idea is to create a random, distressed look. Splatter drops of water on to your background, wait a few seconds, then mop up the water. Set to one side to dry. |
|
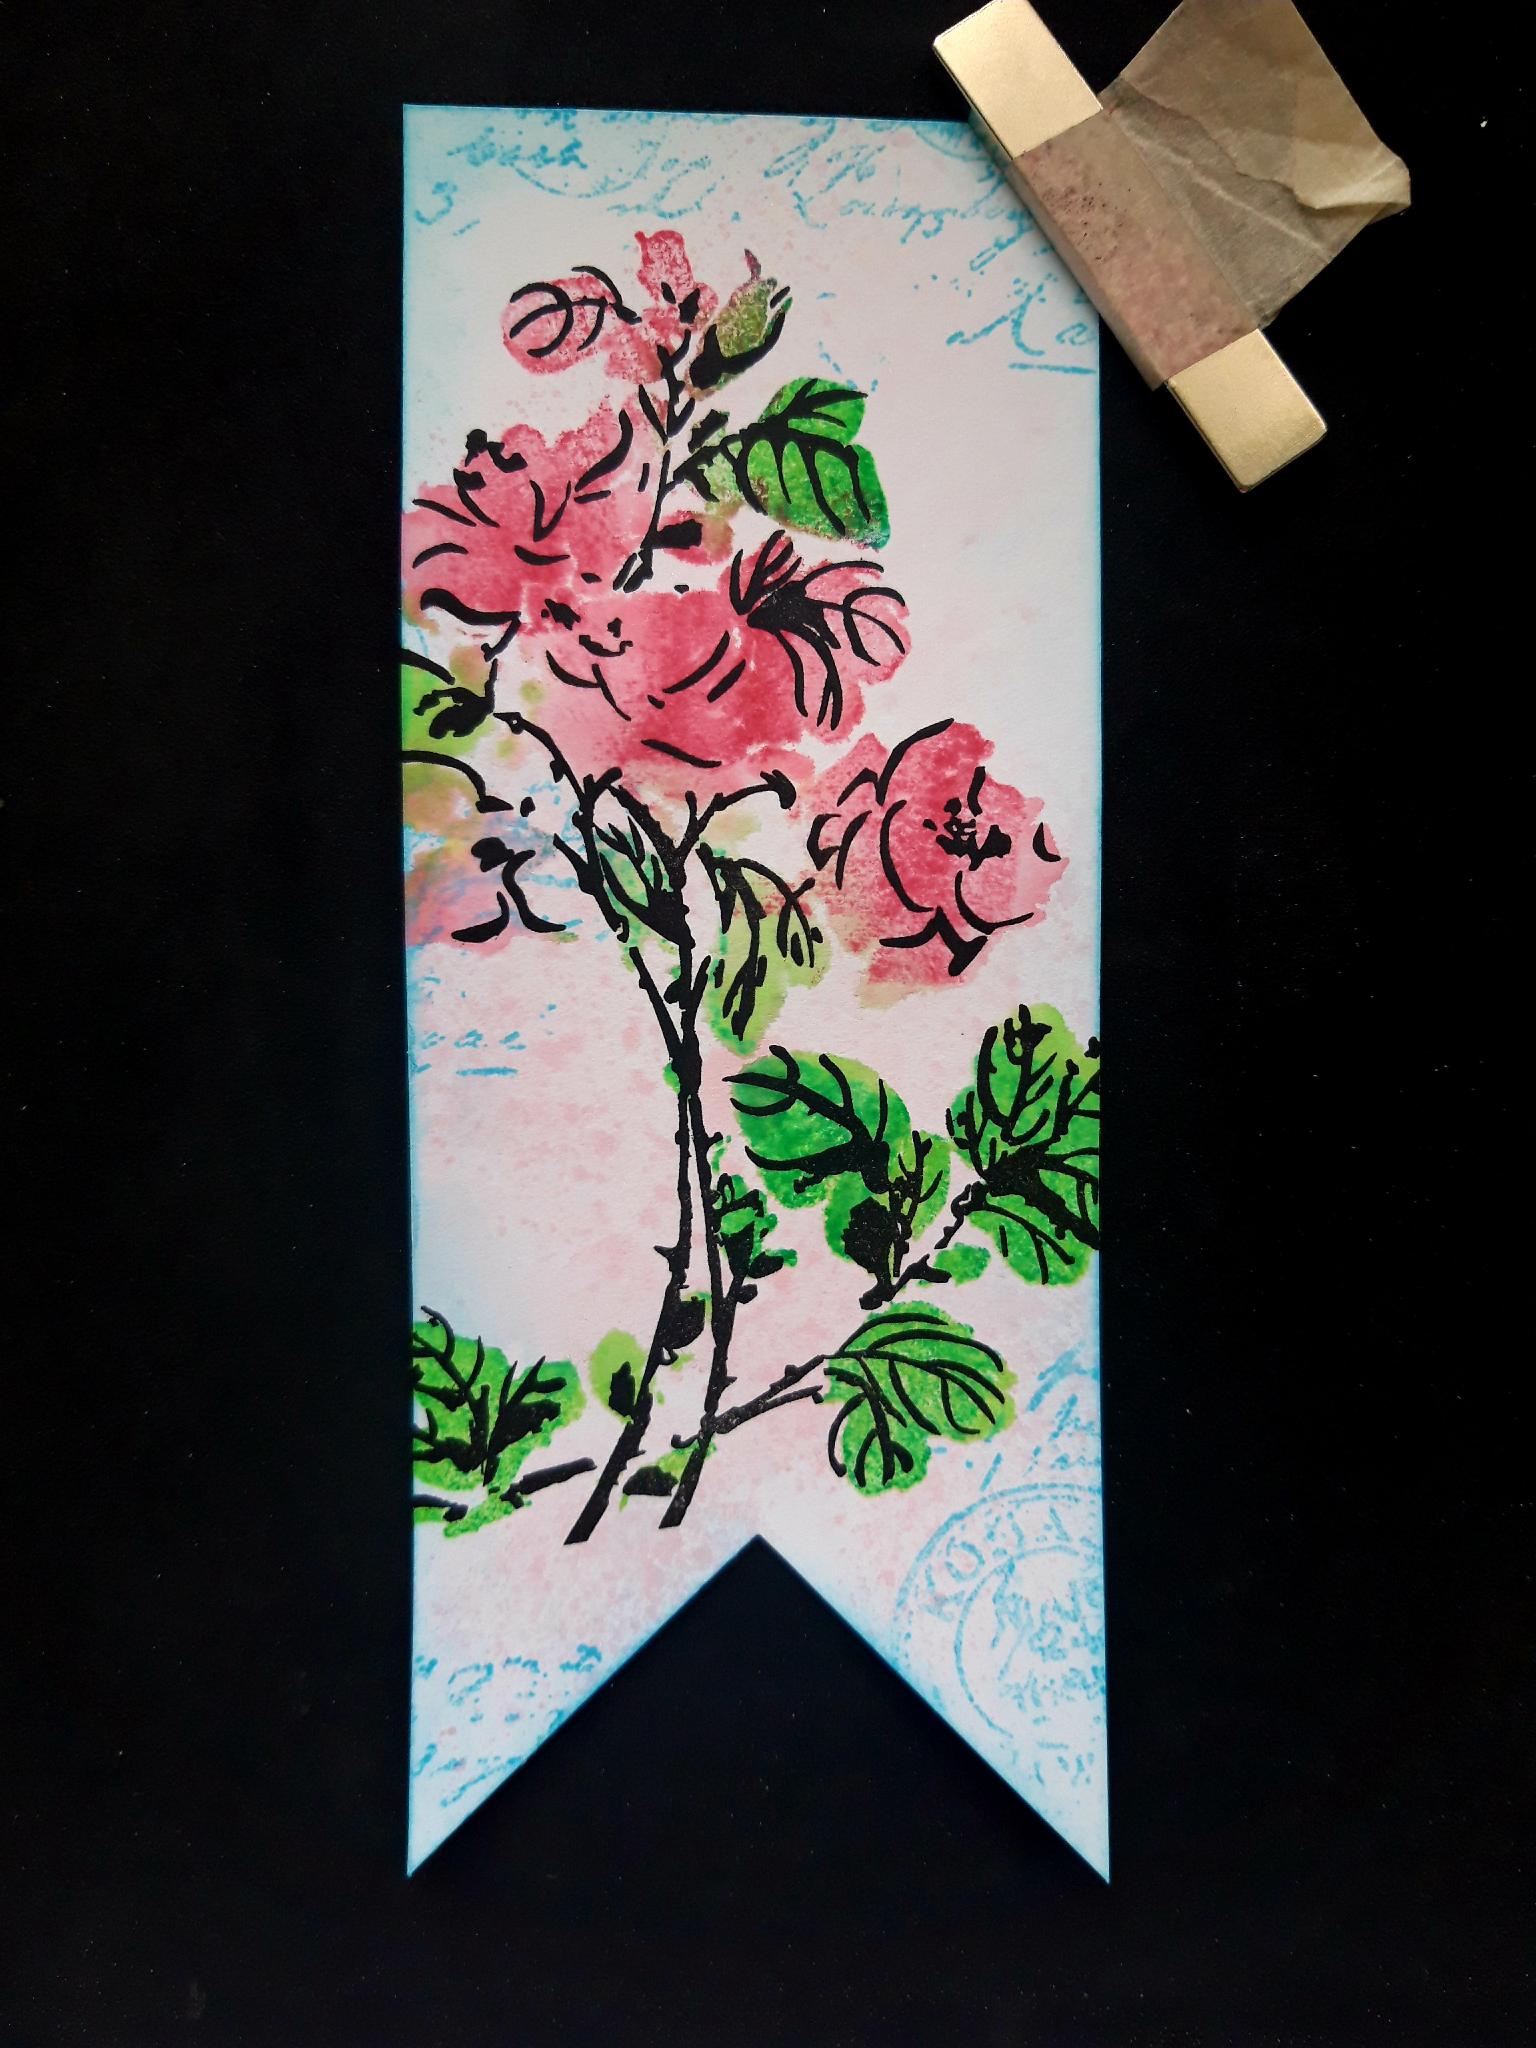
Use your Banner Tag Punch to make a tag from the 2 1/2 x 6 1/4" white cardstock. |
|
Spray the Izink Rose Poudre on to a glass or craft mat and spritz with a little water. Pick up the ink on your banner tag, to create a loose, watercolour background. |
|
Ink up the Retro Stamp with the Izink Outremer Dye ink pad, and stamp randomly over the tag. Ink around the edges with the same ink pad. |
|
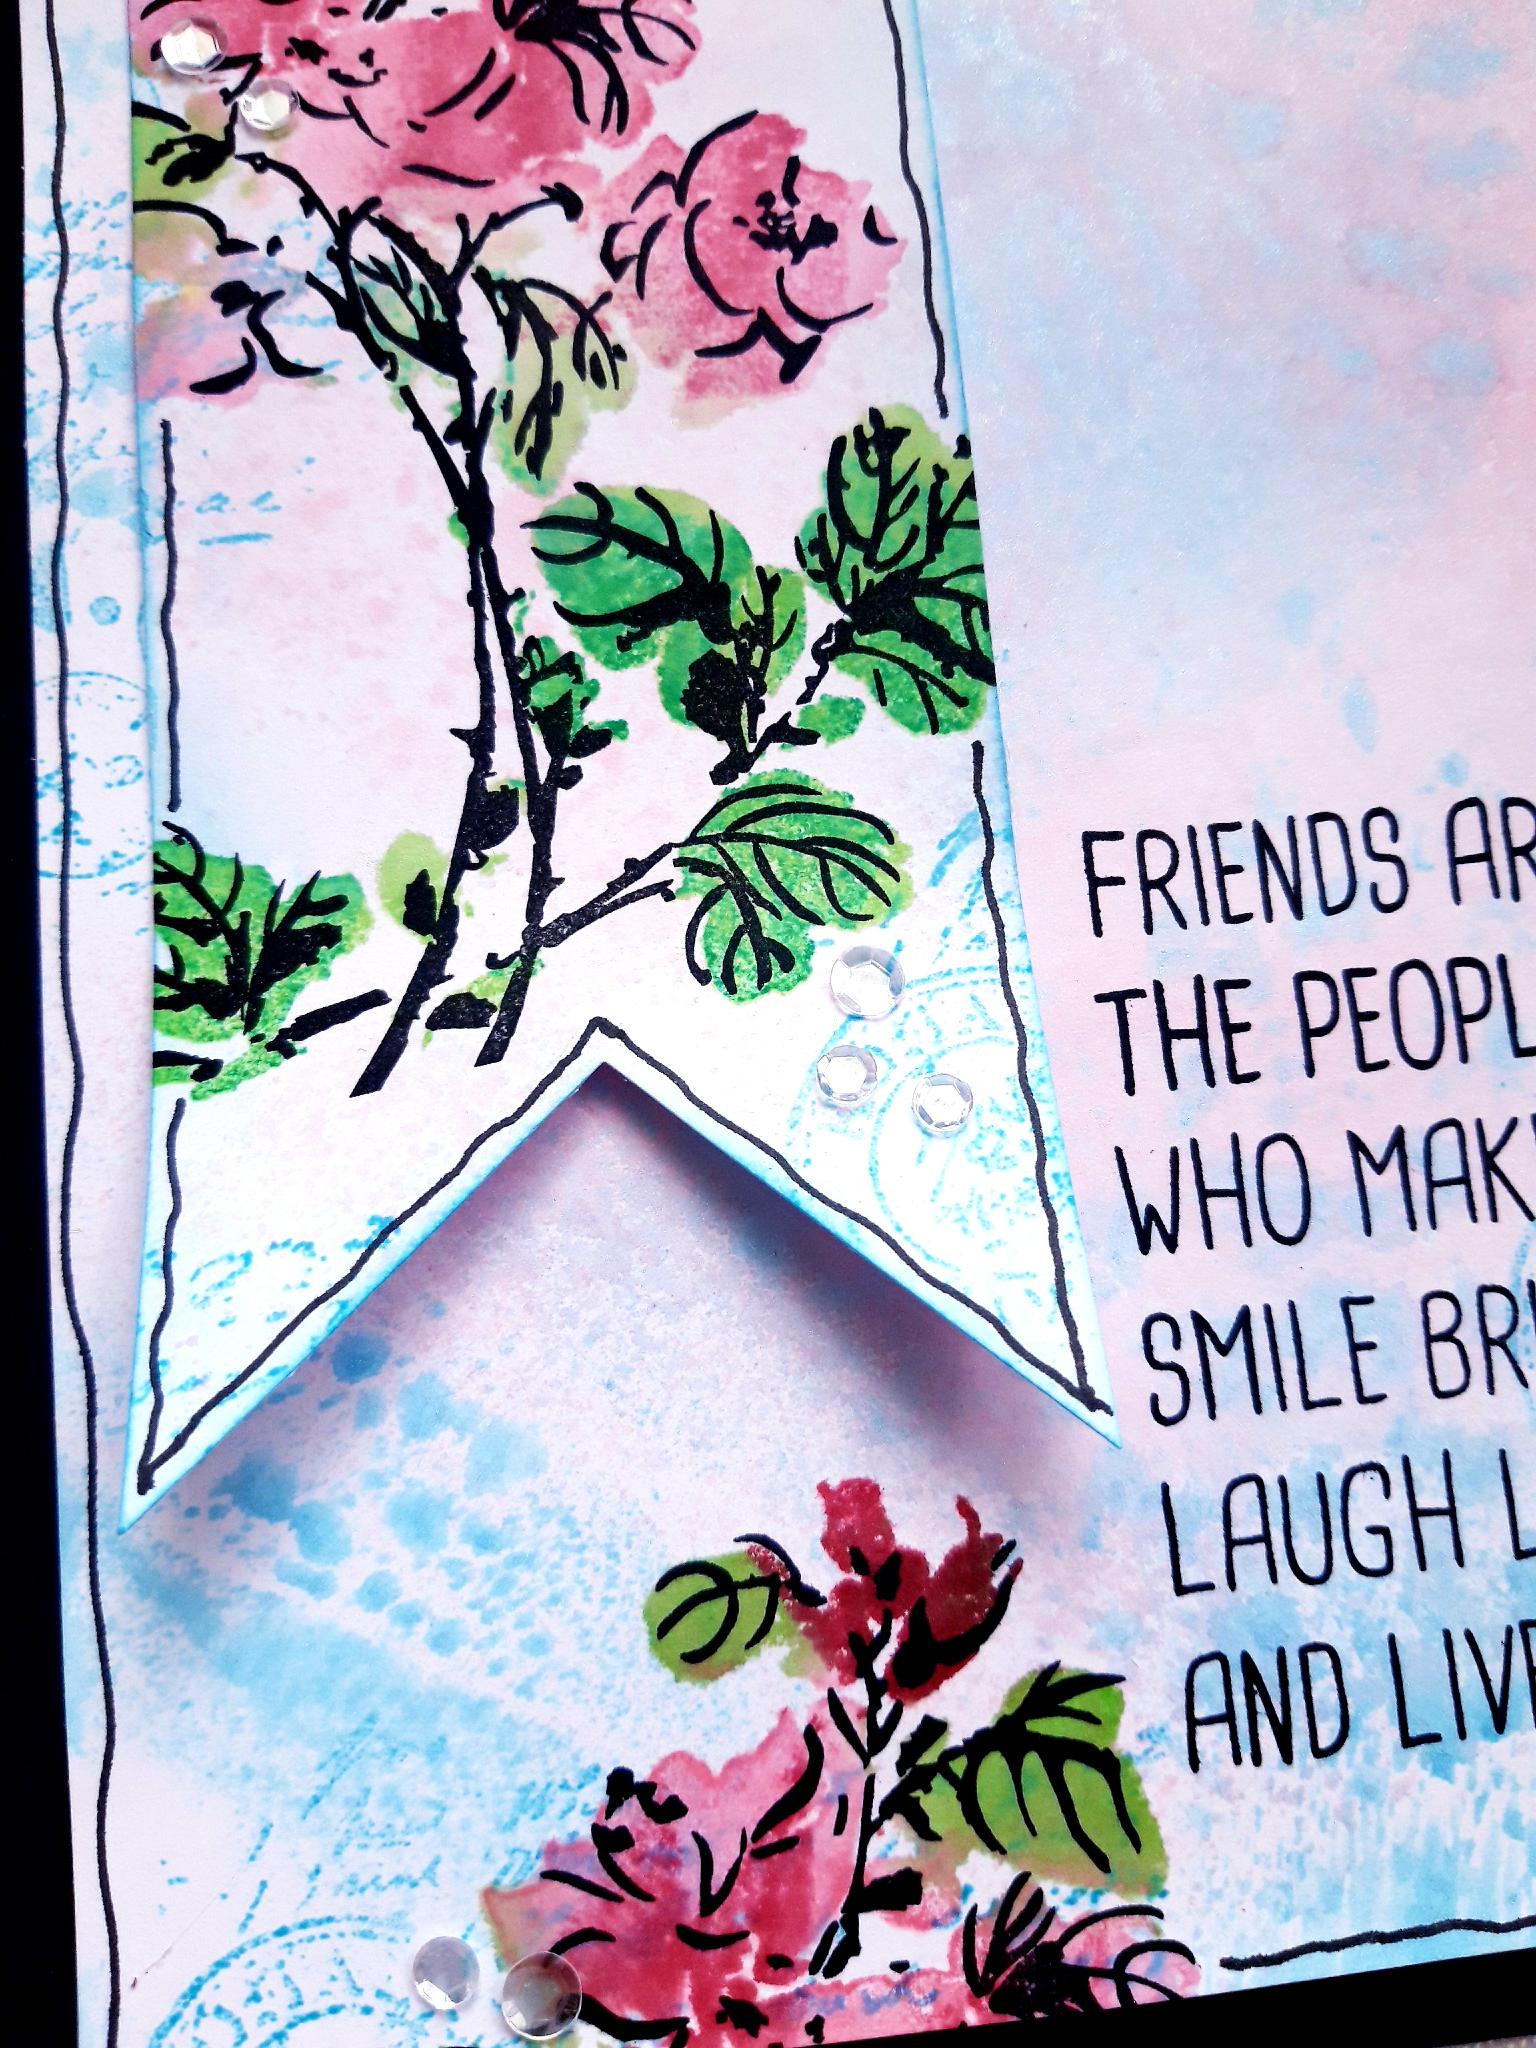
Ink up the solid floral stamp, from the Go After Your Dreams stamp set, with Izink Rosee on the flower heads and Izink Menthe on the foliage. (If you are unsure where each of the colours go, stamp it on to a scrap piece of paper first. Line up and stamp the detailed stamp on top, or next to it, then you can work out which areas are the flower heads and which are the foliage). Spritz your inked stamp lightly with water, then stamp on to your tag. Repeat this step, using the Izink Framboise on small areas of the flower heads, and Izink Emeraude on small areas of the foliage. Spritz the stamp with water, then stamp over your stamped image. This will give the image more depth and dimension. |
|
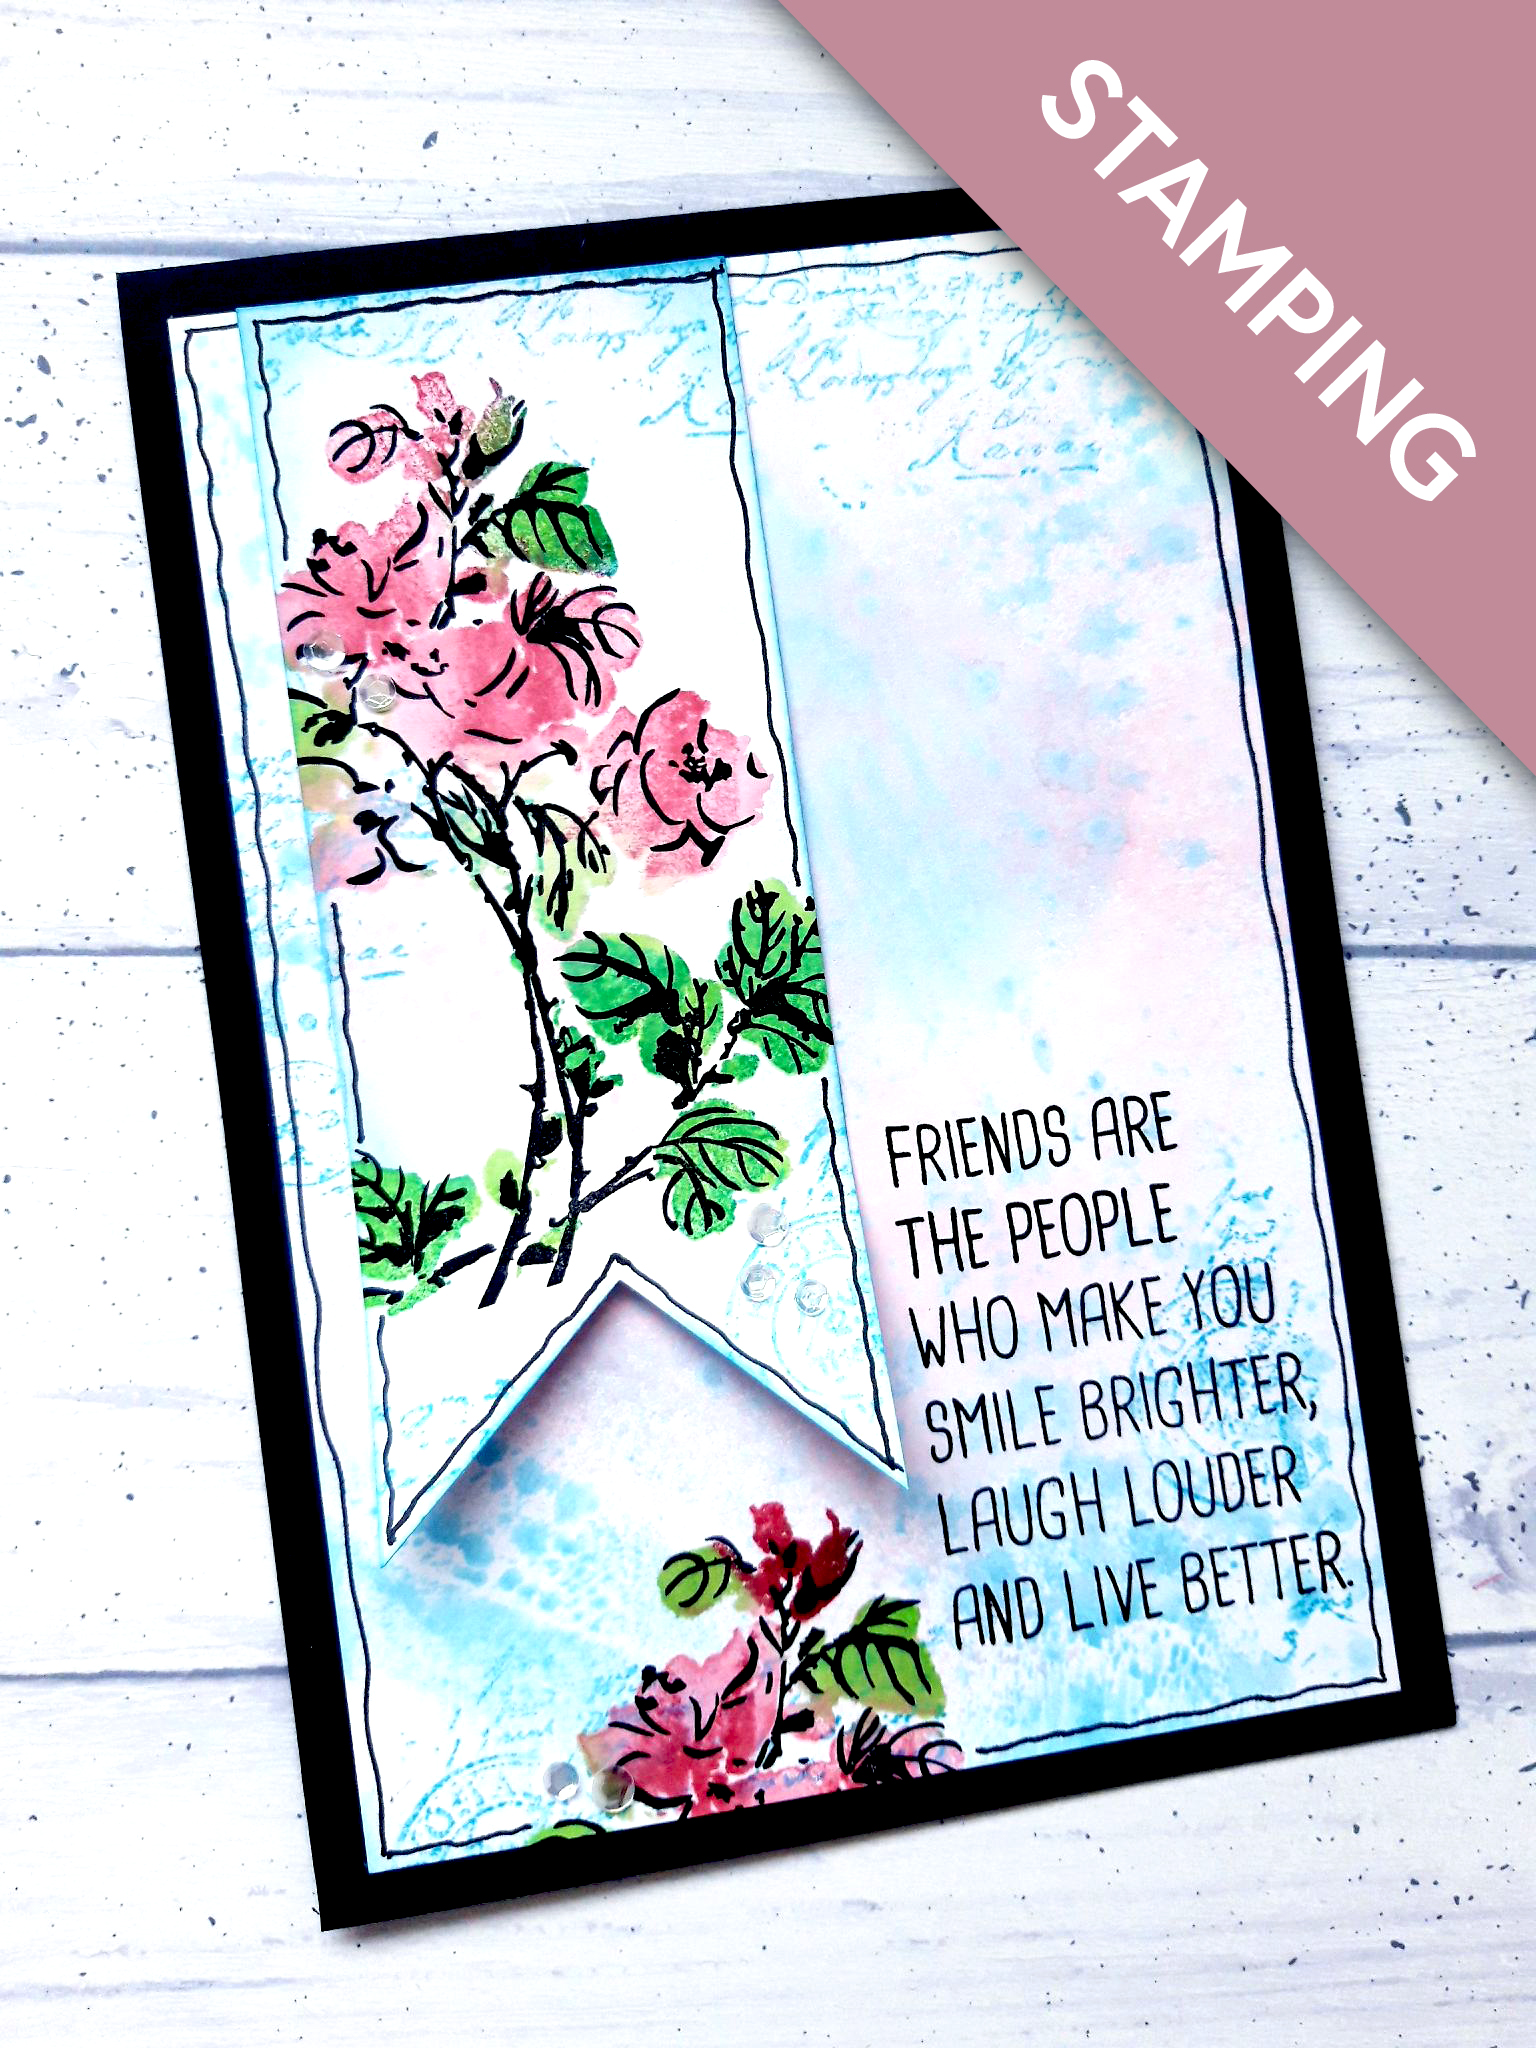
Ink up the detailed stamp, from the Go After your Dreams stamp set, in the Onyx Black Versafine. Line it up and stamp over the top of your stamped image. |
|
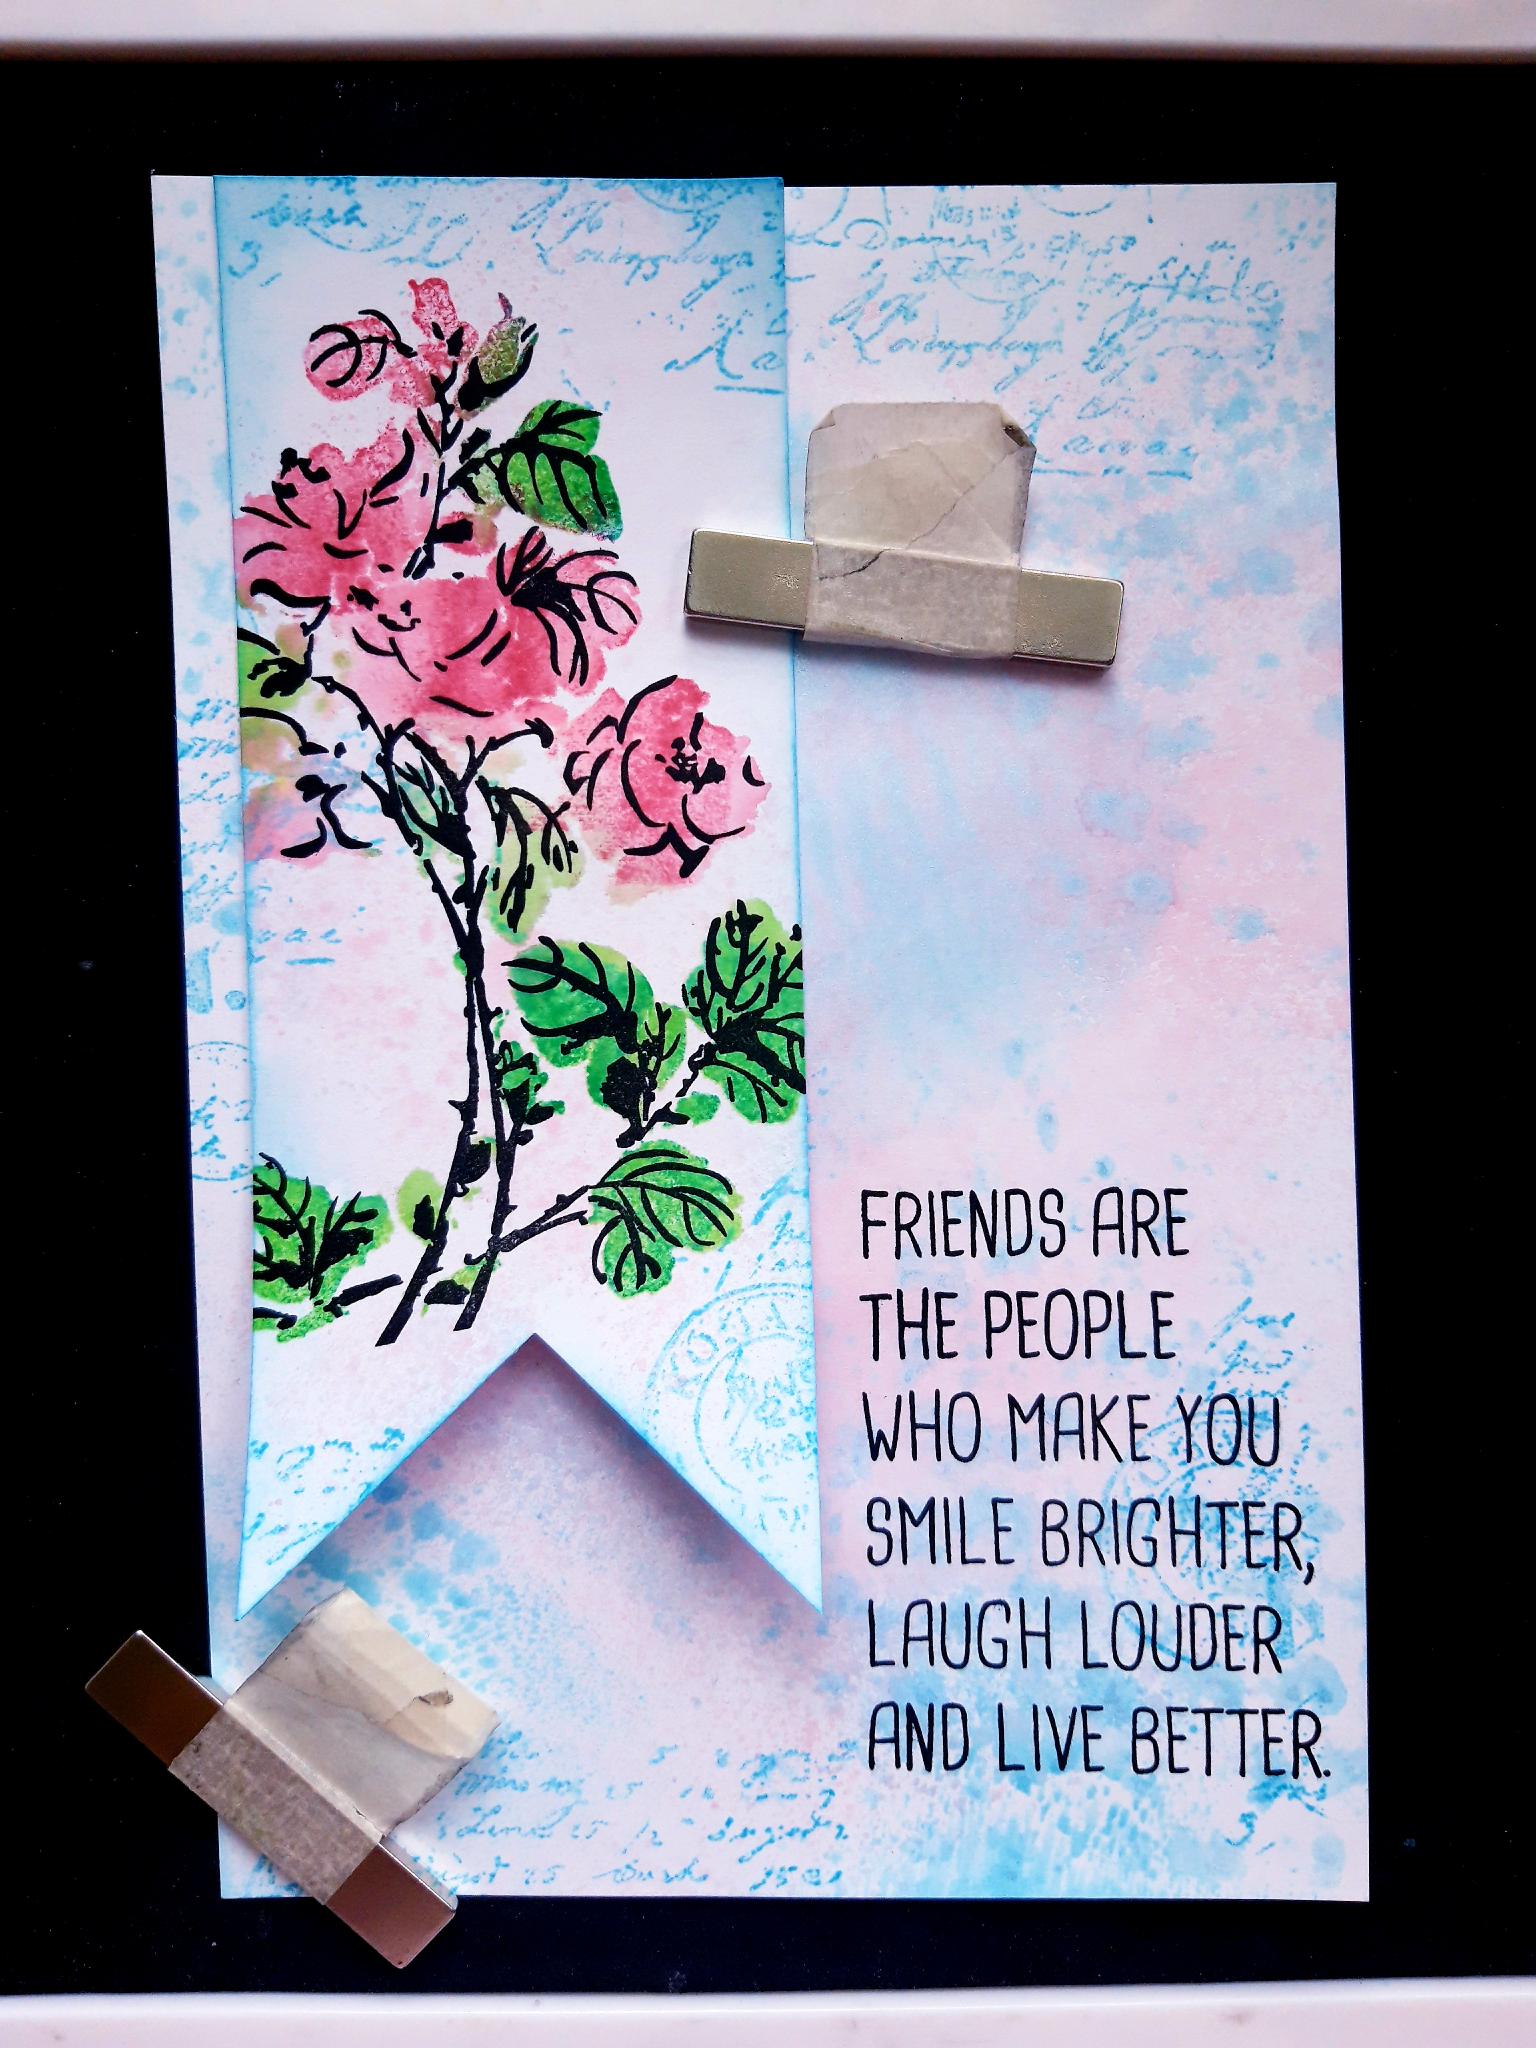
Lay your tag on top of your inked background, and use it as a guide to decide where your sentiment will be stamped. Ink up the sentiment, from the Go After Your Dreams stamp set, in the Onyx Black Versafine and stamp on to the background. Set the tag to one side. |

|
Using the same colours and steps as before, ink up the solid floral stamp and stamp just to the left of your stamped sentiment, so it goes off the bottom edge of your background. Ink up the detailed stamp in the Onyx Black Versafine and stamp over the stamped image.
|
|
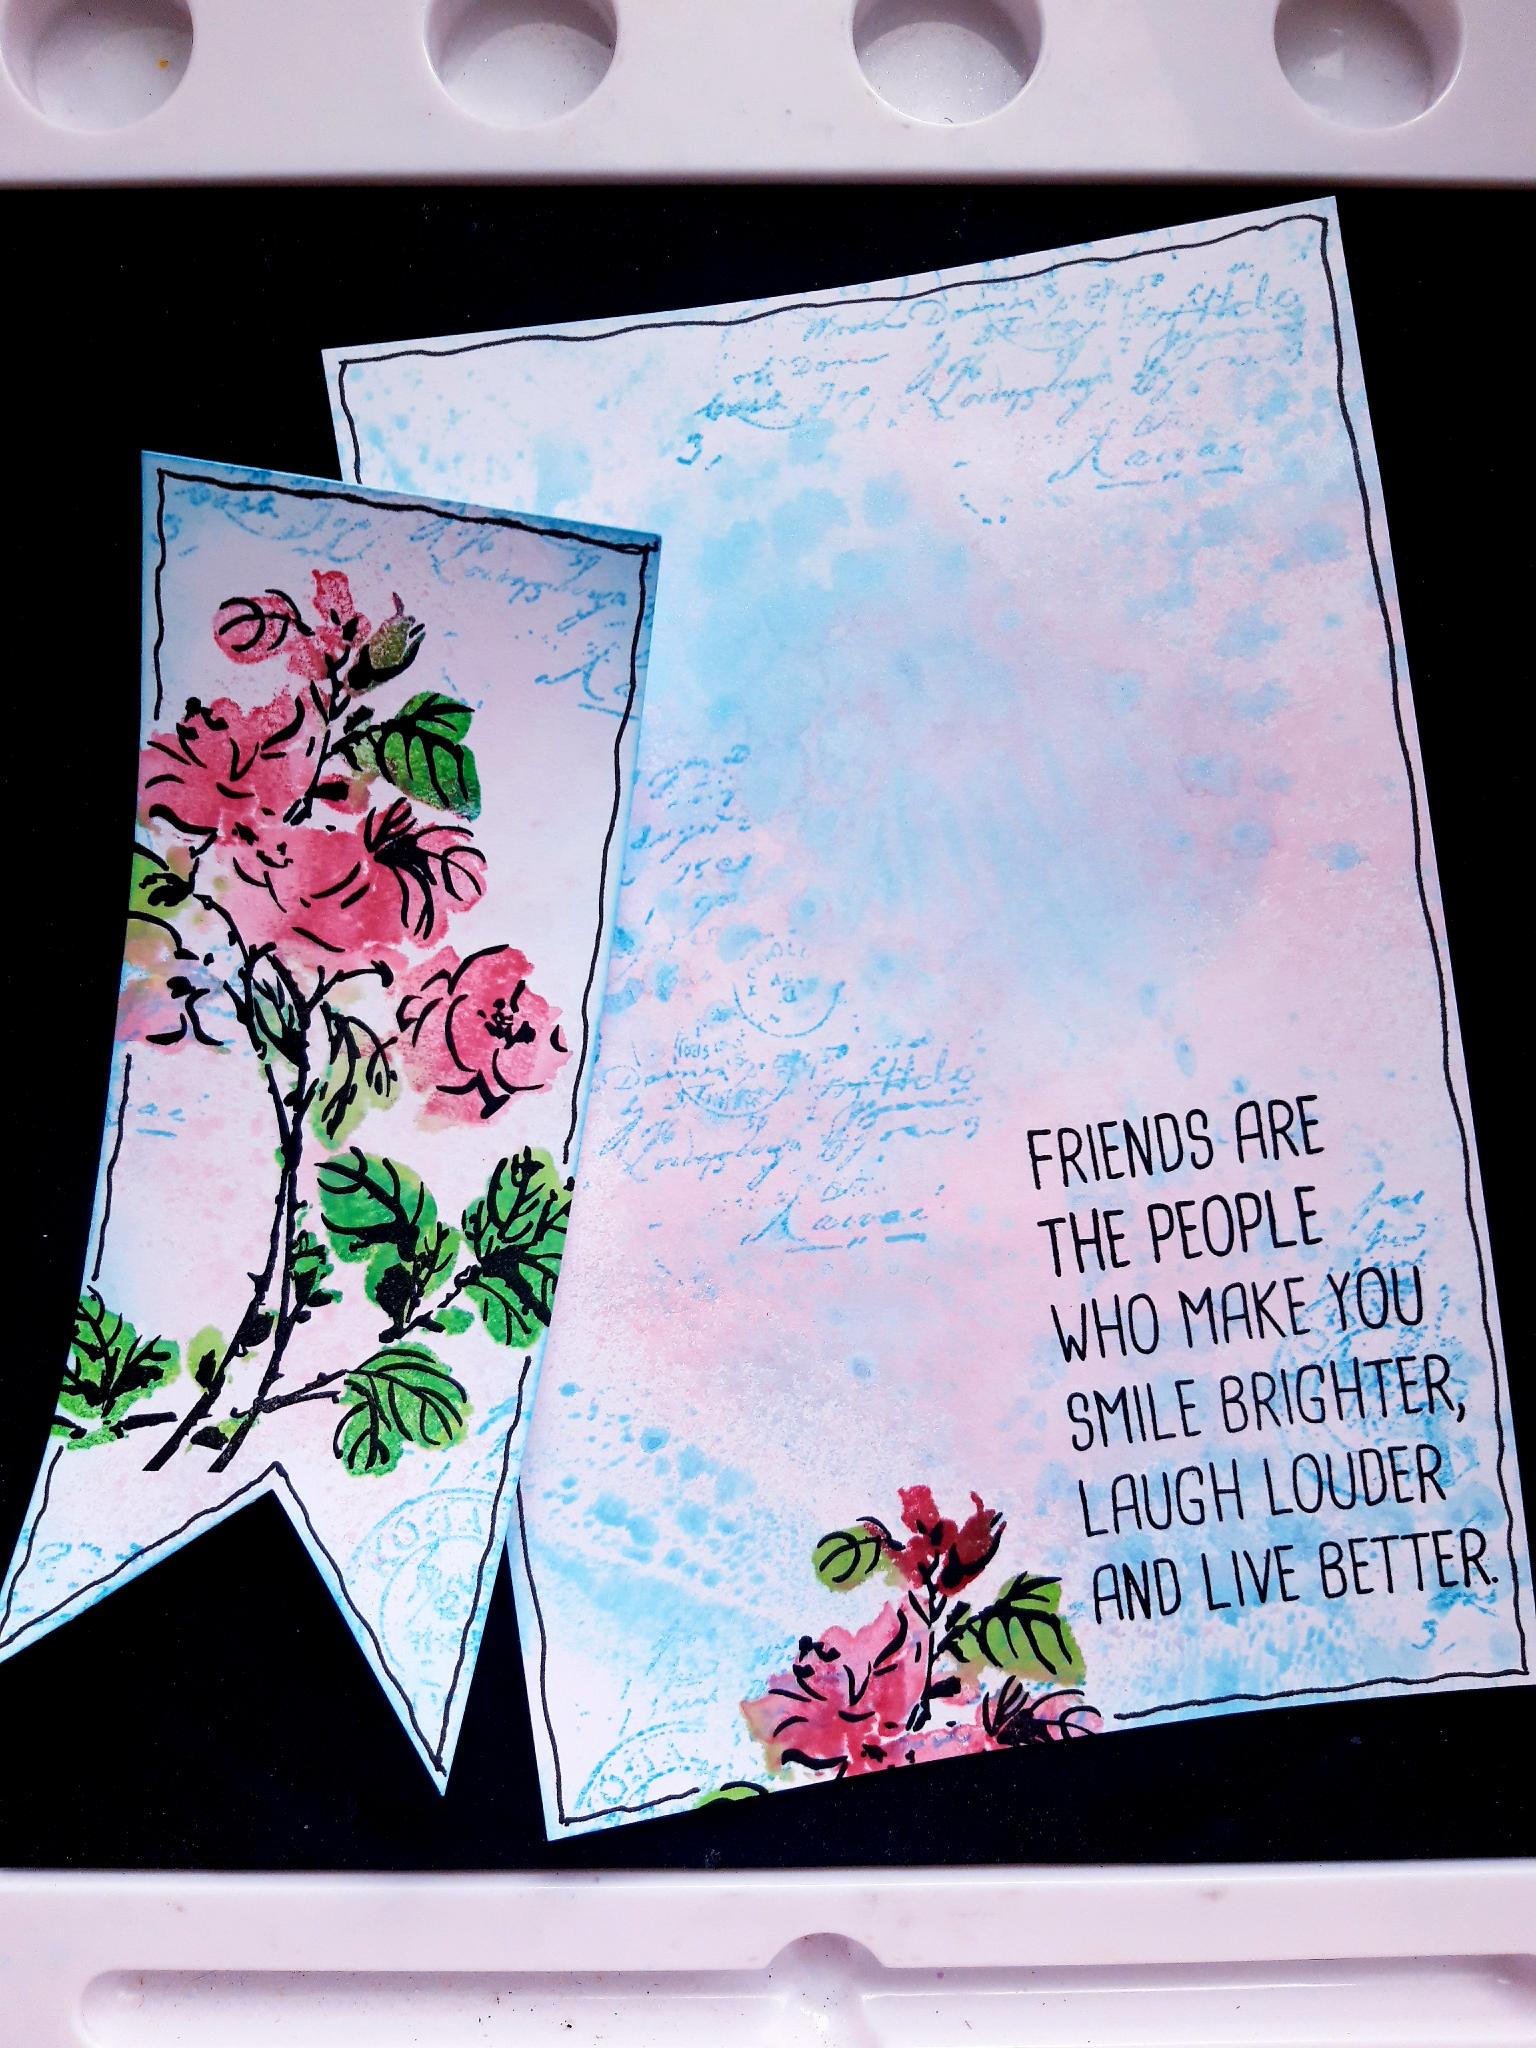
Use a black fine line pen to draw a wiggly frame around both your background, and the tag. This will draw the eye in to the artwork. |
|
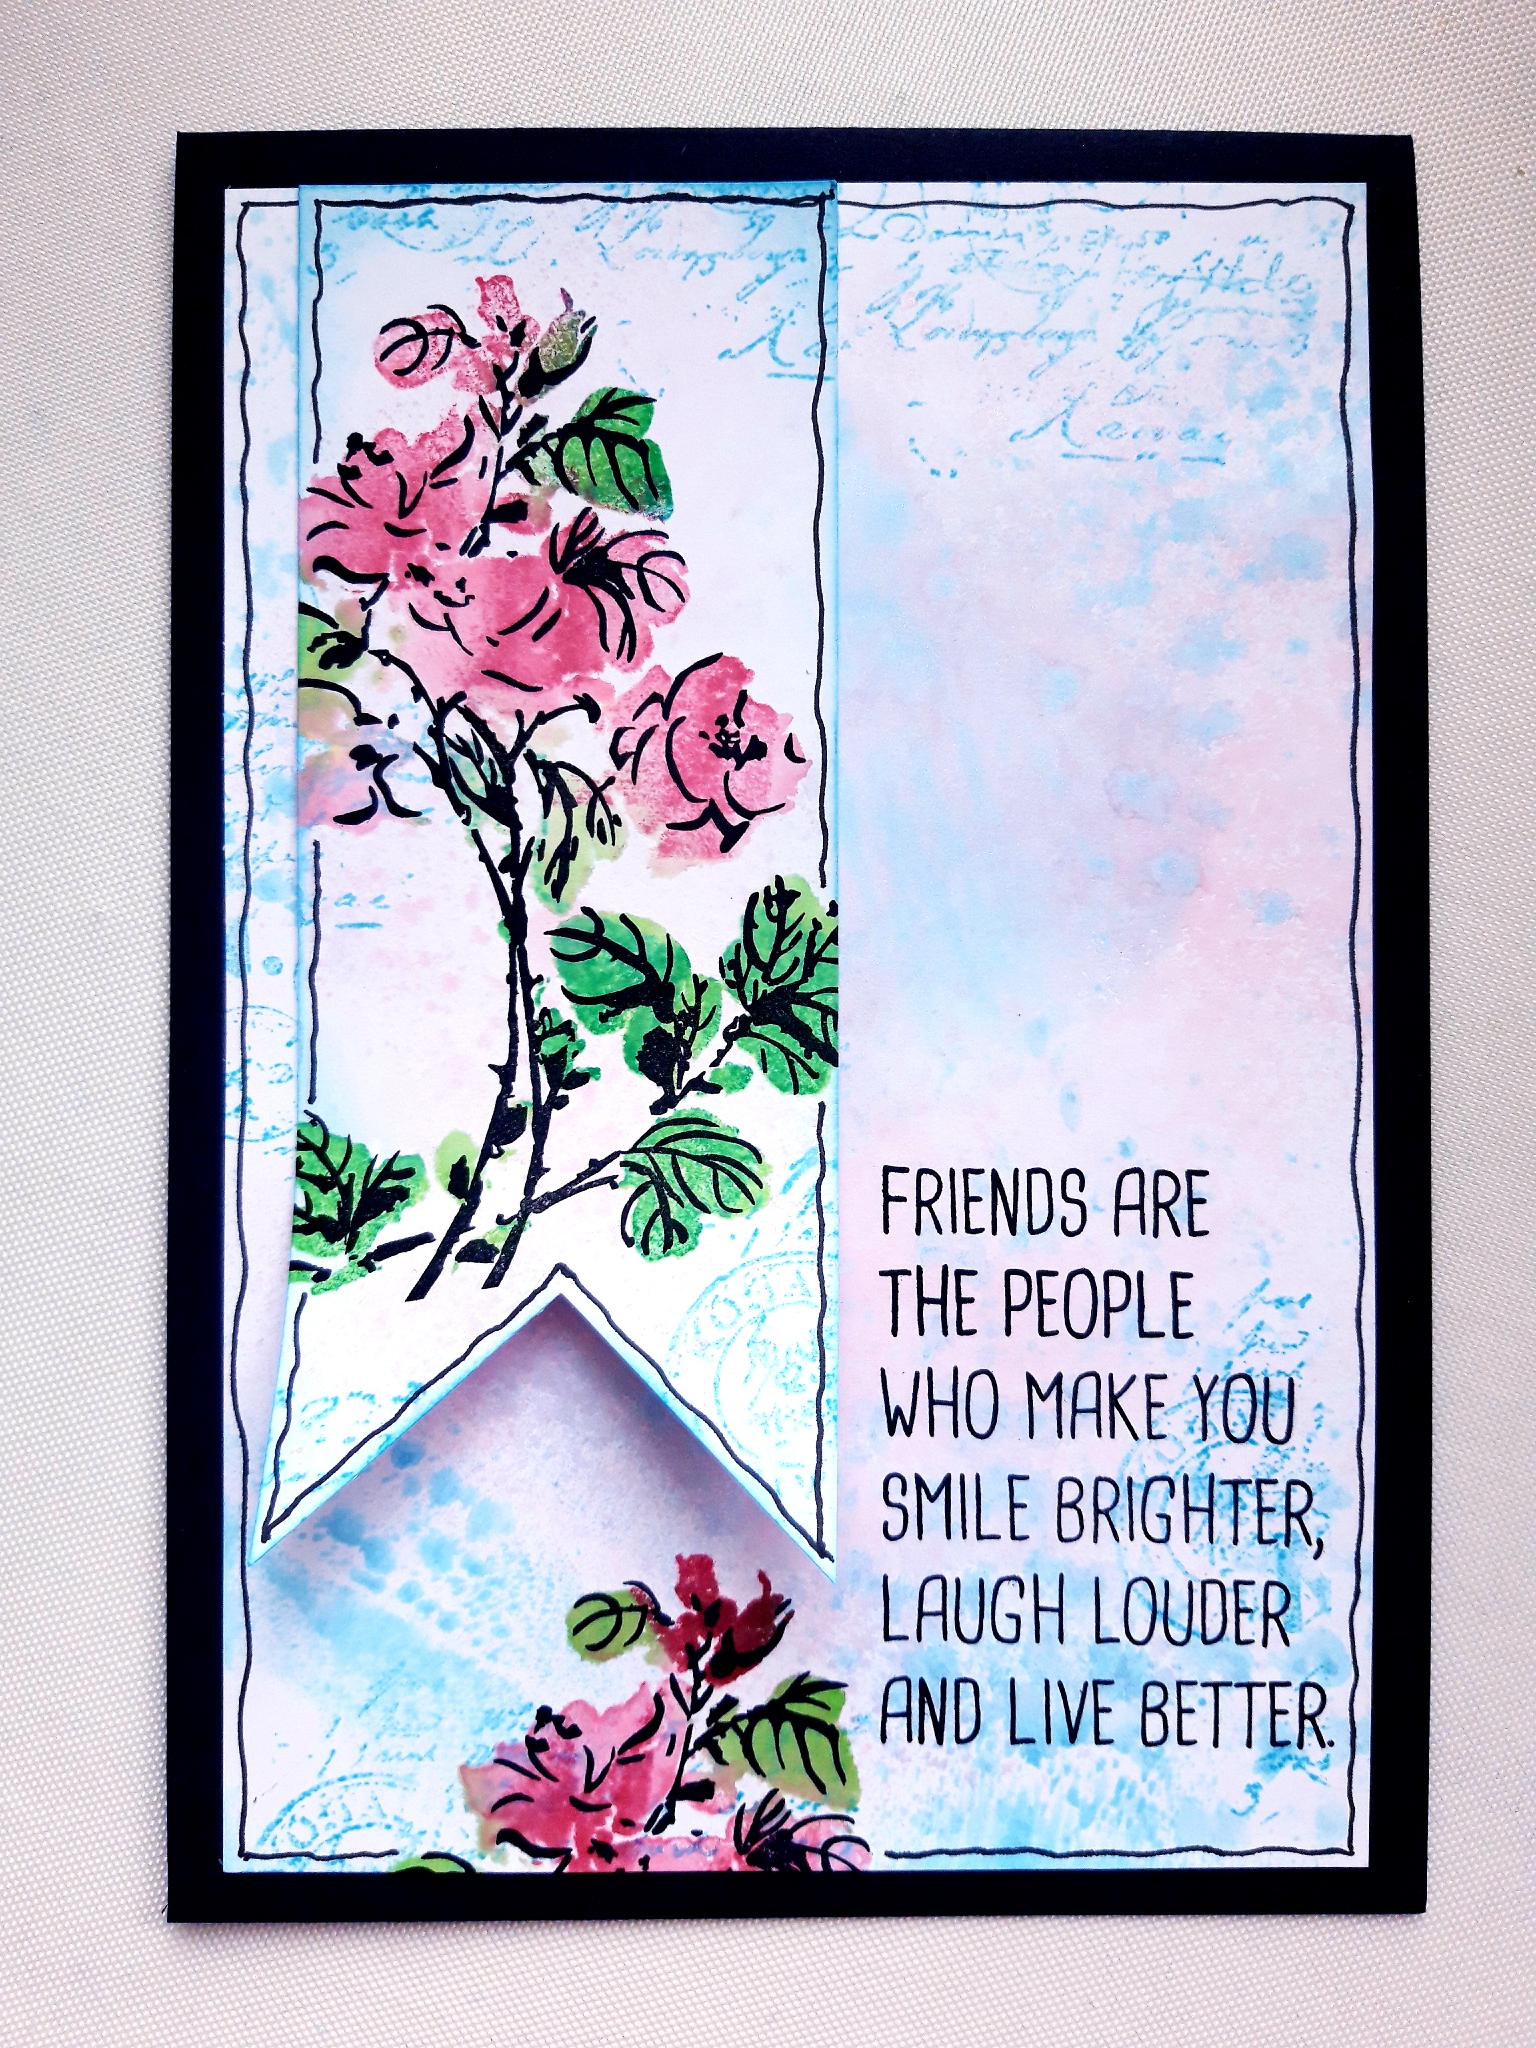
Adhere your background to the front of your black top folding note card. Having curled the ends of the tags slightly, adhere it to the left of your sentiment, flush with the top edge of the background. Only apply glue to the top half of the tag so the curled ends are loose. |
|
To finish your card, add some sequins around your tag and stamped images, as desired. |