Give your friends $10 off their first order!
Refer a FRIEND


WHAT YOU WILL NEED:
Black top folding card blank - cut to 7 x 5"
Stamps from Rose & Petunia Stamp and Die Collection
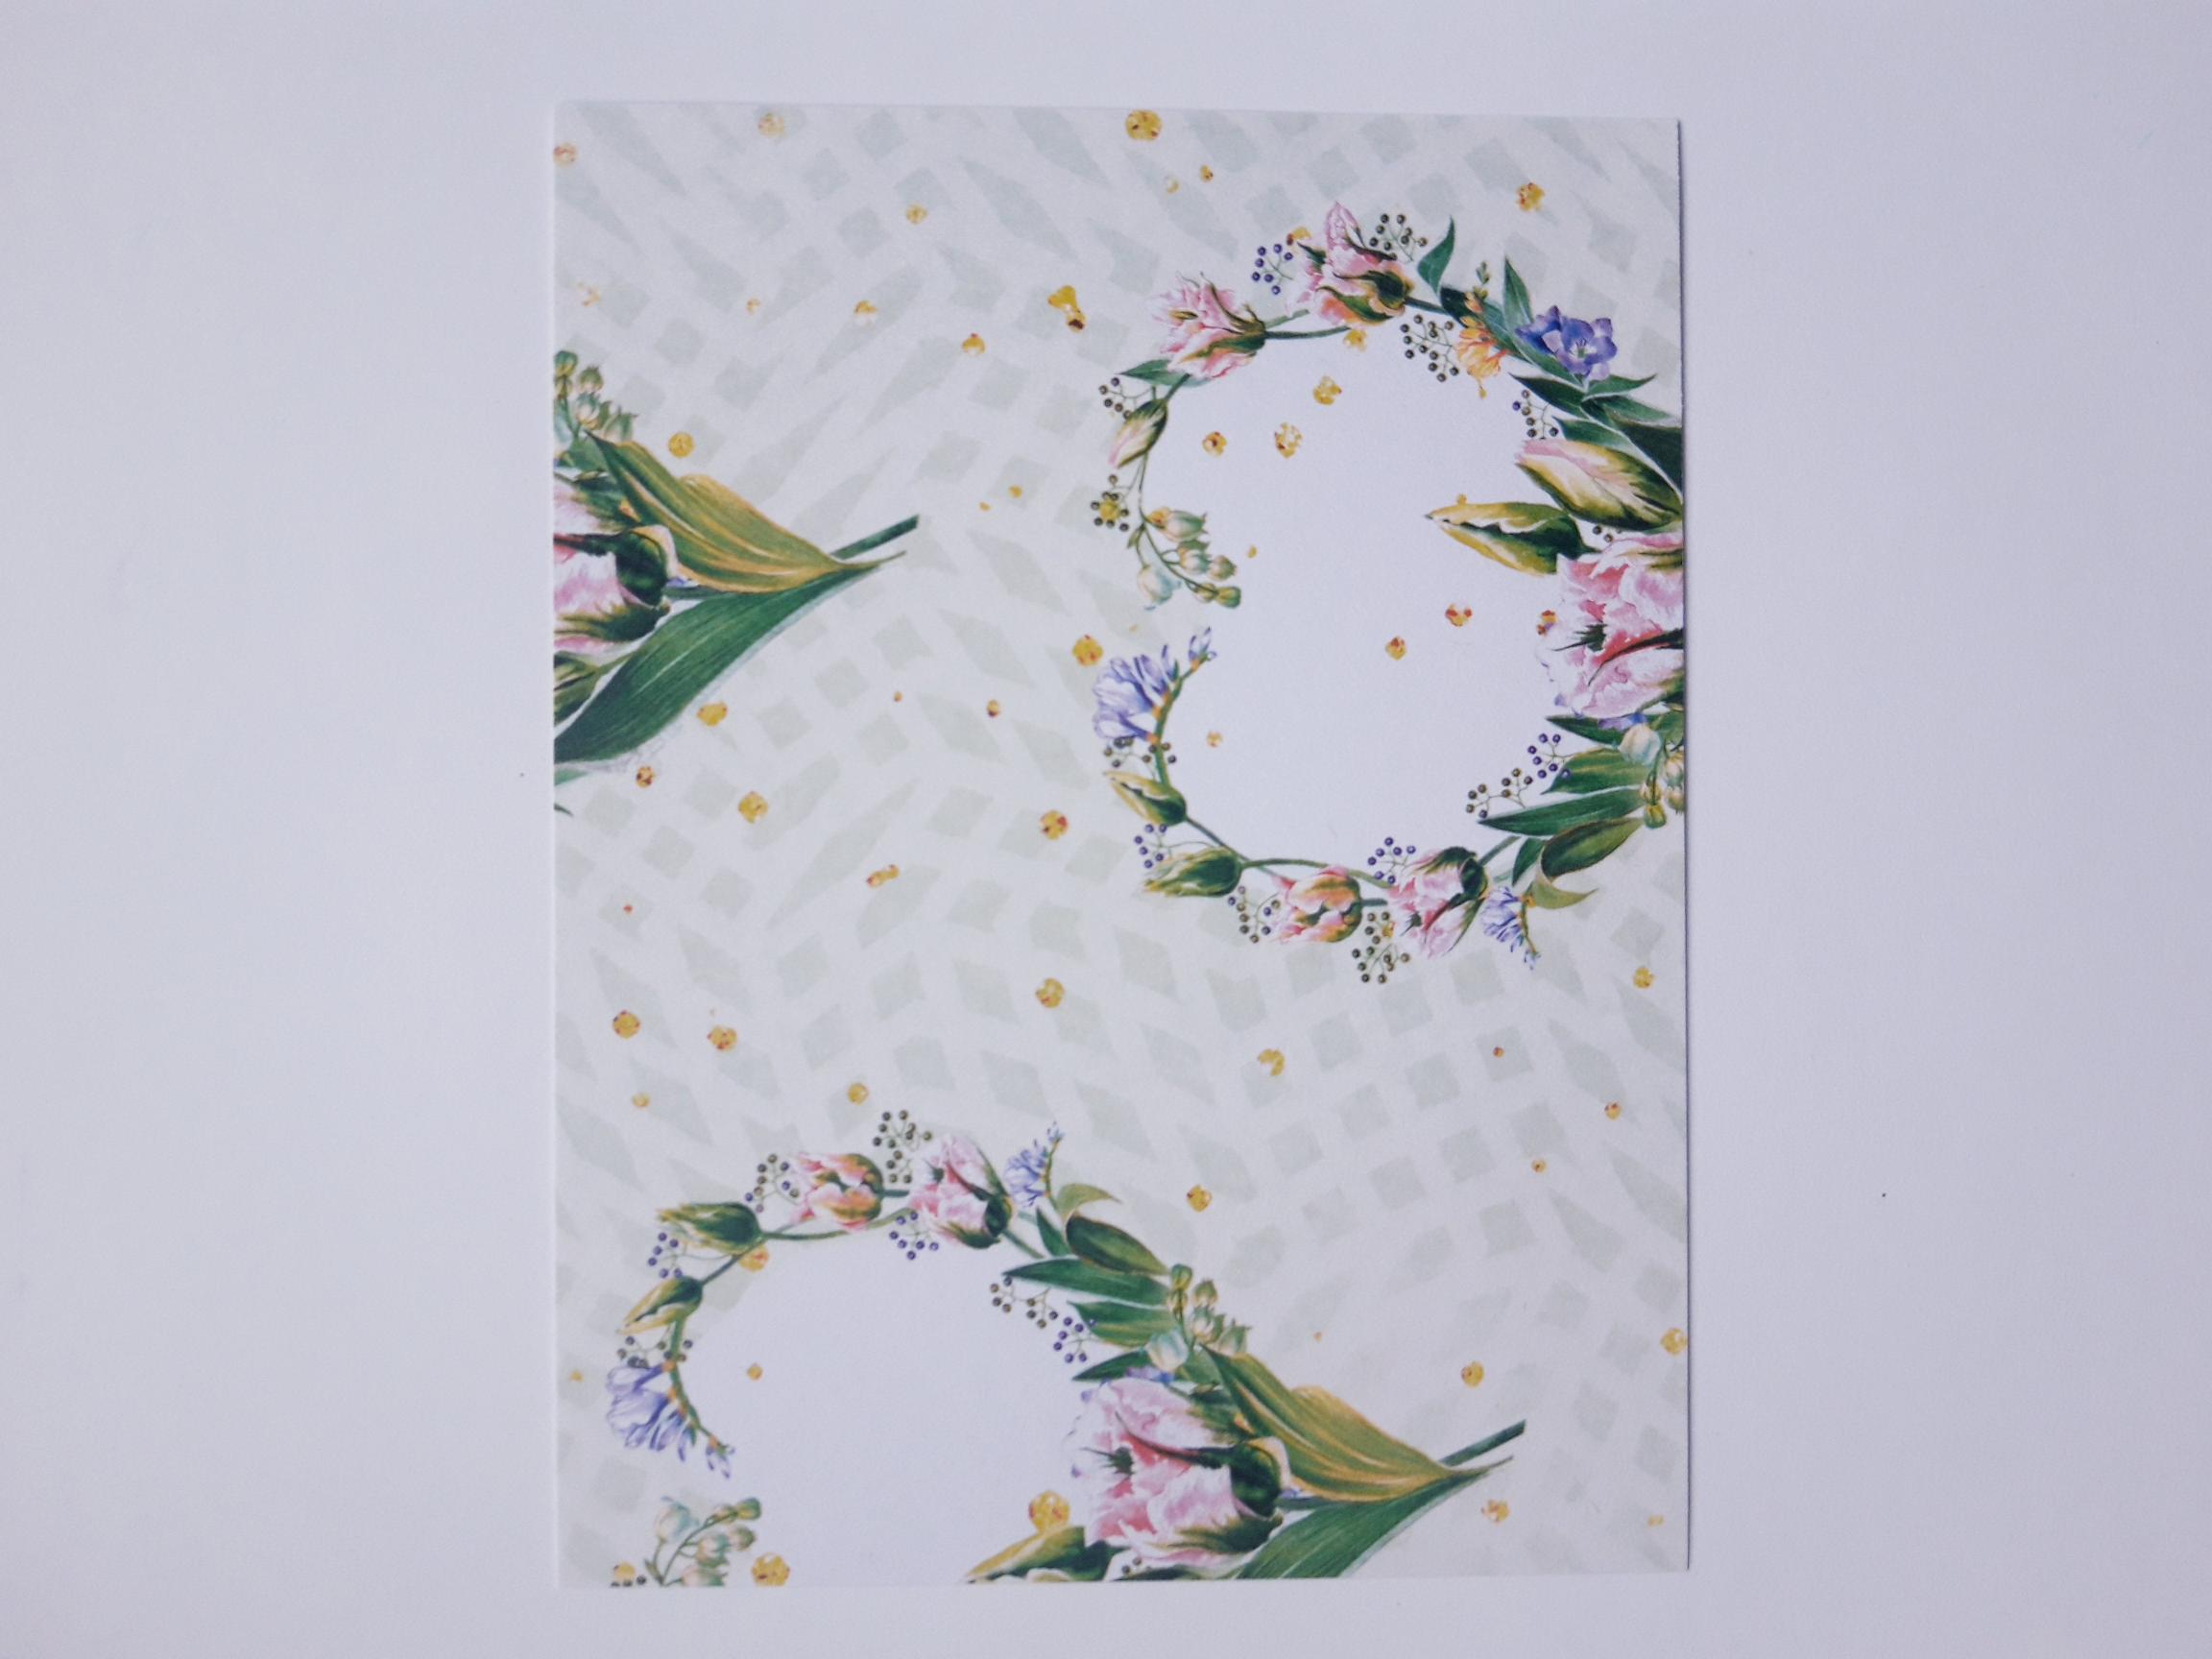
Tulip Charm 12 x 12" paper pad (or you can use any double sided paper pads)
Versafine Ink Pad: Onyx Black
Black pen
Score board
Score tool/bone folder
Scissors
Eureka 101
Paper Trimmer
Perfect Together Glue
Double sided adhesive tape (optional)
[click image to enlarge] 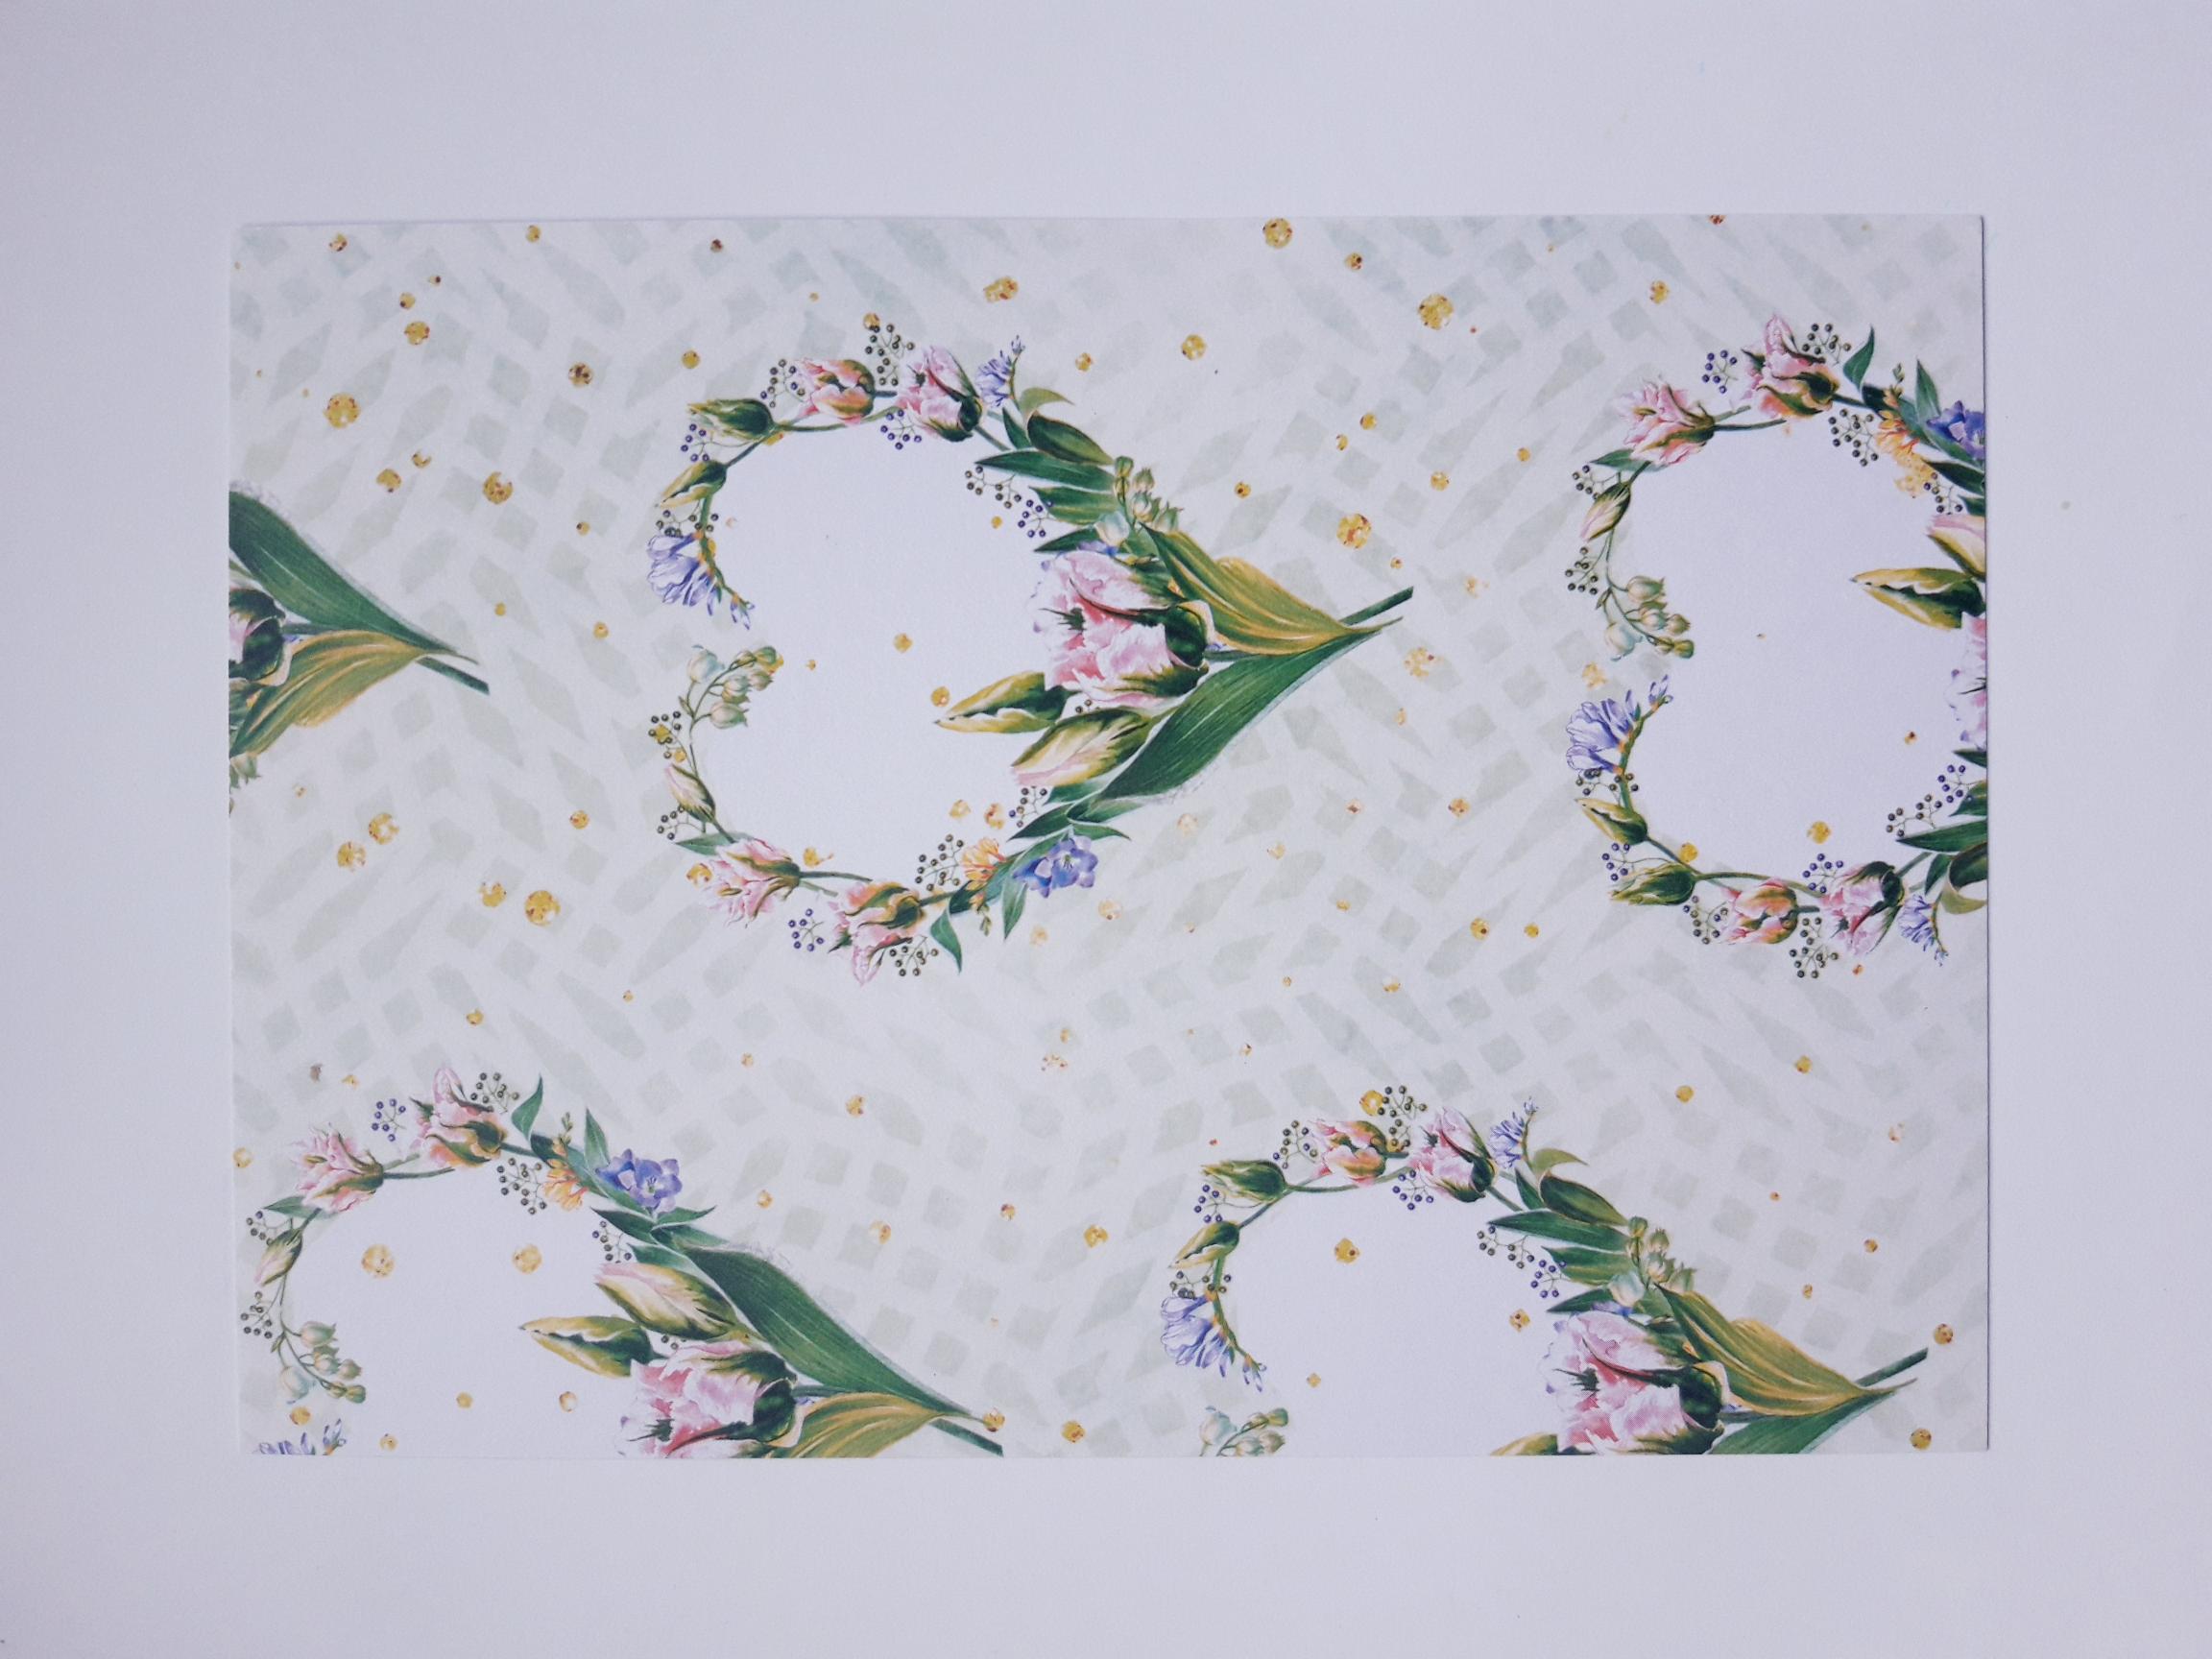
|
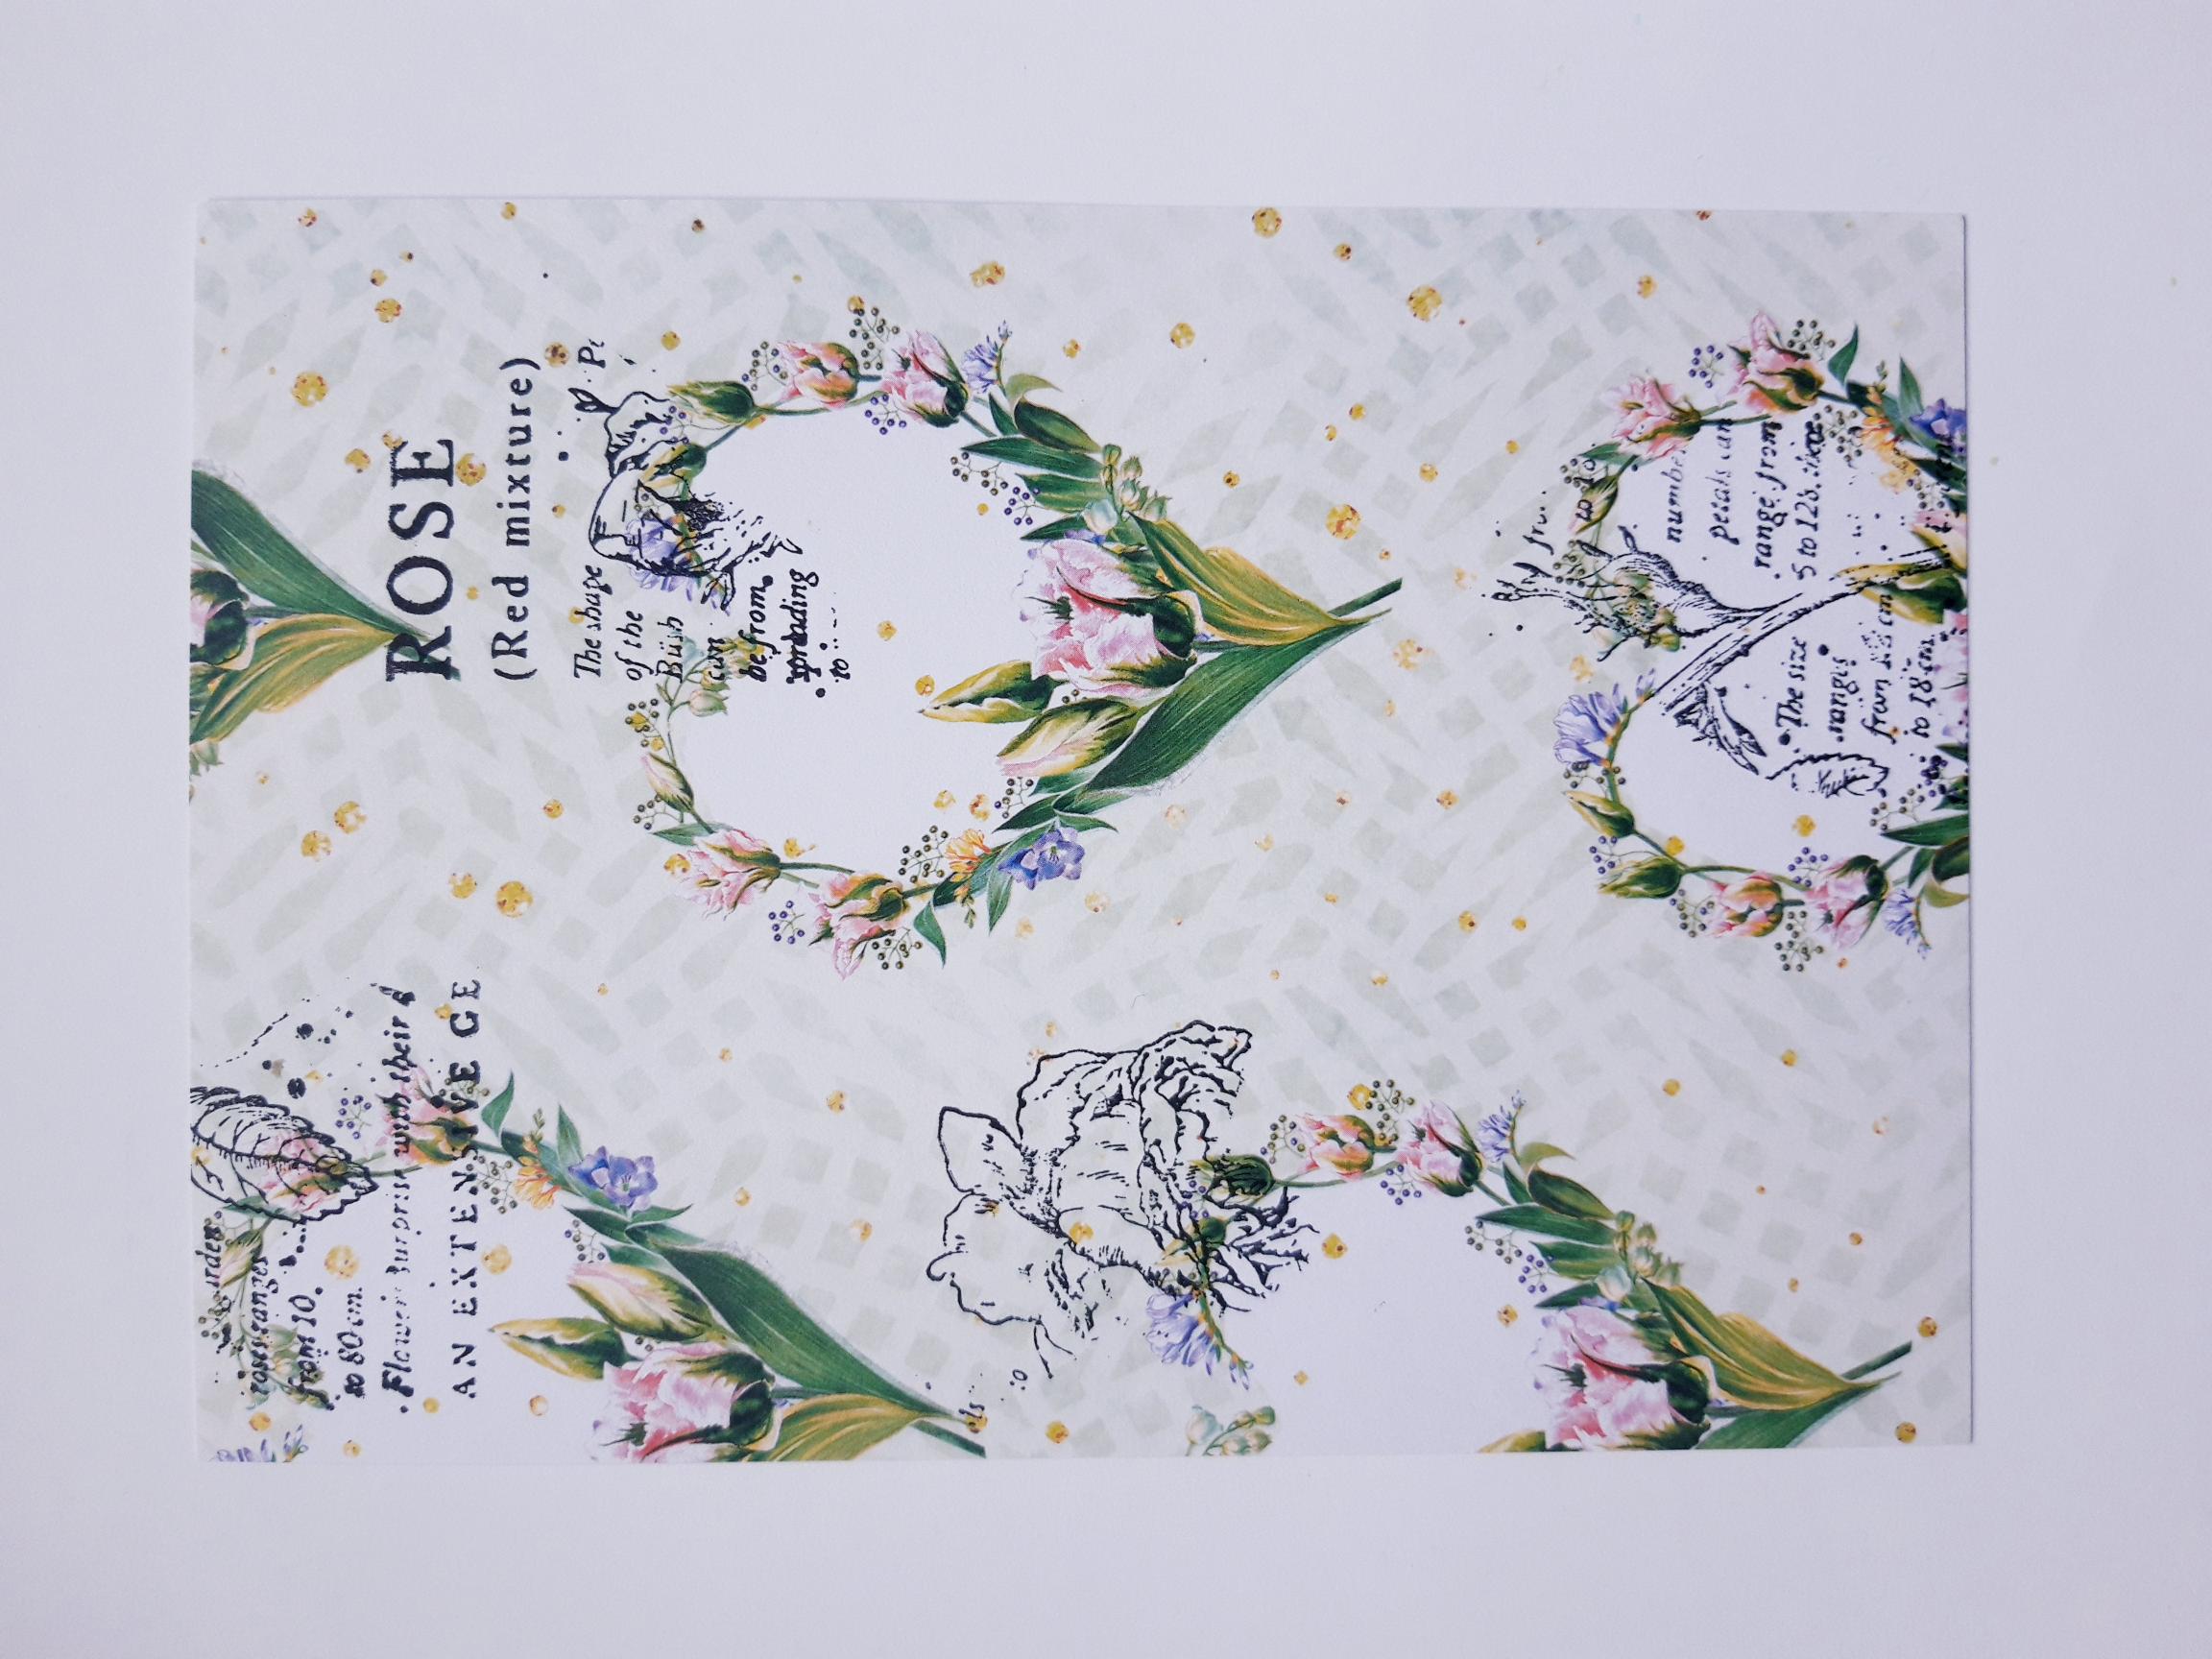
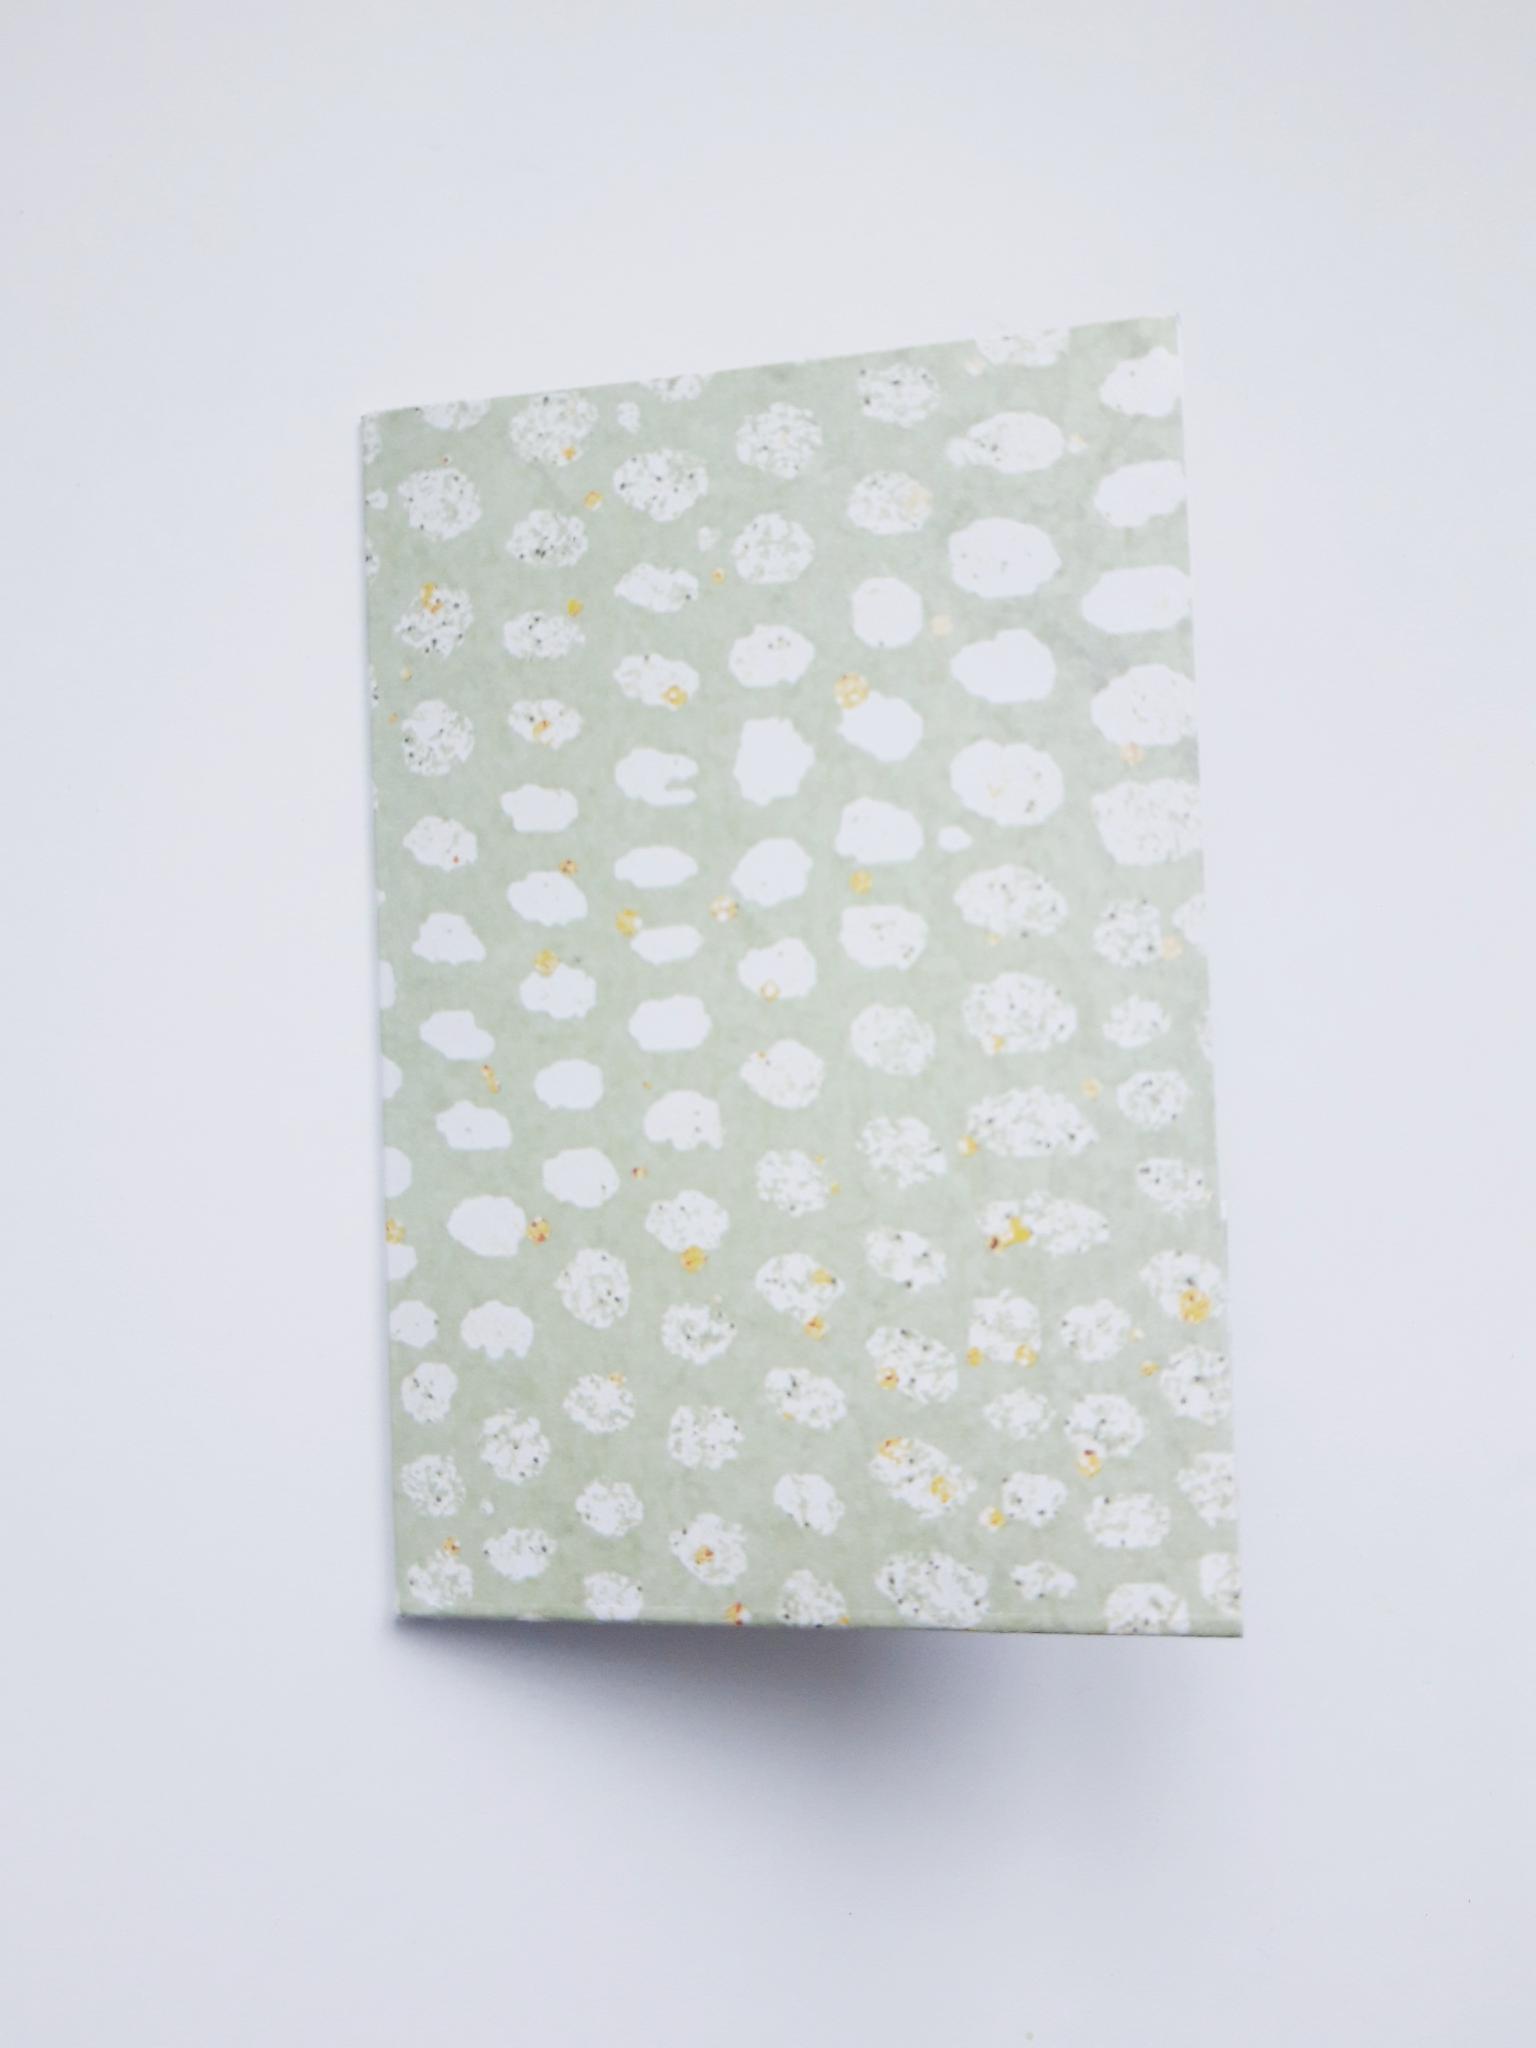
Tear this paper from the Tulip Charm paper pad, and cut to 6 3/4 x 4 3/4". |
|
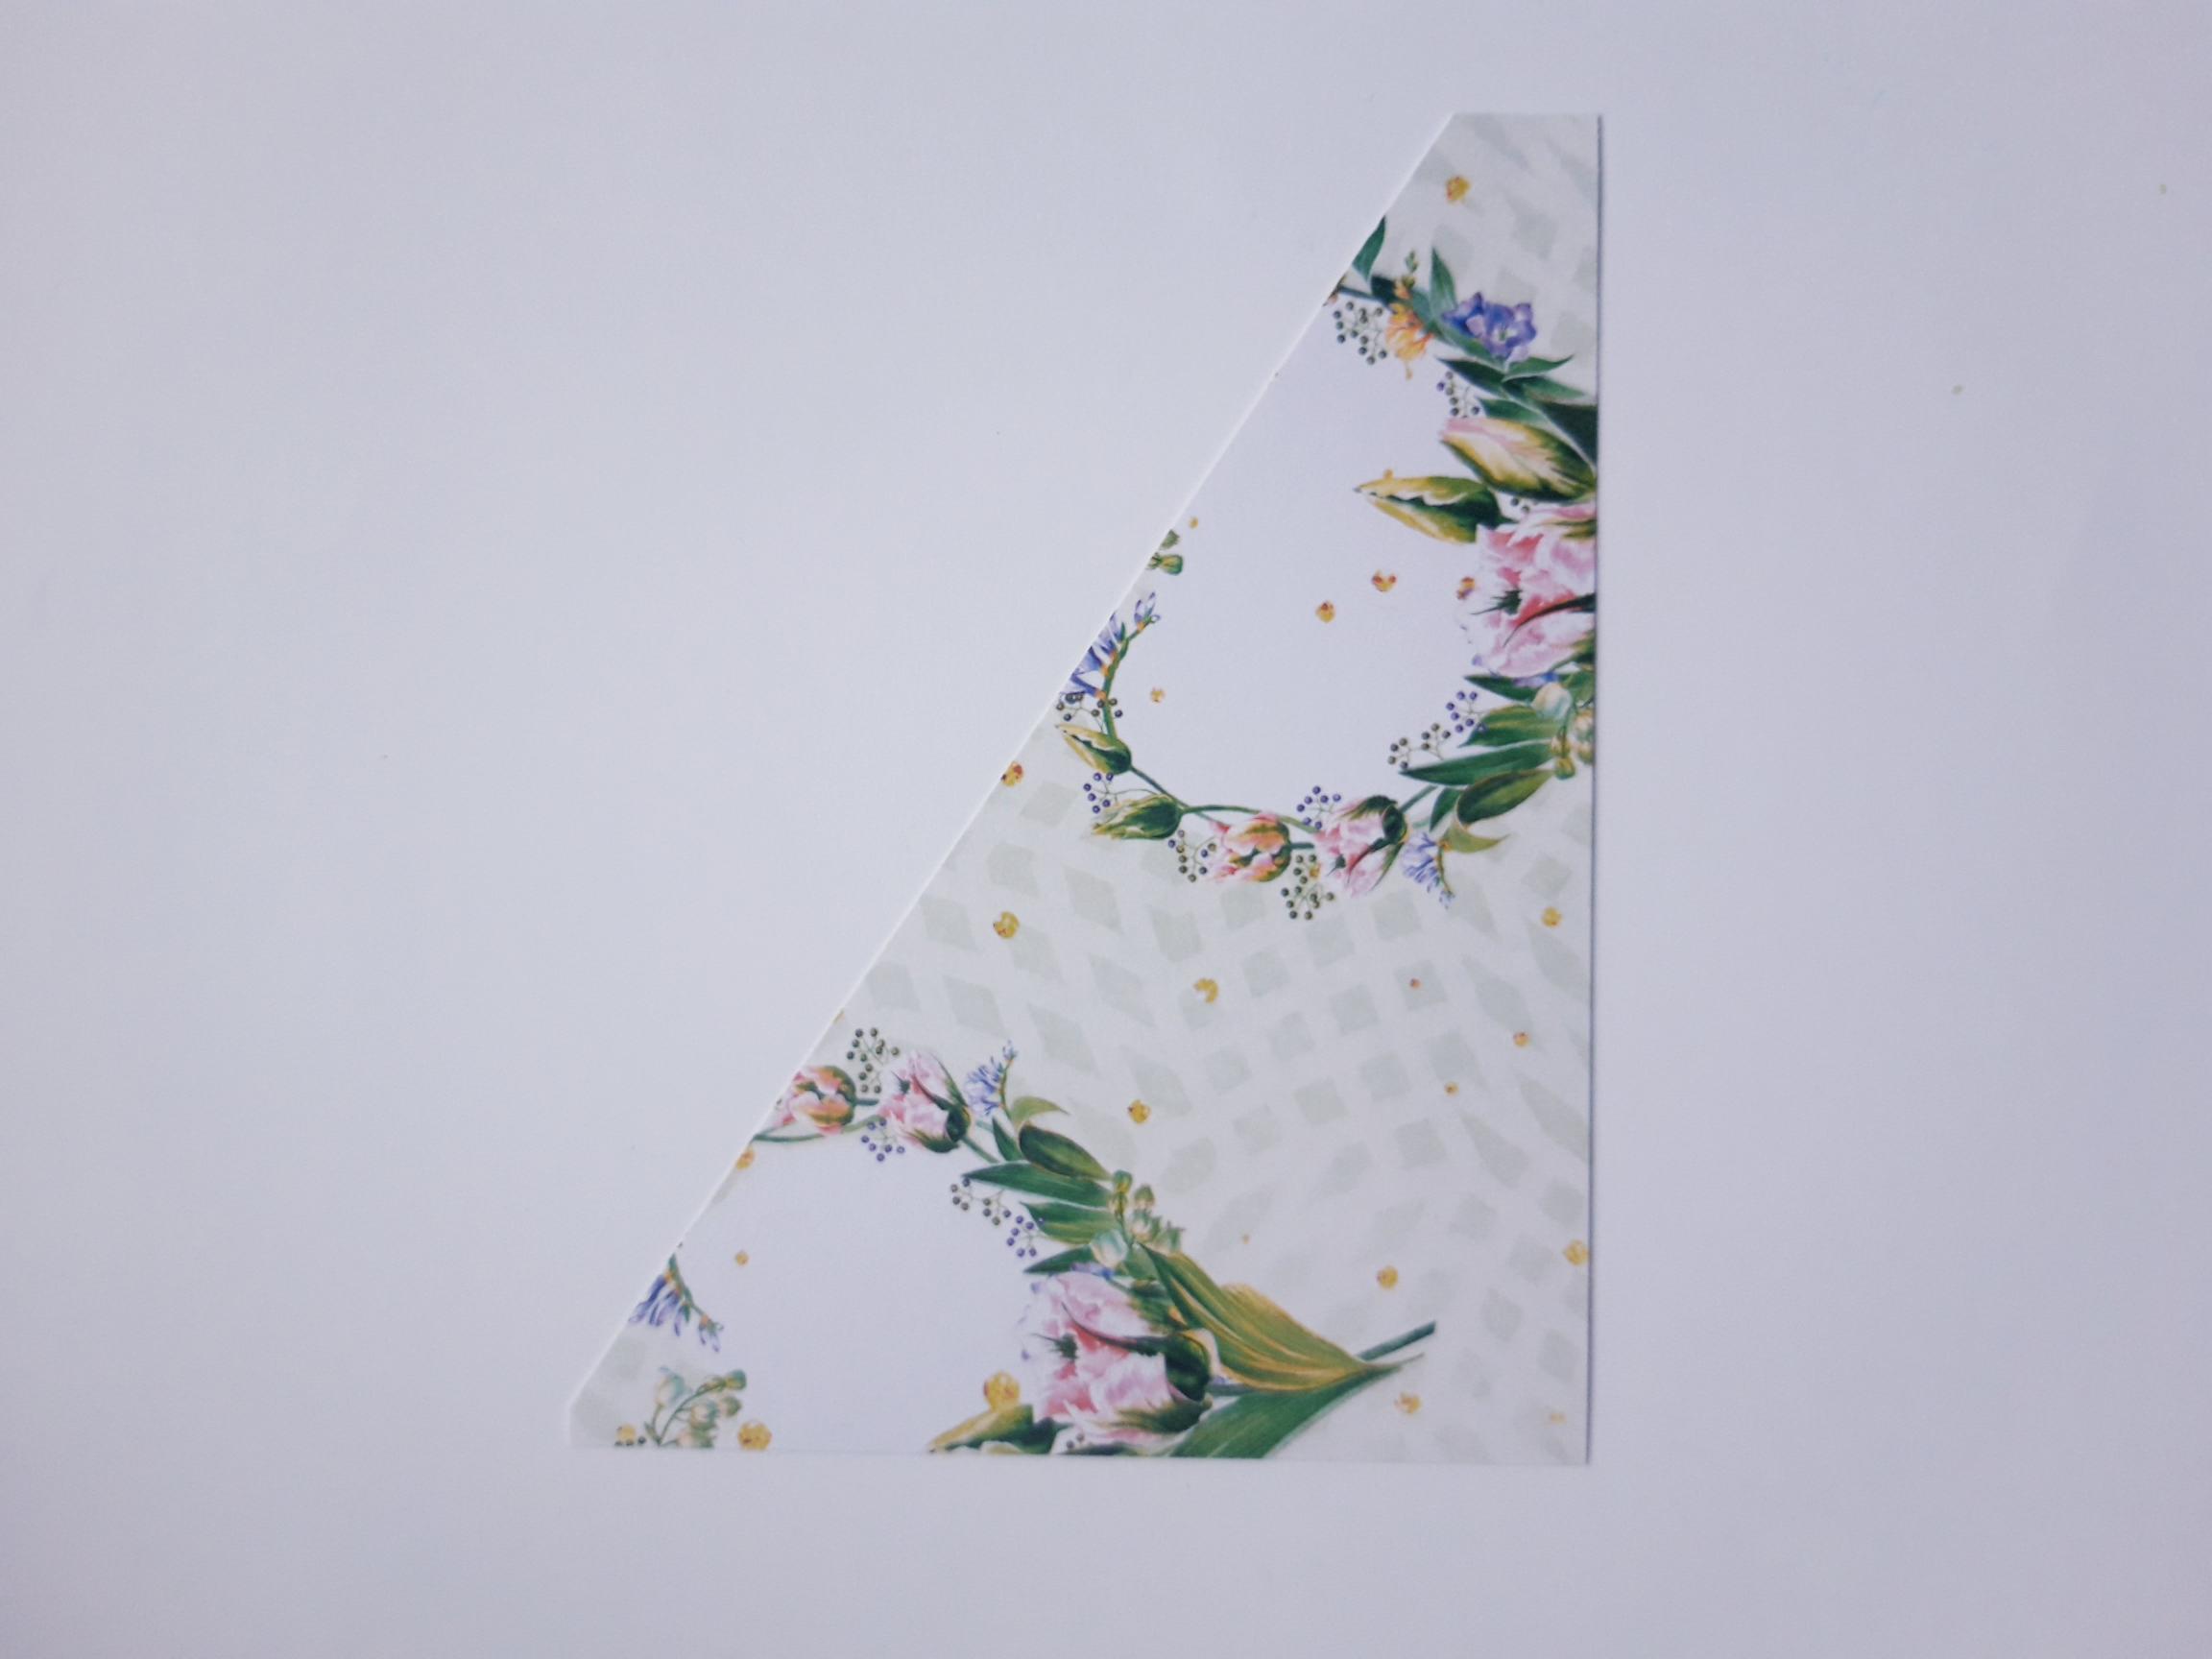
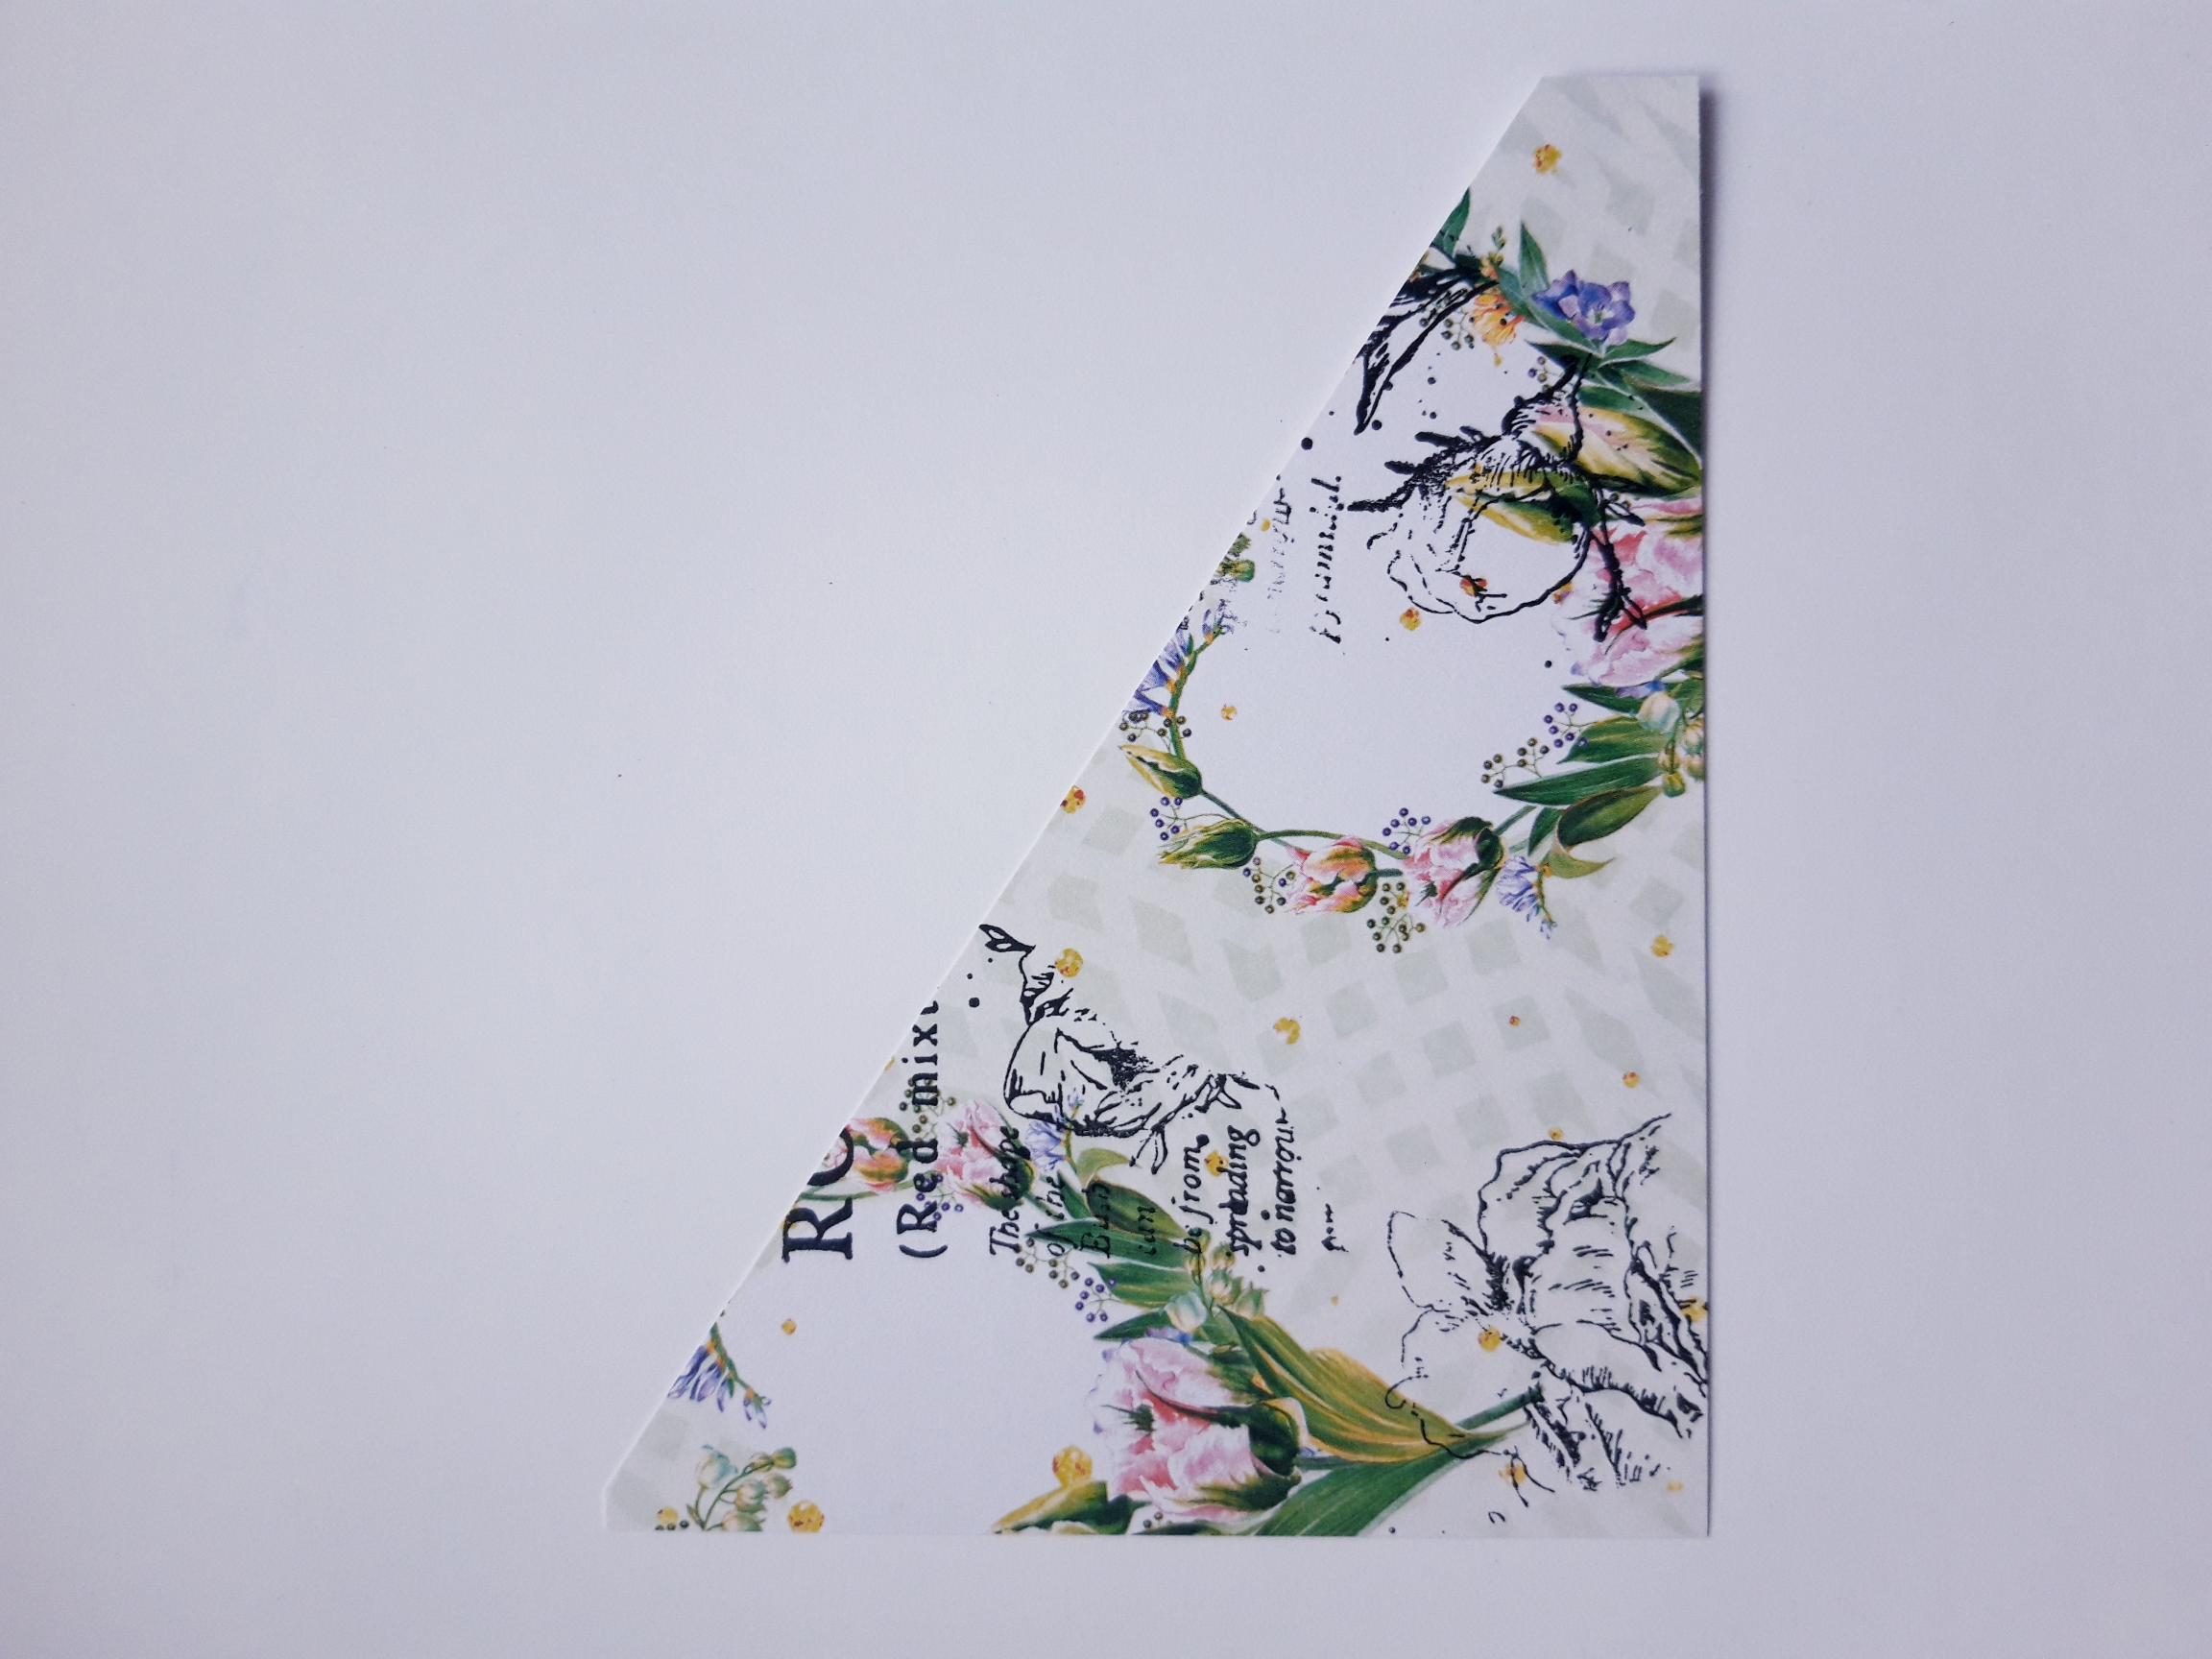
From the leftover paper, cut a piece 3 3/4 x 4 3/4" |
|
Cut this on the diagonal, as shown here. This will be a "pocket". |
|
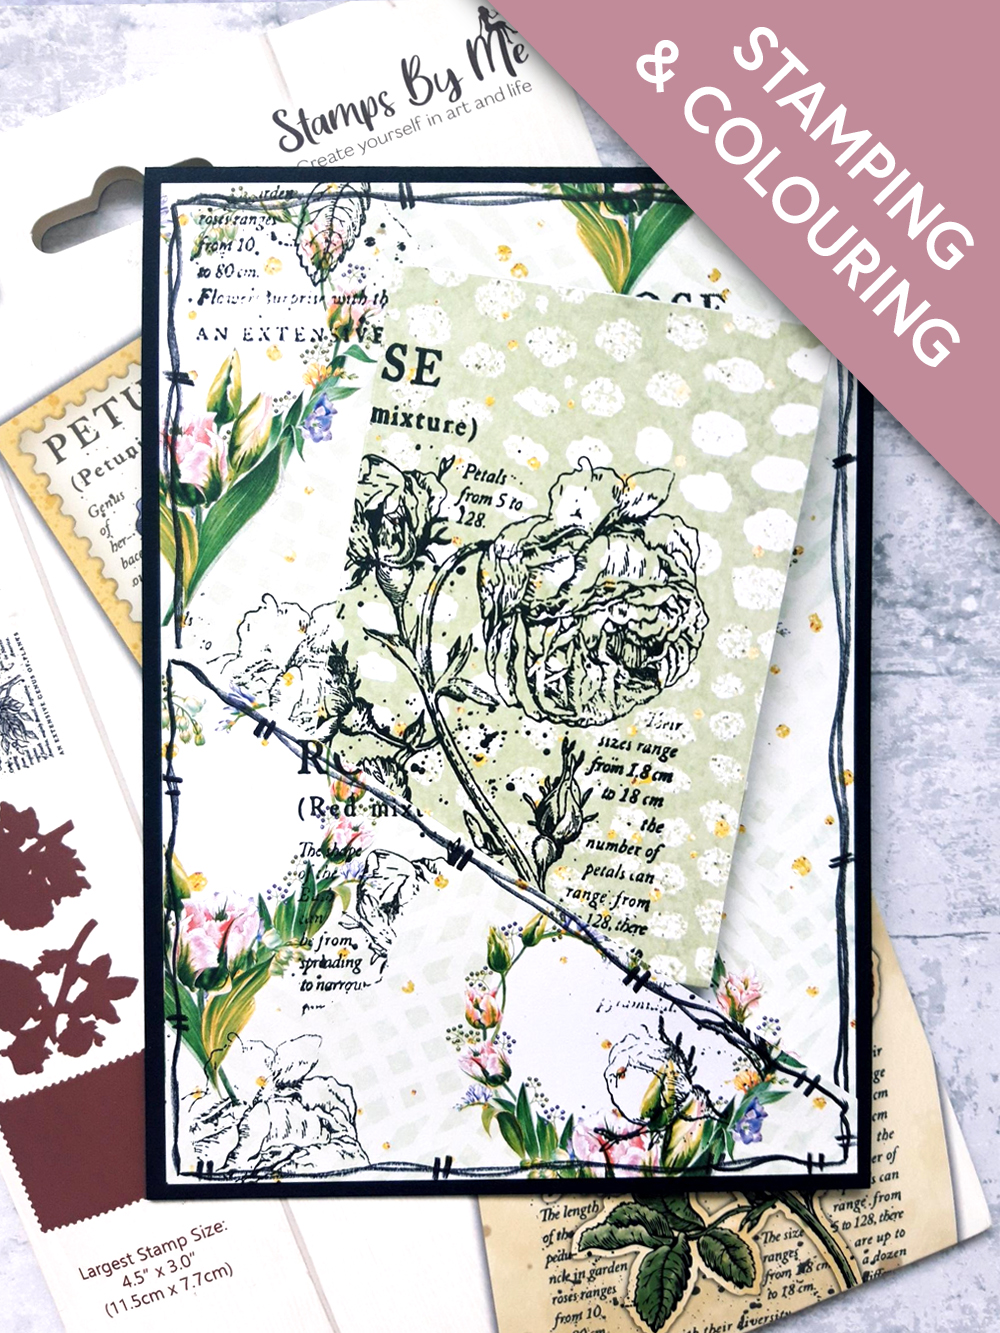
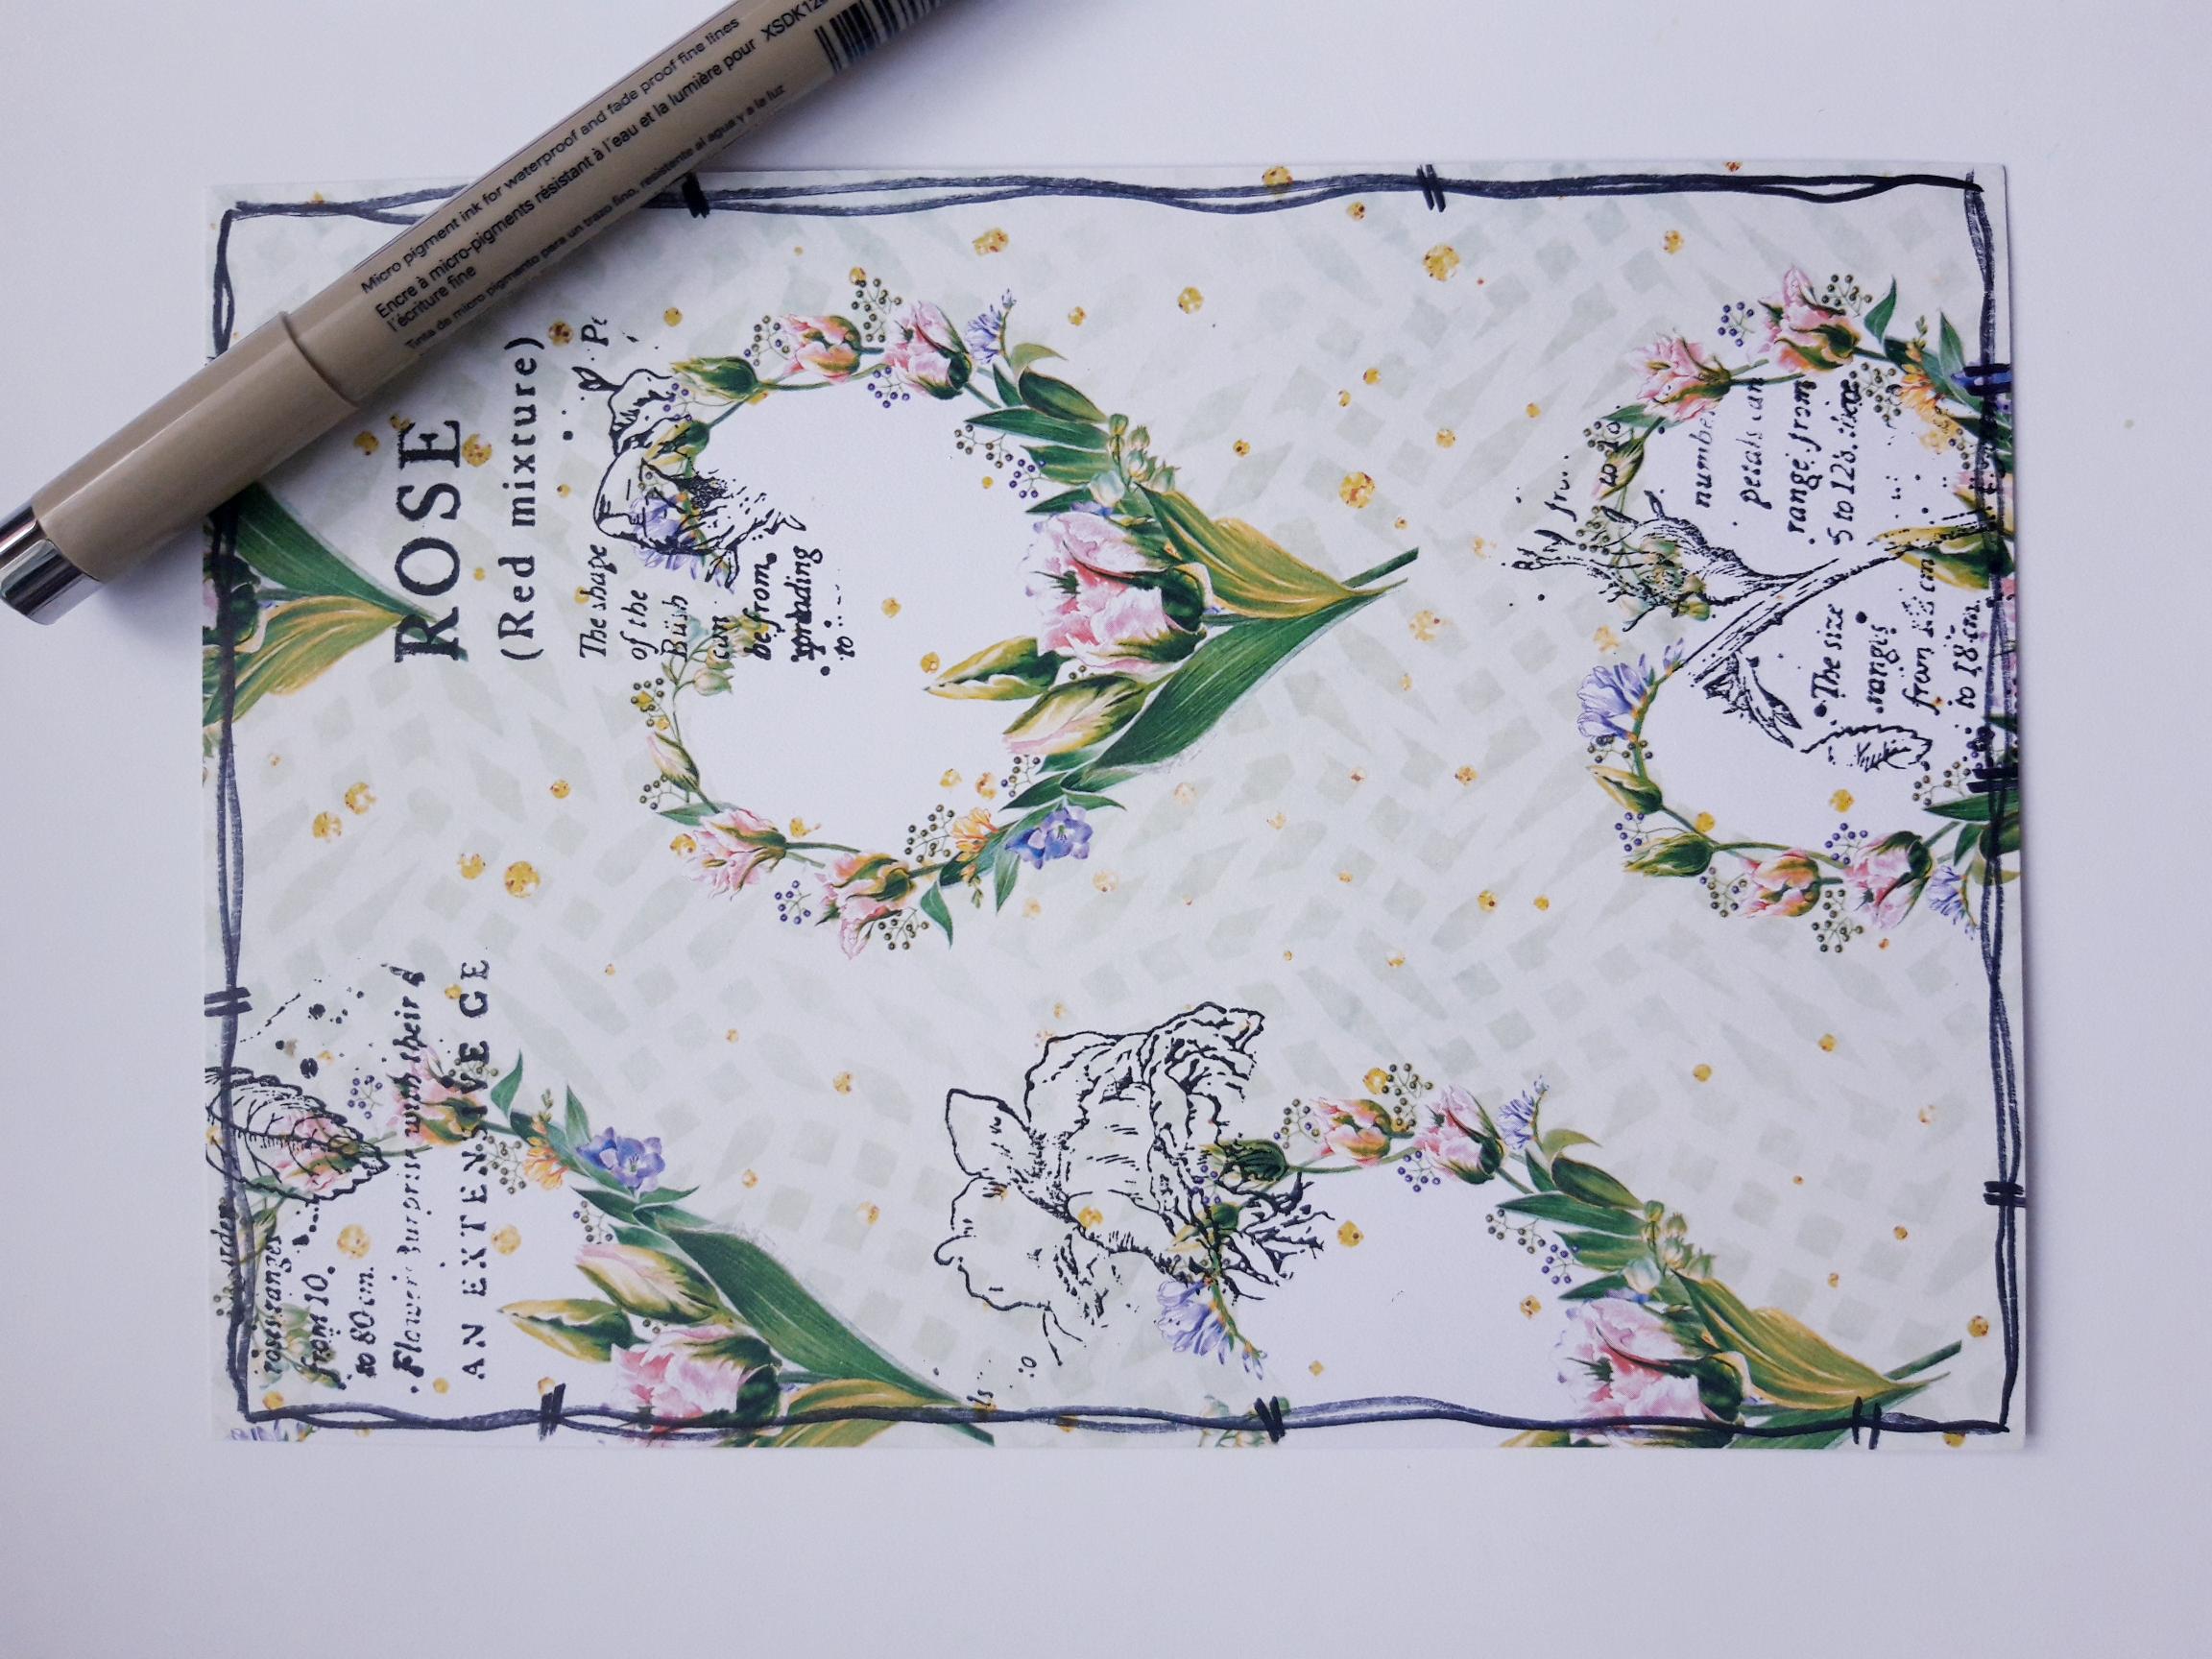
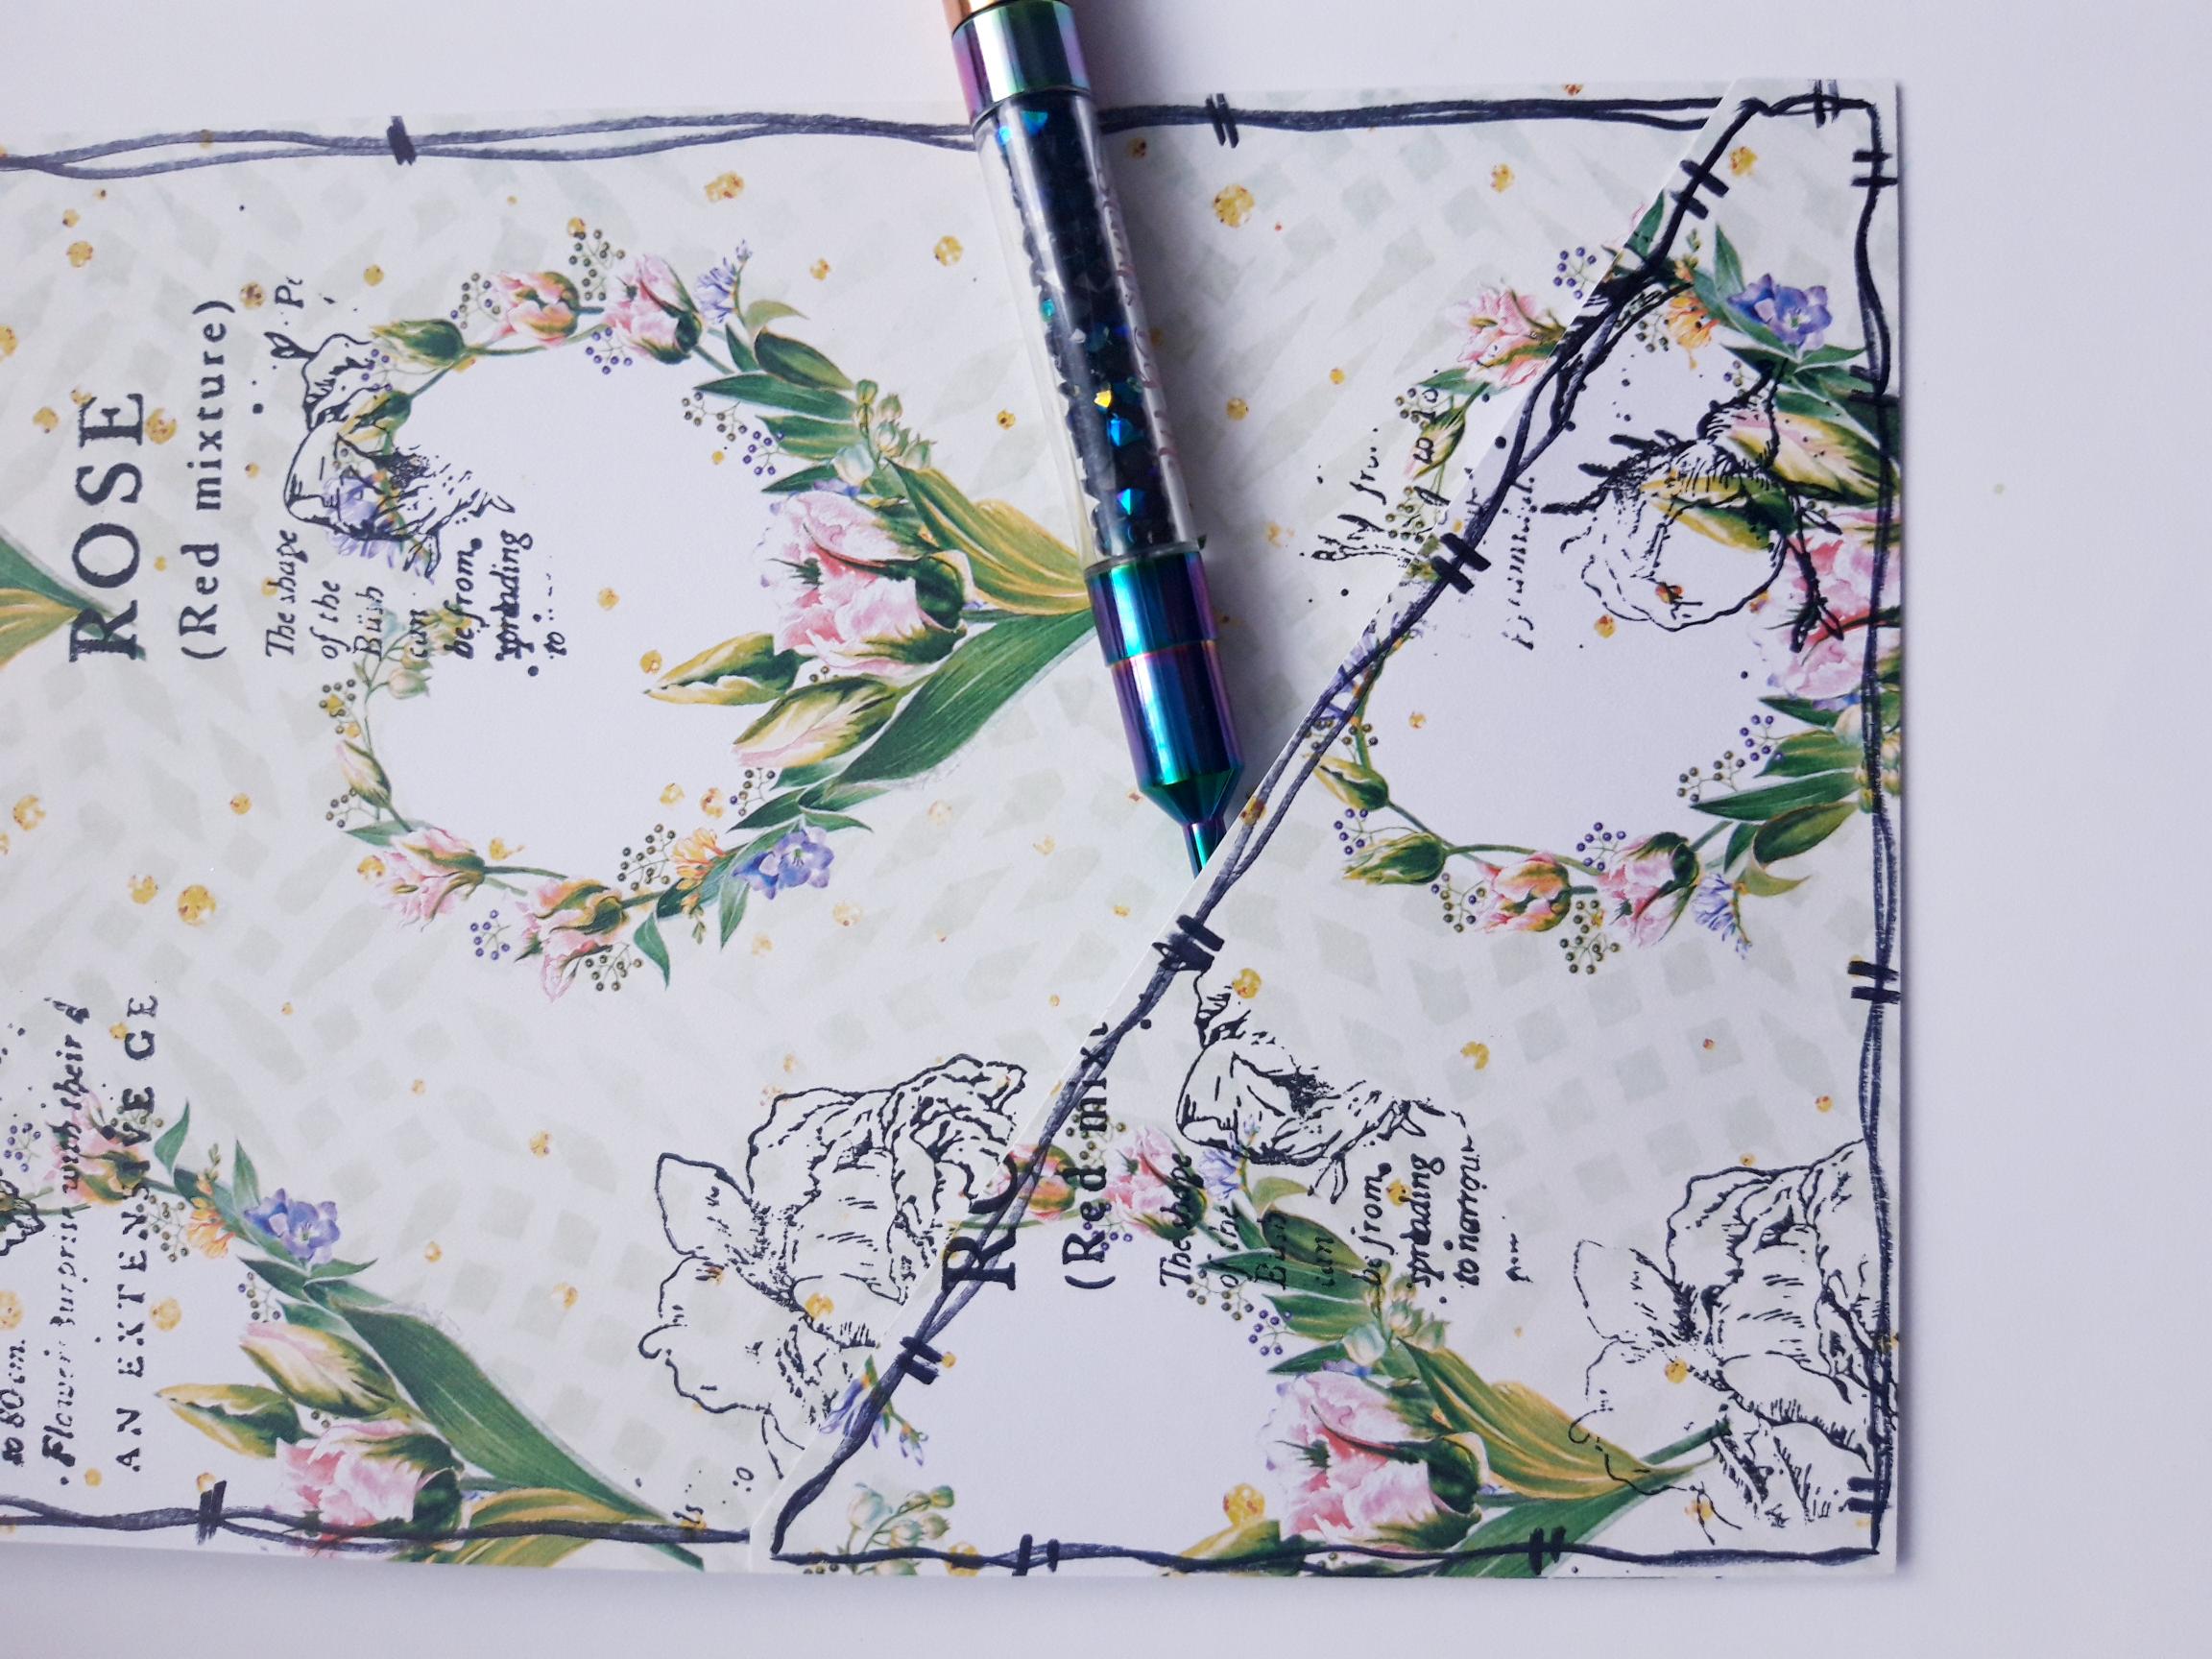
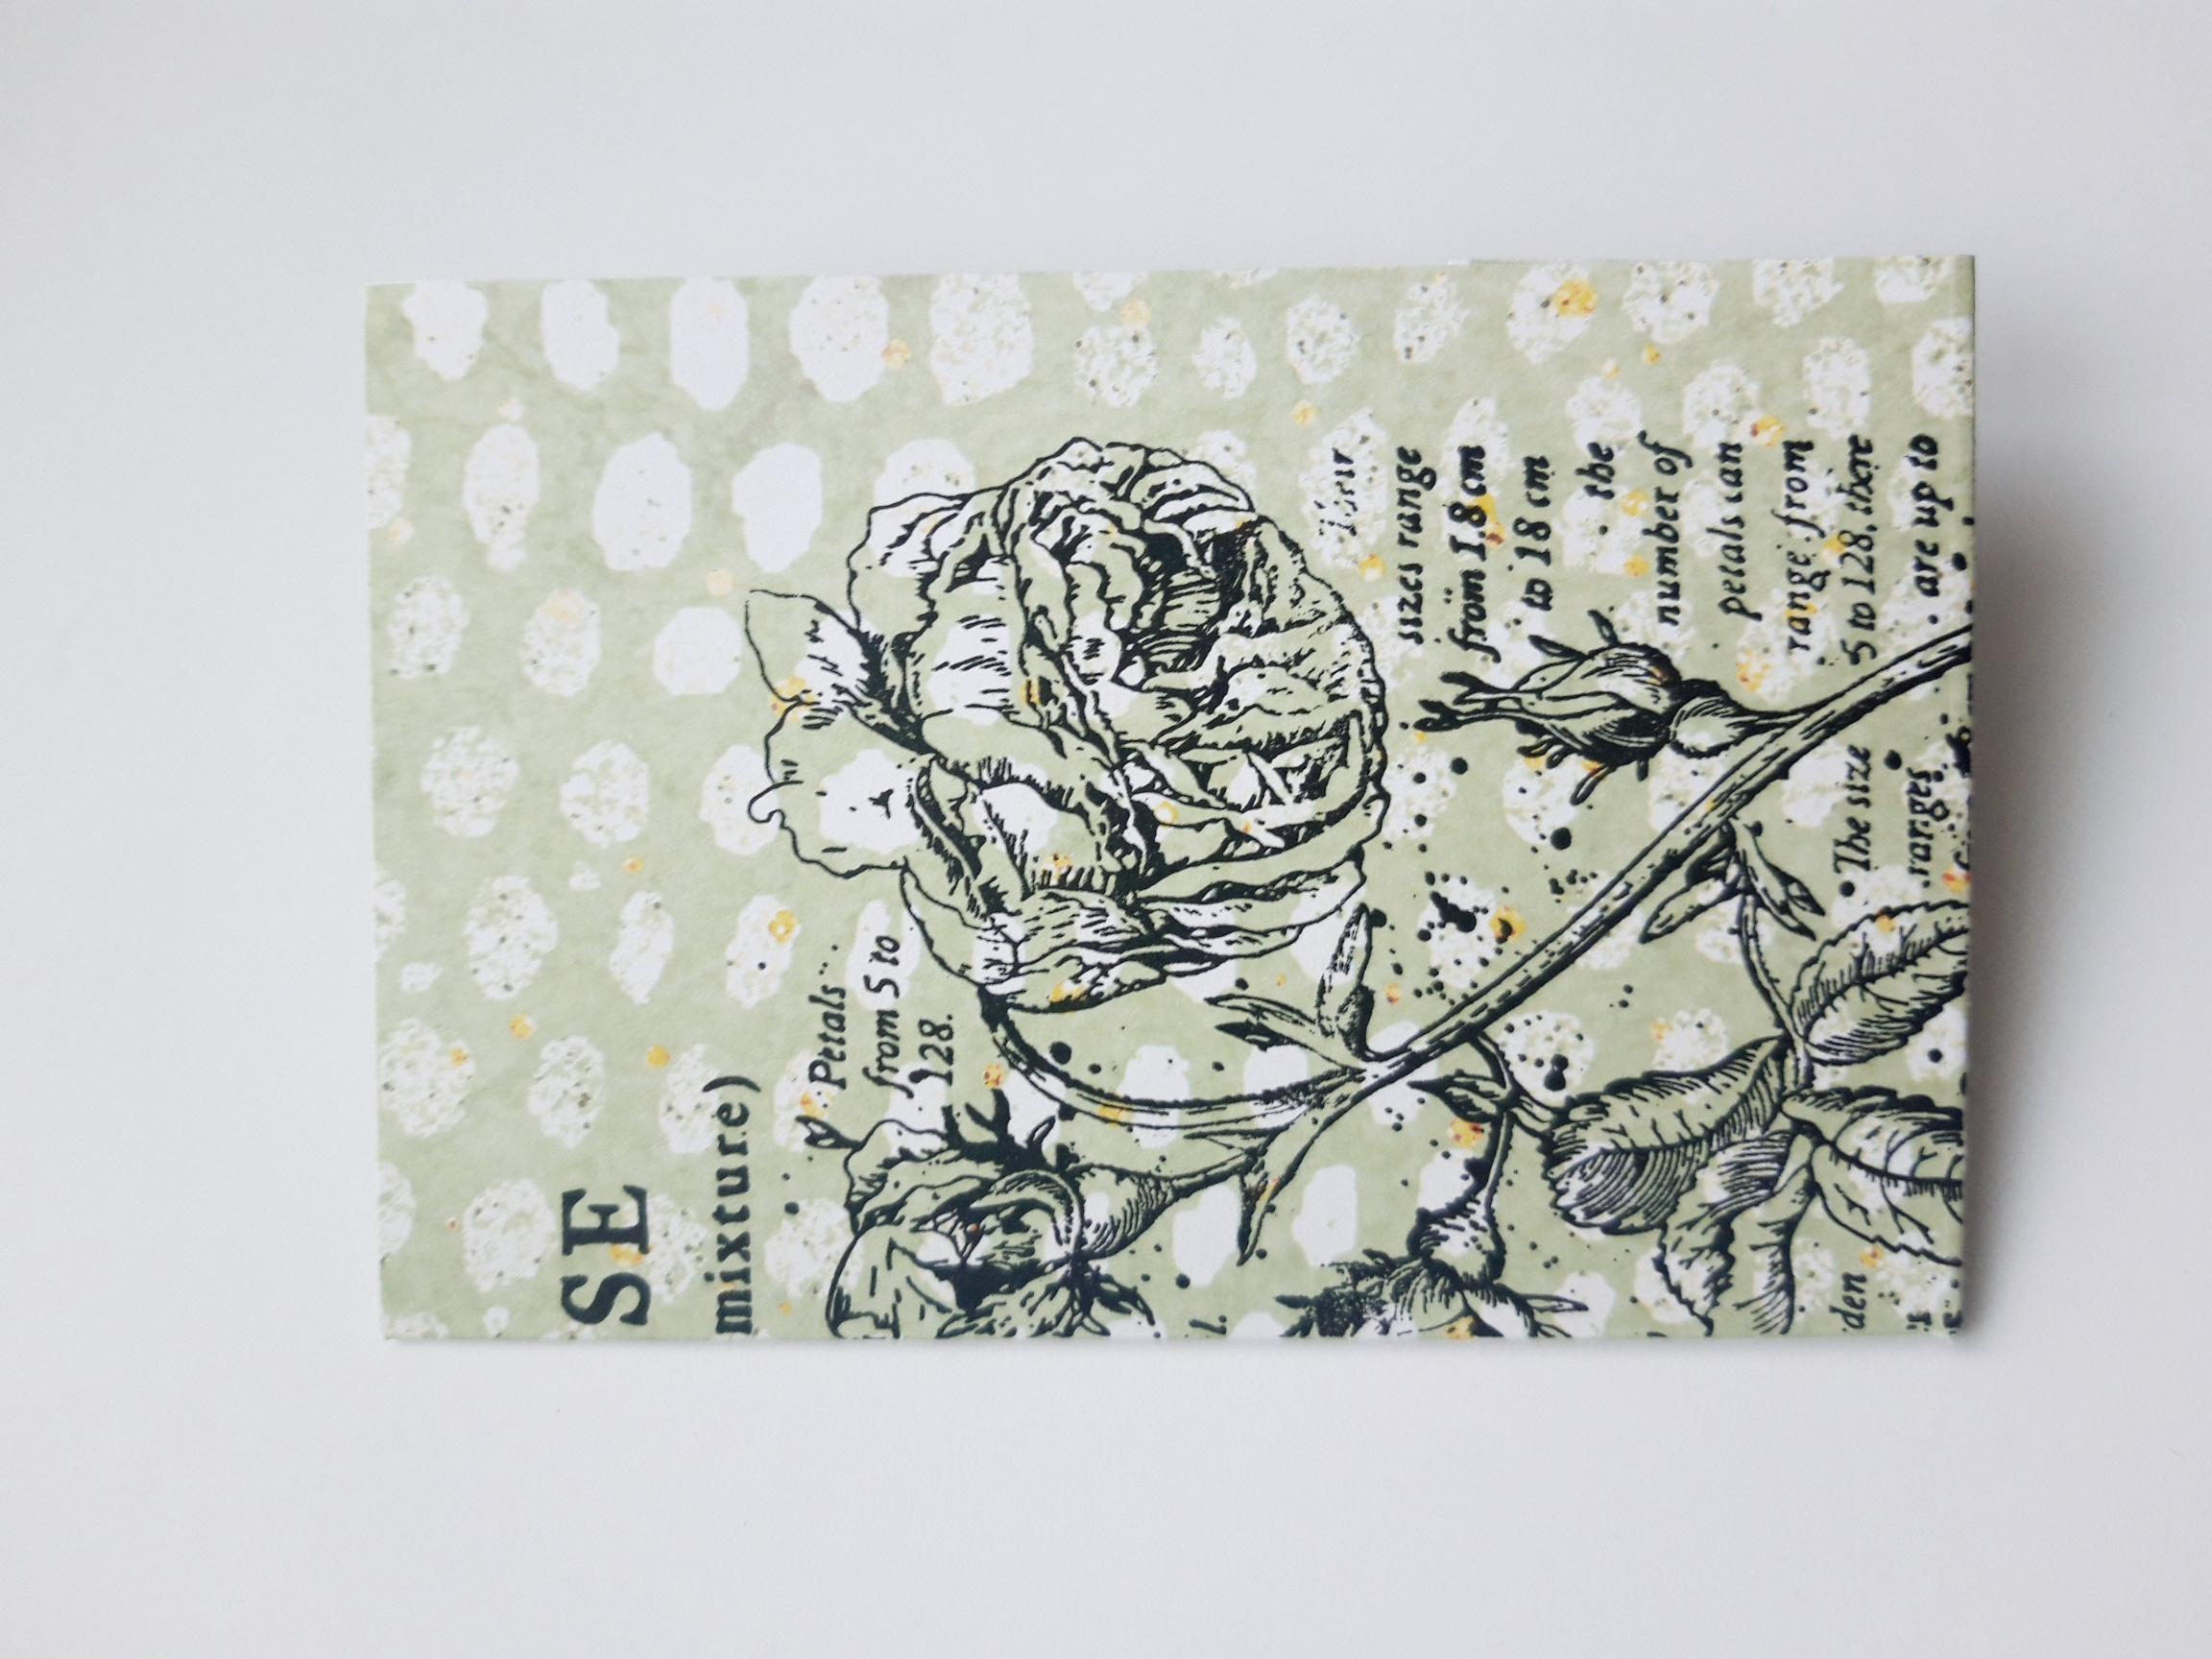
Ink up the Rose stamp, from the Rose & Petunia Stamp And Die Collection, with the Onyx Black Versafine. Stamp it randomly over the patterned paper. The idea is to get a distressed effect, so I held the stamp in my hand and stamped loosely on to the paper, ensuring I also stamped off the edges. |
|
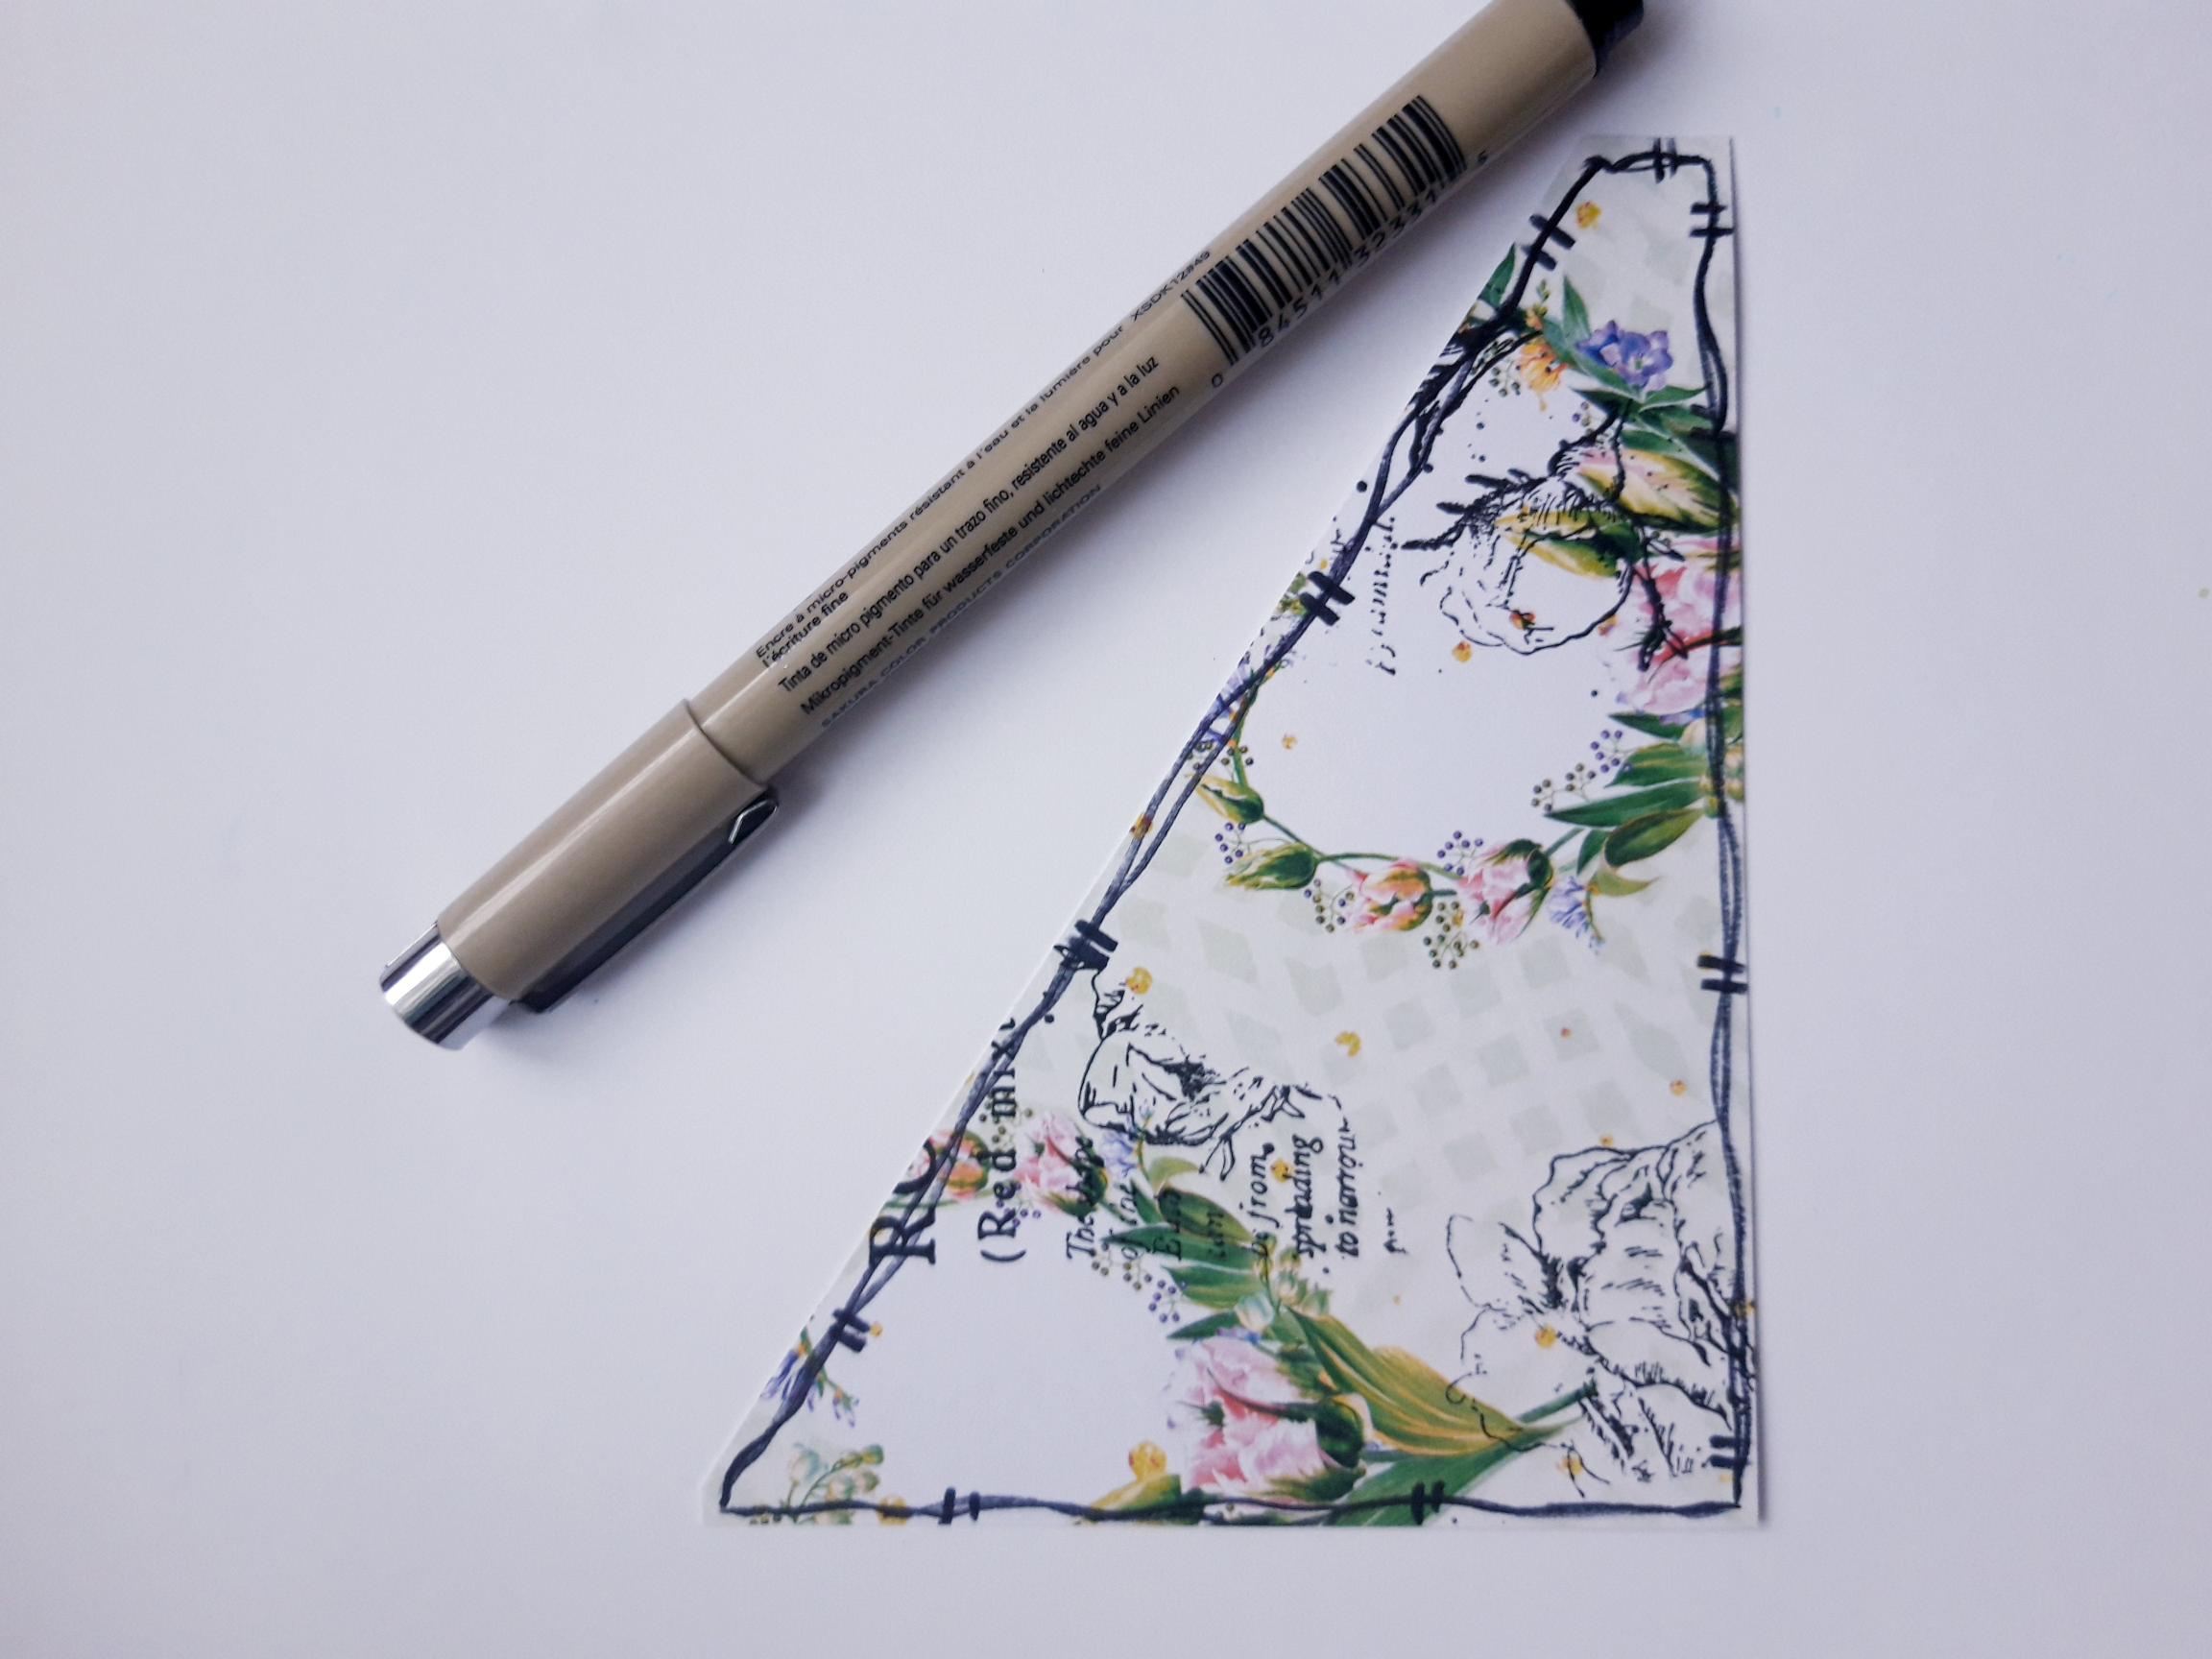
Repeat the previous step, on to the diagonal piece of patterned paper. |
|
Use a black pen to draw a decorative, wiggly frame, around the patterned paper. |
|
Draw the same decorative, wiggly frame, around your diagonally cut paper. |

|
Apply double sided adhesive tape, or wet glue, down the side, and along the bottom, of the diagonally cut paper. |
|
Adhere your "pocket" in place, on the patterned paper, so the top edge of the pocket is open (as shown here with my pokey tool placed in the top, for visual reference only ). |

|
Adhere this on to the front of your black, top folding card blank, and set to one side. |
|
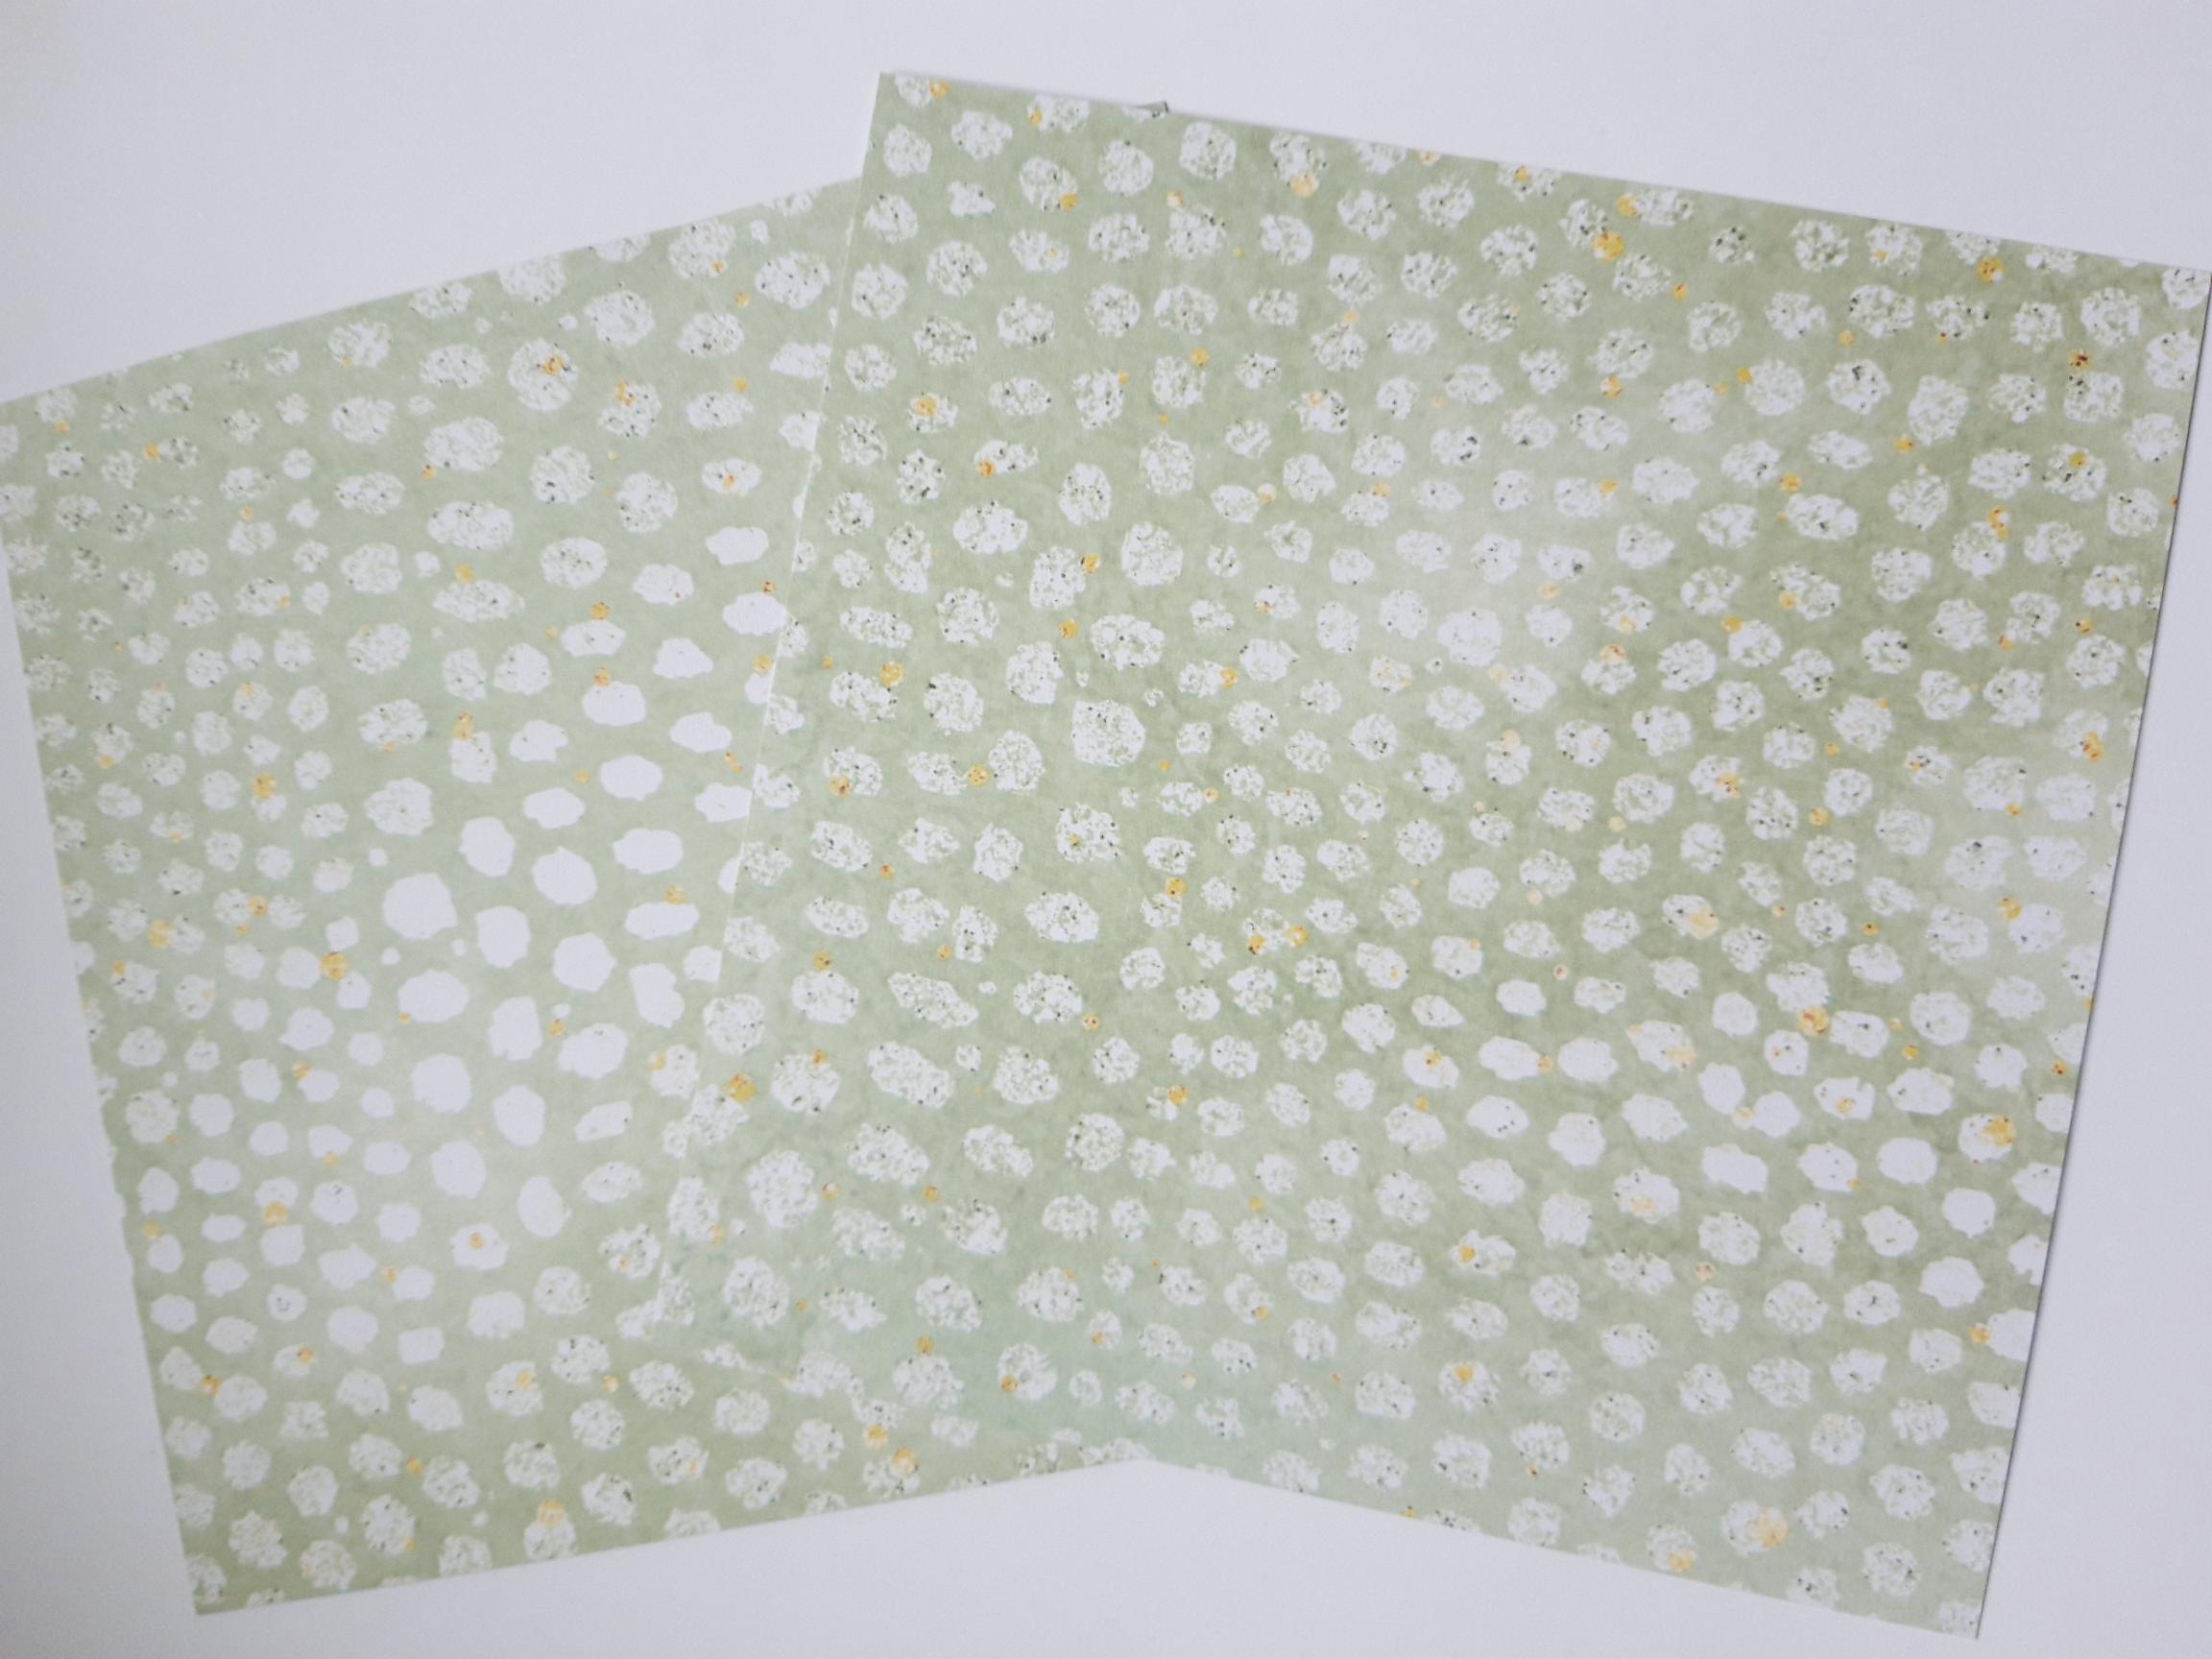
Tear this sheet of paper from the Tulip Charm paper pad. Cut TWO pieces, both measuring 6 x 6". |

|
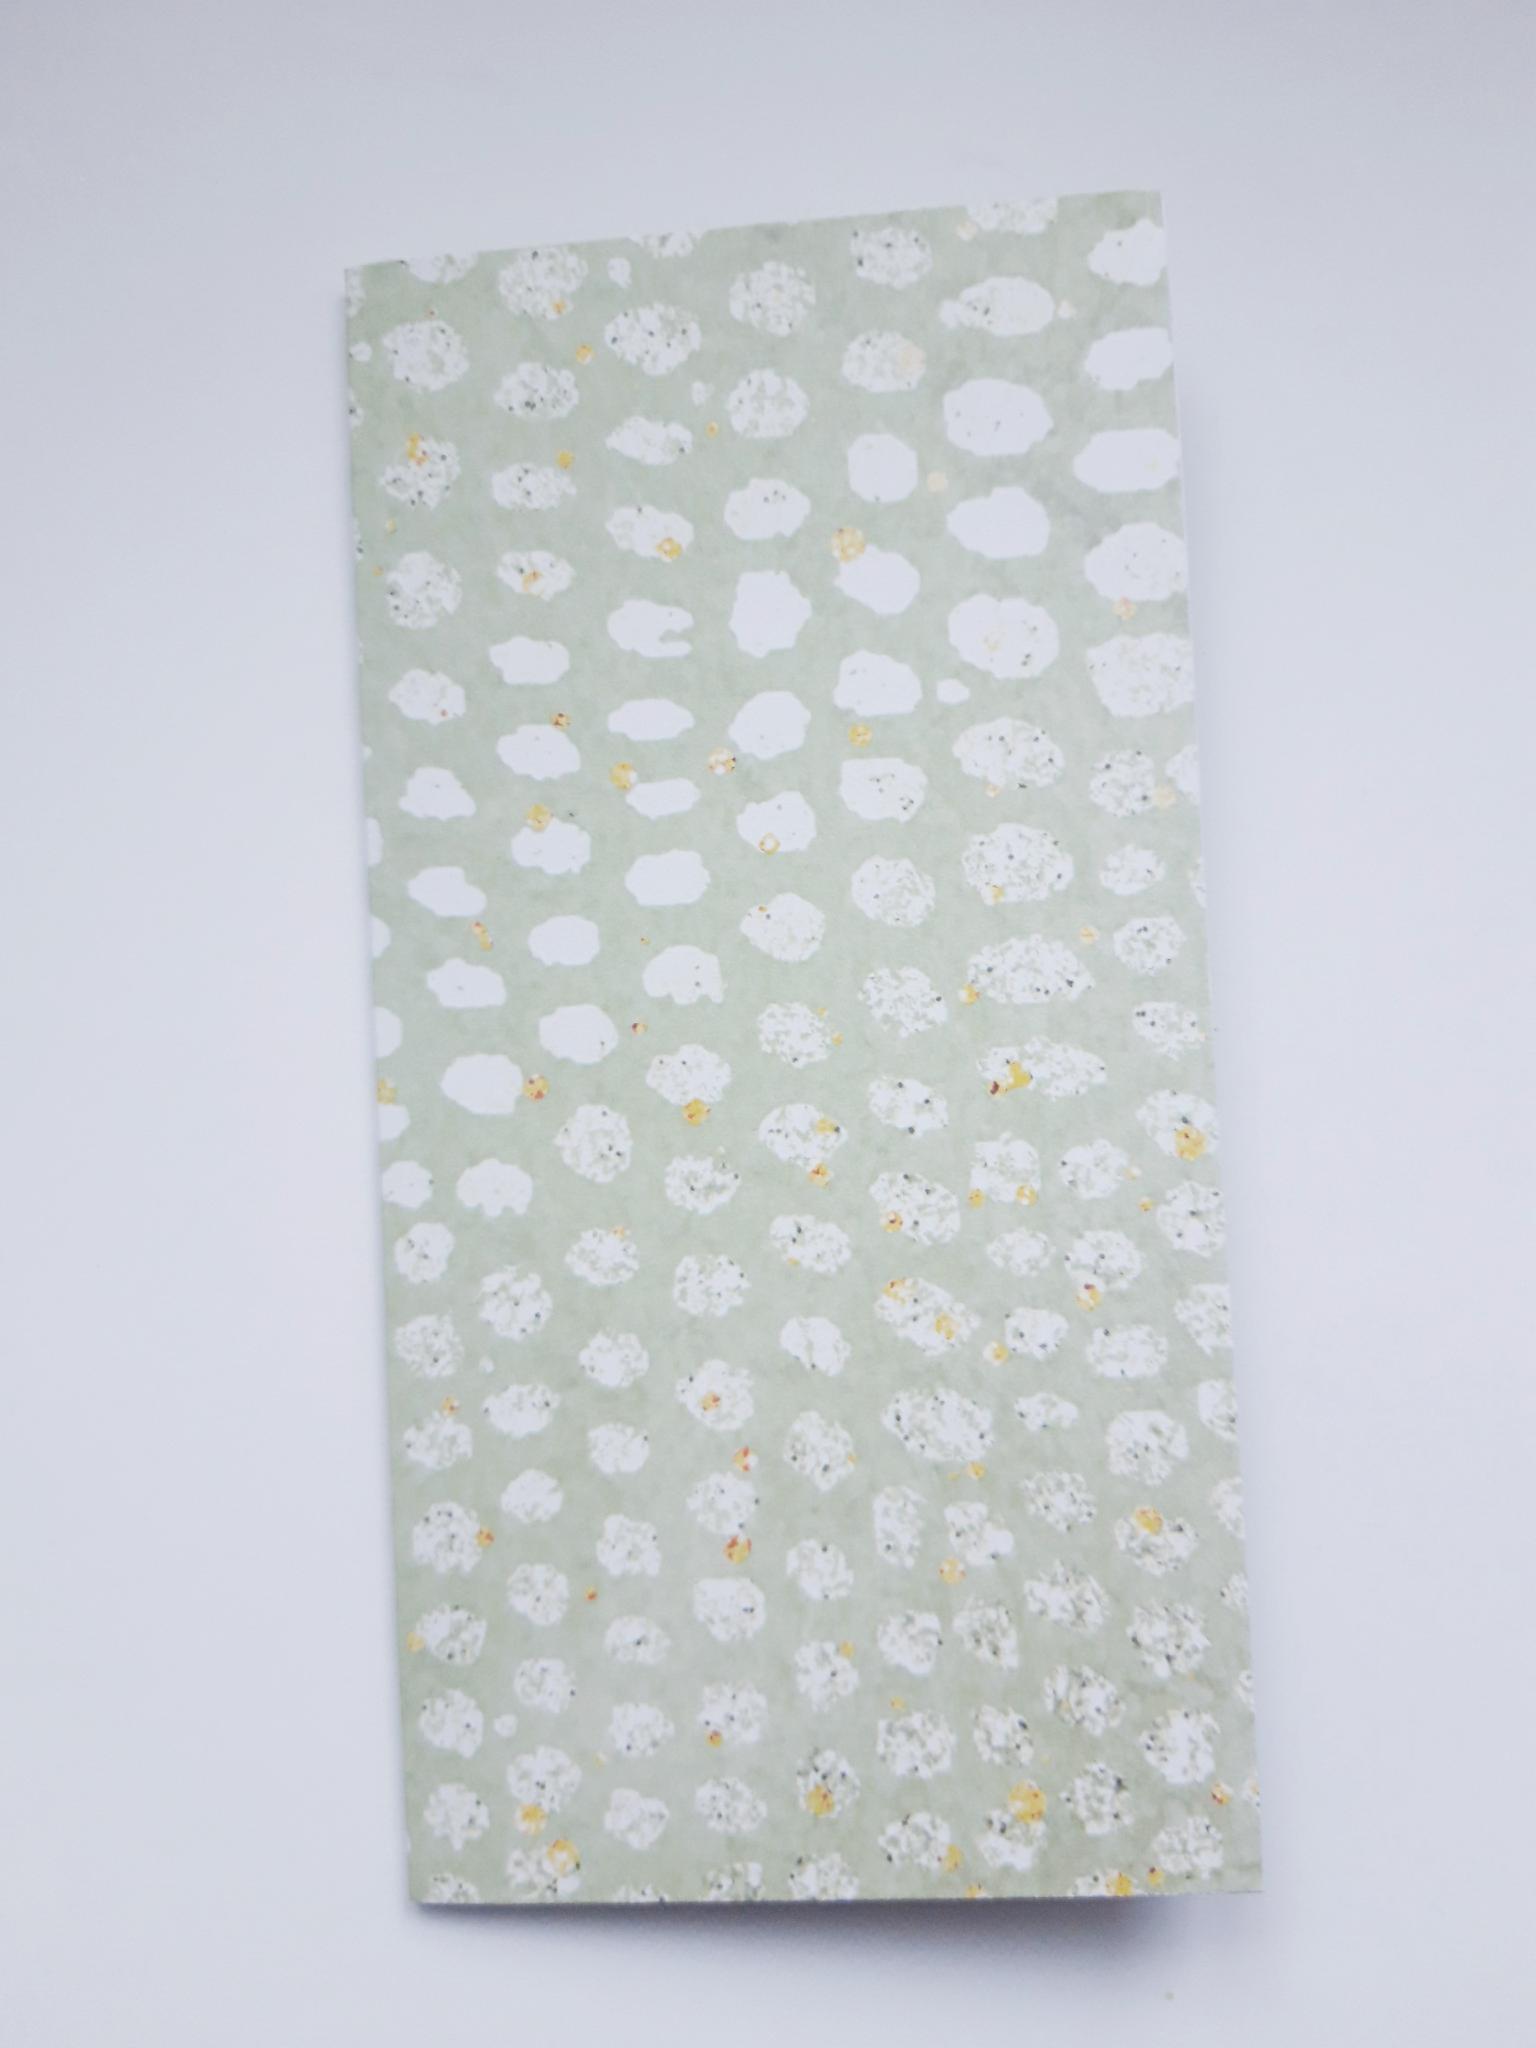
Adhere them back to back, so you now have ONE sheet of 6 x 6" double sided paper. NB: You can use a different, double side paper pad instead, missing this step out!! I don't have a double sided paper pad, so this is an alternative way of getting the same result. |
|
Score your double side paper in HALF, and fold it, using your score tool to get a good, crisp edge. |
|
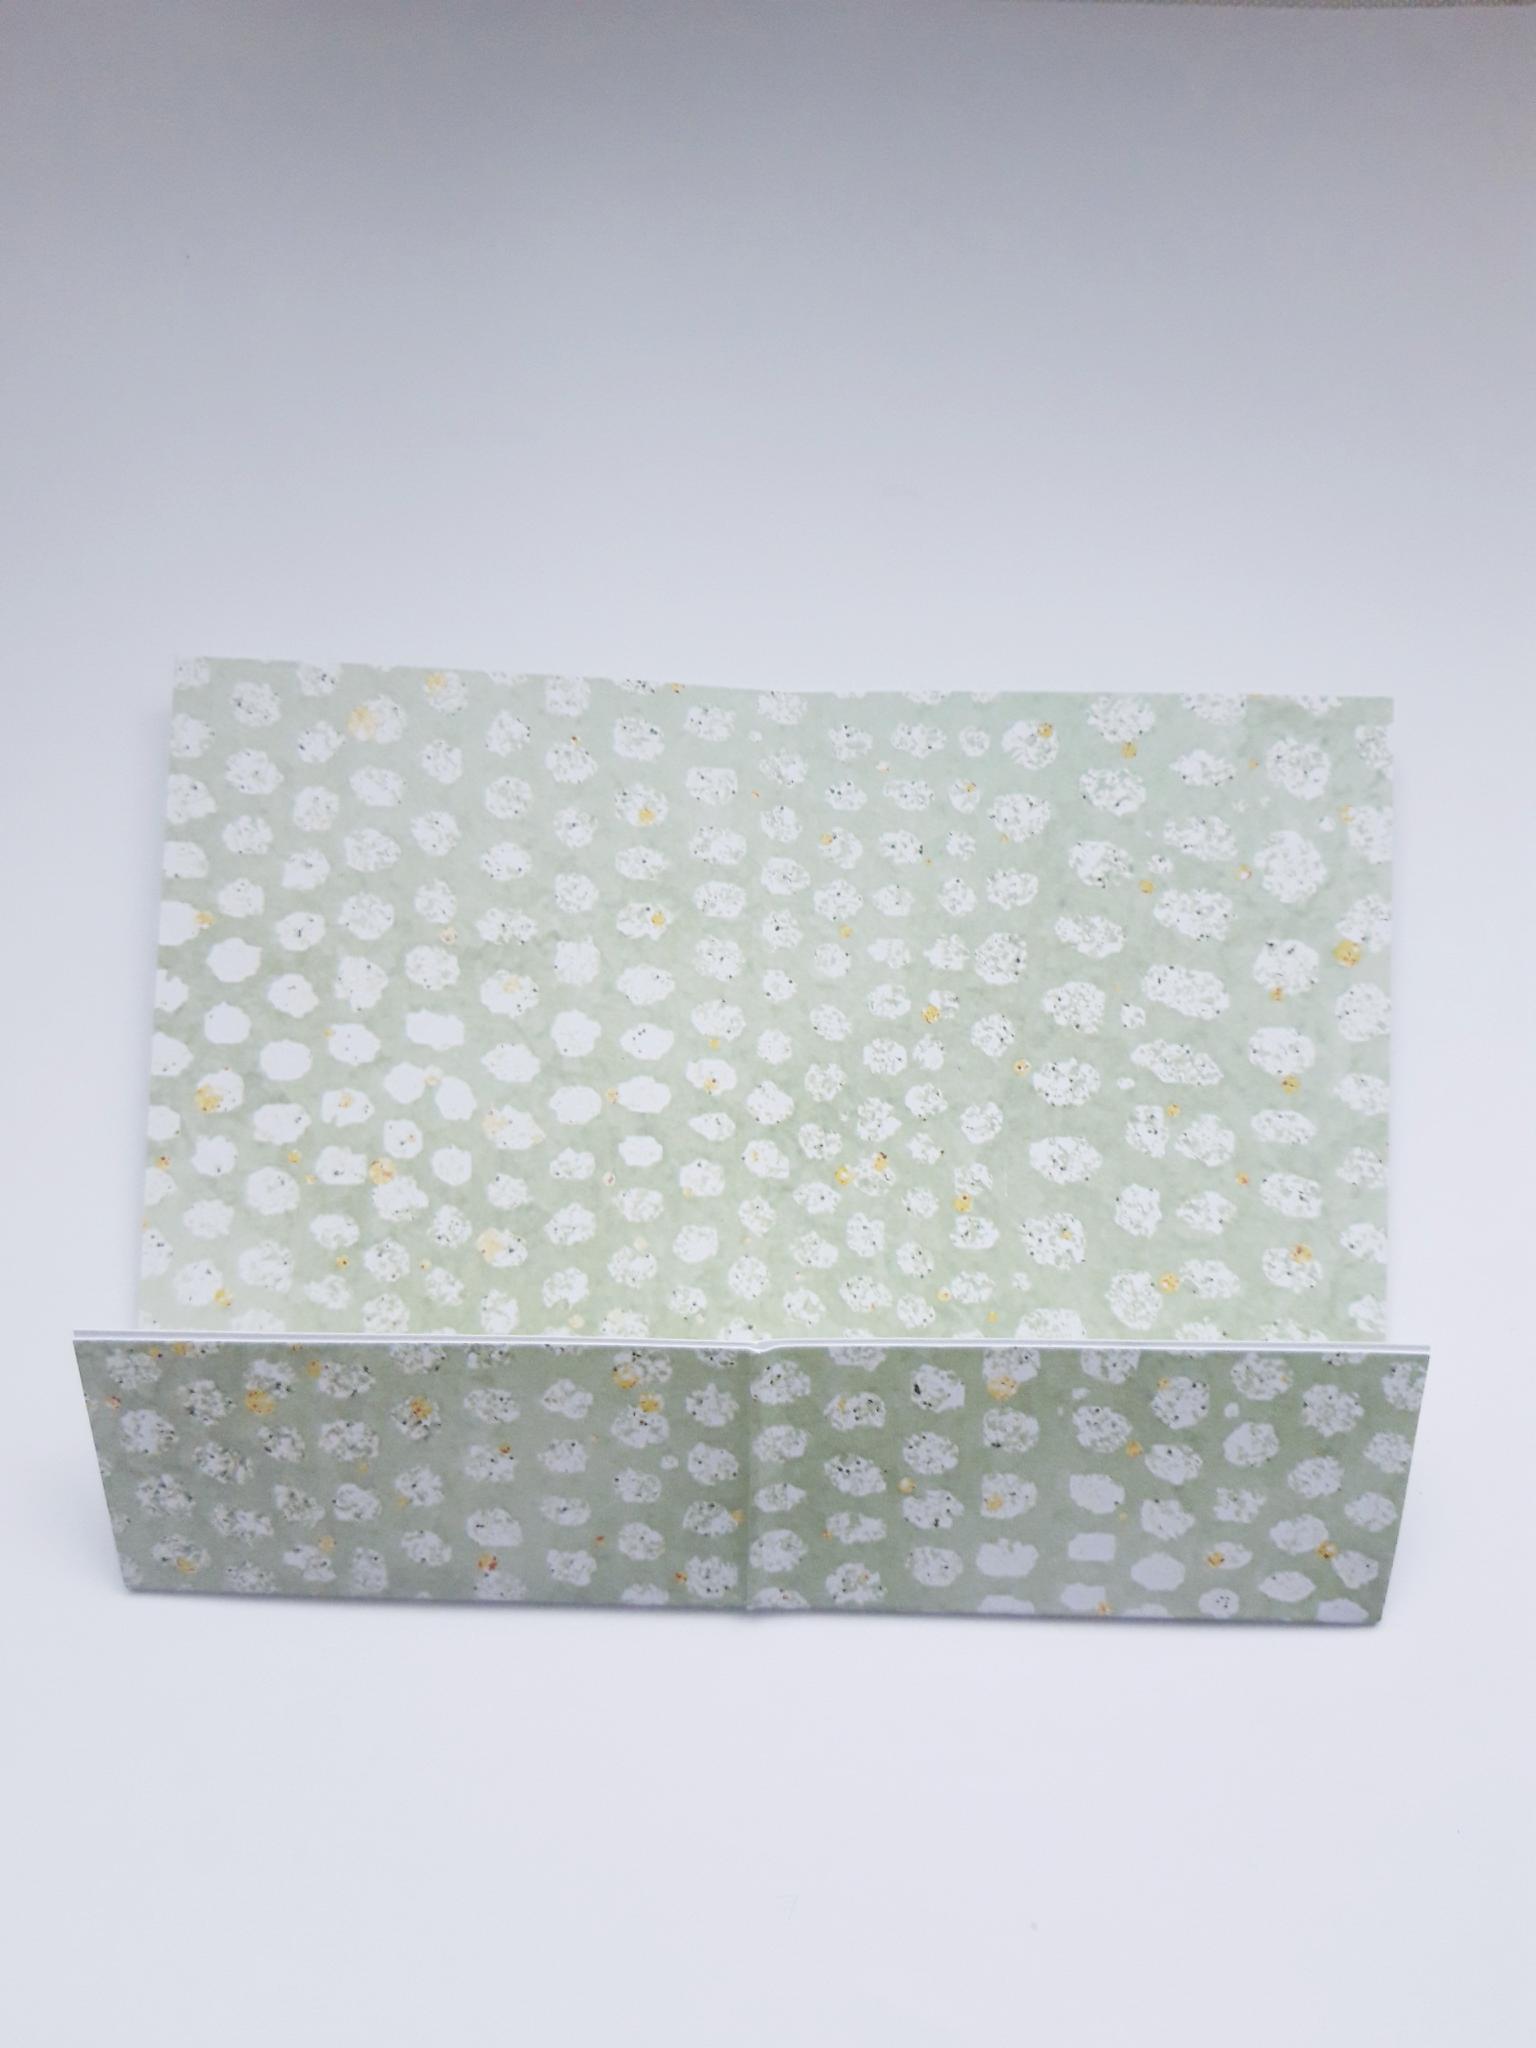
Turn your paper 45 degrees in your scoreboard, and score at 1 1/2". Fold and use your score tool to get a good crease. This is how it should now look. |
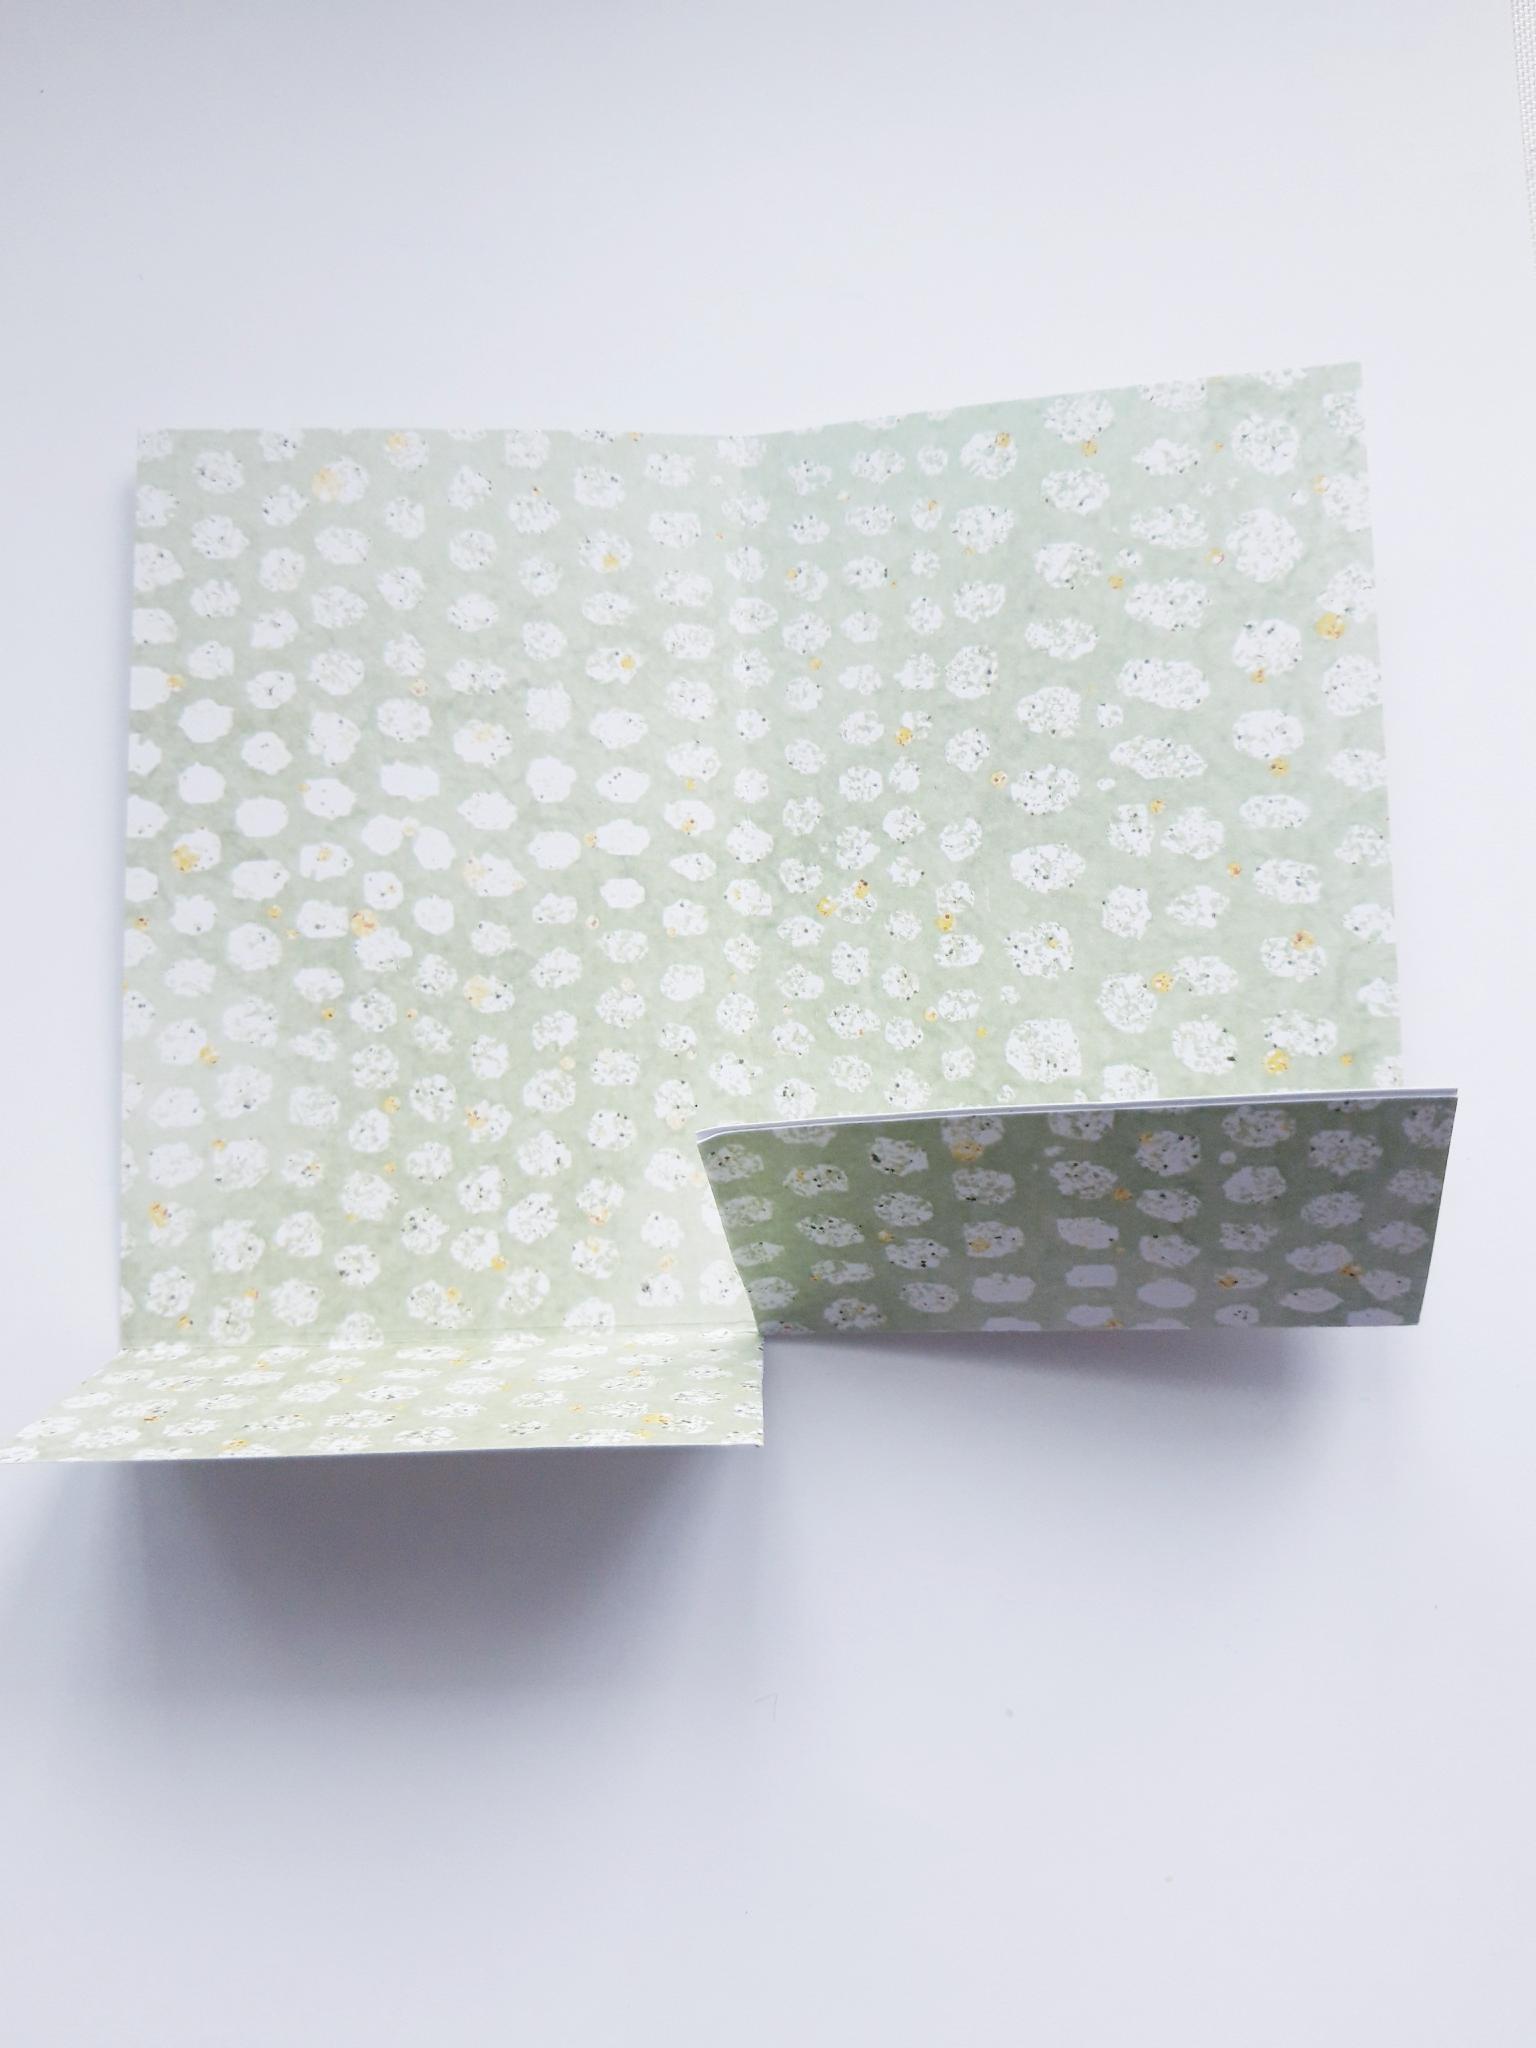
|
Cut up from the bottom, along the centre score line, up to the horizontal score line ONLY (as seen here). |
|
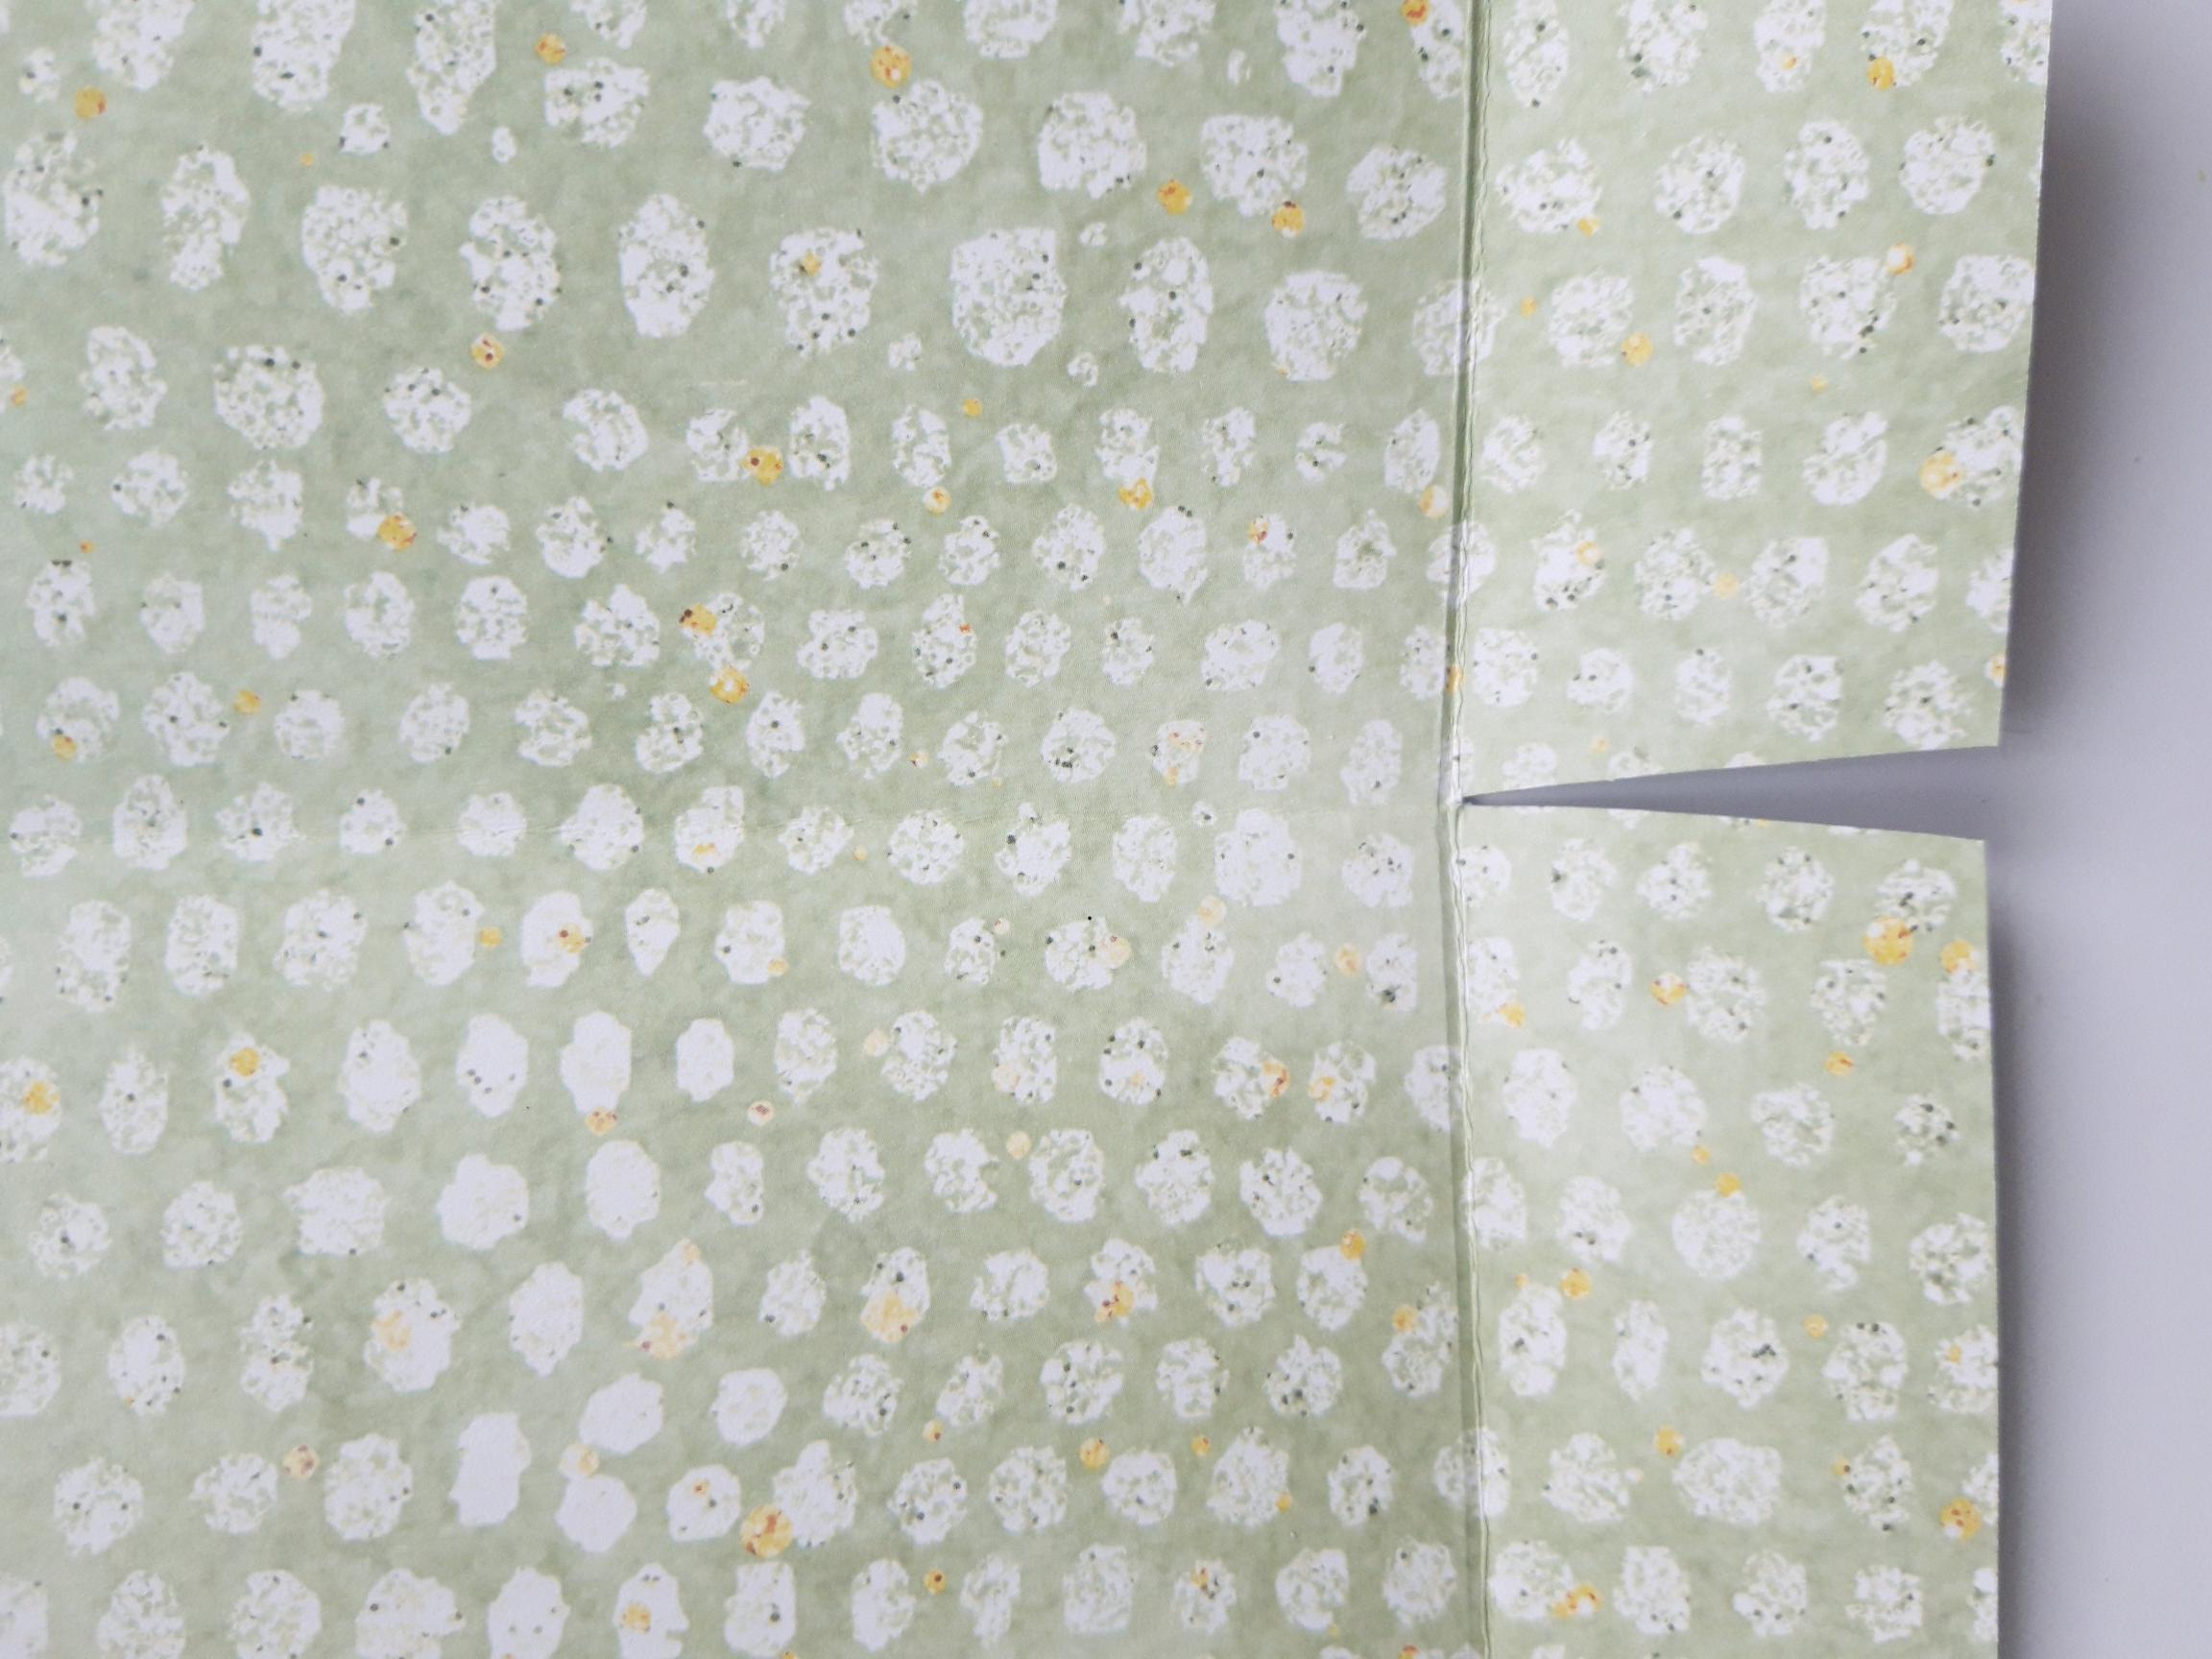
Cut a litte piece off both the inner side edges of the bottom flap, as shown here, to create a "triangle". When folded up, this will take away the bulkiness of the centre fold line. |
|
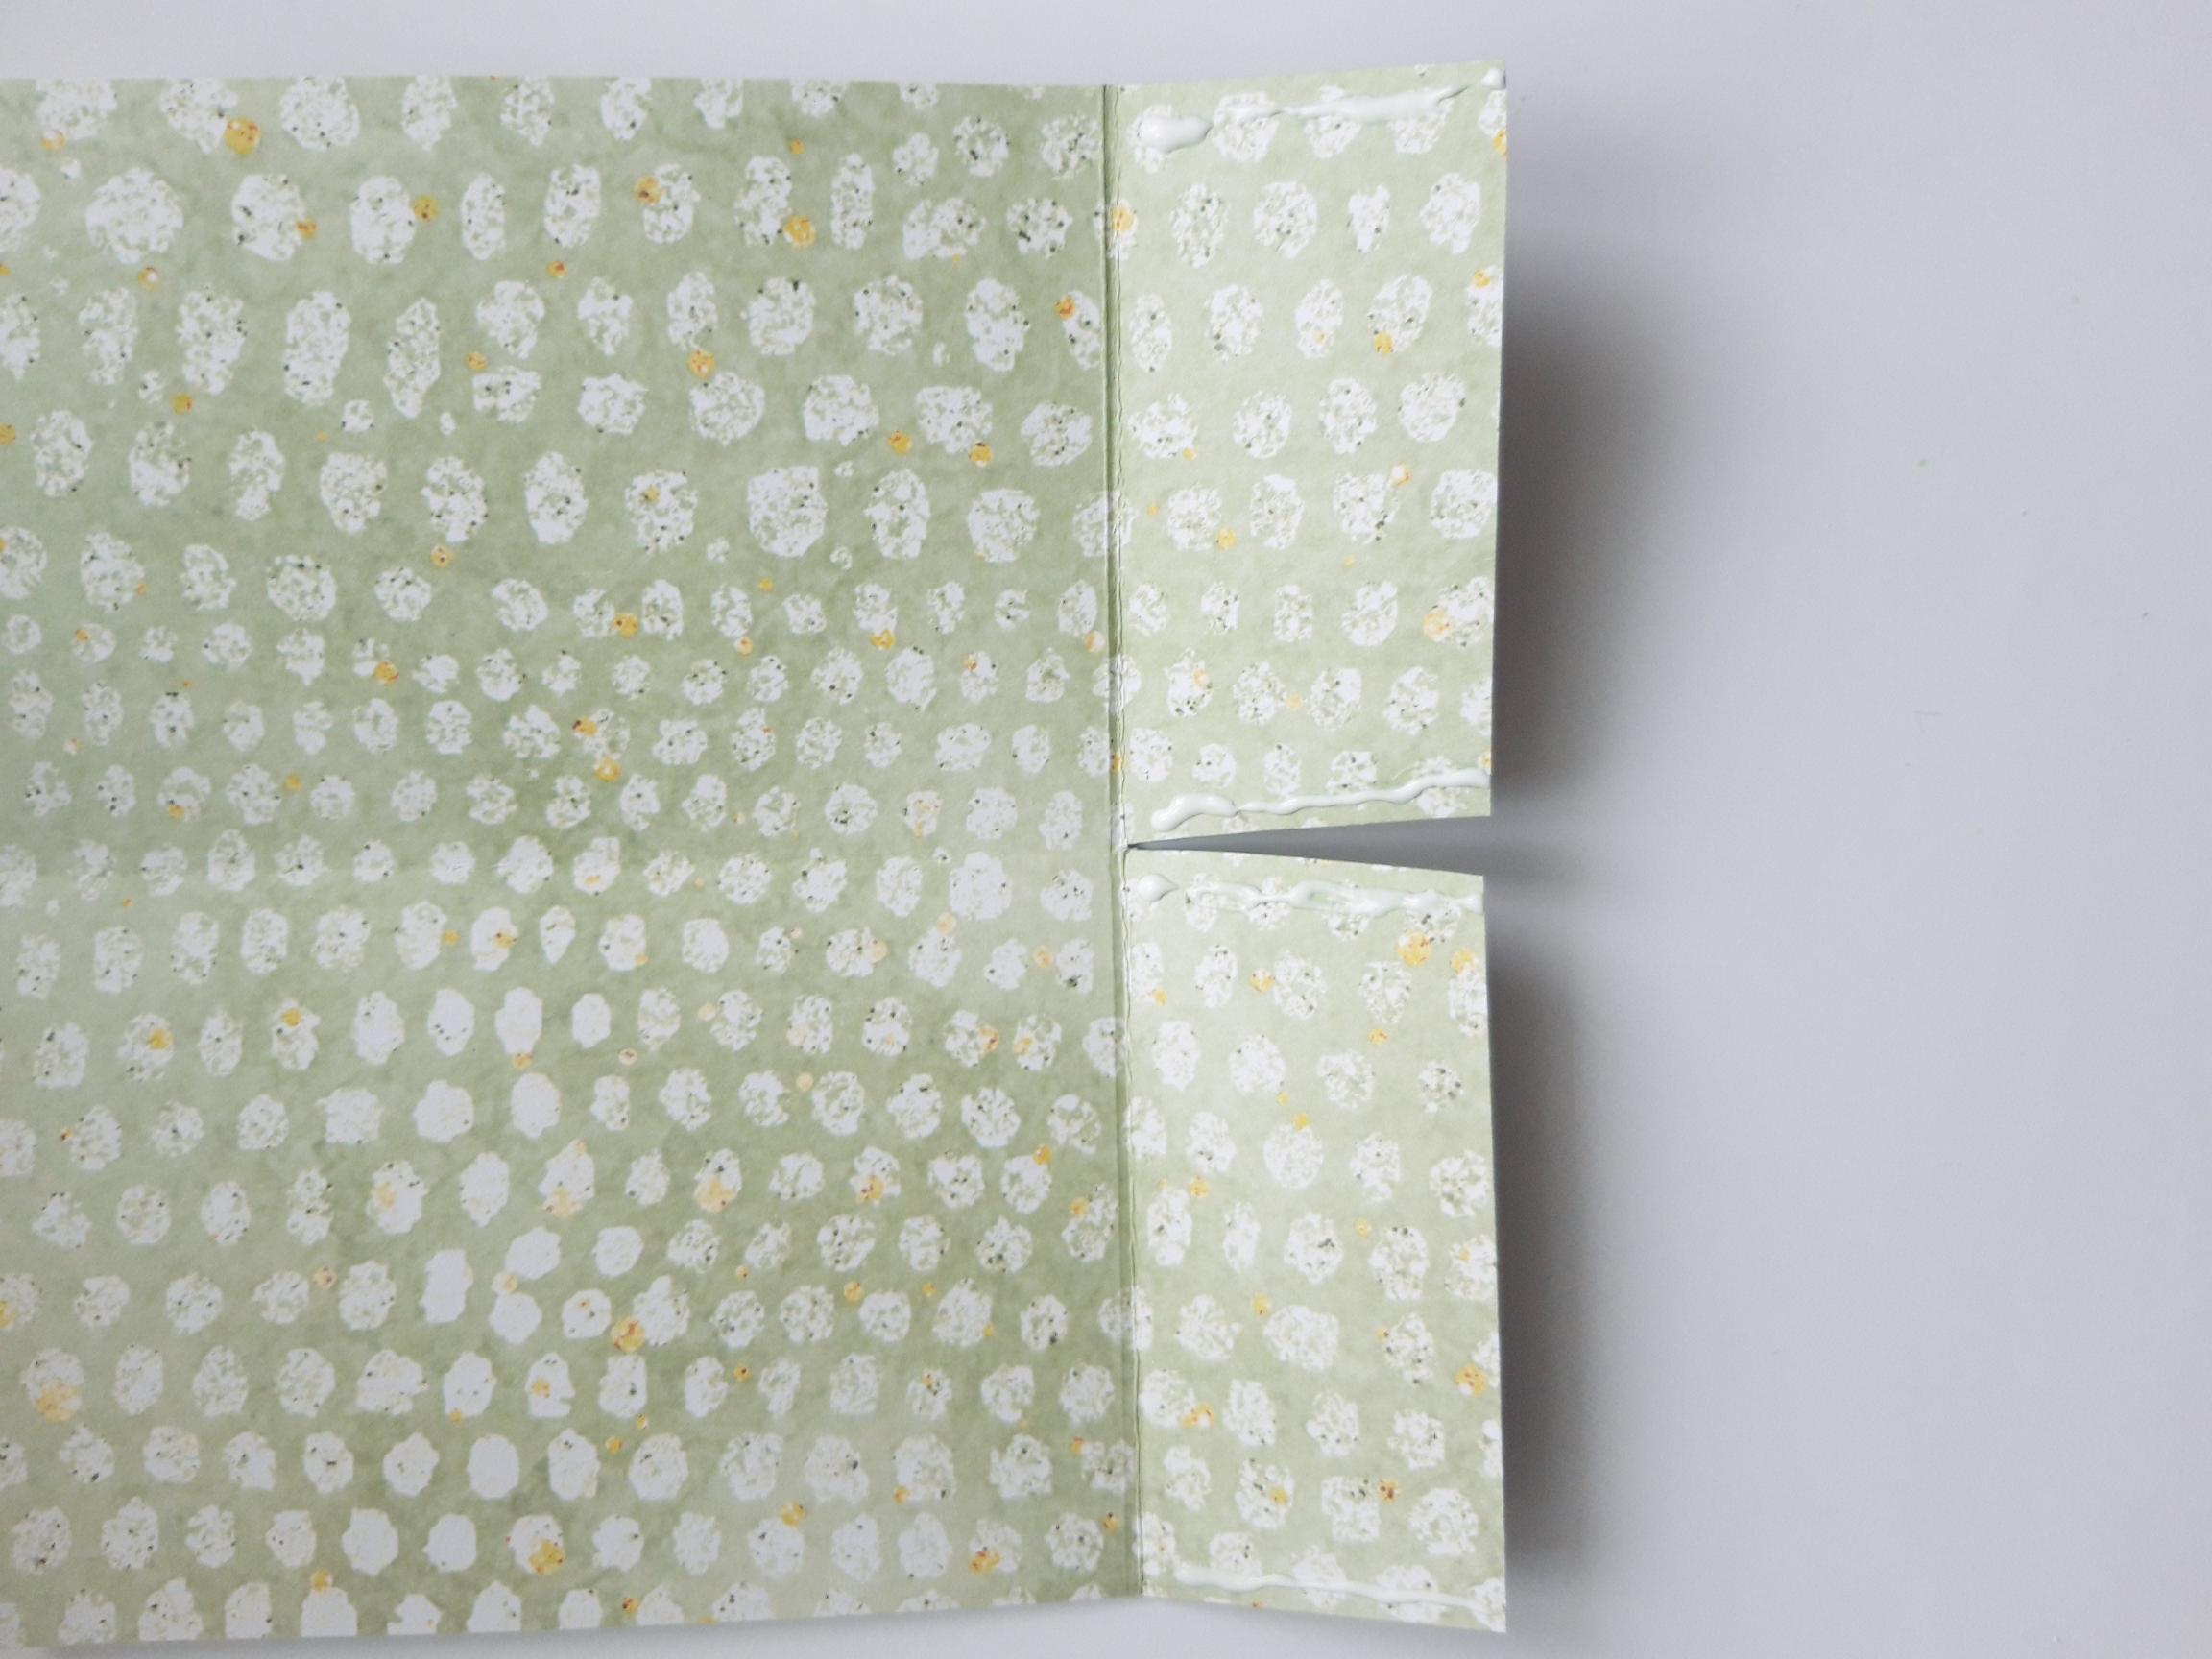
Place wet glue, or double sided adhesive tape, along the FOUR vertical sides, of the bottom flaps ONLY. |
|
Fold up the flaps, and allow the glue/tape to adhere, to create your TWO pockets. |
|
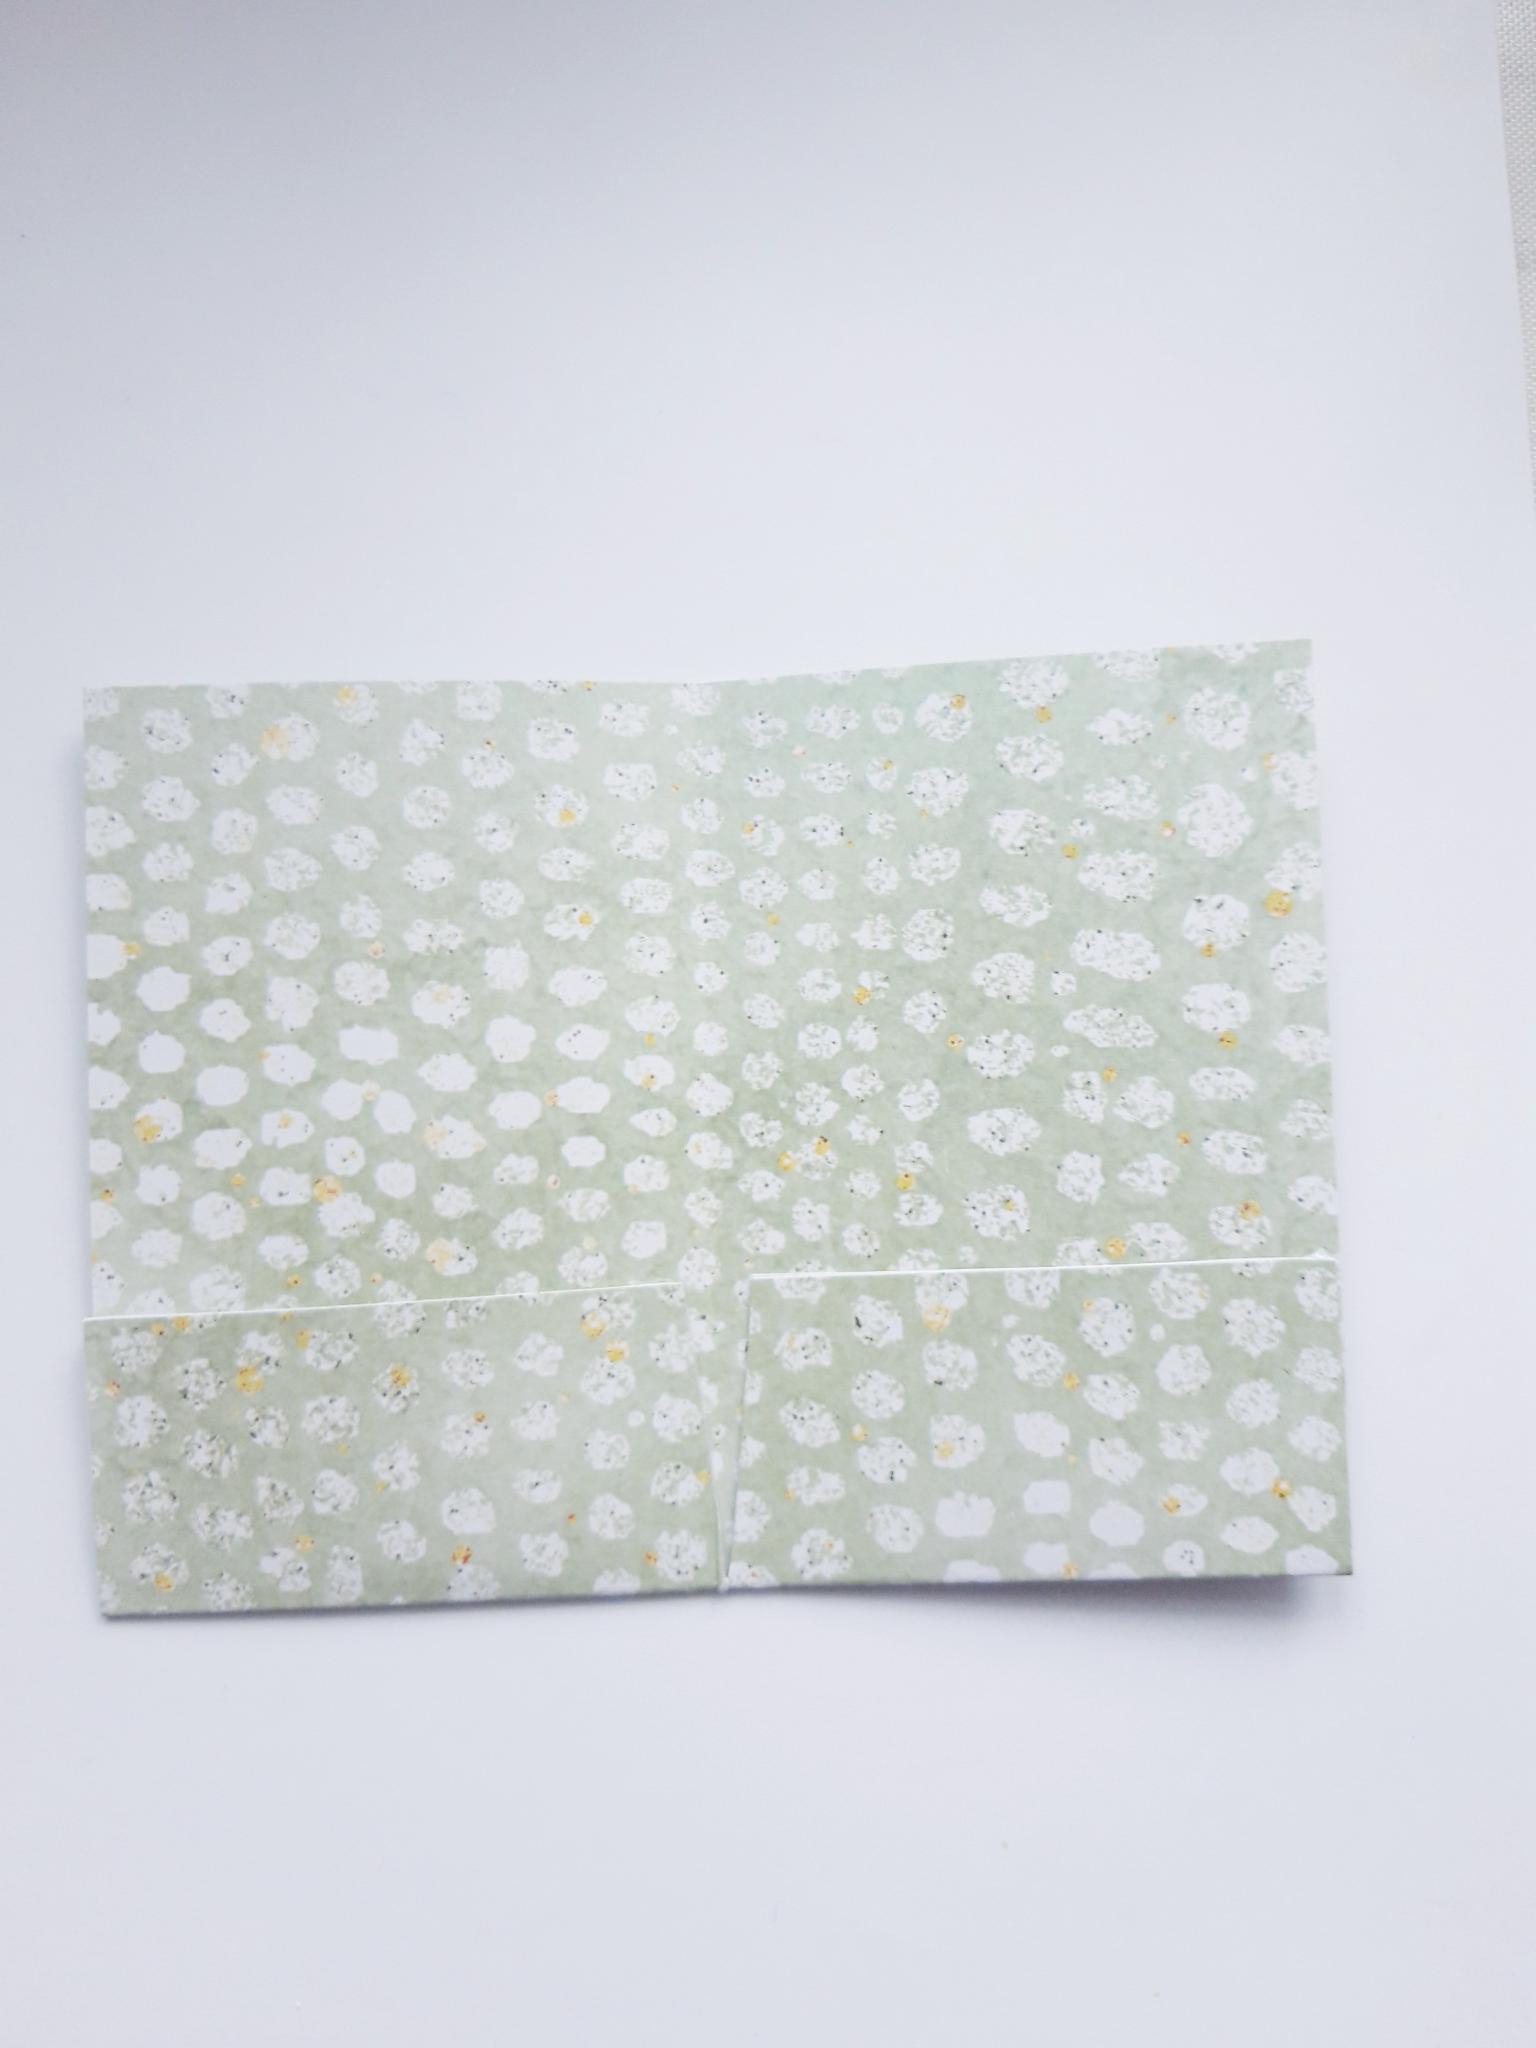
Once the glue is dry, you can close your gift card holder. Give all the score lines a good, crisp crease, with your bone folder. |
|
Ink up the Rose stamp again, with the Versafine, and stamp on to the front of your gift card holder. I like my images to come off the edge, as shown here, but that's personal preference. |

|
To finish use a black pen to draw a decorative, wiggly frame, around the inside pages, and pockets. You can place gift cards, photos, seed packets, etc, in the pockets, as gifts for your recipient. |