Give your friends $10 off their first order!
Refer a FRIEND


WHAT YOU WILL NEED:
Black top folding card blank (cut to 7 1/2 x 5 1/2")
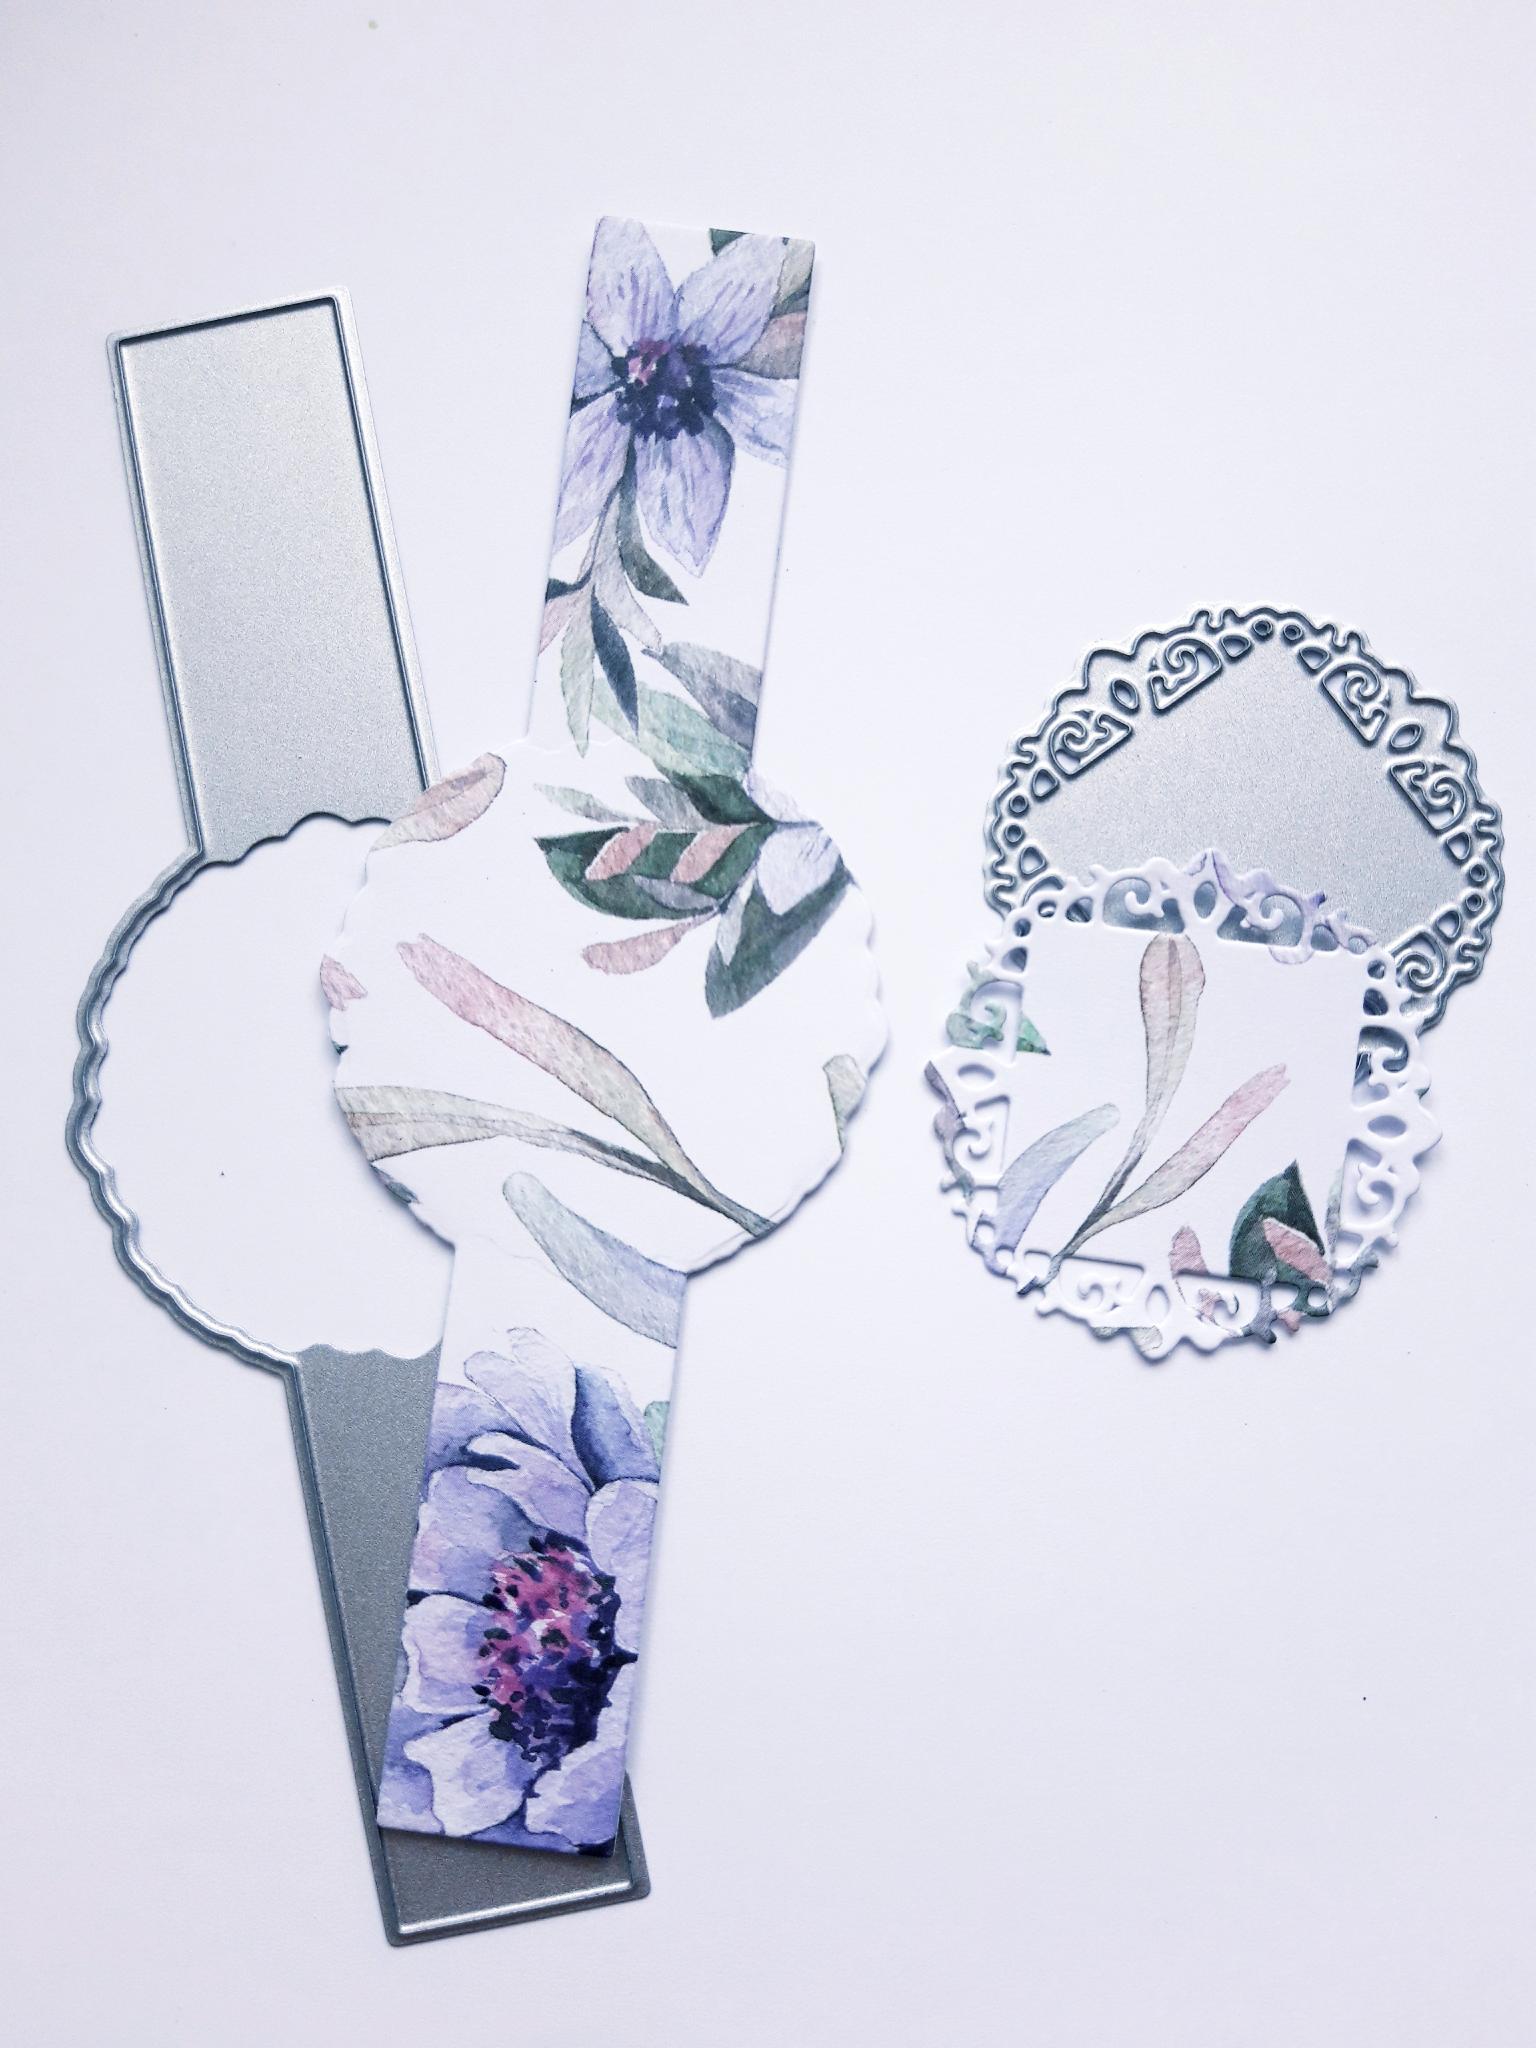
Pop Up Gift Card Holder Die Collection
Pop Up Gift Card Floral Paper Pad
Beautiful Bands Die Collection
Stamps from Beautiful Moments Lamination Stamp Collection
It's All About You 8 x 8" Paper Pad: Subtle Tones
Versafine Ink Pad: Onyx Black
WOW Embossing Ink Pad
Anti static bag
WOW Heat Tool
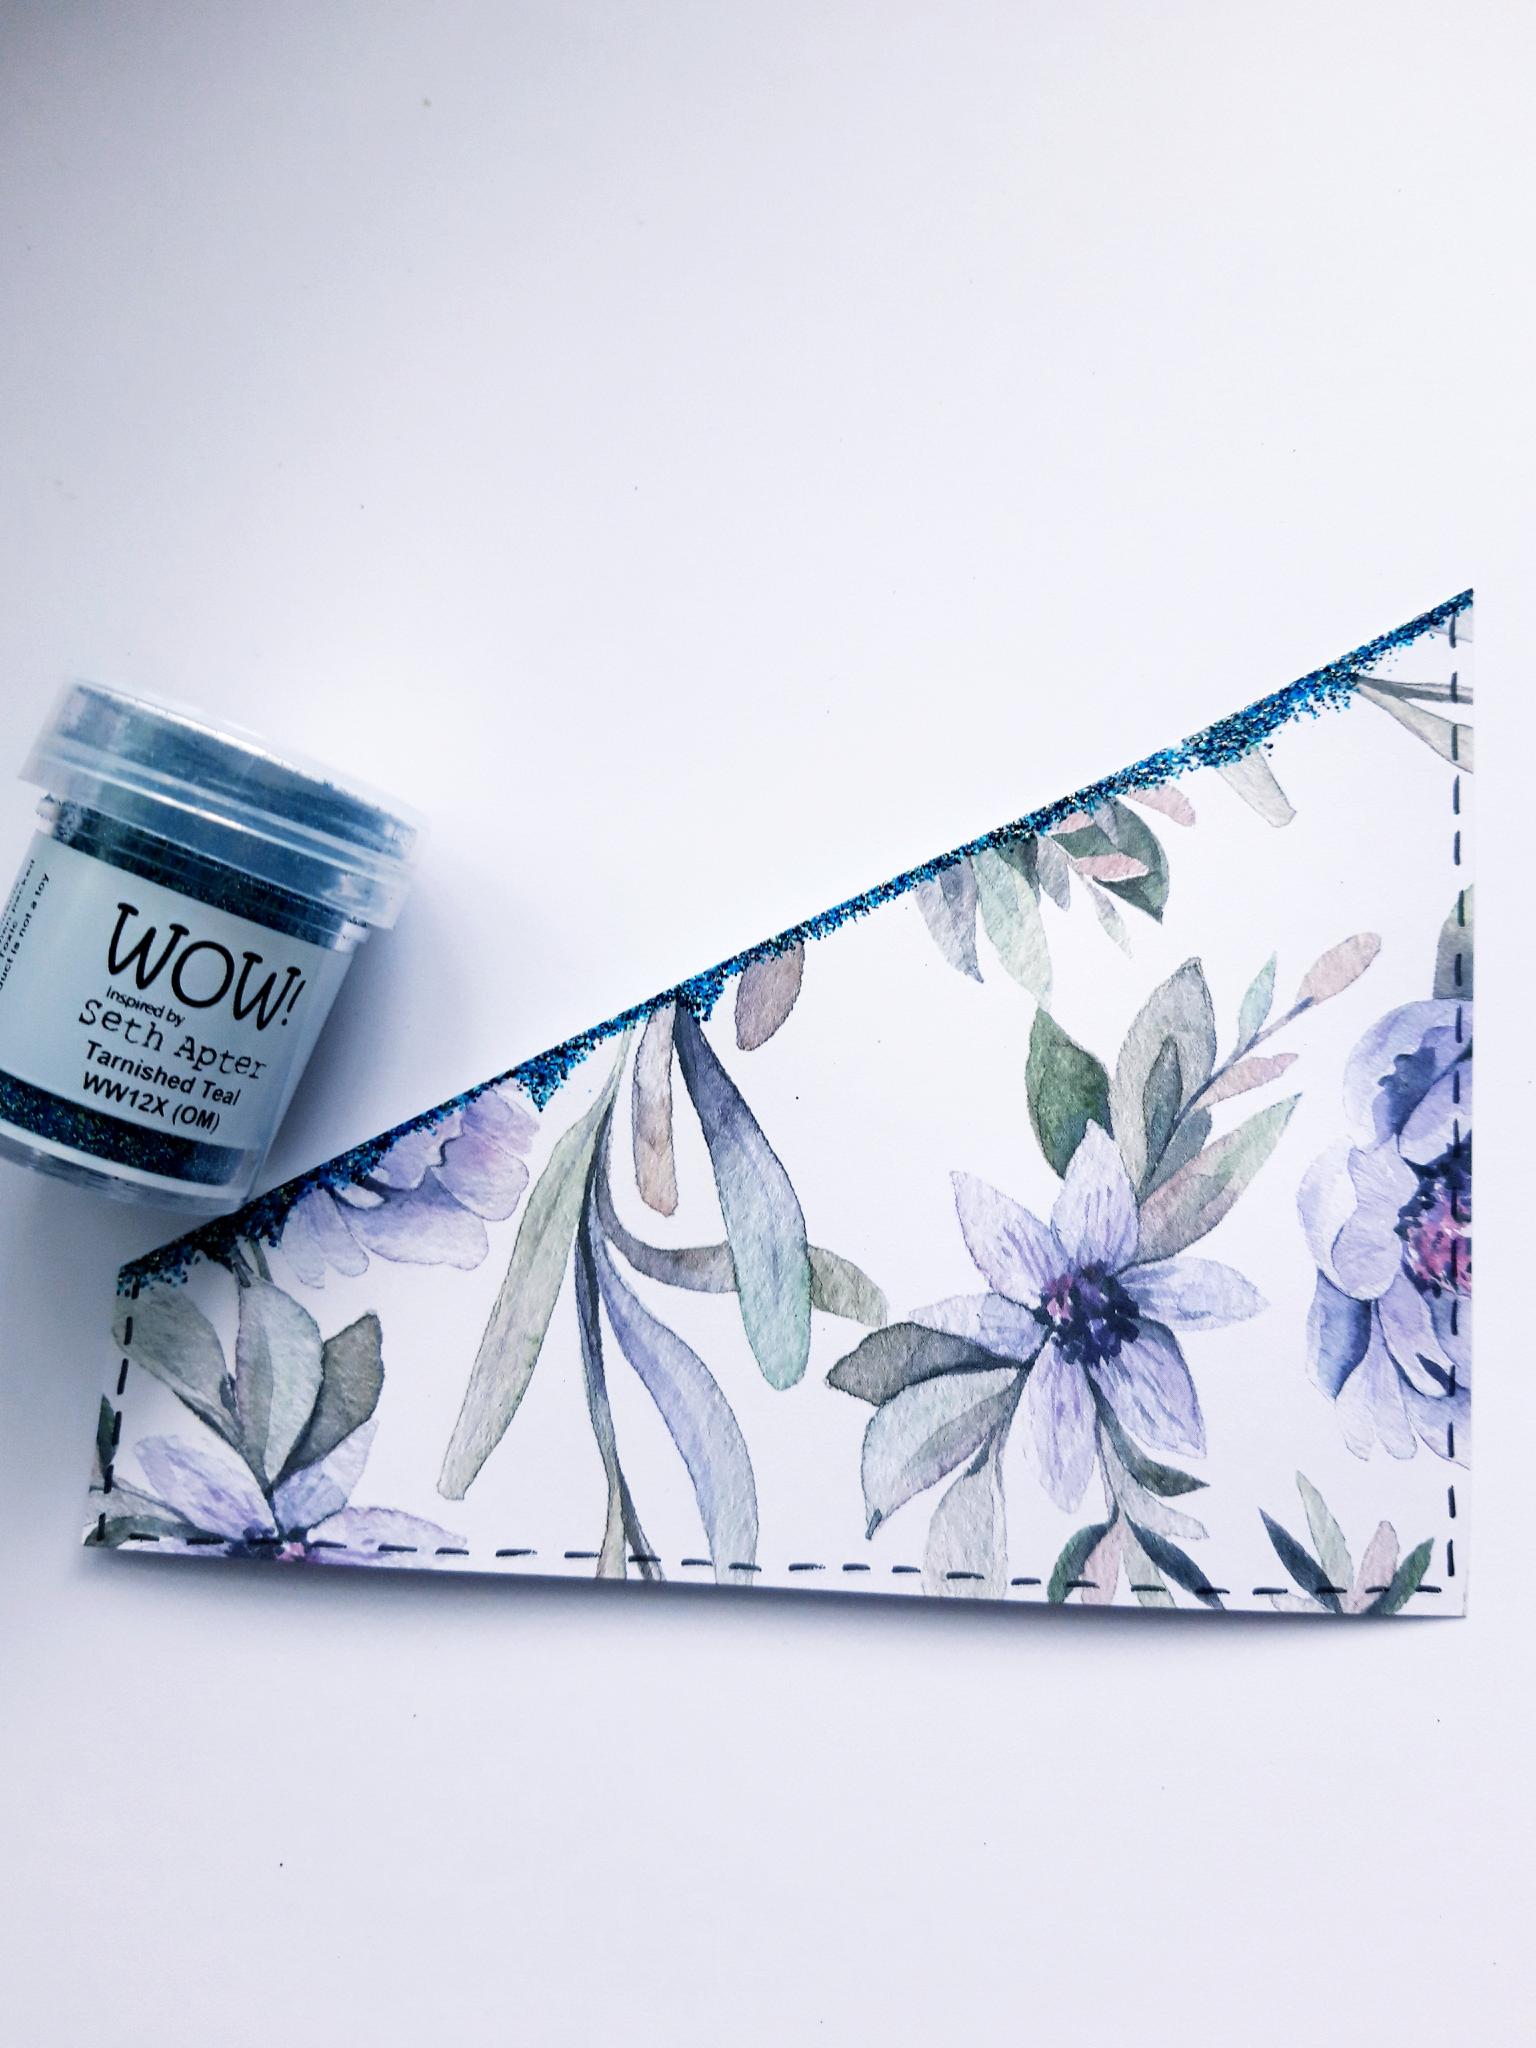
WOW Trio Bundle Embossing Powder: Tarnished Teal
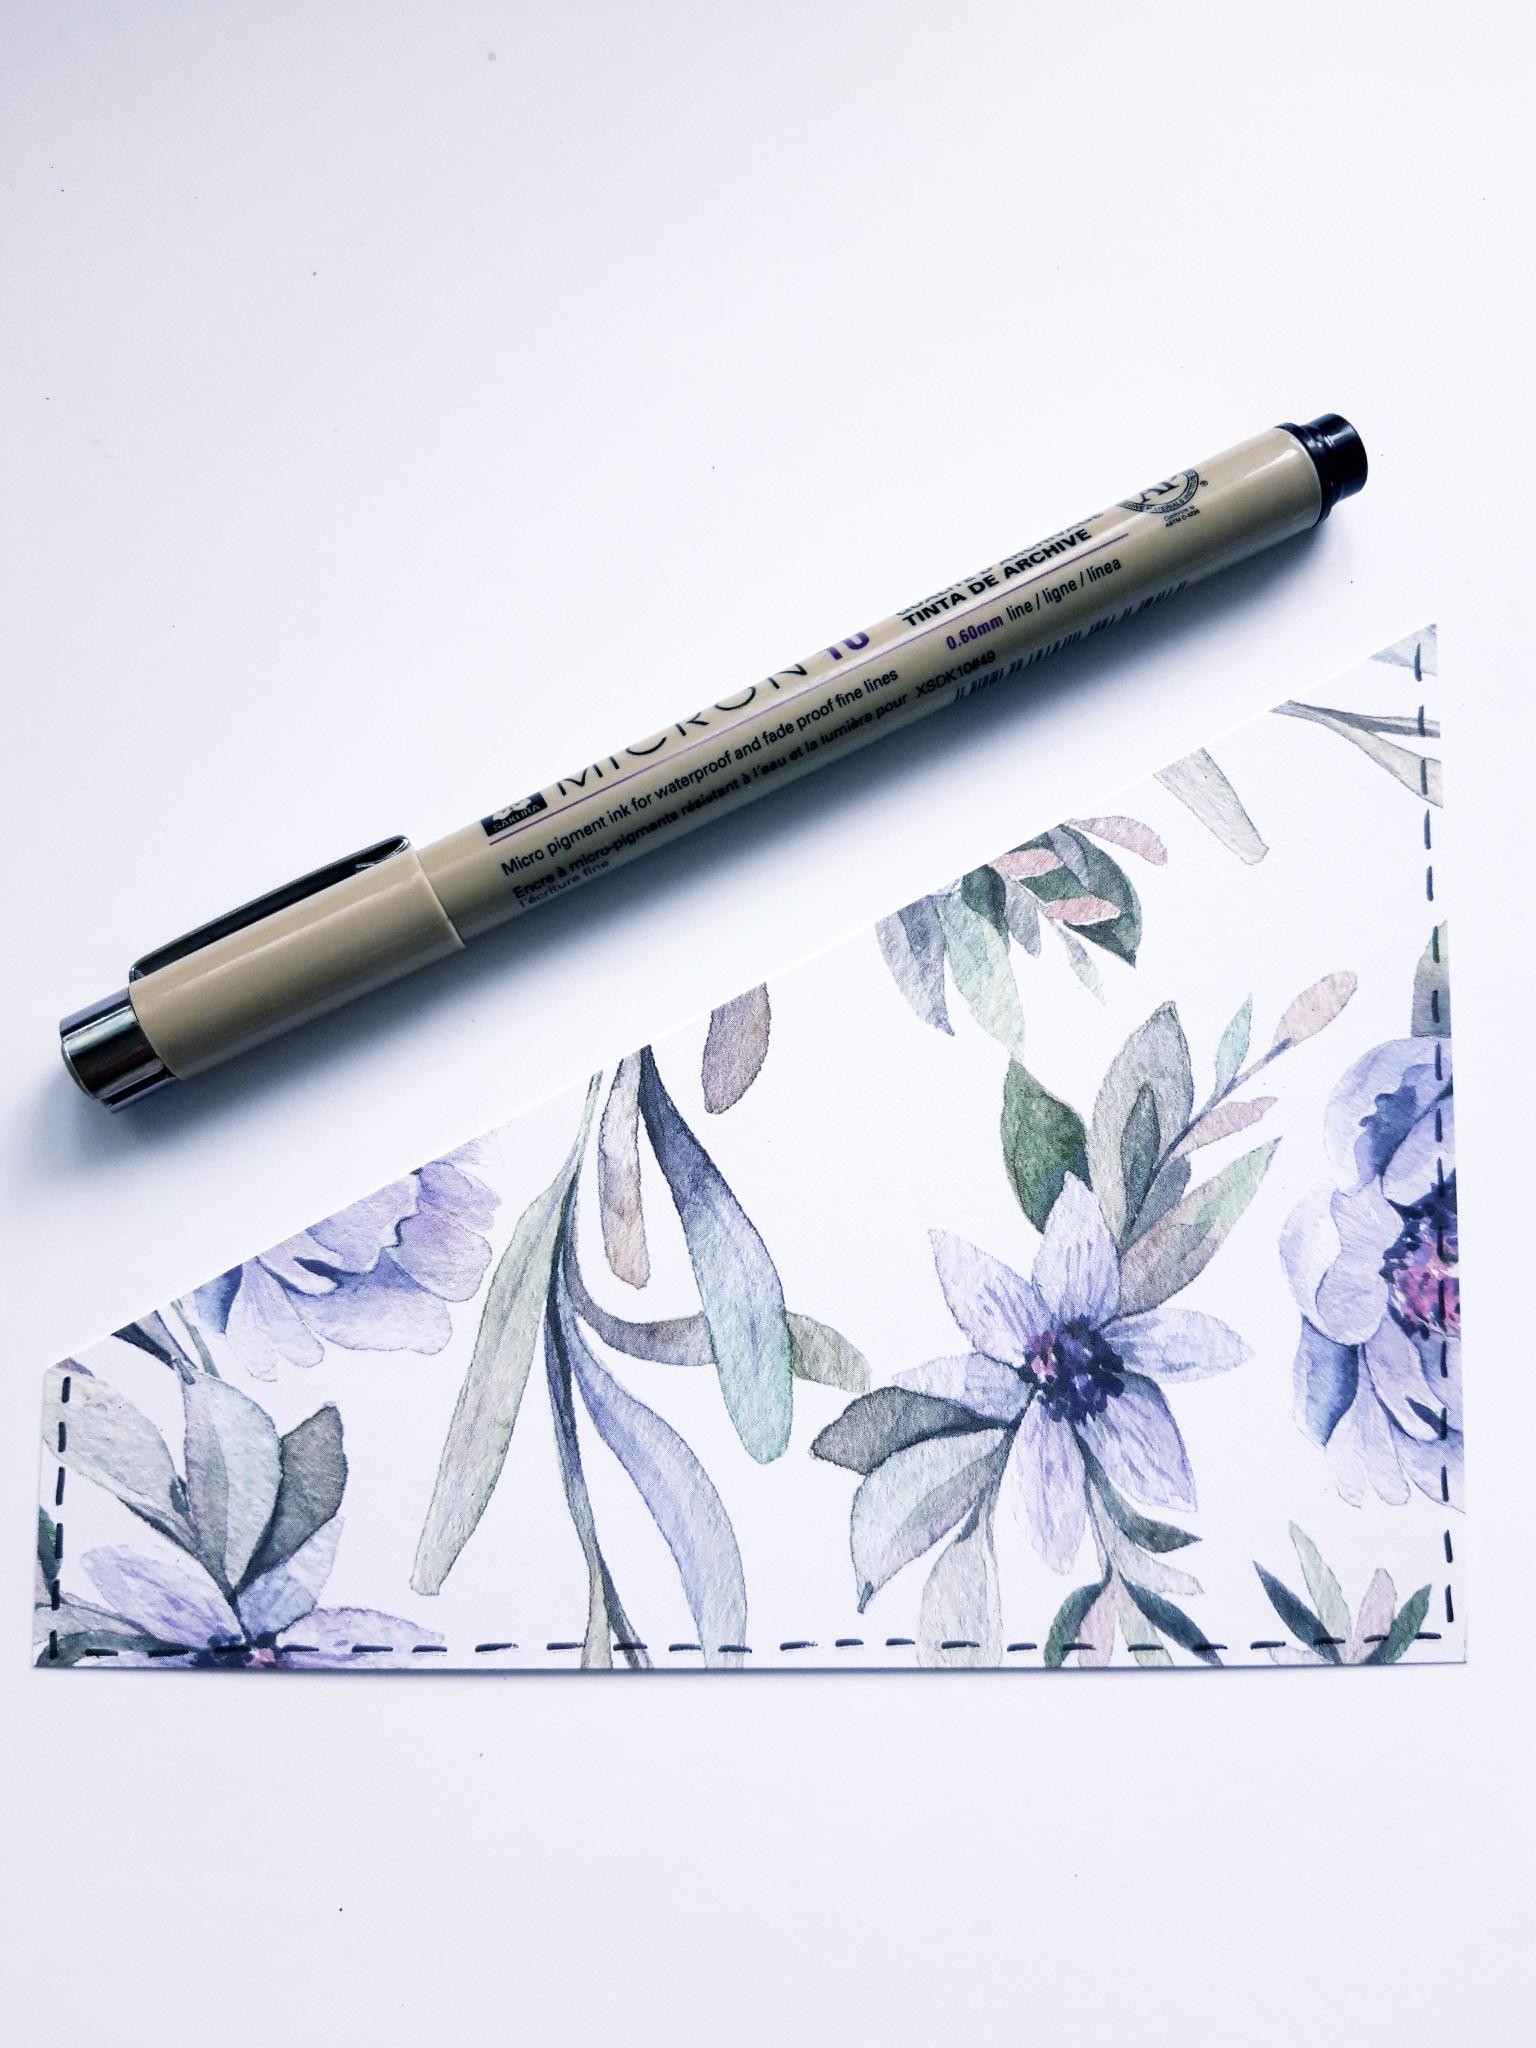
Black fineline pen
Eureka 101
Paper Trimmer
Perfect Together Glue
Double sided adhesive tape
Die Cutting machine
[click image to enlarge] 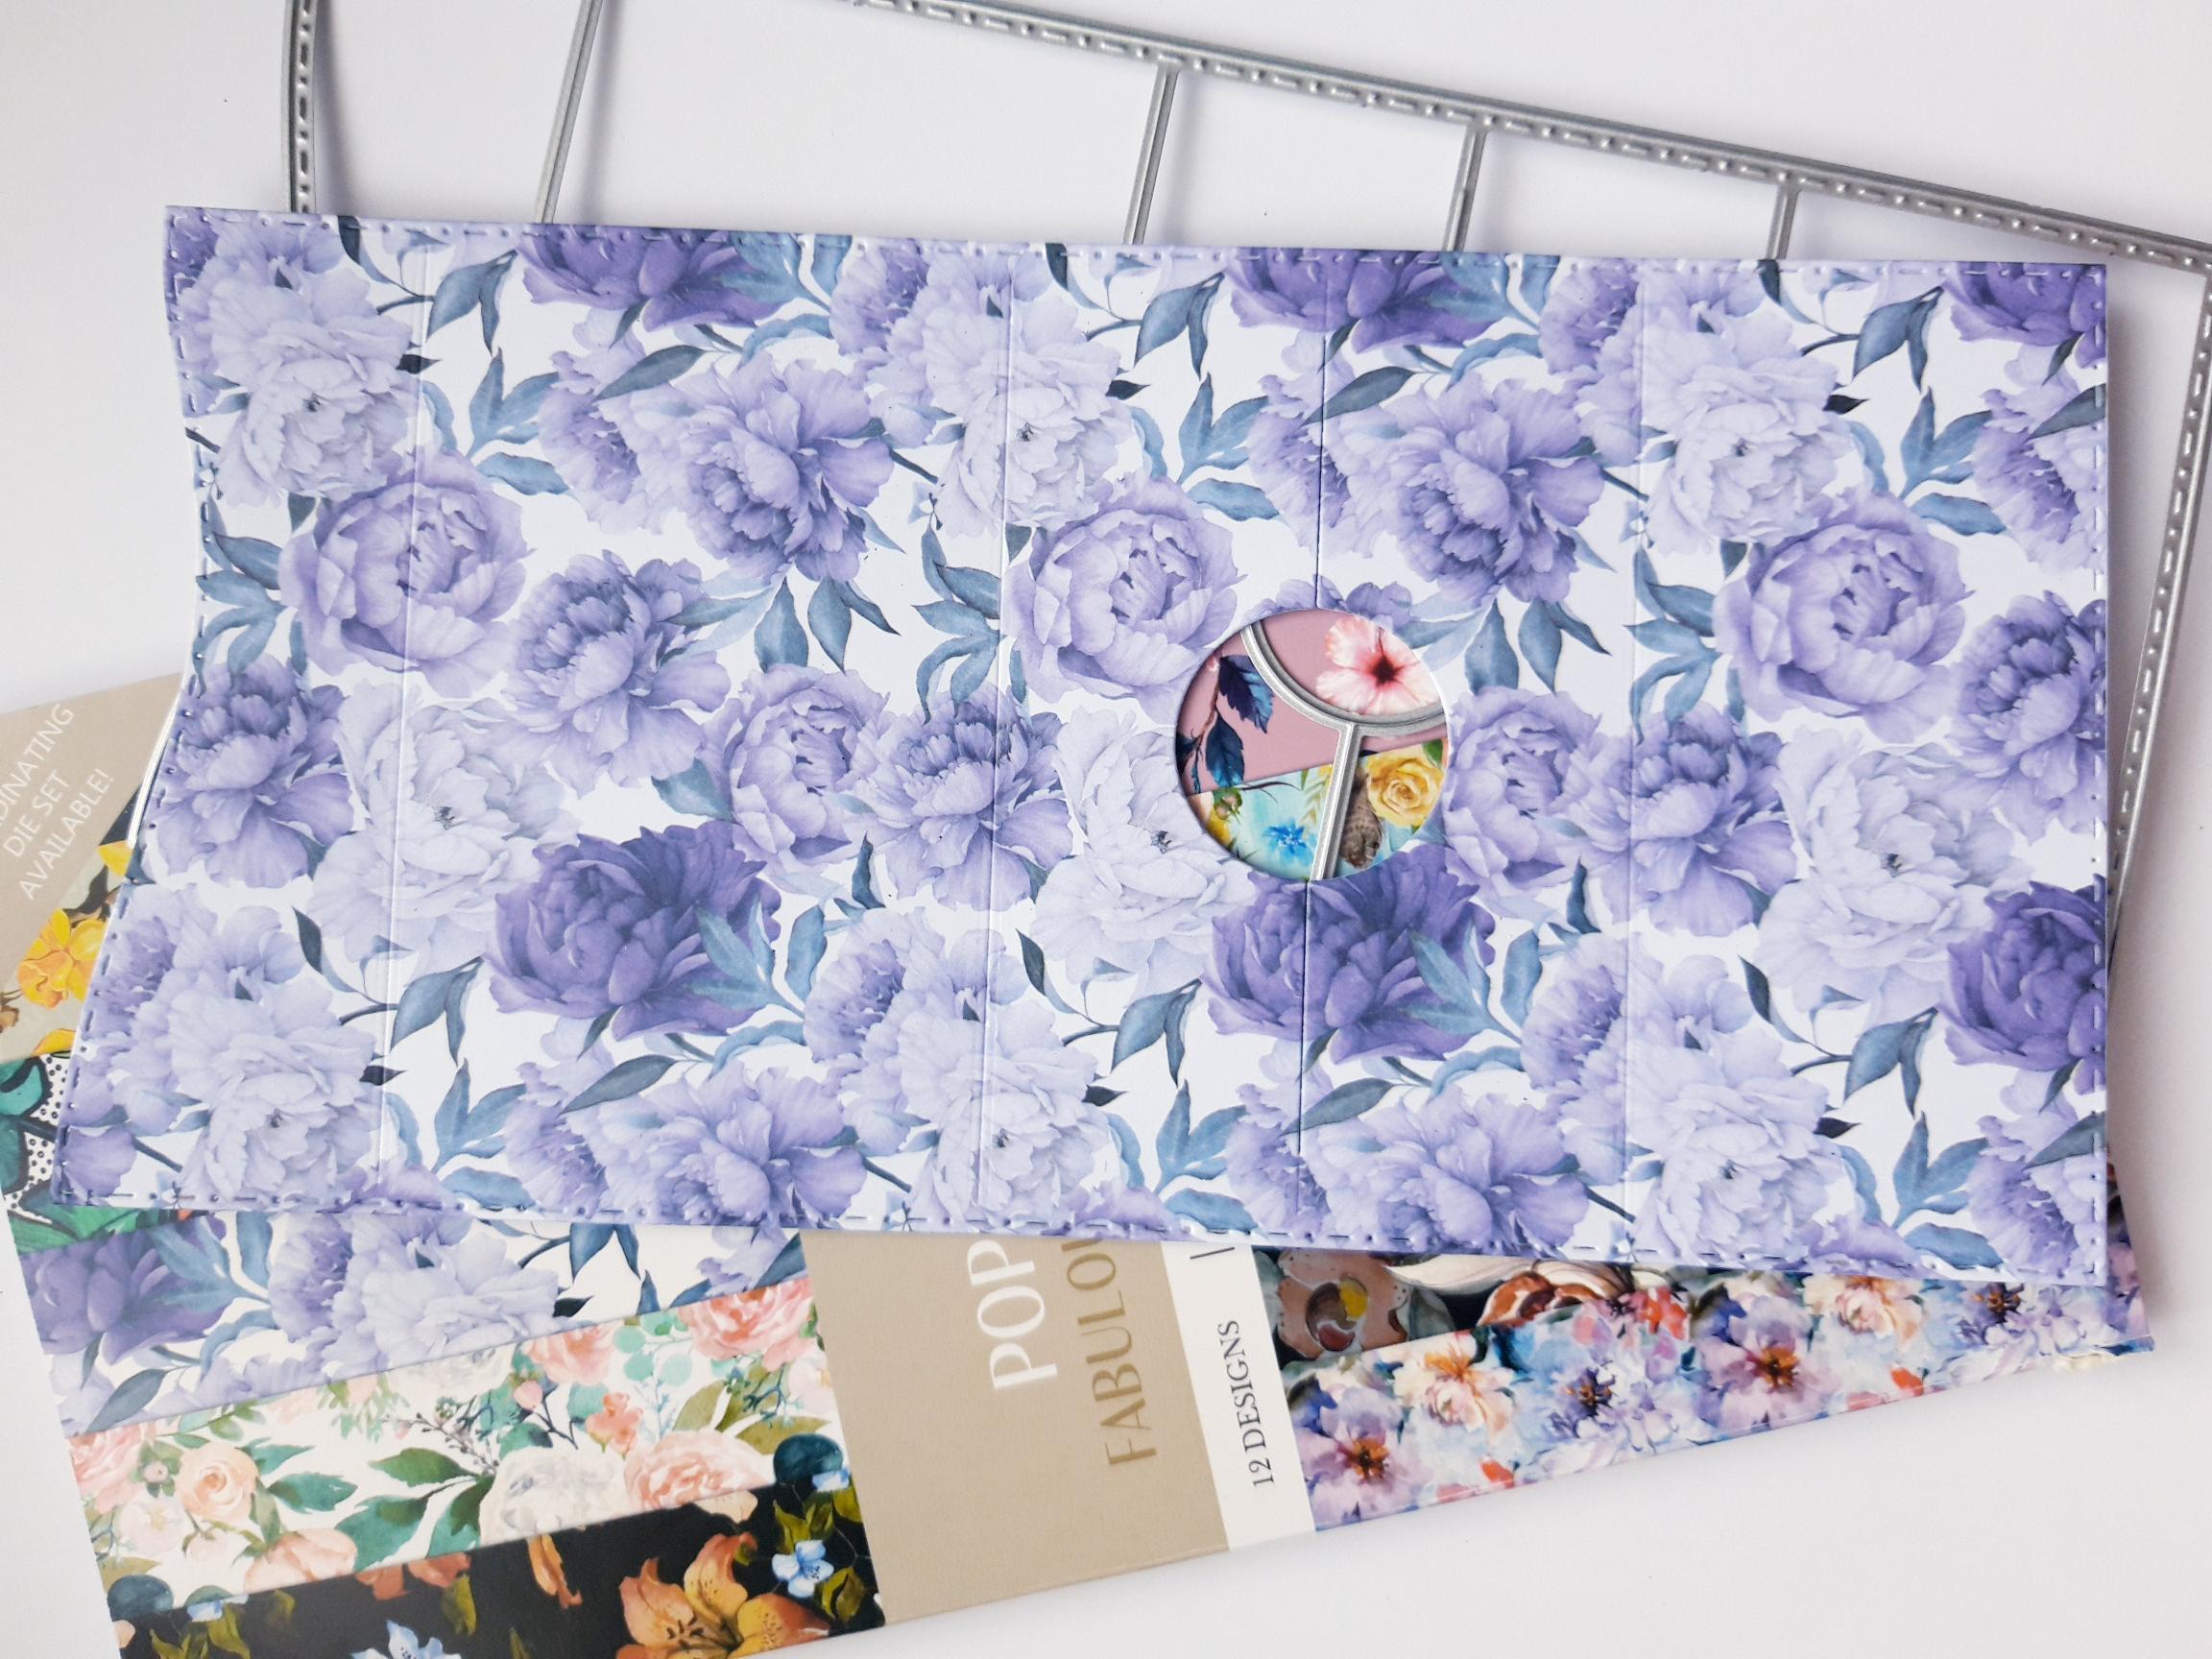
|
Tear out this decorative sheet, from the Pop Up Gift Card Floral Paper Pad. Place the coordinating die from the Pop Up Gift Card Holder Die collection on to the paper, and run it through your die cutting machine. |
|
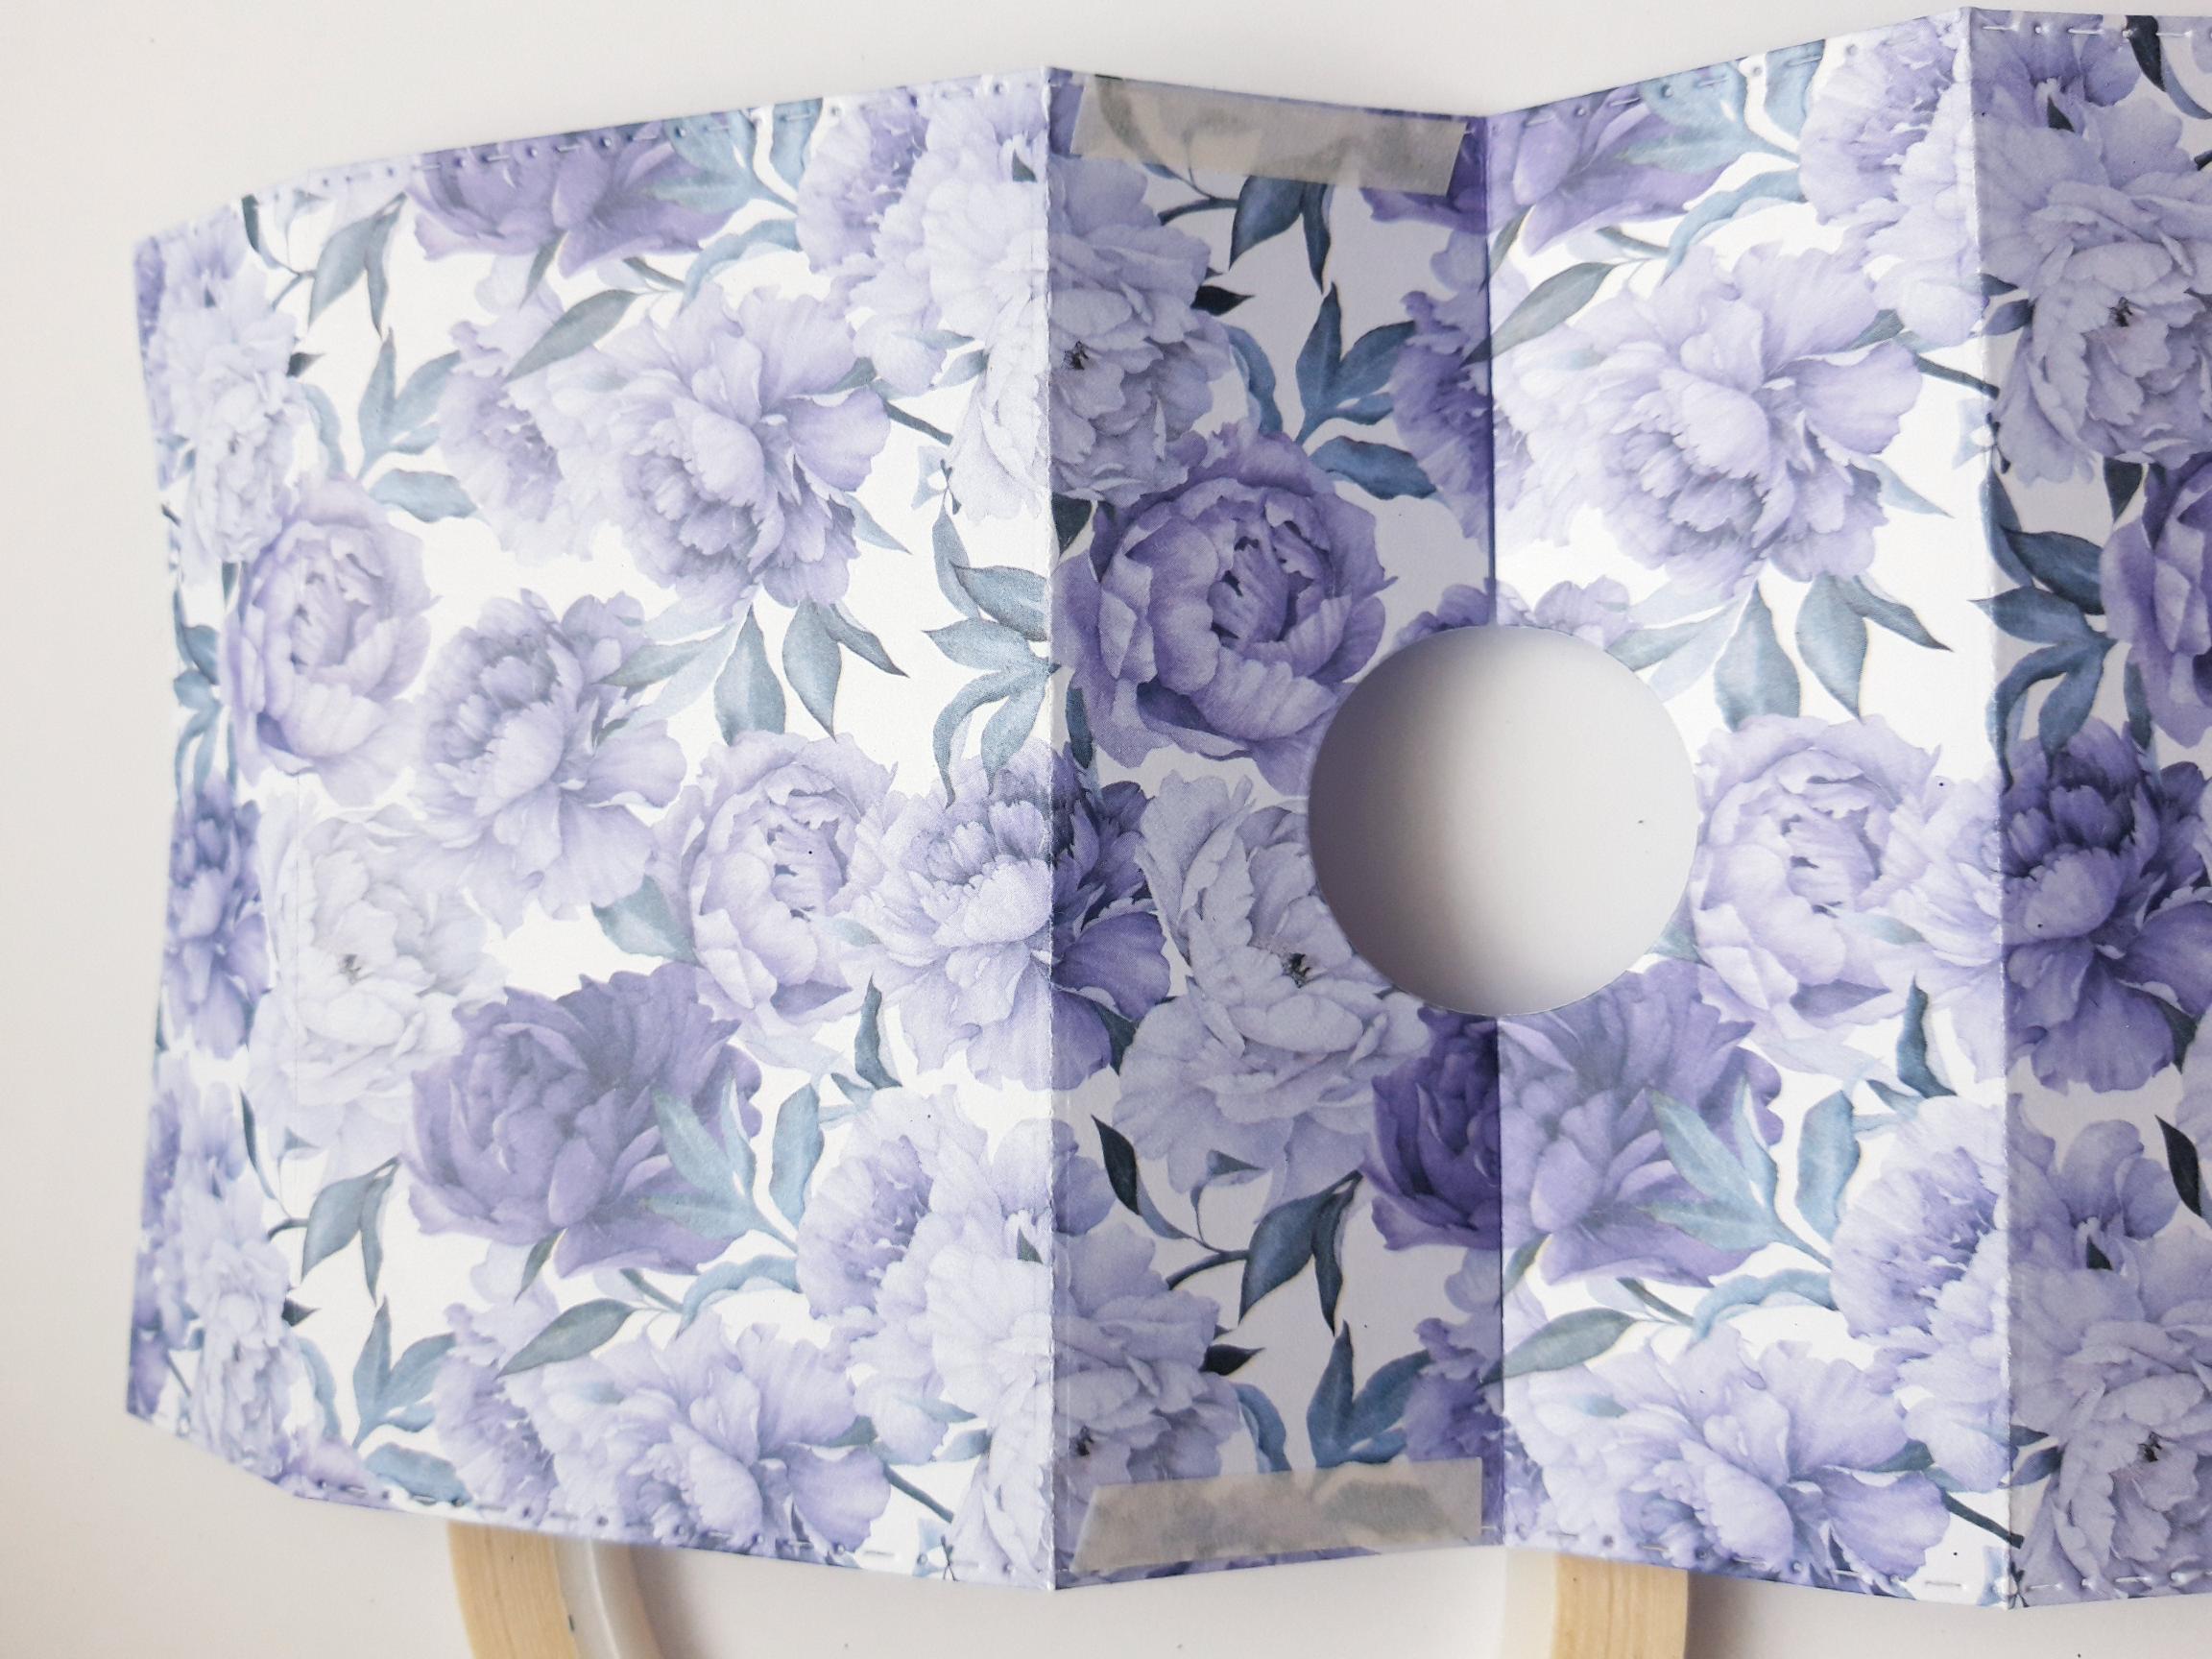
Use a bone folder to fold along all the score lines. Reopen the wallet and apply glue, or double sided adhesive tape, down the two short sides of one of the centre panels, with the cut out circle (as shown here). |
|
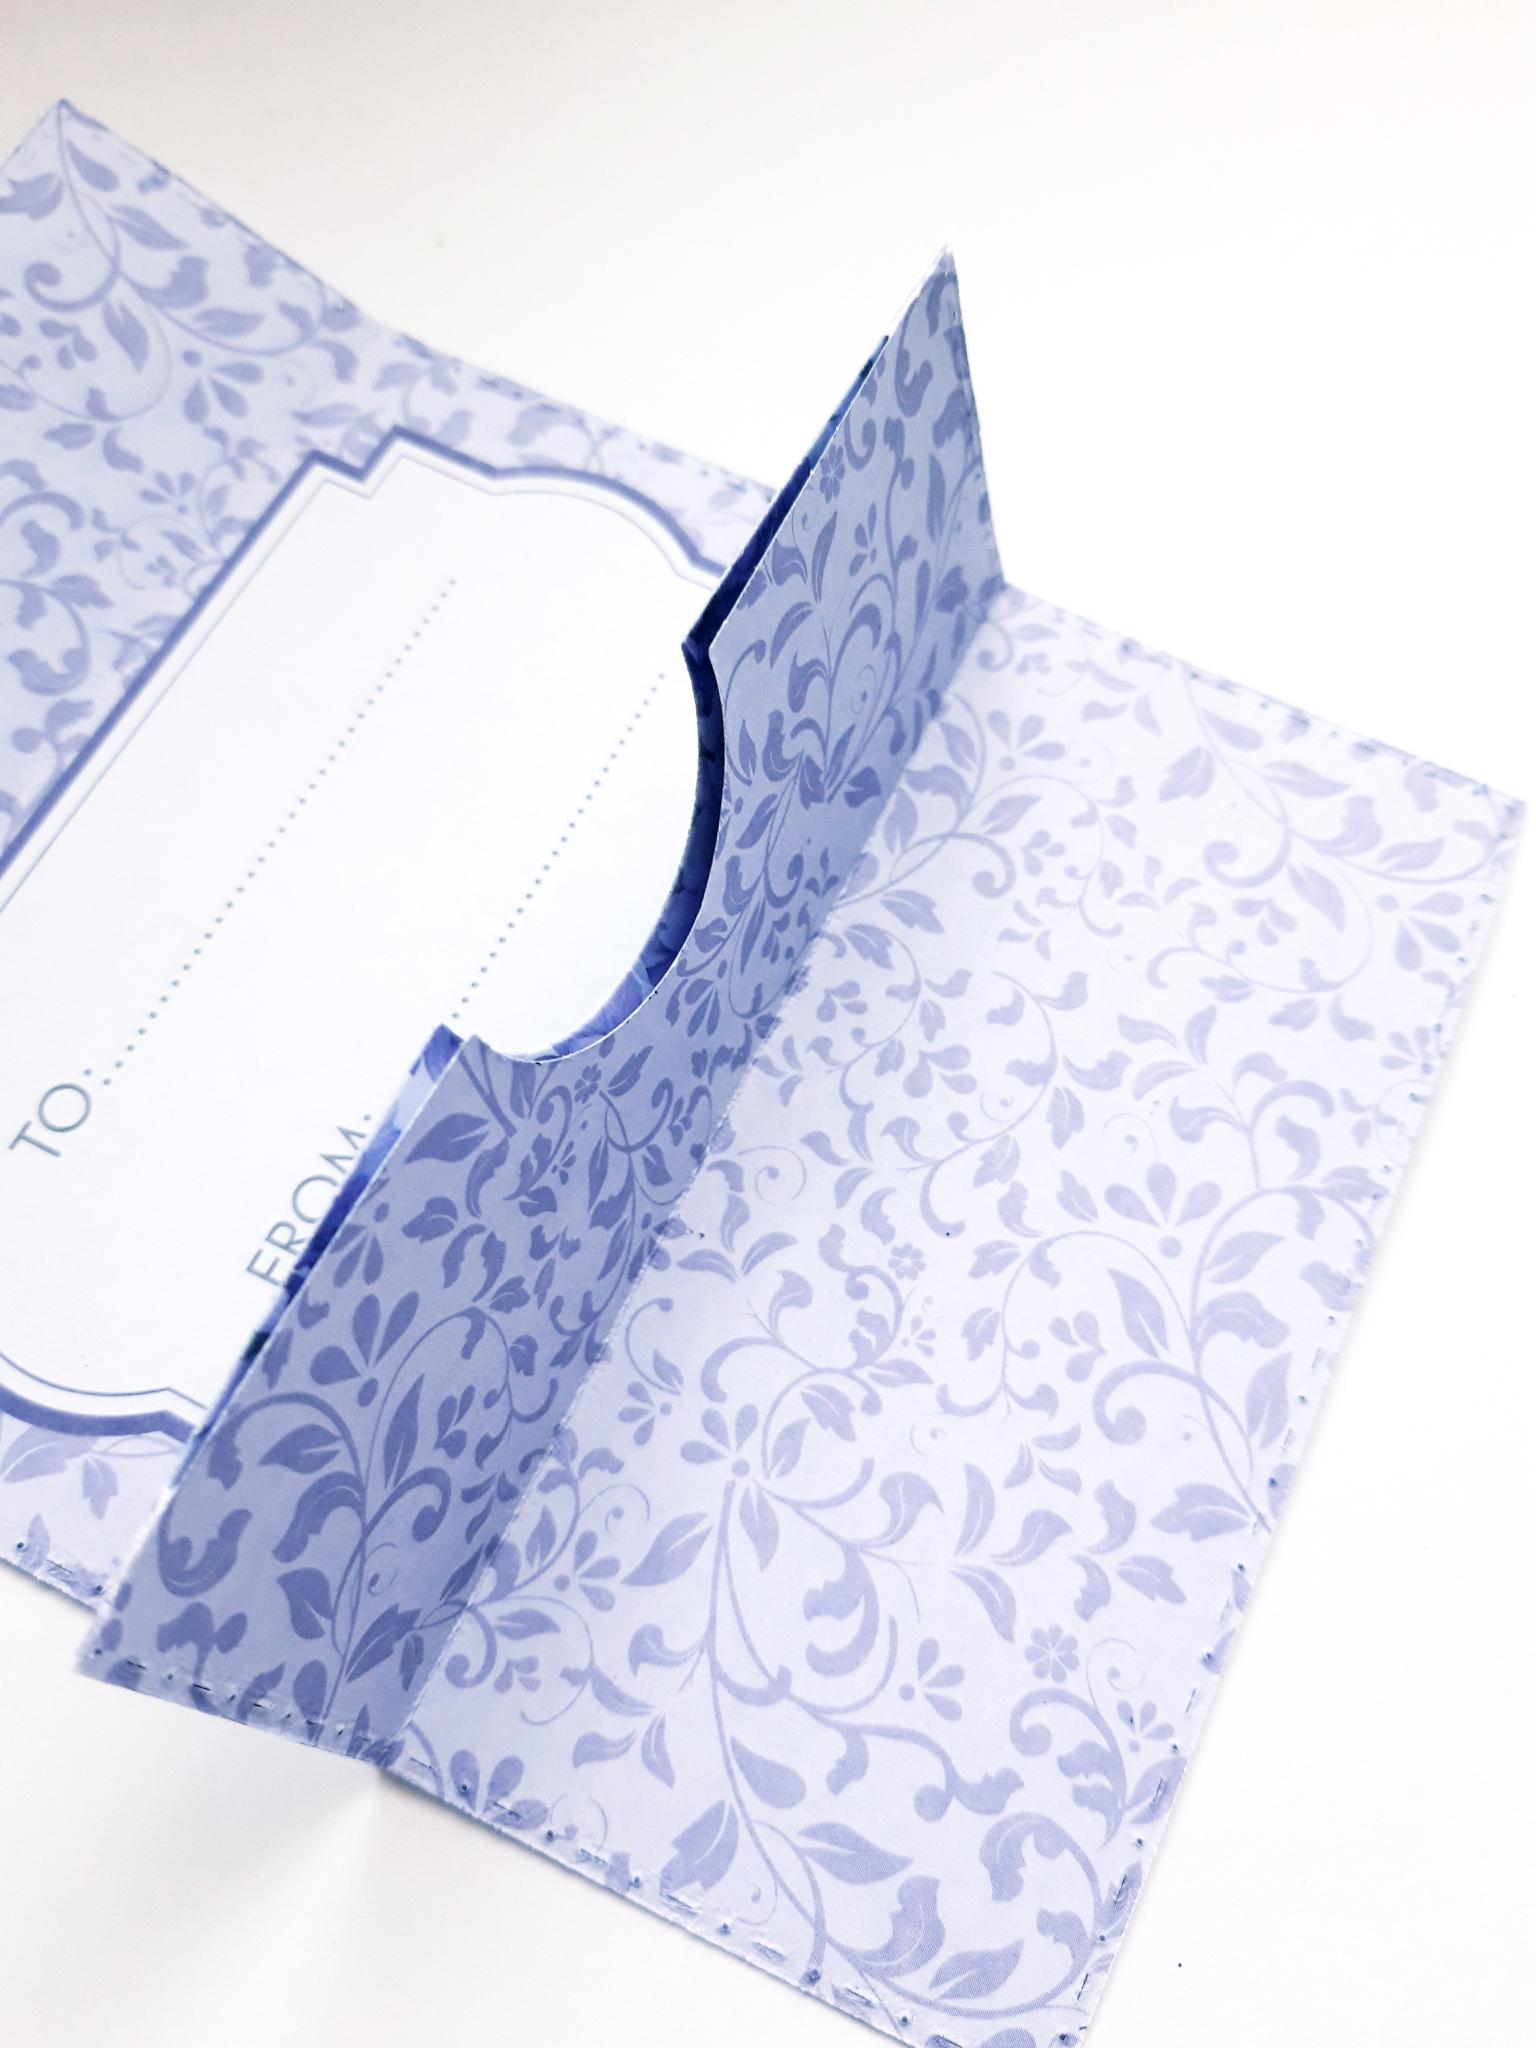
Refold the wallet, allowing the two inner sides to adhere together, to create your pop up card holder element. Set your wallet to one side. |
|
Tear out a decorative sheet, that coordinates with the decorative wallet, from the It's All About You Paper Pad. Place your belly band, and panel die, on top of the paper, and pass it through your die cutting machine. Set them to one side. Keep the remaining paper, as you may want to use it later, or on another project. |
|
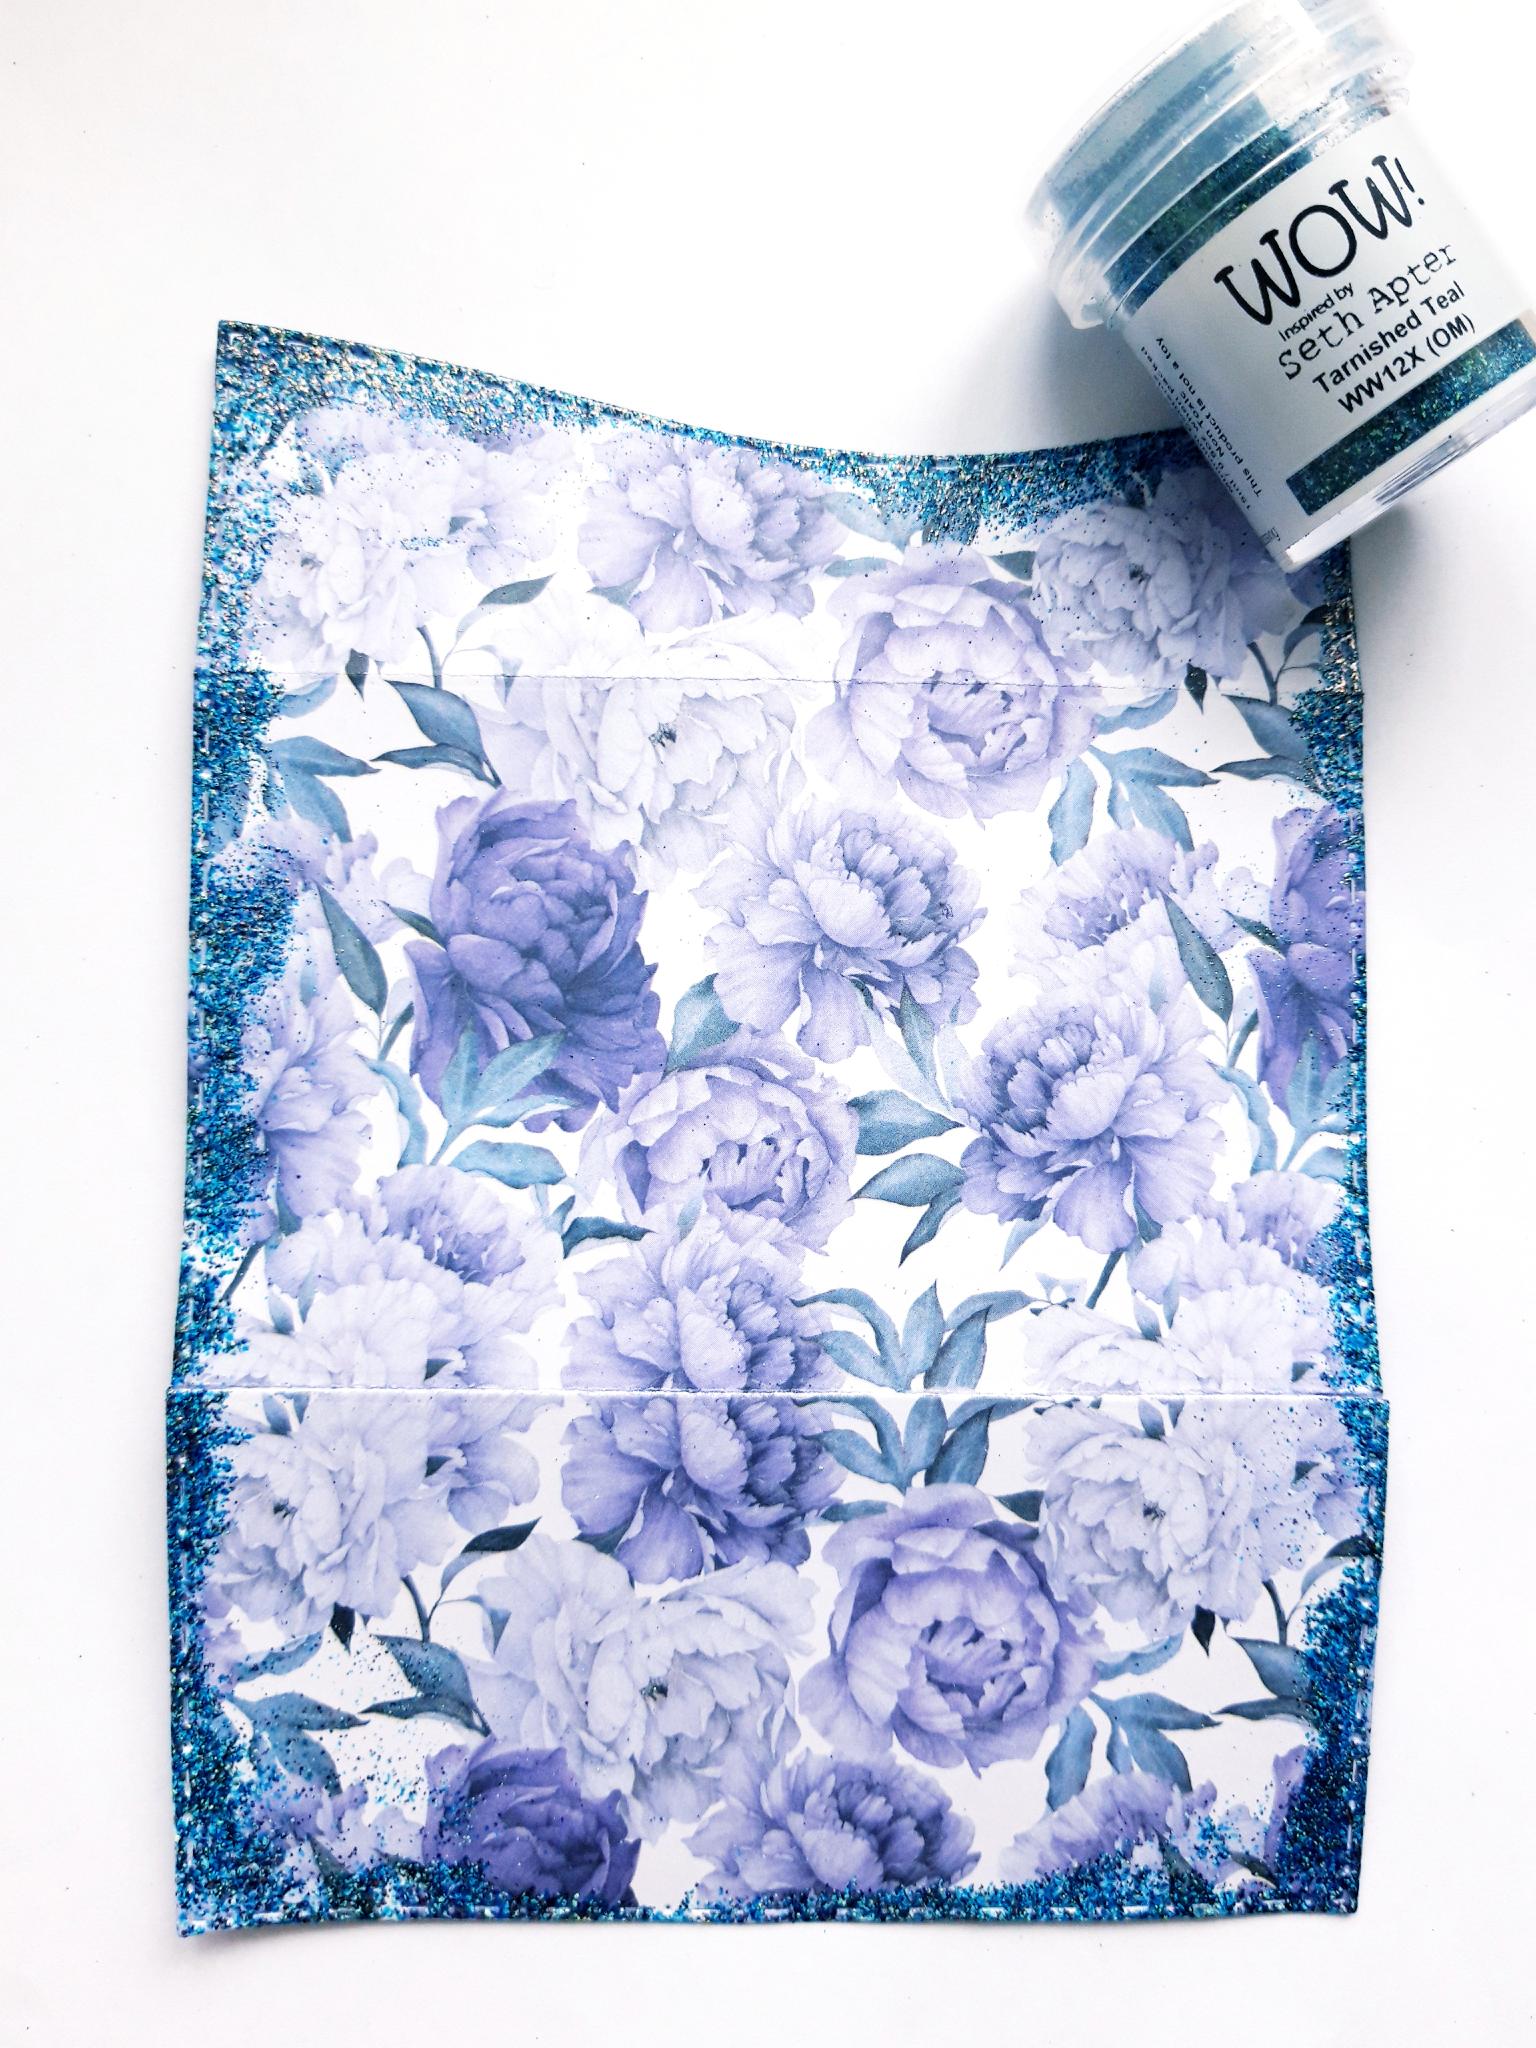
Wipe the anti static bag over your decorative wallet. Ink around the edges with your WOW Embossing Ink Pad. Cover the sticky ink with your WOW Tarnished Teal Embossing Powder. Once your WOW Heat Tool is good and hot, heat set the powder, moving the gun as soon as the powder turns, to avoid warping the paper. Pop your wallet to one side. |

|
Wipe over the die cut belly band, with the anti static bag. Ink around the edges with the WOW Embossing ink pad, and cover with the same embossing powder. Heat up the heat tool, then set the powder, as before. Pop it to one side.
|

|
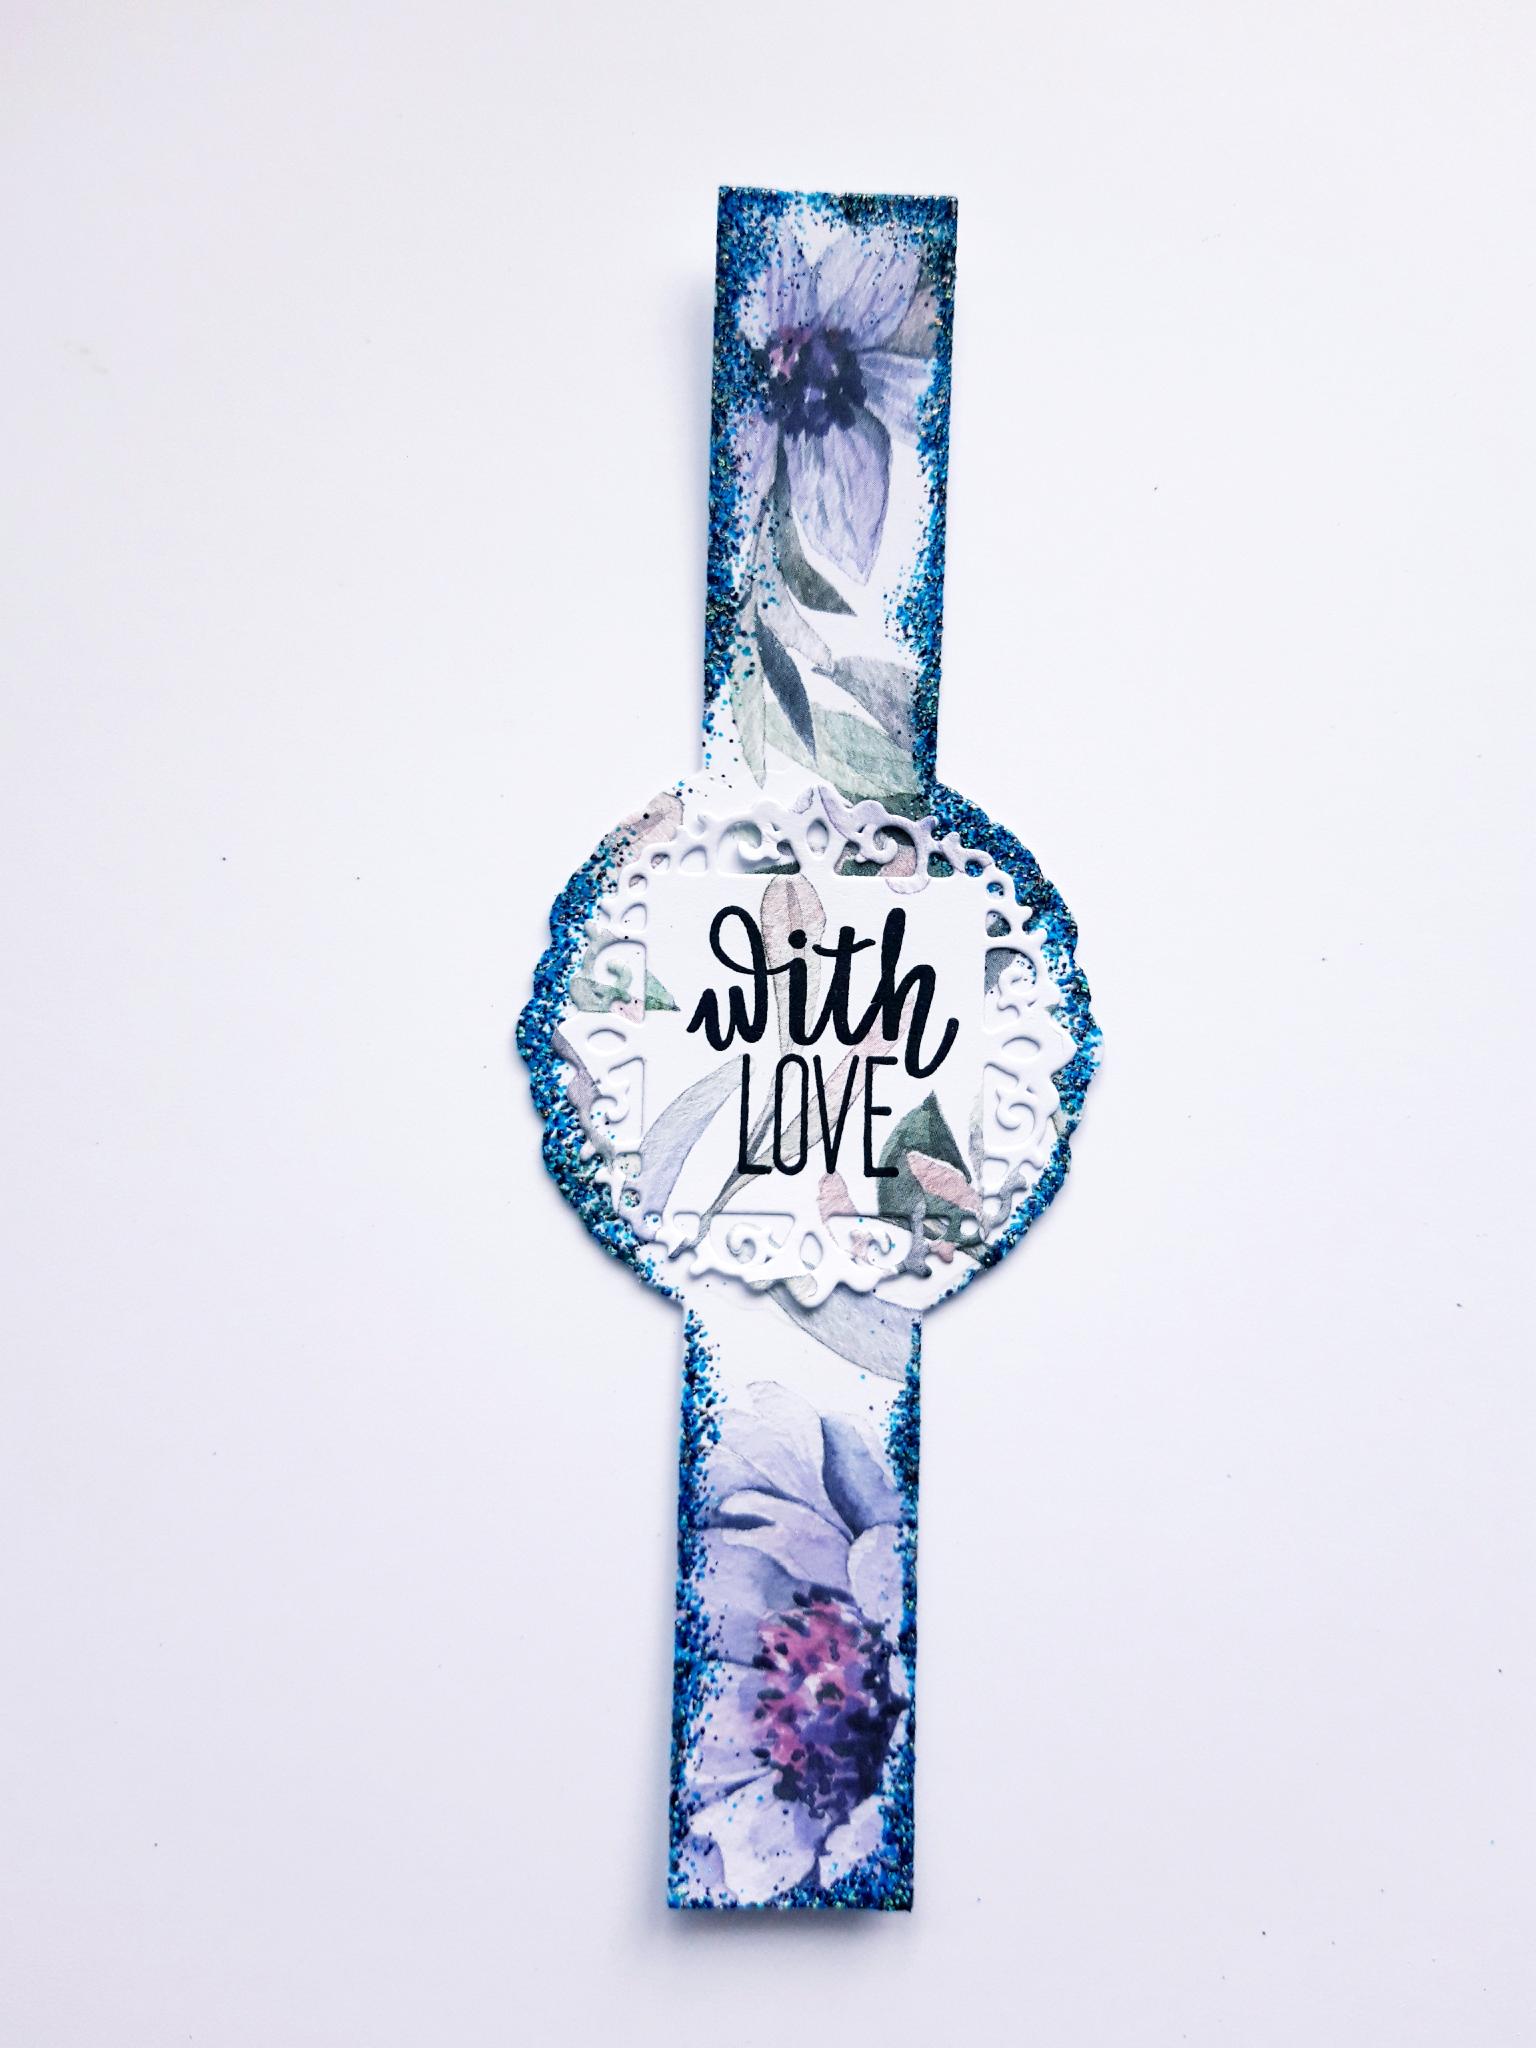
Ink up the sentiment stamp, from the Beautiful Moments Stamp Collection, with the Onyx Black Versafine, and stamp on to the die cut panel. |
|
Once the ink is dry, adhere the stamped panel on to the embossed belly band. |

|
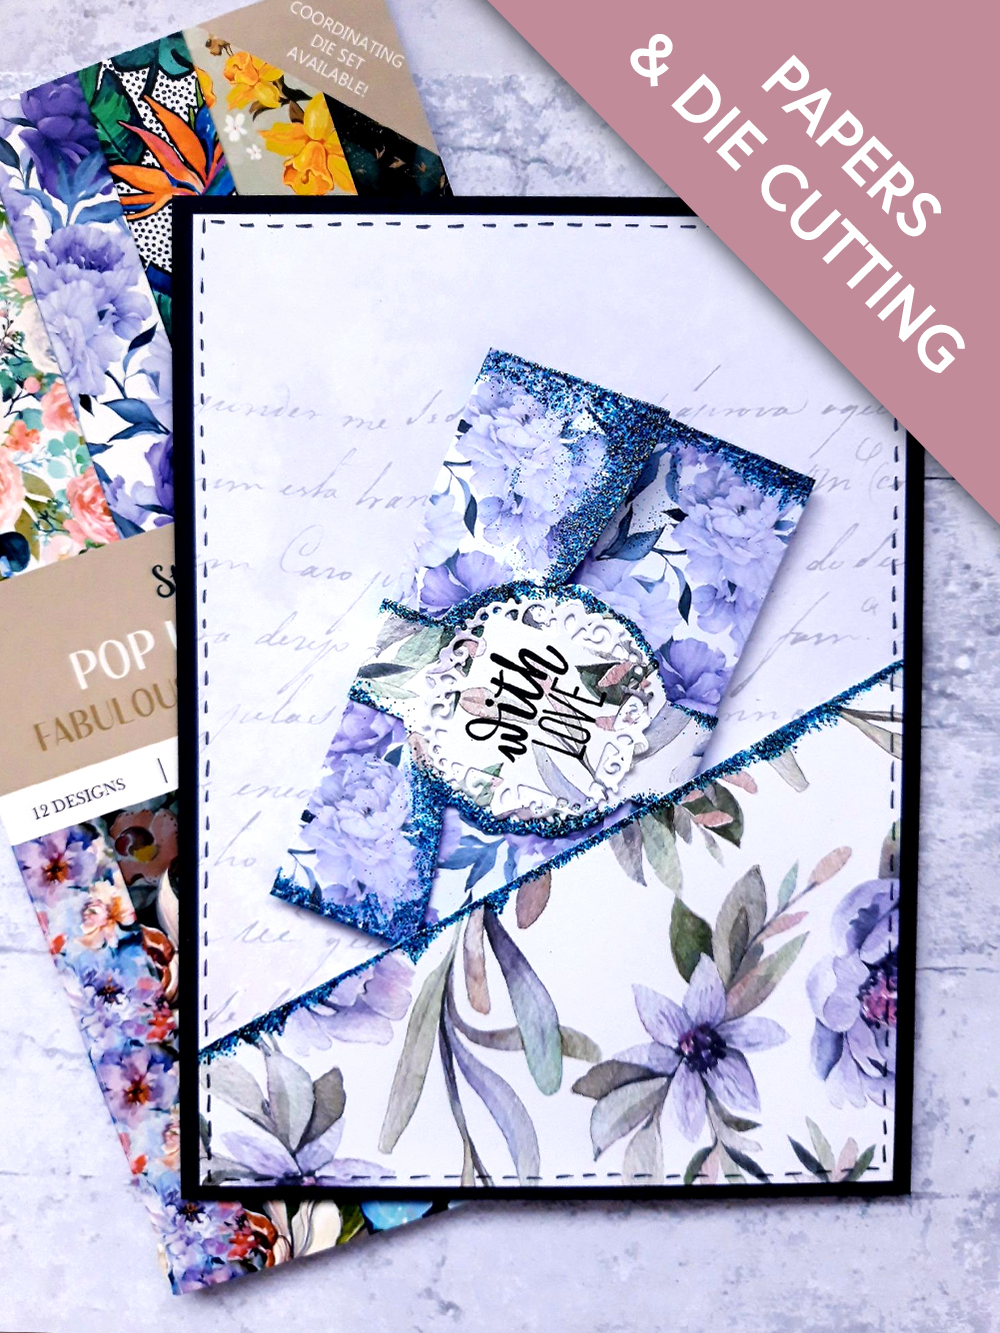
Place the panel in the centre of the front of your wallet, tucking the ends of the belly band over the top and bottom. Turn the wallet over, and secure the 2 ends together, with glue or double sided adhesive tape. Make sure the belly band slides on and off the wallet easily. Set your finished wallet to one side. |
|
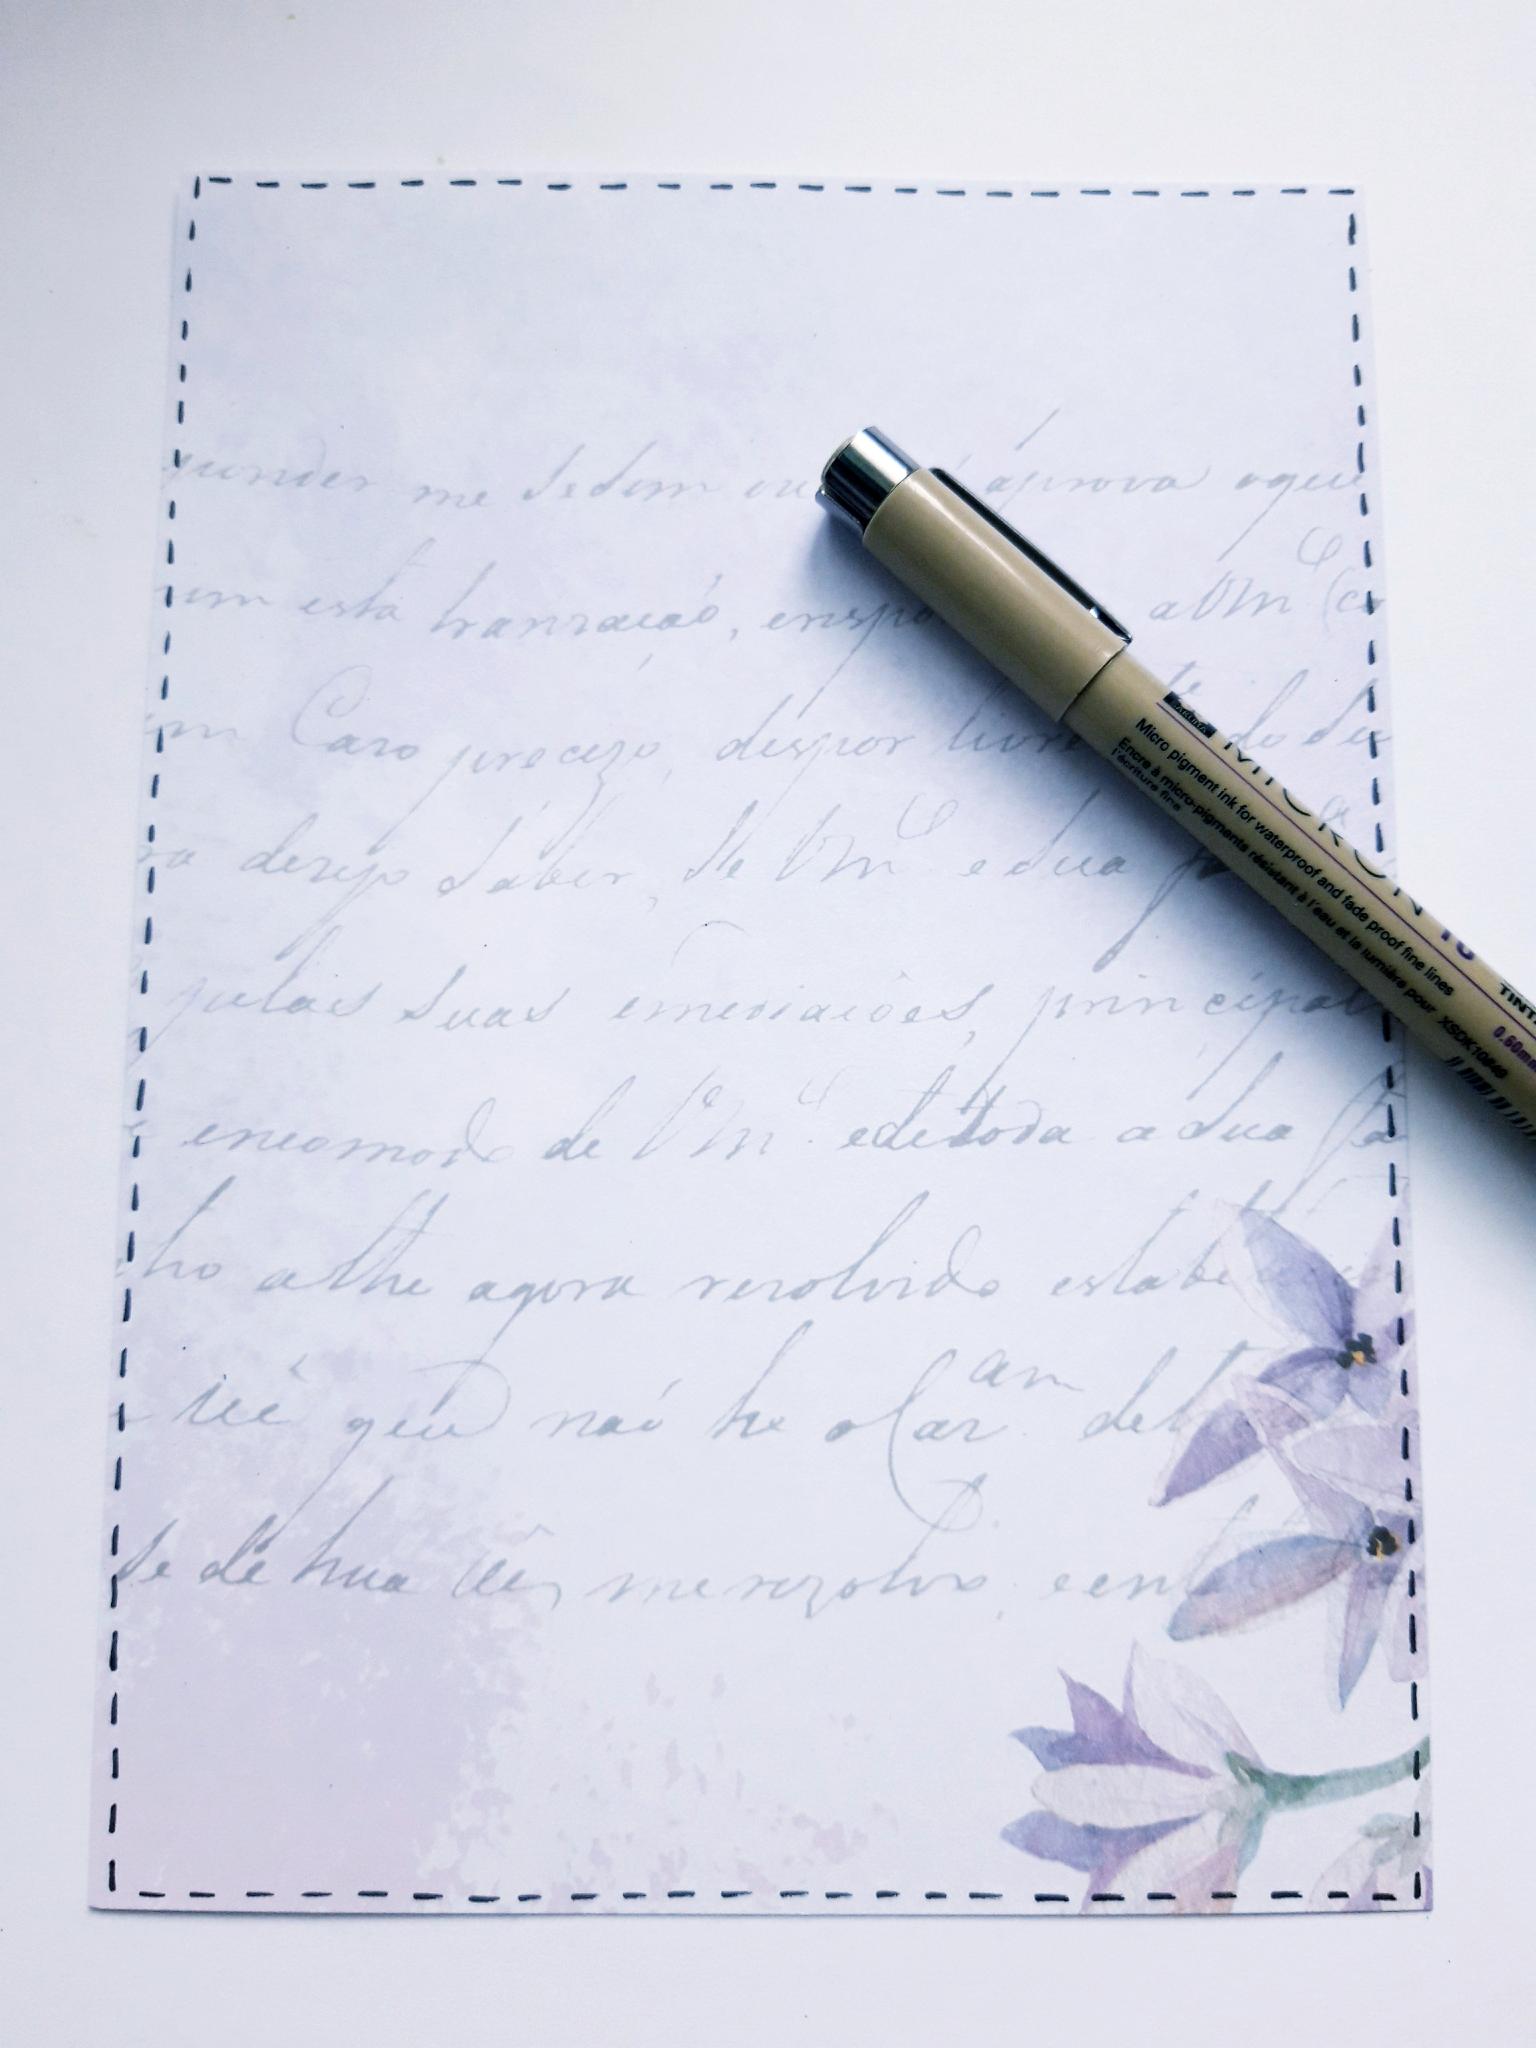
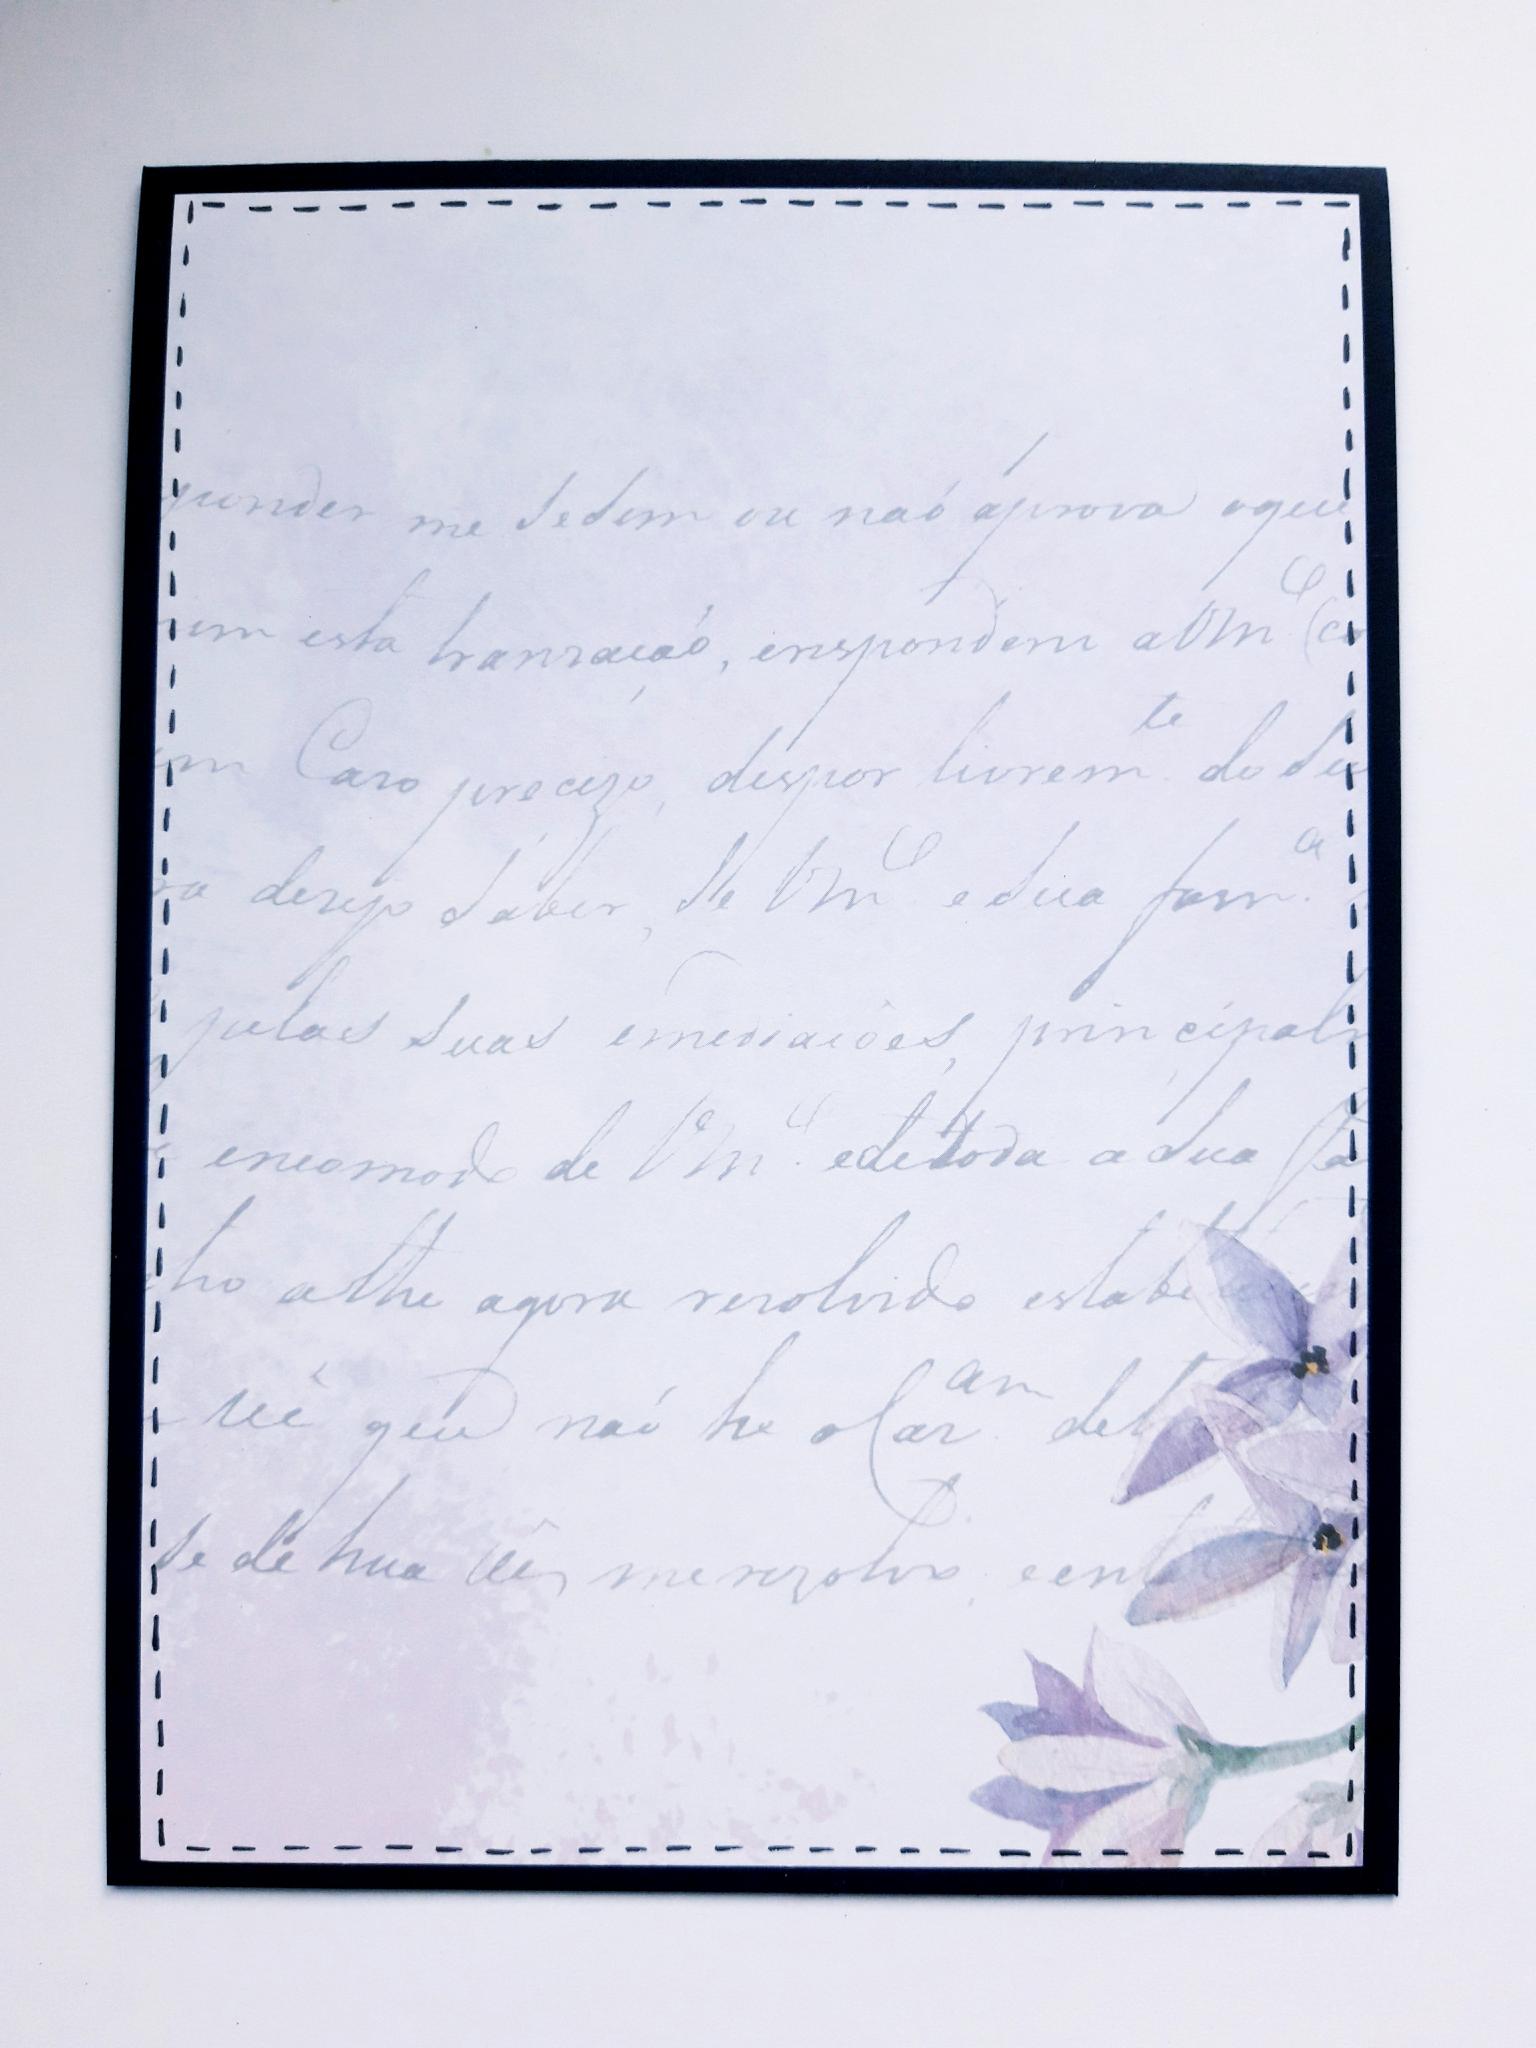
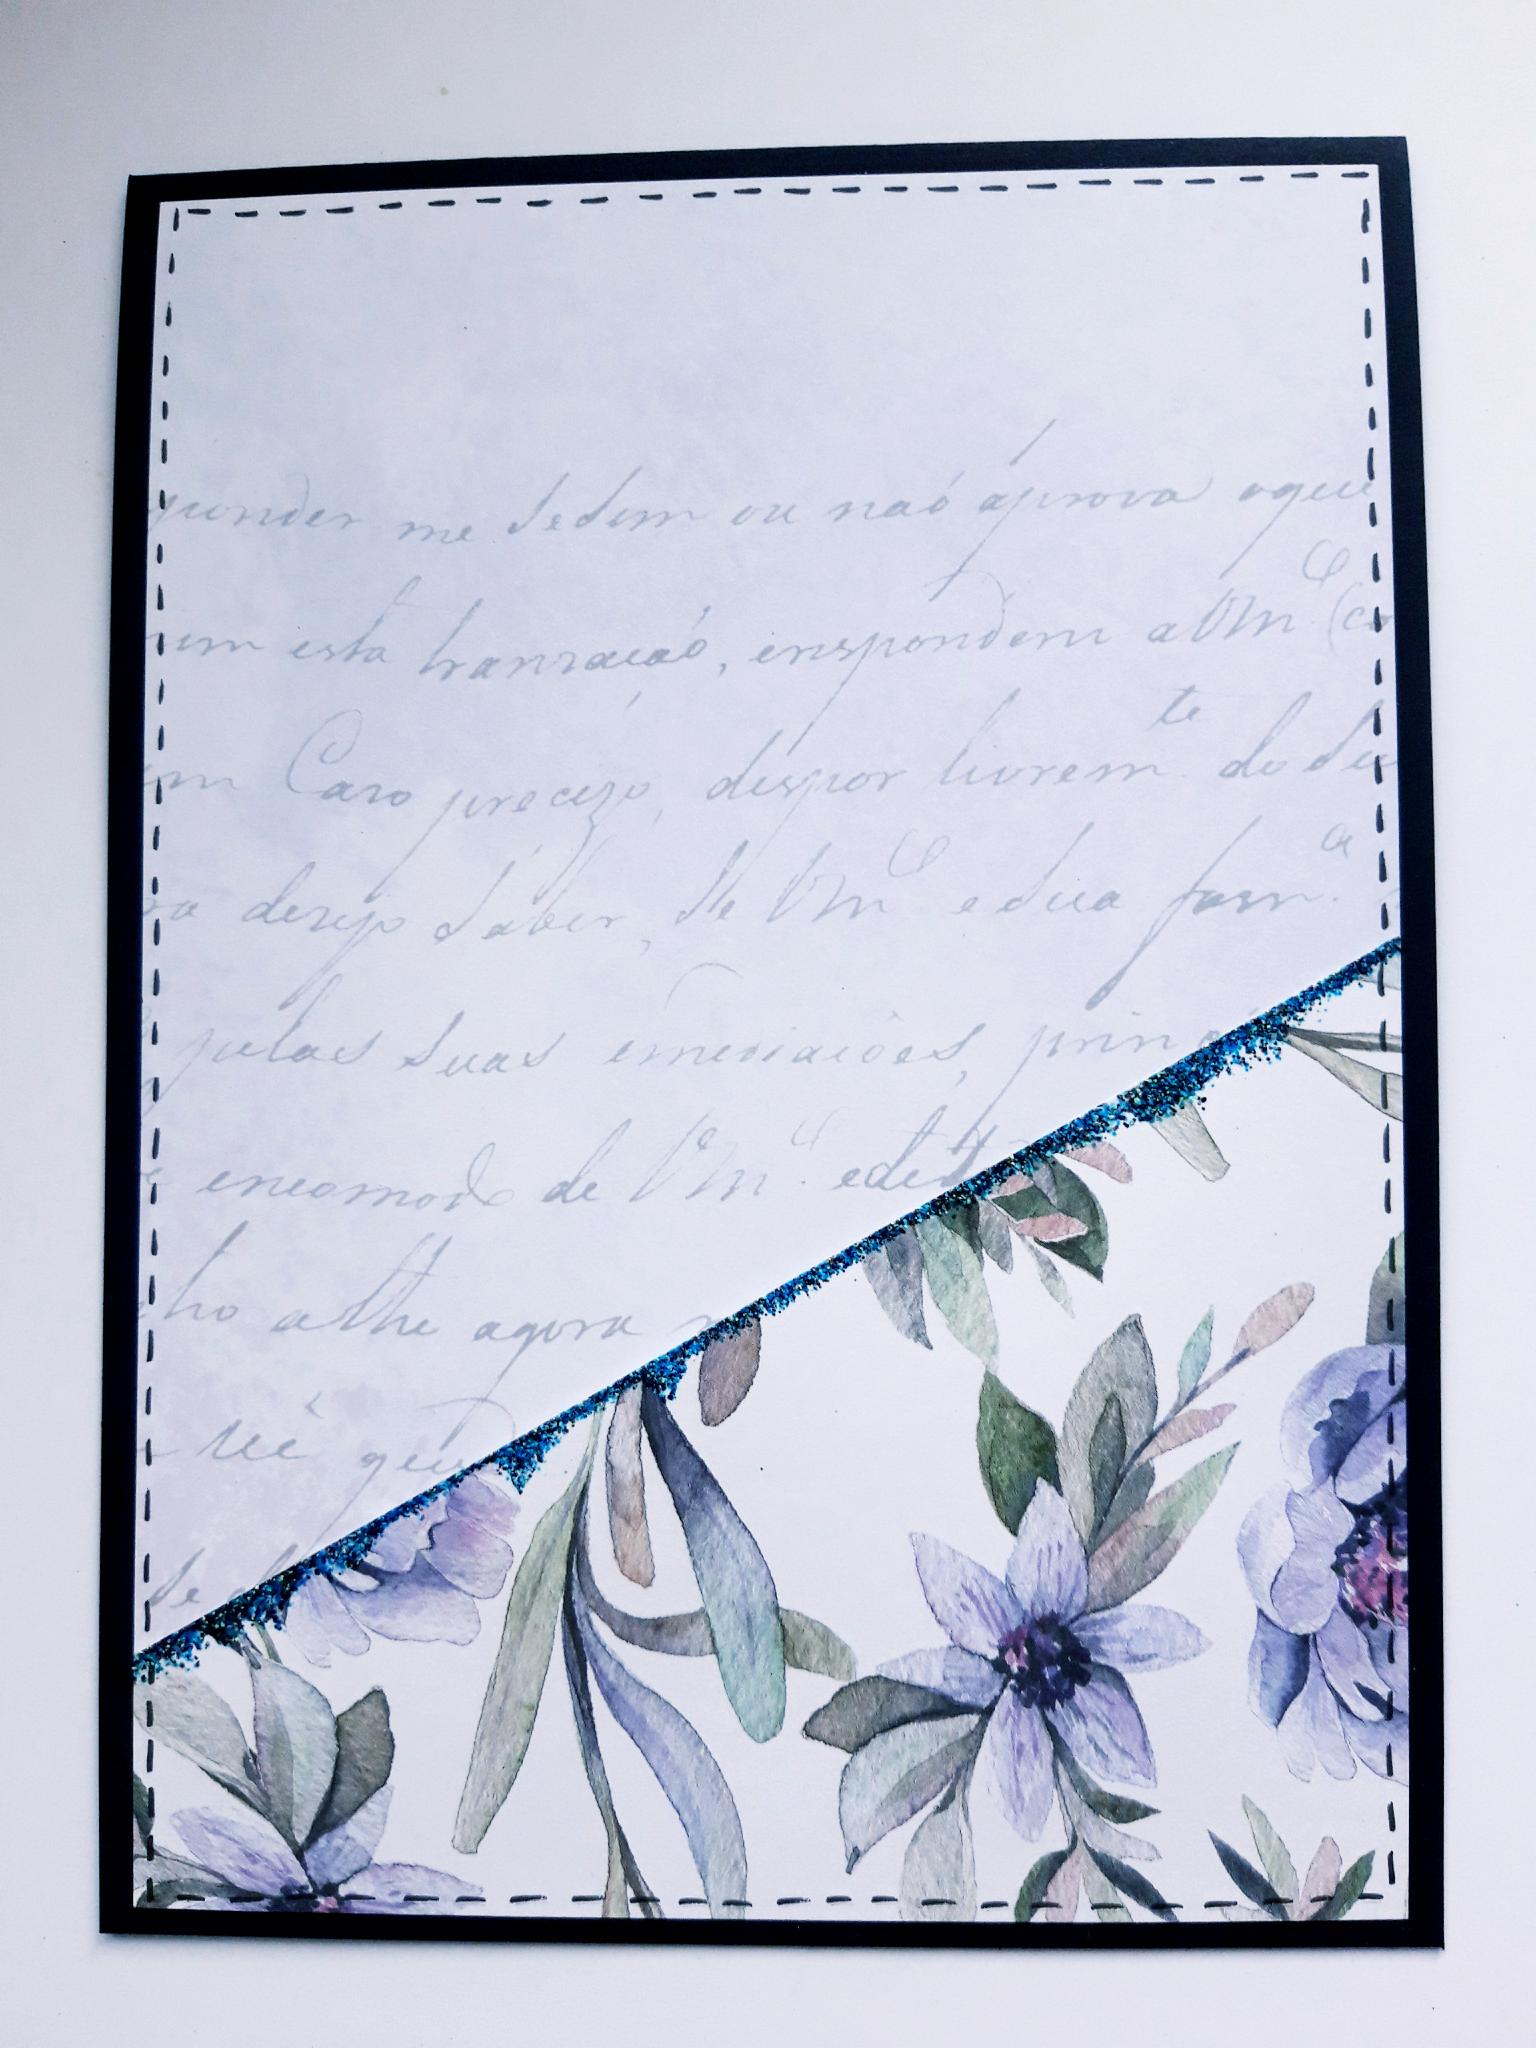
Tear out another decorative sheet, from the It's All About You paper pad, and trim to 7 1/4 x 5 1/4". Use a black fineline pen to draw a decorative, stitched frame around the paper. Set it to one side. |
|
Tear another sheet from the pad, and trim to 5 1/2" in width. (Alternatively, you may be able to use the leftover paper you set aside earlier). Hold it against your paper, from the previous step, and decide how deep you want your "pocket" to be (in which your wallet will sit). Mark where you want to cut the paper, diagonally, and do so, with your paper trimmer. Use your pen to draw another decorative stitched frame around the pocket. |
|
Wipe the anti static bag over your pocket. Ink around the edges with the WOW Embossing Ink Pad. Apply the Tarnished Teal embossing powder over the sticky ink, and set with your WOW heat tool, having got it nice and hot first. |
|
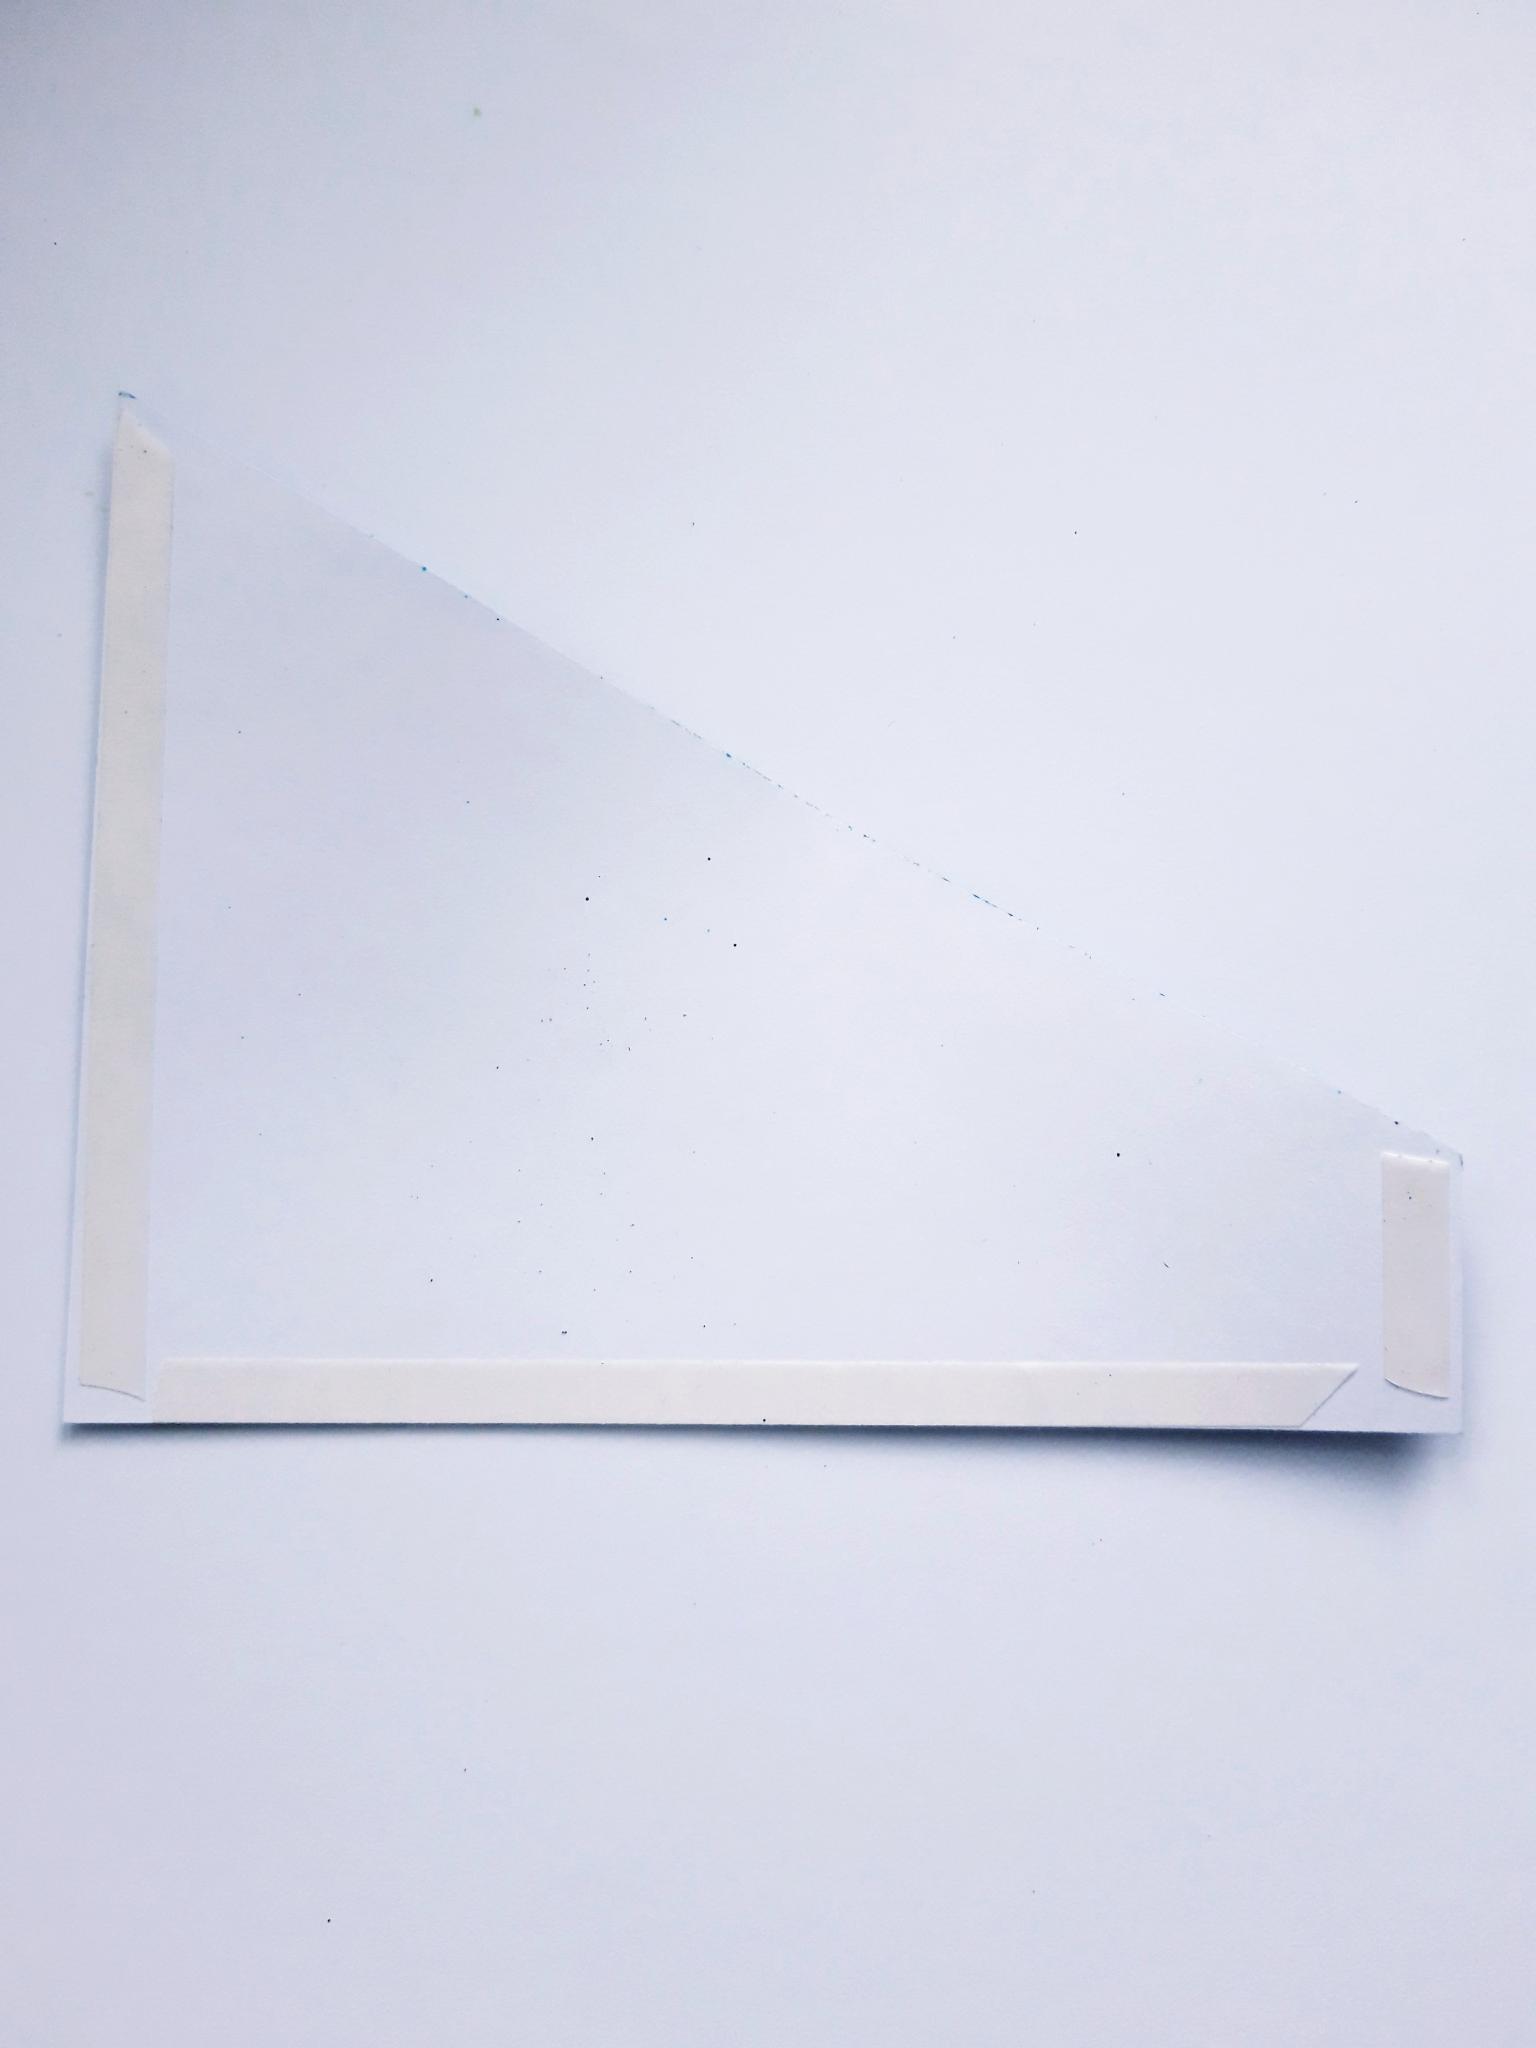
Turn the pocket over, and put double sided adhesive tape down the two sides, and along the bottom. |
|
Adhere the decorative, stitched paper, on to the front of your black, top folding card blank. |
|
To finish, remove the backing from the double sided tape, and carfefully line up, and adhere your pocket, on to the front of your card. You can now slide your decorative wallet in to the pocket. |