Give your friends $10 off their first order!
Refer a FRIEND


WHAT YOU WILL NEED:
White card (7 x 4 1/2")
Dies from Pop Up Gift Card Holder Die Collection
Papers from Pop Up Gift Card Fabulous Florals Paper Pad
Dies from All Occasions Die Collection (HSN) OR Beautiful Bands/Celebration Bands Die Collections (UK)
WOW Embossing Ink Pad
WOW Embossing Powder: Dirti Verdi, Tarnished Teal
Anti Static bag
WOW Heat Tool
Paper Trimmer
Perfect Together Glue or double sided tape
Die Cutting machine
[click image to enlarge] 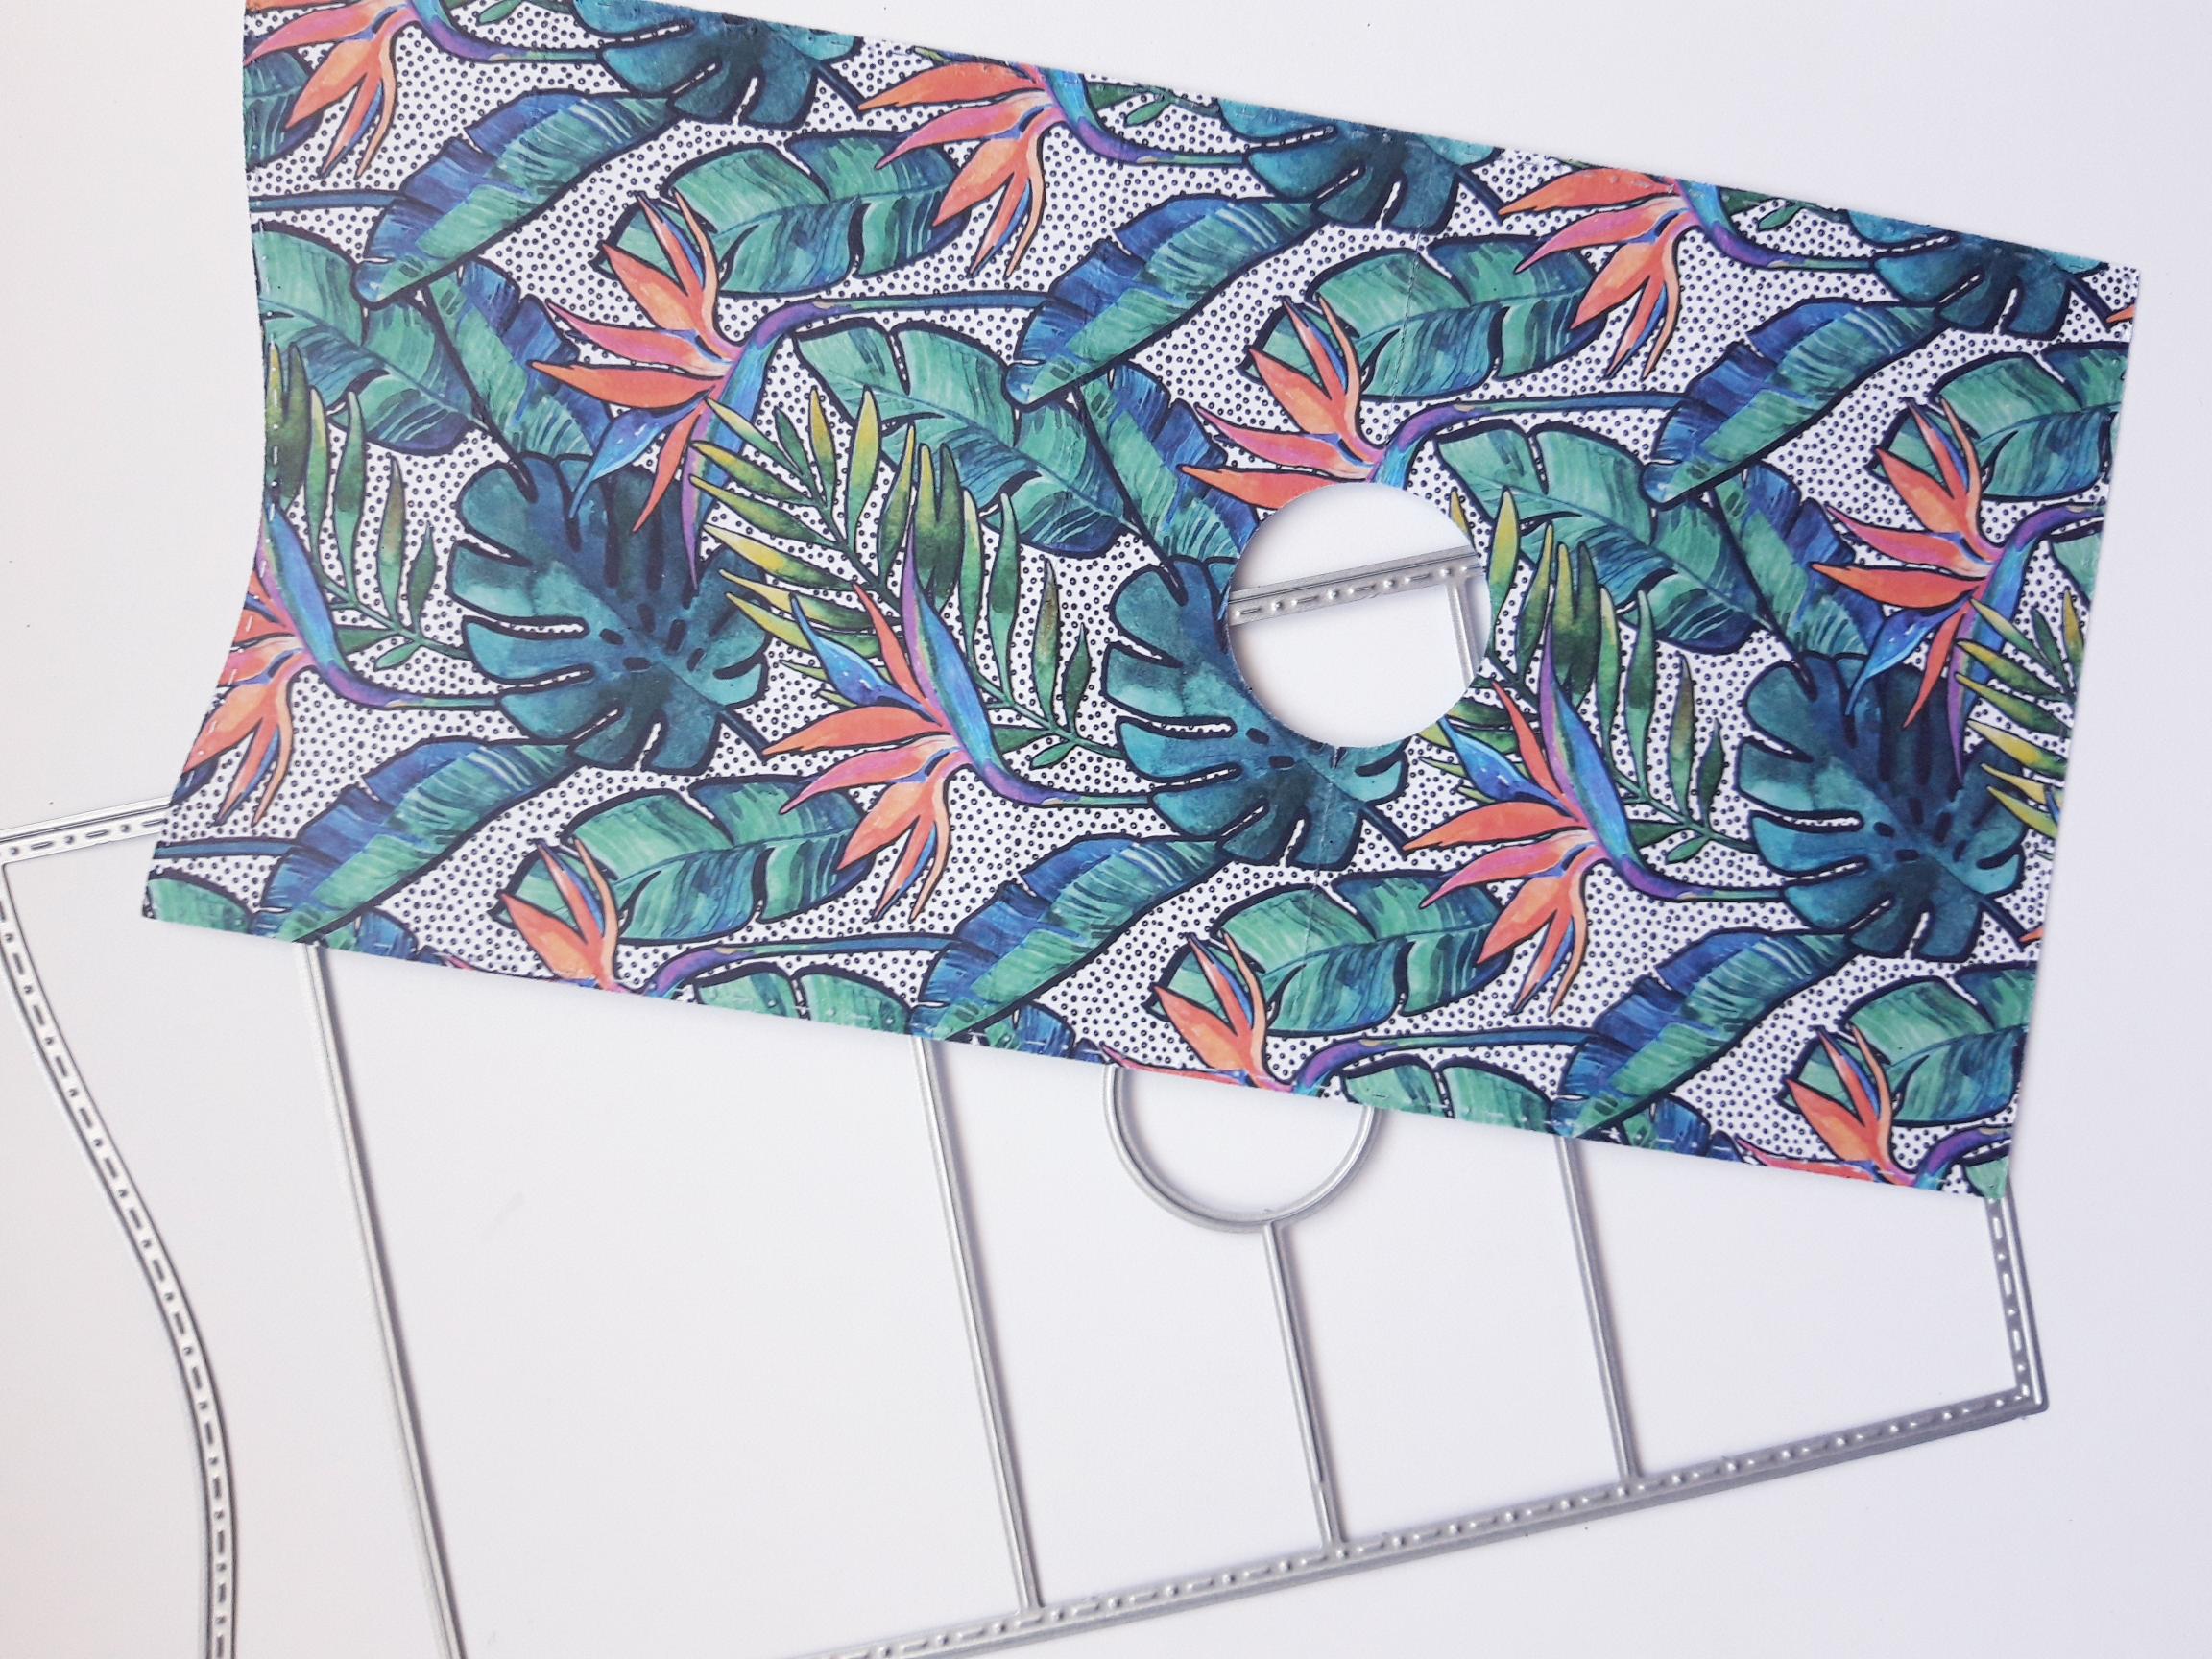
|
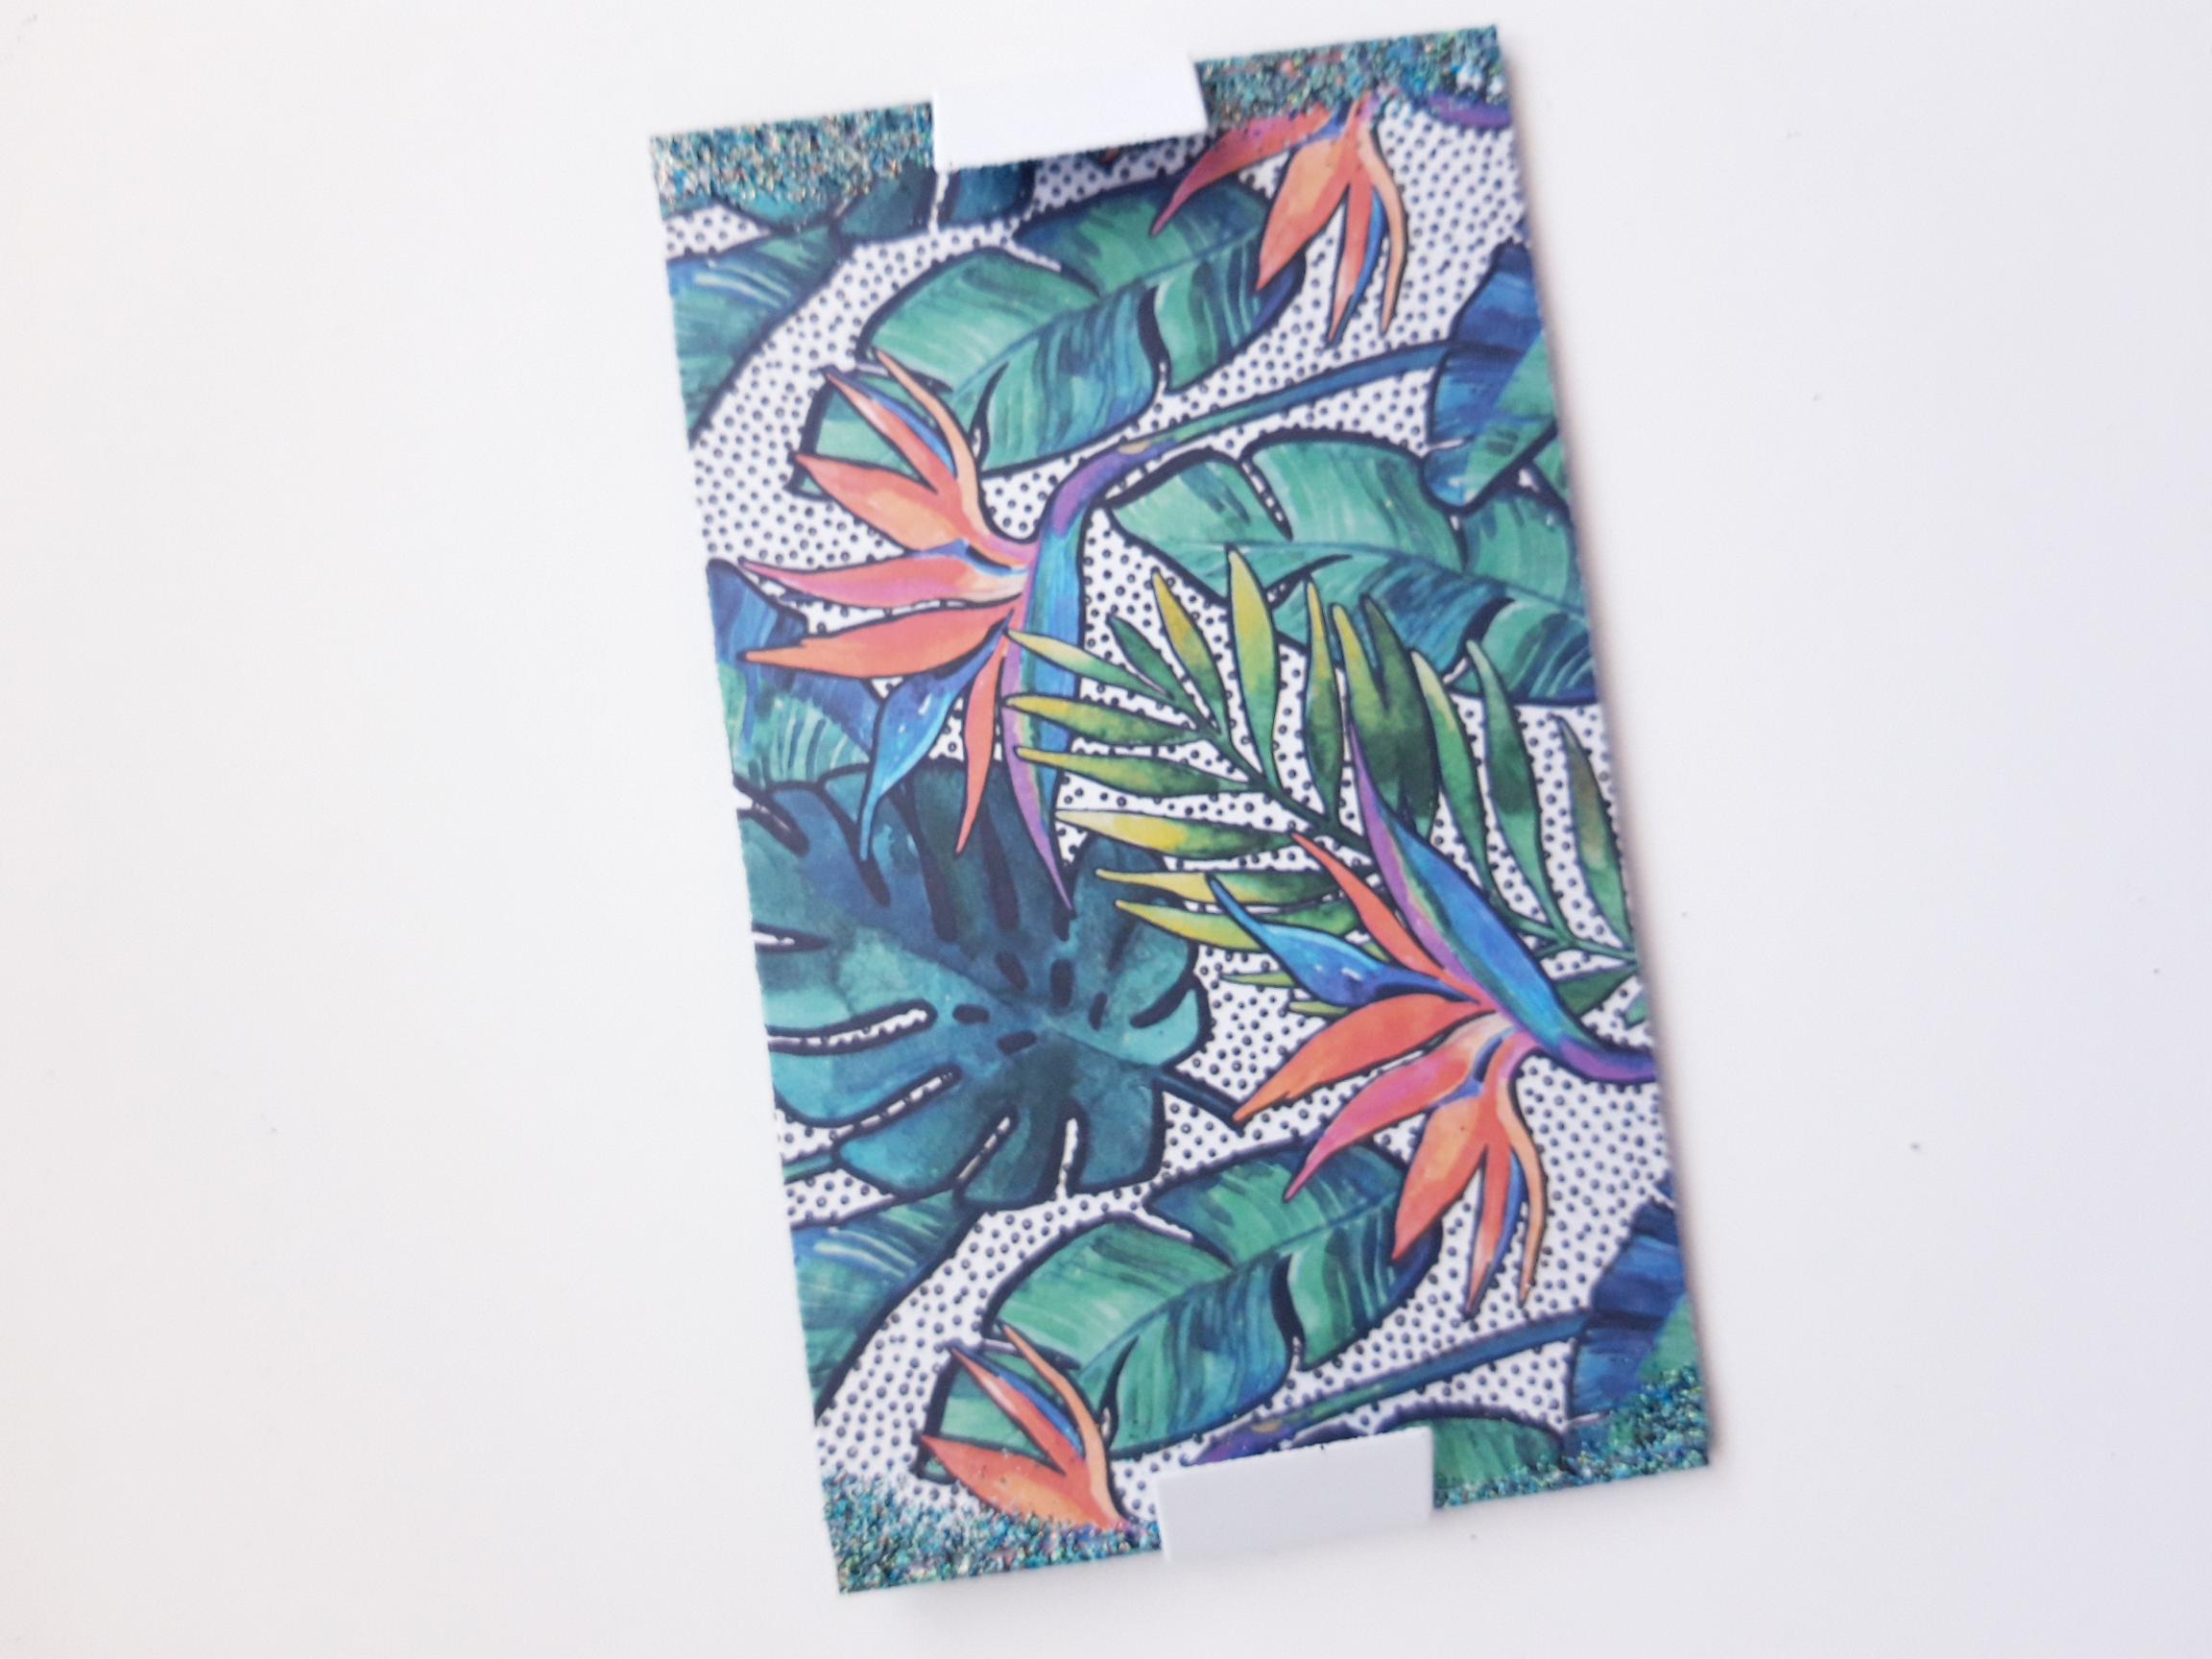
Tear out this decorative sheet from the Pop Up Gift Card Fabulous Florals Paper Pad. Place the die, from the Pop Up Gift Card Holder Die Collection, on to the paper, and run it through your die cutting machine. |
|
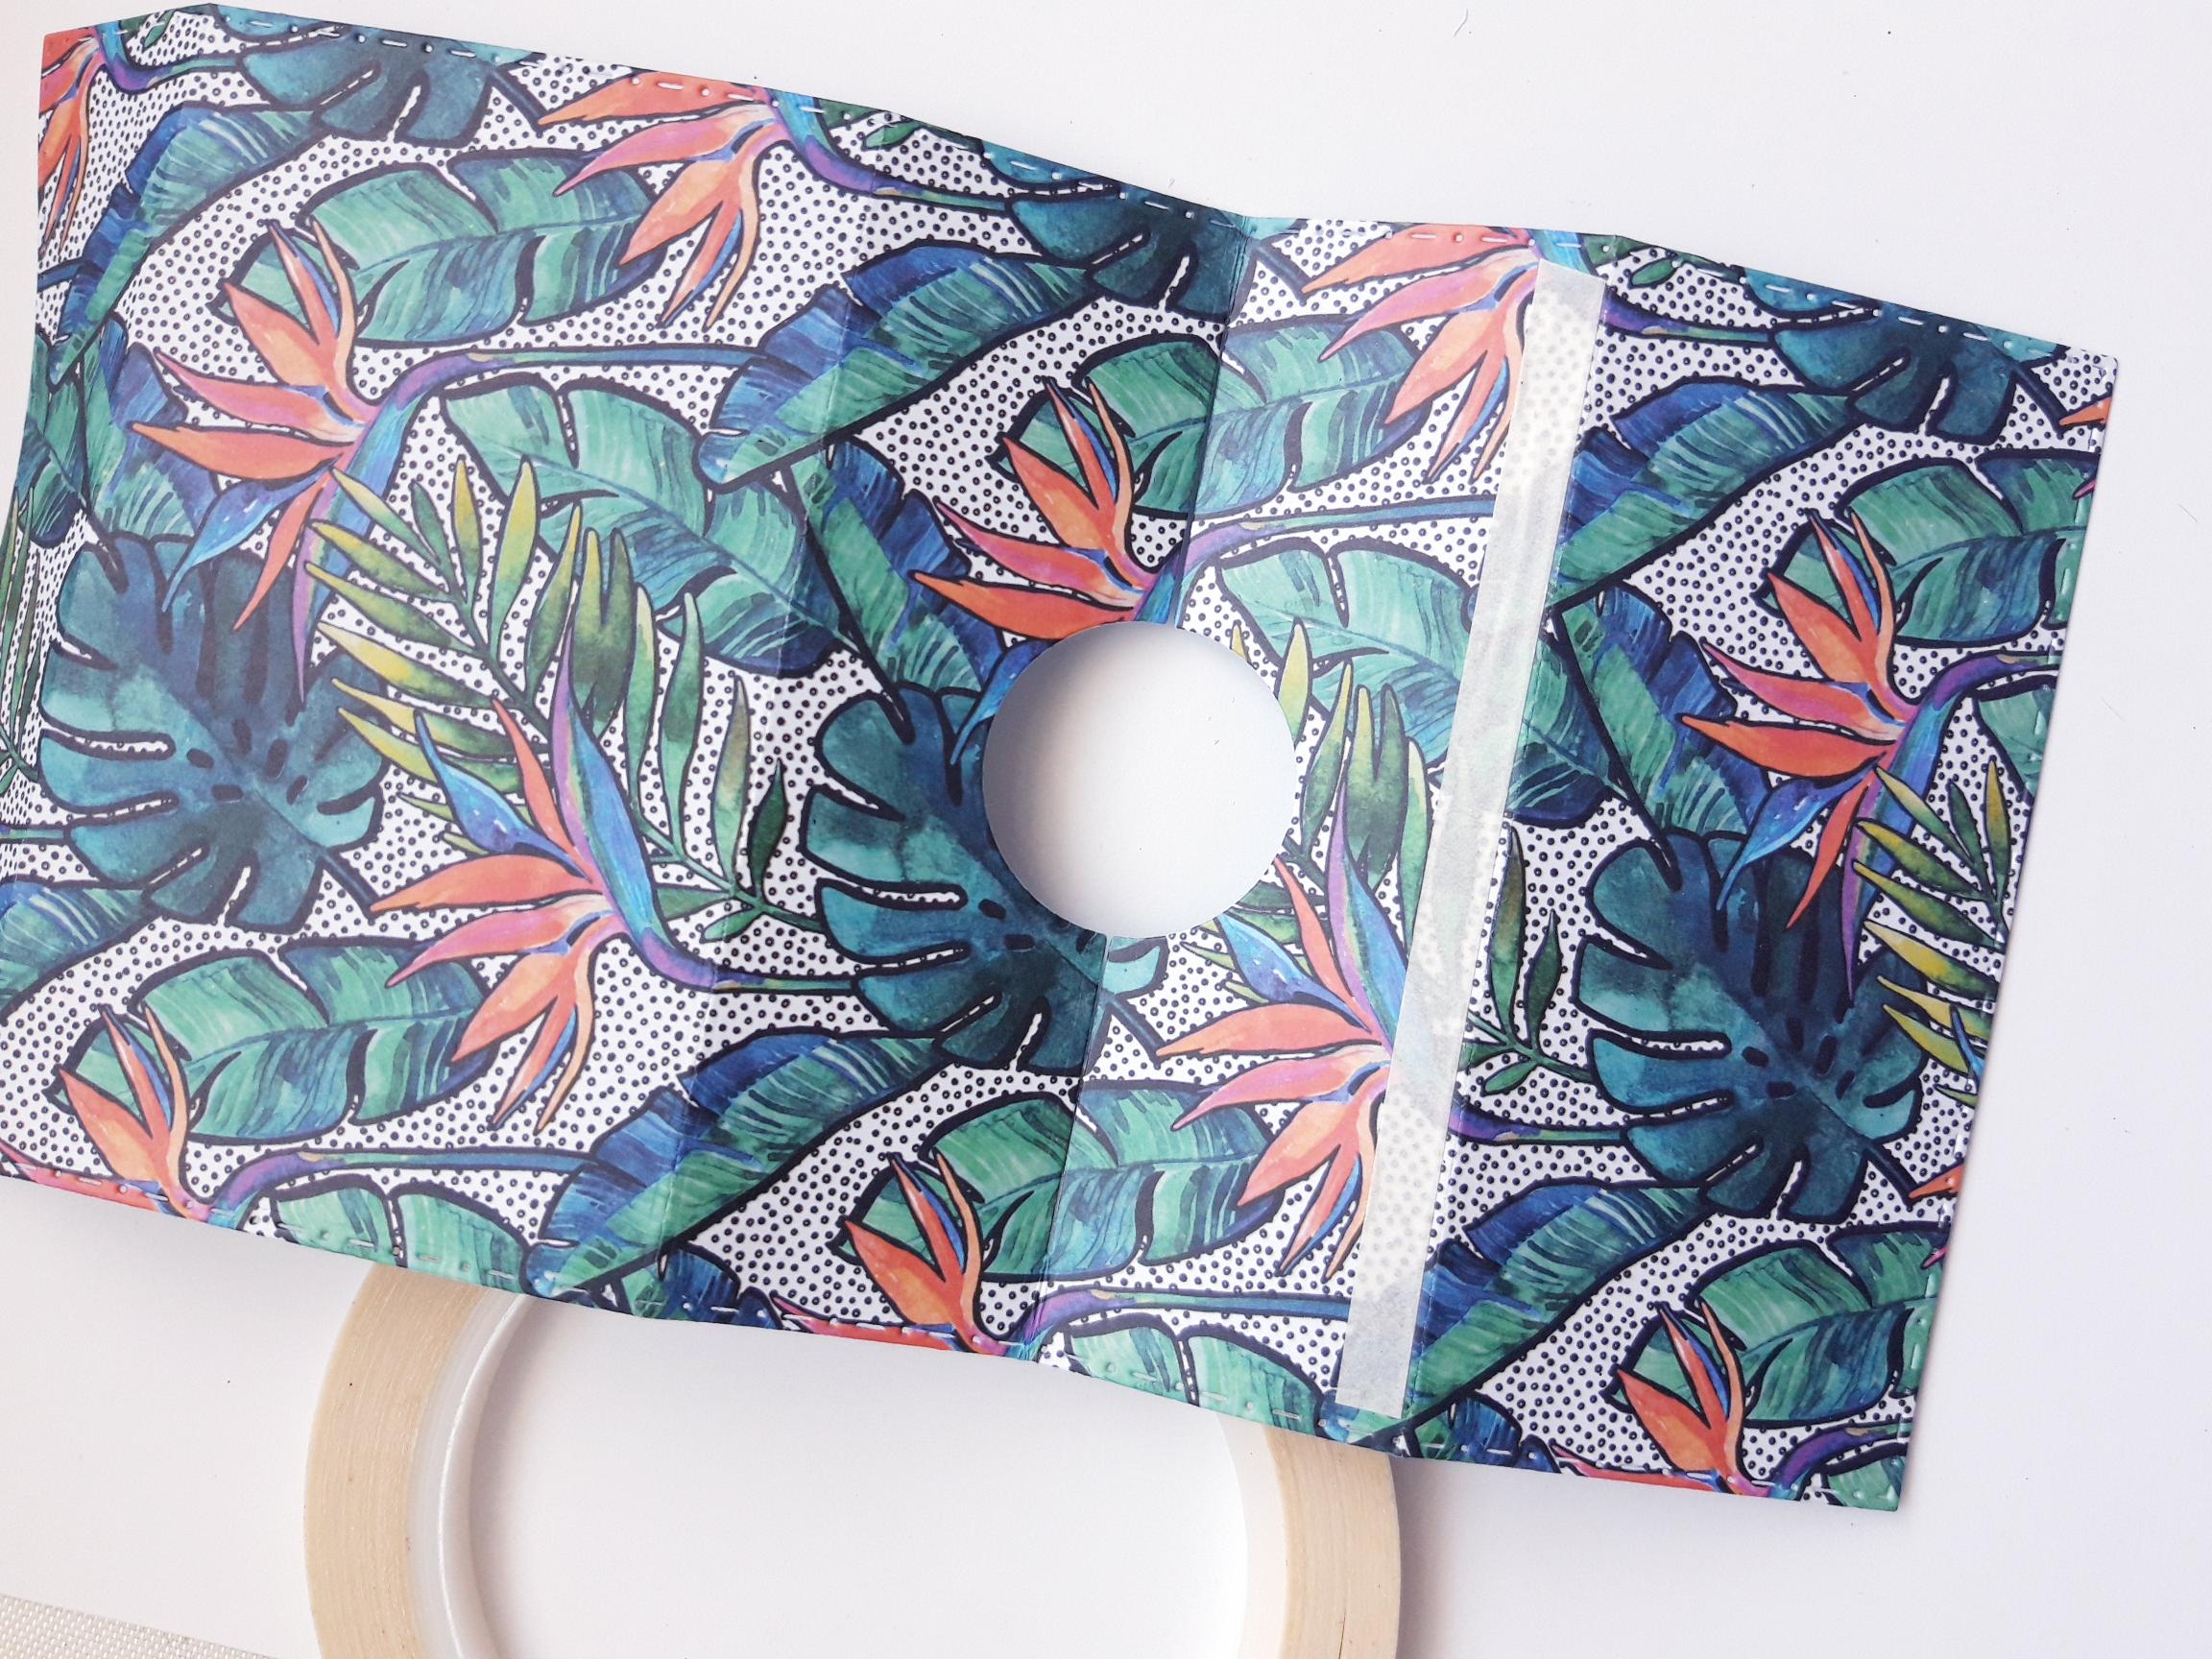
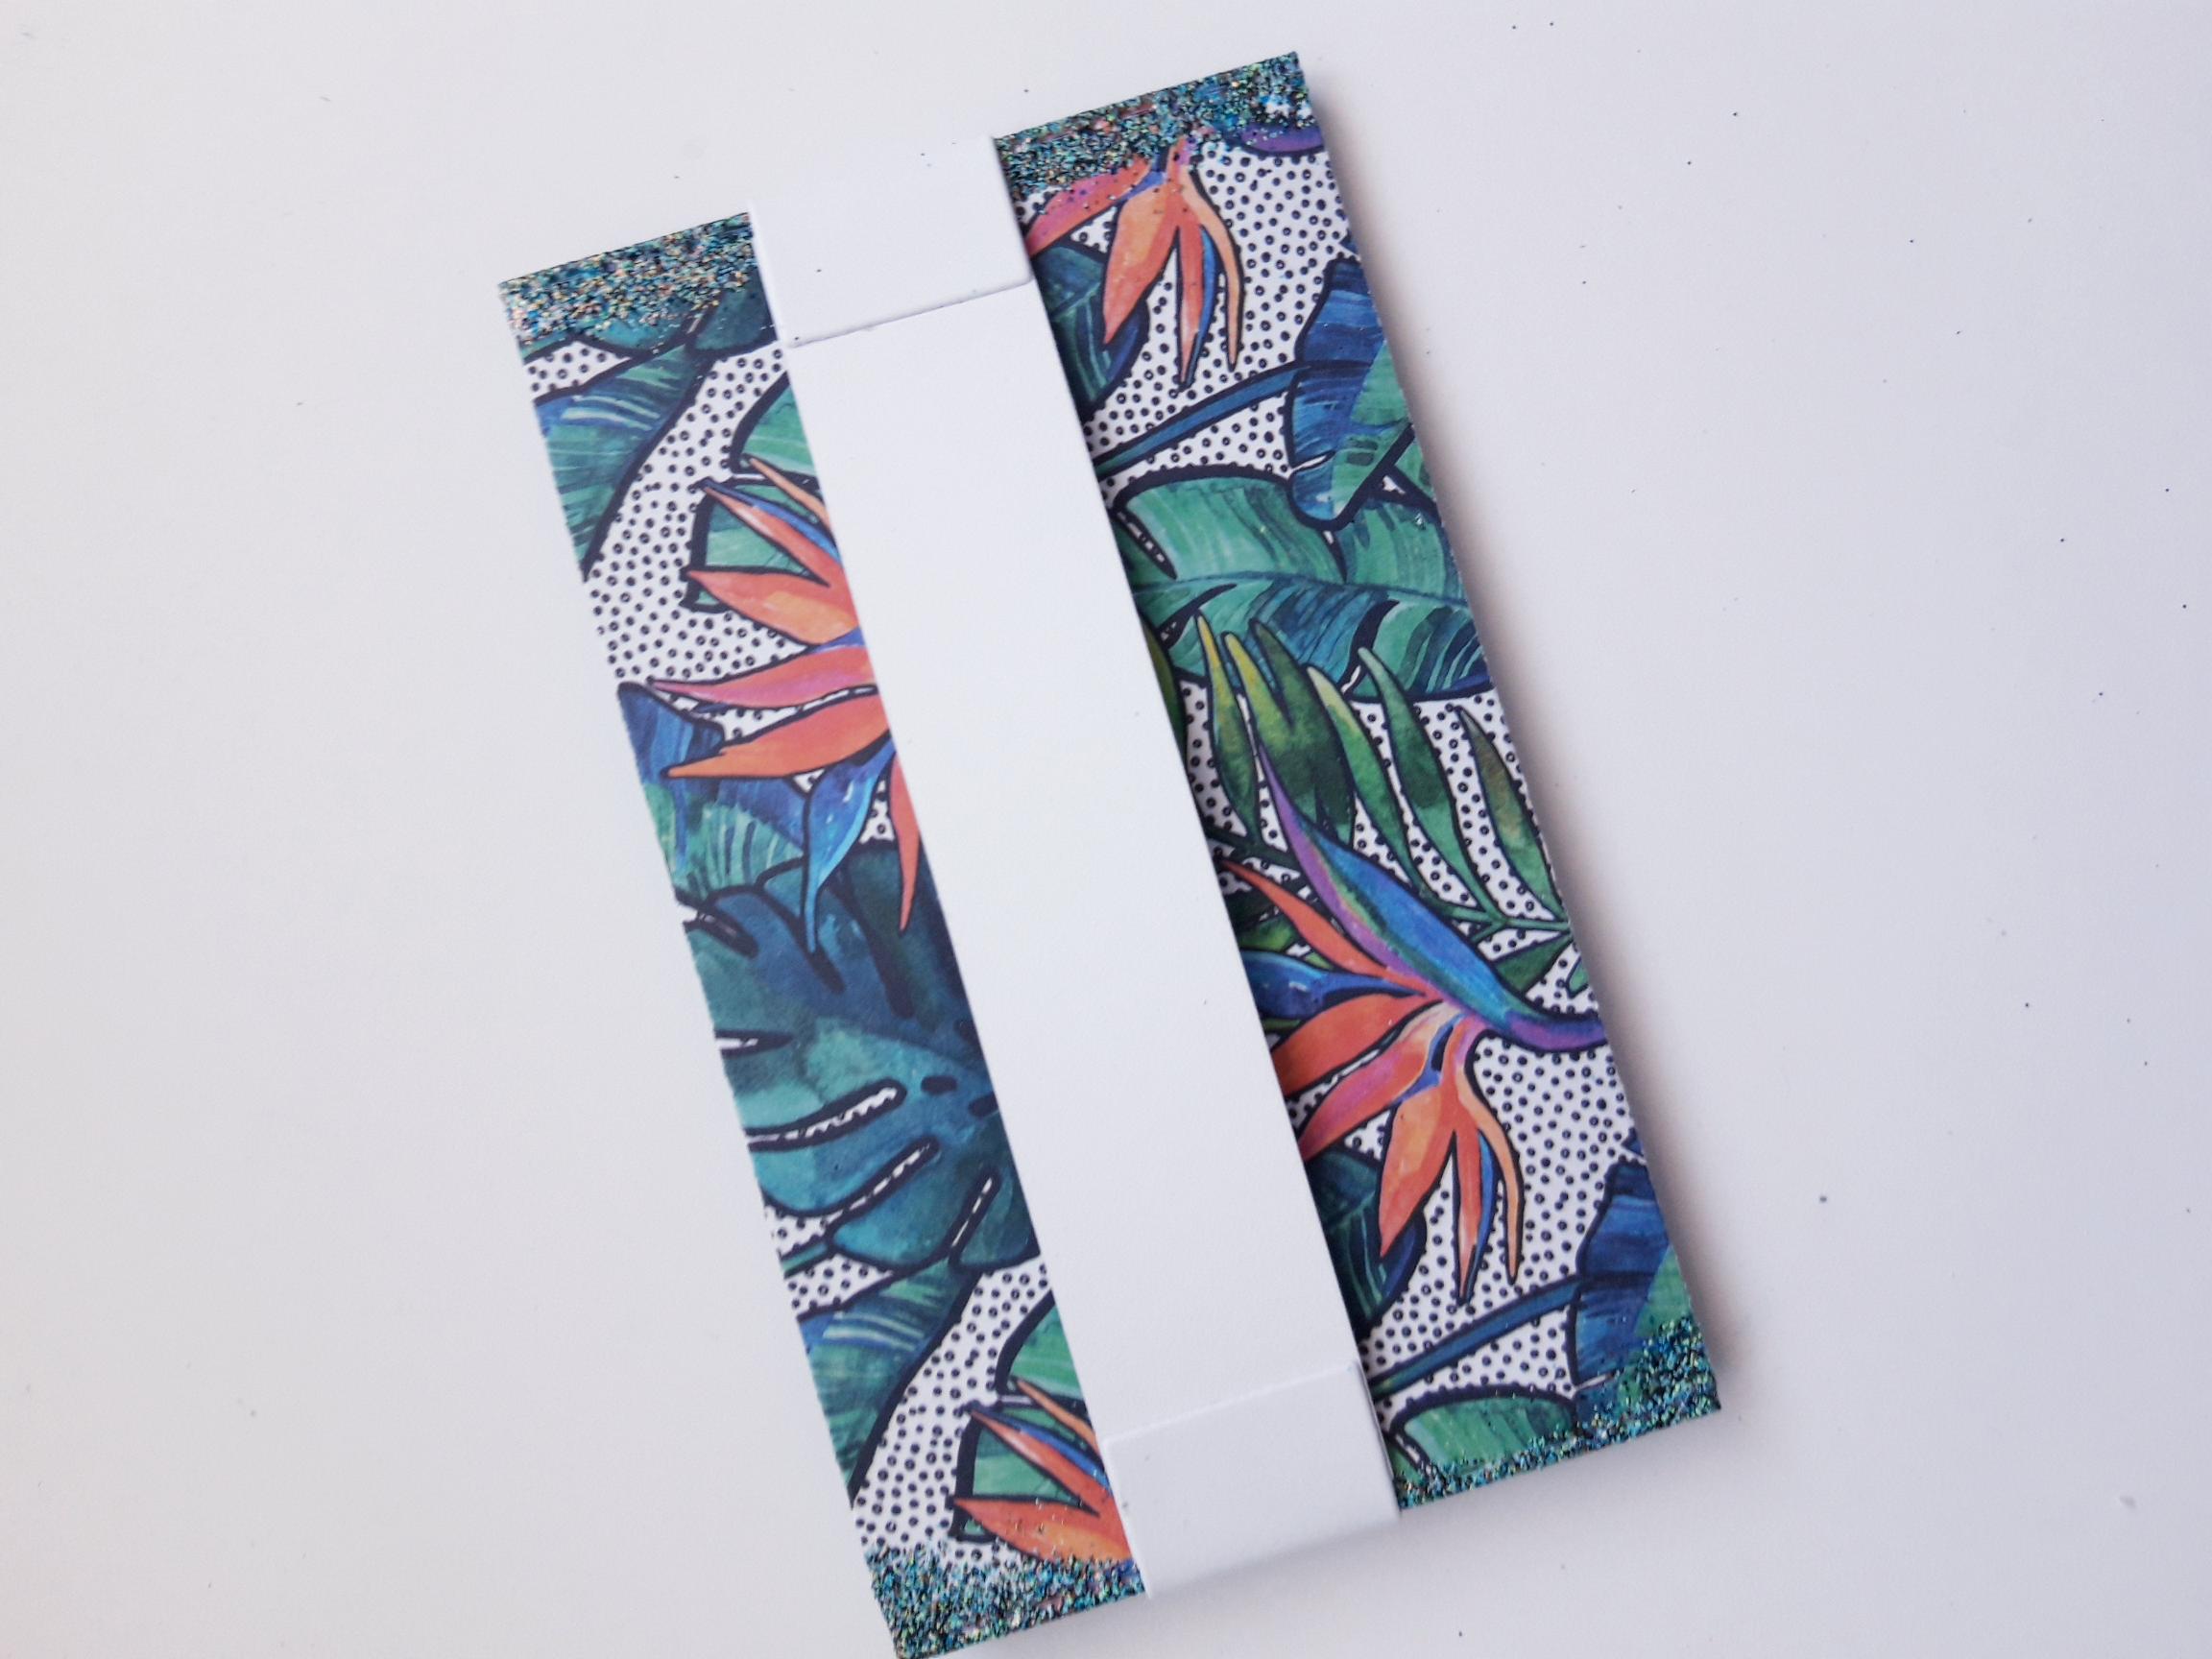
Fold your die cut holder along all the score lines, using a bone folder. Open it back up and apply wet glue, or double sided adhesive tape, to one of the centre panels (with the cut circle). On previous Guides I've shown you how to adhere the tape down the 2 short sides, but on this one I've adhered it across the long side (as seen here). Either way works so it's your choice. |
|
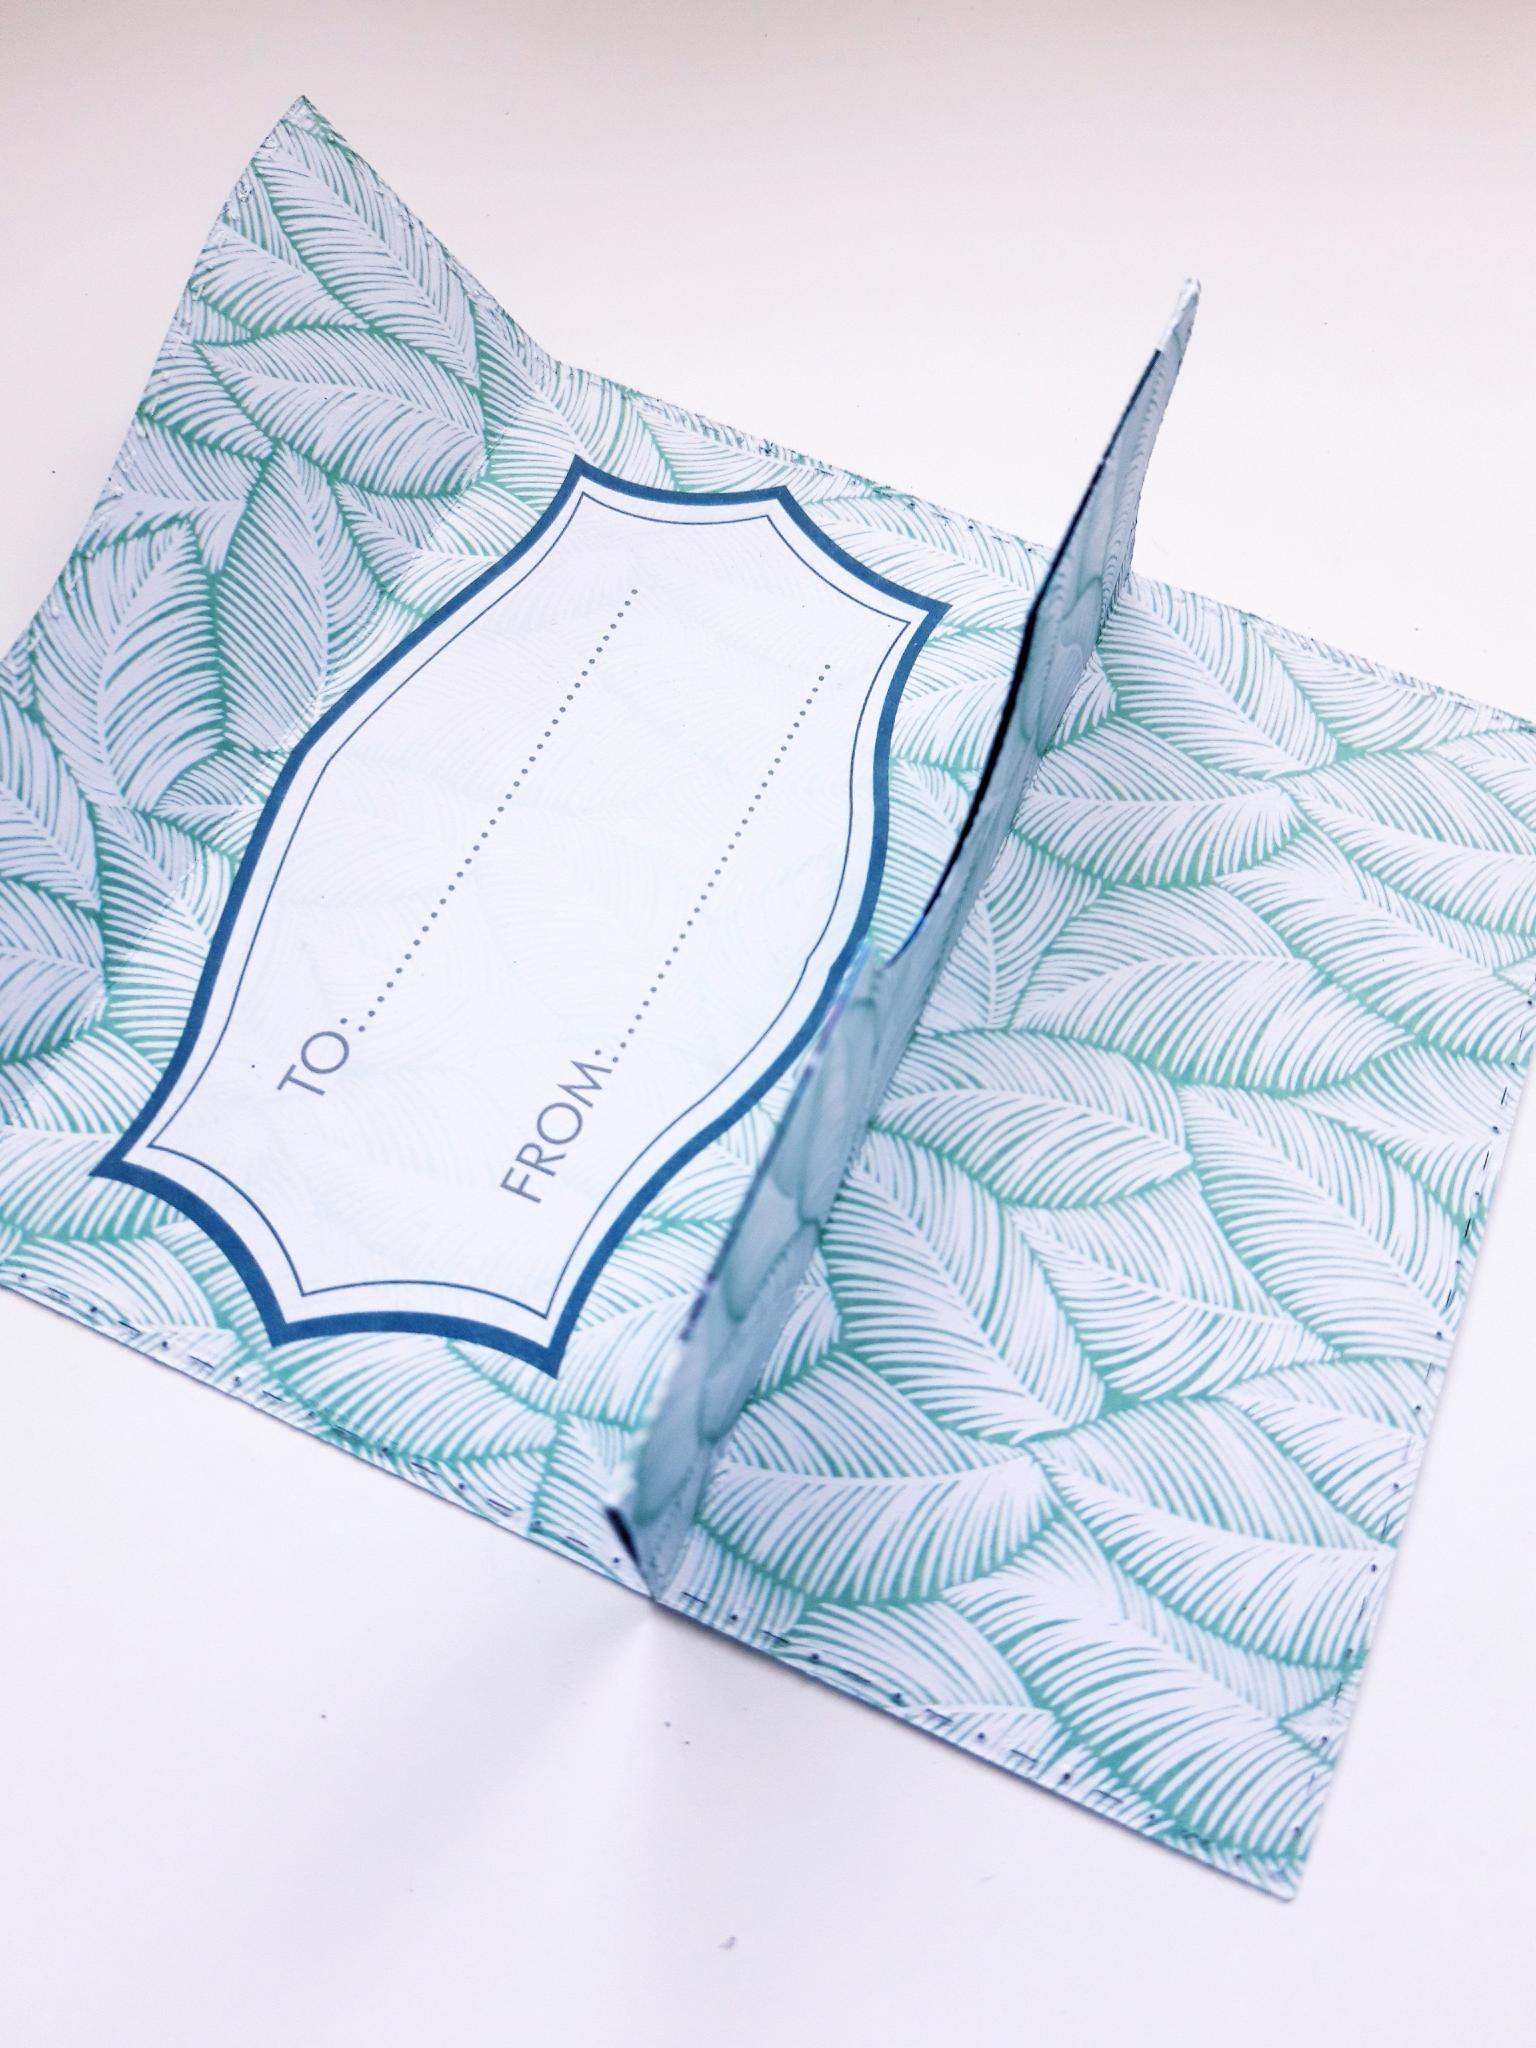
Refold your card holder, allowing the glued/taped panel to adhere, thus creating your pop up element. |
|
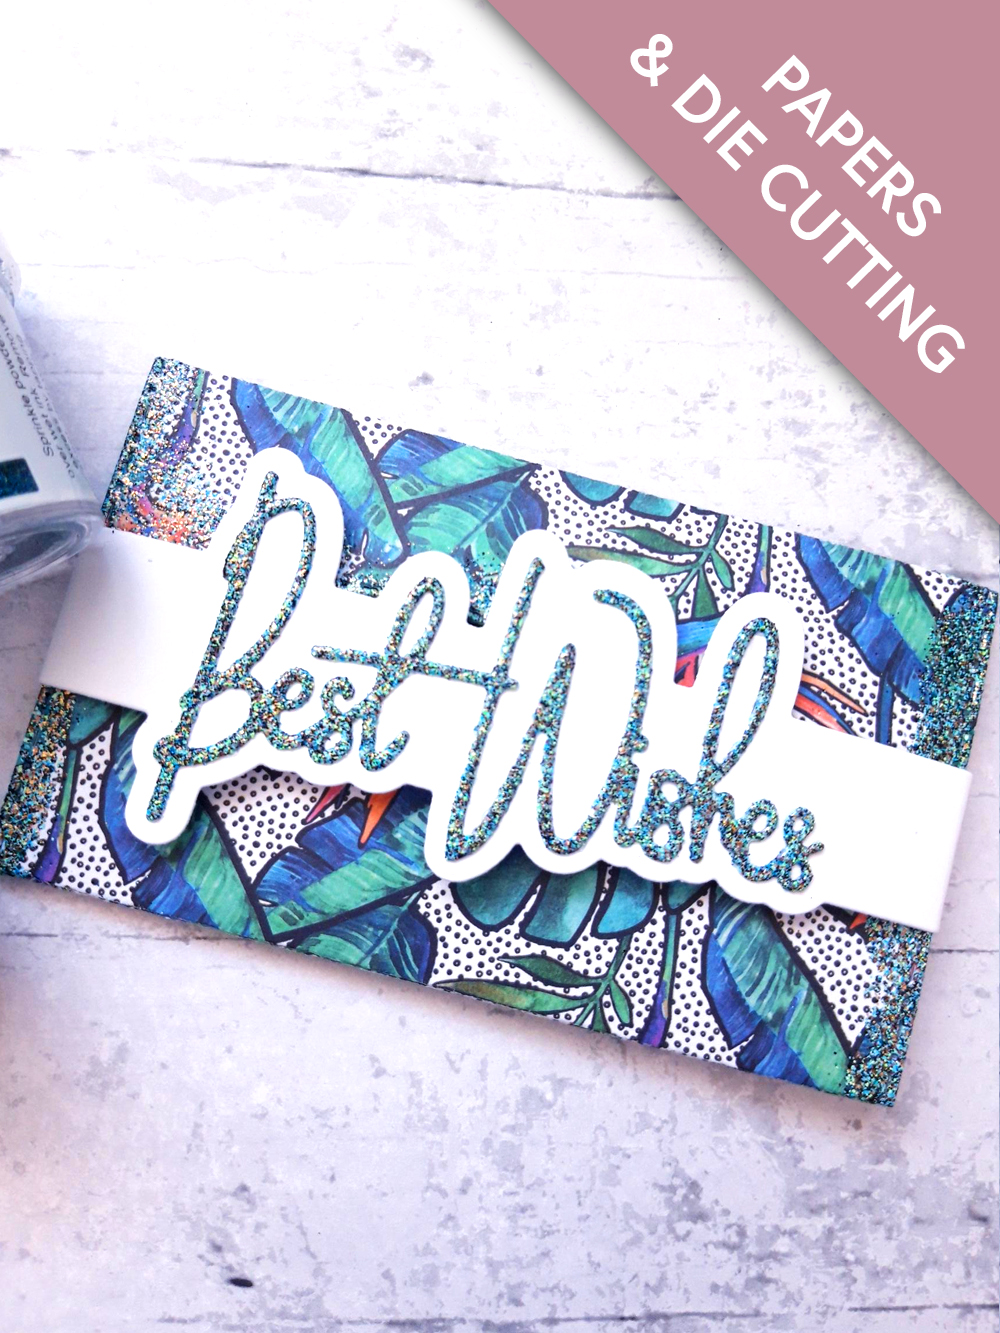
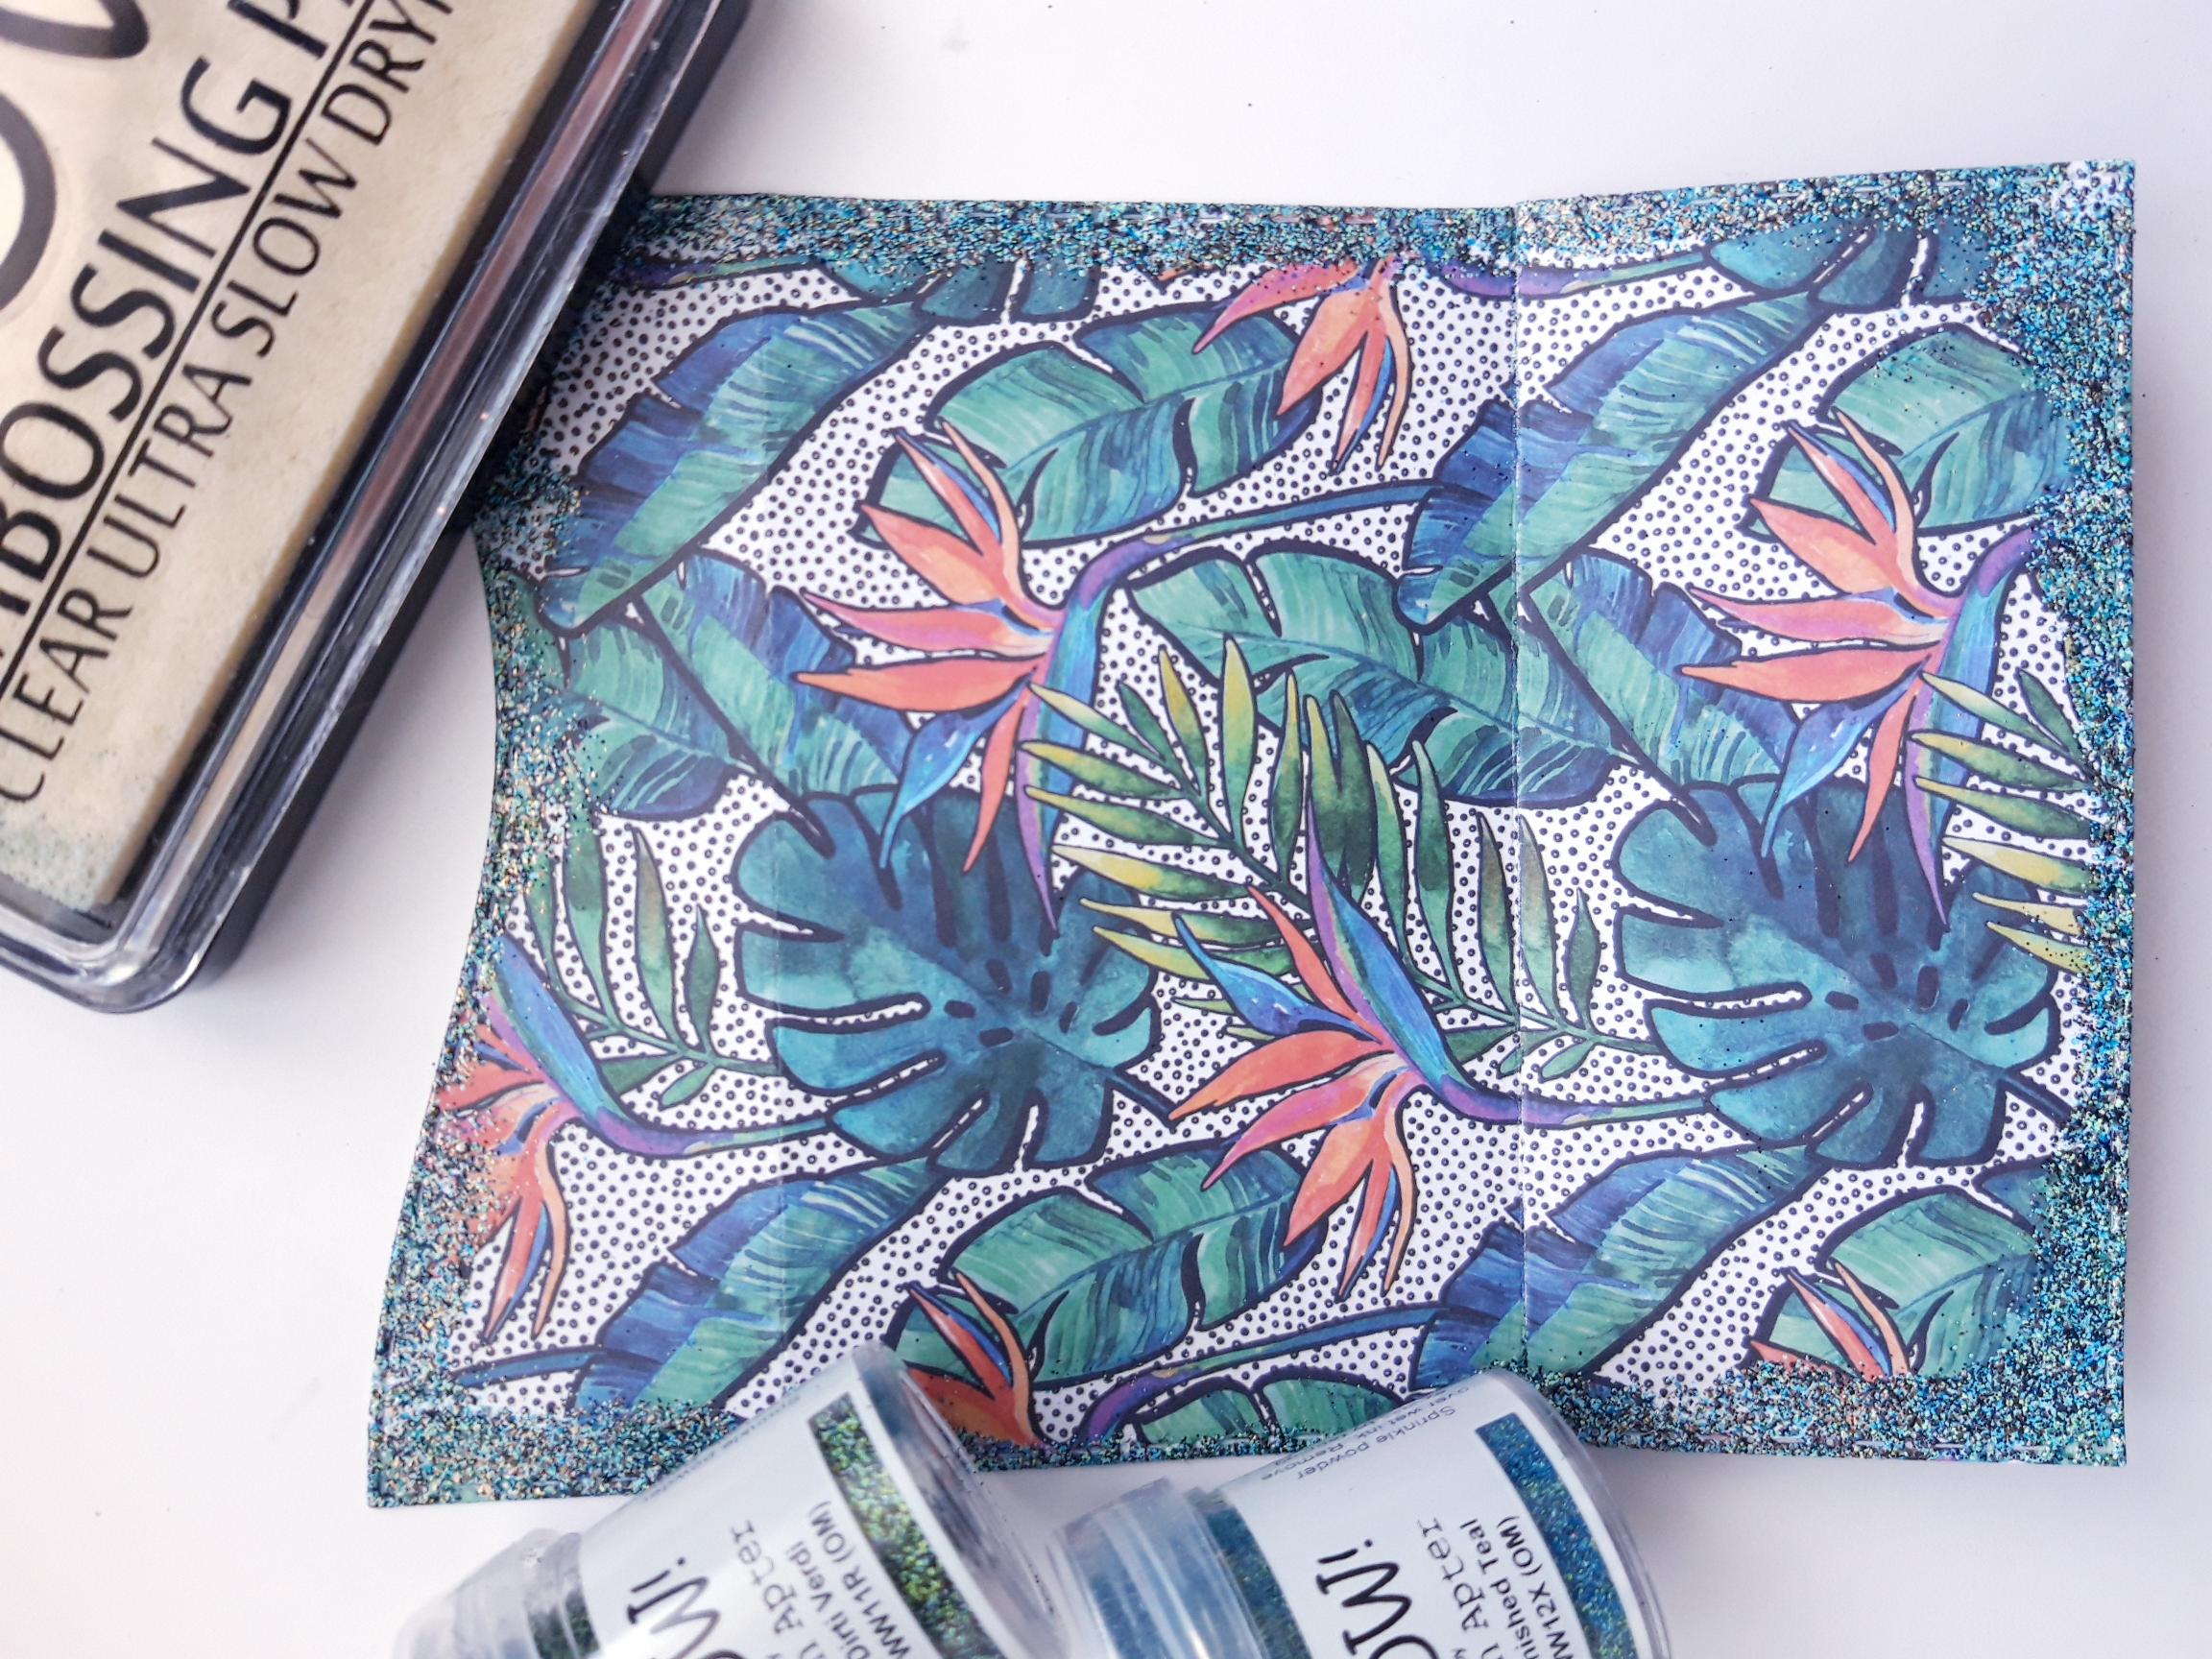
Wipe over your gift card holder with an anti static bag. Apply the WOW Embossing Ink around the edges of the wallet. Cover random areas of the sticky ink with the WOW Dirti Verdi Embossing Powder. Pop any excess powder back in its pot. Apply the WOW Tarnished Teal Embossing Powder all over the sticky ink, to fill in all the gaps, returning any excess powder back in to its pot. Get your WOW Heat Tool good and hot, then heat set the powder, moving the heat tool on as soon as the powder turns. This minimises warping in your card/paper. Set your wallet to one side. |
|
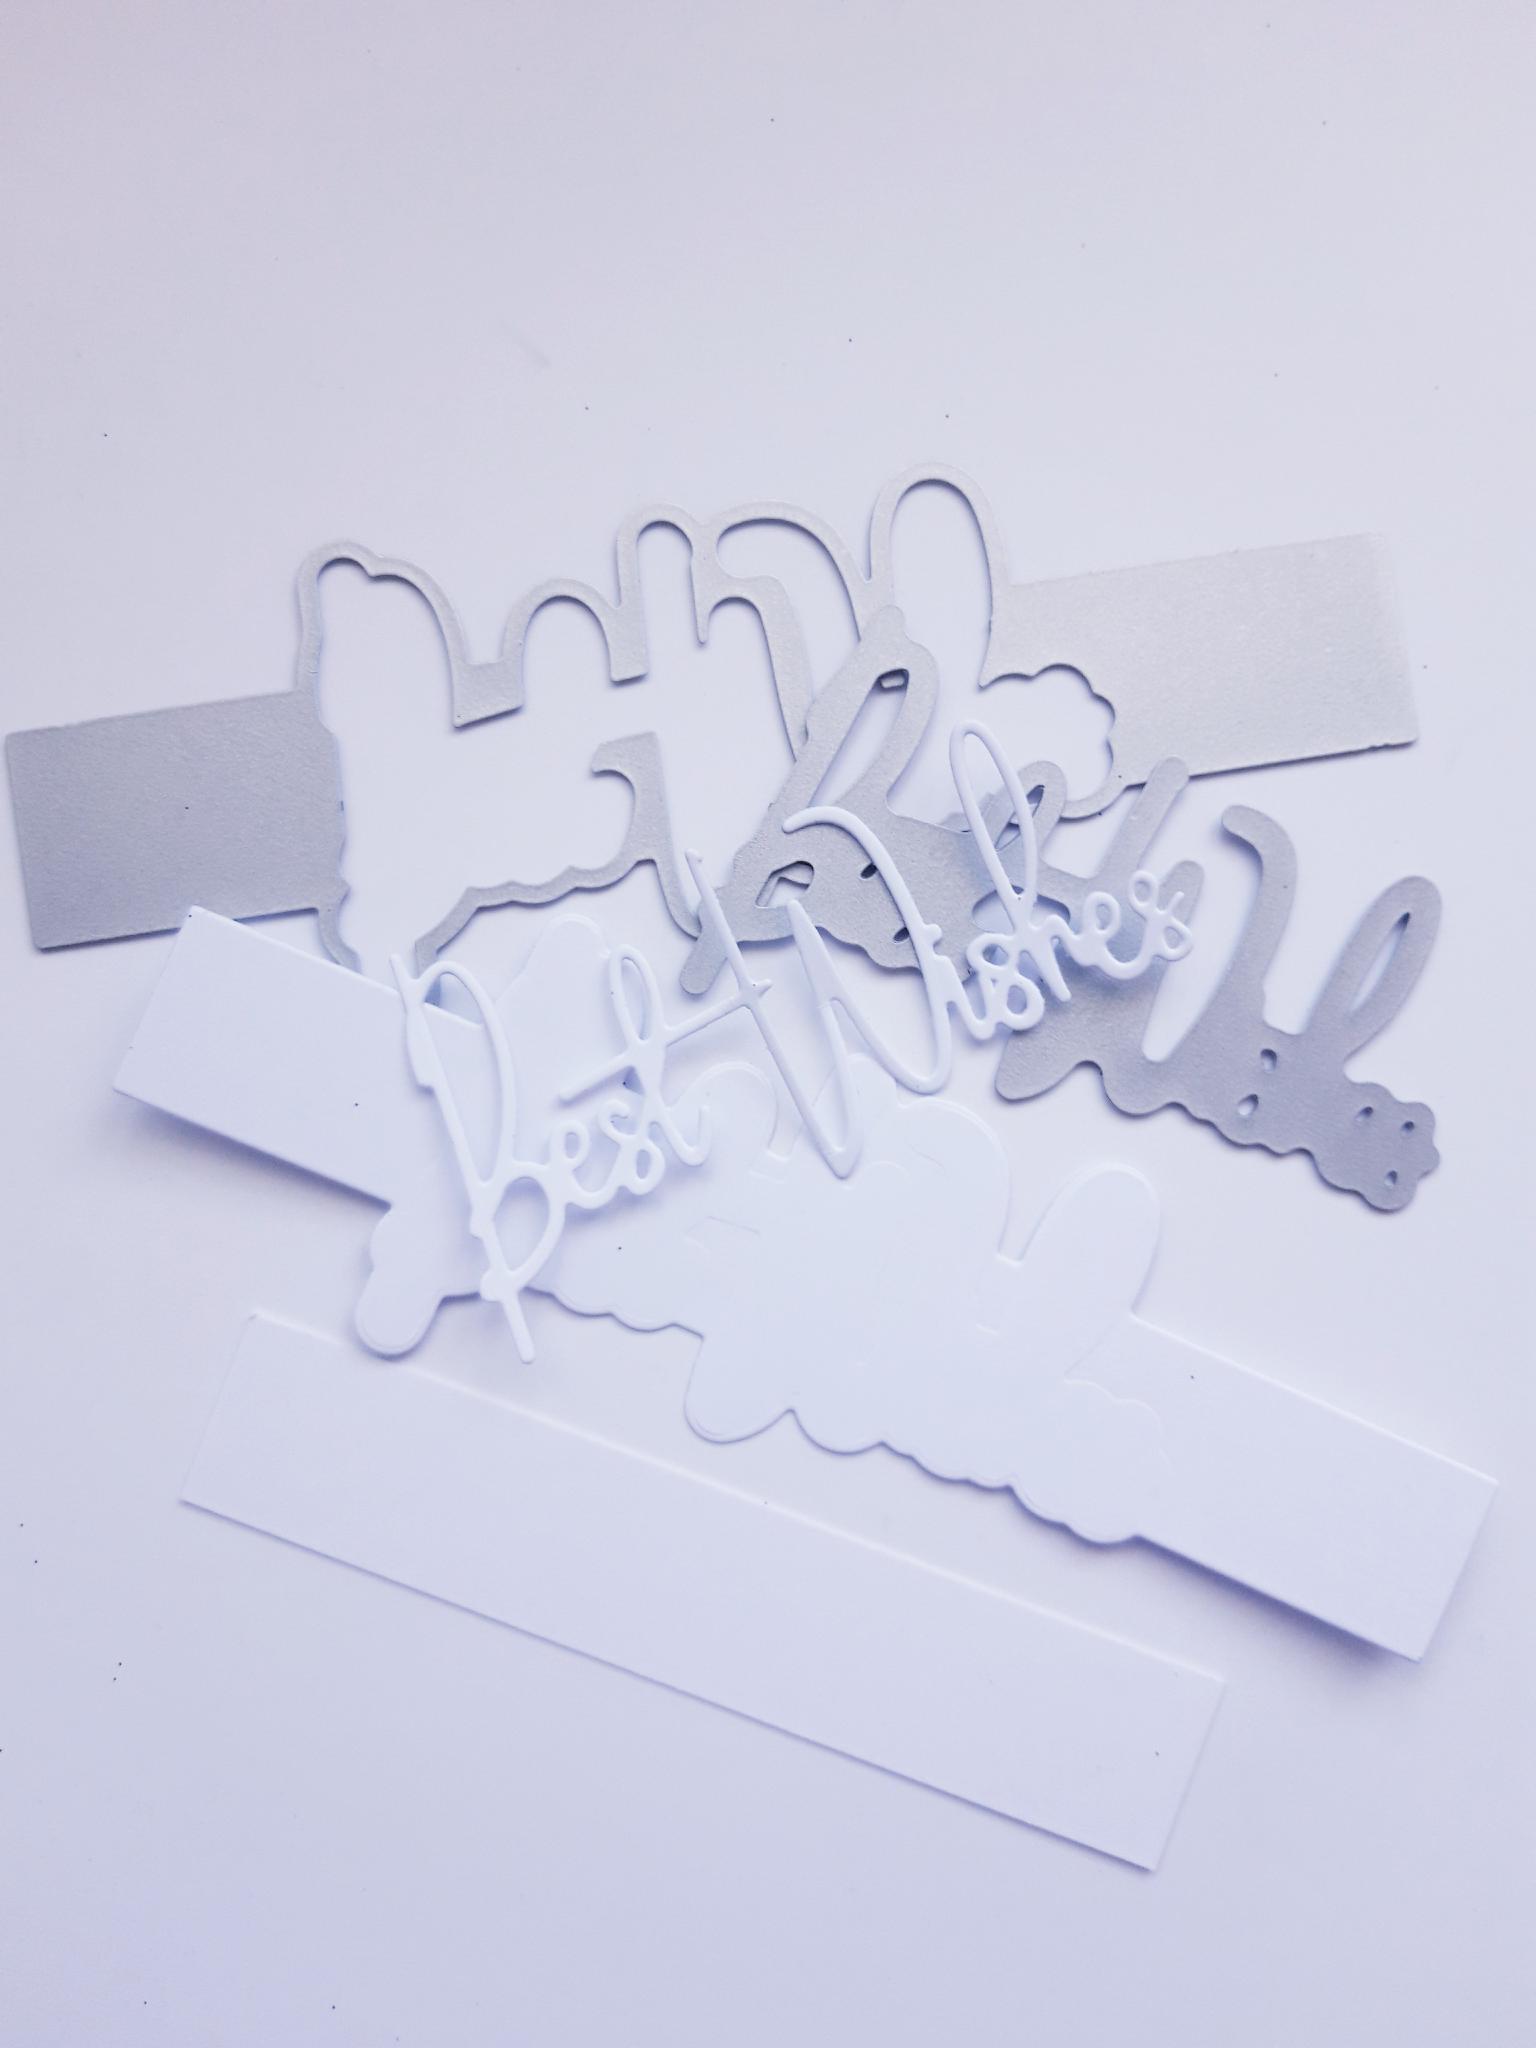
Place your chosen, coordinating belly band dies, on to the white cardstock (7 x 4 1/2"), and run through your die cutting machine. NB: Having chosen the Best Wishes belly band for my wallet, which goes around the longer length of the wallet, I also had to cut an extender piece of card, the same width as the belly band. Put this extender piece to one side. |
|
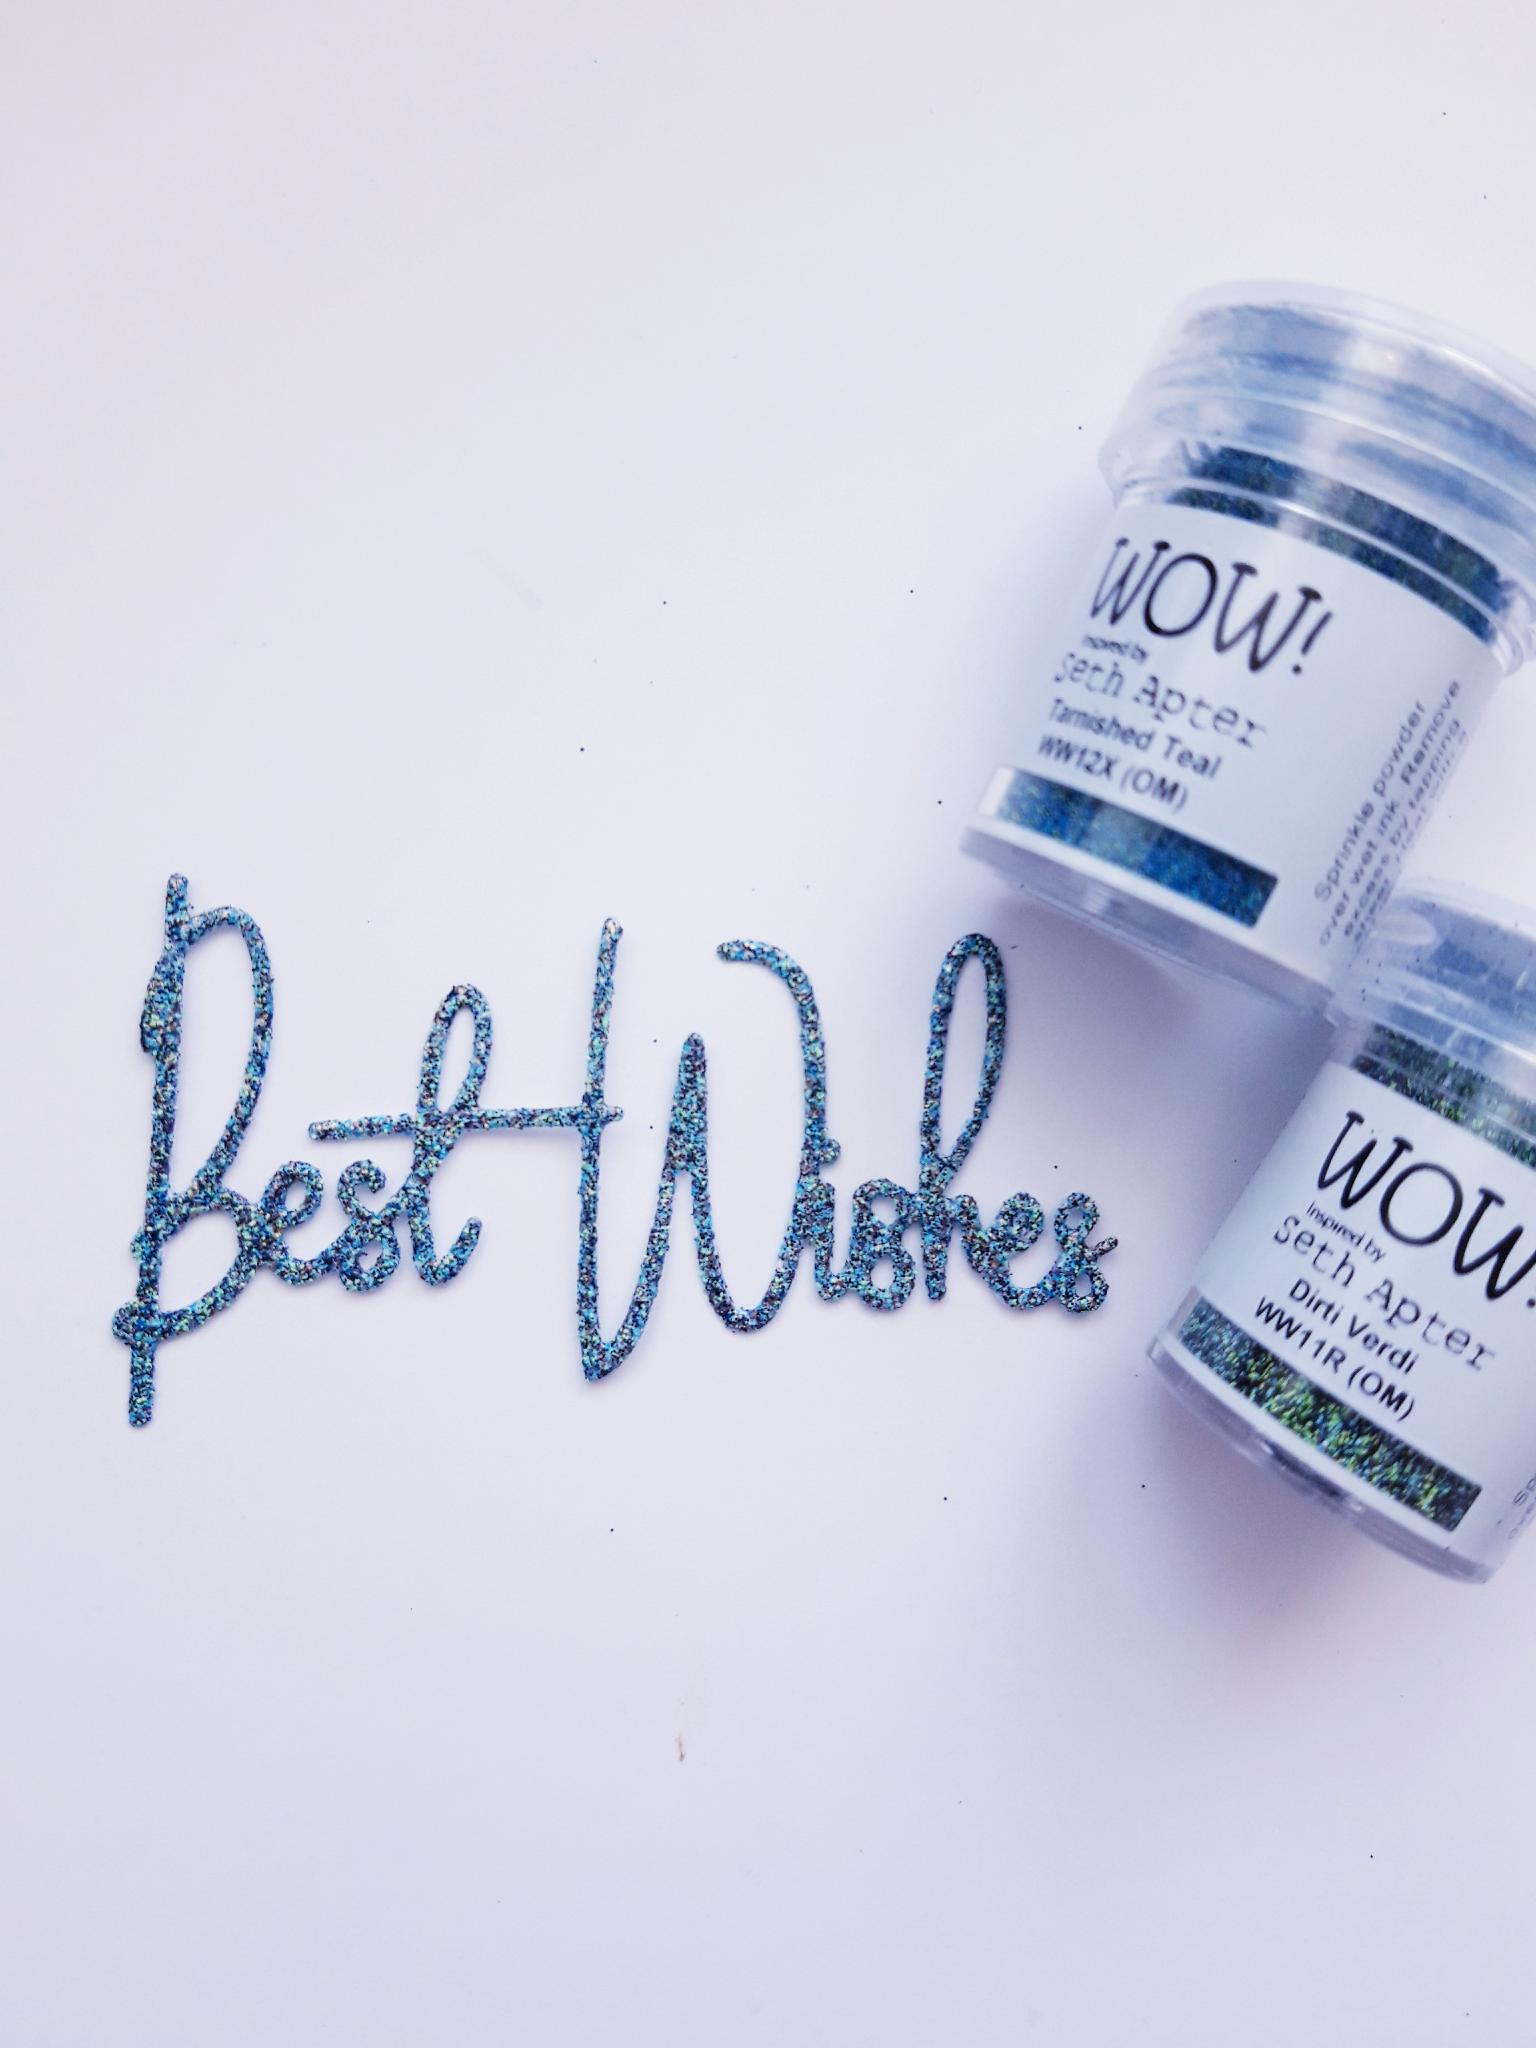
Ink up the detailed die cut element, from your chosen belly band, with the WOW Embossing Ink Pad. Cover with the embossing powders, as before, ensuring you do one powder at a time, and return any excess powder to the pot, before using the second colour. This avoids contamination of colours. Alternatively you can always put both excess powders in to a empty pot, to make up your own, unique colour combo!! Get your WOW Heat Tool nice and hot before heat setting the embossing powder, following the powder as soon as it turns, to avoid warping the card. |
|
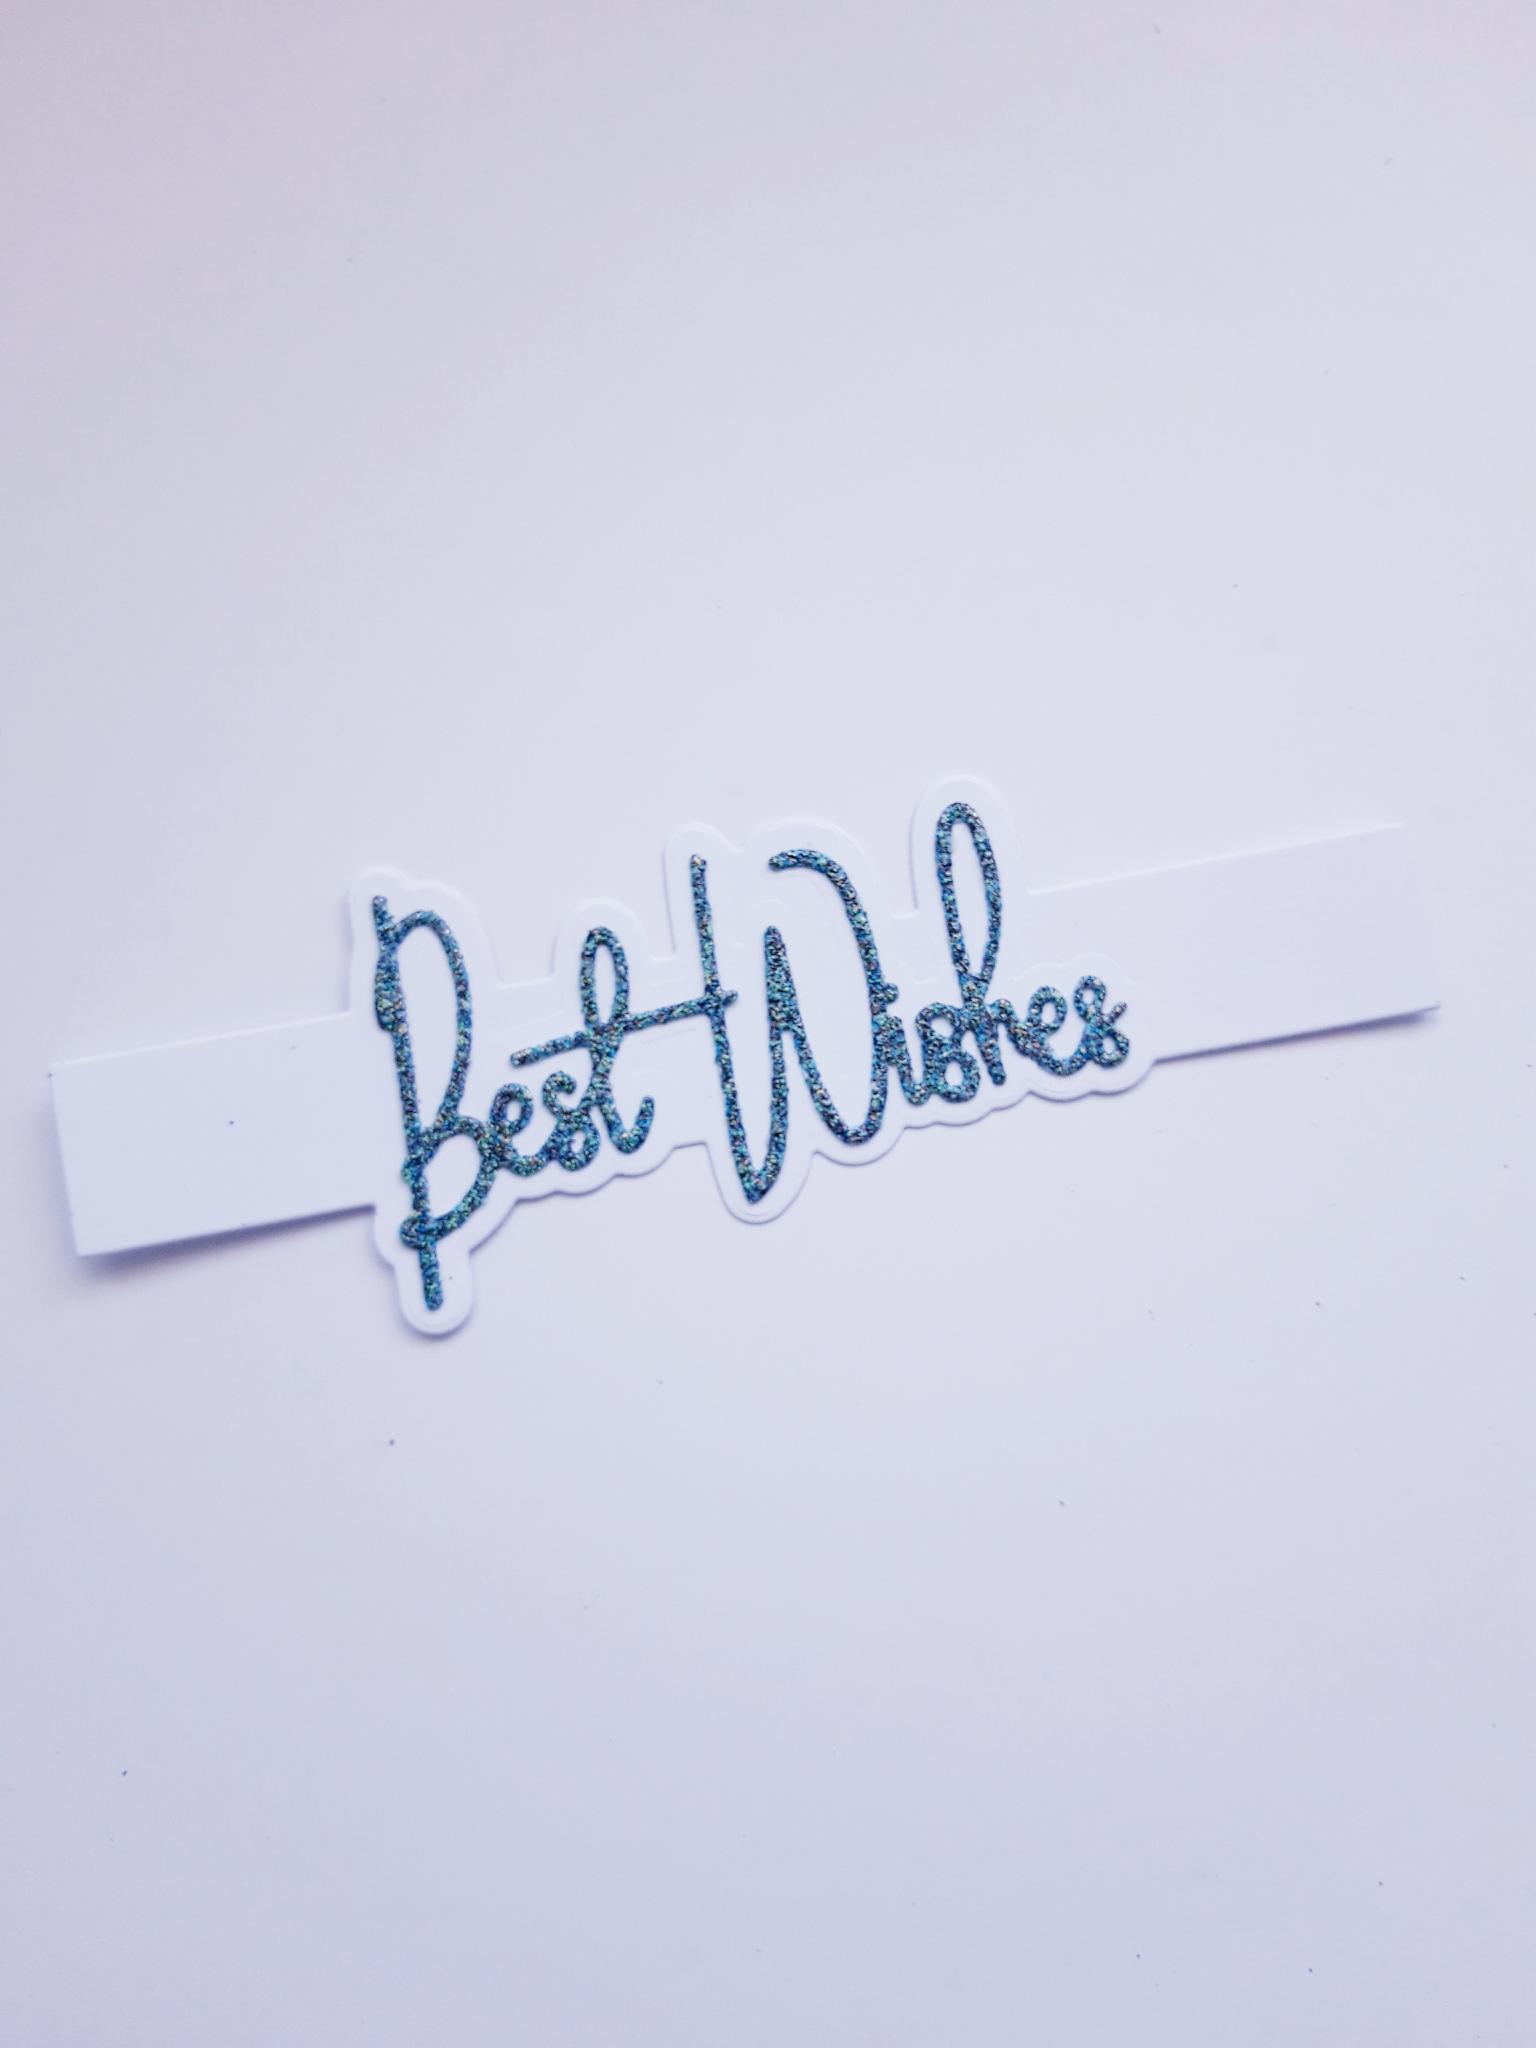
Adhere your embossed element, on to the coordinating die cut belly band. |
|
Fold your belly band around your wallet. If you are adhering yours around the narrow width then just adhere the two ends together, with glue or double sided tape. If you are adhereing yours around the longer side, as seen here, place the belly band centally on to the front of the wallet. Bend the two ends over the sides, and turn it over. |
|
Trim down the extender card you made earlier, so it will connect the two folded over sides, of the belly band, together. Adhere them in place, ensuring the belly band is not too tight, and will move smoothly on and off your wallet. |