Give your friends $10 off their first order!
Refer a FRIEND


WHAT YOU WILL NEED:
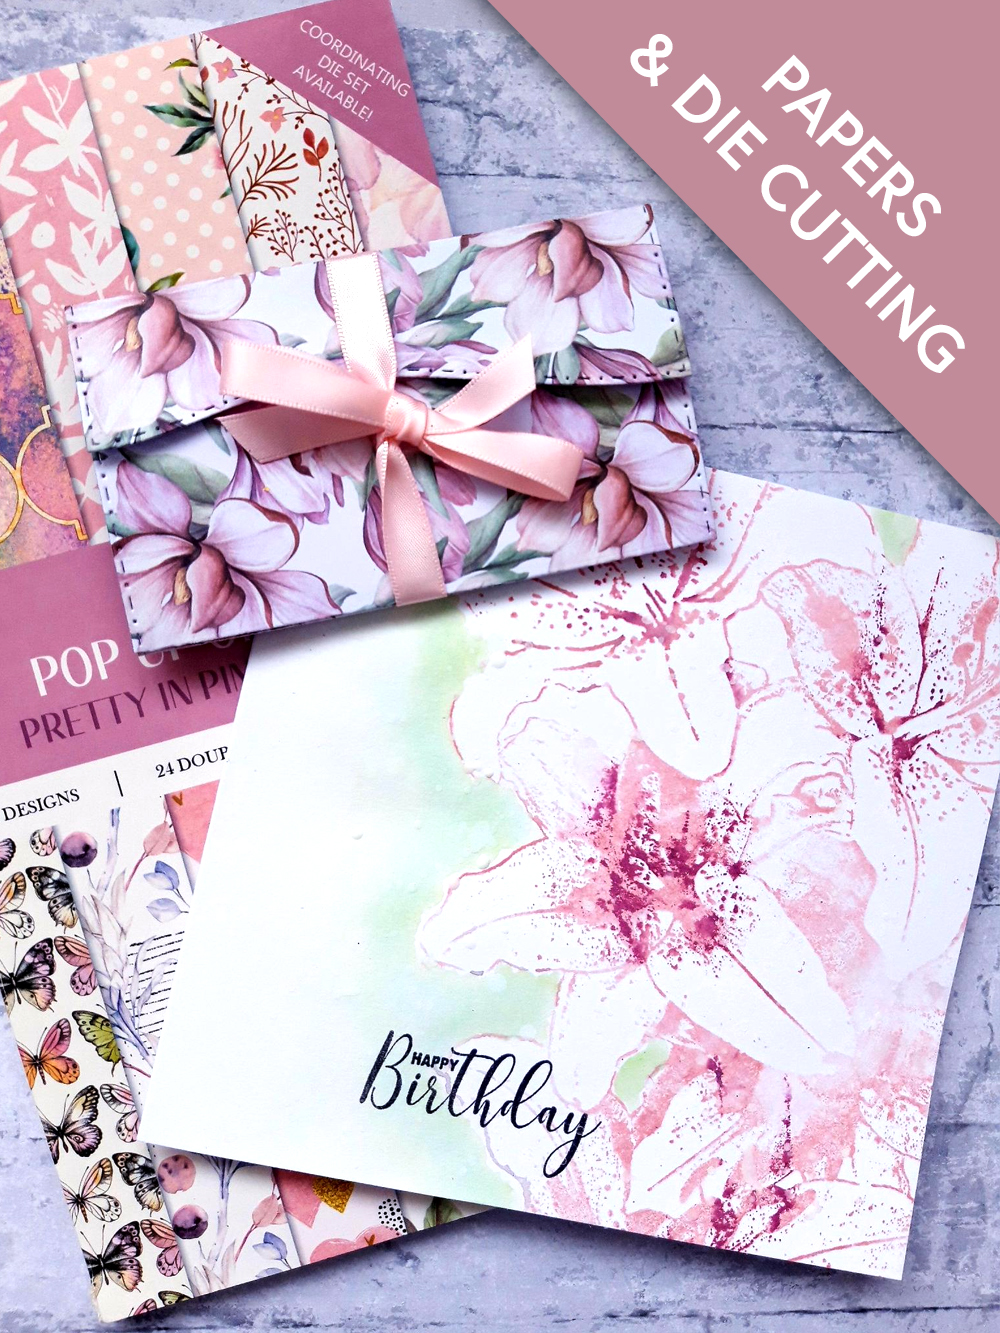
White card blank (6 x 6")
Dies from Pop Up Gift Card Holder Die Collection
Stamps from My Sunshine Lamination Stamp Collection
Stamps from Lily Portrait Stamp Collection
Pop Up Gift Card Pink Paper Pack
Versafine Ink Pad: Smoky Grey
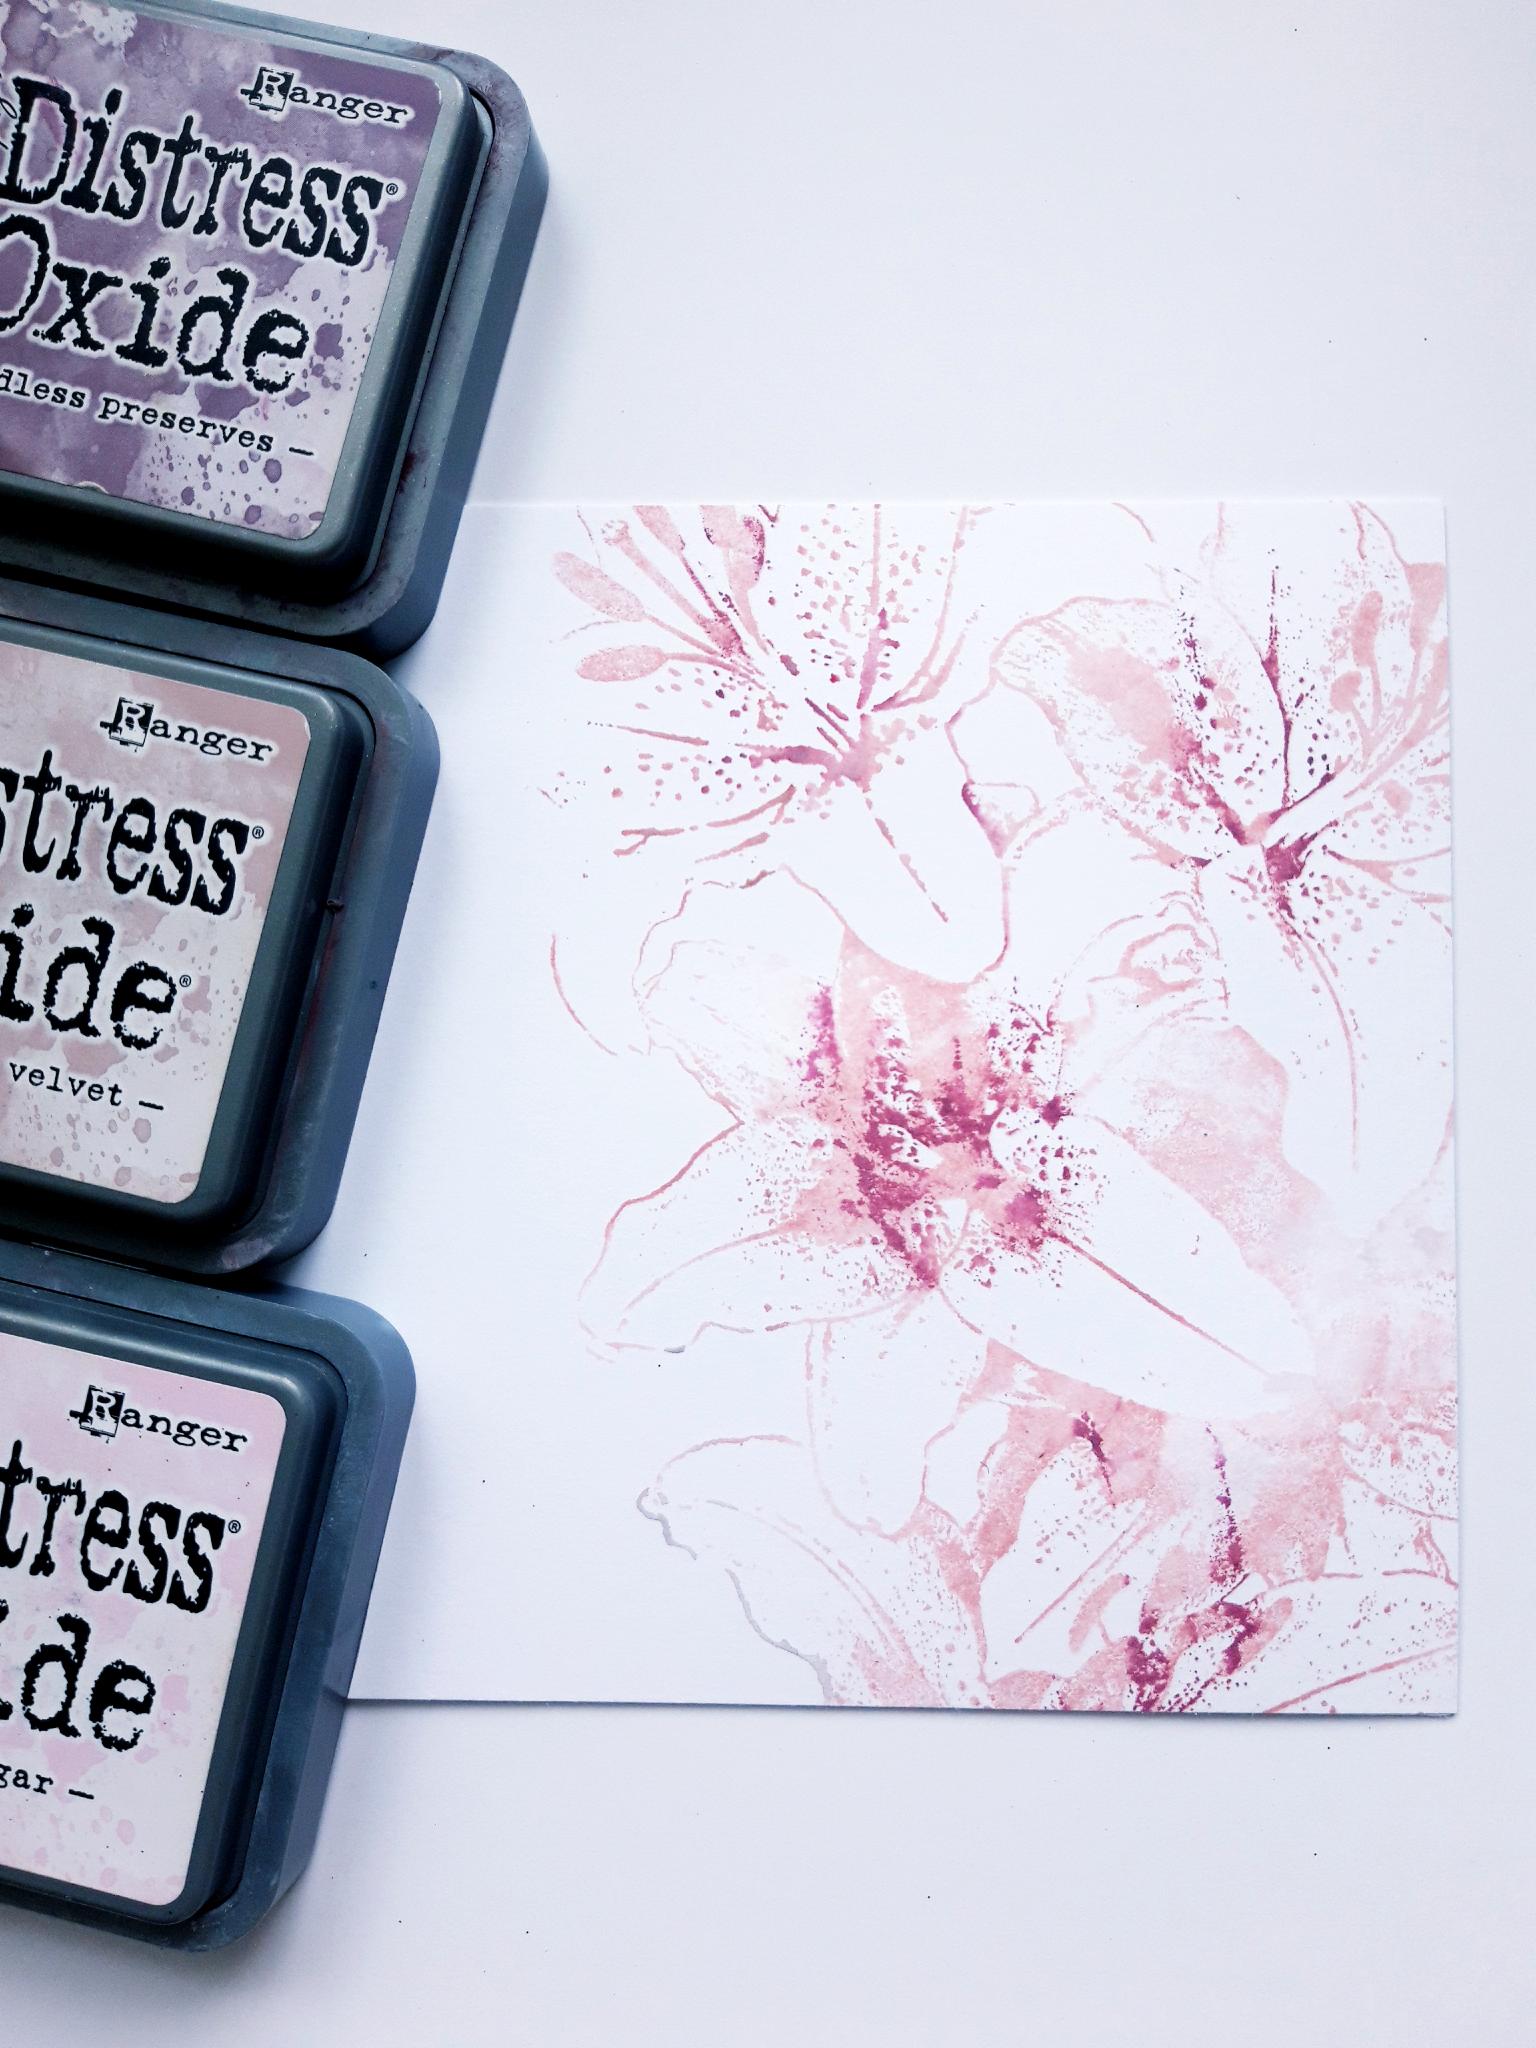
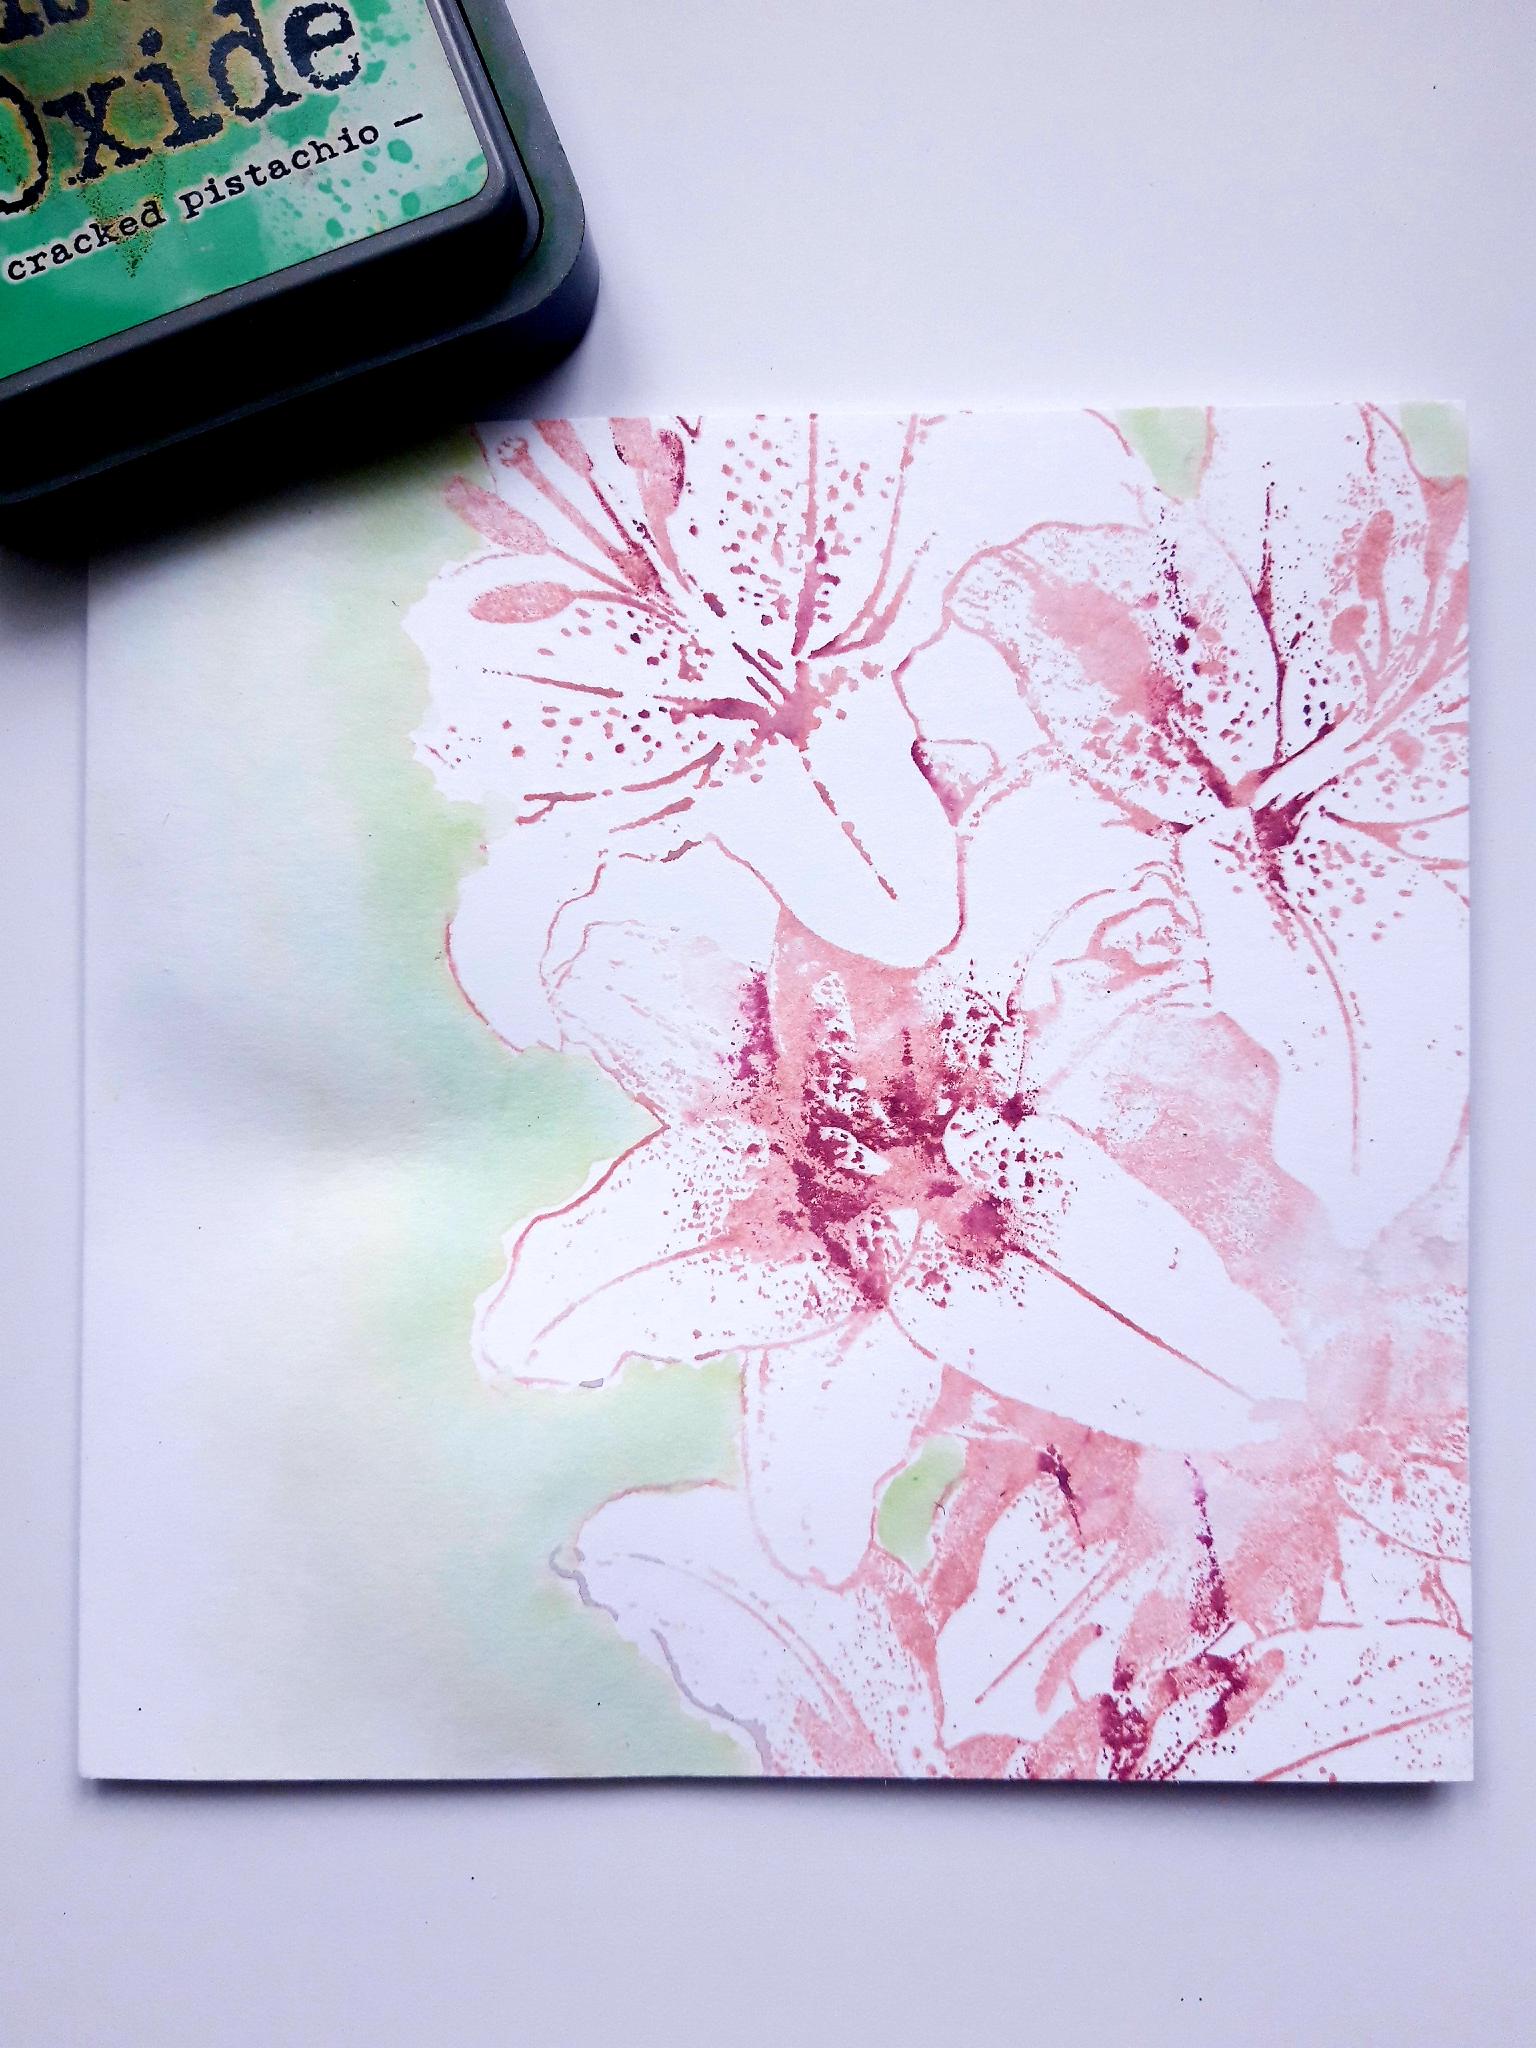
Distress Oxide: Spun Sugar, Victorian Velvet, Seedless Preserves, Cracked Pistachio
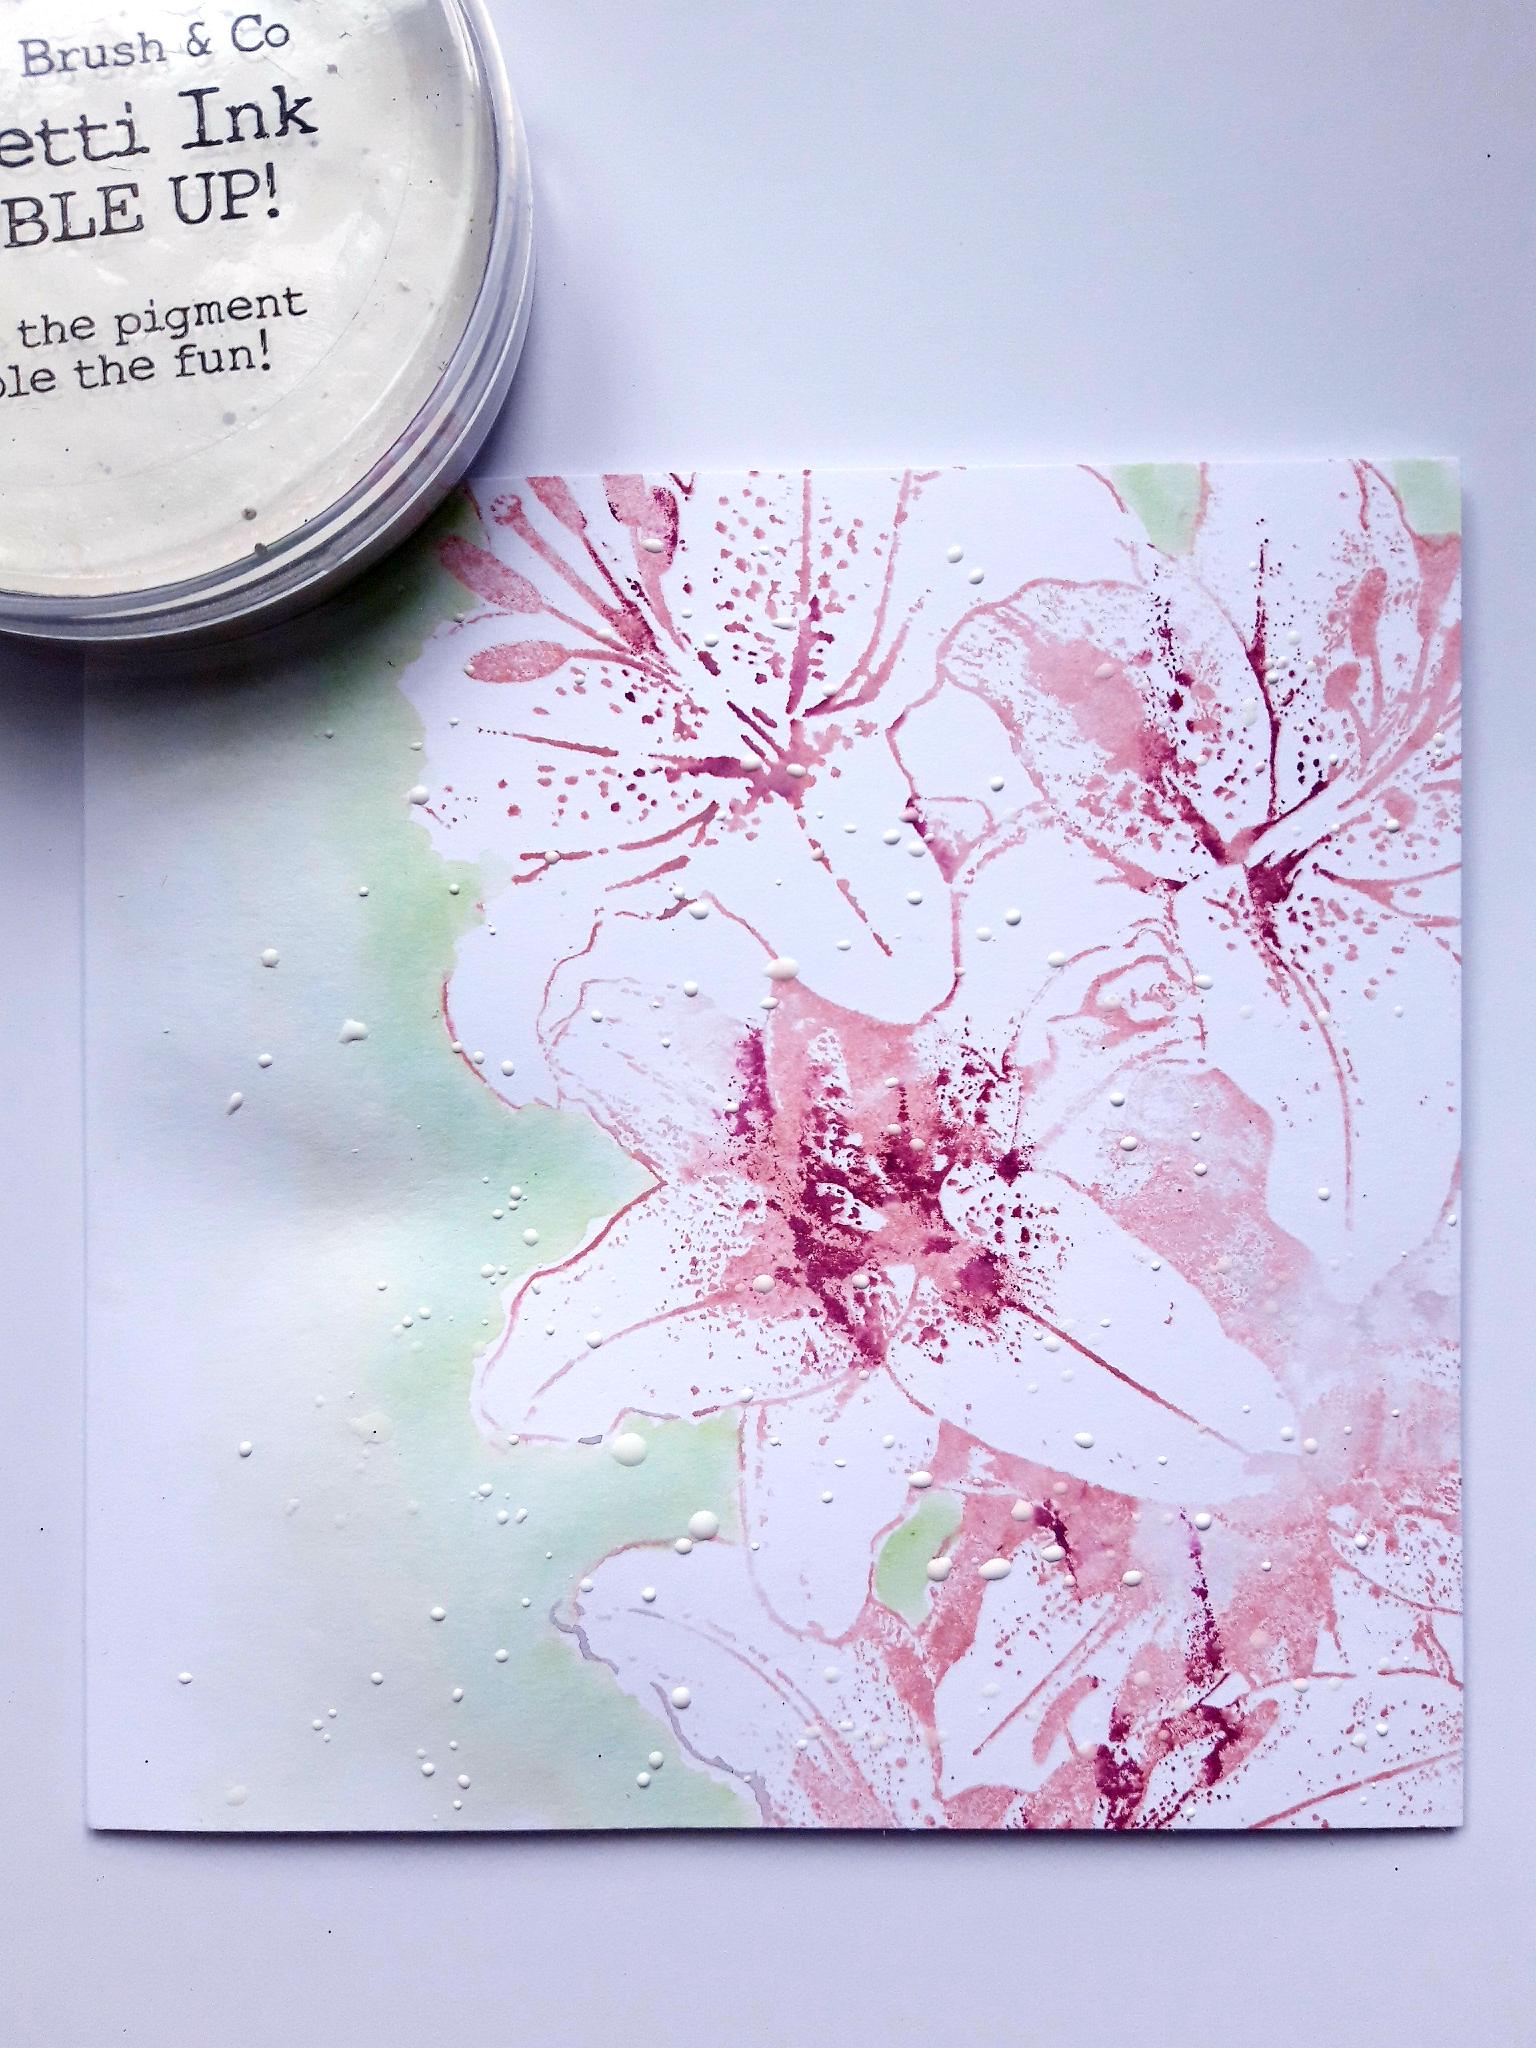
Thirsty Brush Confetti Paint: White Lace
Paint brush
Water spray bottle
Pink ribbon (approx 15" in length)
Eureka 101
Perfect Together Glue or Double sided tape
Paper Trimmer
Die Cutting machine
[click image to enlarge] 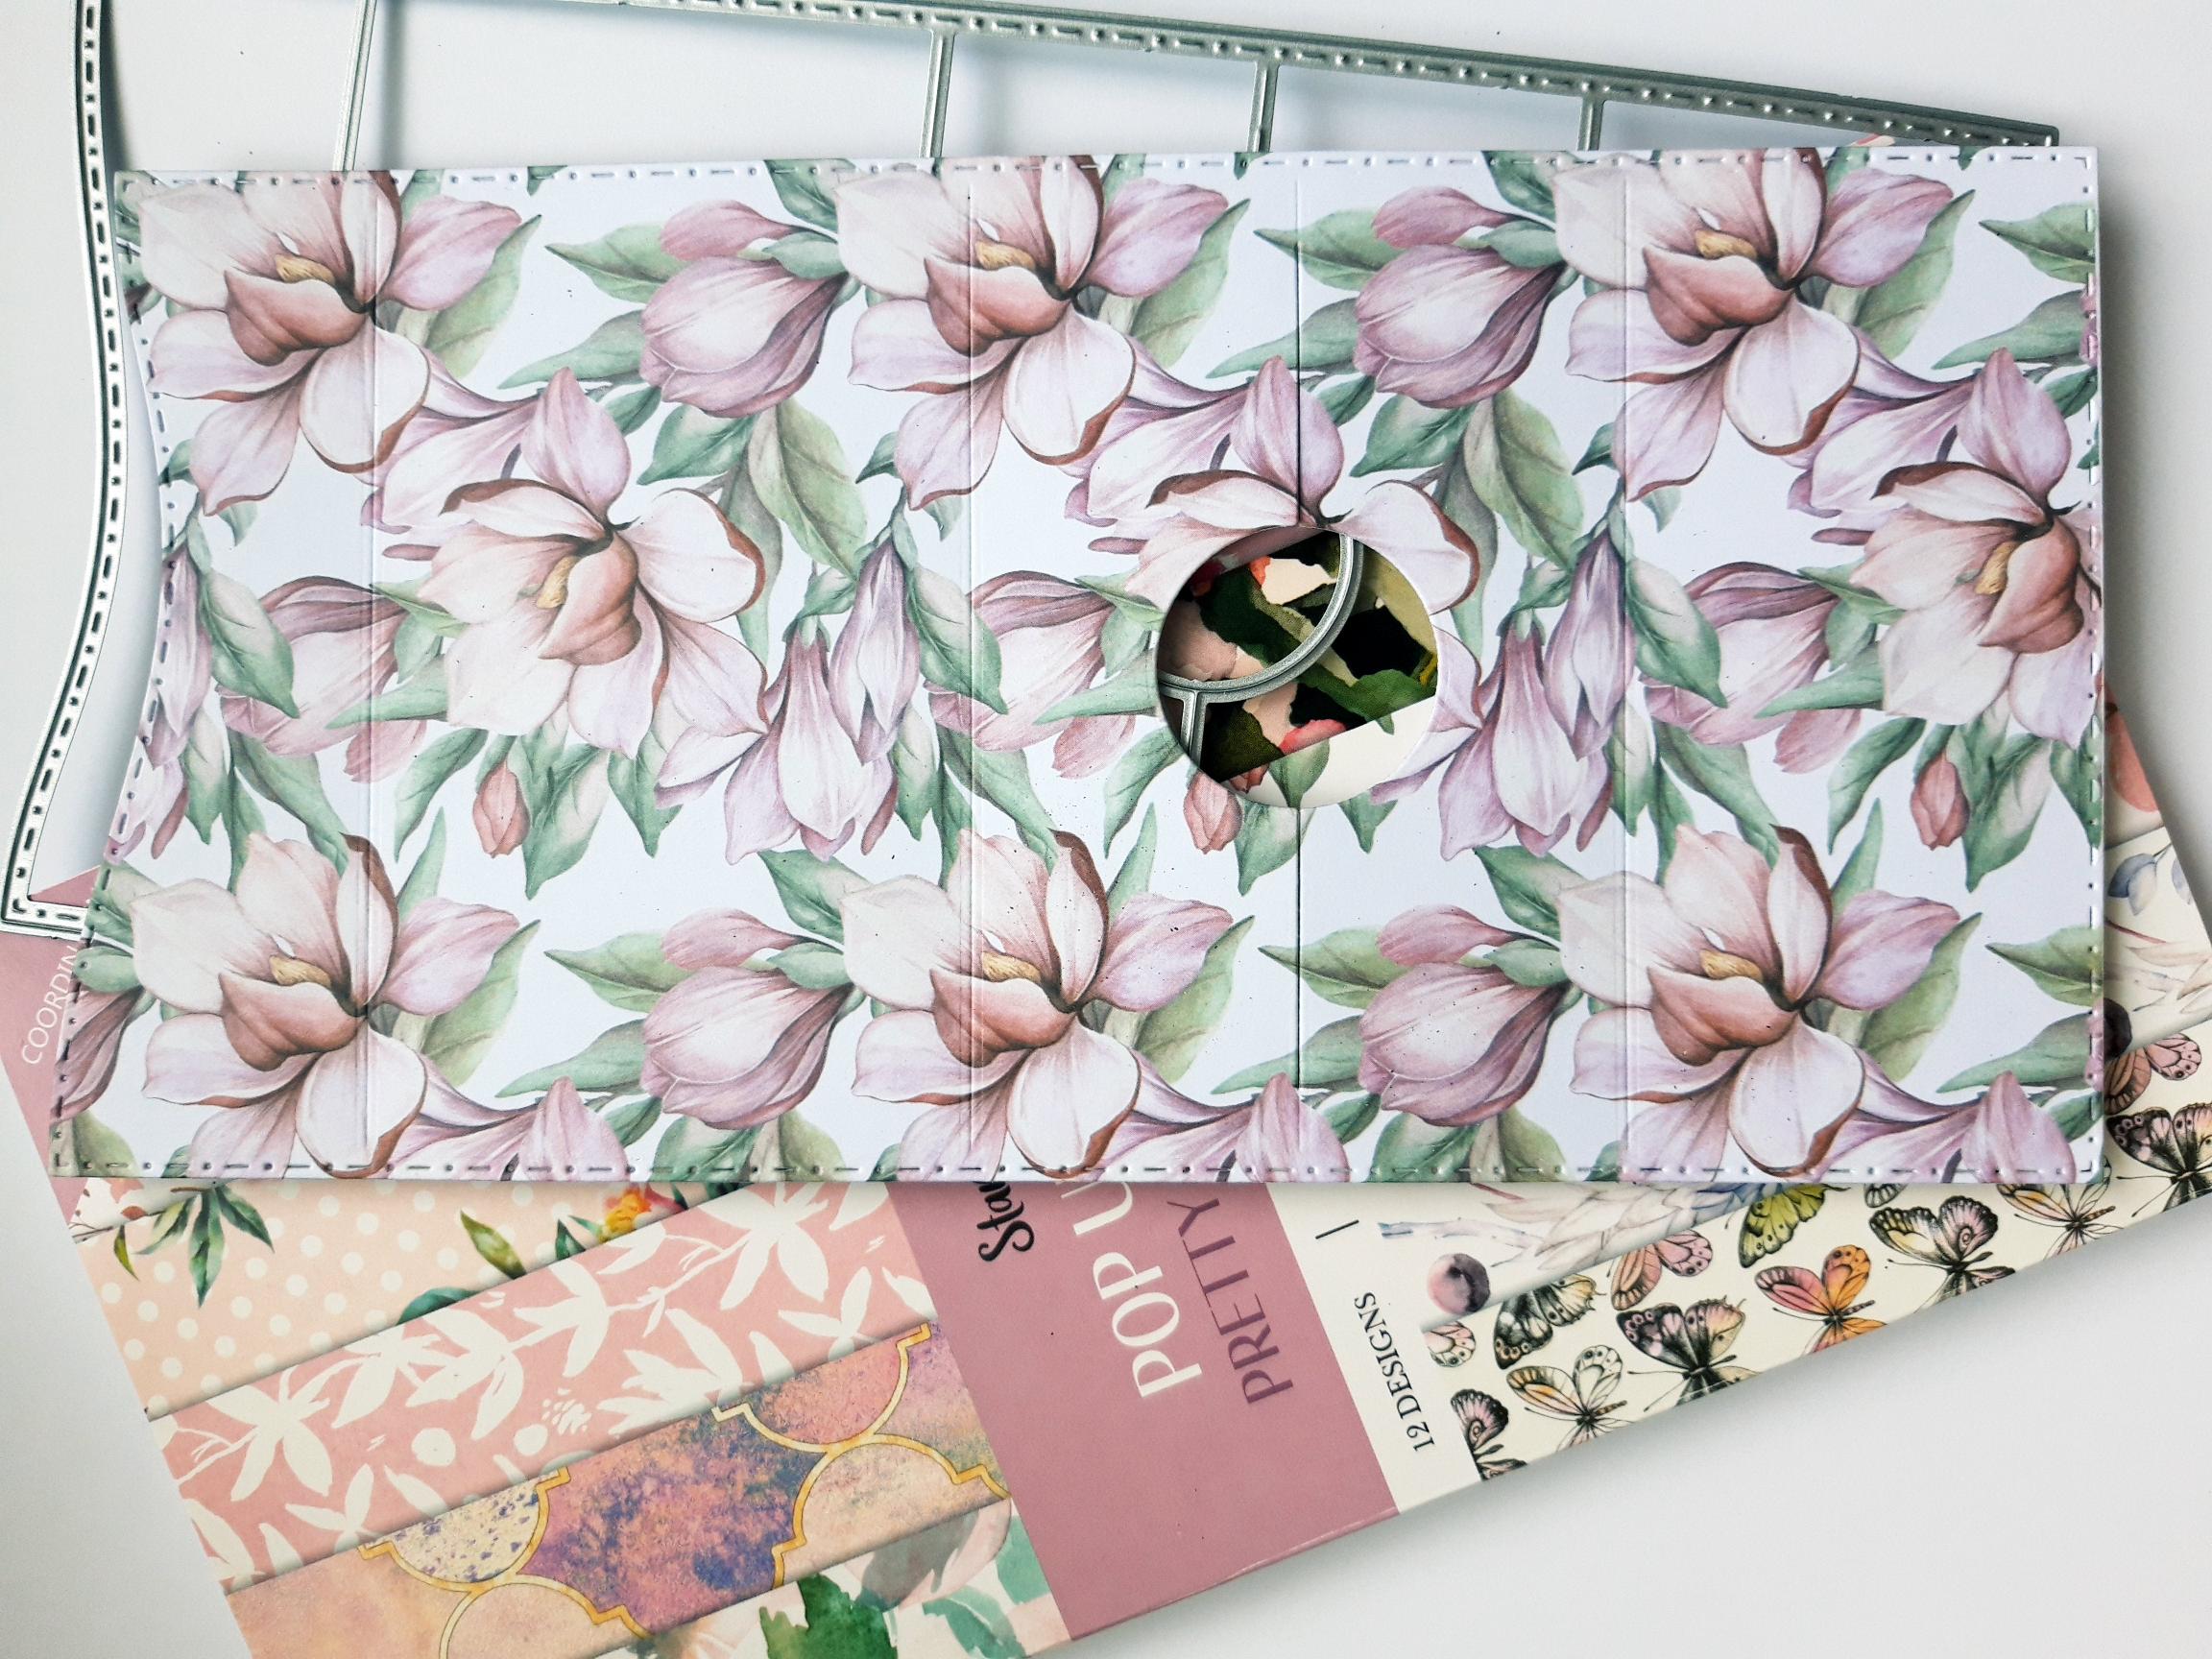
|
Tear out this decorative paper, from the Pretty In Pink Pop Up Gift Card Paper Pack. Place the coordinating die, from the Pop Up Gift Card Holder Die Collection, on to the paper, and run it through your die cutting machine. |

|
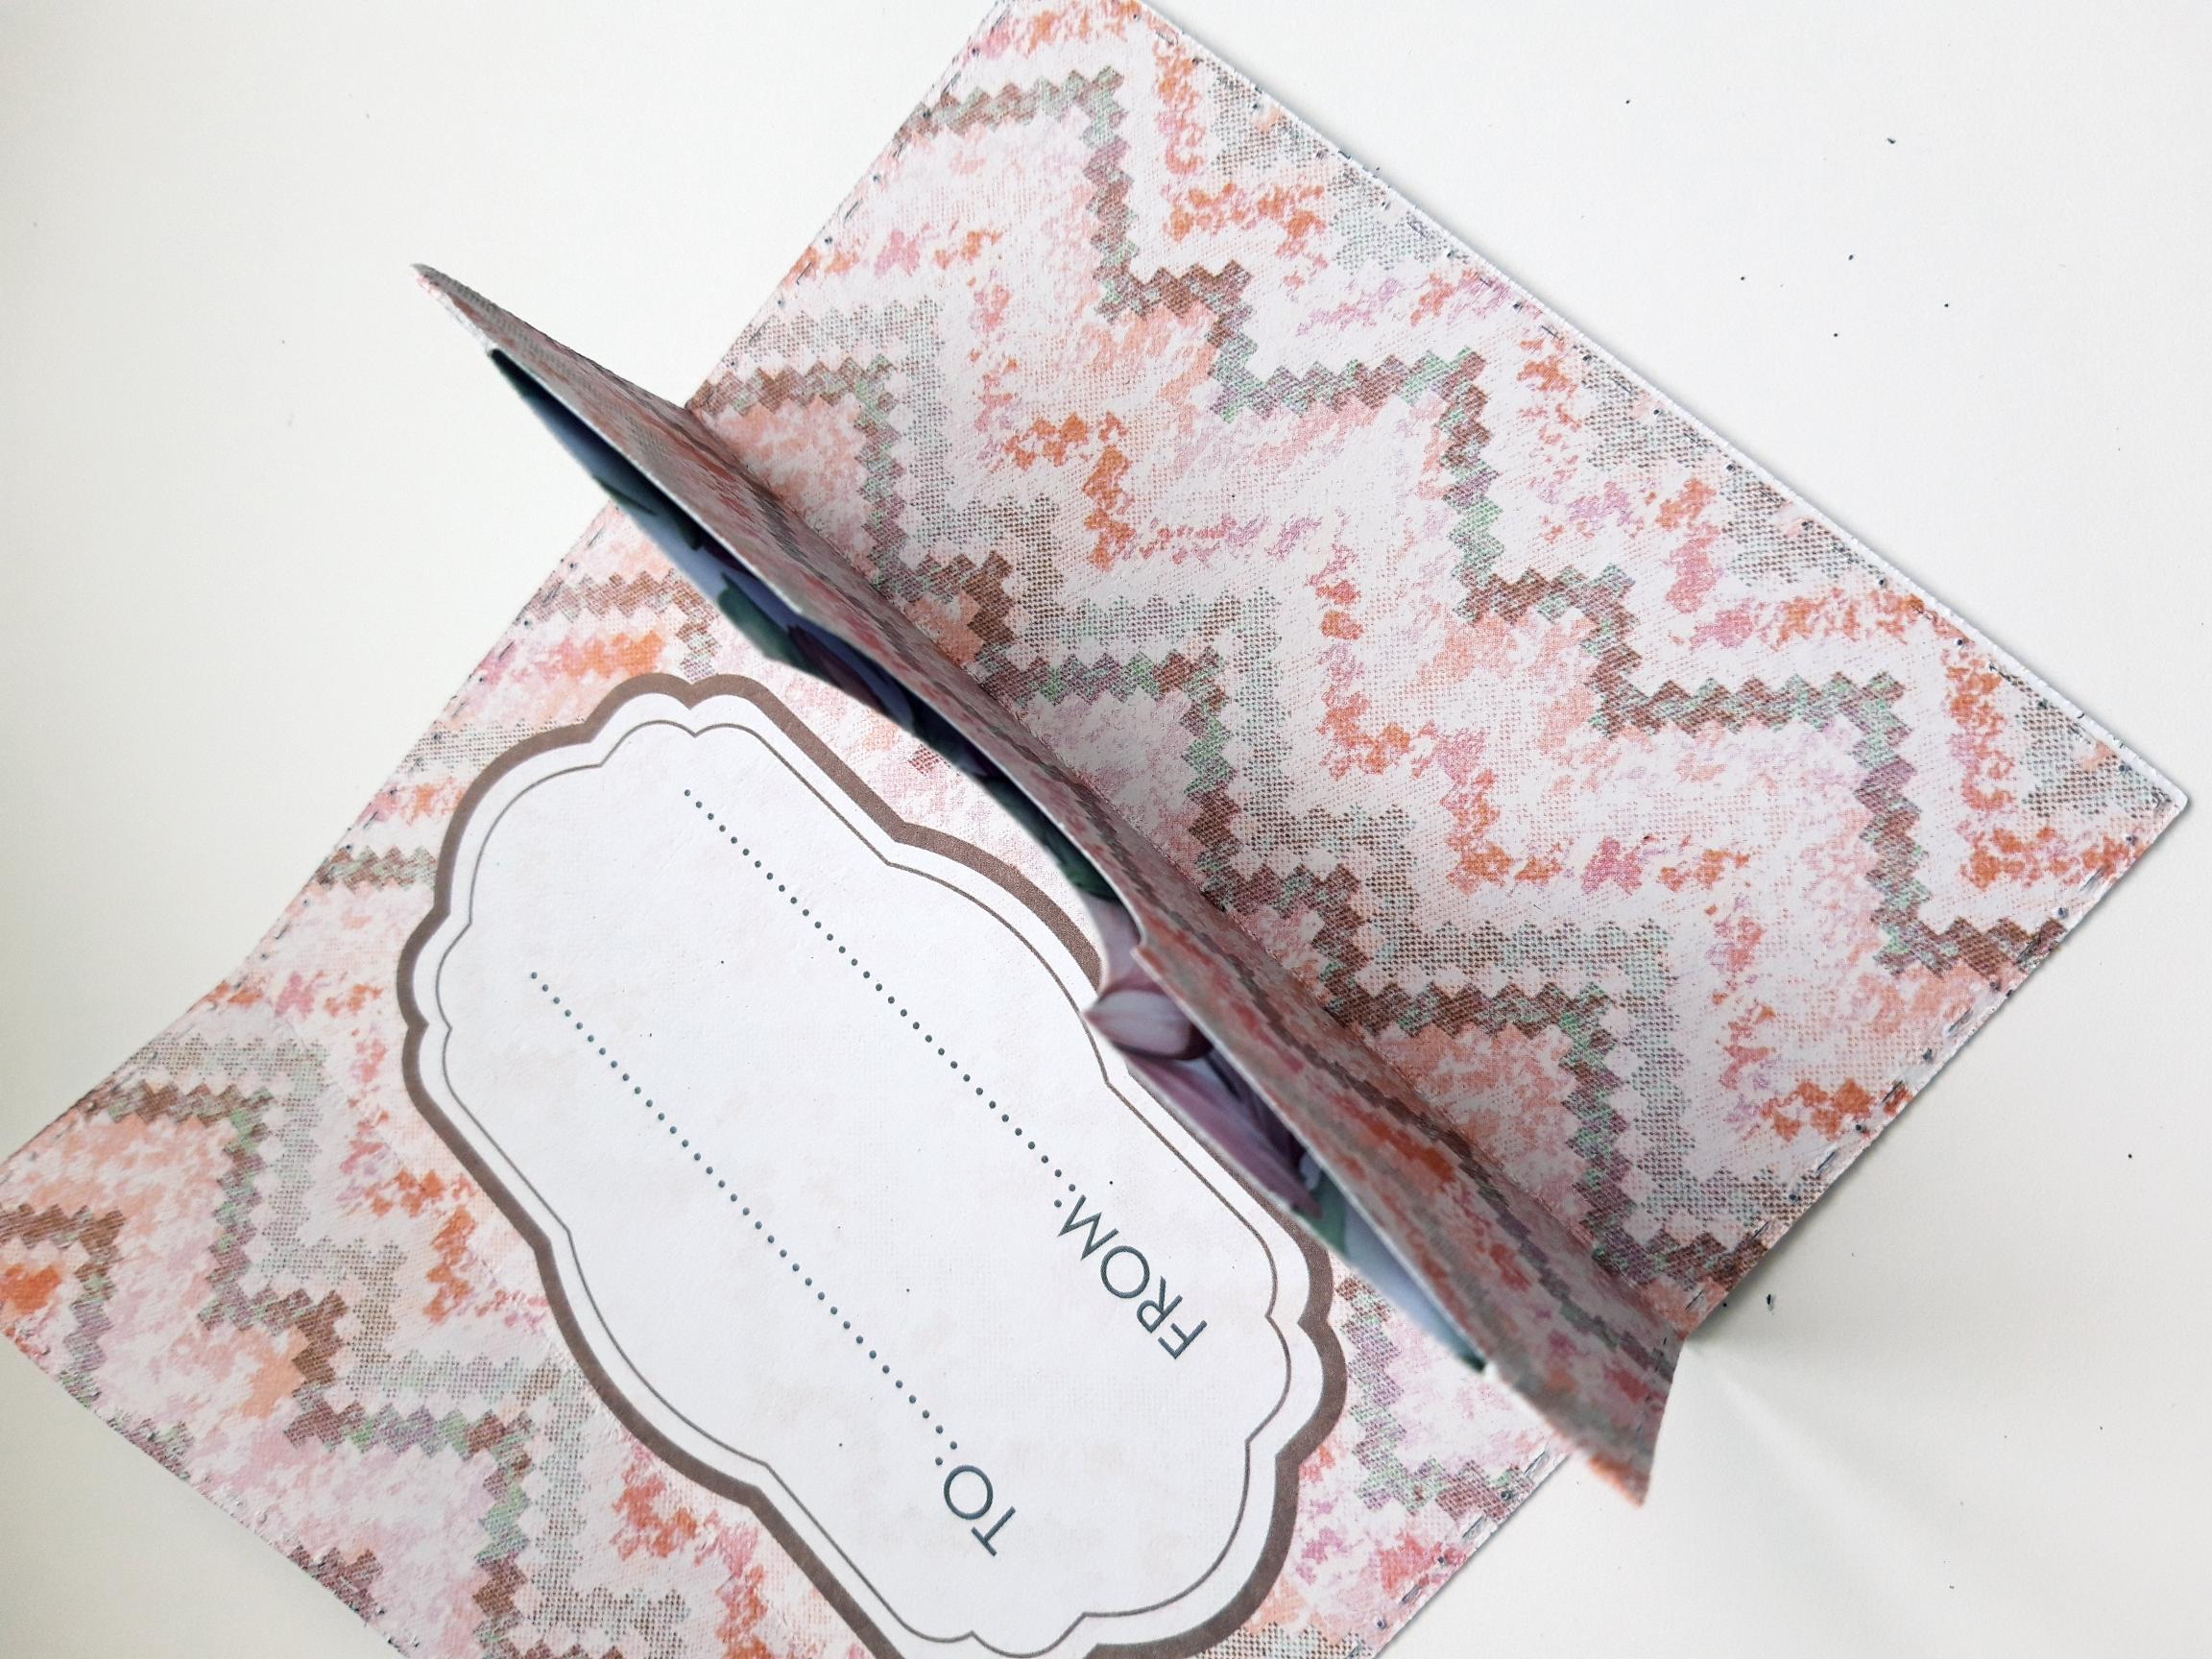
Fold along all the score lines, using a bone folder tool. Reopen the wallet, and put glue or double sided tape up the two sides of one of the centre panels (with the cut out circle), as shown here. |
|
Fold the wallet back up, along the score lines, allowing the glued sides to adhere. This will create your pop up element, as seen here. |
|
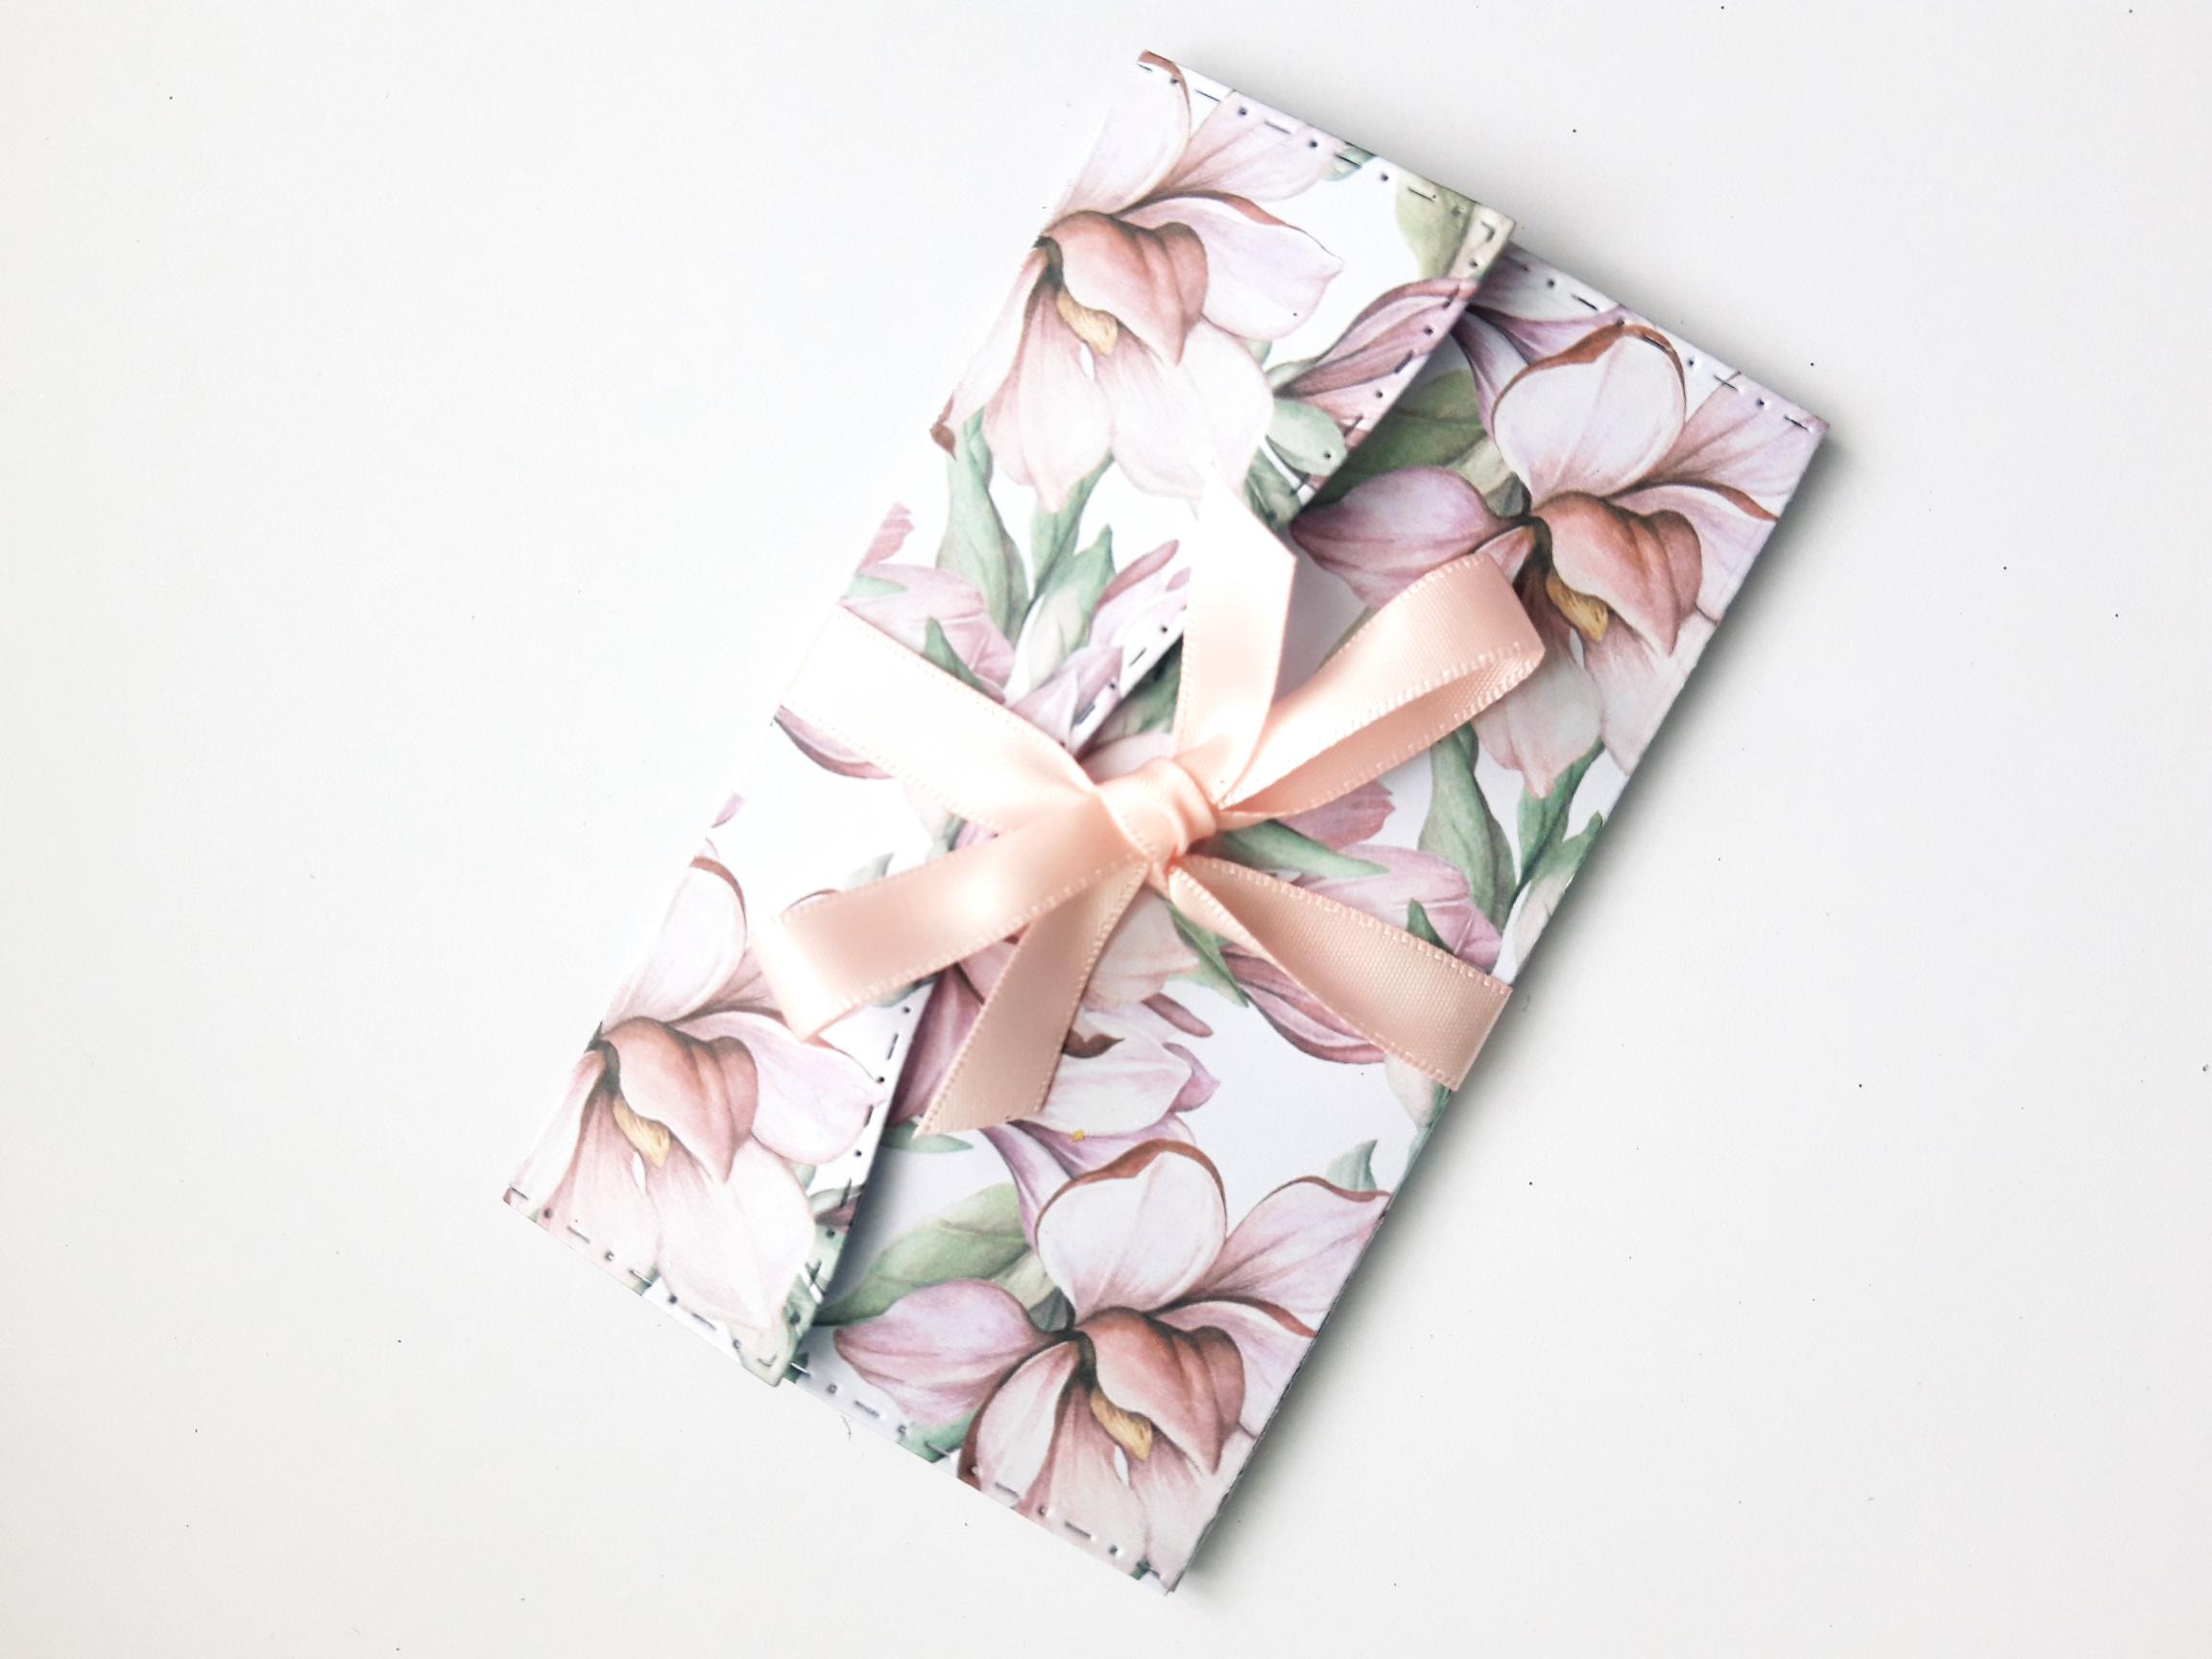
Tie your ribbon around your gift card holder, to keep it closed. Tip: You could also use twine, lace, magnets, wax seals, etc from your crafty stash. Set your wallet to one side. |
|
Ink up the stamp from Lily Portrait Stamp Collection, with the Spun Sugar, Victorian Velvet and Seedless Preserves Distress Oxides. Spritz the stamp with water and stamp off the right hand edge of your 6 x 6" white card blank. You can also spritz the stamped image, and allow it to "bleed", and/or reink and stamp back over it, until you achieve the desired effect. Allow the ink to dry naturally, if possible, or you can speed it up with your heat tool, being careful not to warp your card blank. |
|
Once the ink is dry, use a paint brush to lay down some water, around the outside edges of your stamped image. You can work on small areas at a time to prevent the water from drying out too quickly. Apply some of the Cracked Pistachio Distress Oxide to a glass/craft mat, and add a little water. Pick up some of the ink, with your paint brush, and drop it in to the water on your card, allowing the ink to move. This is called a wet in wet technique. It's easier to start off with a little ink, see how it moves and then add more ink, depth of colour, as needed. Soften the colour, with water, as it moves away from the image, so you arn't left with any harsh lines. Repeat the wet in wet technique in any inner areas of the stamped image, as shown here. If possible allow the ink to dry naturally. |
|
Once your stamped image is dry, splatter Thirsty Brush Confetti White Lace Paint, over your artwork, as required. I like lots of splats!!! But it's personal preference. Again, where at all possible, leave the Confetti Paint to dry naturally, as it leaves a better, more raised 3D effect. |
|
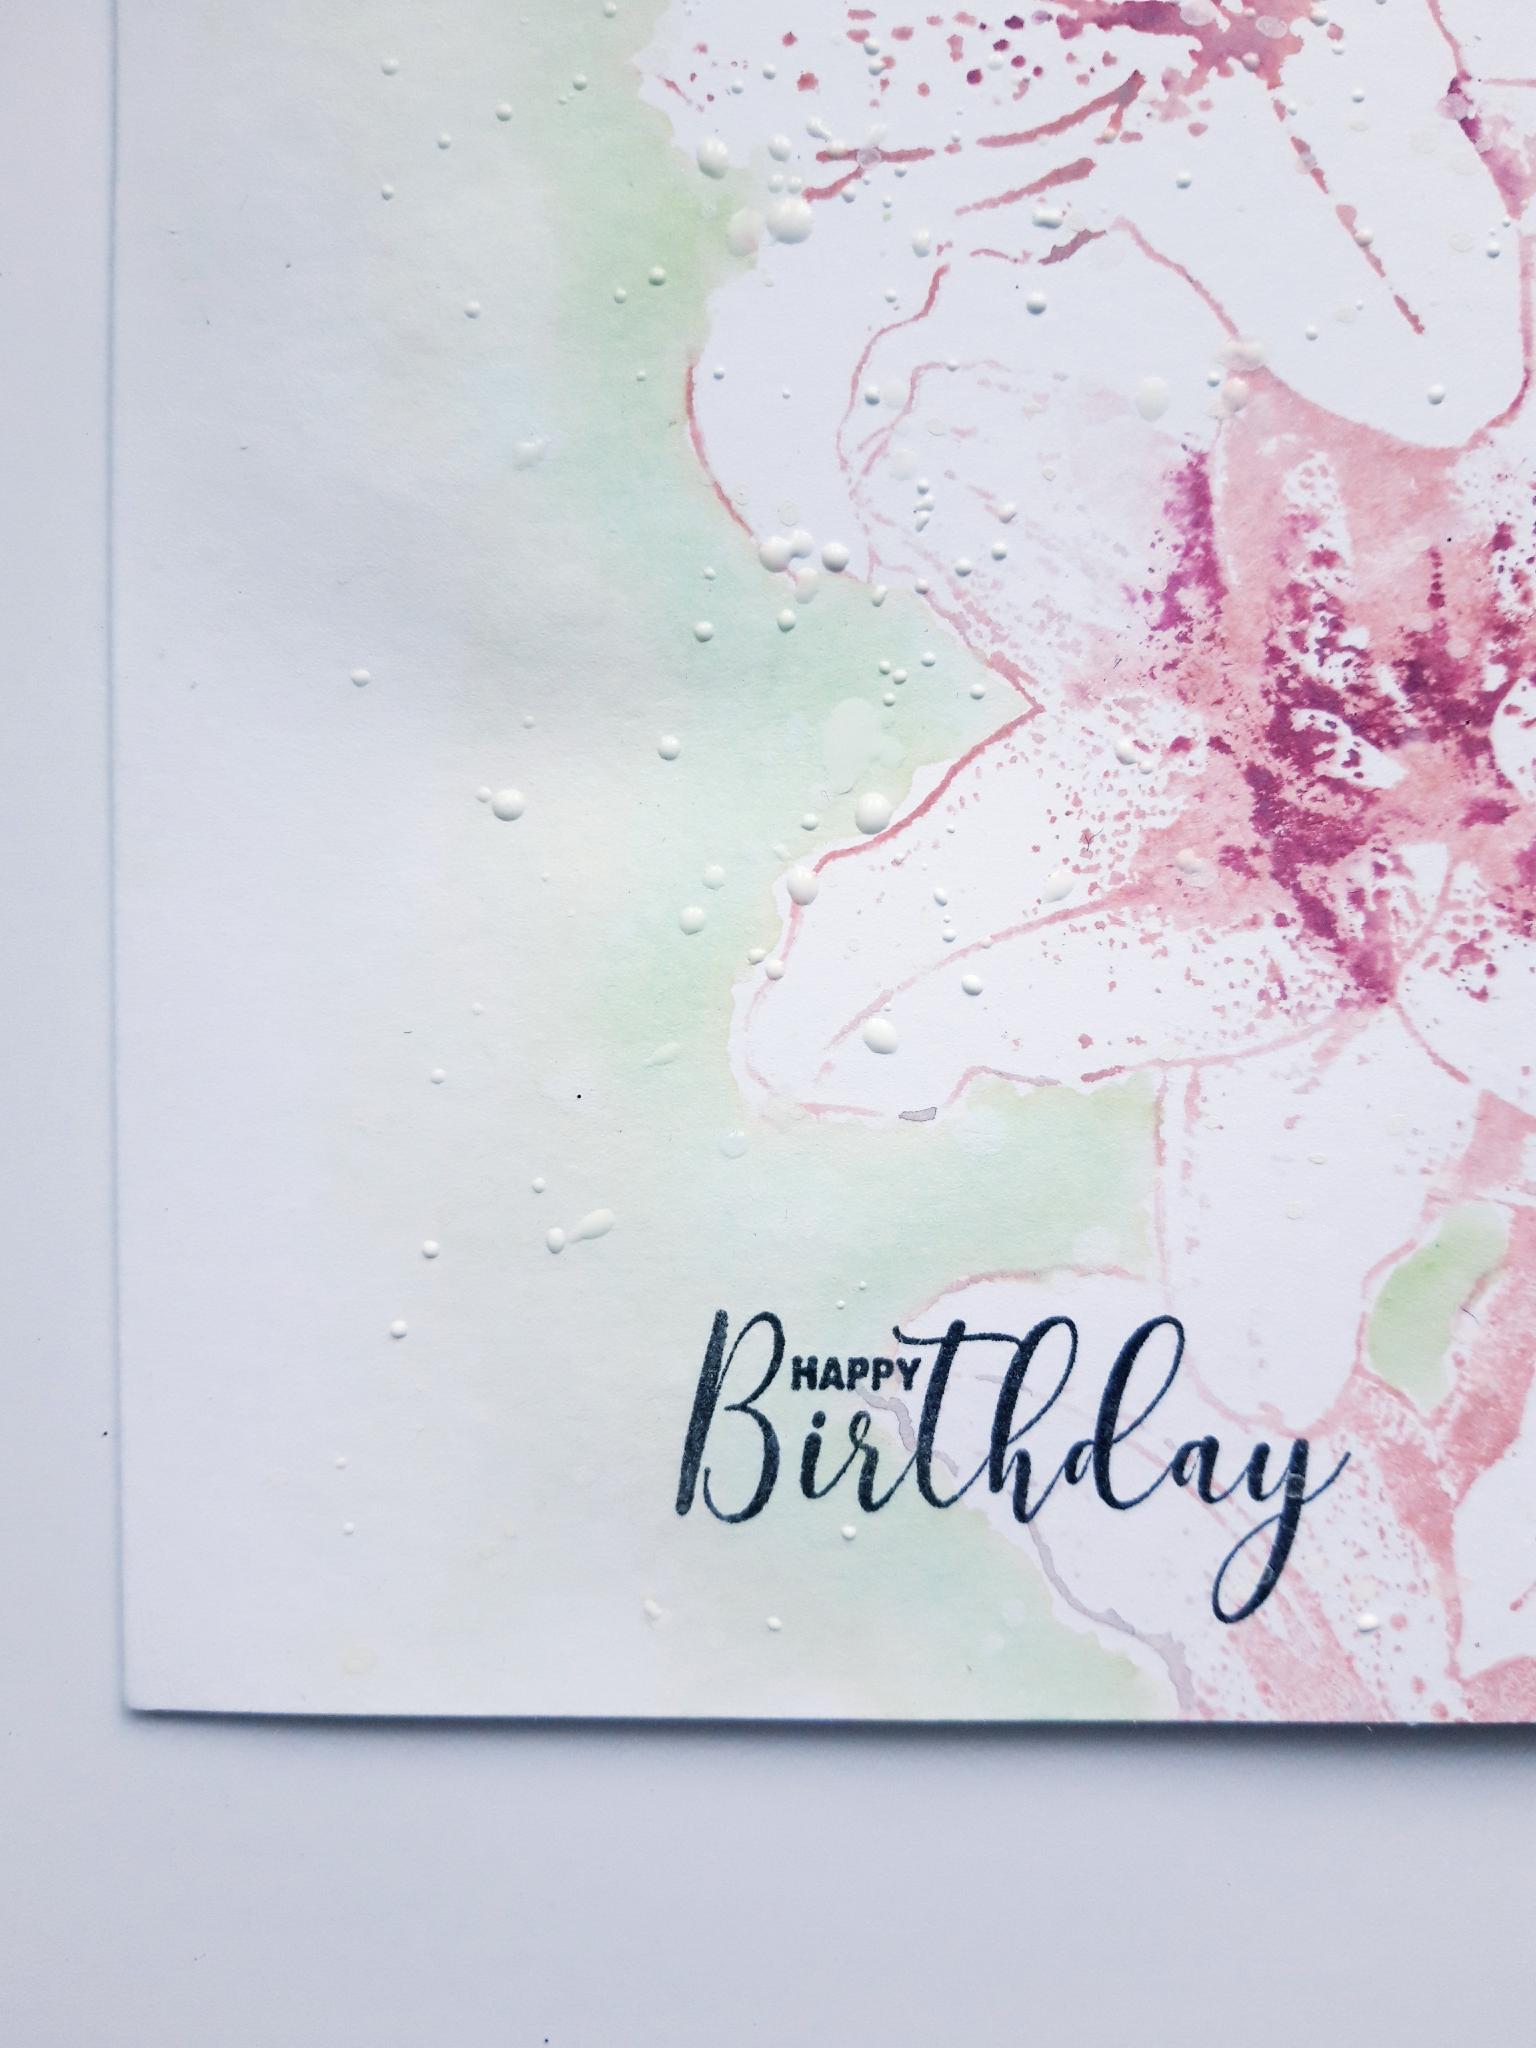
To finish, ink up your sentiment stamp, from My Sunshine Lamination Stamp Collection, with Smoky Grey Versafine. Stamp on to the bottom left of your floral image. |