Give your friends $10 off their first order!
Refer a FRIEND


WHAT YOU WILL NEED:
White DL card blank (8 1/4 x 3 3/4")
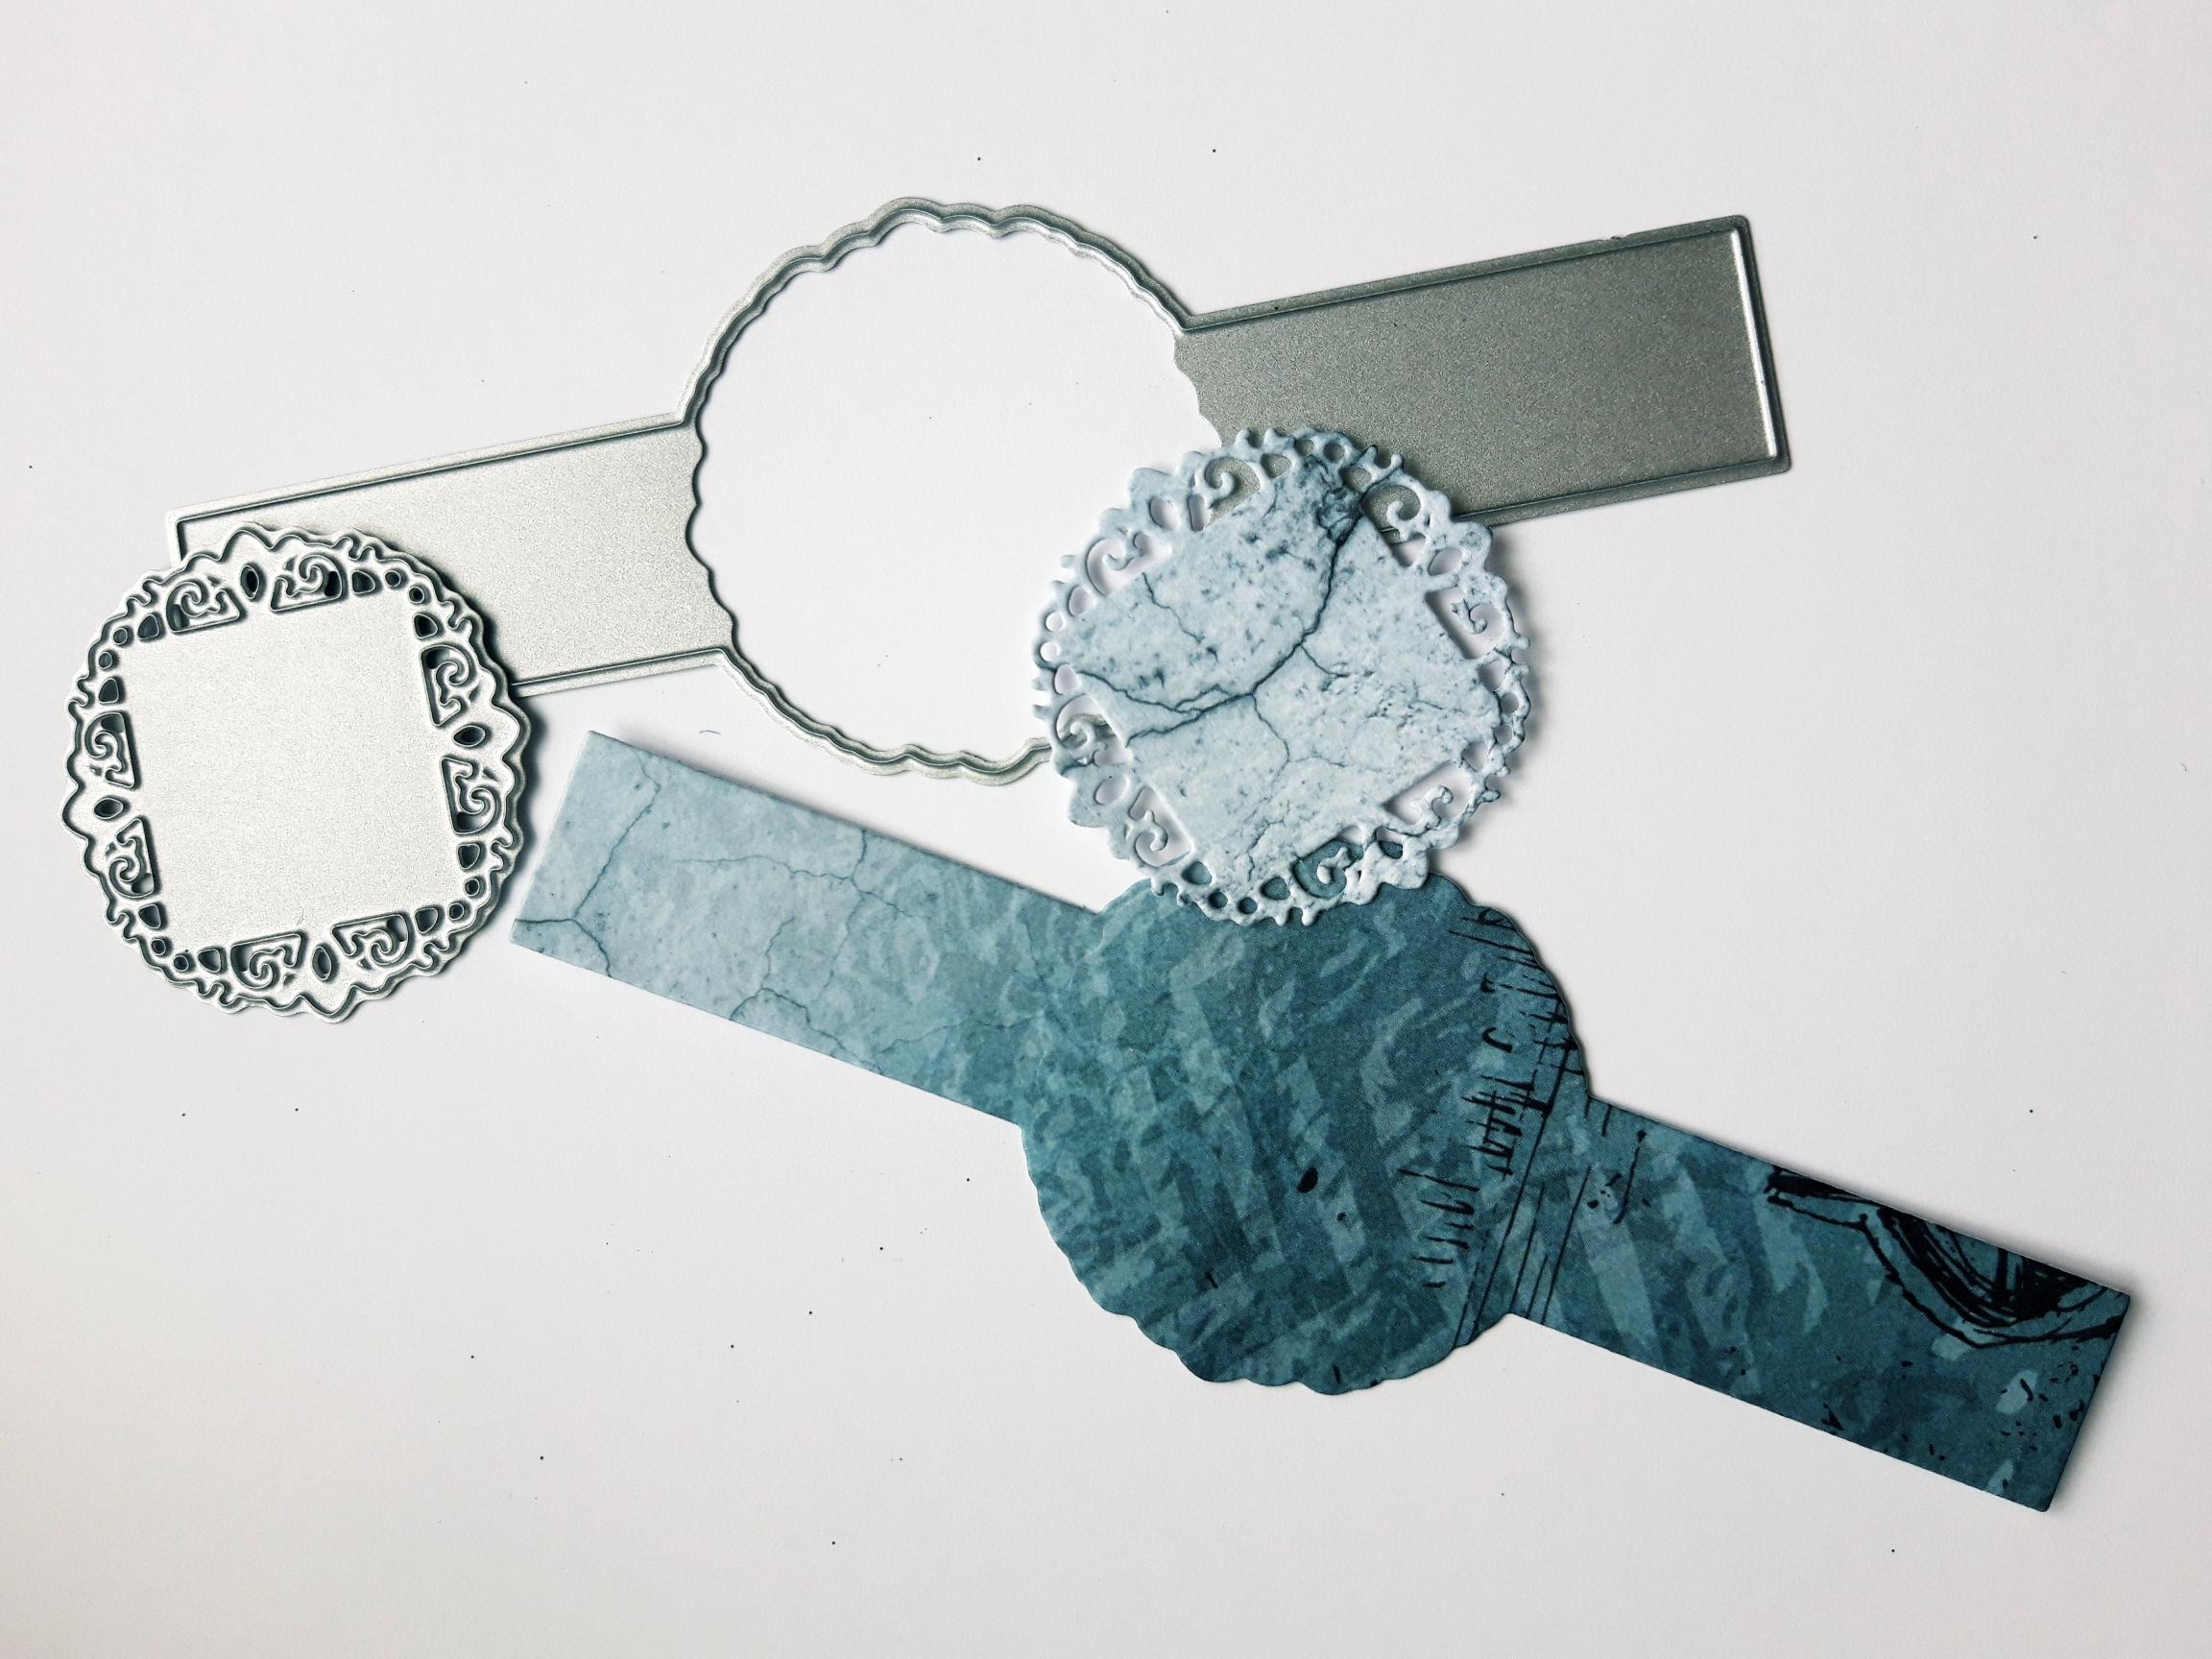
Dies from Pop Up Gift Card Holder Die Set
Dies from Beautiful Bands Die Collection (or All Occasions Die Collection HSN)
Pop Up Gift Card Fabulous Florals Paper Pad
Stamps from Beautiful Soul Stamp Collection
Stamps from Beautiful Birthday Stamp Collection
Imala Nautical Paper Pad
Versafine Ink Pad: Onyx Black
WOW Embossing ink pad
WOW Dirti Verdi Embossing Powder
Anti Static bag
WOW Heat Tool
Craft Knife
Eureka 101
Paper Trimmer
Perfect Together Glue
Double sided adhesive tape
Die Cutting machine
[click image to enlarge] 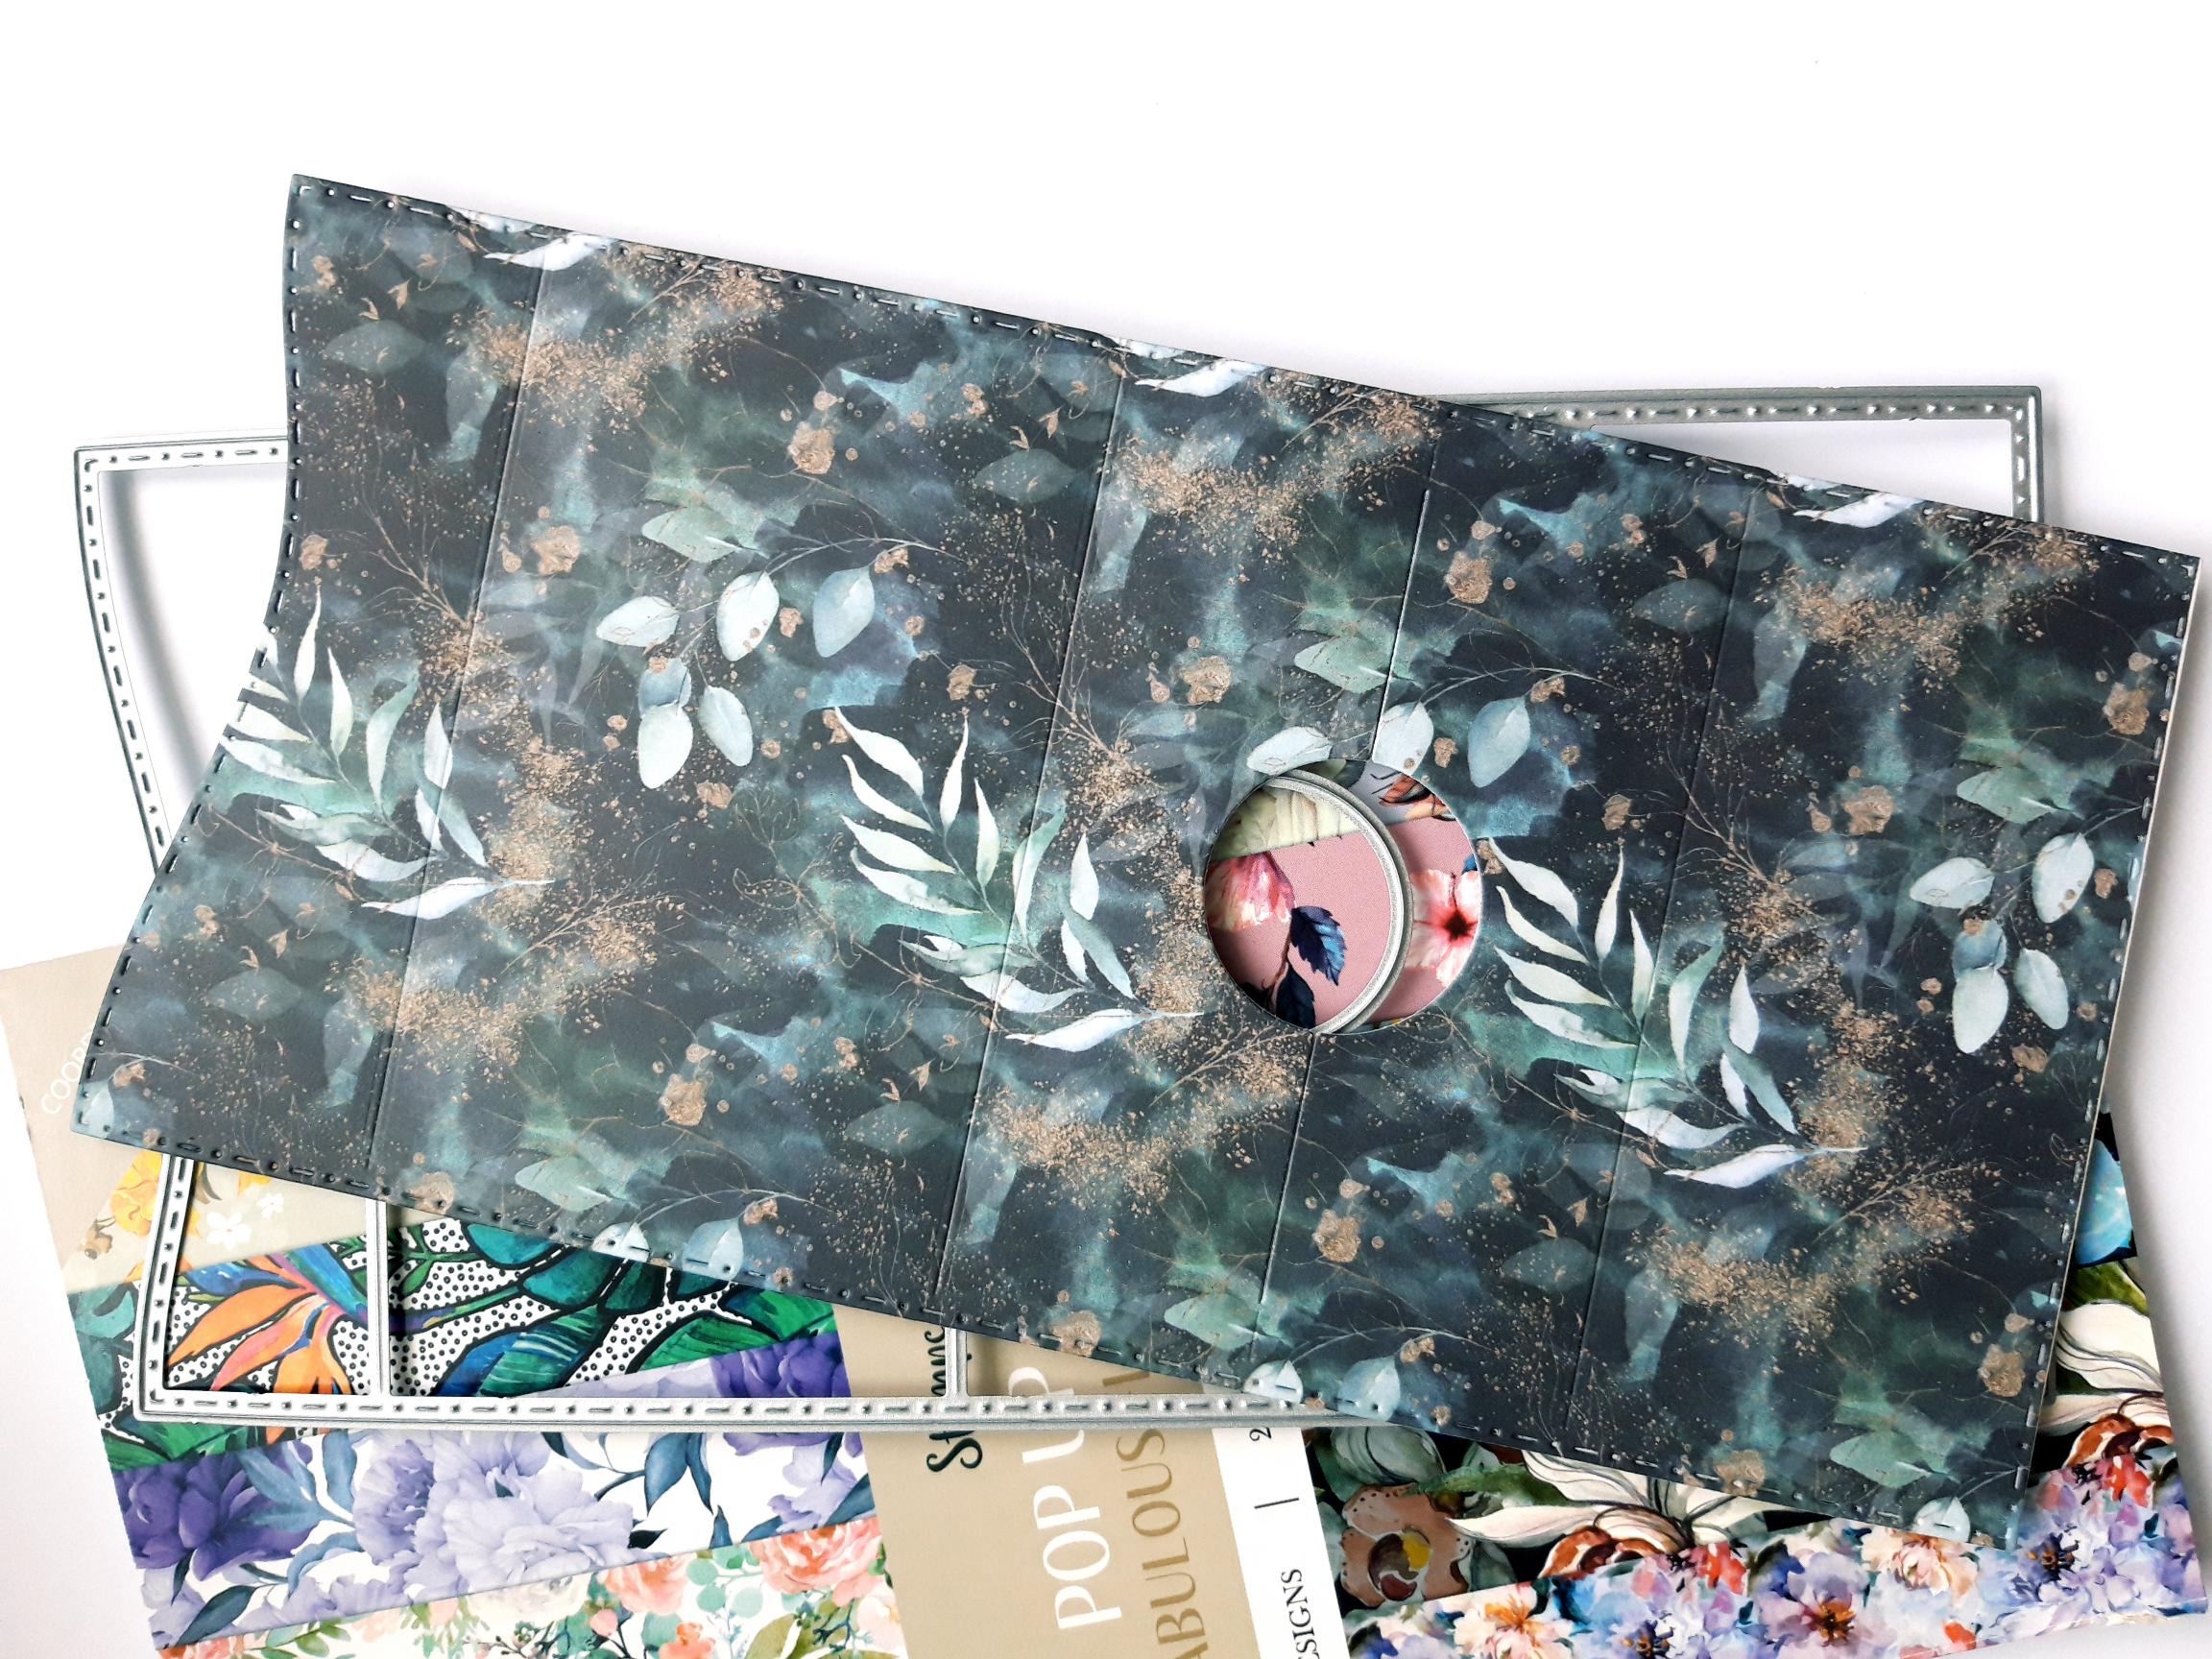
|
Tear out this sheet from the Fabulous Florals Paper Pad. Place the coordinating die, from the Pop Up Gift Card Holder Die Collection, on to the decorative paper, and run it through your die cutting machine. |
|
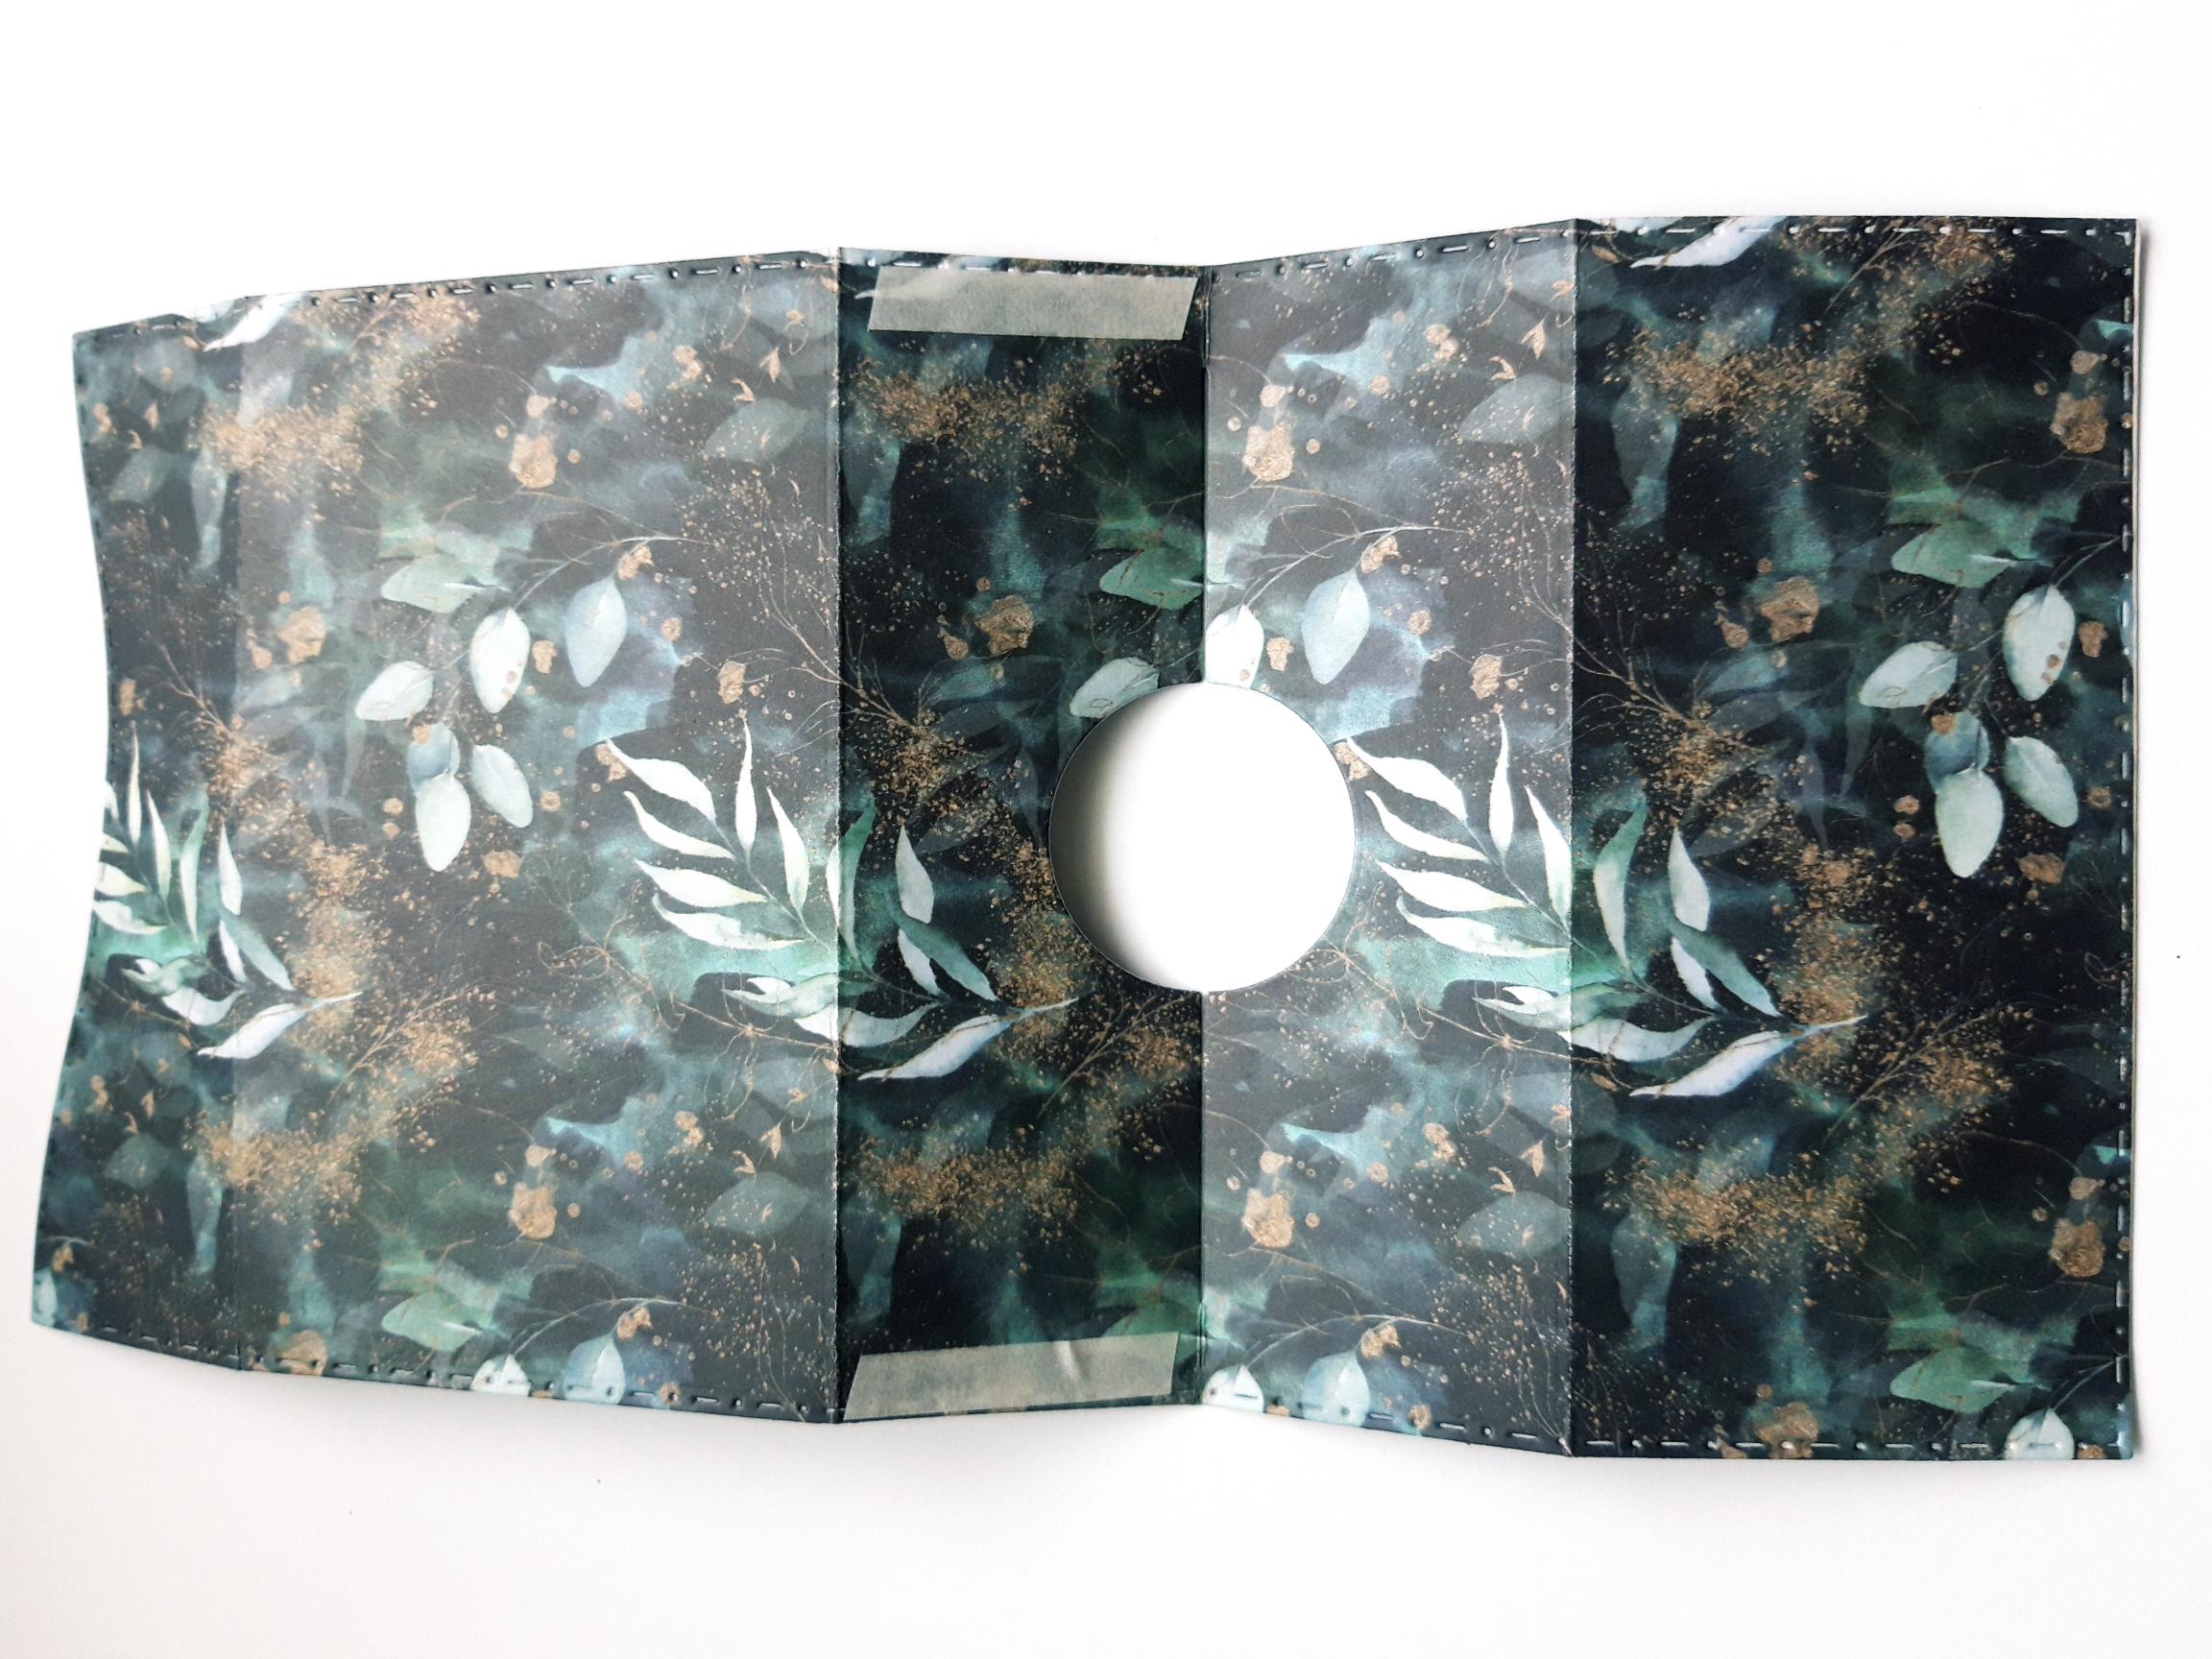
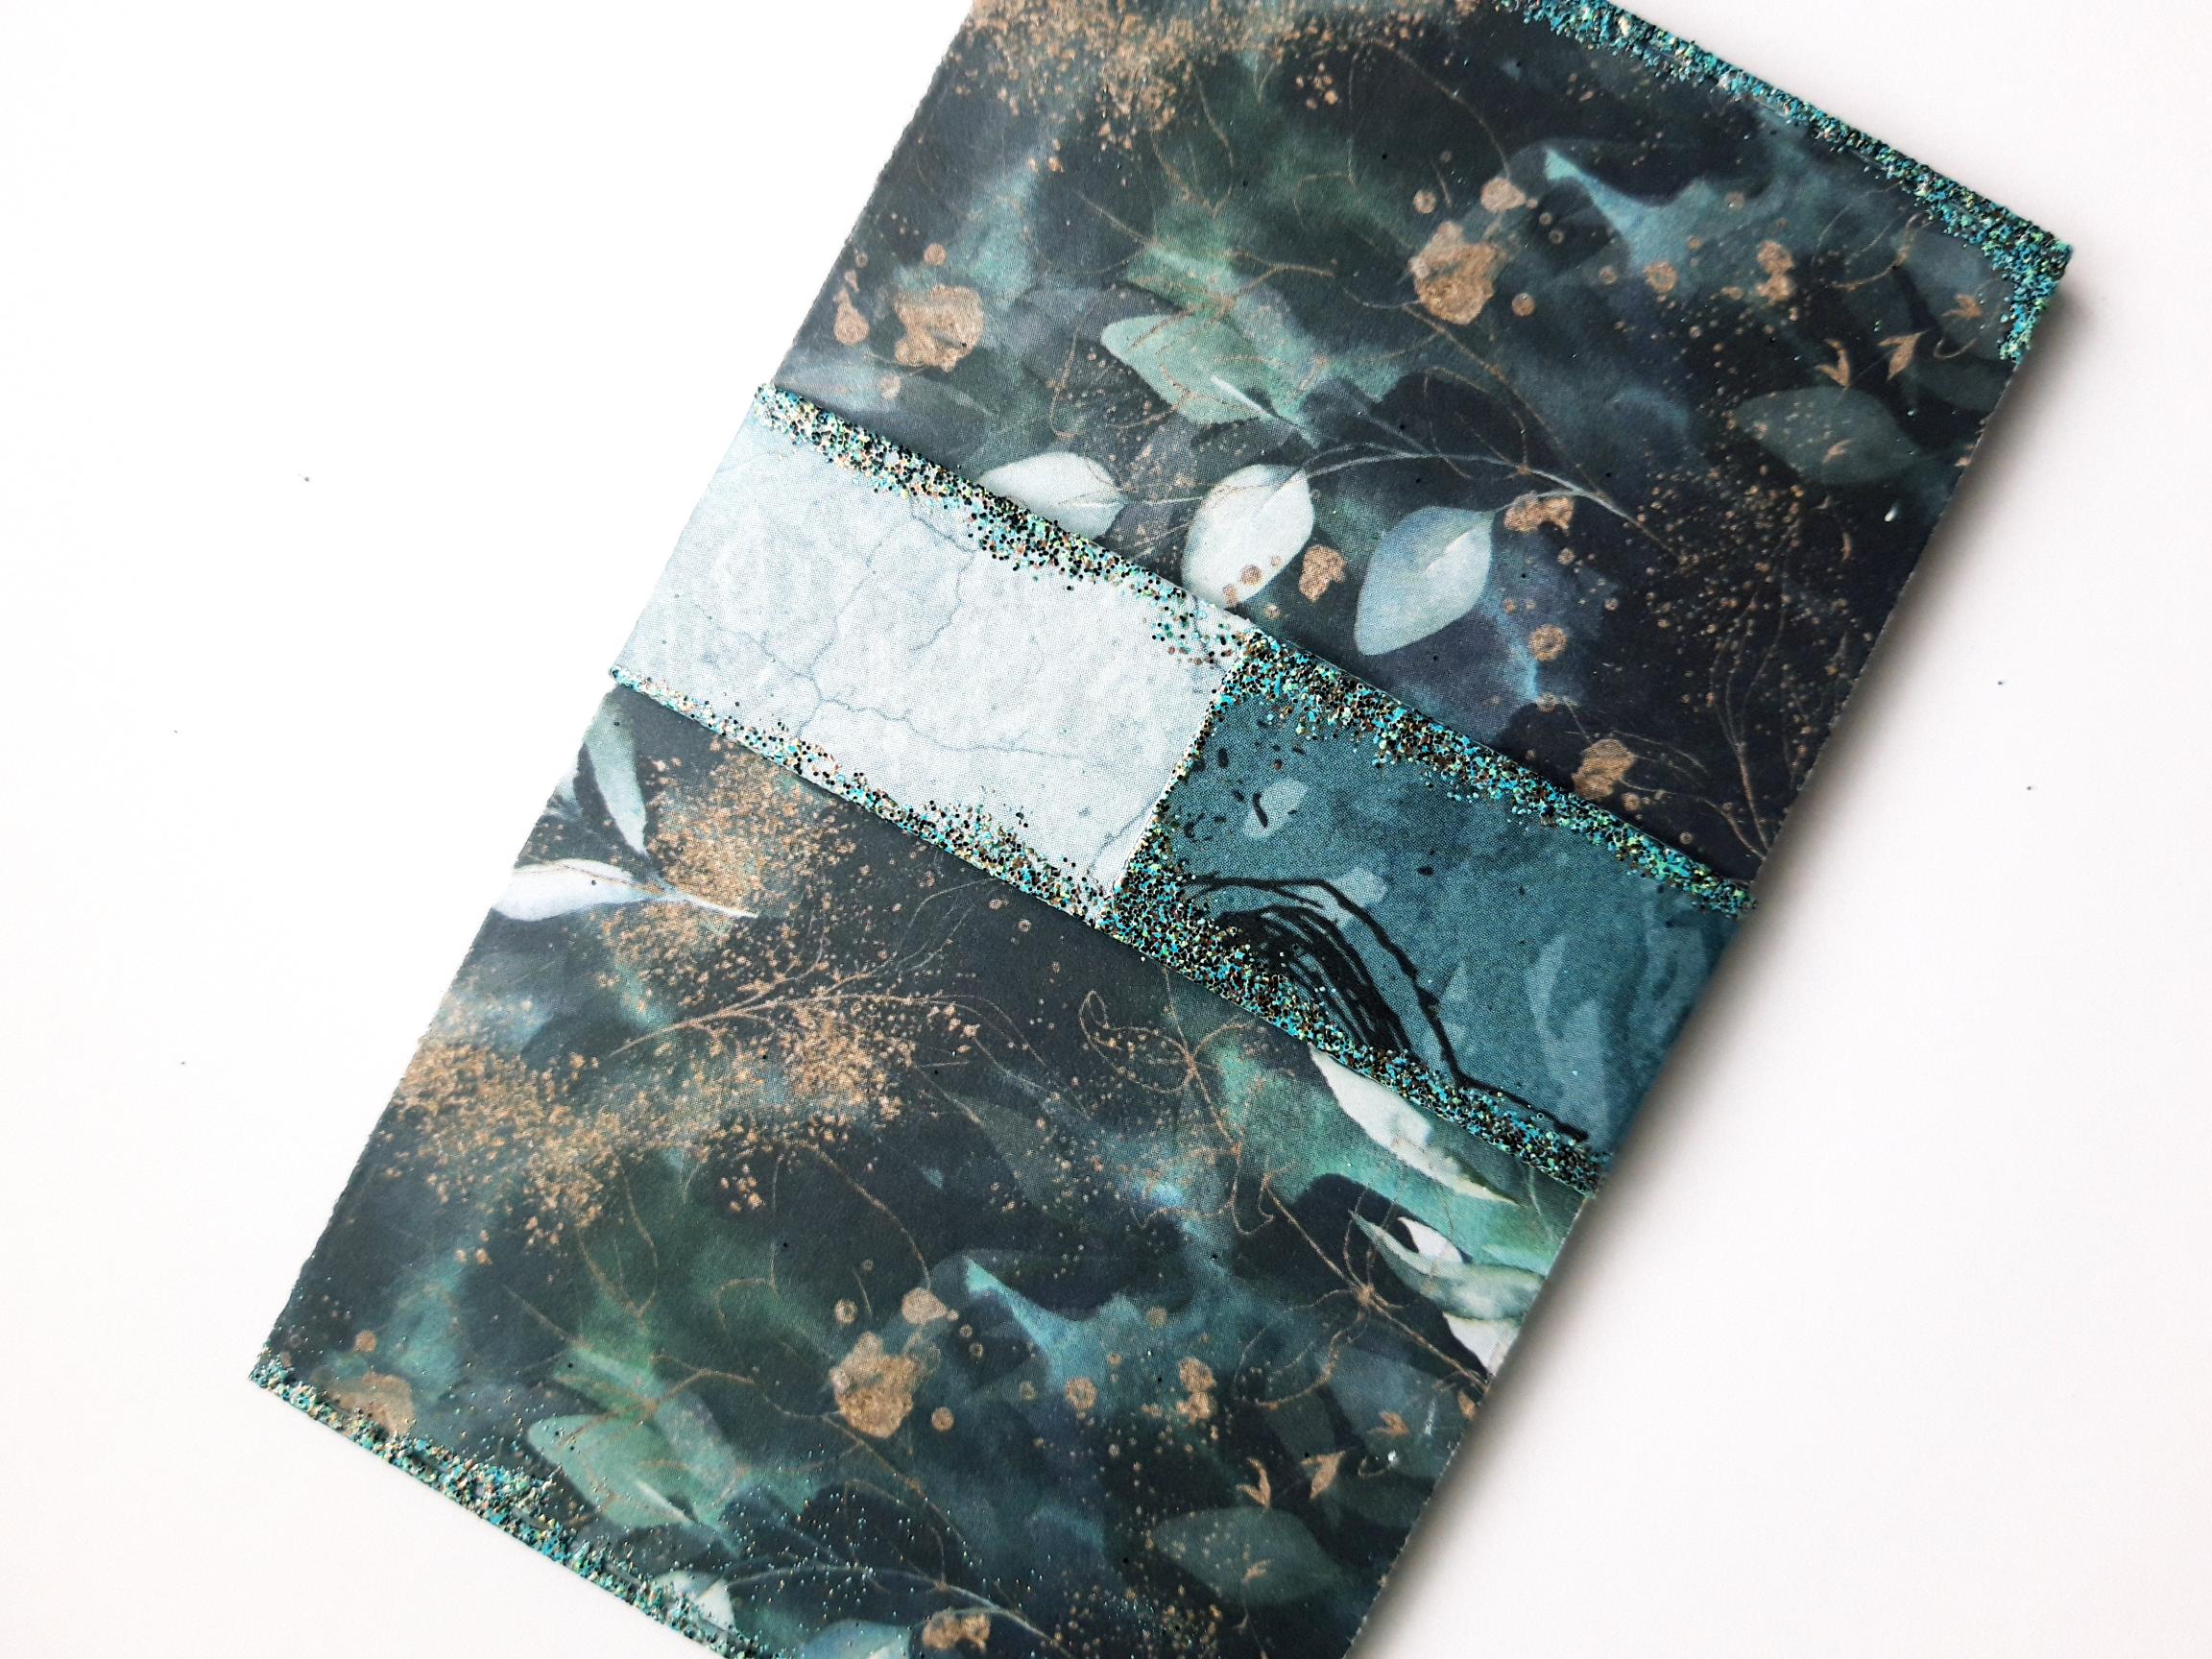
Fold your die cut, gift card holder, along all the score lines. Open it back up and lay it down so that the paper you want on the outside of the wallet is facing up, and the curved edge is at the top, as seen here. Apply glue, or your double sided adhesive tape, down the 2 sides of one of the panels with the cut out circle, as shown here.
|
|
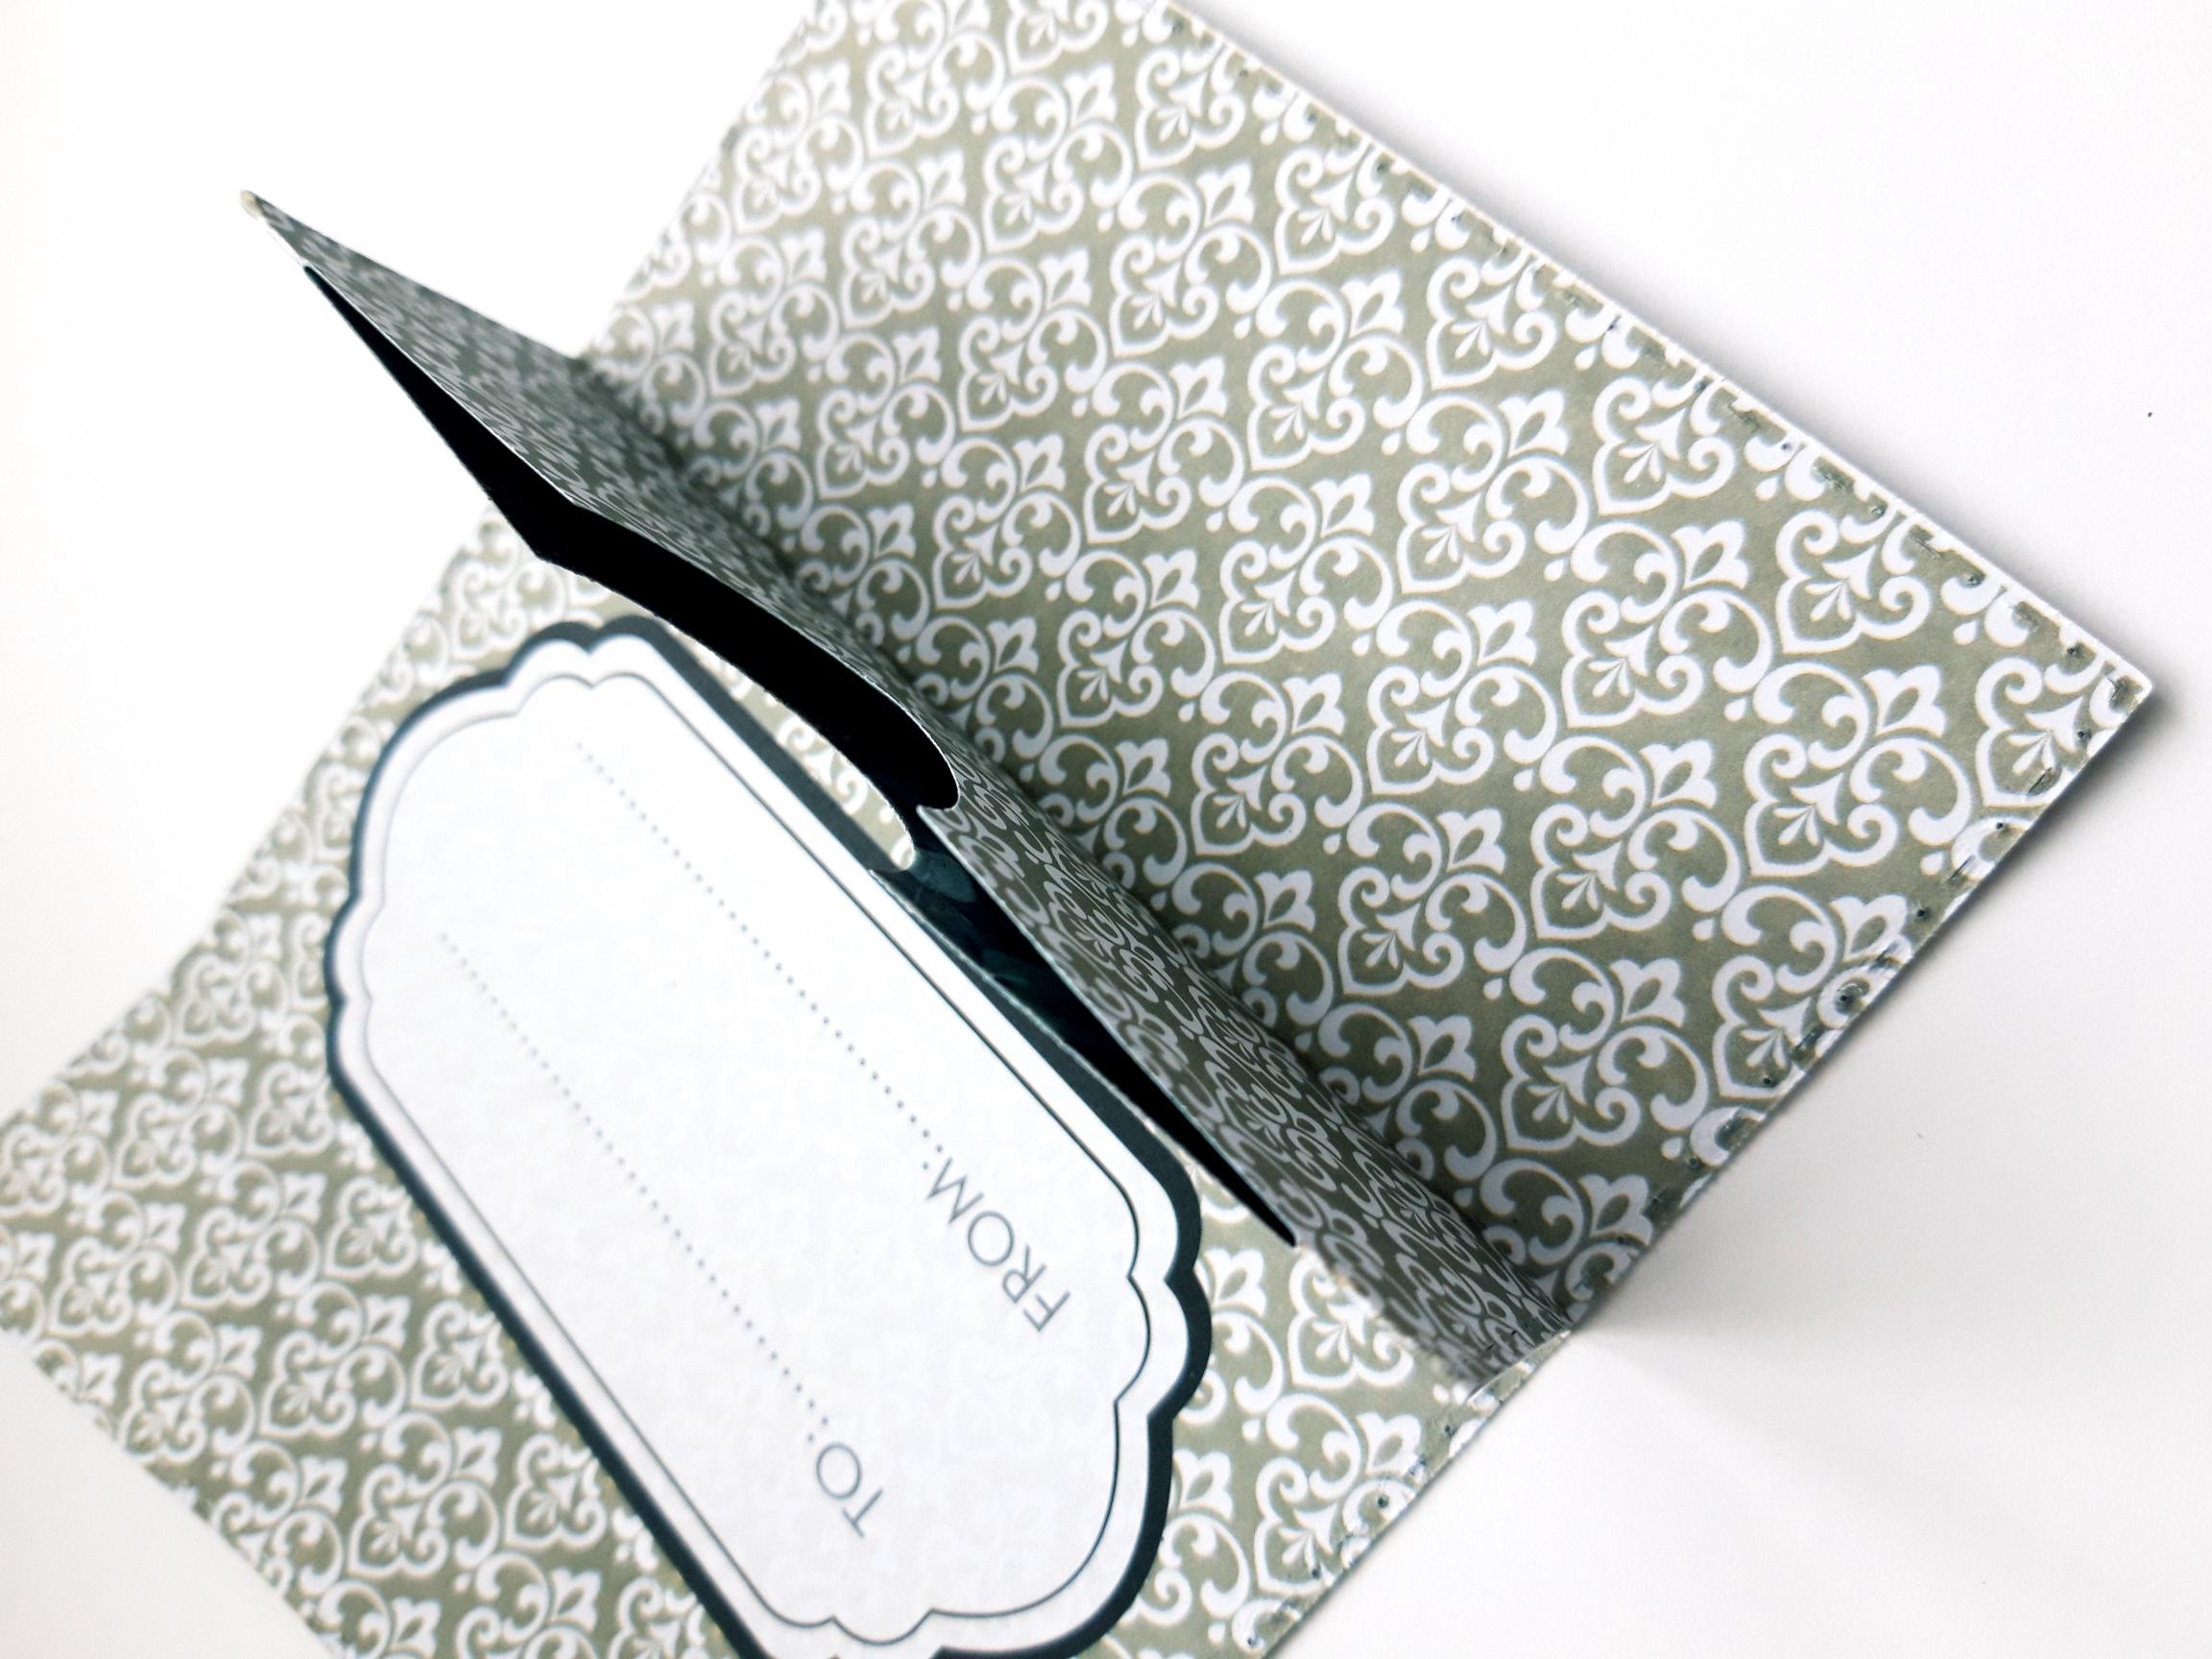
Fold your wallet back up, along the score lines, so that the adhesive tape or glue, adheres together. This will create your centre pop up element, in which your gift card, money, tea bags, seed packets, etc will sit (as shown here). |

|
Wipe the anti static bag over your wallet. Apply the WOW Embossing Ink pad around the edges. Cover the sticky ink with your WOW Embossing Powder, and once your WOW Heat Tool is nice and hot, heat set the powder. Move your heat tool as soon as the powder turns, to avoid the paper warping. Set your wallet to one side. |
|
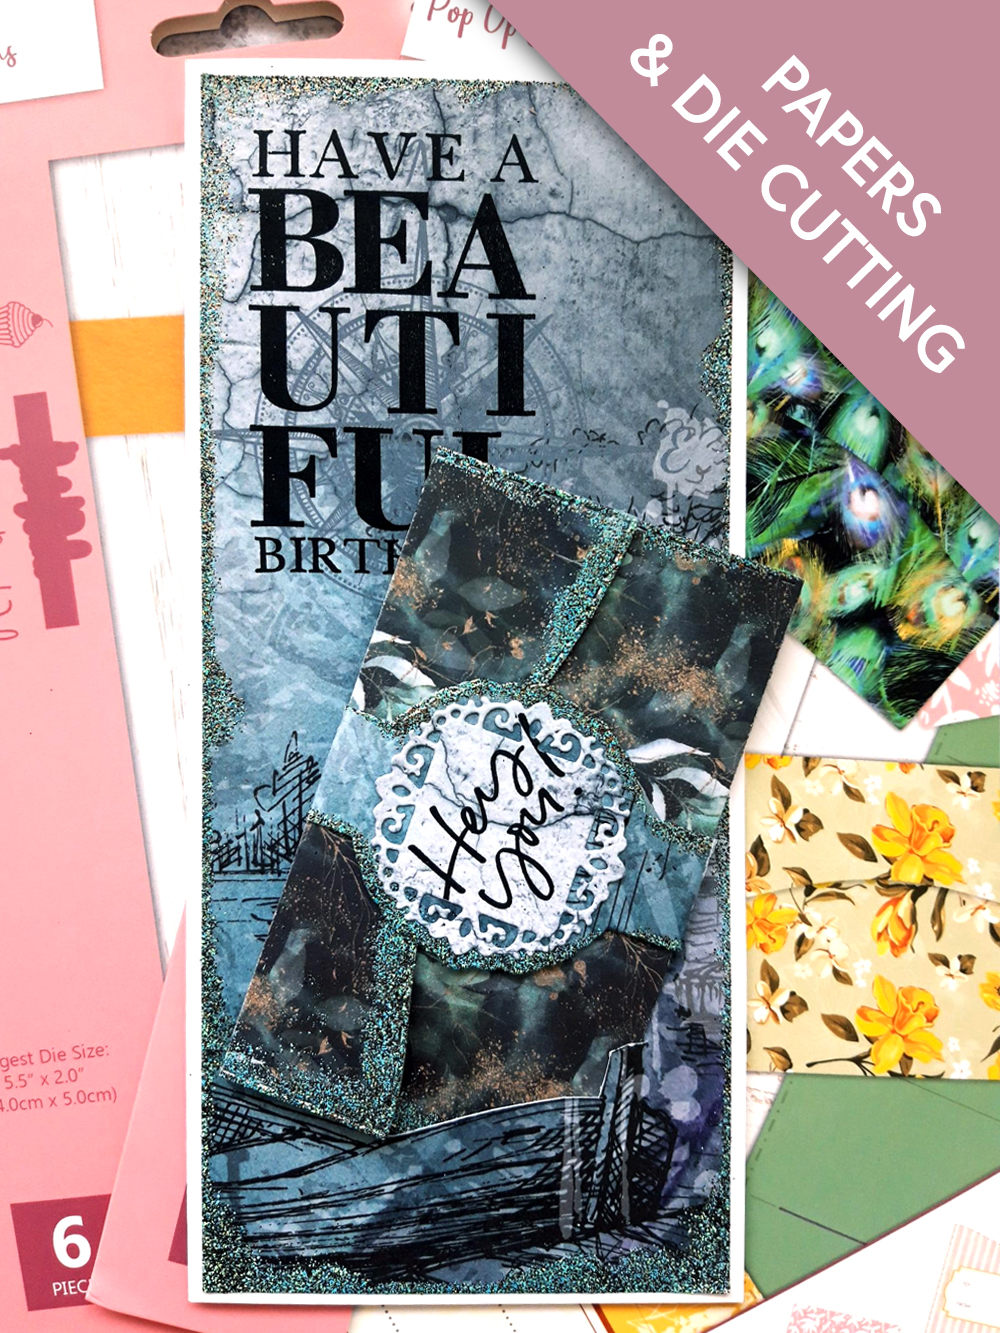
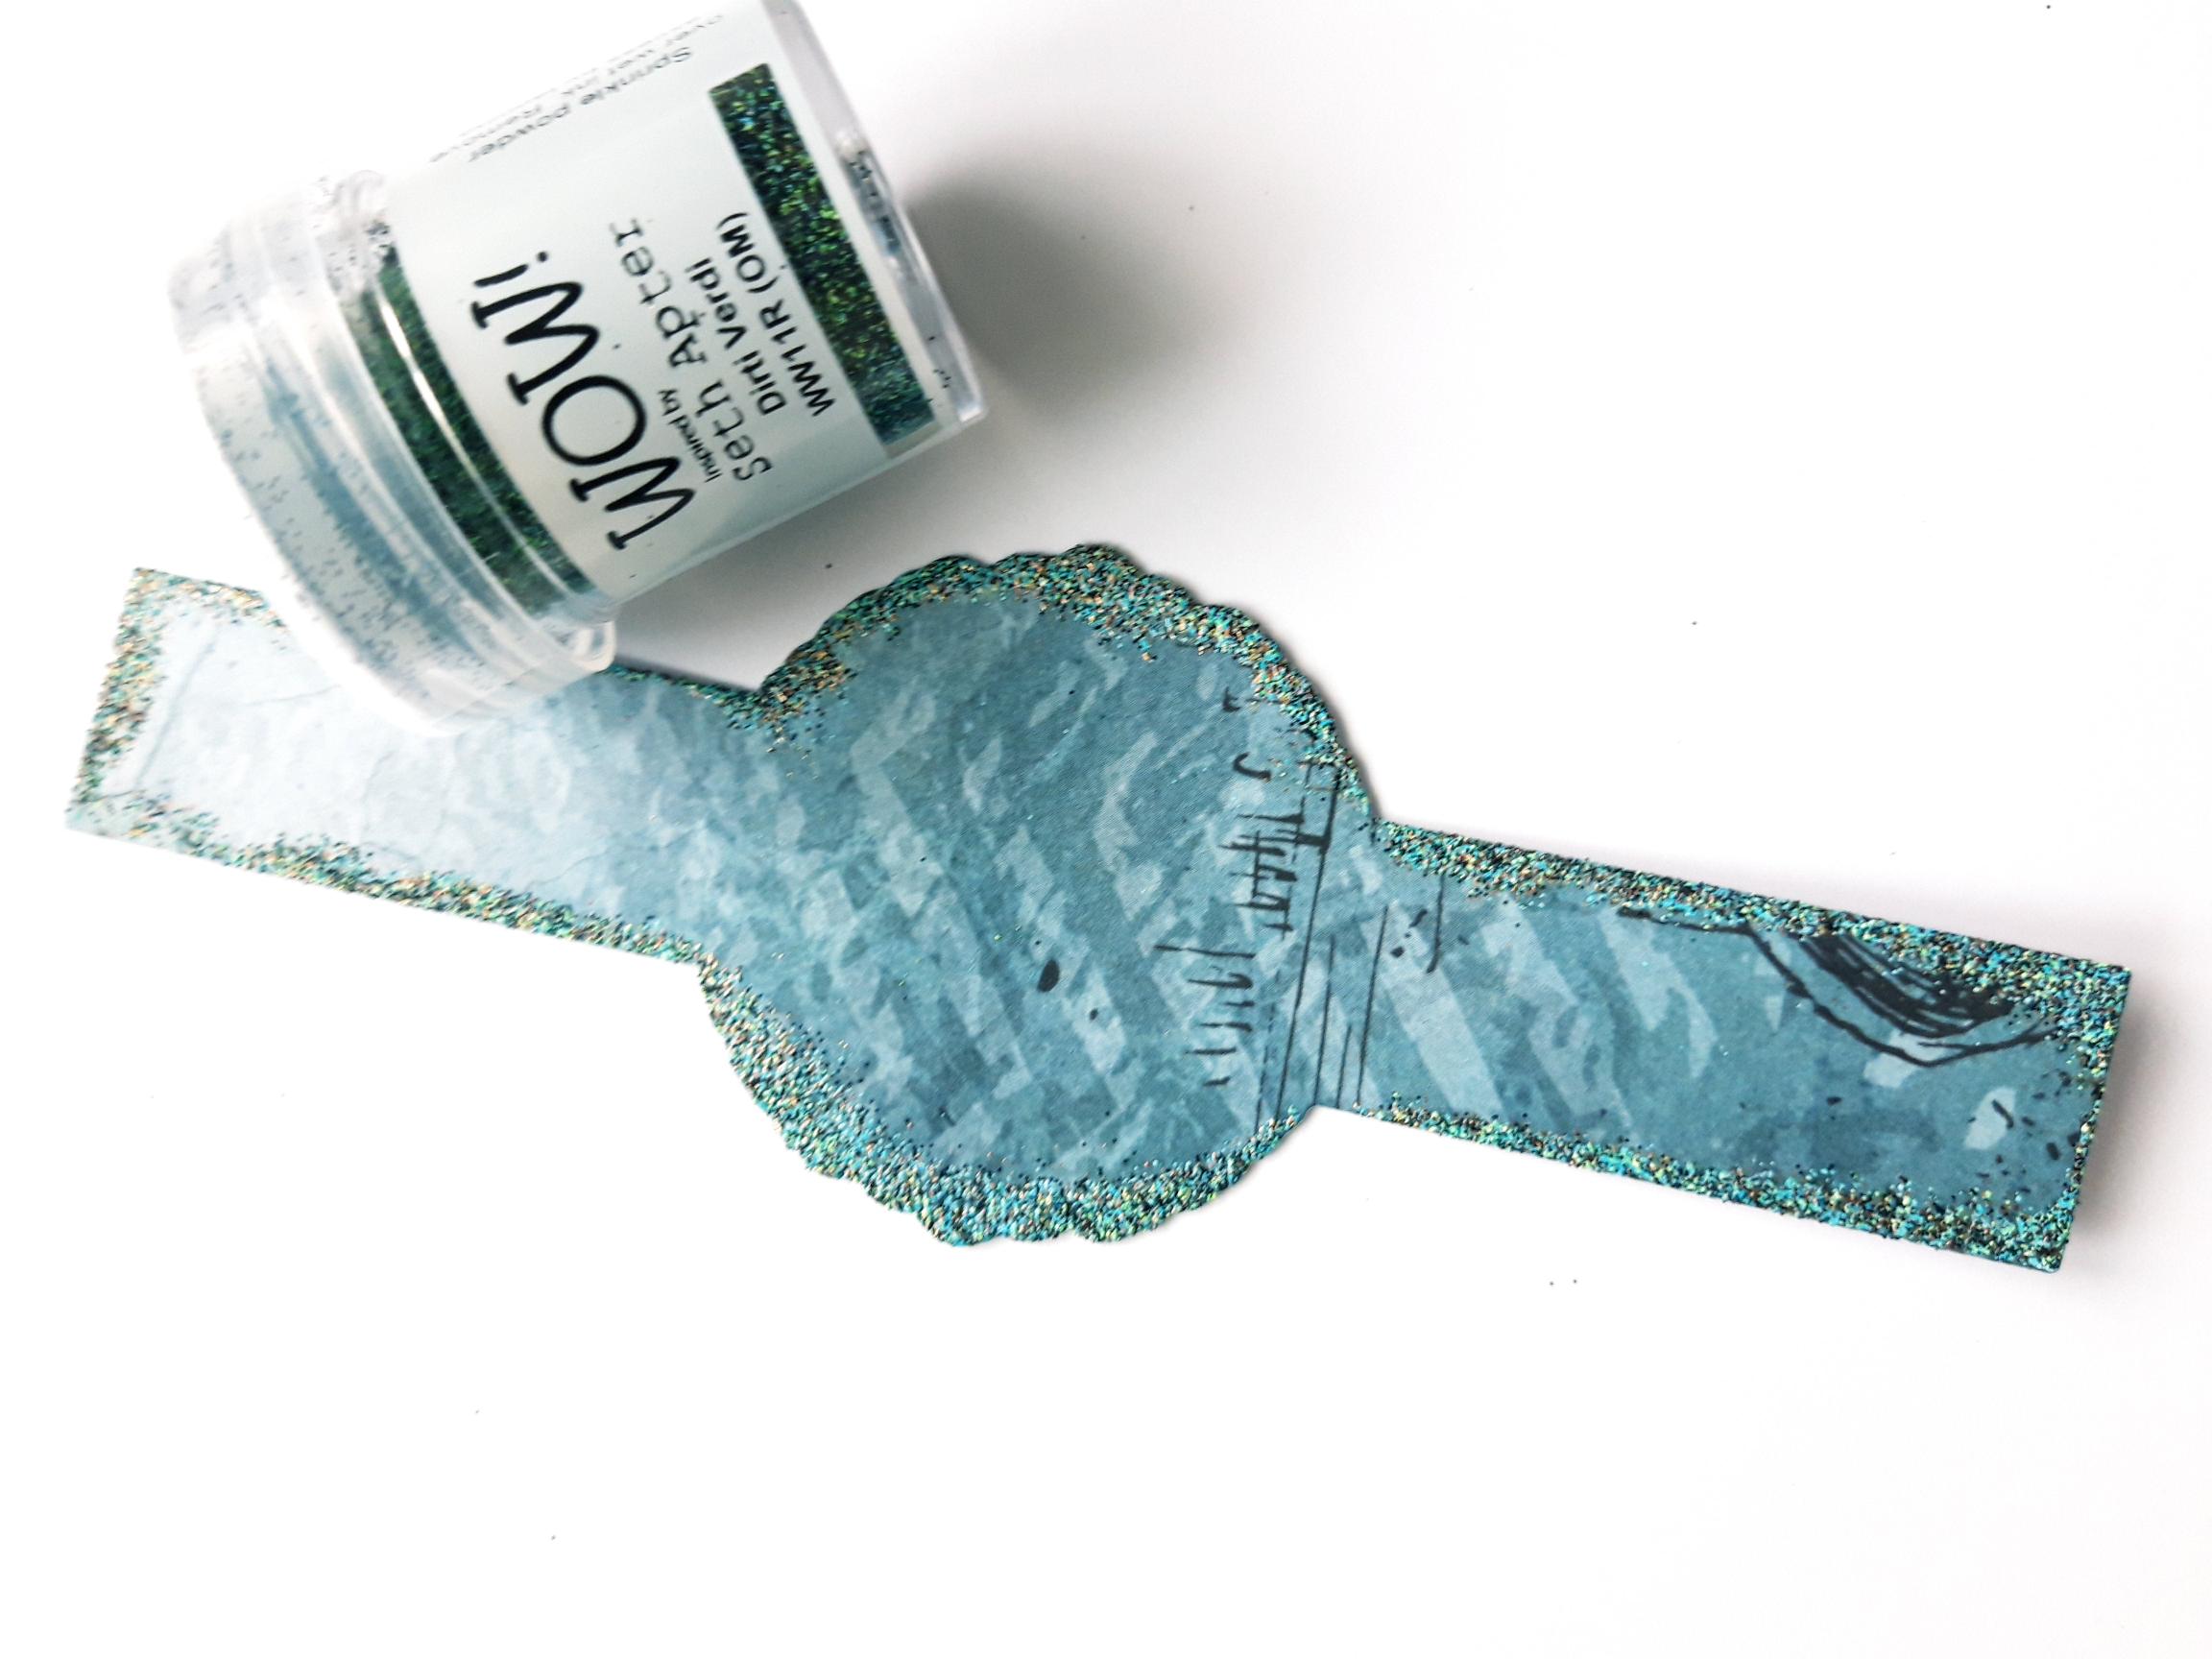
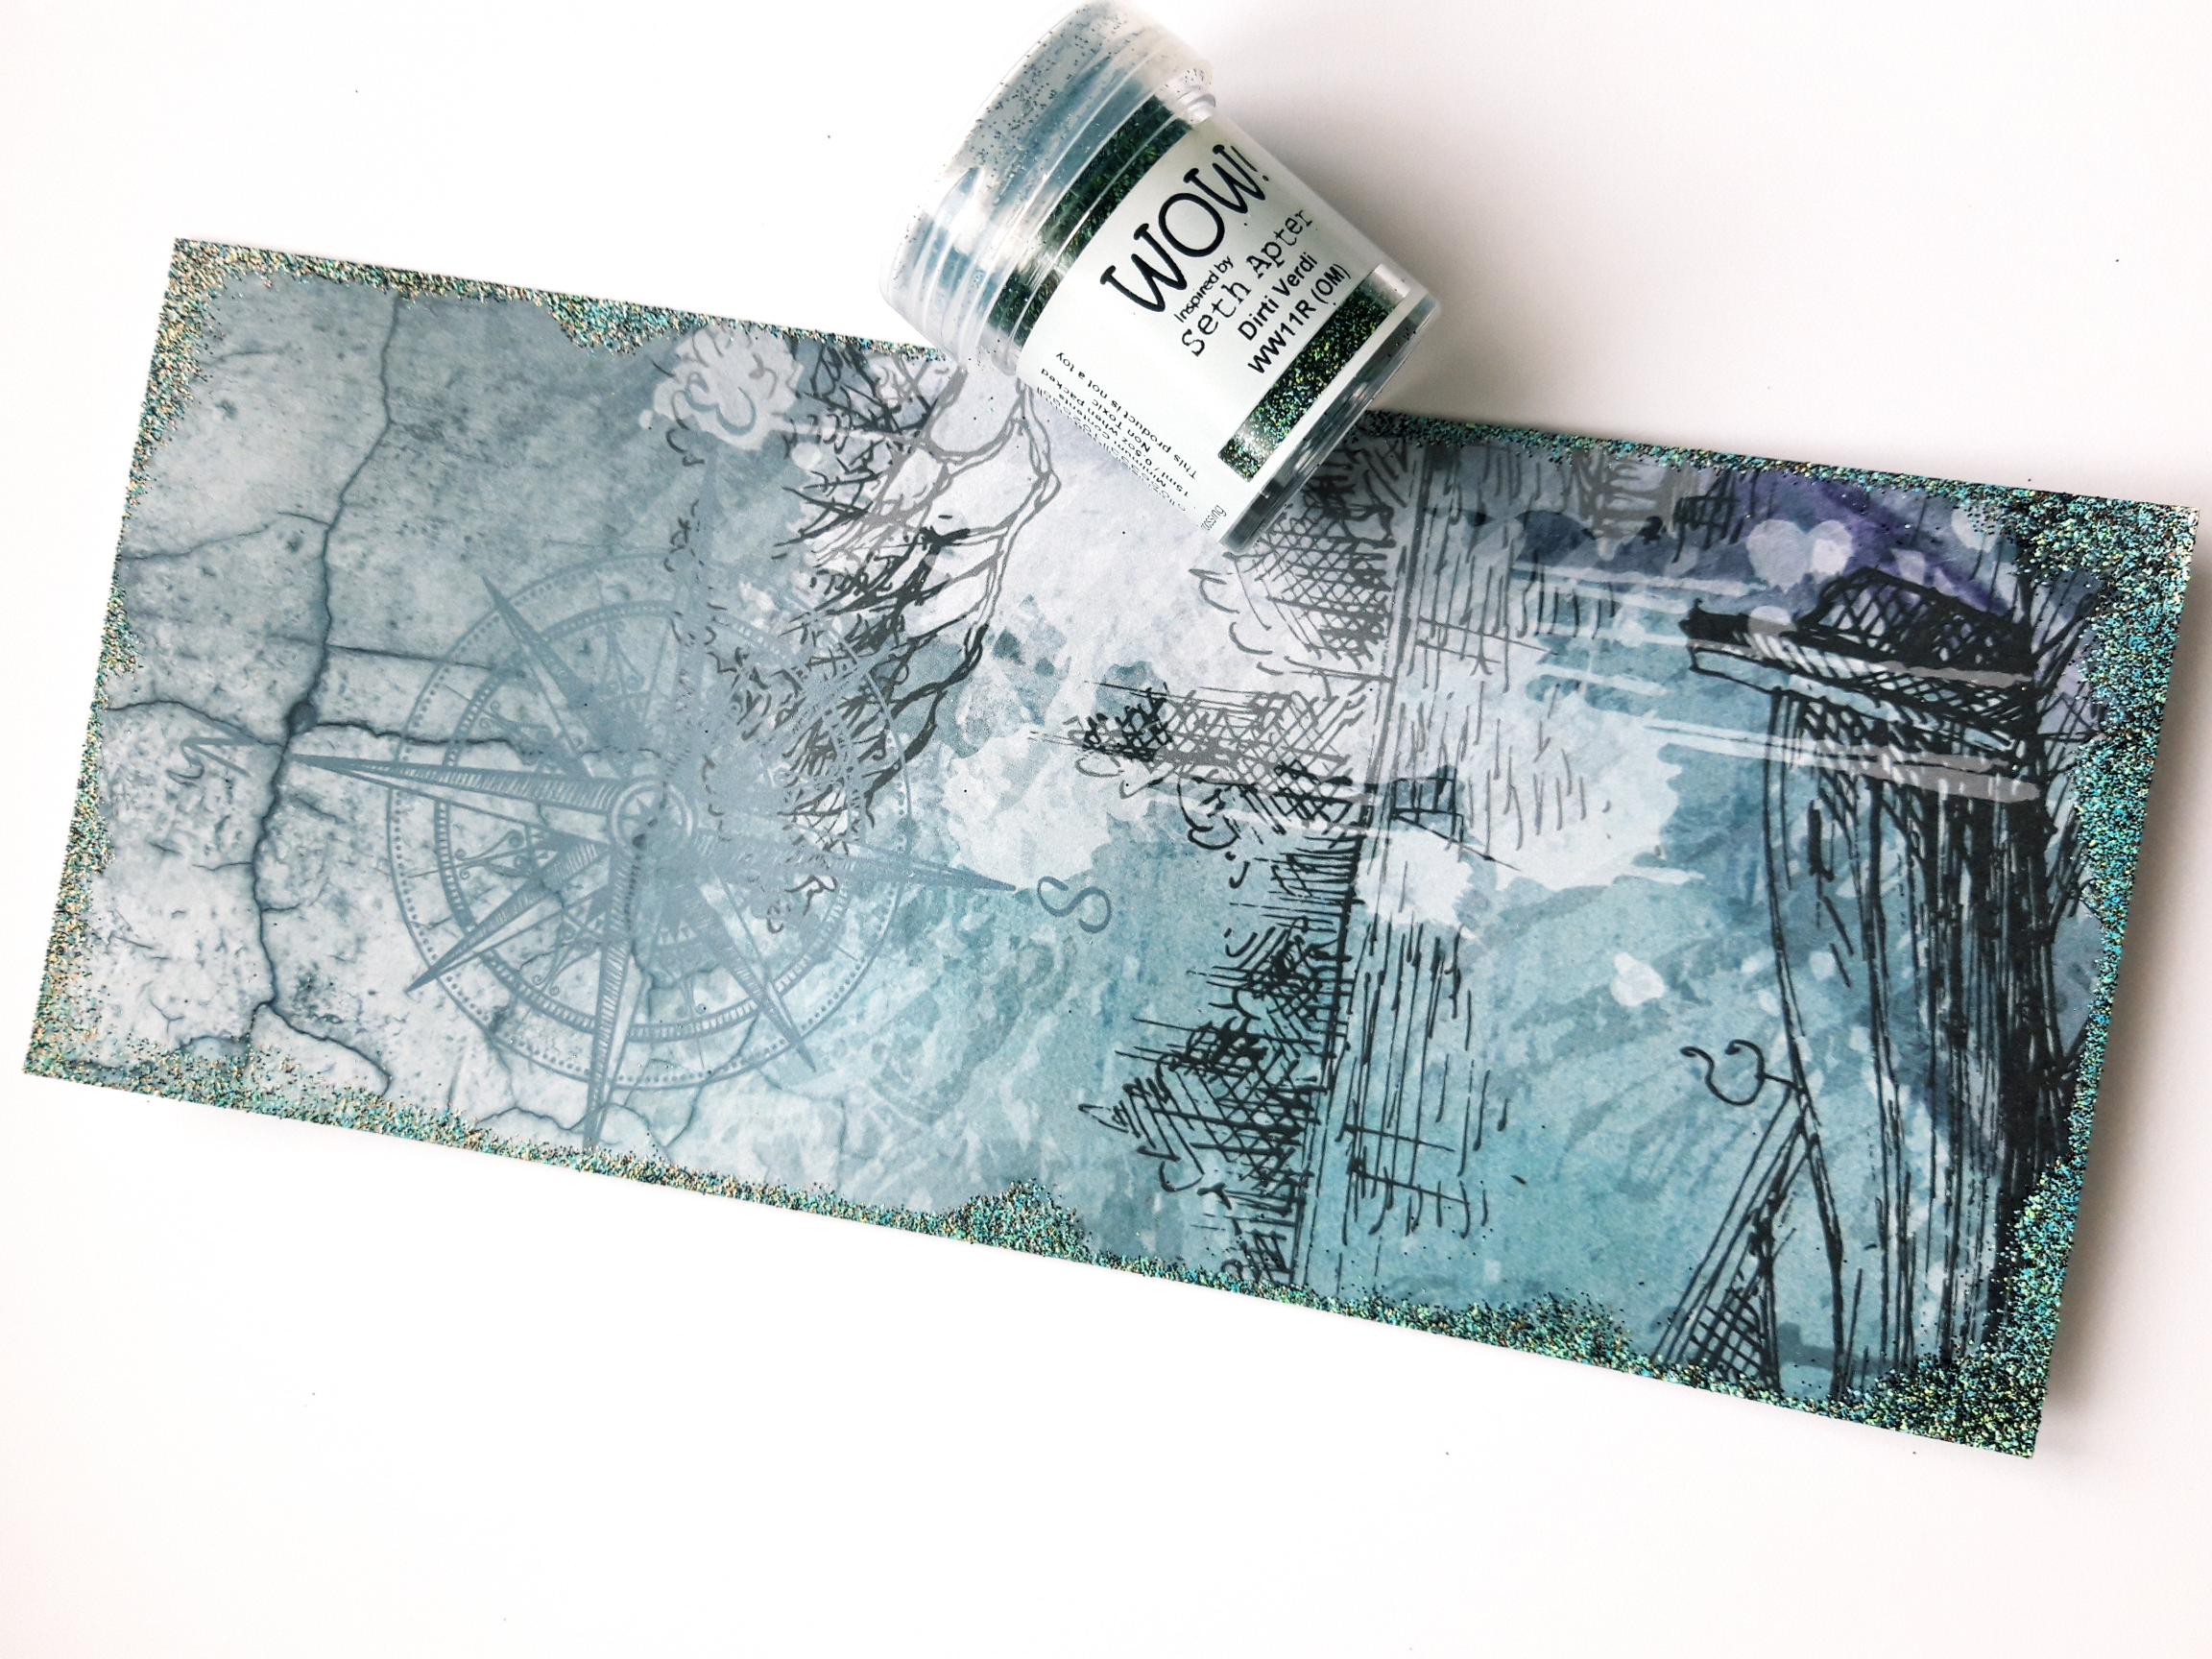
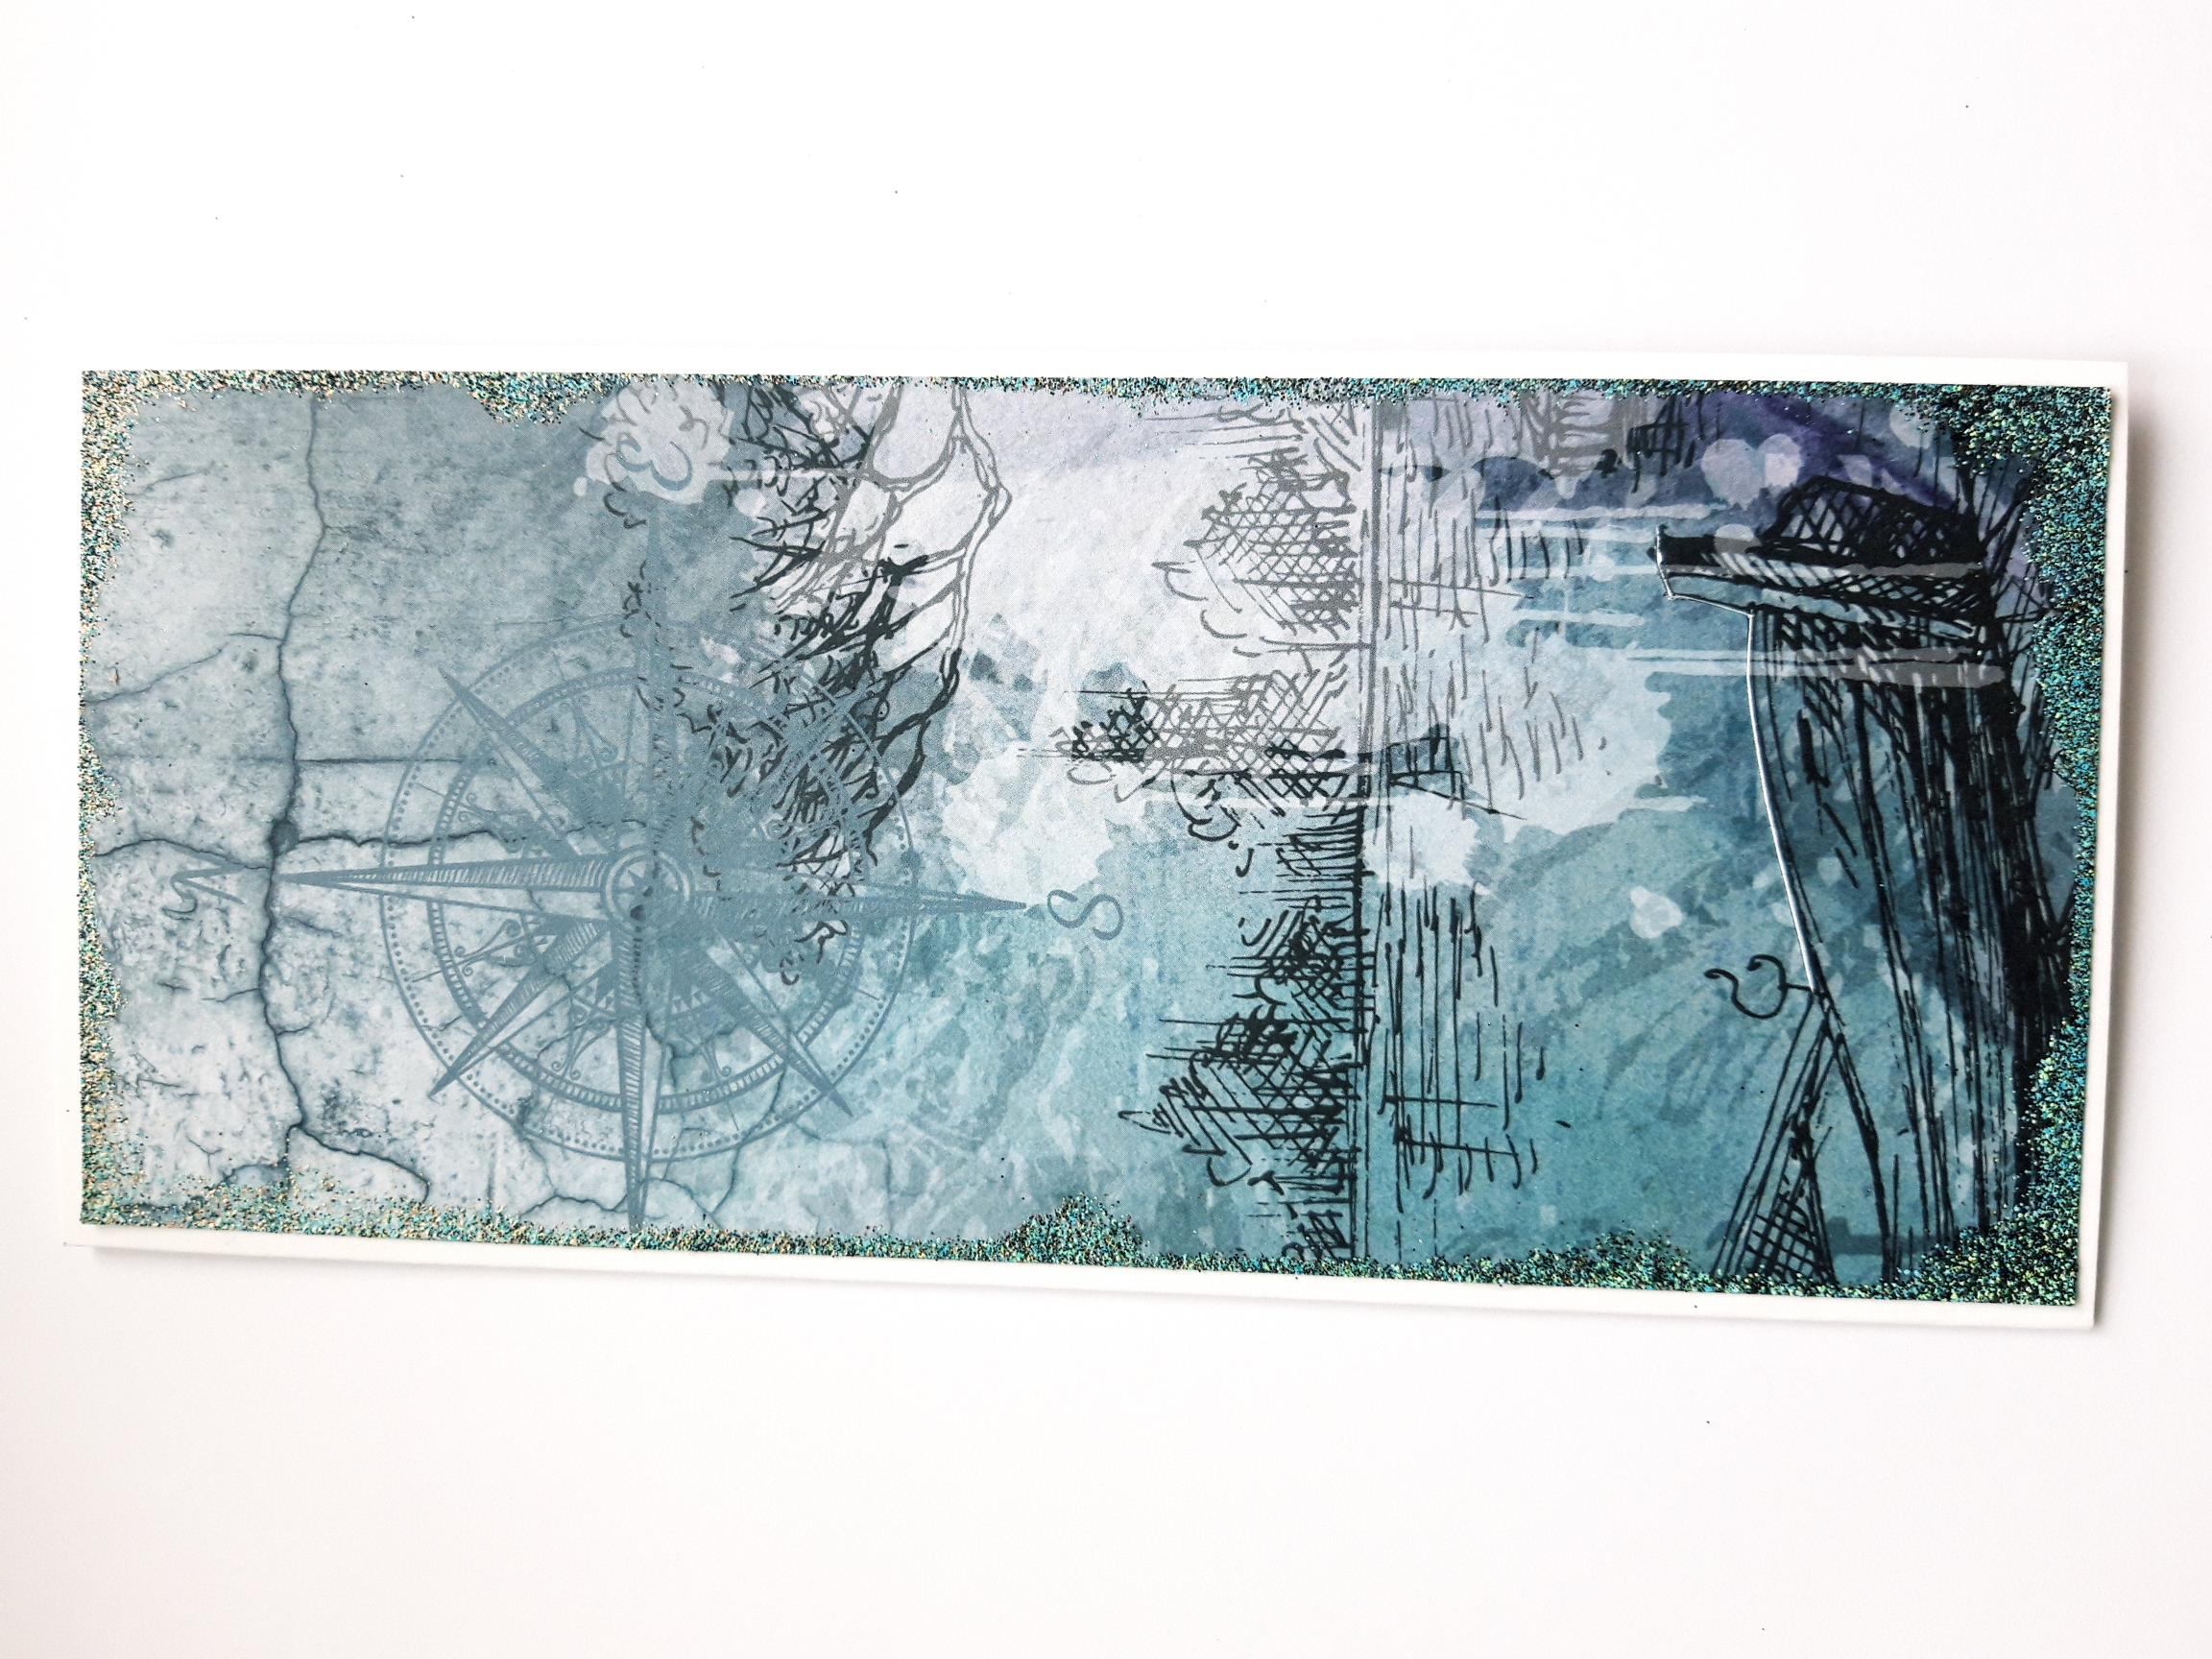
Tear out a decorative paper from your Imala Nautical paper pad. Ideally choose one with a boat, house, focal image, that you will be able to cut around to create a "slit" to hold your wallet (see Main Photo Image) Cut it to 8 x 3 1/2" and set this piece to one side, as this will be used in a later step. Place the belly band and panel dies, from the Beautiful Bands Die Collection, and place on to the remaining piece of Imala Nautical decorative paper. Run these through your die cutting machine.
|
|
Wipe over the die cut belly band, with your anti static bag. Ink around the edges with the WOW Embossing Ink Pad, and apply the WOW Powder to the sticky ink. Heat up your WOW Heat tool before heat setting the powder. Set to one side. |
|
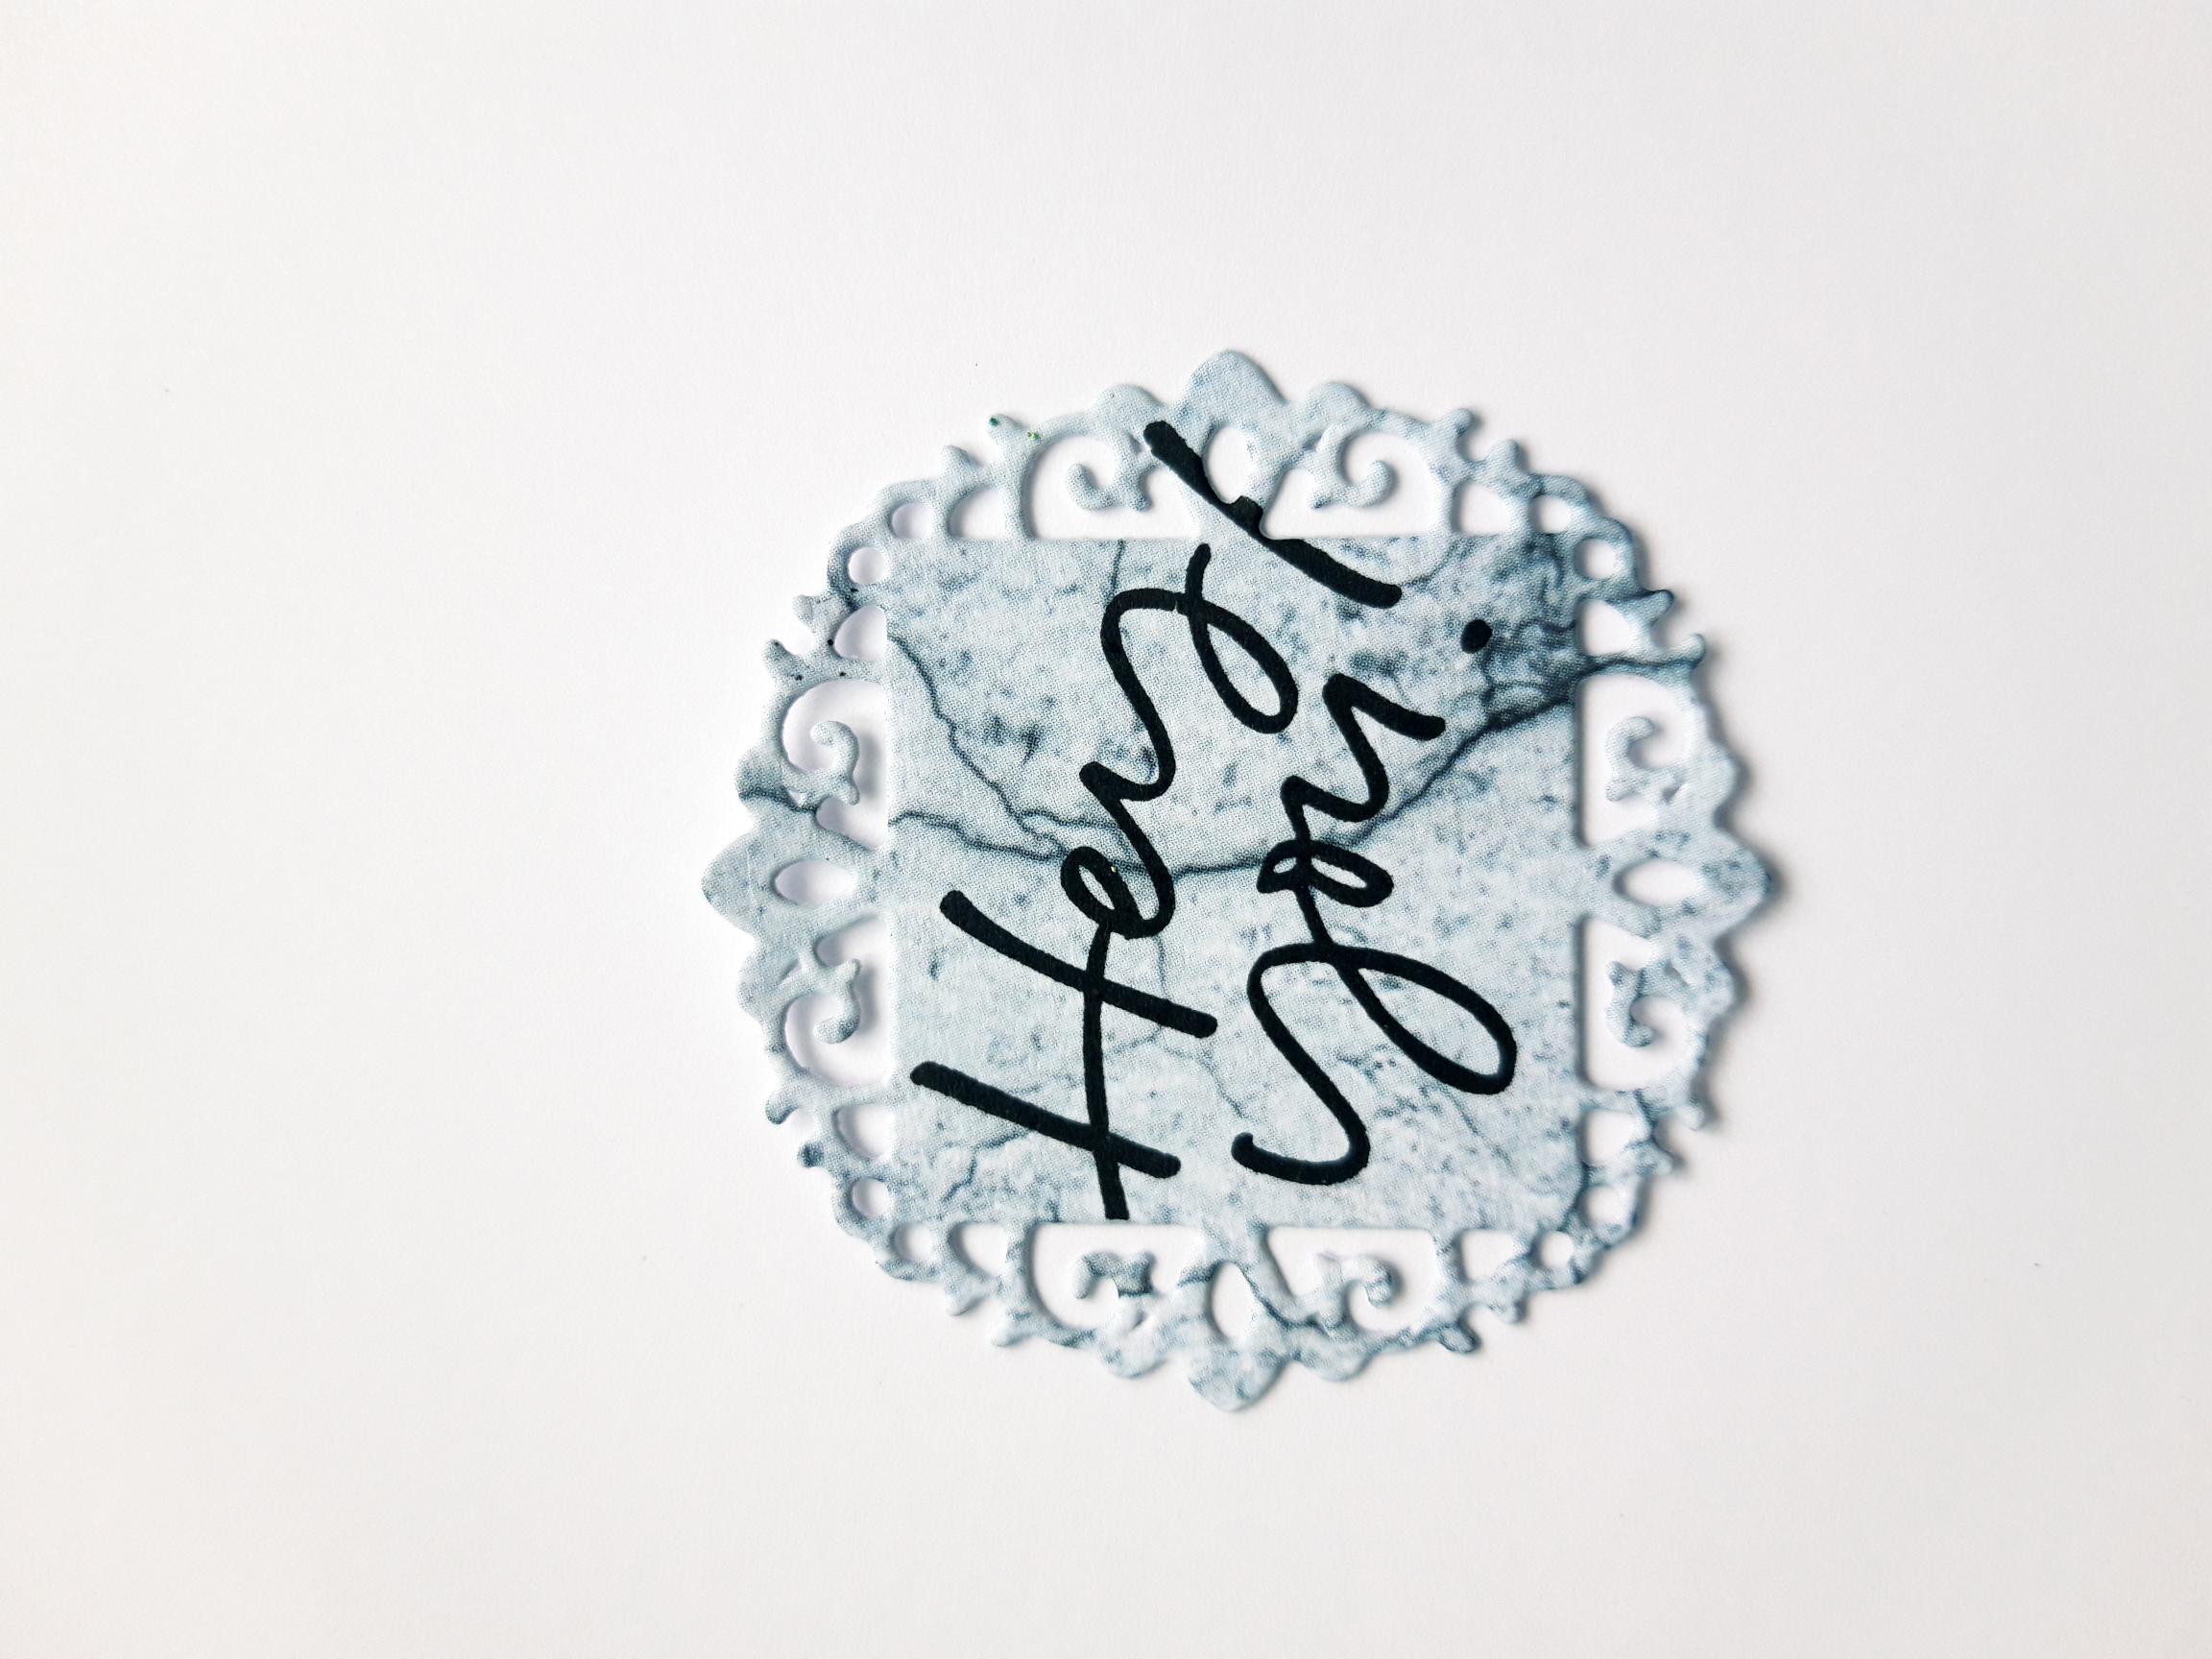
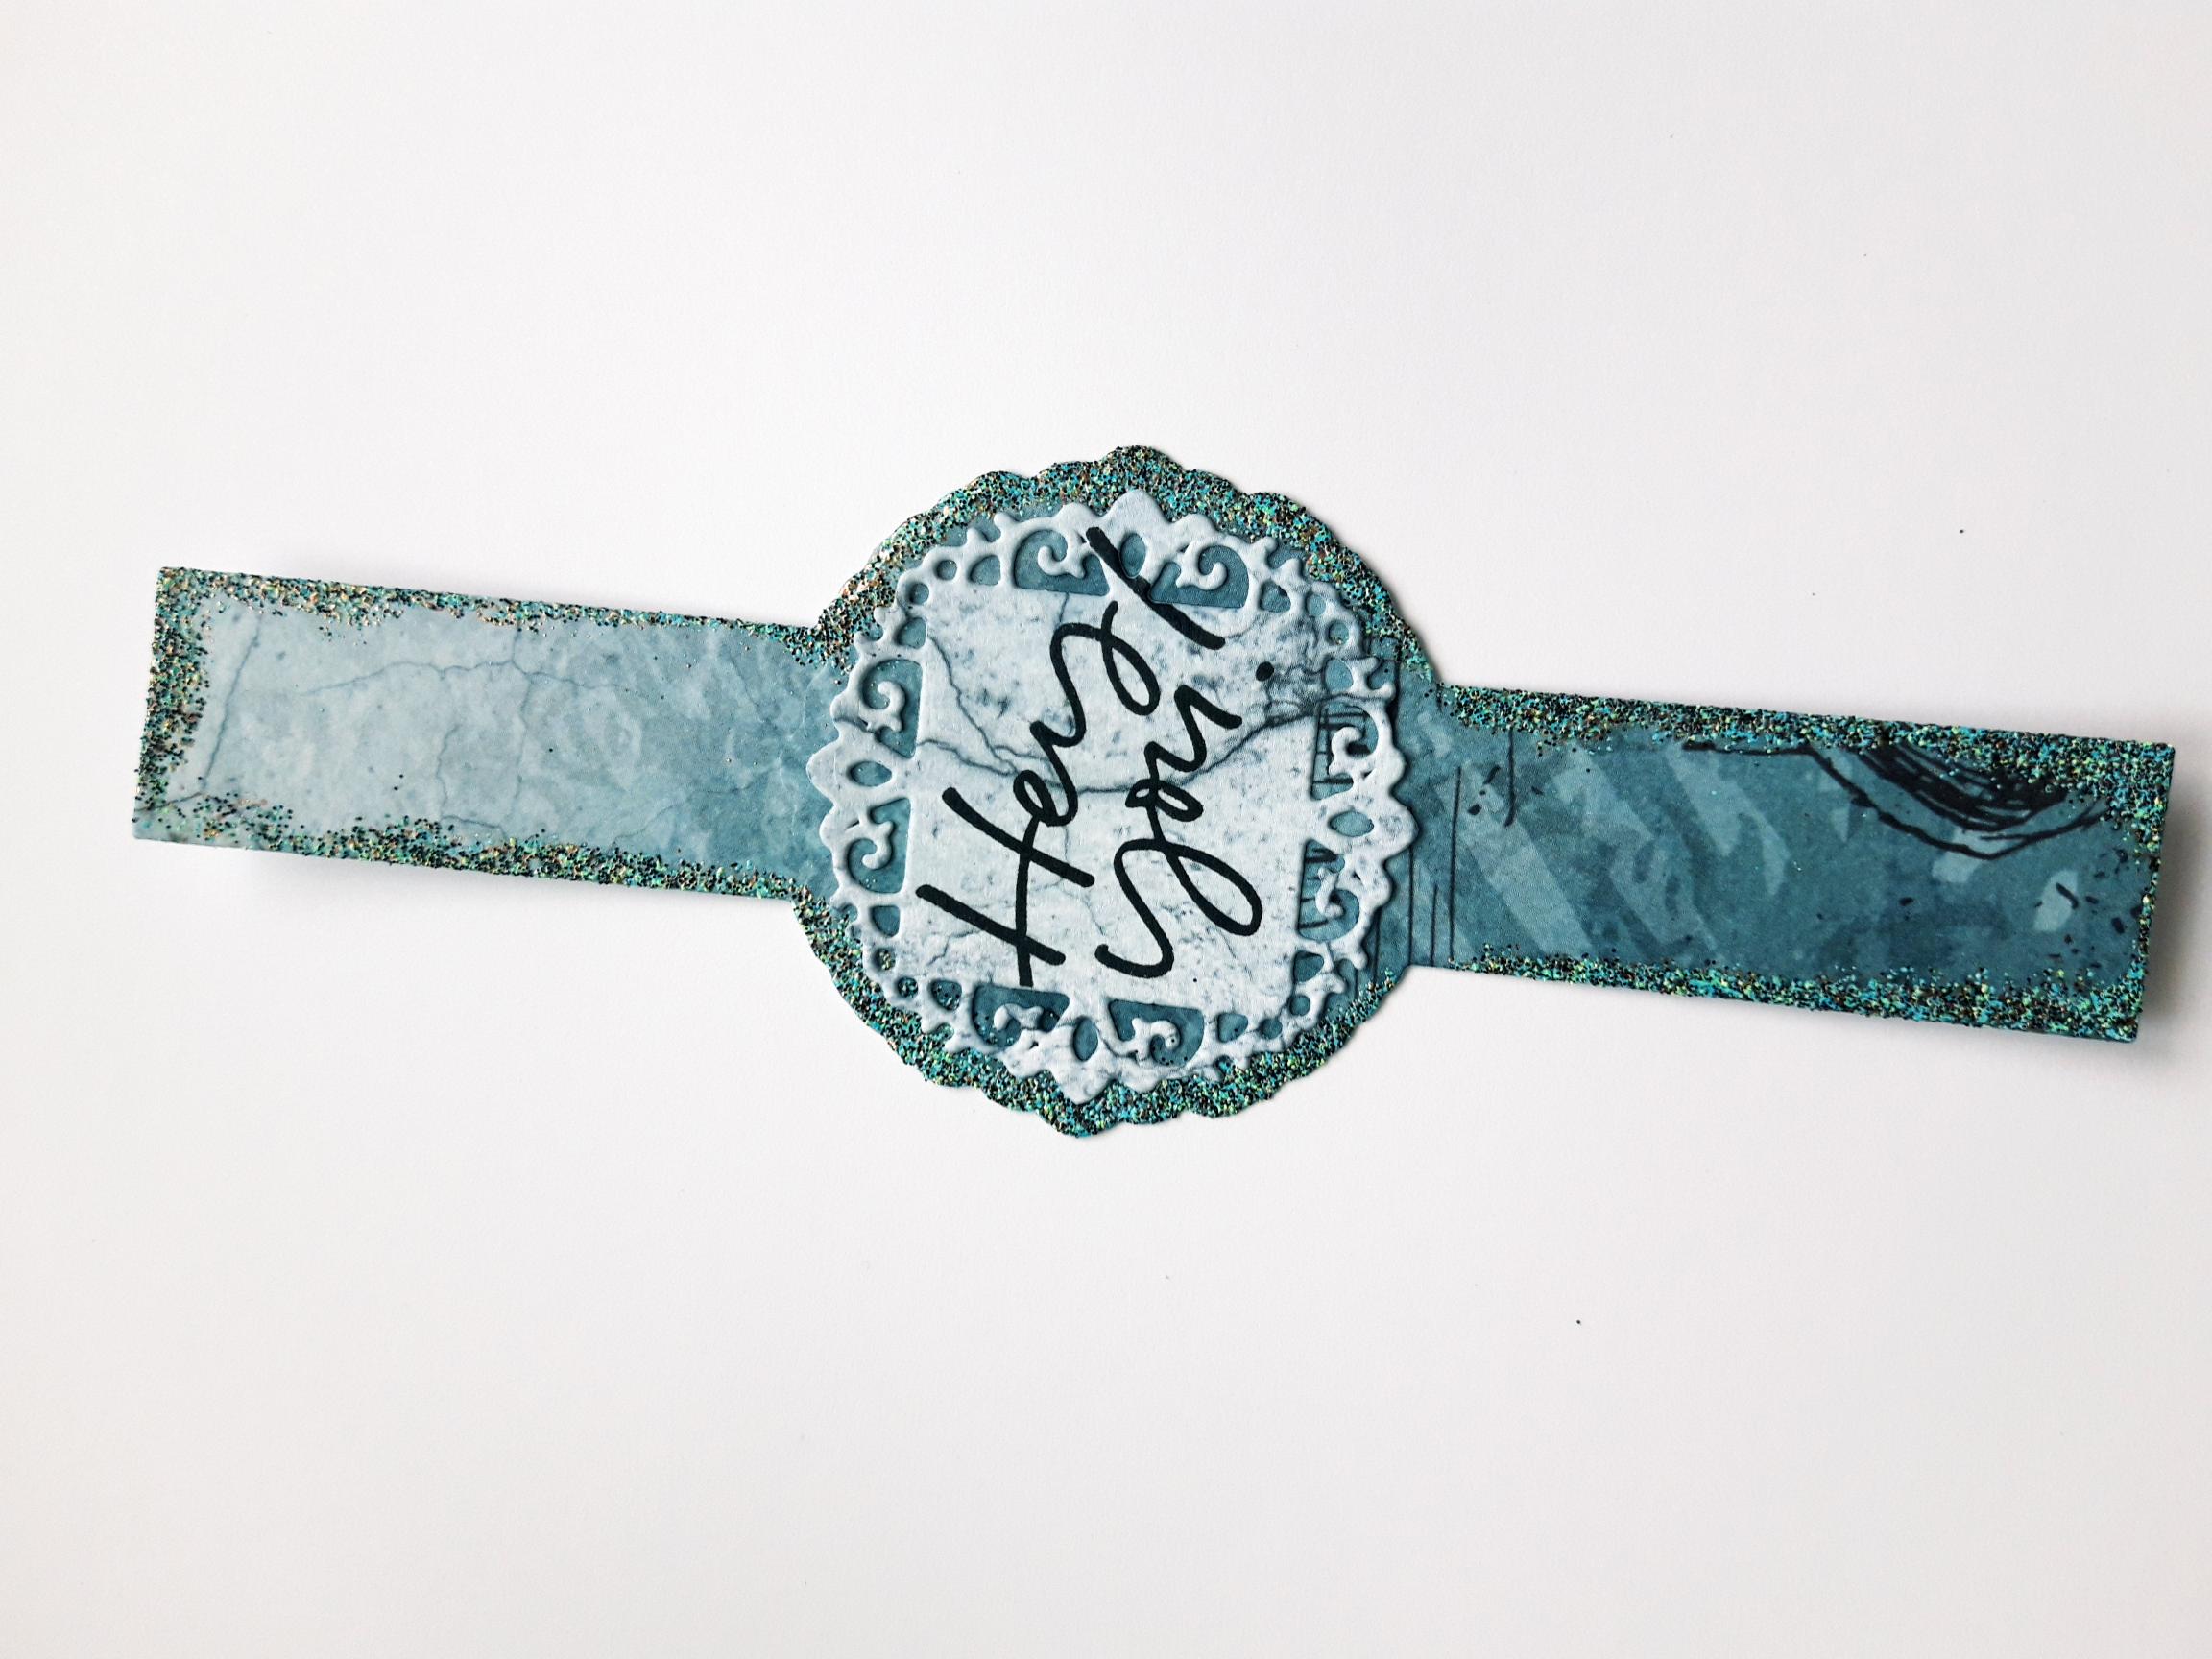
Ink up the sentiment stamp, from the Beautiful Soul Stamp Collection, with the Onyx Black Versafine, and stamp on to your die cut panel. |
|
Once the ink is dry, adhere this on to your belly band. |
|
Wrap the belly band around your gift card wallet, and adhere the two ends together, using either wet glue, or double sided tape. NB: Make sure the belly band can slide on and off the wallet, and is not adhered together too tightly! |
|
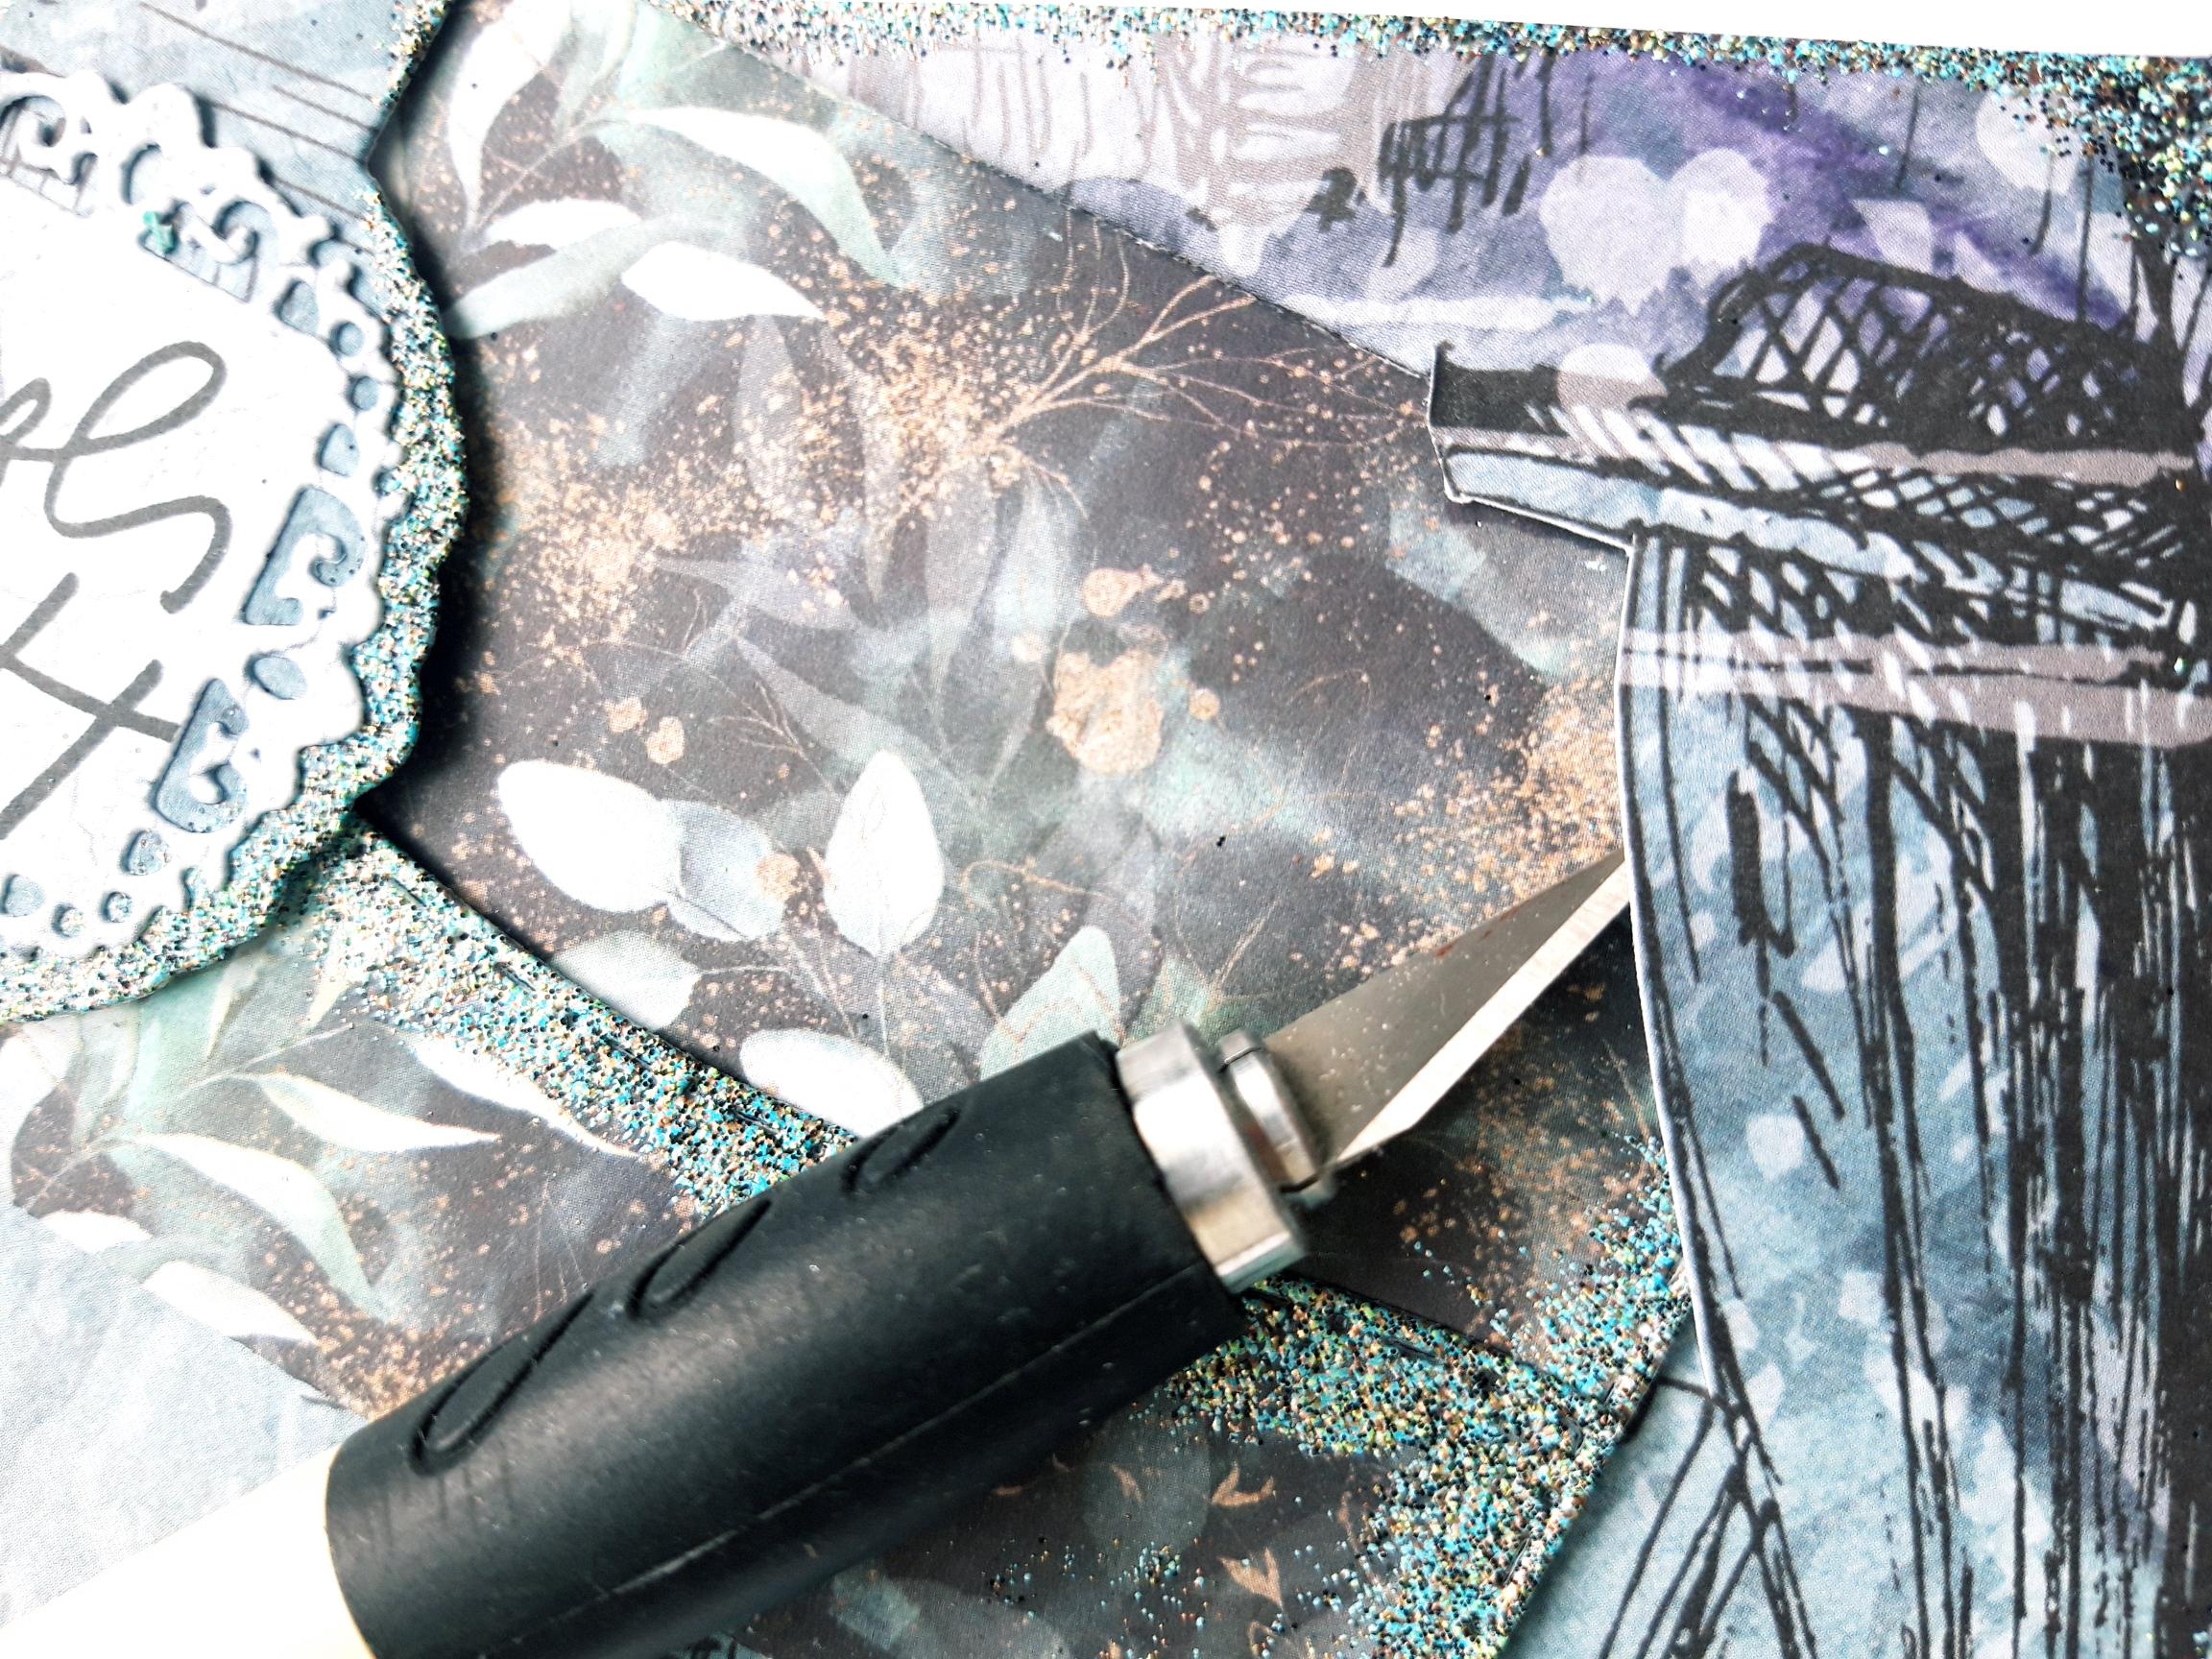
Bring back the decorative paper you cut earlier, and wipe it over with your anti static bag. Apply the WOW Embossing Ink Pad around the edges, and cover with your WOW powder. Once the heat tool is good and hot, heat set your powder. |
|
With a craft knife, carefully cut a "slit" along the edge of an area of your paper. In my case I chose to cut along the edges of the boat, as seen here. This will hold your wallet in place on your card. Use your wallet as a guide, as I have done here, to gauge how big to make the "slit". |
|
Adhere your paper on to your DL card blank, ensuring you don't stick down the area you will be housing your wallet in!! |
|
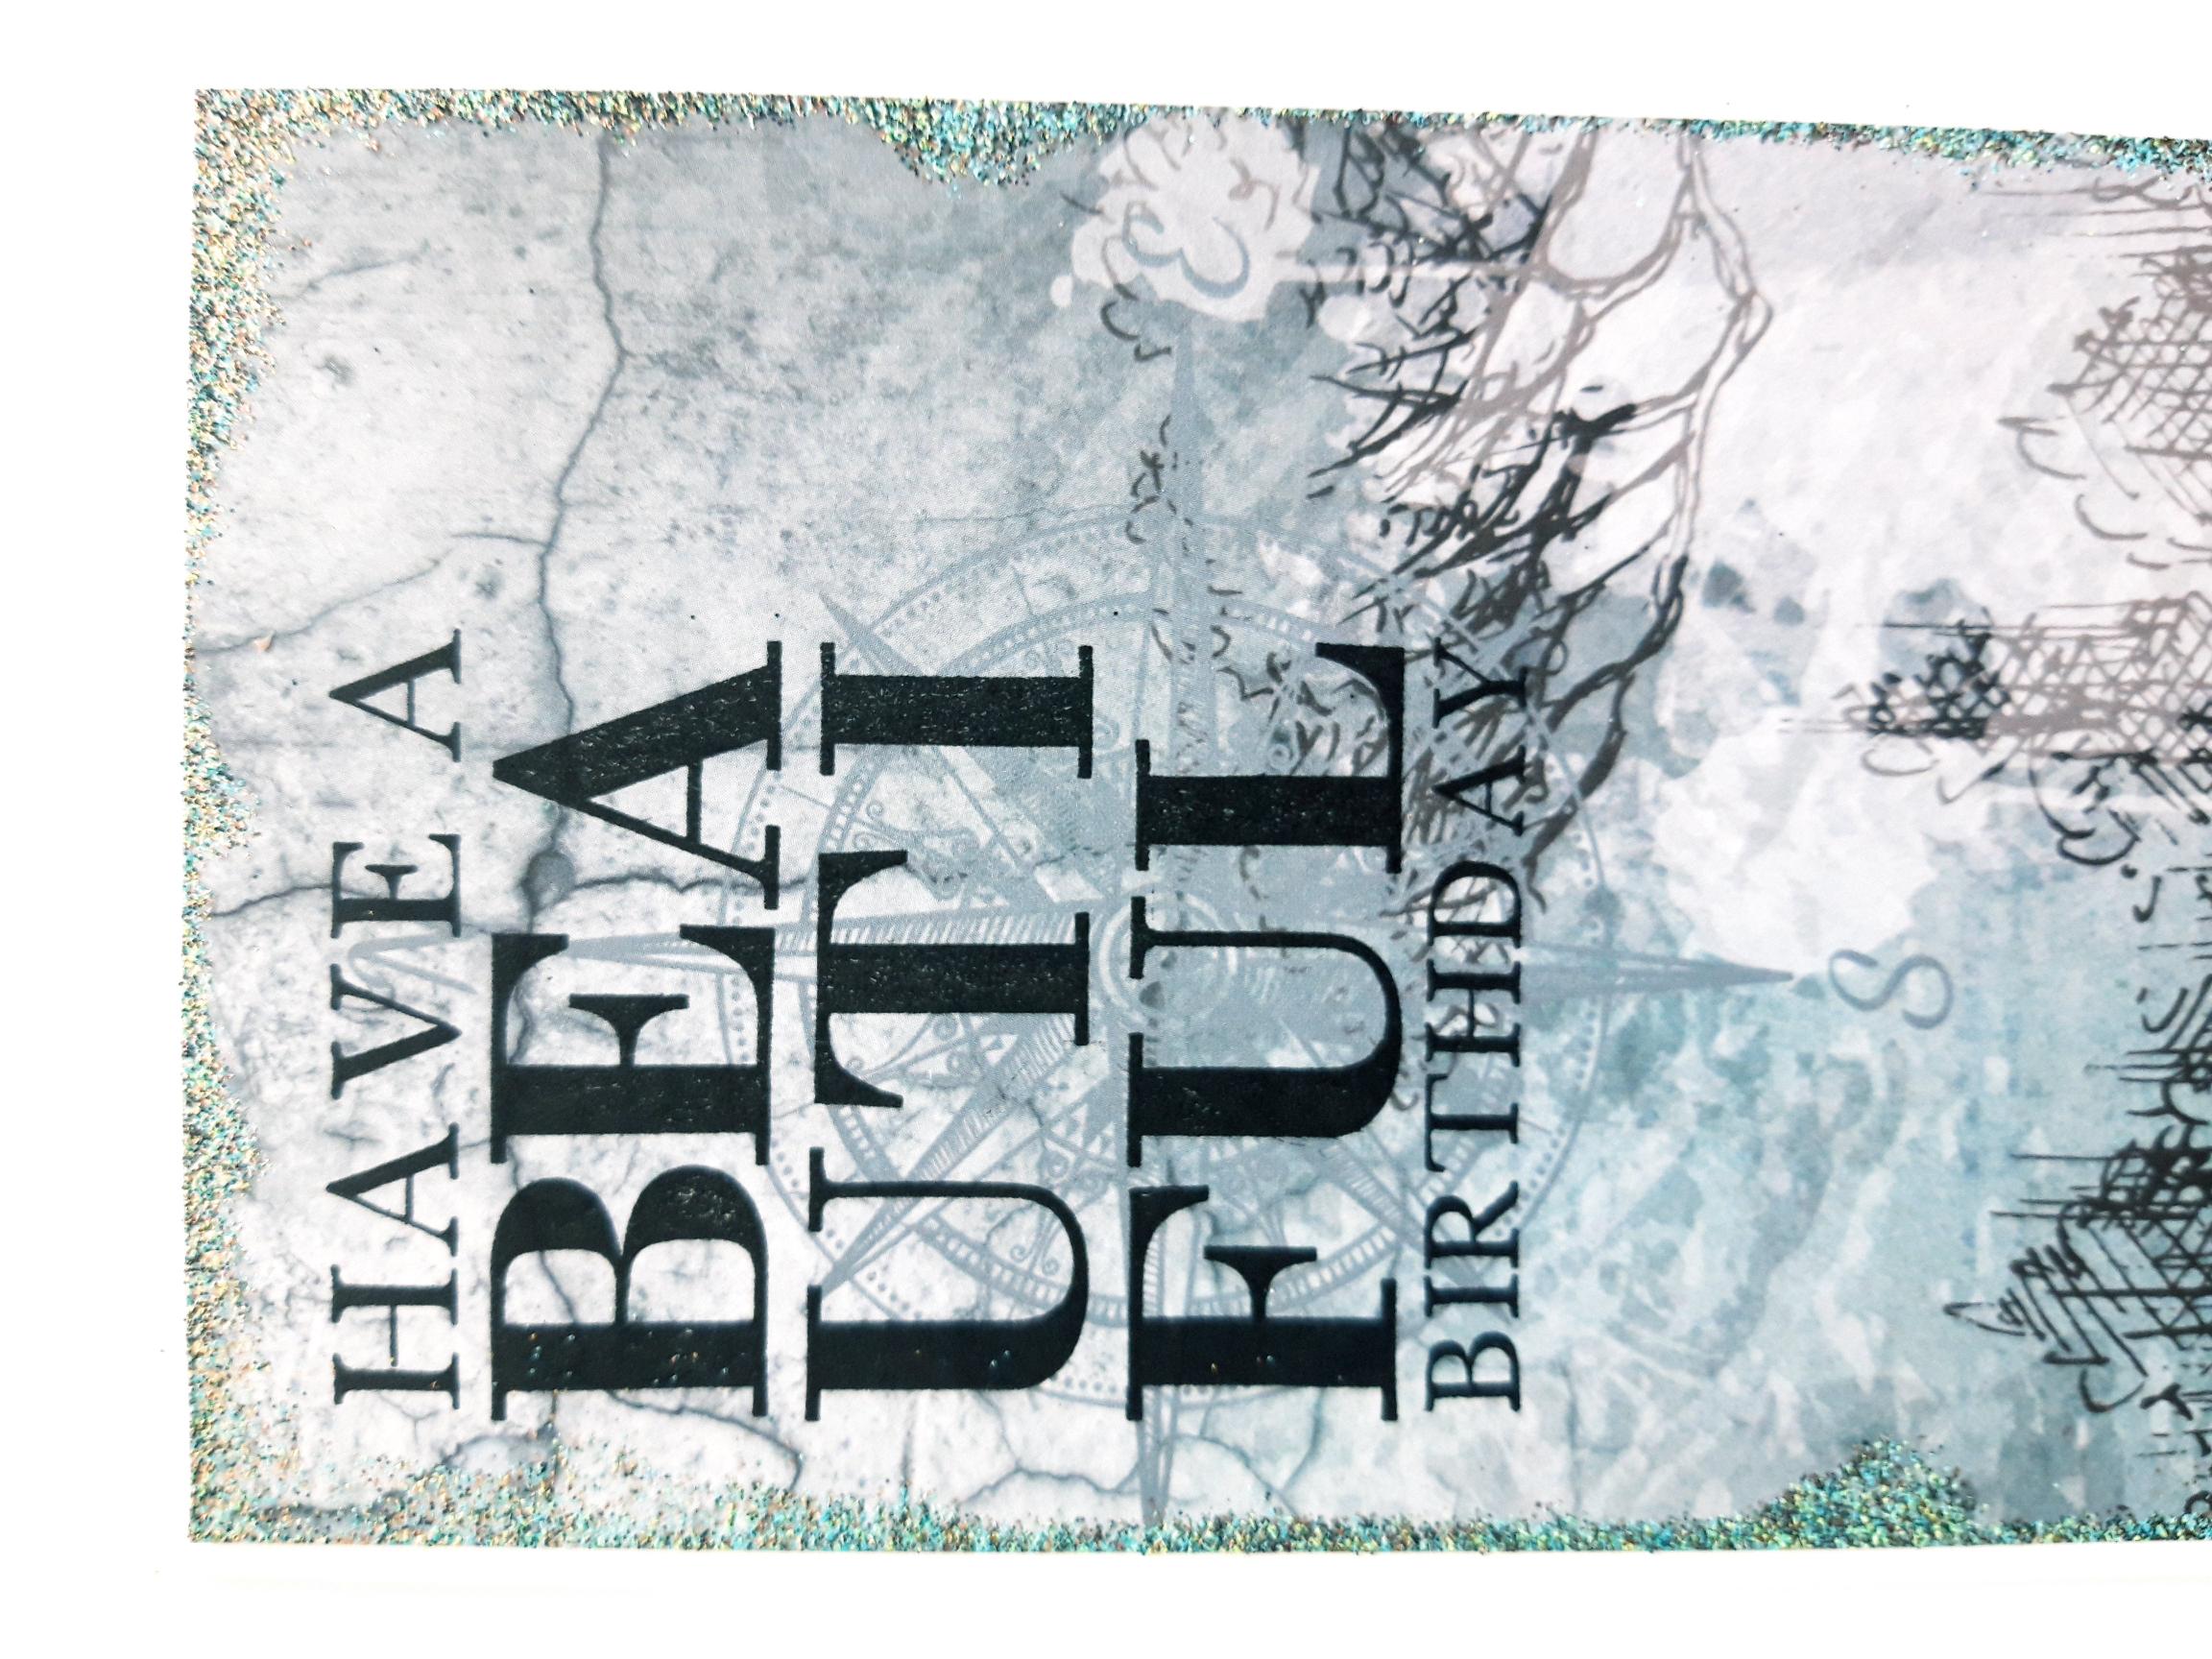
To finish, ink up the sentiment from the Beautiful Birthday Stamp Collection, with the Versafine and stamp in the top left corner of the card. Make sure your ink is dry before popping your wallet in place, in the "slit". |