Give your friends $10 off their first order!
Refer a FRIEND


WHAT YOU WILL NEED:
White DL card blank (8 1/4 x 3 3/4")
Black card (8 x 3 1/2")
White card (8 x 4")
Black card (4 x 2 1/4")
White card (3 3/4 x 2")
Stamps from Possibility Stamp and Die Collection
Daisy Meadow Signature Embossing folder
Versafine Ink Pad: Onyx Black
WOW Embossing Powder Trio Bundle (Stand Tall, Alchemy, Party Popper): Tarnished Teal, Dirti Verdi
WOW Embossing Ink
WOW Duel speed heat tool
Anti static bag
Eureka 101
Paper Trimmer
Perfect Together Glue
Foam Pads
Die Cutting/embossing machine
[click image to enlarge] 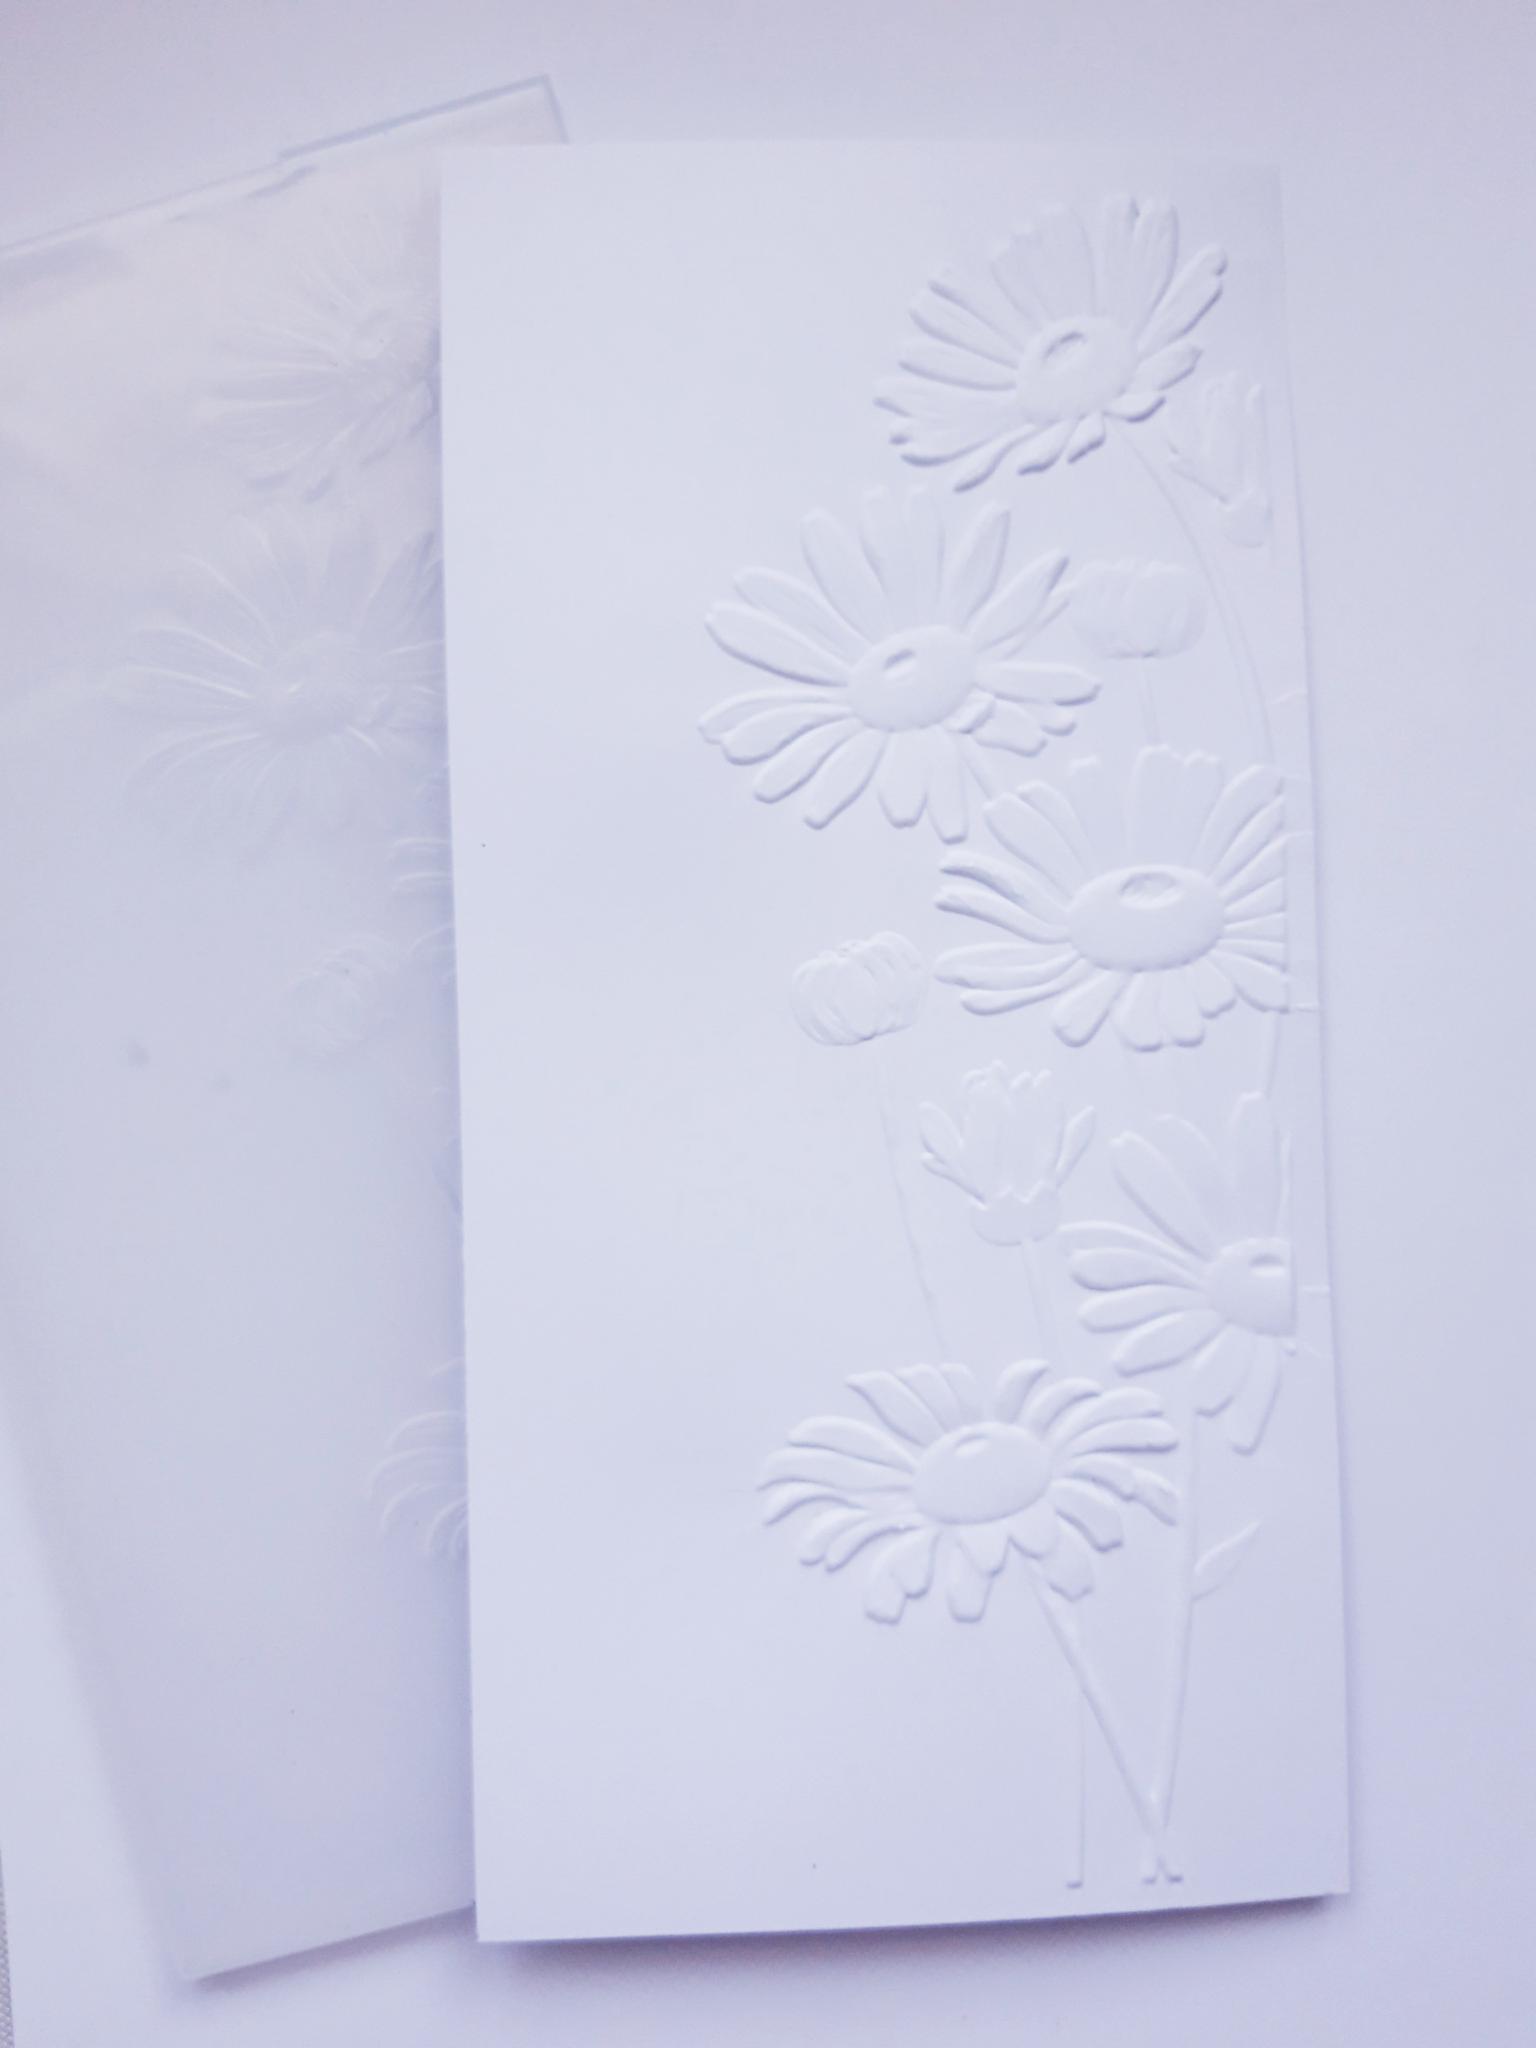
|
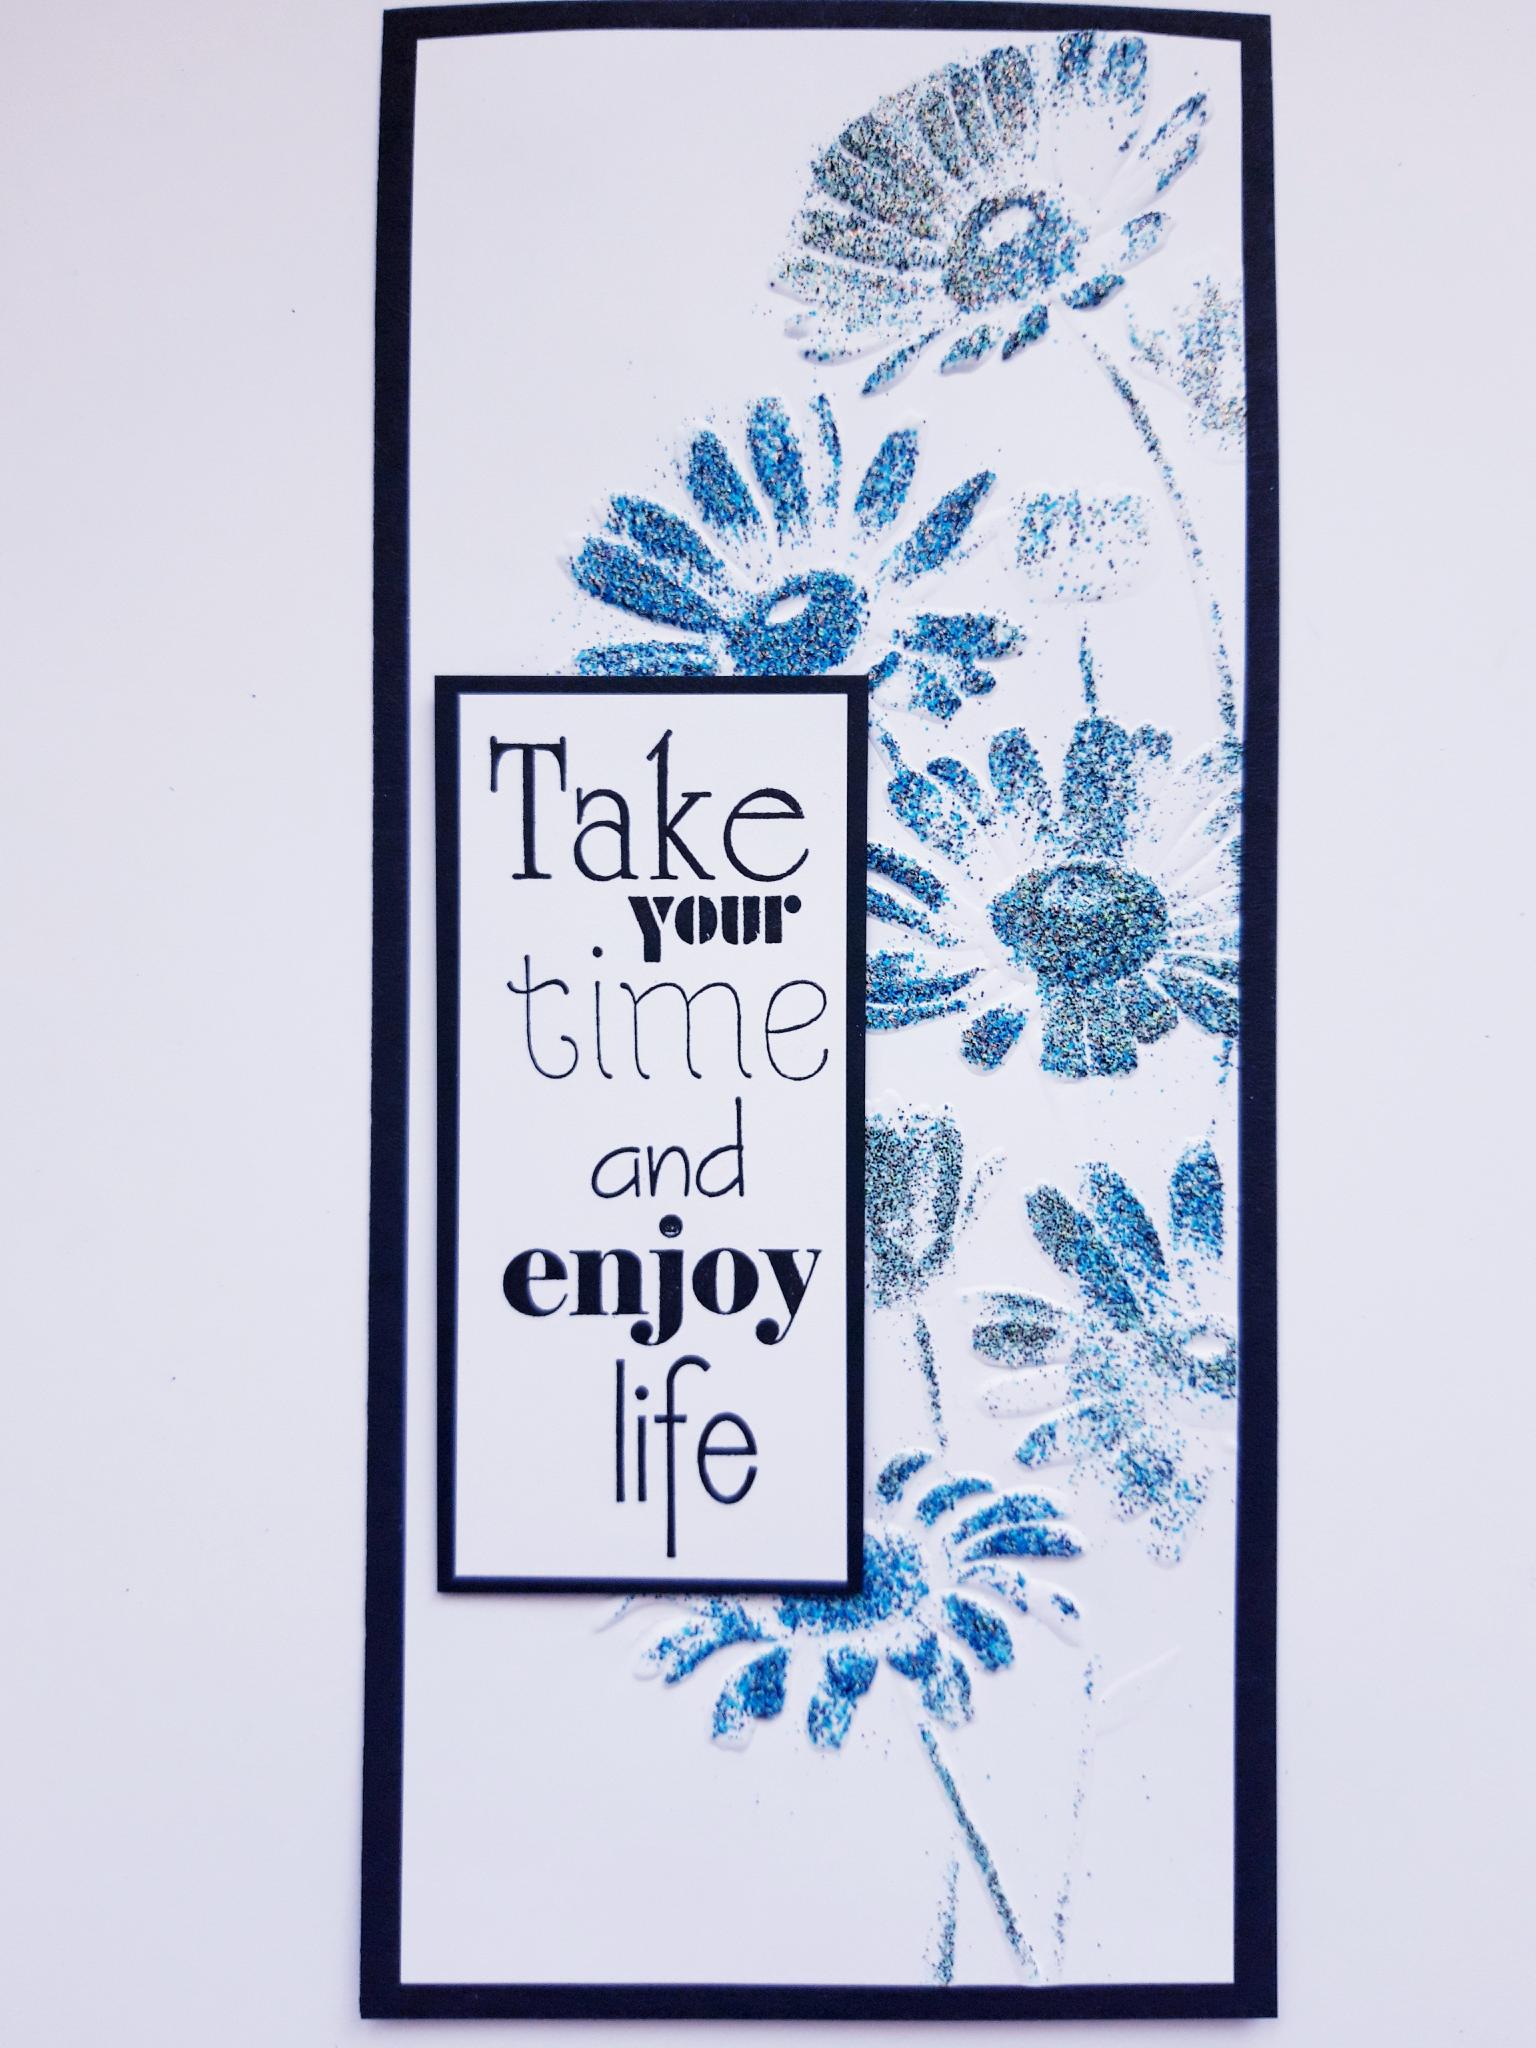
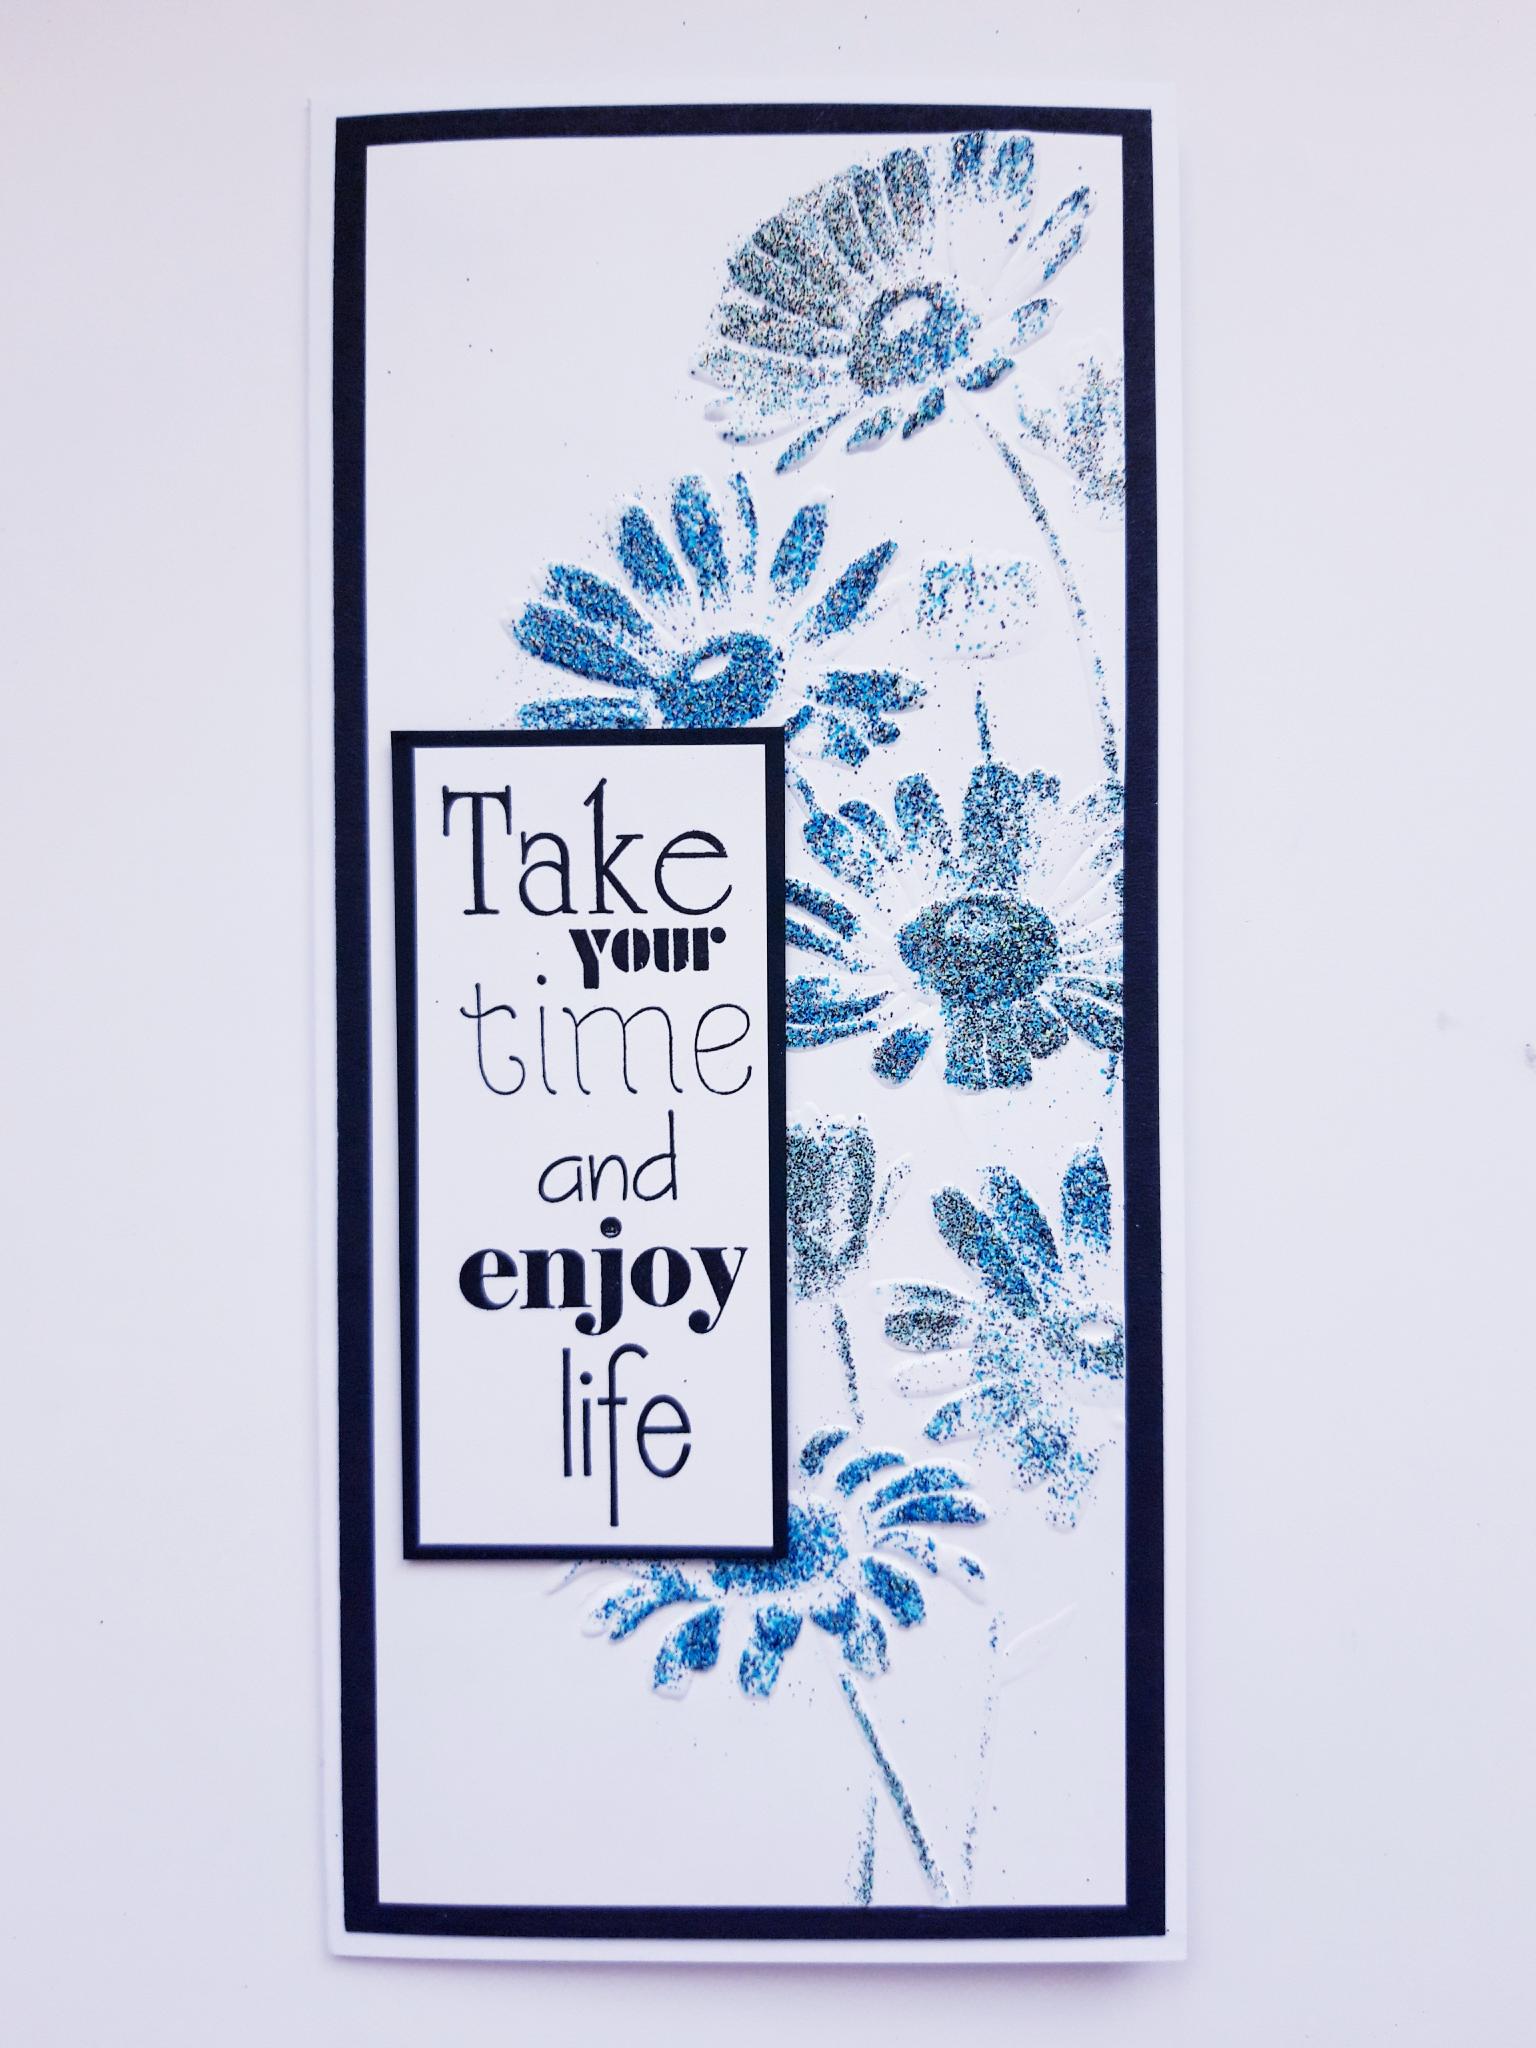
Place the 8 x 4" white card inside your Daisy Meadow Embossing folder, and run it through your embossing machine. Tip: You can lightly spritz your card with water, before running it through your machine. This loosens the fibres in the card, and helps avoid any creases. Trim your embossed cardstock to 7 3/4 x 3 1/4". |
|
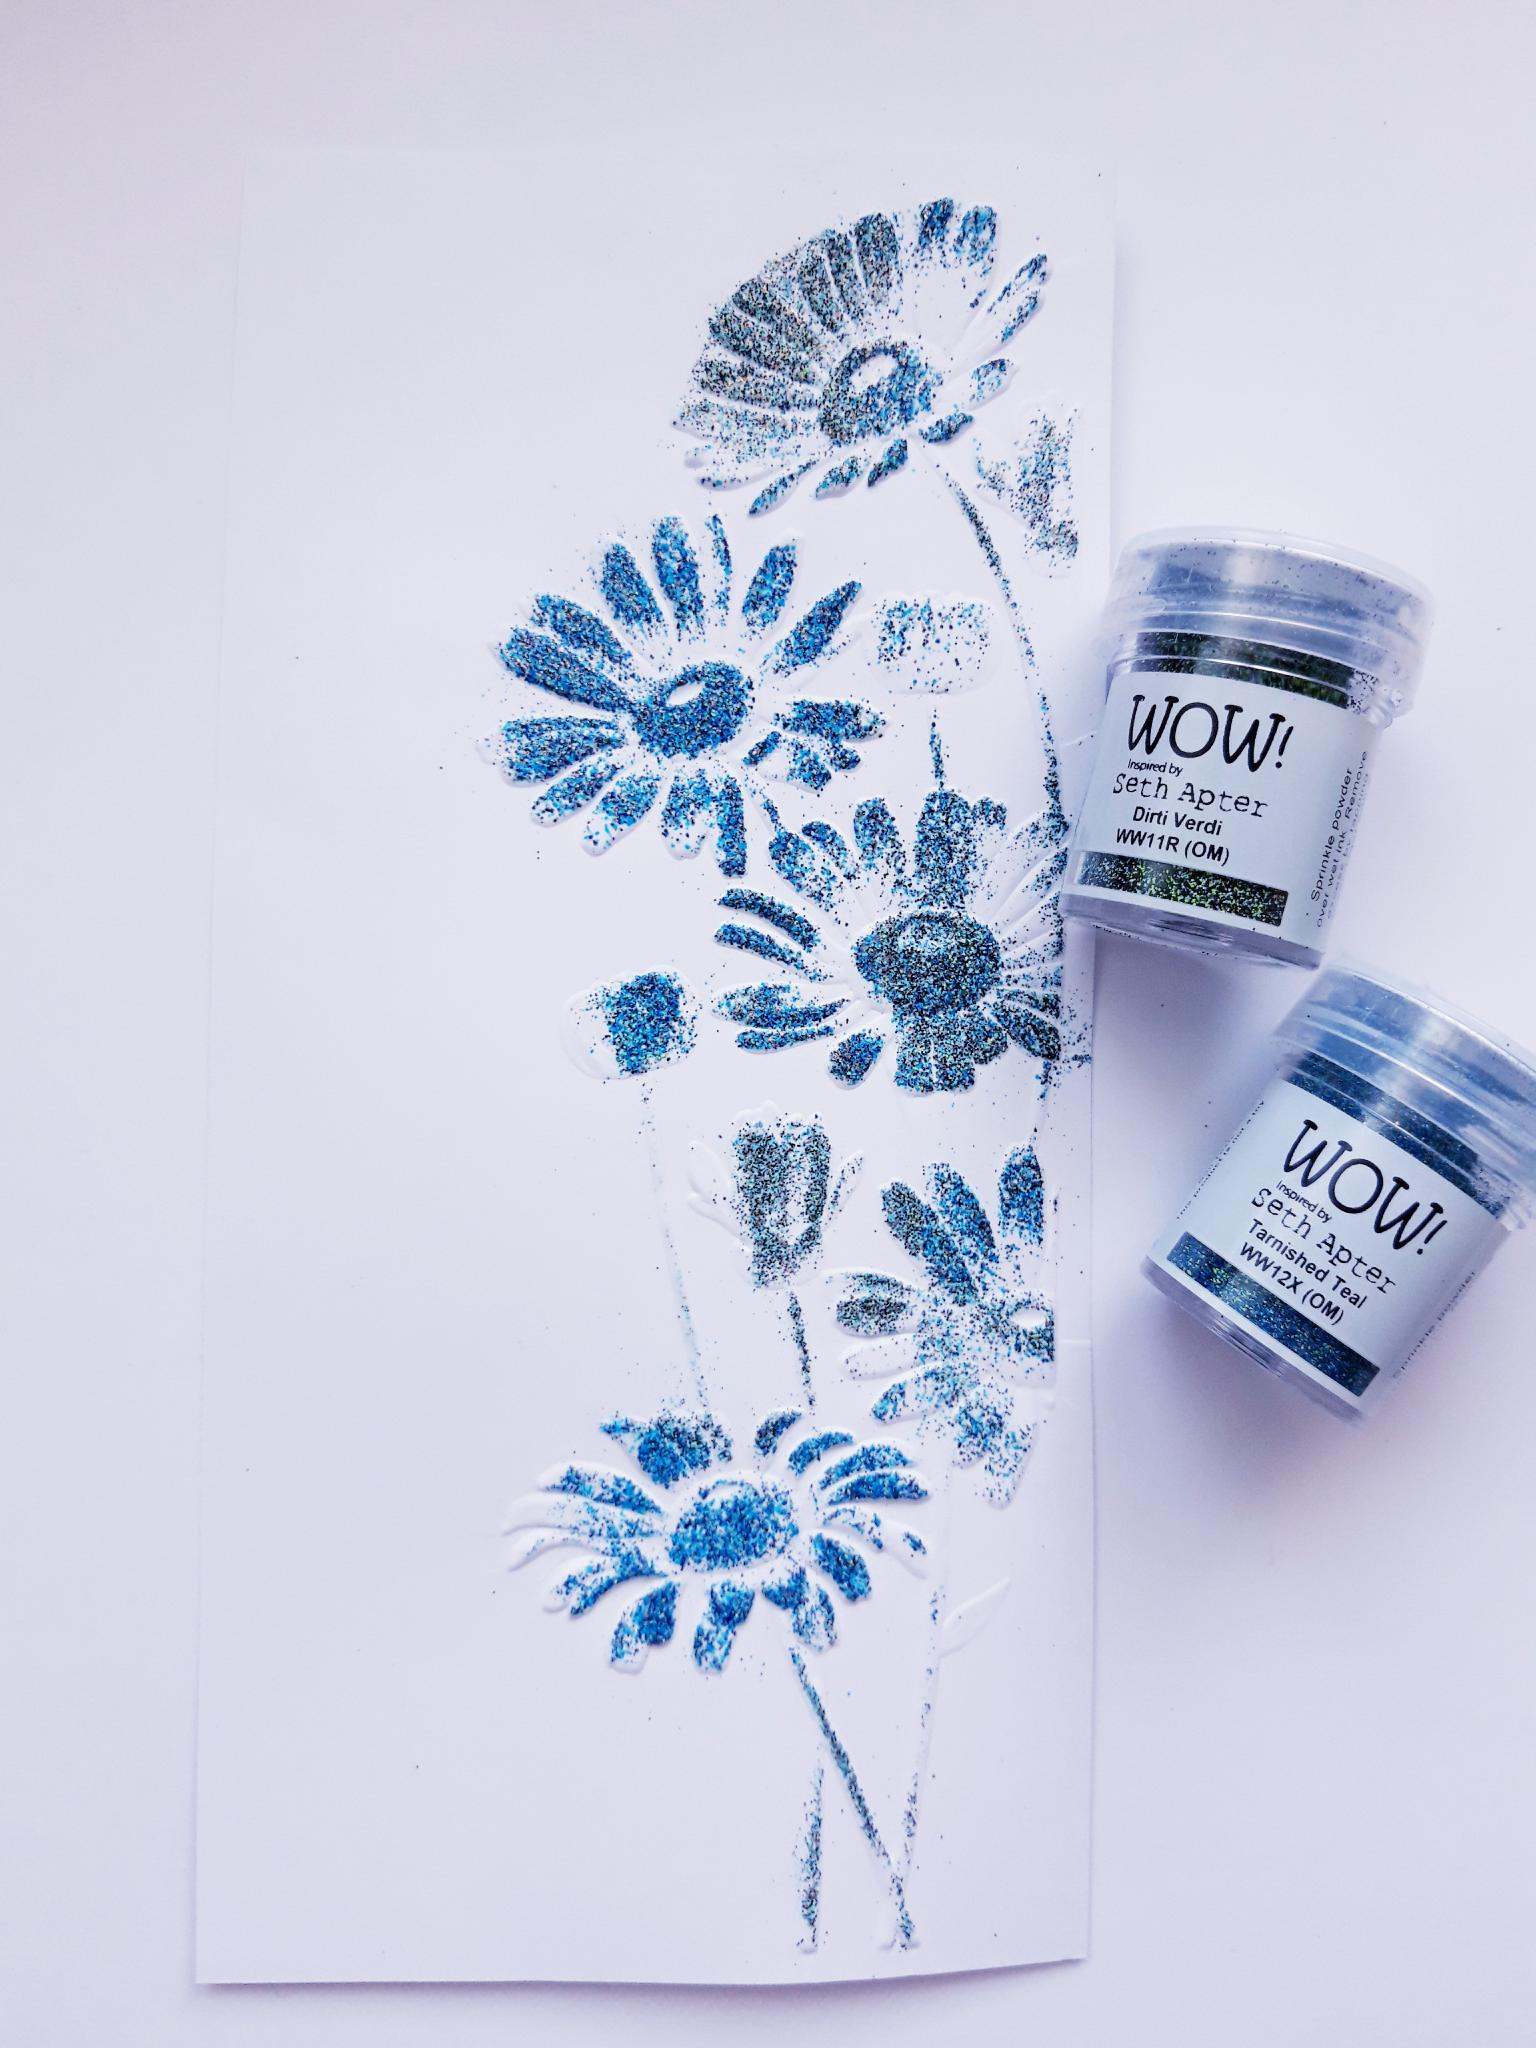
Wipe the anti static bag all over your embossed card. Apply the WOW embossing ink pad directly over your raised, embossed image. Don't worry if you miss any little areas, as this just adds to the effect. Sprinkle the Dirti Verdi WOW powder over random areas of your sticky image. Put any excess powder back in it's pot. Sprinkle the Tarnished Teal WOW powder over all of the sticky, embossed image, so it fills in any gaps. Pop any excess powder back in it's pot. Once you have got your WOW heat tool nice and hot, heat set your powder, moving the tool on as soon as the powder starts to turn. This minimises the warping of the card.
|
|
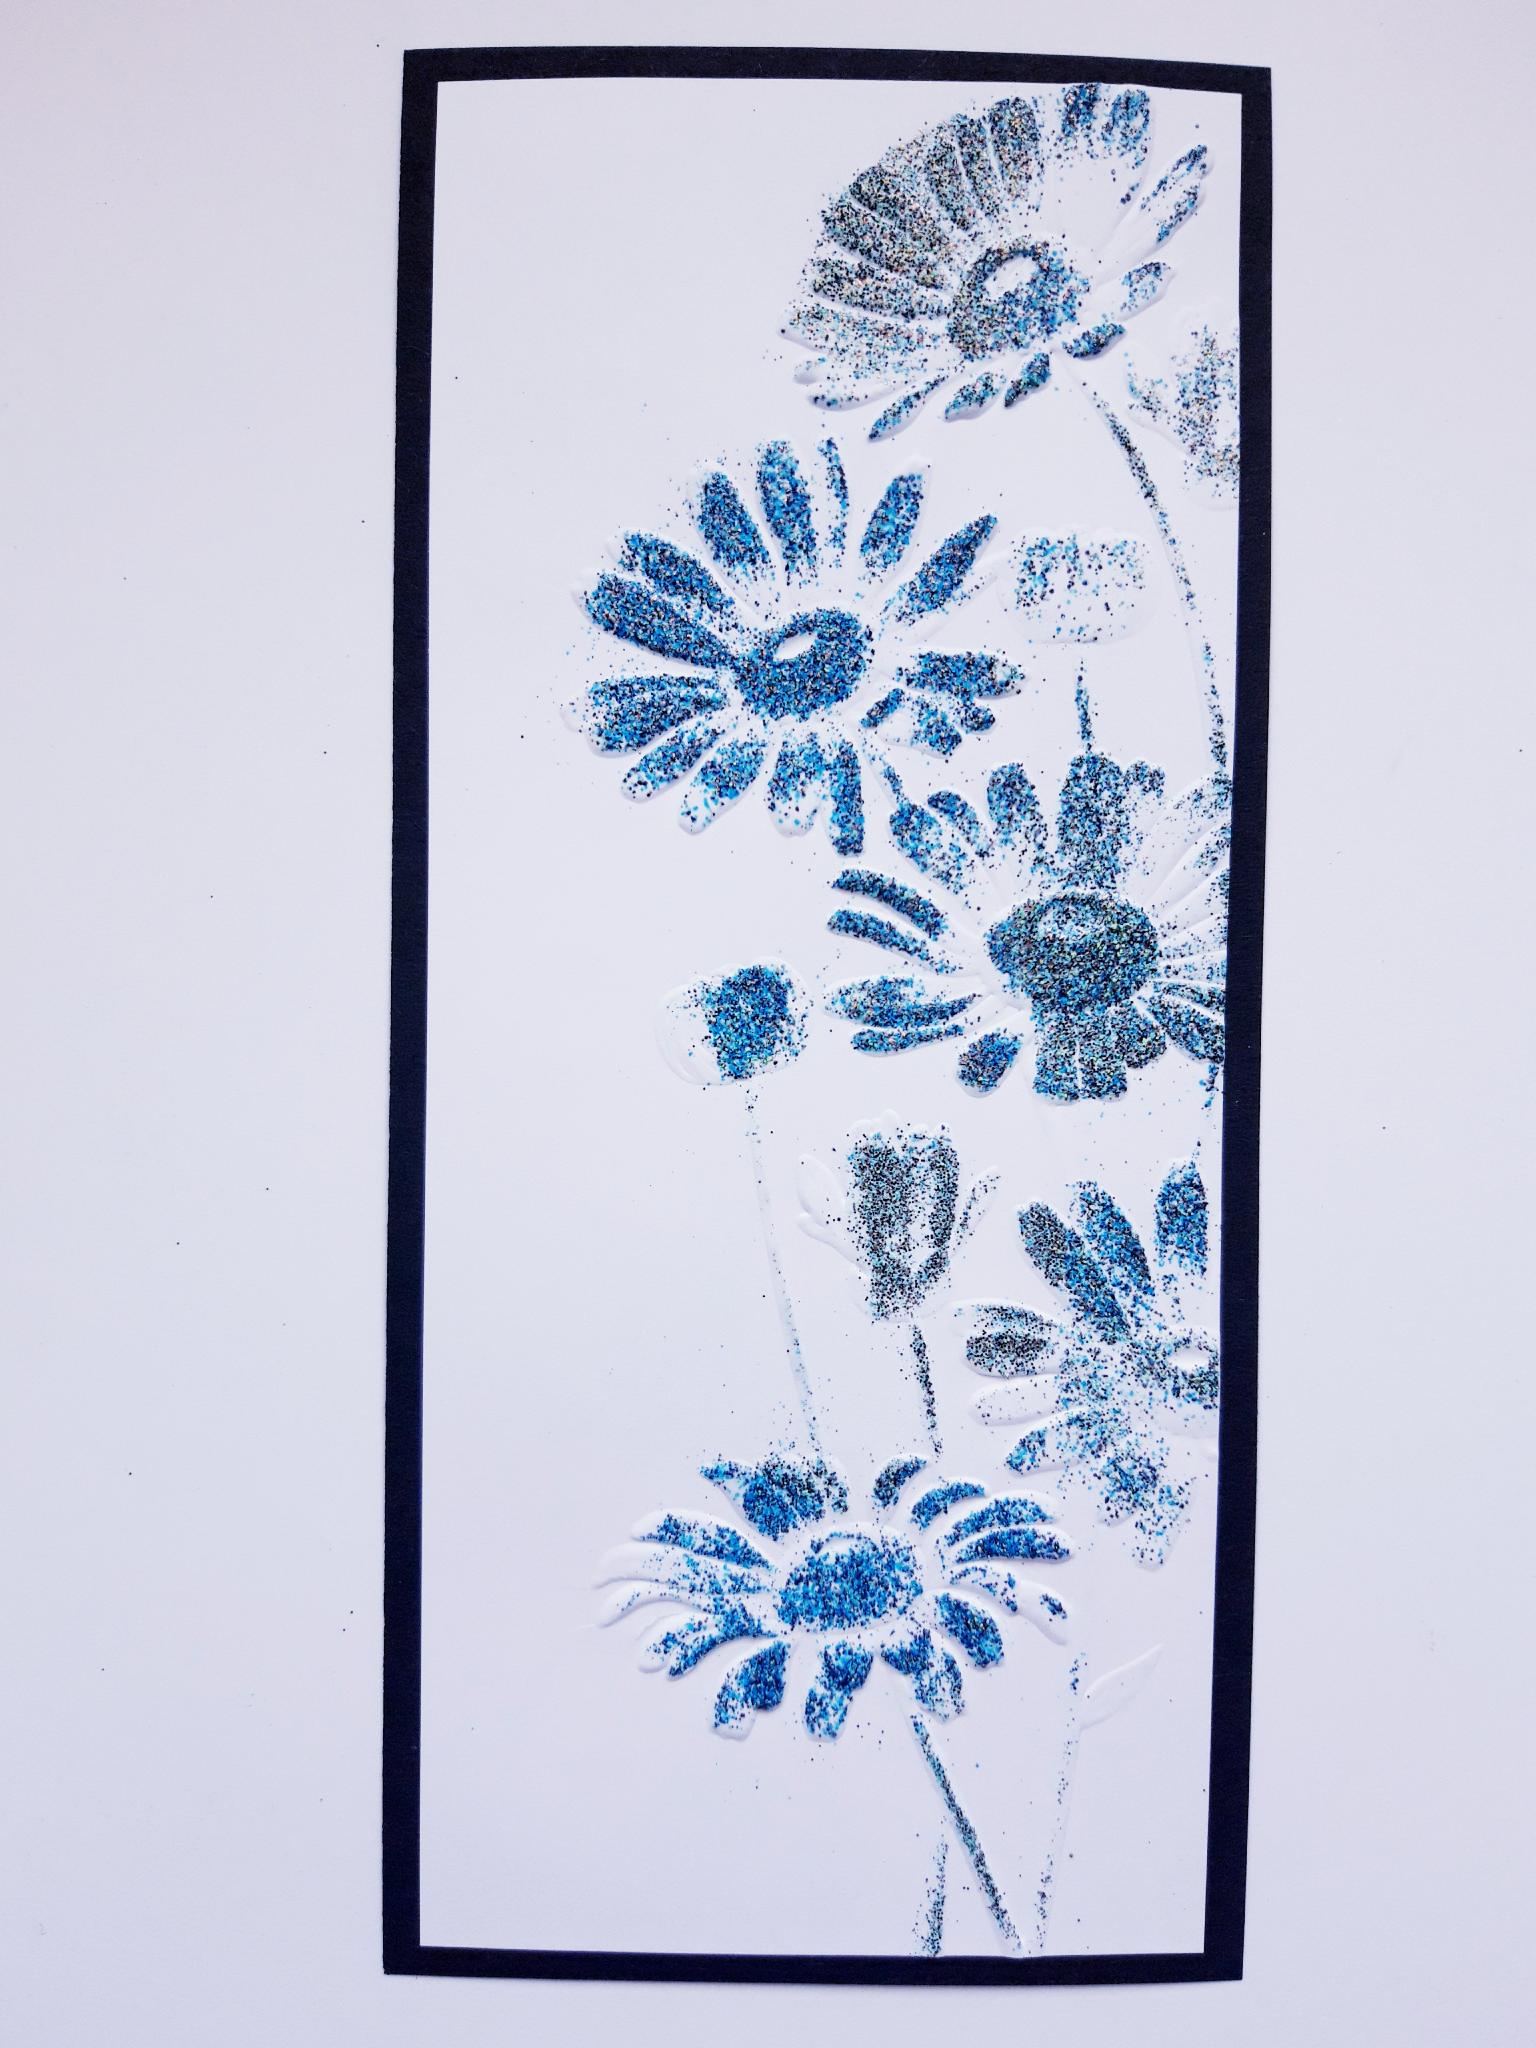
Once the powder has cooled, adhere your embossed artwork on to the black card (8 x 3 1/2"). Set this to one side. |
|
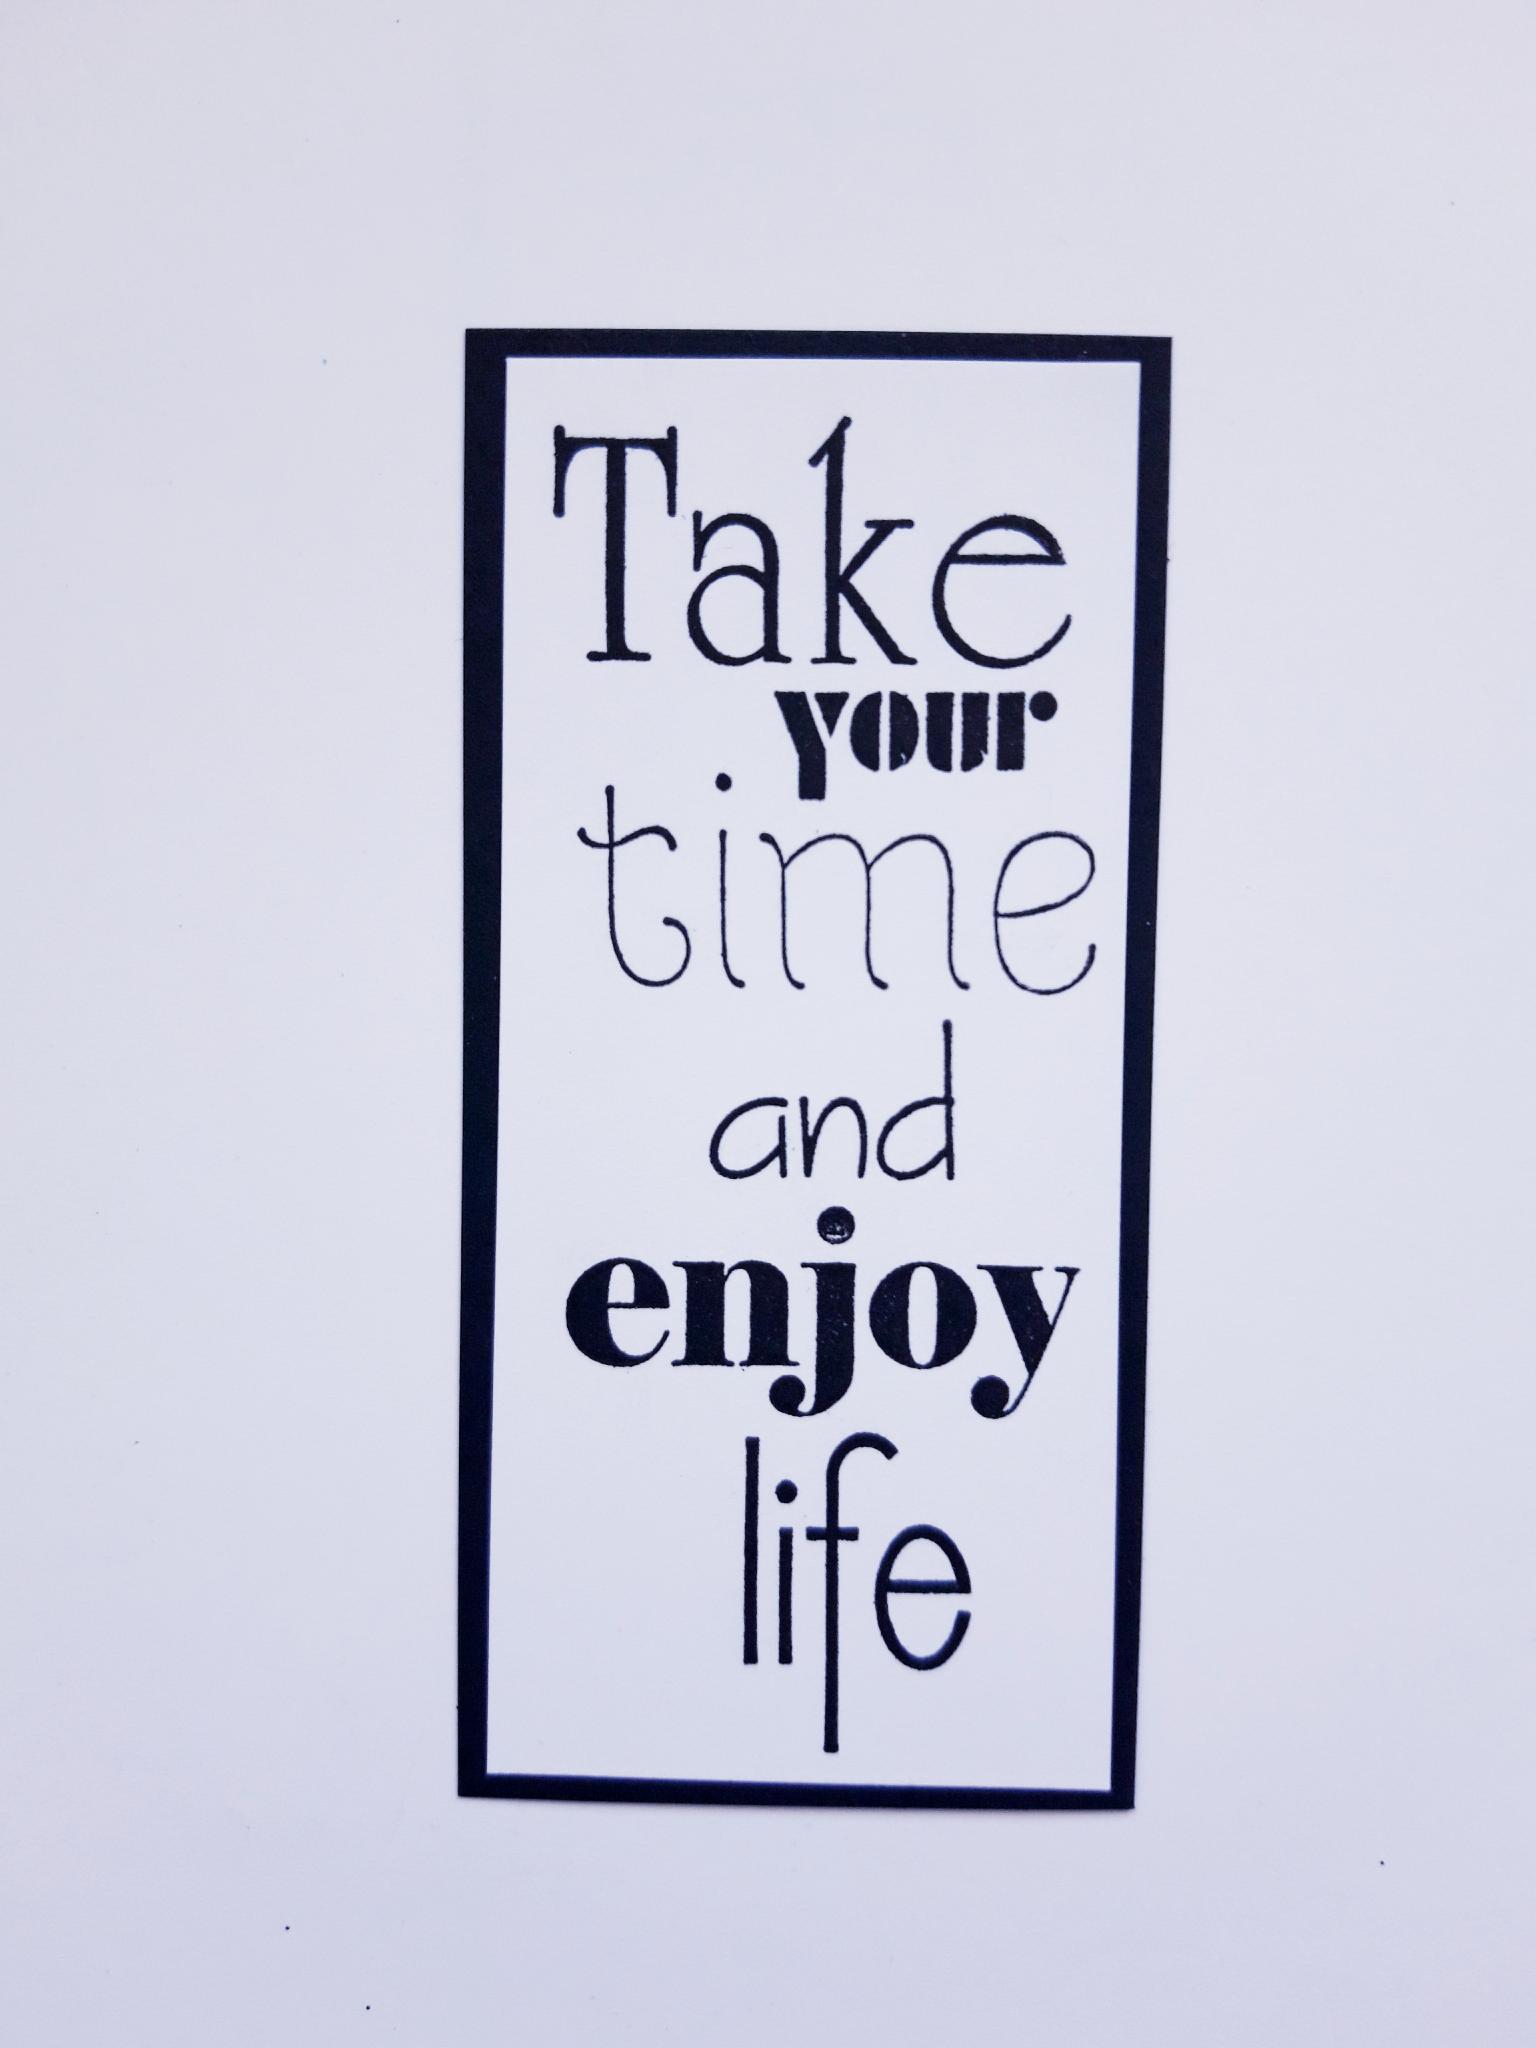
Ink up your sentiment stamp, from the Possibility Stamp and Die Collection, with the Onyx Black Versafine. Stamp it on to the white card (3 3/4 x 2"). Once the ink is dry, adhere this on to the black card (4 x 2 1/4") |
|
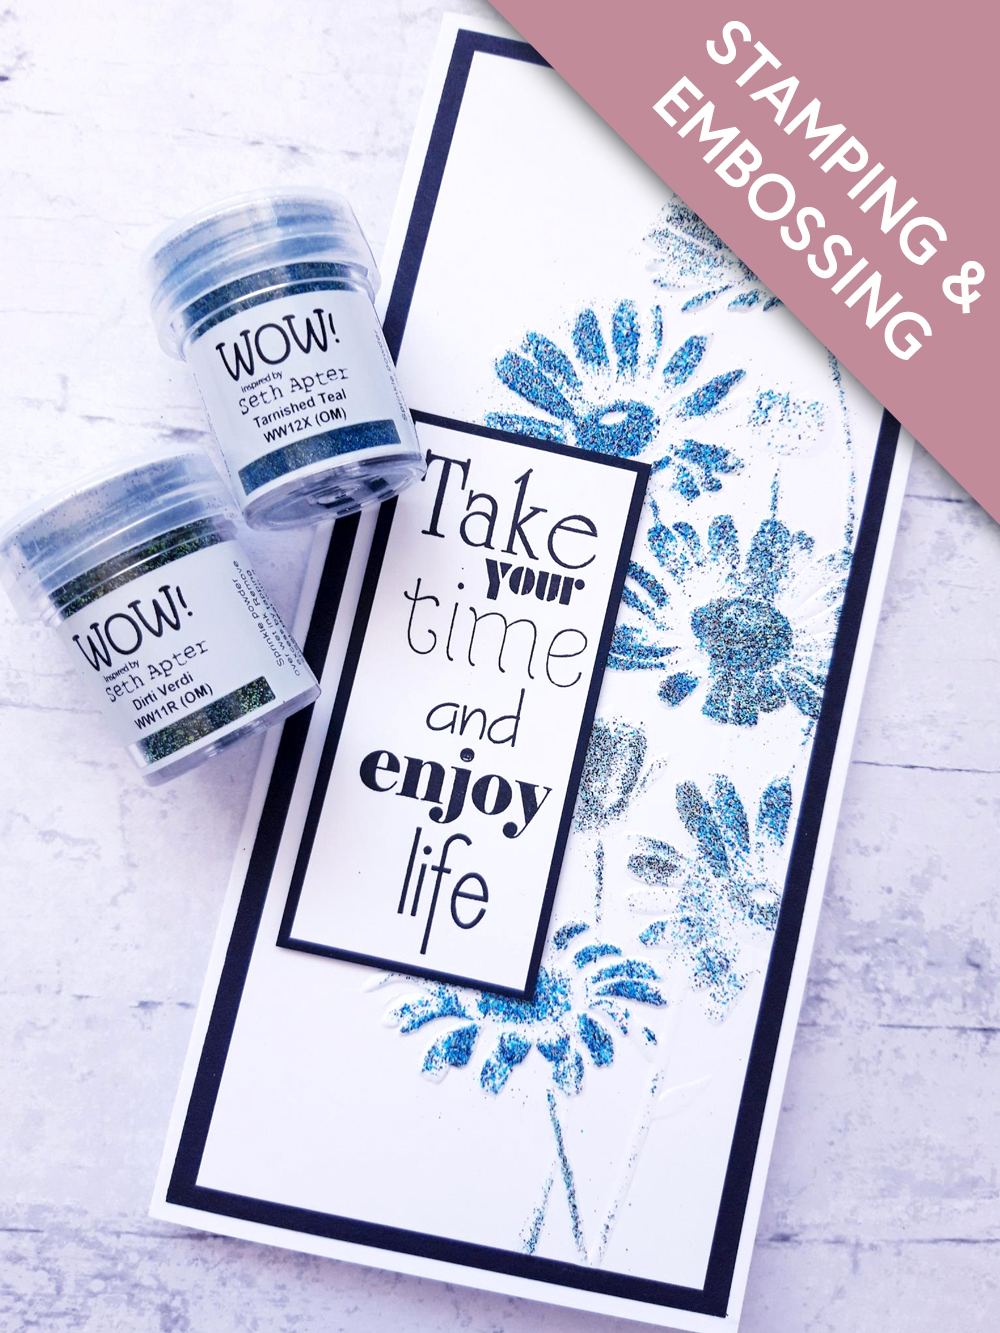
Adhere the sentiment on to your artwork, where required. You can either use wet glue, or foam pads for more dimension. |
|
Adhere this on to the front of your DL card blank, to finish. |