Give your friends $10 off their first order!
Refer a FRIEND


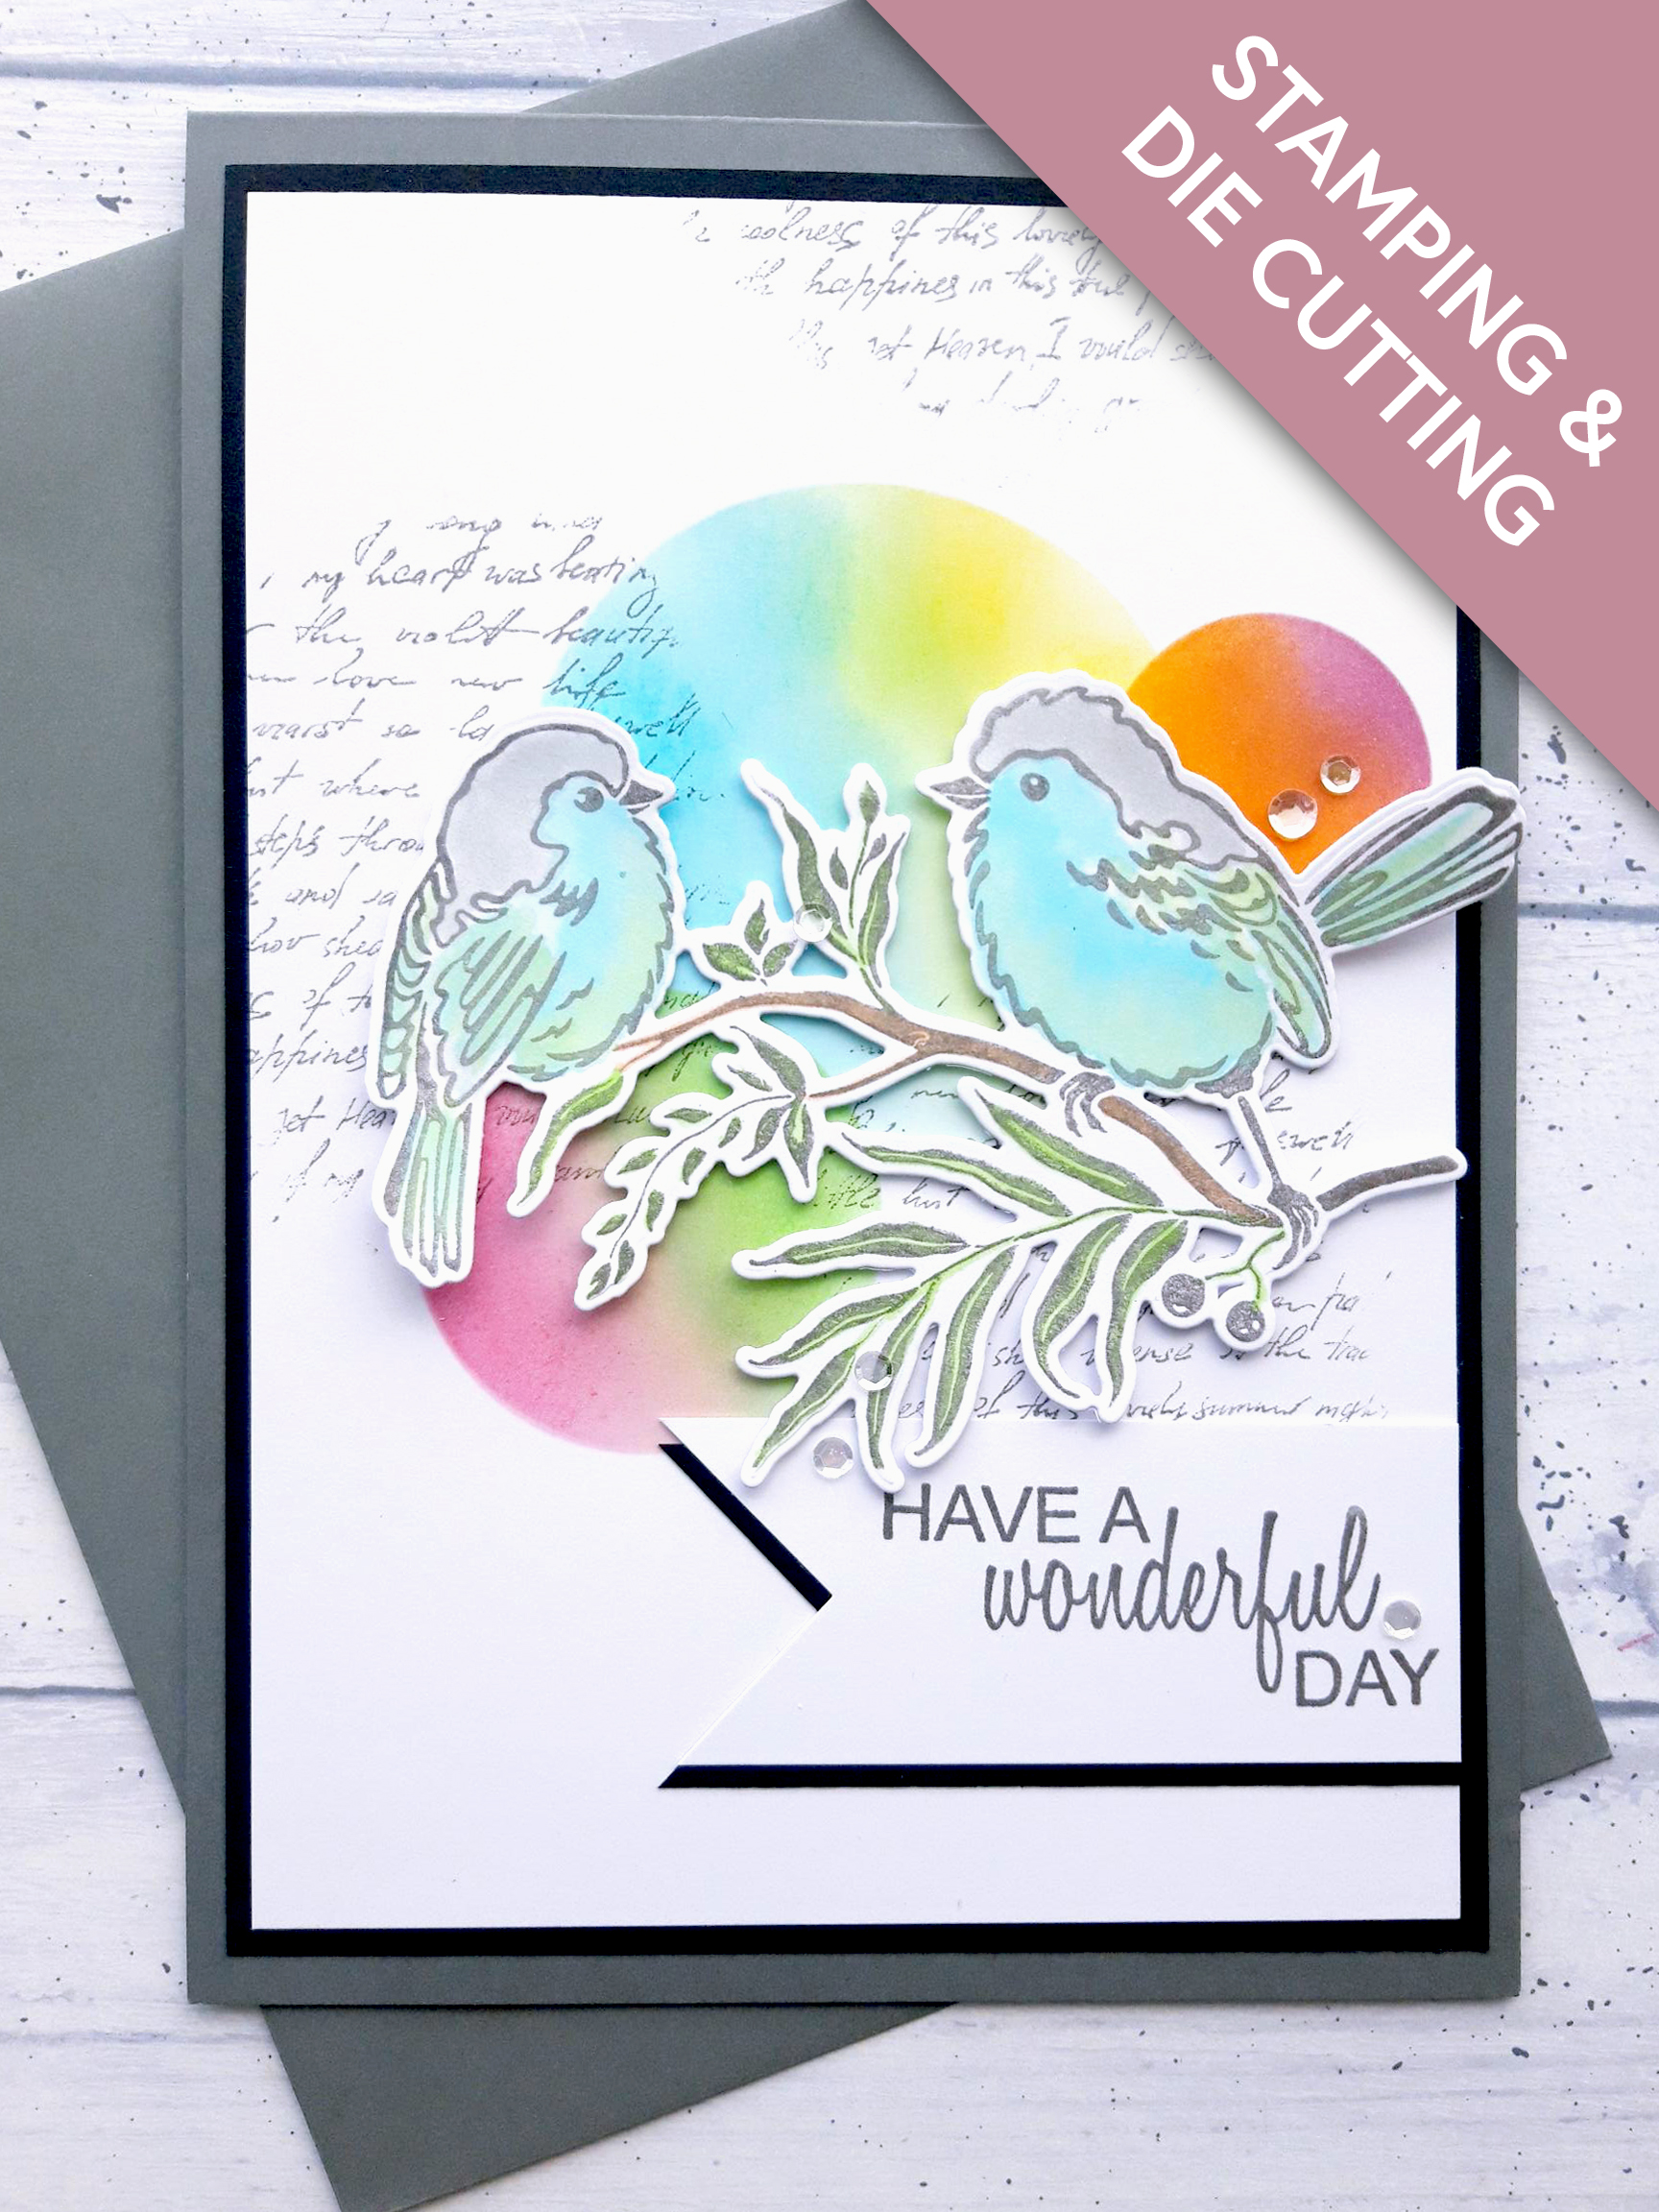
YOU WILL NEED:
Grey top folding note card 8 1/4 x 5 3/4"
Black card 7 3/4 x 5 1/2"
White card 7 1/2 x 5 1/4"
Black card 1 1/2 x 4"
White card 1 1/2 x 4"
White card 6 x 4"
Dainty Birds stamp and die collection
Imala Handwritten stamp set
Wonderful Day stamp set
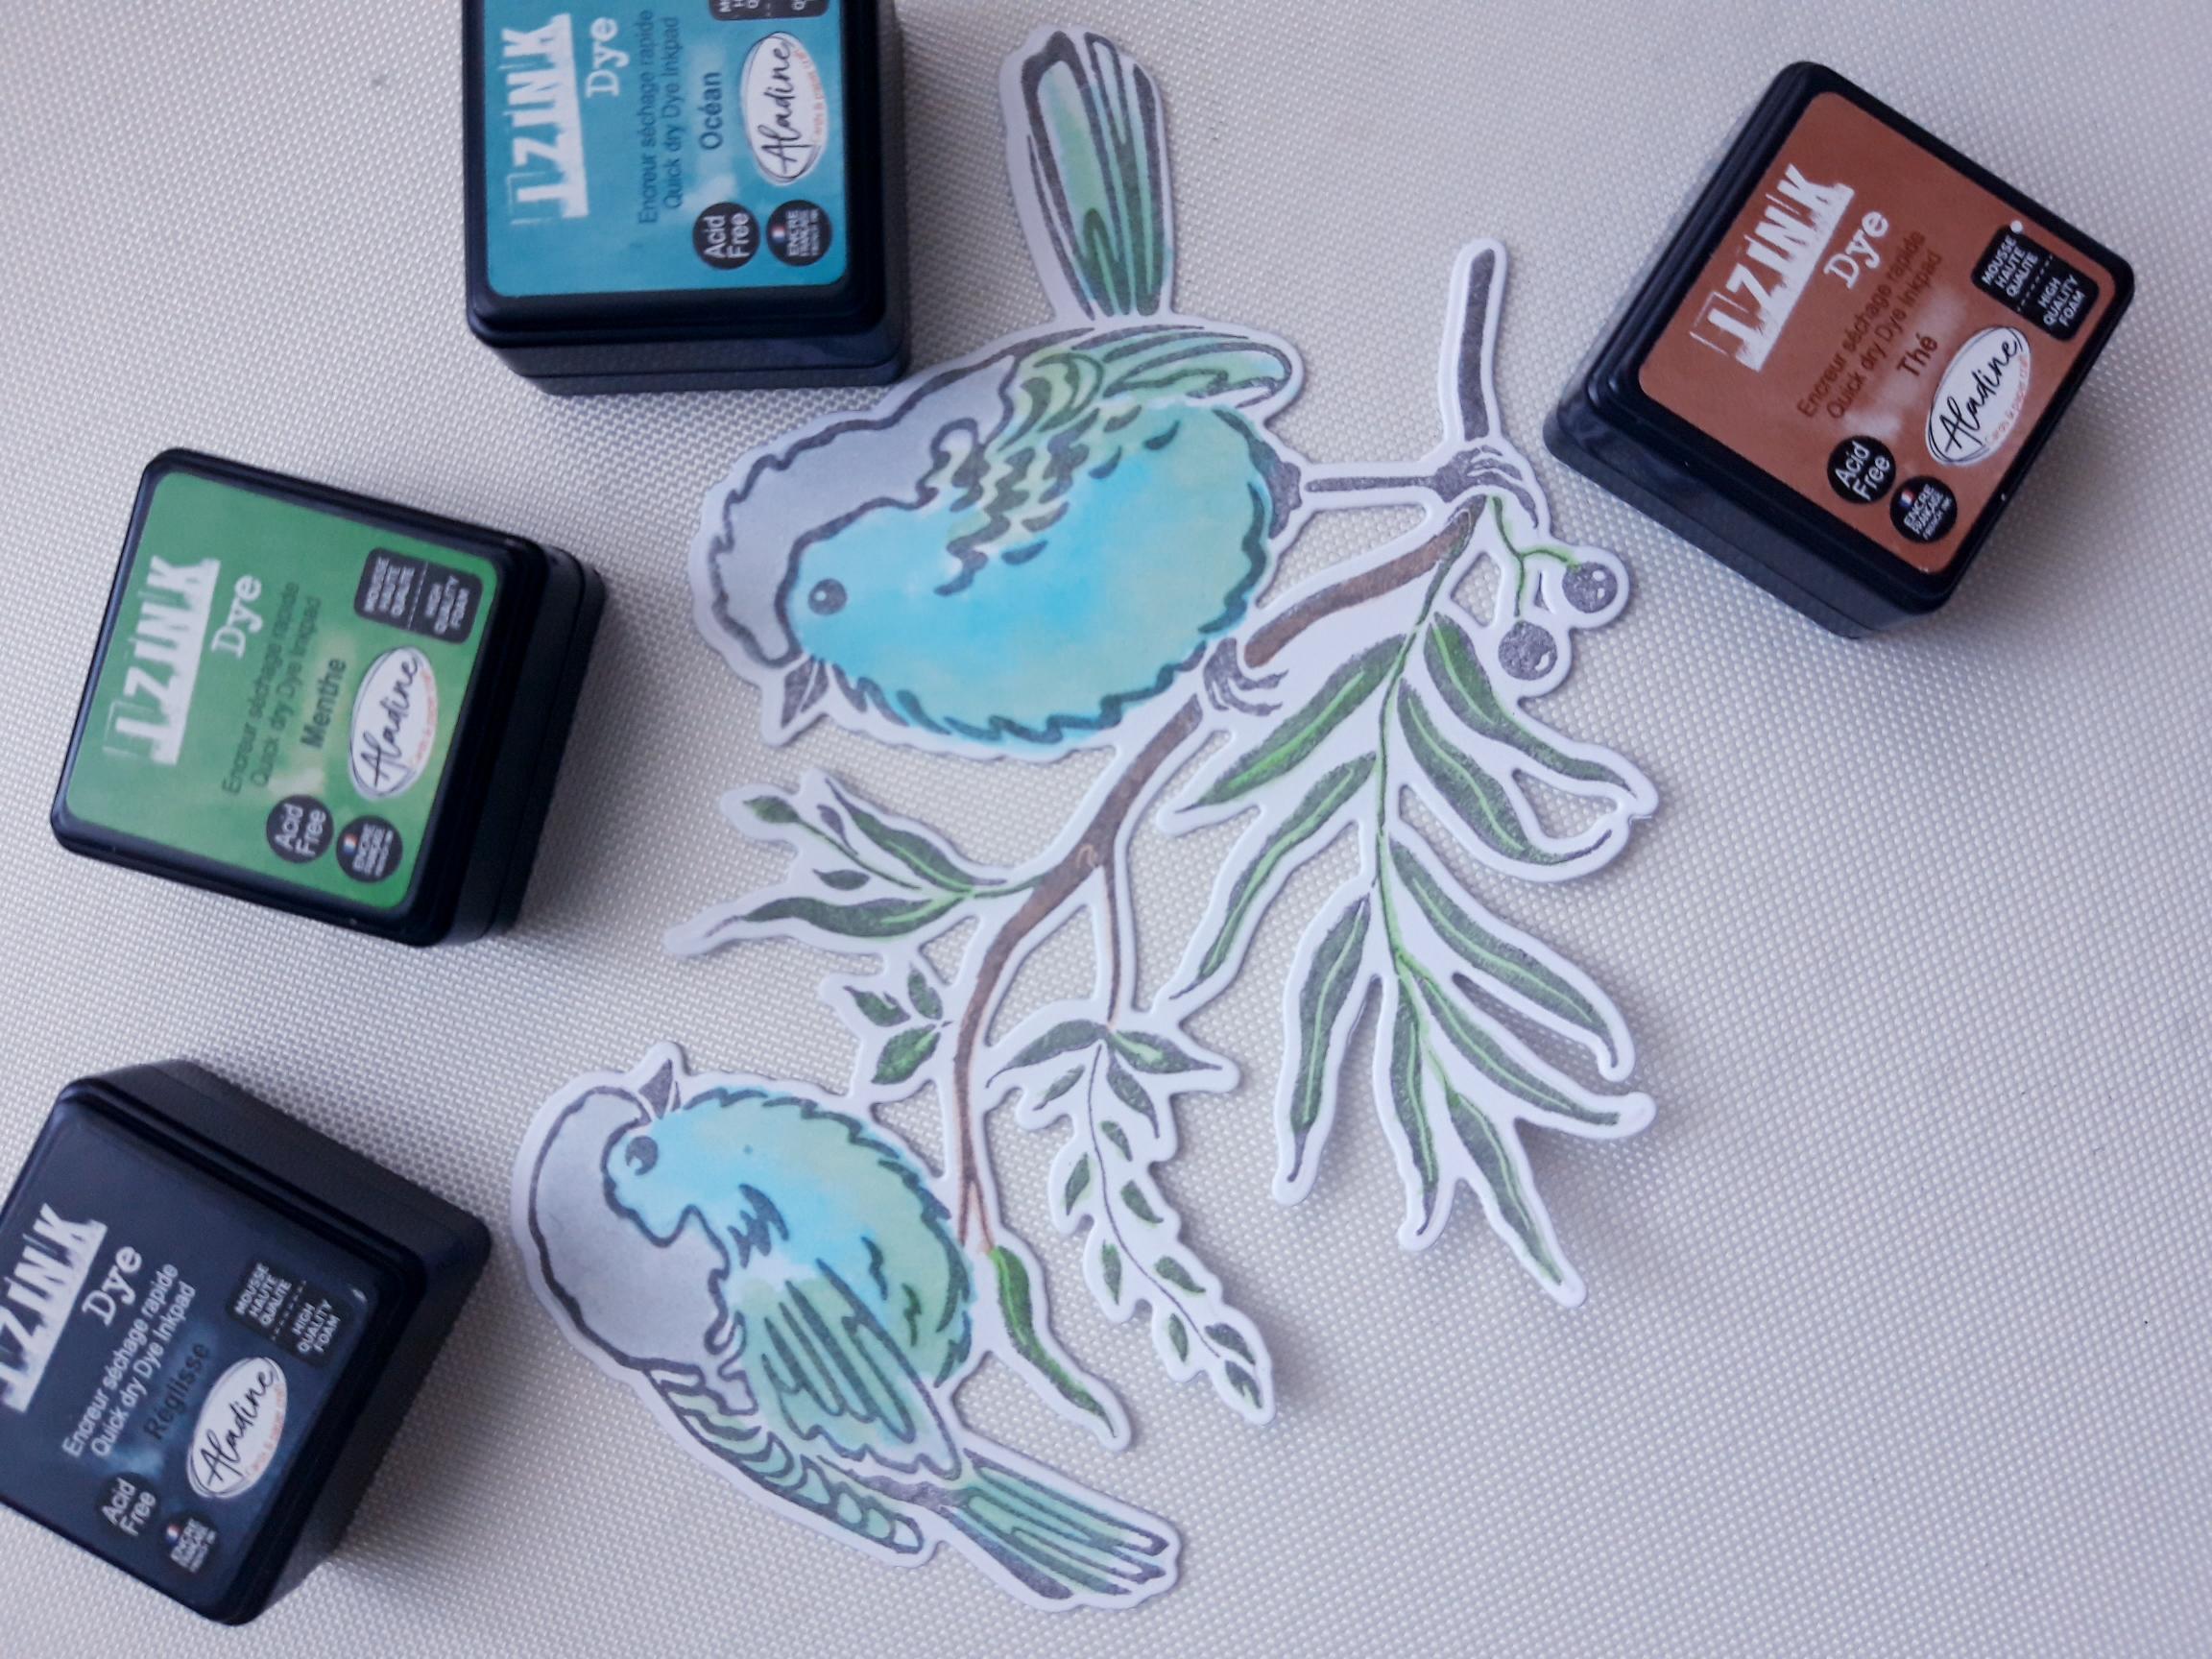
Izink Mini Dye Ink pads: Jaune, Ocean, Menthe, Rosee, Cire, Cassis, Reglisse, The (brown)
Versafine: Smokey Grey
Banner Tag Punch
Sequins from Creative Box
Eureka 101
Die Cutting Machine
Paper trimmer
Perfect Together glue
Foam Pads
Circle stencil: 3 different sizes
Paint brush
[click image to enlarge] 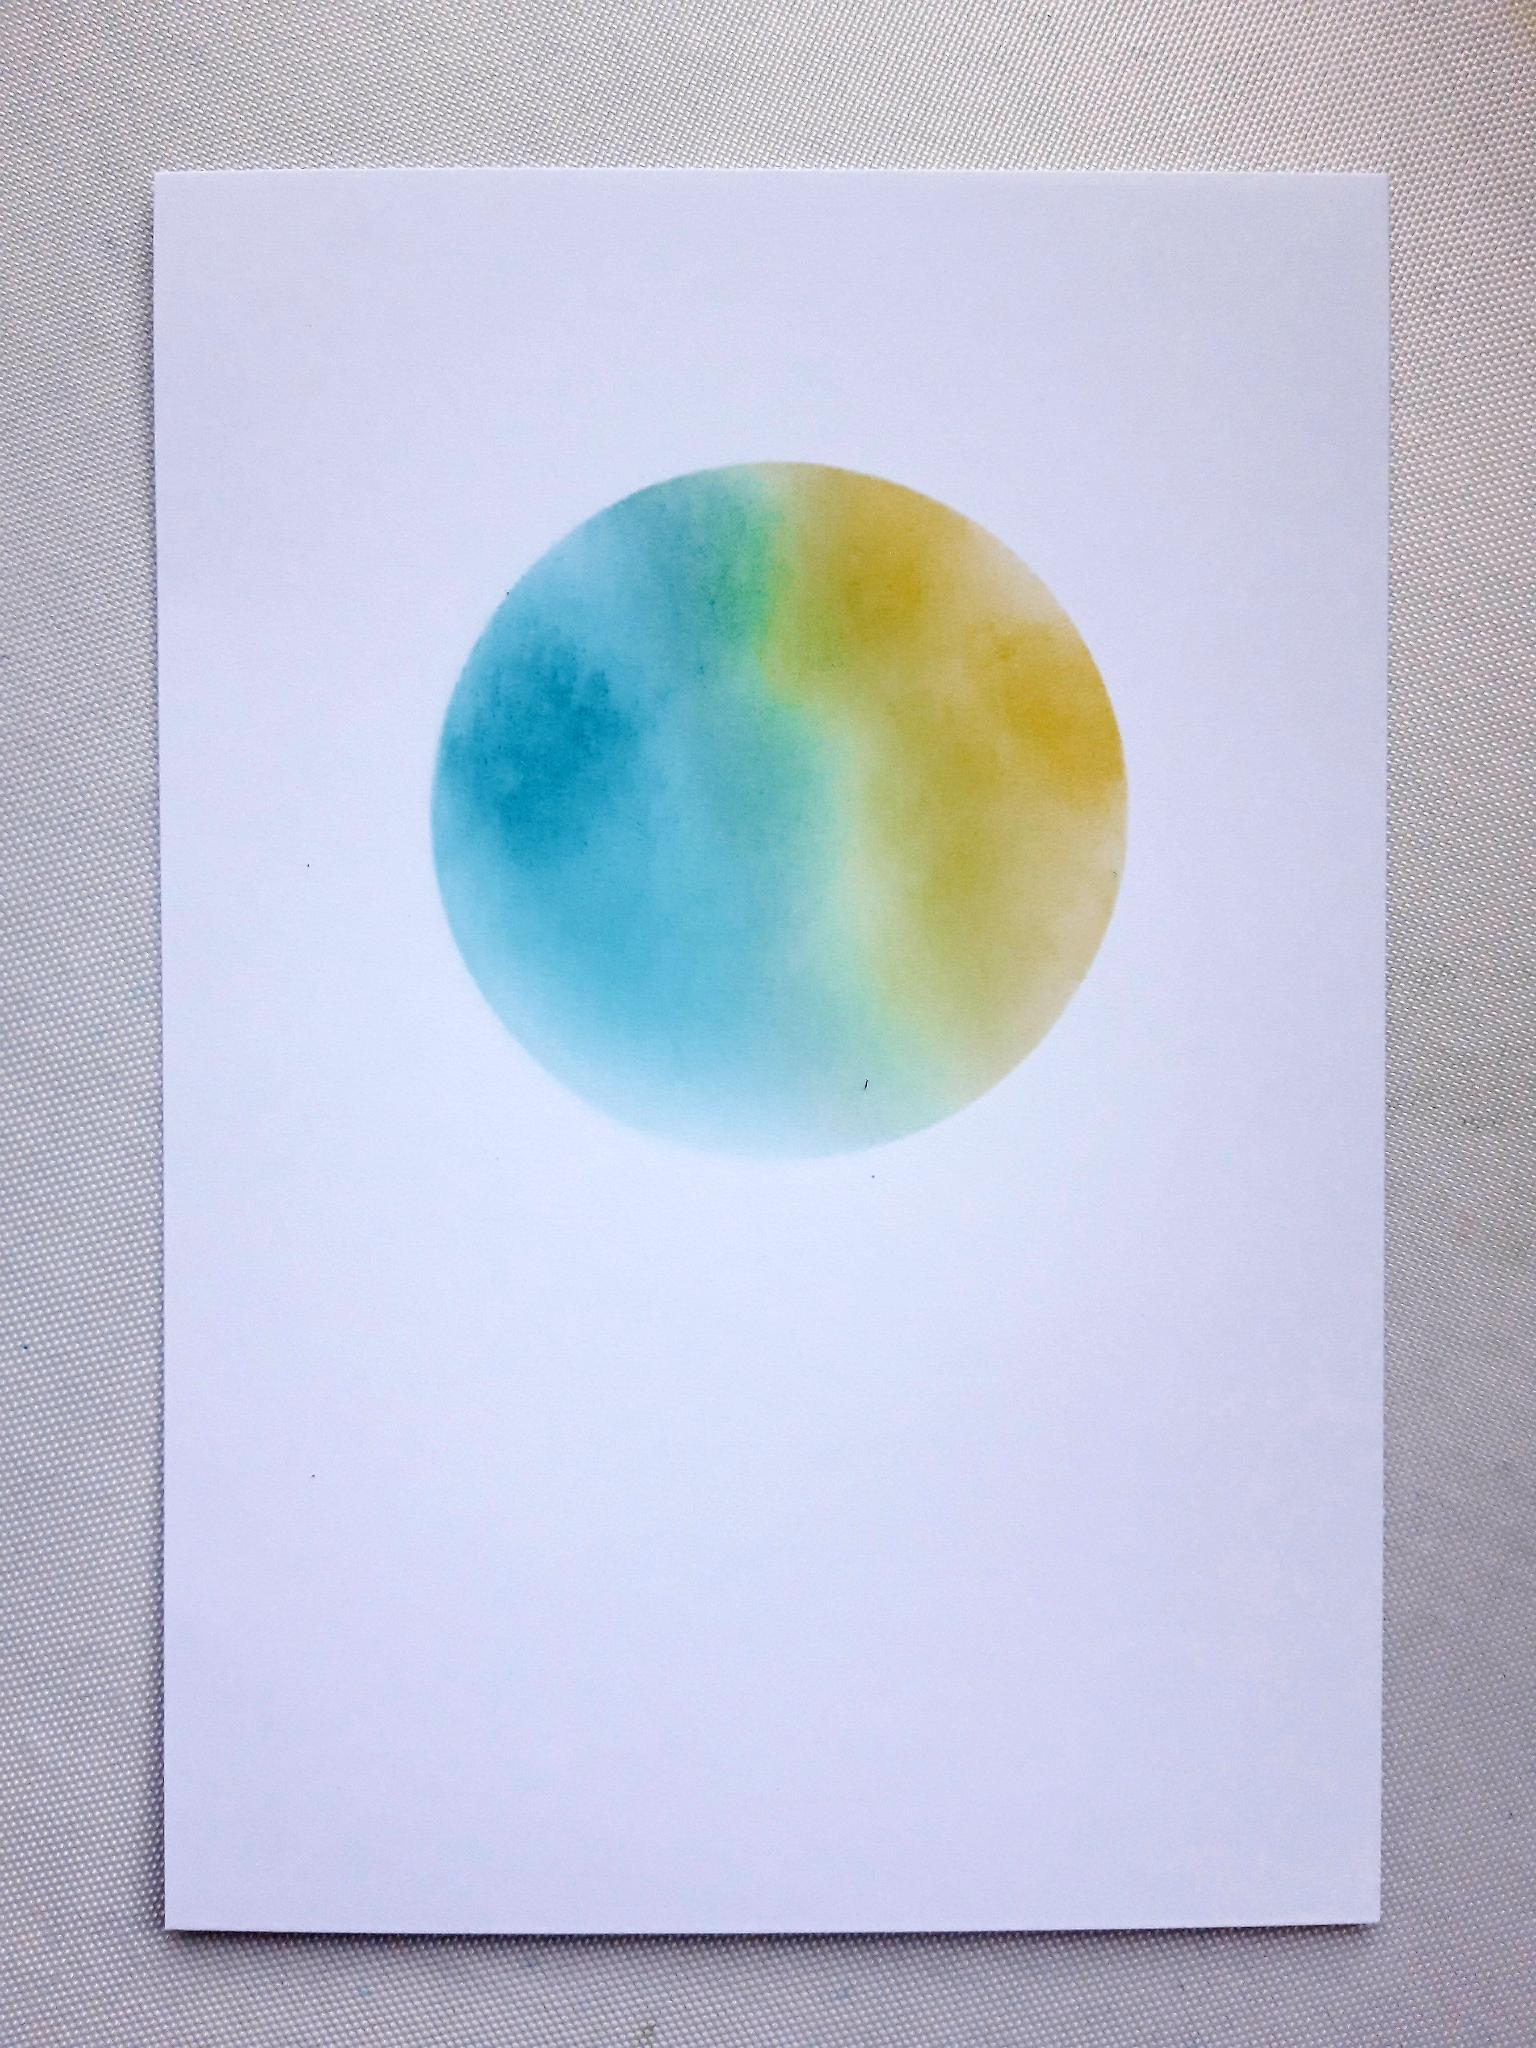
|
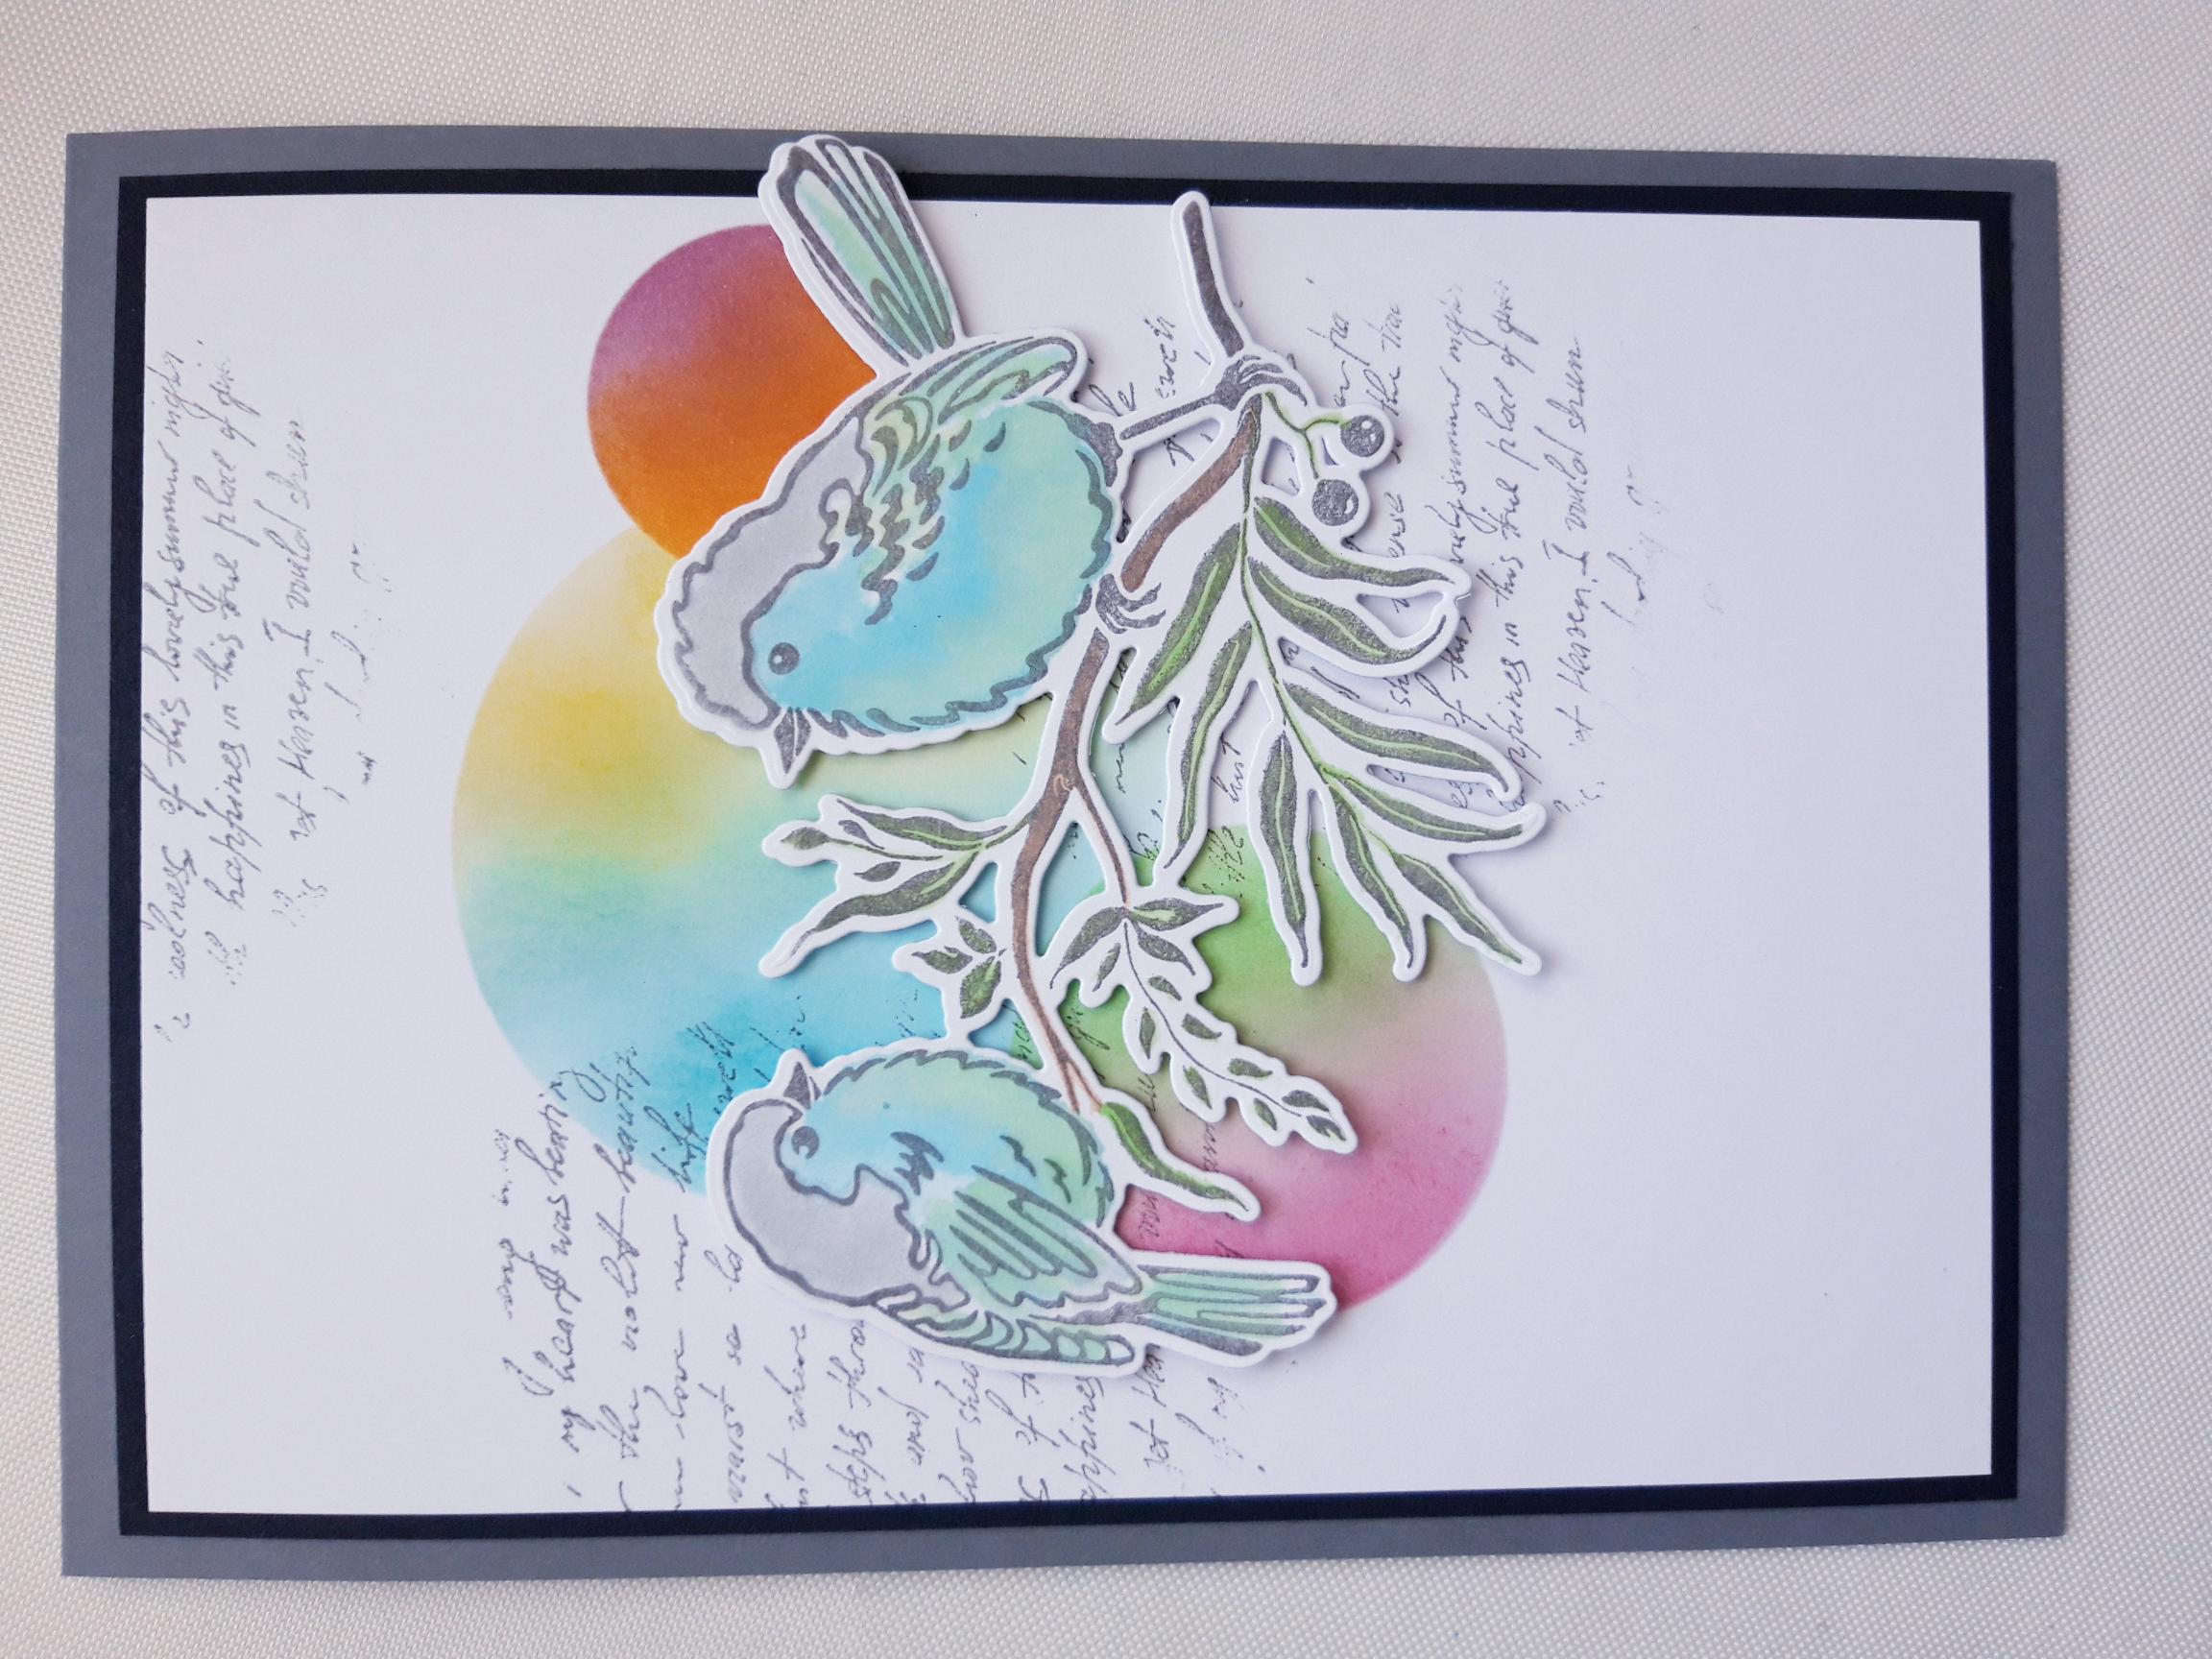
Lay your largest circle stencil/mask top centre on the white cardstock (7 1/2 x 5 1/4). Blend the Jaune and Ocean inks within the circle stencil.
|

|
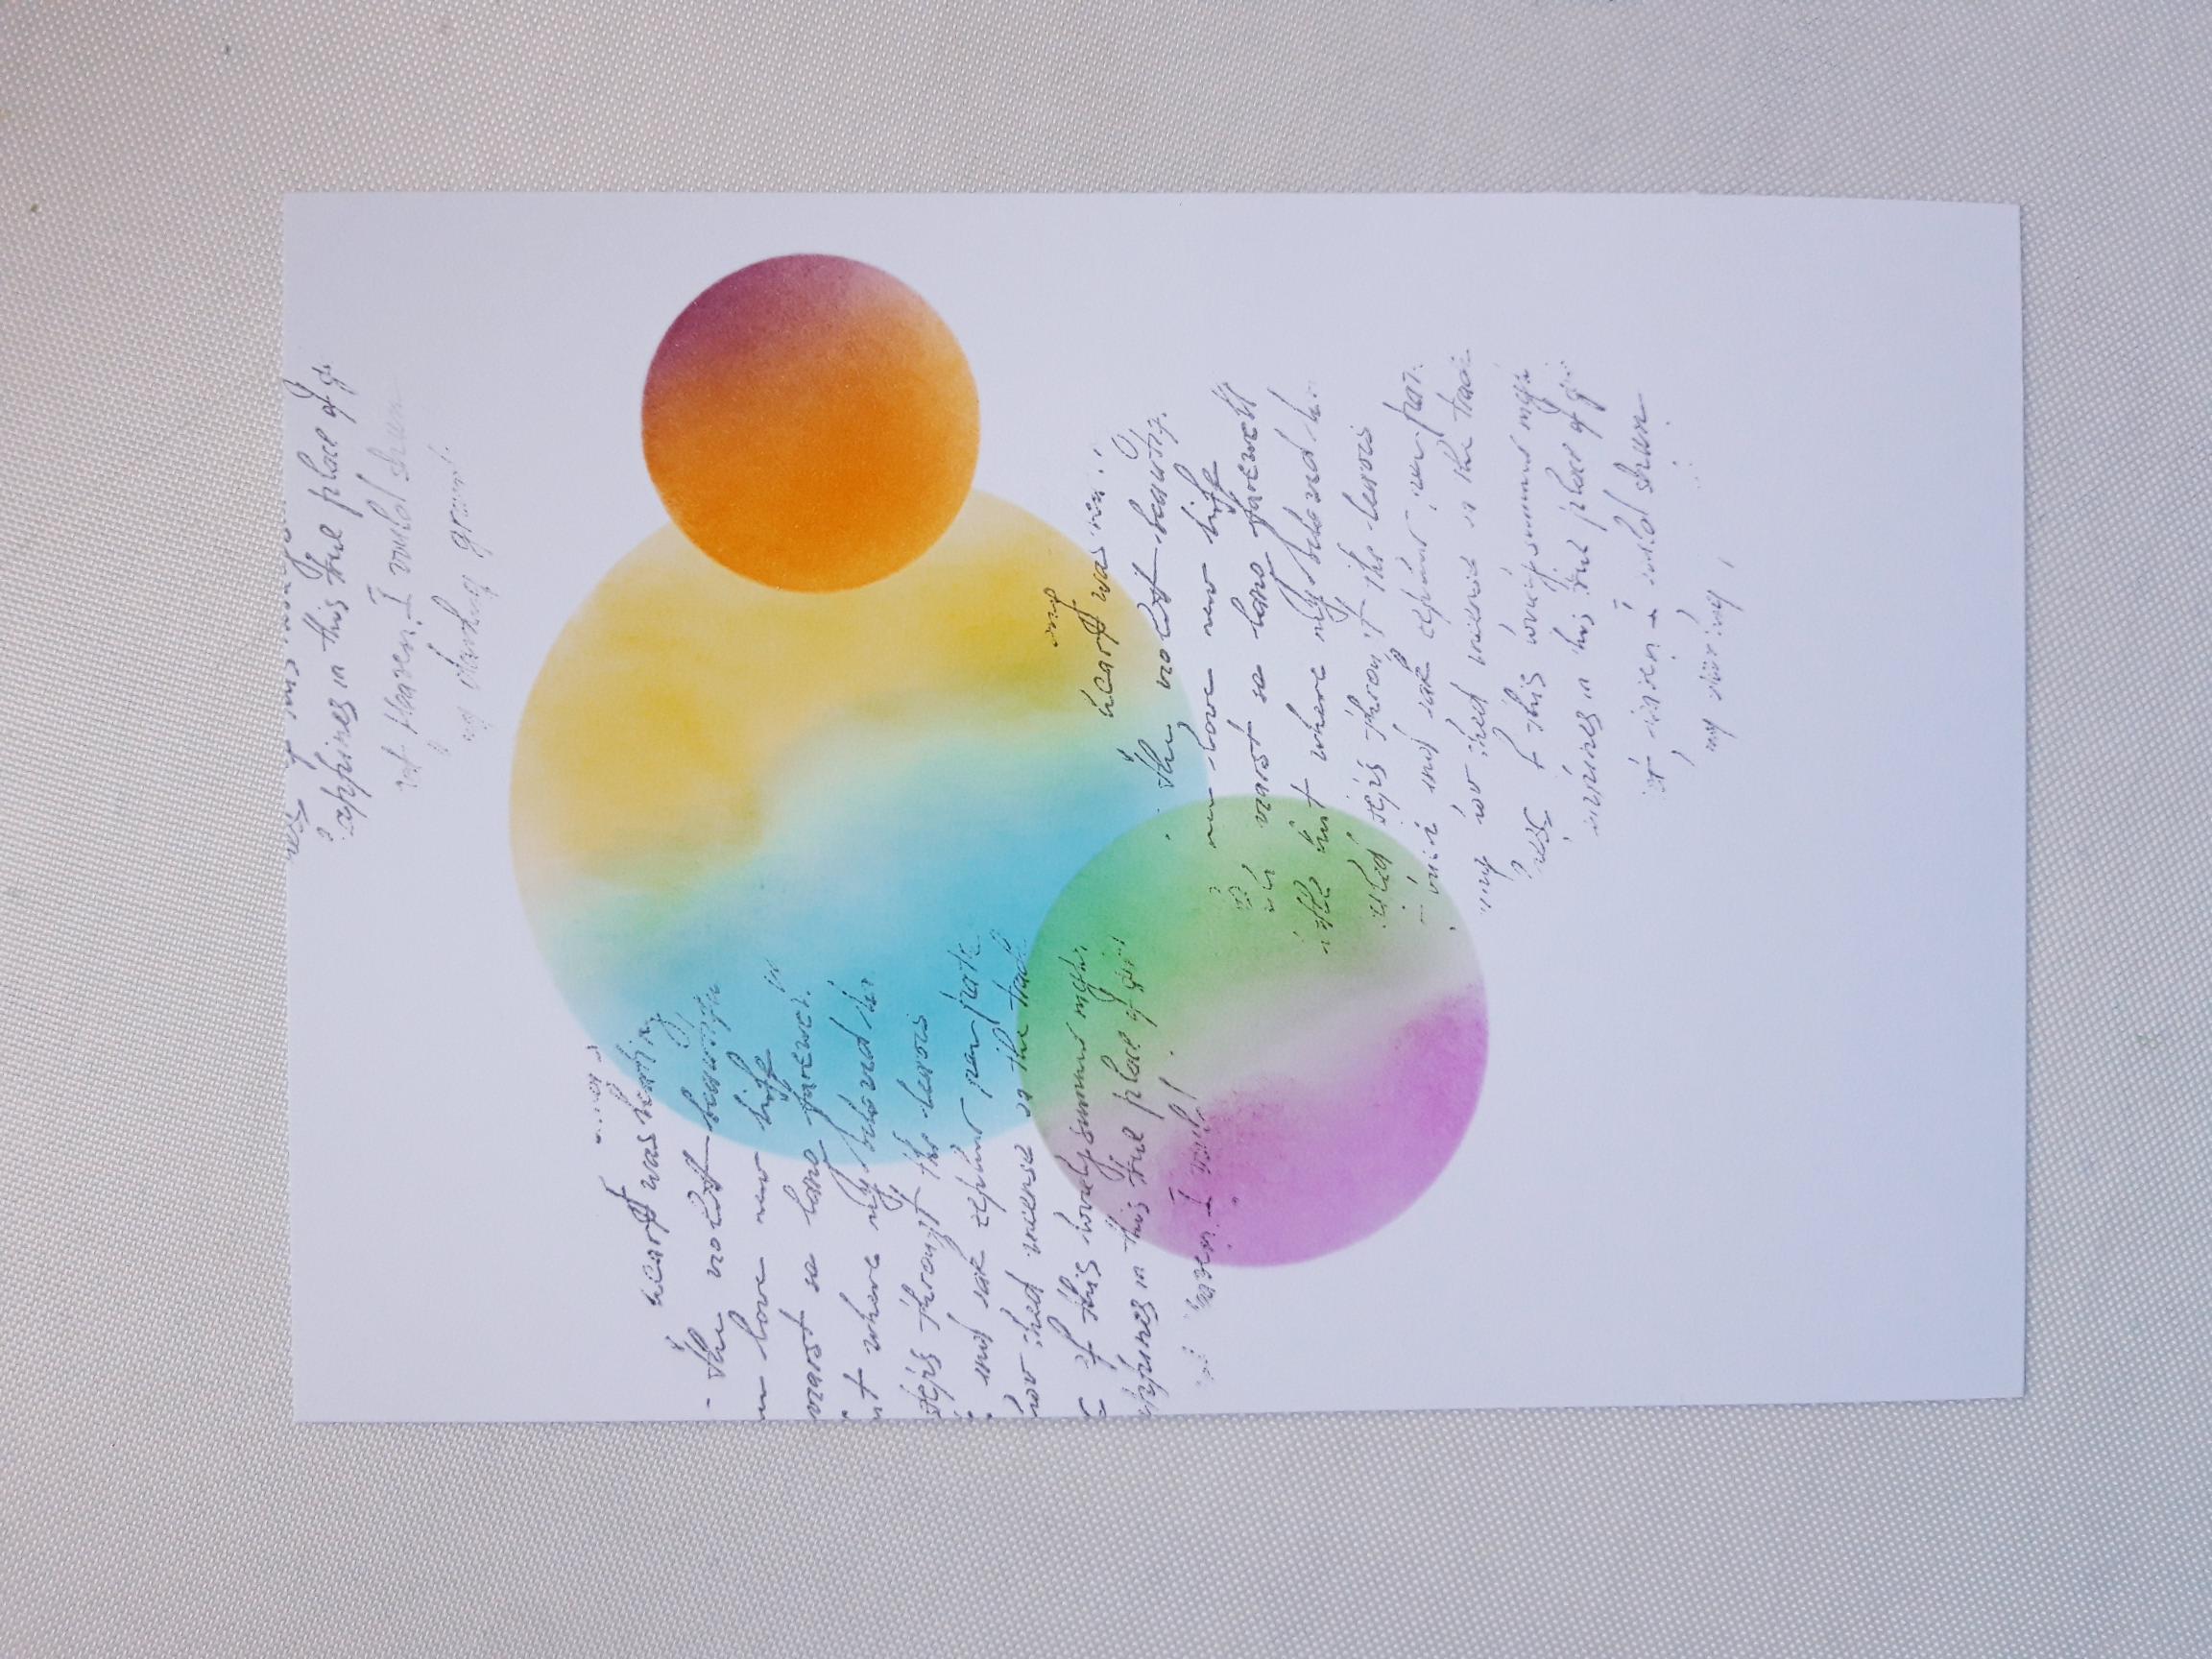
Lay the middle sized circle stencil to the left of the large one, so they overlap. Blend the Menthe and Rosee inks within this circle. Lay the smallest circle stencil to the right of the largest, so they overlap, and blend the Cire and Cassis inks within this circle. |
|
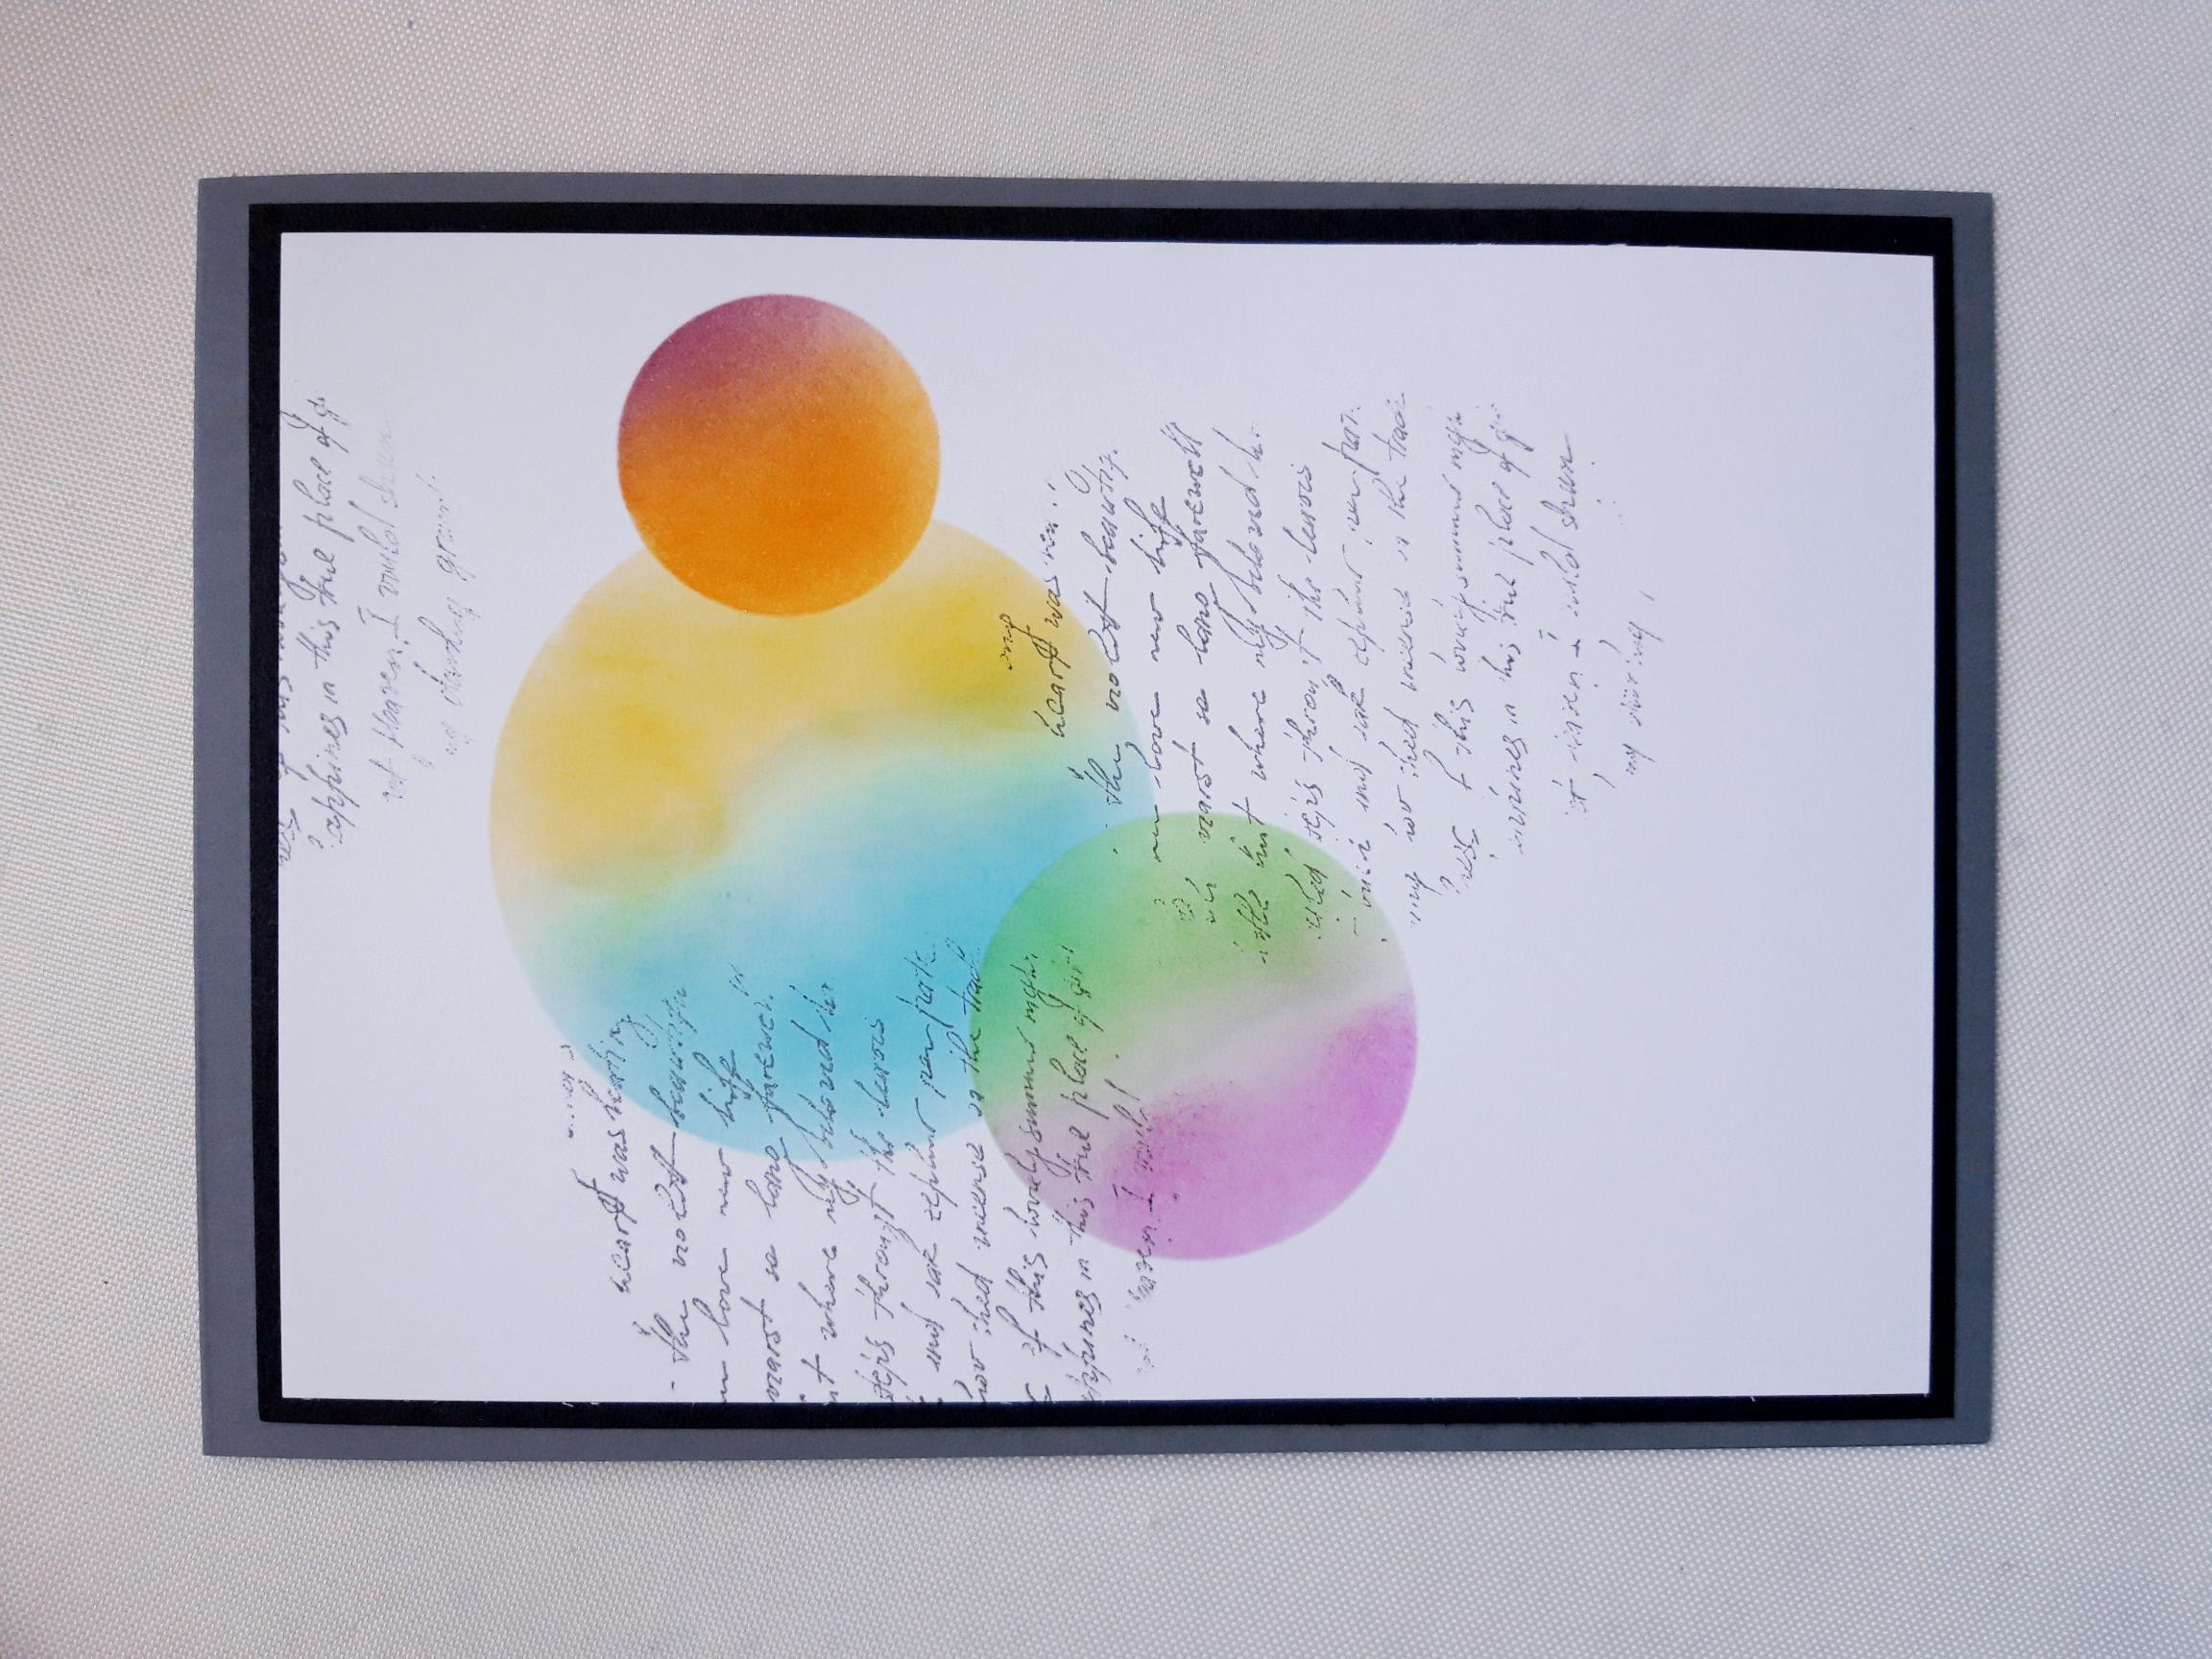
Ink up the Imala Handwritten stamp in the Smokey Grey Versafine and randomly stamp it around your inked circles, ensuring you stamp off the edges of the card. The idea is to create a random, distressed look. |
|
Mat your background on top of the black cardstock (7 3/4 x 5 1/2") and then mat this on to your top folding card blank. Set to one side. |
|
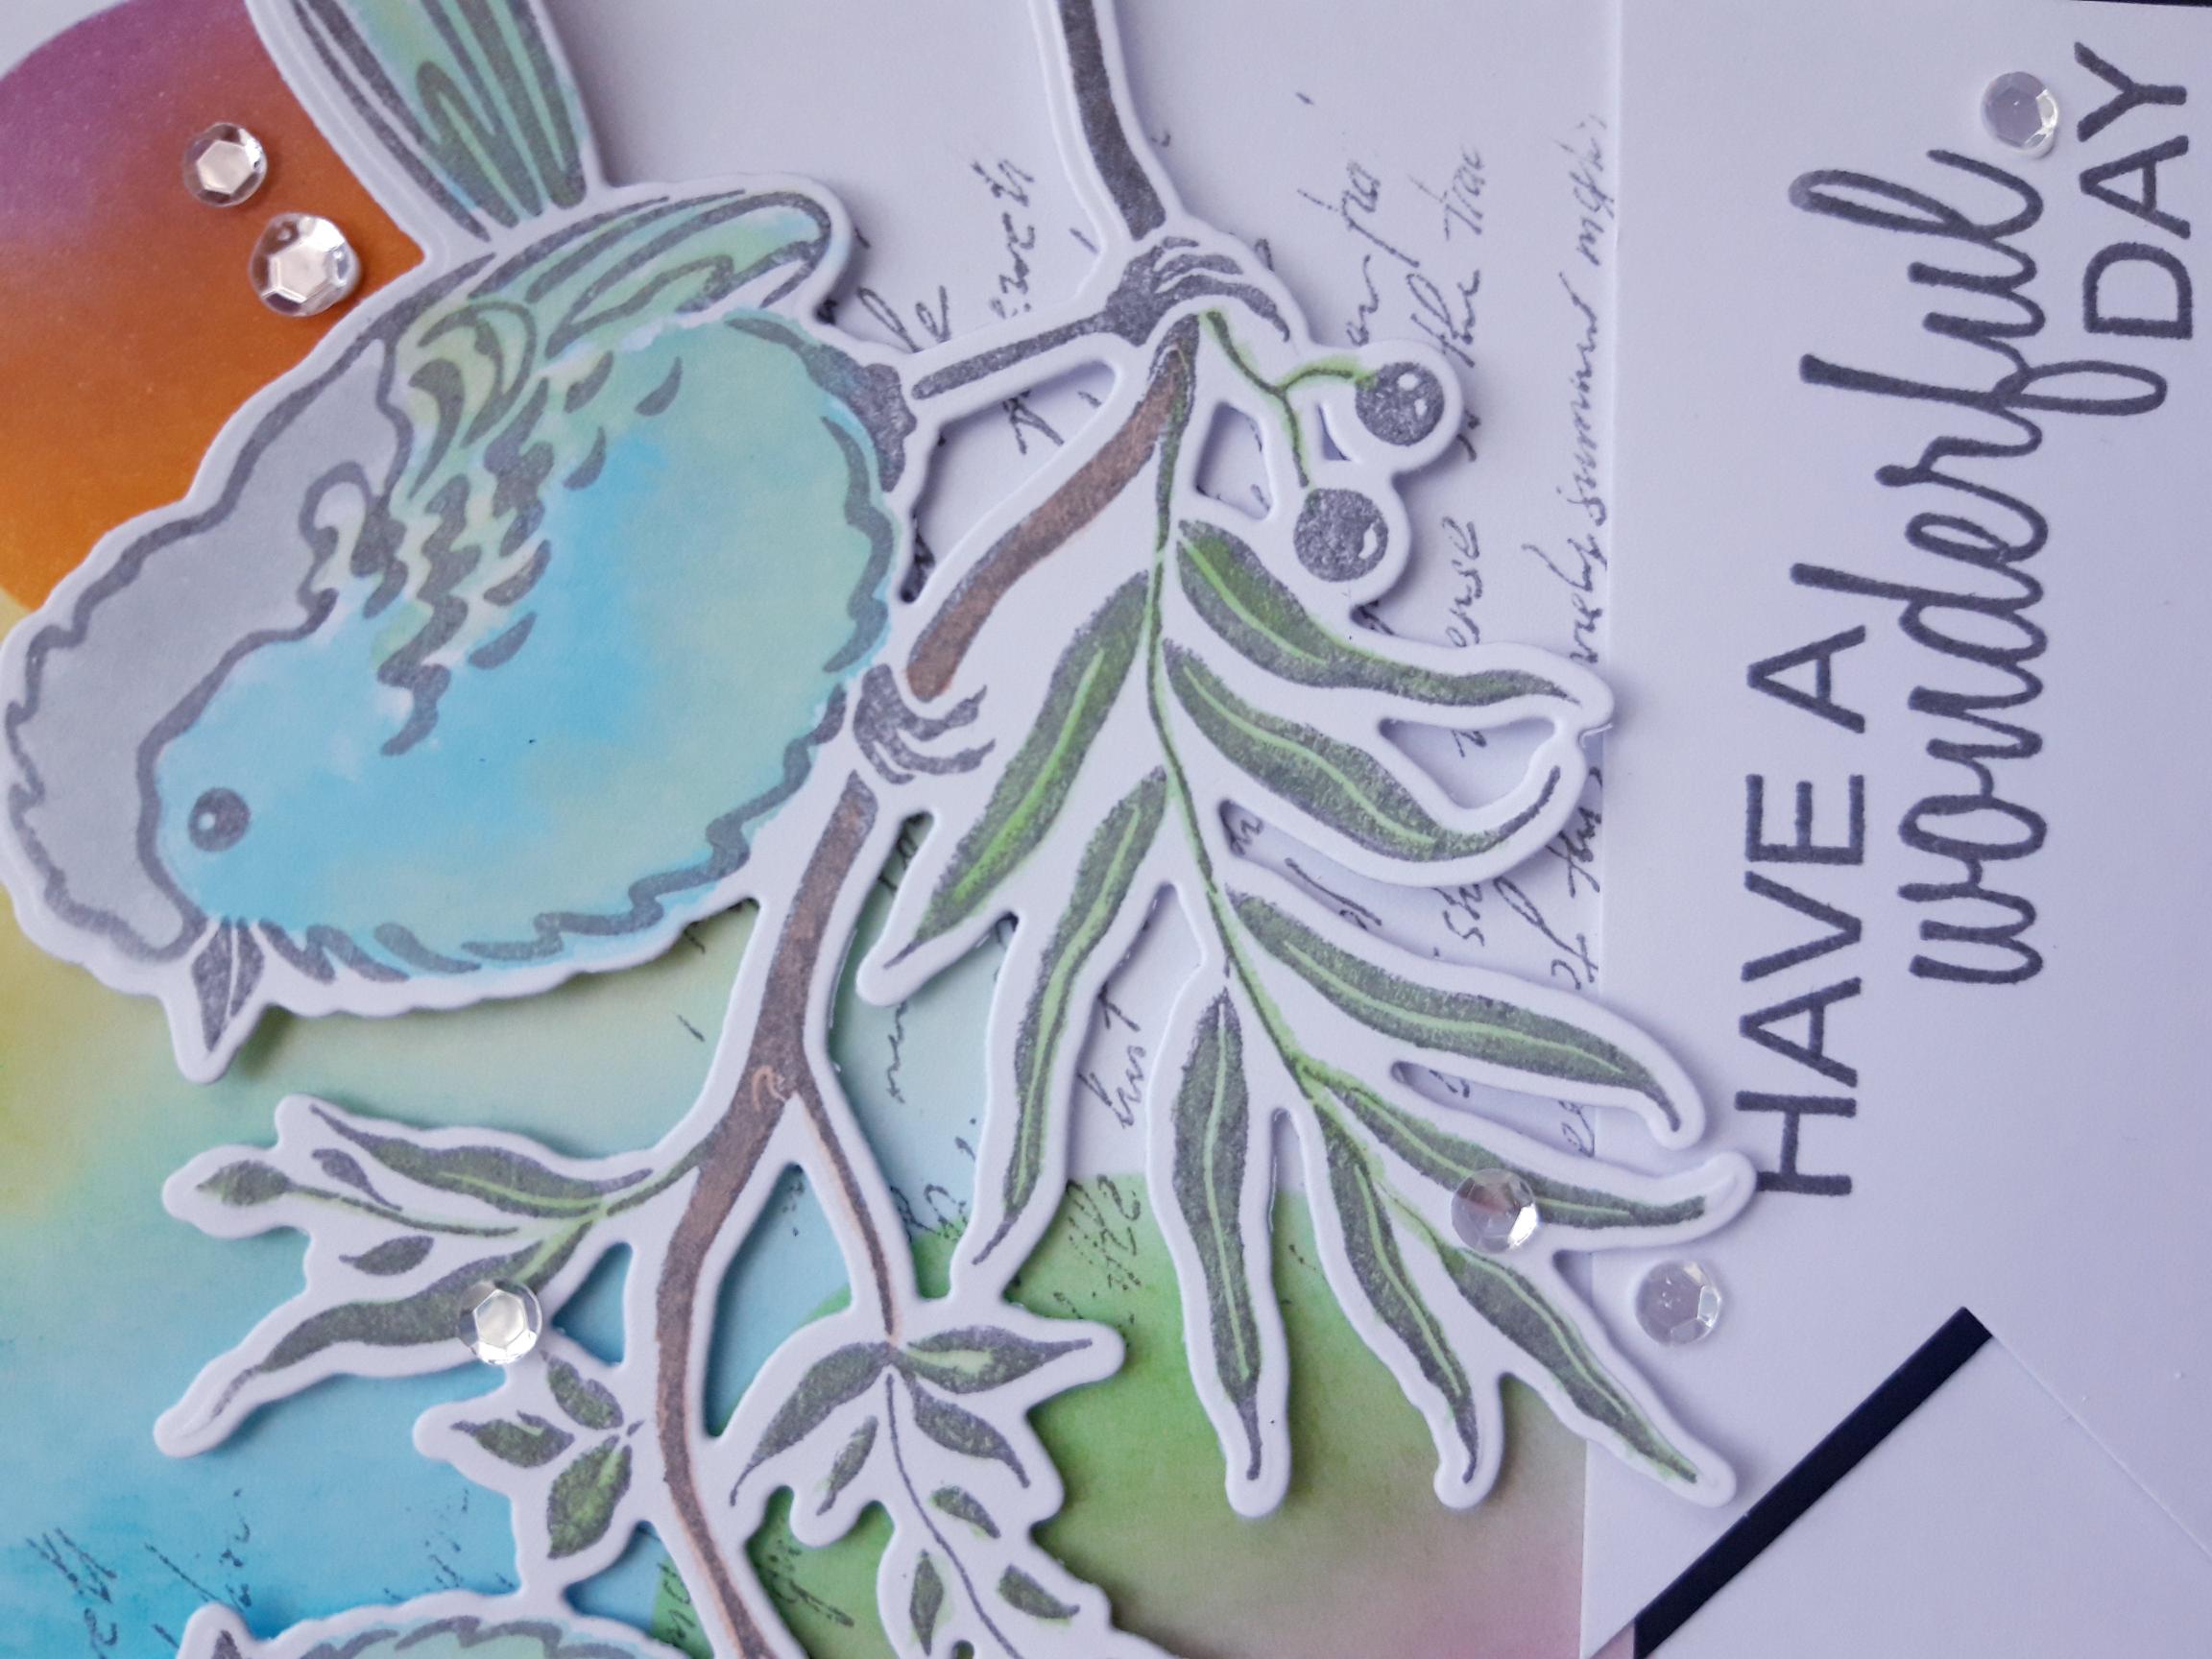
Ink up the birds on a branch stamp, from the Dainty Birds stamp and die set, in the Versafine, and stamp on the white cardstock ( 6 x 4"). Use the coordinating outline die to cut out your stamped image. Paint your stamped image, using your Menthe, Ocean, Reglisse and The (brown) ink pads. Smoosh a little ink on a craft or glass mat, add a little water and paint your image.
|
|
Adhere your painted birds on a branch, with foam pads, so they sit across your inked circles. |

|
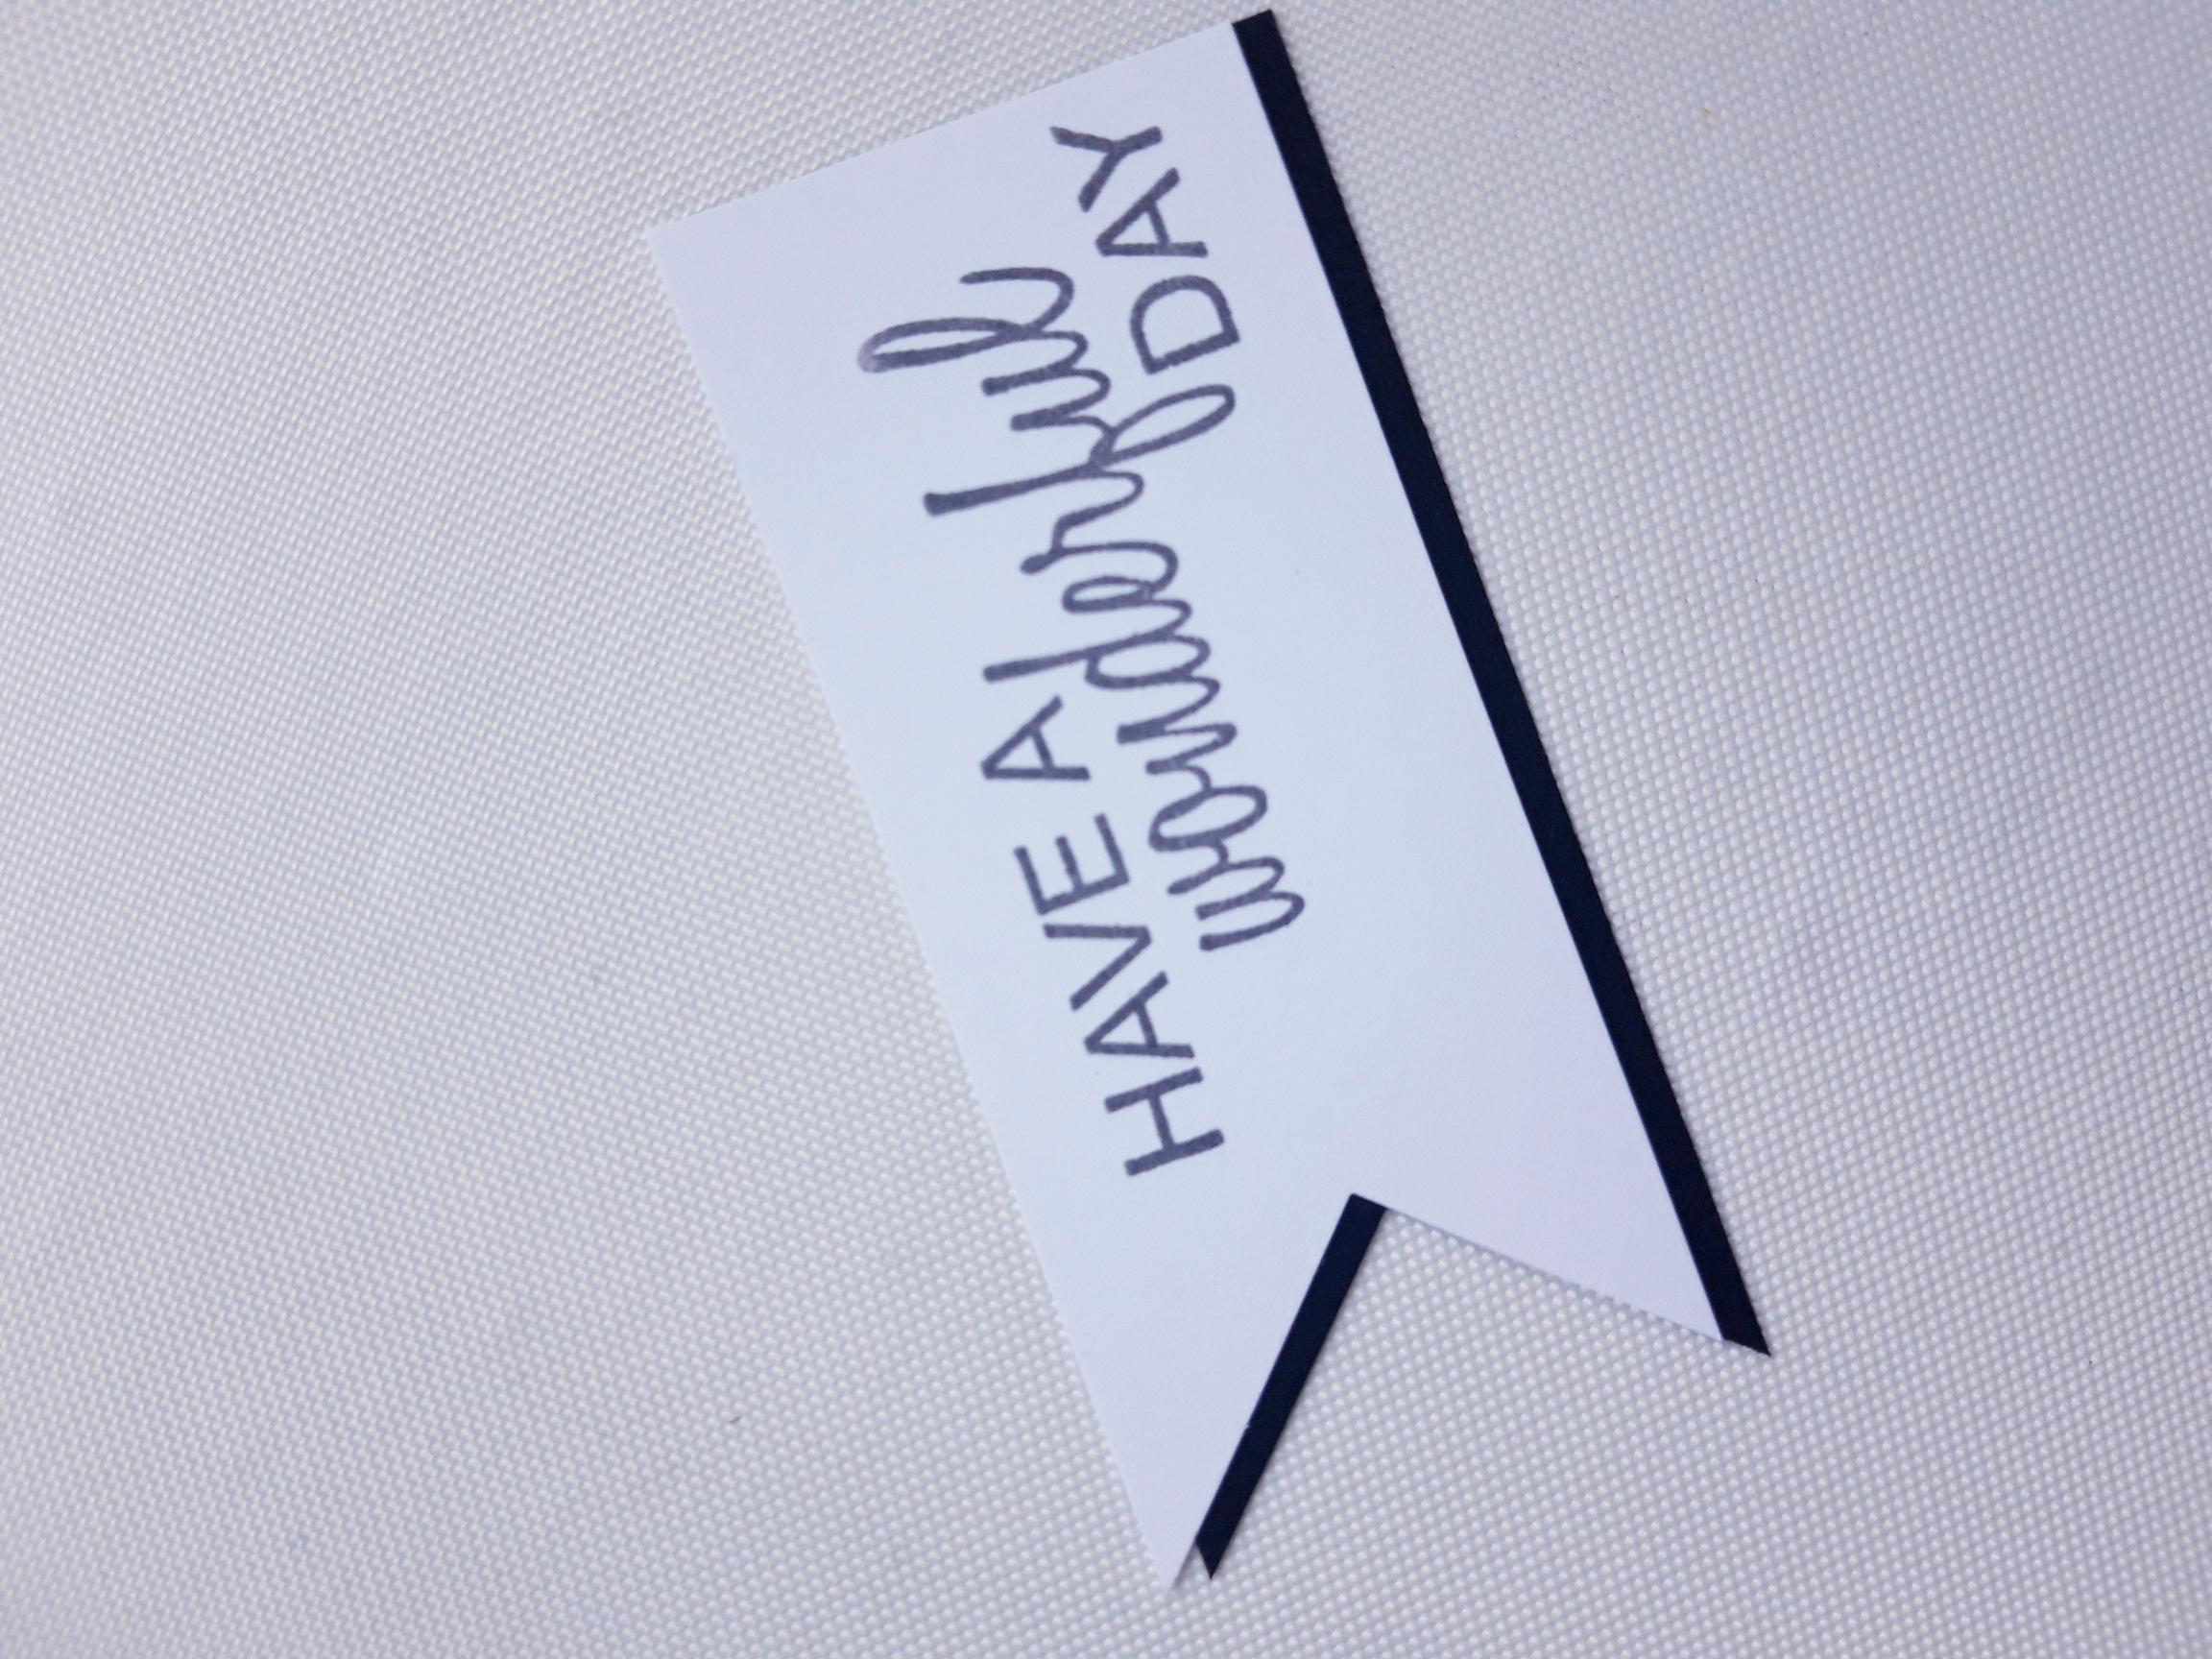
Use the banner tag punch on the end of the white and black cardstock (1 1/2 x 4") to create 2 banner tags. ink up your sentiment, in the Versafine, and stamp on to the white banner tag. |
|
Adhere the white stamped banner tag on top of the black banner tag, to create a drop shadow effect. |
|
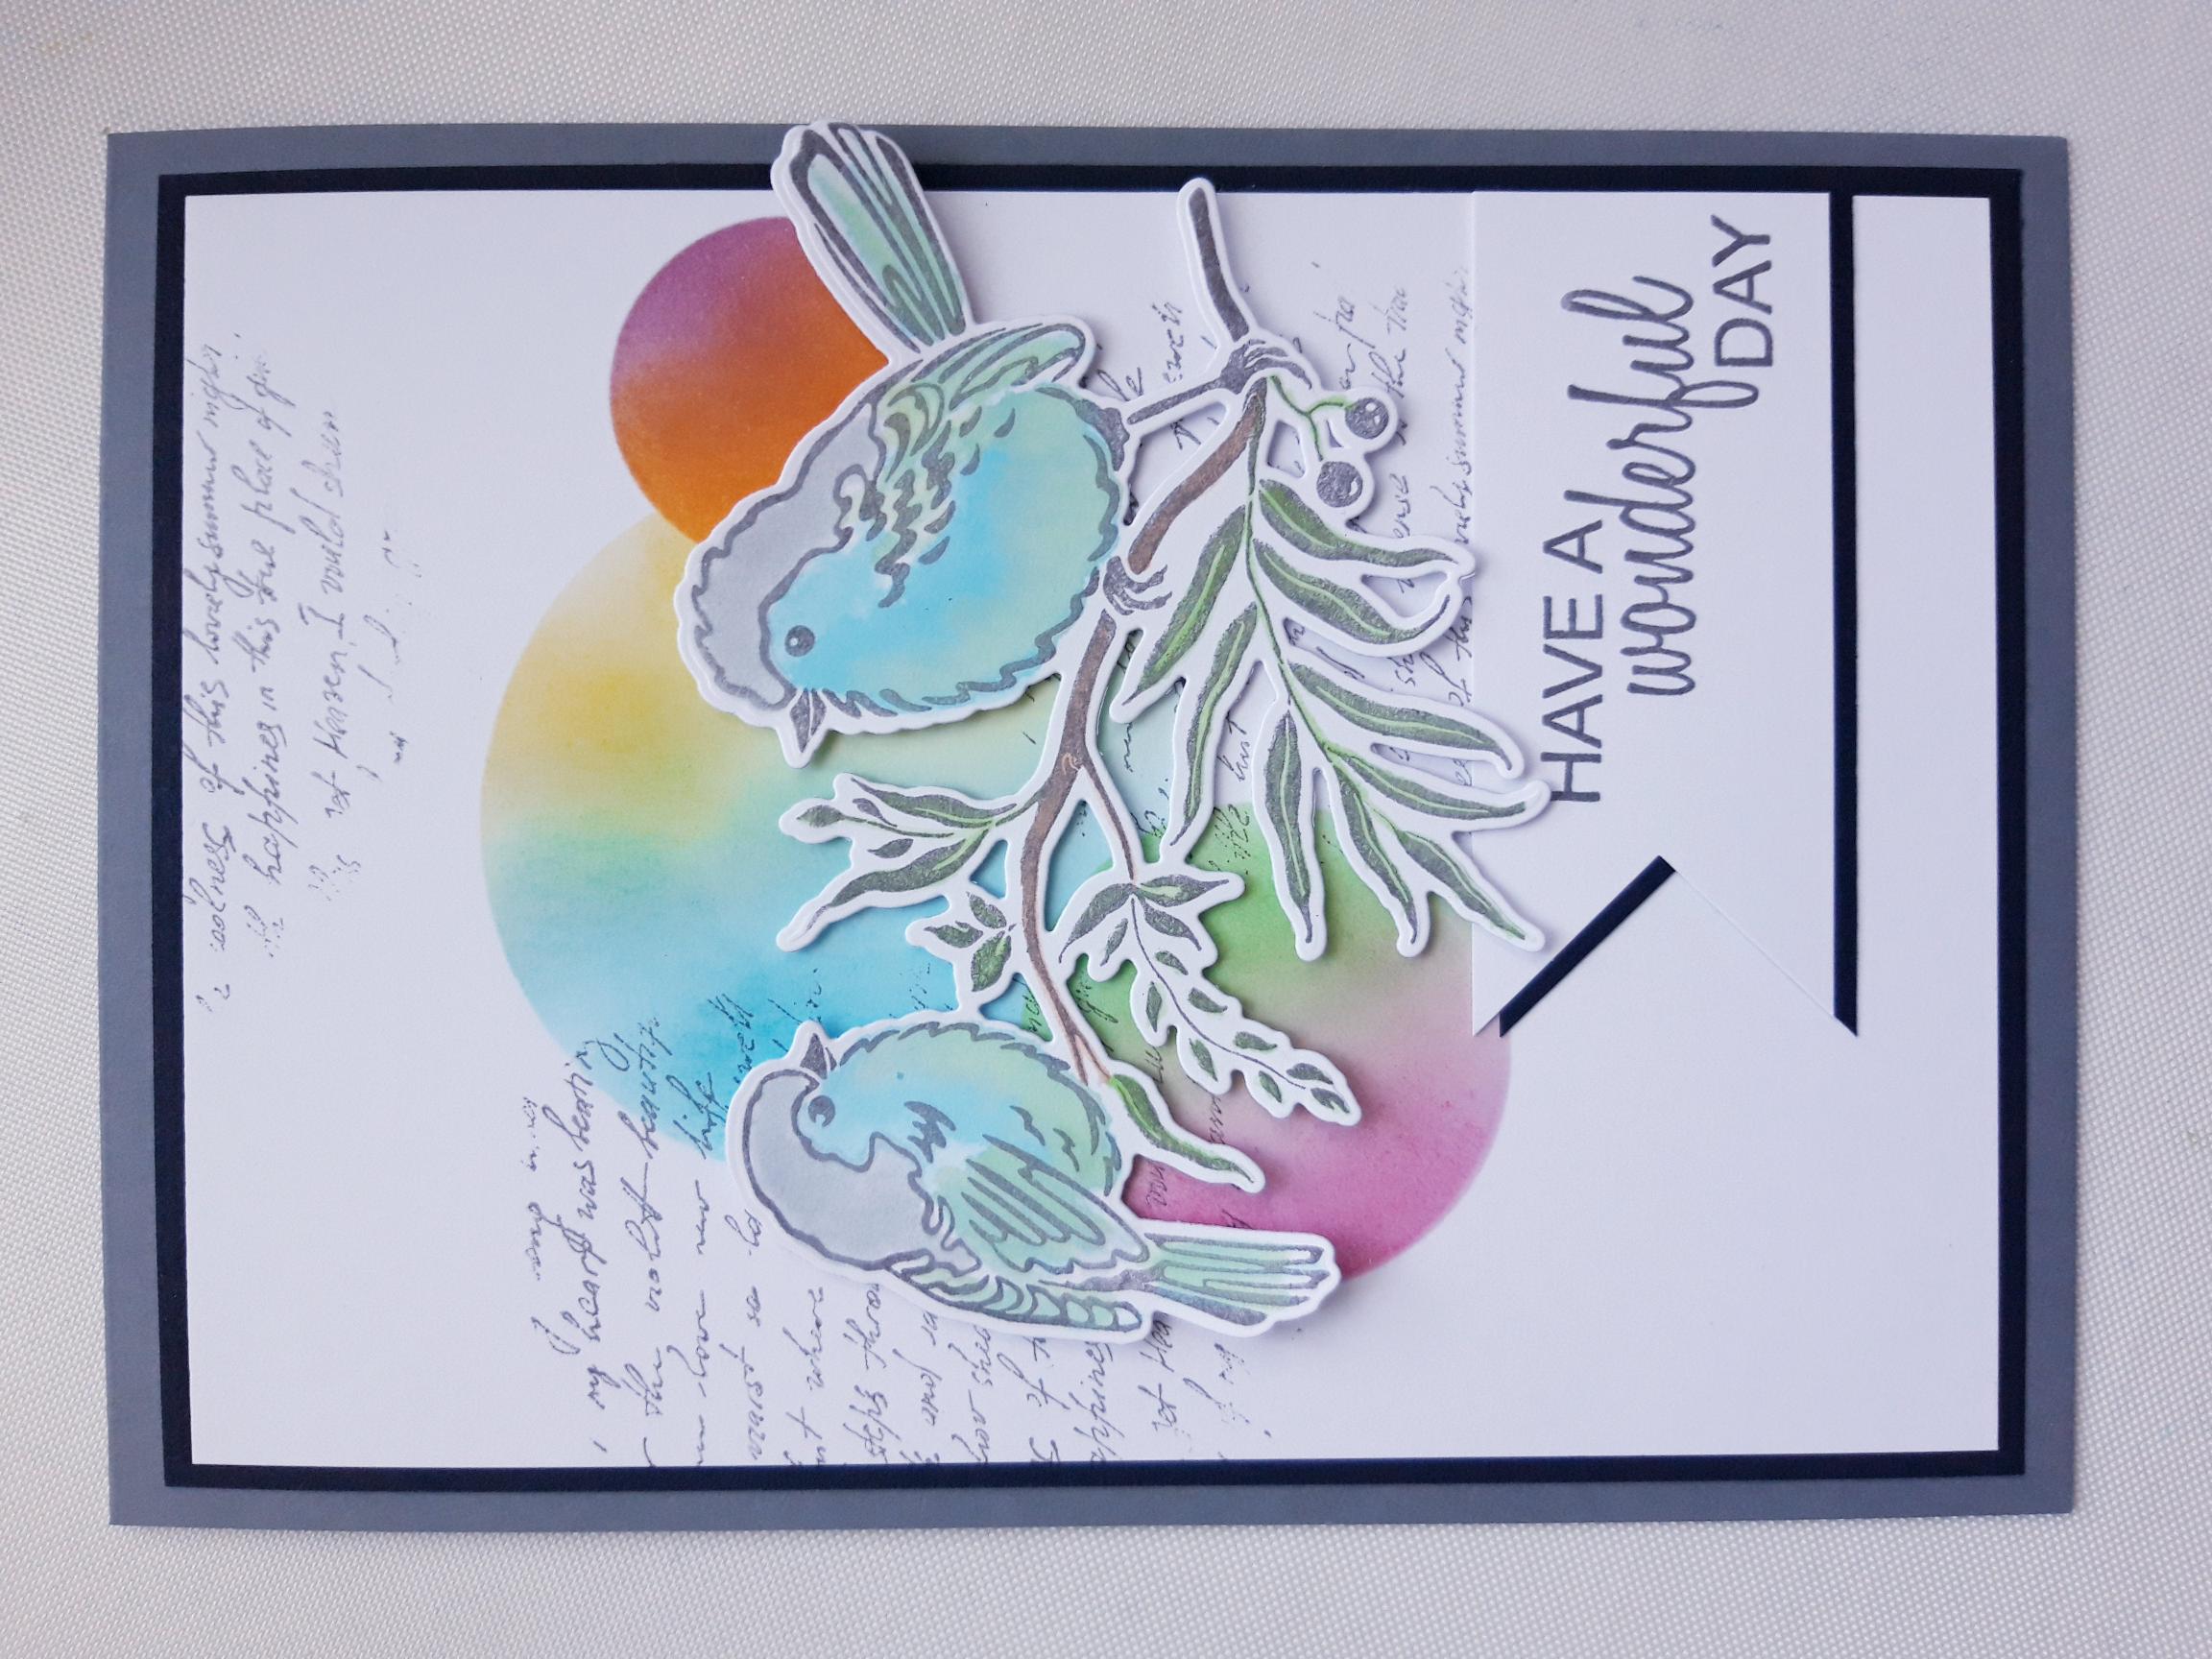
Adhere the stamped banner tag flat on to you artwork, so it sits flush with the right hand side of your white cardstock, and tucked just under some of the foliage. |
|
Add some sequins around your die cut image, as desired, to complete your card. |