Give your friends $10 off their first order!
Refer a FRIEND


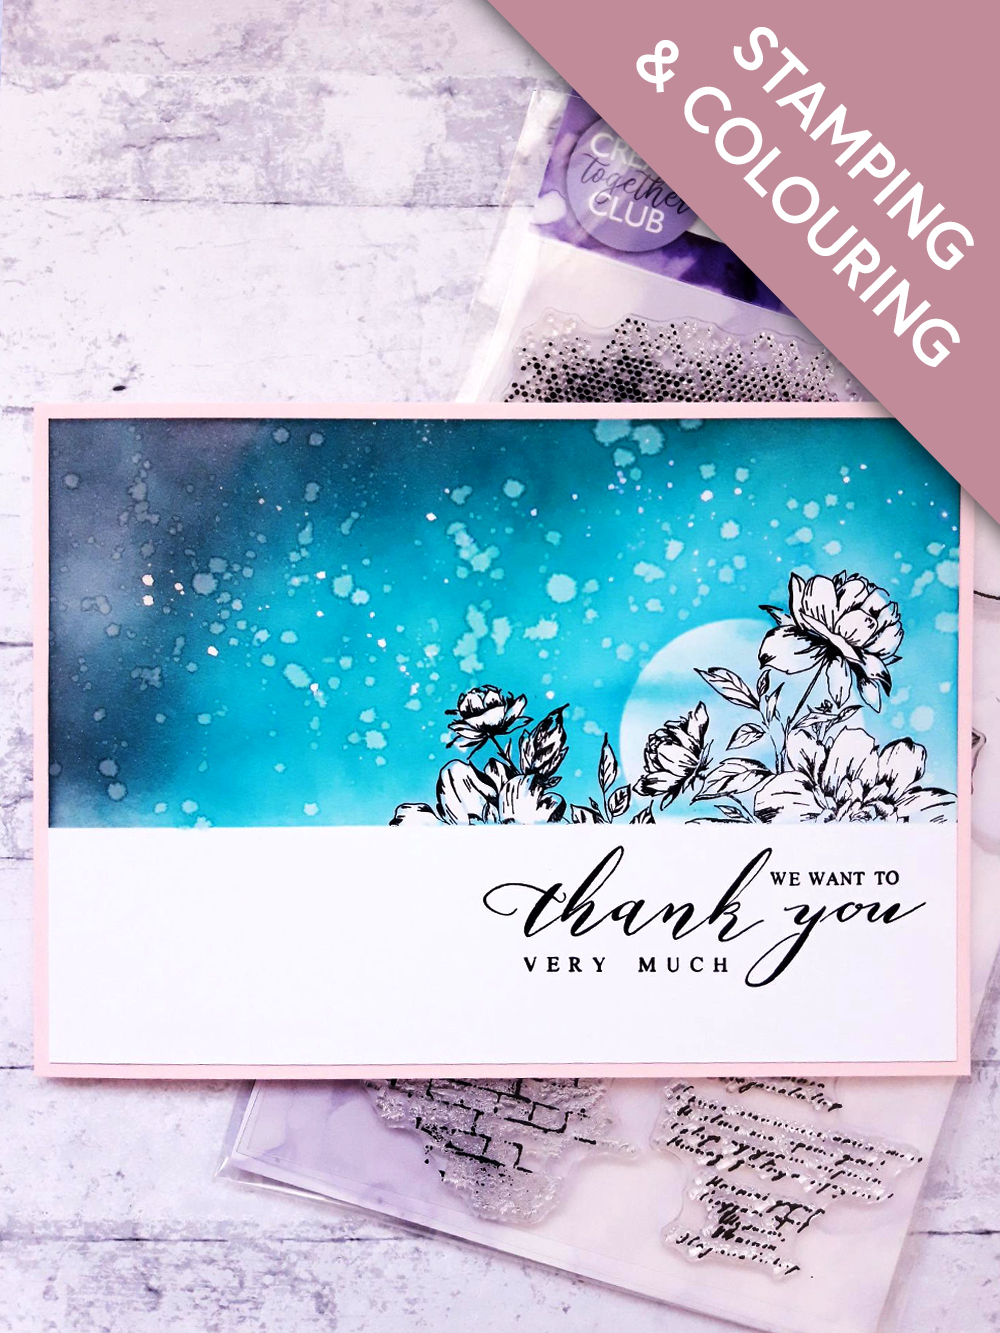
WHAT YOU WILL NEED:
Pink top folding card blank - landscape (8 1/4 x 5 3/4")
White card (8 x 5 1/2")
Stamps from Create Together Beautiful Notes Stamp Collection
Stamps from All The Best Lamination Stamp Collection
Izink Mini Ink Pad set: Ocean, Outremer, Reglisse
Paintbrush
Circle mask : approx 2" diameter
Blending brush/tool
Versafine Ink Pad: Onyx Black
Masking tape
Eureka 101
Paper Trimmer
Perfect Together Glue
[click image to enlarge] 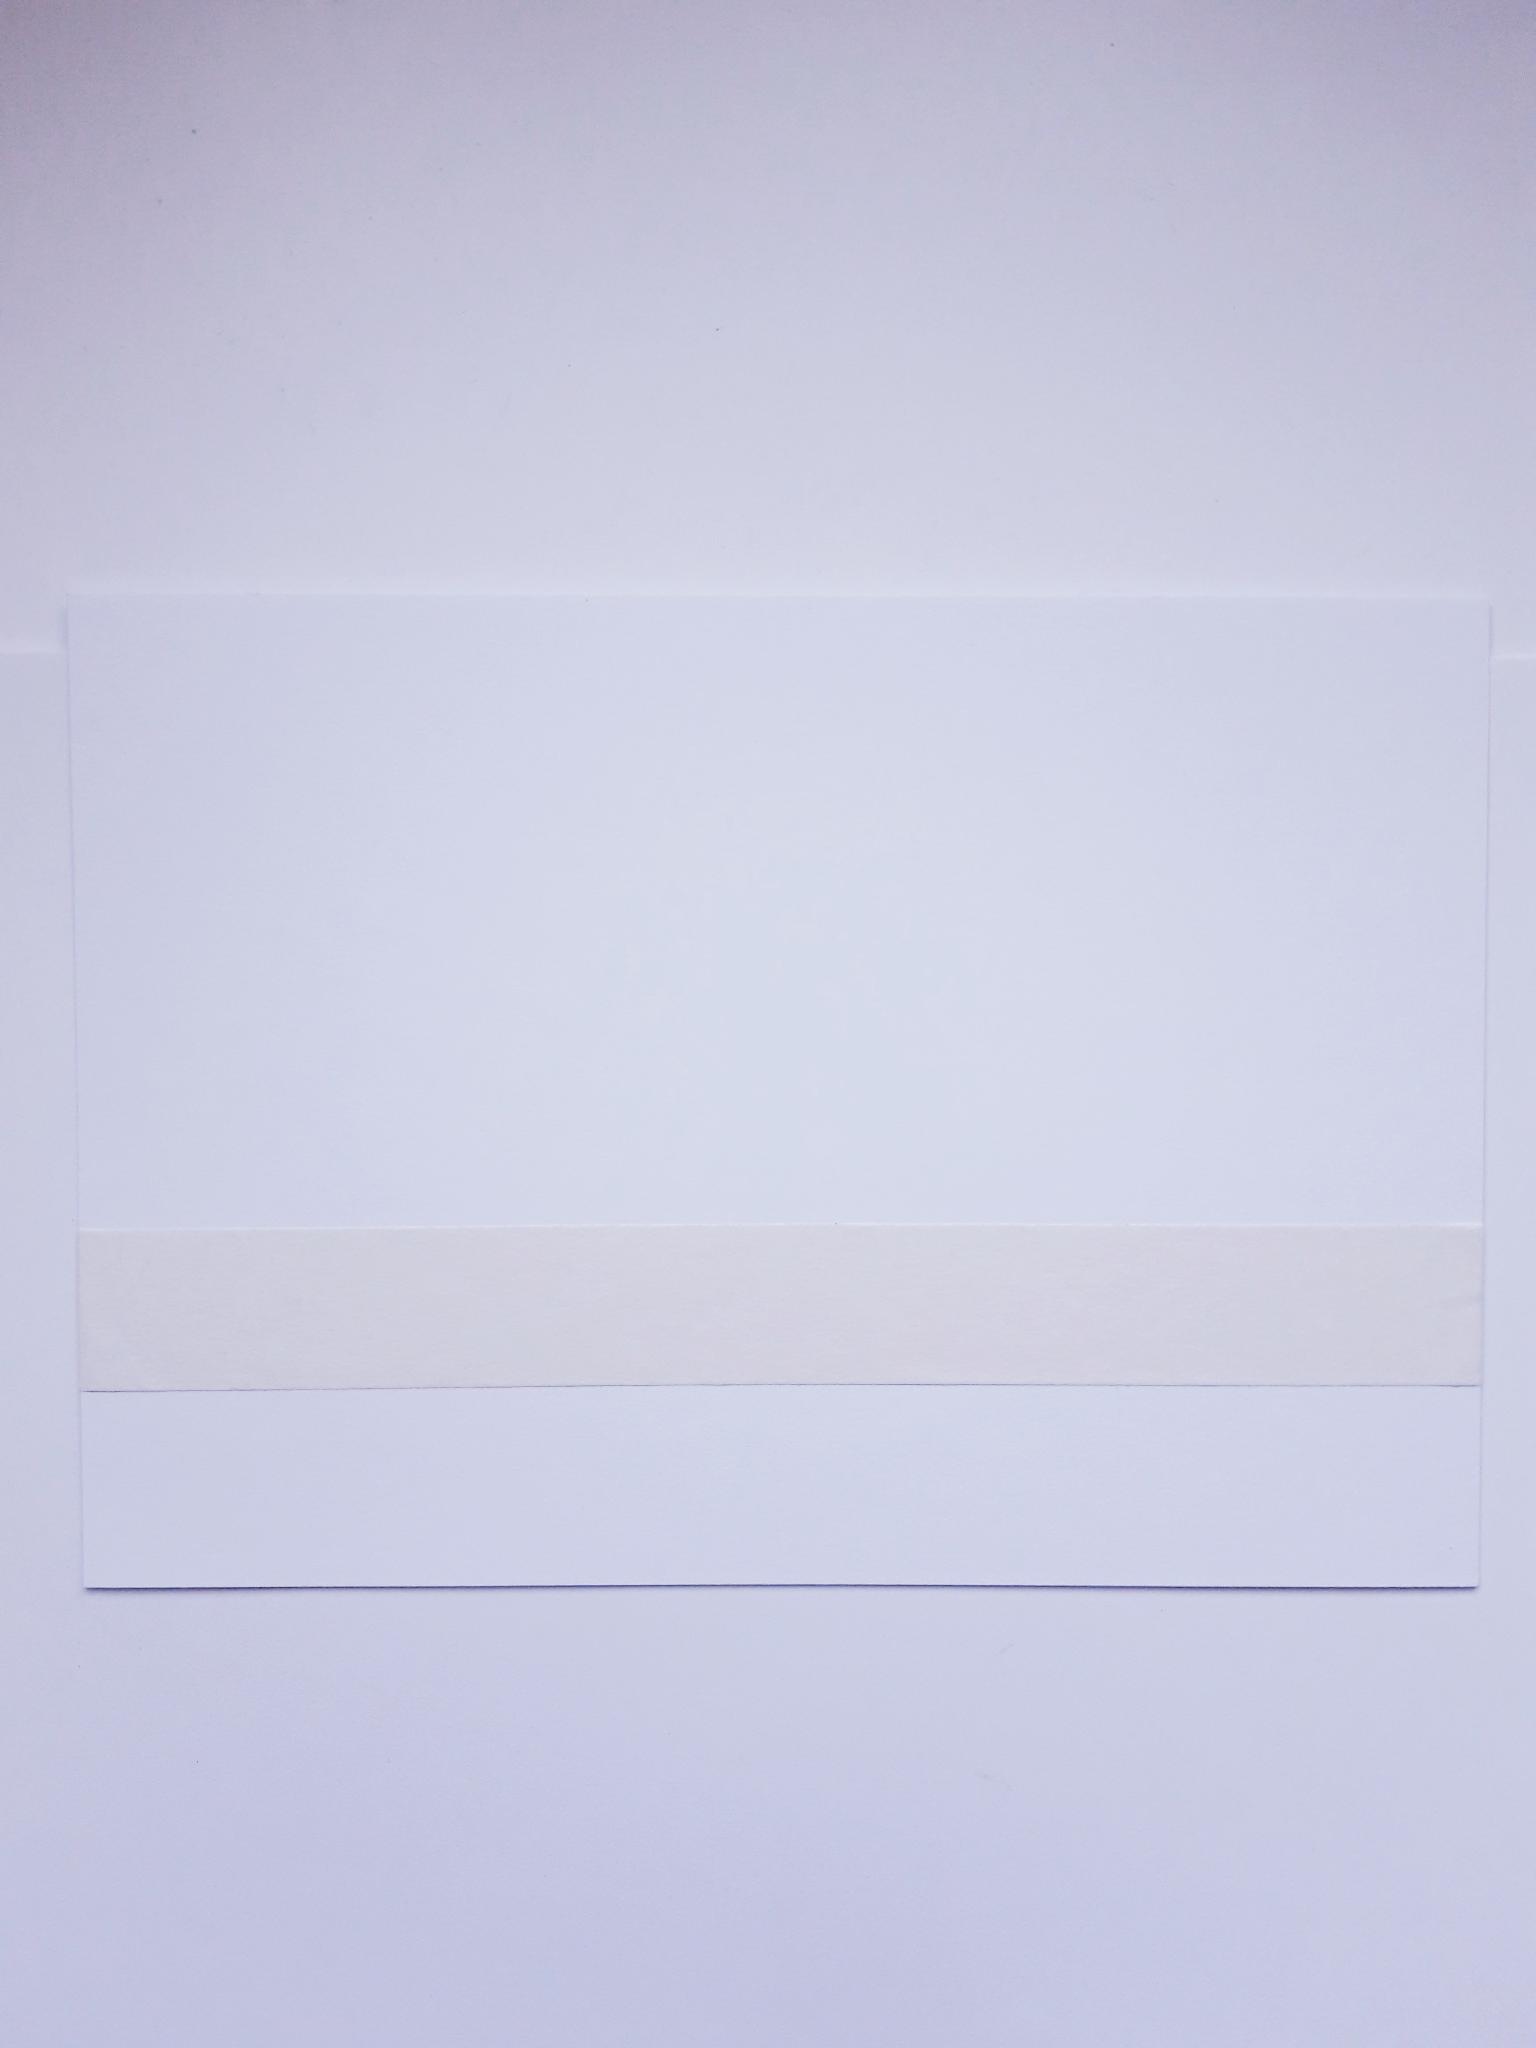
|
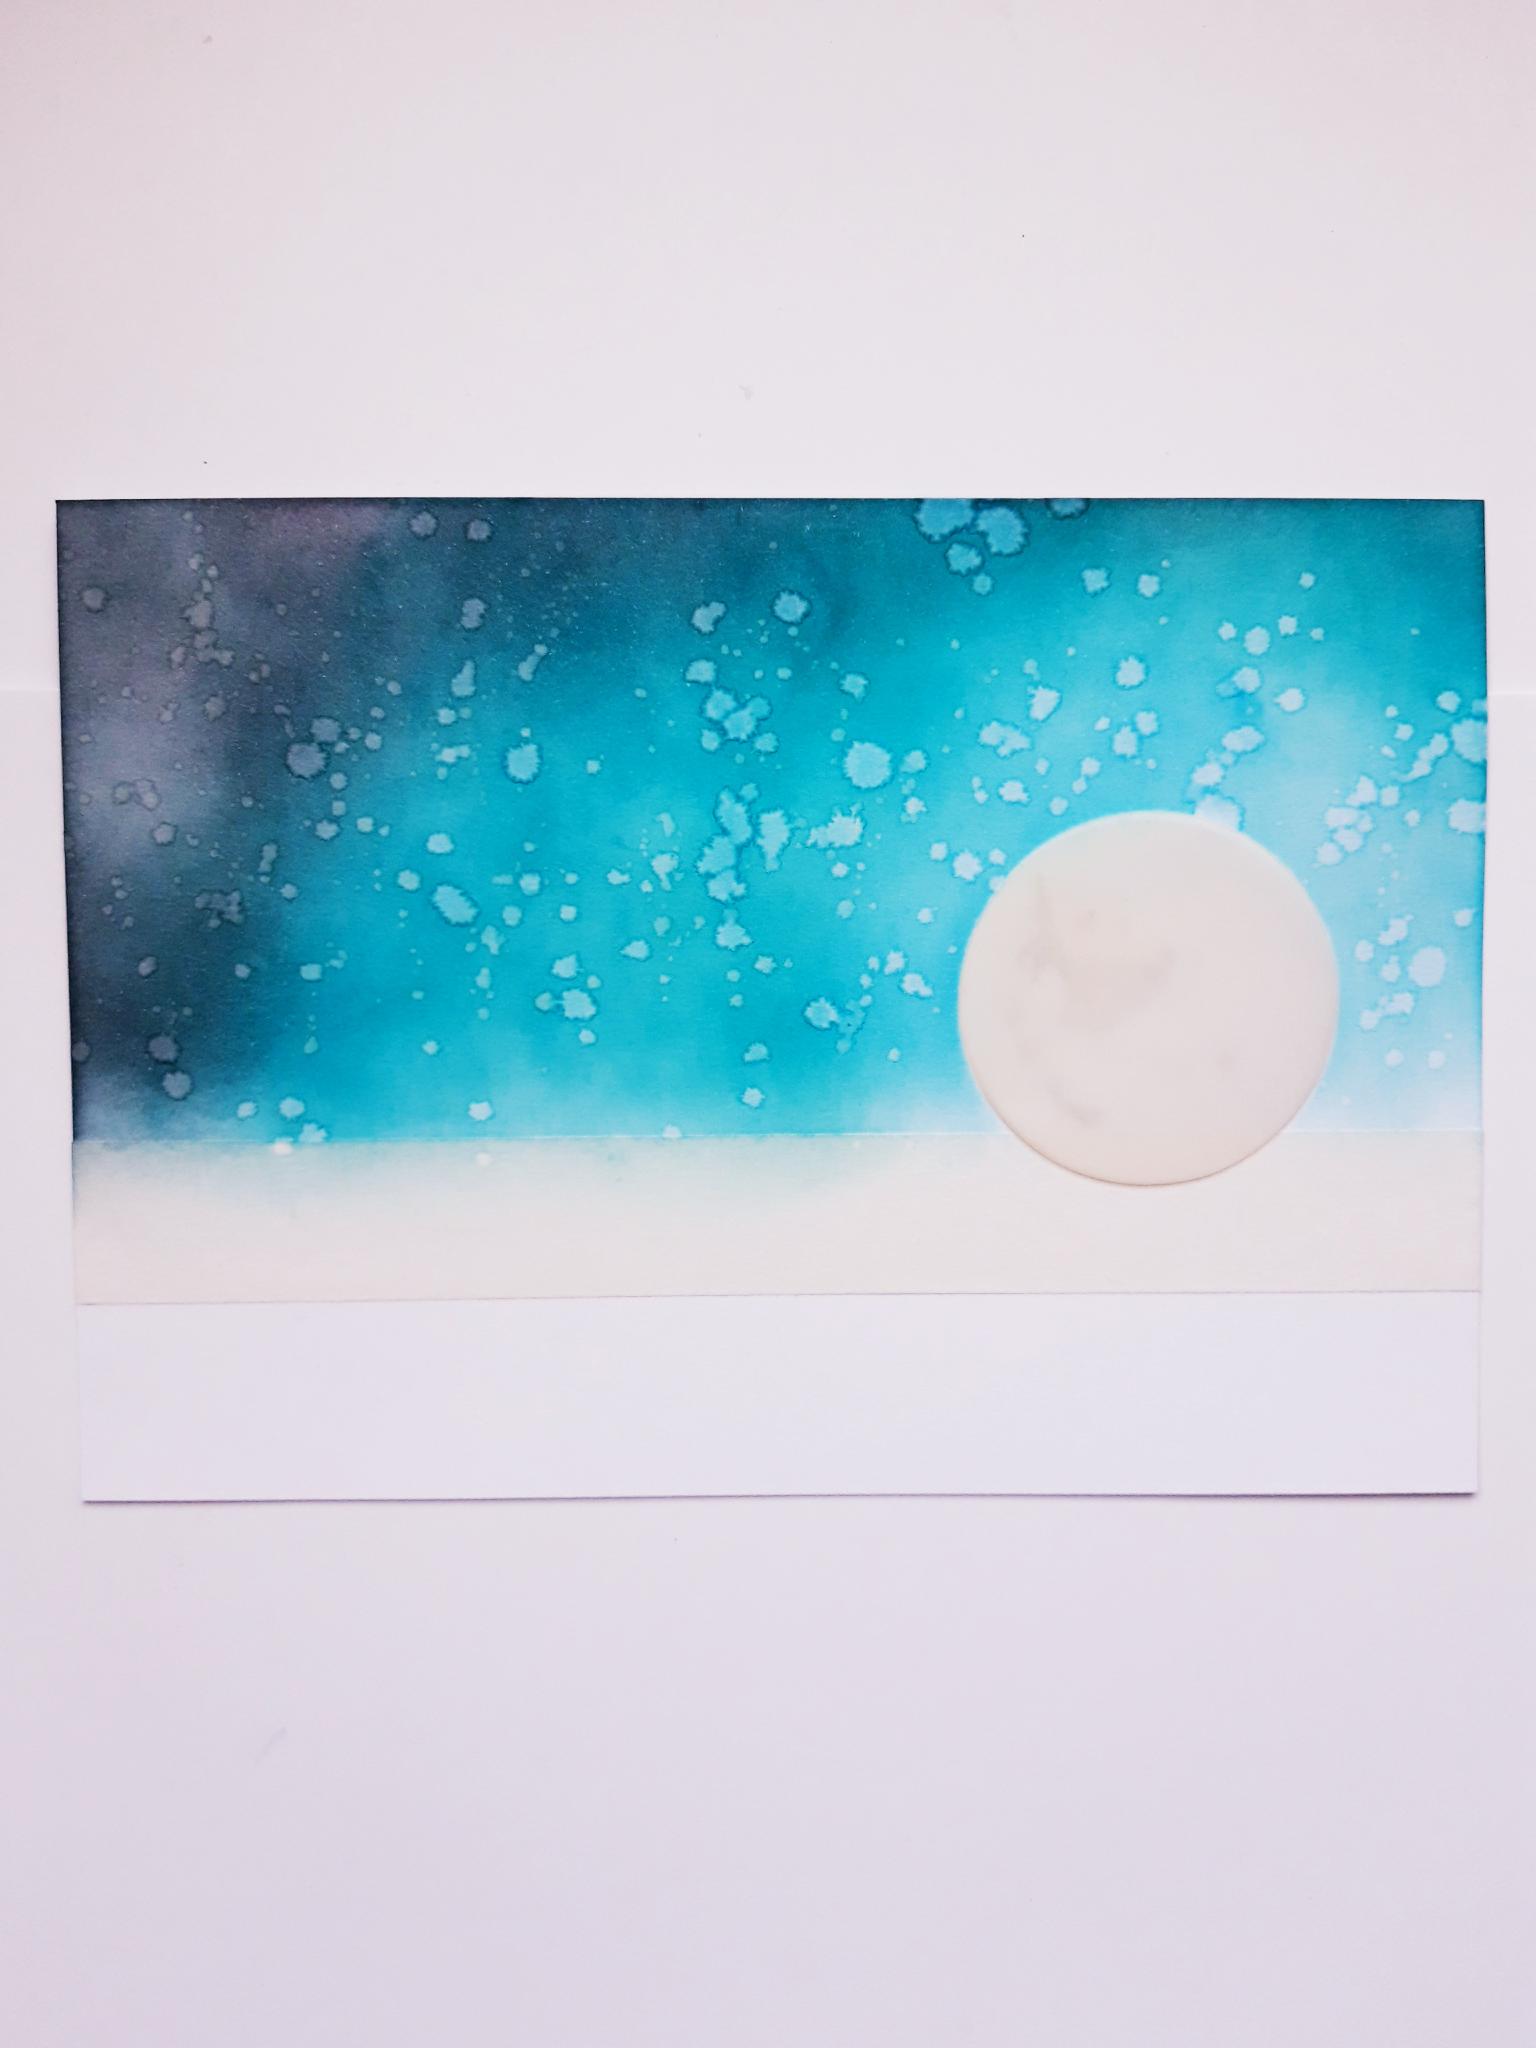
Adhere low tack masking tape across the front of your landscape view, white card blank, about a 3rd of the way up. |
|
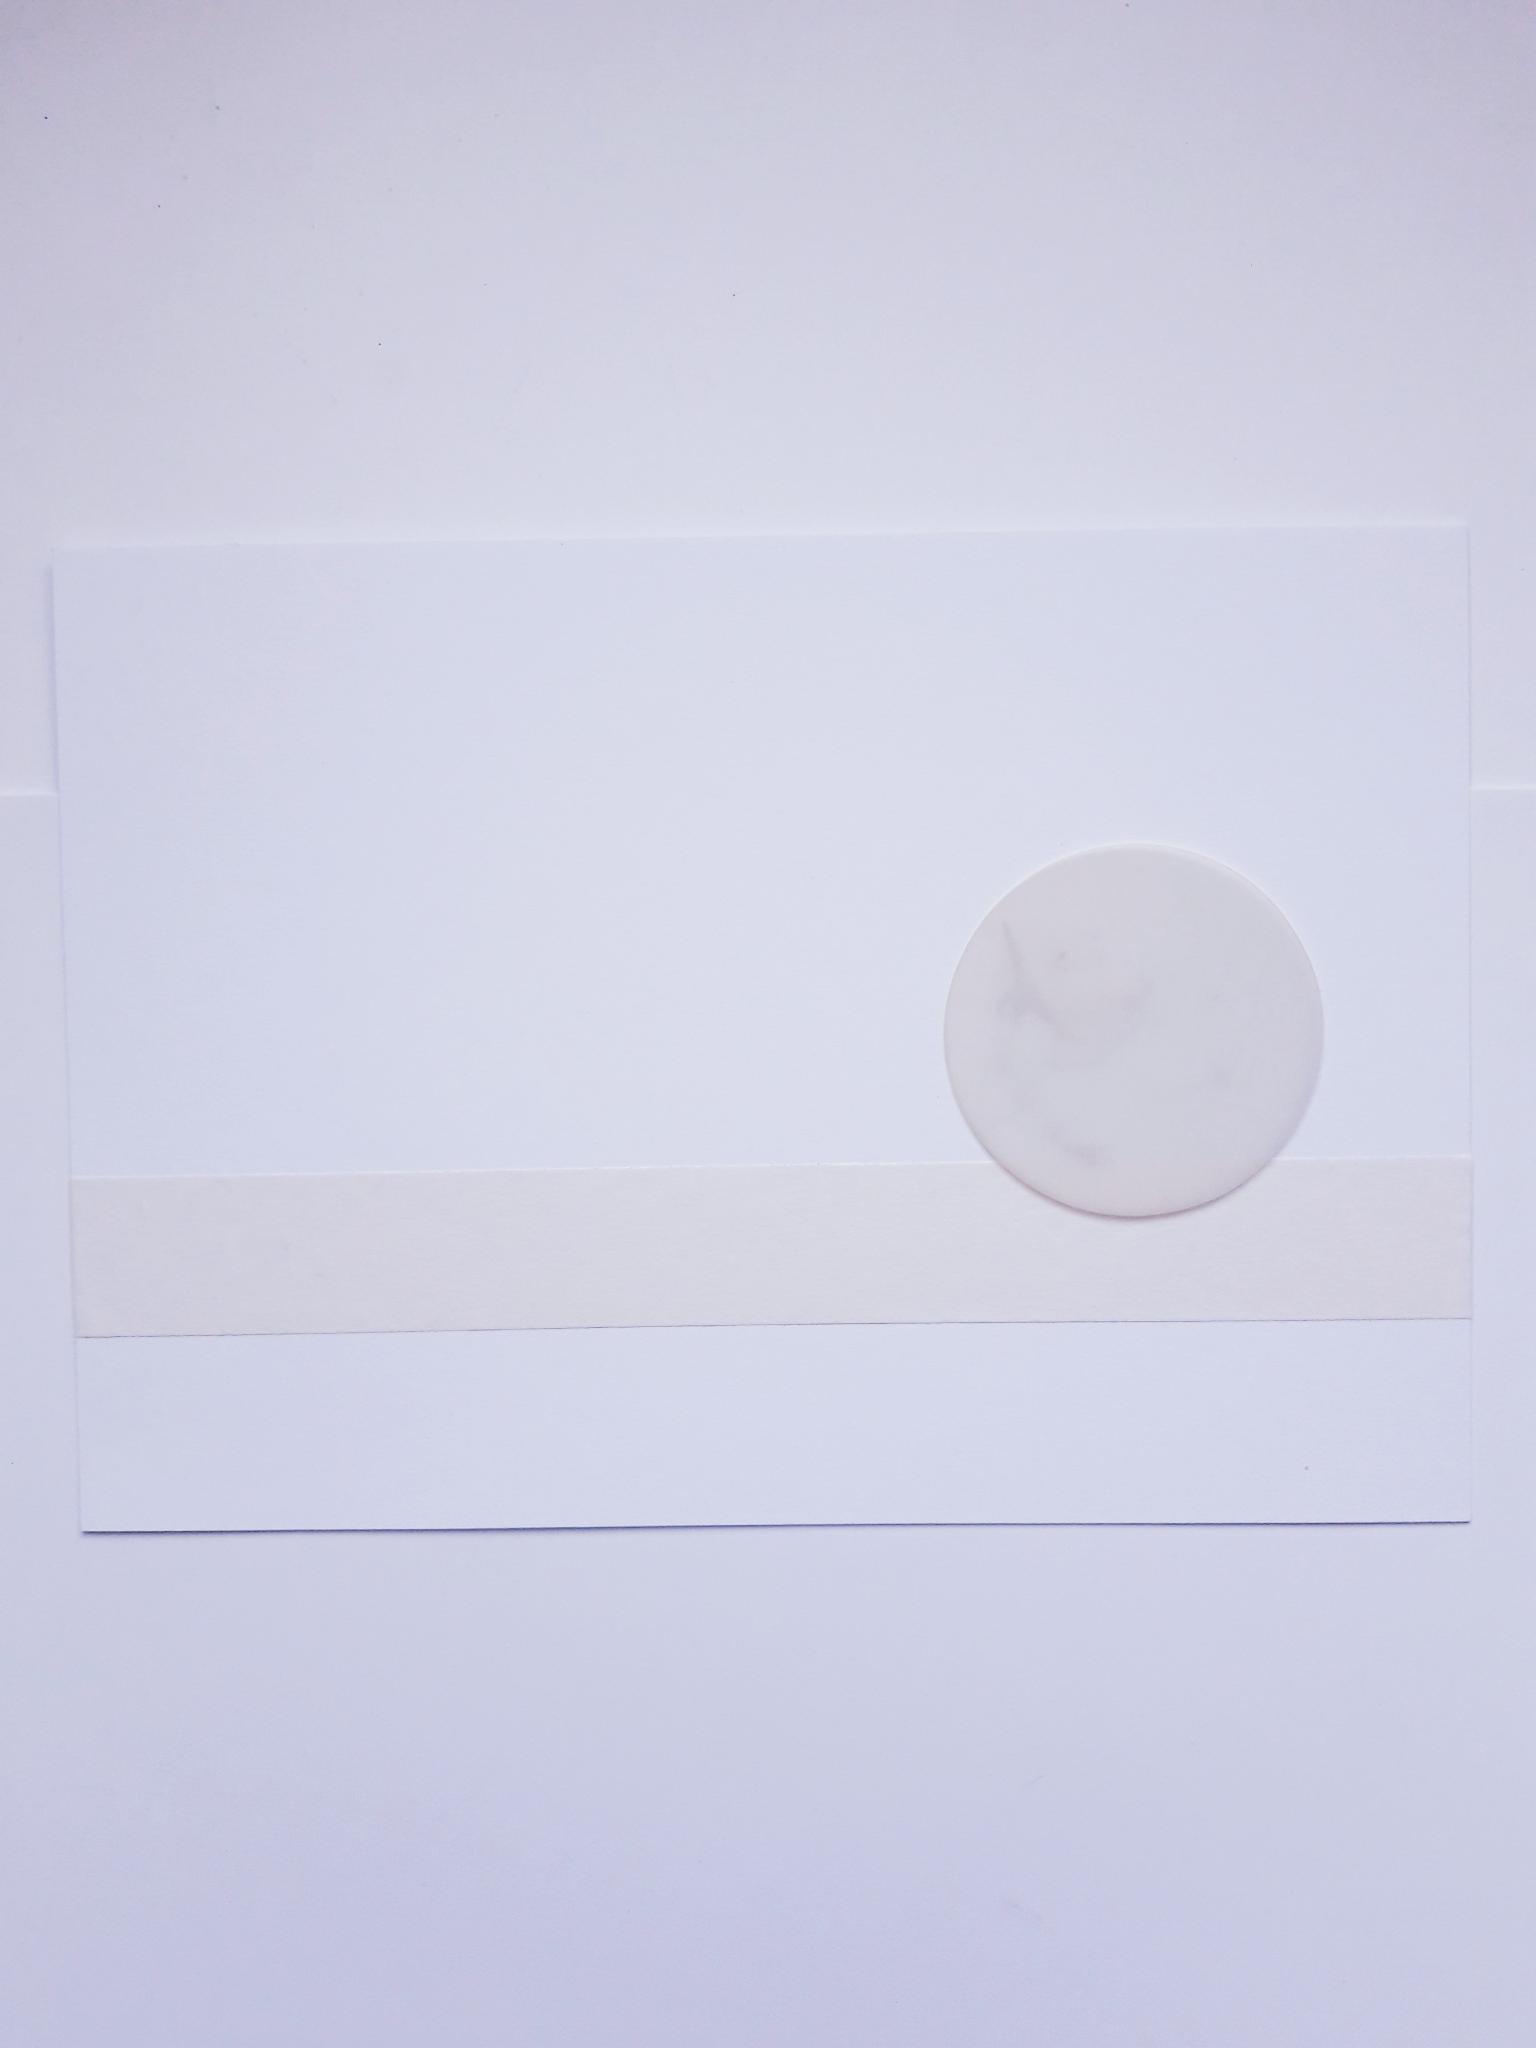
Use the low tack tape to hold your circle mask in place, so its just overlapping the top edge of the masking tape. This will be your moon/sun, so it's up to you where you position it, and how visible you want your moon to be. |
|
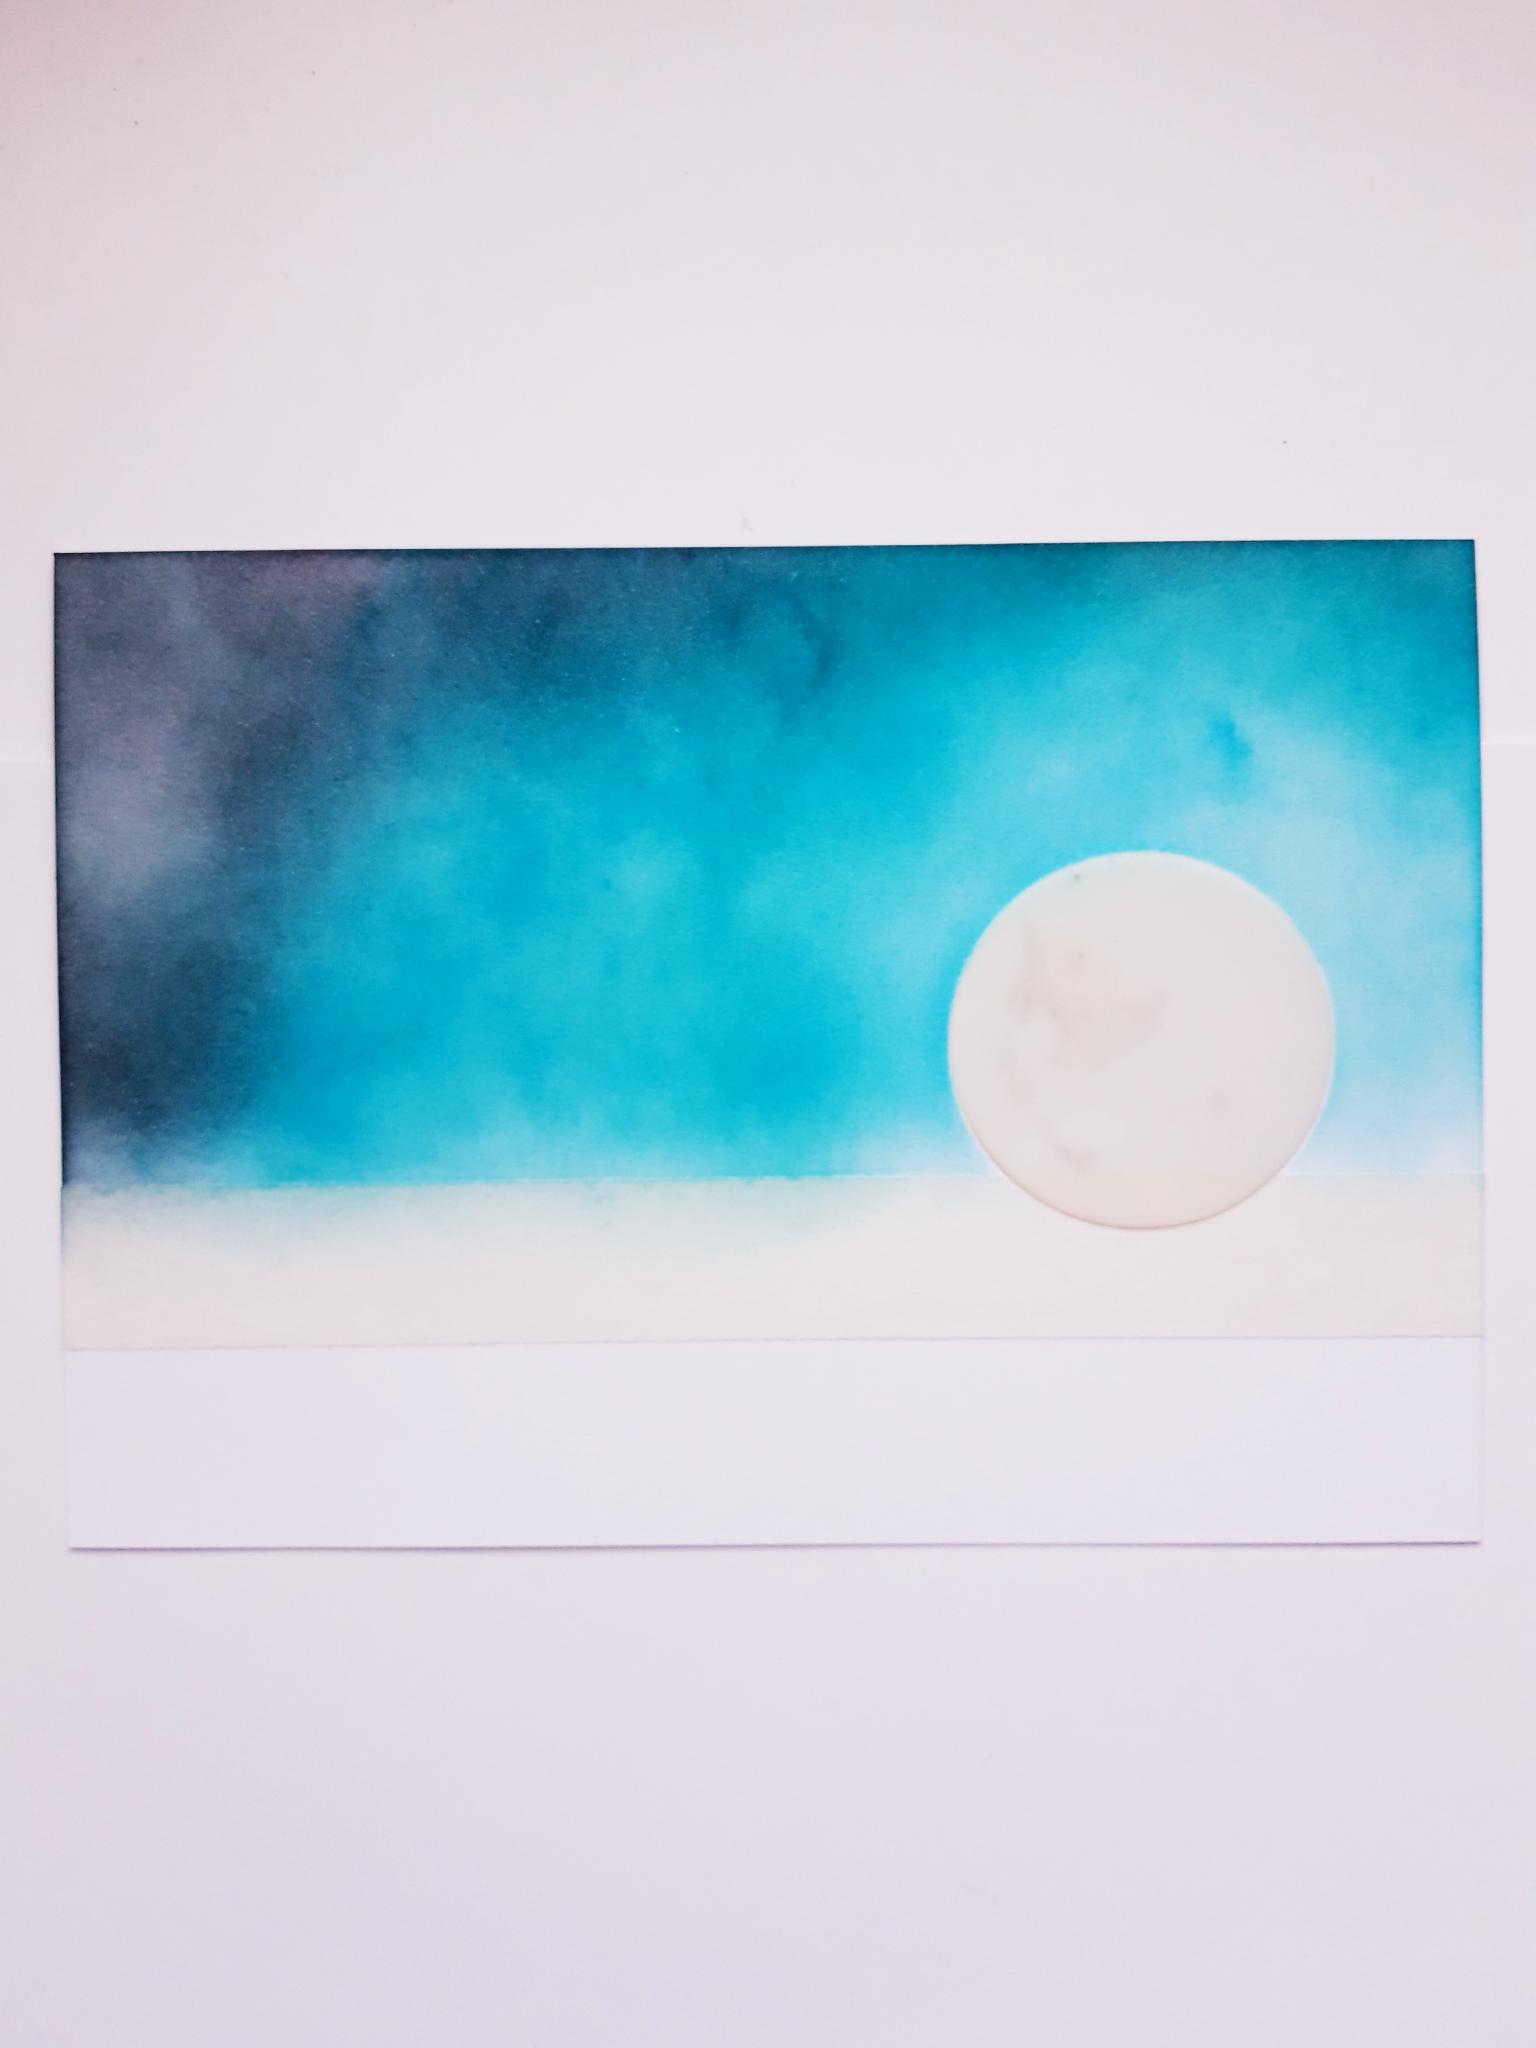
Blend the Izink dye inks within the top masked off panel, the darker colour being the furthest from your moon. NB: You can use alternative colours, from your Izink ink collection, to create a summery sky, sunset, nightime sky.....whichever is your preference. |
|
Splatter water over your inked background. Wait a few seconds for the ink to lift, before mopping up the excess water with a paper towel. |
|
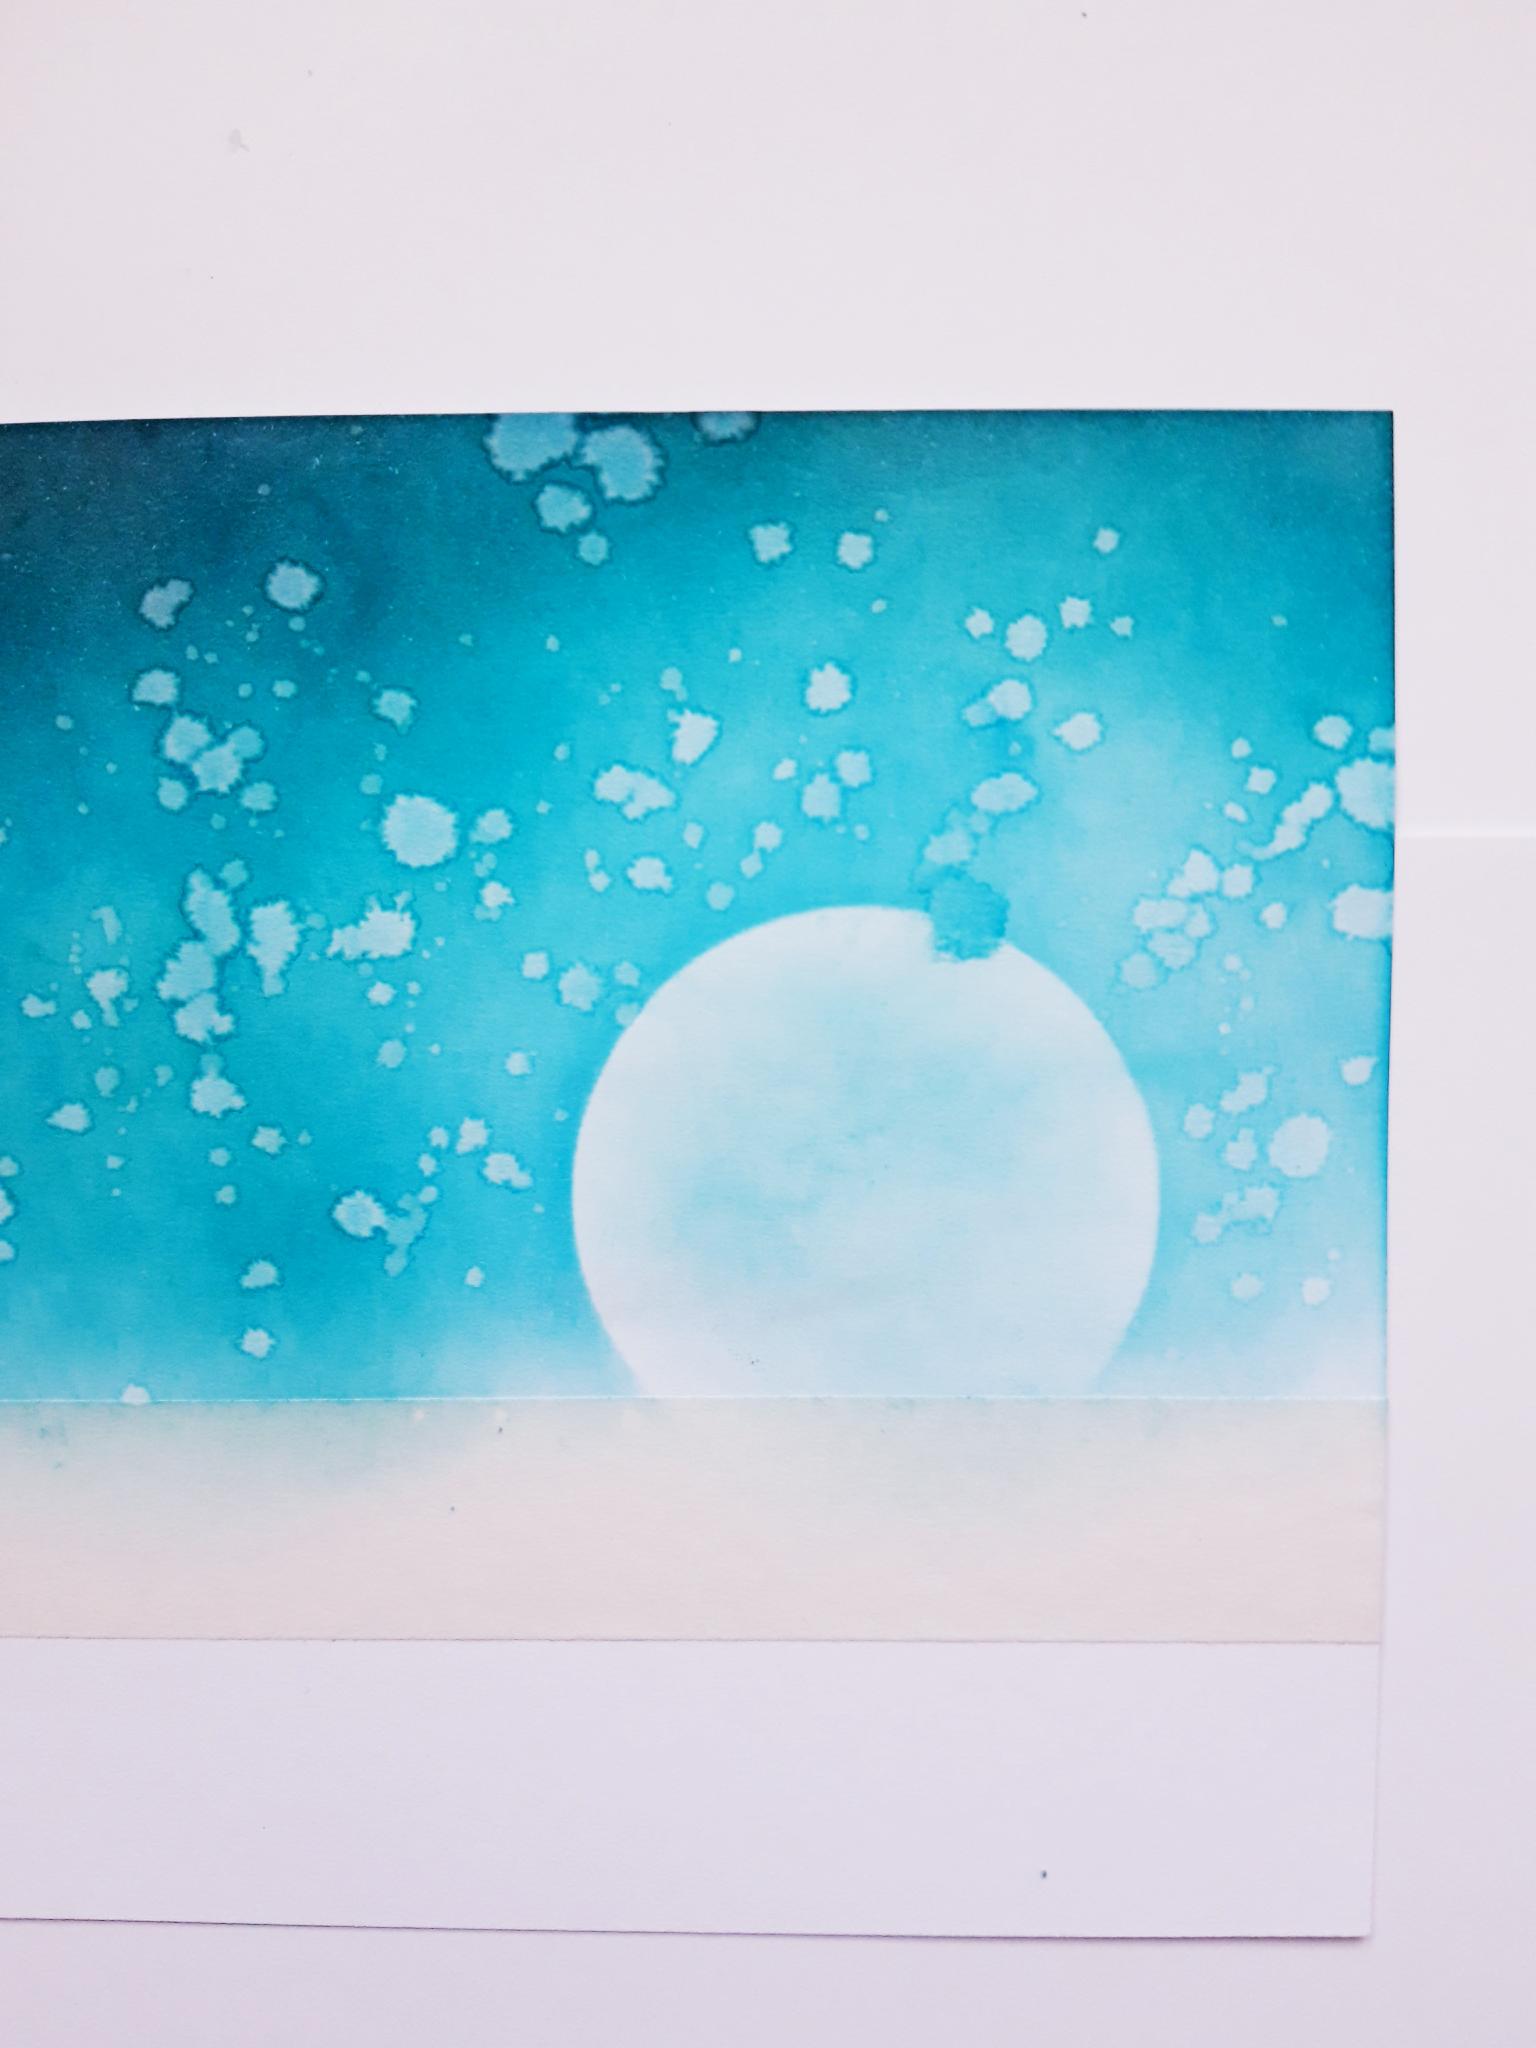
Lightly blend a little of the Izink Ocean within the moon, just to take away the harsh whiteness of the card. |

|
Using the side of your blending brush/tool, drag a little of the Ocean ink across your moon, to give the effect of floating, wispy clouds. |
|
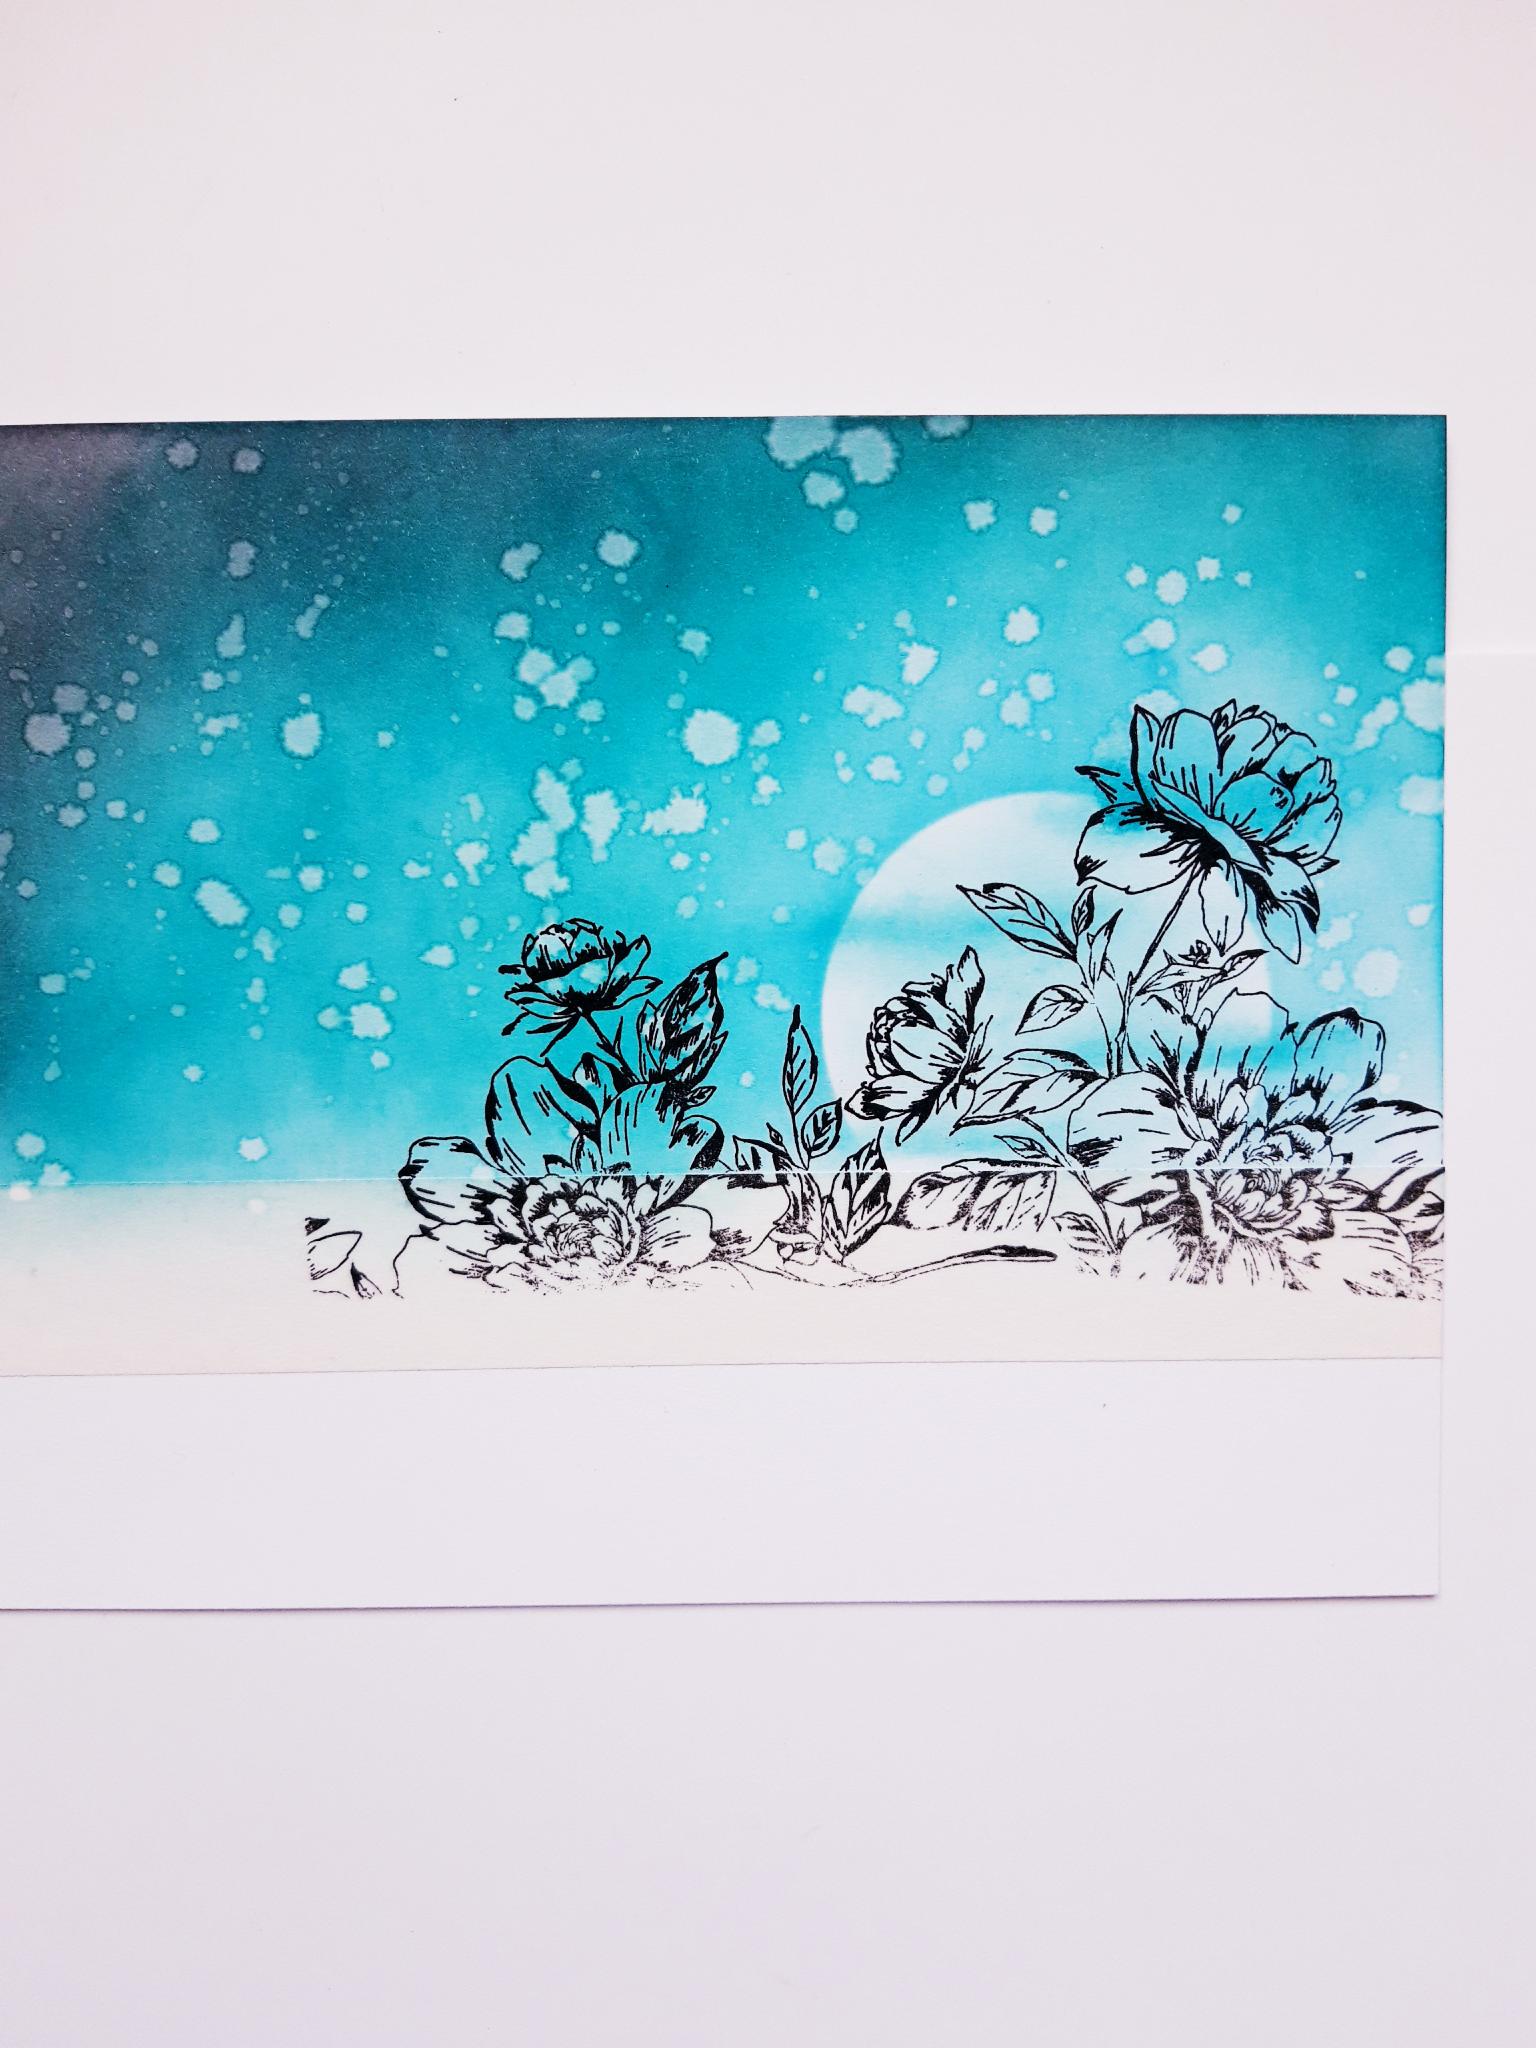
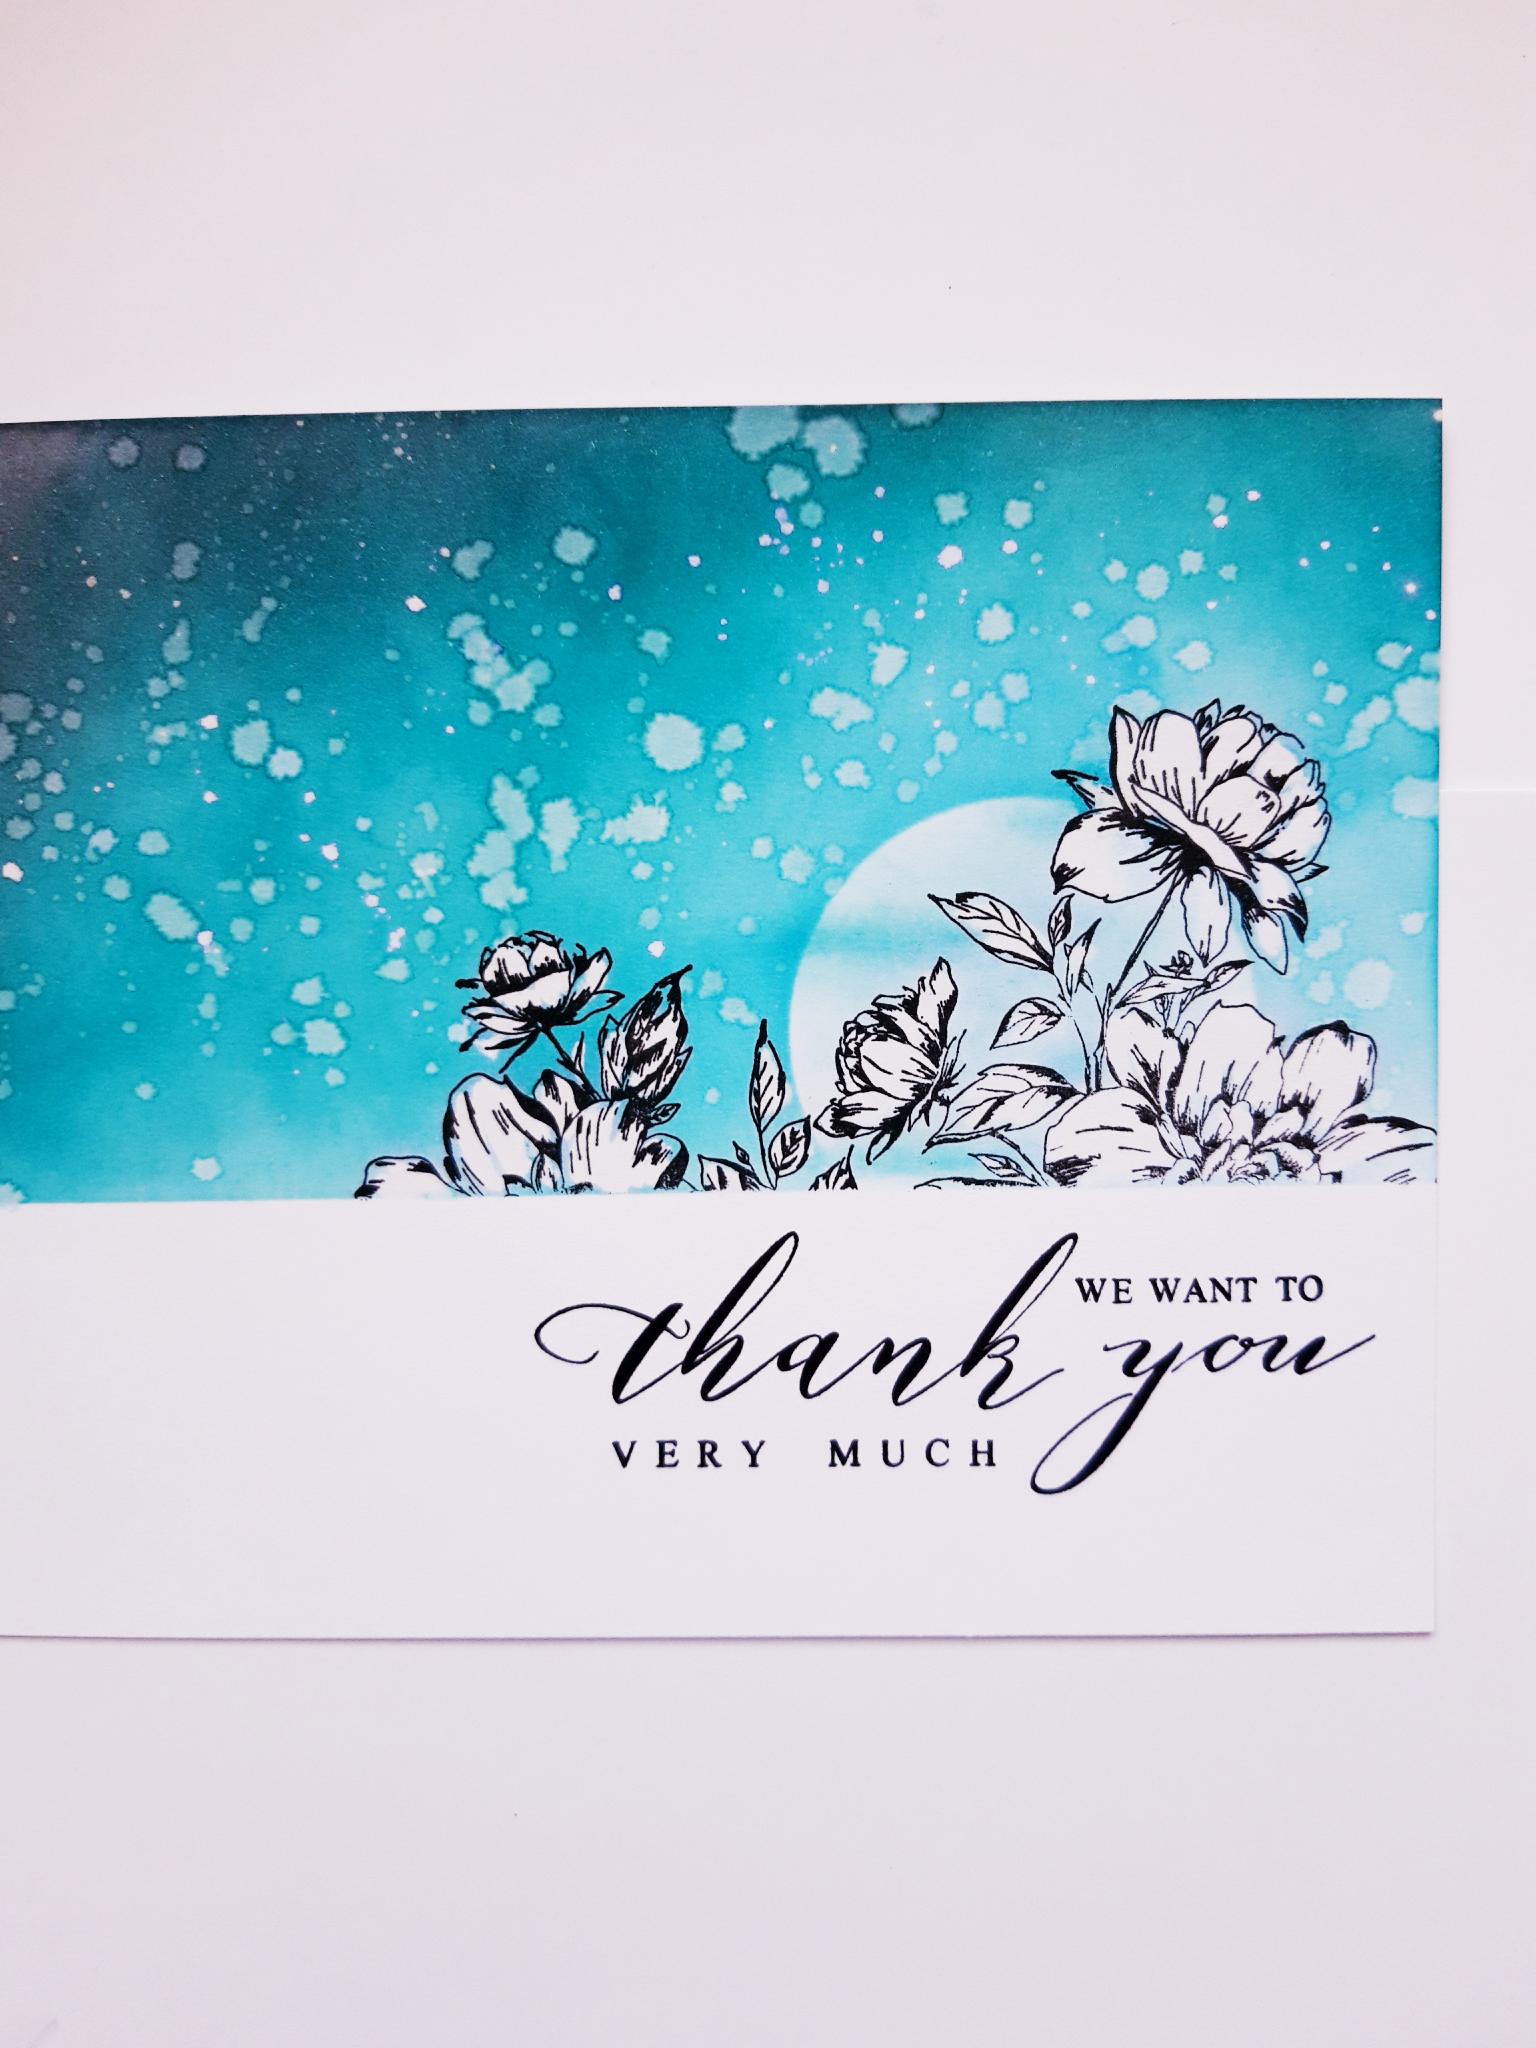
Ink up the floral image from the Create Together Beautiful Notes Stamp Set, with the Onyx Black Versafine. Stamp it coming up from the masking tape, across your moon. NB: Be careful not to ink and stamp anything BELOW the masking tape. I always put a piece of copier paper over the area, so I don't accidently stamp there! You can reink it, and stamp more to the left of your stamped image, if you want to extend your floral design. |

|
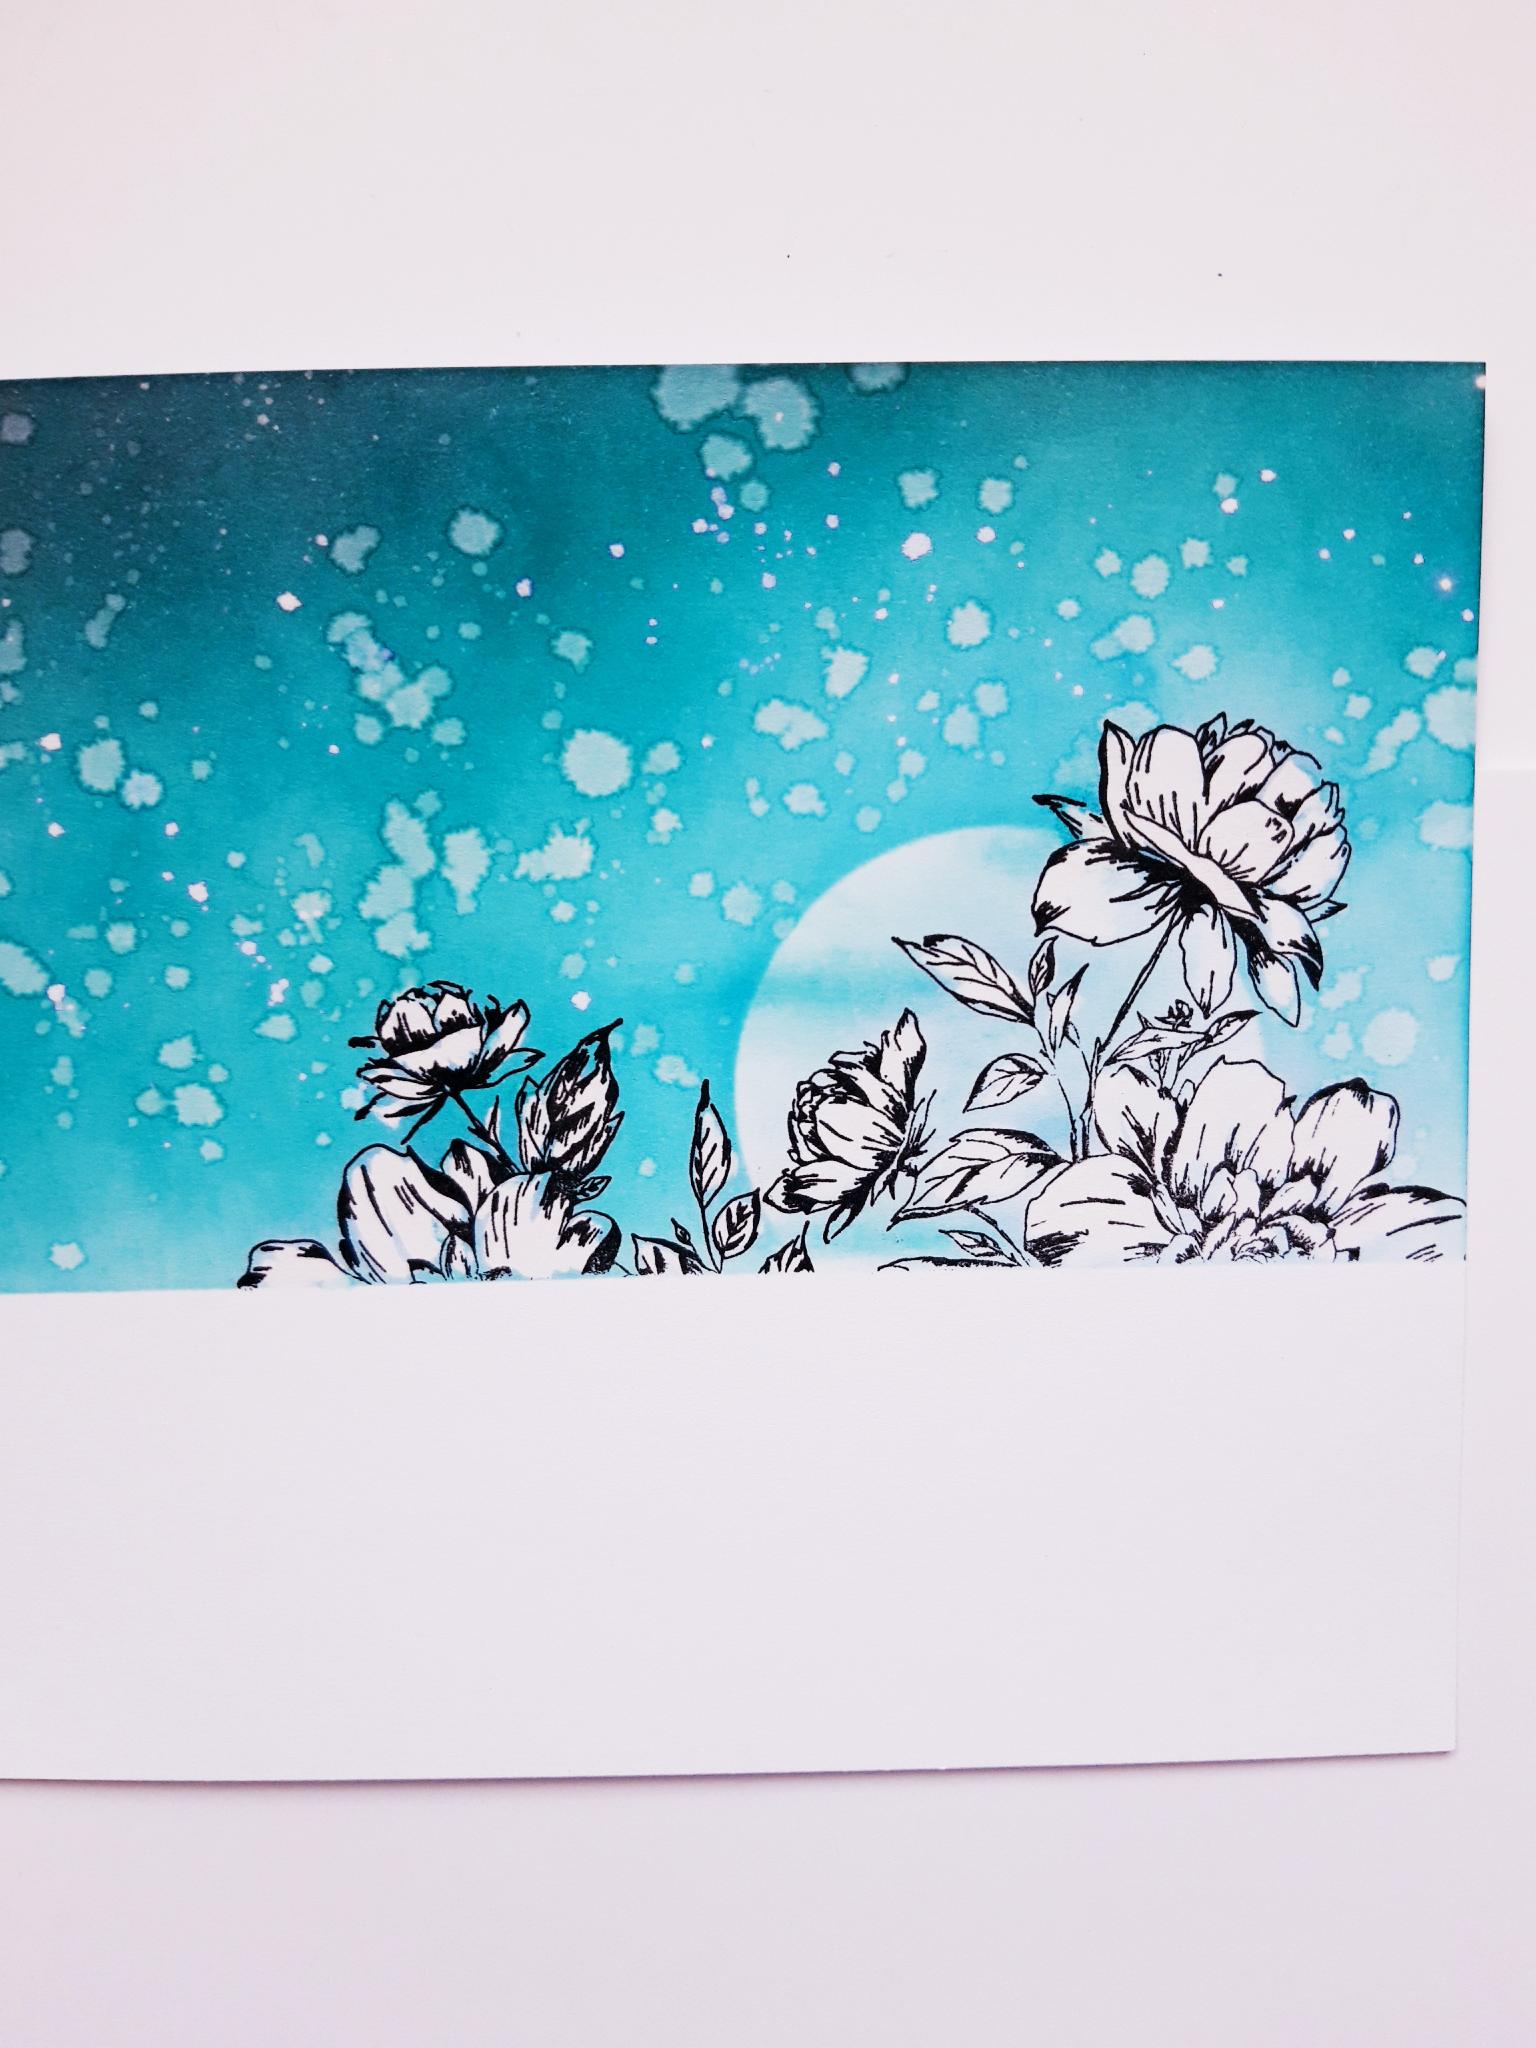
Completely dry the ink, before carefully removing your masking tape. |
|
Use a paint brush, water and a paper towel, to lift out the ink within your stamped image (faux bleach effect). This makes the image "pop" from your inked background. Tip: Instead of water you can use diluted, household bleach, for a more dramatic "lift". |
|
Ink up the sentiment, from the All the Best Lamination Stamp Collection, with the Versafine, and stamp just under your artwork. |
|
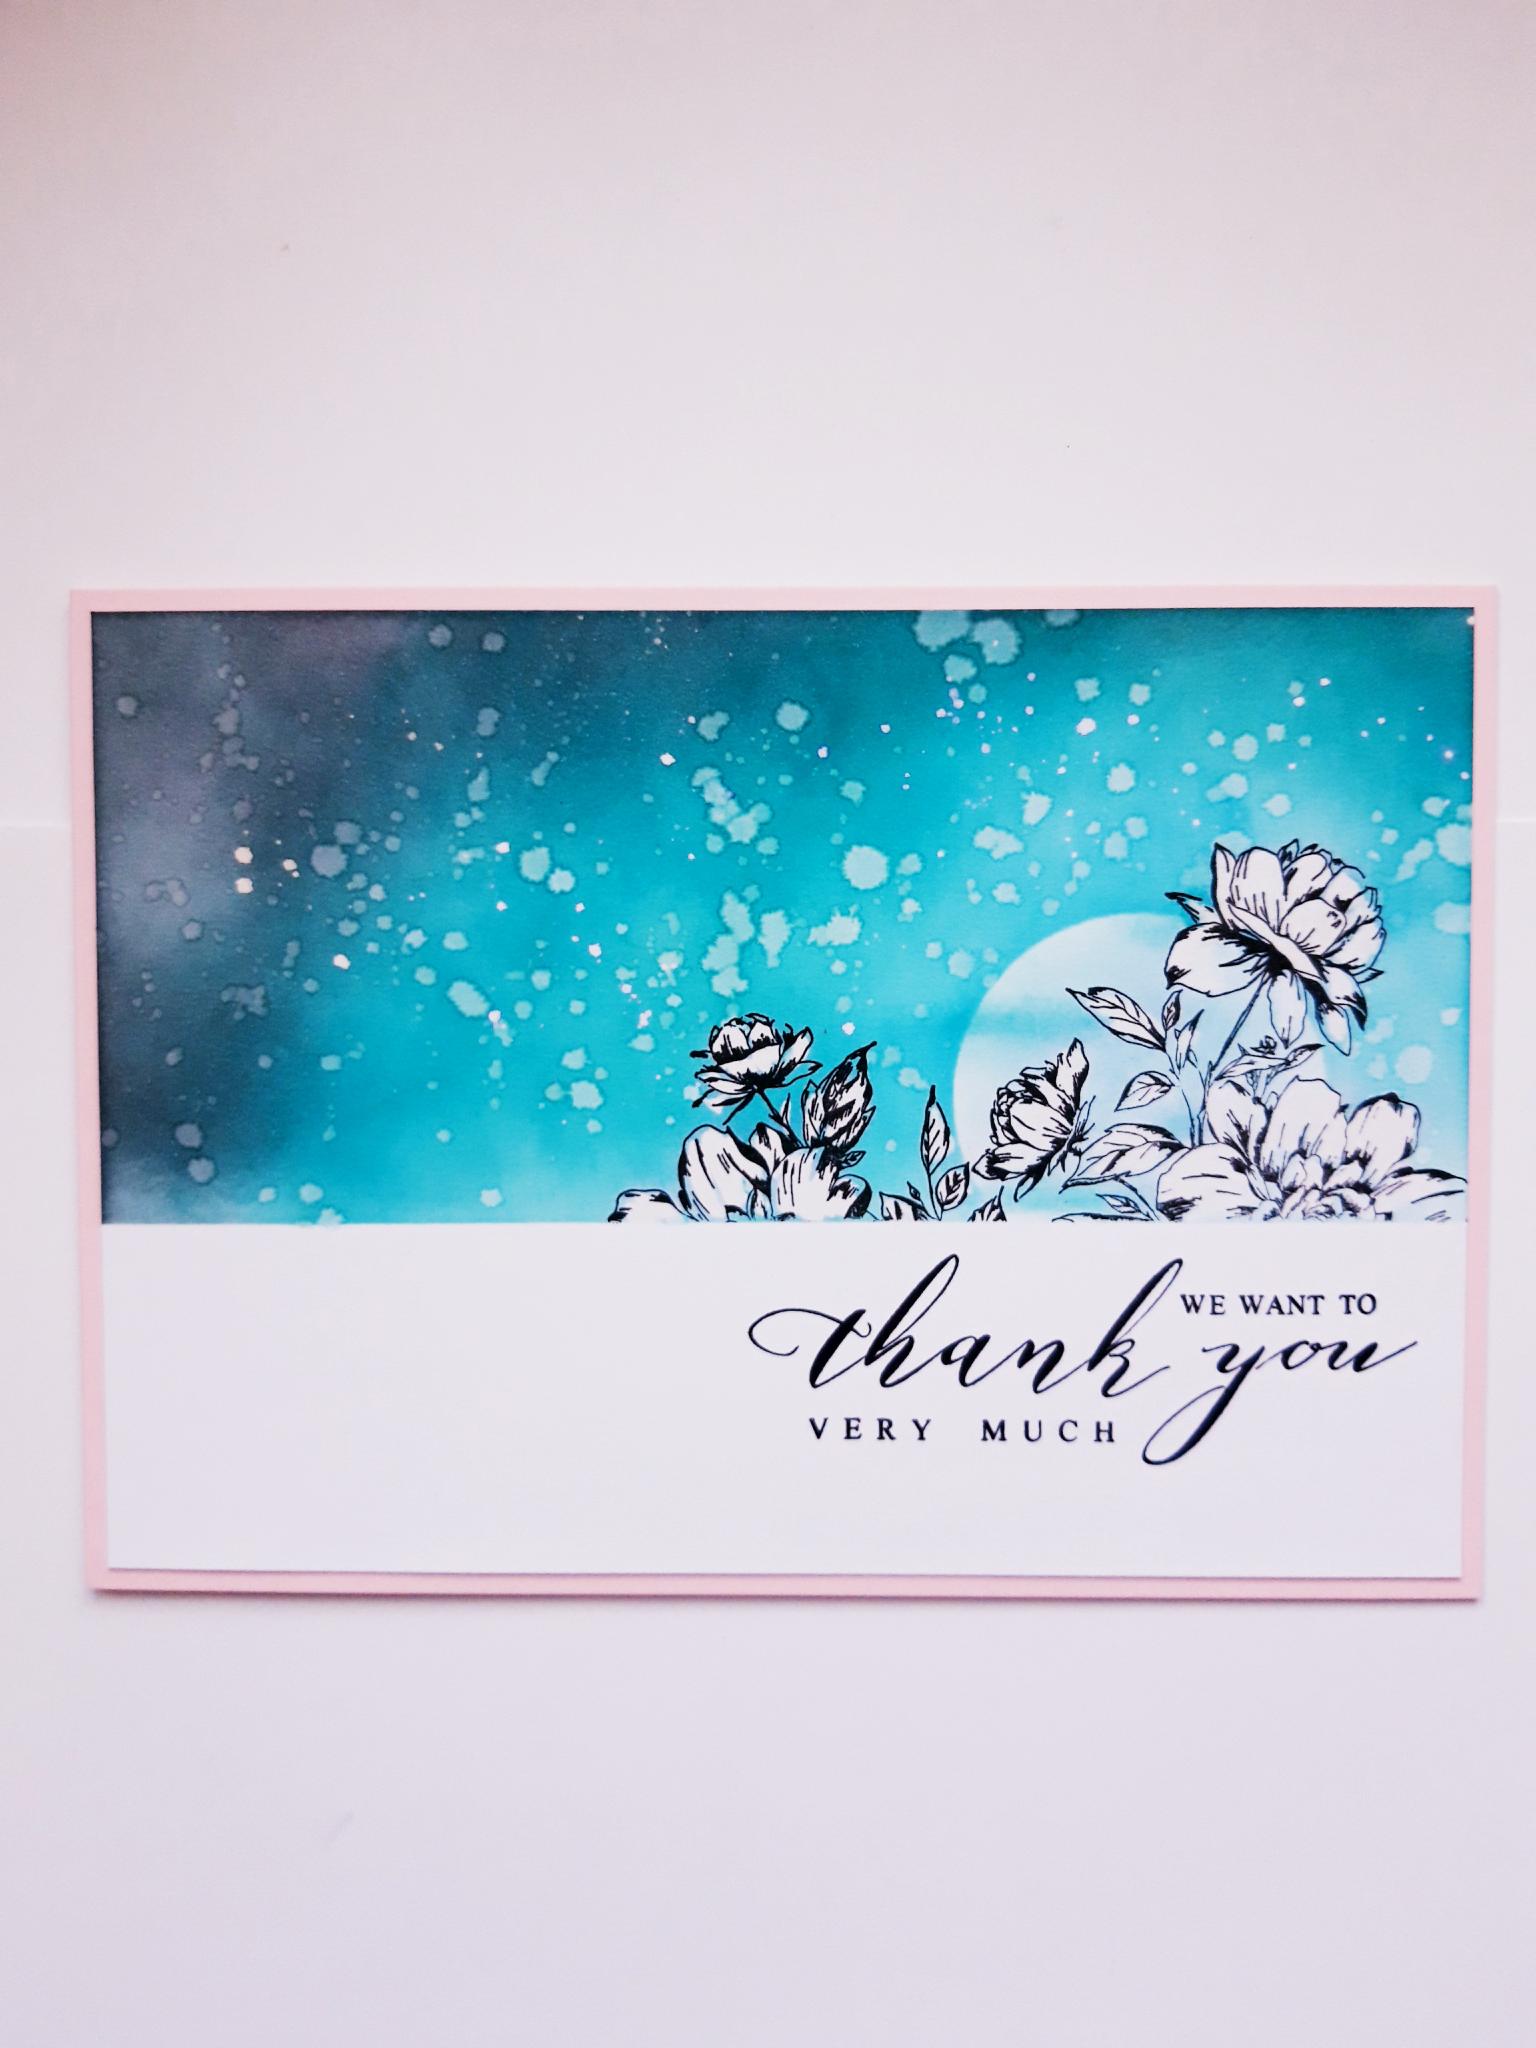
To finish, adhere your dried artwork on to the front of your pink, landscape view card blank. |