Give your friends $10 off their first order!
Refer a FRIEND


WHAT YOU WILL NEED:
White card blank (6 x 6")
Black card (5 3/4 x 4 1/2")
White card (5 1/2 x 4 1/4")
Black card ( 5 1/2 x 4")
White card (5 1/2 x 4")
White card (5 1/2 x 4")
Dies from So Happy Die Collection
Stamps from Beautiful Moments Lamination Stamp Collection
Stamps from Dot Frame Stamp Collection
Stamps from Beautiful Buttercup Stamp Collection
Versafine Ink Pad: Onyx Black
Gossip Glitter Colouring Pens: Aqua, Purple, Lake Blue
Liquid Pearl Drops: White Opal
Eureka 101
Paper Trimmer
Perfect Together Glue
Foam Pads
Die Cutting machine
[click image to enlarge] 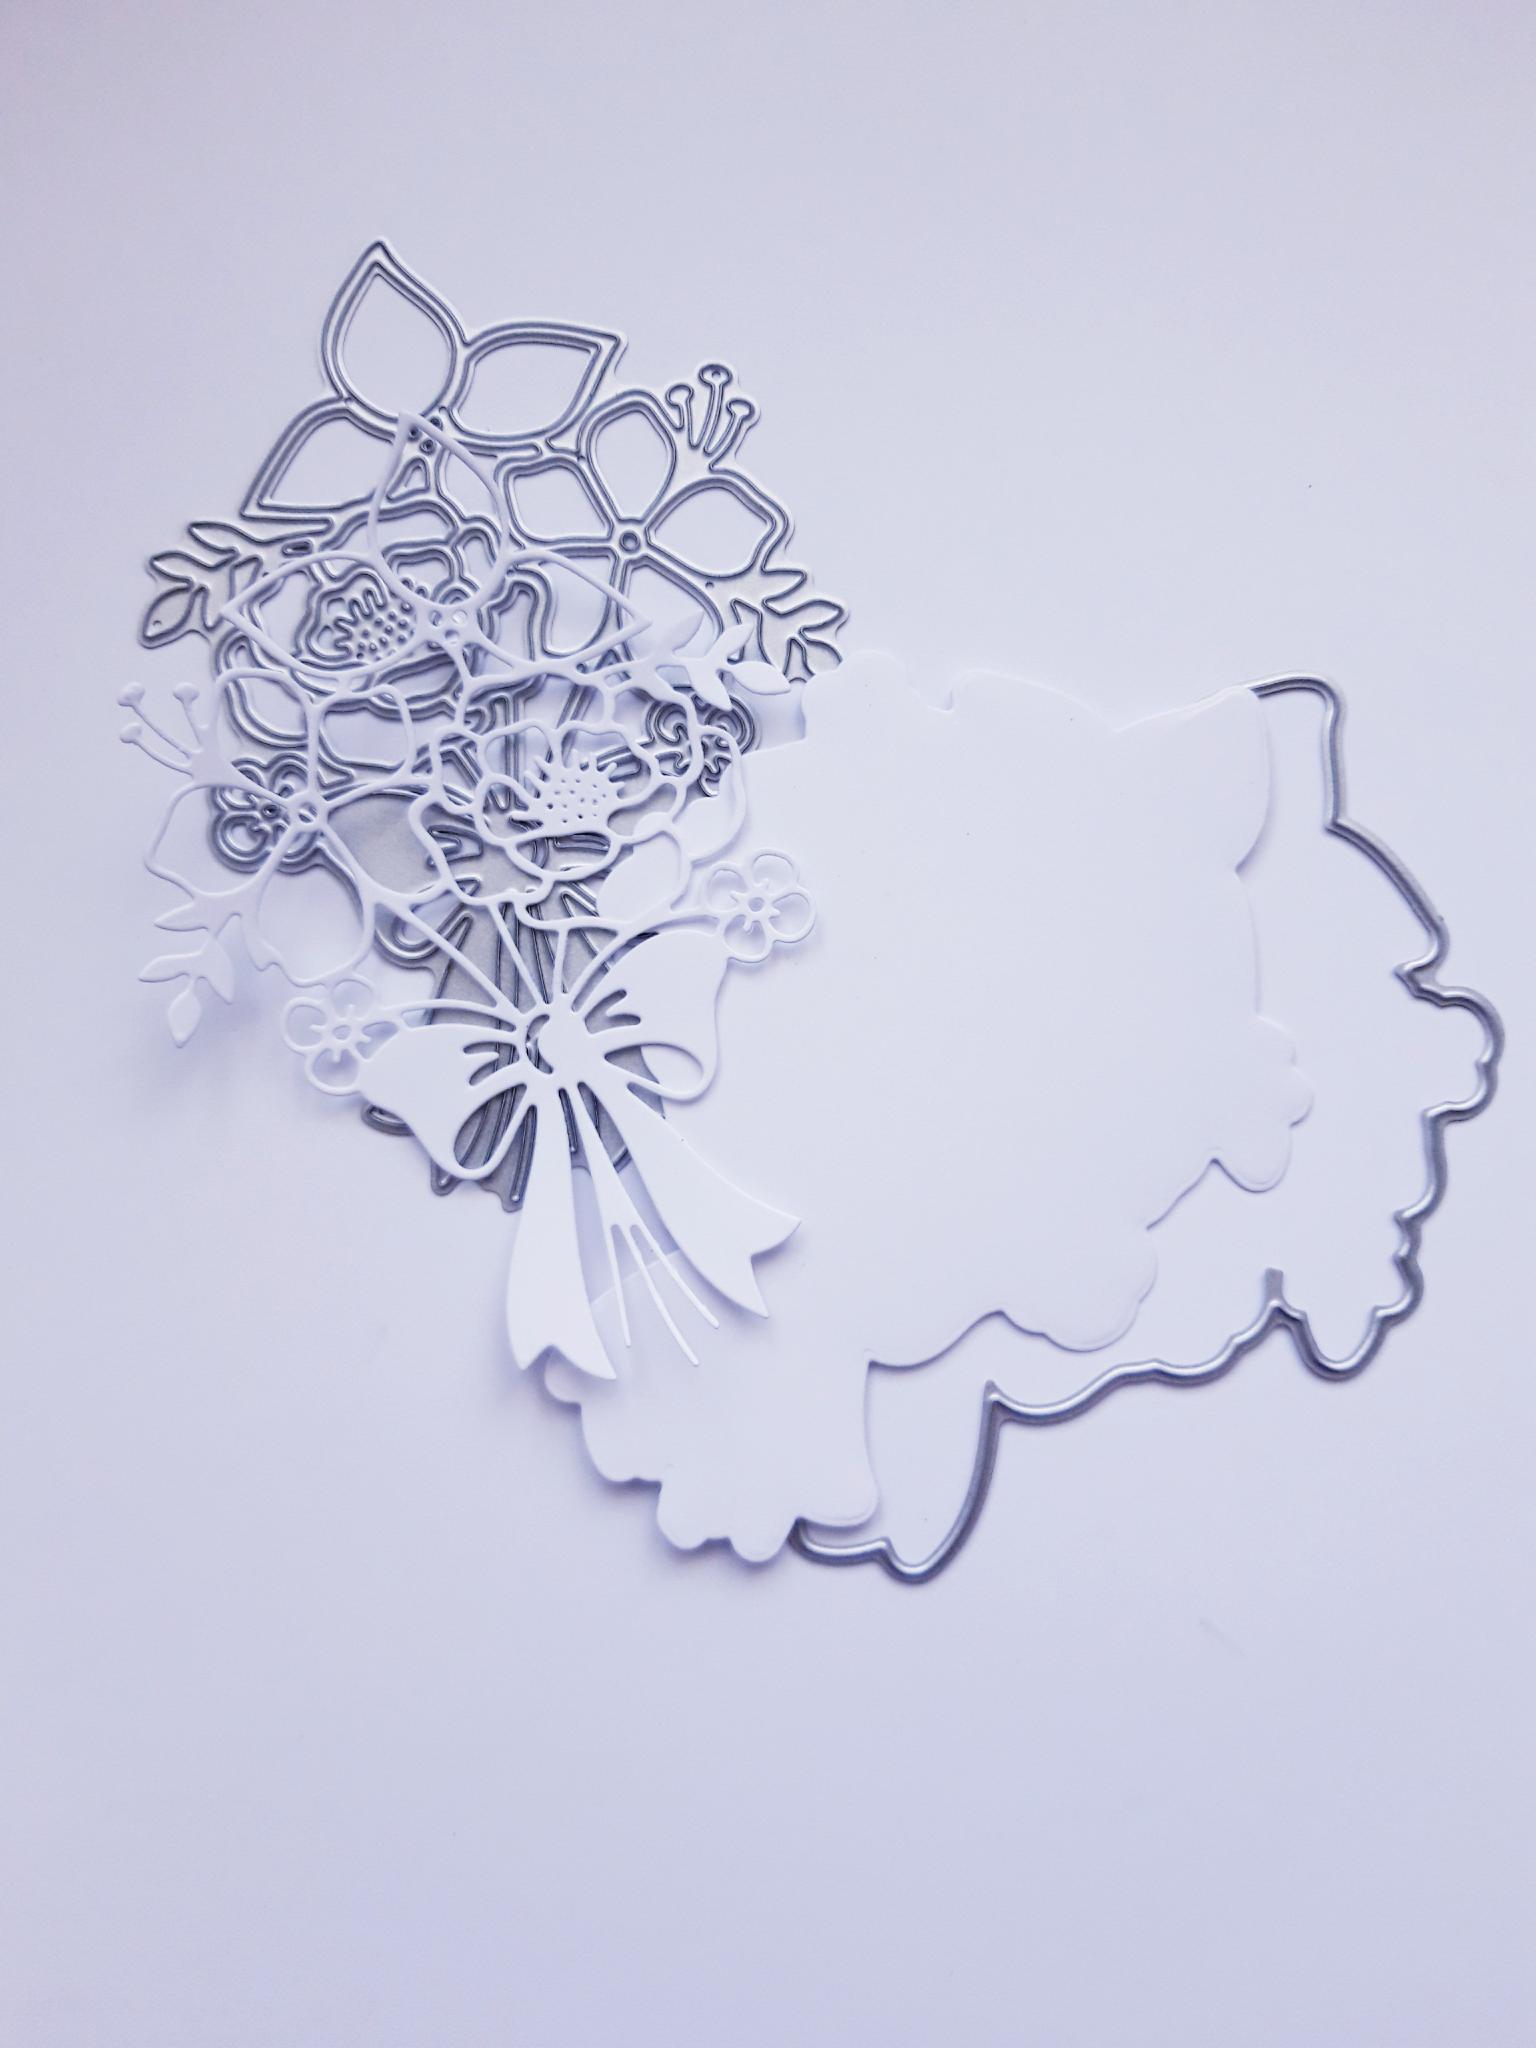
|
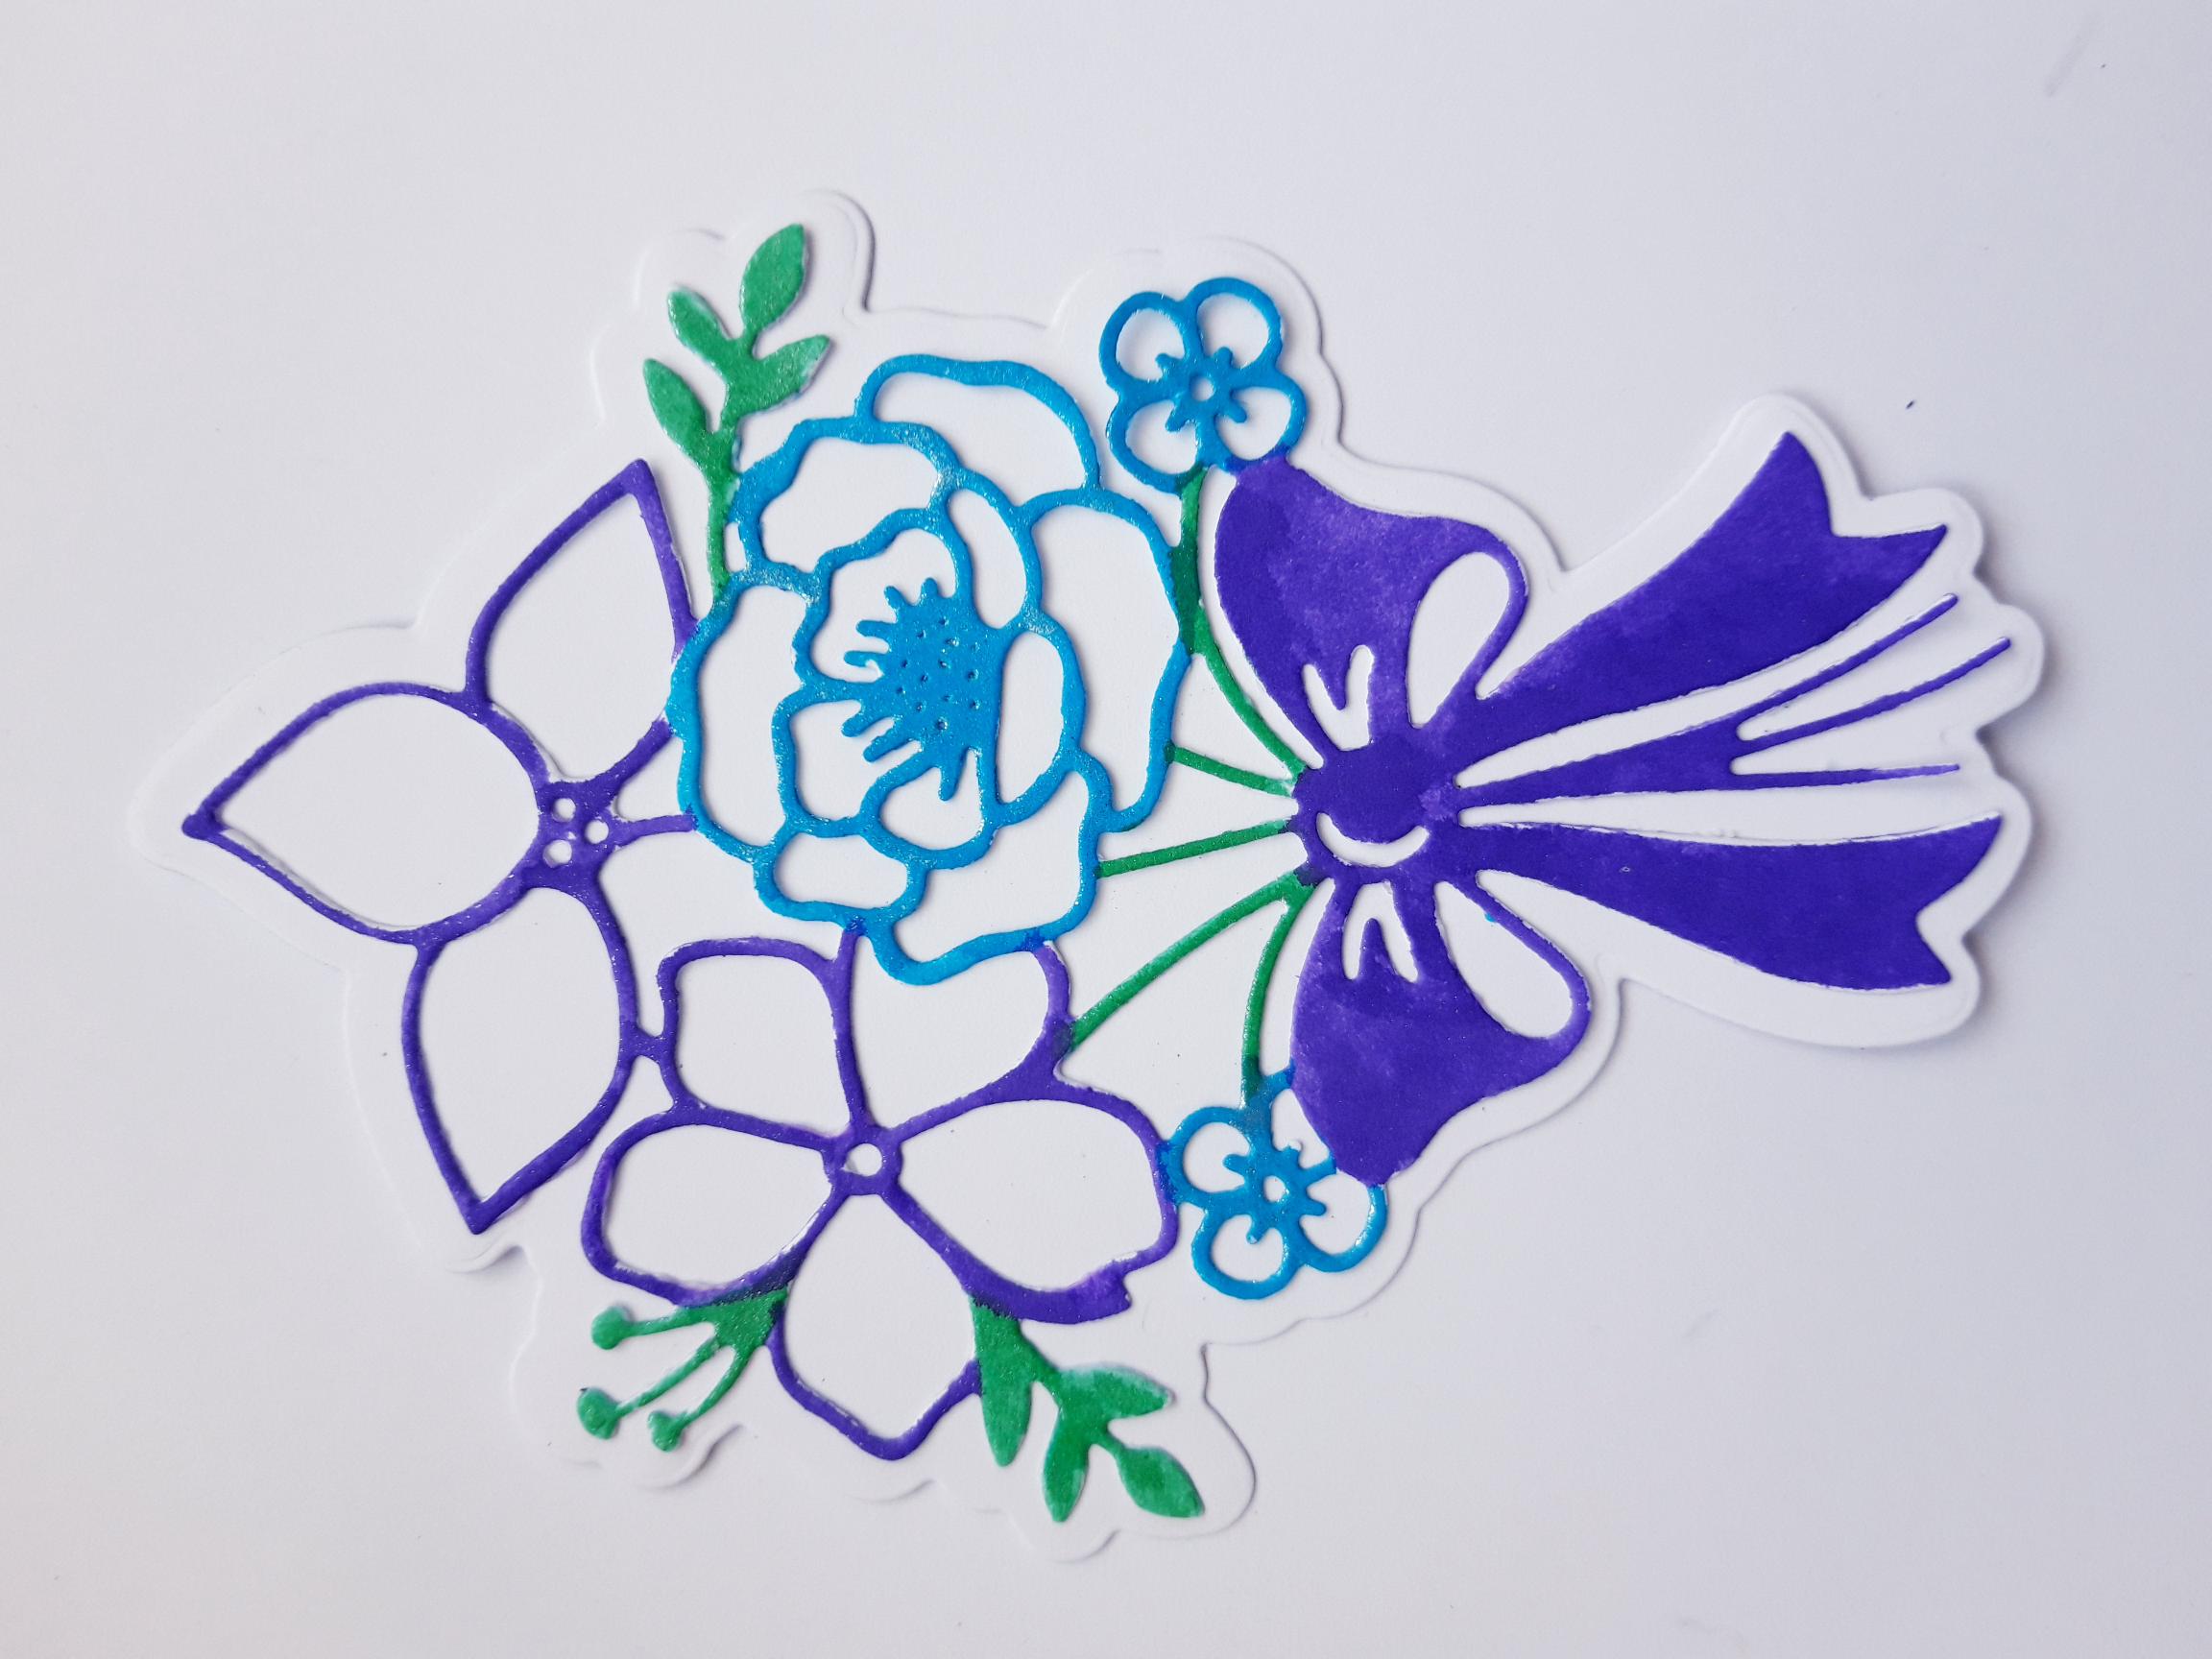
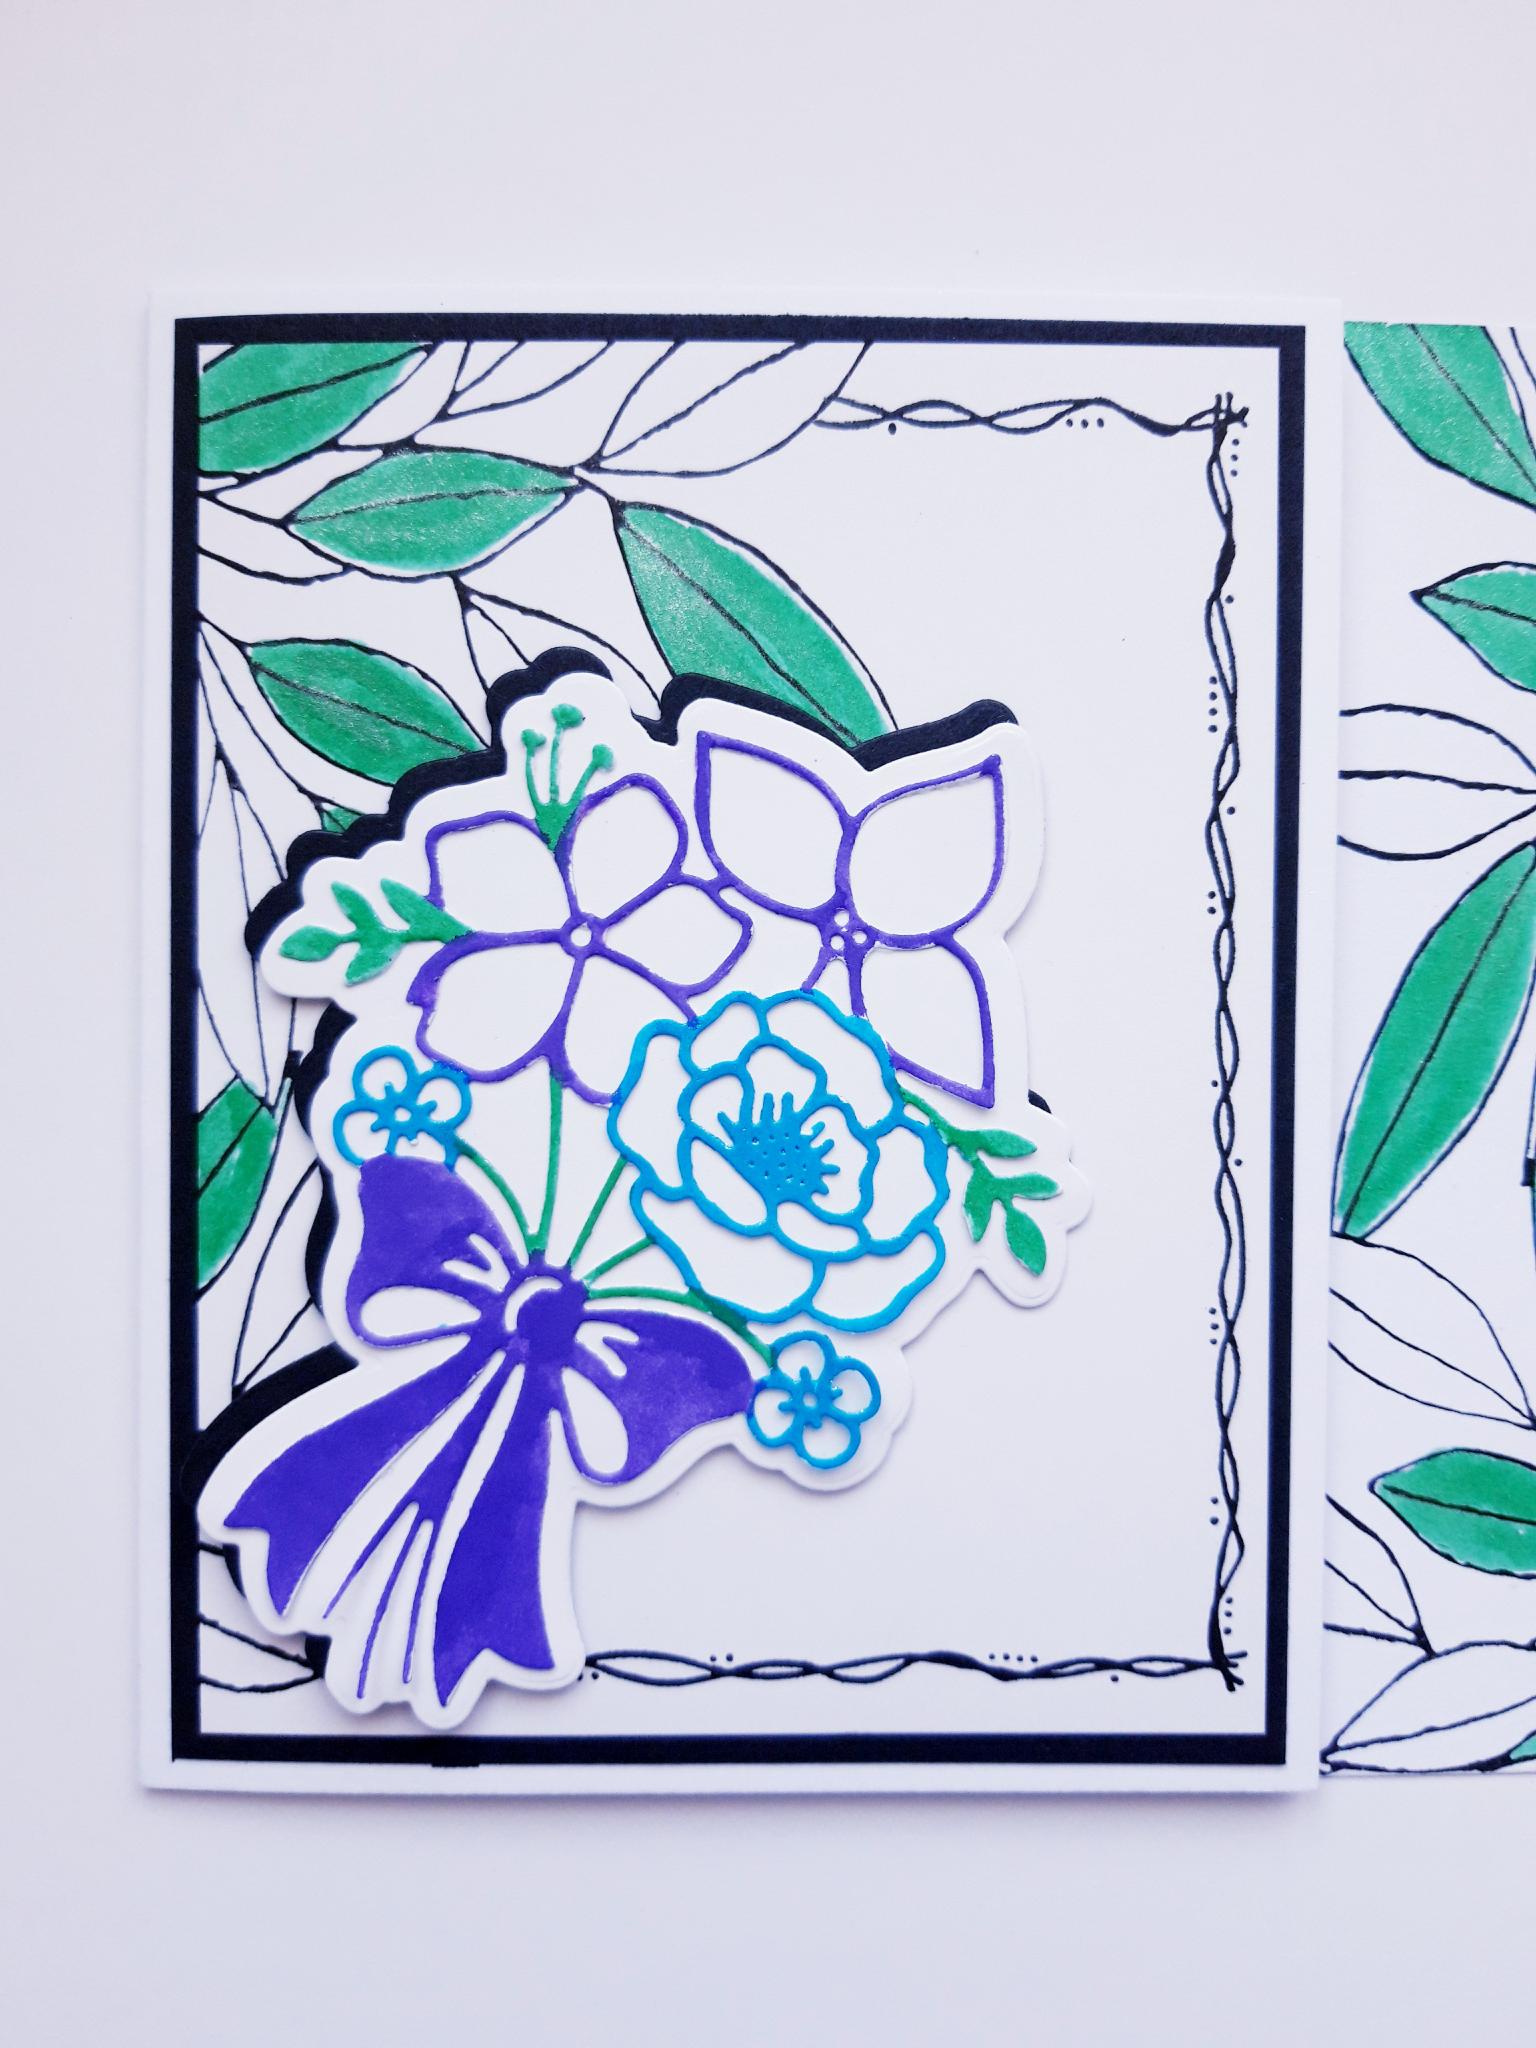
Place the detailed floral bouquet die, from the So Happy Die Colletion, on to one piece of the white card (5 1/2 x 4"). Place the cordinating mat die on to the other piece of white card, of the same size. Run both these through your die cutting machine. |
|
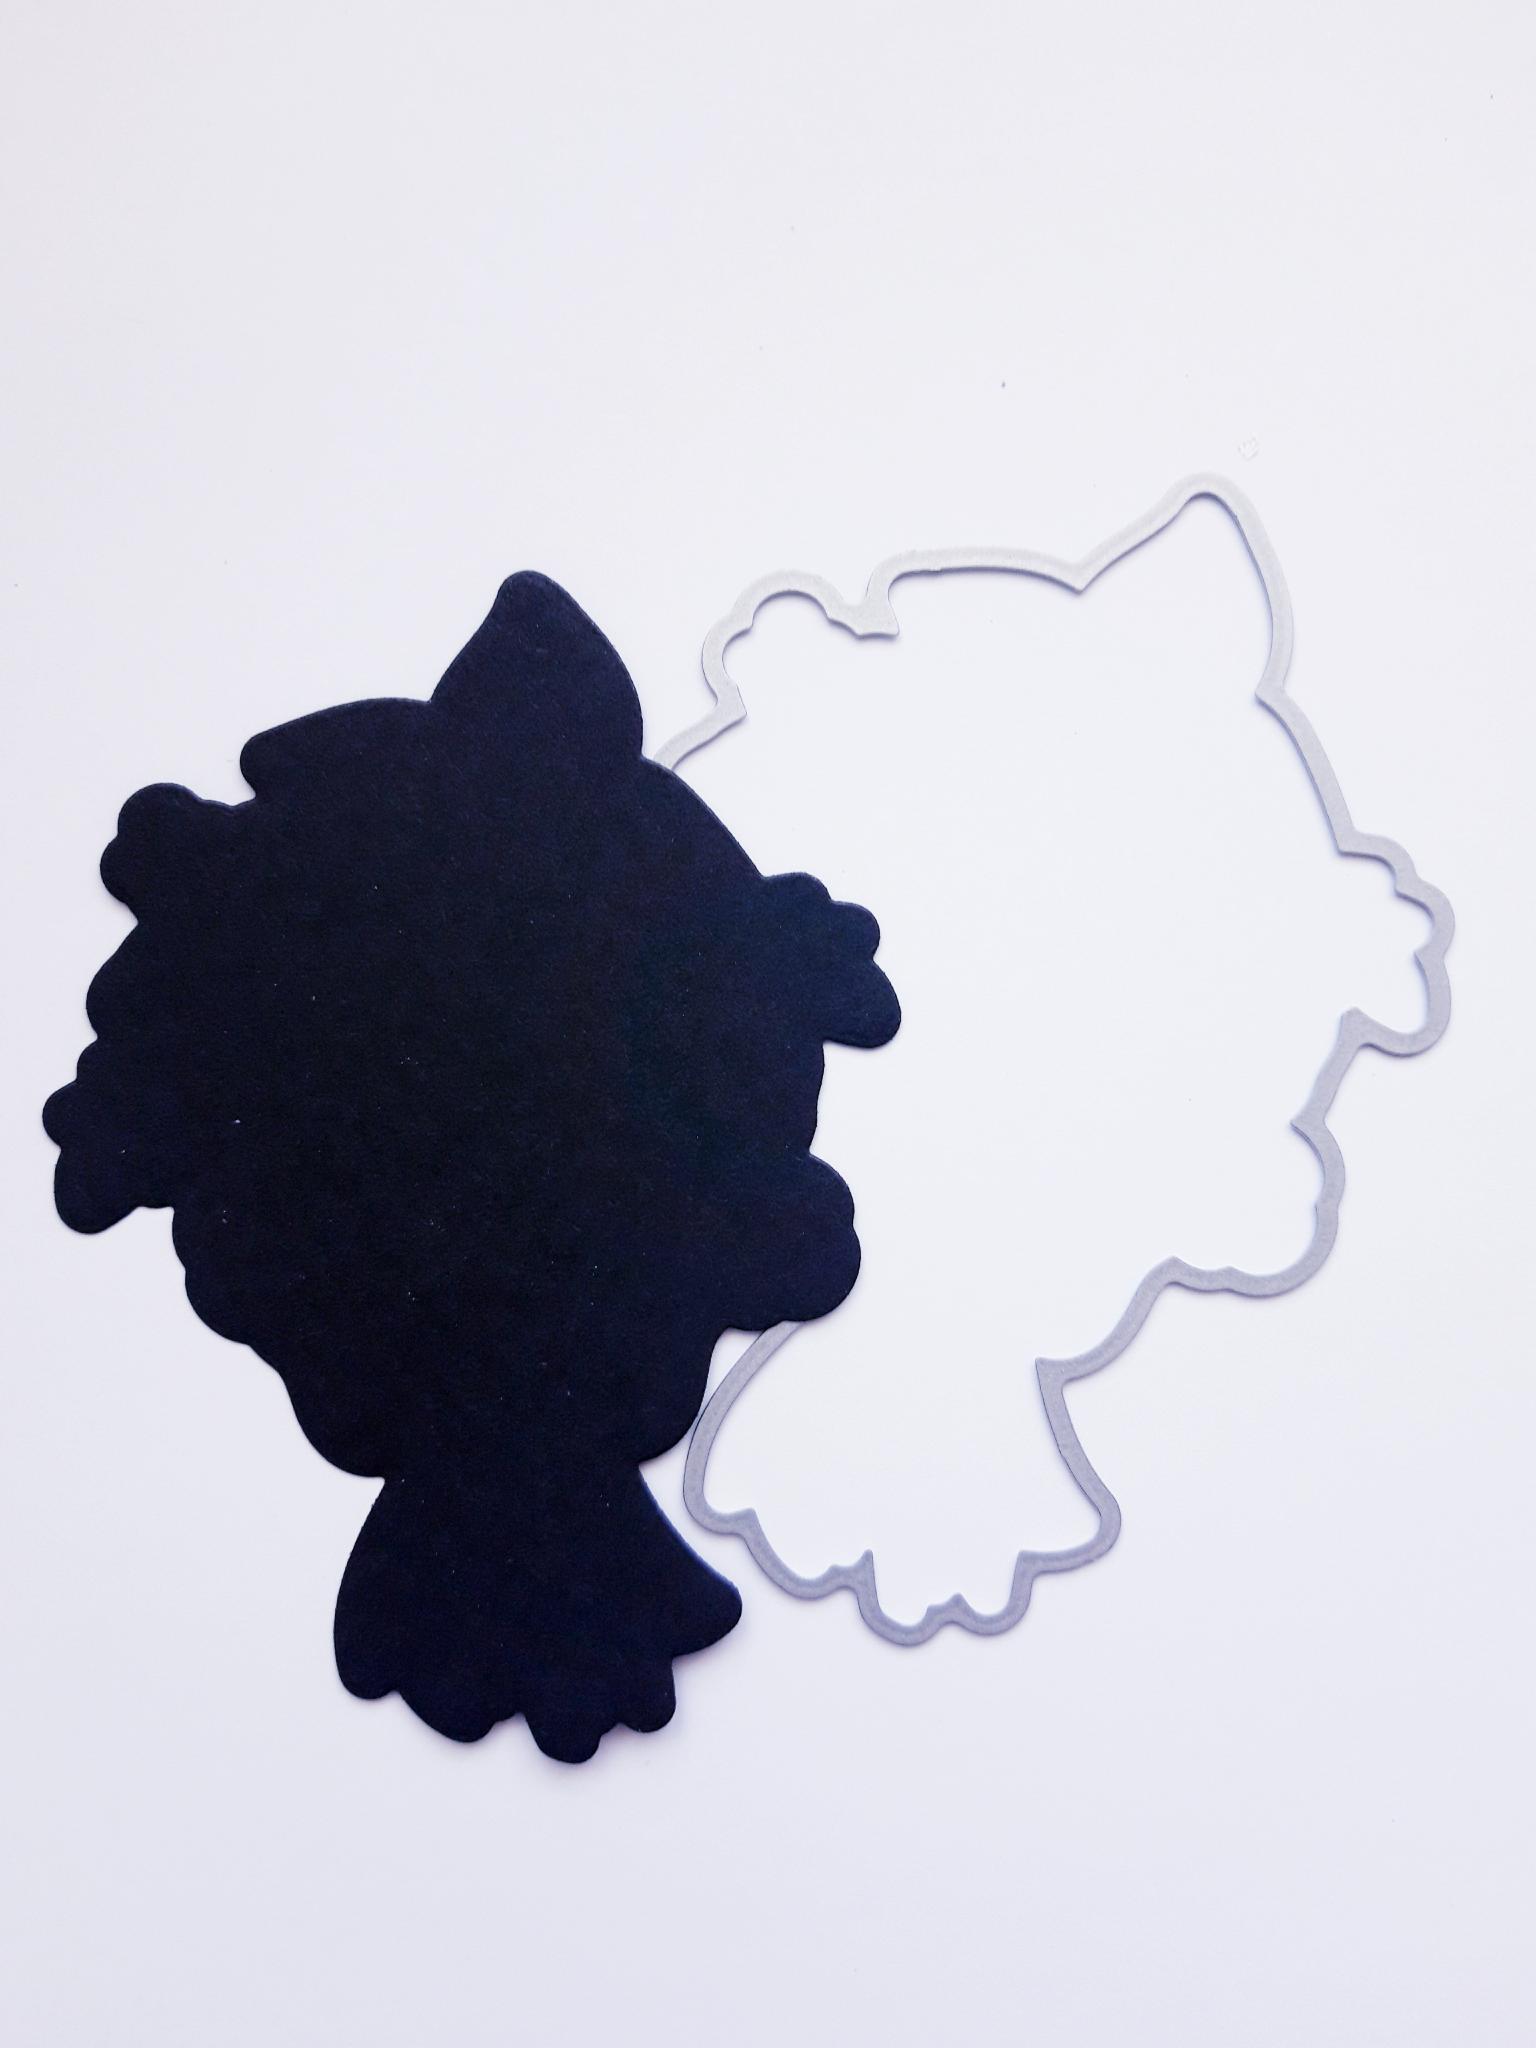
Place the same mat die on to the black card (5 1/2 x 4"), and run through your die cutting machine. Set this to one side. |
|
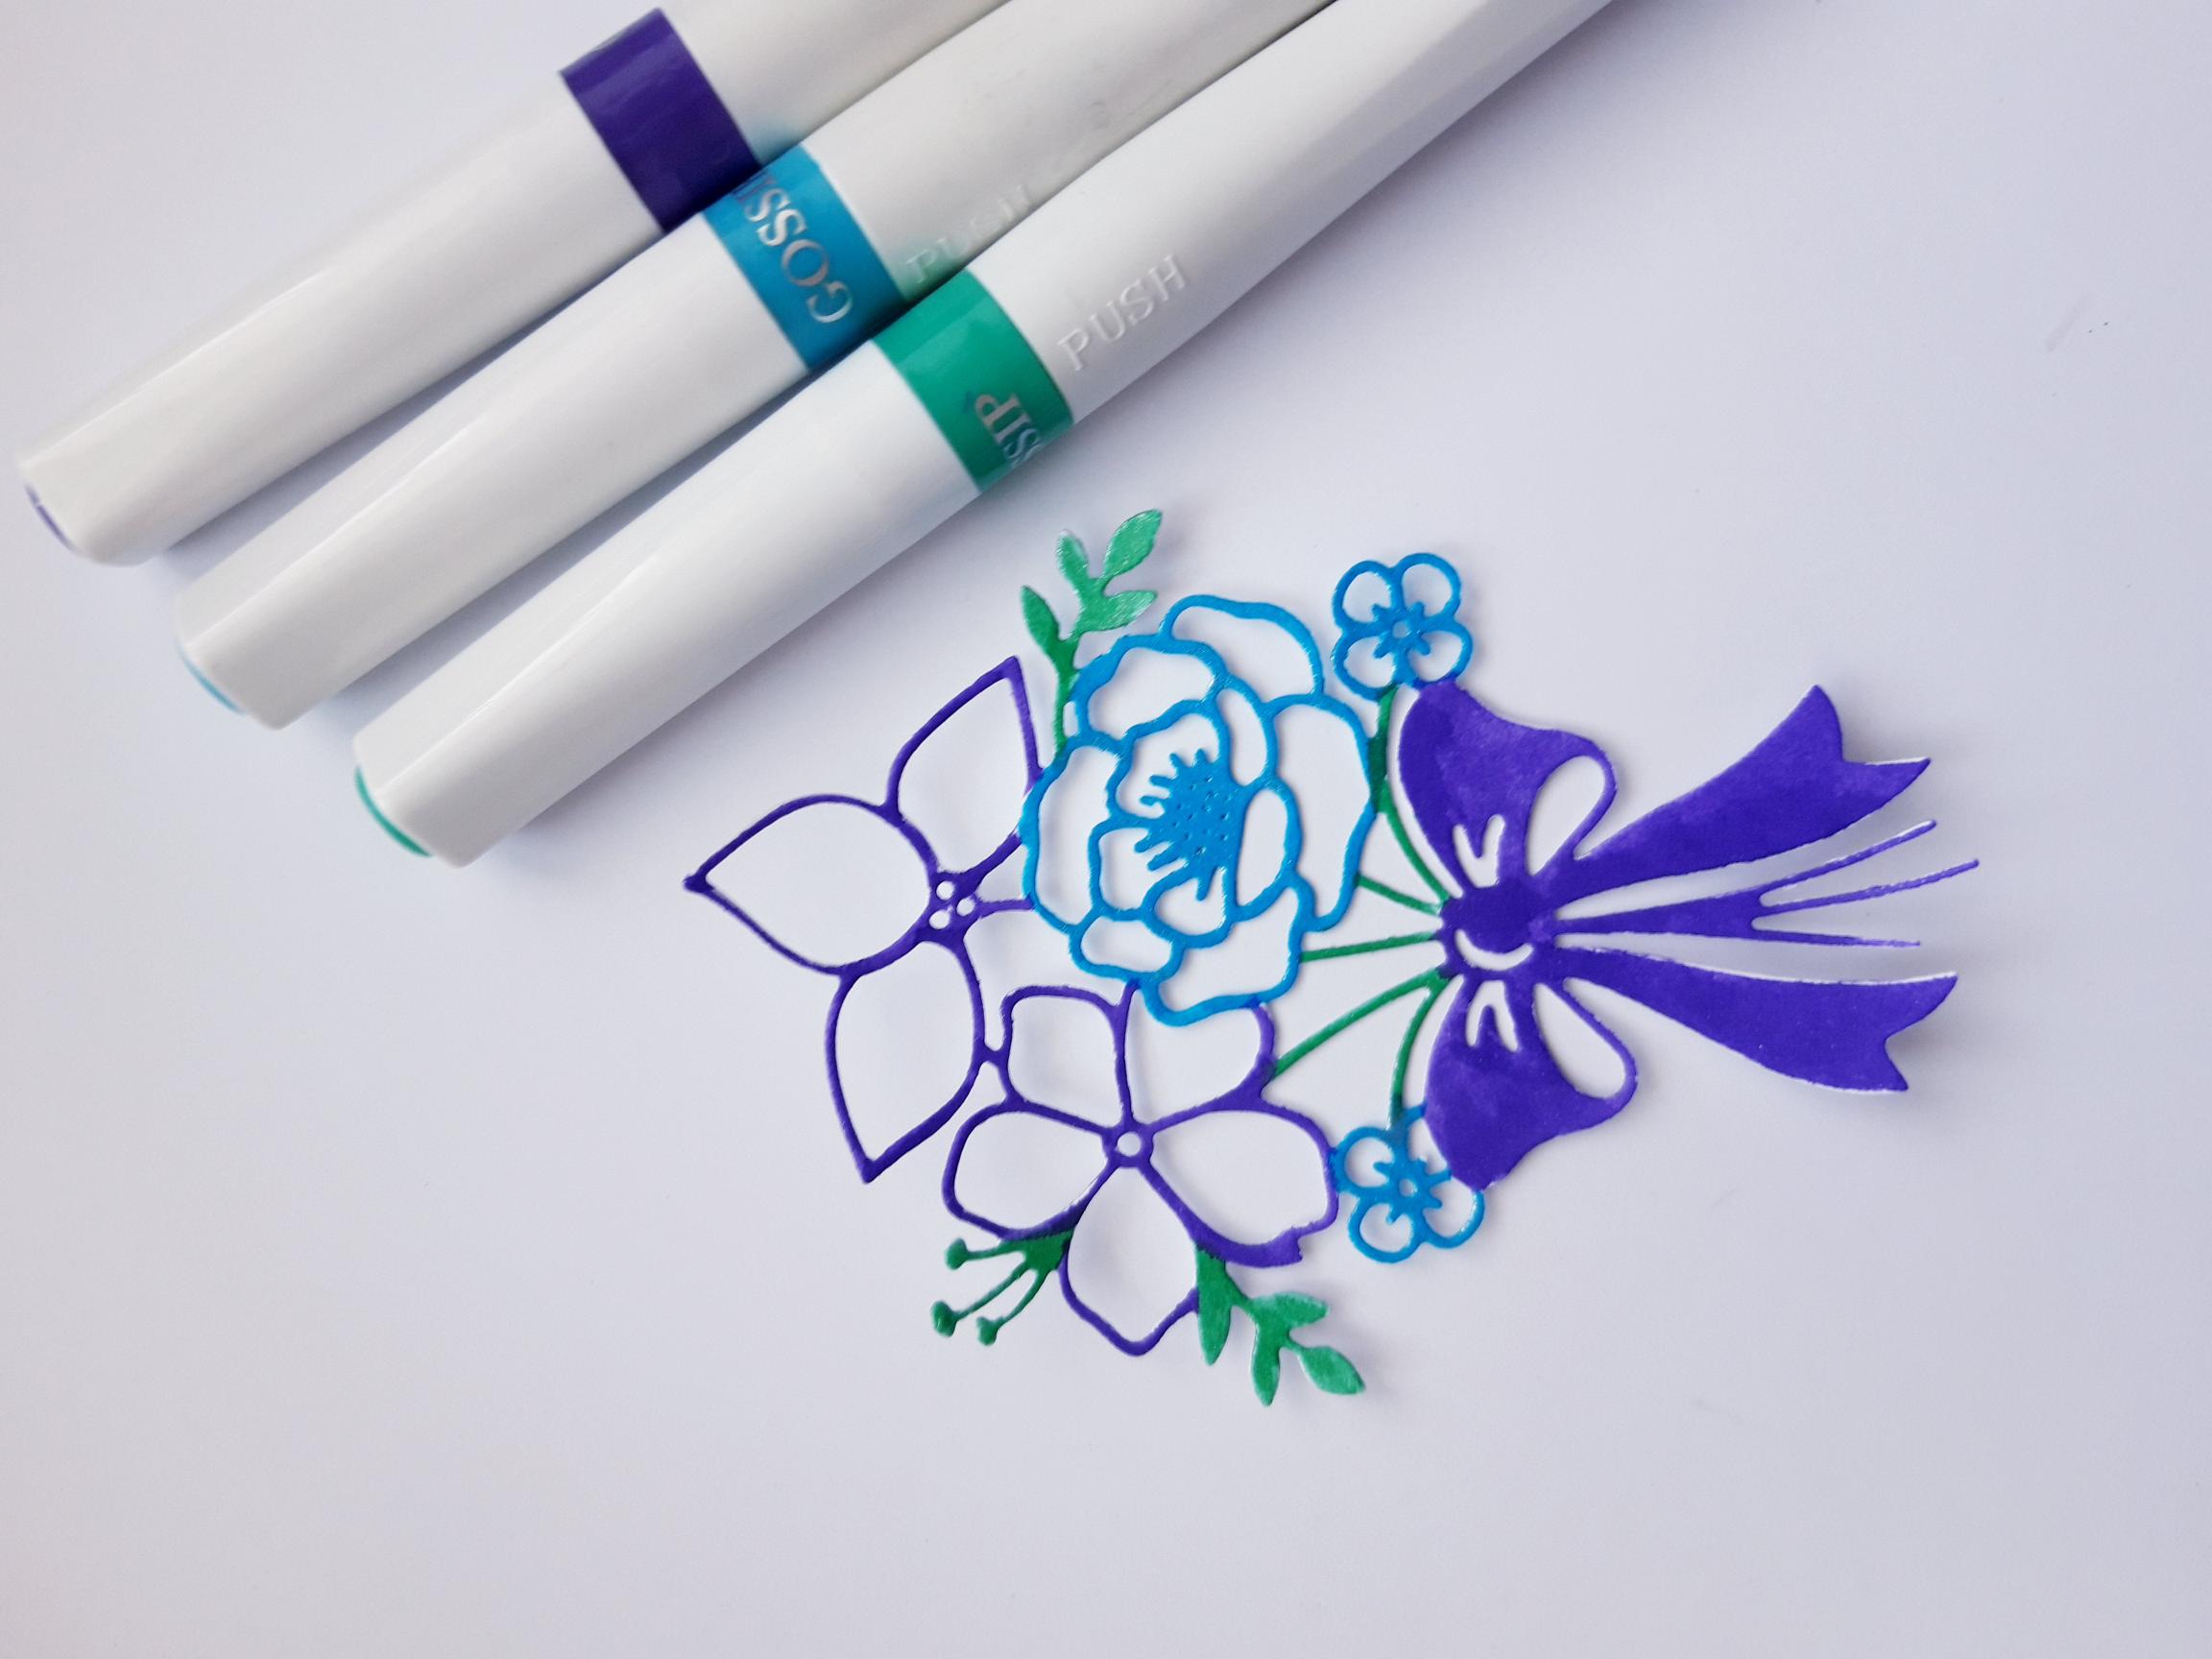
Use your Gossip Glitter Colouring pens to colour in your detailed, floral die cut element. |
|
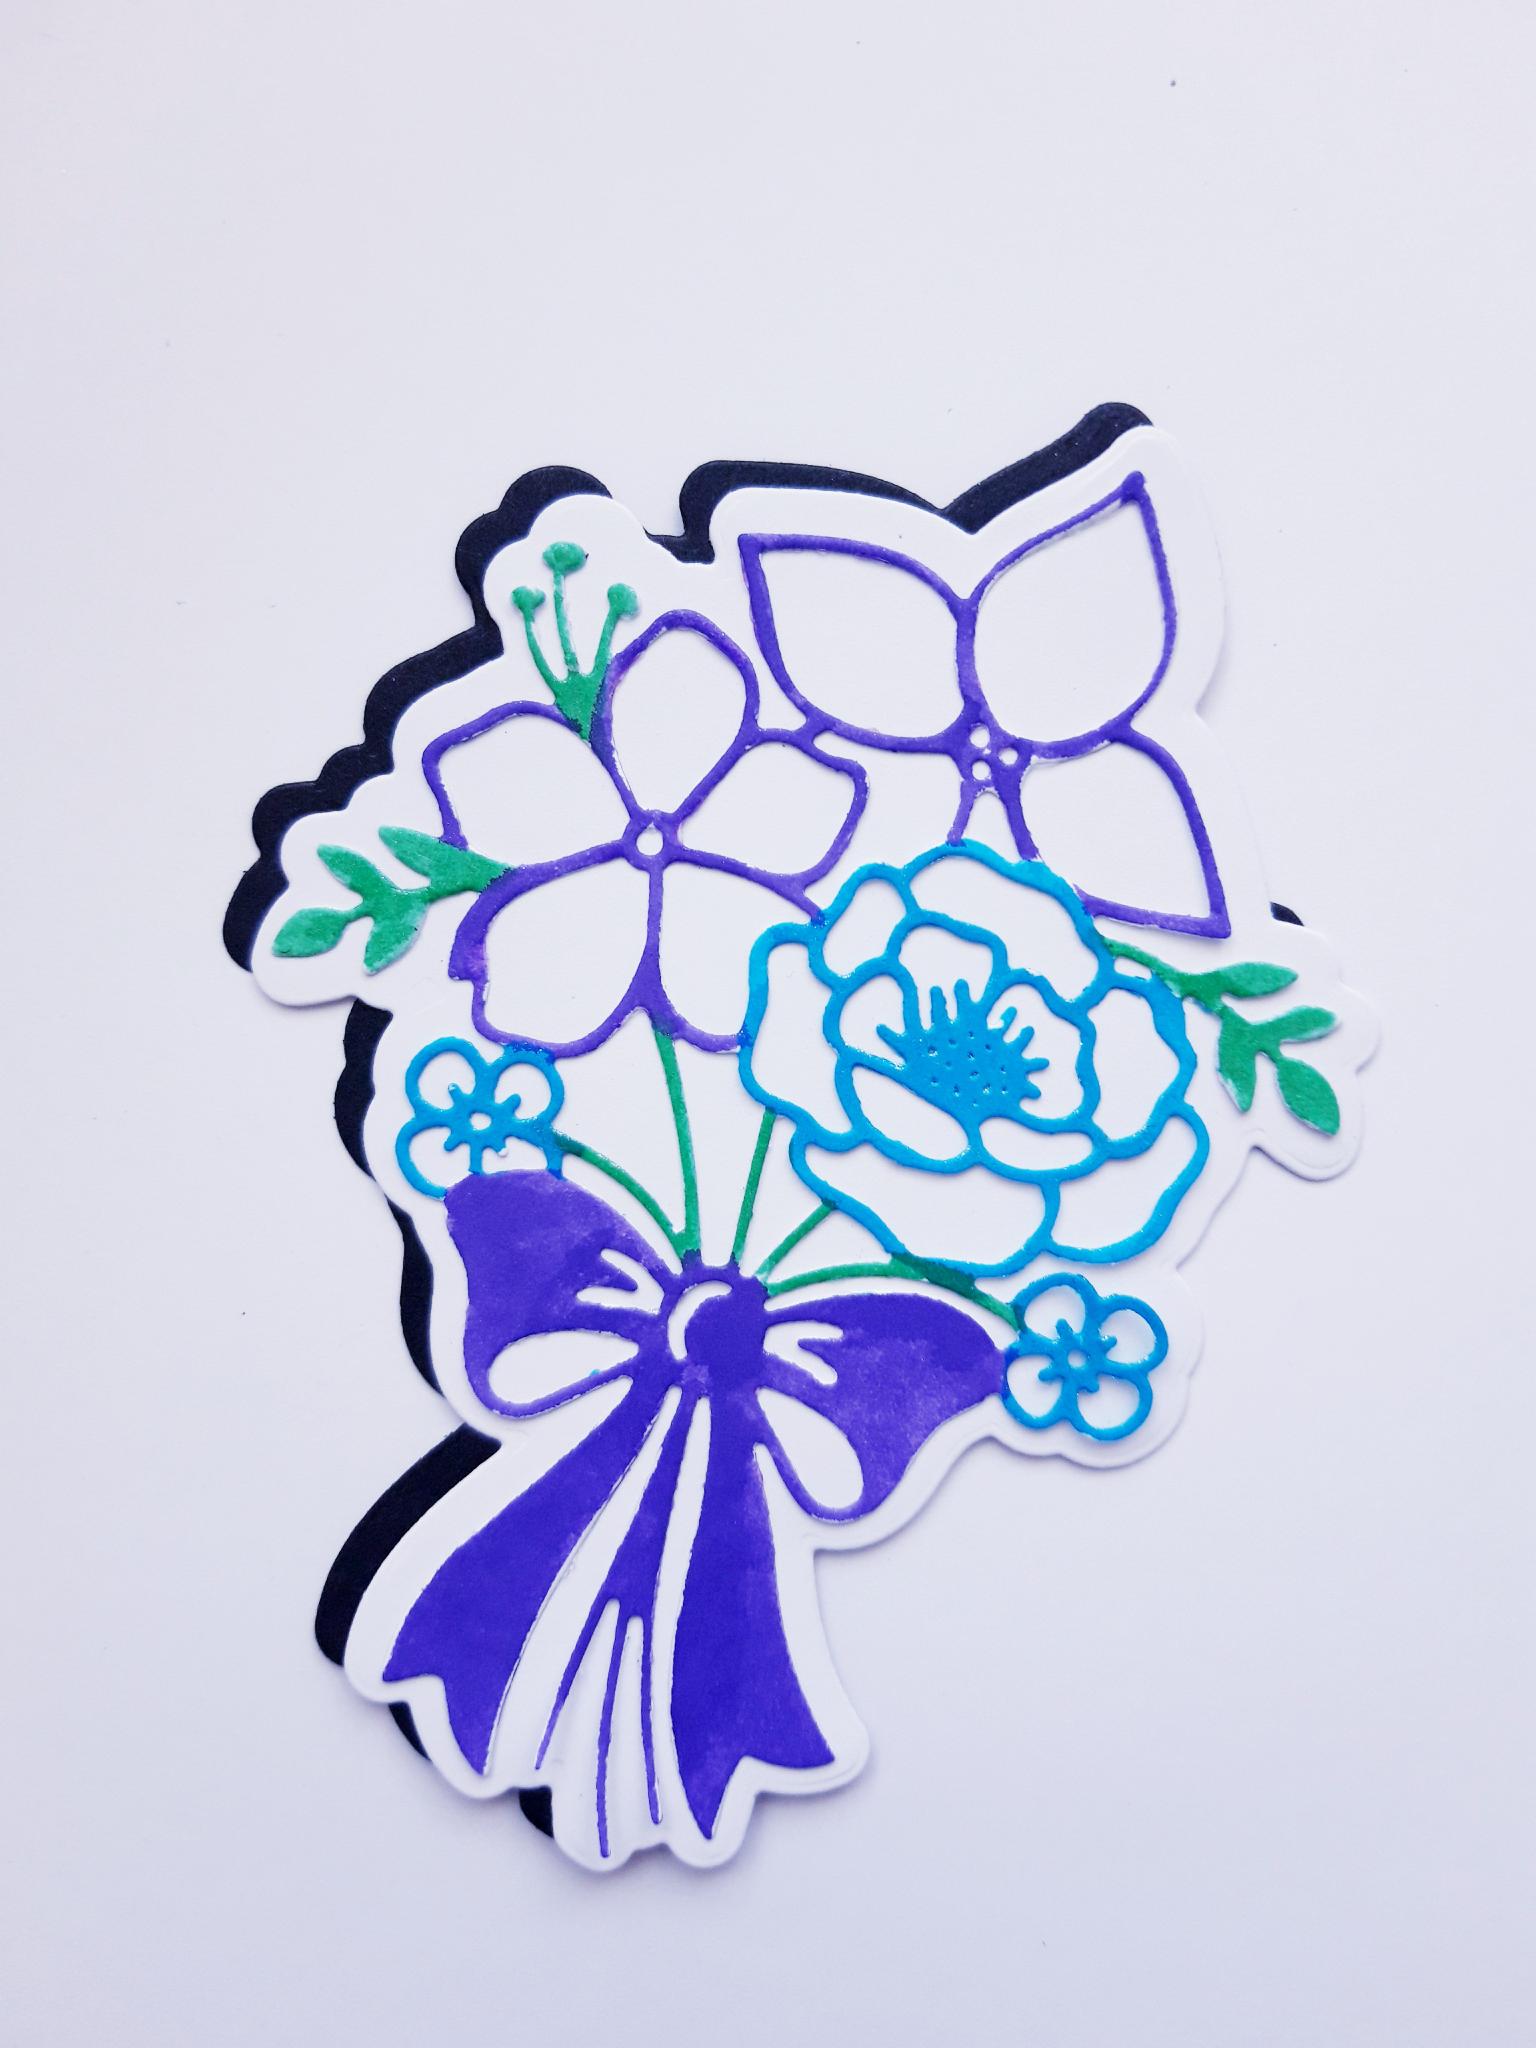
Once the ink is dry, adhere this to your white mat die cut. |
|
Adhere this on to the black die cut mat, so it creates a drop shadow, as seen here. |
|
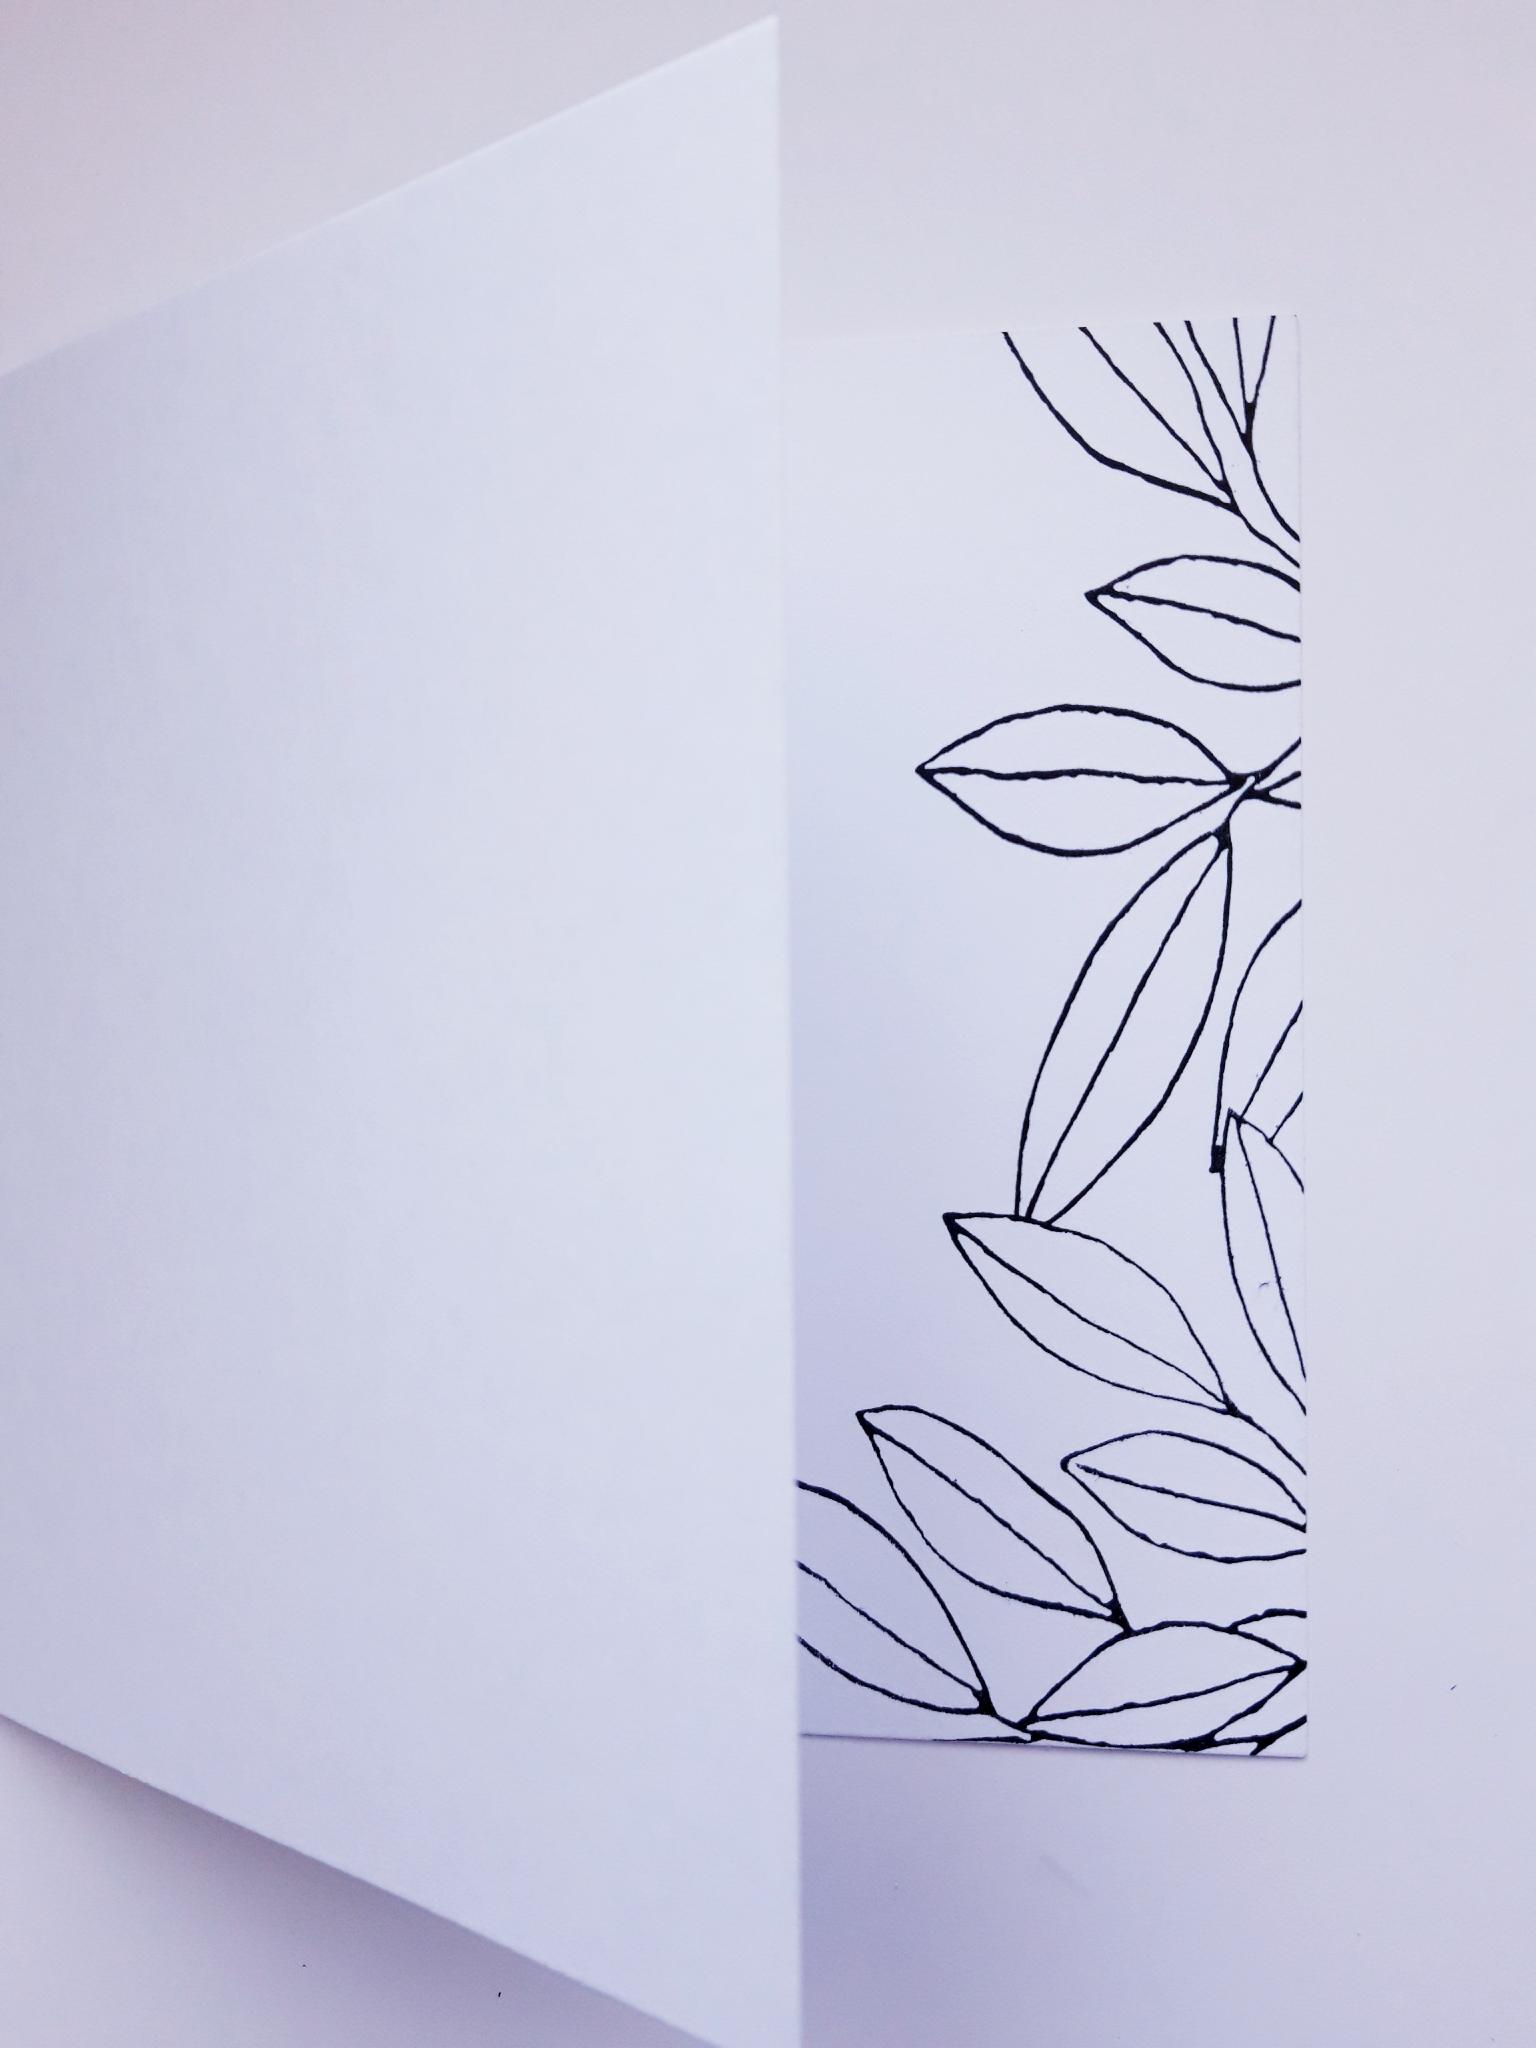
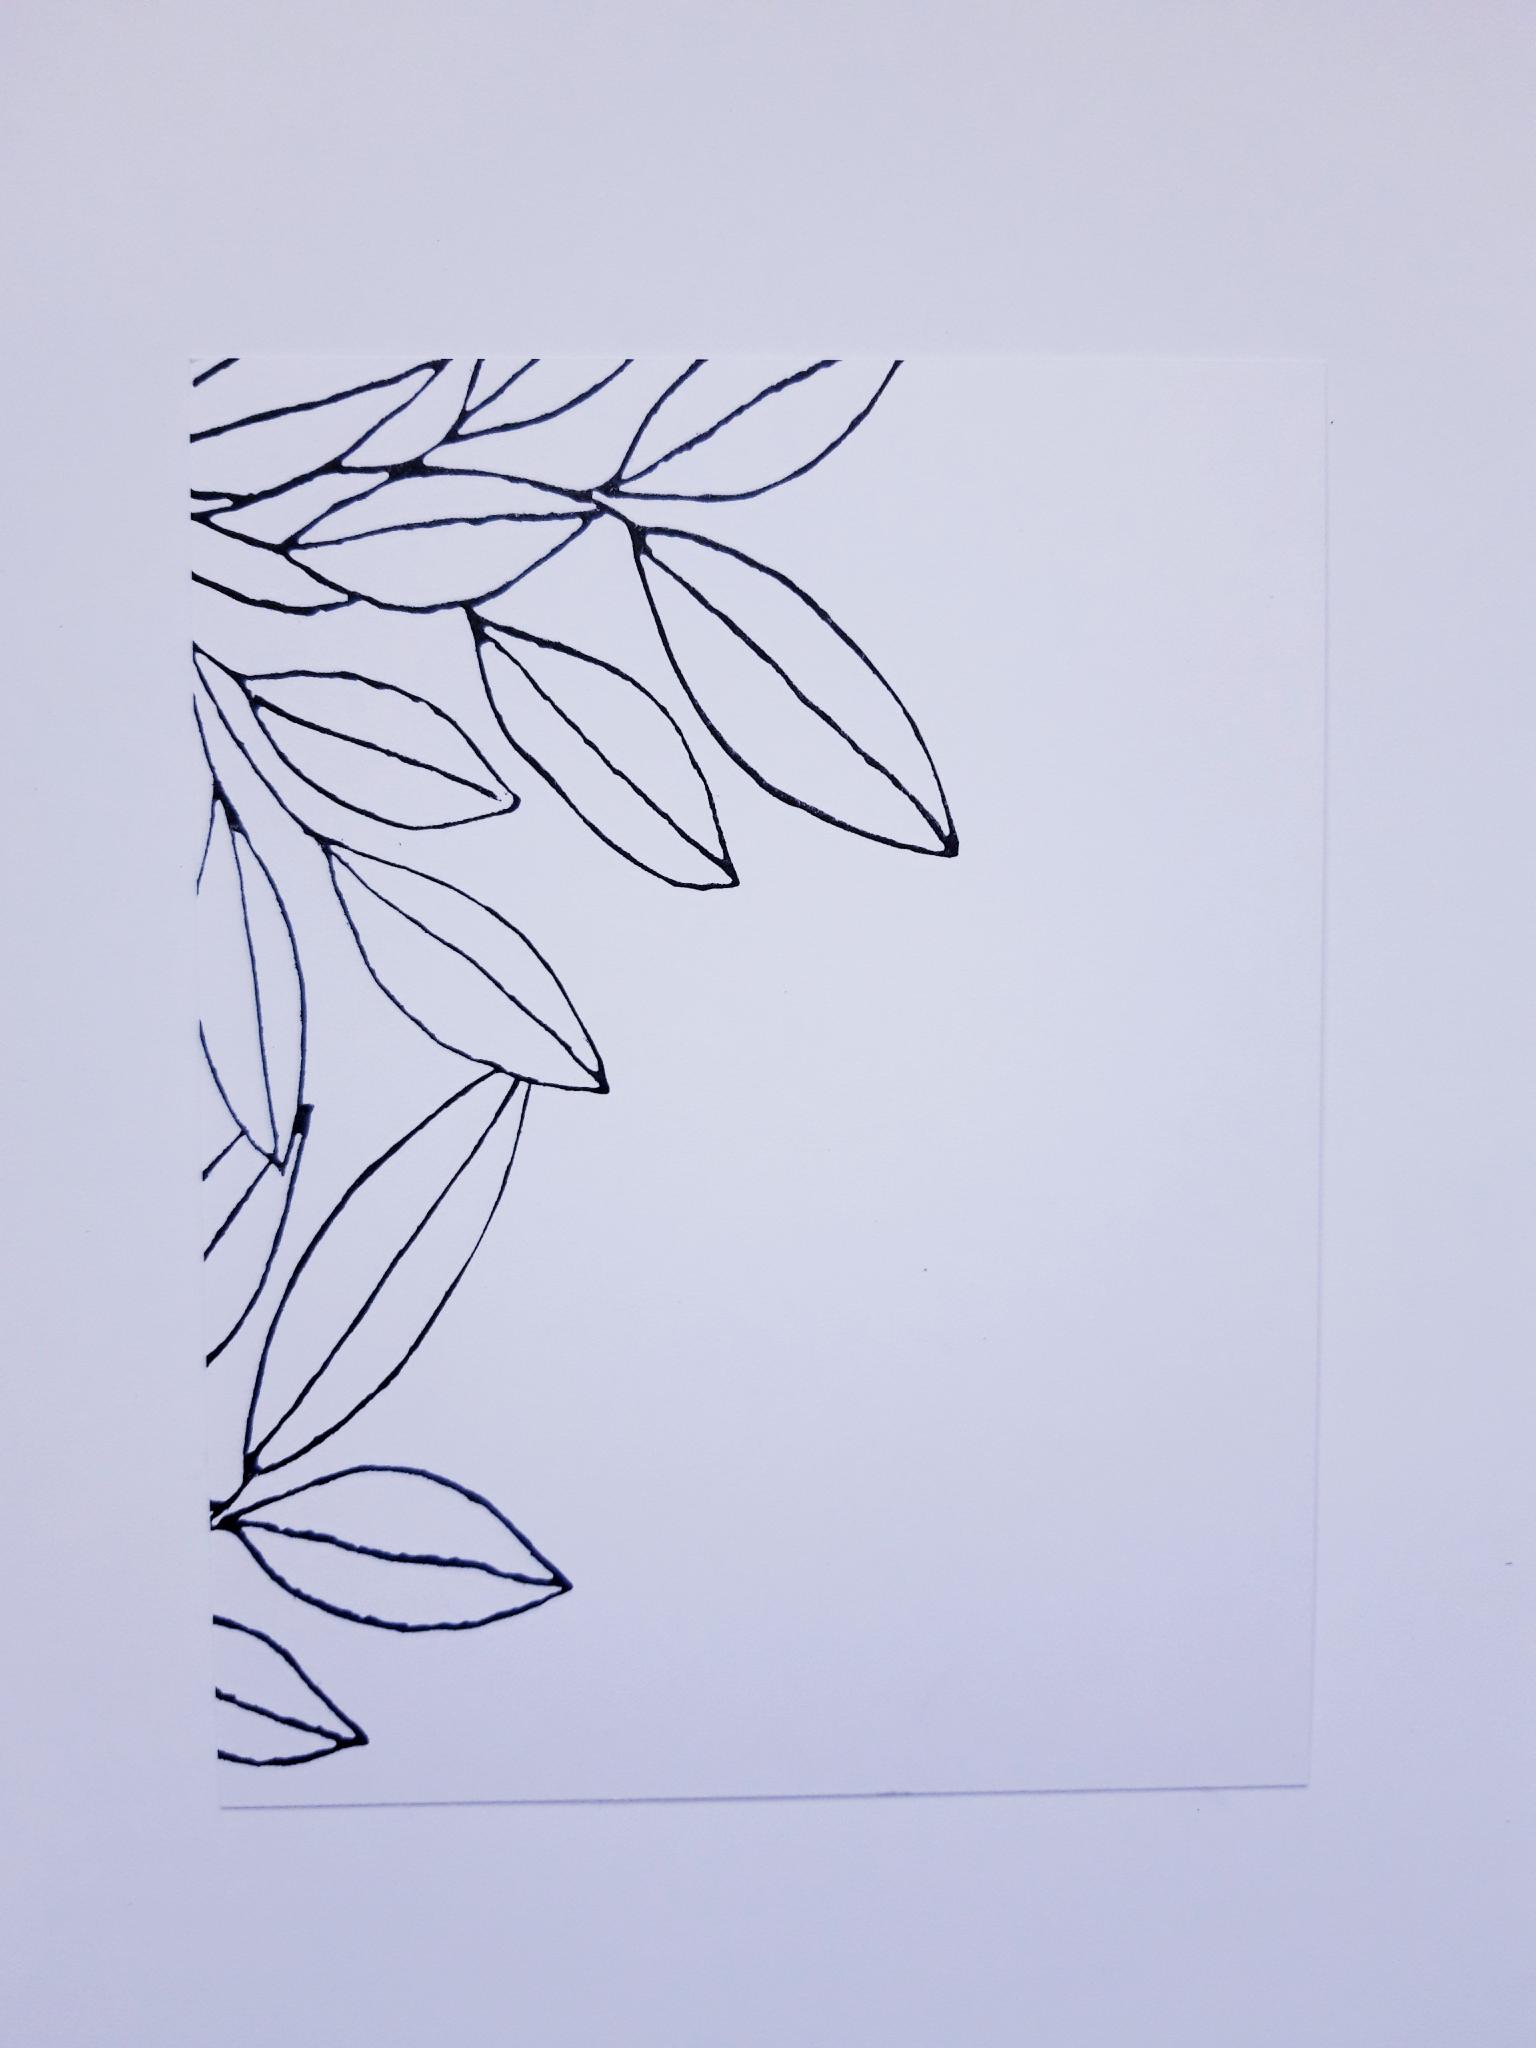
Cut the front of your card blank vertically, so it measures 6" in length by 4 3/4" in width. Ink up this foliage stamp from the Beautiful Buttercup Stamp Collection, with the Onyx Black Versafine. Stamp it down the right hand edge of the INSIDE, of your card blank, so it's visible when the card is closed. |
|
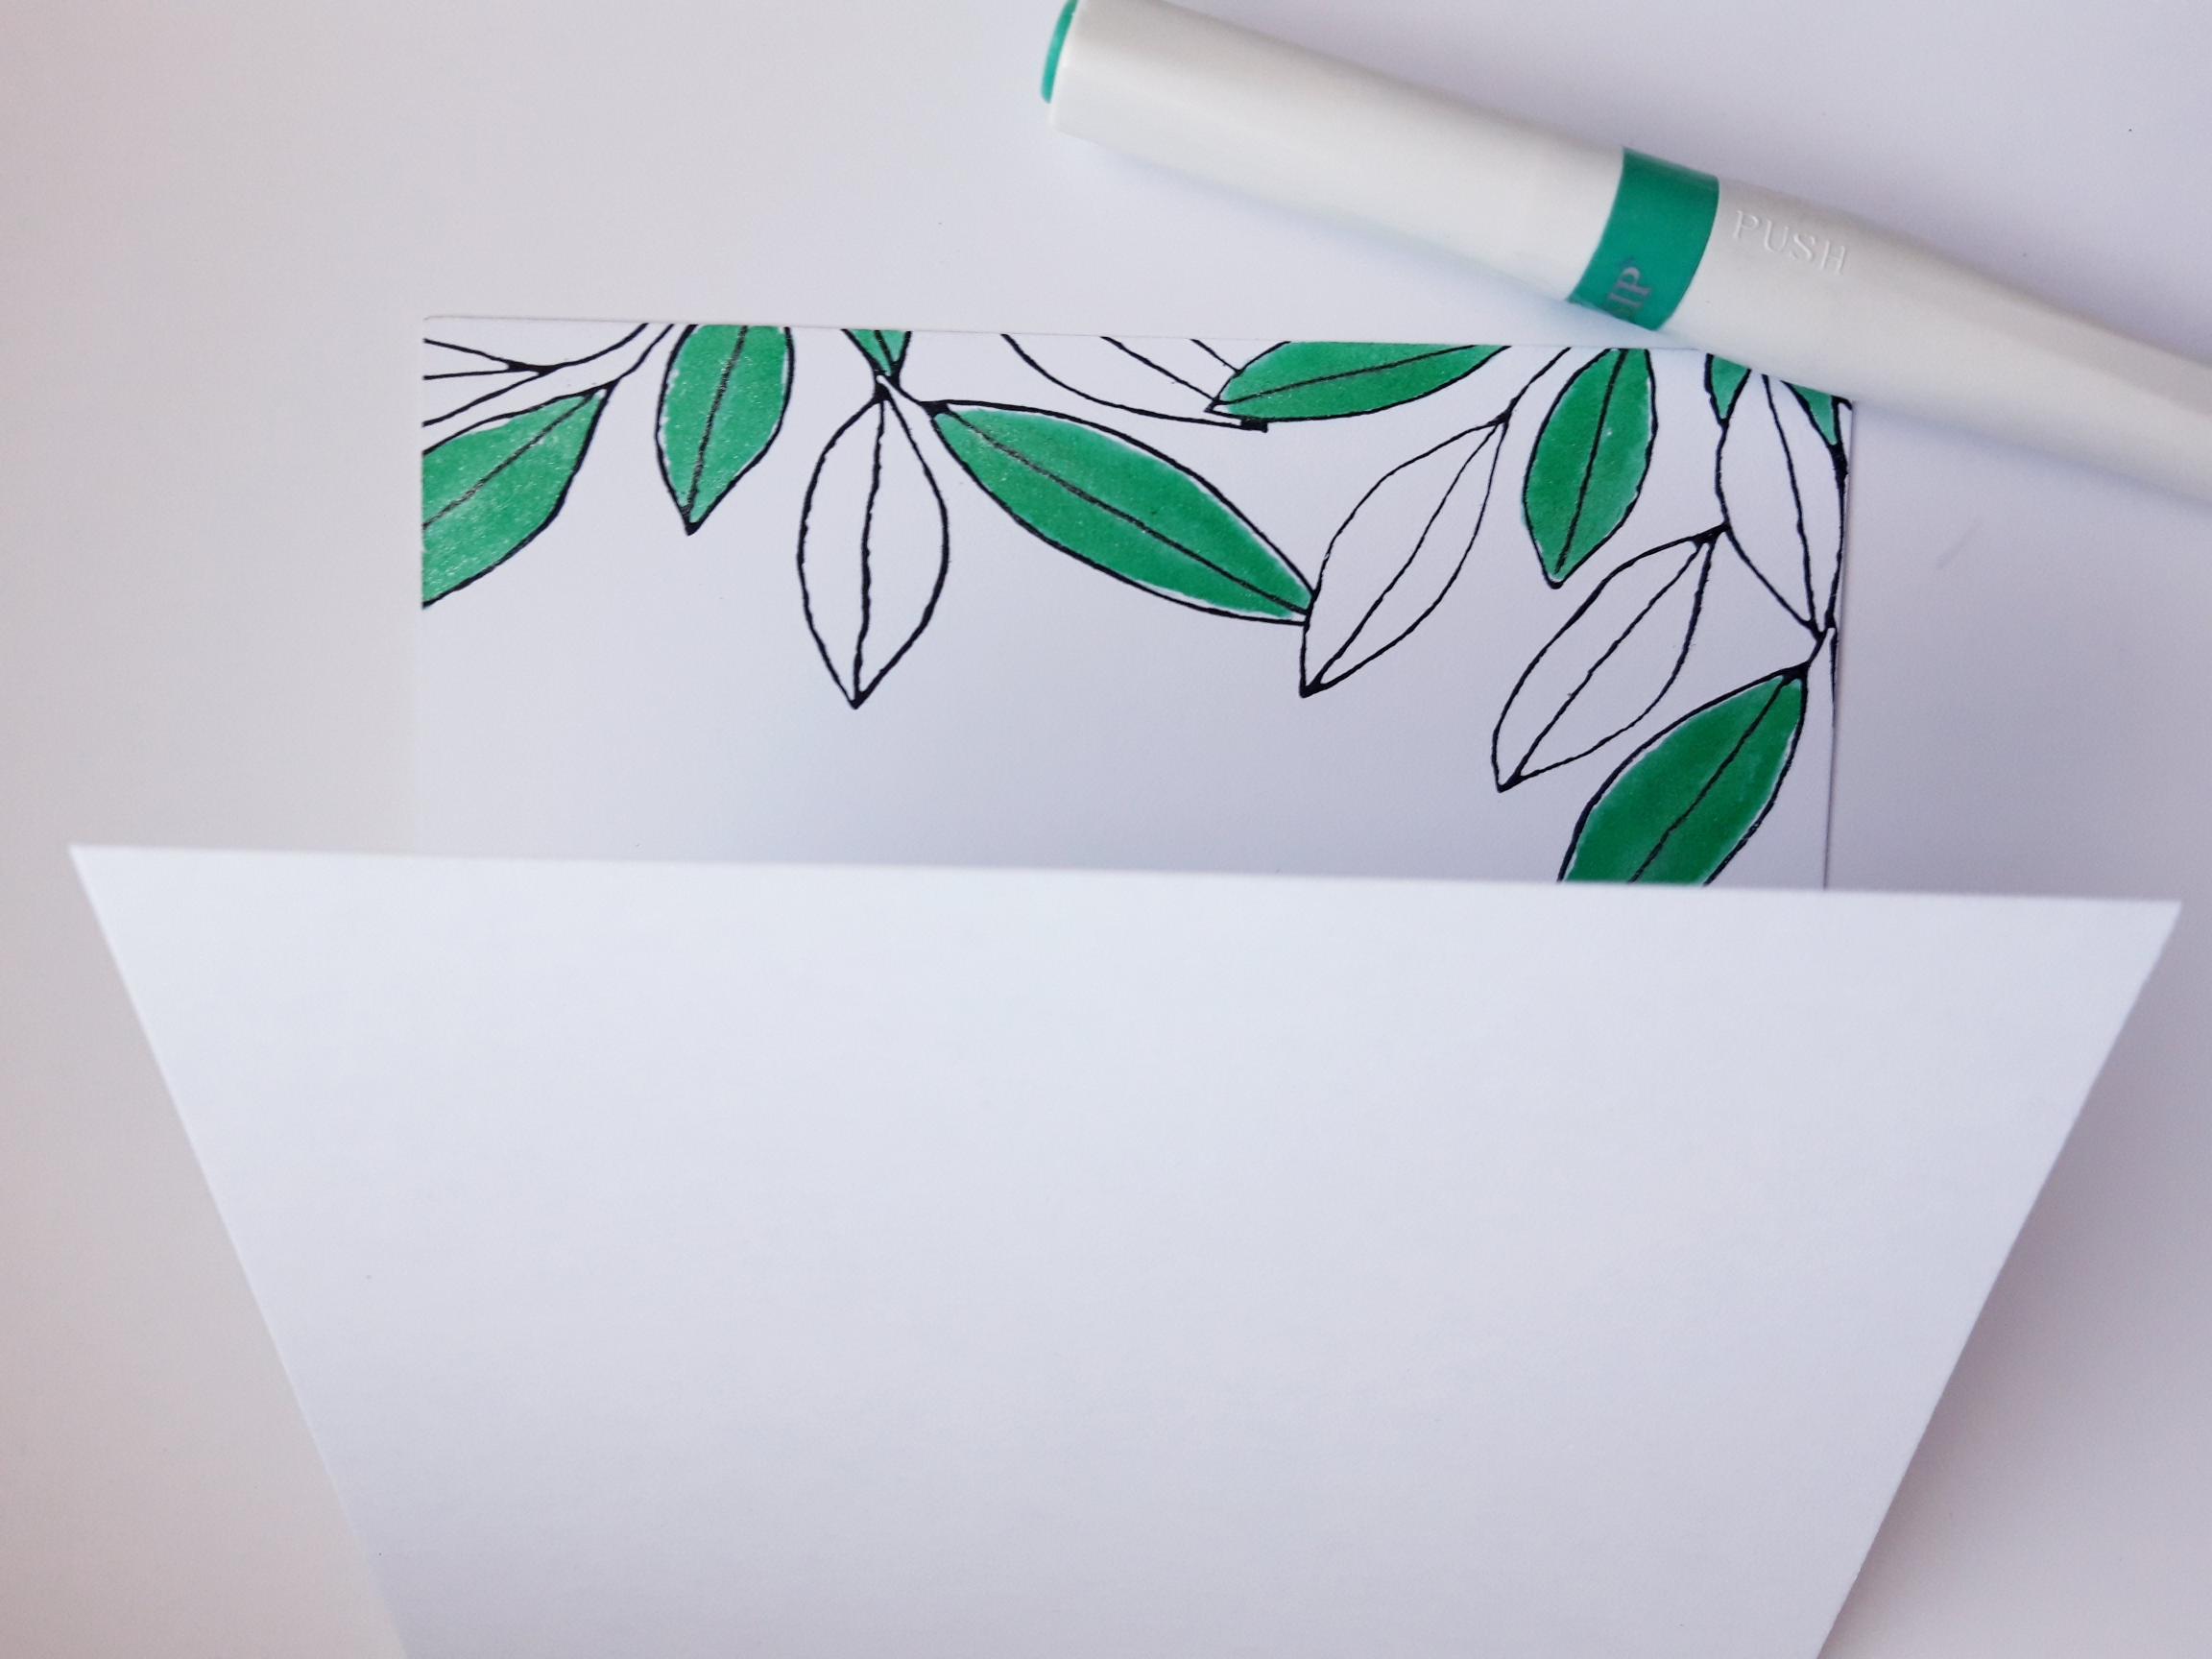
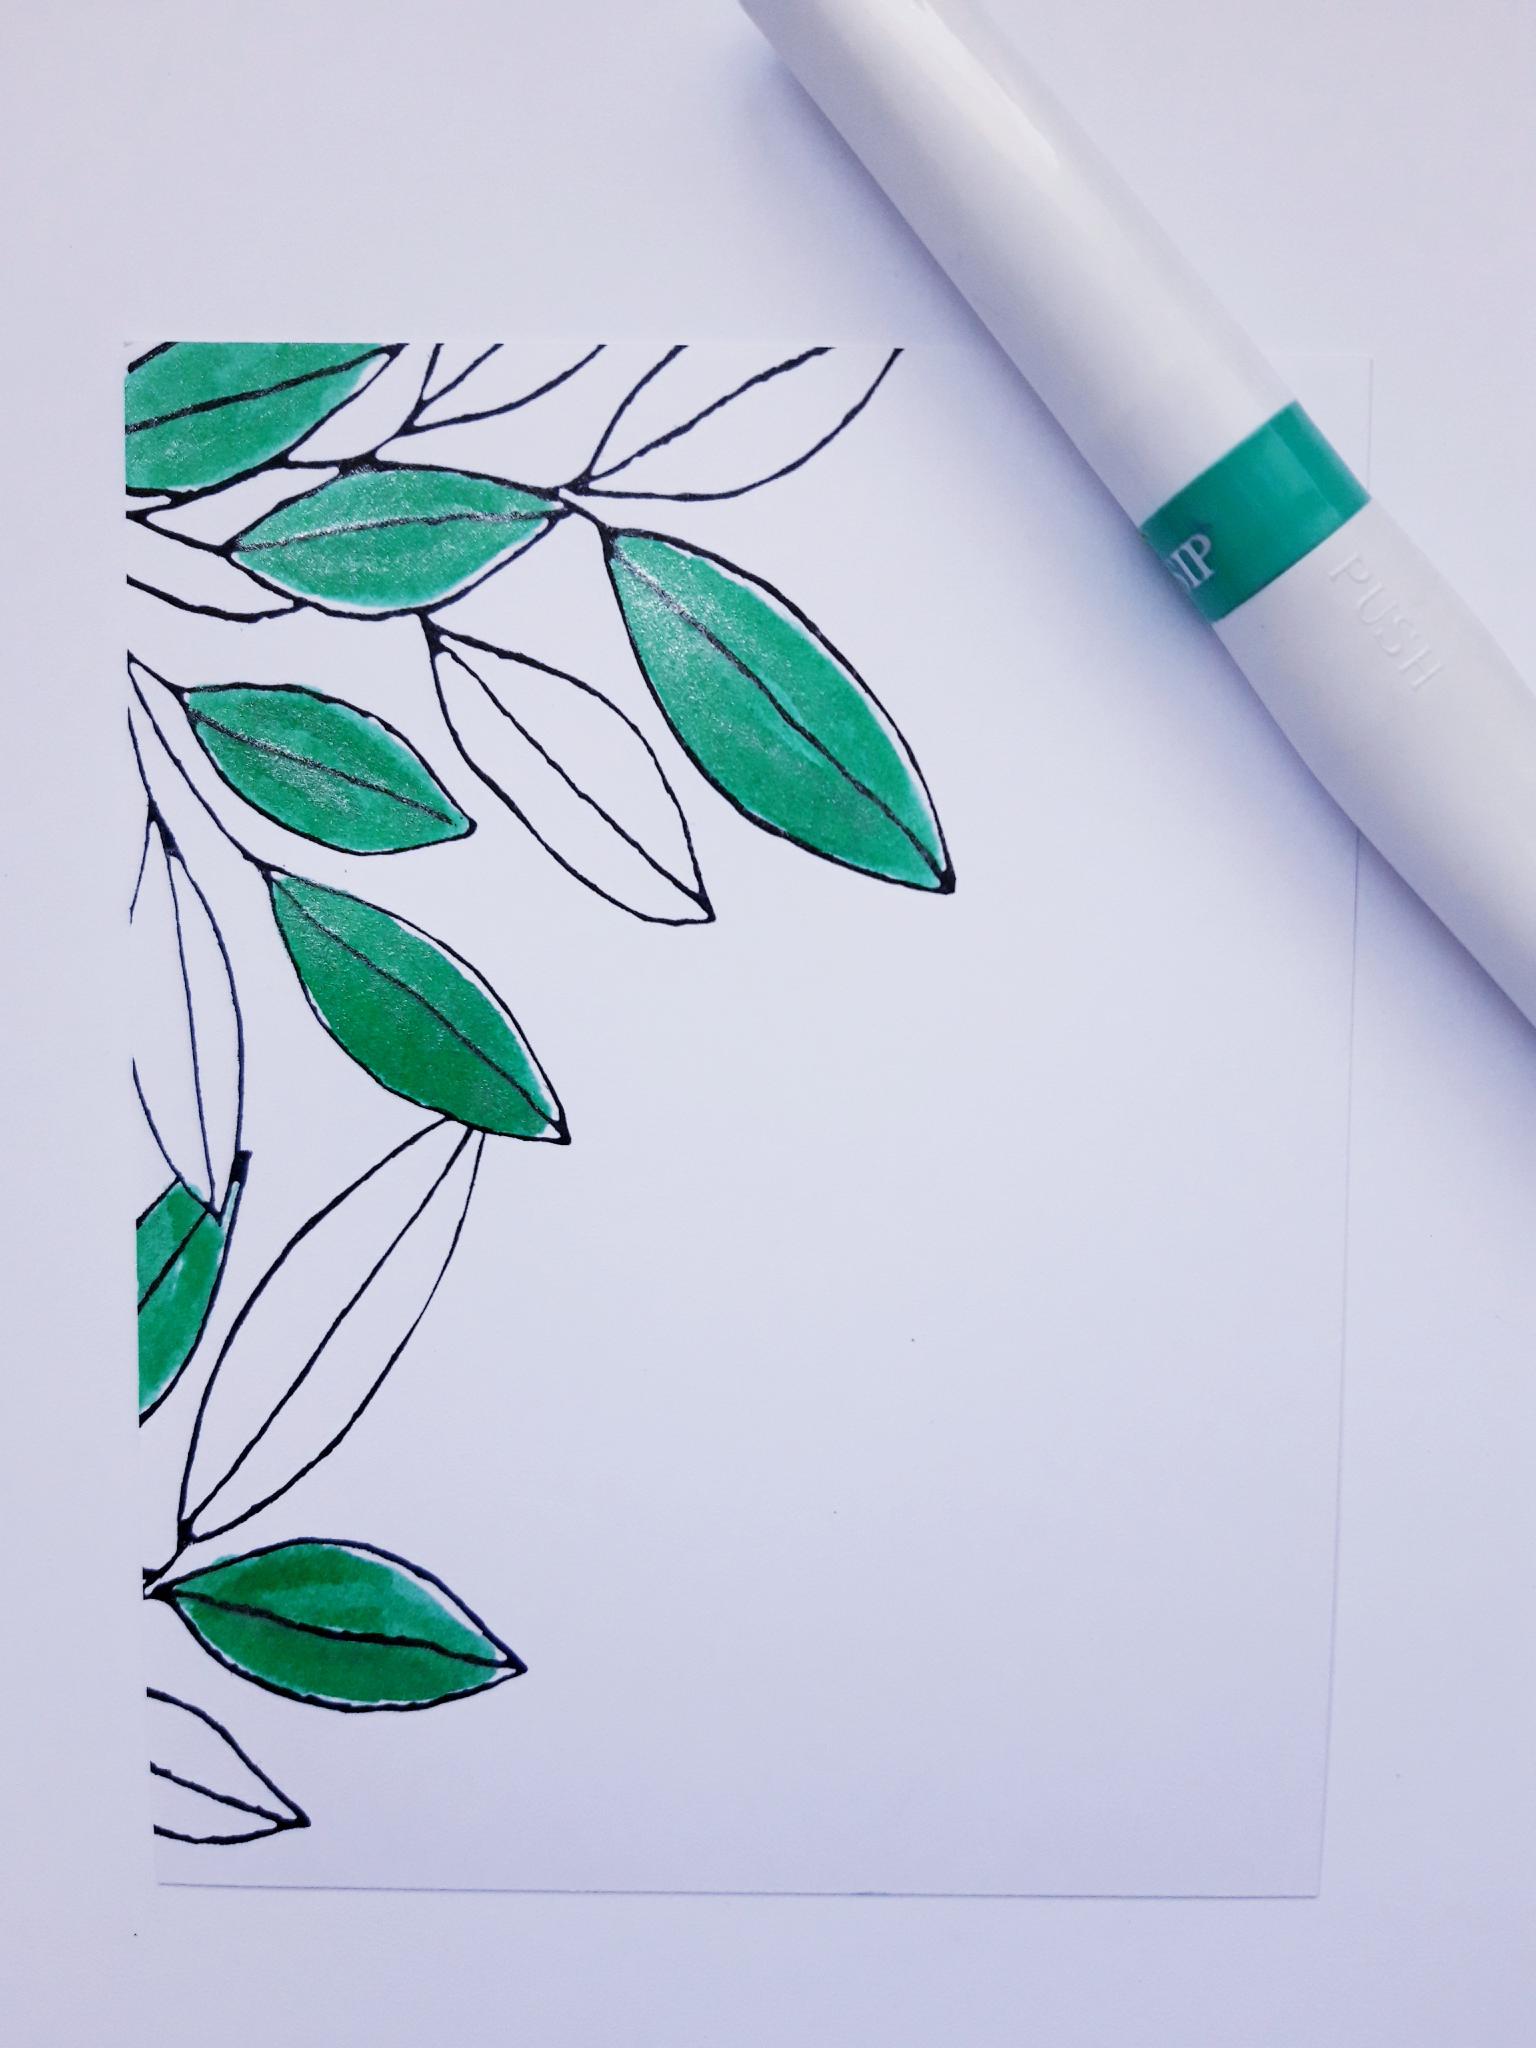
Colour in your stamped foliage image, using the Aqua Gossip Glitter pen. Set this to one side. |
|
Stamp the same foliage stamp down the left hand side, of the white card (5 1/2 x 4 1/4"), with the Versafine. |
|
Once again, use your Aqua Glitter pen to colour in the foliage. |

|
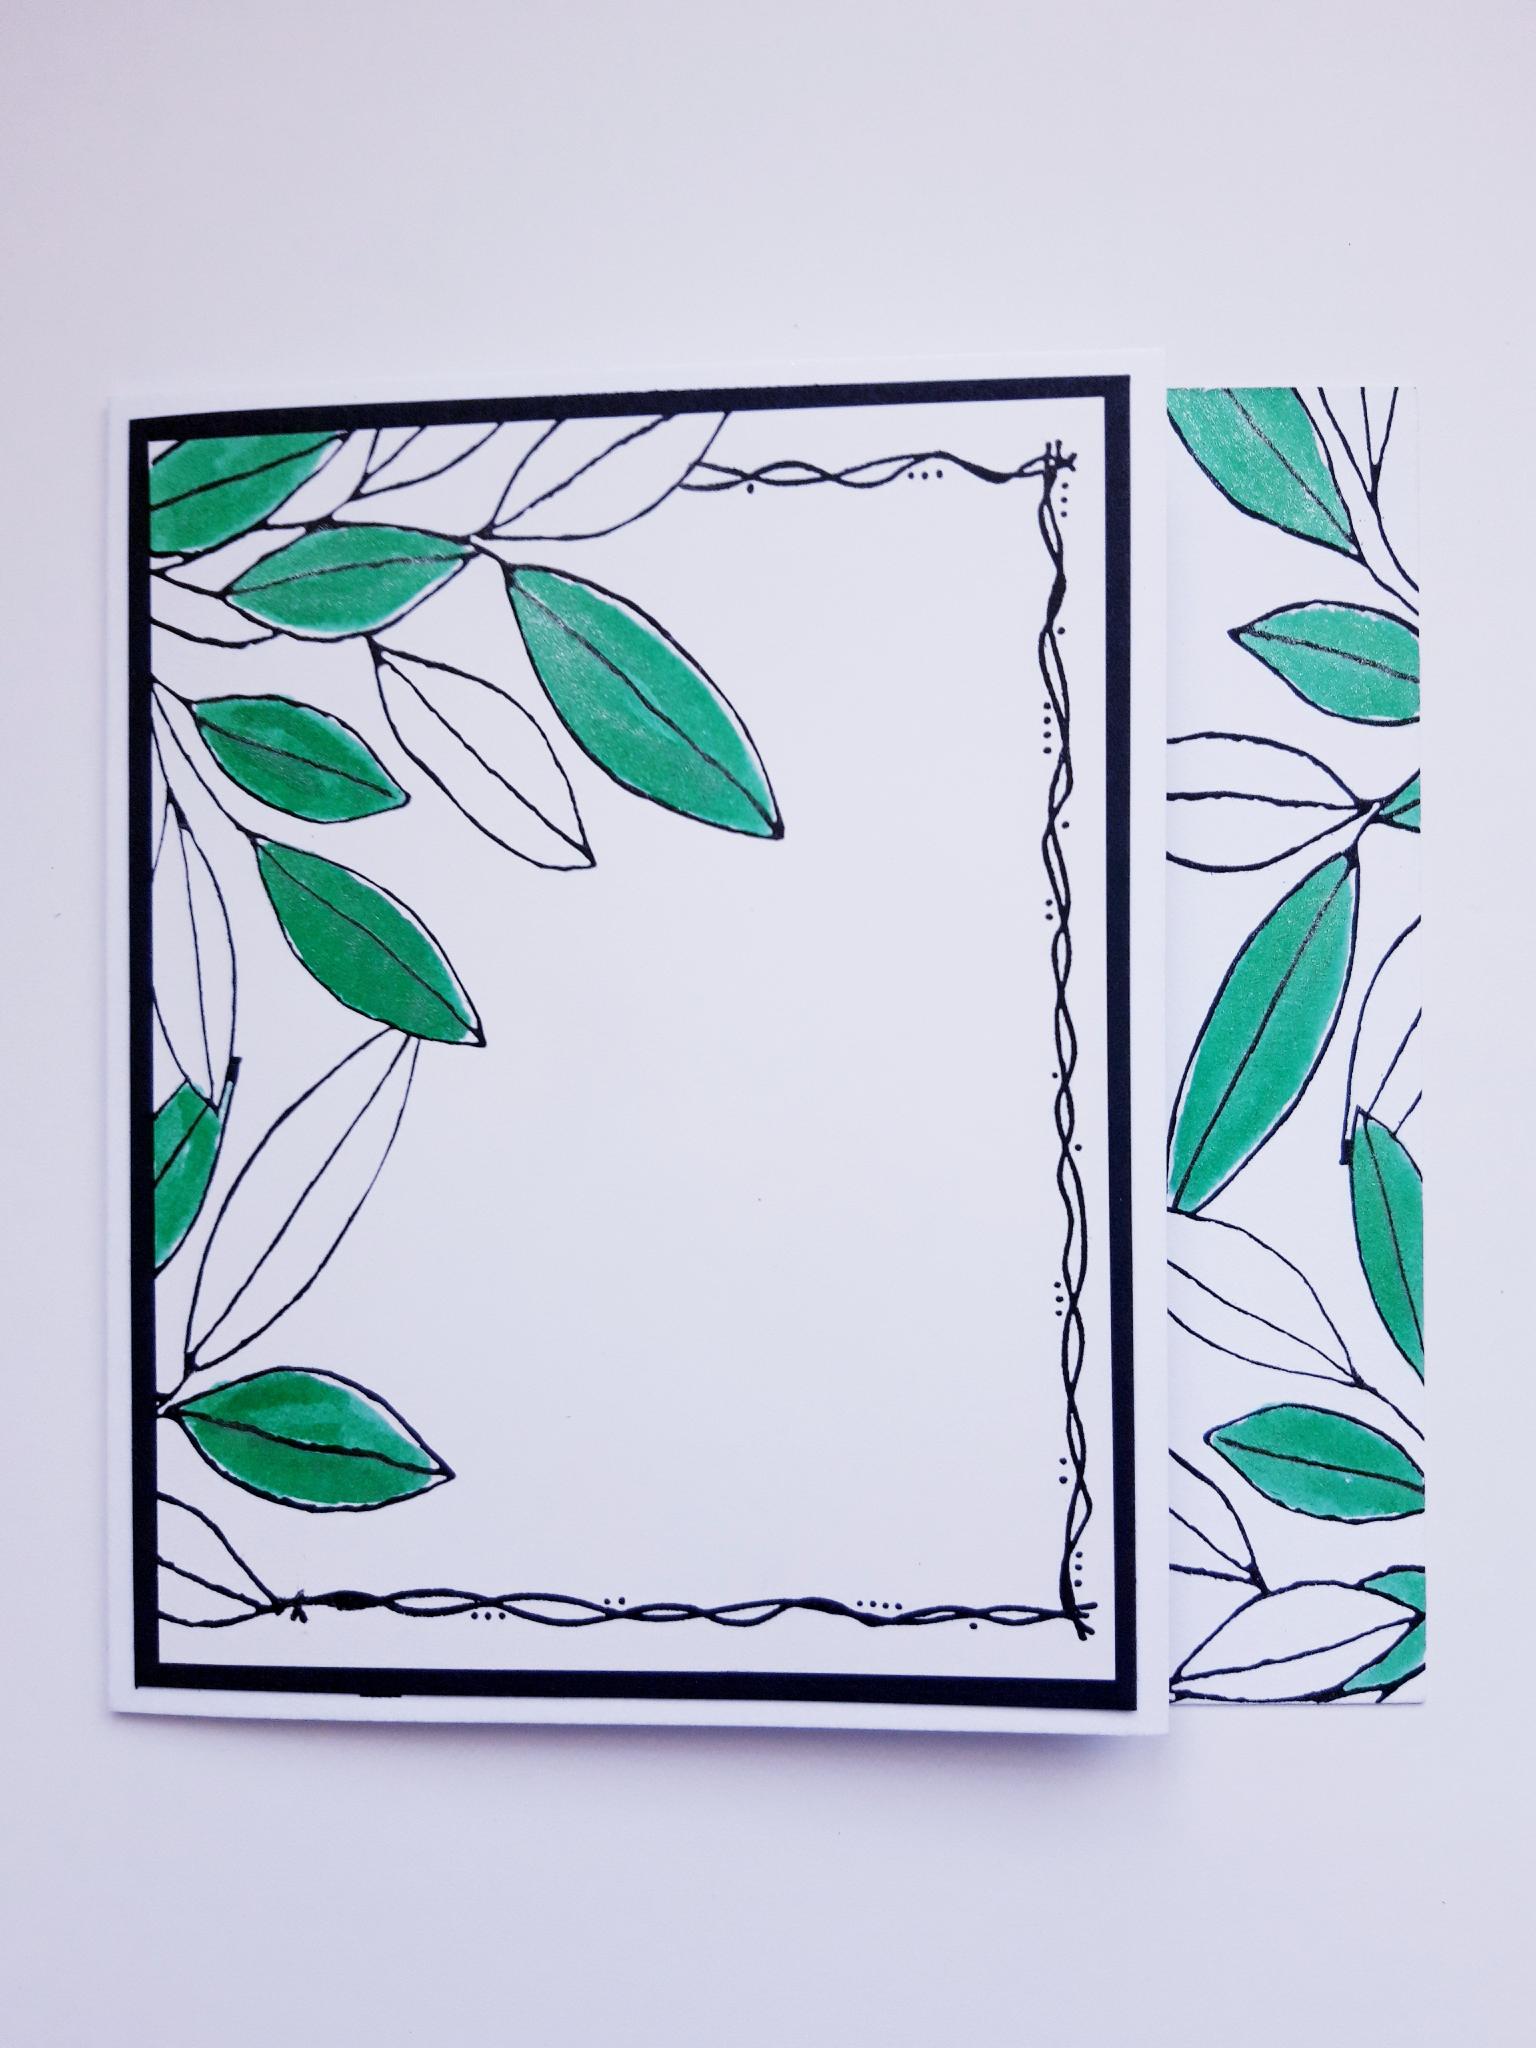
Ink up one of the frame stamps, from the Dot Frame Stamp Collection, with the Versafine. You can decide how big you want your frame to be in relation to your card/ stamped image. You can either mask off your stamped foliage first, or just ink up the area of the stamp you want to use, wiping off any ink where you don't want it to be (the method I use). |

|
Once the ink is dry, adhere it on to the black card (5 3/4 x 4 1/2"). |
|
Adhere this on to the front of your card blank. |
|
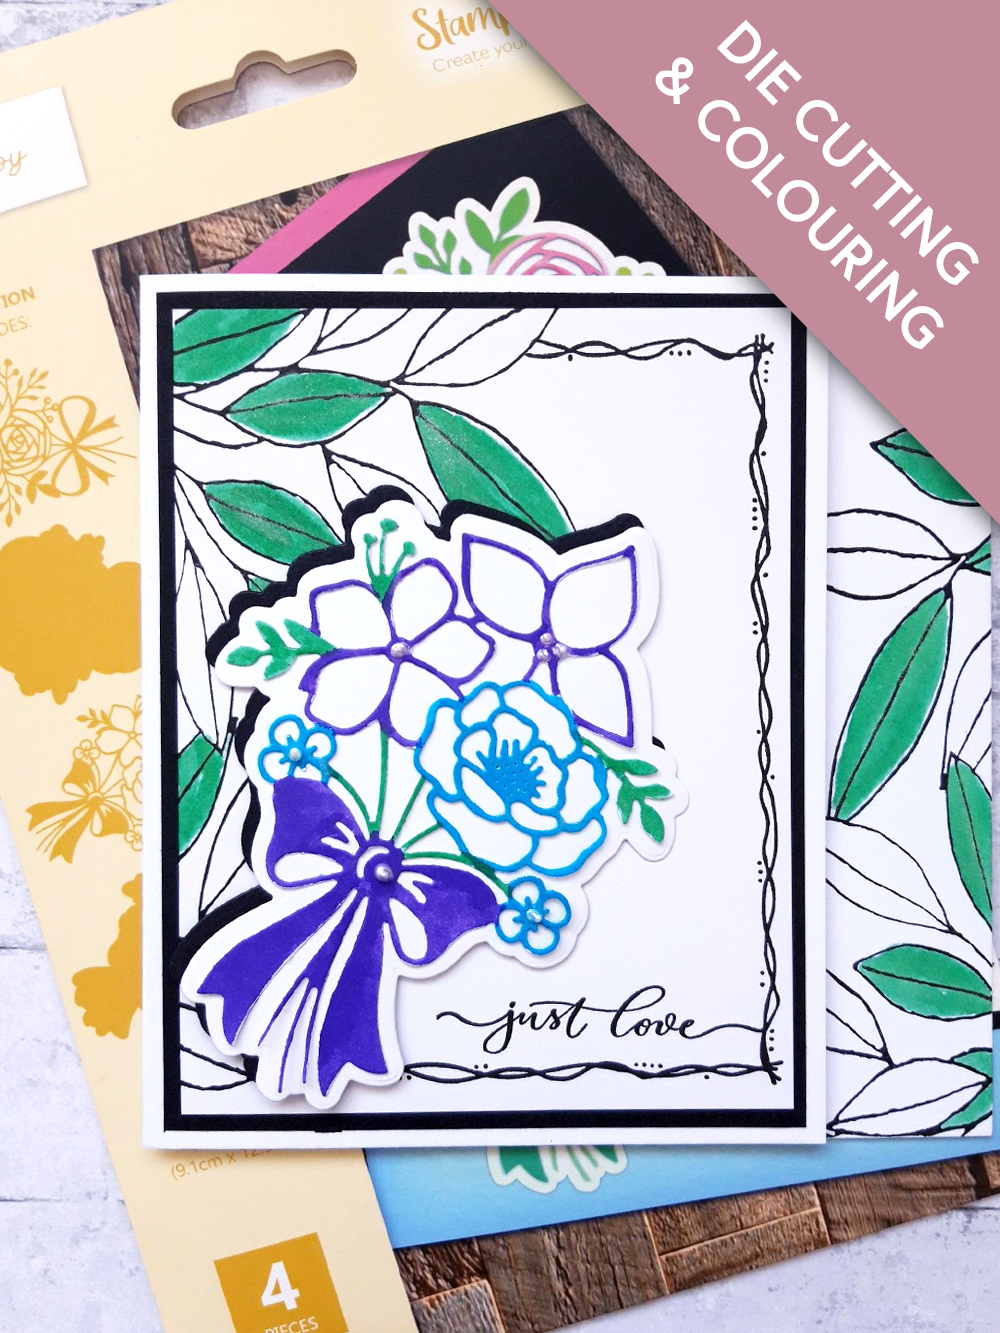
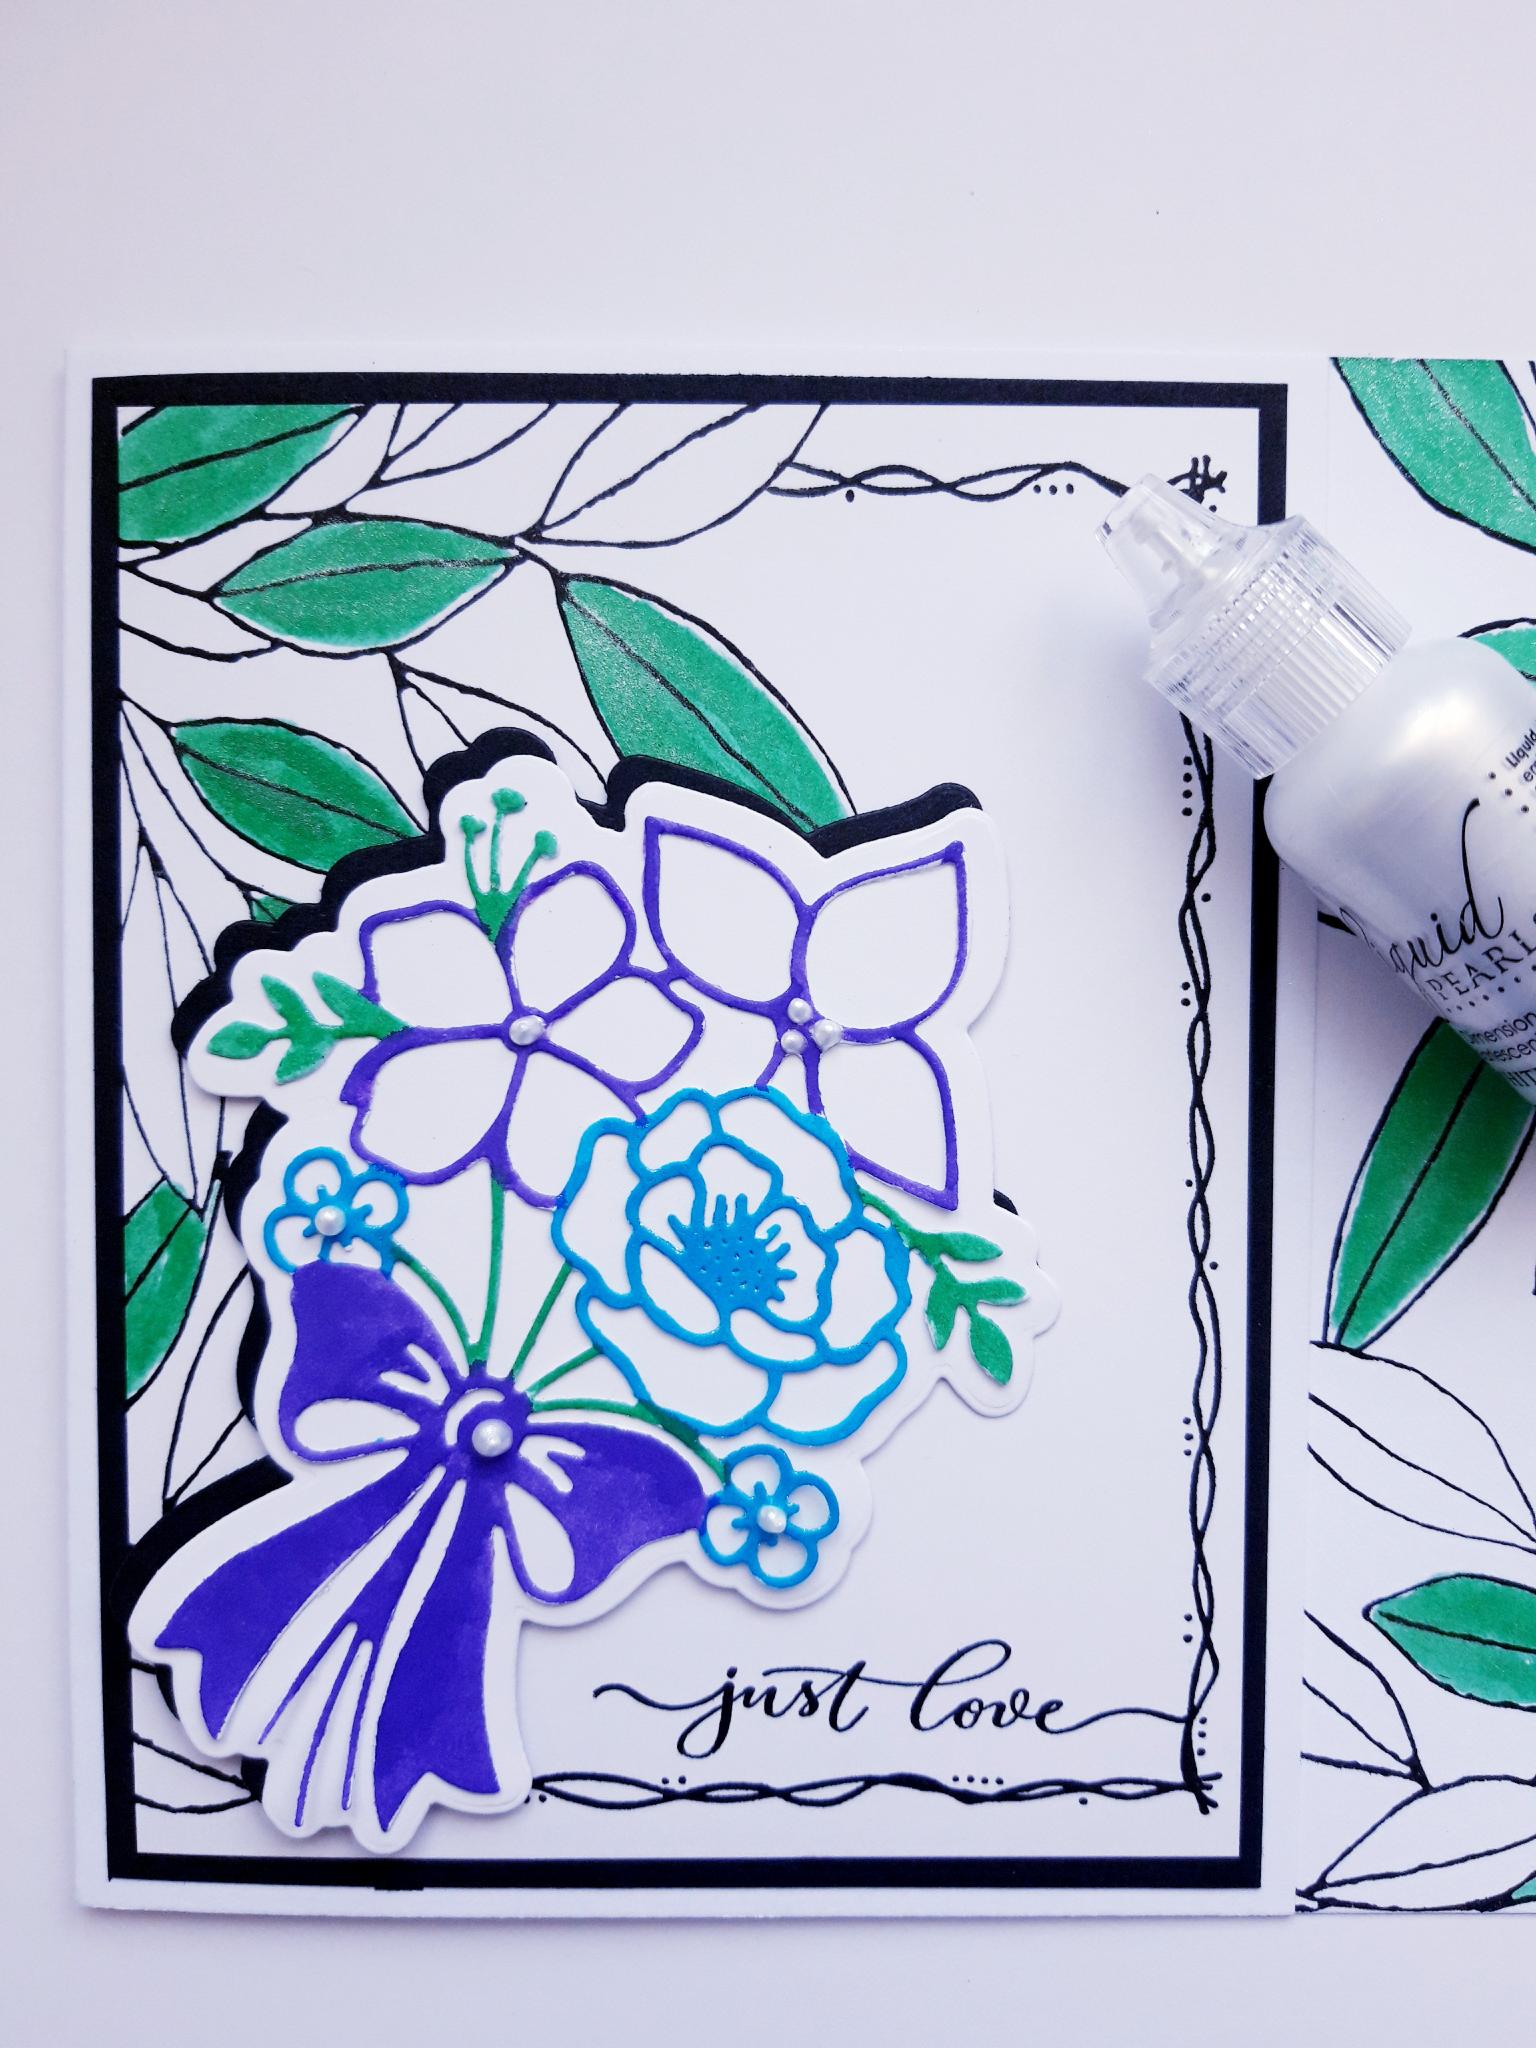
Adhere your die cut, floral element, on to the front of your card. You can use wet glue, or foam pads for added dimension. I also decided to put mine on at a jaunty angle, but you can adhere it straight/centrally, however is preferred. |
|
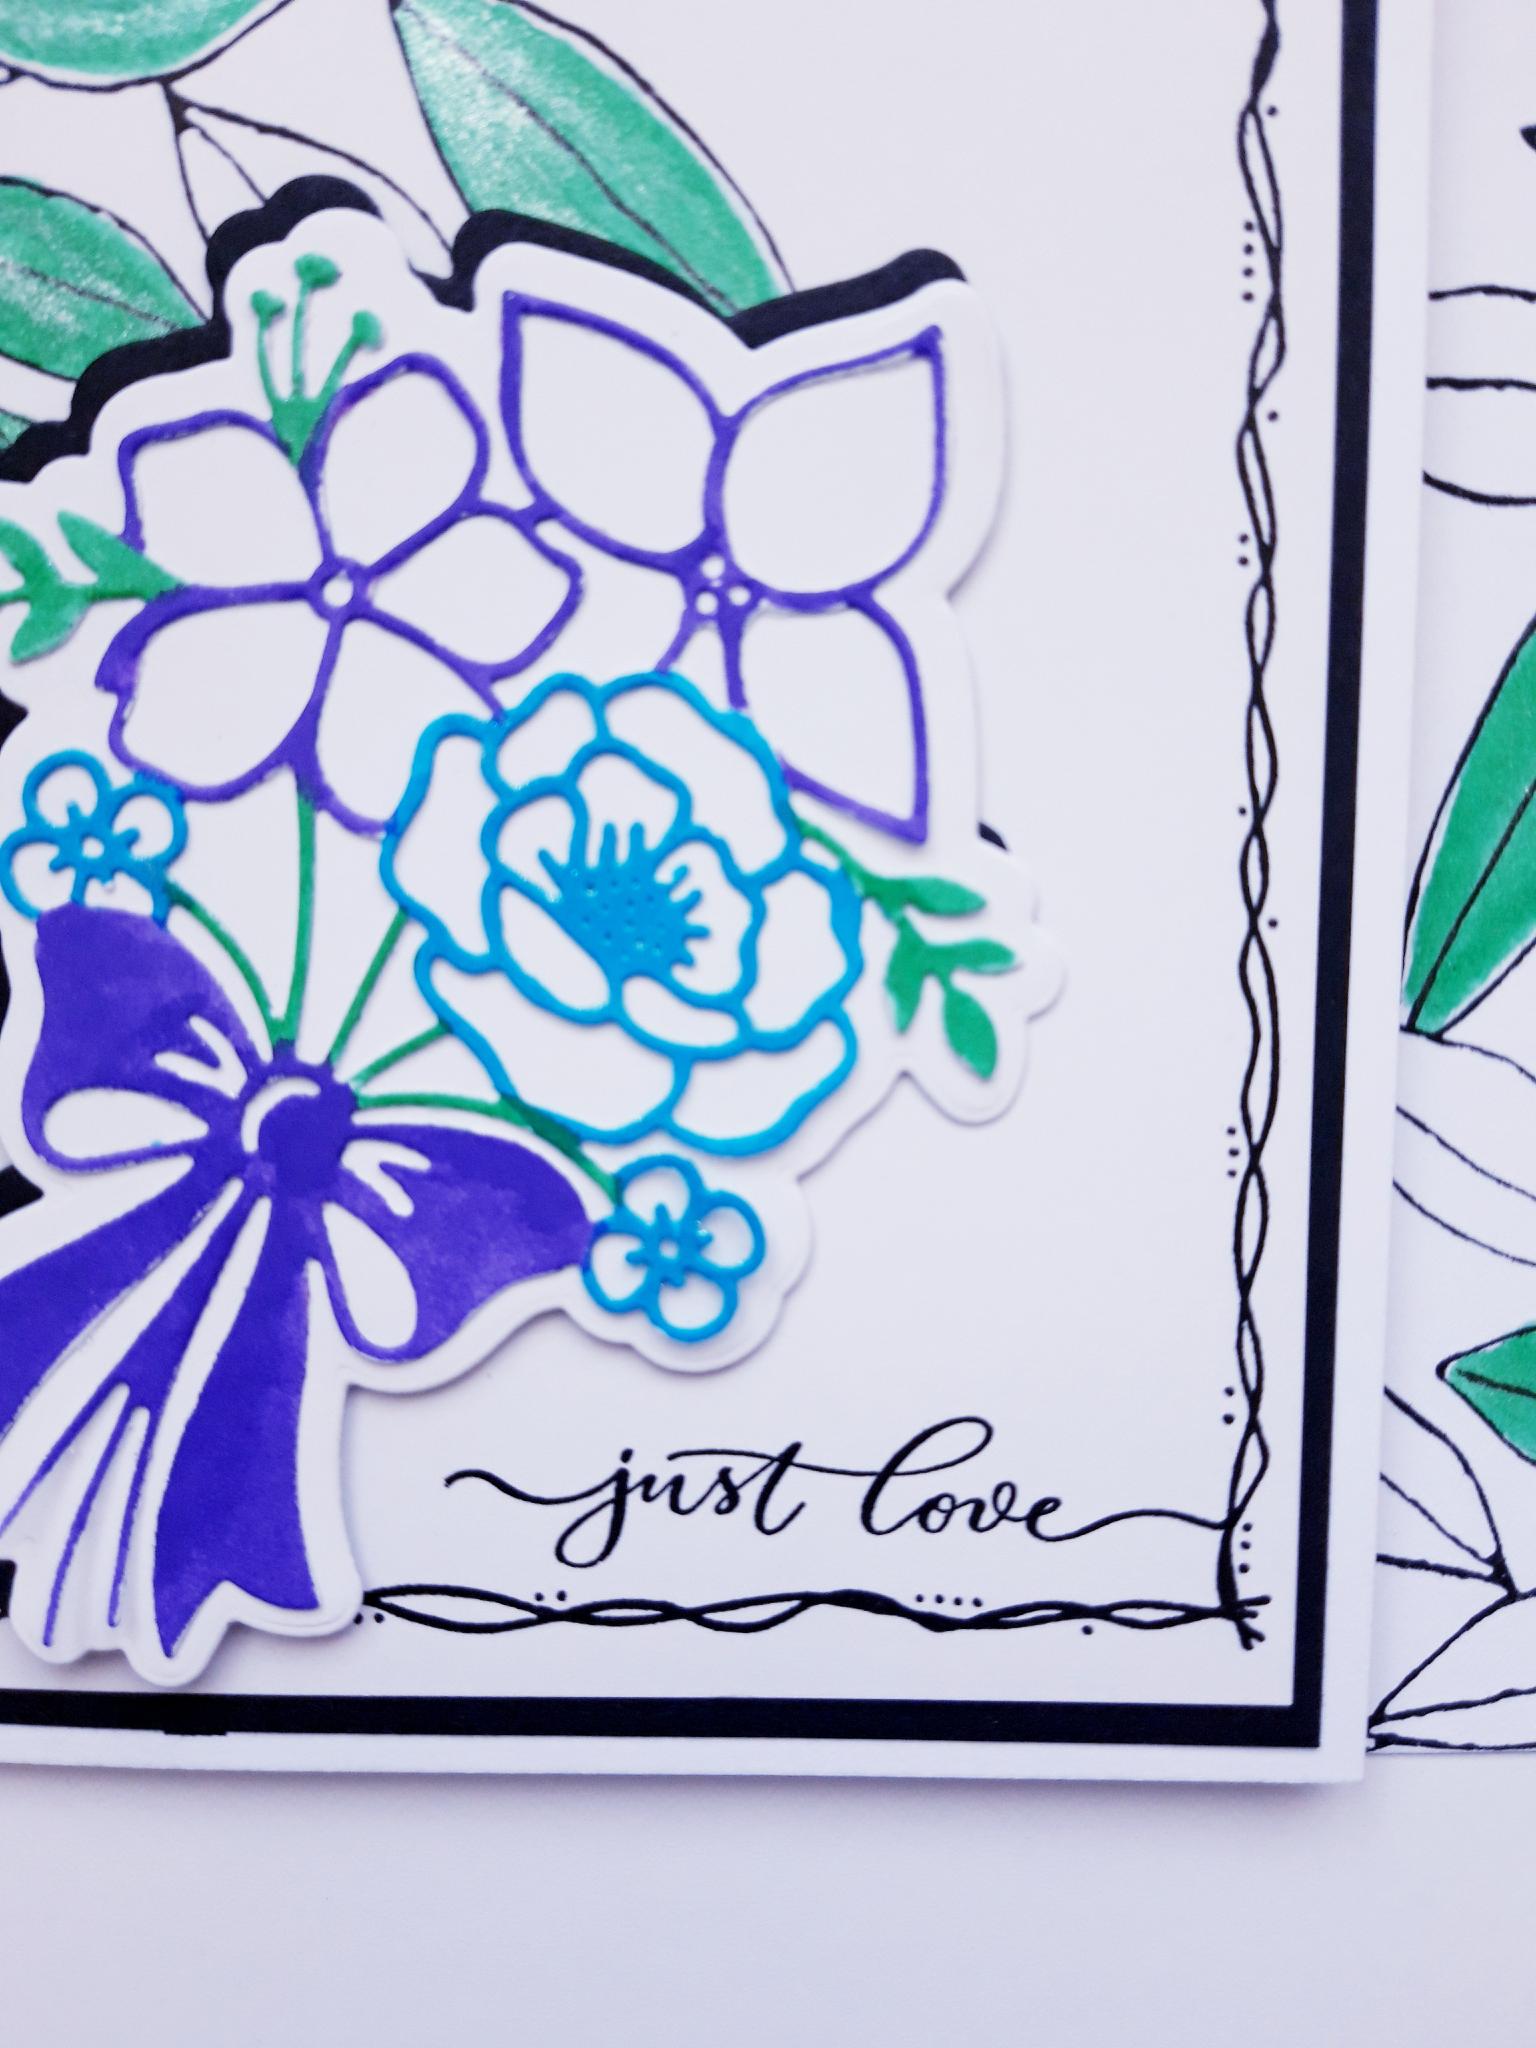
Ink up your sentiment, from the Beautiful Moments Lamination Stamp Collection, with the Versafine. Stamp to the bottom right of your artwork. |
|
To finish, add some liquid pearl drops to the centres of your flowers, and the bow. |