Give your friends $10 off their first order!
Refer a FRIEND


WHAT YOU WILL NEED:
Pink top folding card blank - landscape view (8 1/4 x 5 3/4")
White card A4
Black card (4 x 2")
Dies from Beaming Smile Die Collection
Dies from Kind Friends Die Collection
Stamps from Love You Stamp Collection
Imala Collage Paper Pad
Versafine Ink Pad: Onyx Black
HIMI Oil Pencils: Yellows, Greens, Blues, Pink, Black
Black pen
Eureka 101
Paper Trimmer
Perfect Together Glue
Foam Pads
Die Cutting machine
[click image to enlarge] 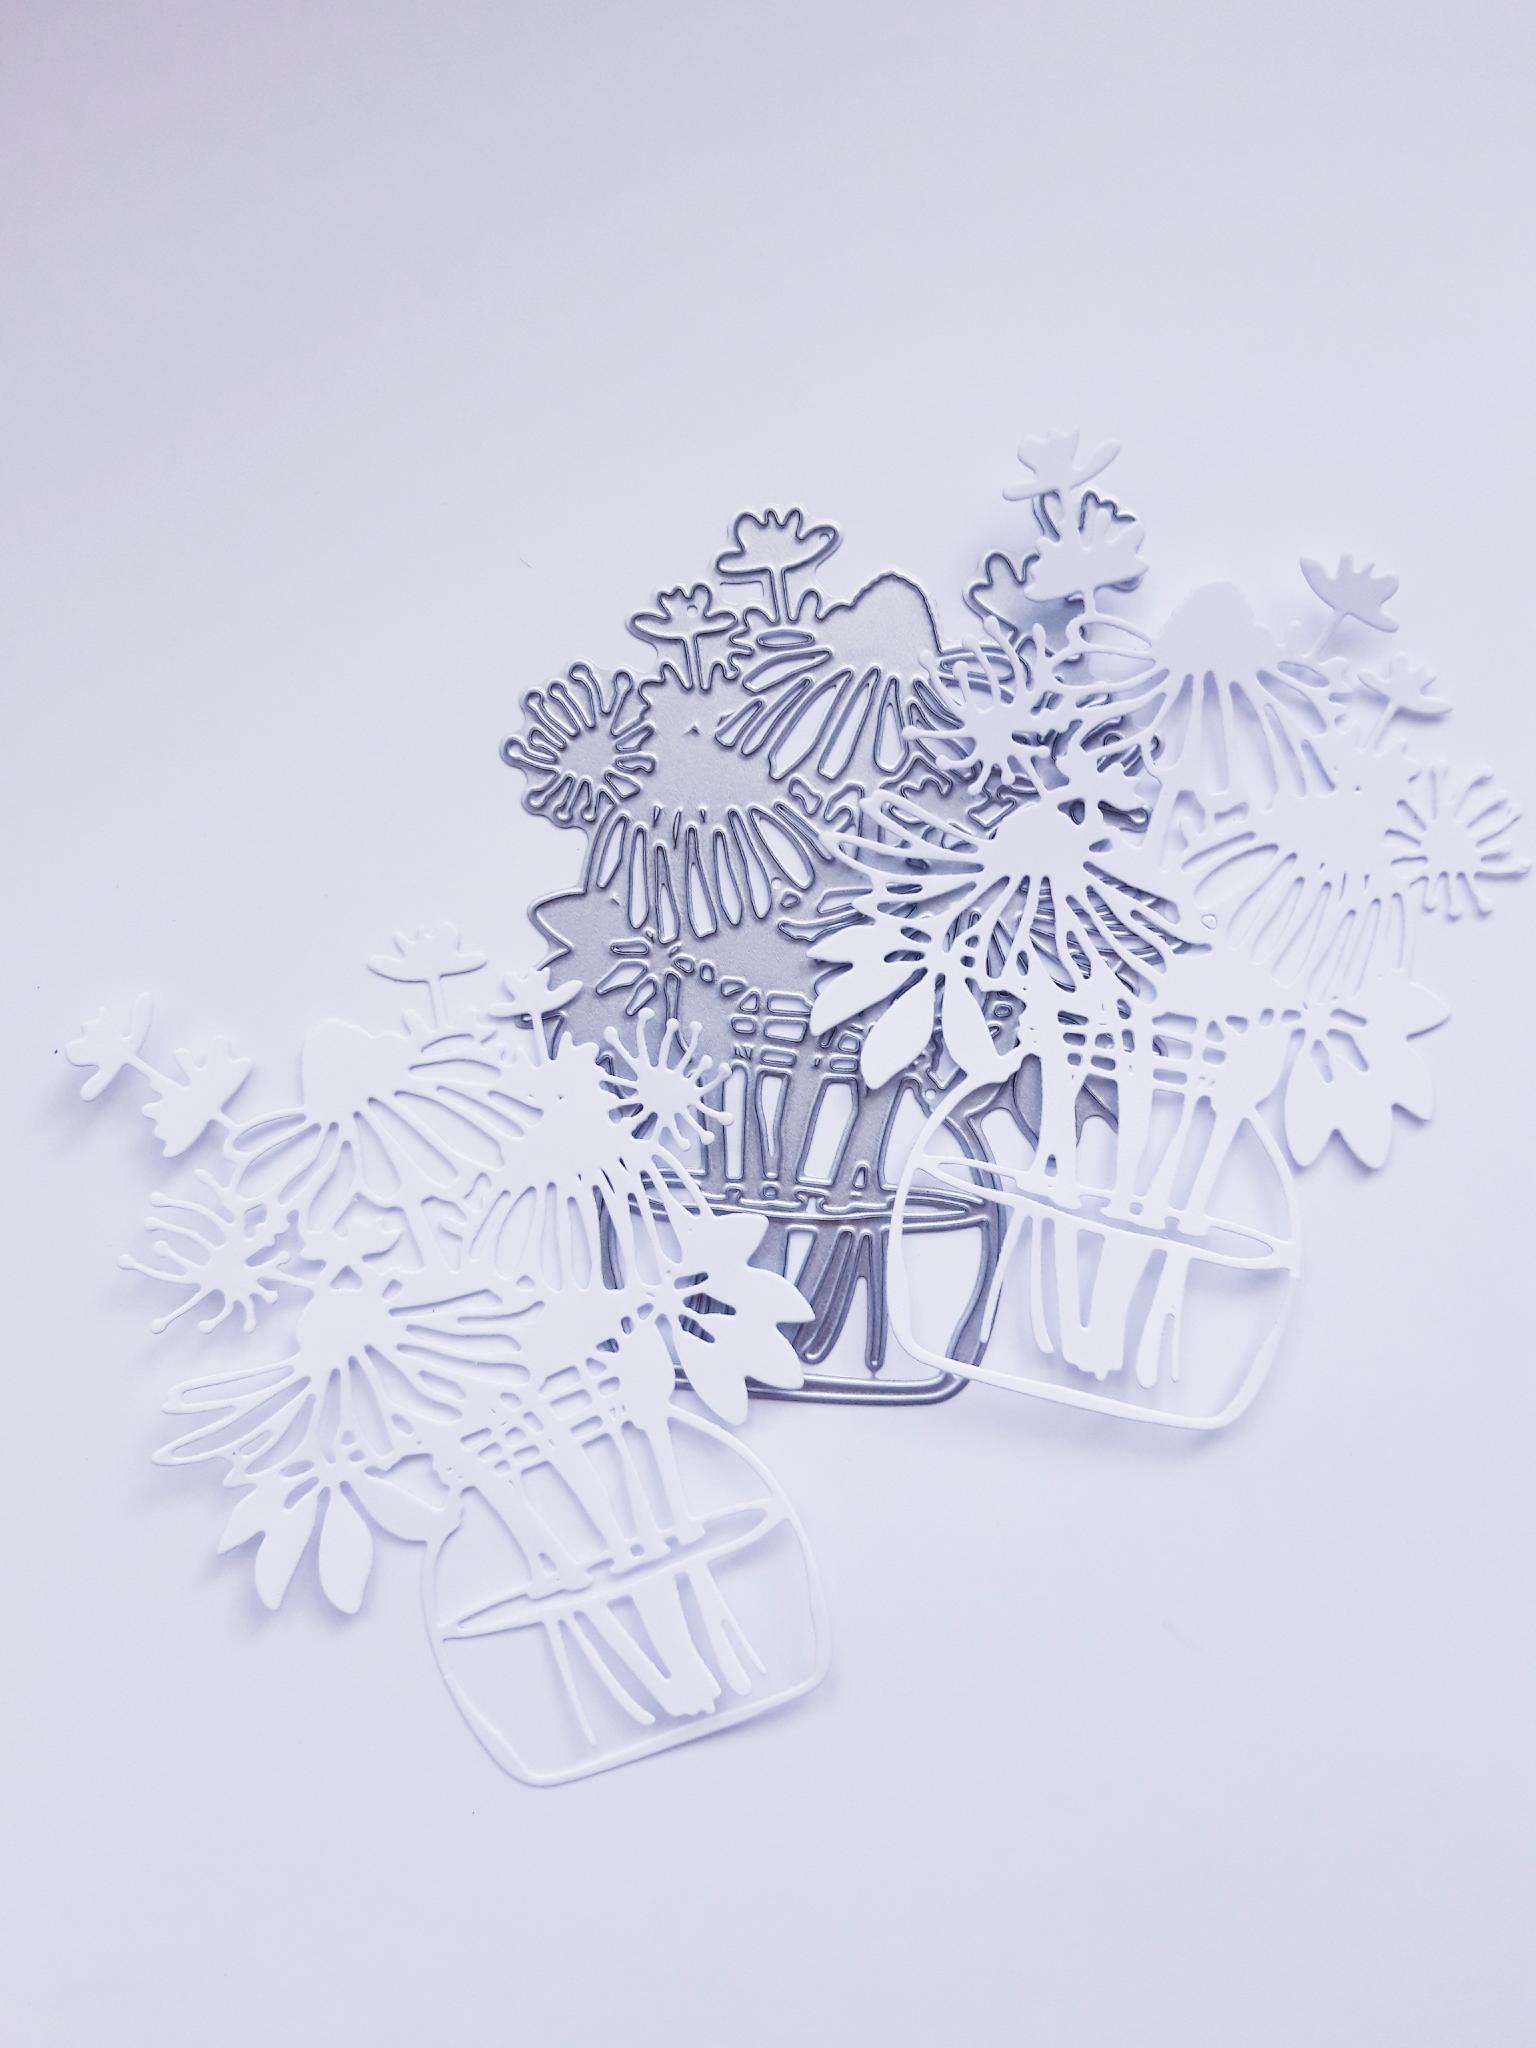
|
Place this die, from the Beaming Smile Die Collection, on to one corner of the A4 white card. Cut the card bigger than the die, setting the remainder of the white card to one side. Run your die through your die cutting machine. Repeat this step again, so you have TWO white die cut floral elements. |

|
Place this coordinating die on to the leftover white card, and run it through your die cutting machine. |
|
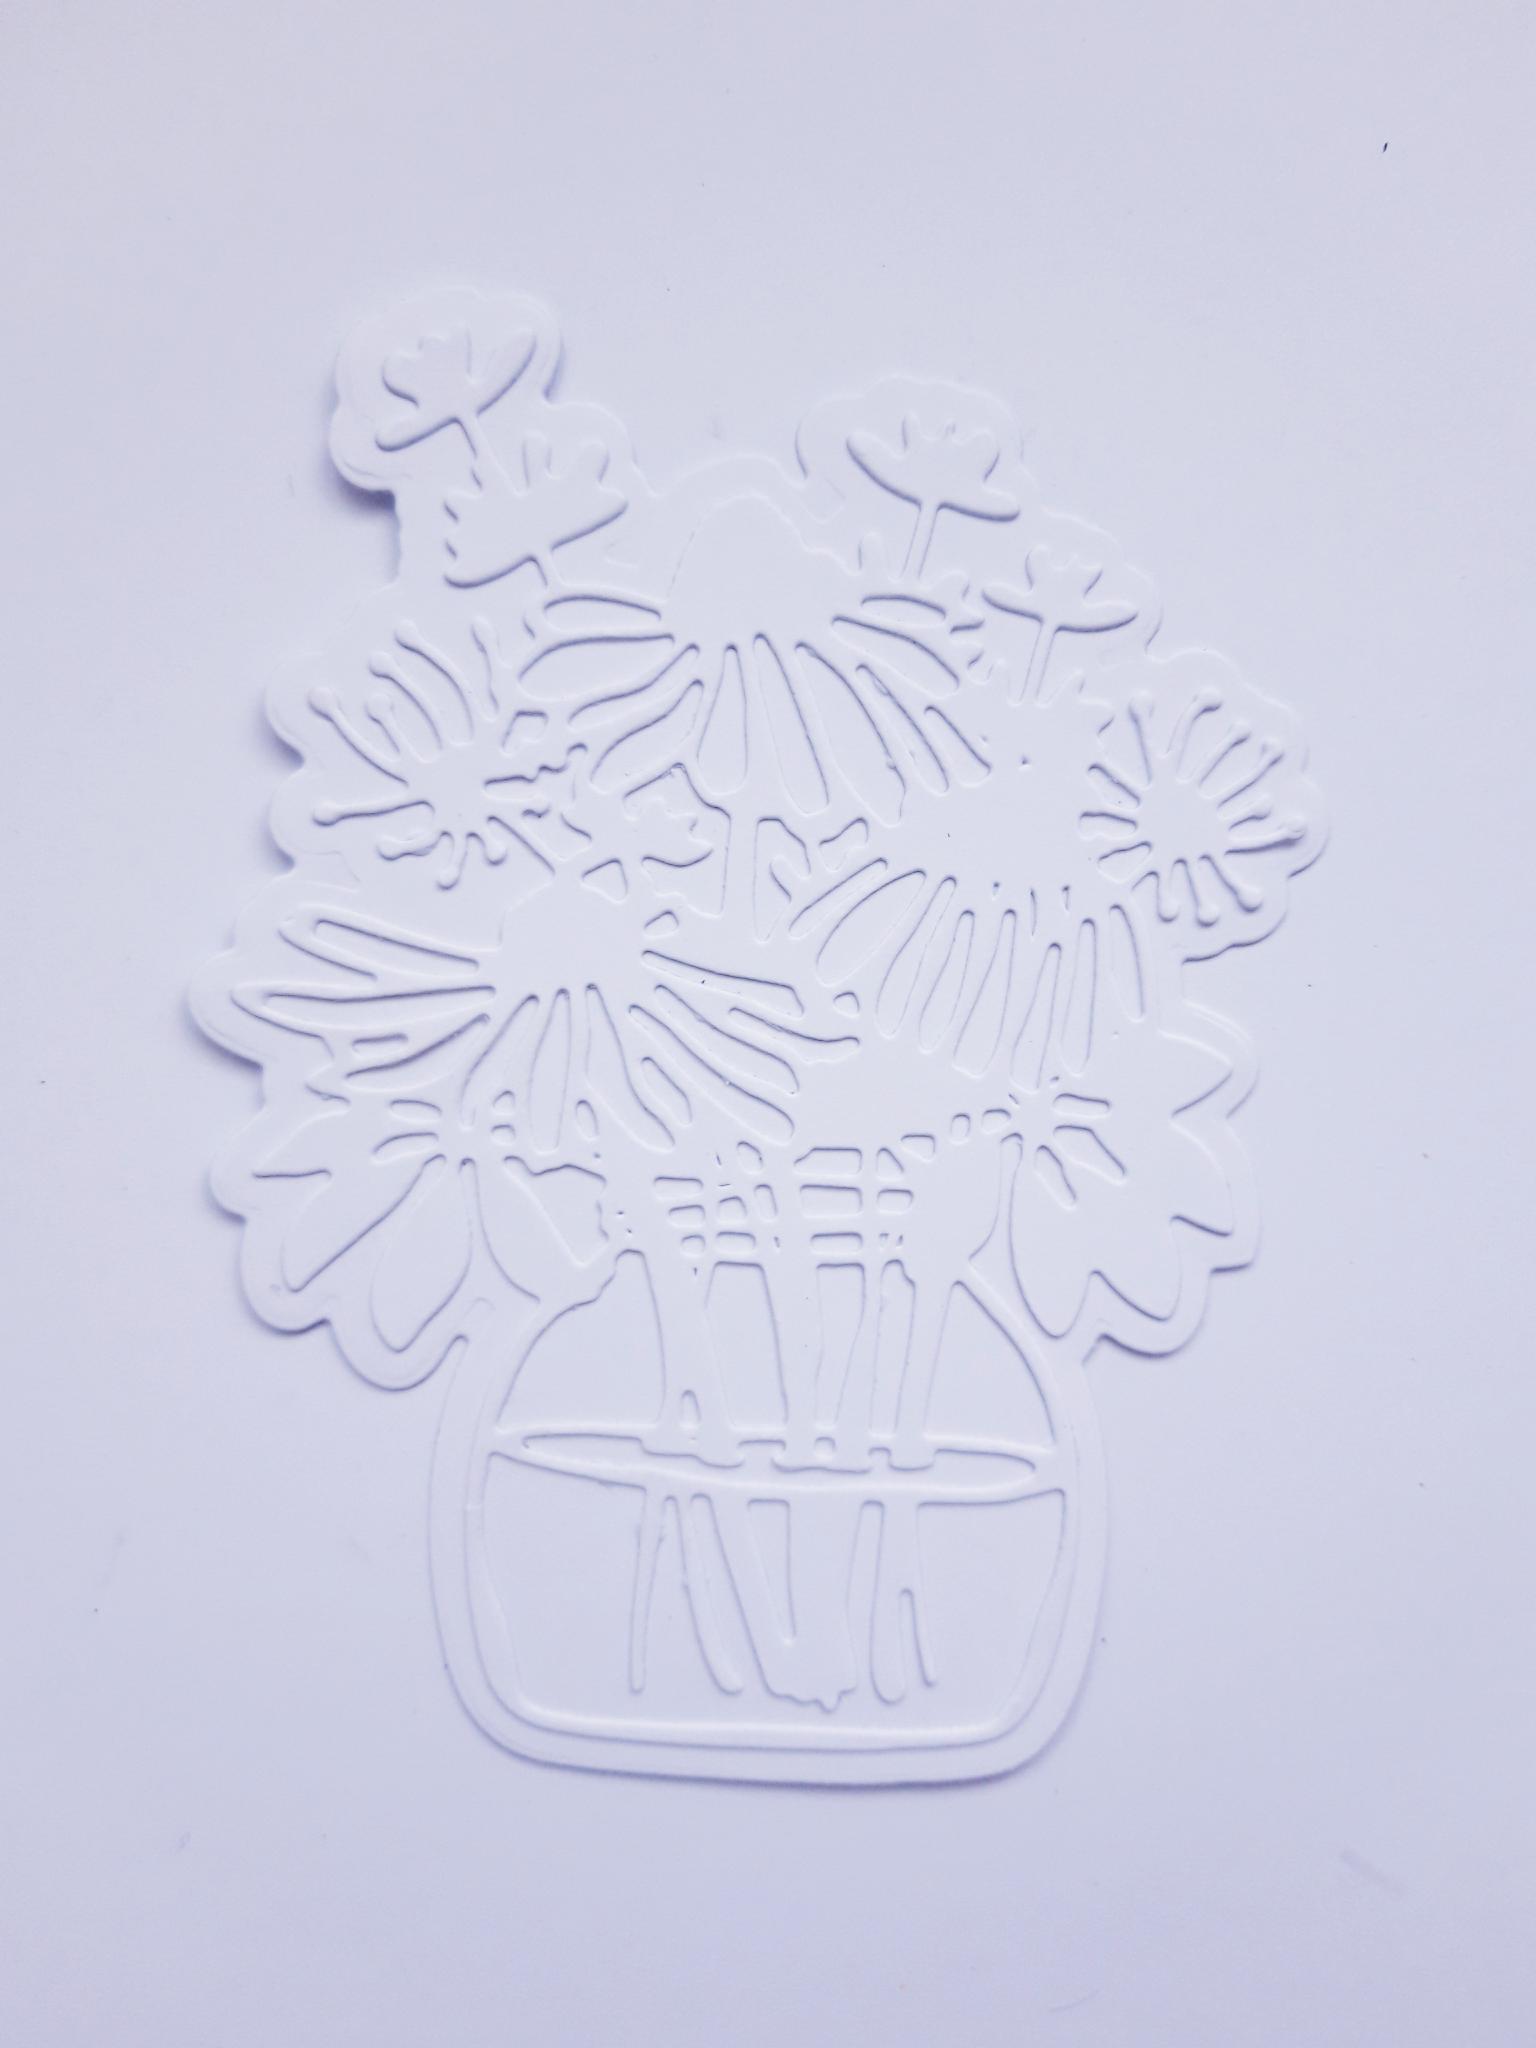
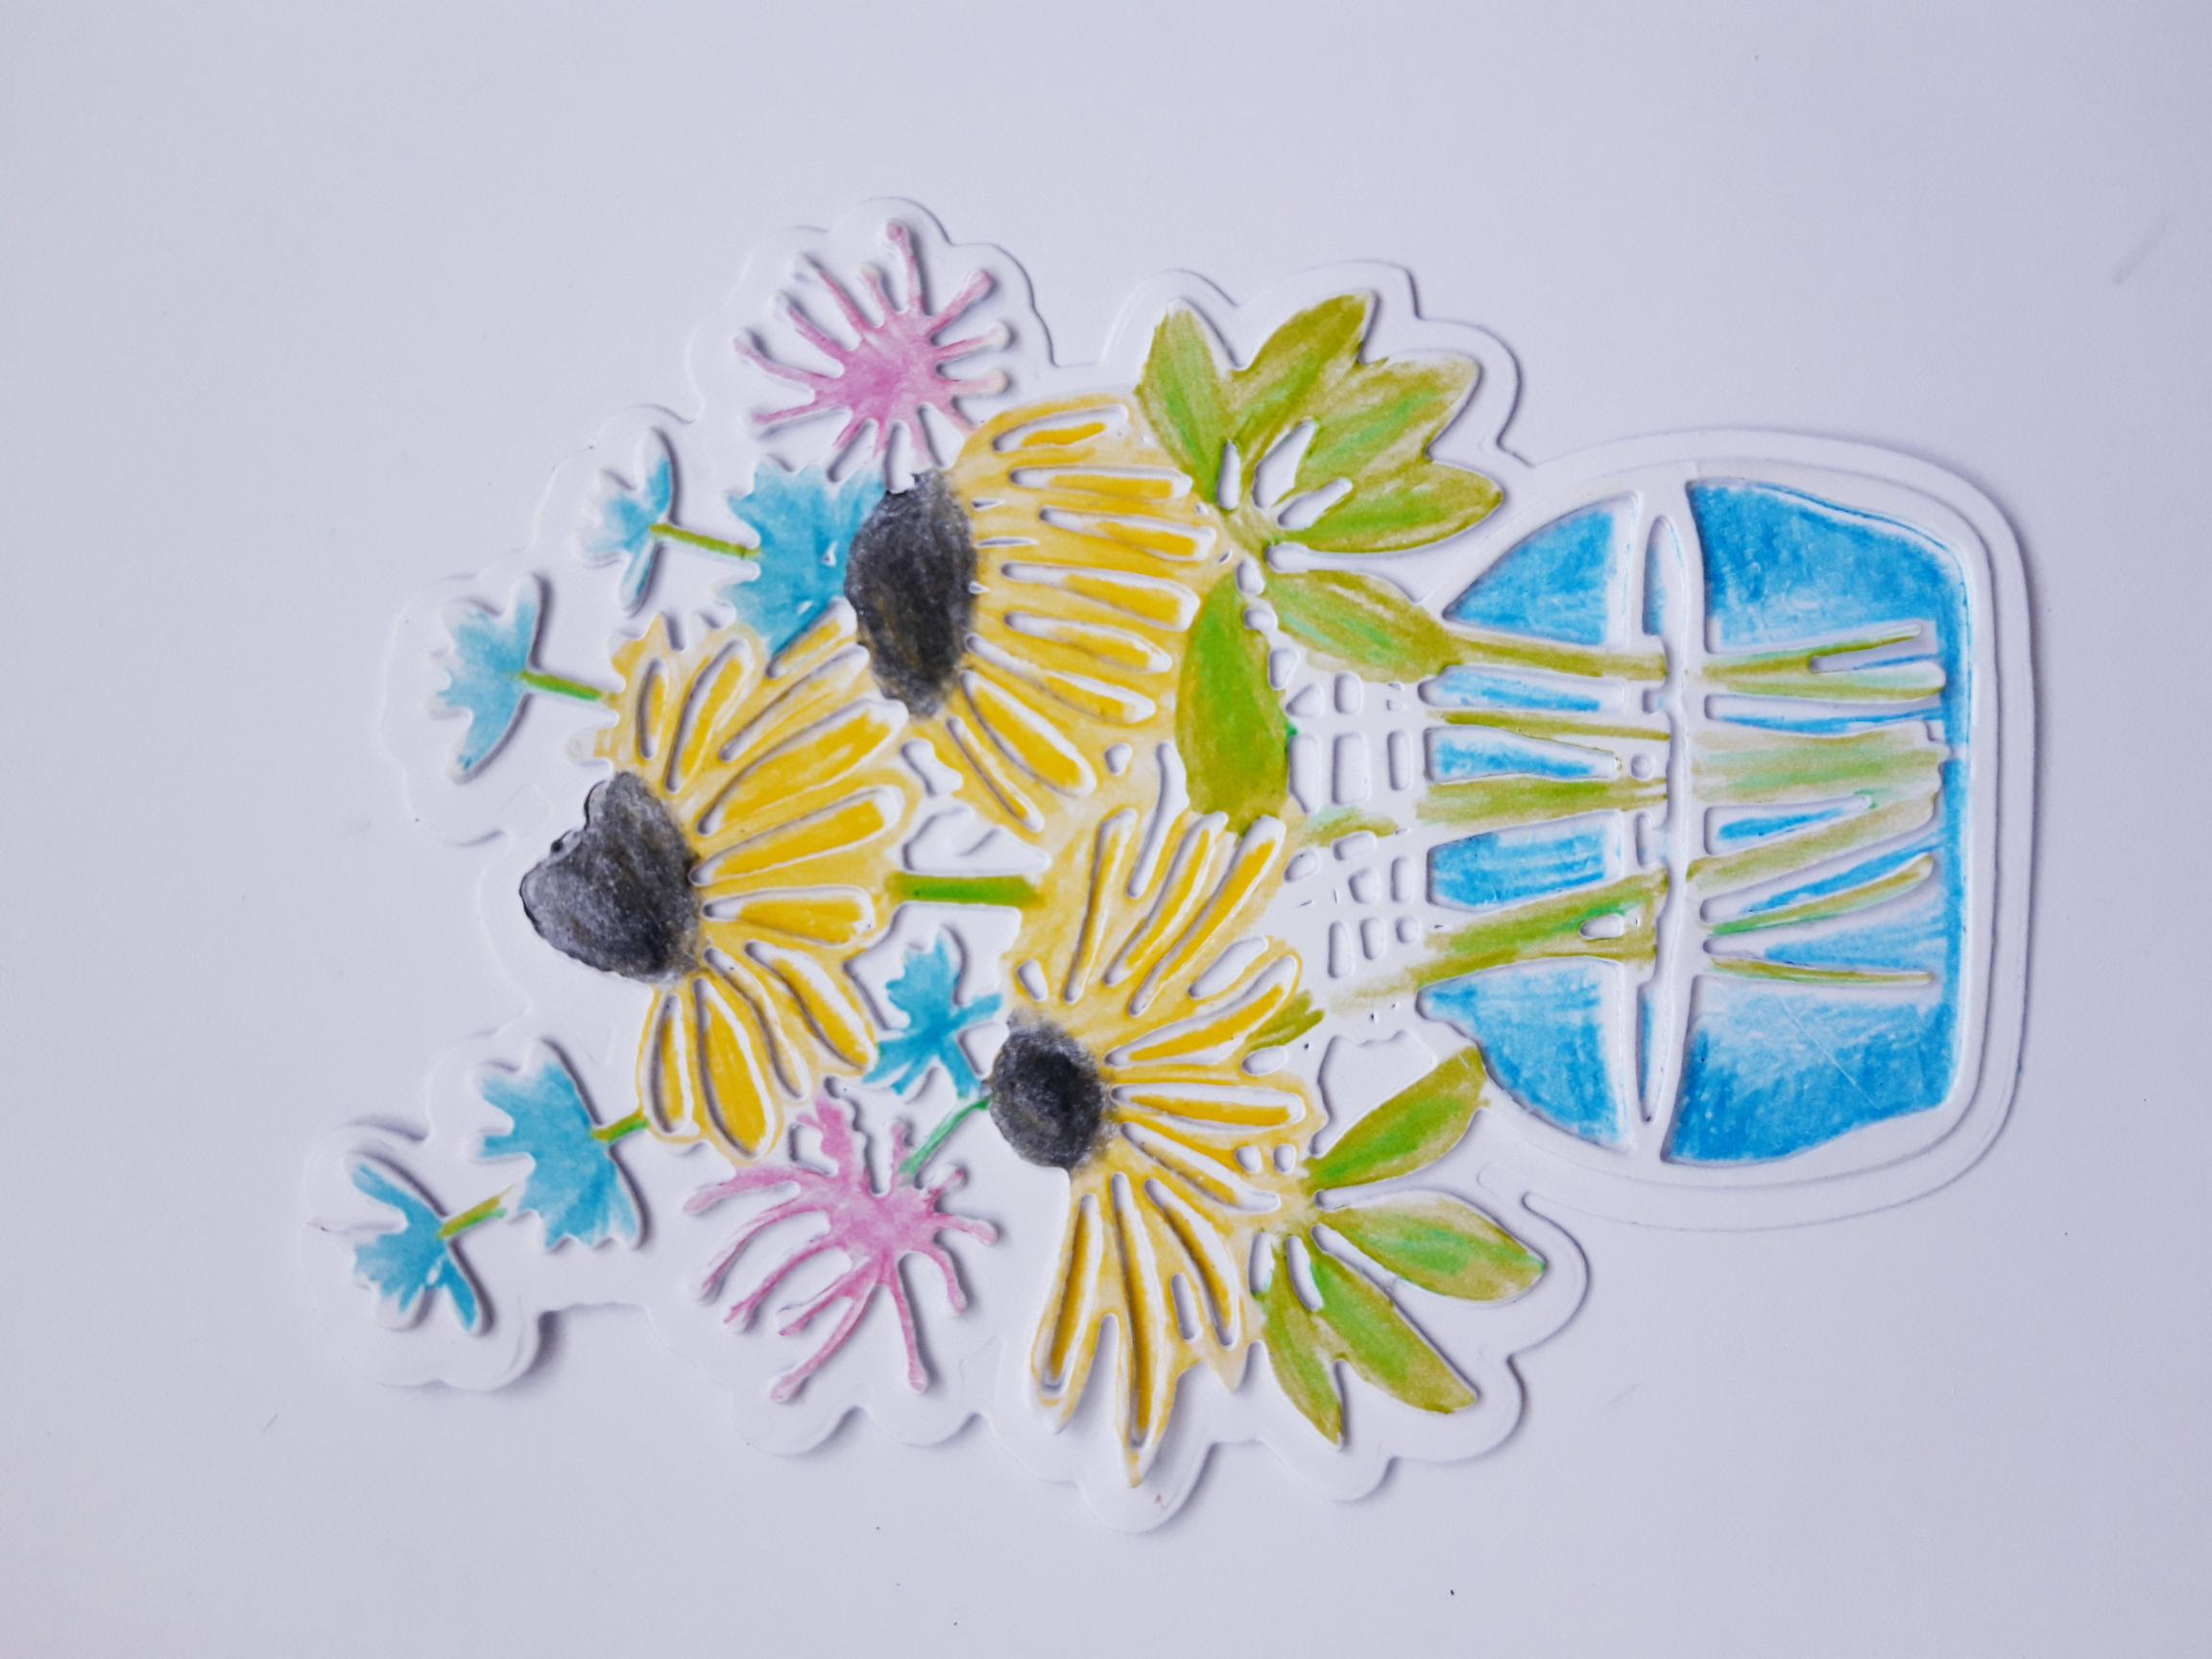
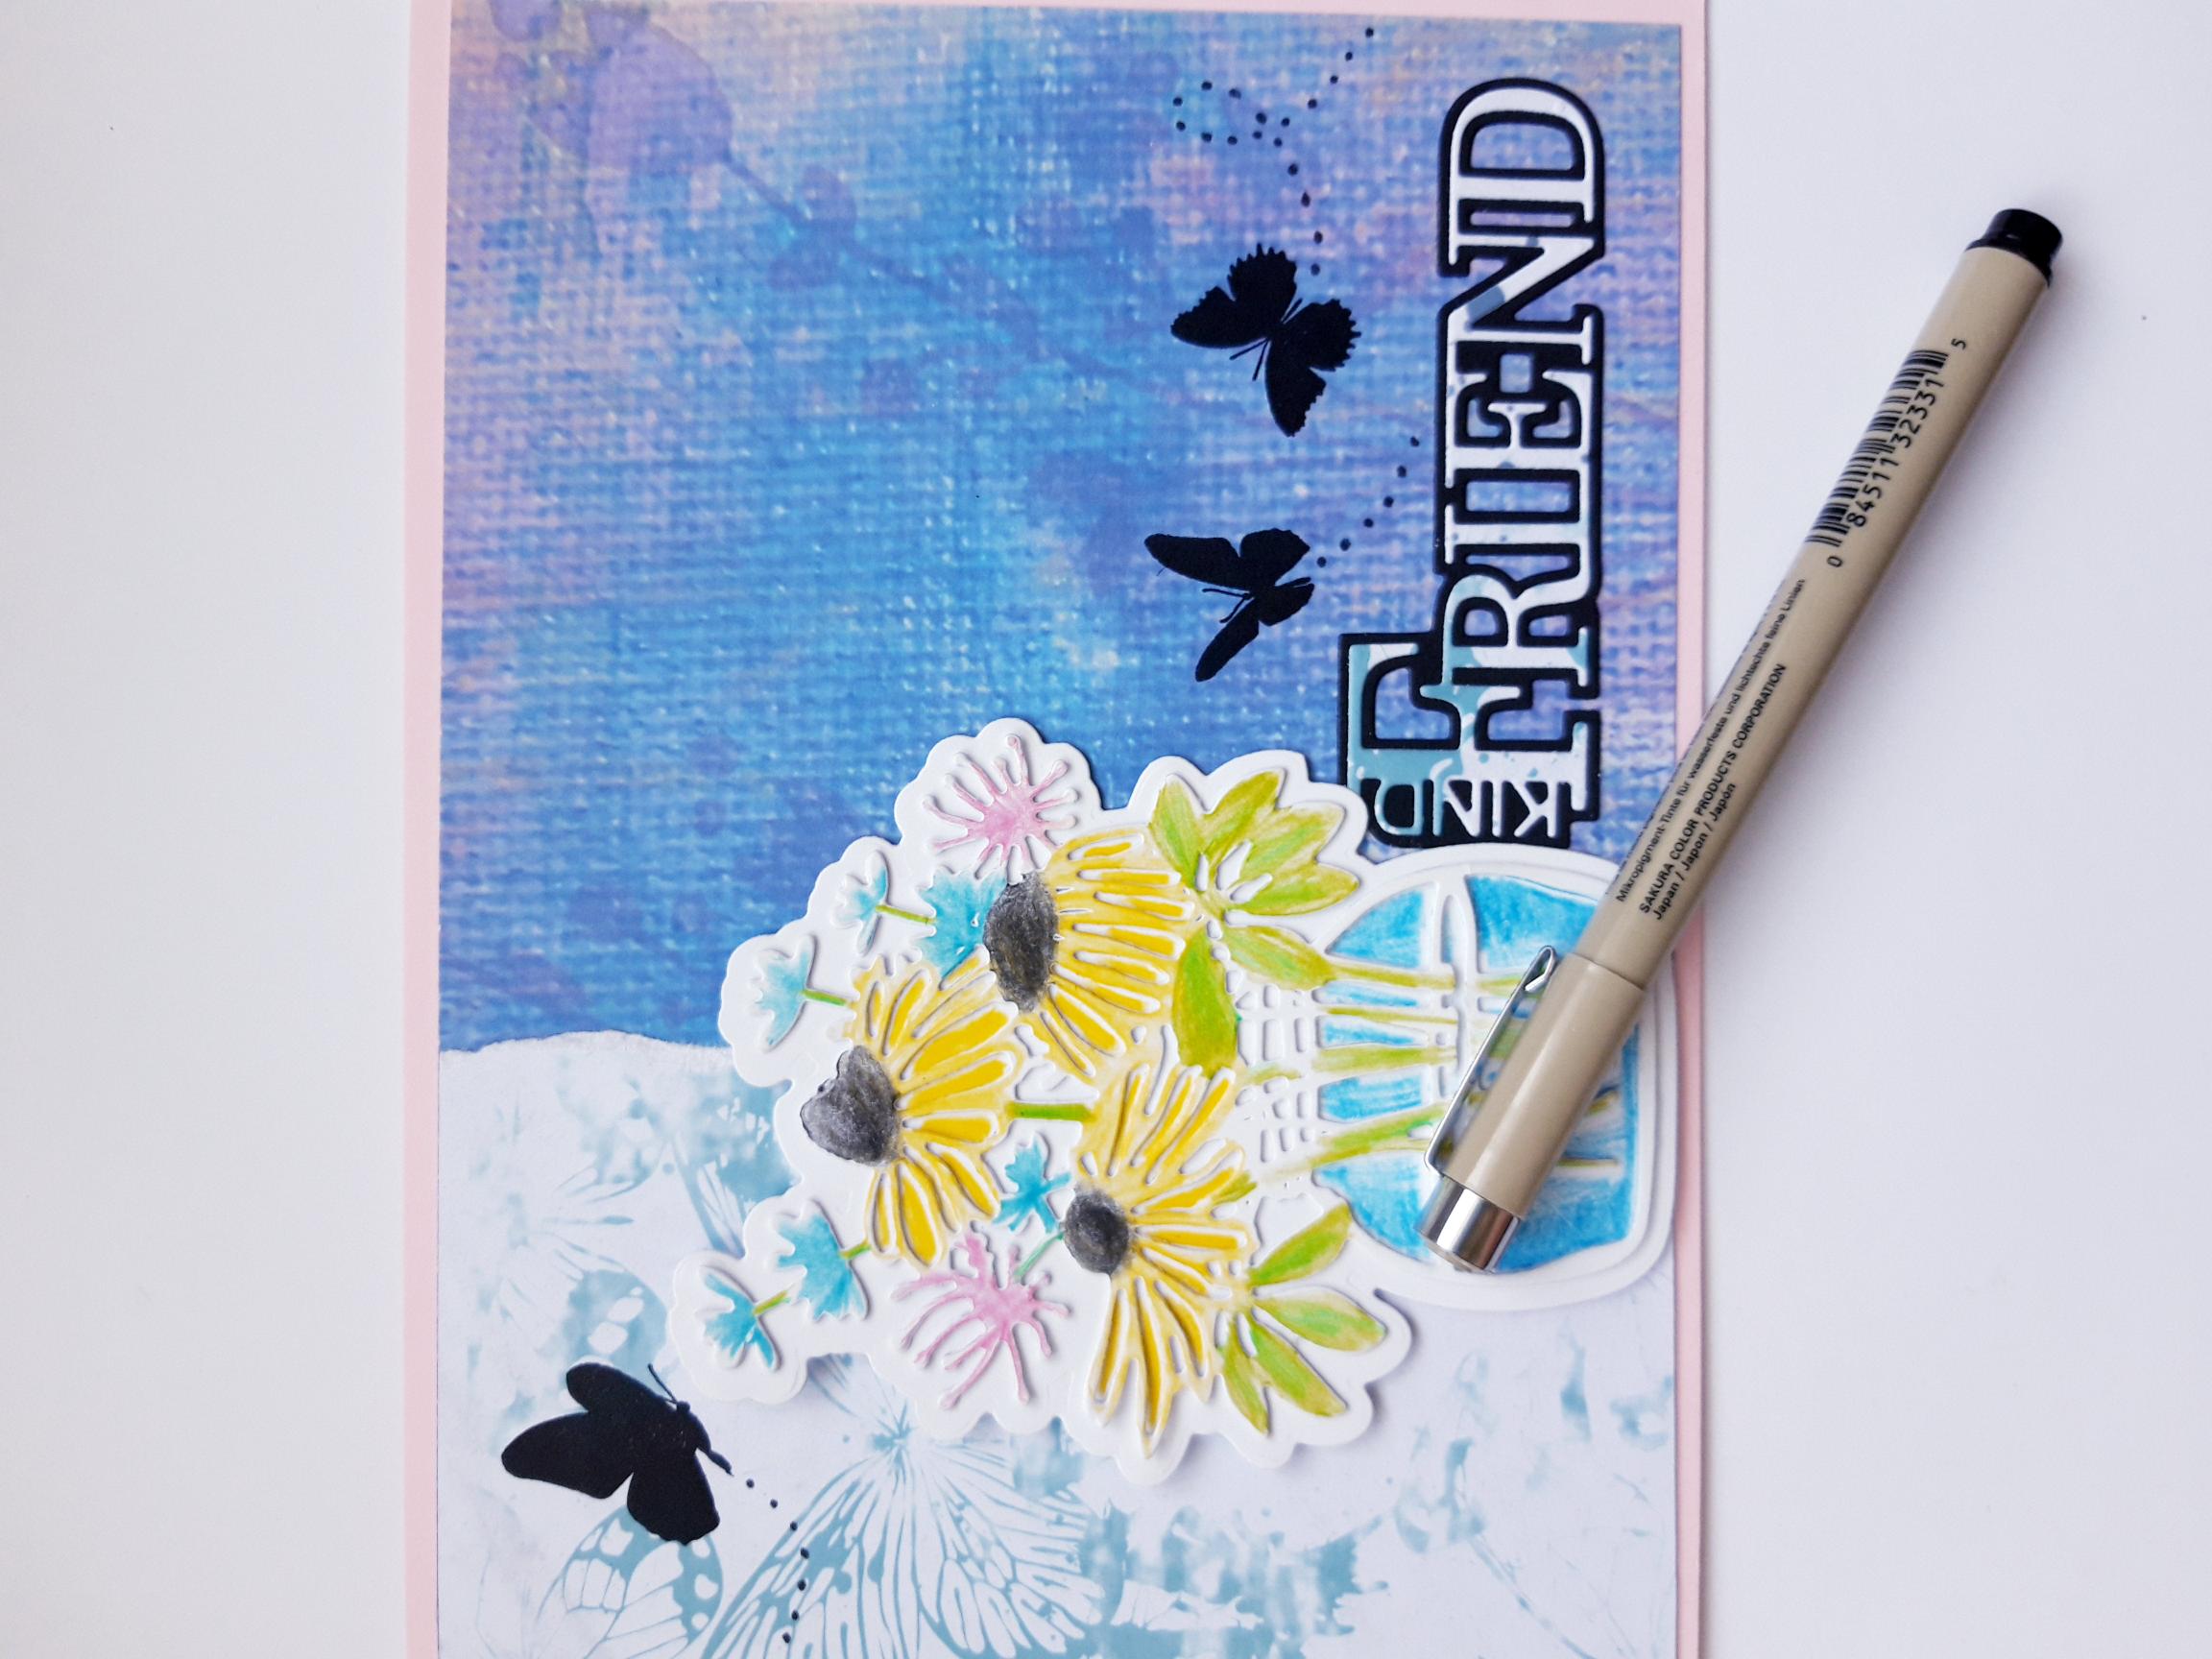
Adhere ONE of the detailed floral die cut elements, on to the white die cut mat.
|
|
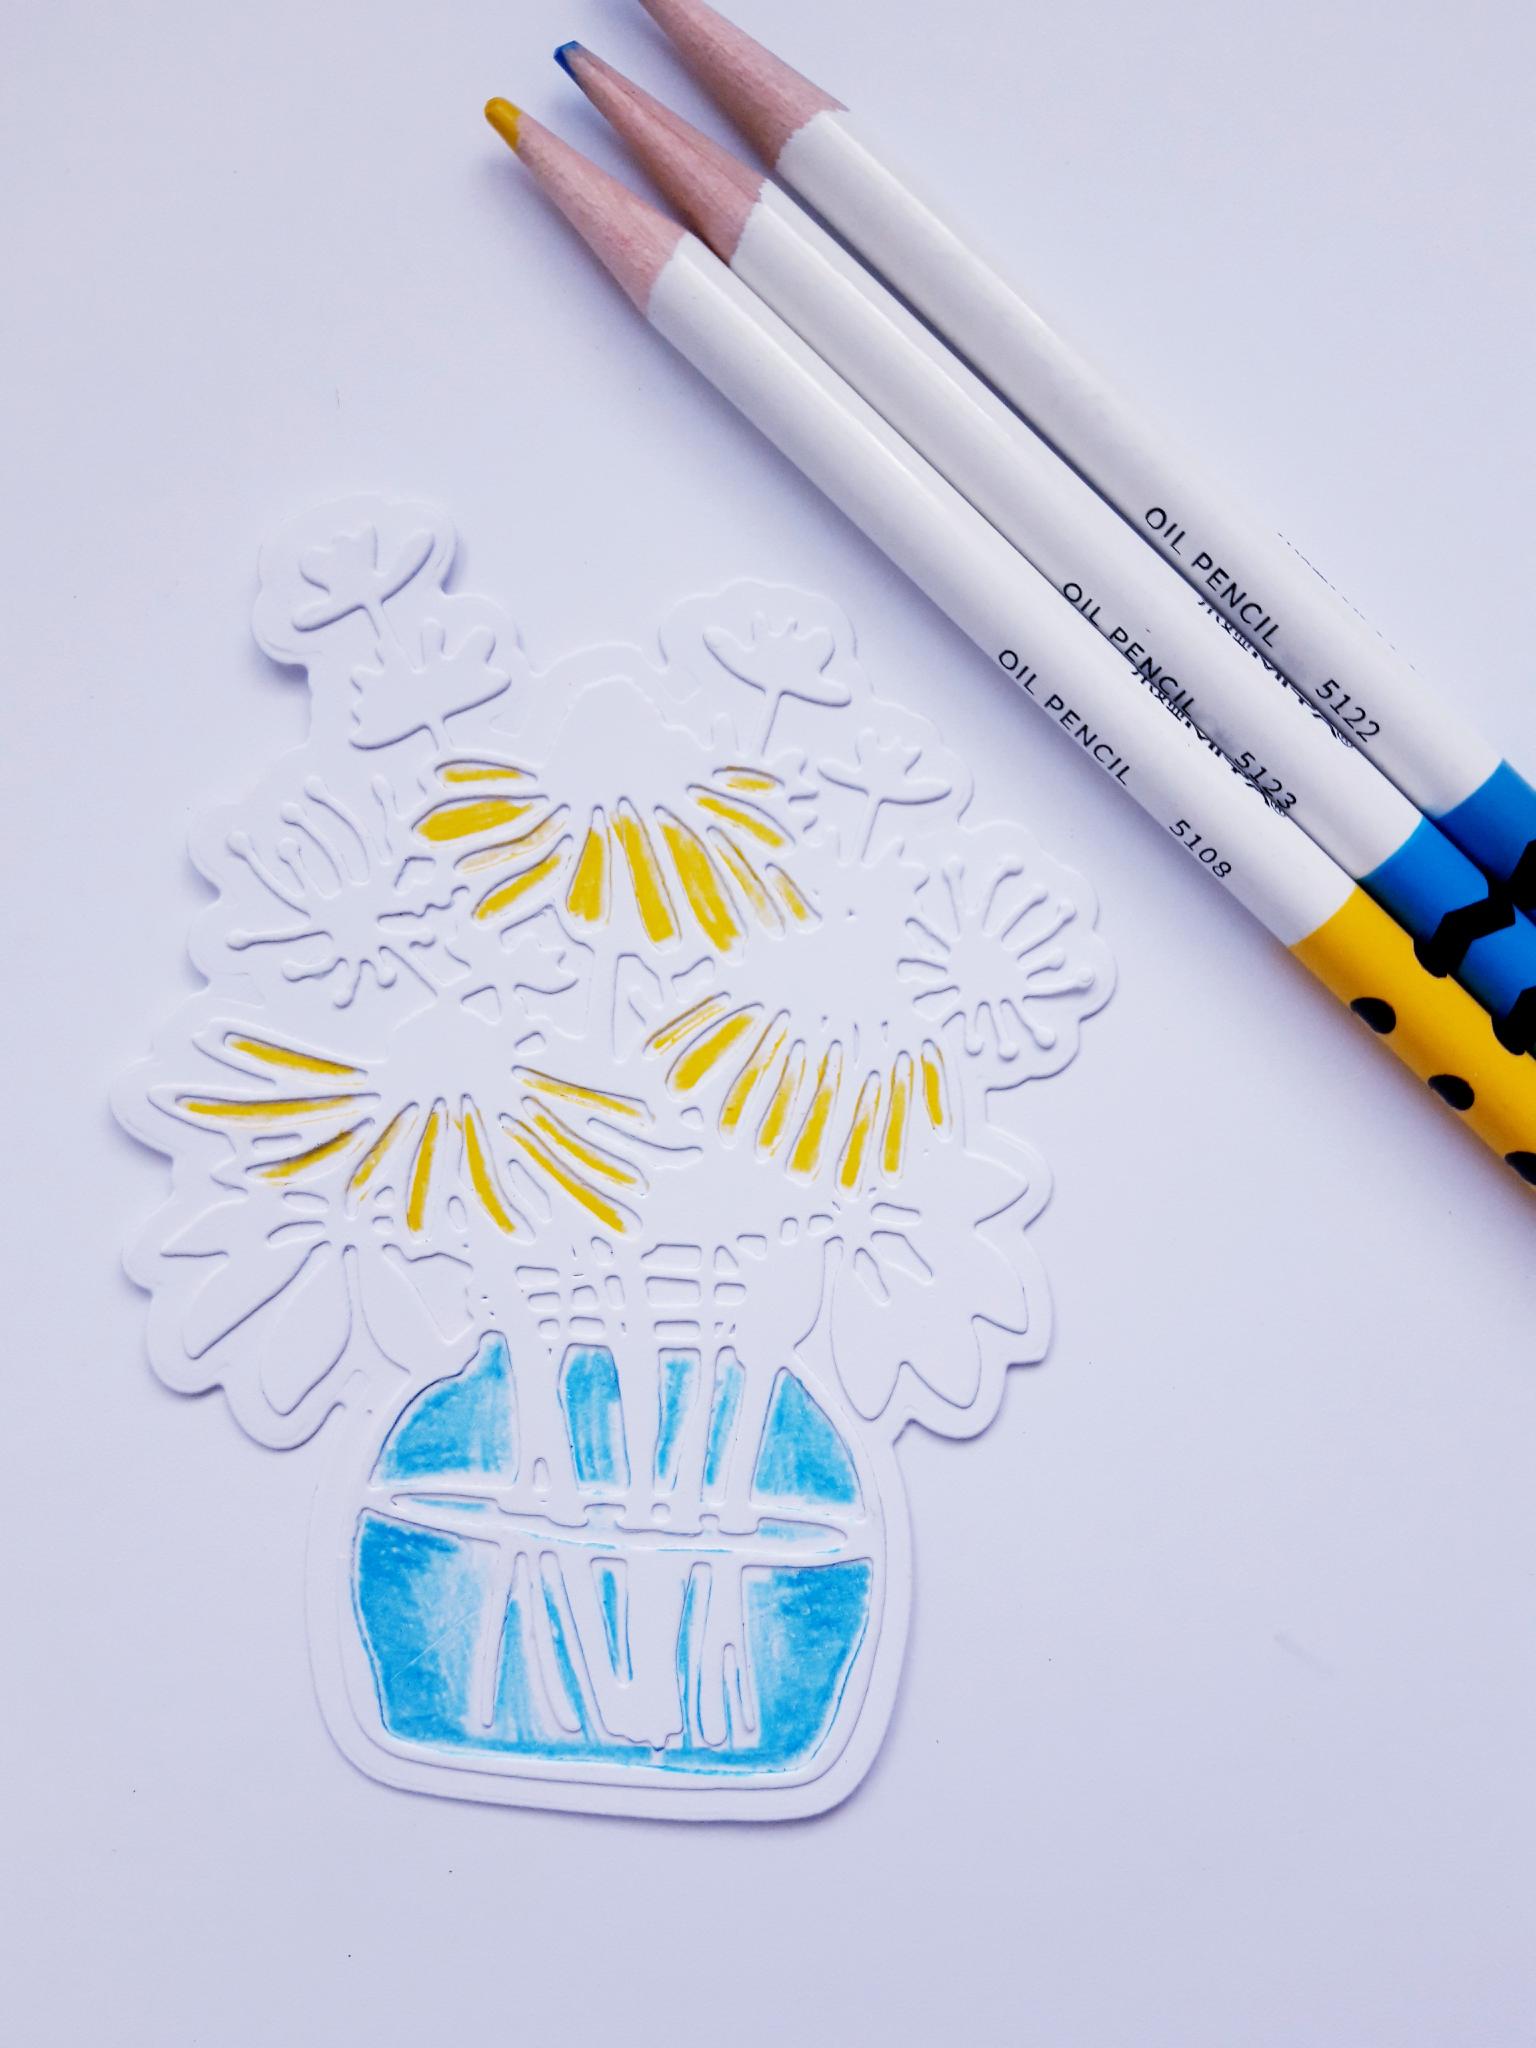
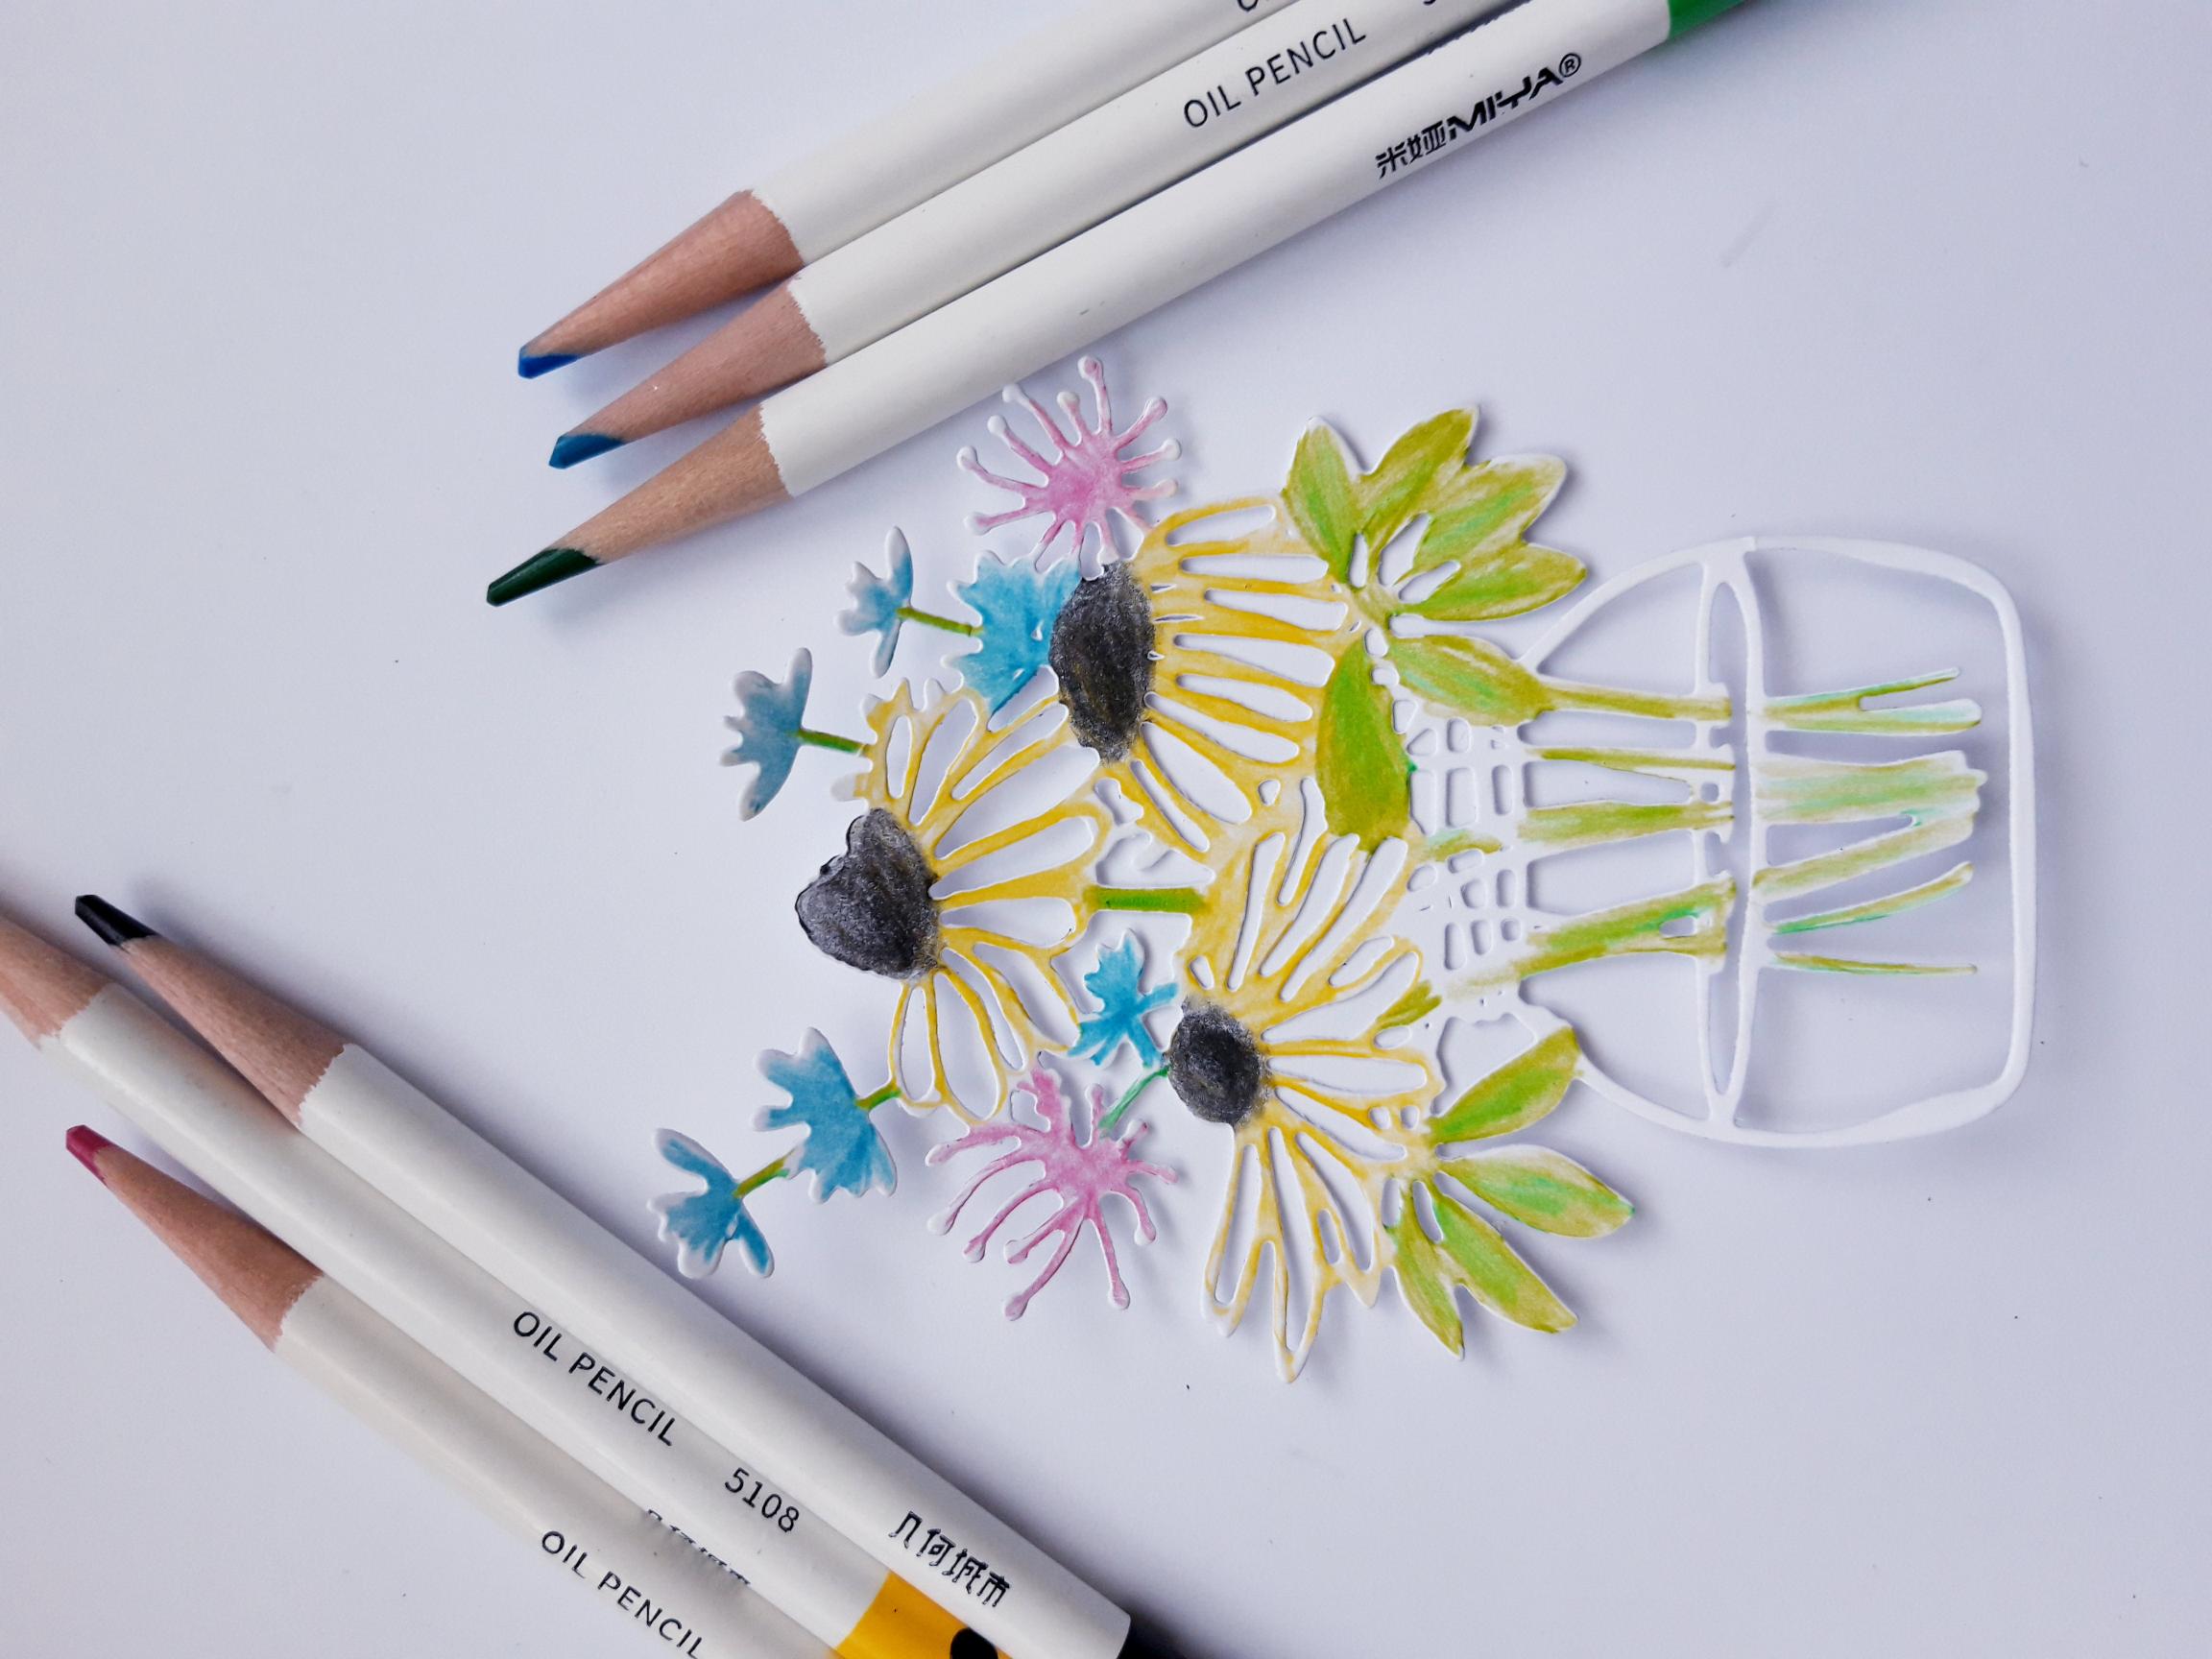
Use your blue and yellow HIMI Oil Pencils, to colour in the petals and water, within the recessess of the die cut element (as shown here). Set this to one side. |
|
Use all the Oil Pencils to colour in the SECOND, detailed die cut element. |
|
Adhere this in position, over the top of the first die cut element, as shown here. Set this to one side. |

|
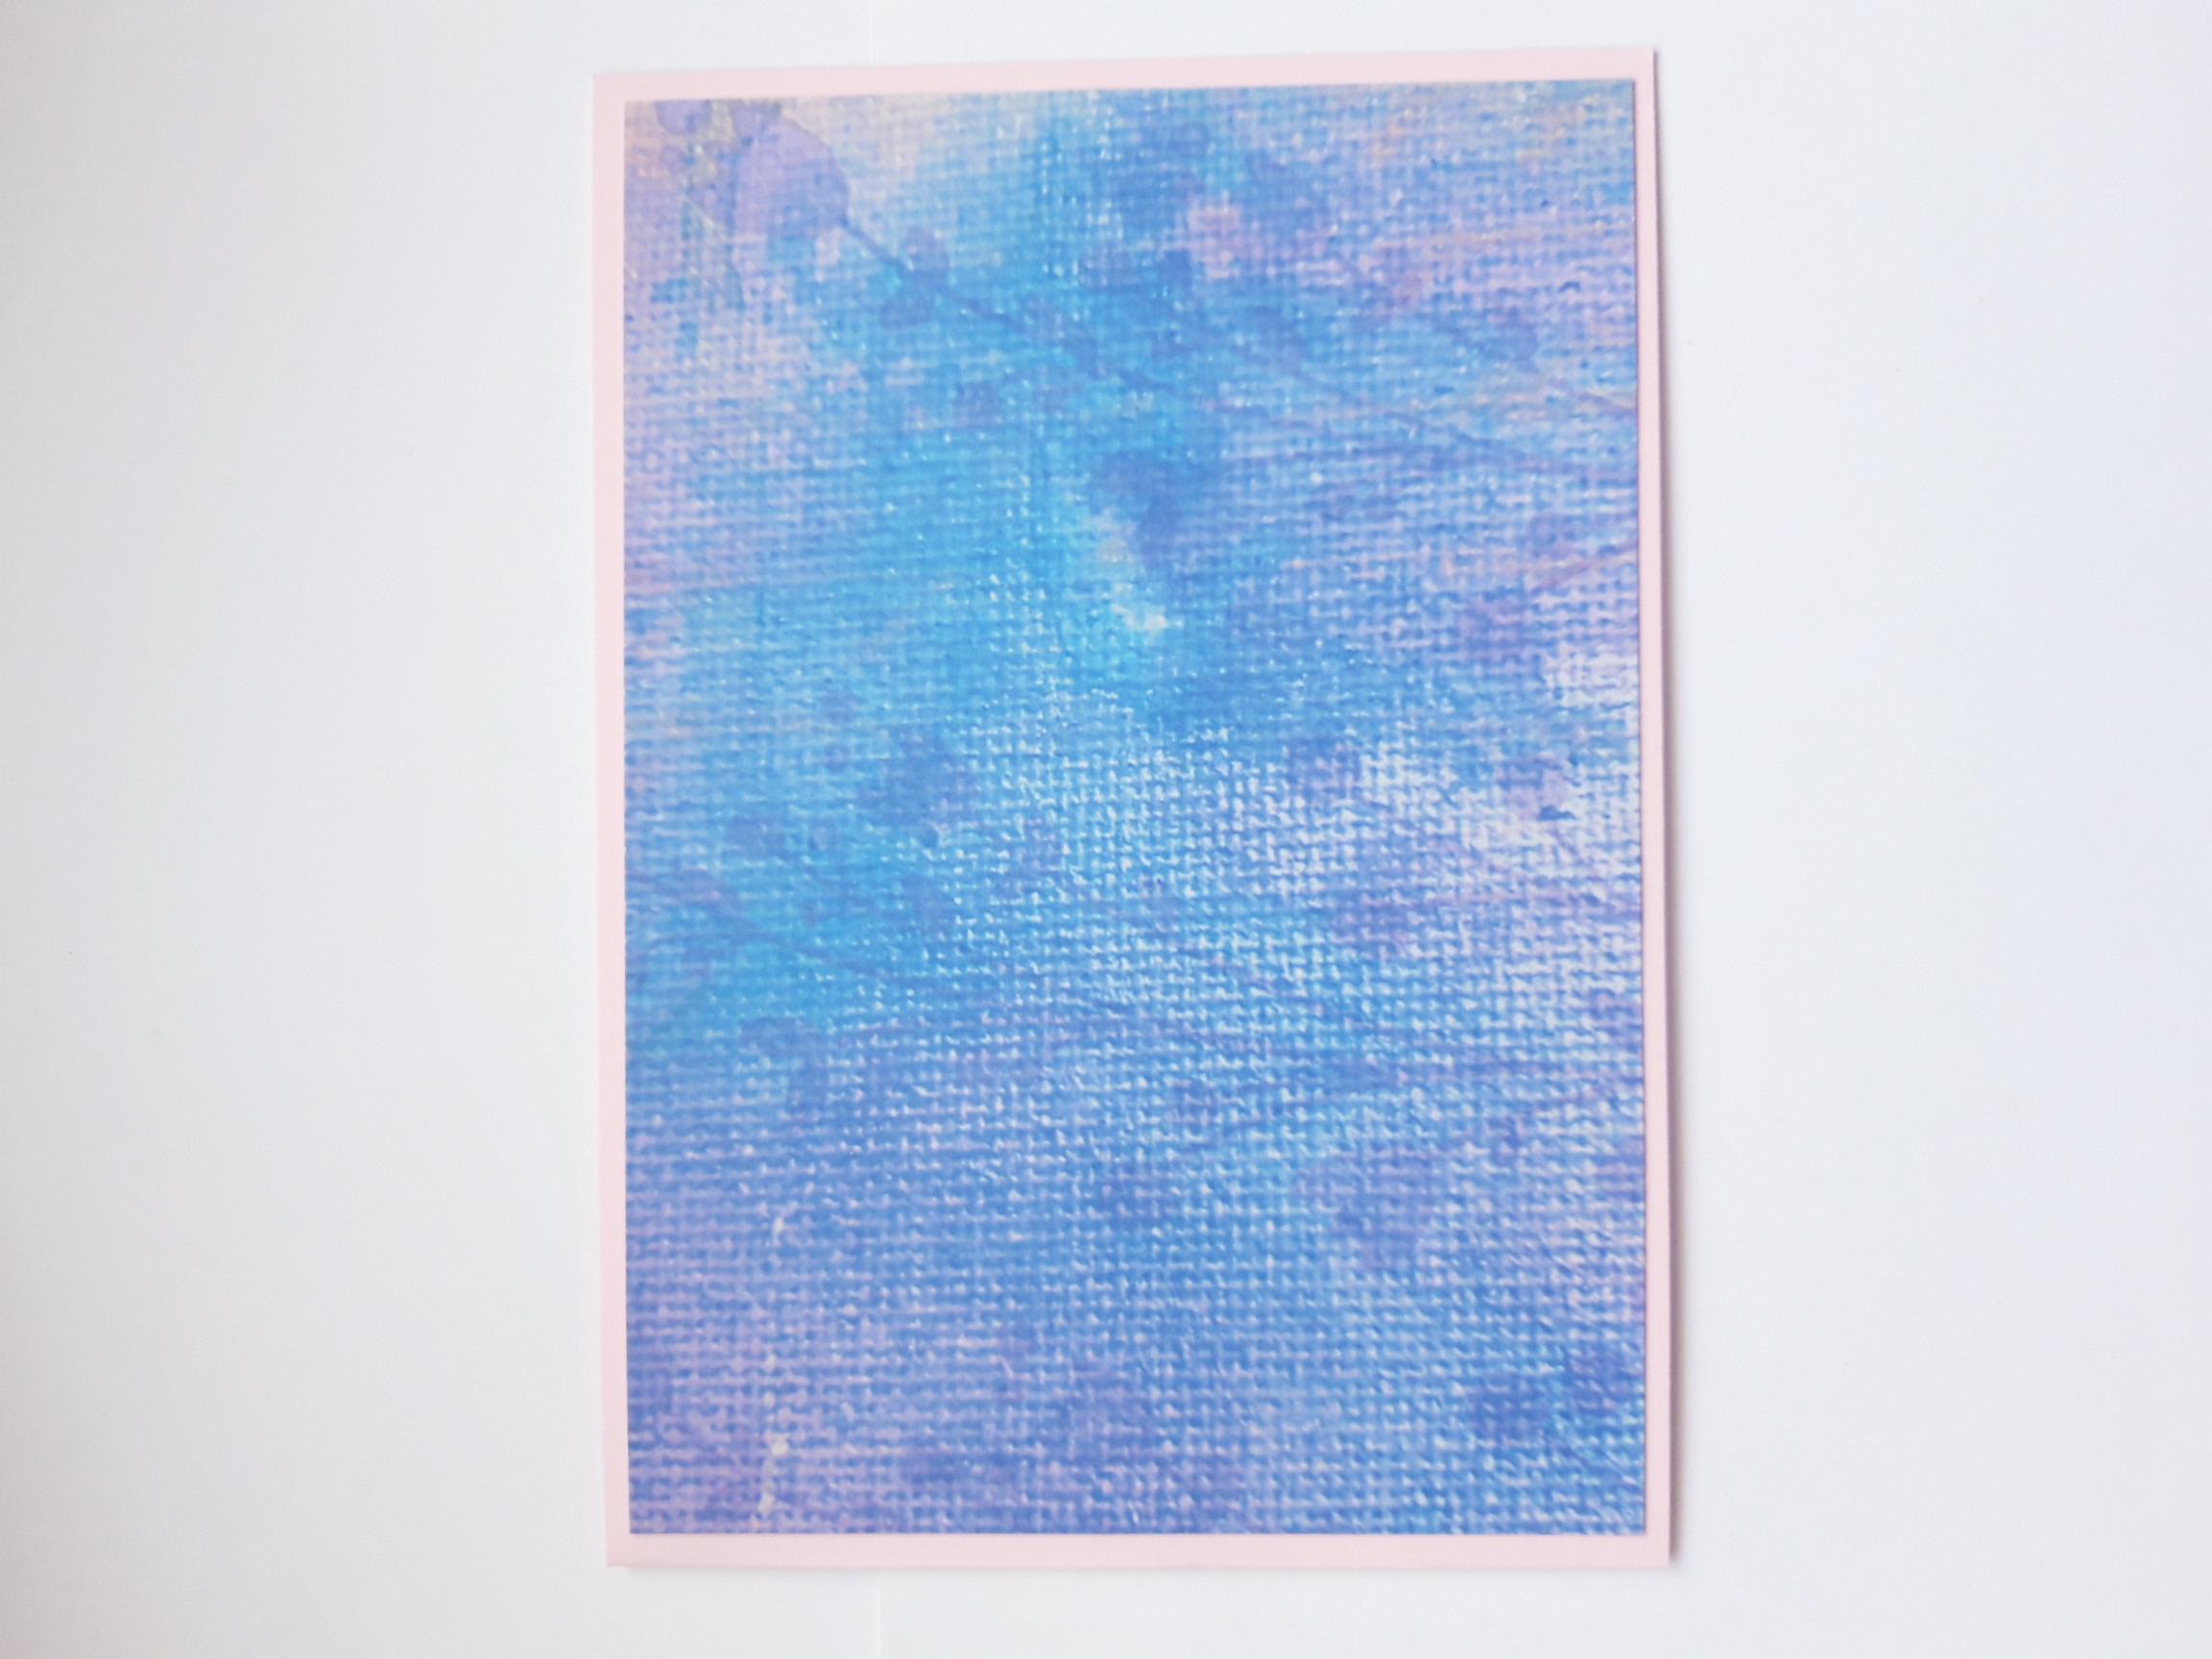
Tear out this decorative sheet, from the Imala Collage paper pad. Trim to 8 x 5 1/2", ensuring the silhouette flowers are upright, as seen in this photo. Set to one side. |

|
Remove this sheet from the same paper pad, and tear it to approx 8 x 3". Set the rest of this sheet to one side. |
|
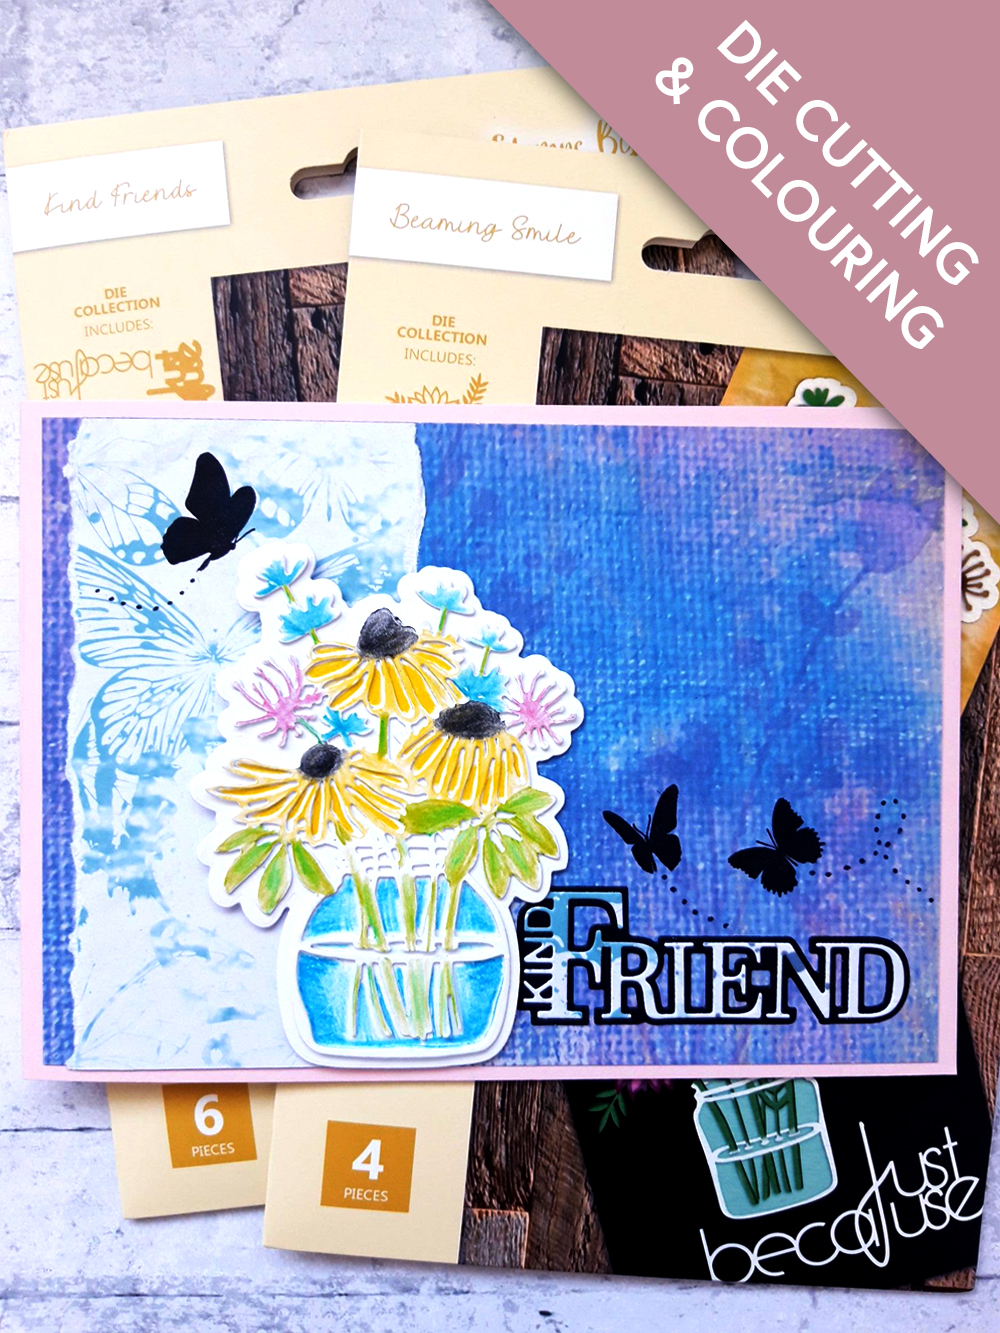
Adhere this trimmed, decorative paper, to the front of your pink, landscape view, card blank. |

|
Adhere the torn strip of decorative paper, to the left of your card. |
|
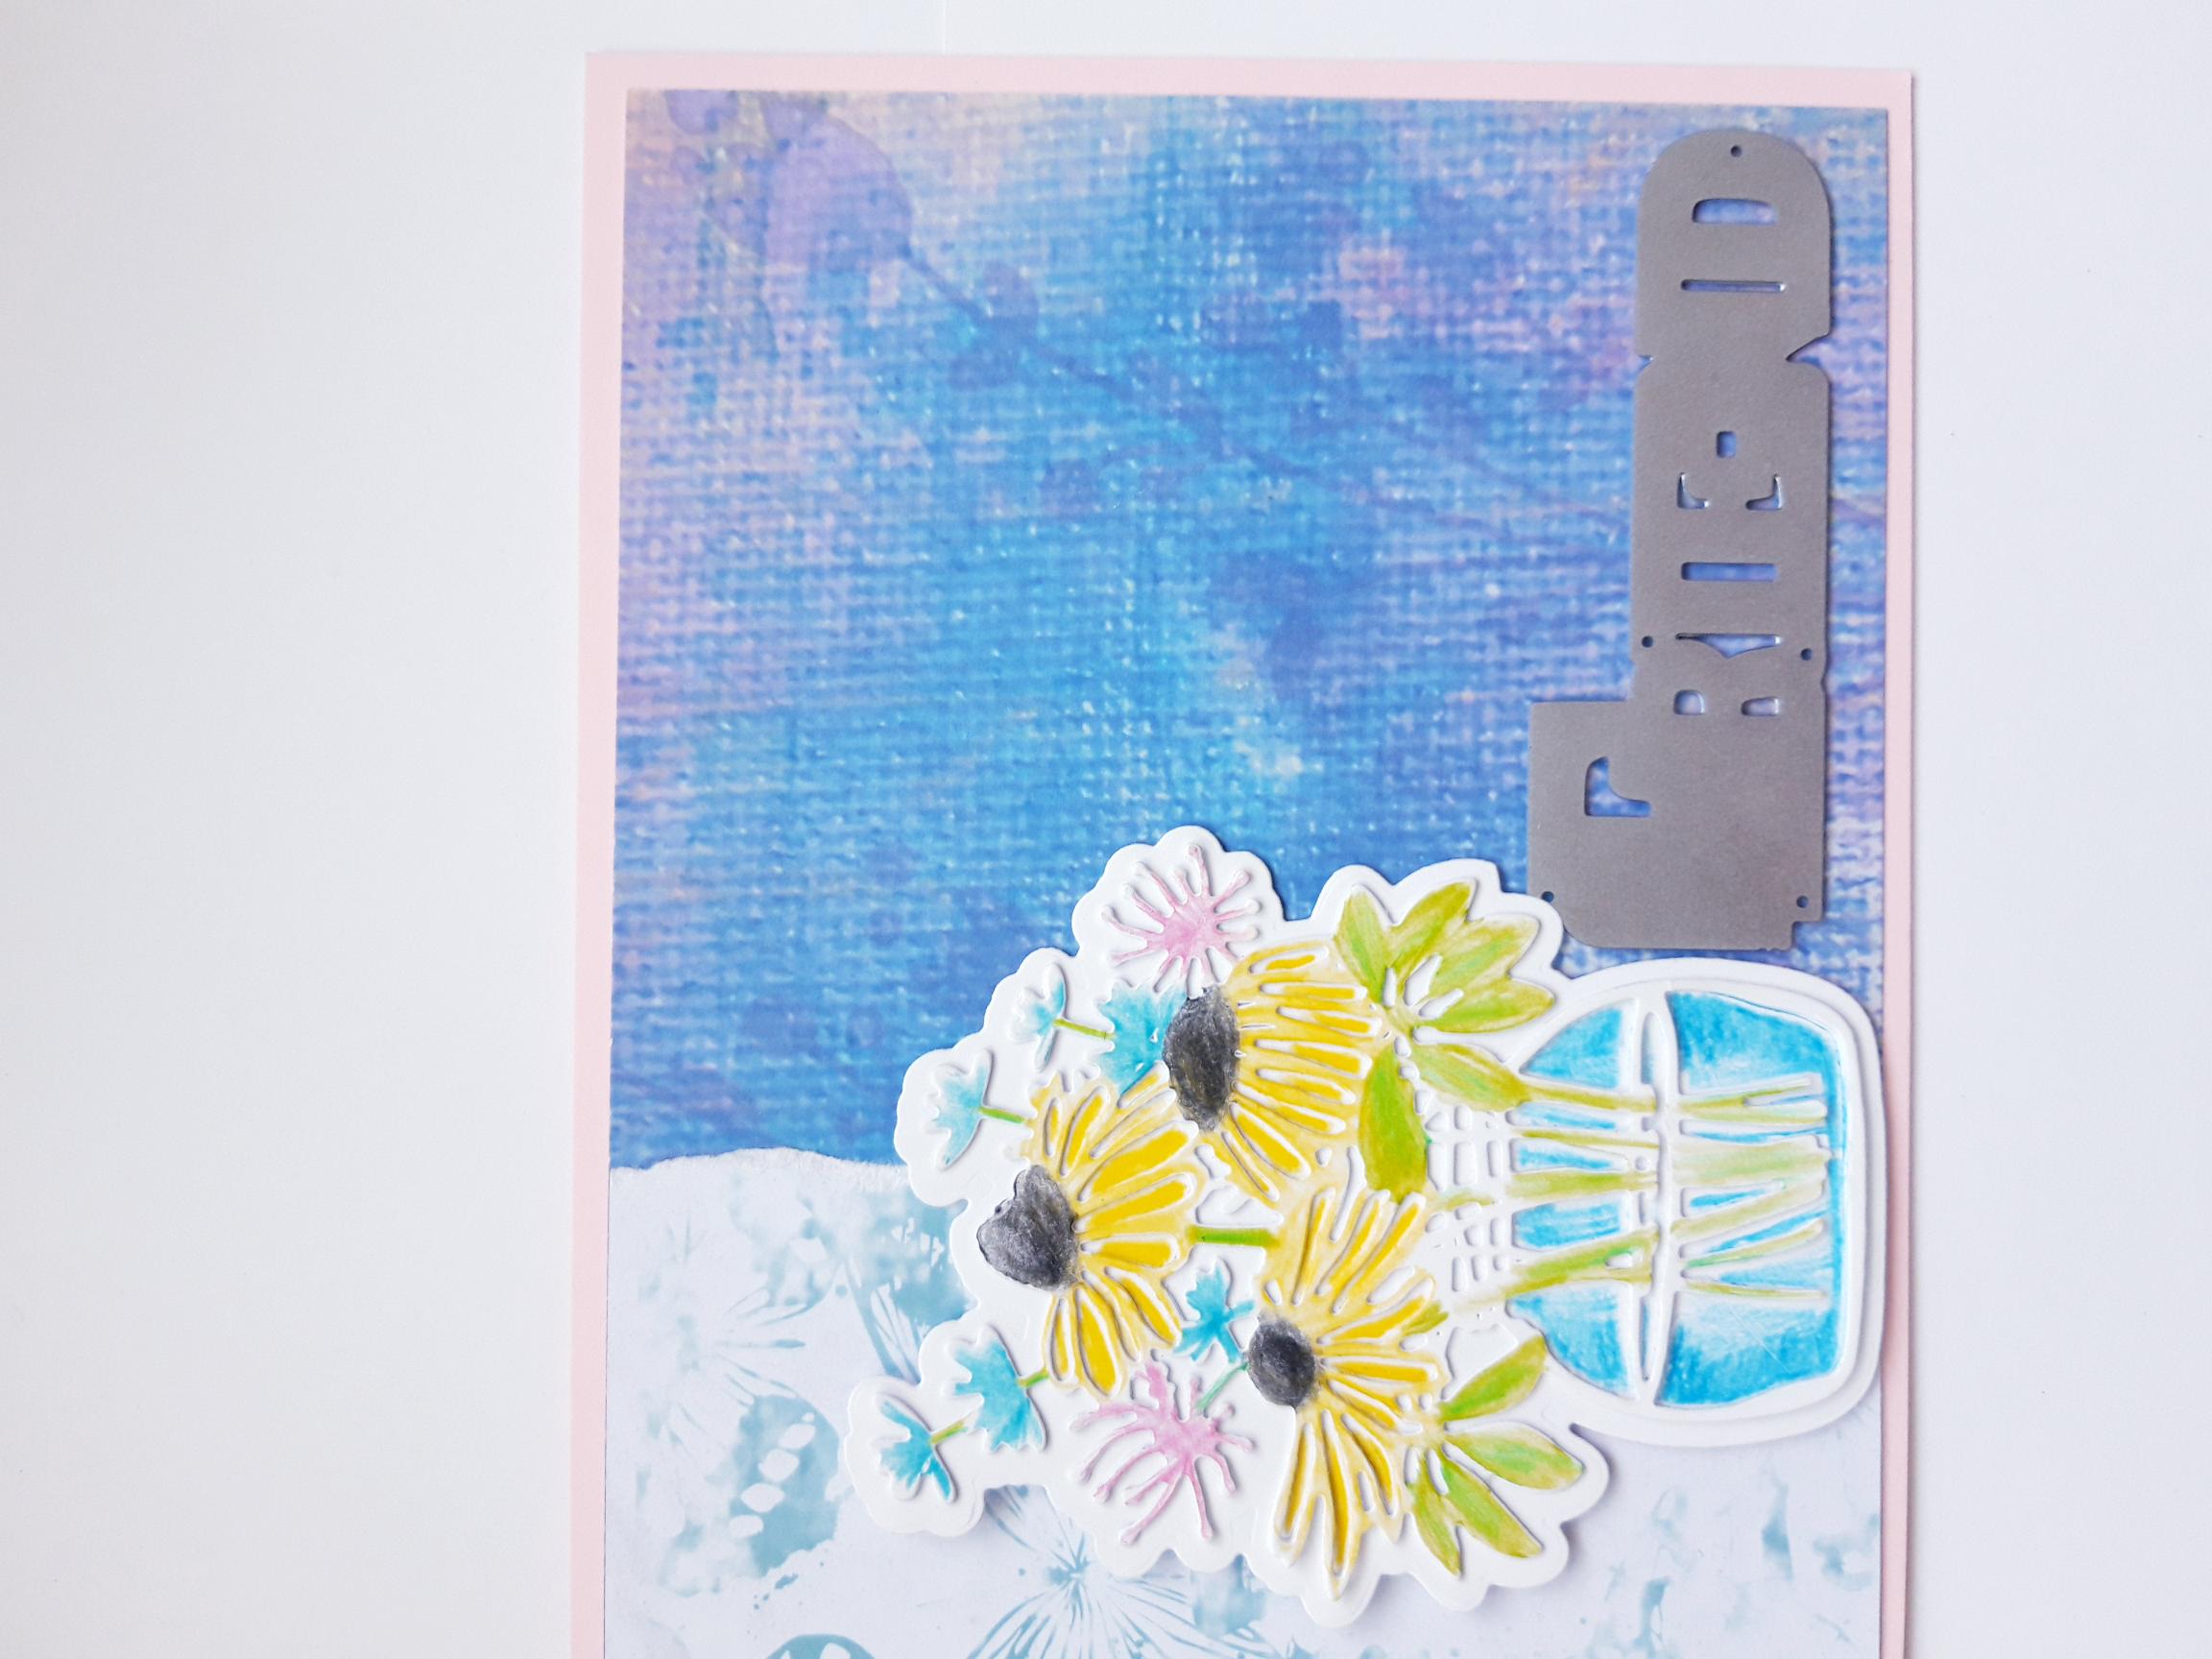
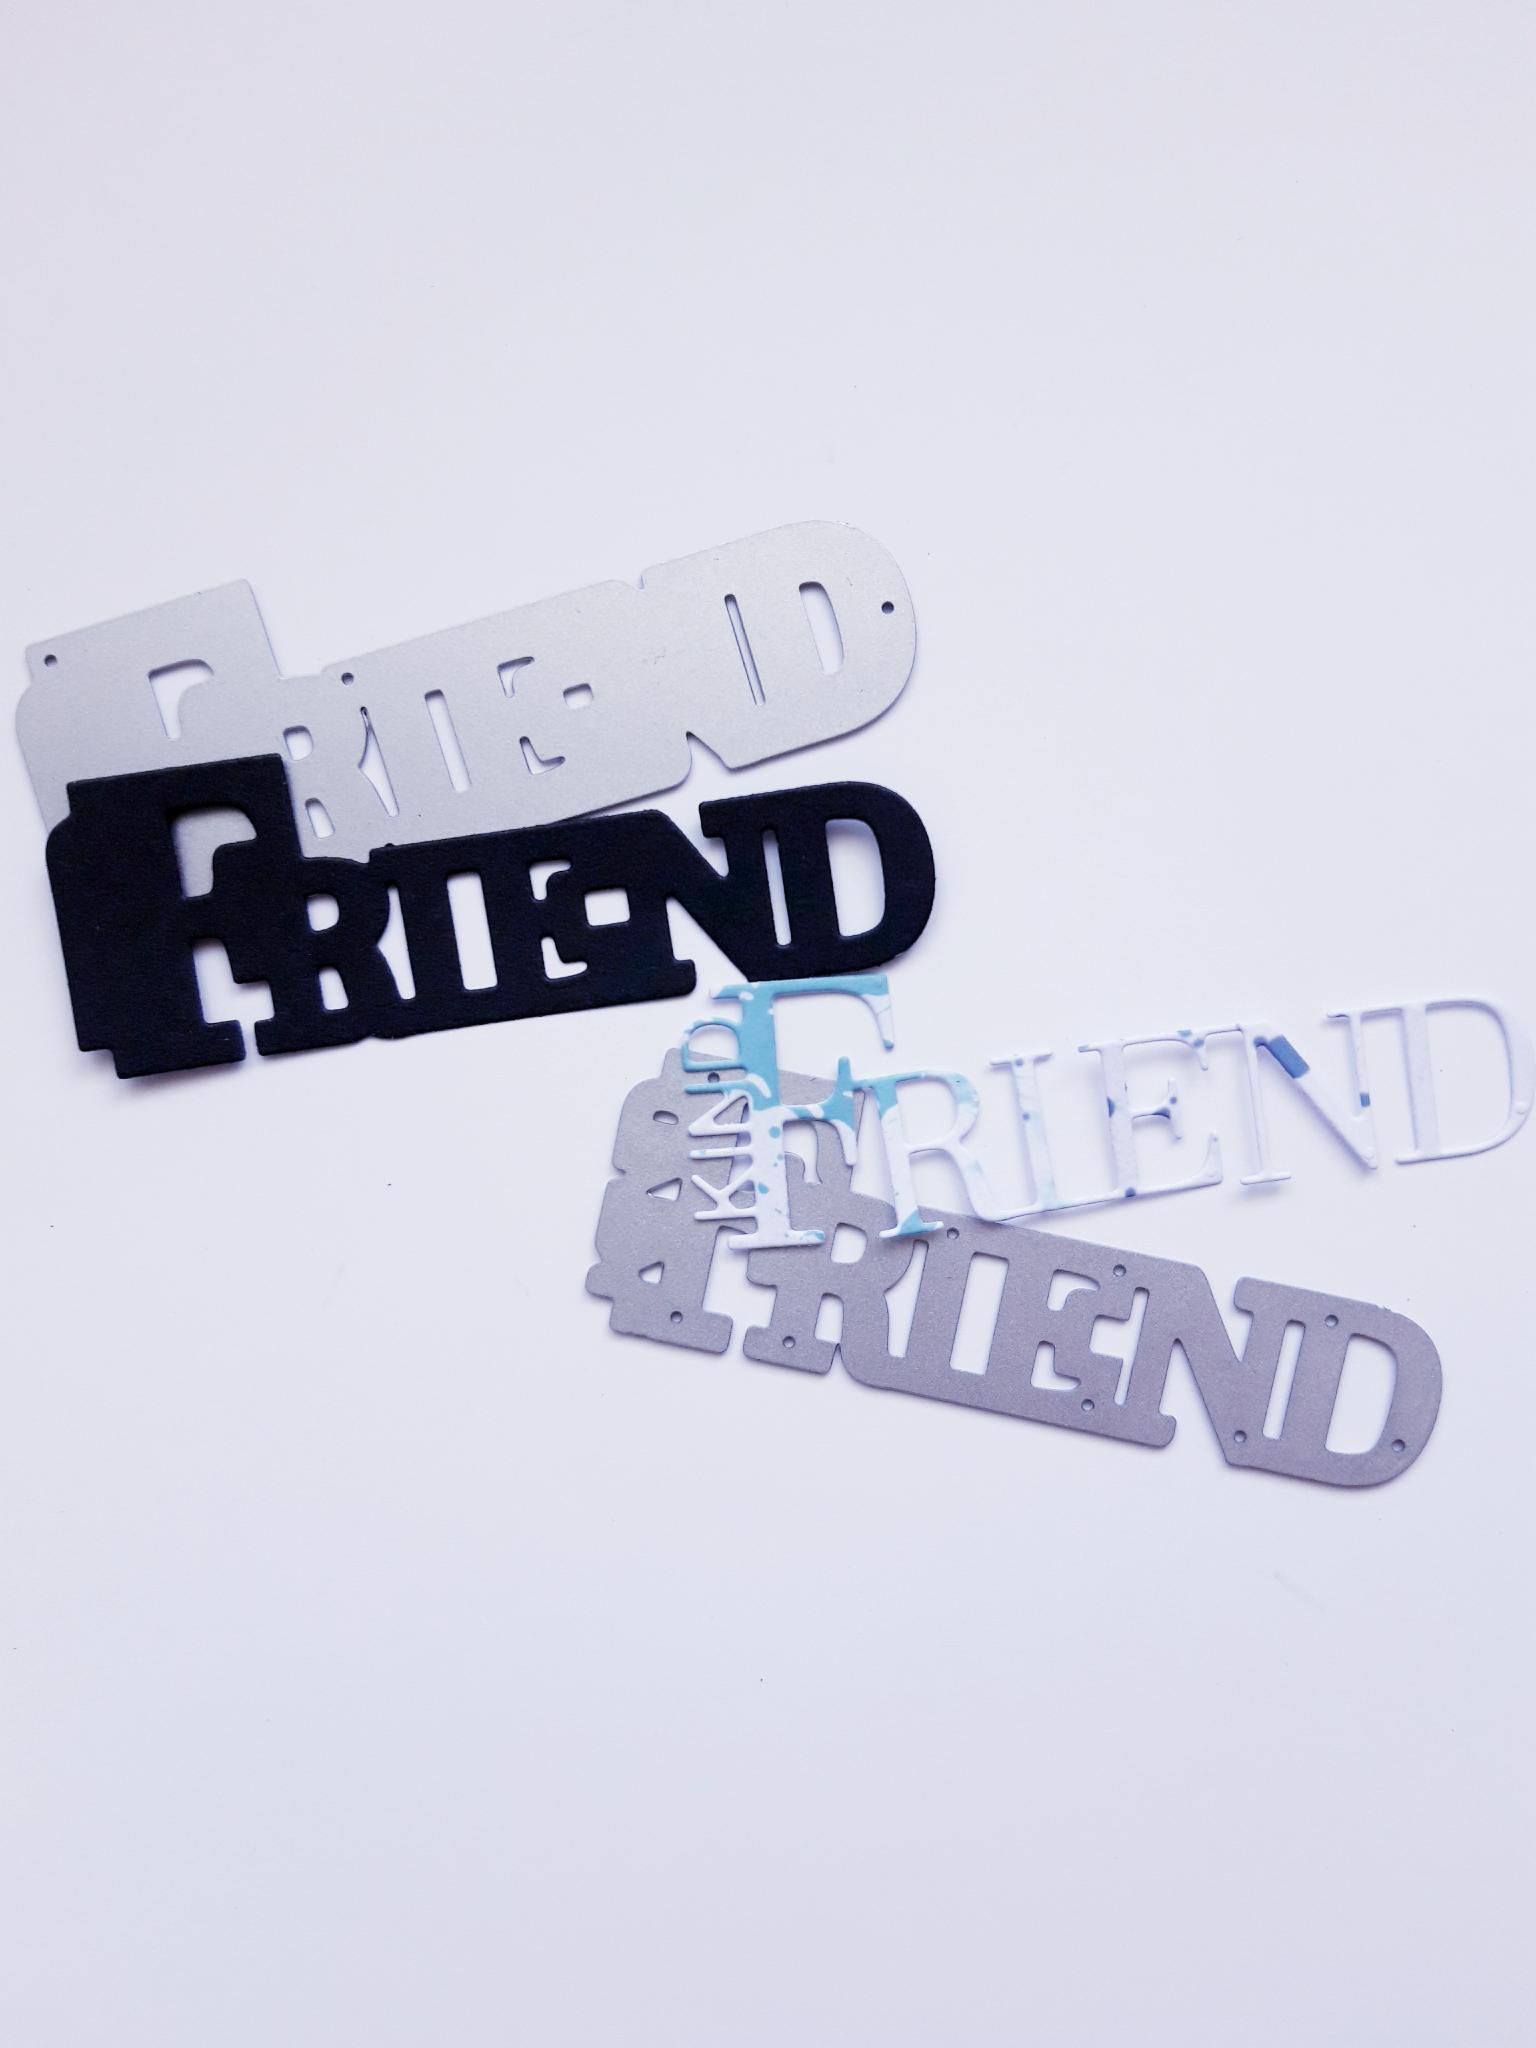
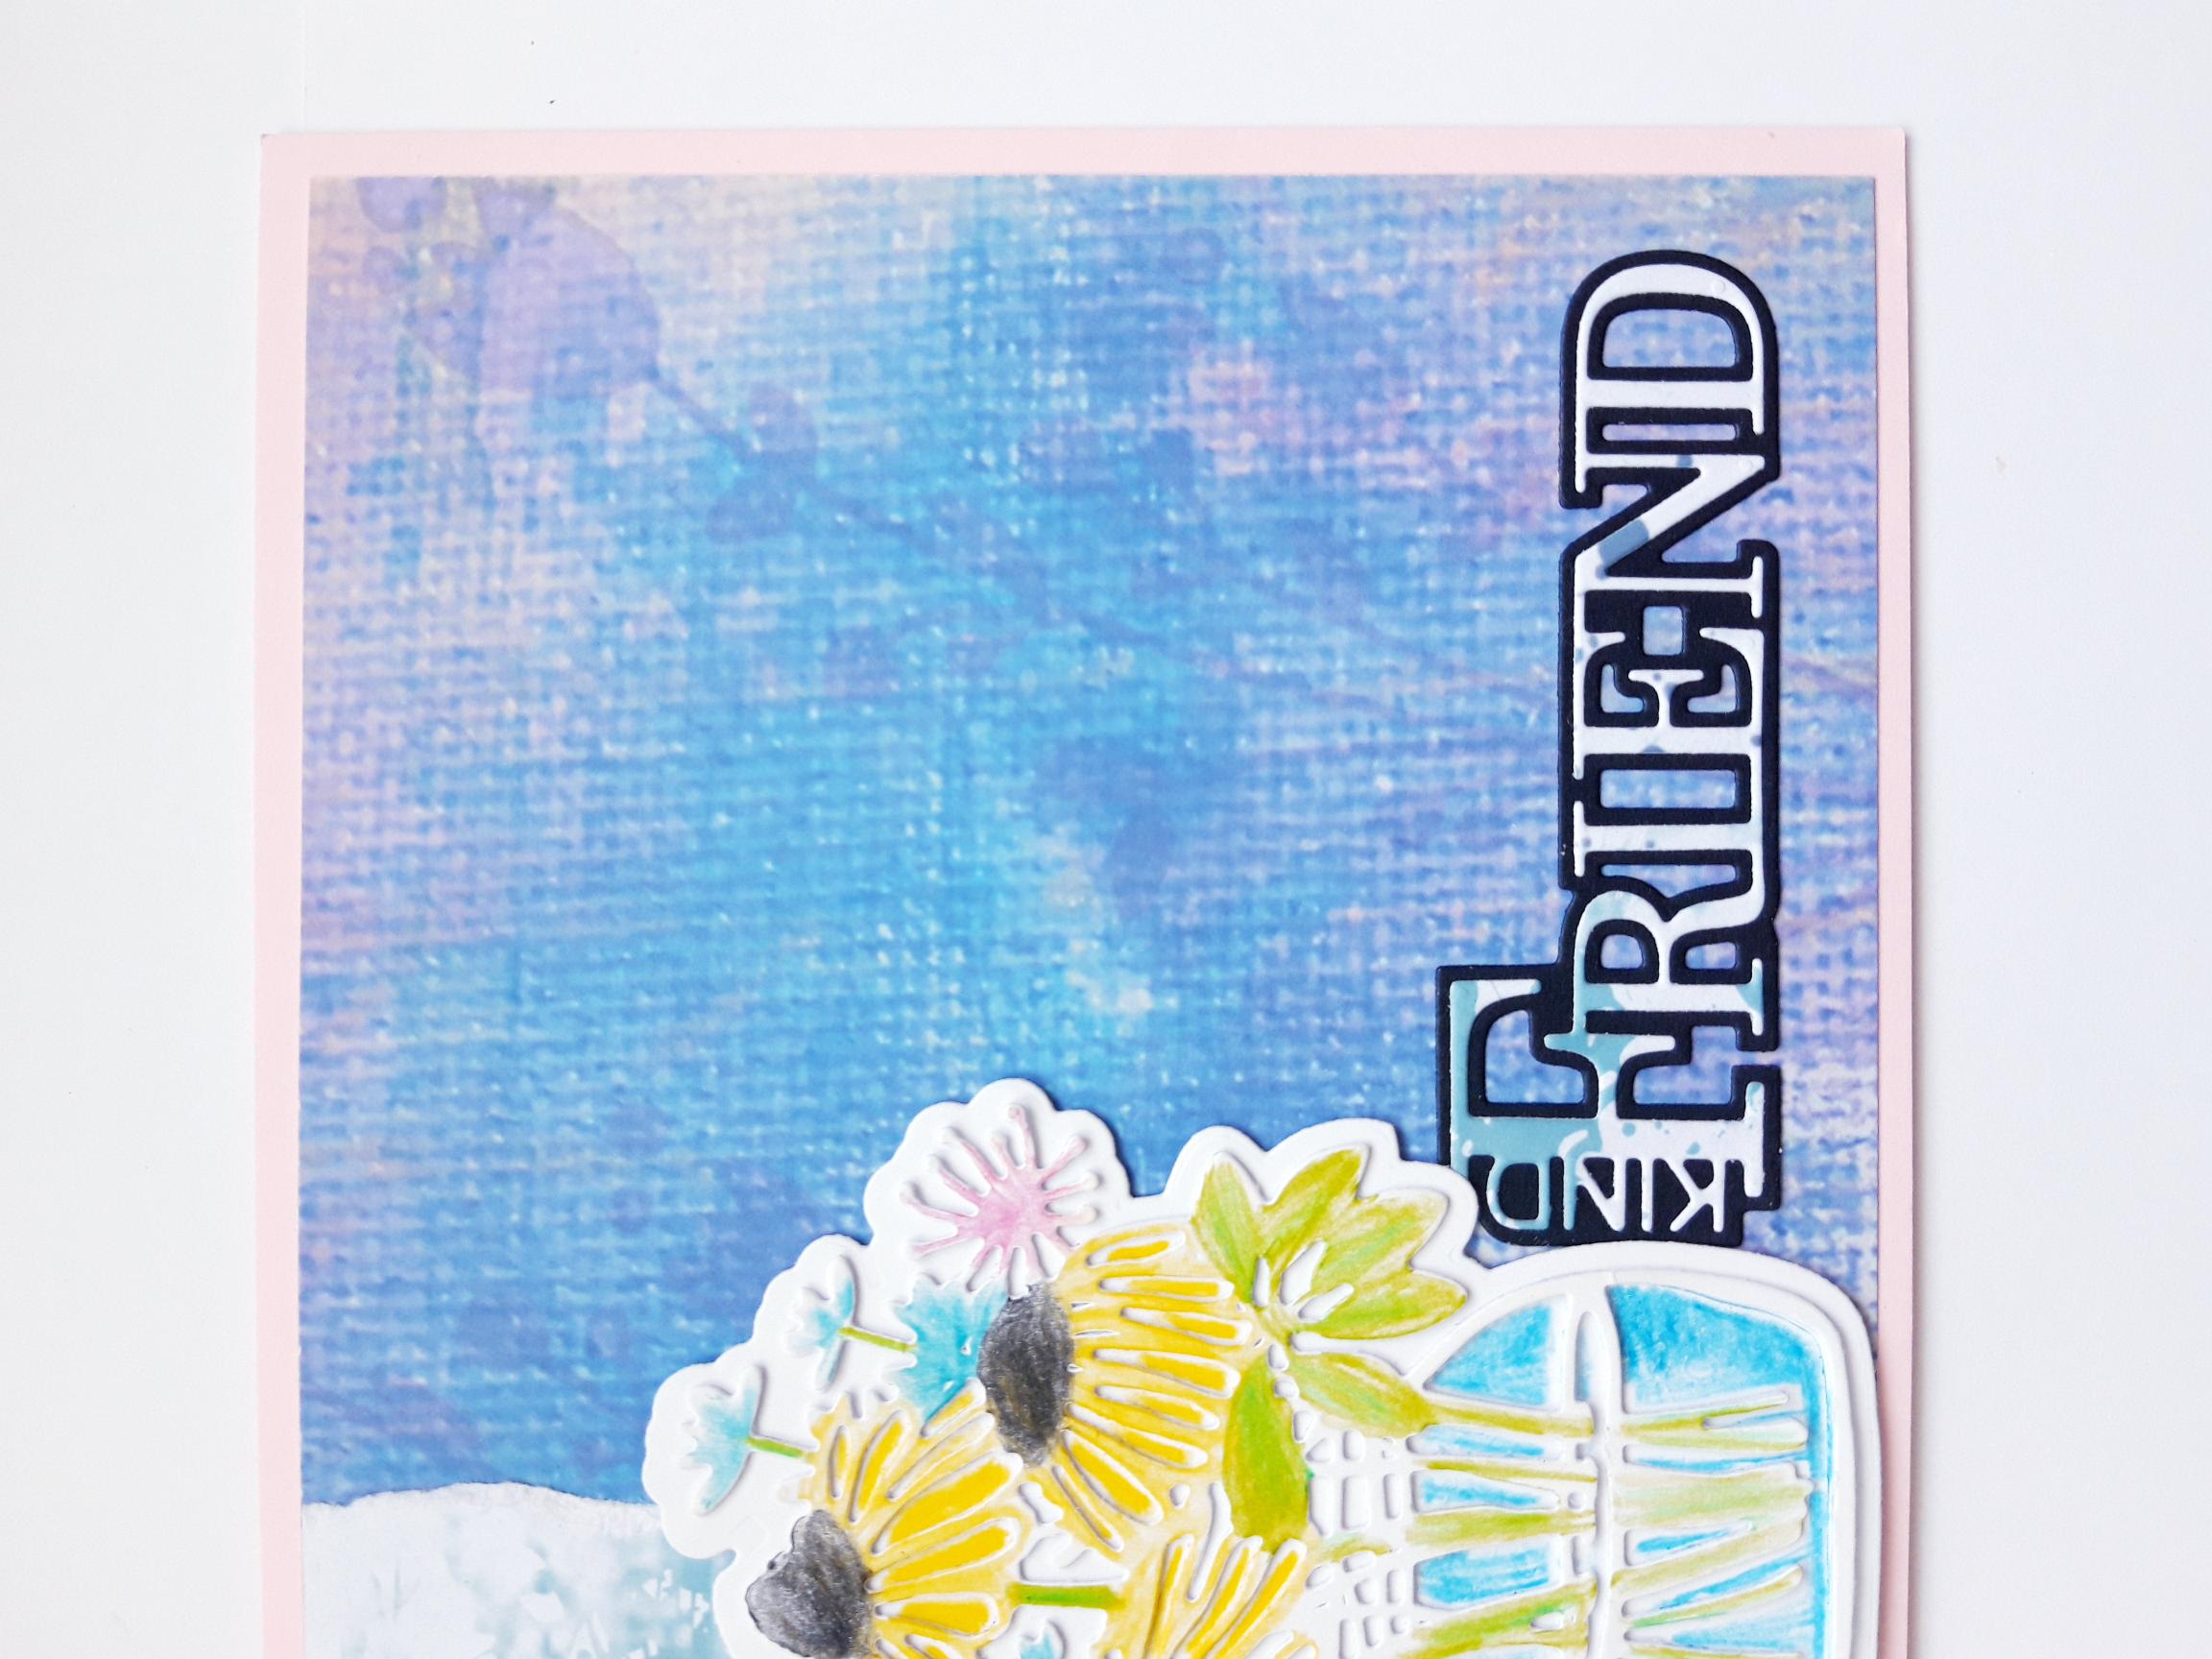
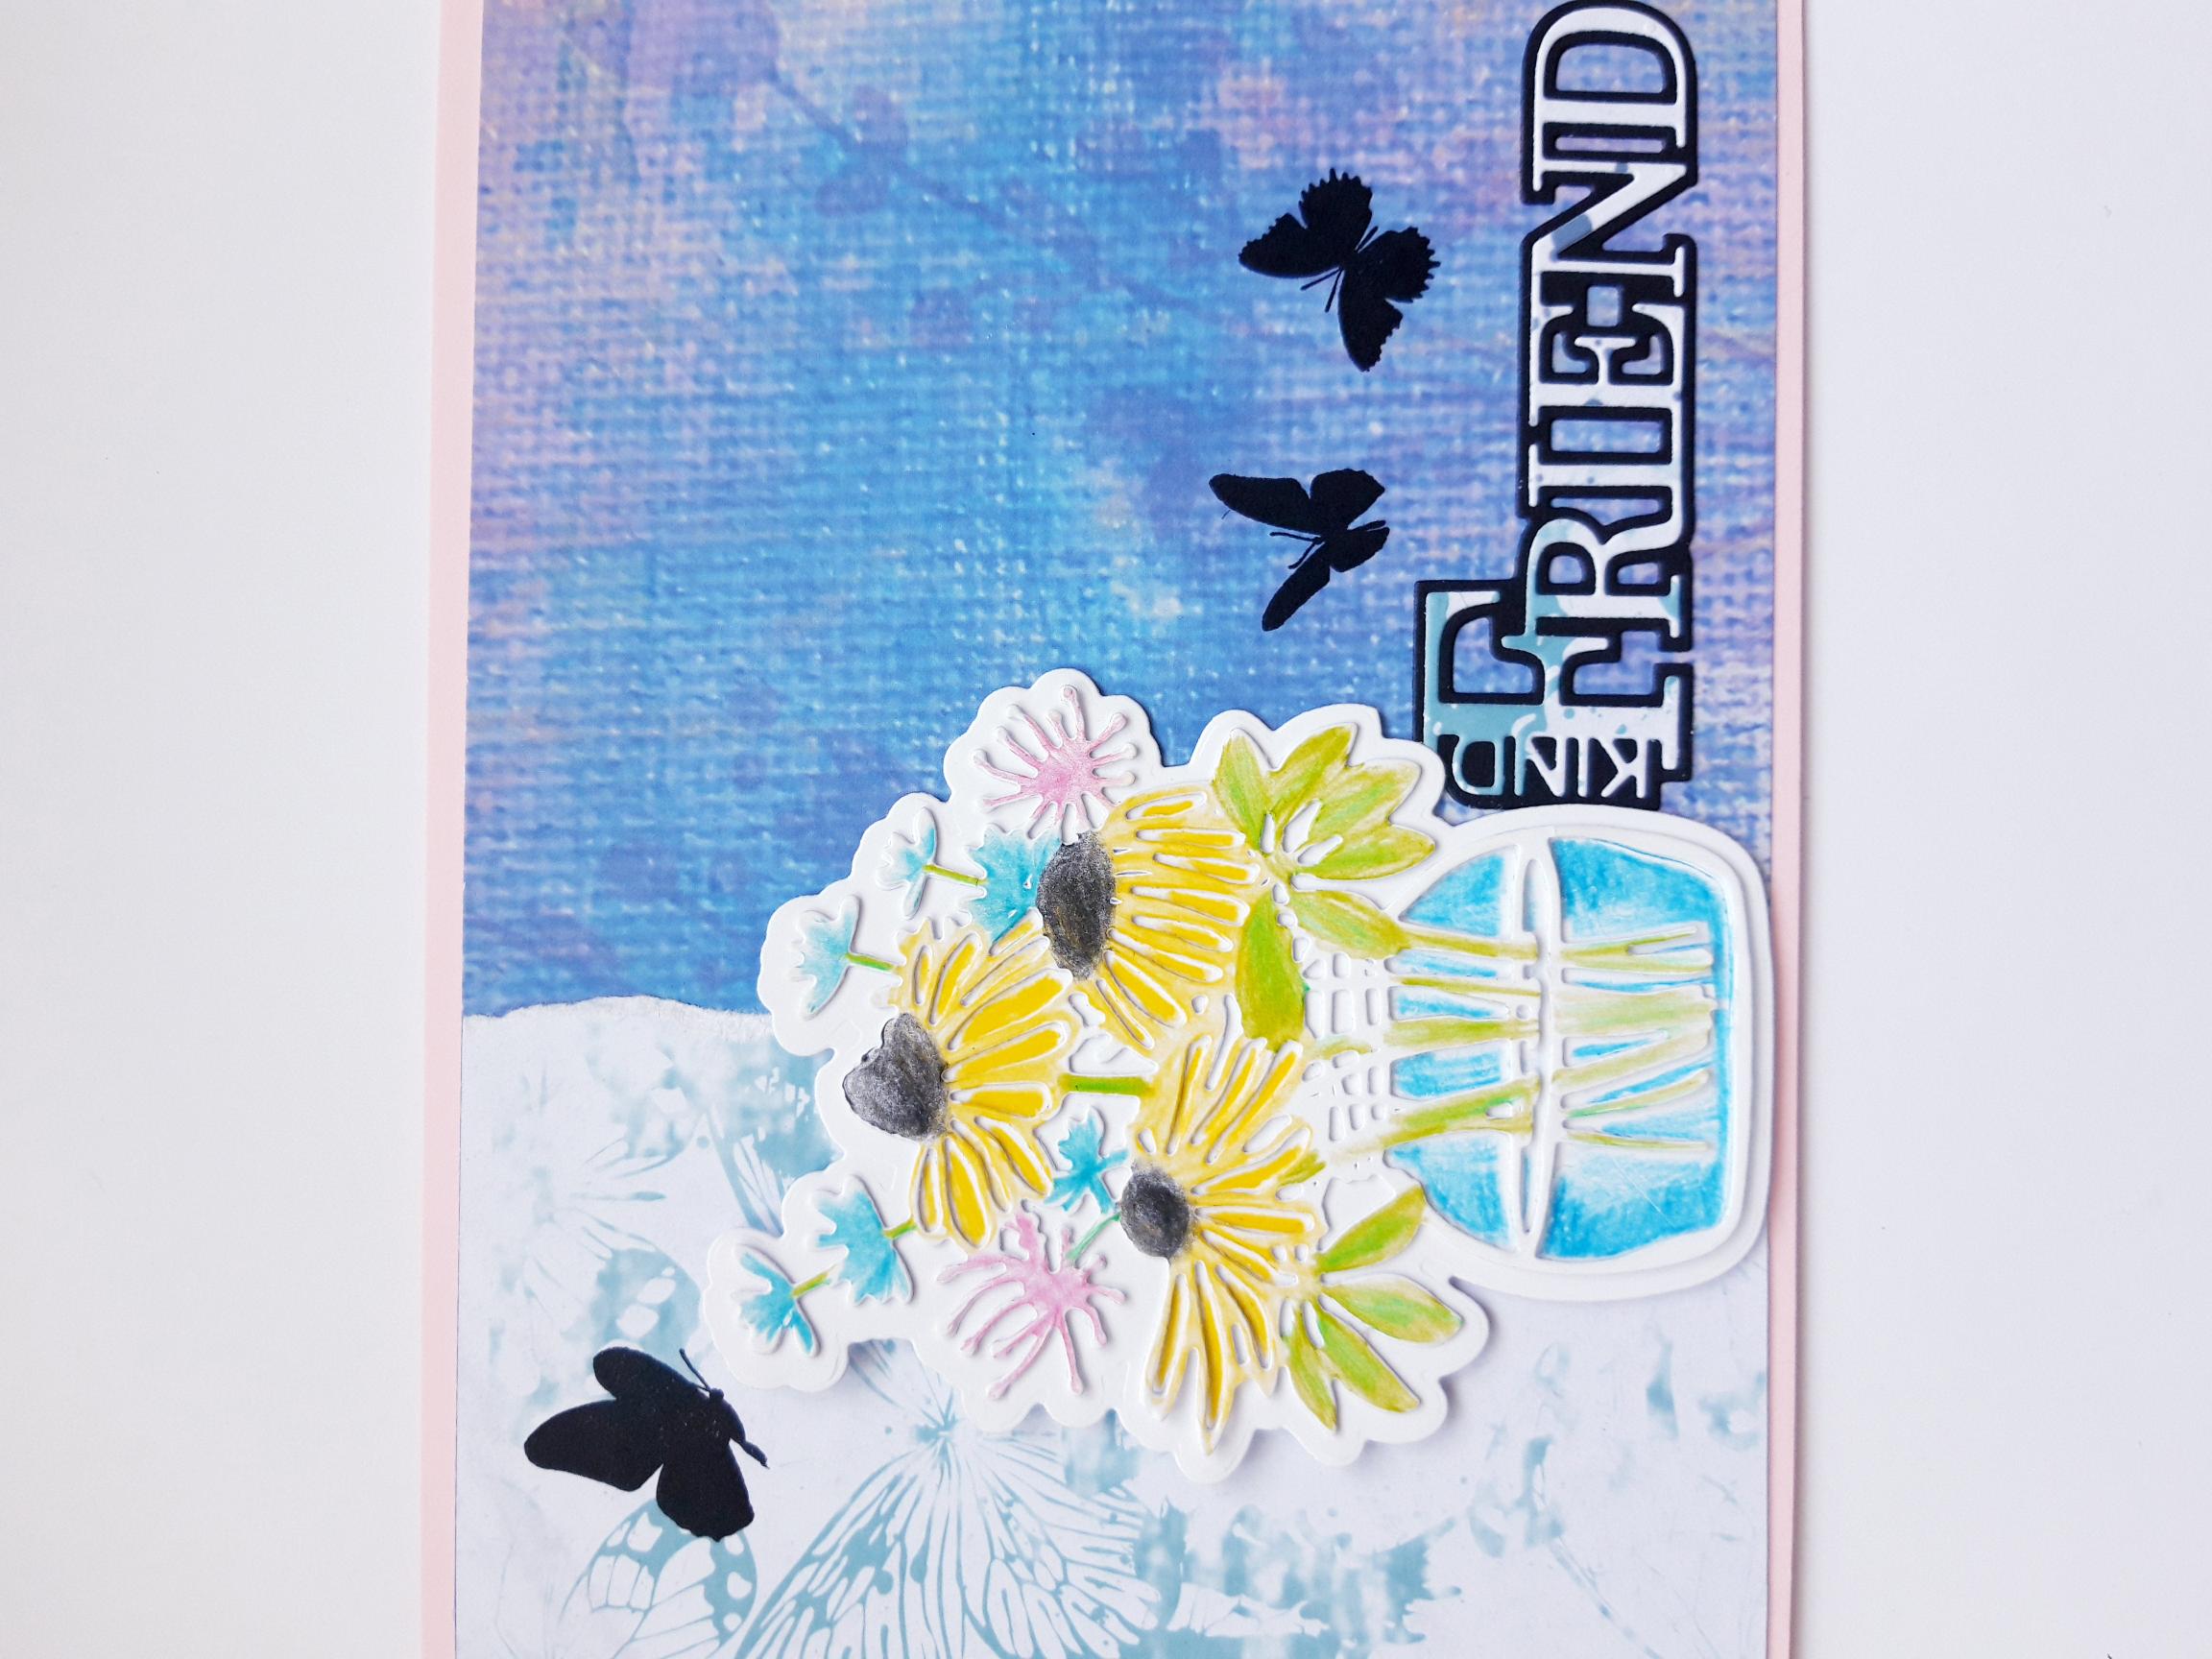
Place the FRIEND solid die, from the Kind Friends Die Collection, roughly where you wish it to go. Using this as a guide, adhere your coloured die cut floral element in place, so it will sit just to the left of the sentiment. You can adhere with wet glue, or with foam pads to create more dimension. Set your card to one side. |
|
Place the solid FRIEND die, on to the black card (4 x 2"), and the detailed FRIEND die, on to the leftover butterfly paper you set aside earlier. Run them through your die cutting machine. |
|
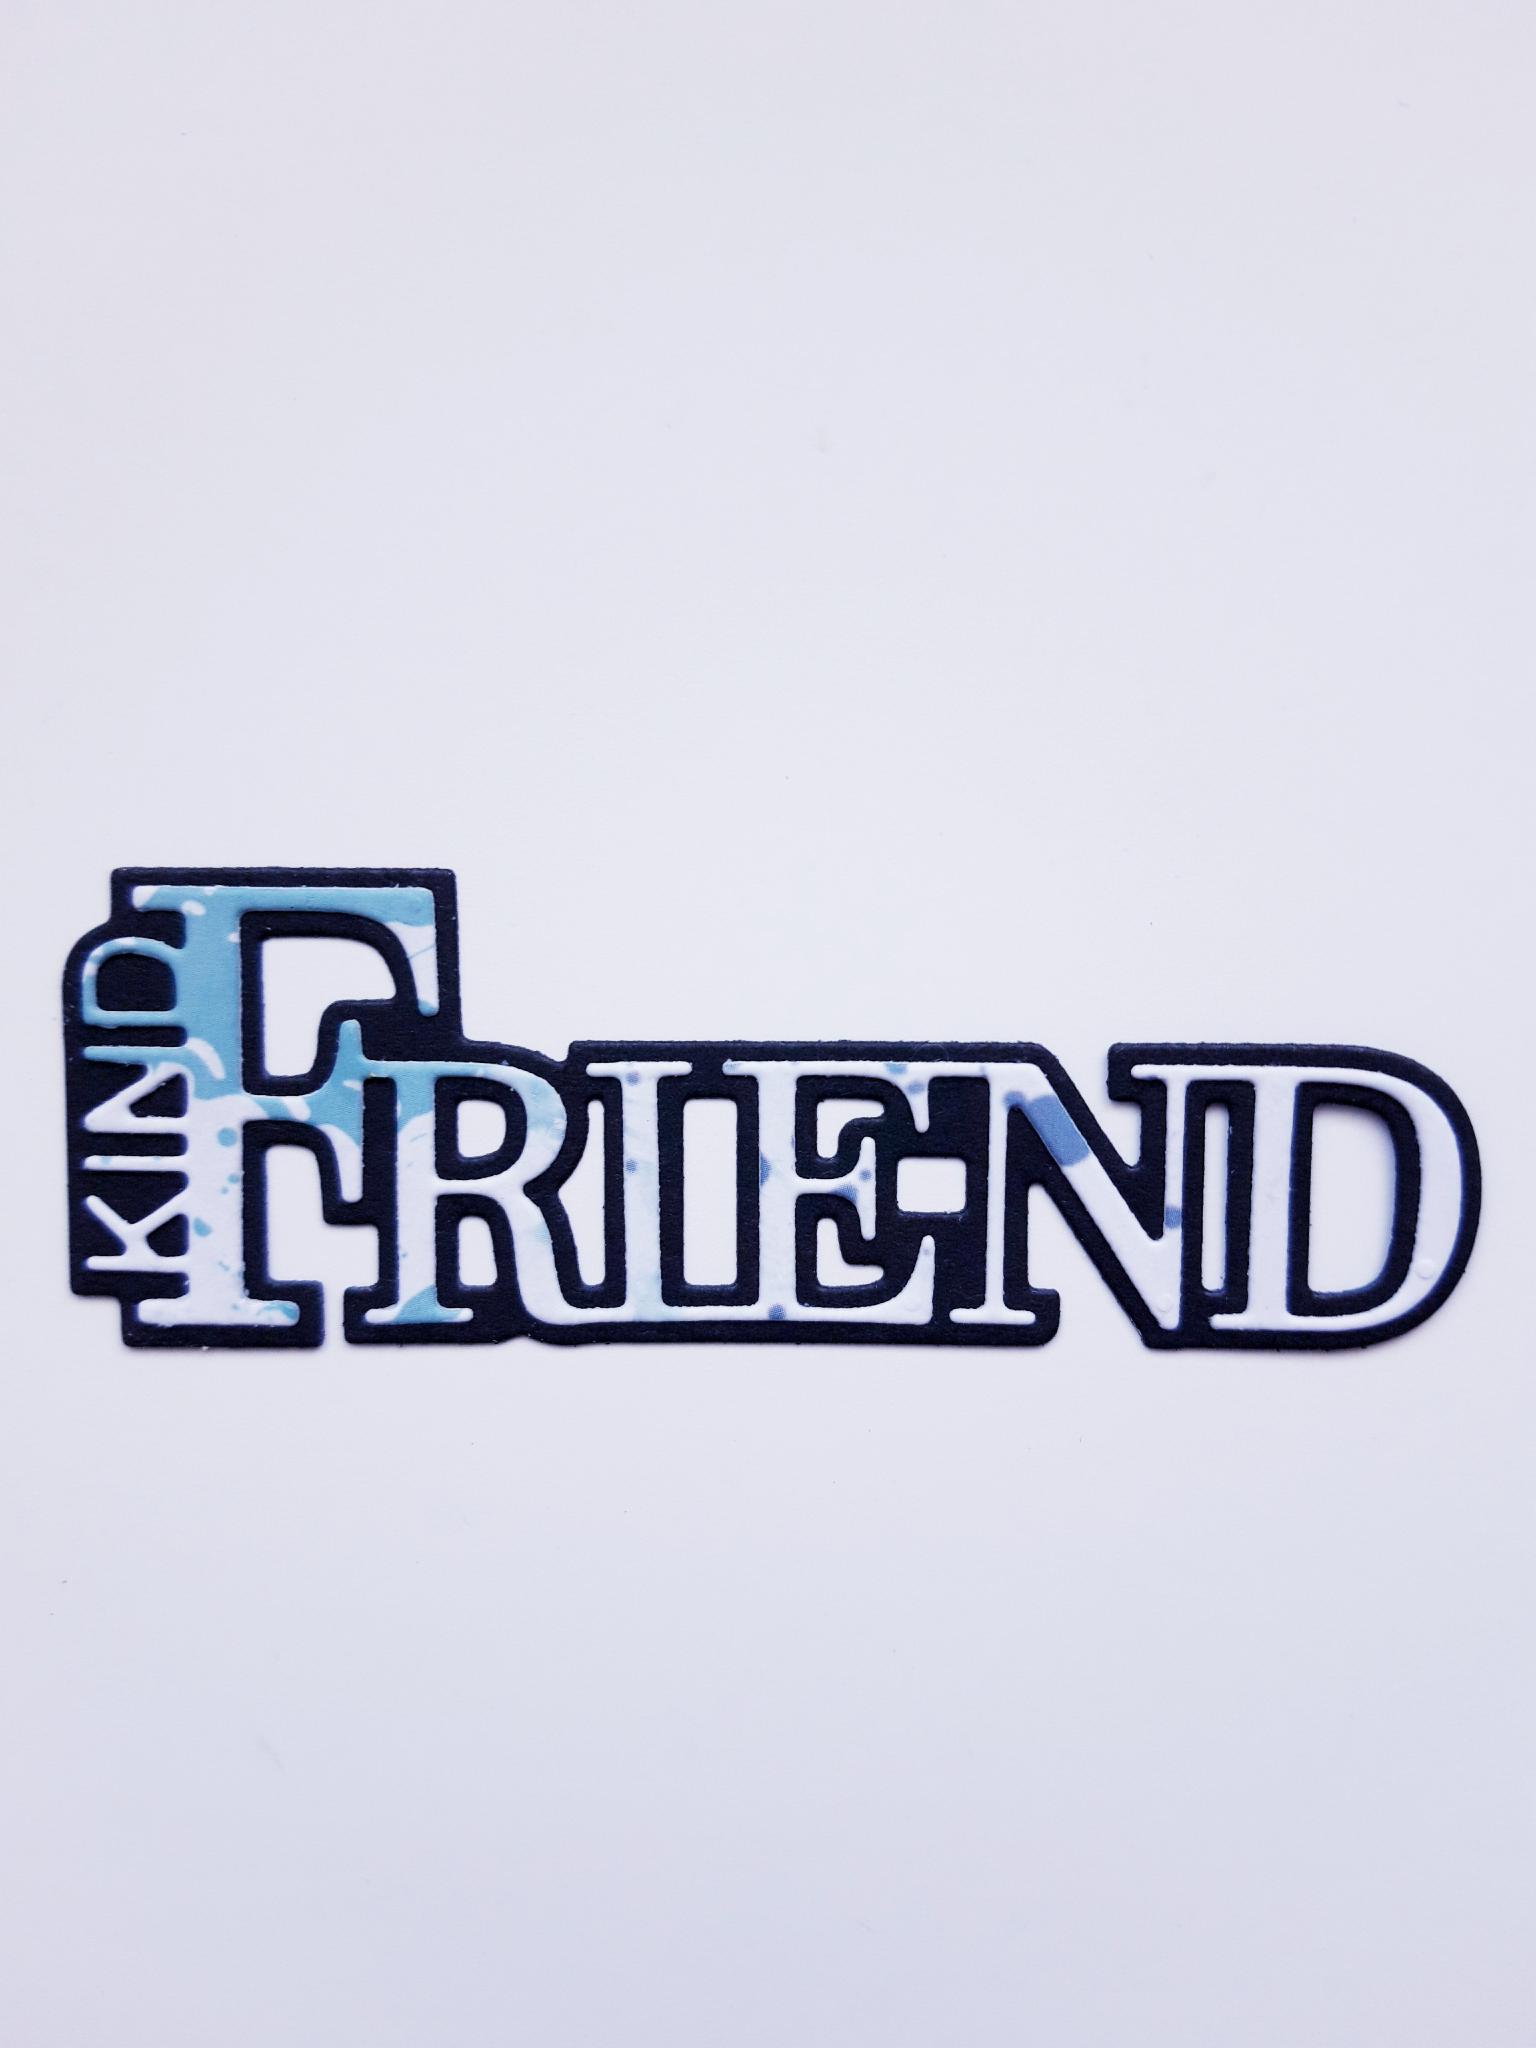
Adhere the detailed sentiment die cut, on top of the black, solid die cut mat. |
|
Adhere to the right of your die cut vase. |
|
Ink up some of the butterfly stamps, from the Love You Stamp Collection, with the Onyx Black Versafine, and stamp around your artwork, where required. |
|
To finish, use a black pen to draw in butterfly "trails". |