Give your friends $10 off their first order!
Refer a FRIEND


WHAT YOU WILL NEED:
8 x 8" white card blank
7 1/2 x 7 1/2" black cardstock
7 1/4 x 7 1/4" white cardstock
5 1/2 x 5 1/2" black cardstock
5 1/4 x 5 1/4" white cardstock (TWO of these)
Onyx Black Versafine Ink Pad
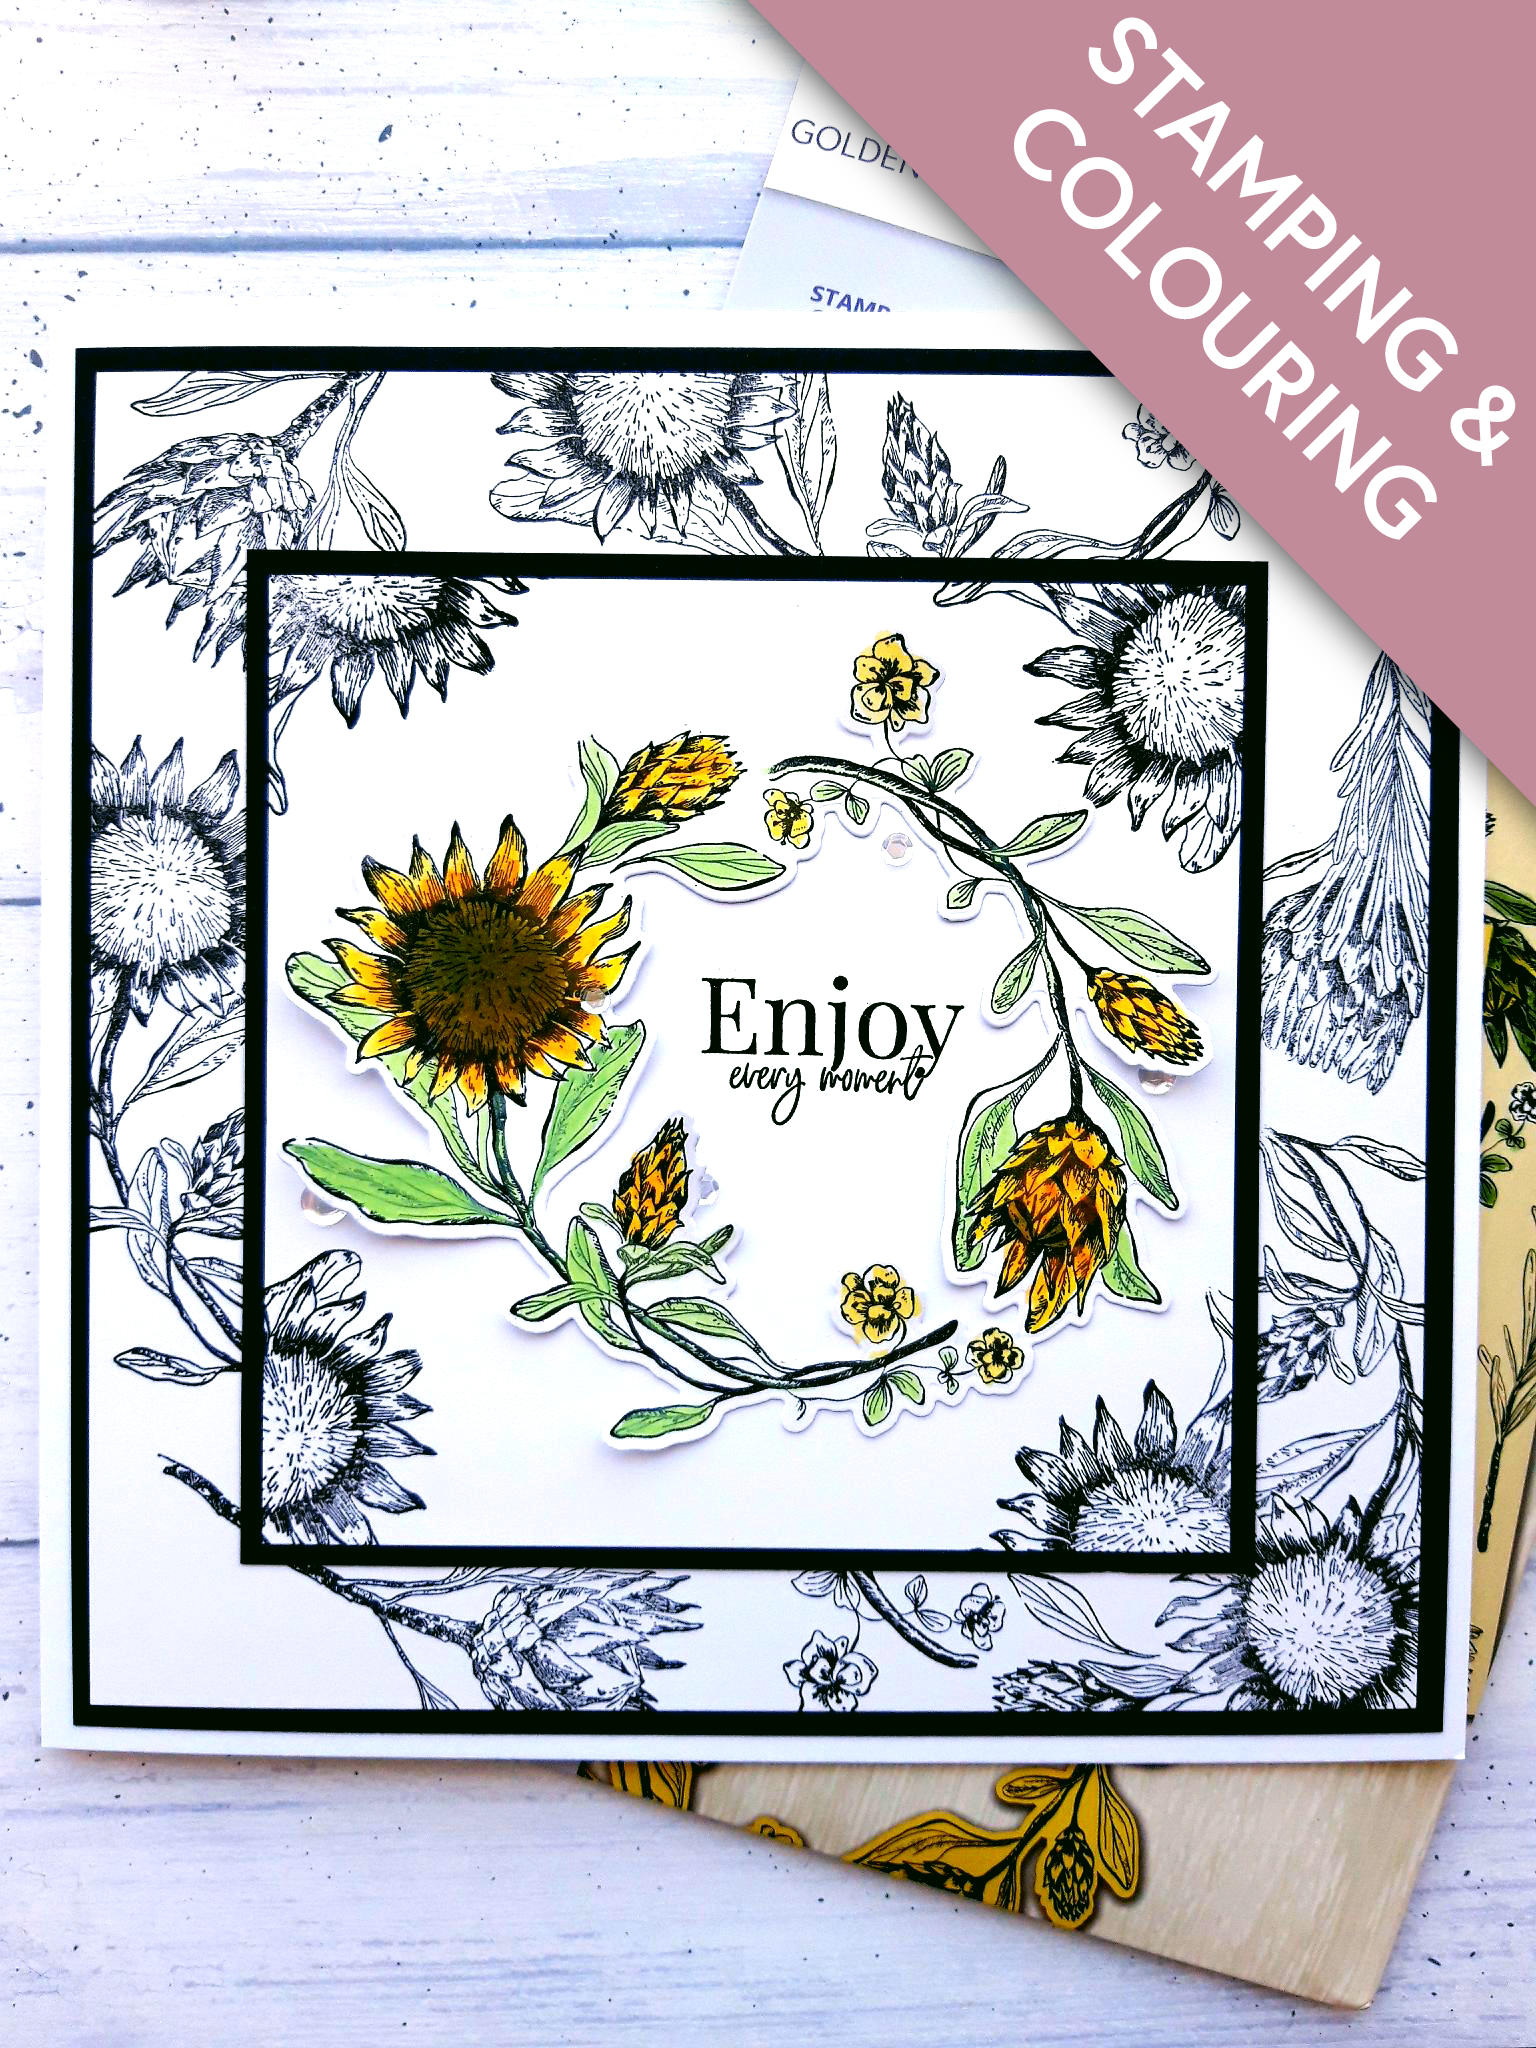
Stamps and dies from the set Golden Sunflowers
Sentiment from the Possibility stamp and die set
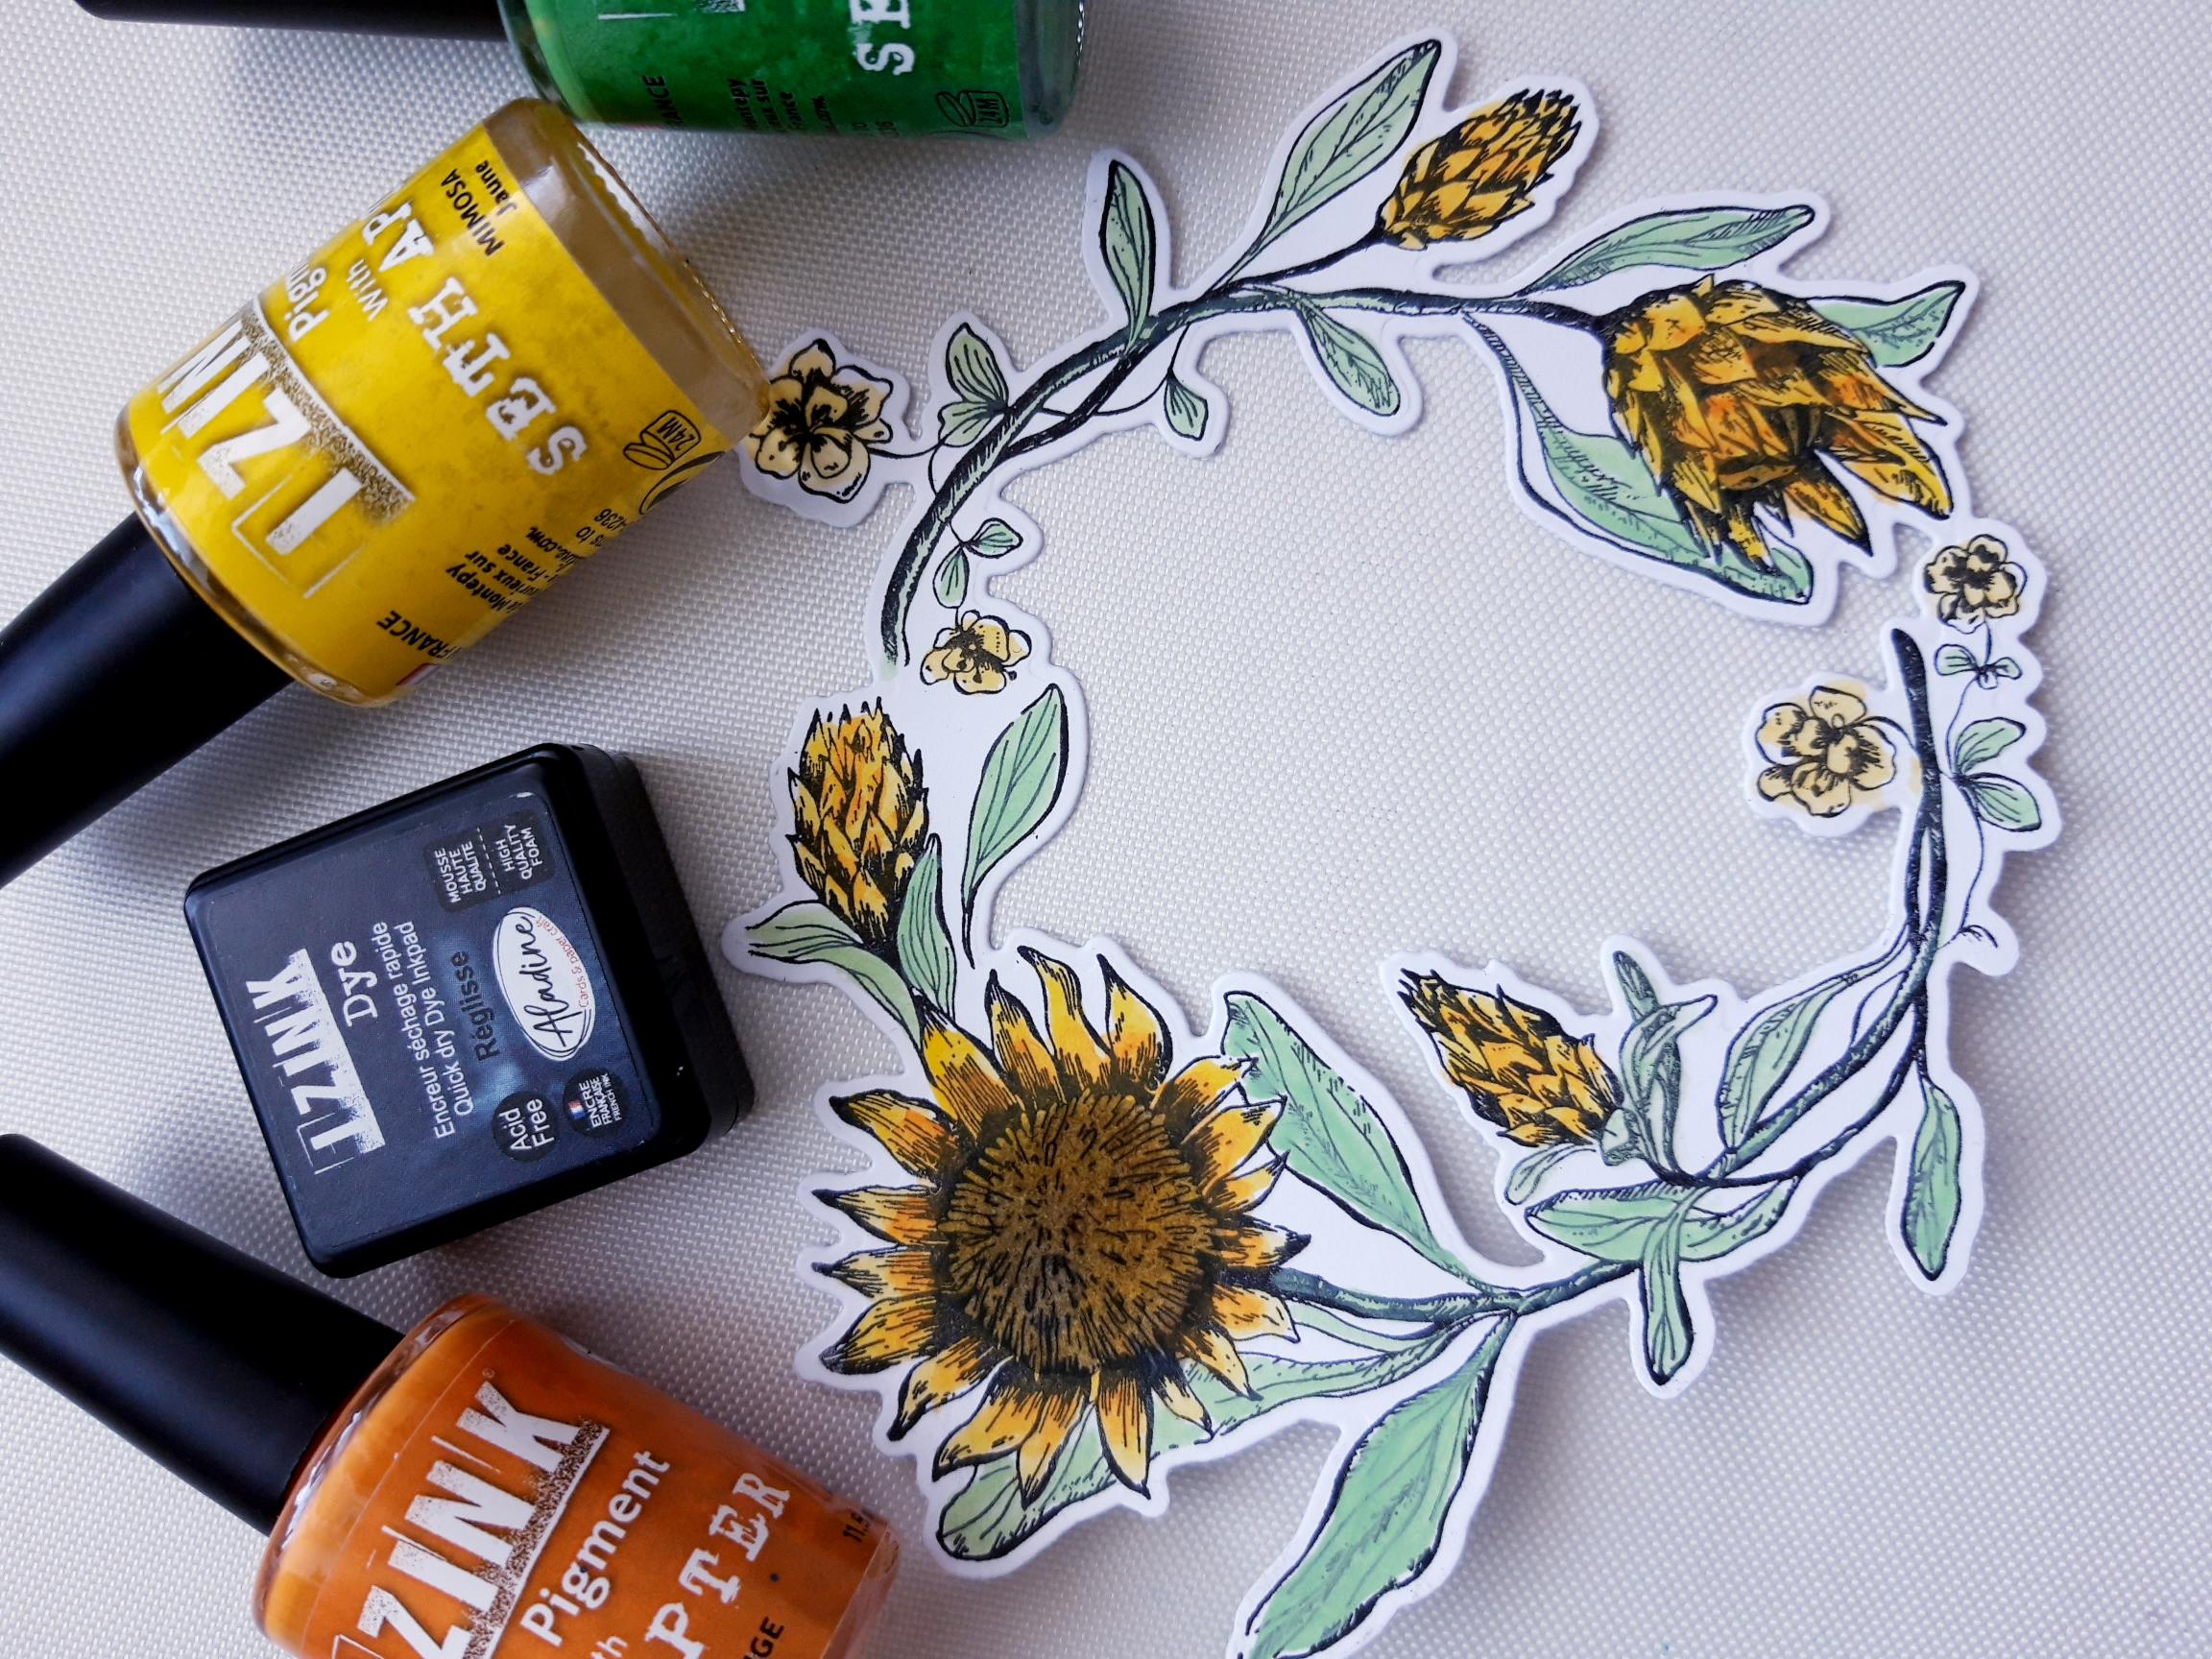
Izink Pigments: Burnt Orange, Mimosa, Wet Meadow,
Izink Dye Ink Pad: Reglisse
Sequins from Creative Box
Eureka 101
Die cutting machine
Foam Pads ( optional)
Perfect Together Glue
Paper Trimmer
Paint brush
[click image to enlarge] 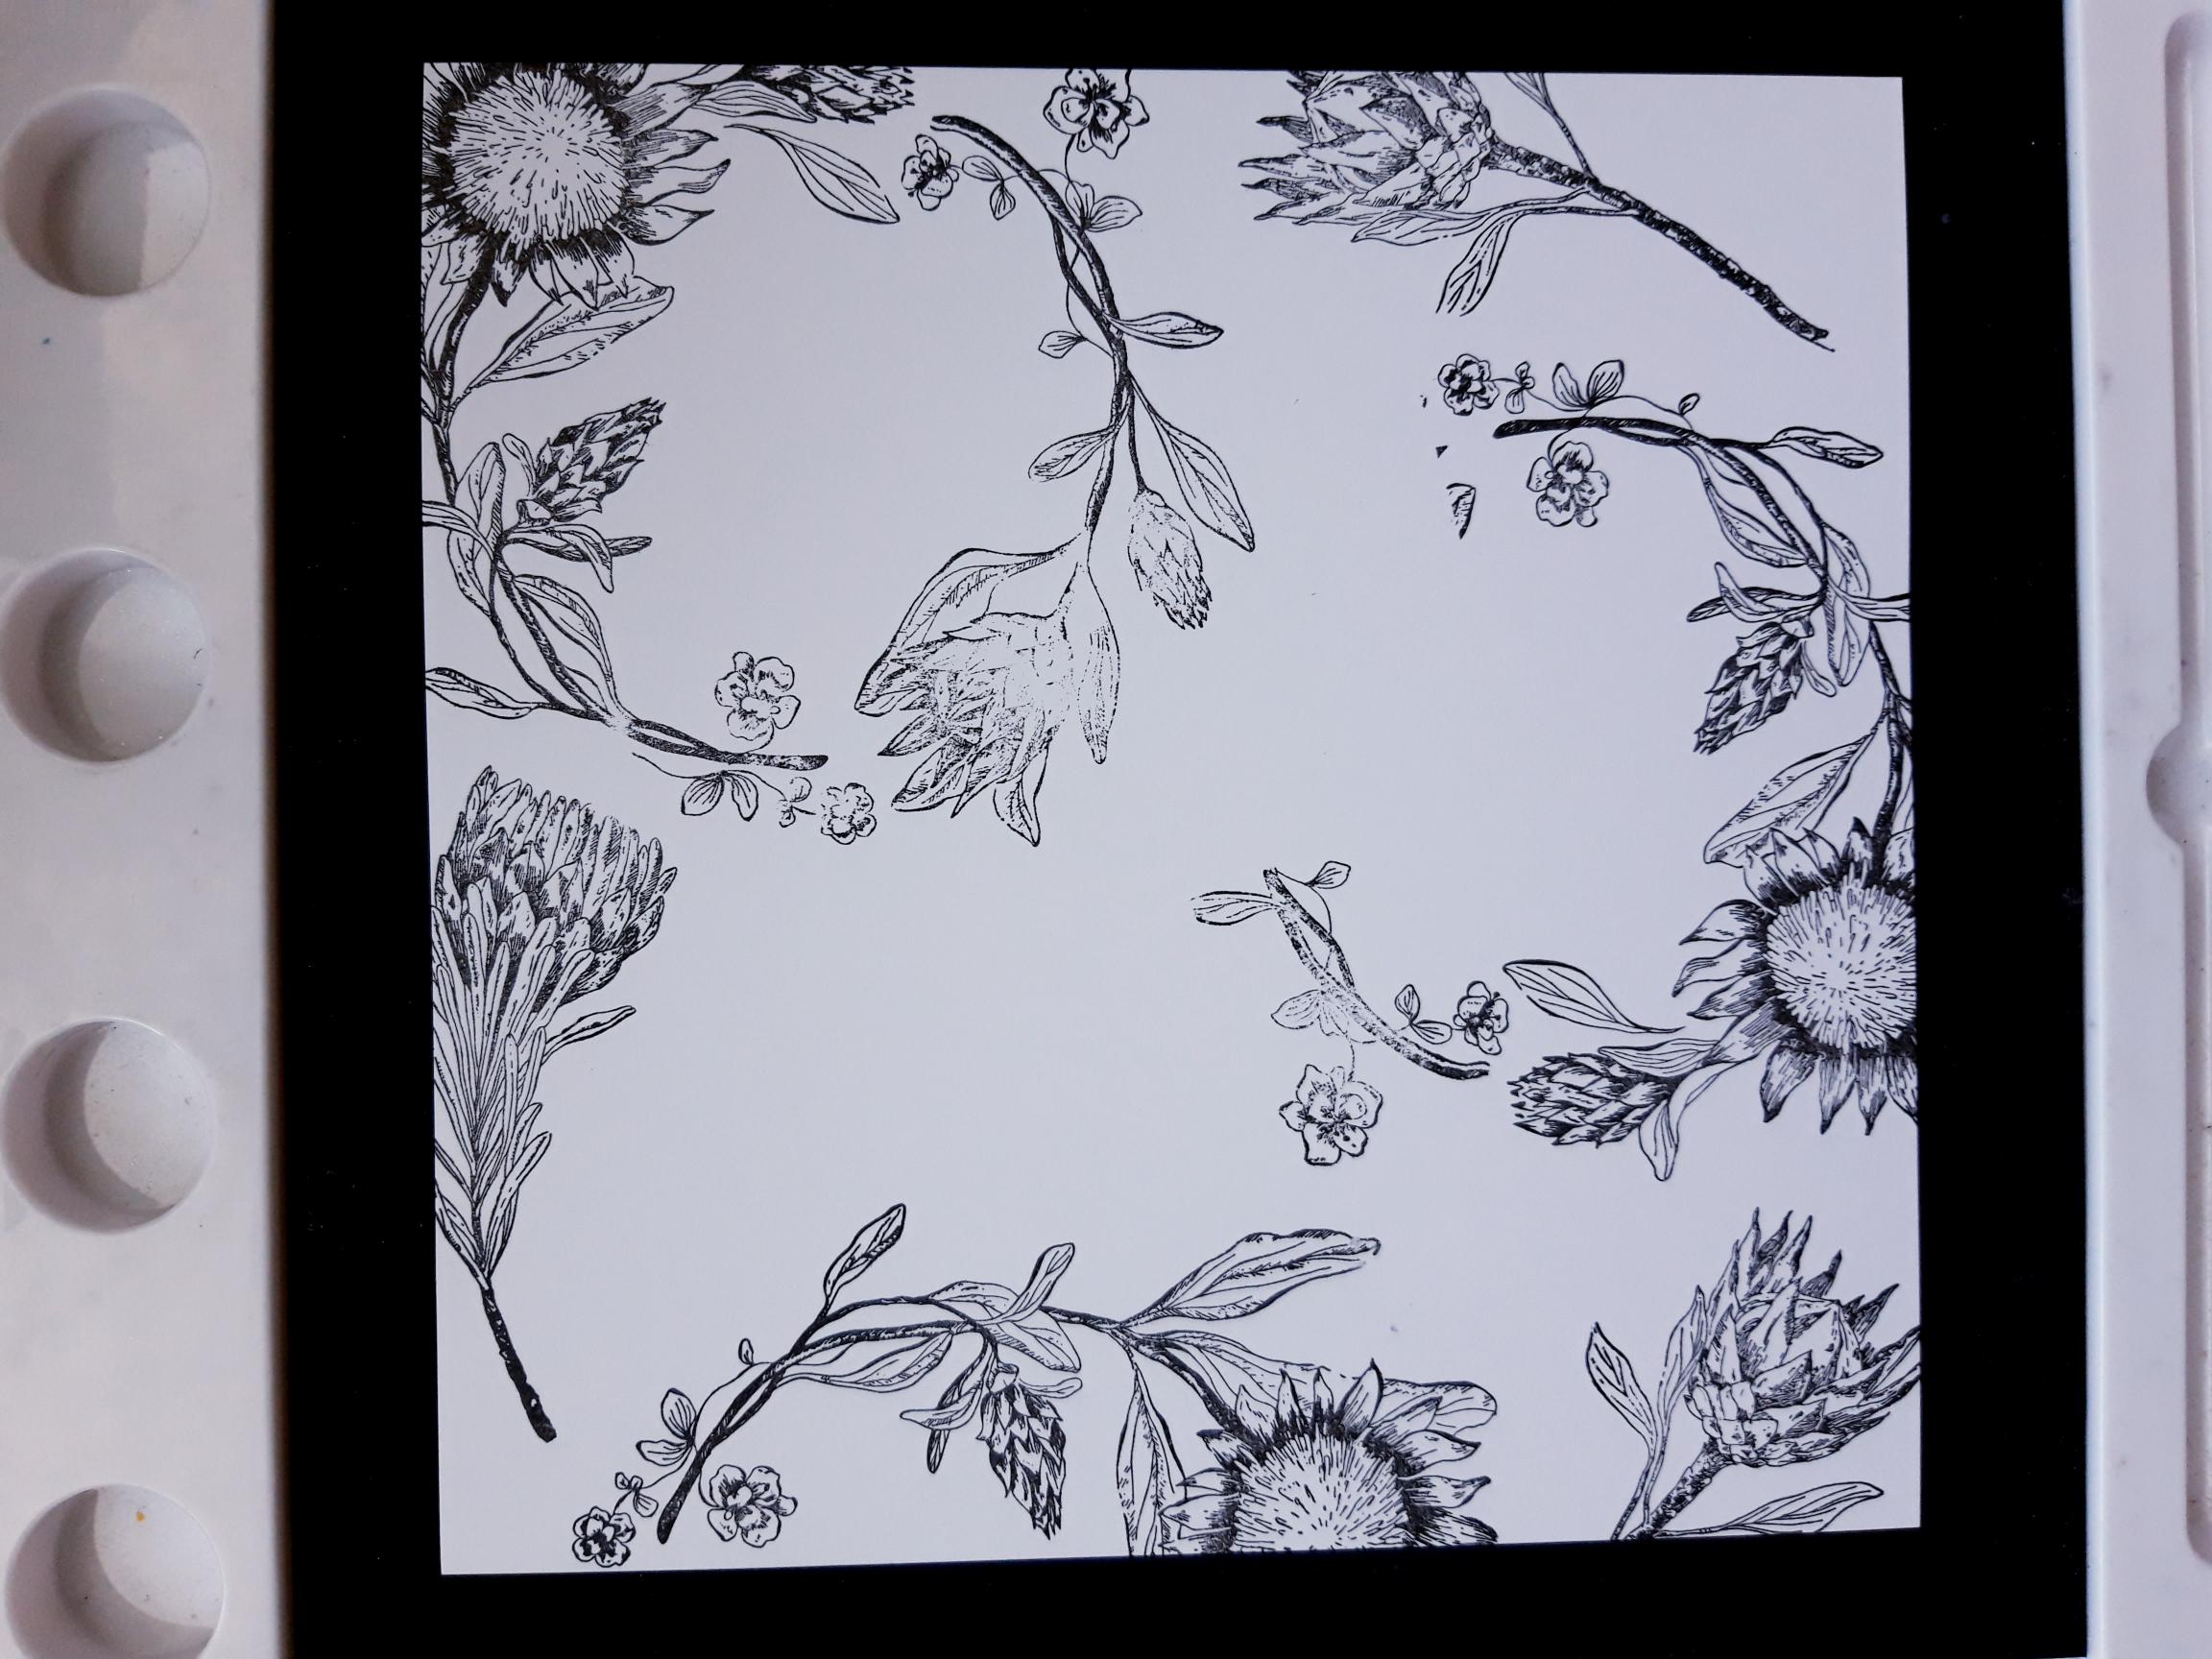
|
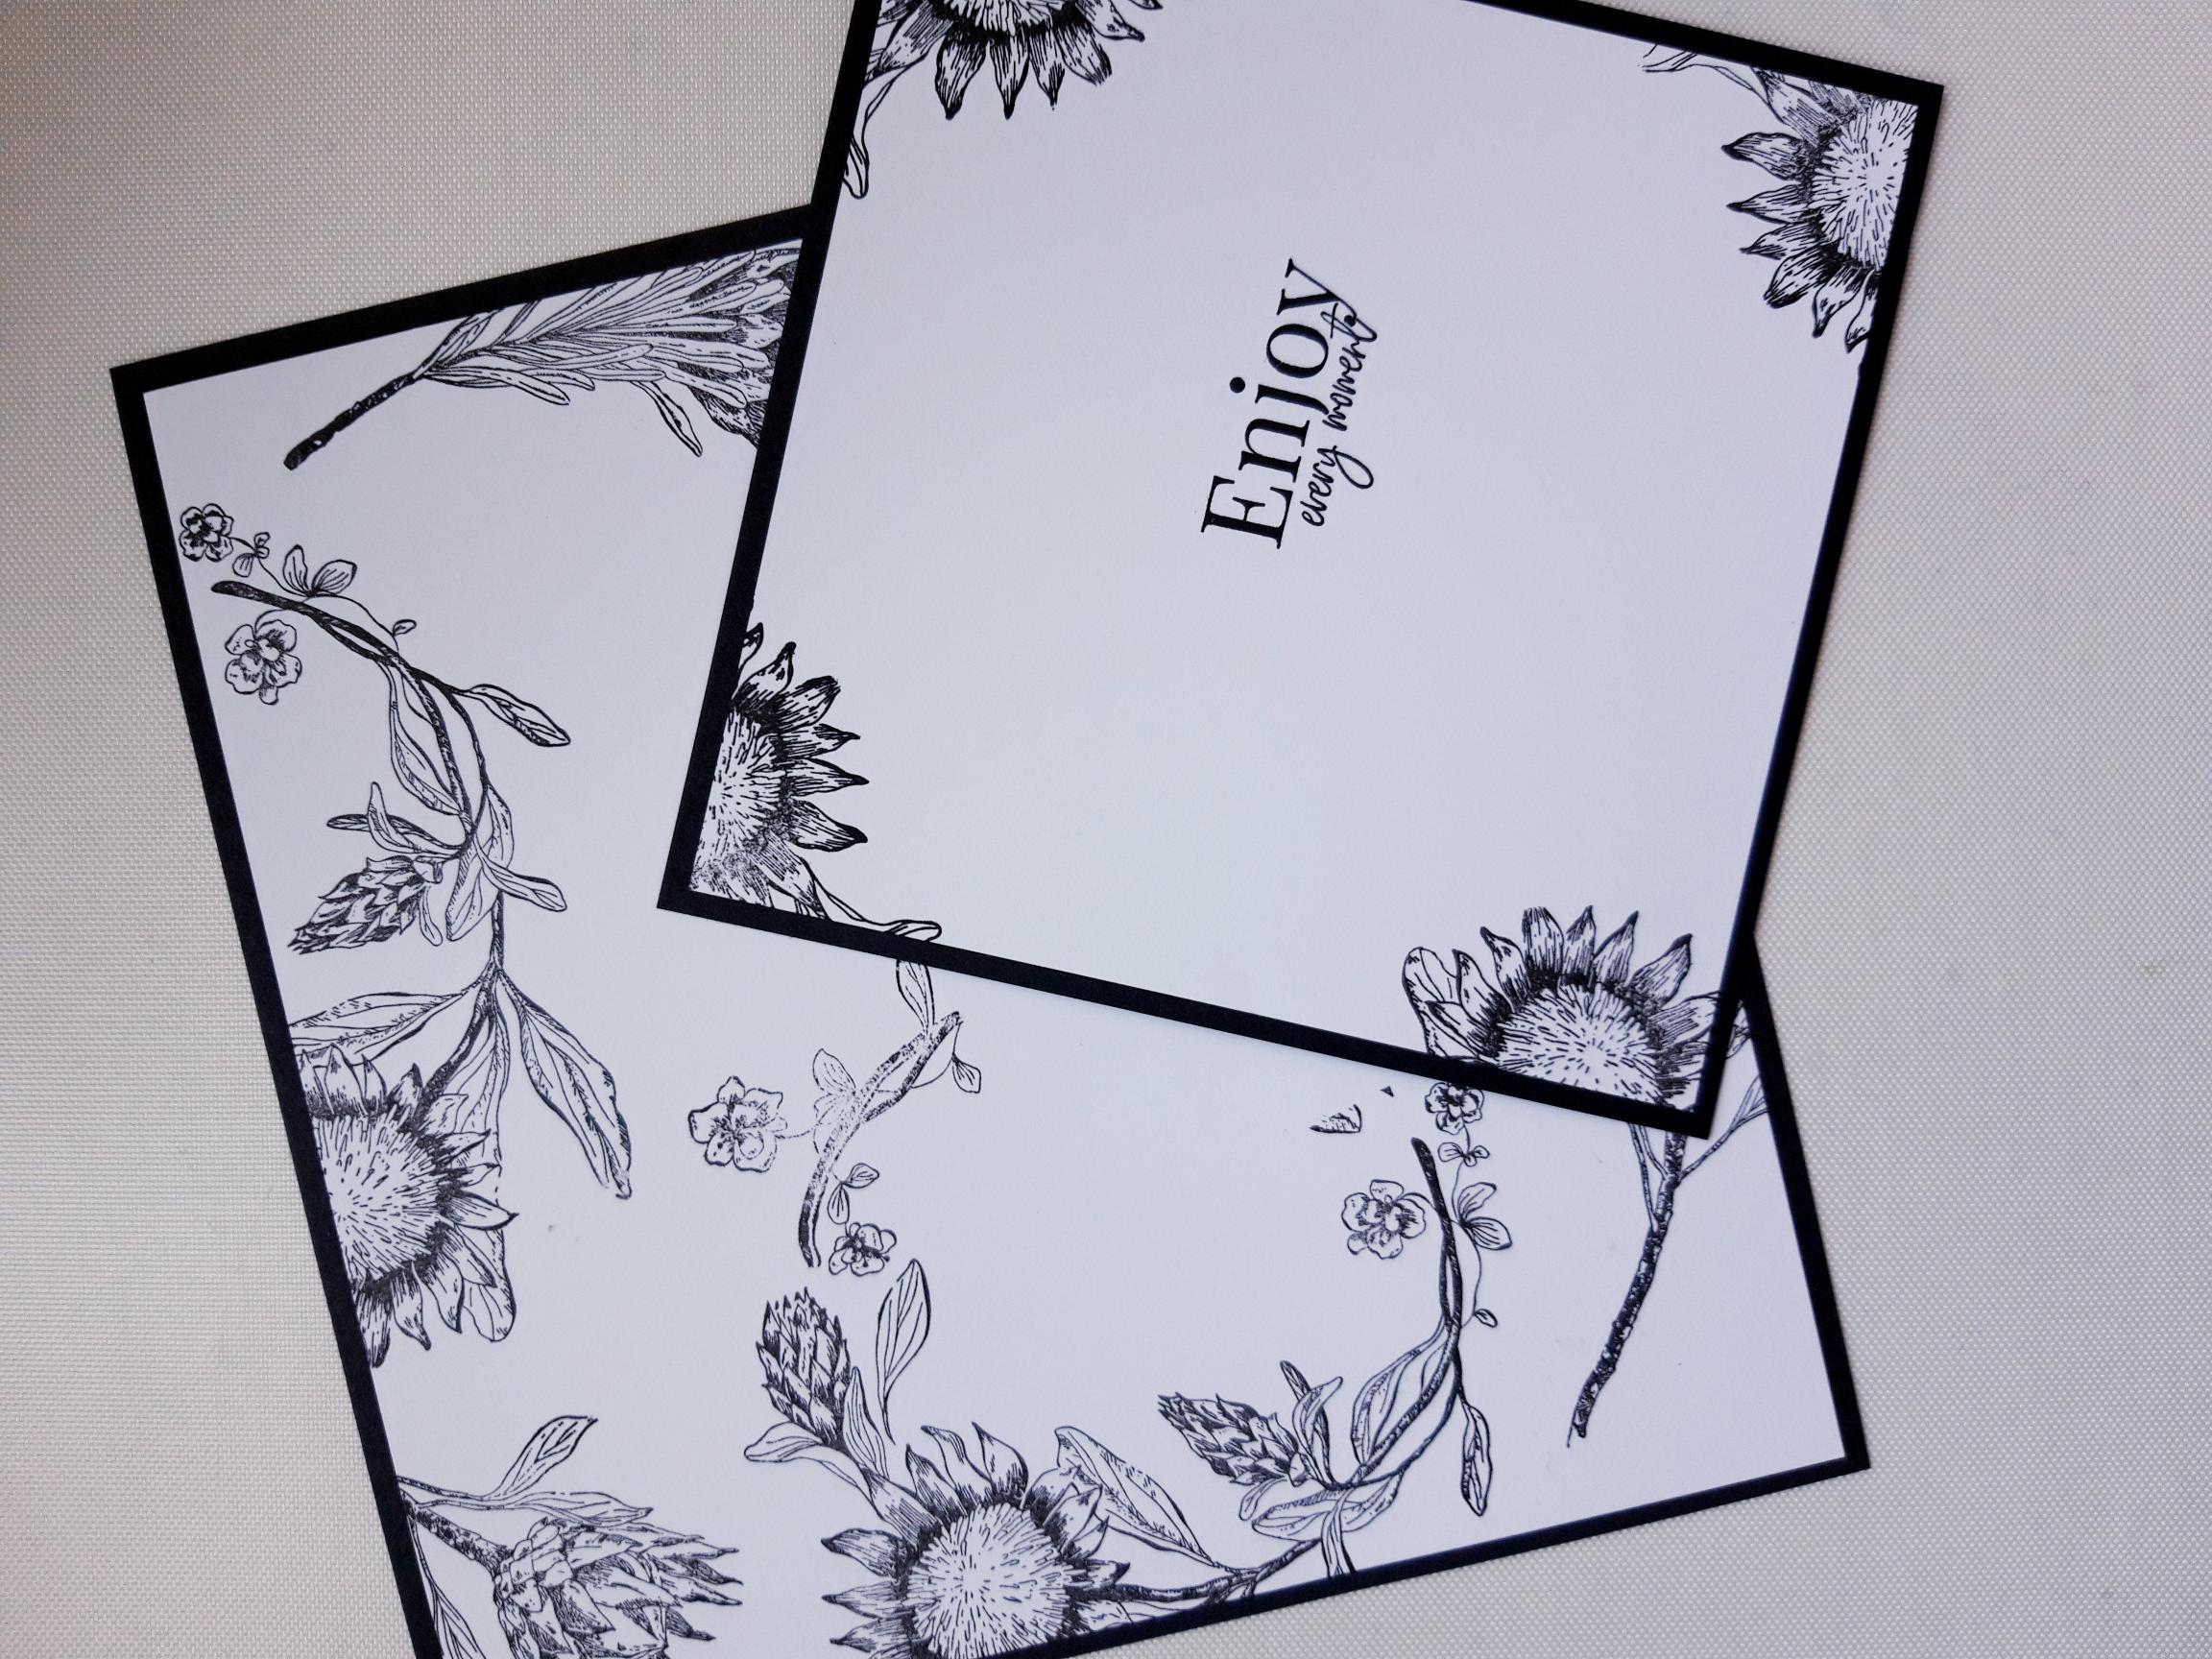
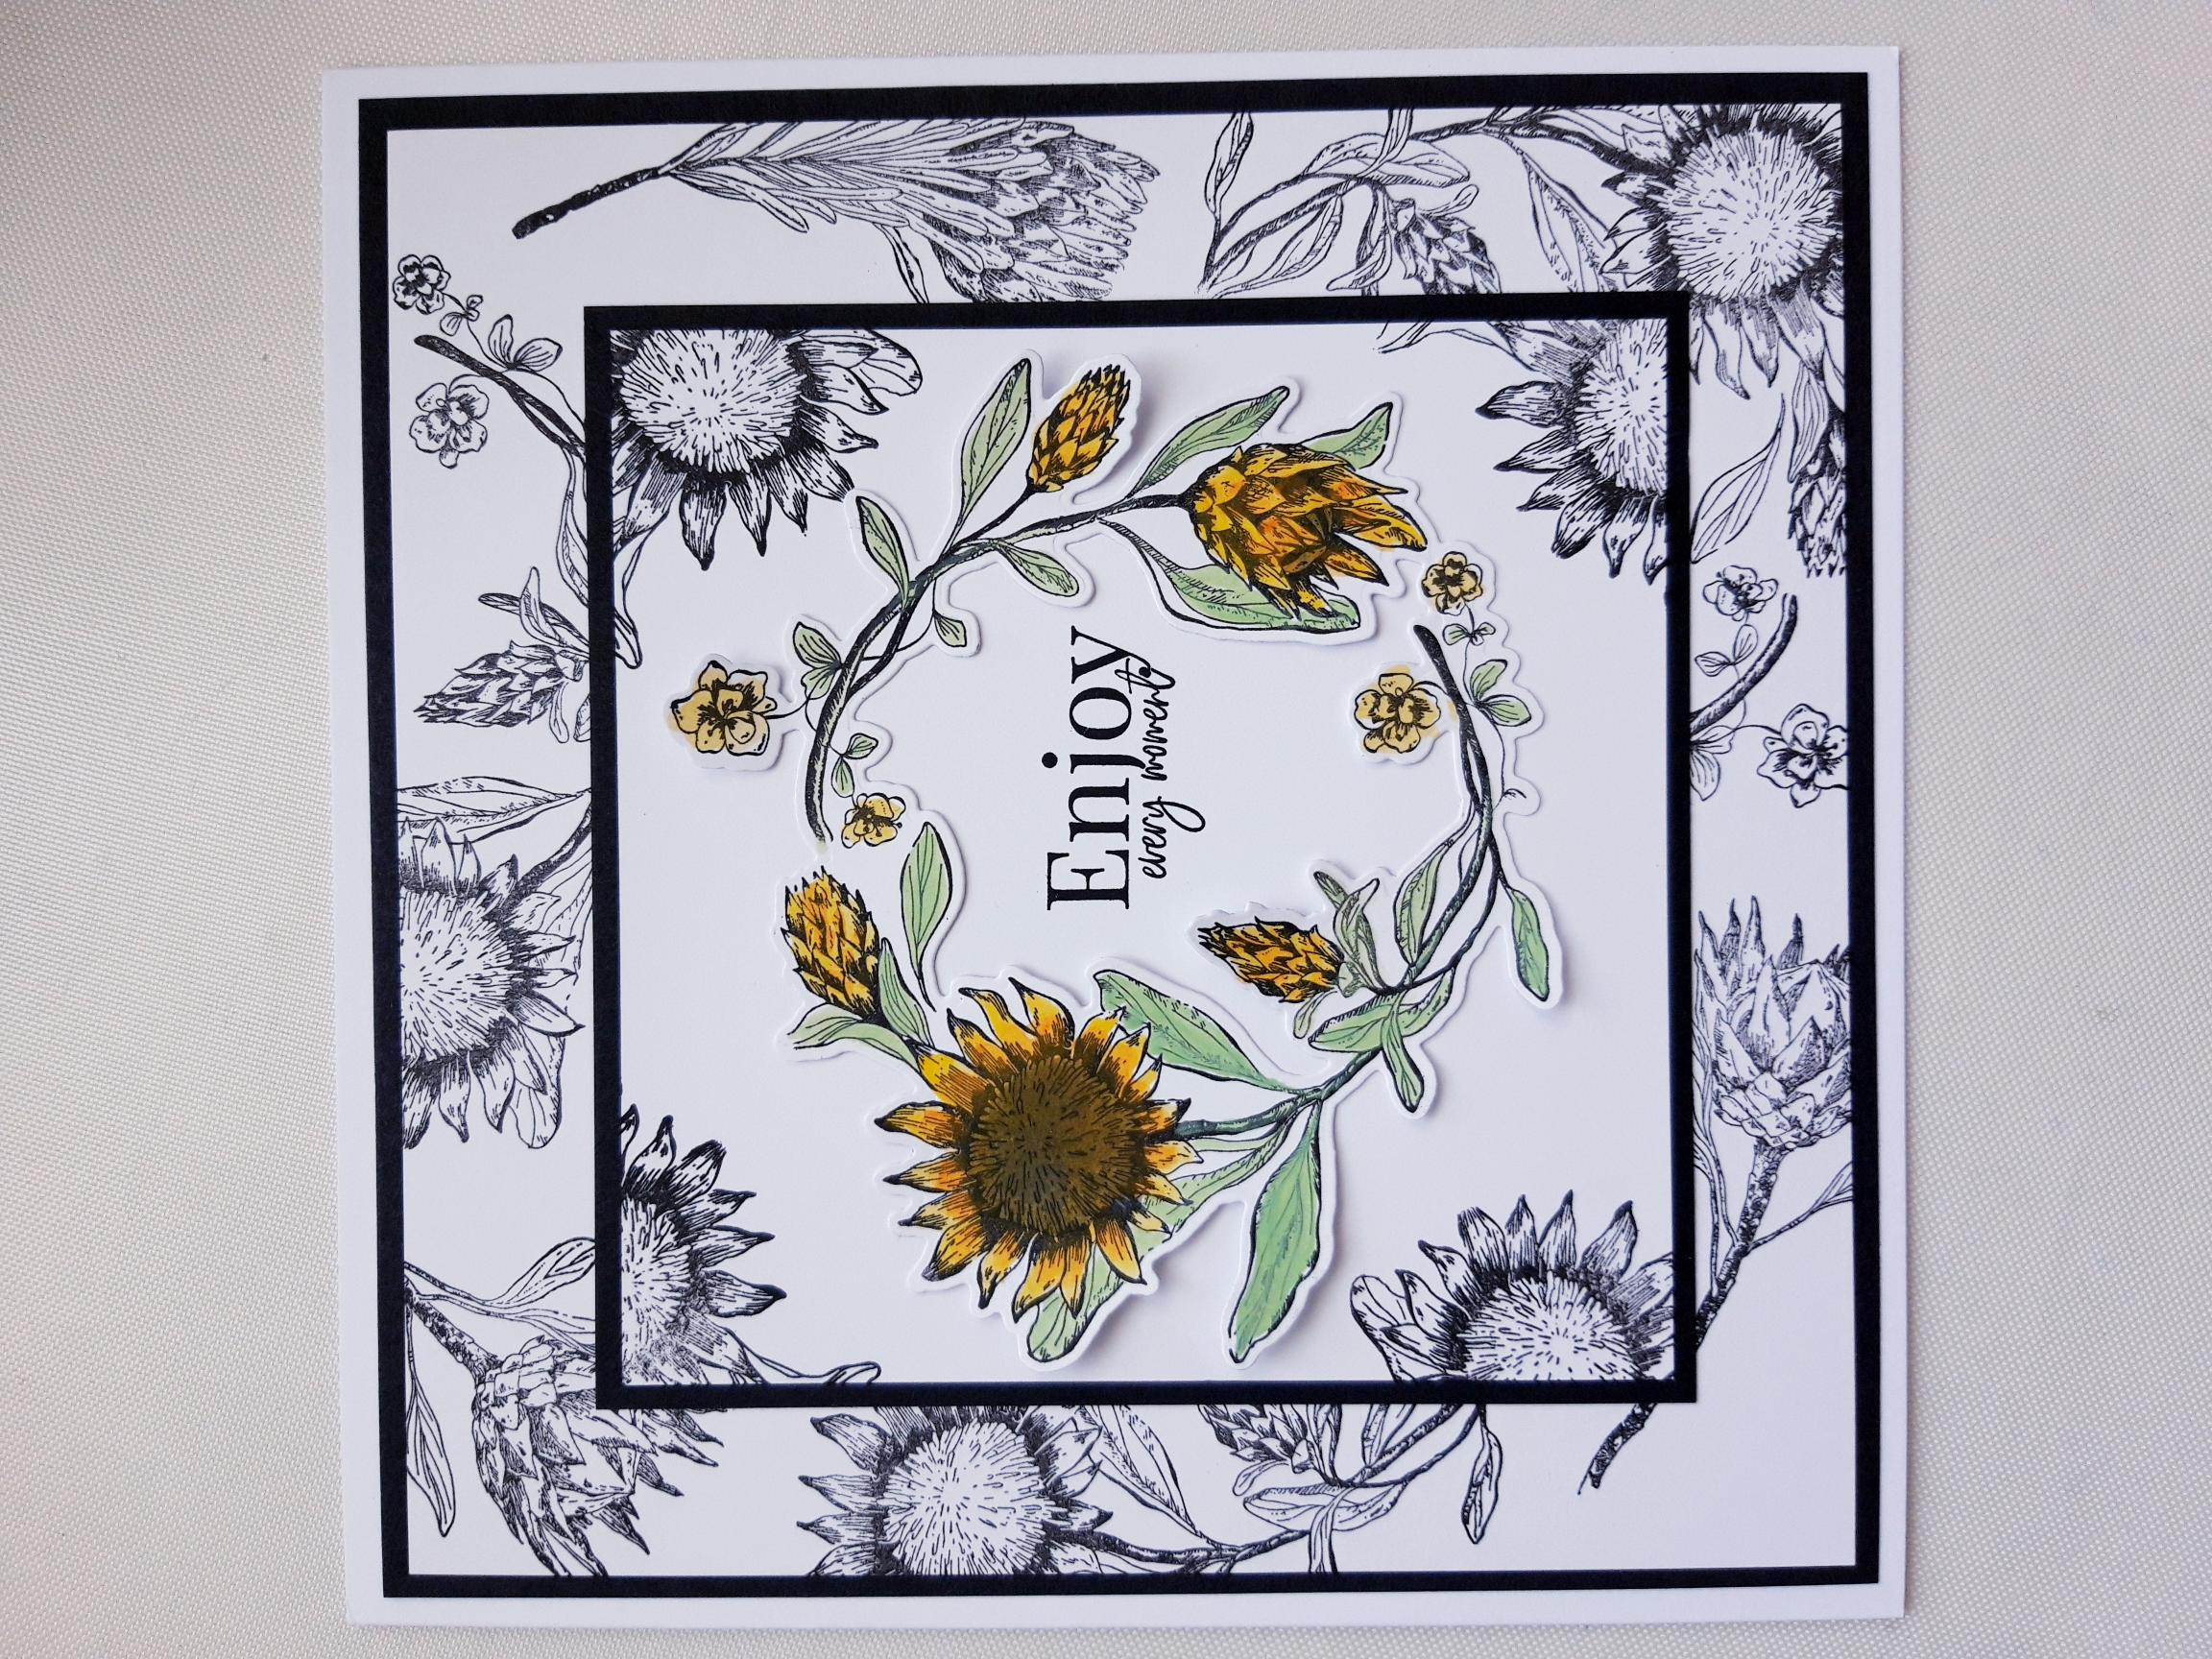
Ink up the Sunflower wreath stamp, from the Golden Sunflowers stamp and die set, in the Onyx Black Versafine, and stamp around the edges of the 7 1/4 x 7 1/4" white piece of cardstock. Dont worry too much about the centre of the card as you will be covering most of this up. Set this to one side. |
|
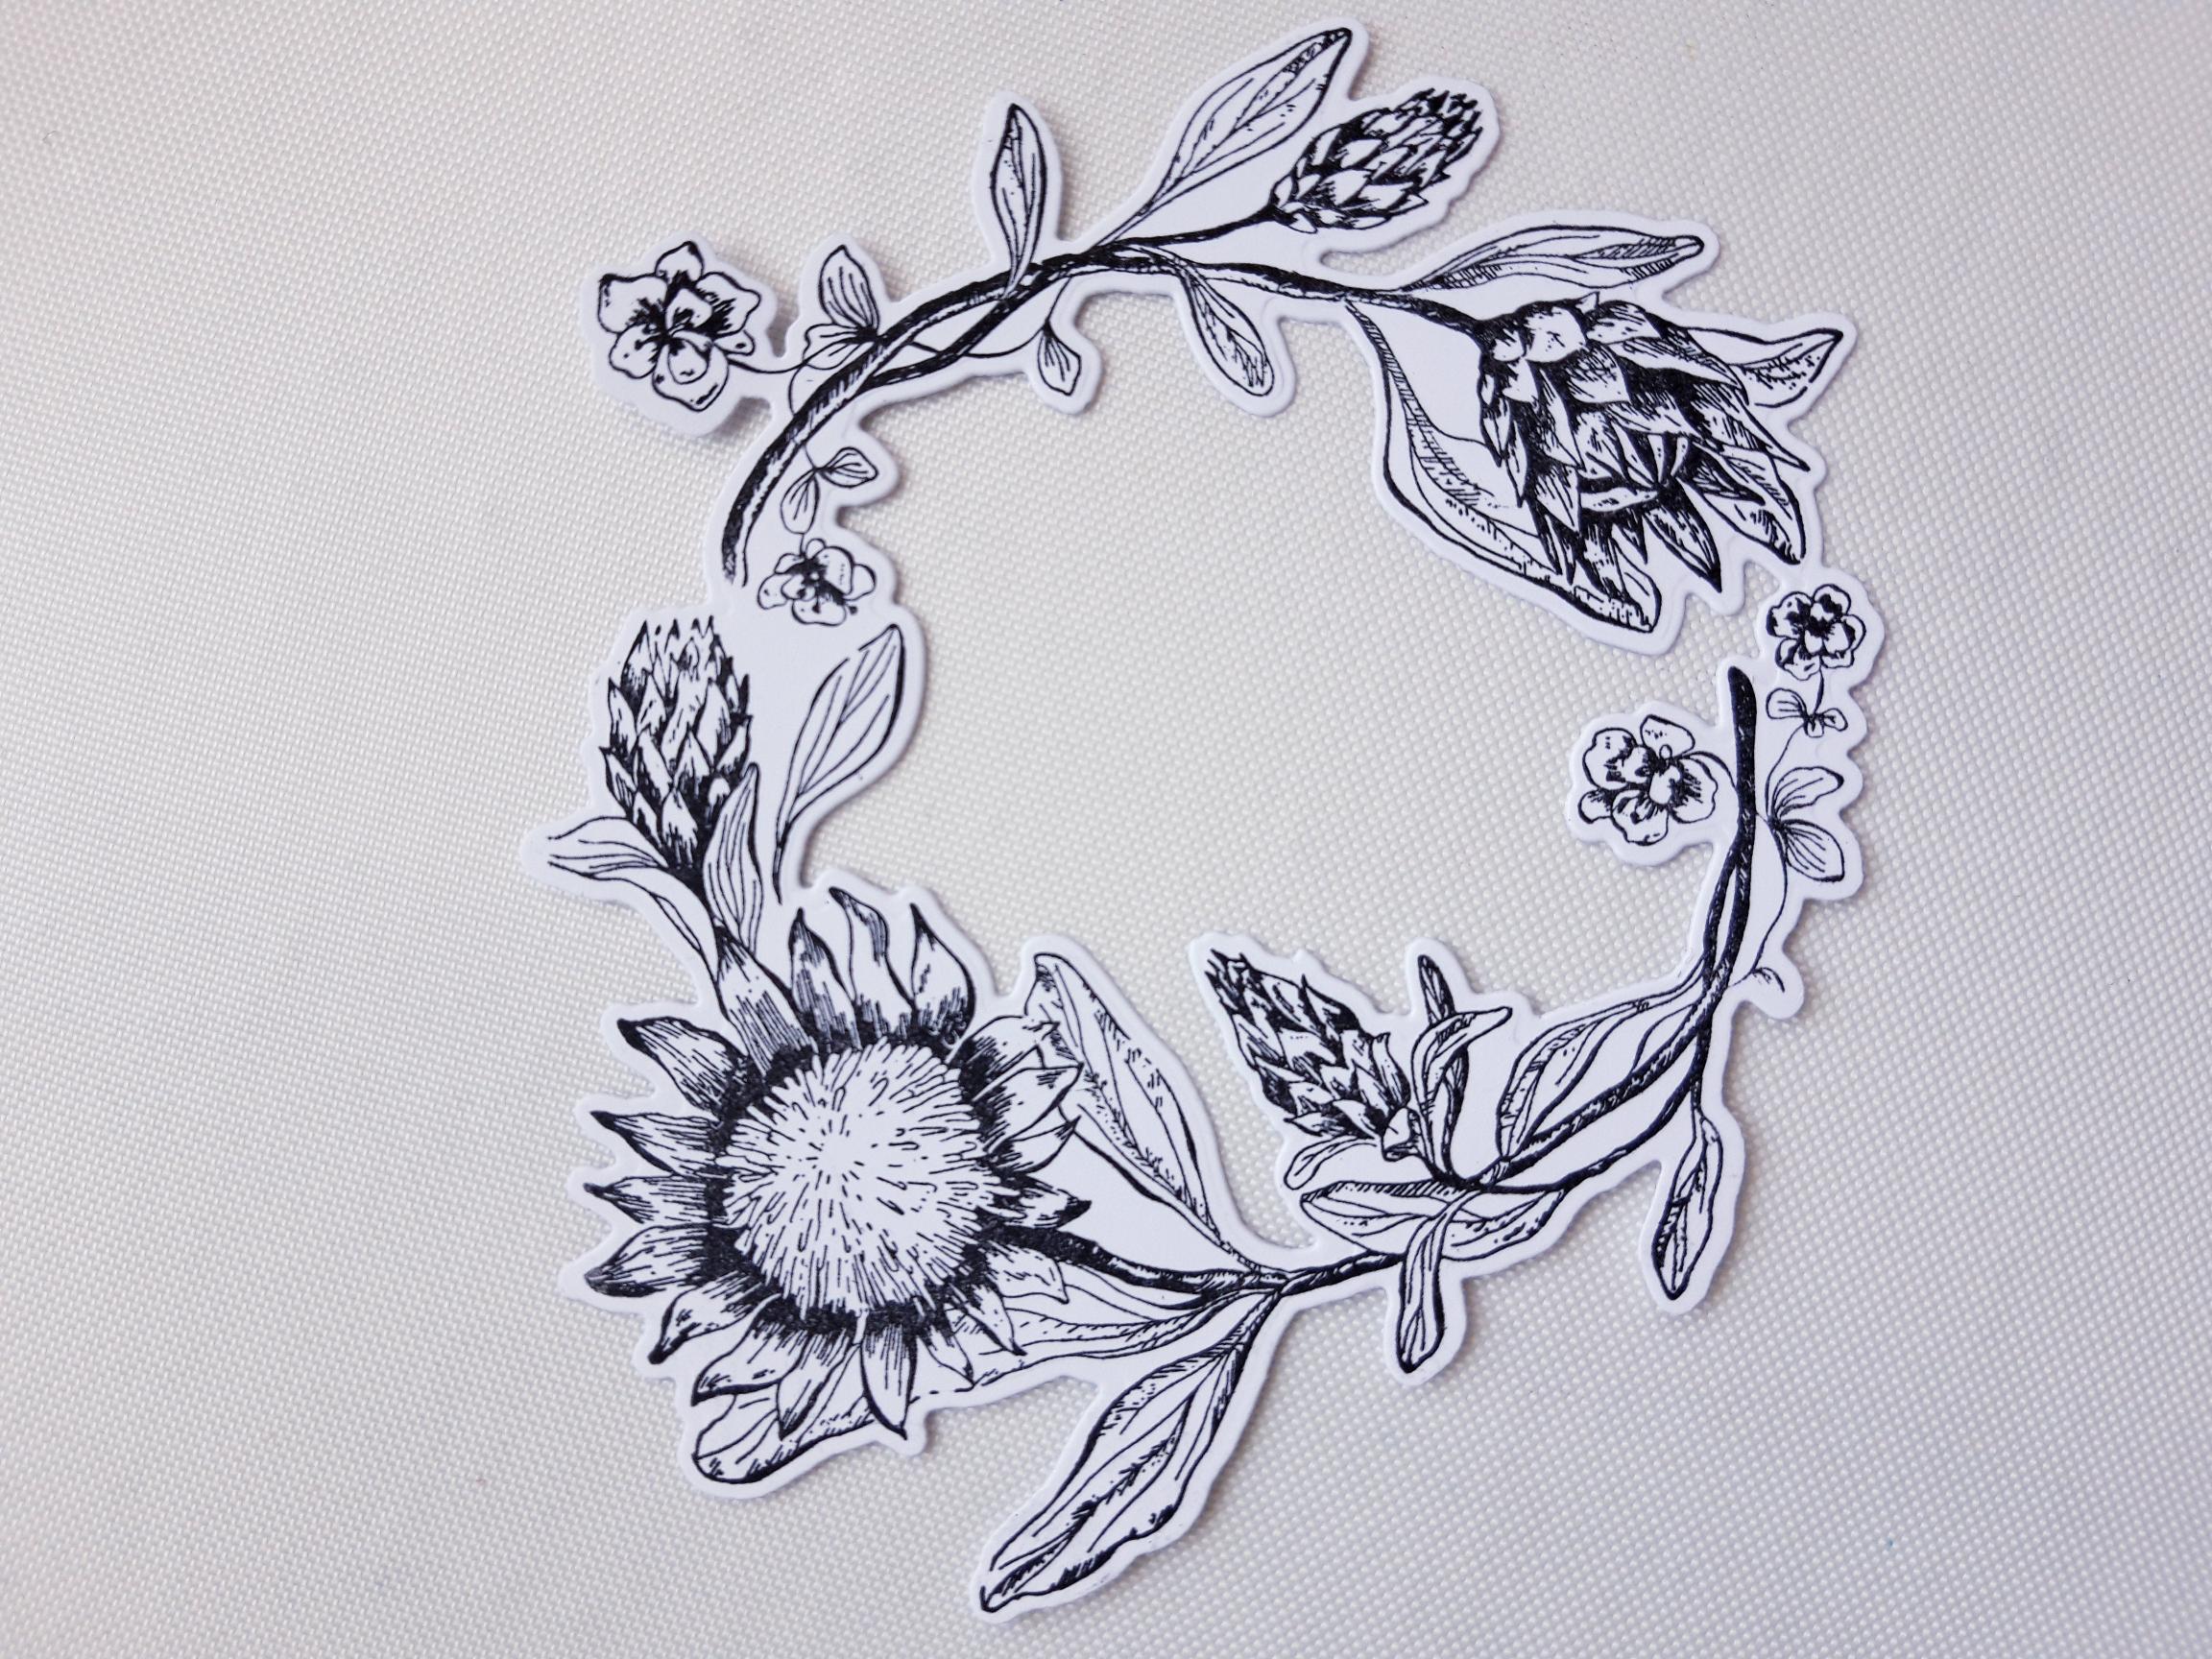
Ink up the Sunflower wreath stamp again, in the Onyx Black Versafine, and stamp it on to one of the pieces of 5 1/4 x 5 1/4" white cardstock. Once the ink is dry, use the coordinating dies to cut out the Sunflower wreath. |
|
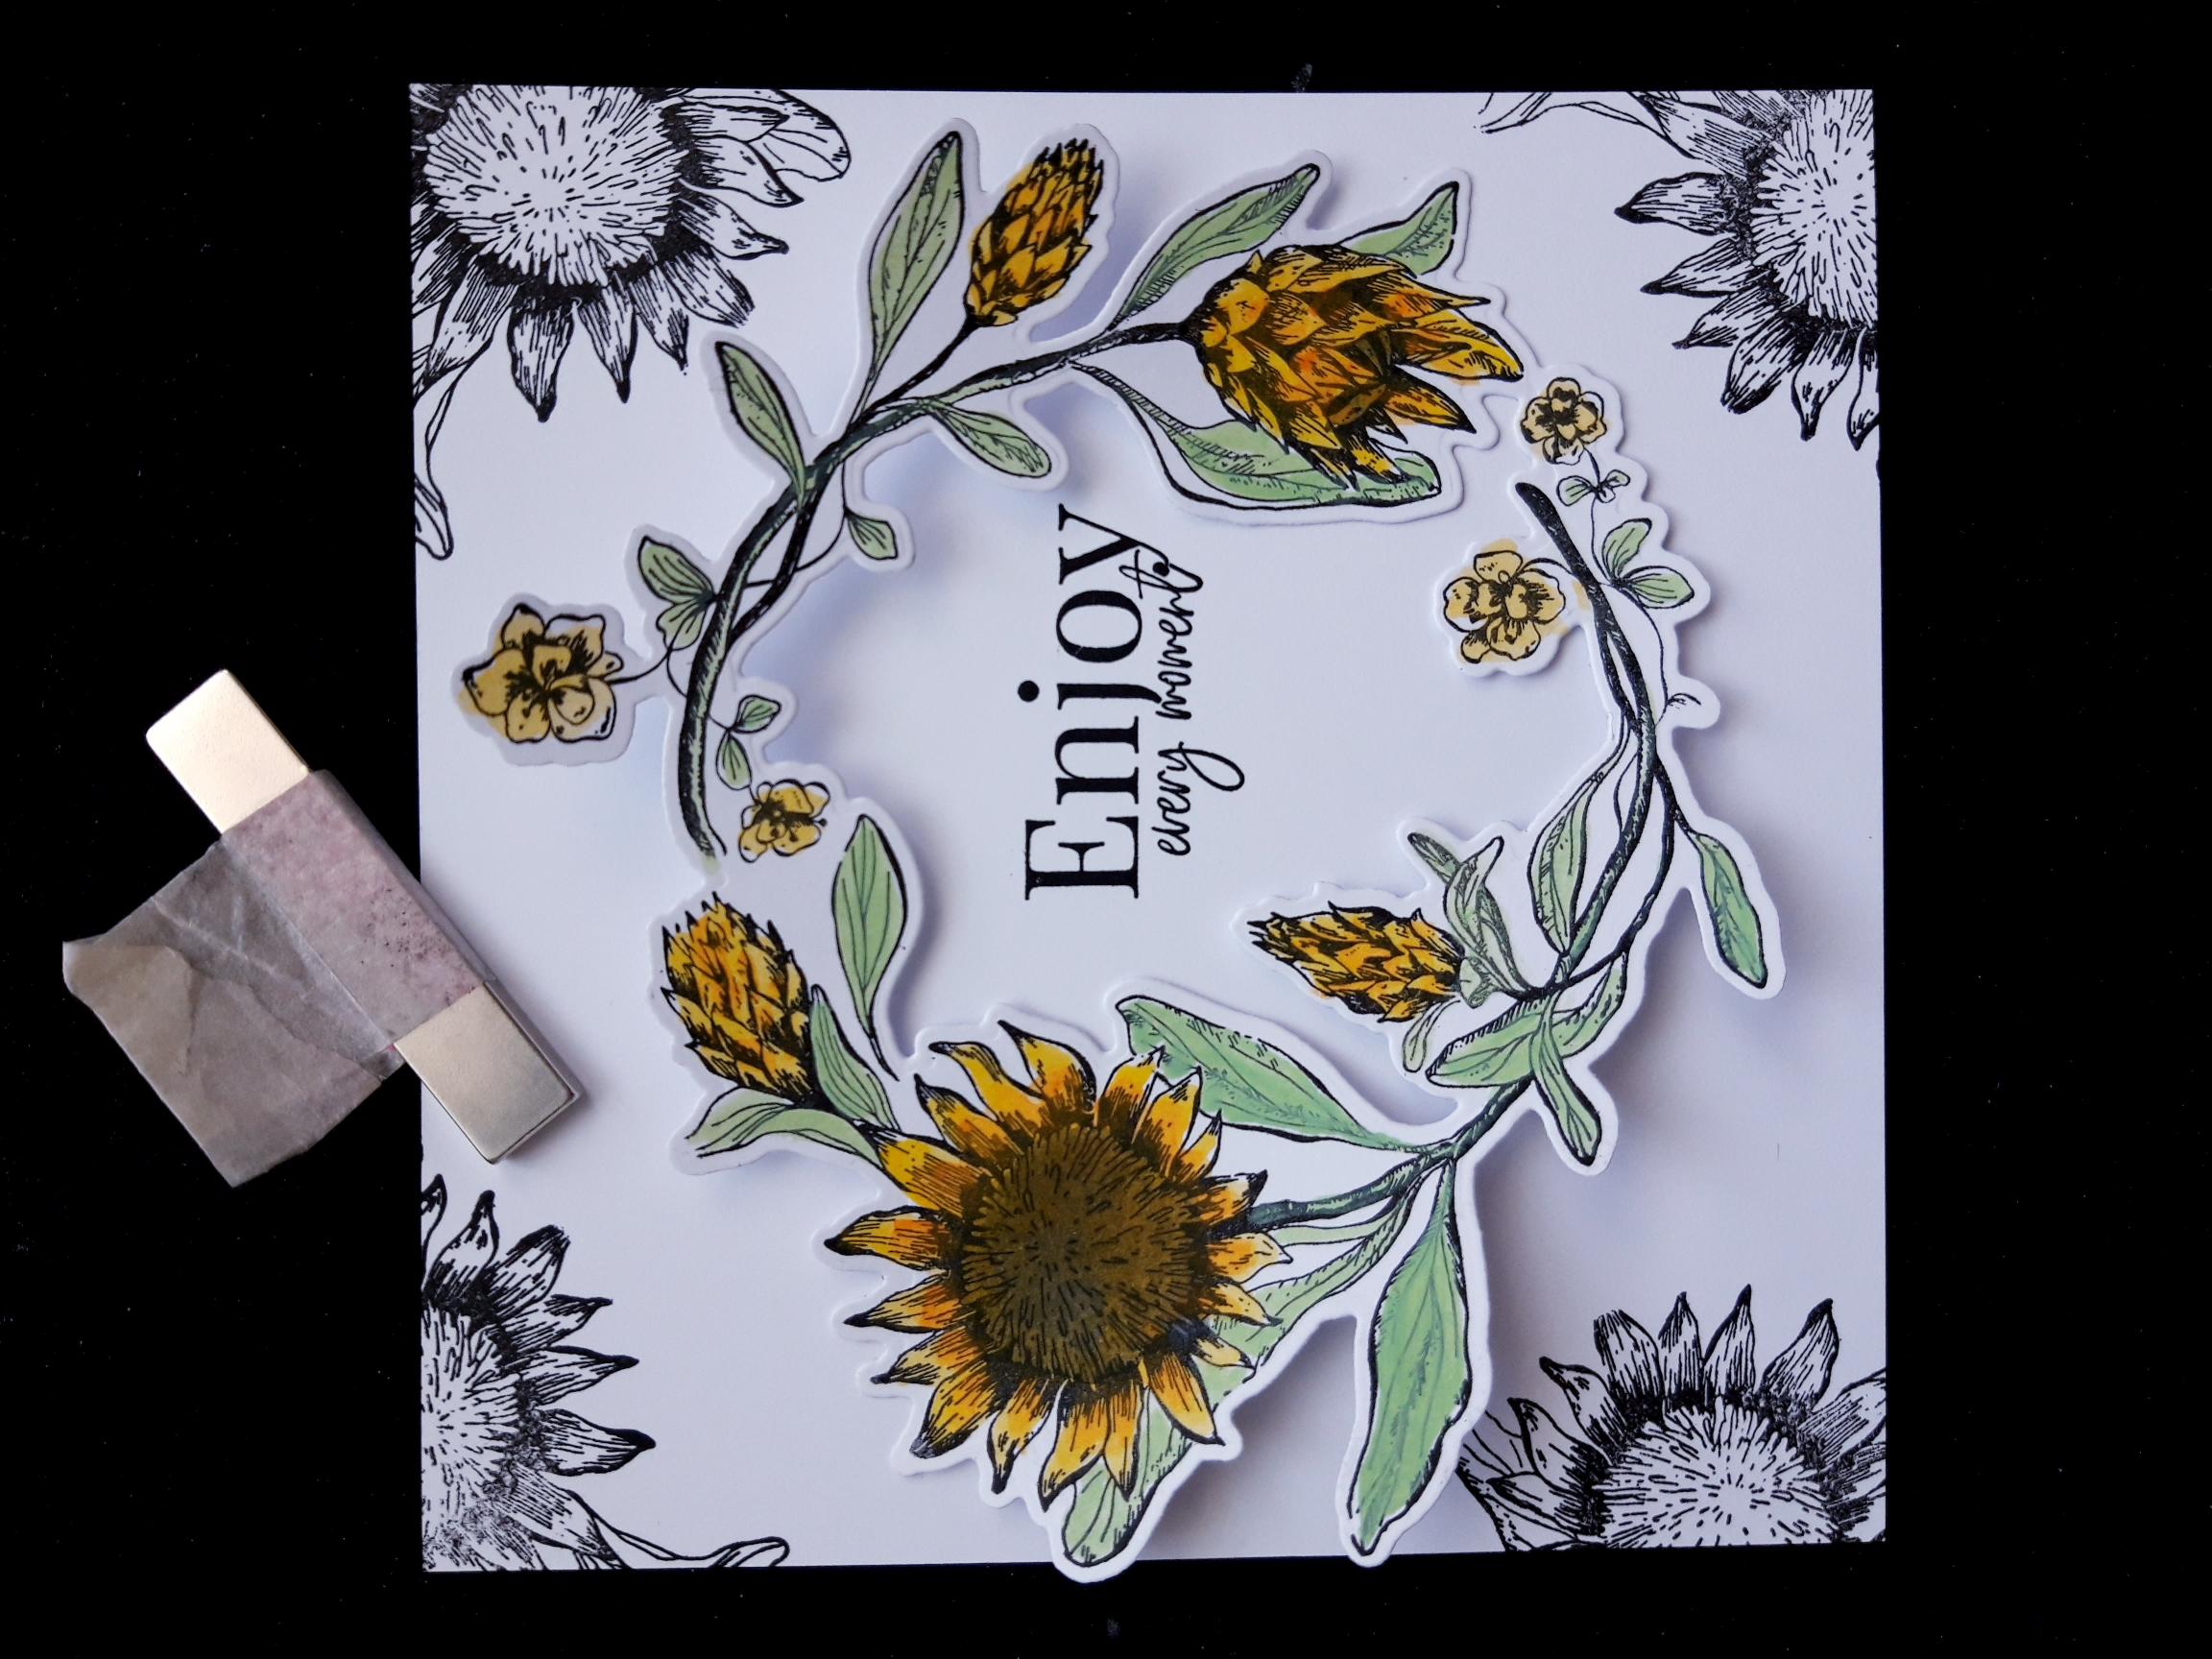
Apply a dot of each of the Pigments on to a glass or craft mat. You don't need much! By adding a little water to the Pigments you can paint/watercolour your stamped image, with a paint brush or water brush. To add depth to the centre of the sunflower heads, I painted them with Izink Reglisse Dye ink pad. Set this to one side to dry. |
|
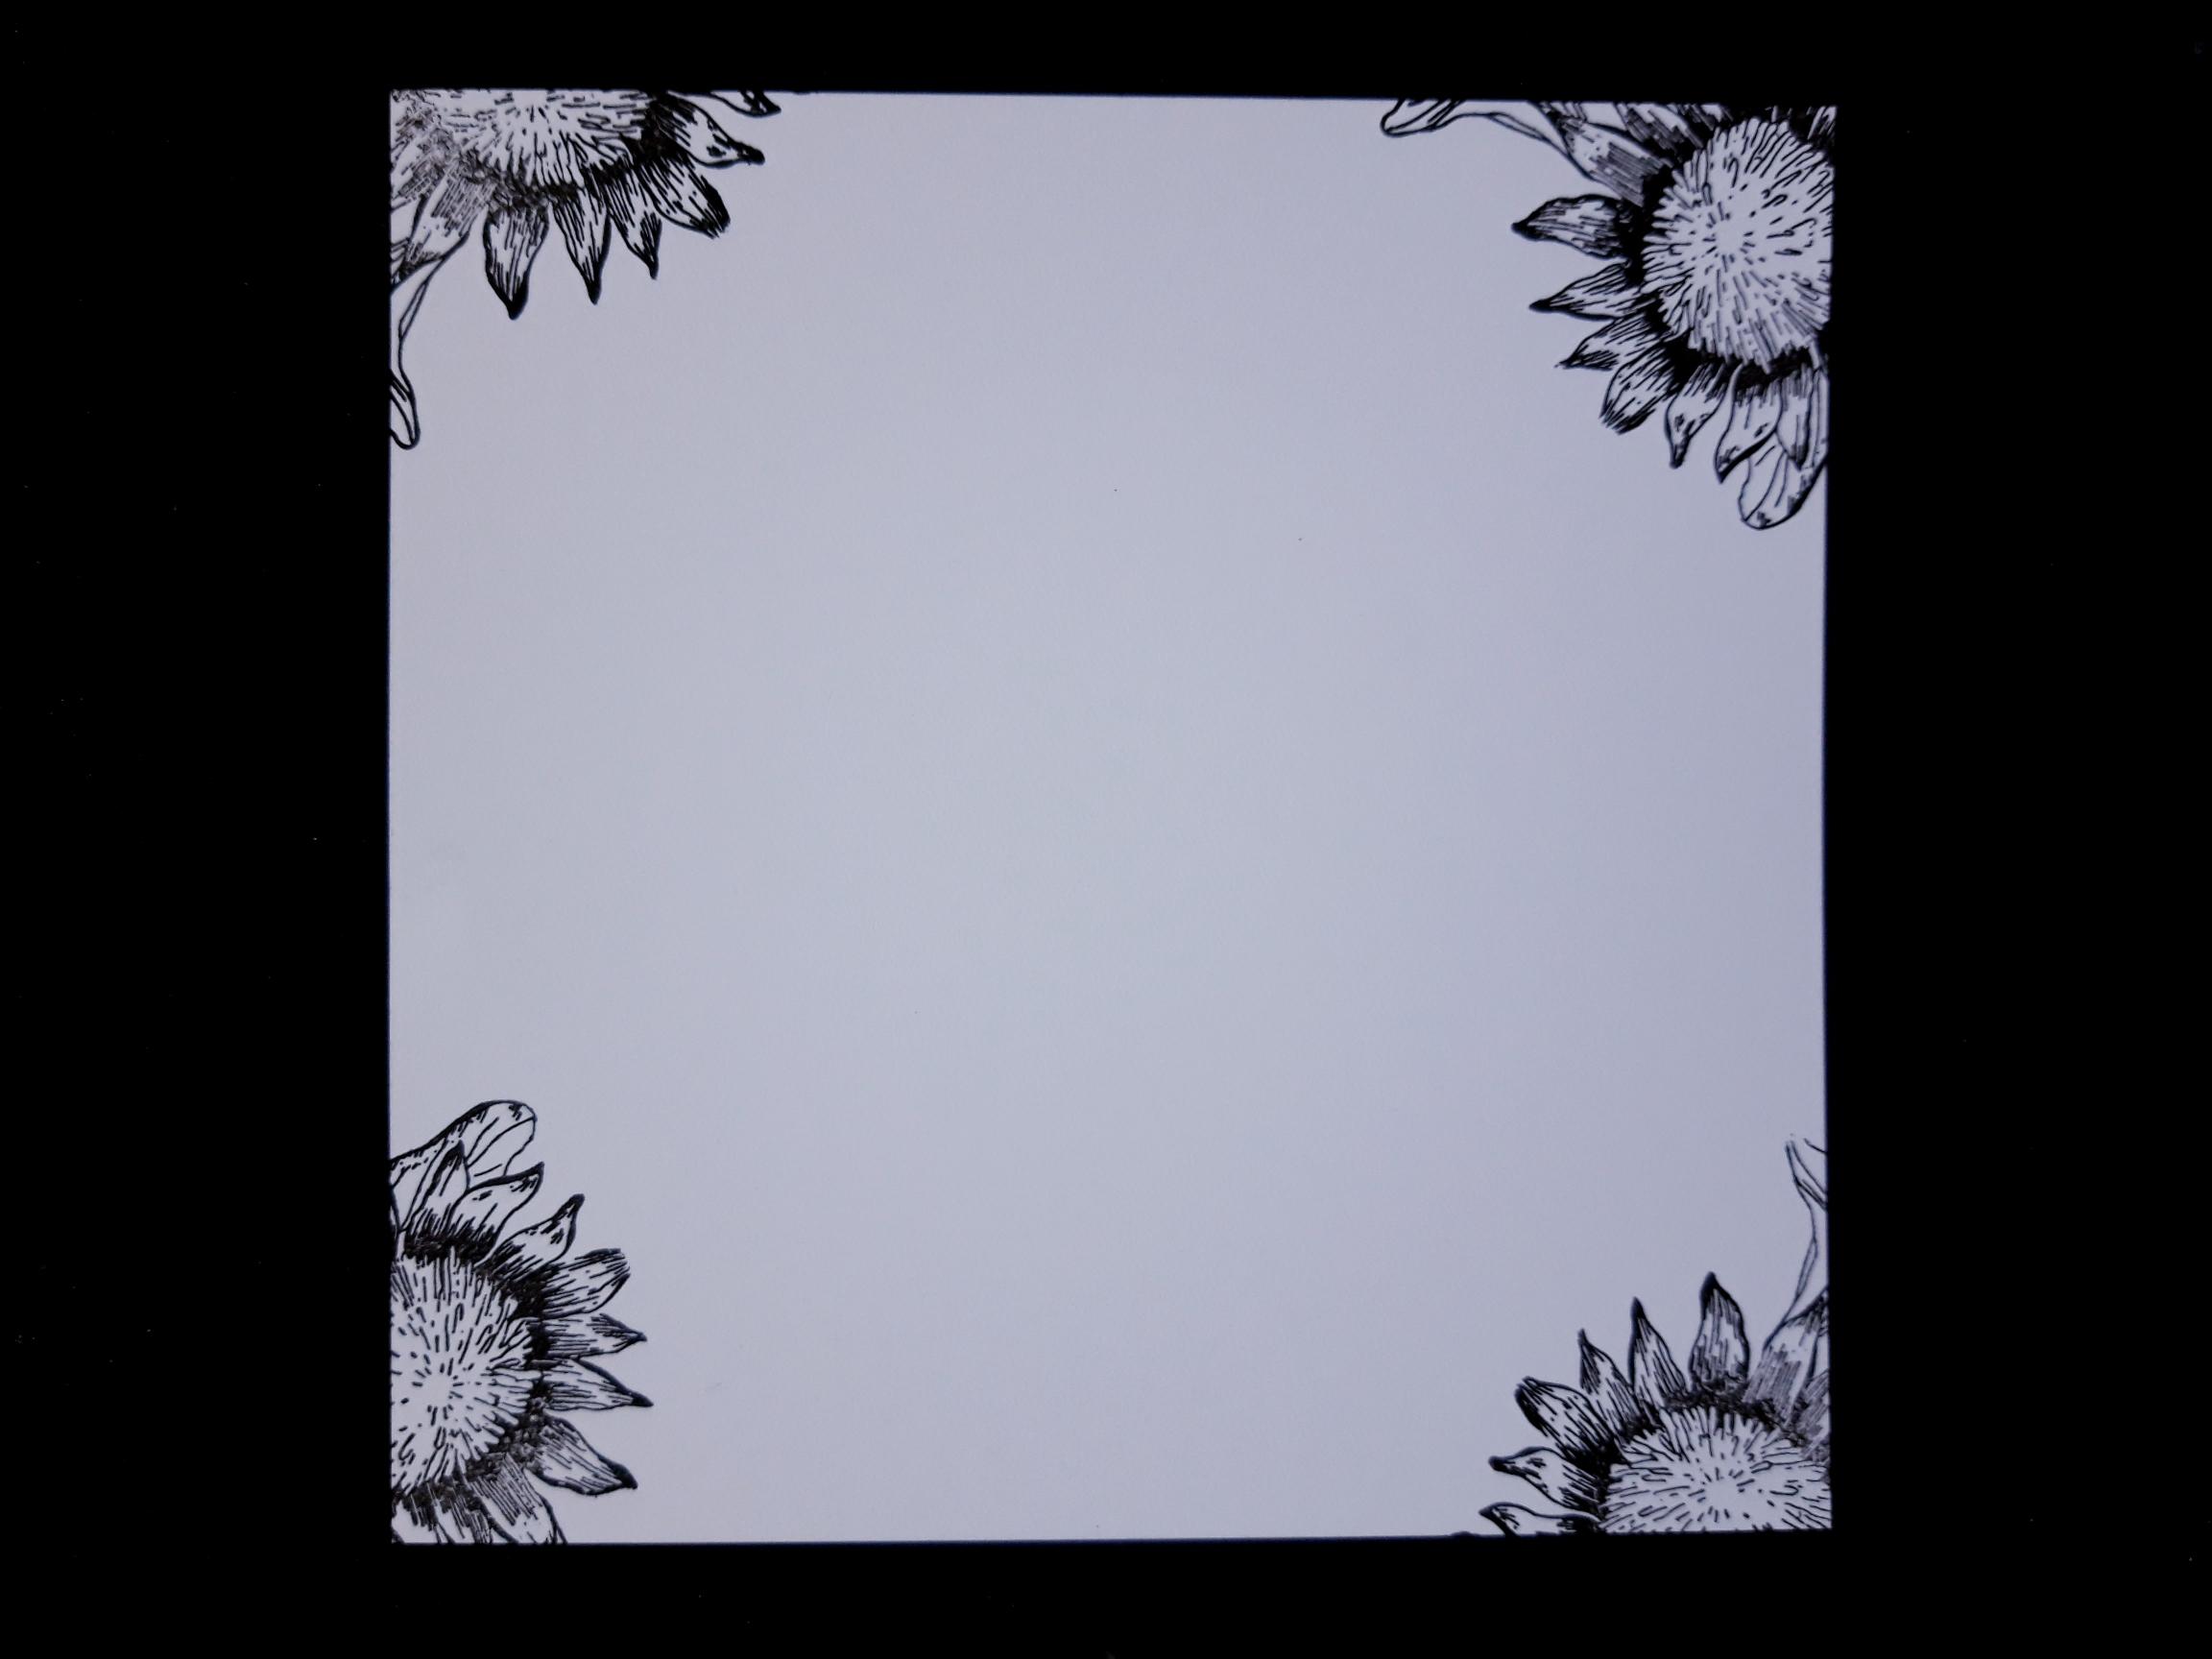
Ink up the Sunflower wreath in the Onyx Black Versafine and stamp just a part of the head of a sunflower, off one of the corners of the other piece of 5 1/4 x 5 1/4" white cardstock. Repeat this on the other 3 corners. |
|
Lay your painted Sunflower wreath in the centre of the stamped cardstock, and use this as a guide to decide where you will need to stamp your sentiment, so it sits in the centre of the wreath. Set wreath to one side. Ink up the sentiment stamp in the Onyx Black Versafine and stamp it where required. |
|
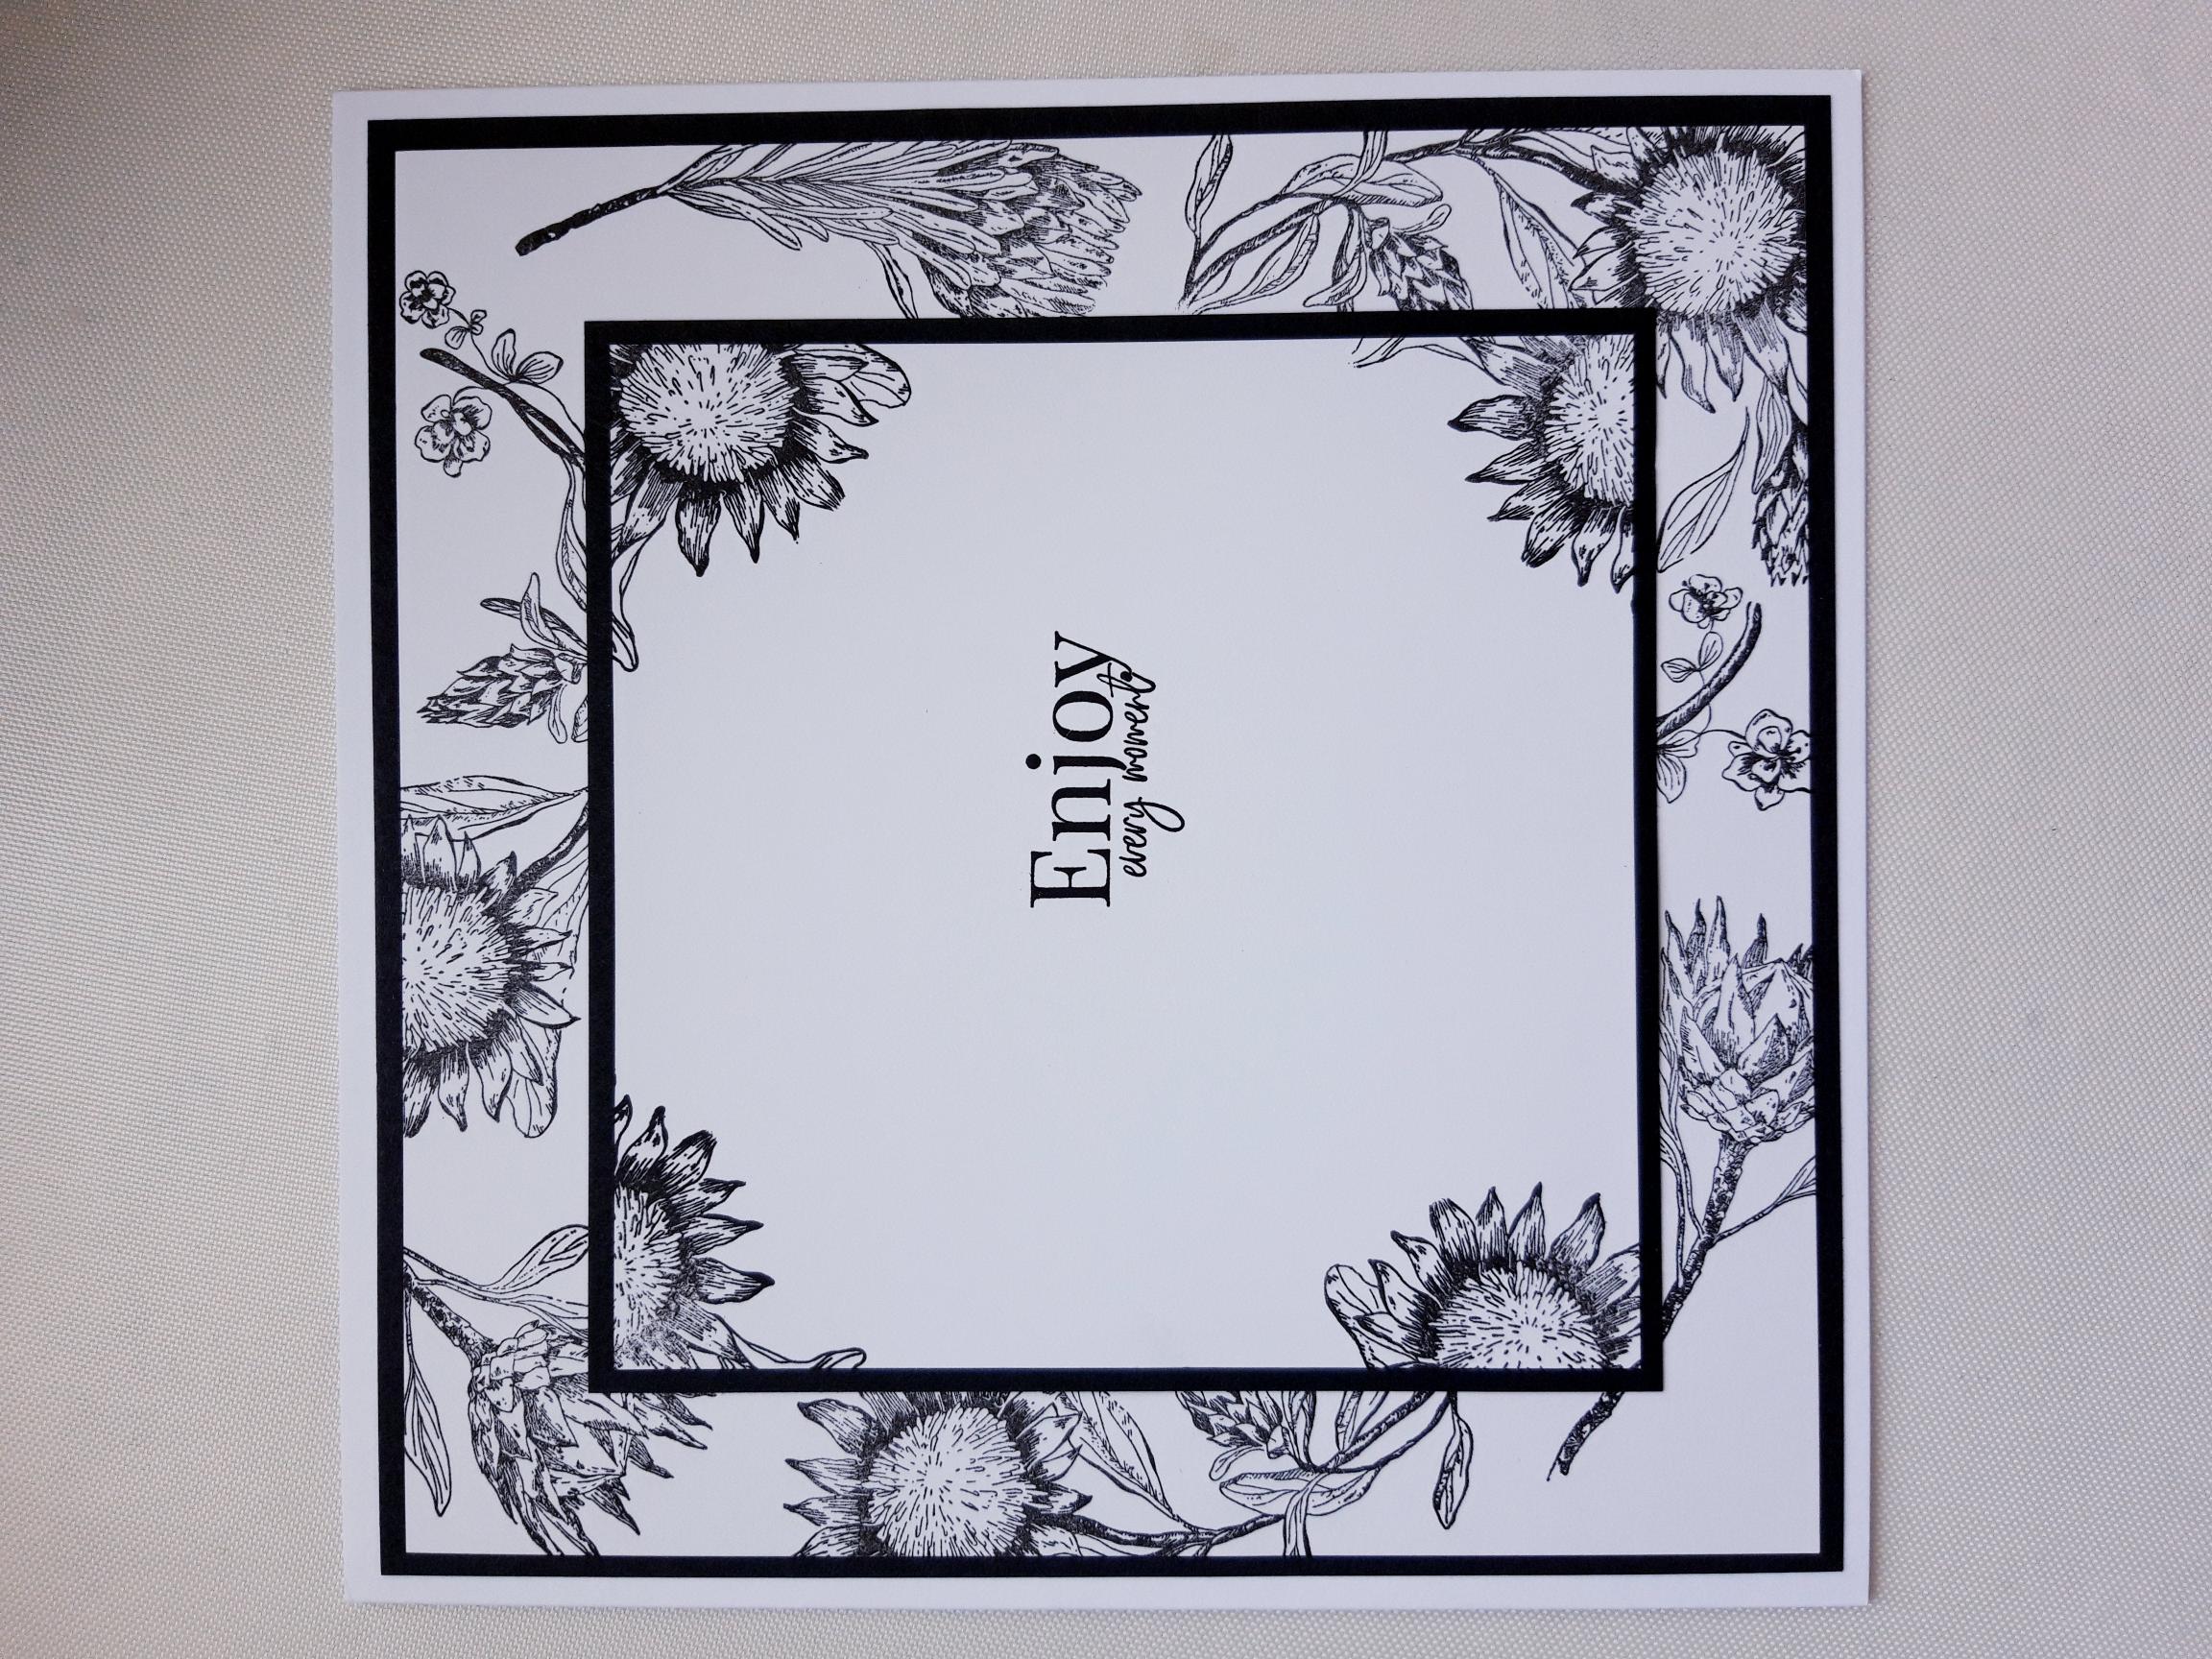
Mat both stamped backgrounds on to the pre cut black cardstock mats, with wet glue. |
|
Glue the largest matted background on to the card blank, with wet glue. Glue the other matted background in the middle of the first background, using either wet glue, or foam pads to add dimension to your card. |
|
Glue your die cut Sunflower wreath in place, so the sentiment is visible within the inside of the wreath. Again you can either use wet glue, or foam pads to add more depth. |

|
To finsh your card, add a few sequins, from the Creative Box. I added mine around, and tucked under, my Sunflower wreath. |