Give your friends $10 off their first order!
Refer a FRIEND


WHAT YOU WILL NEED:
DL white card blank (8 x 3 3/4")
Black card (7 3/4 x 3 1/2")
White card (7 1/2 x 3 1/4")
White card (4 x 2")
Black card (4 x 2")
Stamps and dies from As If Stamp And Die Collection
Versafine: Onyx Black
WOW/Versamark sticky embossing Ink Pad
Anti static bag
Heat gun
Black embossing powder
Izink dye ink pad: Emeraude, Nuit, Mer Du Sud
Blending brush/tool
Eureka 101
Paper Trimmer
Perfect Together Glue
Die Cutting machine
[click image to enlarge] 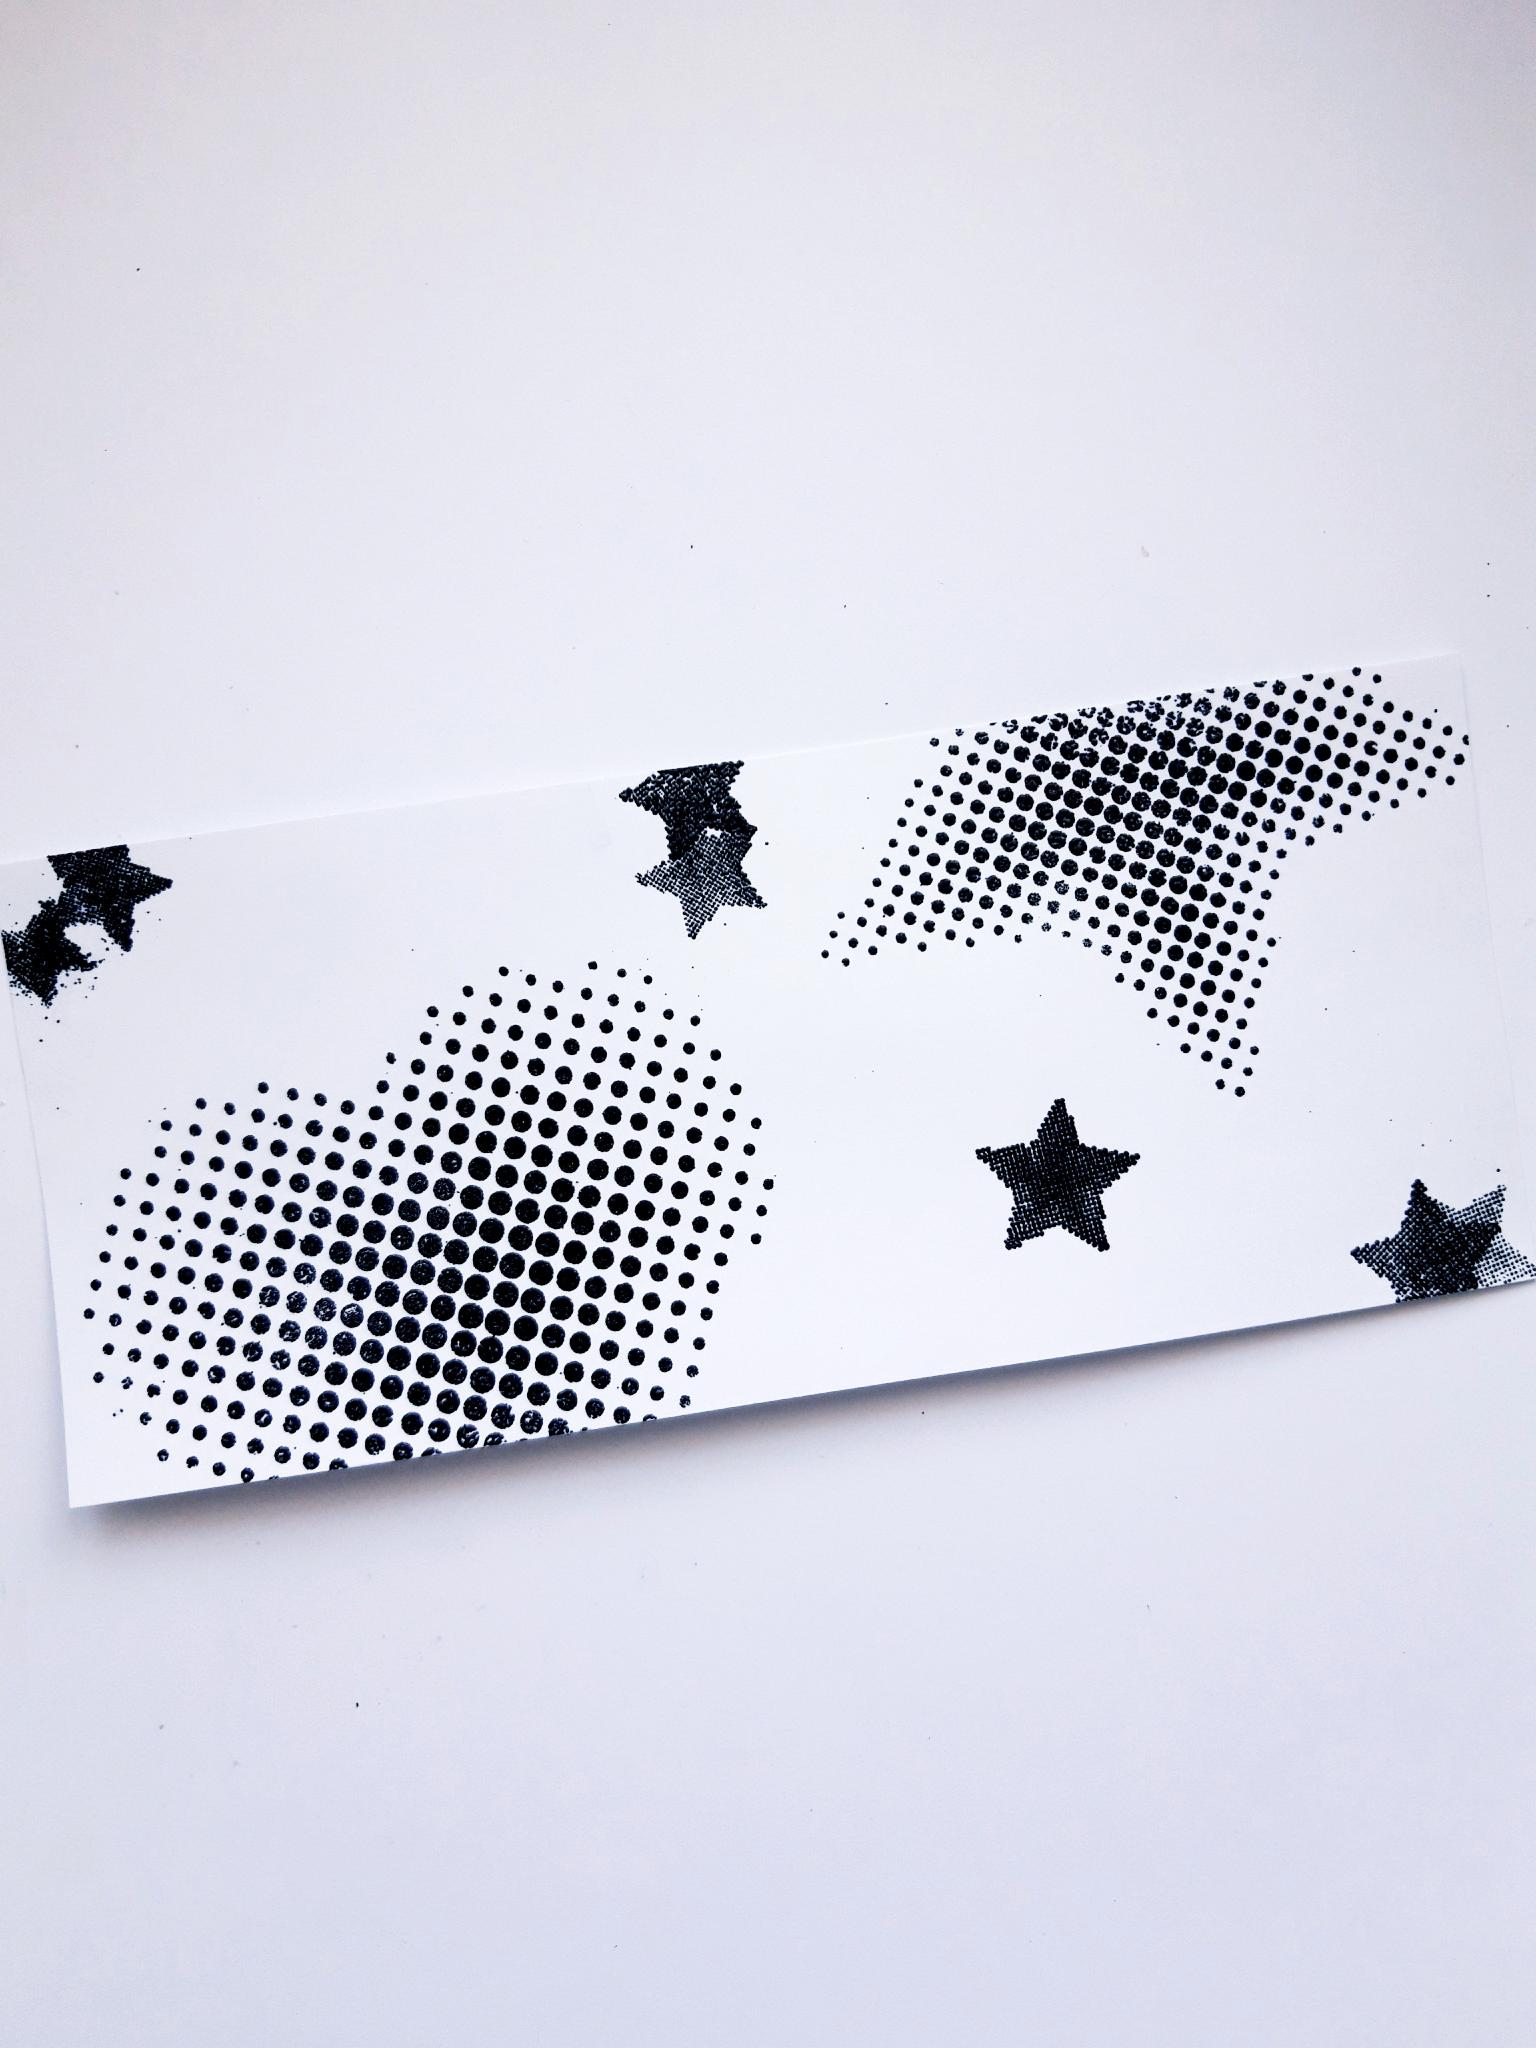
|
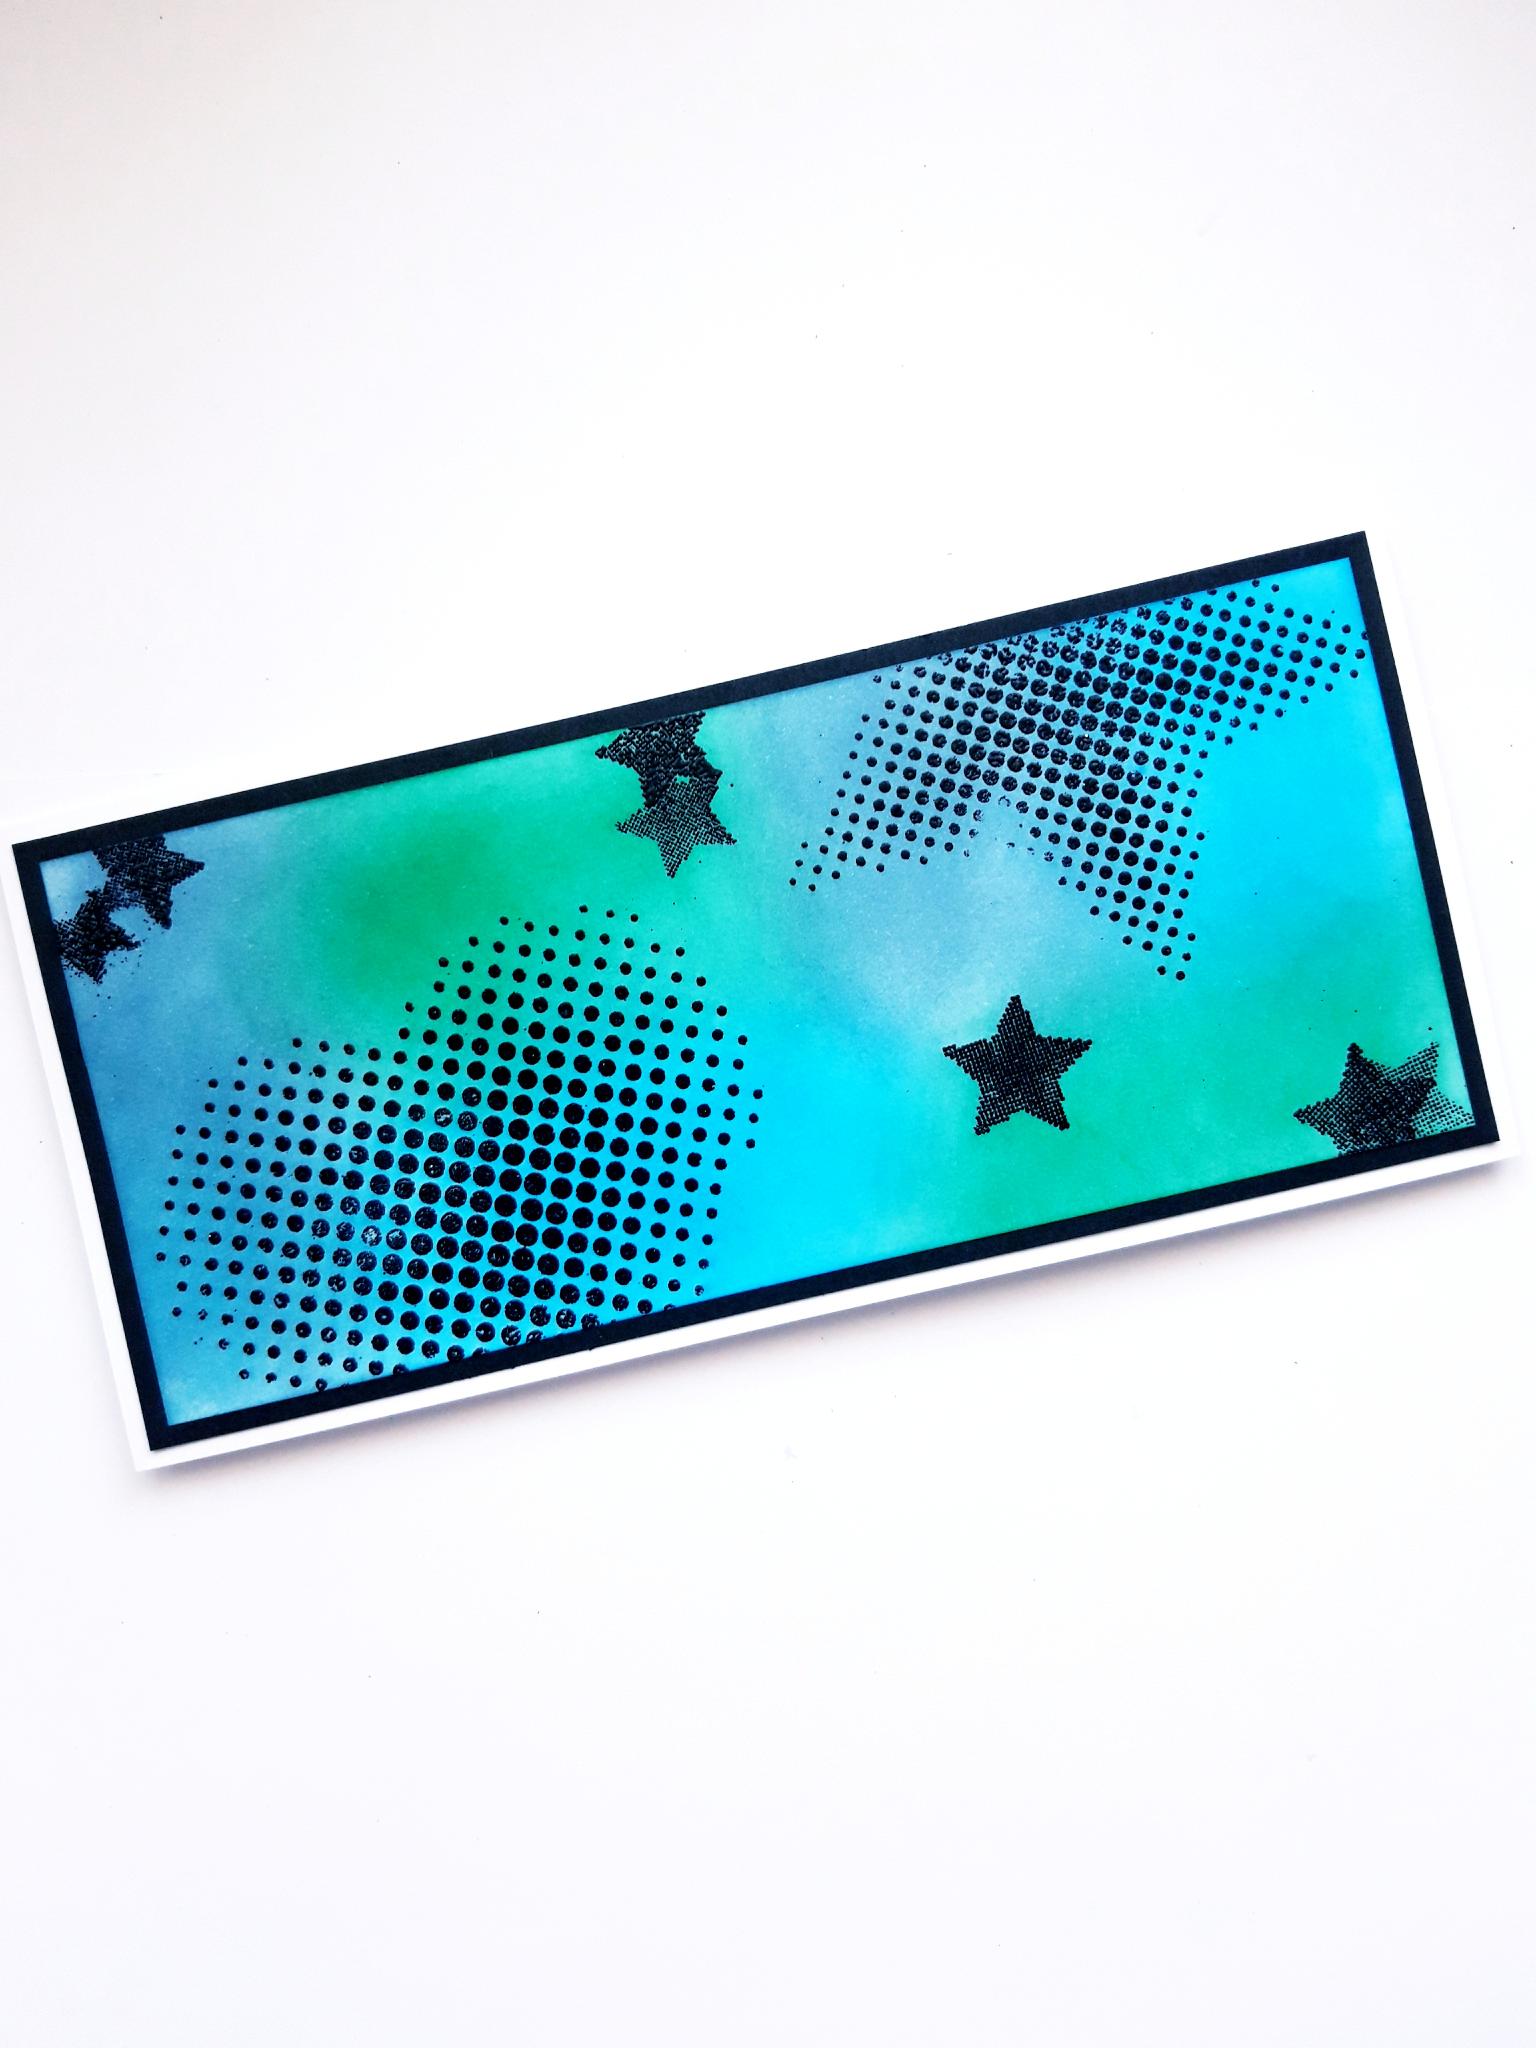
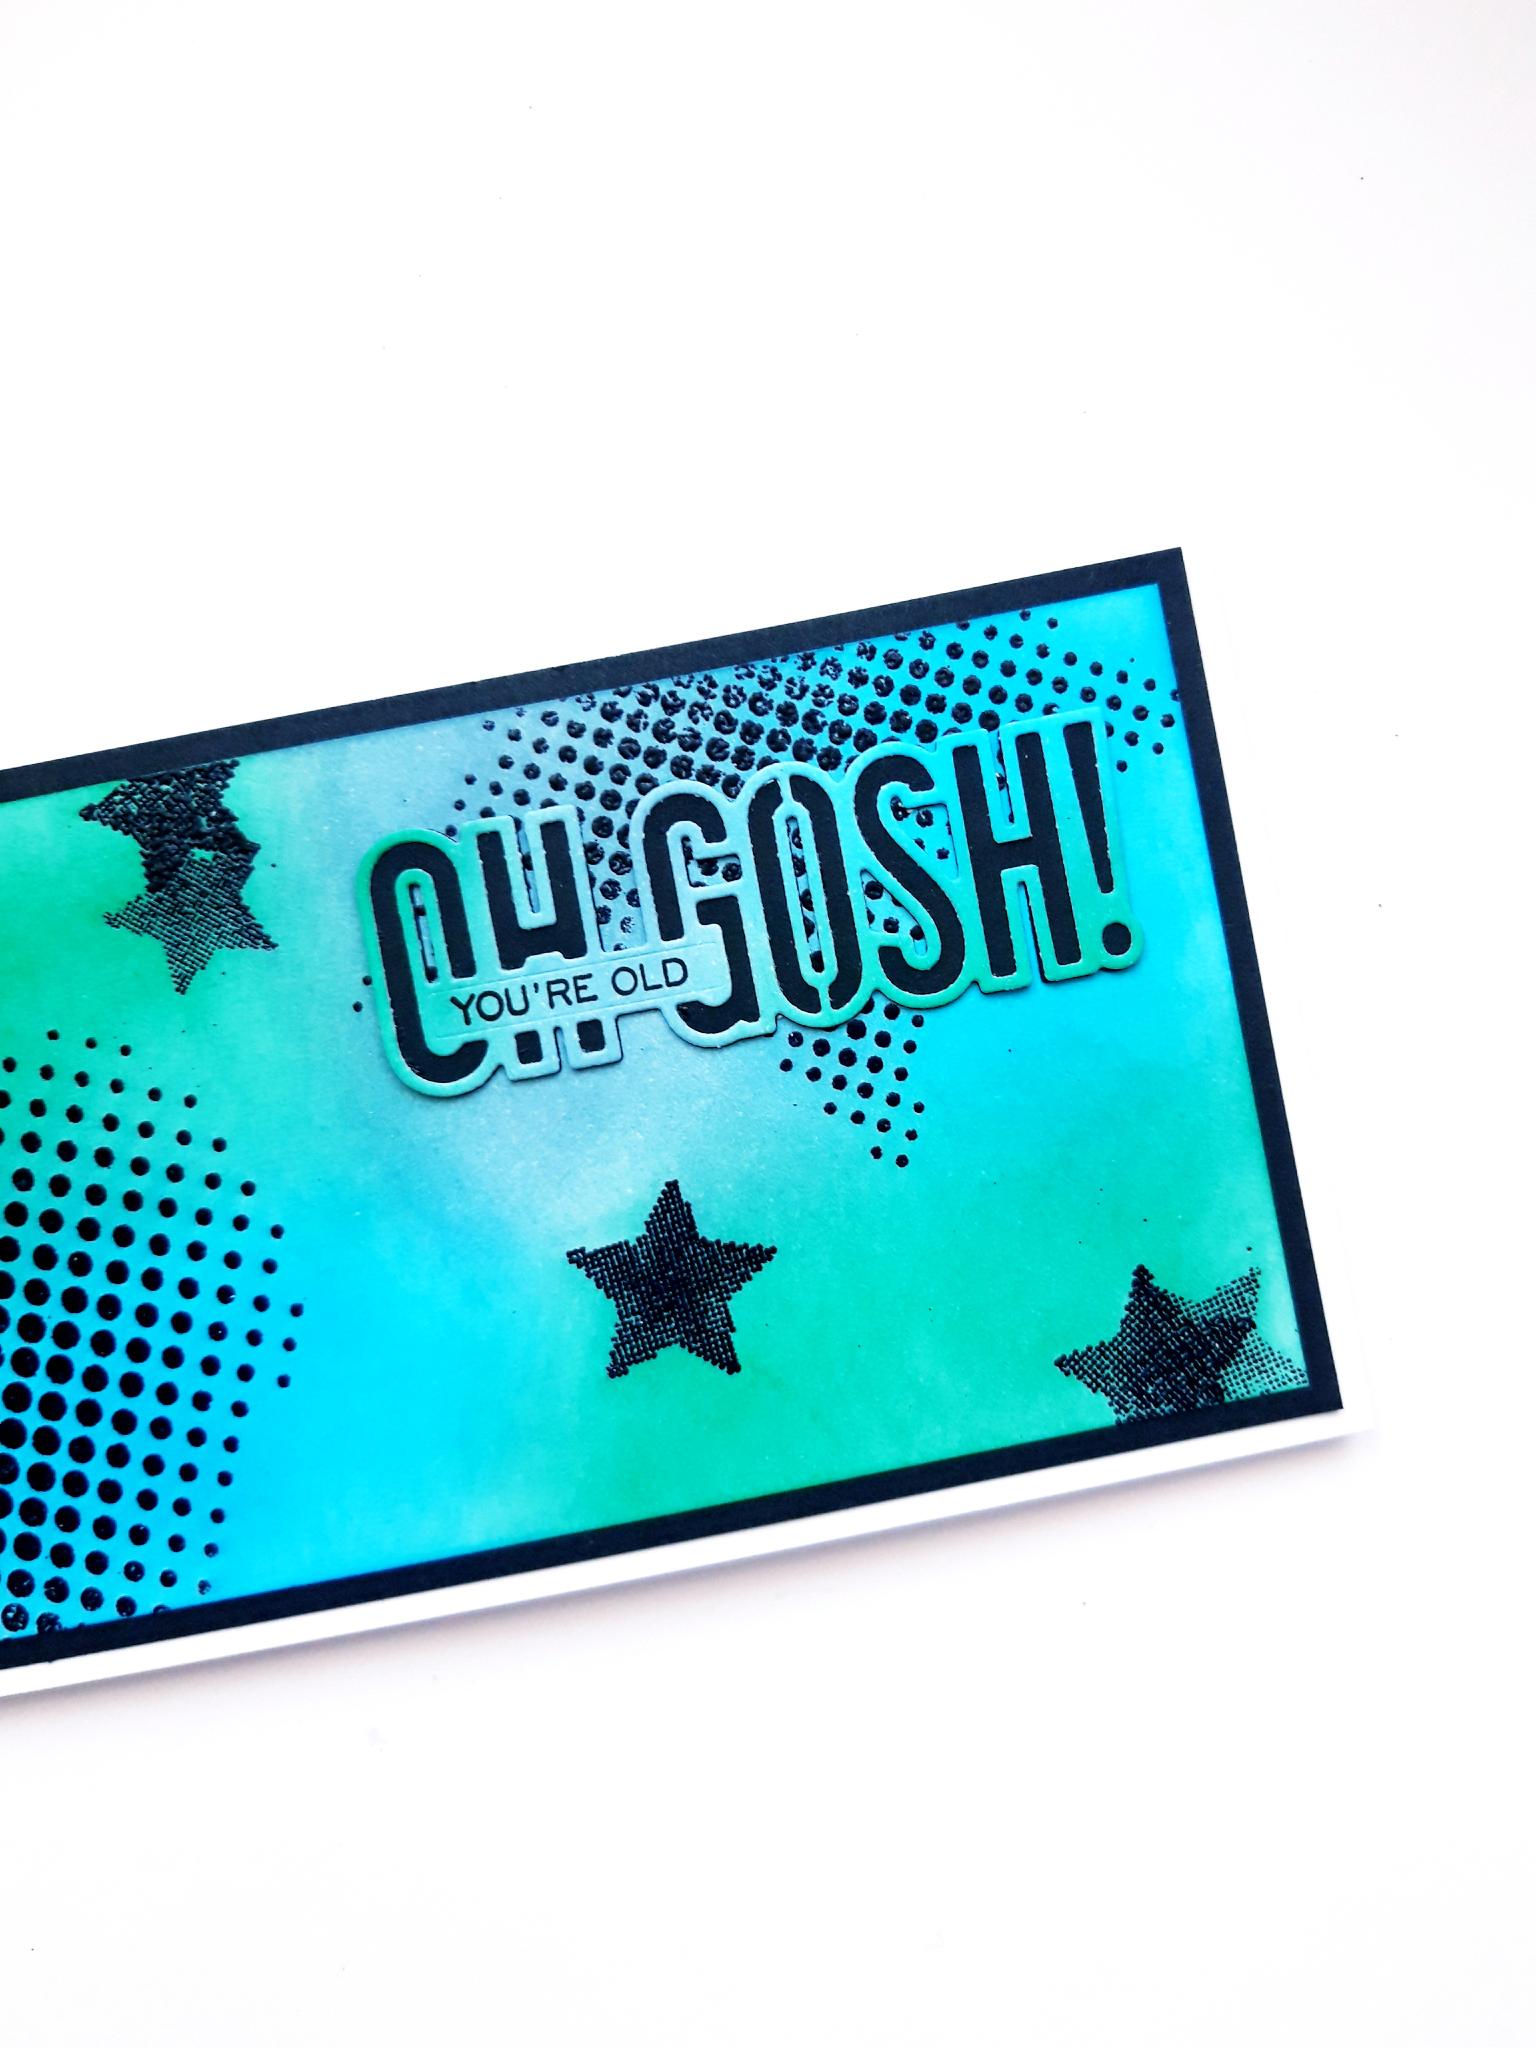
Wipe over the white card (7 1/2 x 3 1/4"), with the anti static bag. Ink up the heart stamp, from the As If Stamp and Die Collection, with the sticky ink pad, and stamp coming up from the bottom left of the card (laid in landscape view). Repeat with the large, and smaller star stamps, to create a random background. Apply the embossing powder over your stamped images. Make sure your gun is nice and hot before heat setting the powder, ensuring you move it on as soon as the powder turns, to avoid warping the card.
|
|
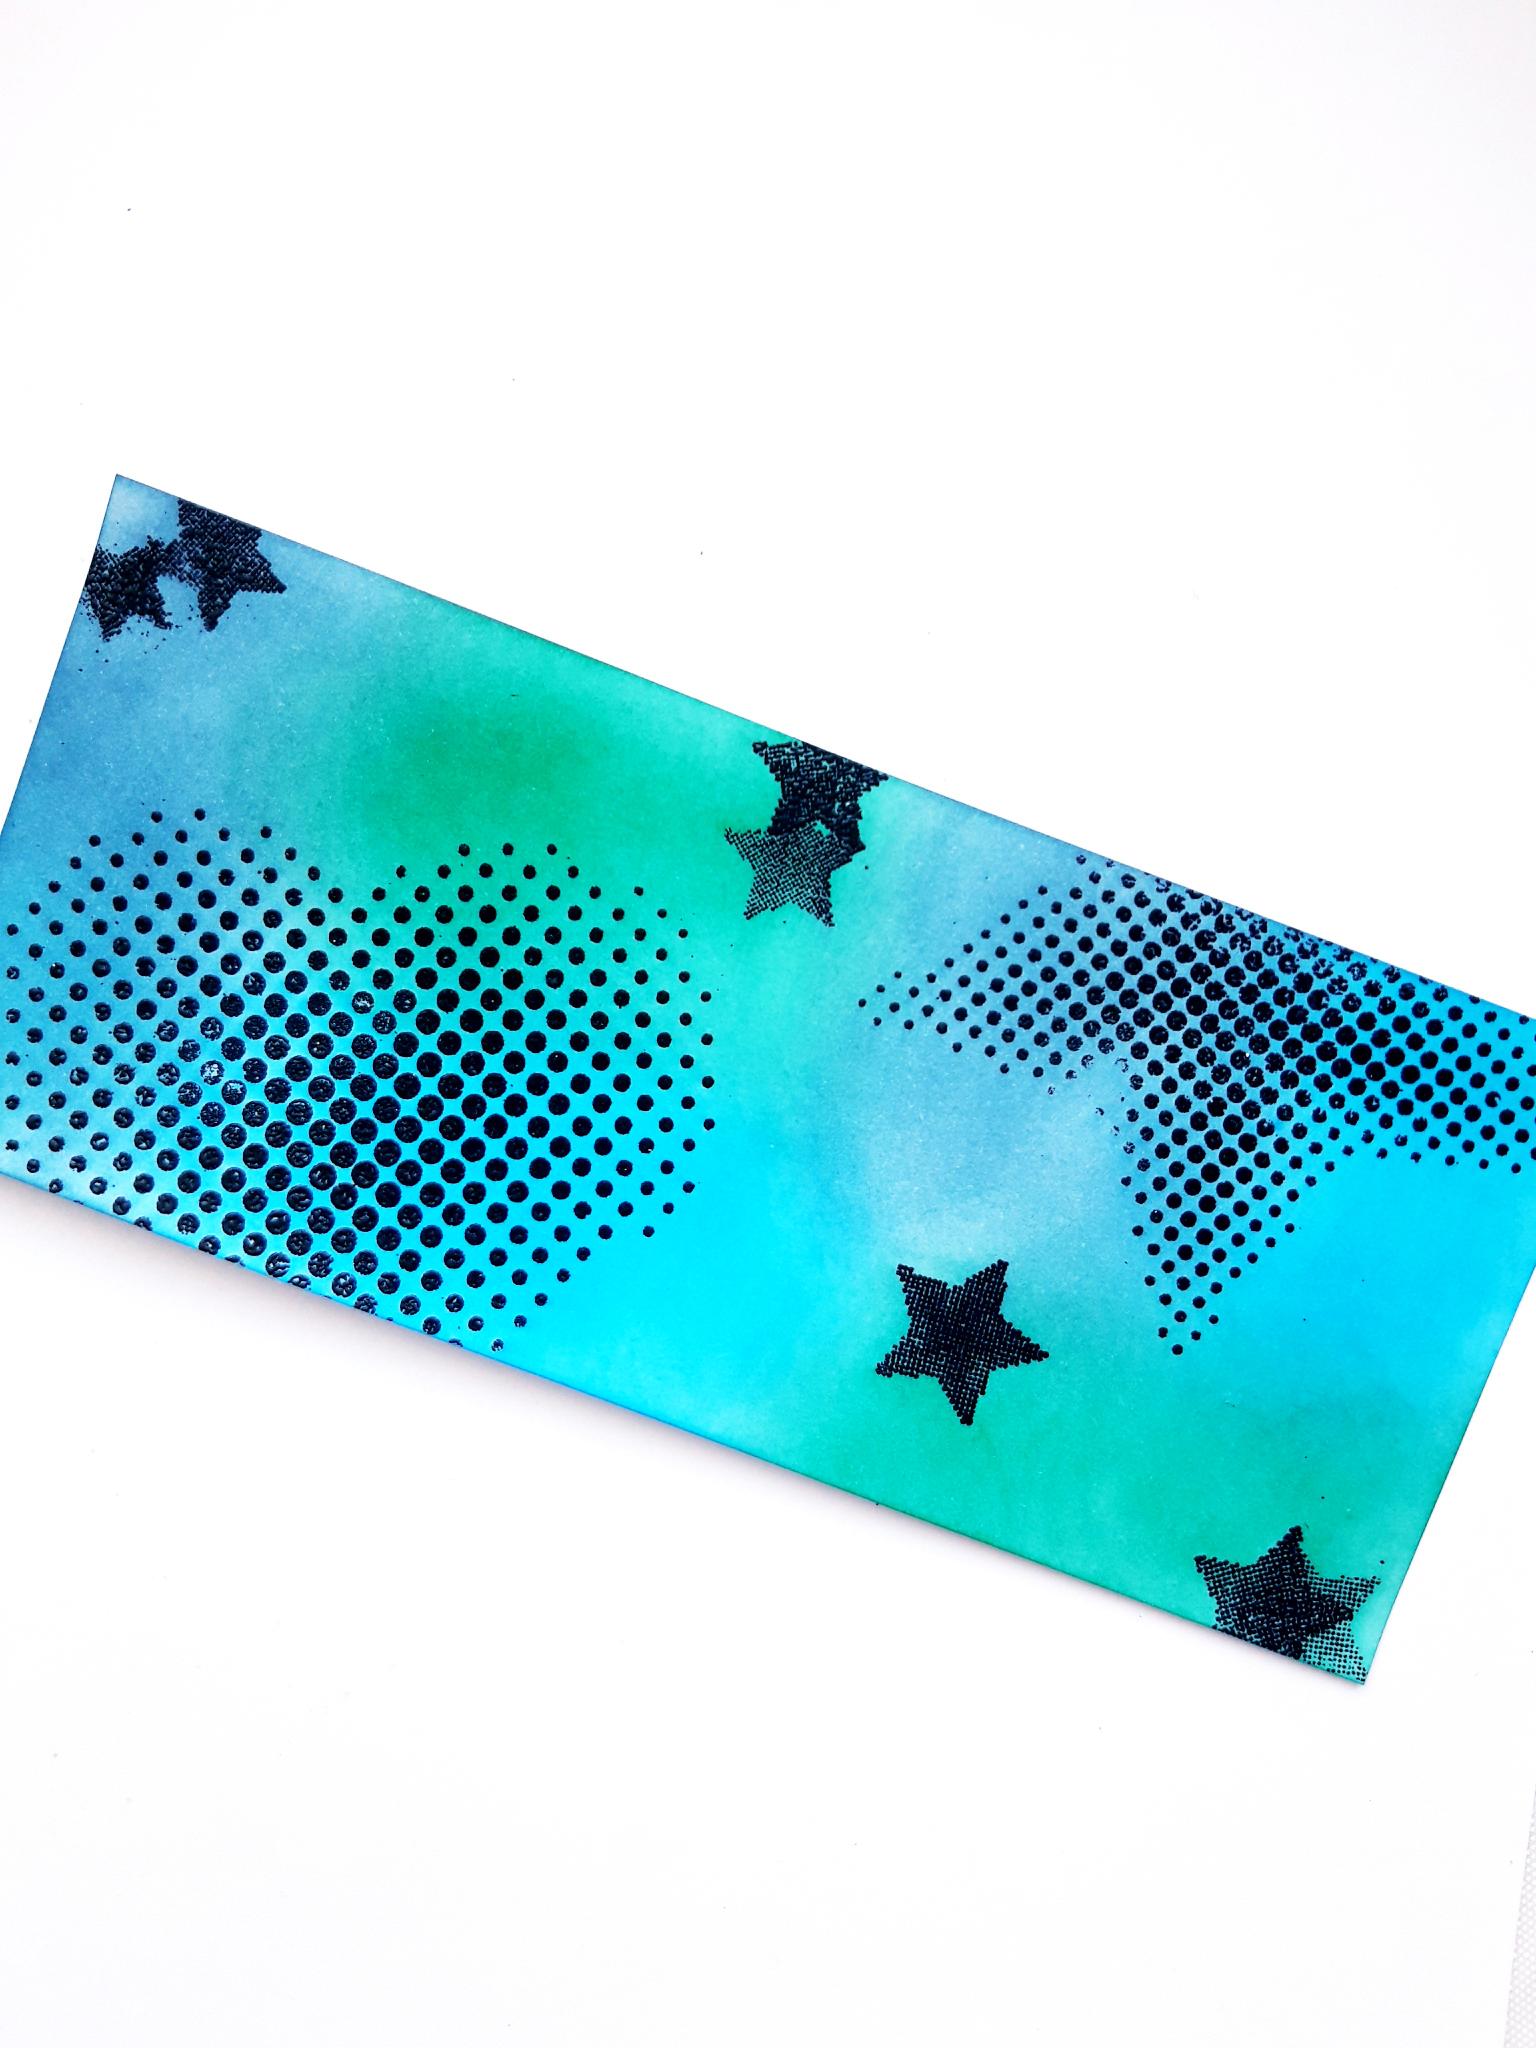
Blend the Izink inks over your embossed images, using your blending brush or tool. |
|
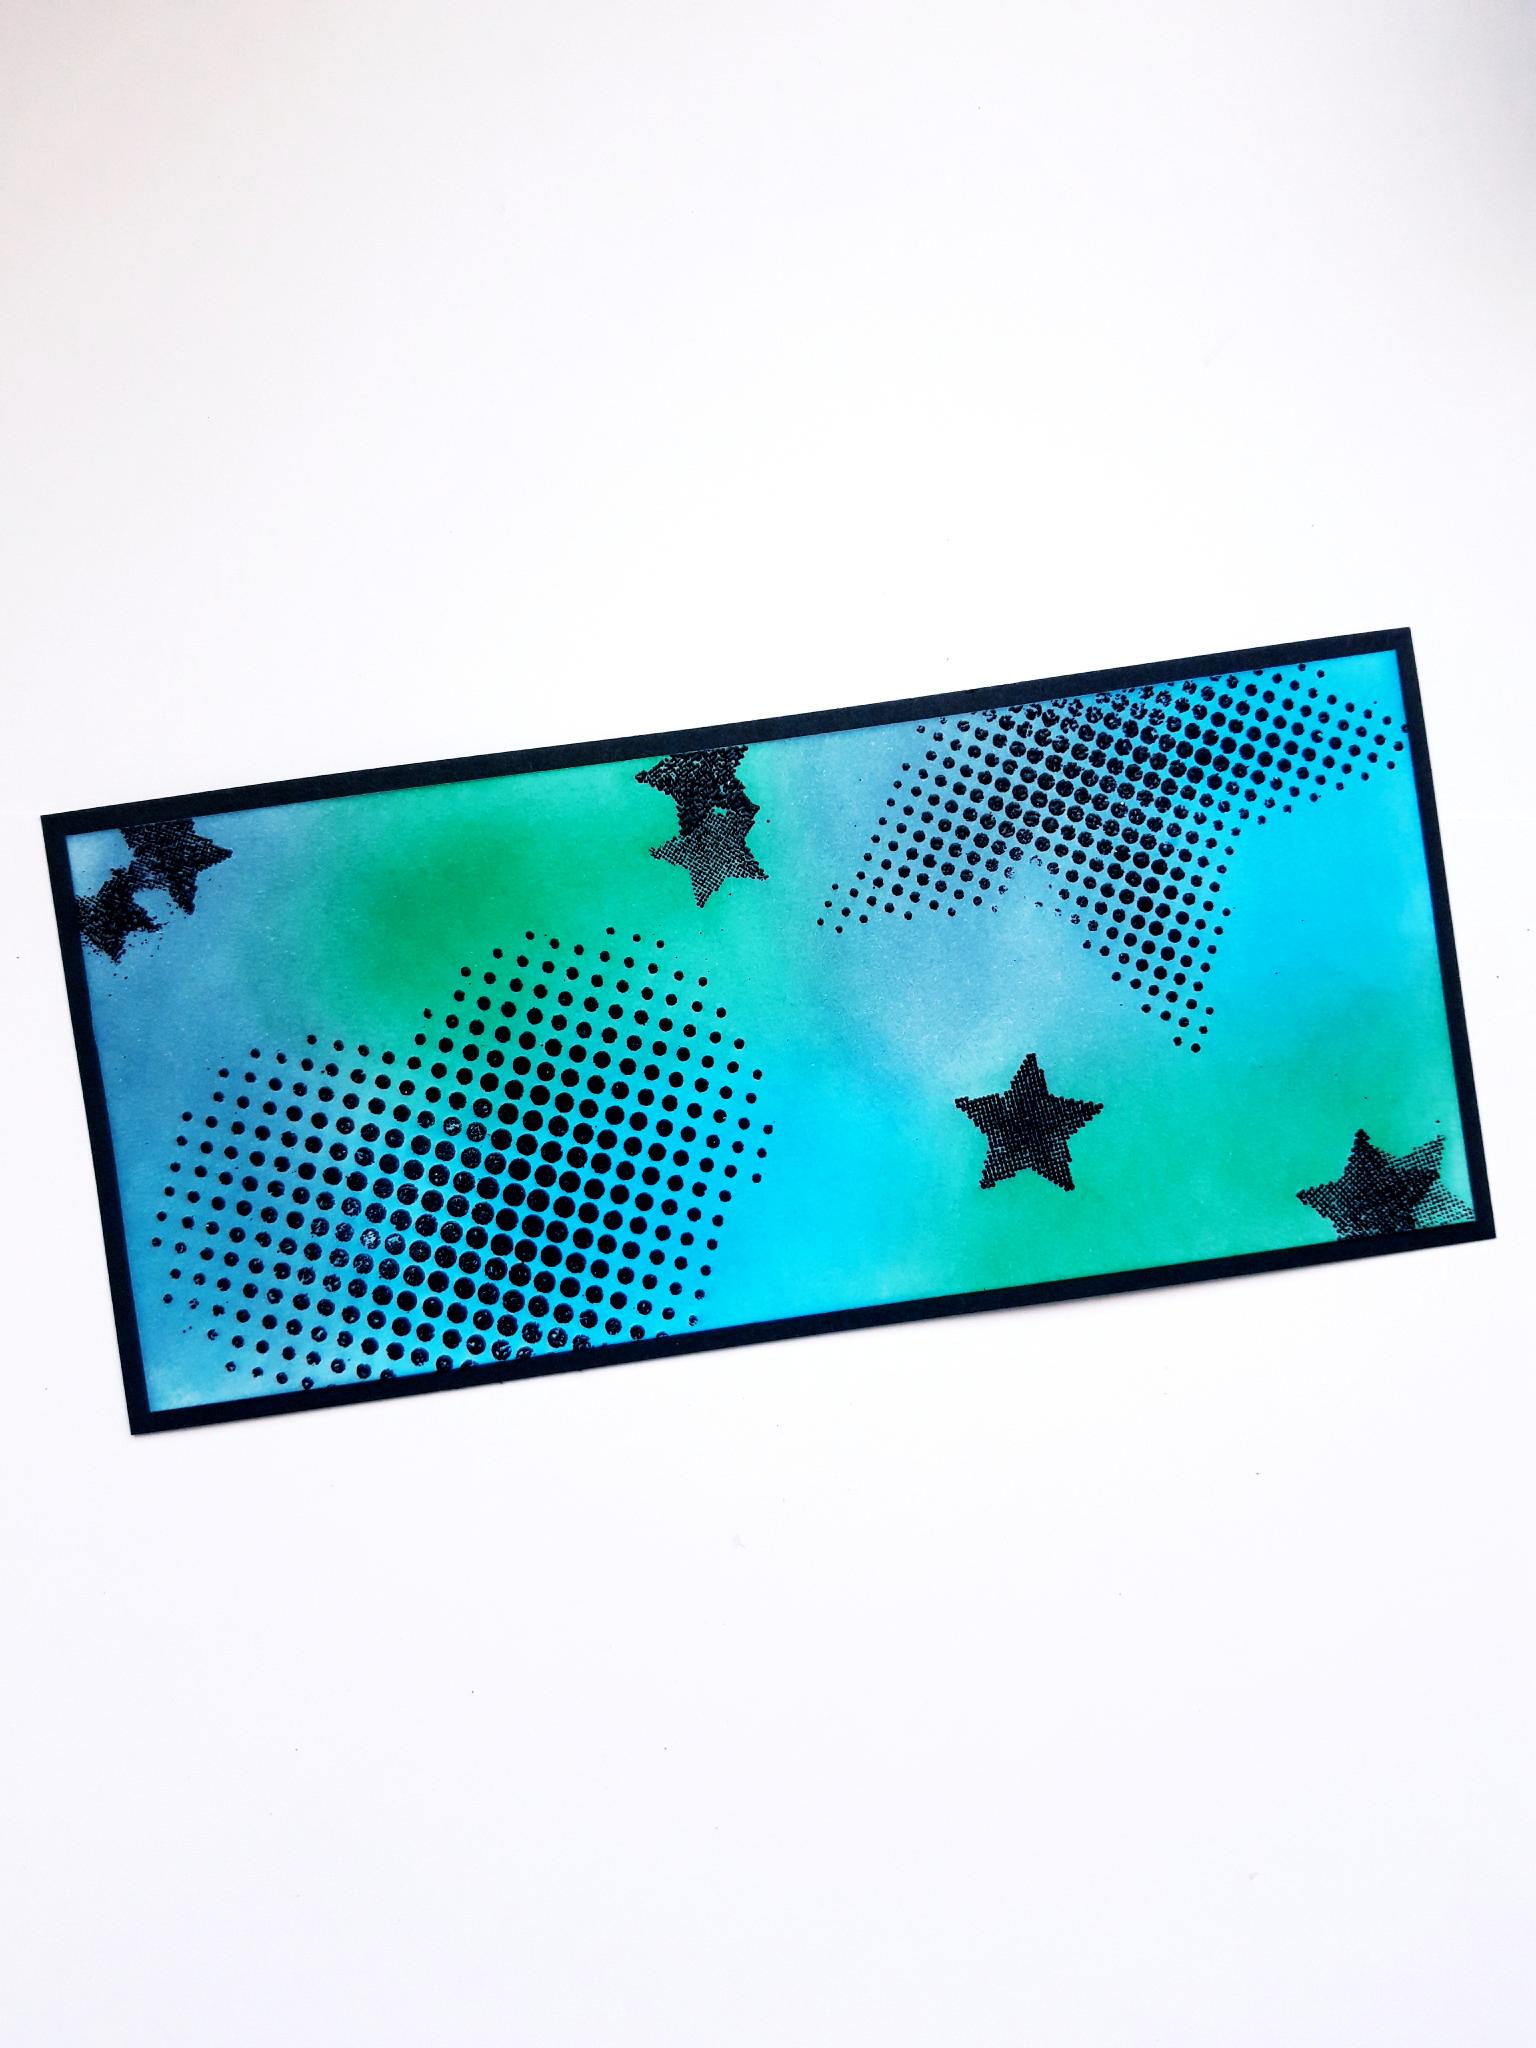
Once the ink is dry, mat this on to the black card (7 3/4 x 3 1/2"). |
|
Adhere this on to your DL card blank, and set to one side. |
|
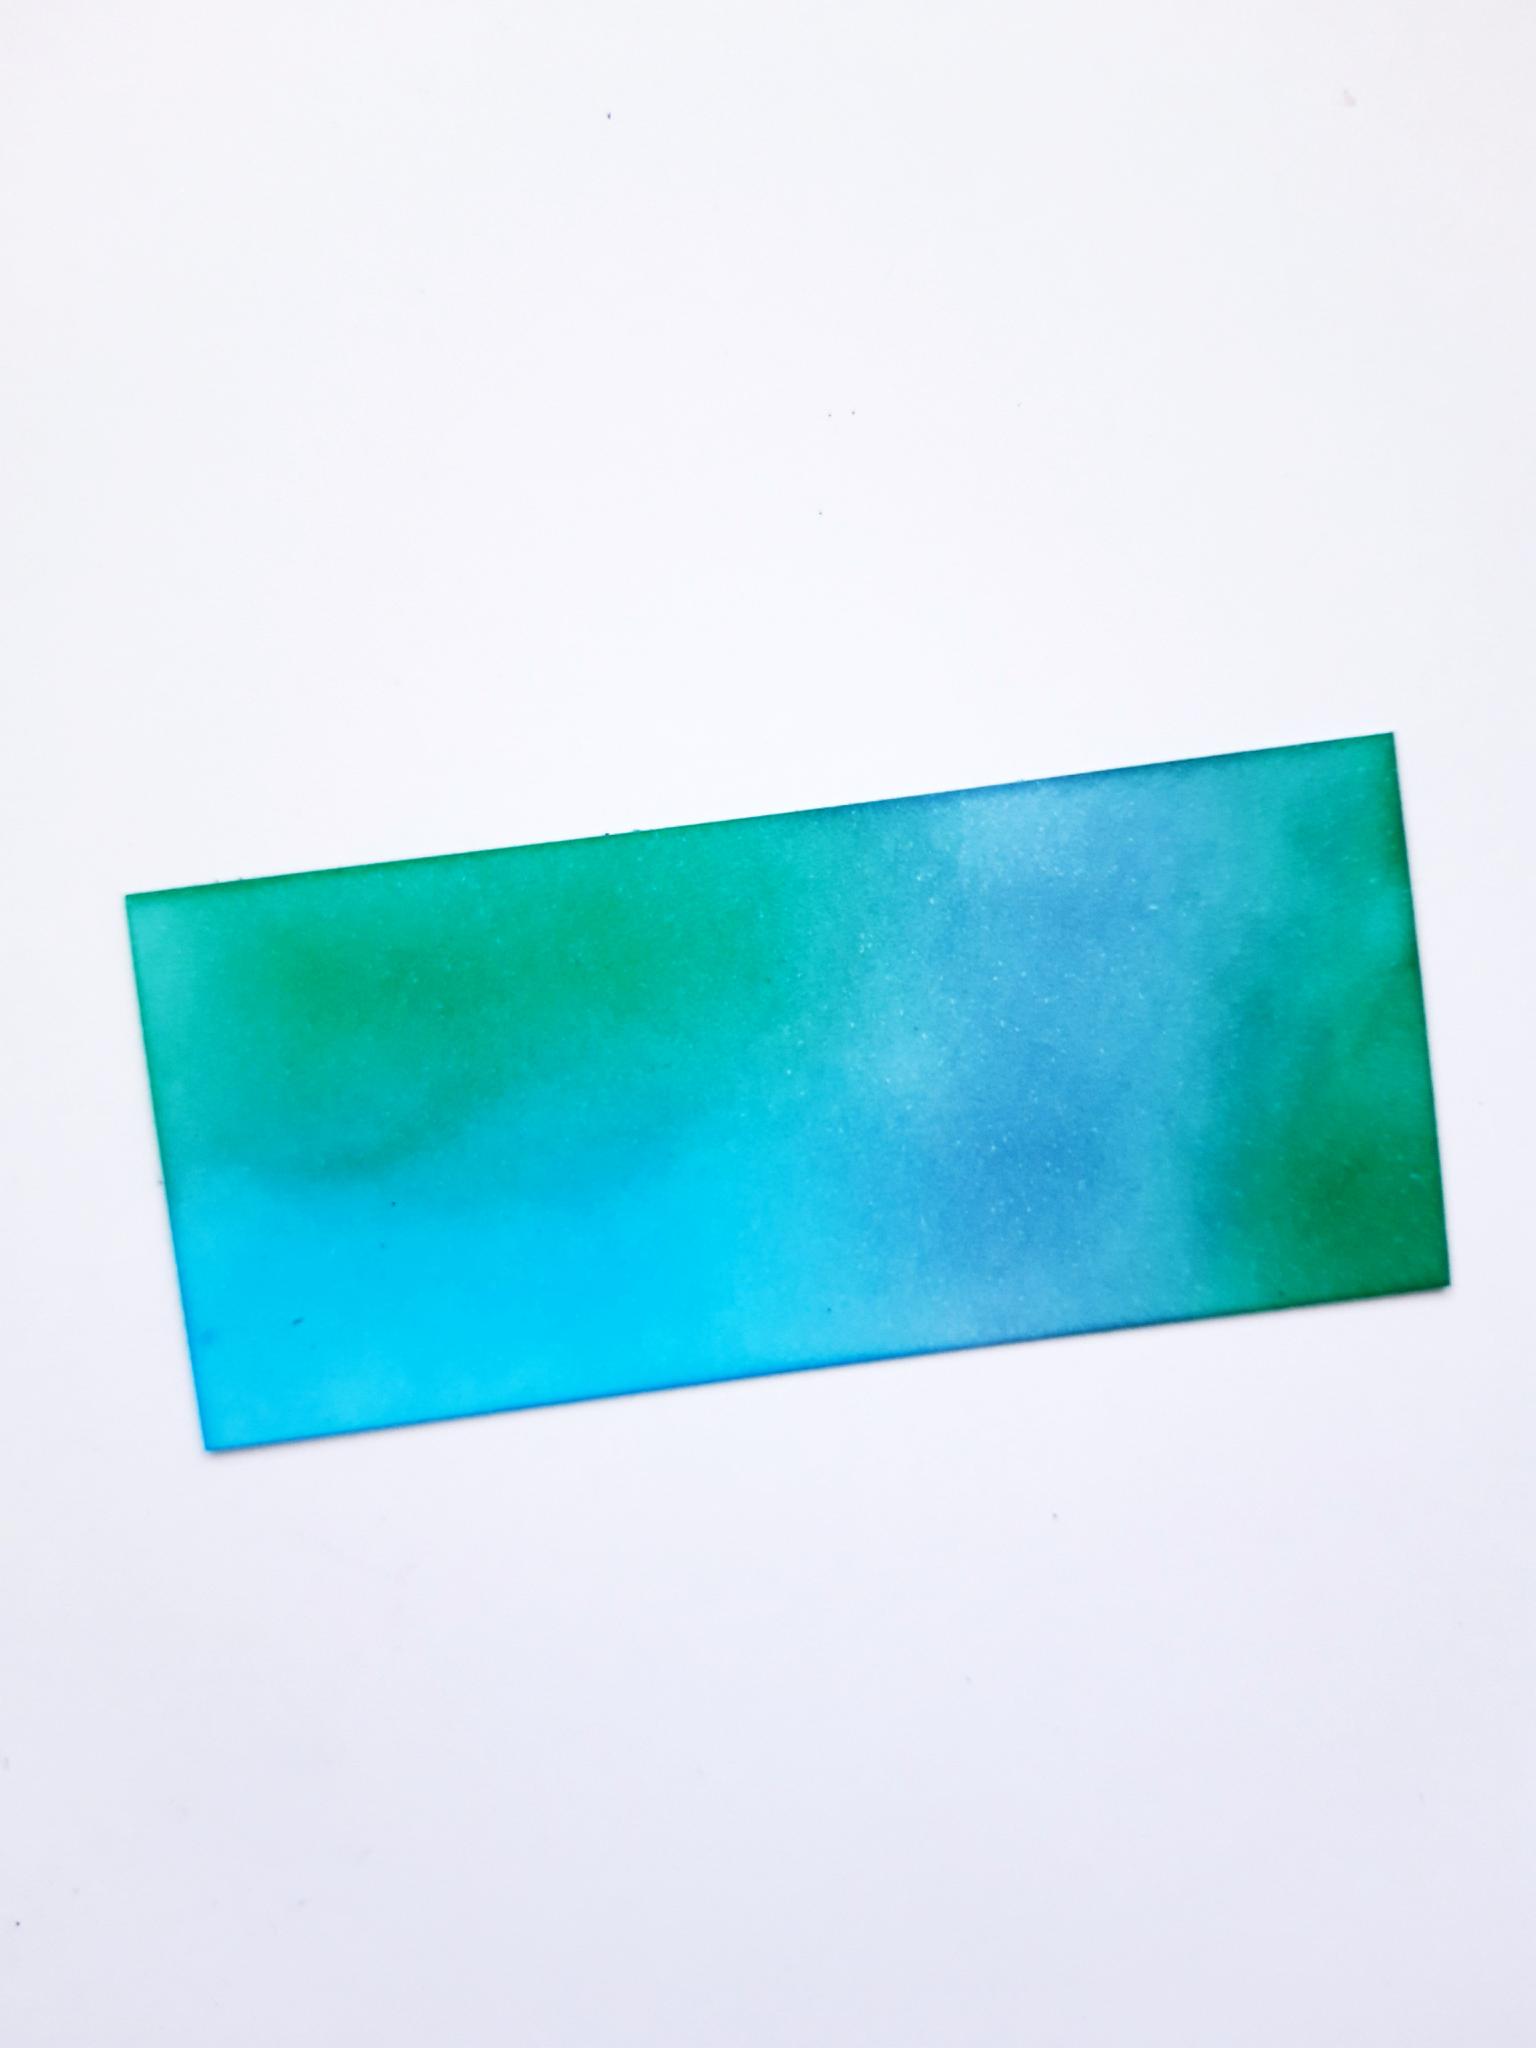
Blend the same Izink inks on to the white card (4 x 2"). |
|
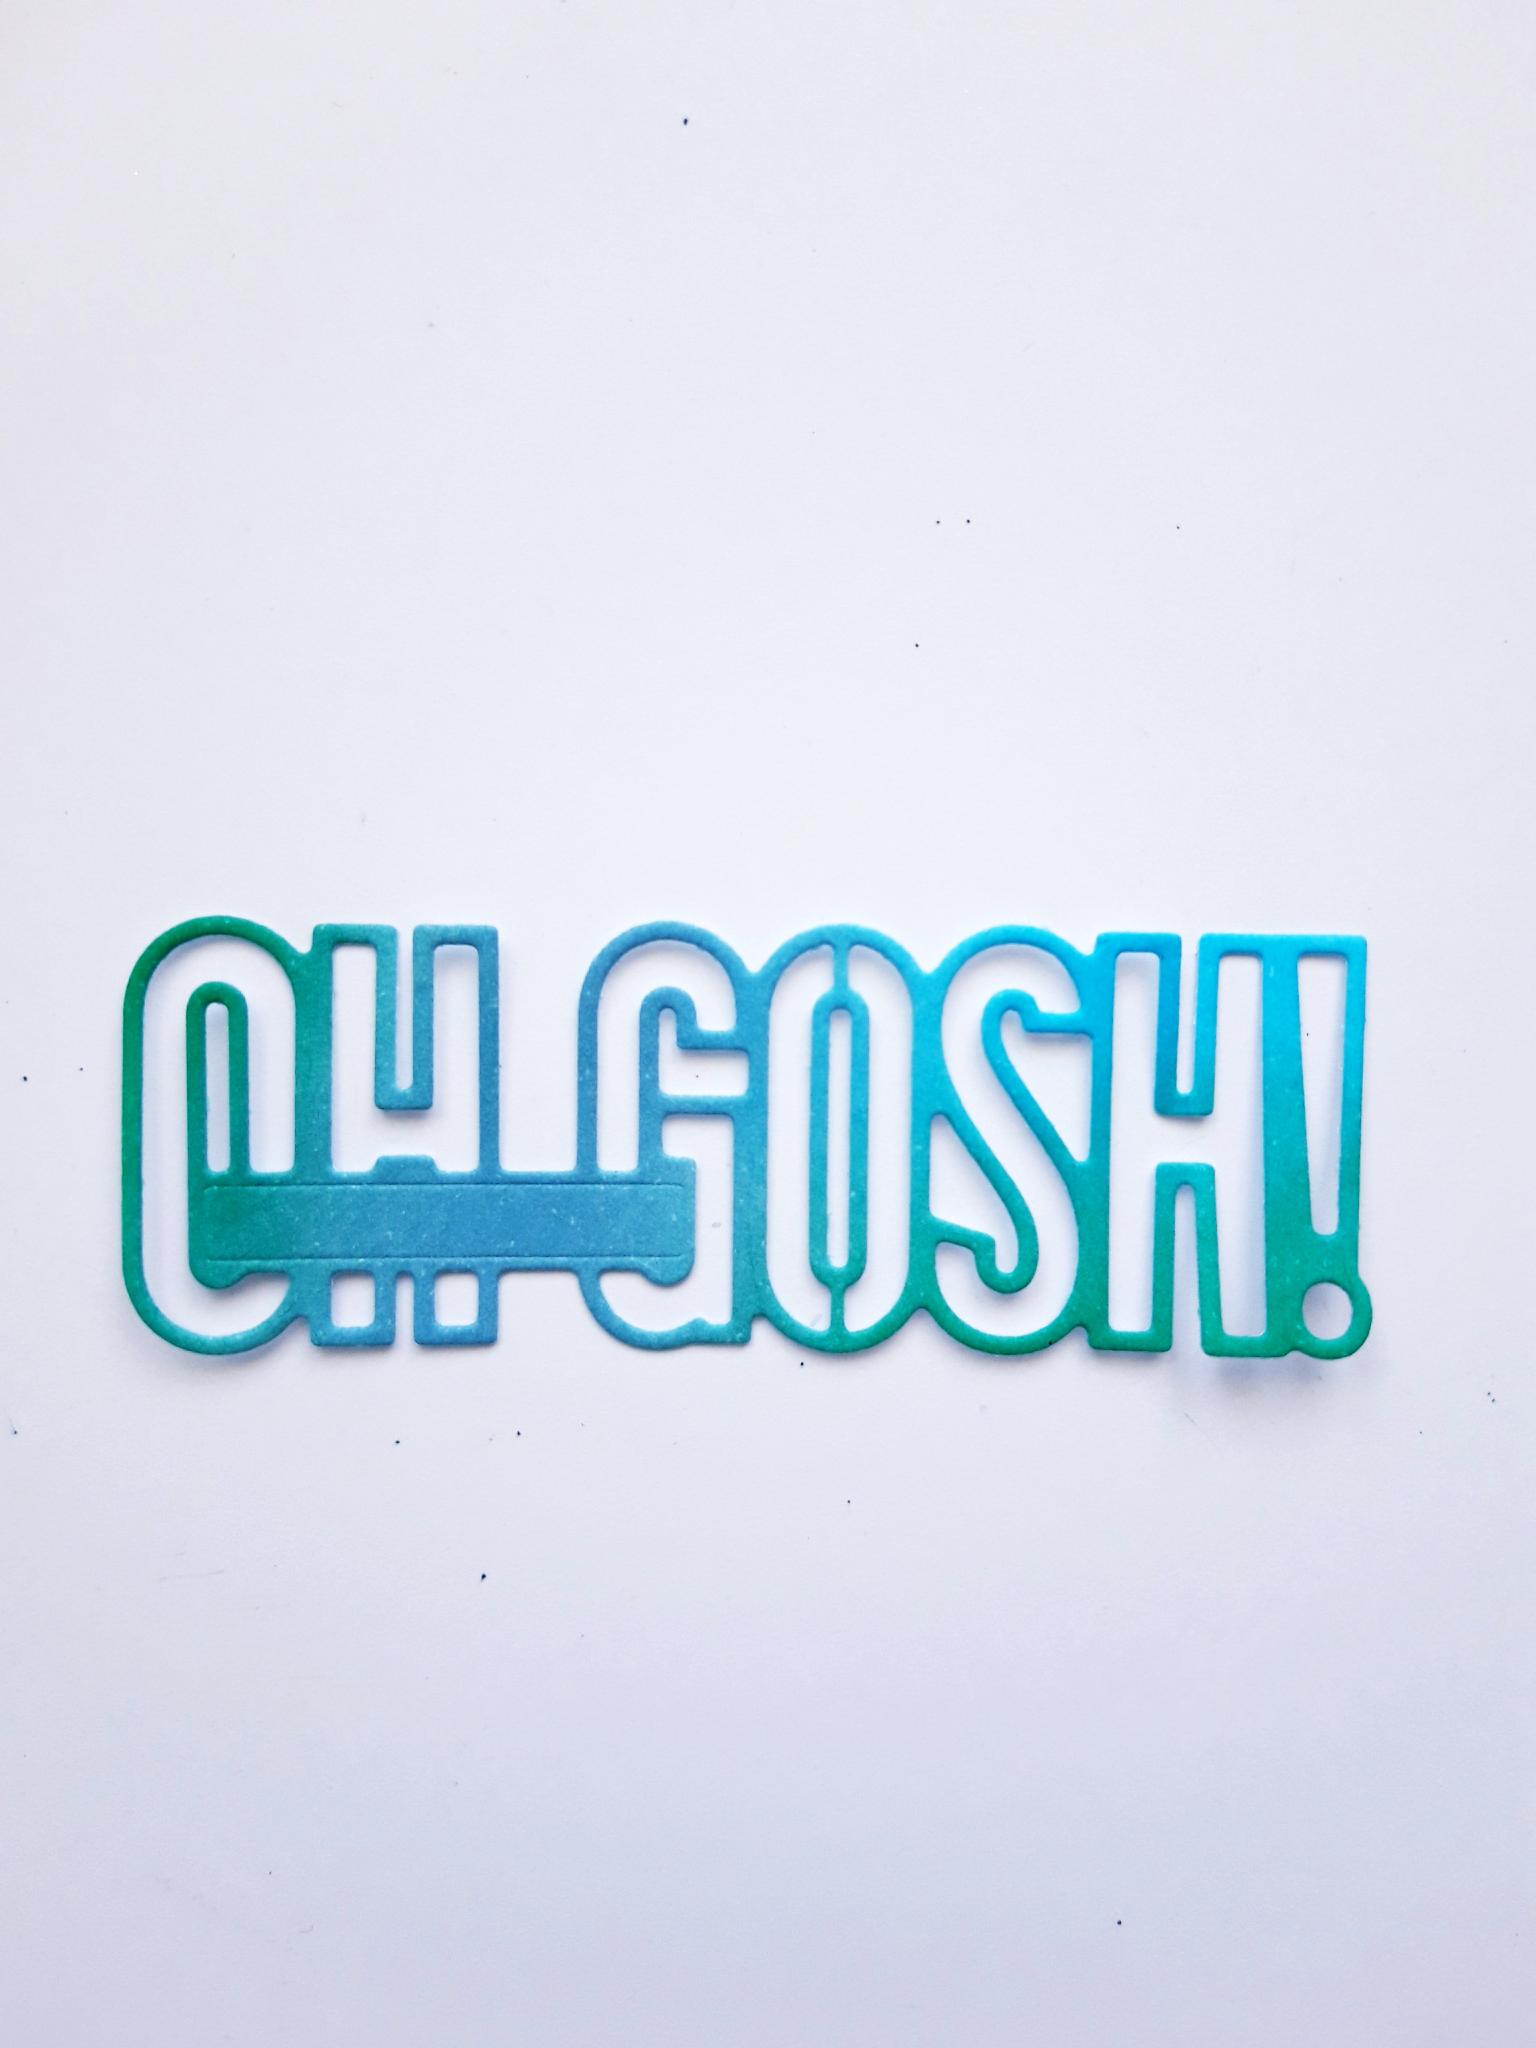
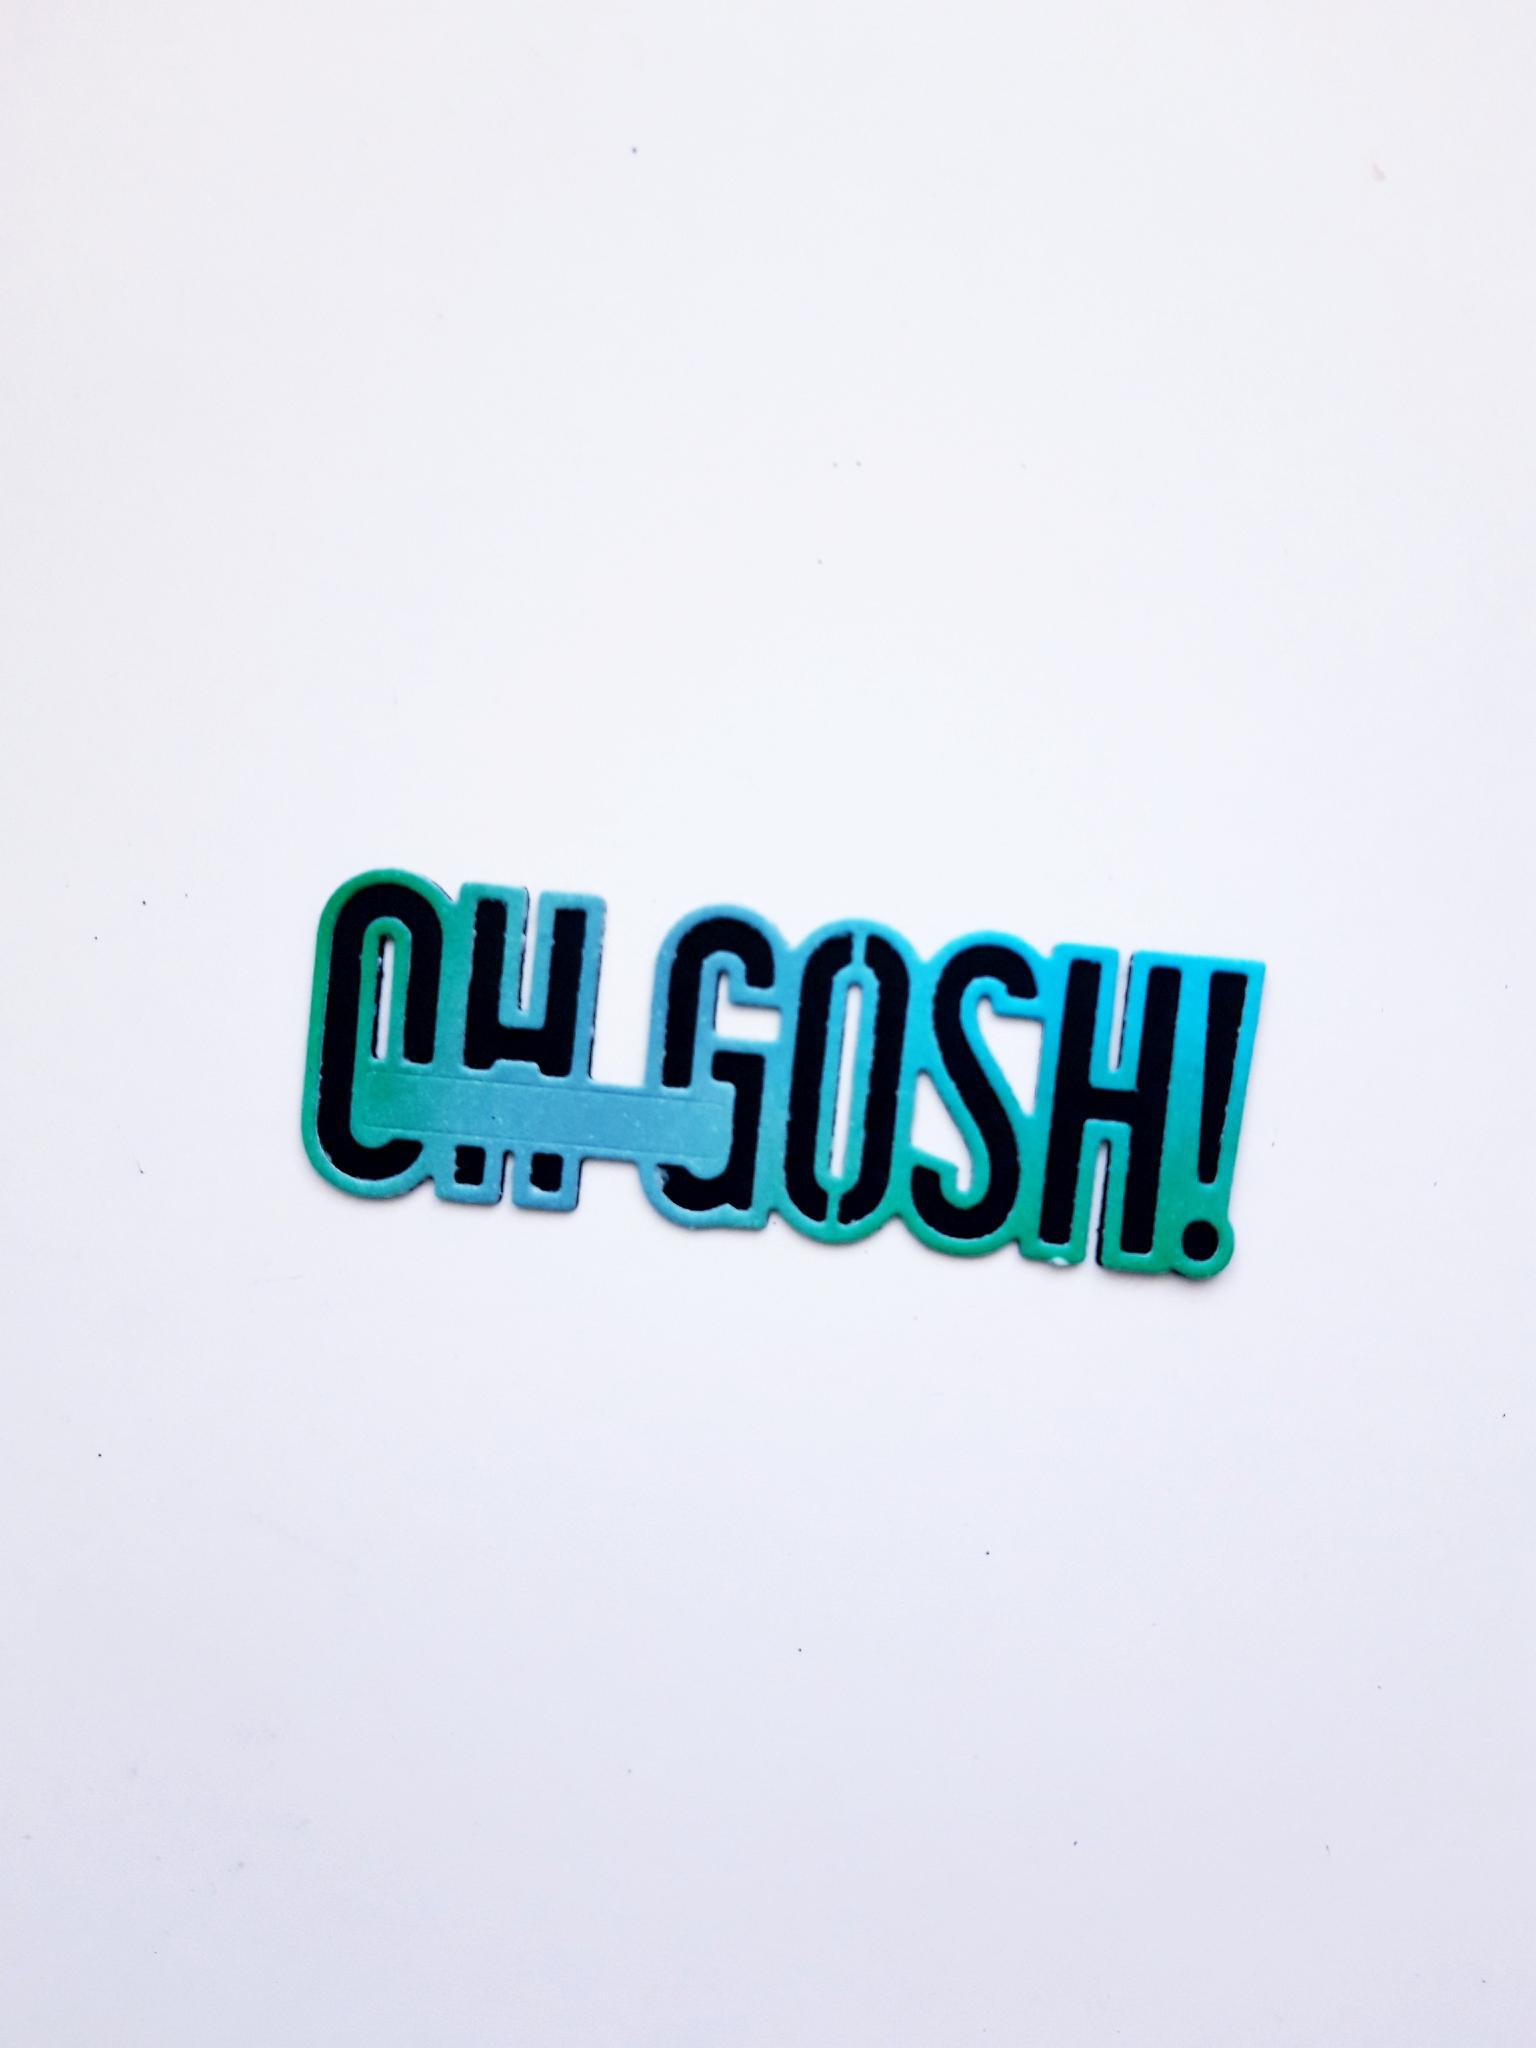
Place the detailed Oh Gosh die, from the As If set, on to your dried, inked card, and run it through your die cutting machine. |
|
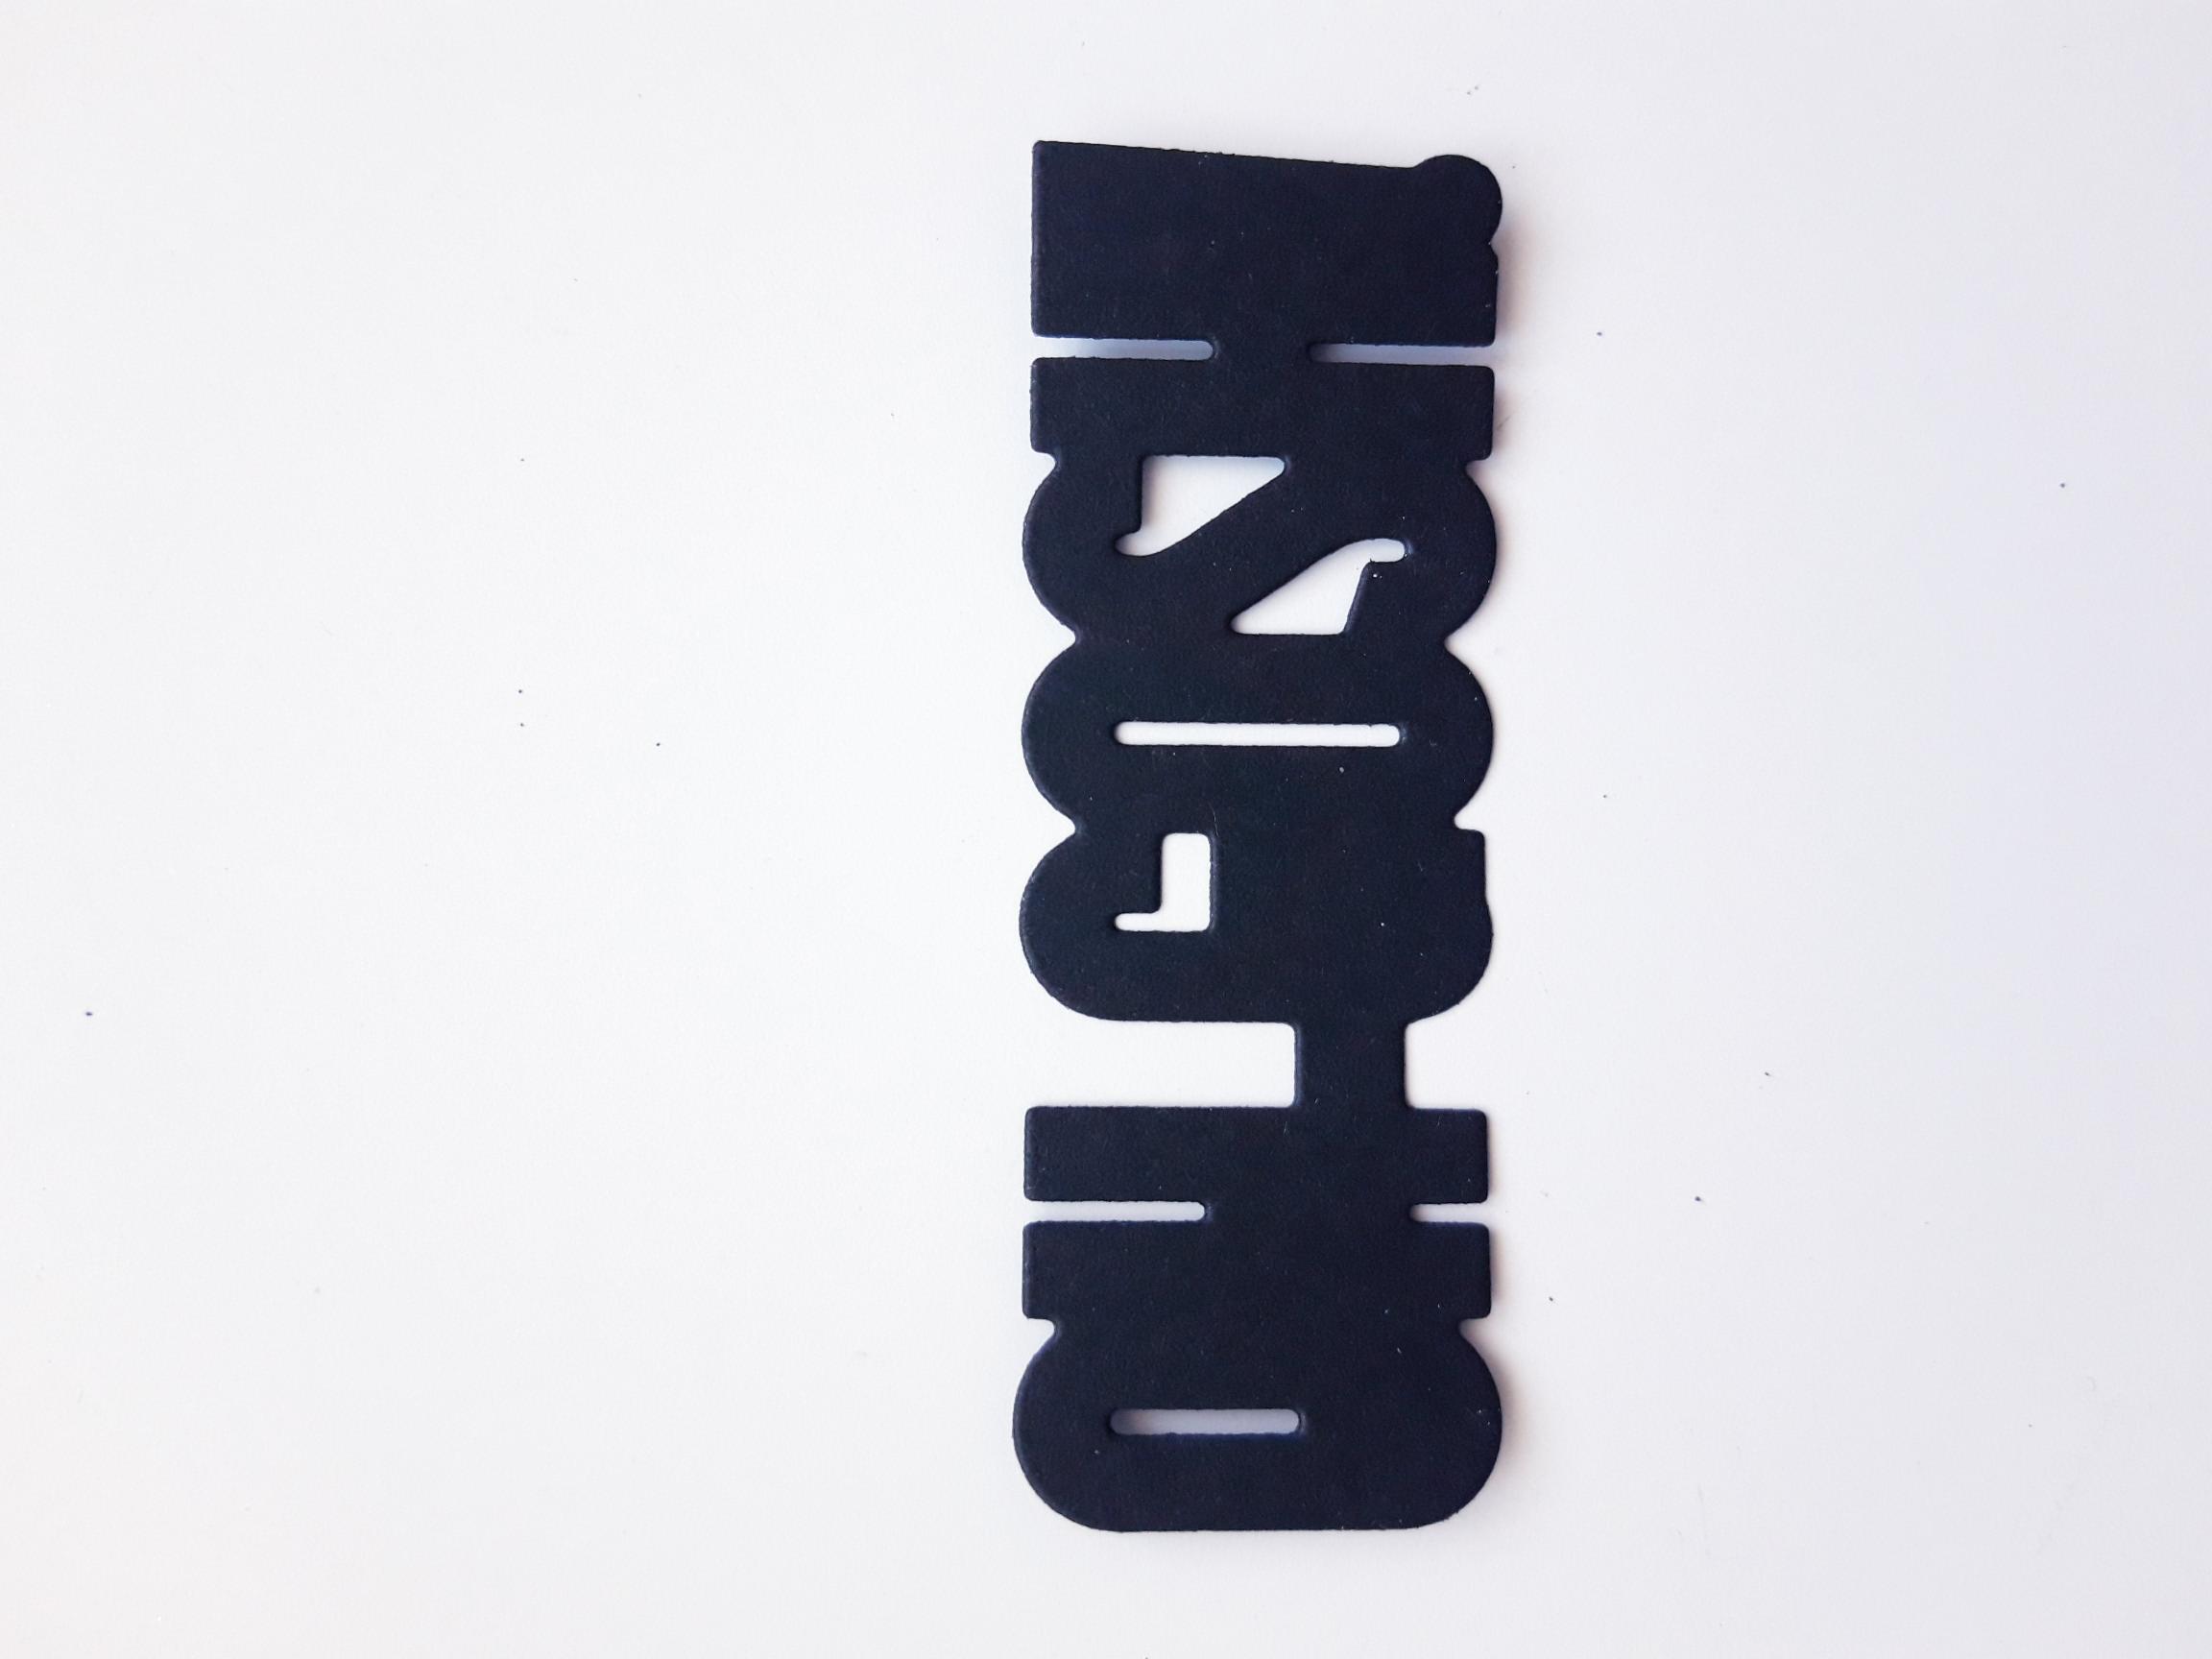
Place the coordinating Oh Gosh die on to the black card (4 x 2"), and run it through your die cutting machine. |
|
Adhere the inked, die cut sentiment, on to the solid black, die cut sentiment. |
|
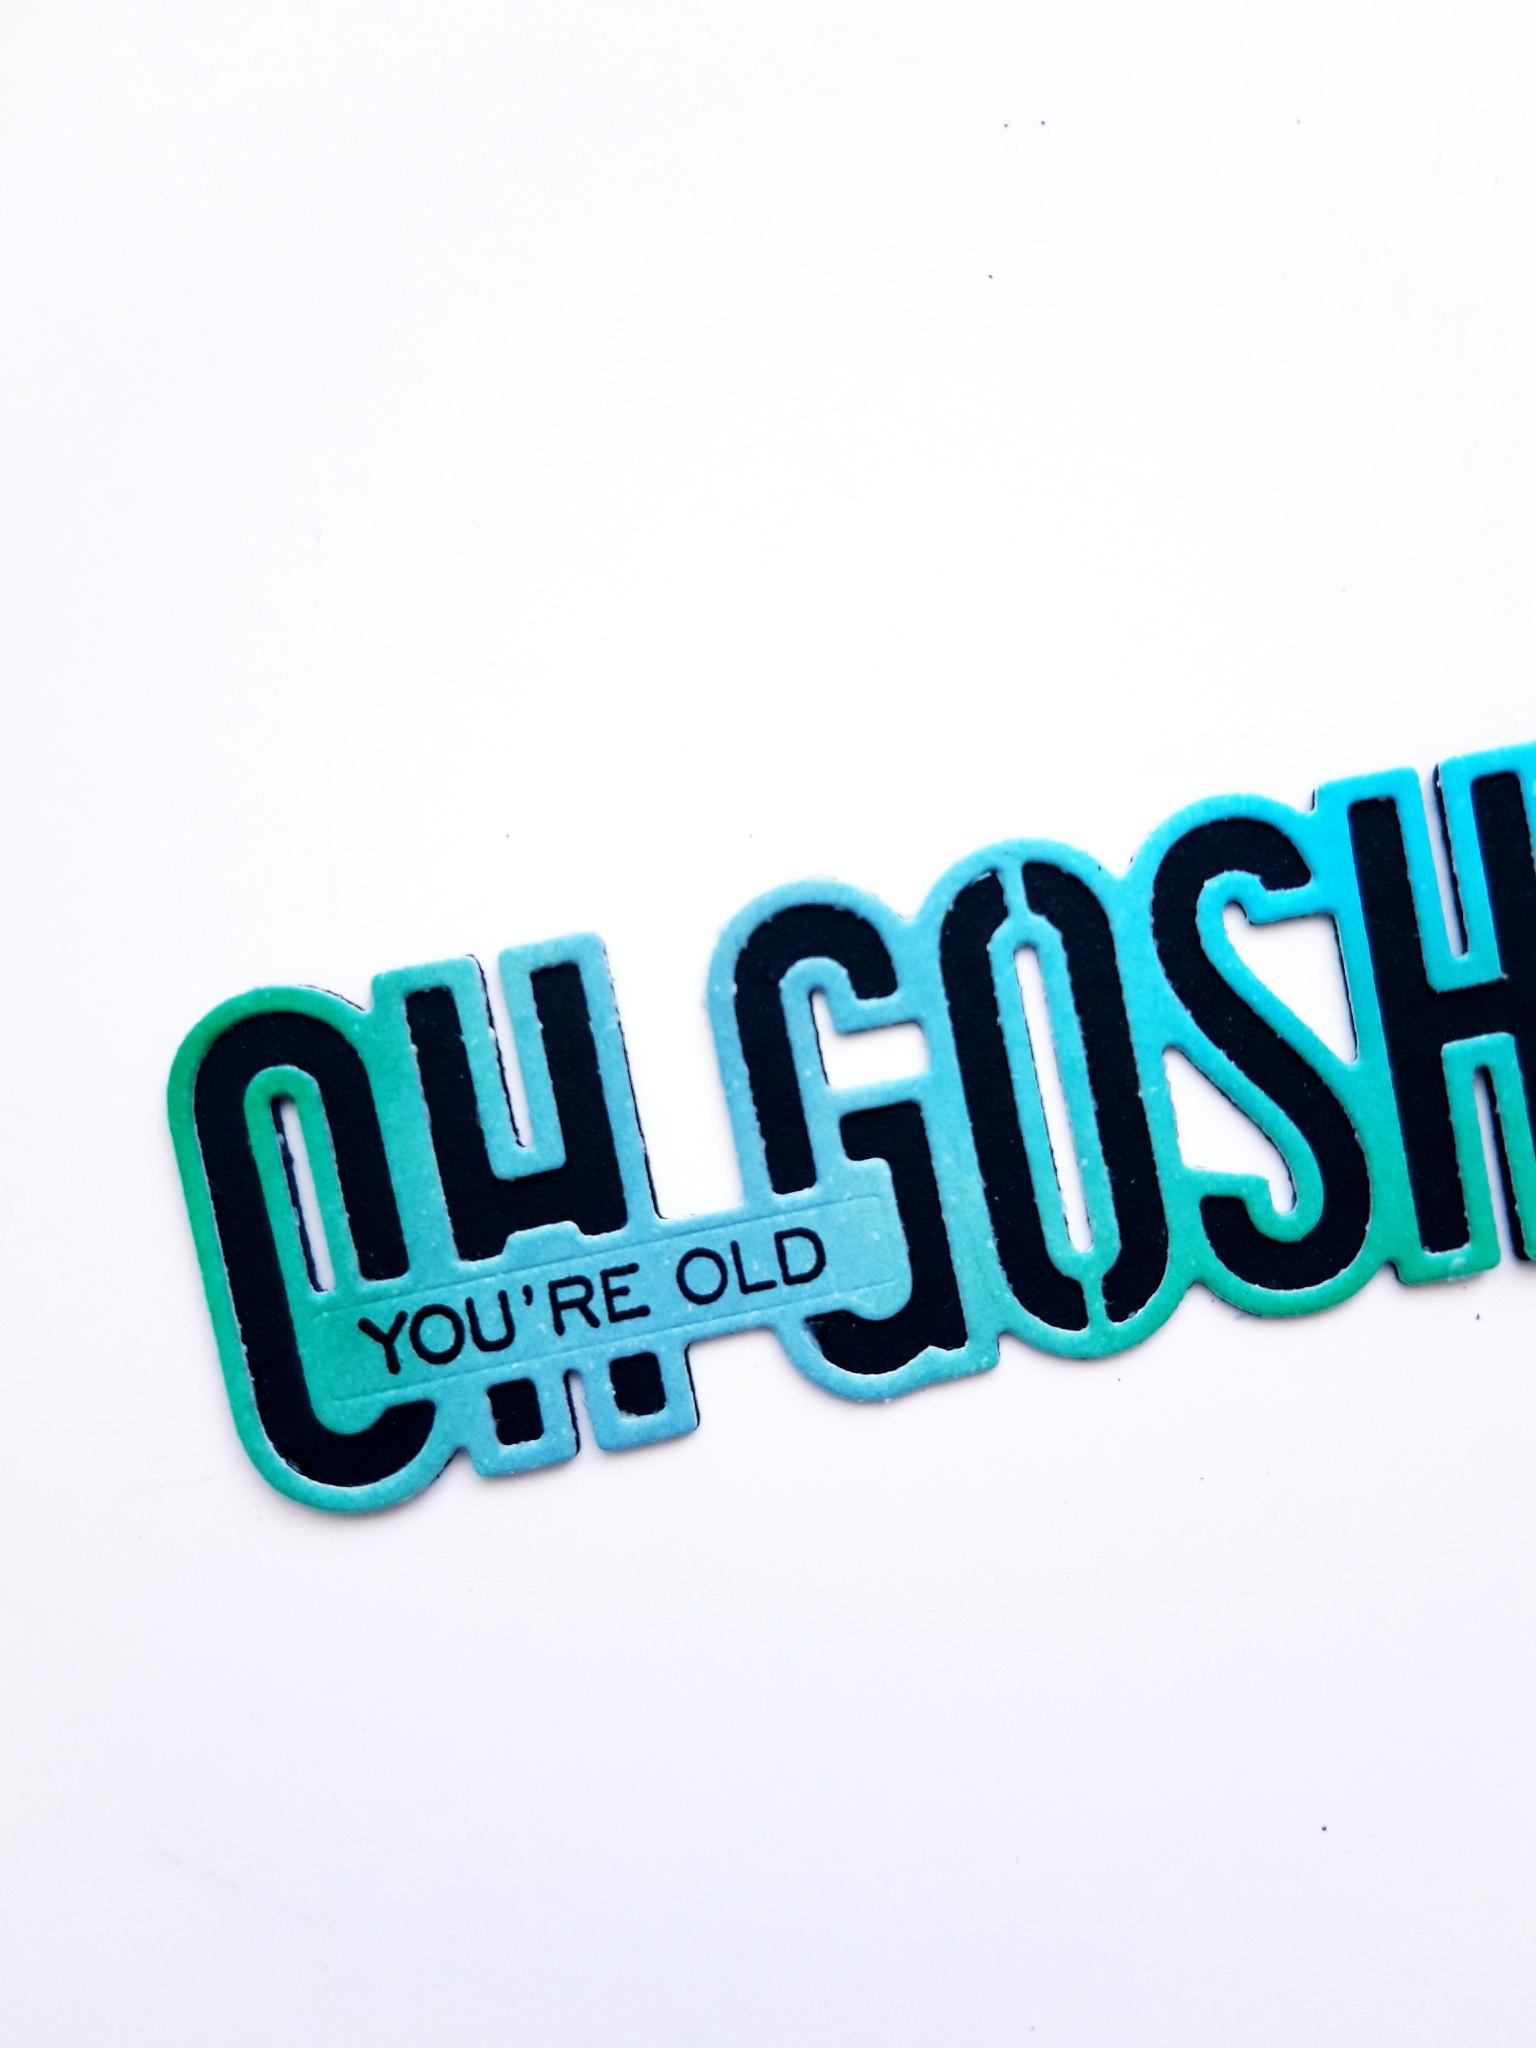
Ink up one of the coordinating stamps, from the same set, with the Onyx Black Versafine, and stamp on to the panel, on the front of the sentiment die. |
|
To finish, adhere the die cut sentiment on to the top right, of your card. |