Give your friends $10 off their first order!
Refer a FRIEND


WHAT YOU WILL NEED:
Black top folding card blank (8 1/4 x 5 3/4")
White card (8 x 5 1/2")
Copier paper (A4)
Stamps from Craft Stash Stamp Collection
Stamps from Celebrate And Create Lamination Stamp Collection
Dies from Crimped Stitching Nesting Dies Collection
Versafine Ink Pad: Onyx Black
Distress Oxide: Villainous Potion, Salvaged Patina, Hickory Smoke
Black pen
Blending brush
Paint brush
Eureka 101
Paper Trimmer
Perfect Together Glue
Low tack tape
Die Cutting machine
[click image to enlarge] 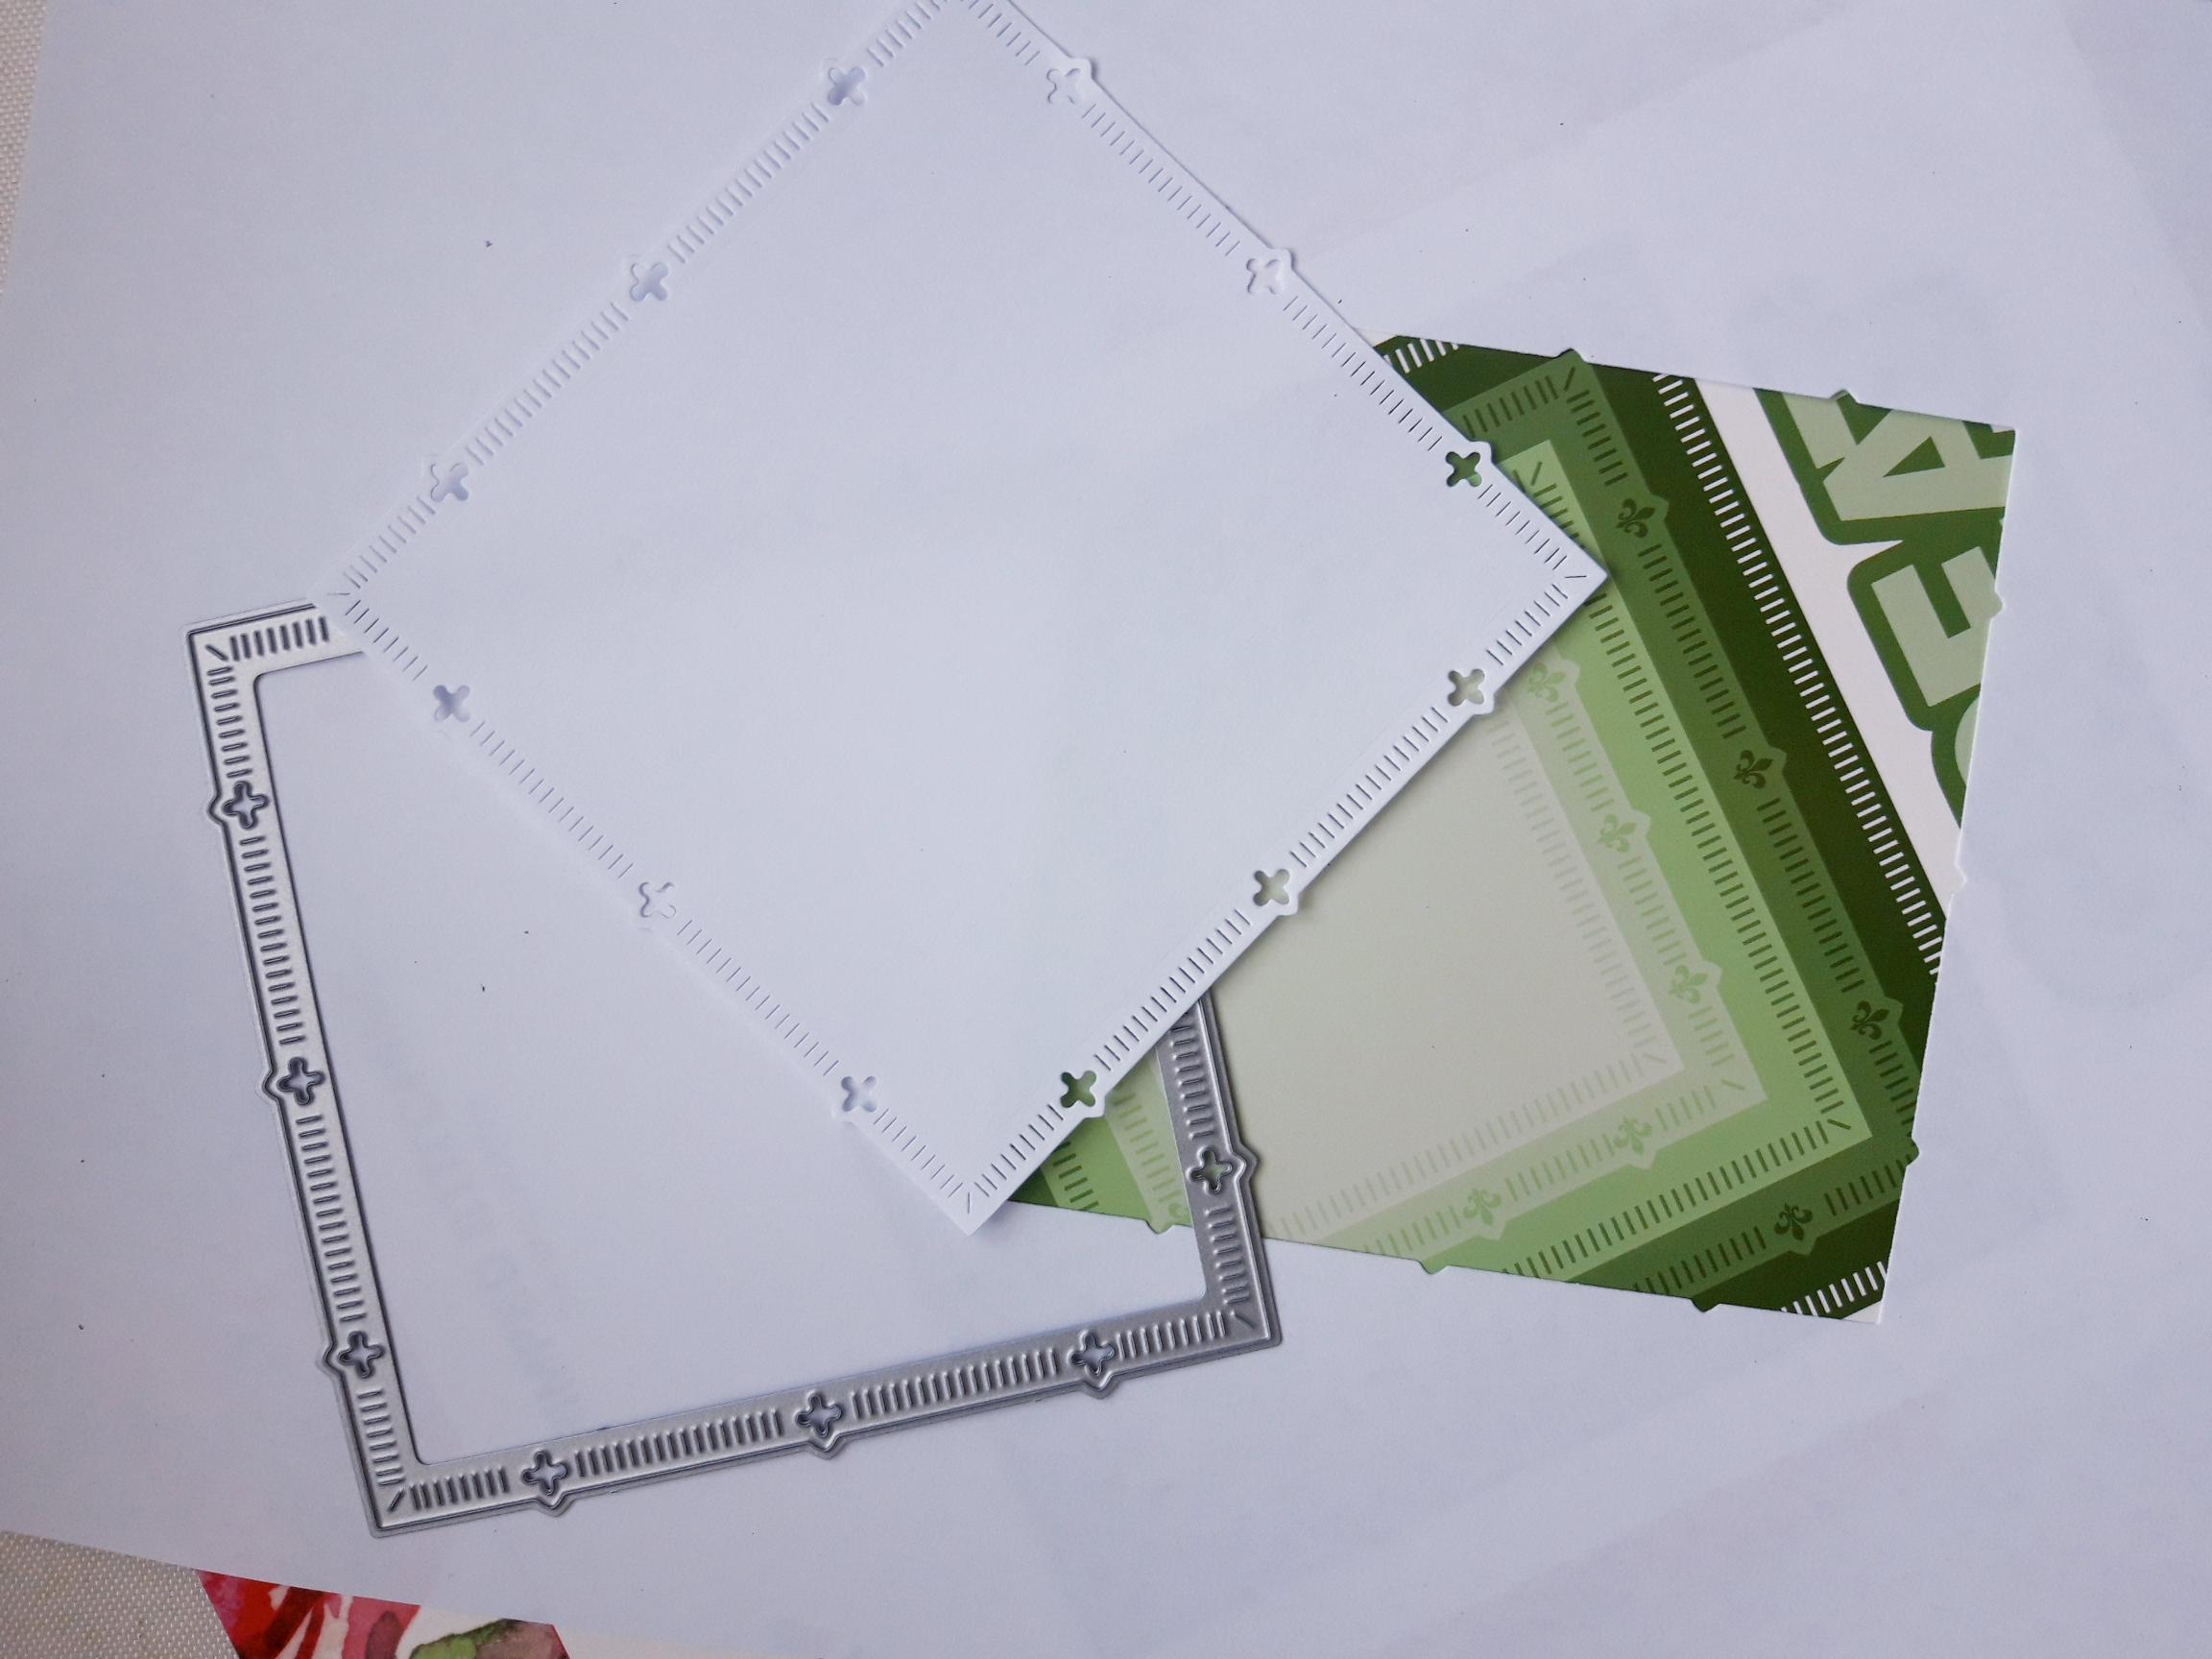
|
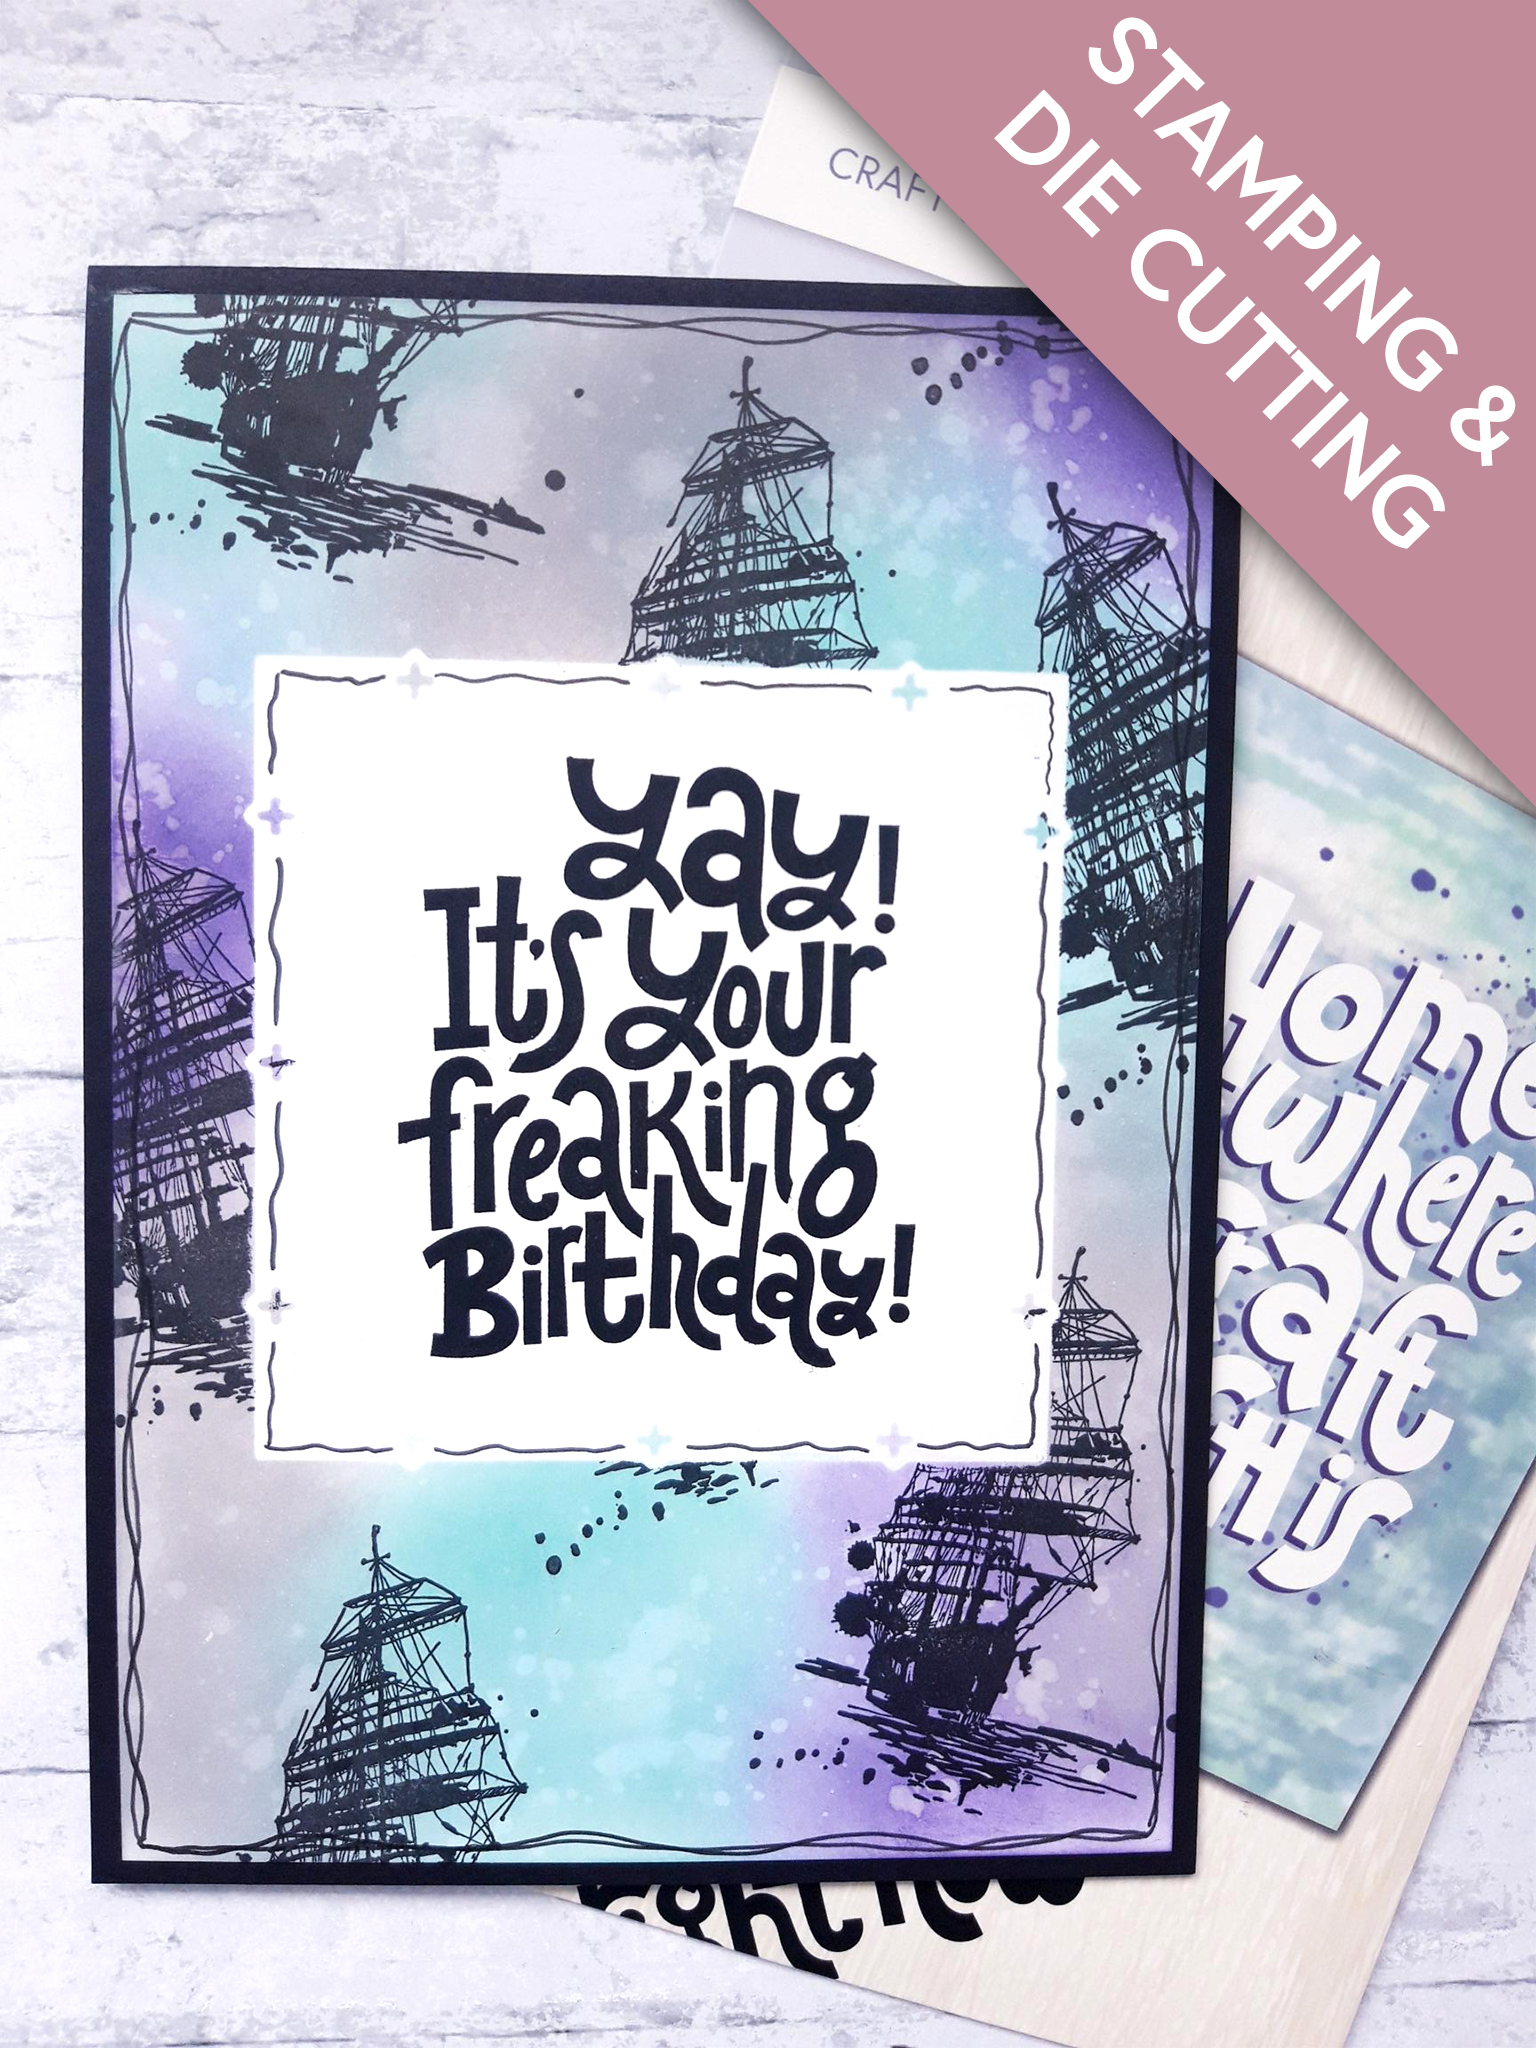
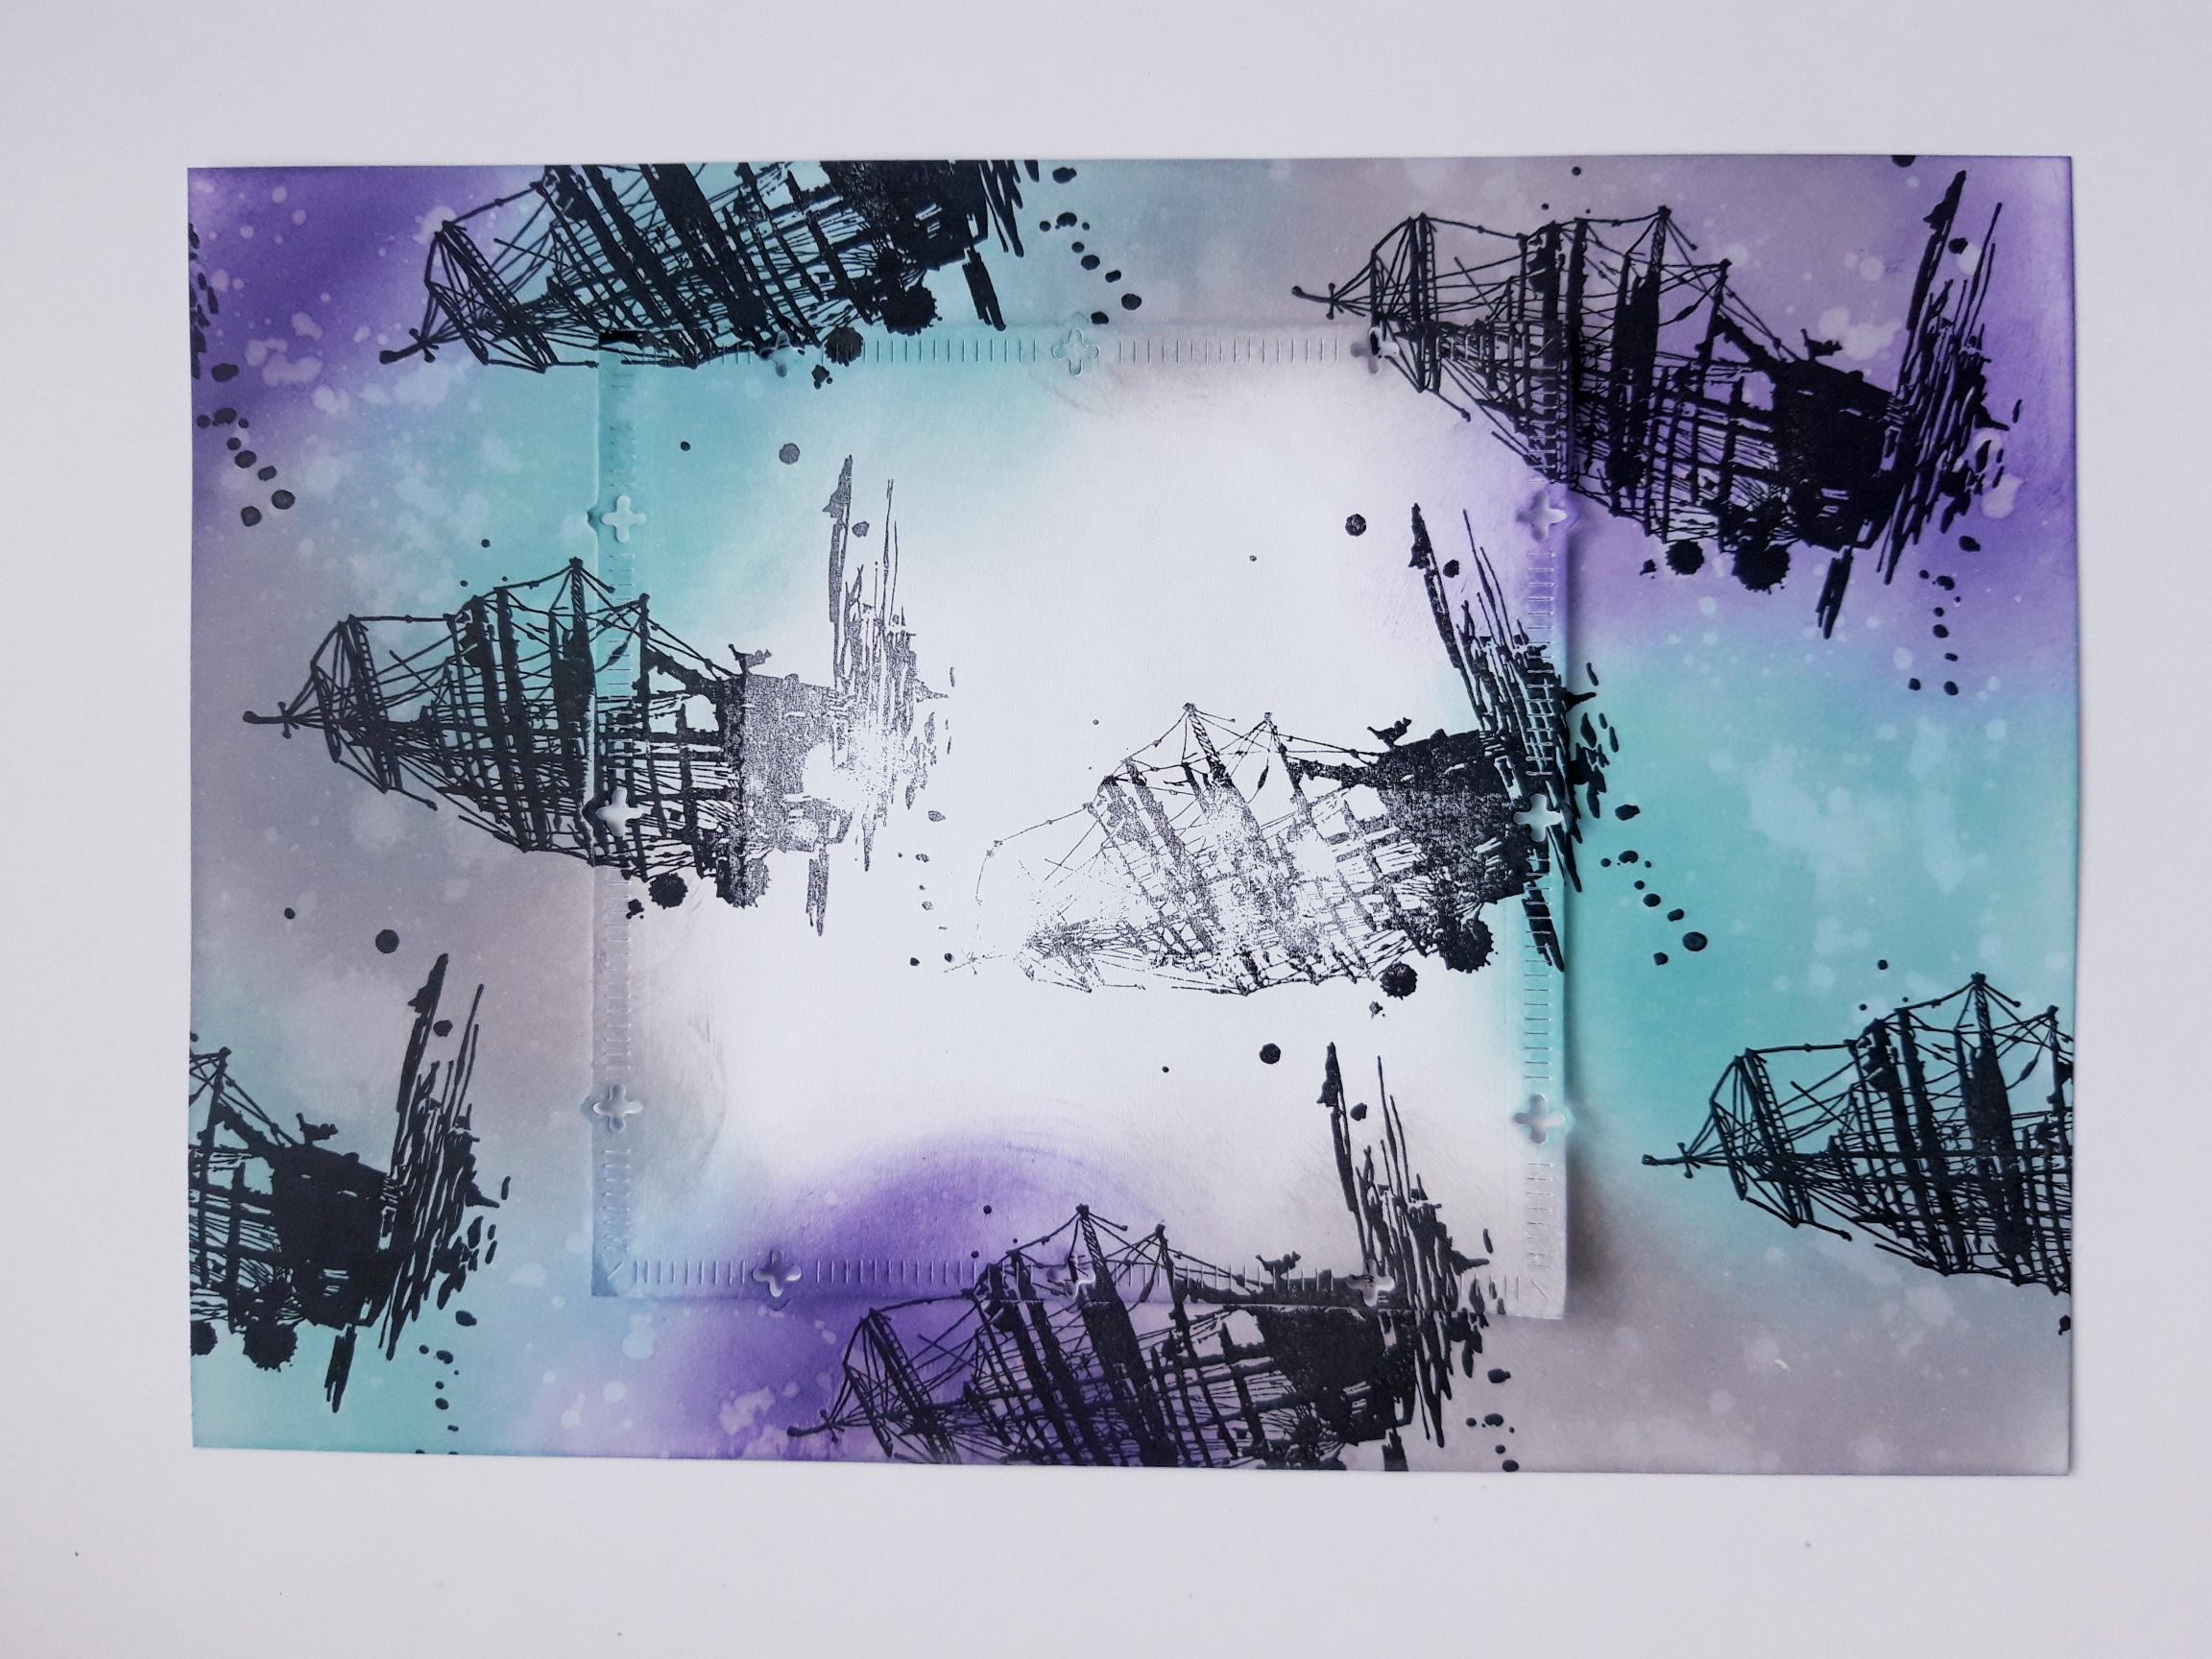
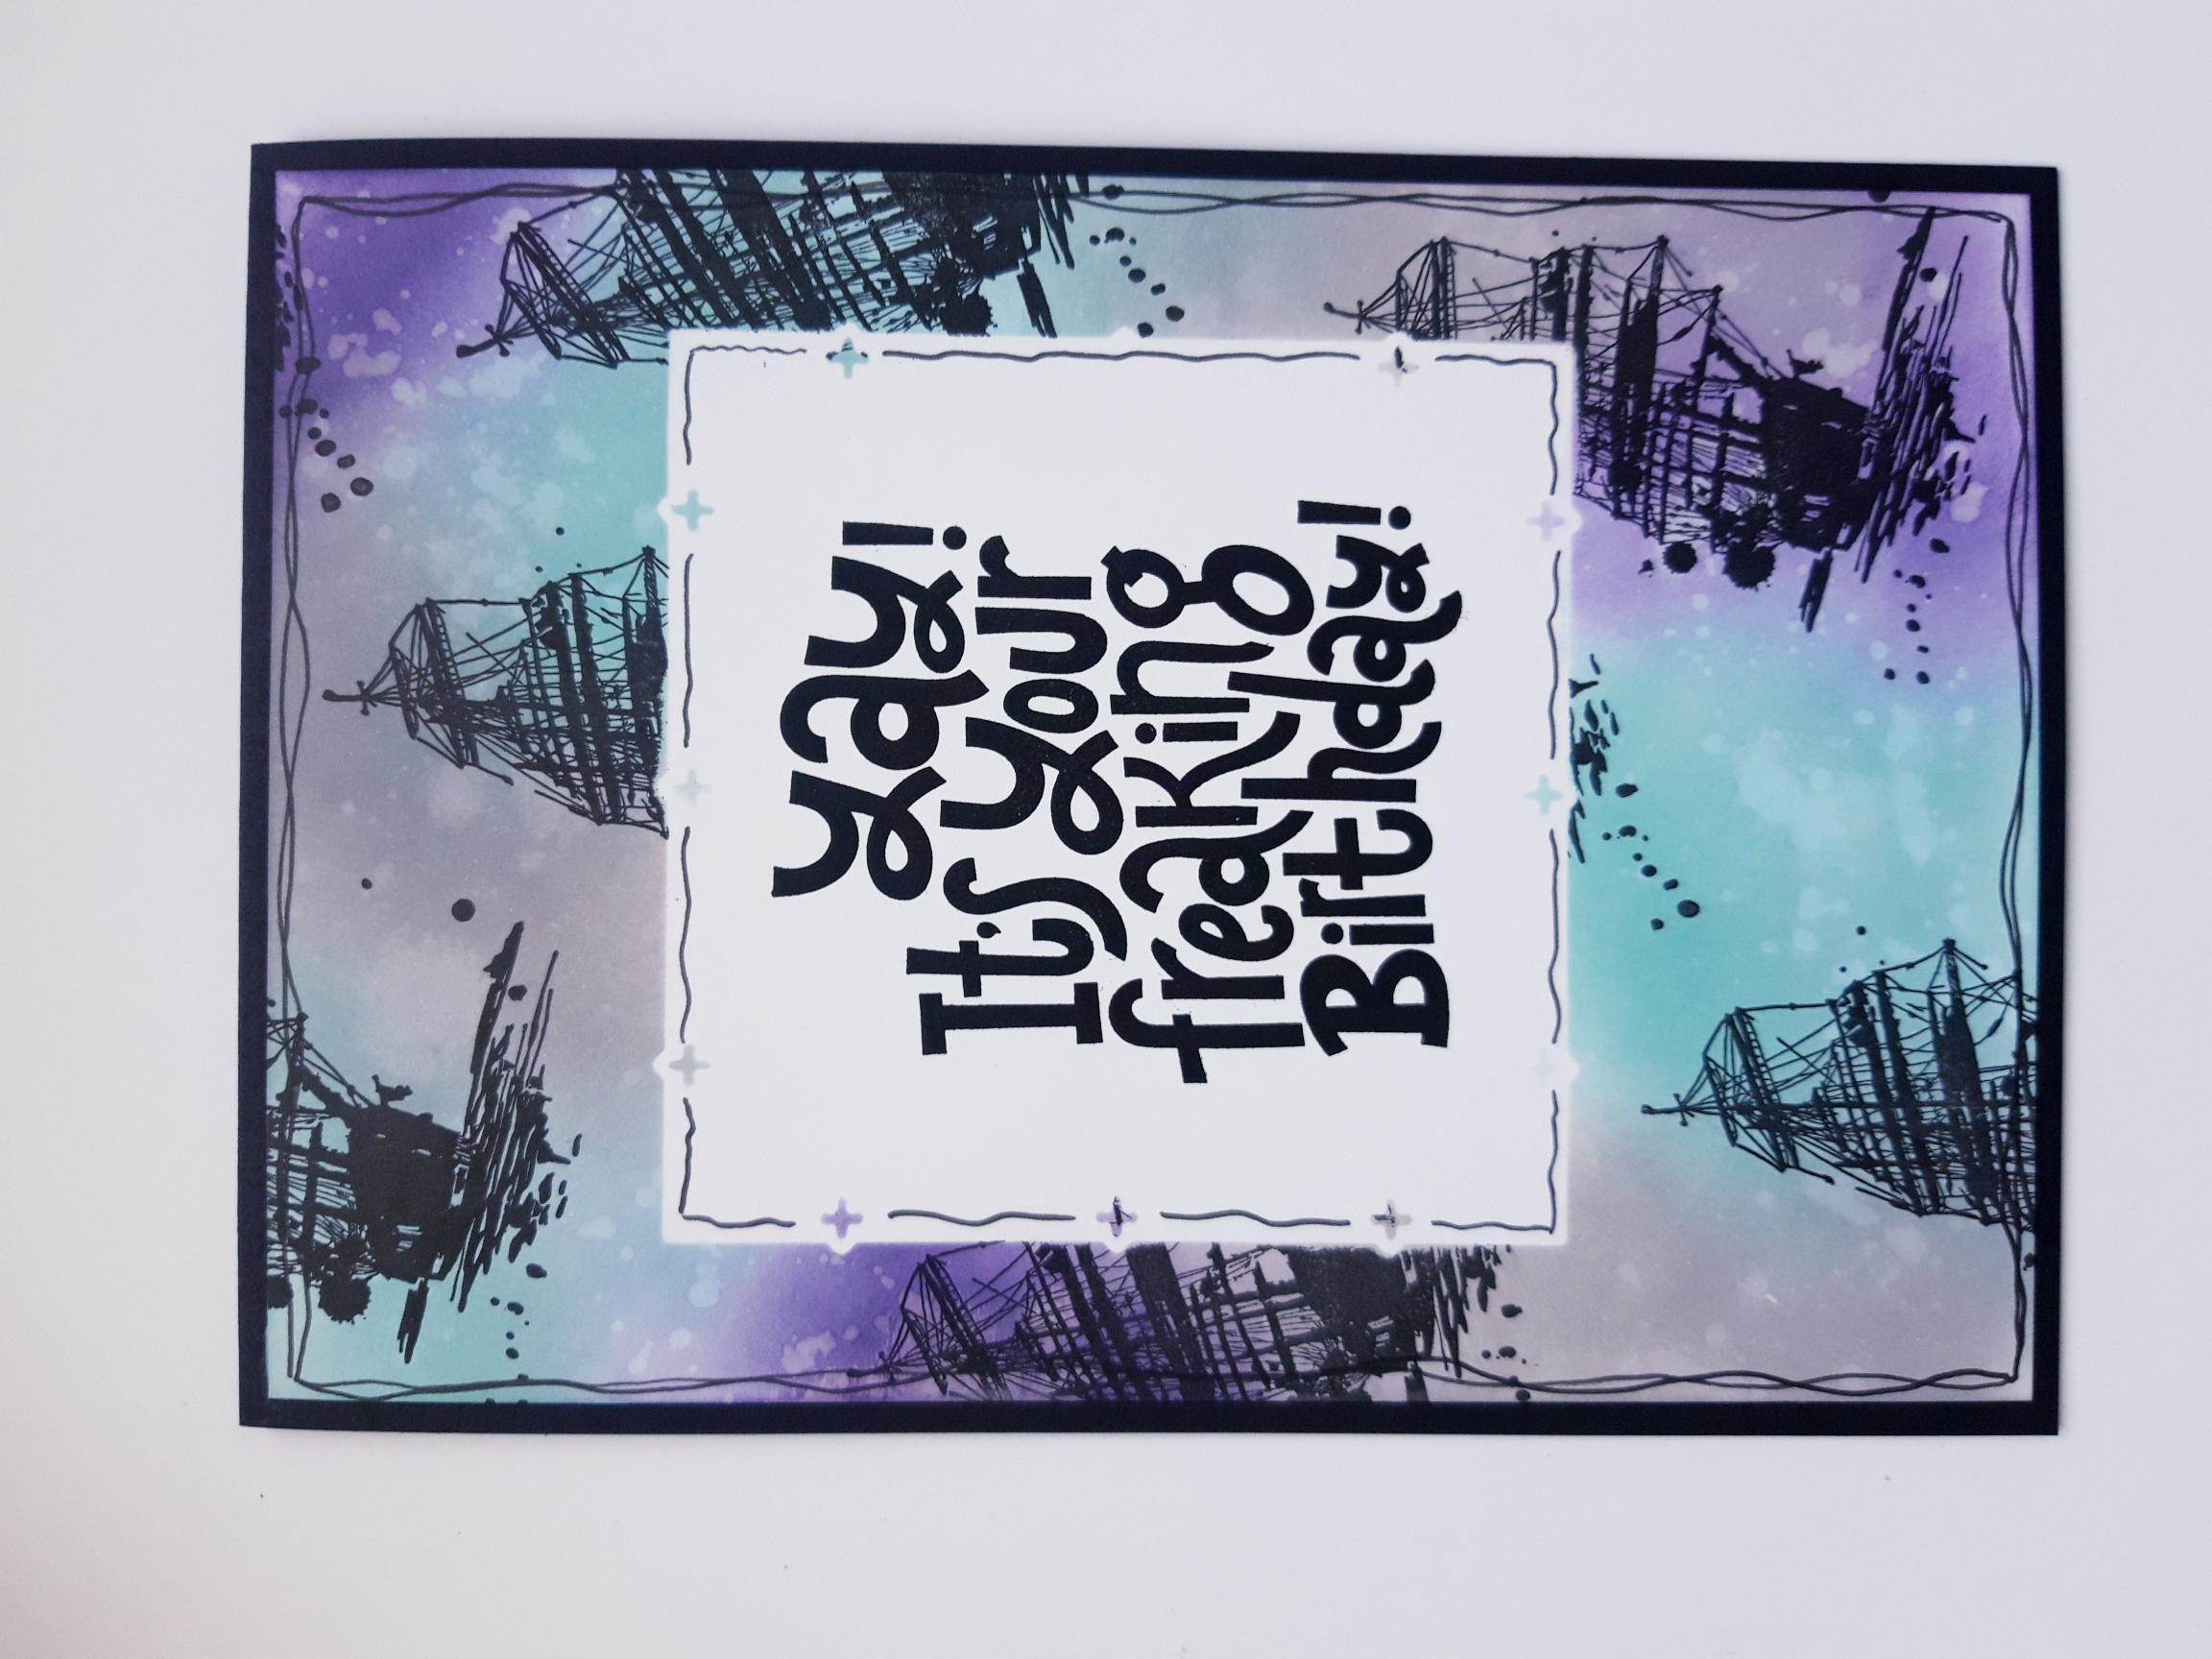
Place the Crimped Square nesting die, that measures approx 4 x 4", on to the copier paper, and run through your die cutting machine. This will be your "mask". |
|
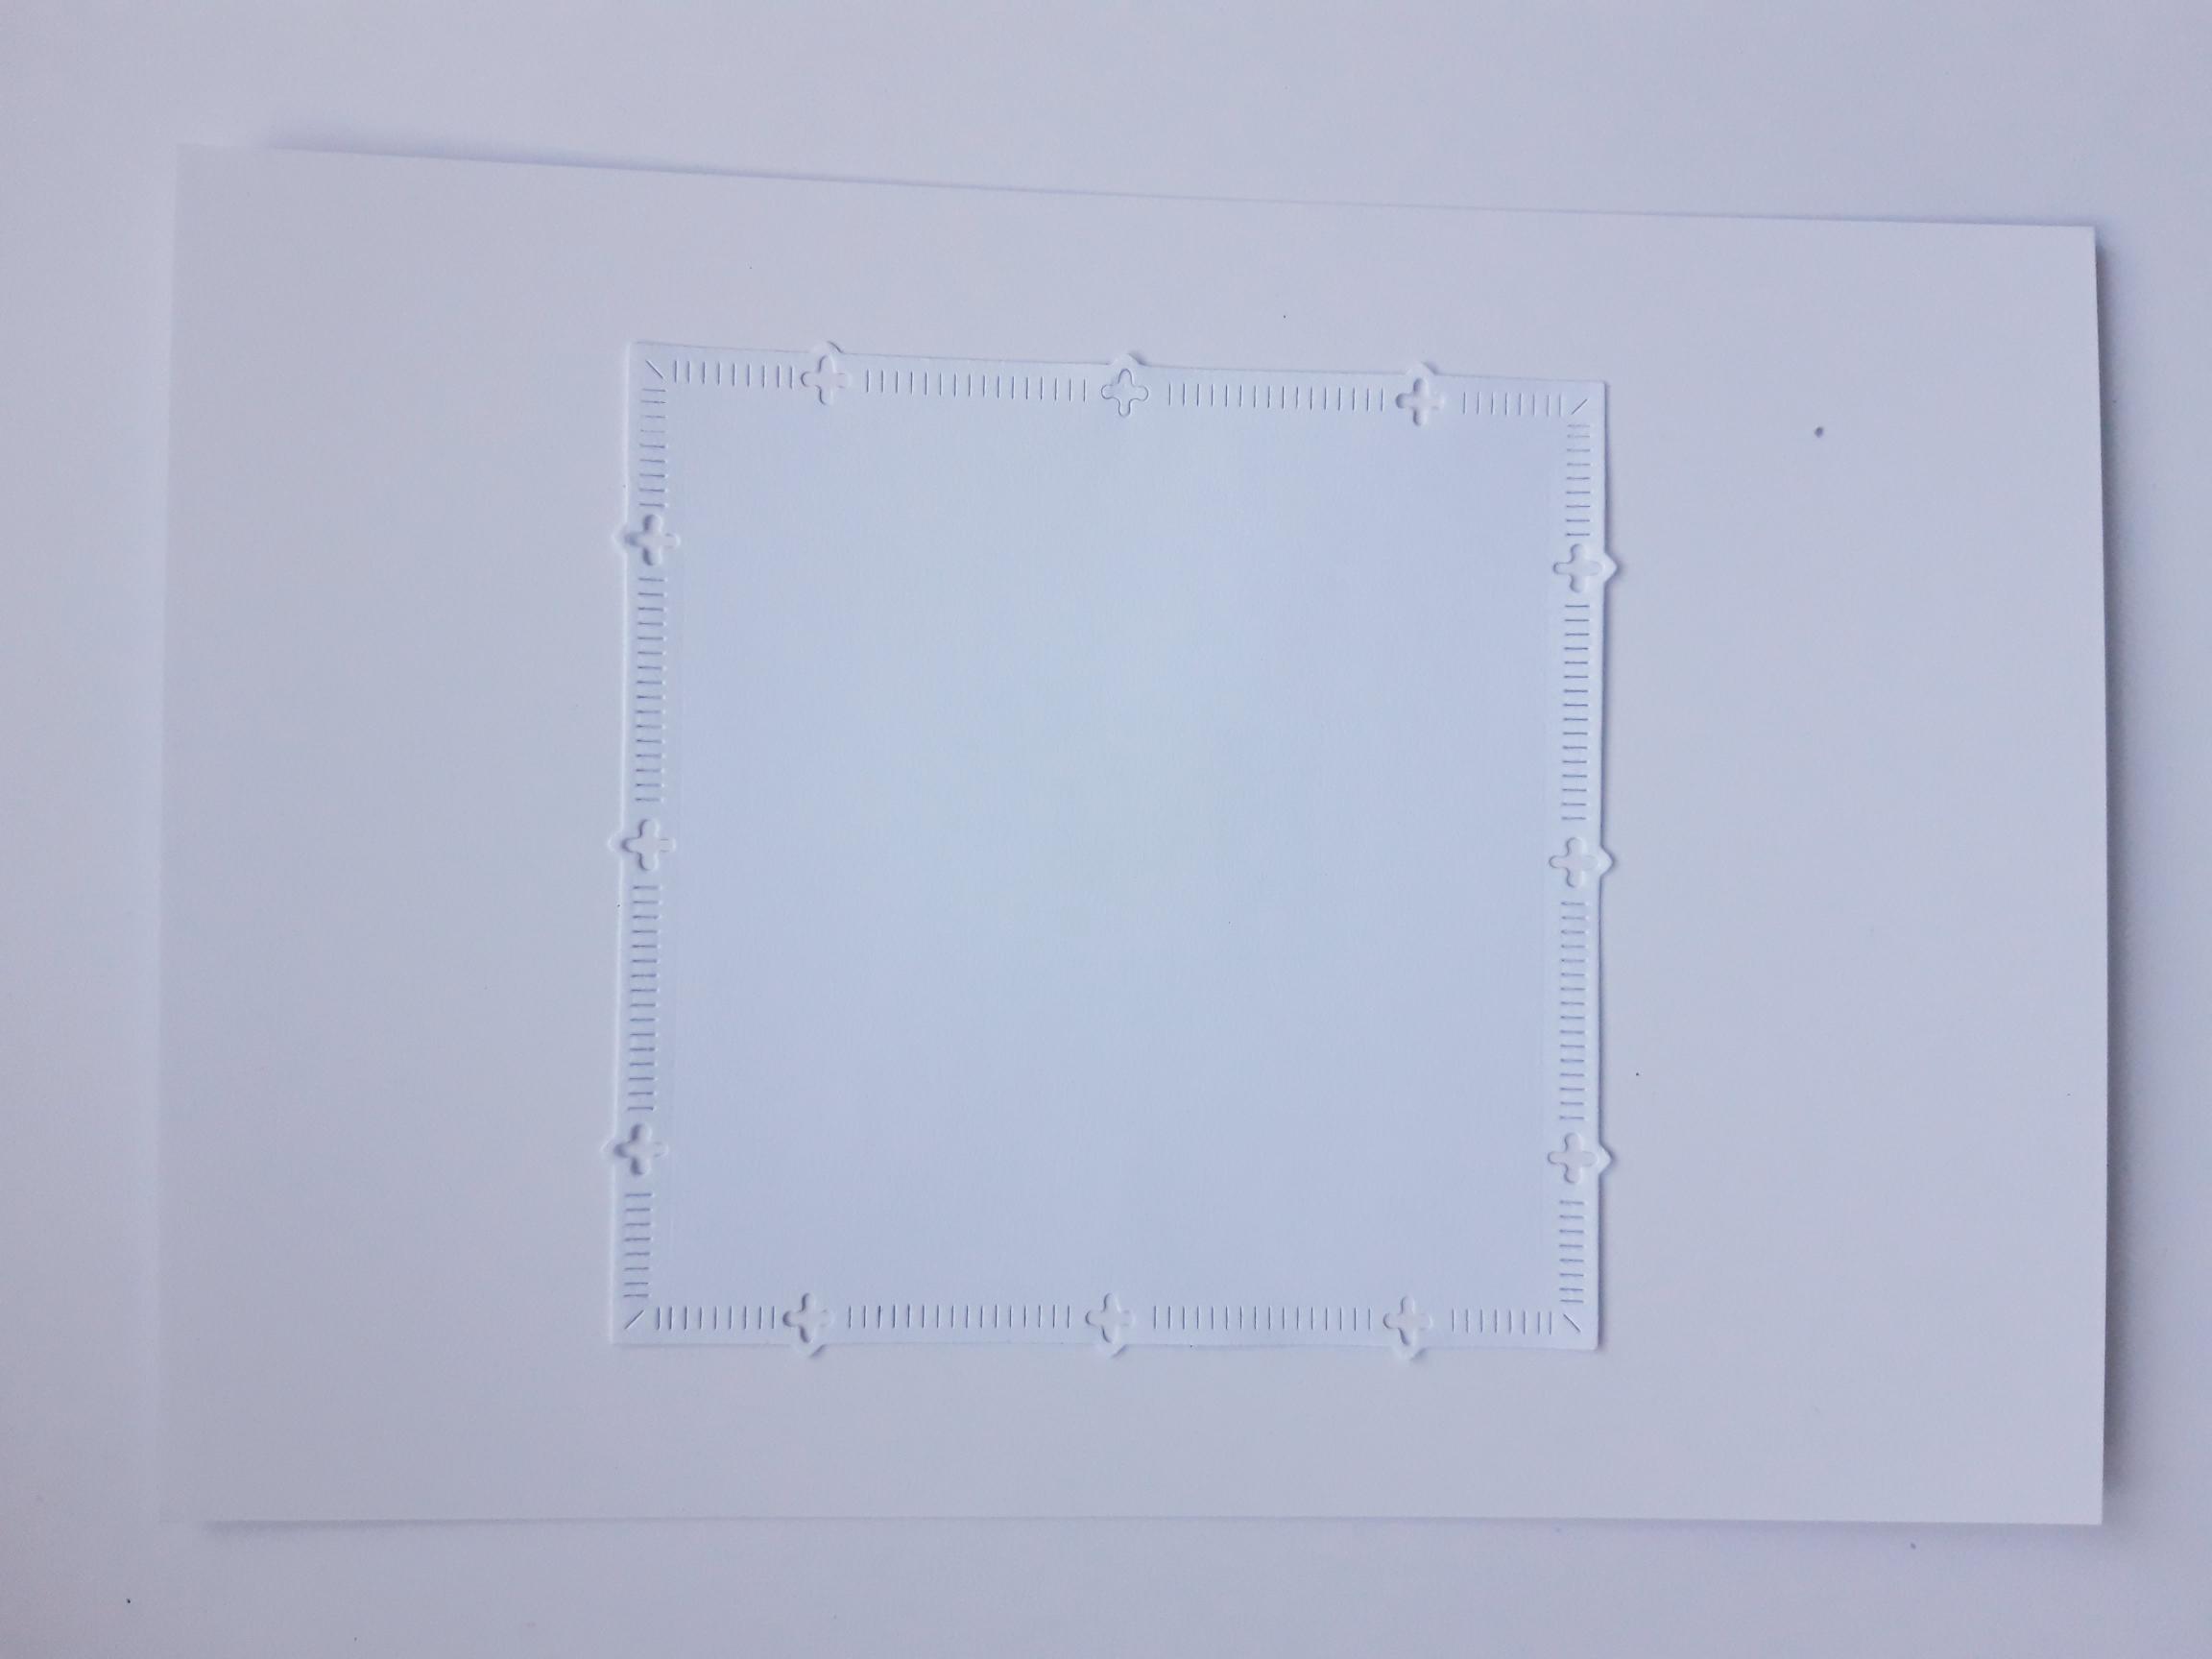
Place the die cut square on to the centre of the white cardstock. You can hold your mask in place using low tack tape, if required. |

|
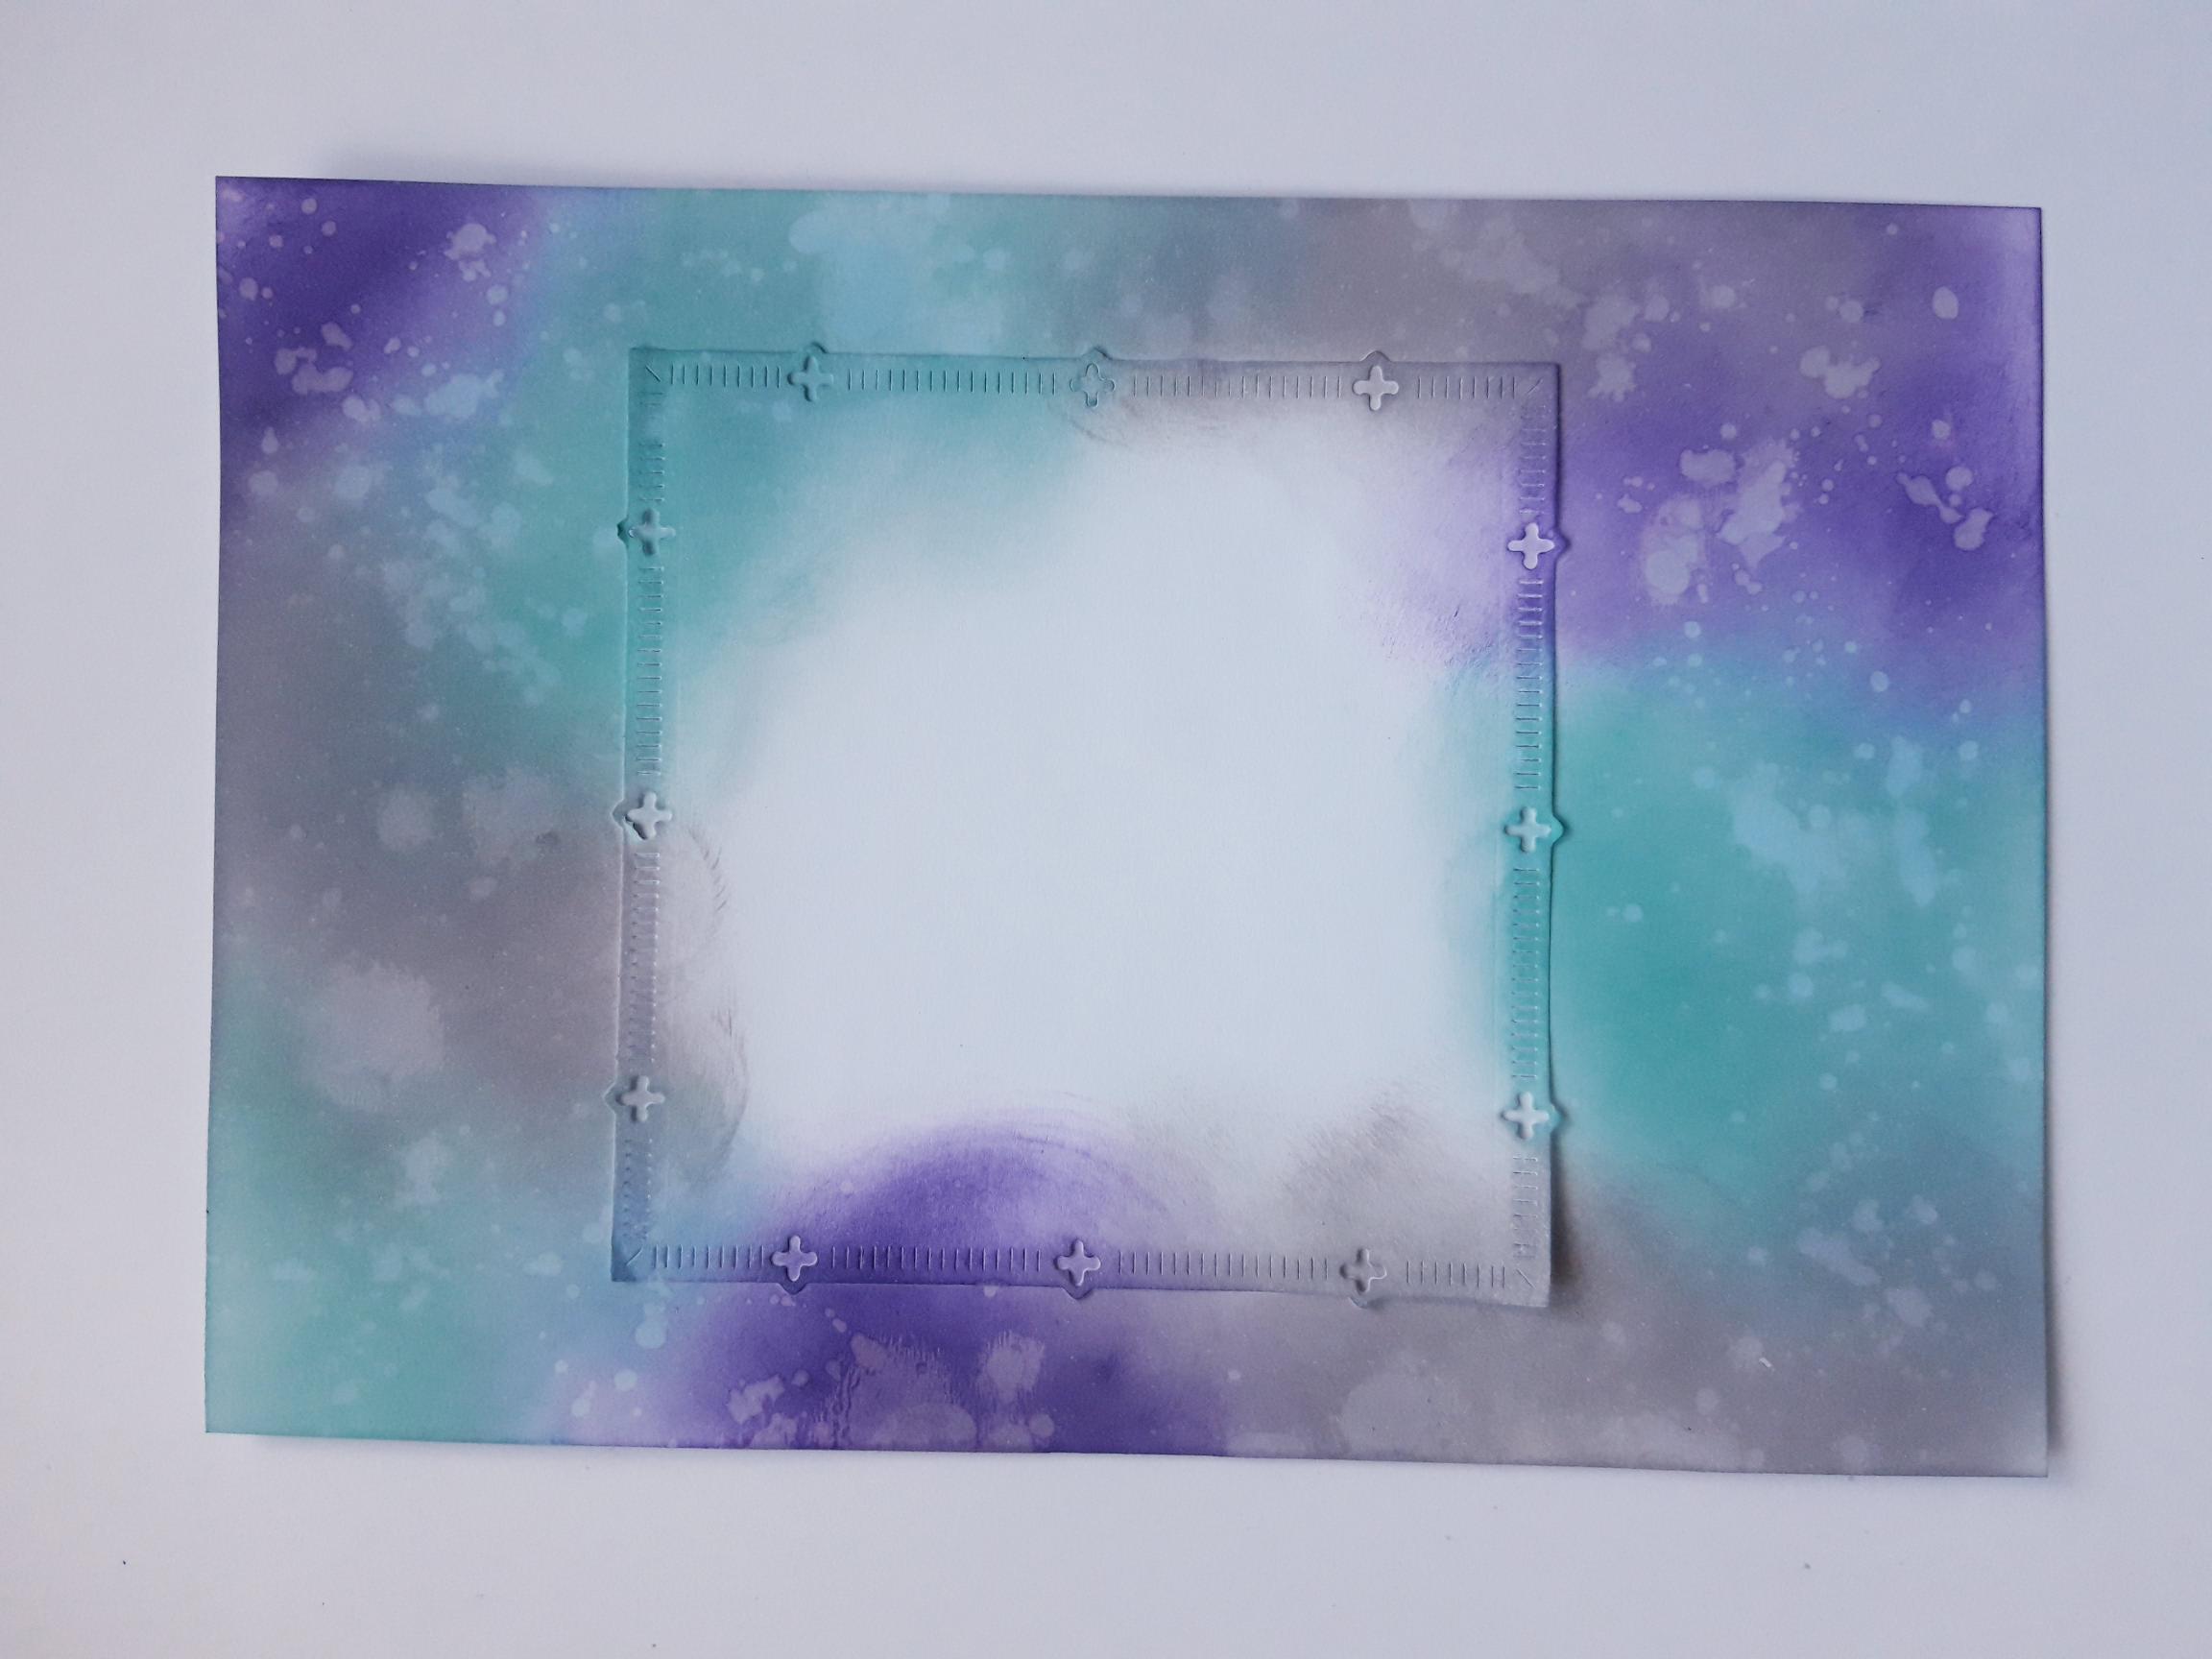
Blend the Distress Oxides randomly over the card, using your blending brushes/tools. |
|
Use your paint brush to splatter water droplets over your inked background. Wait a few seconds, for the ink to lift, then mop up the excess water with a paper towel. Dry off your background thoroughly, before proceeding to the next step. |
|
Ink up the detailed ship stamp, from the Celebrate And Create Lamination Stamp Collection, with the Onyx Black Versafine, and stamp randomly on to your inked background. Repeat this step muliple times, ensuring some of your images are stamped off the edges of the card. Ensure your images are stamped at different angles, as the effect you're looking for is one of randomness. Dry the ink thoroughly. |
|
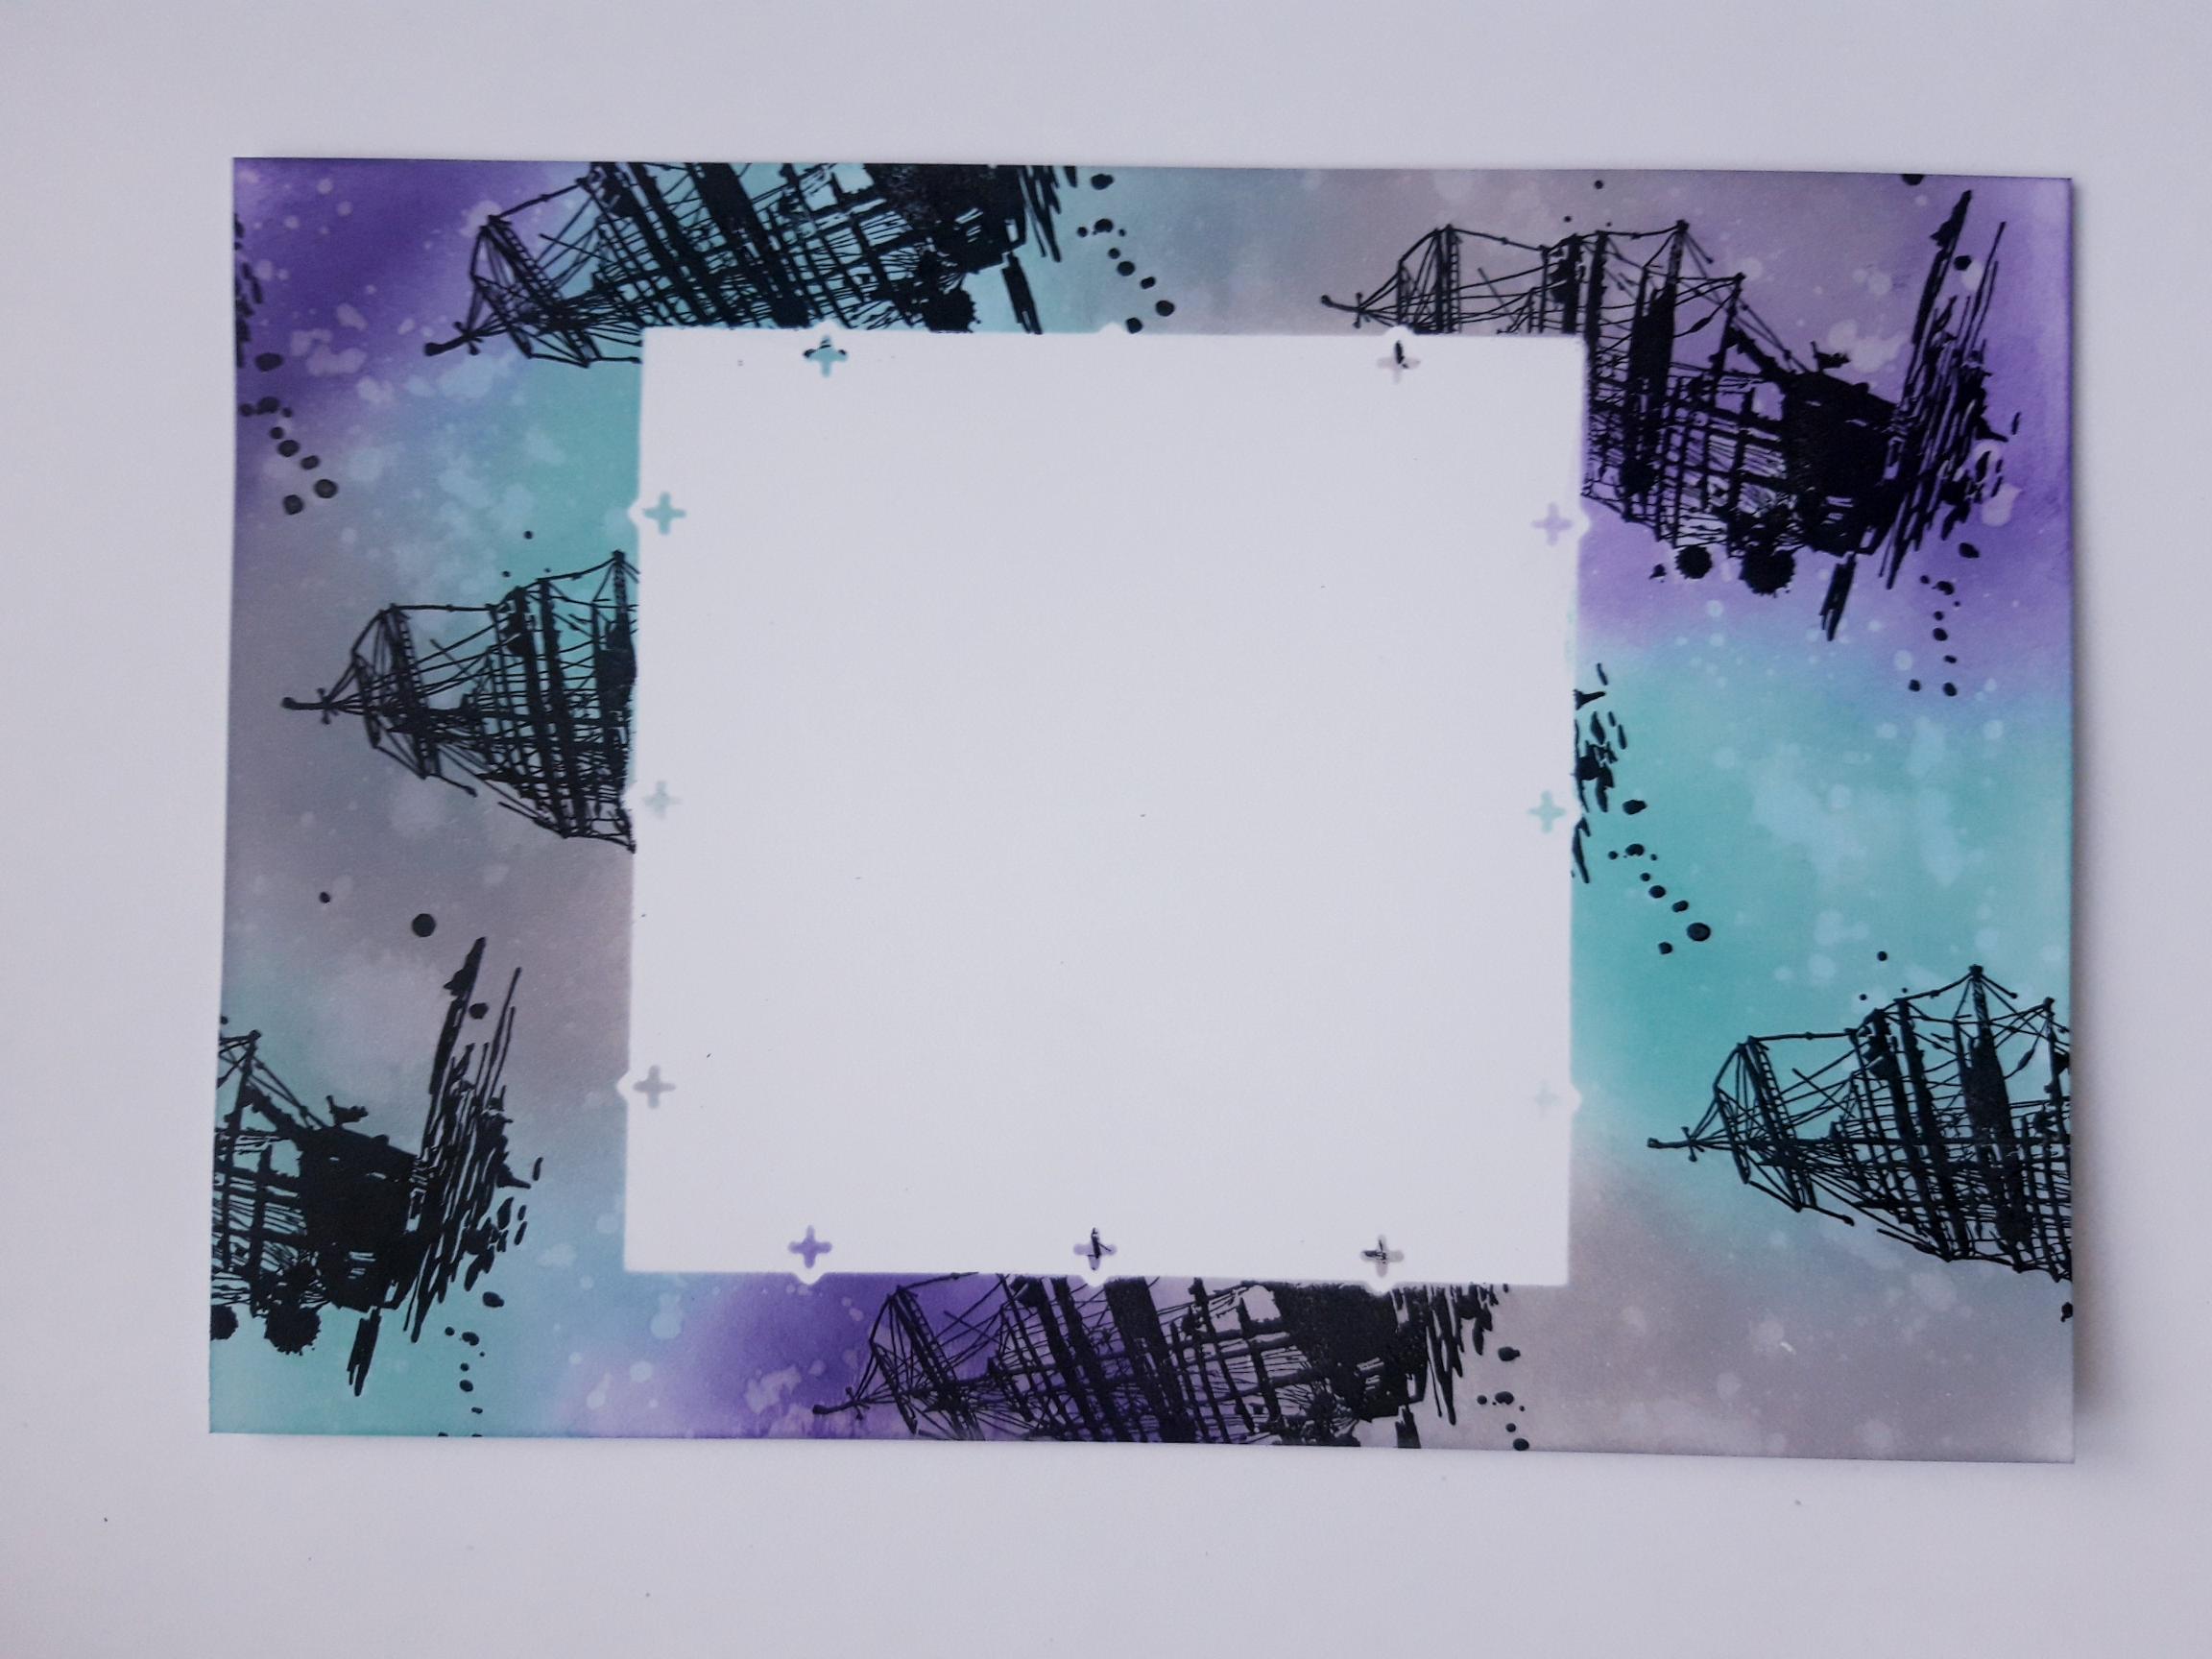
Carefully remove your "mask". |
|
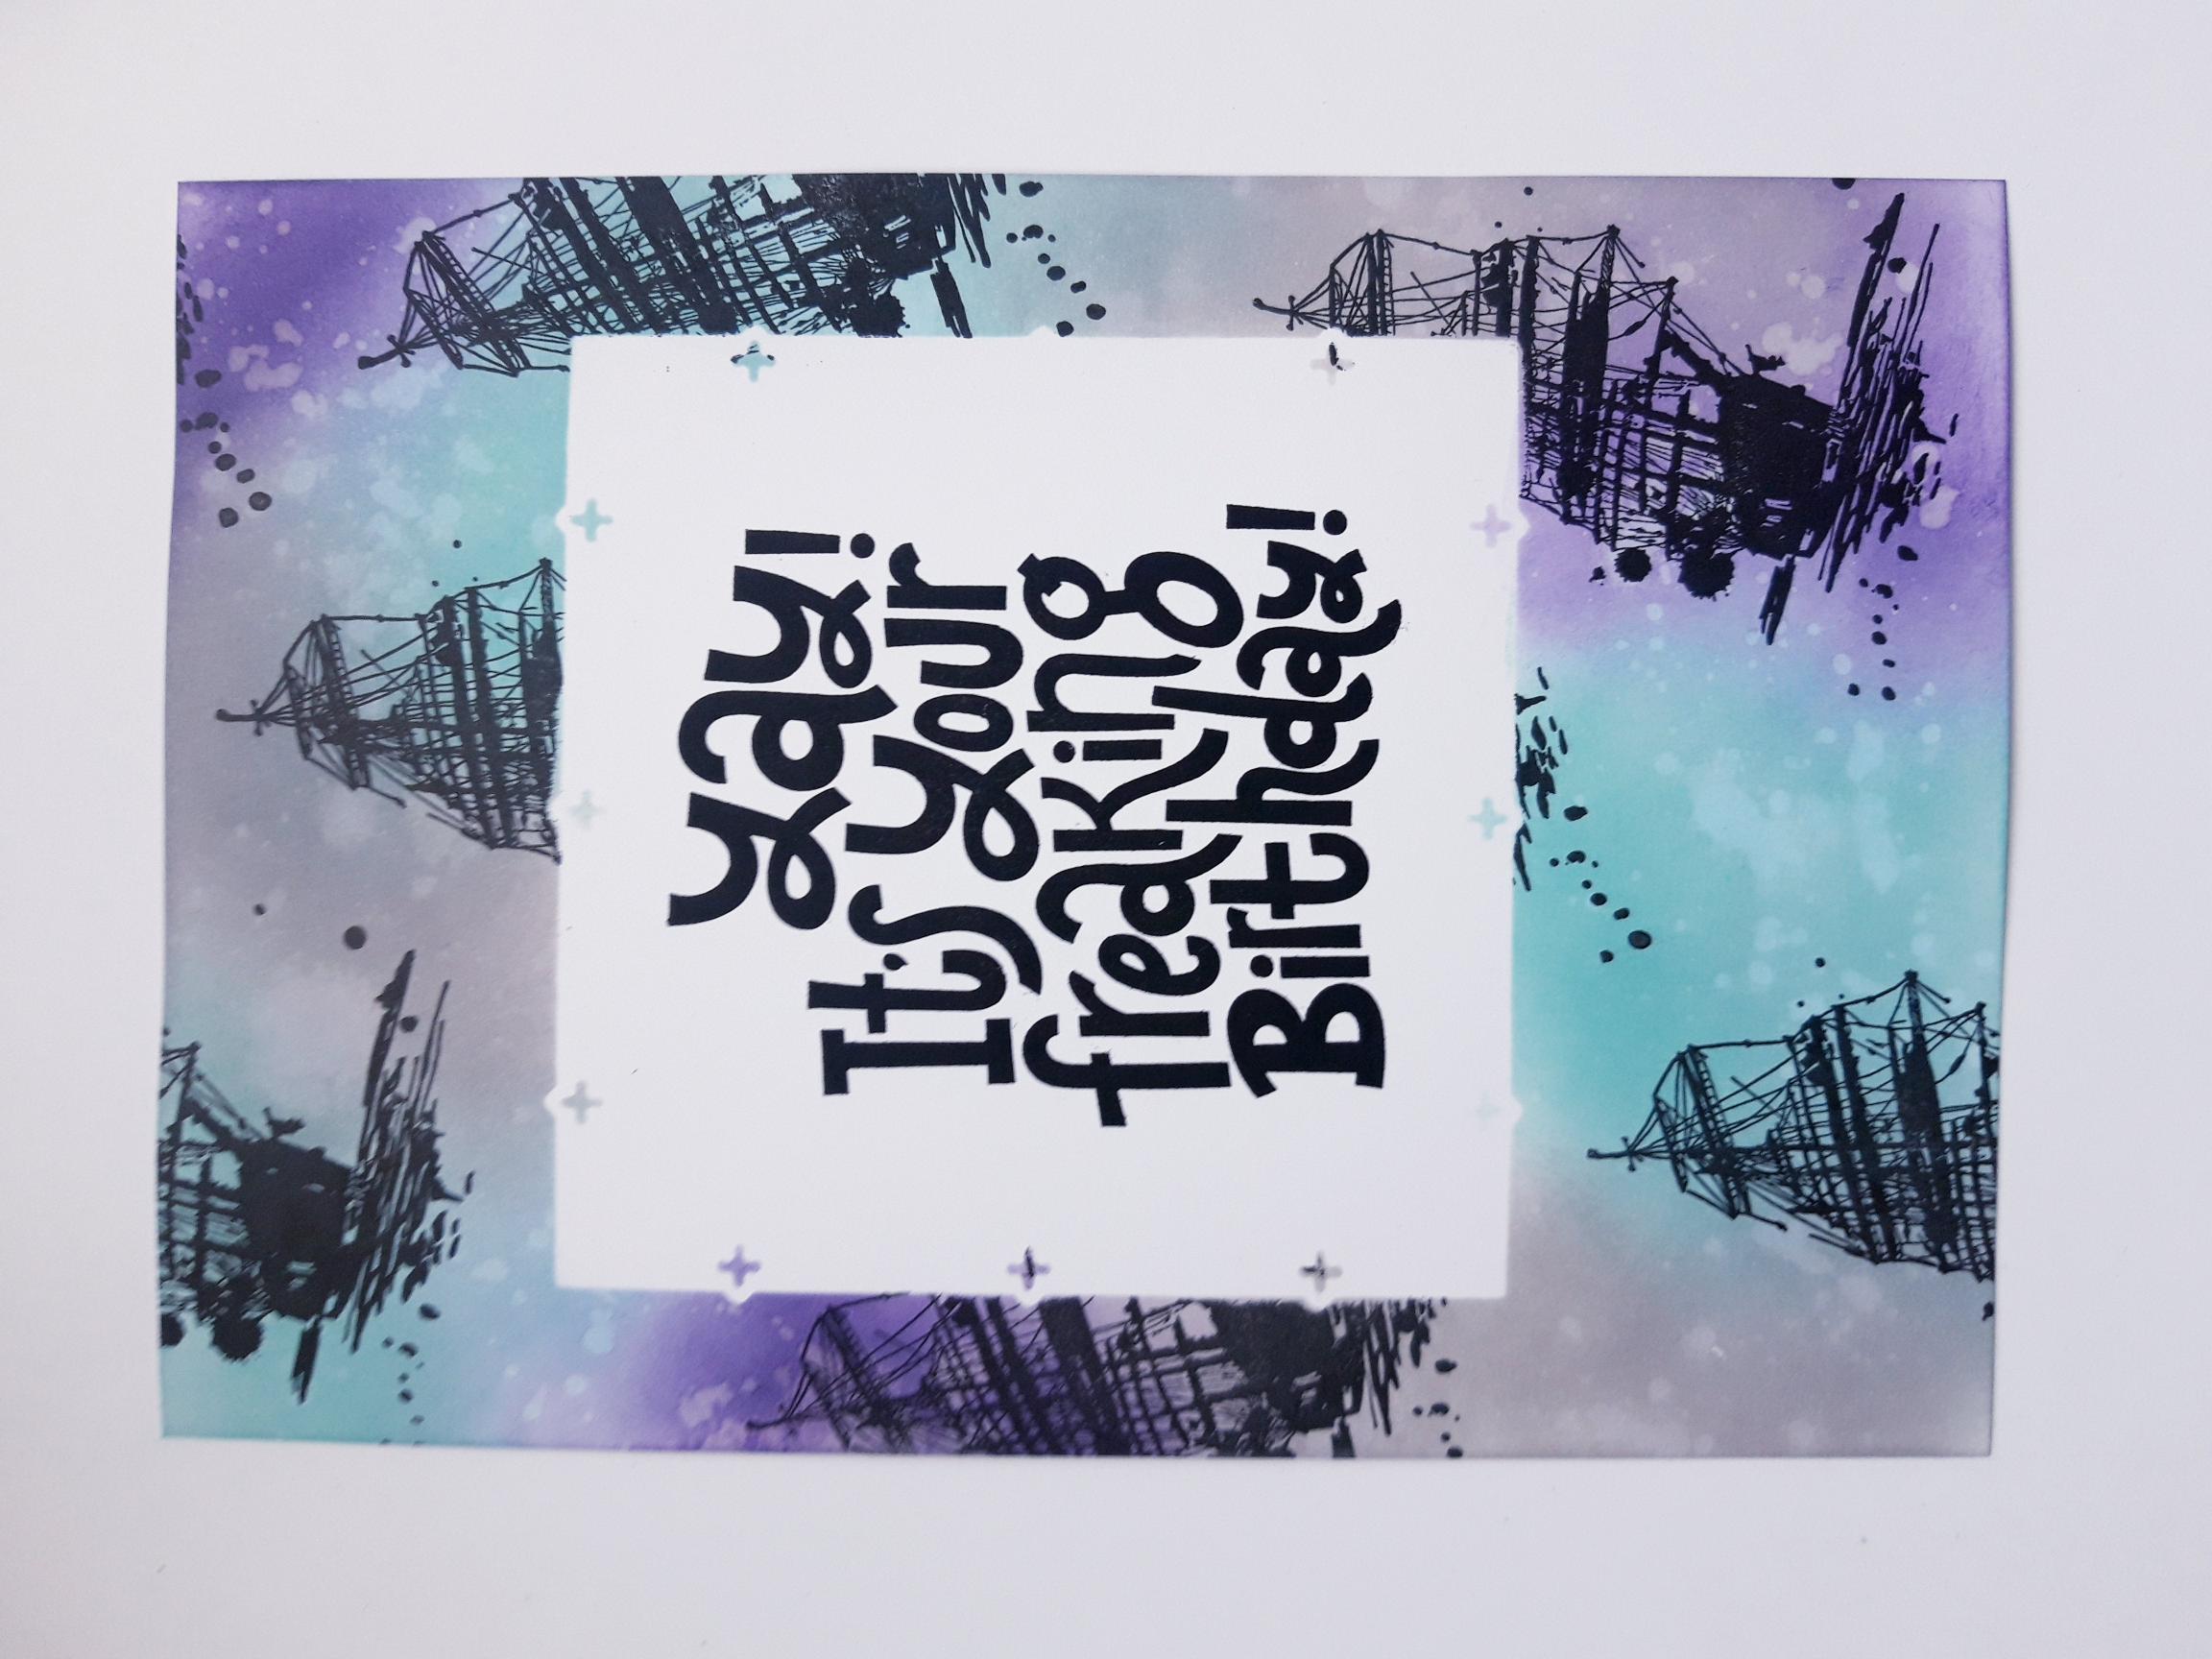
Ink up this sentiment stamp, from the Craft Stash Stamp Collection, with the Versafine. Stamp in the centre of the masked off panel. |
|
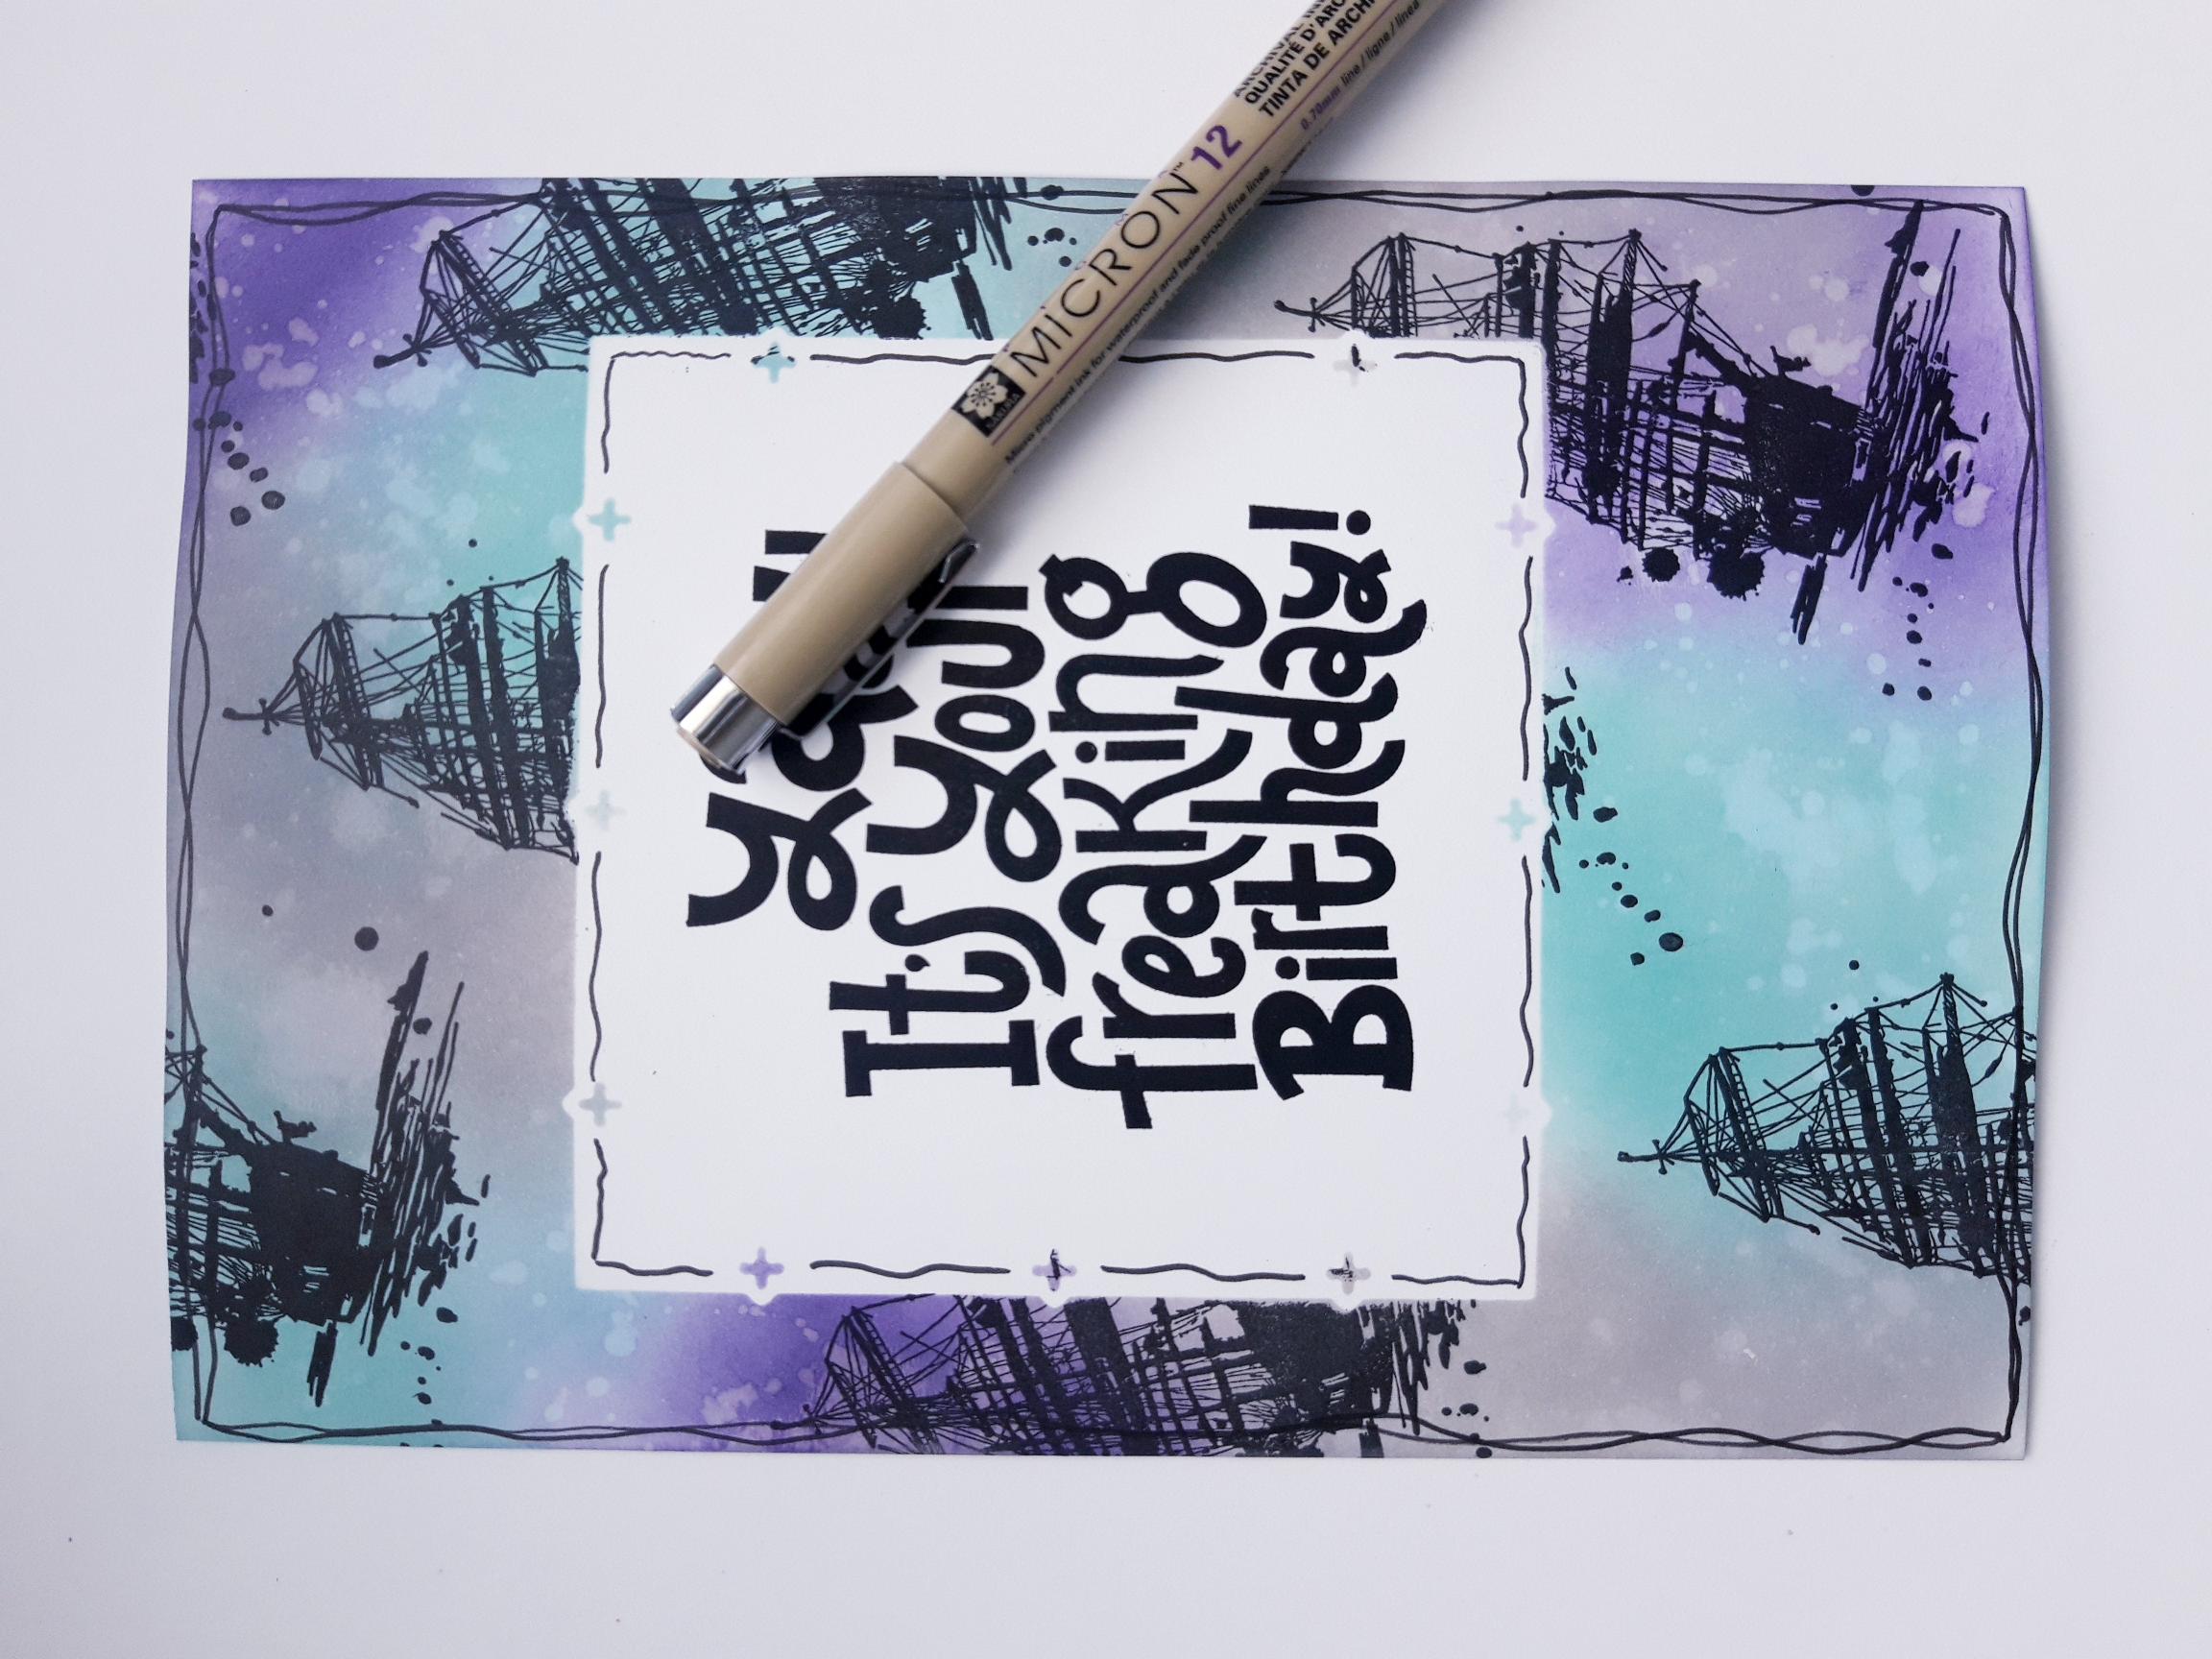
Use a black pen to draw a decorative, wiggly frame, around both your background, and the white sentiment panel. |
|
Adhere your finished artwork on to the front of your black, top folding card blank. |