Give your friends $10 off their first order!
Refer a FRIEND


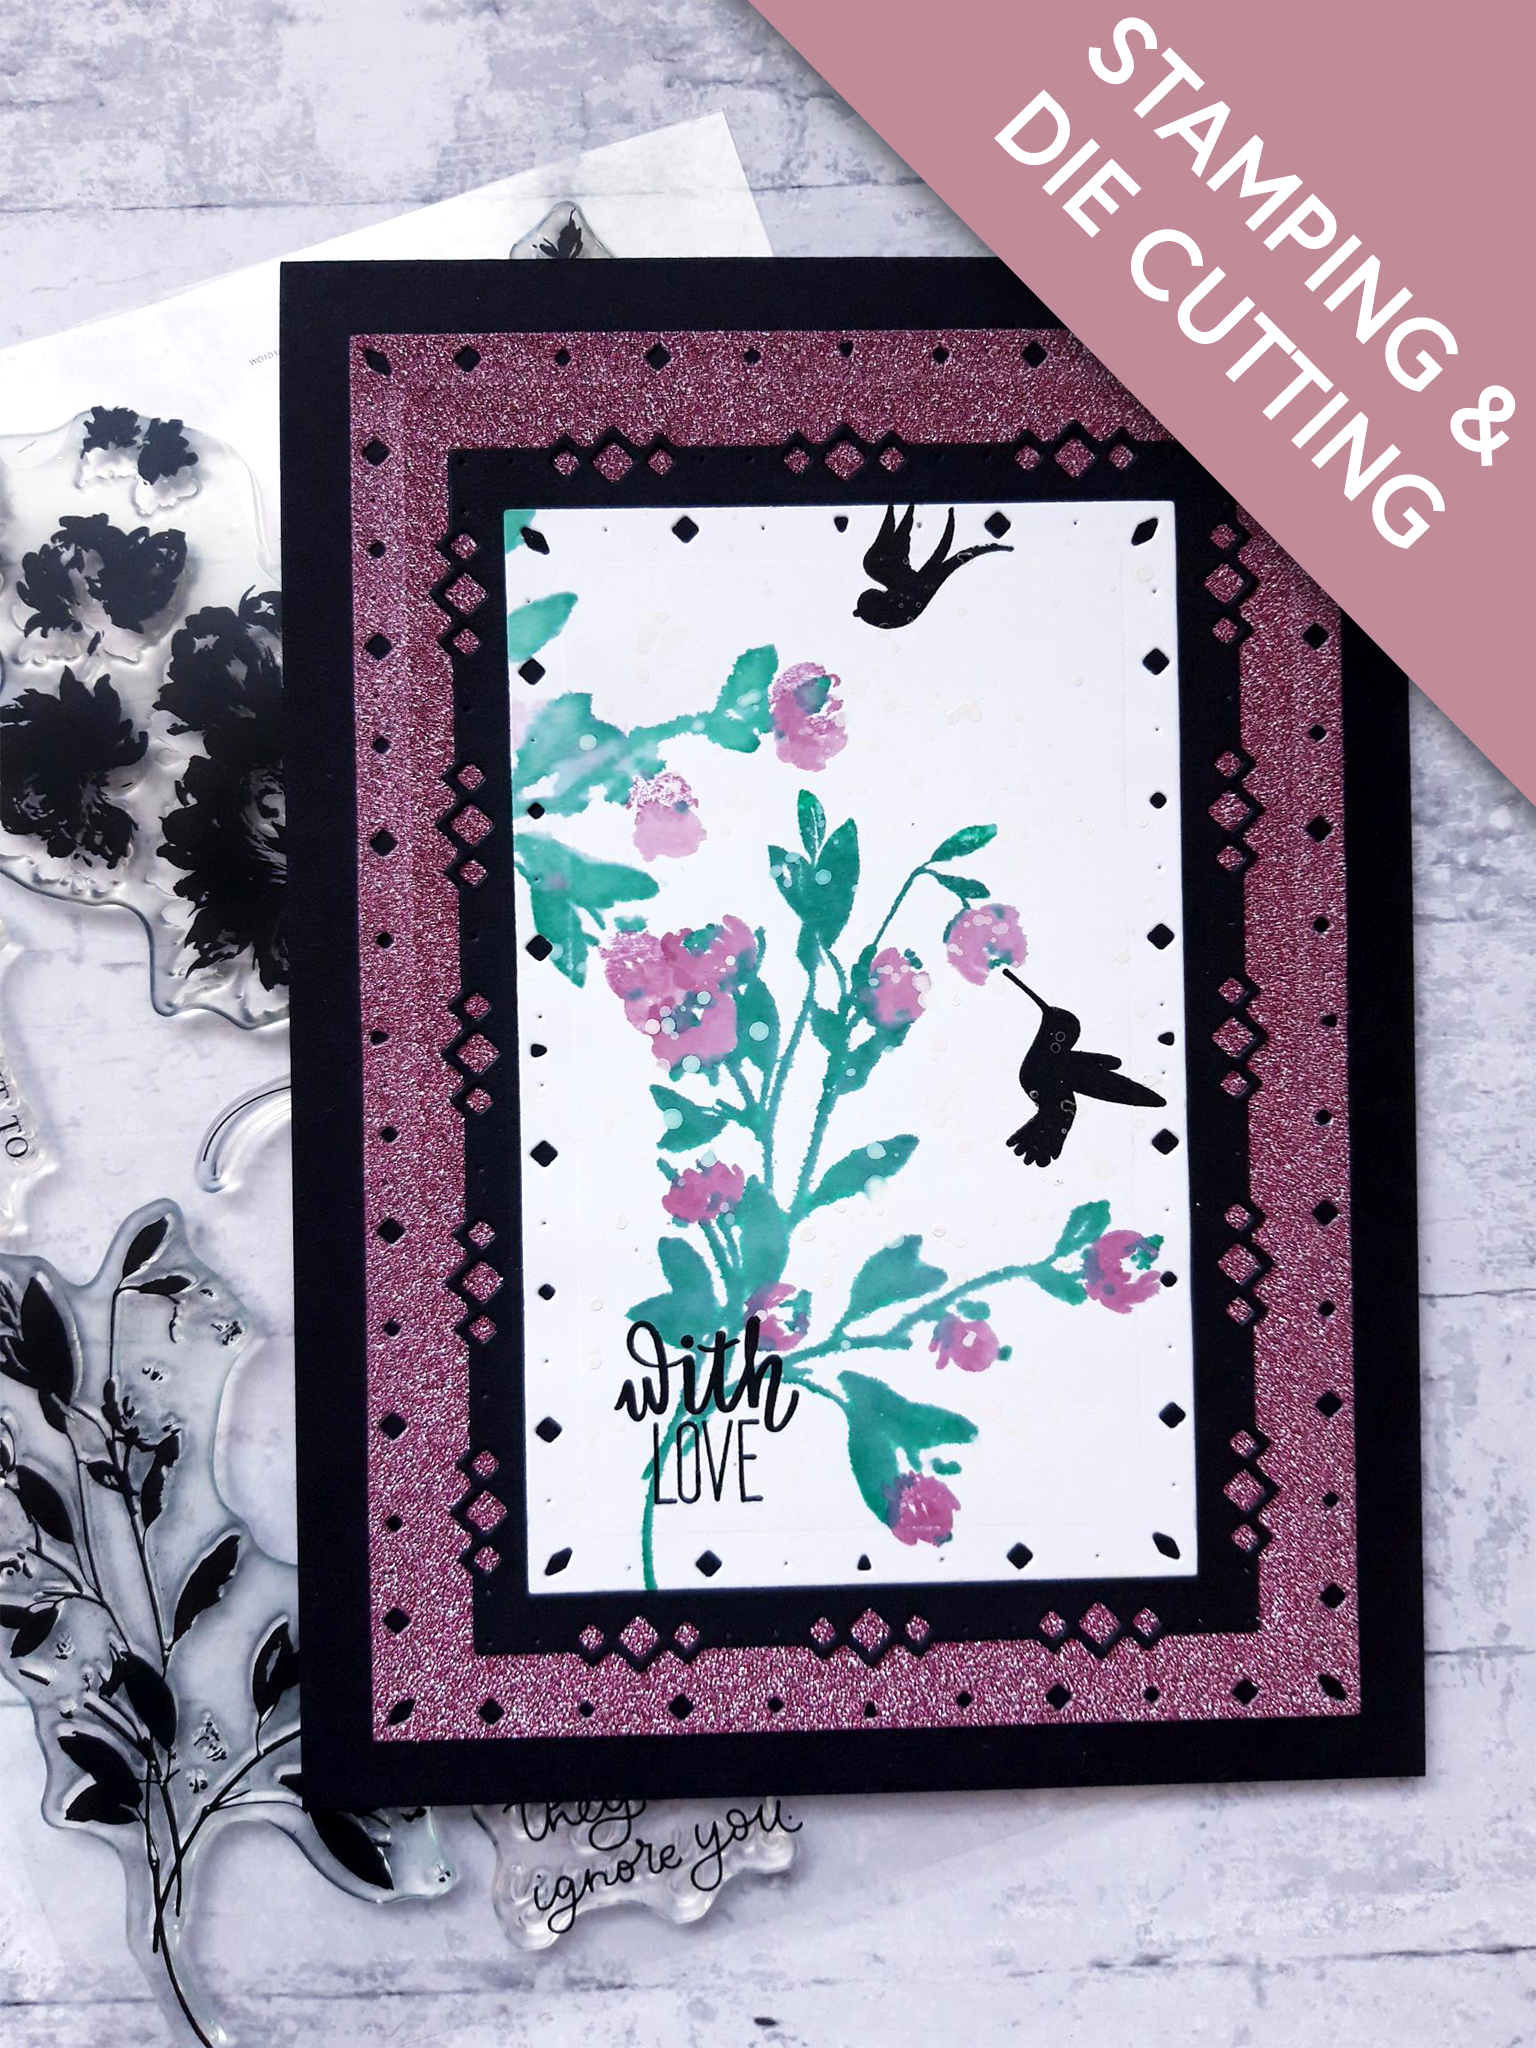
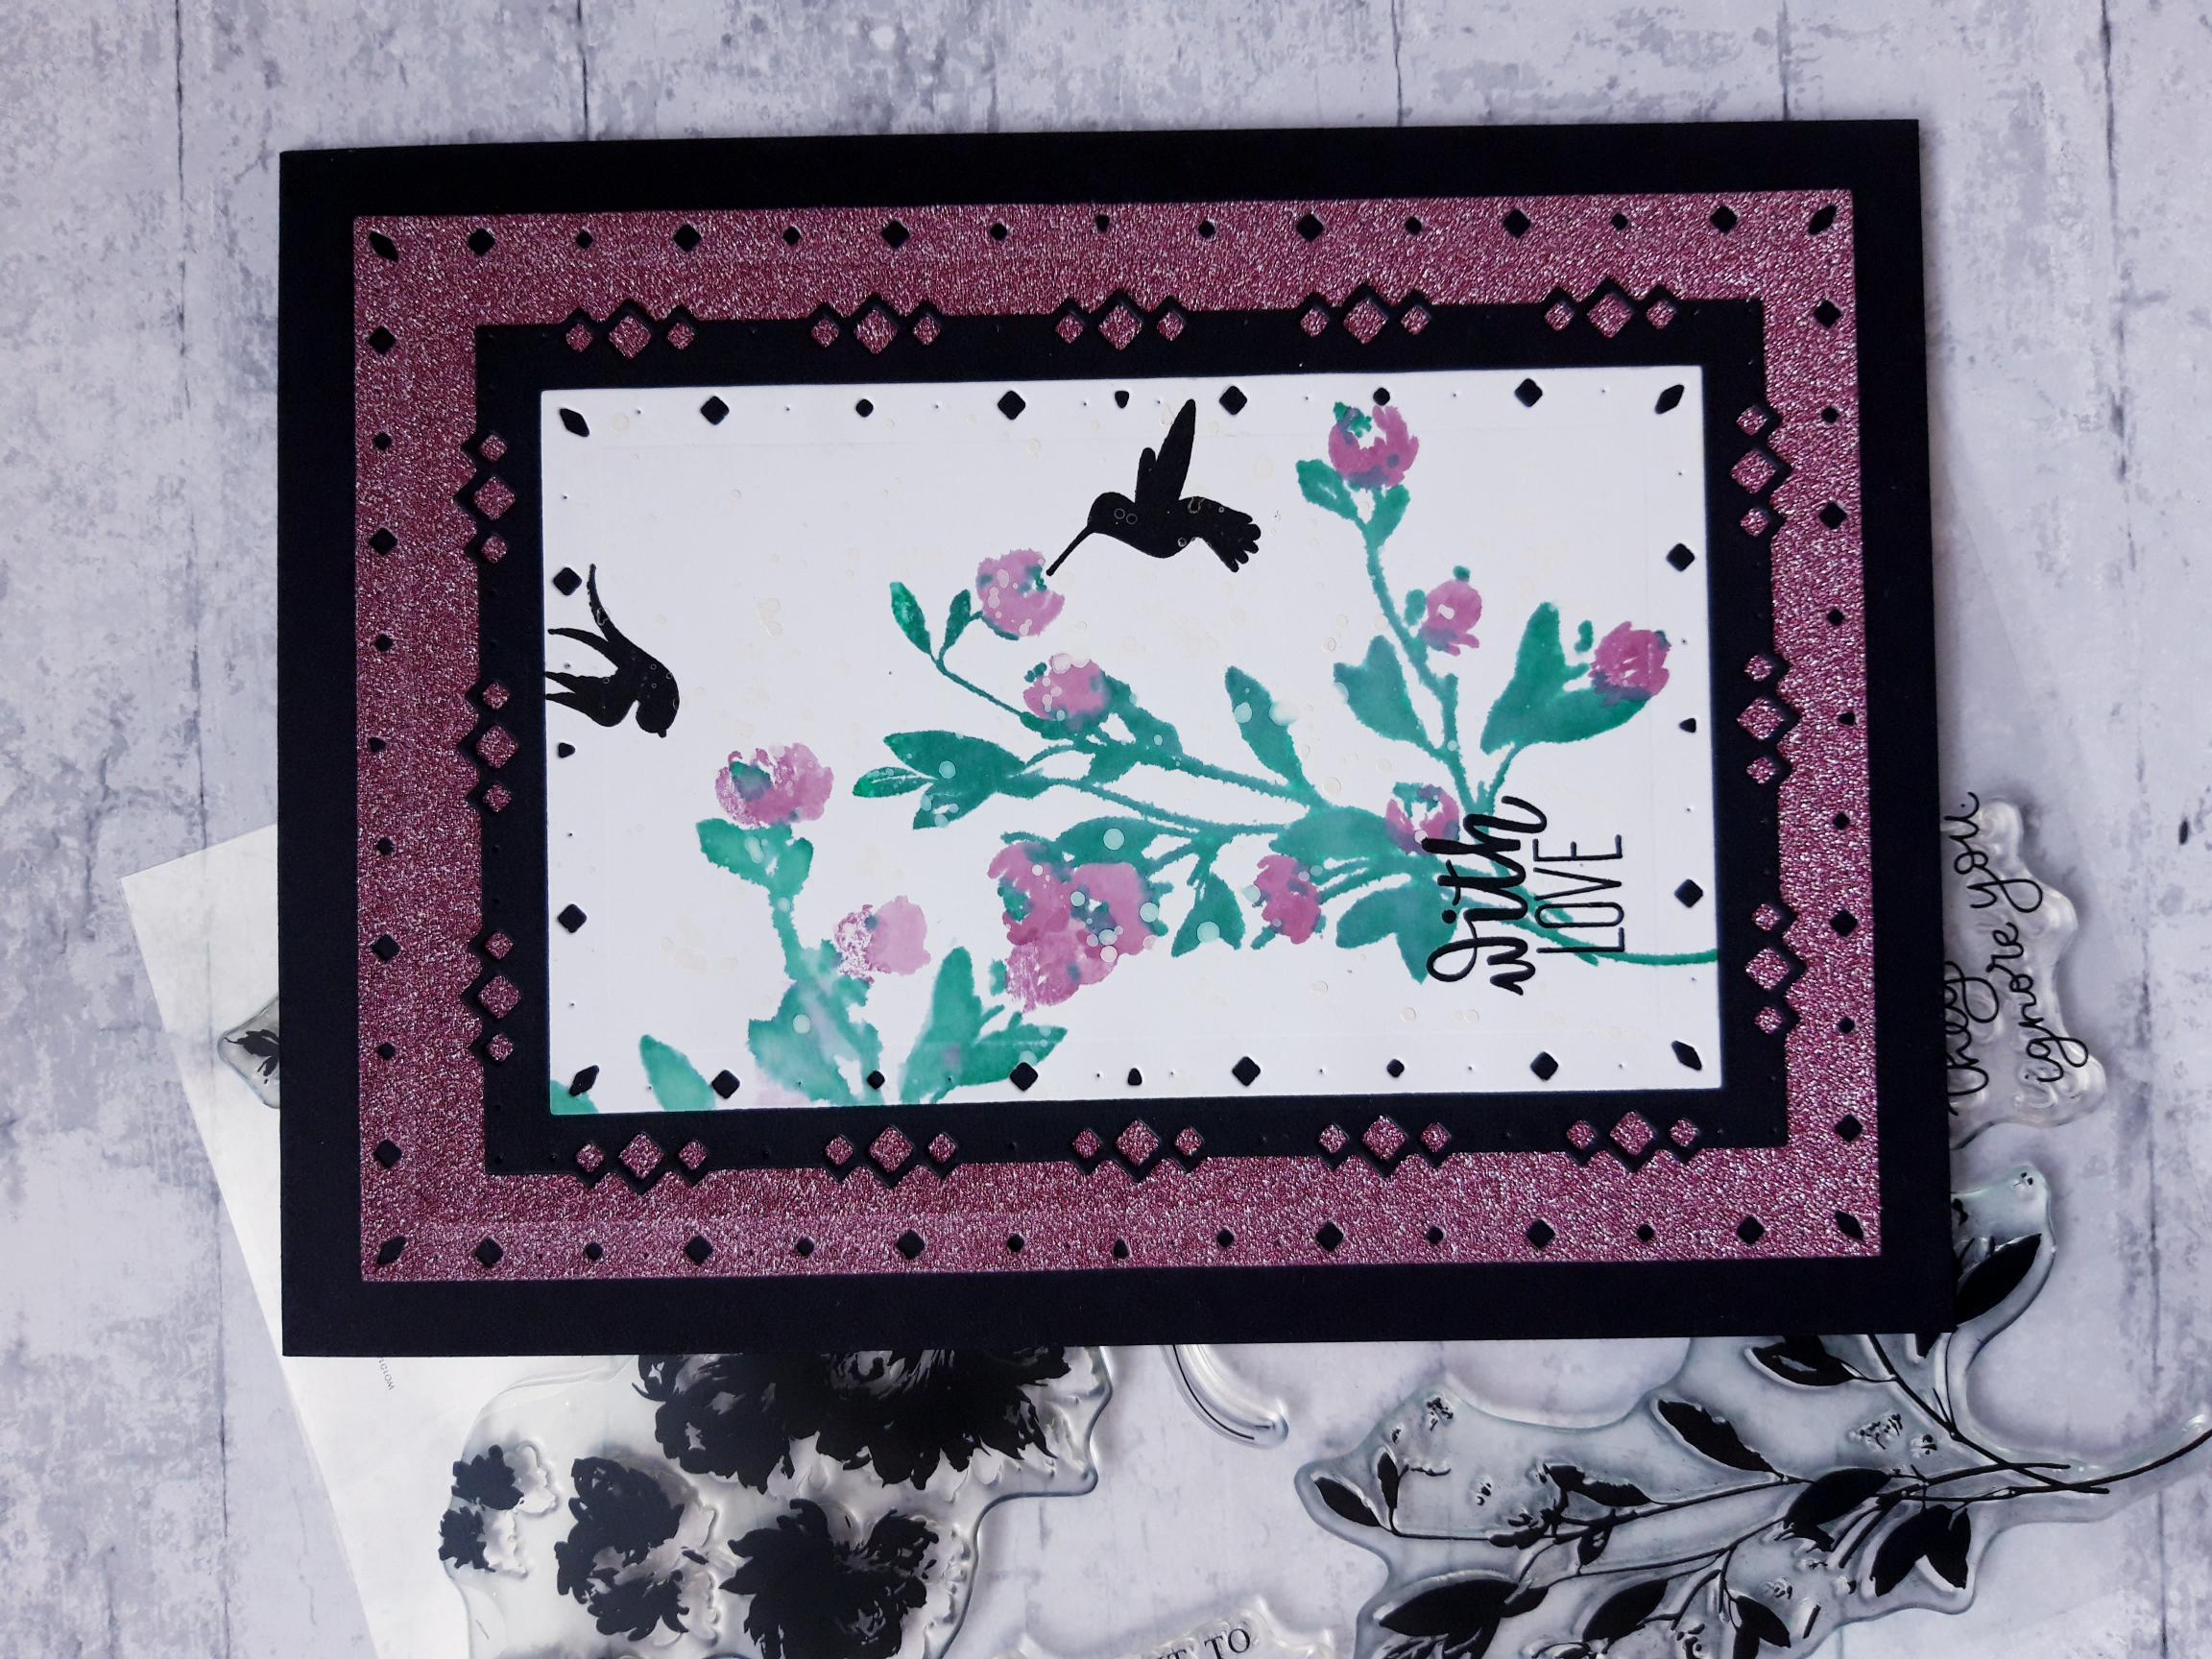
WHAT YOU WILL NEED:
Black top folding card blank (cut to 7 1/2 x 5 1/2")
Gossip Glitter card: Rubelite (7 1/2 x 5 1/2")
Black card (7 x 5")
White card (6 x 4")
Stamps from All The Best Lamination Stamp Collection
Dies from Diamond Stitching Nesting Dies Collection
Stamps from Beautiful Moments Lamination Stamp Collection
Stamps from Congratulations Stamp Collection
Versafine Ink Pad: Onyx Black
Izink Dye Ink pads: Emeraude, Nuit, Cassis
Thirsty Brush Confetti Paint: White Lace
Paint brush
Water spray bottle
Eureka 101
Perfect Together Glue
Die Cutting machine
[click image to enlarge] 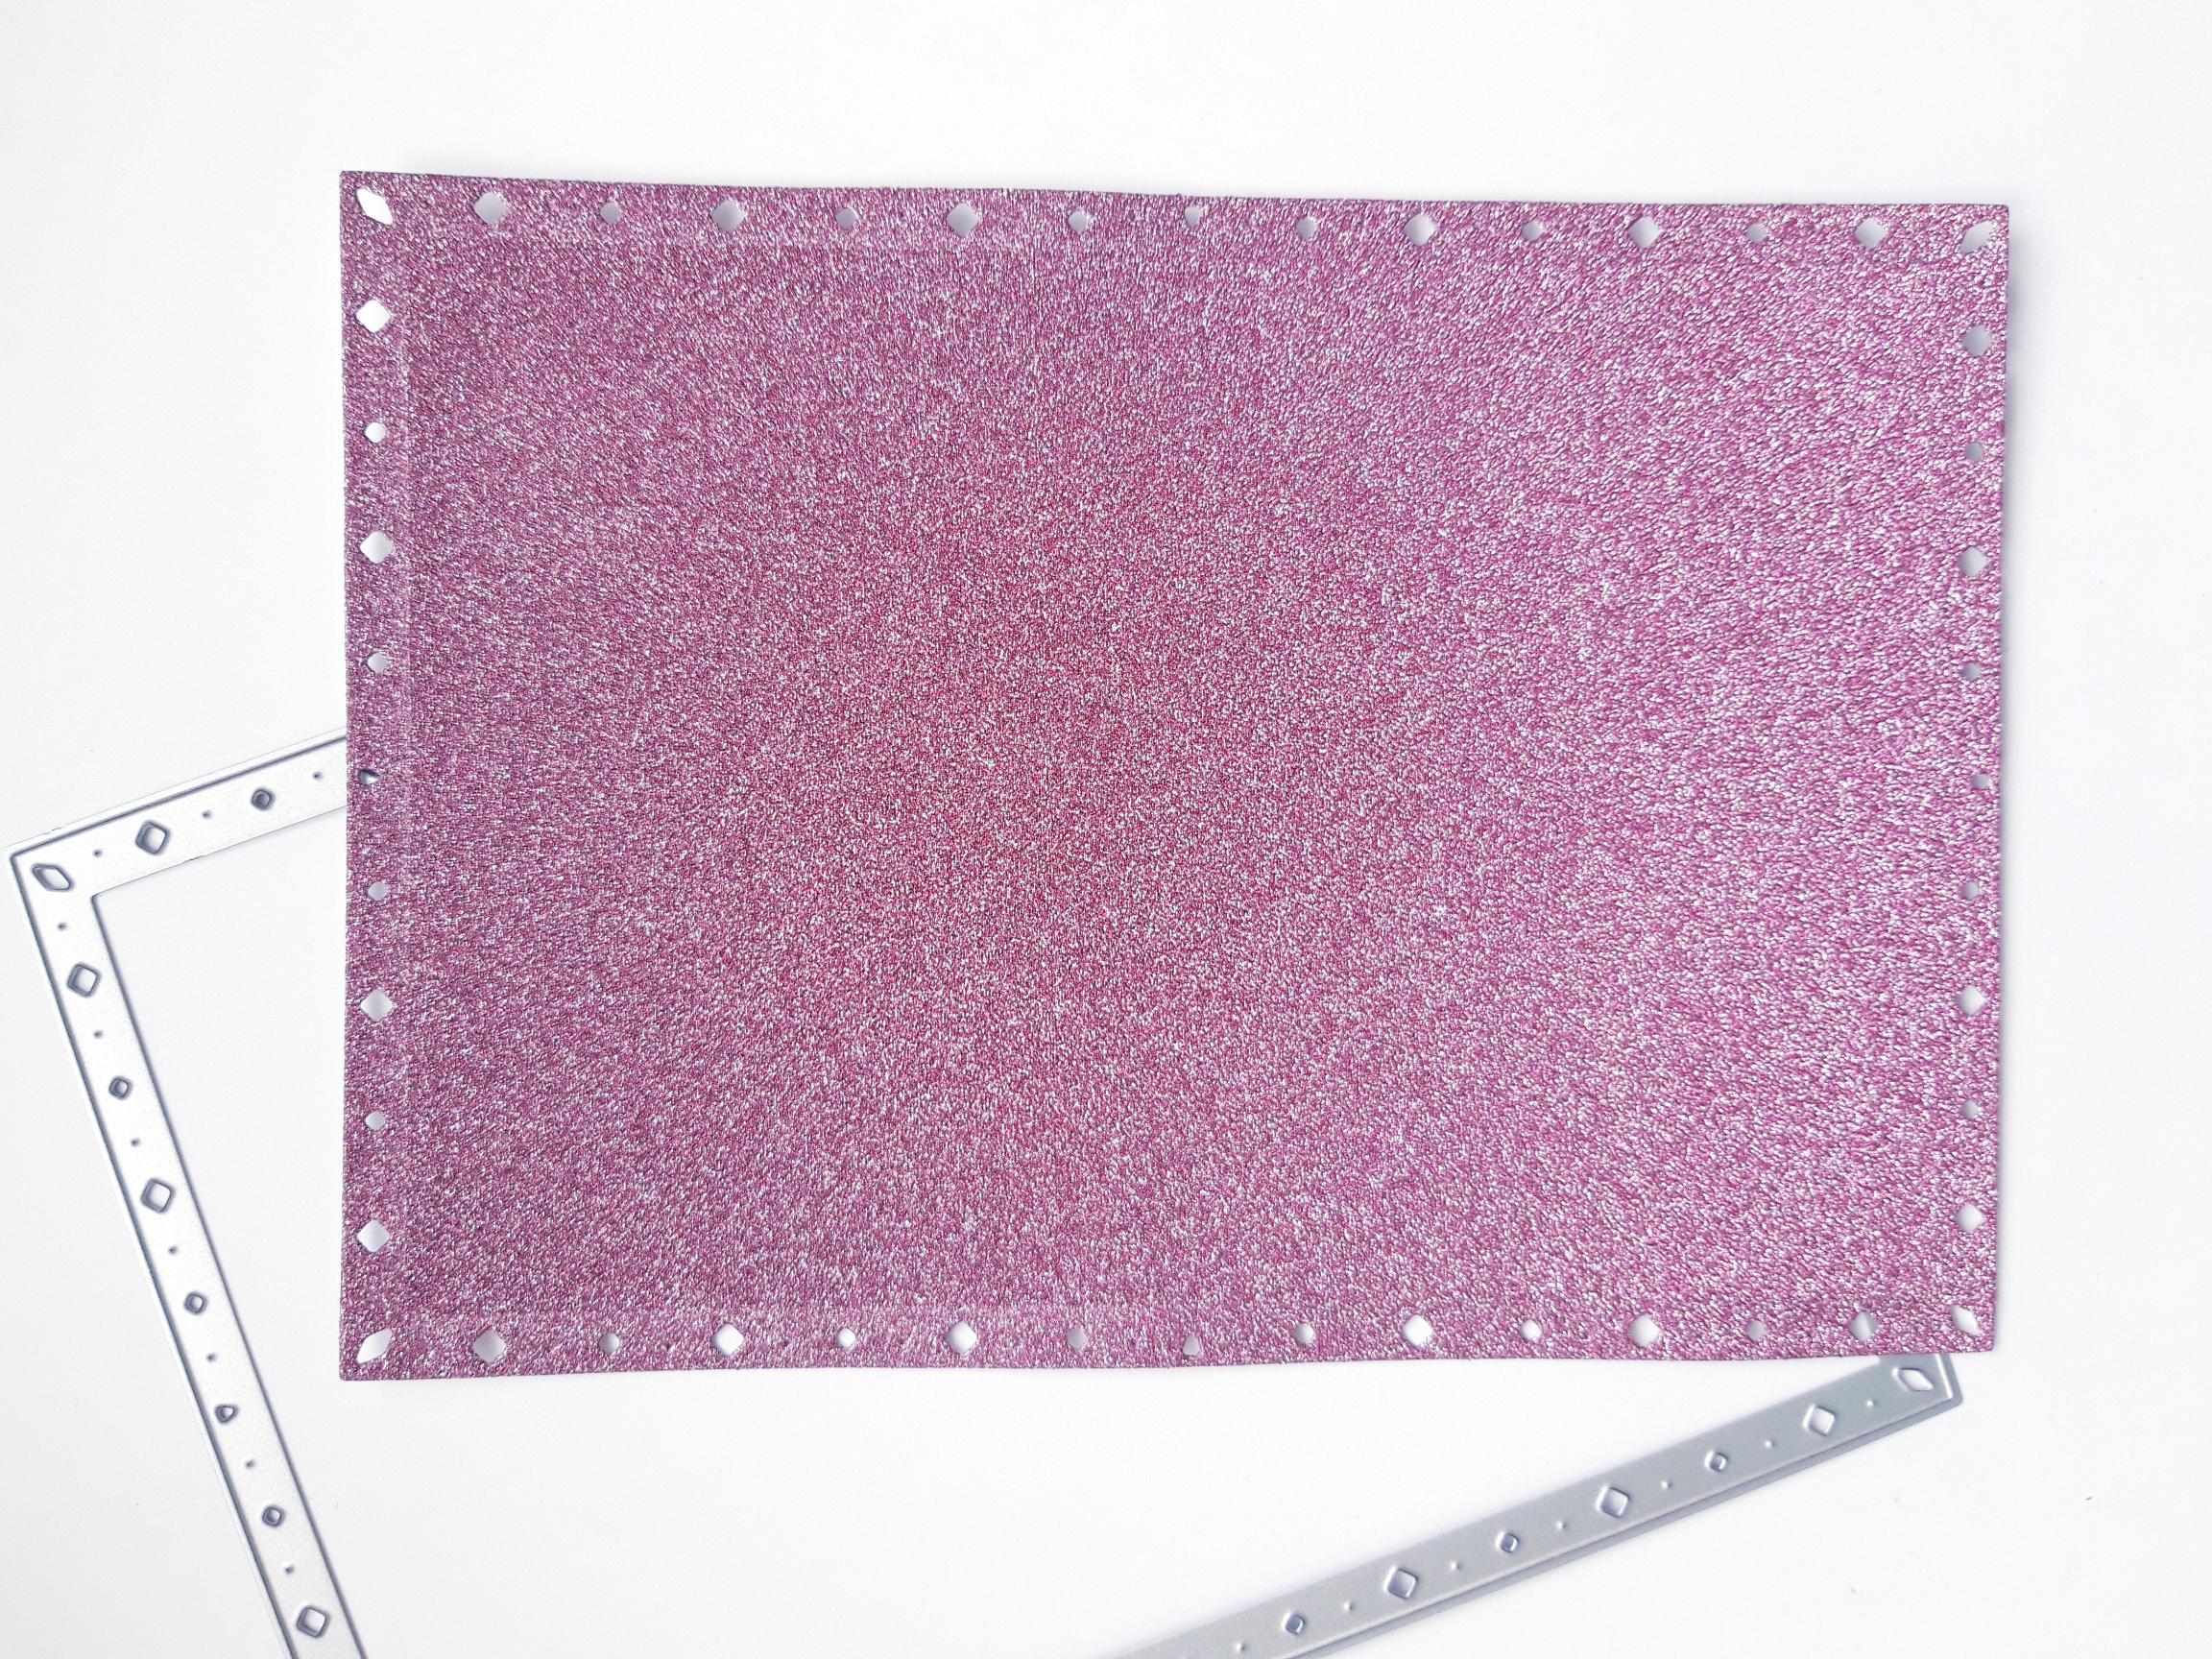
|
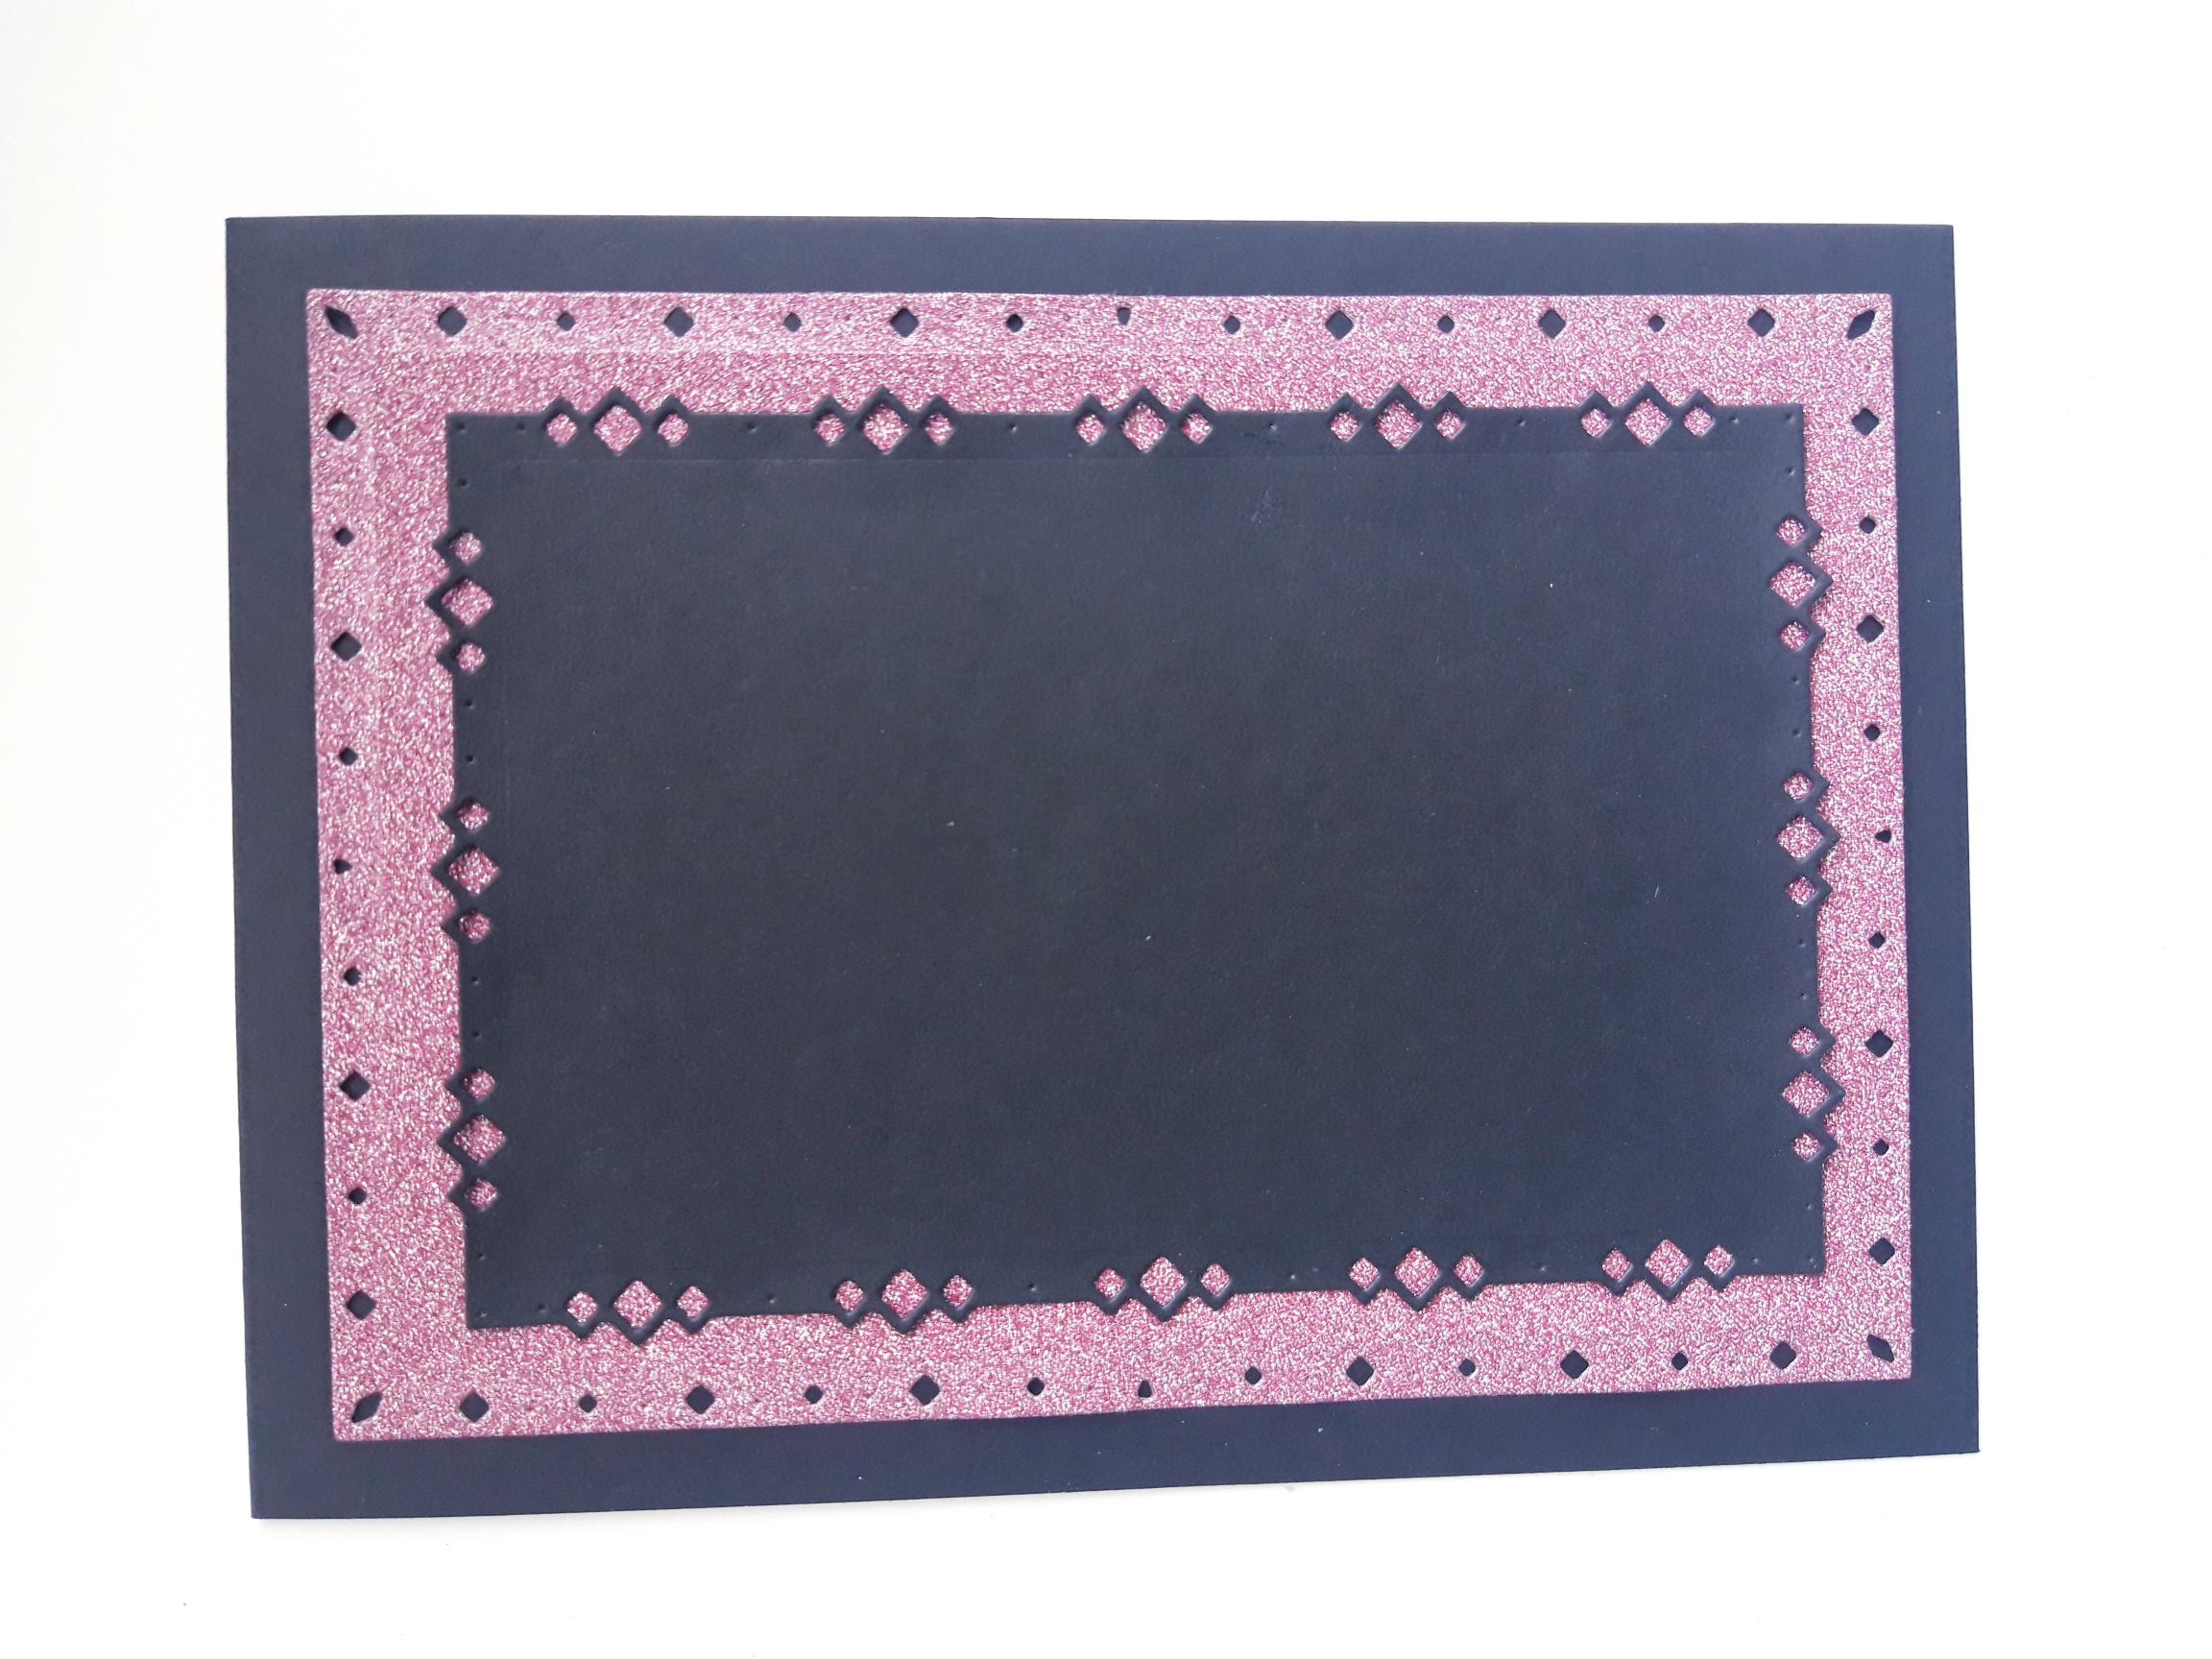
Place the Diamond Stitching nesting die that measures approx 7 x 5", on to the Gossip Glitter card, and run it through your die cutting machine. |
|
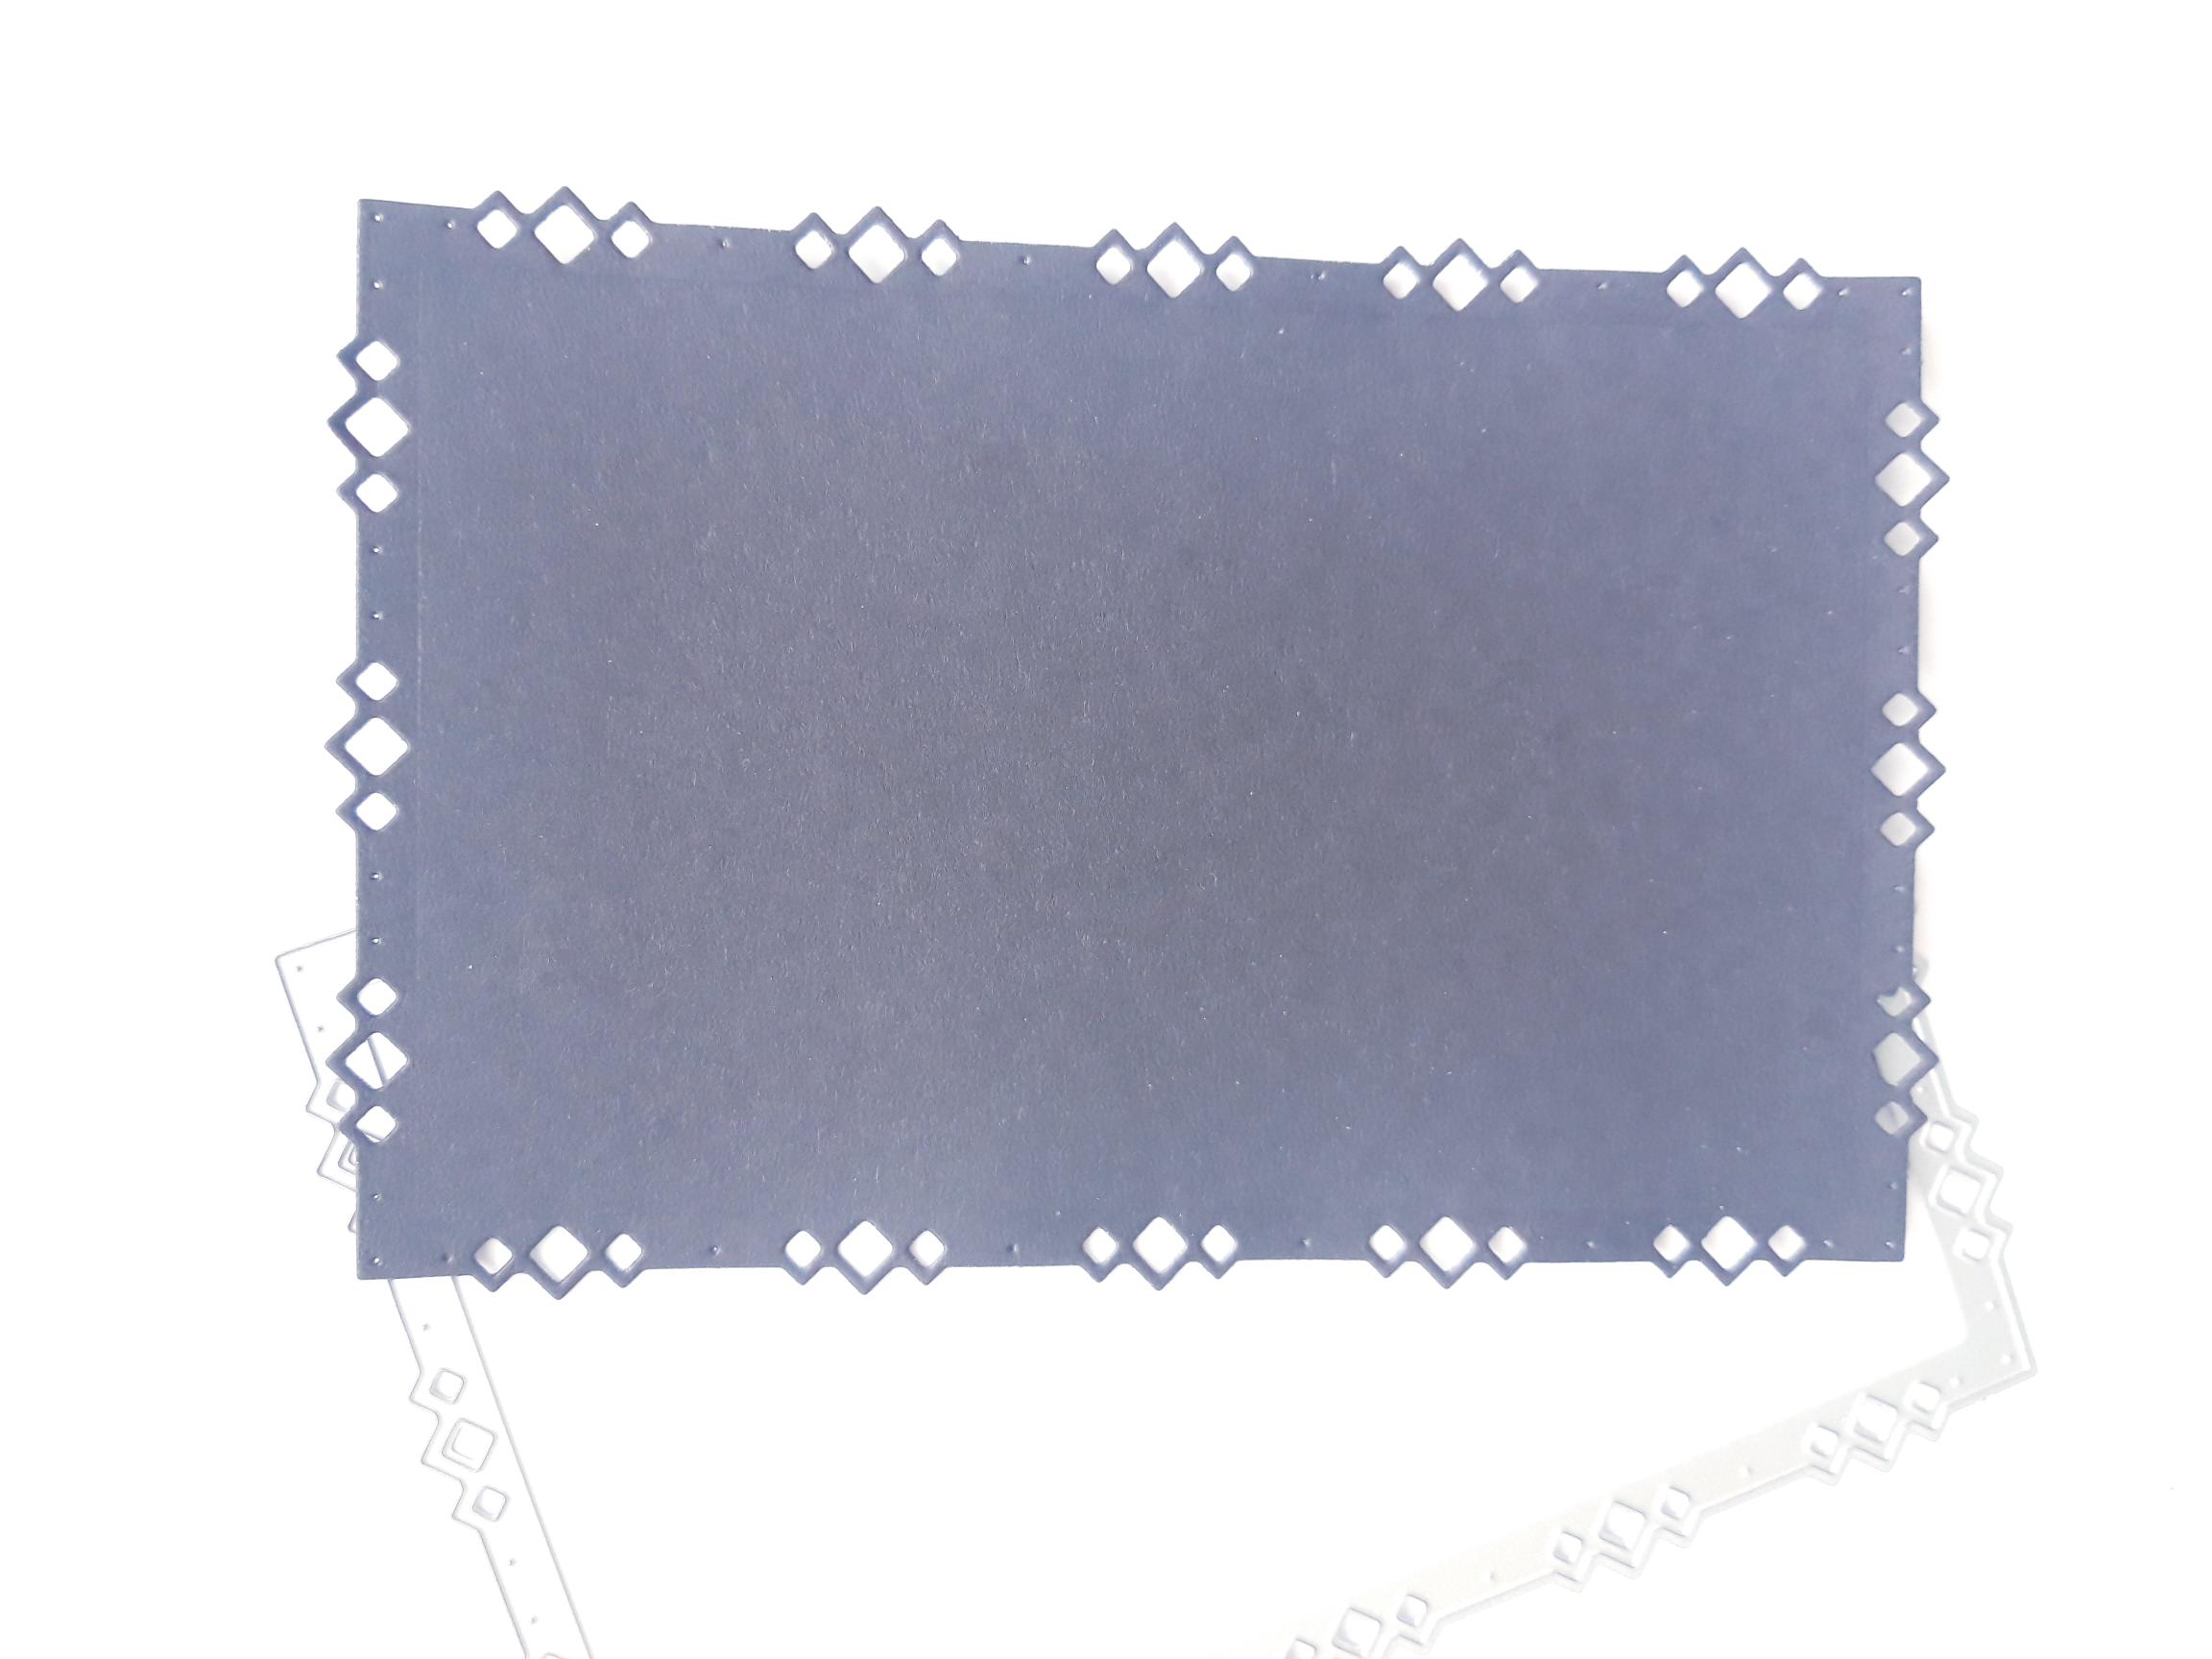
Place the nesting die that measures approx 6 x 4", on to the black card, and run through your die cutting machine. |
|
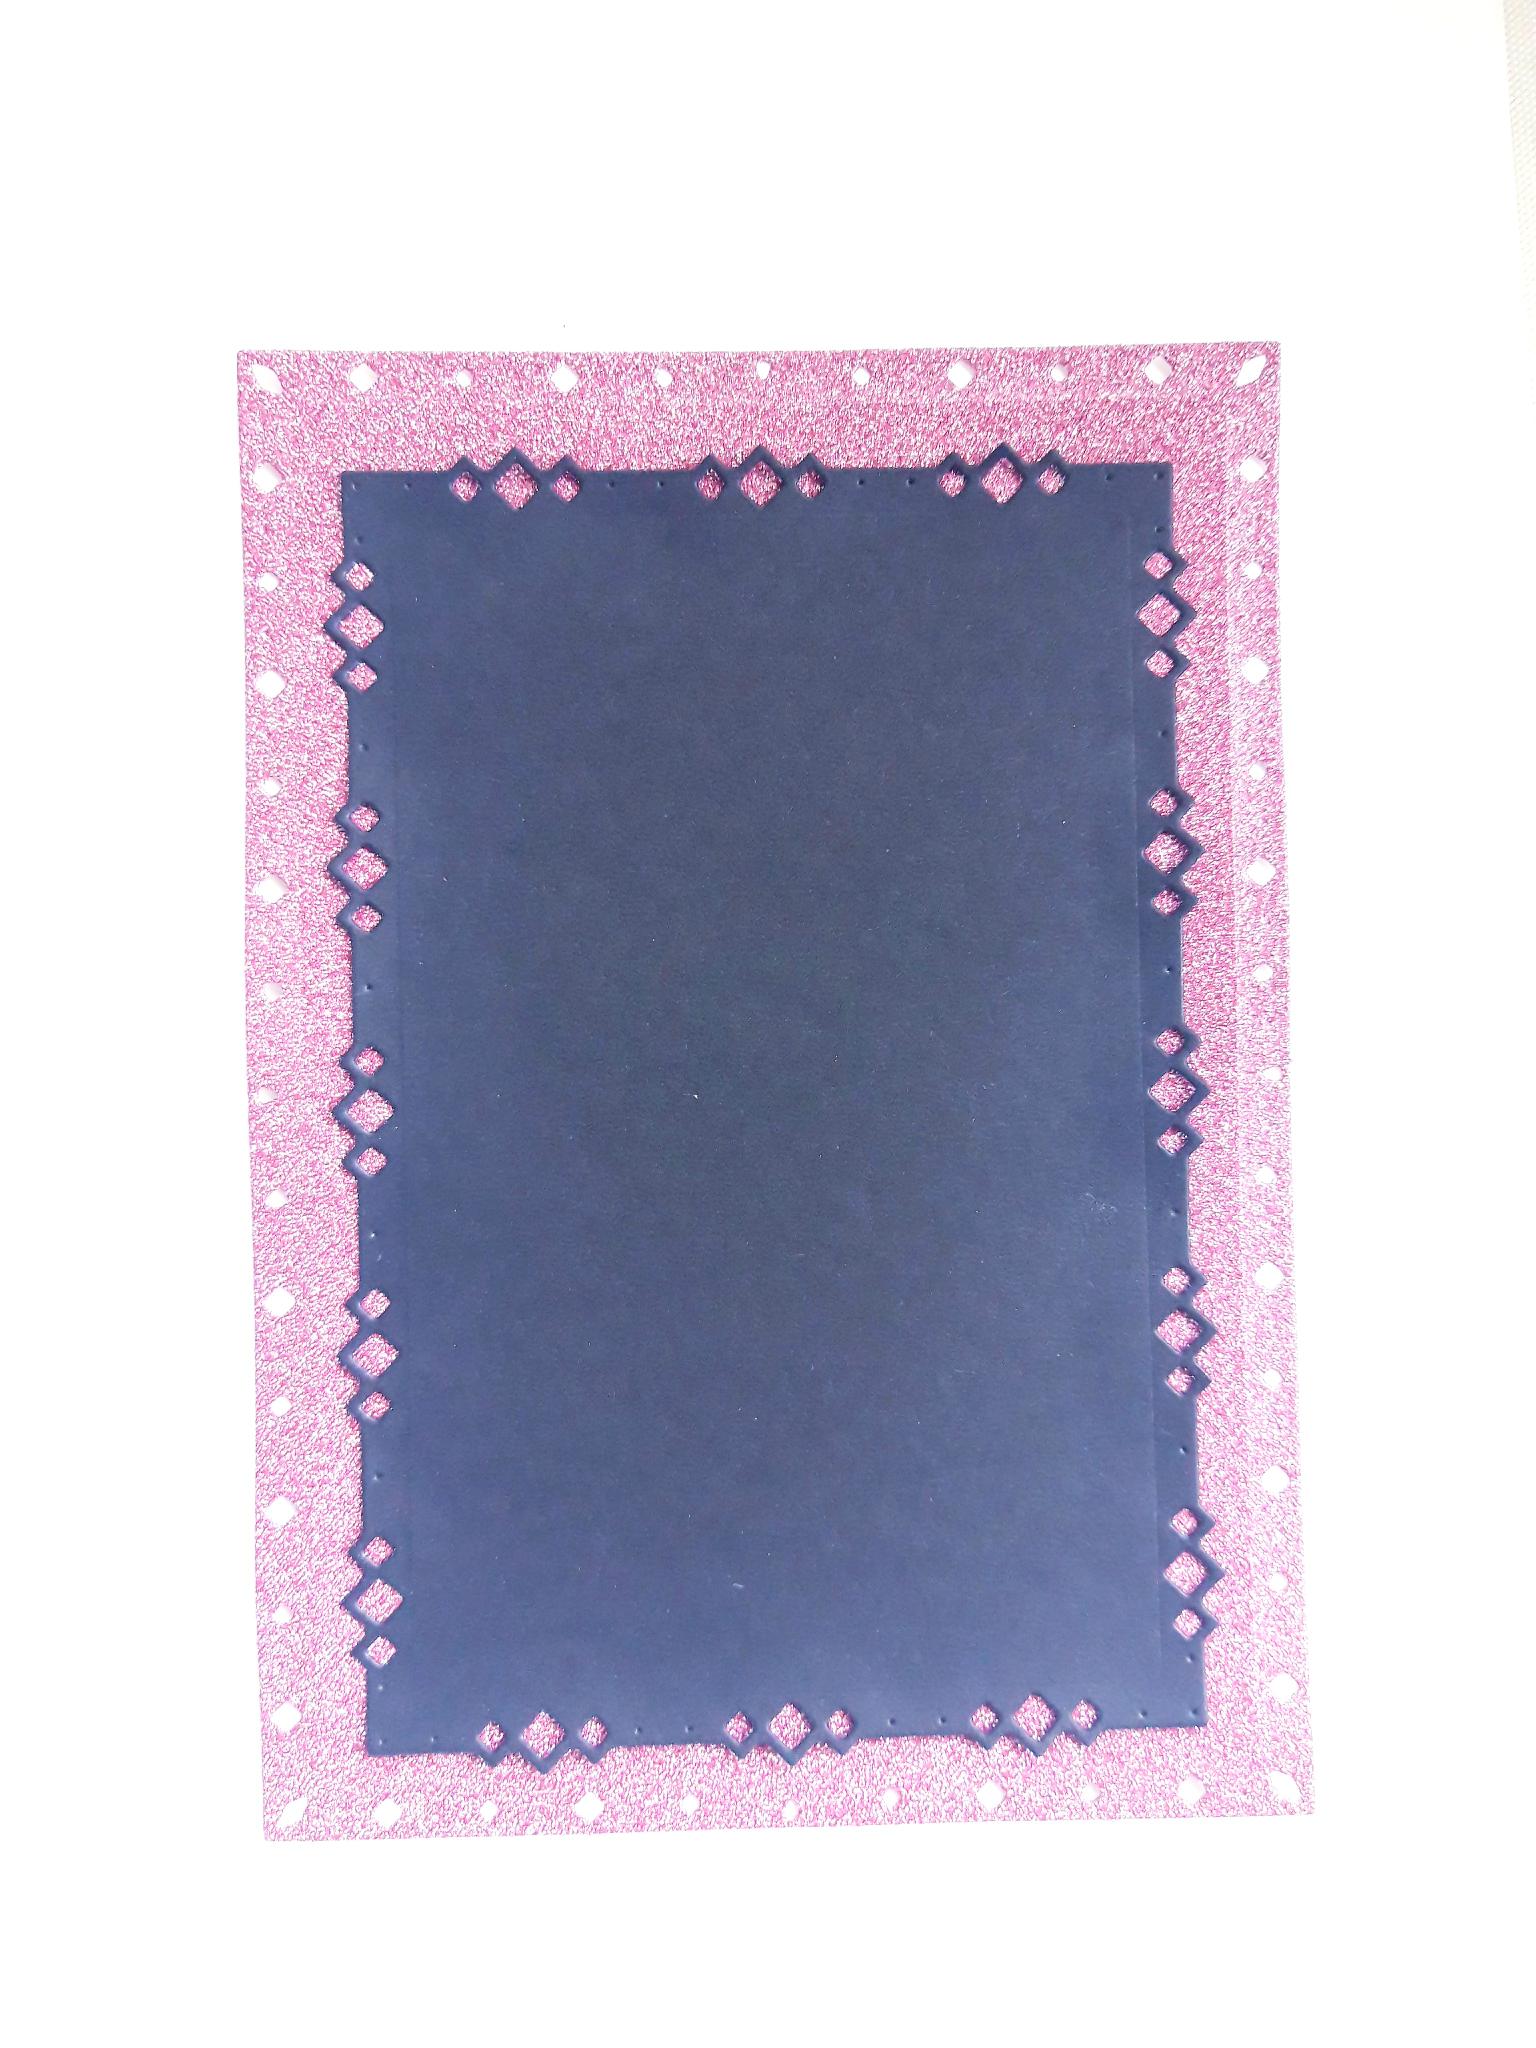
Adhere the black die cut mat on to the Gossip Glitter card mat. |
|
Adhere this on to the front of your black, top folding card blank. Set to one side. |
|
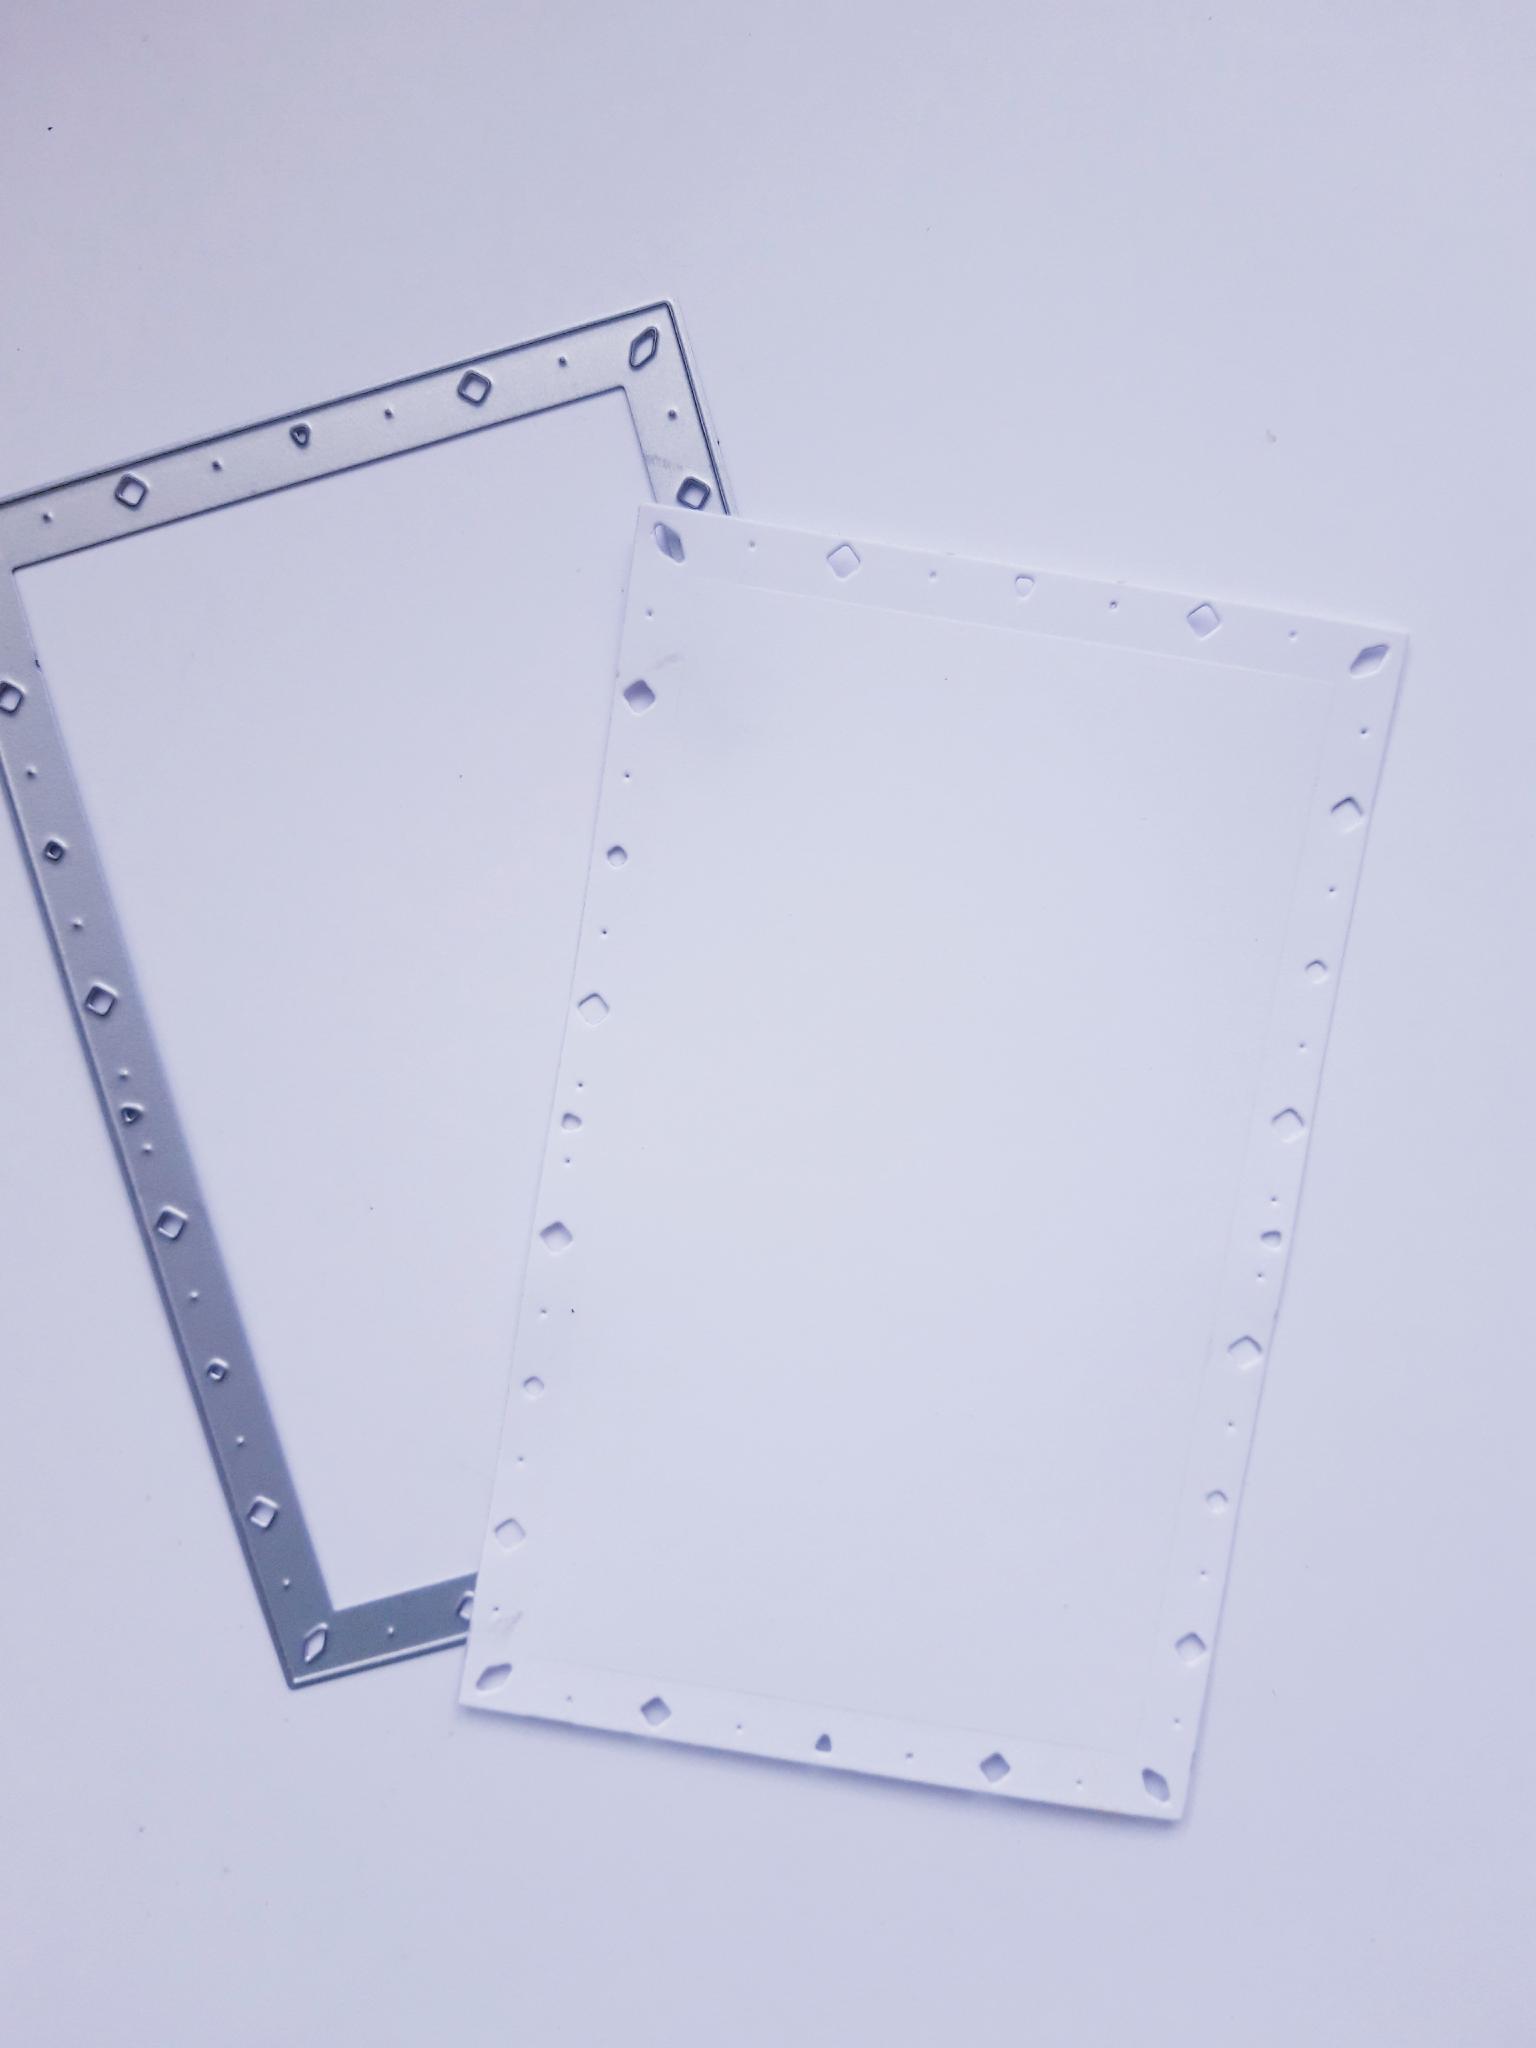
Place the nesting die that measures approx 5 1/4 x 3 1/4", on to the white card, and run through your die cutting machine. |
|
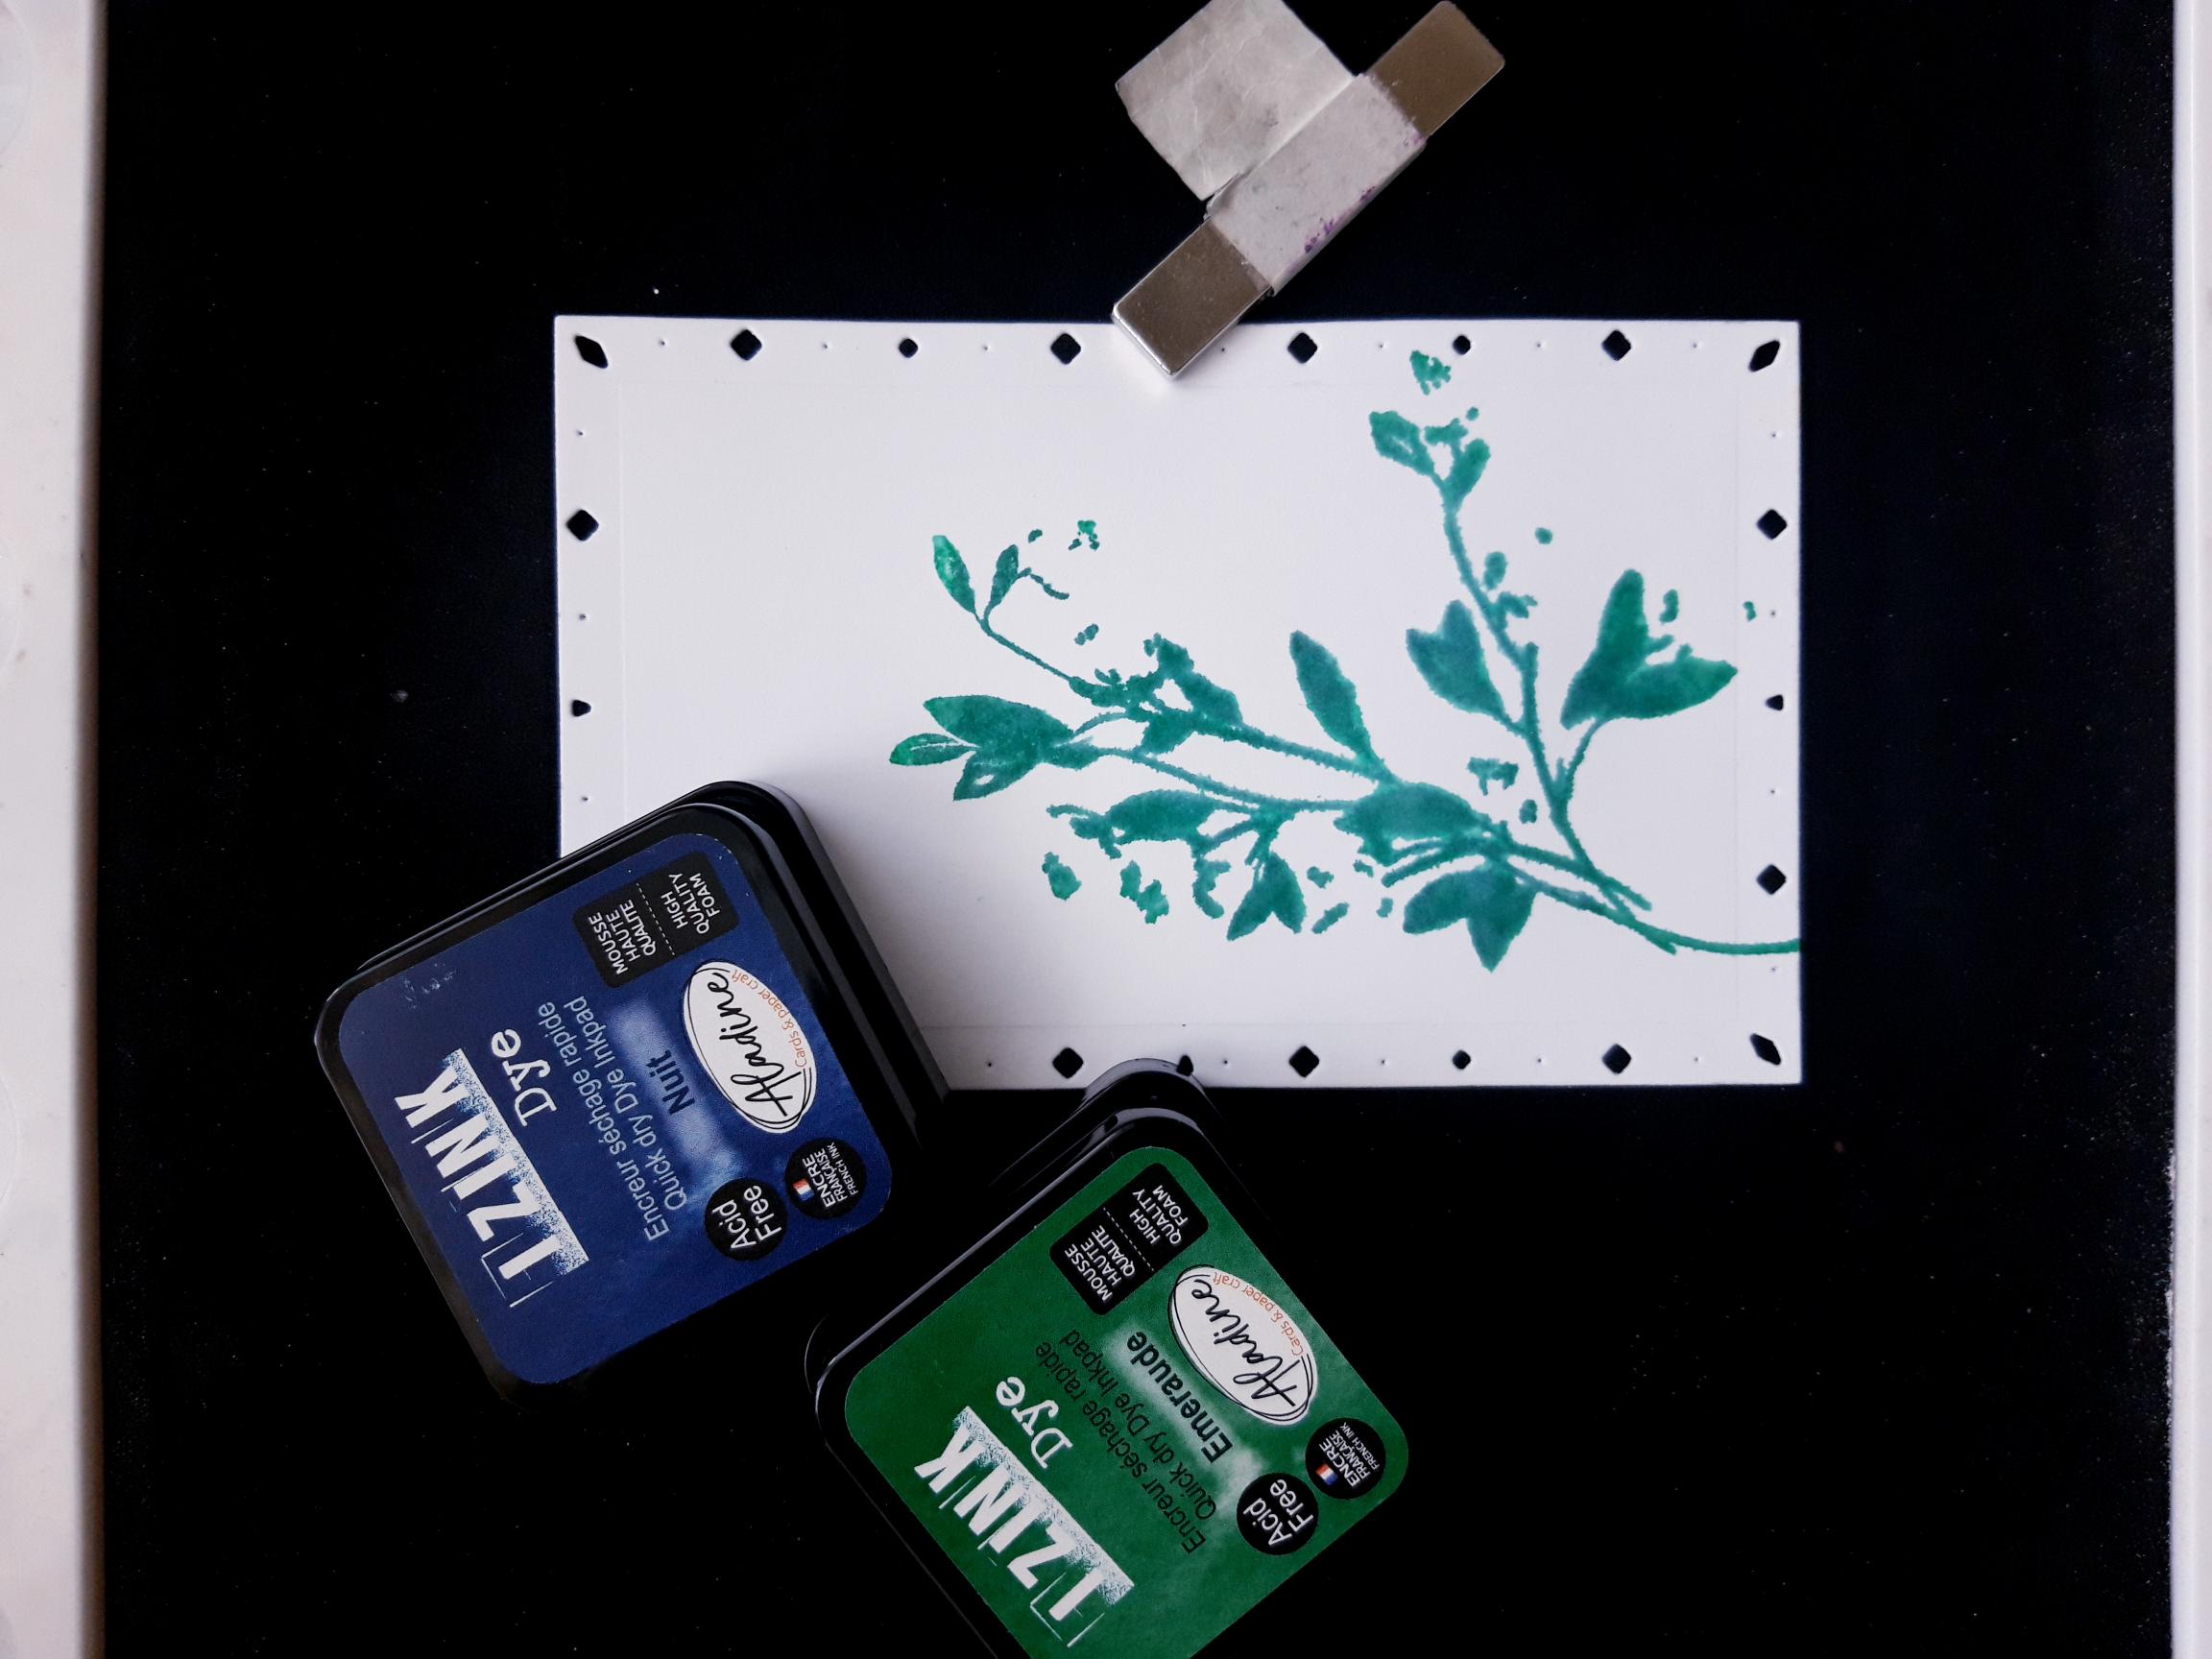
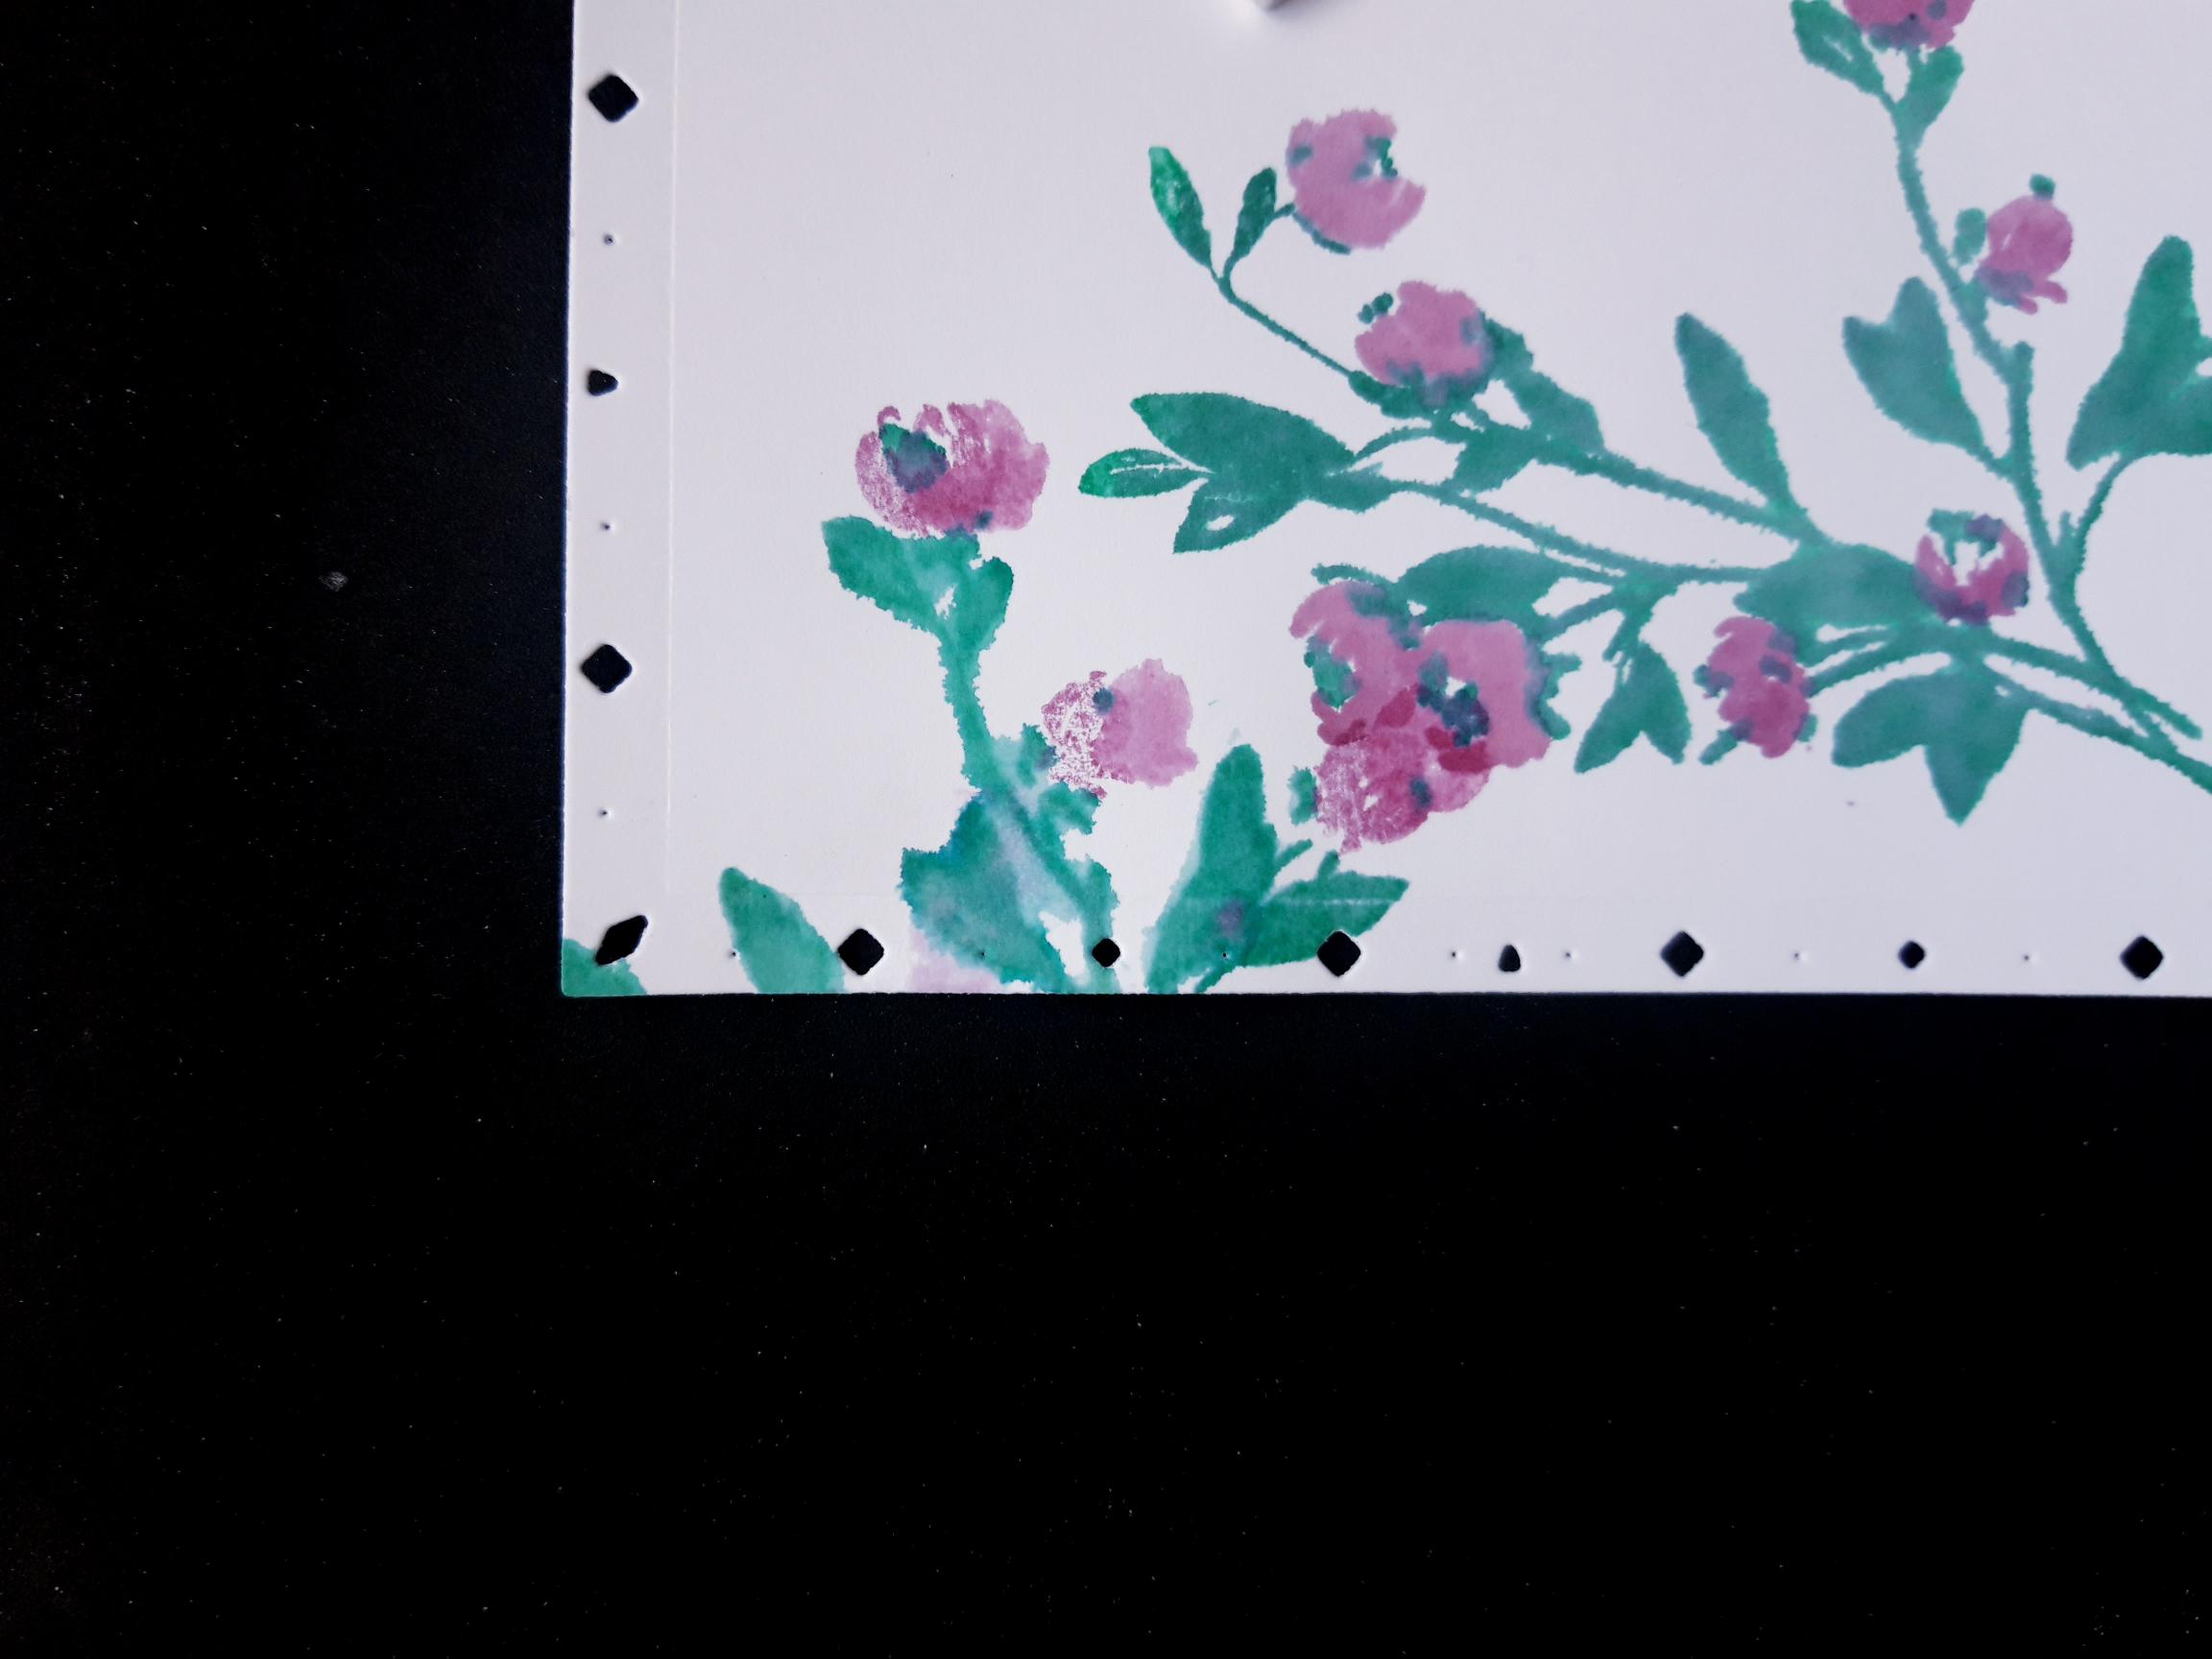
Ink up the solid floral stamp, from the All The Best Lamination Stamp Collection, with the Izink Emeraude and Nuit ink pads. Spritz the stamp with water, and stamp just off the bottom of the white, die cut mat. |

|
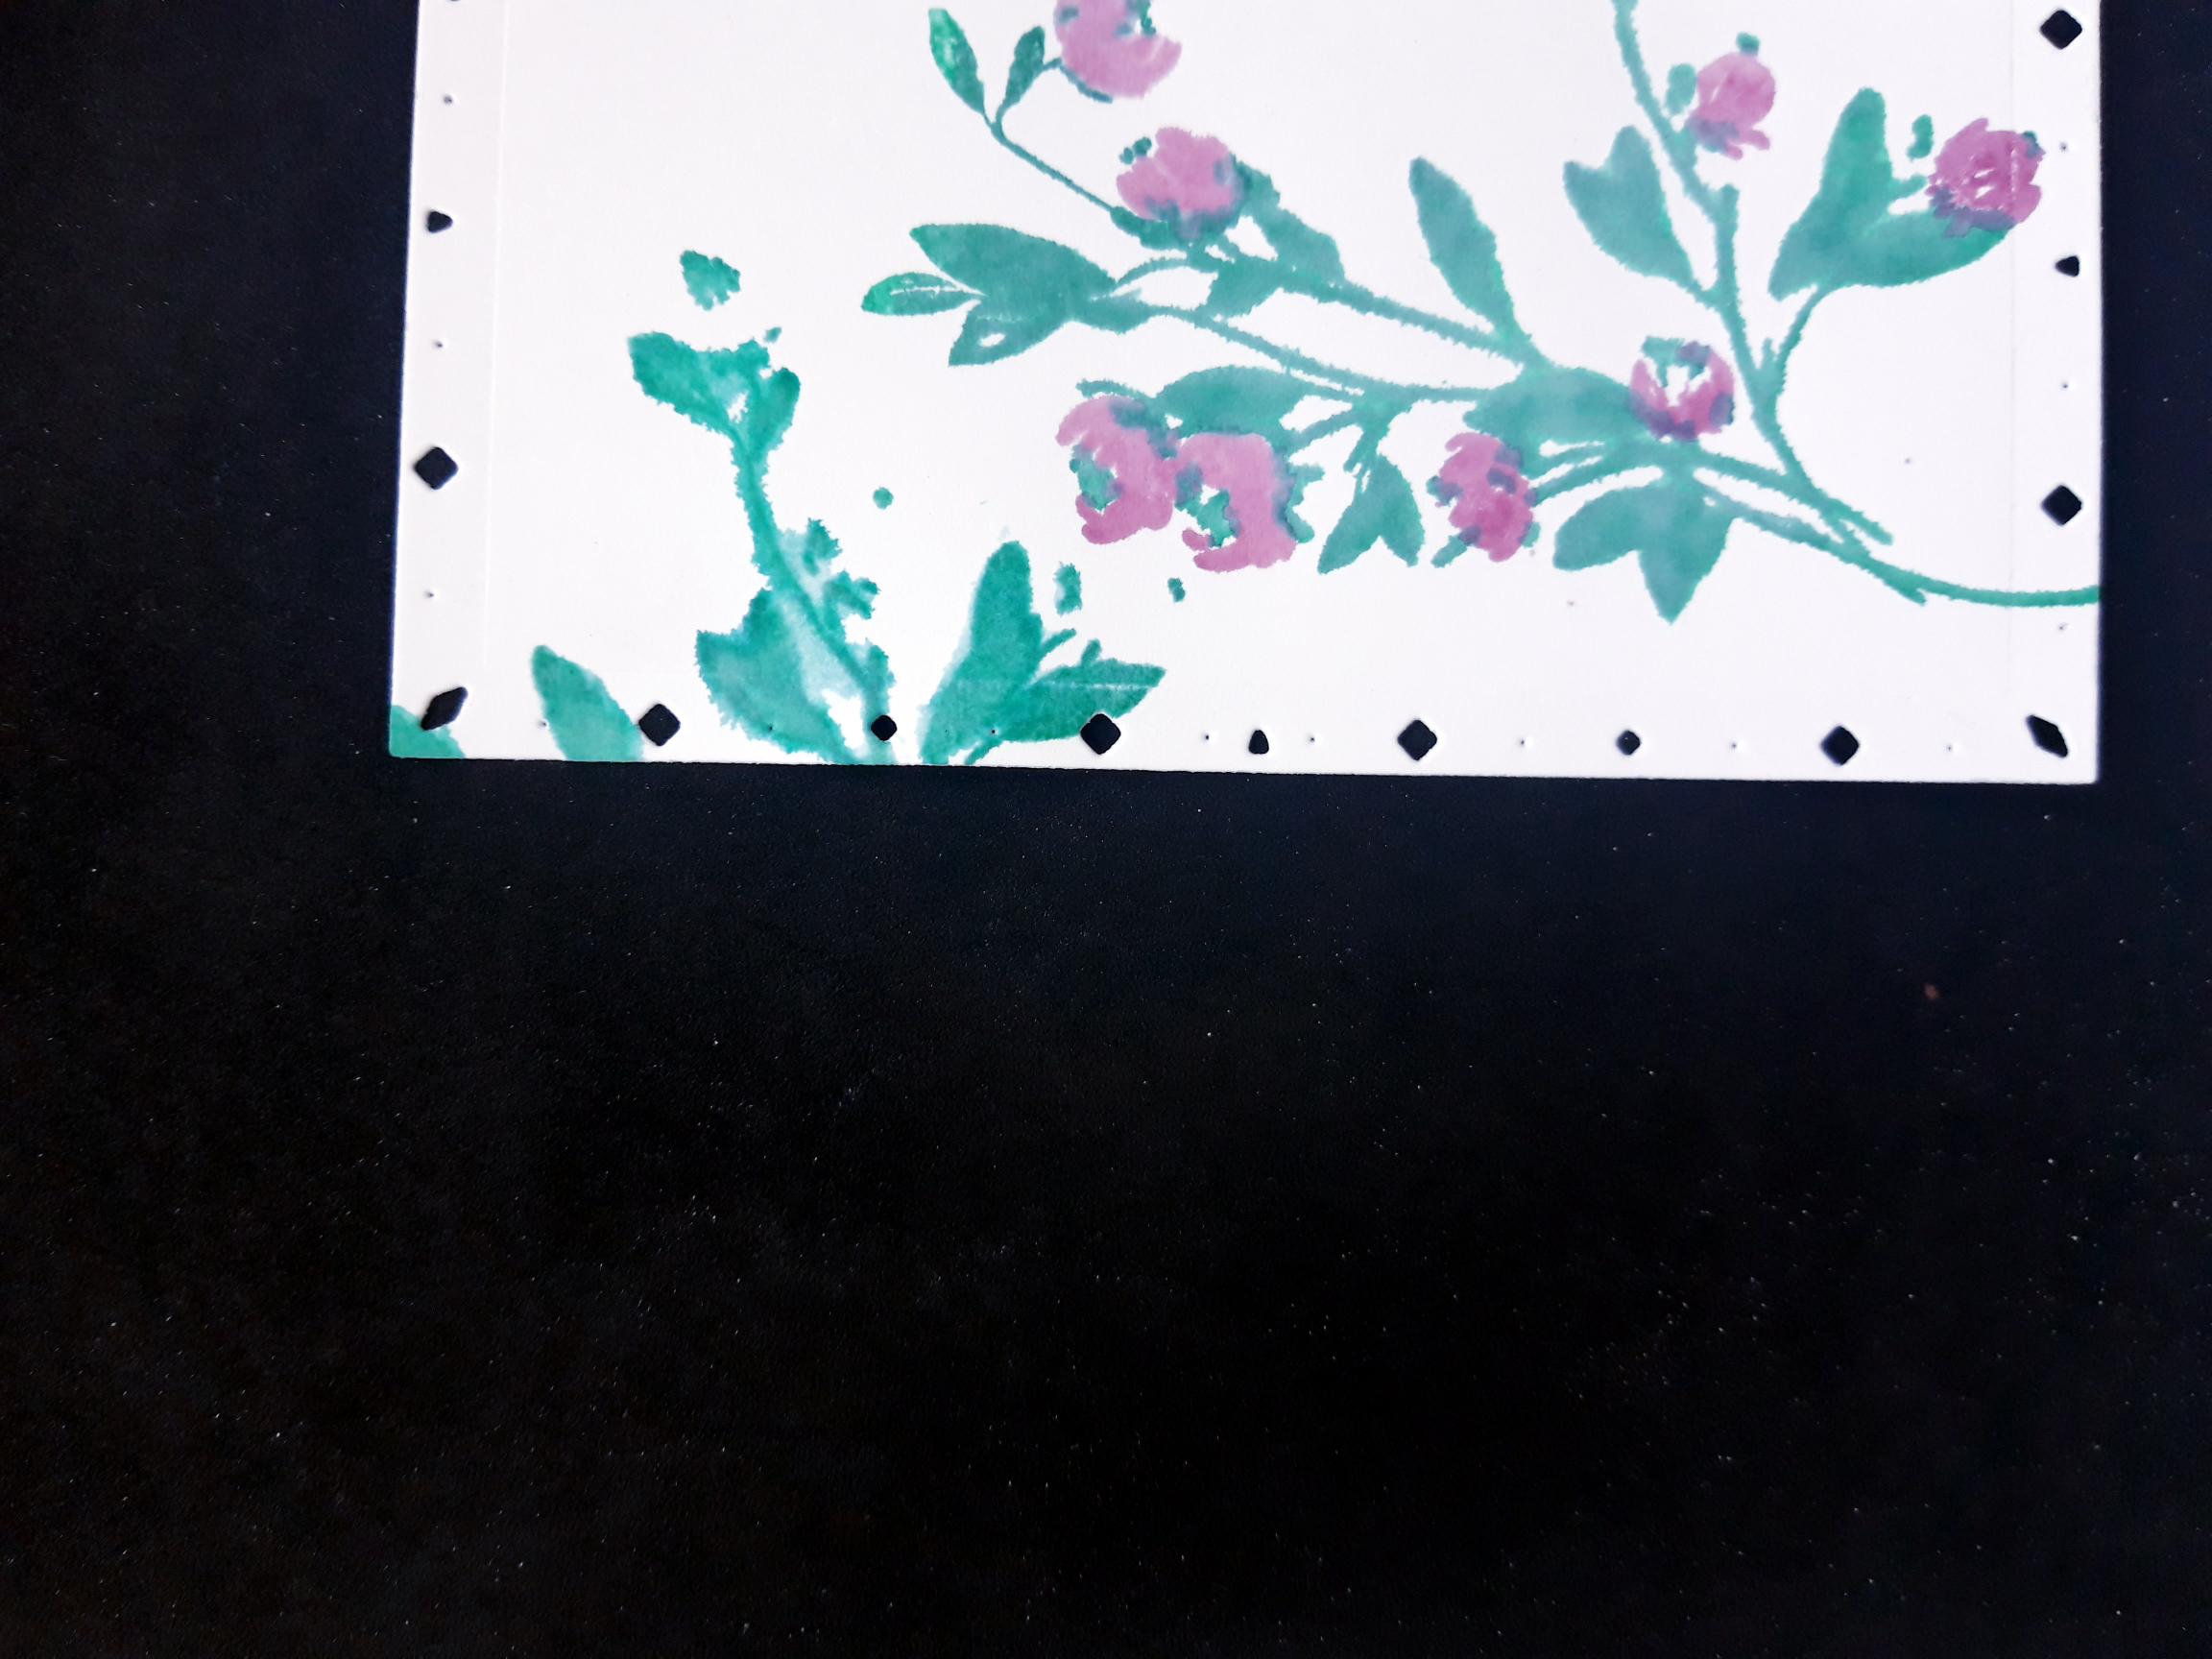
Ink up the coordinating stamp, with the Izink Cassis ink pad. Spritz the stamp with water, line it up and stamp over your first stamped image. If you are unsure where it goes, the photo on the packaging will help you. |
|
Ink up the solid foliage stamp again, in the same inks as before. Spritz with water and stamp it so it's just peeking on to the left hand edge of the card, above the first image. |
|
Ink up the coordinting stamp again, in the Izink Cassis, line it up and stamp in place. Dry off all the ink before moving to the next step. |
|
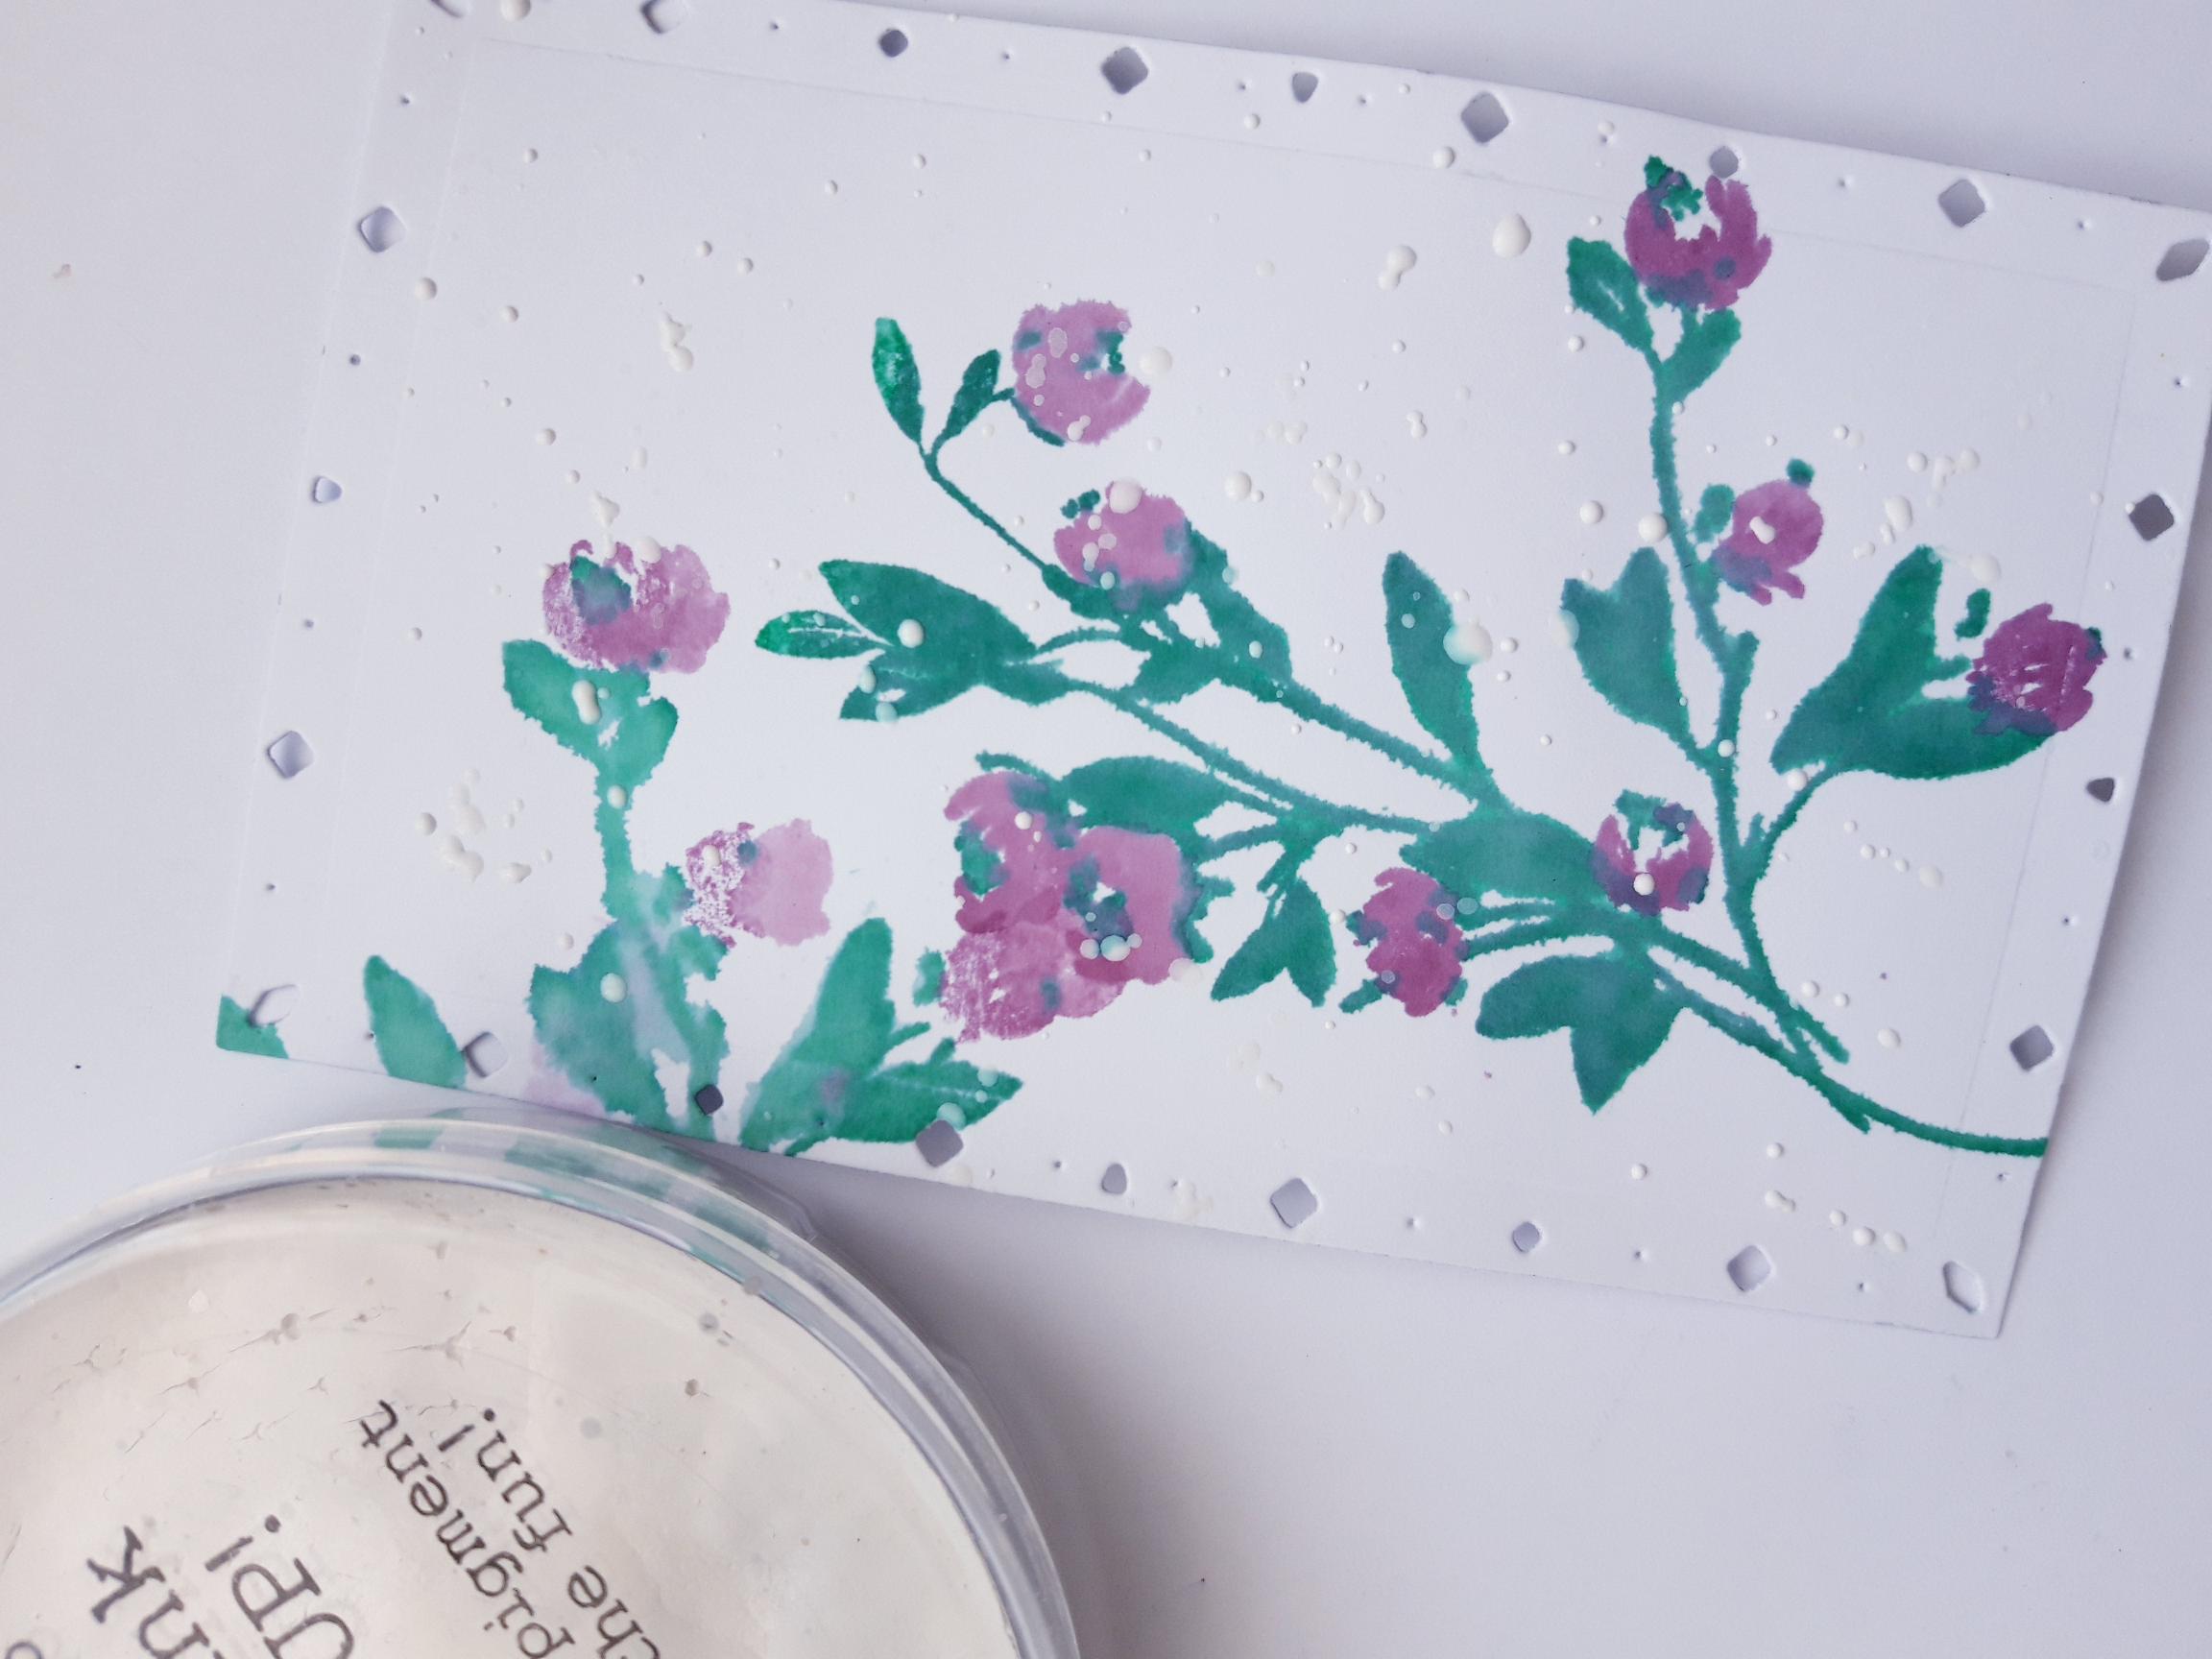
Add some water to the Thirsty Brush White Lace Confetti Paint, and splatter over your artwork, as desired. I love lots of splats!!! |
|
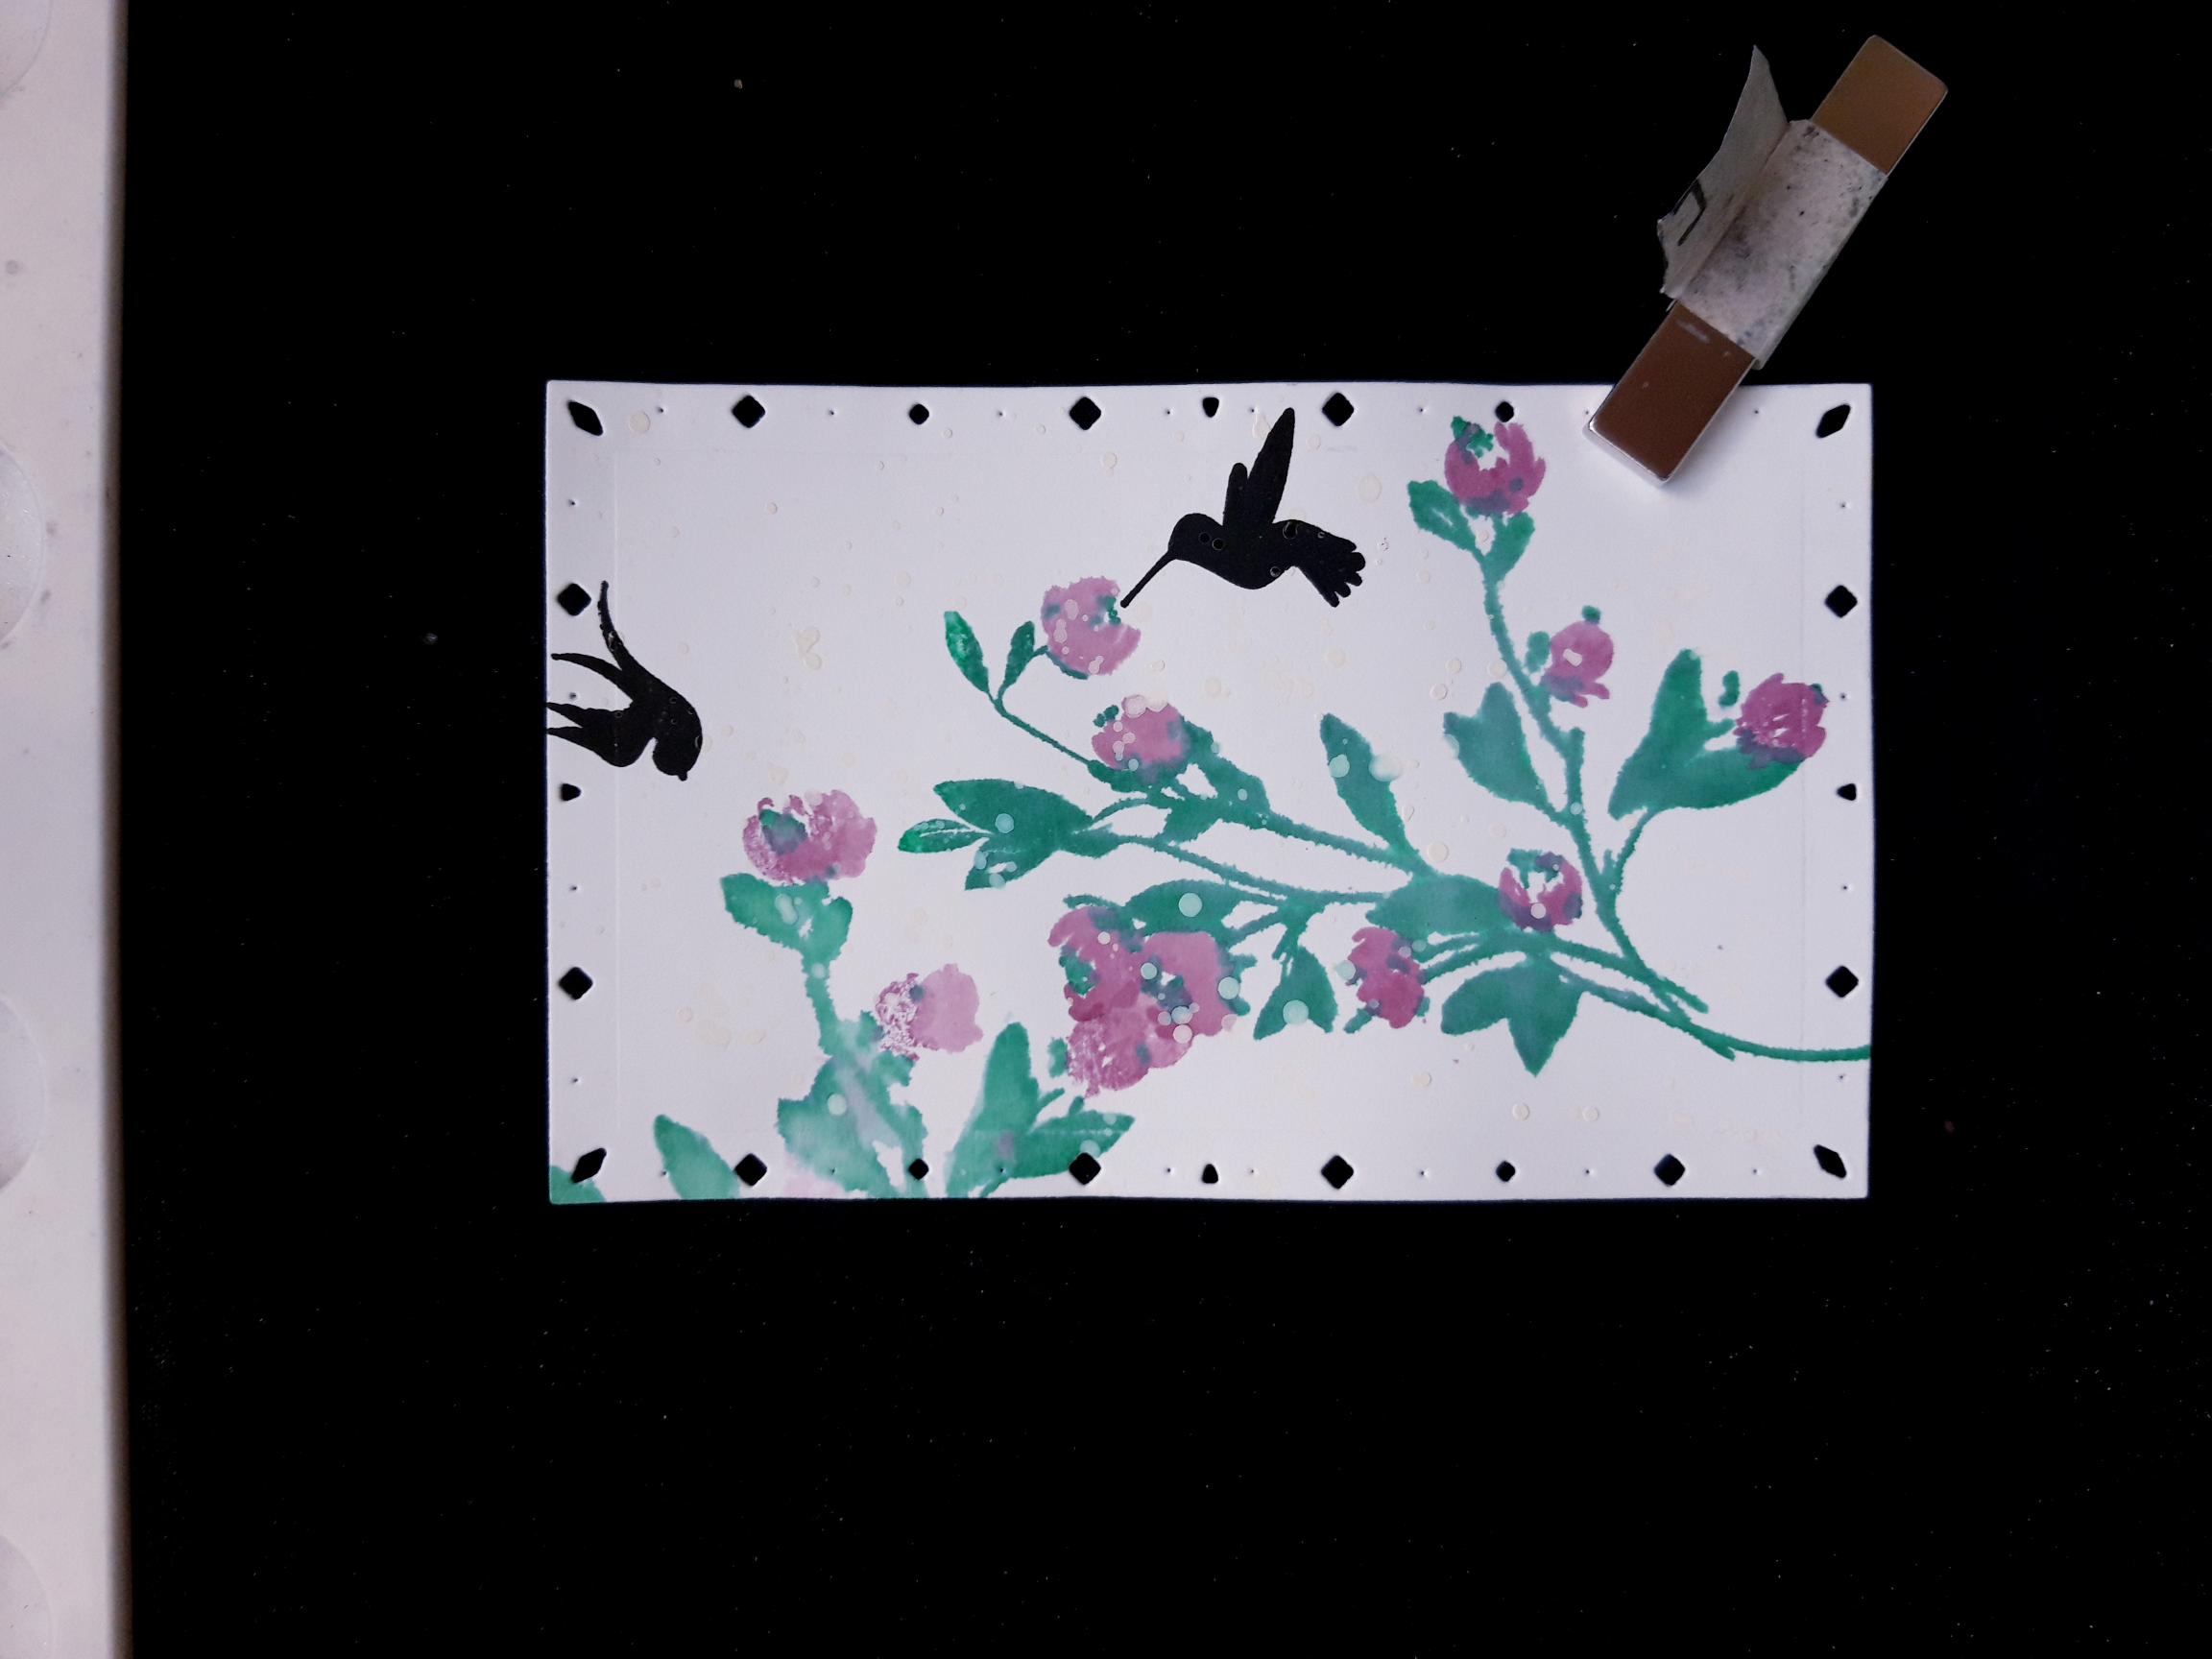
Ink up a couple of the bird stamps, from the Congratulations Stamp Collection, with the Onyx Black Versafine, and stamp where required. |
|
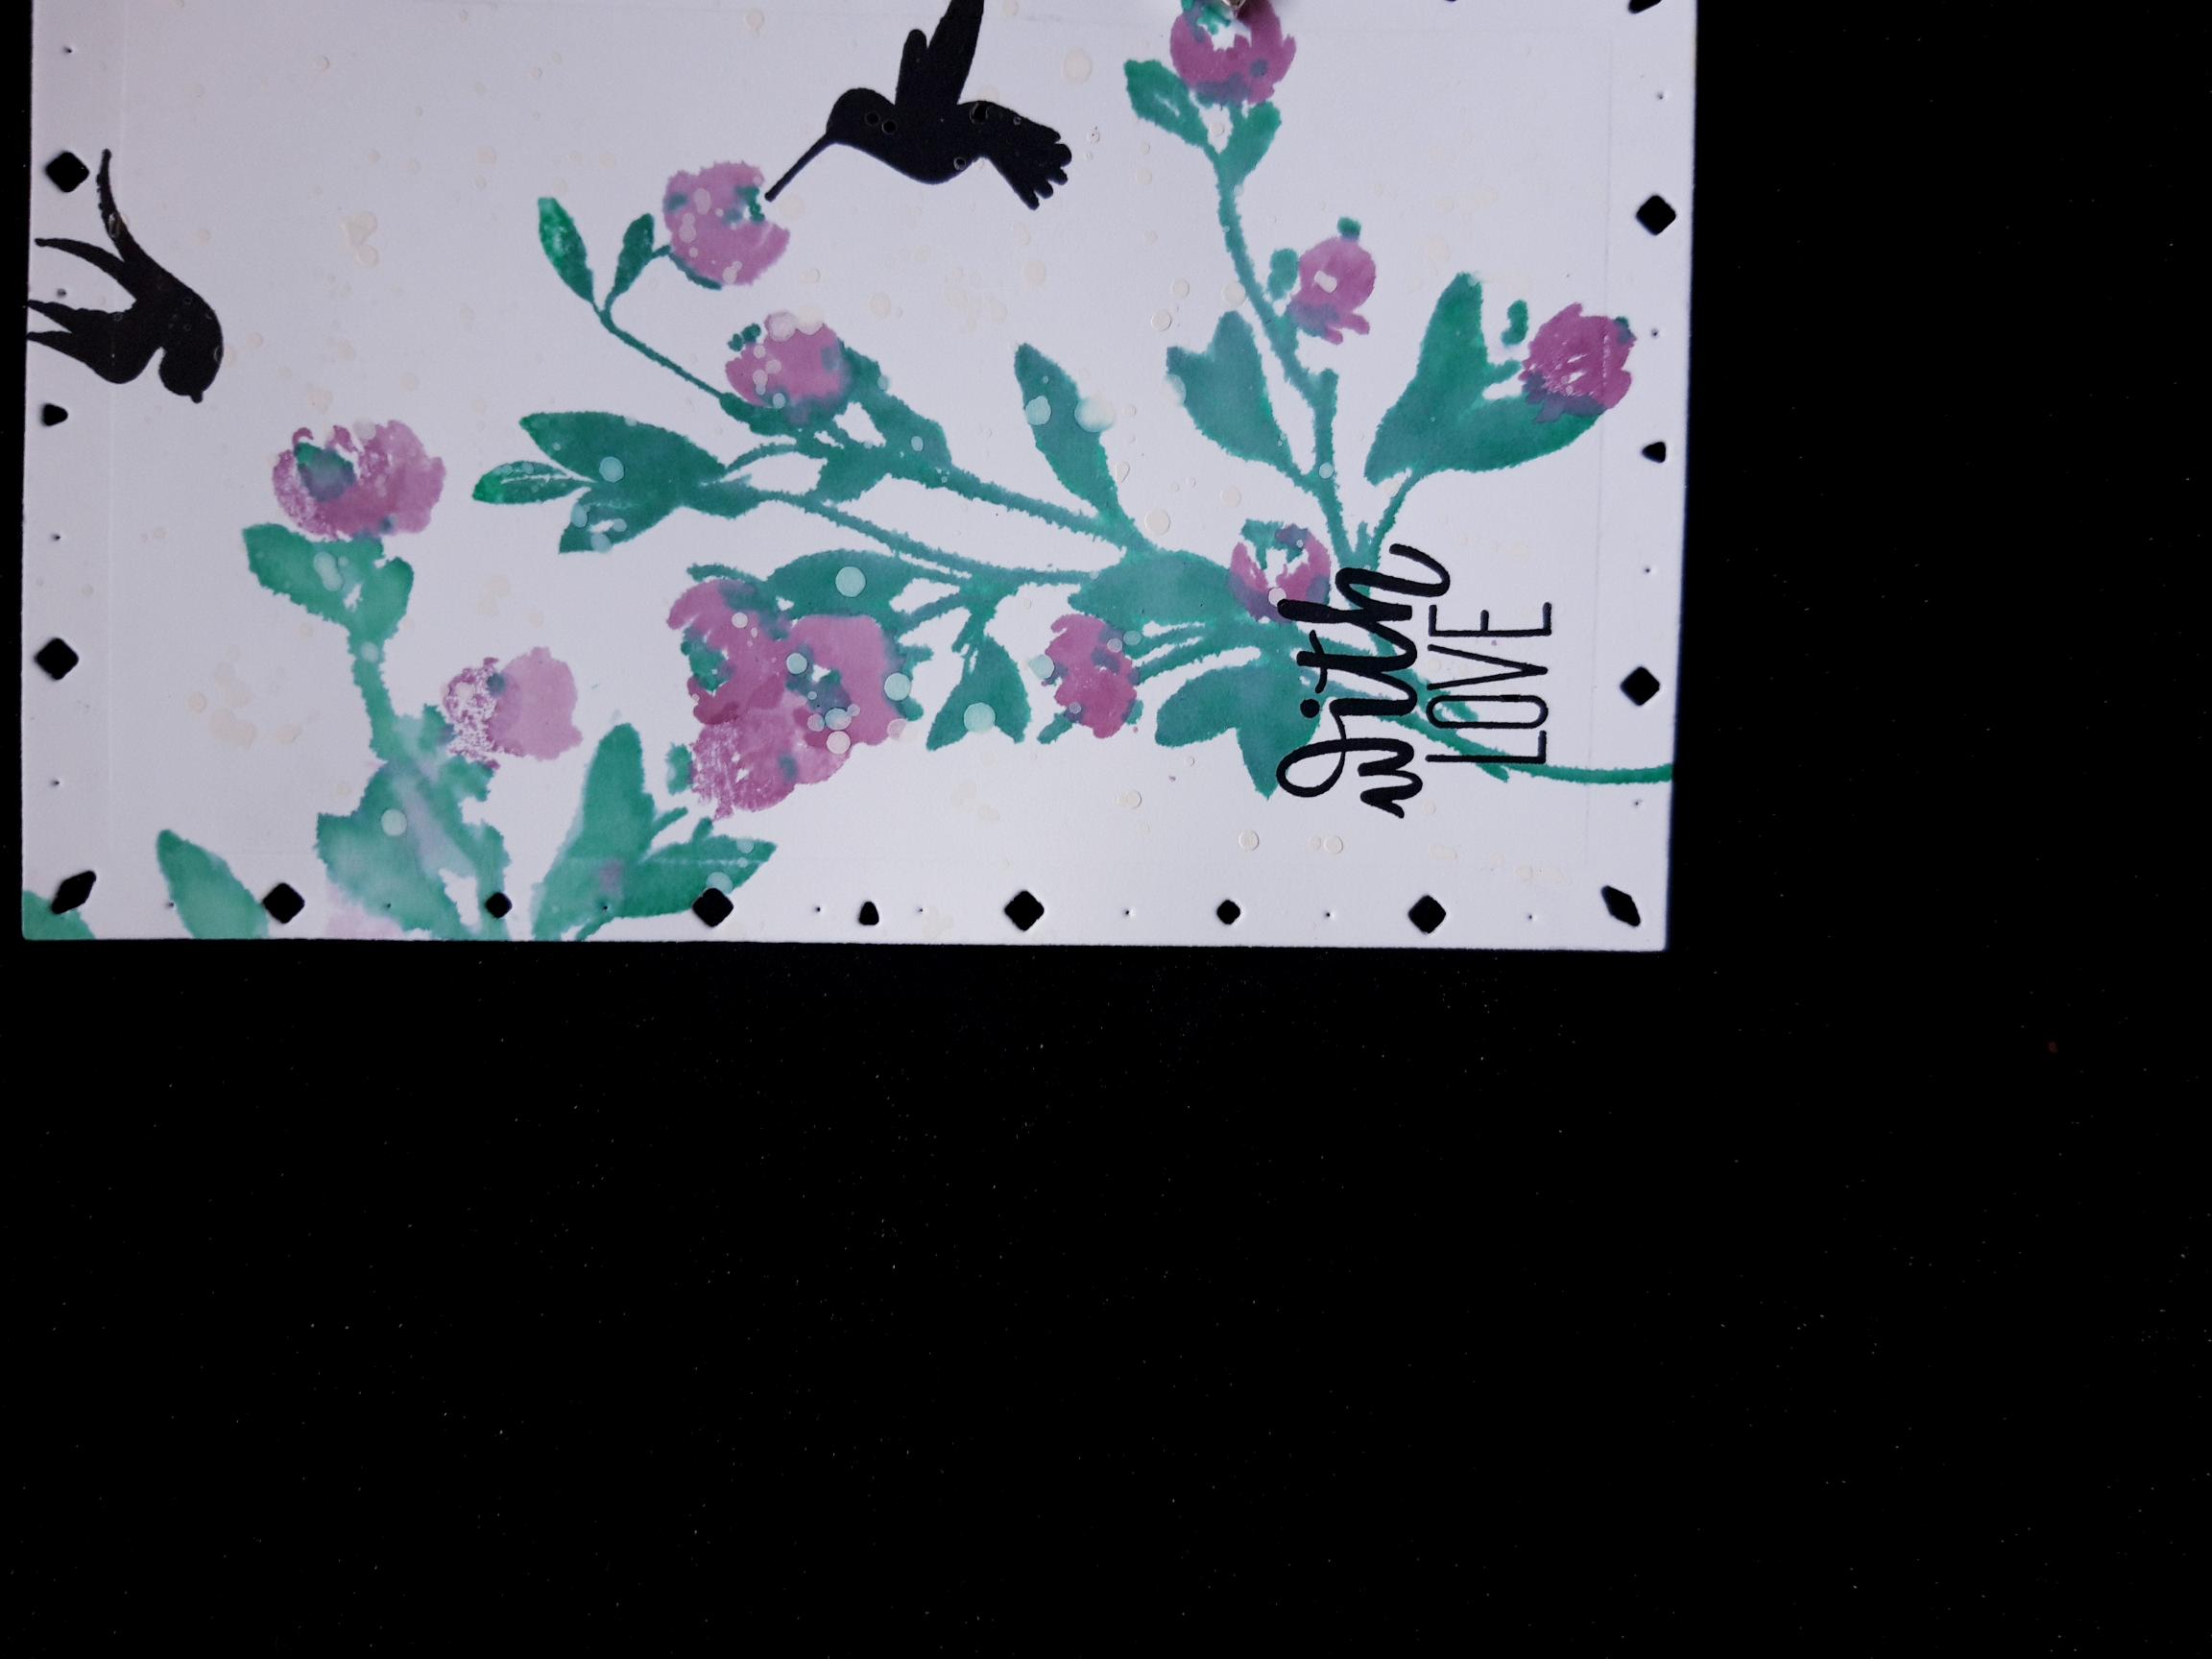
Ink up the sentiment stamp, from the Beautiful Moments Lamination Stamp Collection, with the Onyx Black Versafine. Stamp across the bottom of your stamped image. |
|
To finish, adhere this on to the front of your prepped card. |