Give your friends $10 off their first order!
Refer a FRIEND


WHAT YOU WILL NEED:
Top Folding White card blank ( 8 1/4 x 5 3/4")
Stamps from the set Let Your Dreams Blossom
Gossip Glitter Watercolour Pens: green, light blue, dark blue
Onyx Black Versafine
Eureka 101
Perfect Together Glue
Paper Trimmer
Sequins from a Creative Box
Black fineliner pen
White Gel pen
Water spritz bottle
Masking Tape
Ruler
[click image to enlarge] 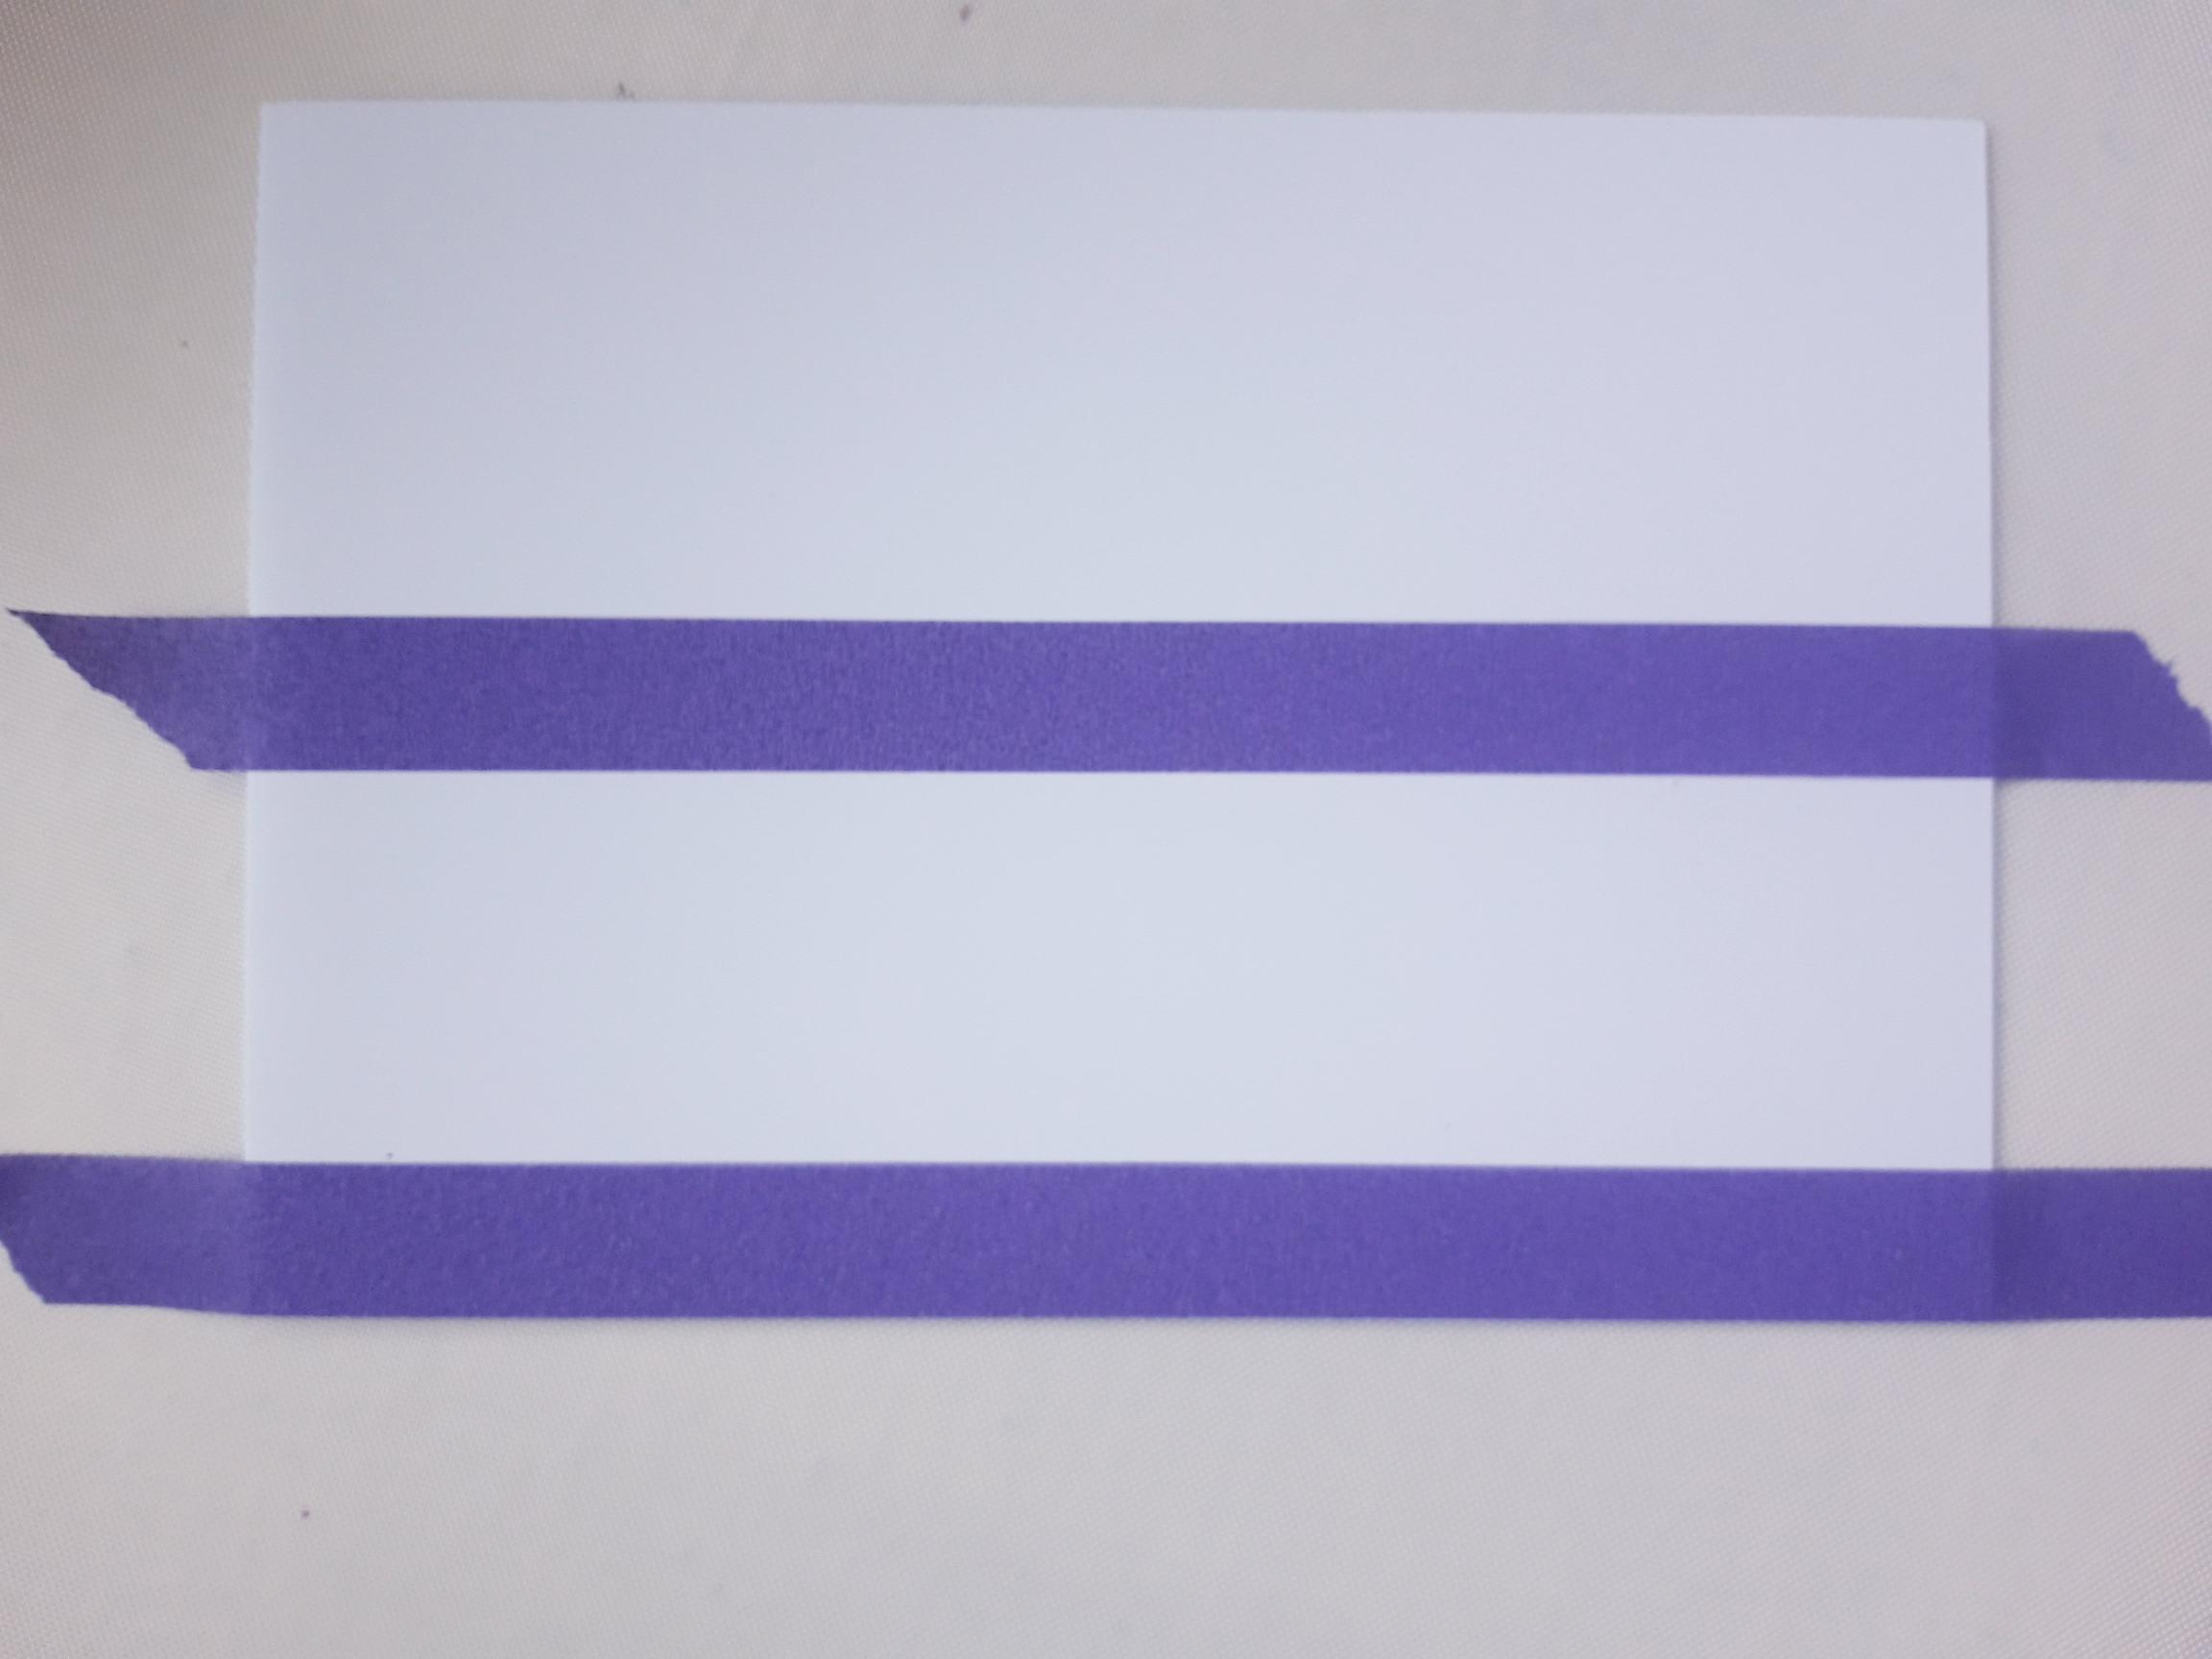
|
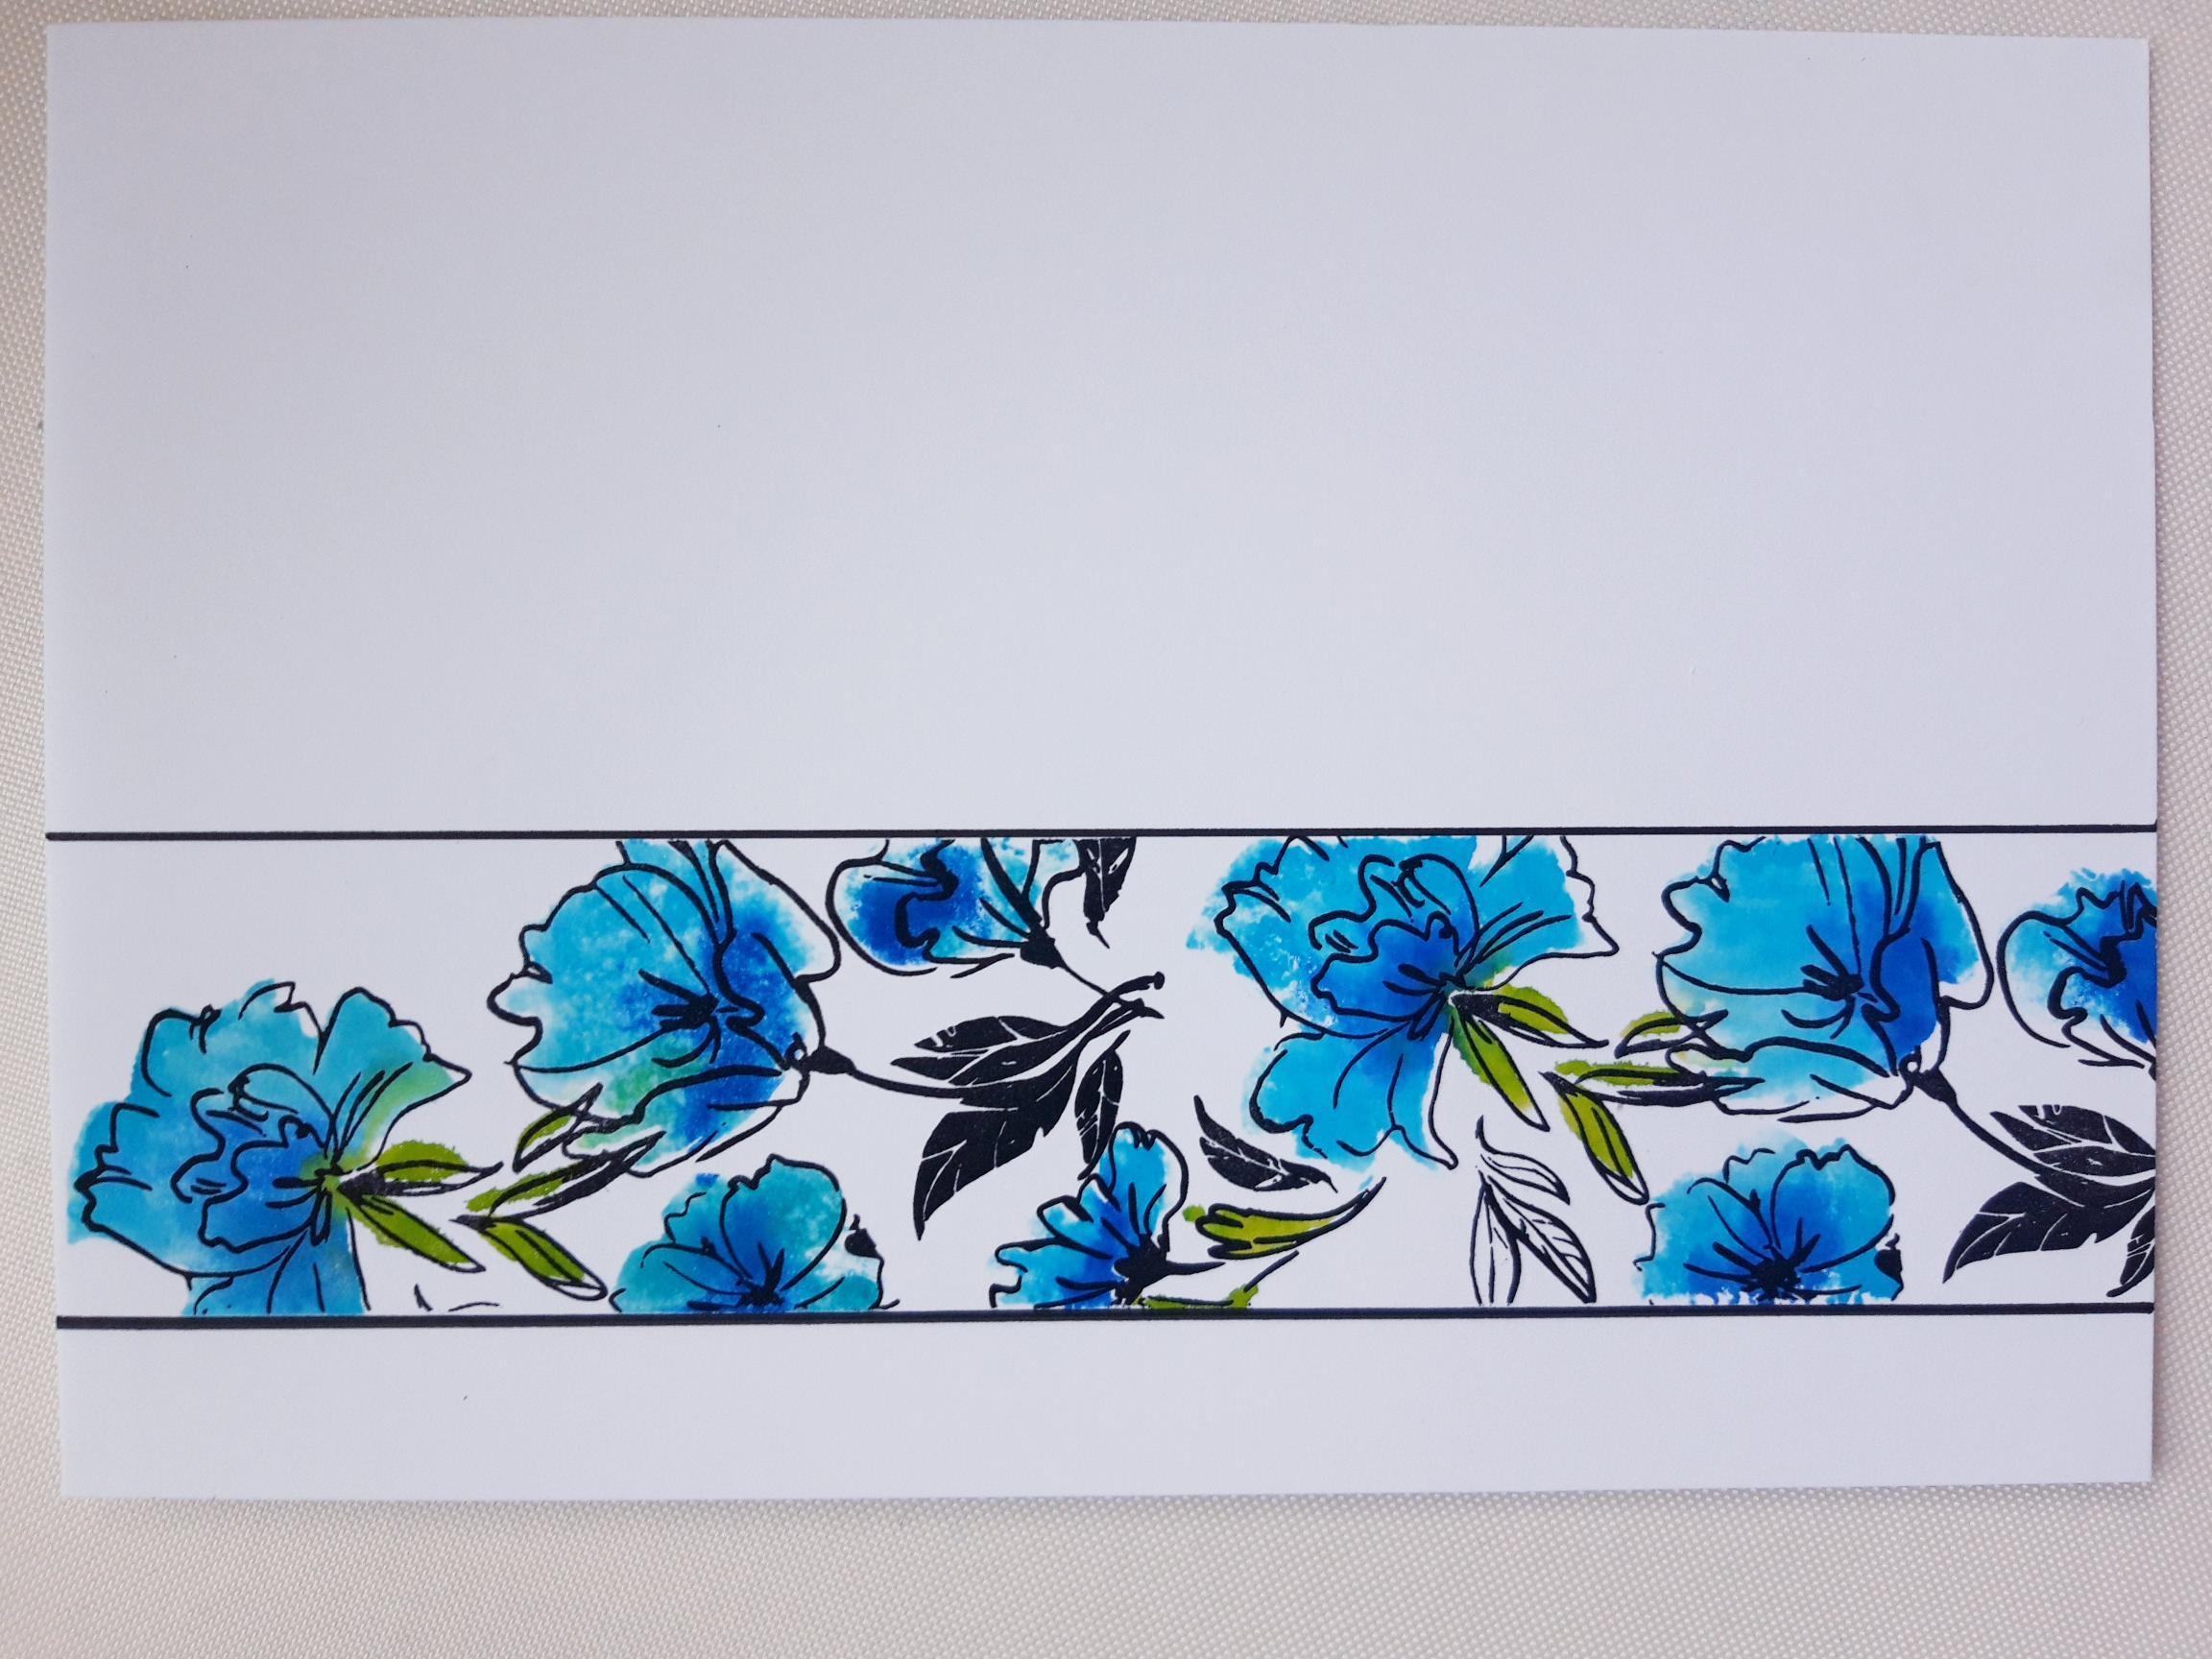
Create a panel, of your chosen width, on the left hand side of your card blank, using masking tape. This is the area you will stamp your image in. |
|
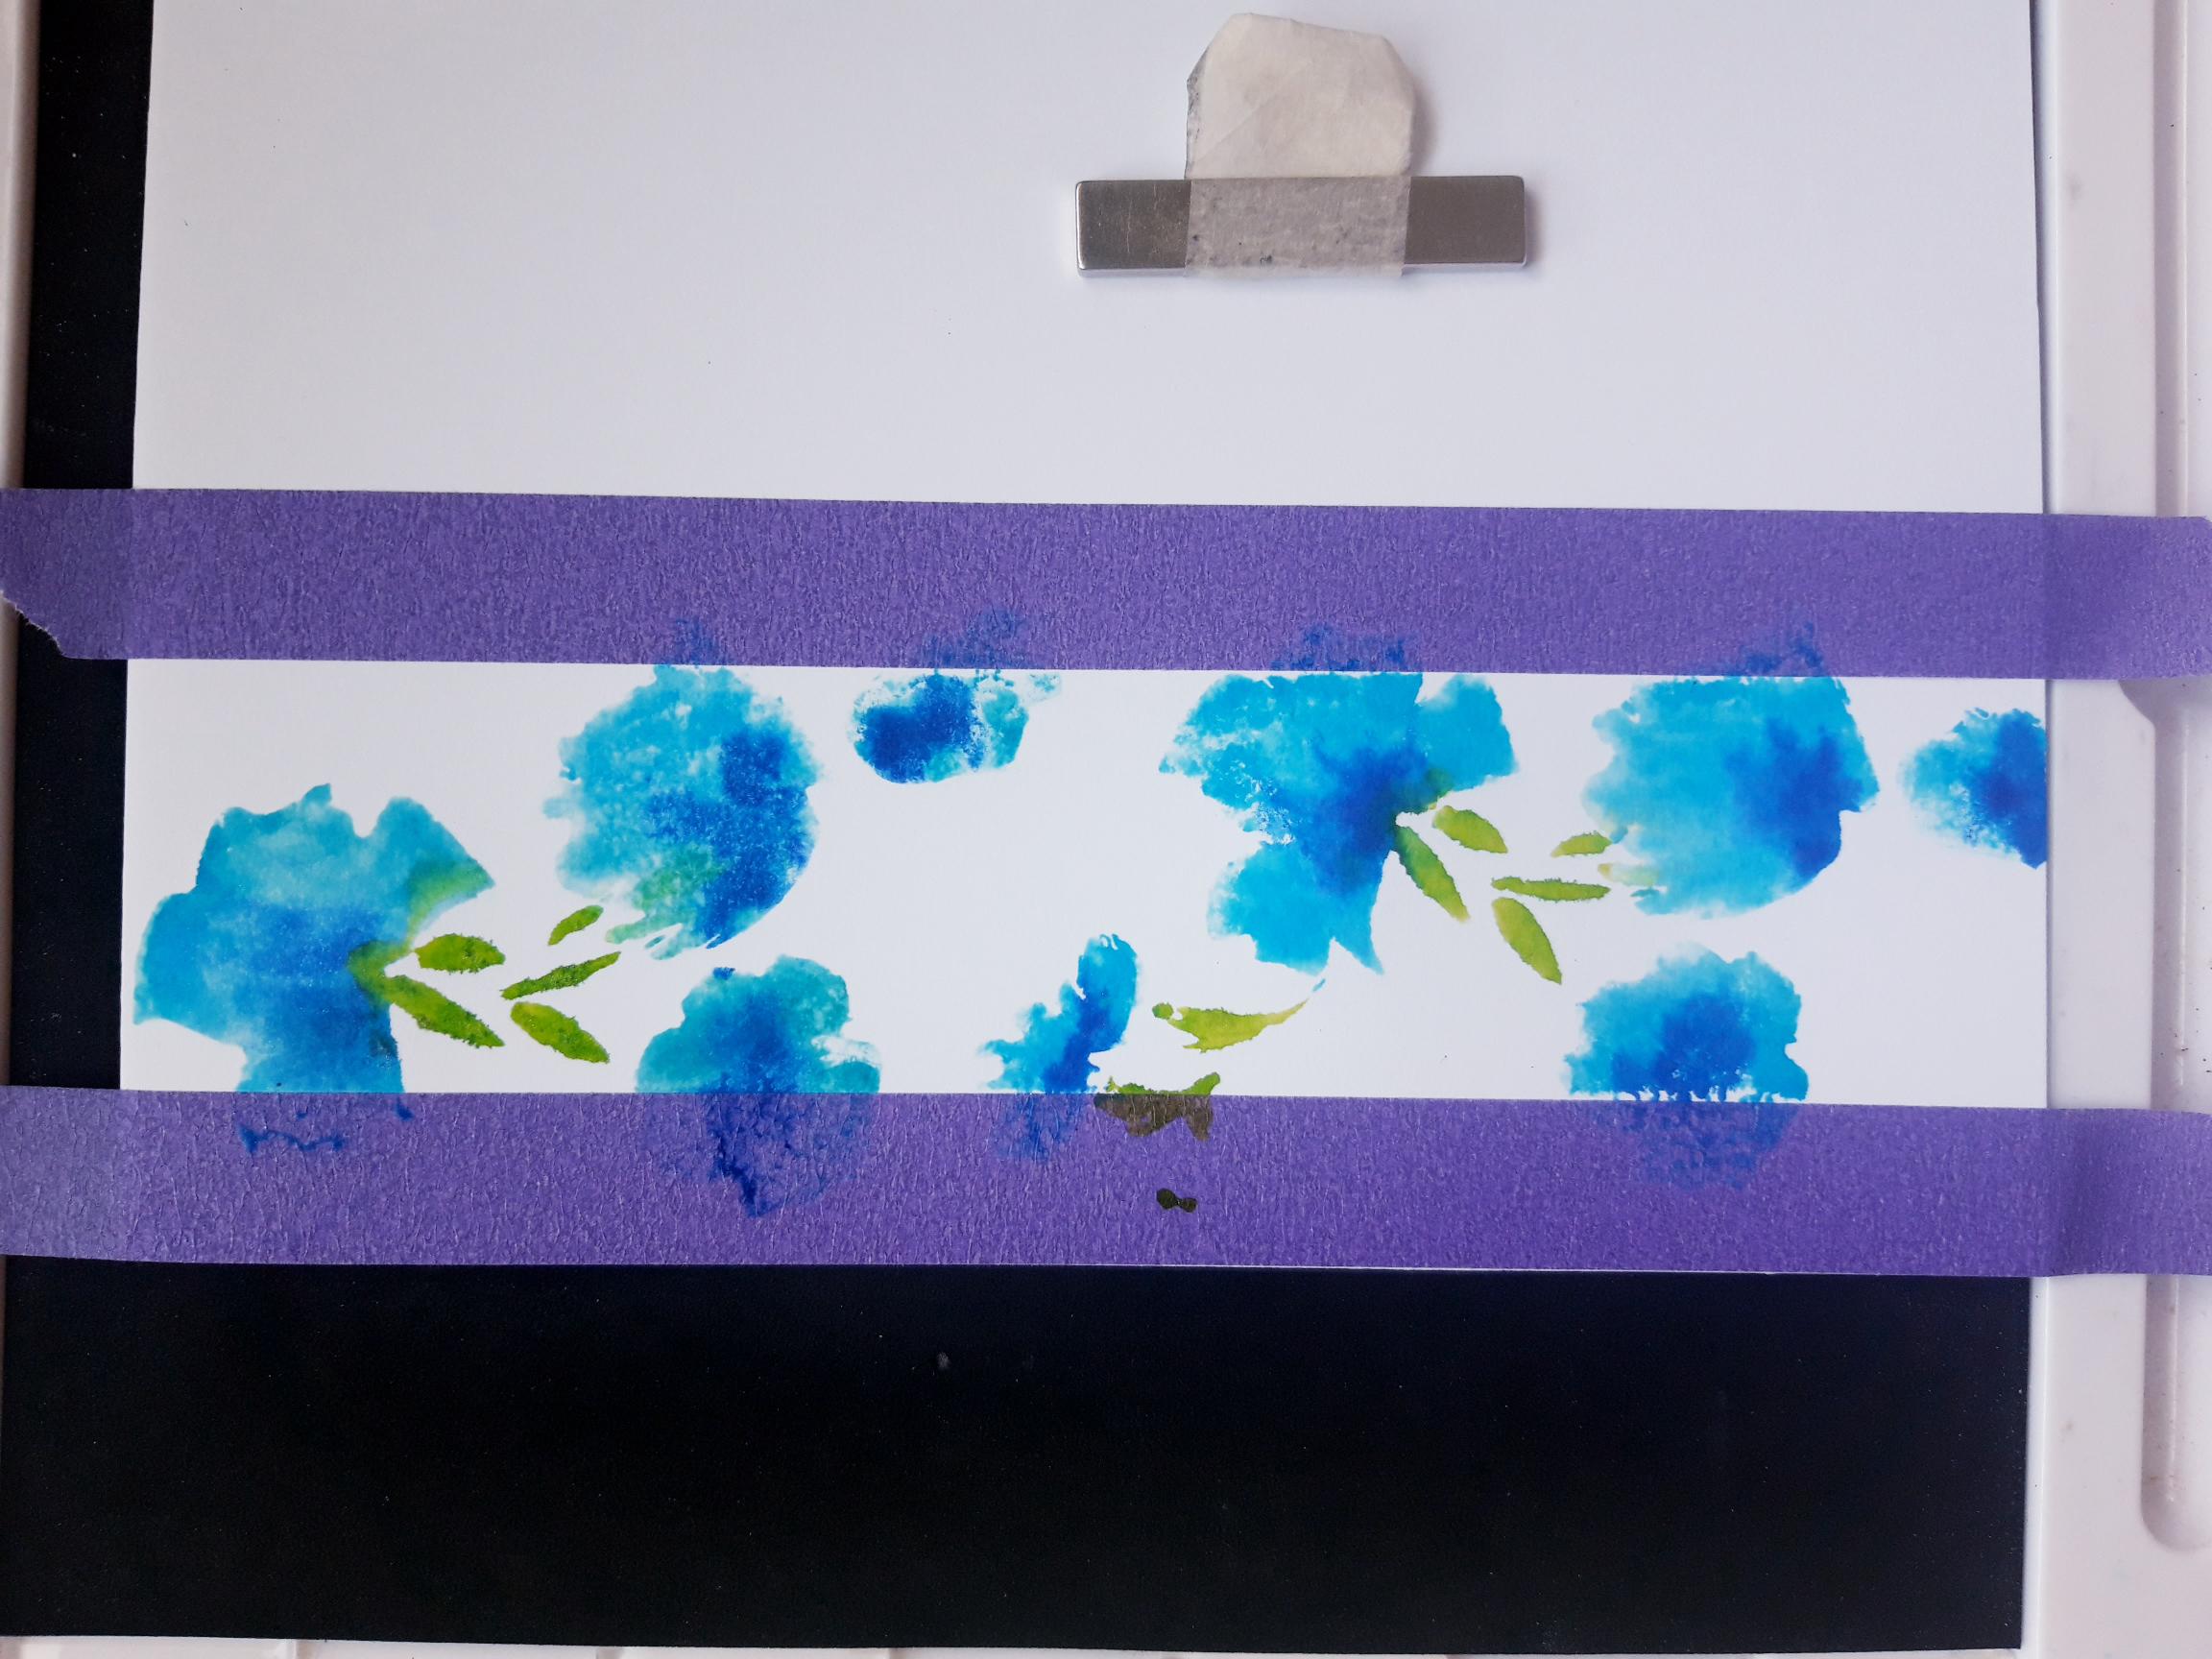
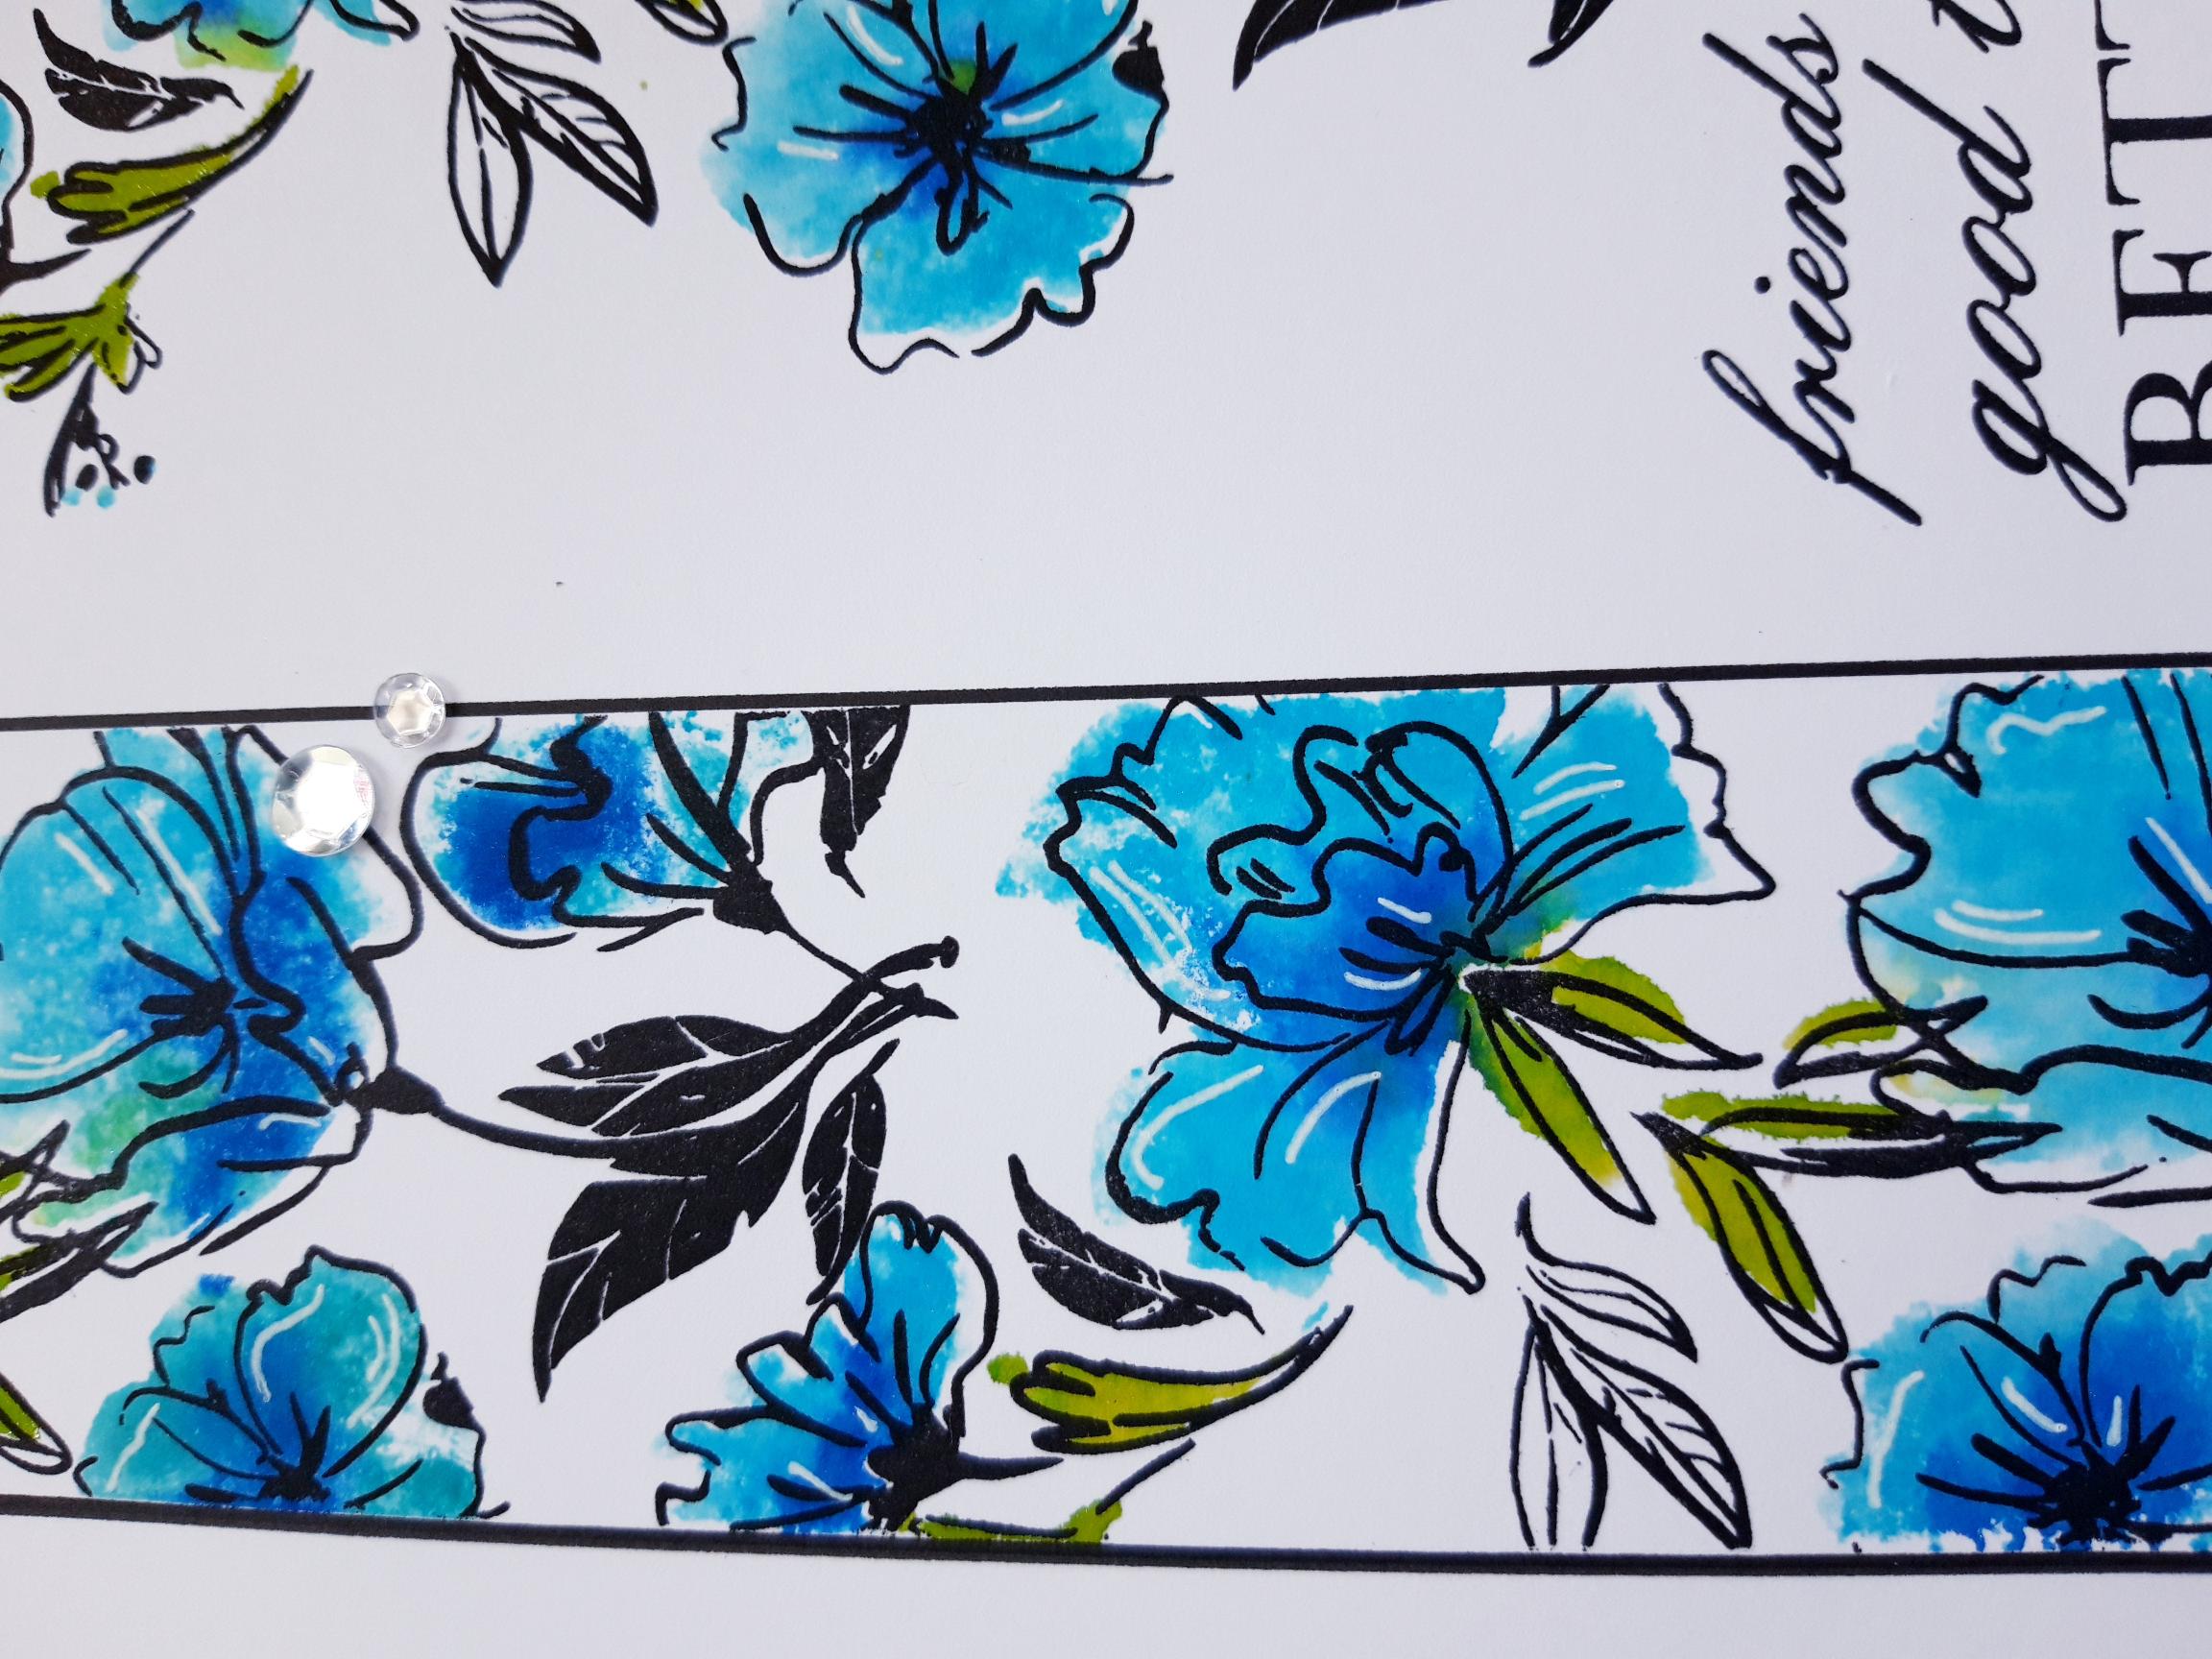
Lay the solid stamp, from the Let Your Dreams Blossom stamp set, within the masked off panel, coming up from the bottom of your card blank. Use your Gossip Glitter pens directly to the stamp, green on the leaves and light blue on the flower heads. Spritz with water then stamp on to your card, using your Eureka 101. Add more ink as required, adding the darker blue to the centre areas of the flower heads, to add more colour, depth and dimension to your stamped image. Now move the solid stamp further up the masked off panel, and repeat these steps, until you are happy with your stamped design. |
|
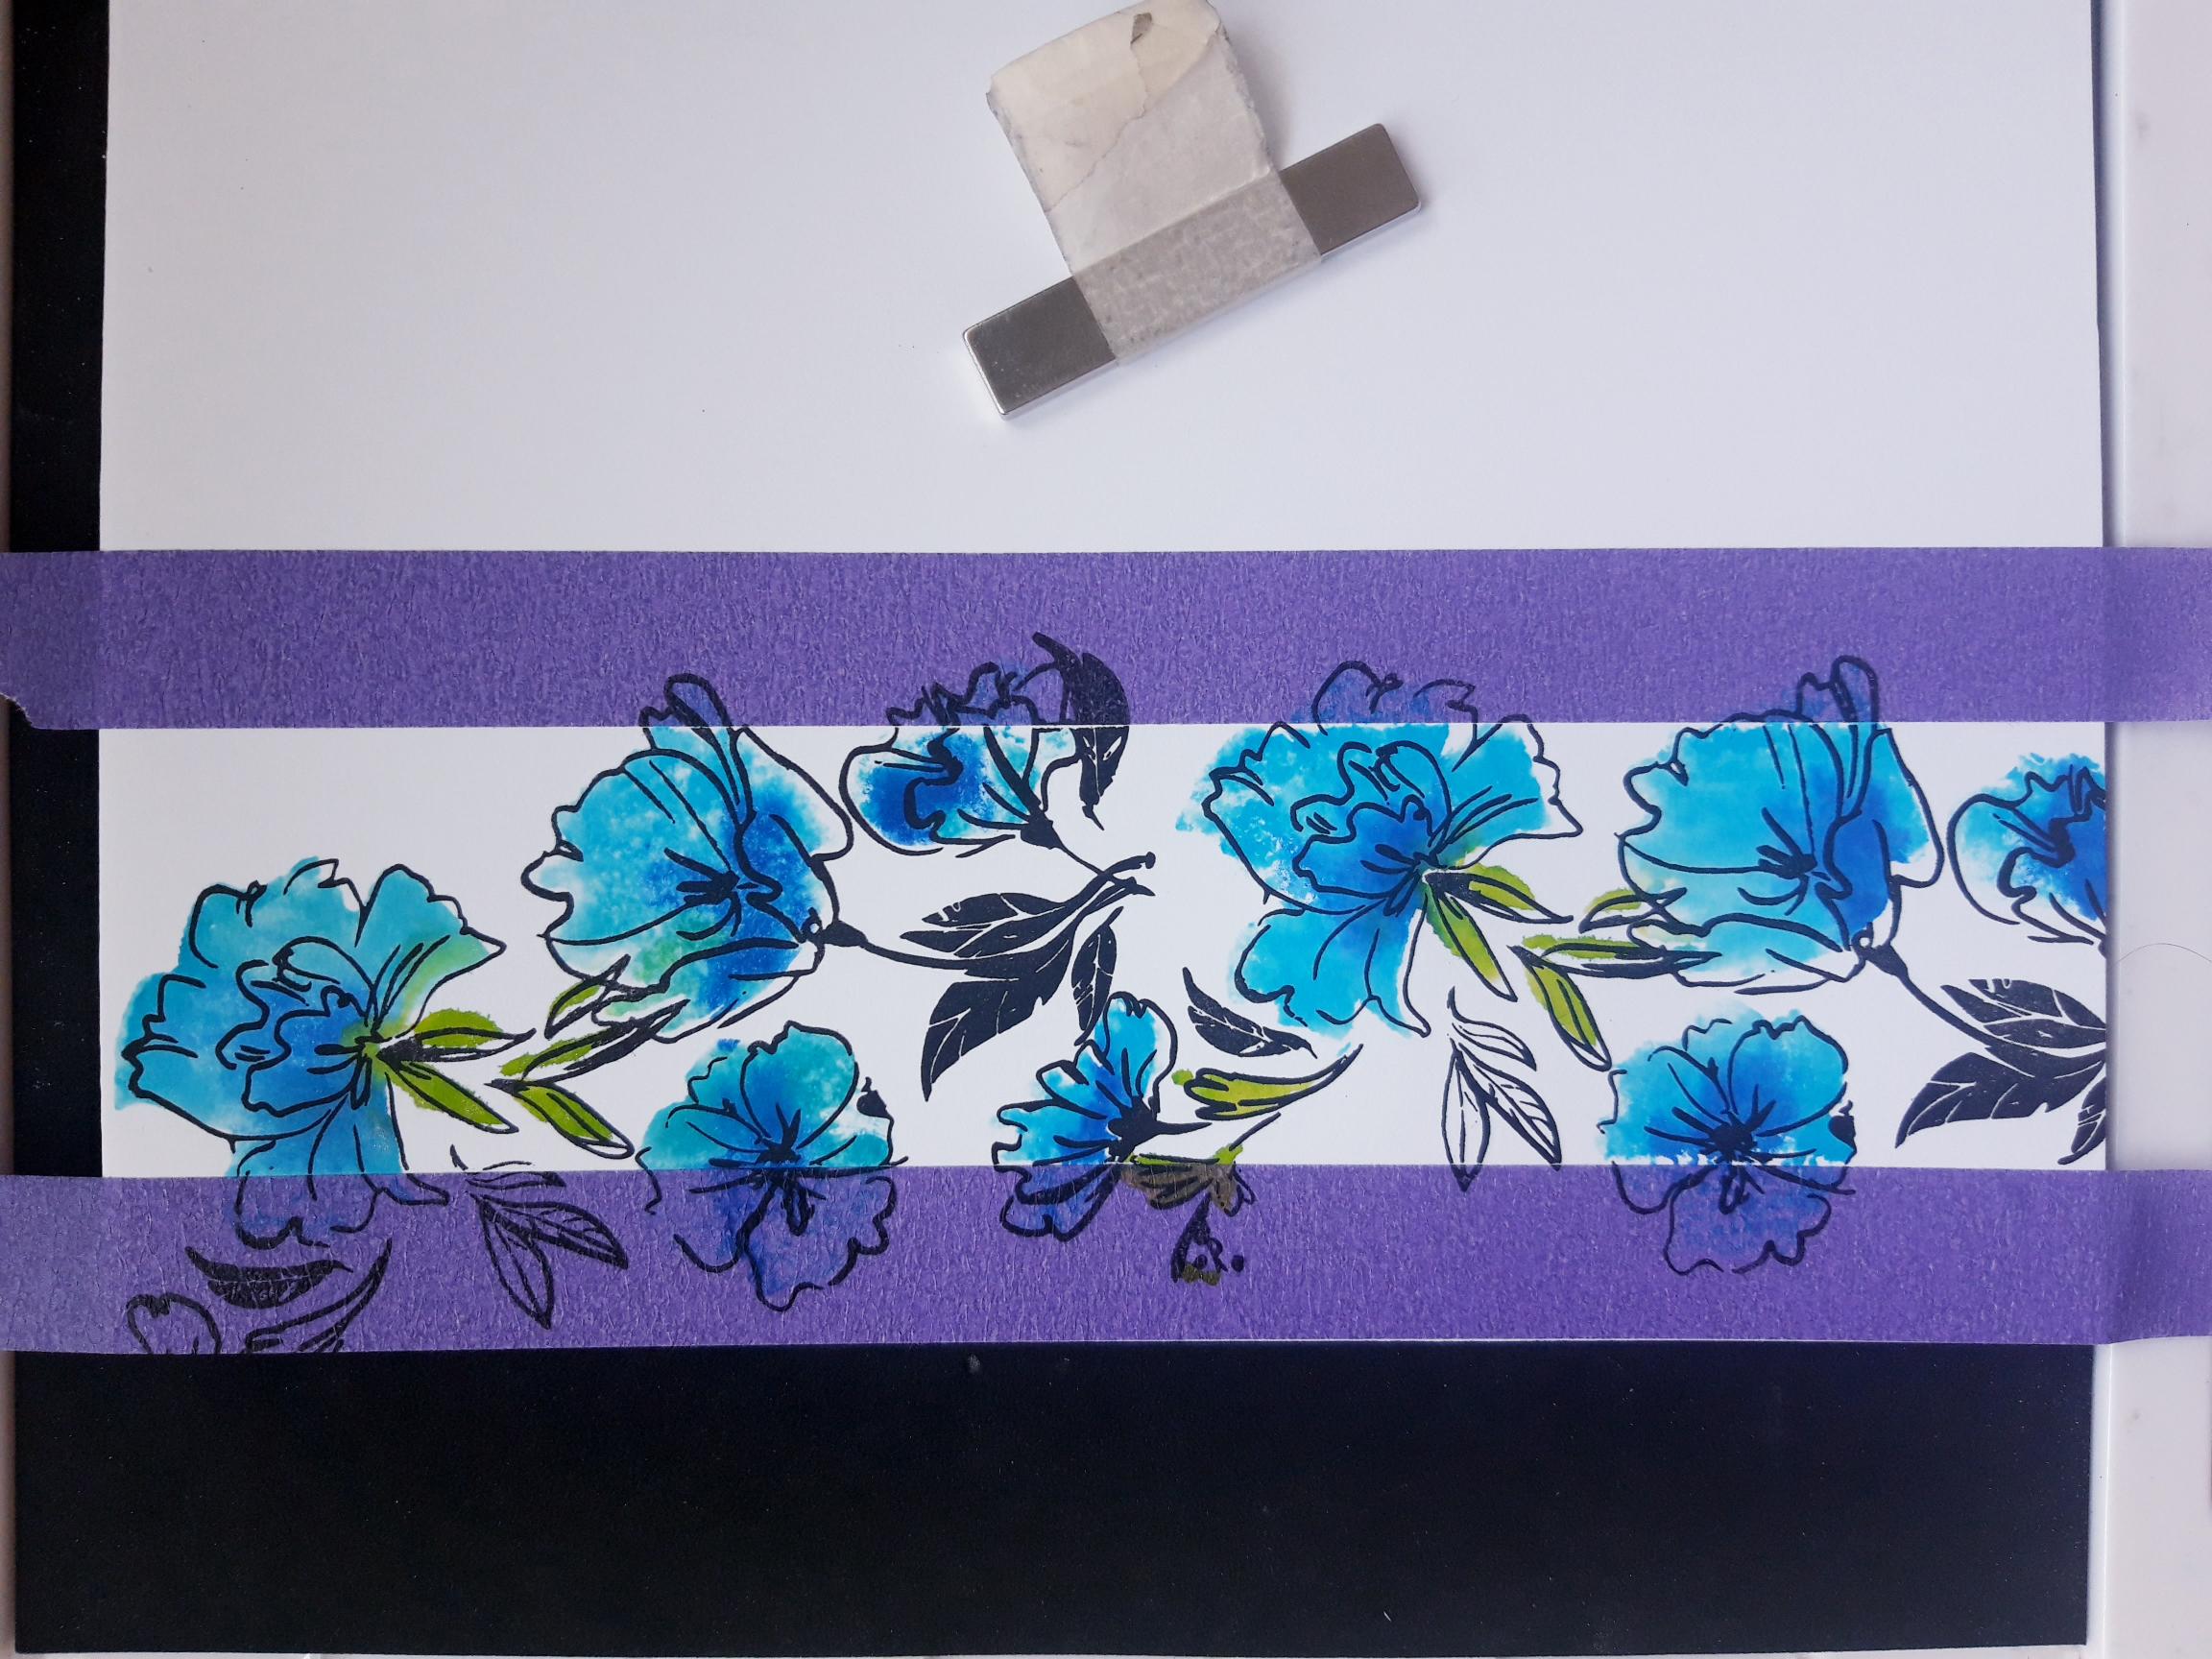
Ink up the coordinating detailed stamp, from the Let Your Dreams Blossom stamp set, in the Onyx Black Versafine. Stamp over the top of your solid stamped image, lining it up appropriately. Do not worry if it isnt completely lined up as this is a loose lamination design, and is not meant to line up perfectly. TIP: If your unsure of how to line the 2 stamps up, practice stamping the solid stamp, then the detailed stamp over the top, on a piece of scrap paper first. |
|
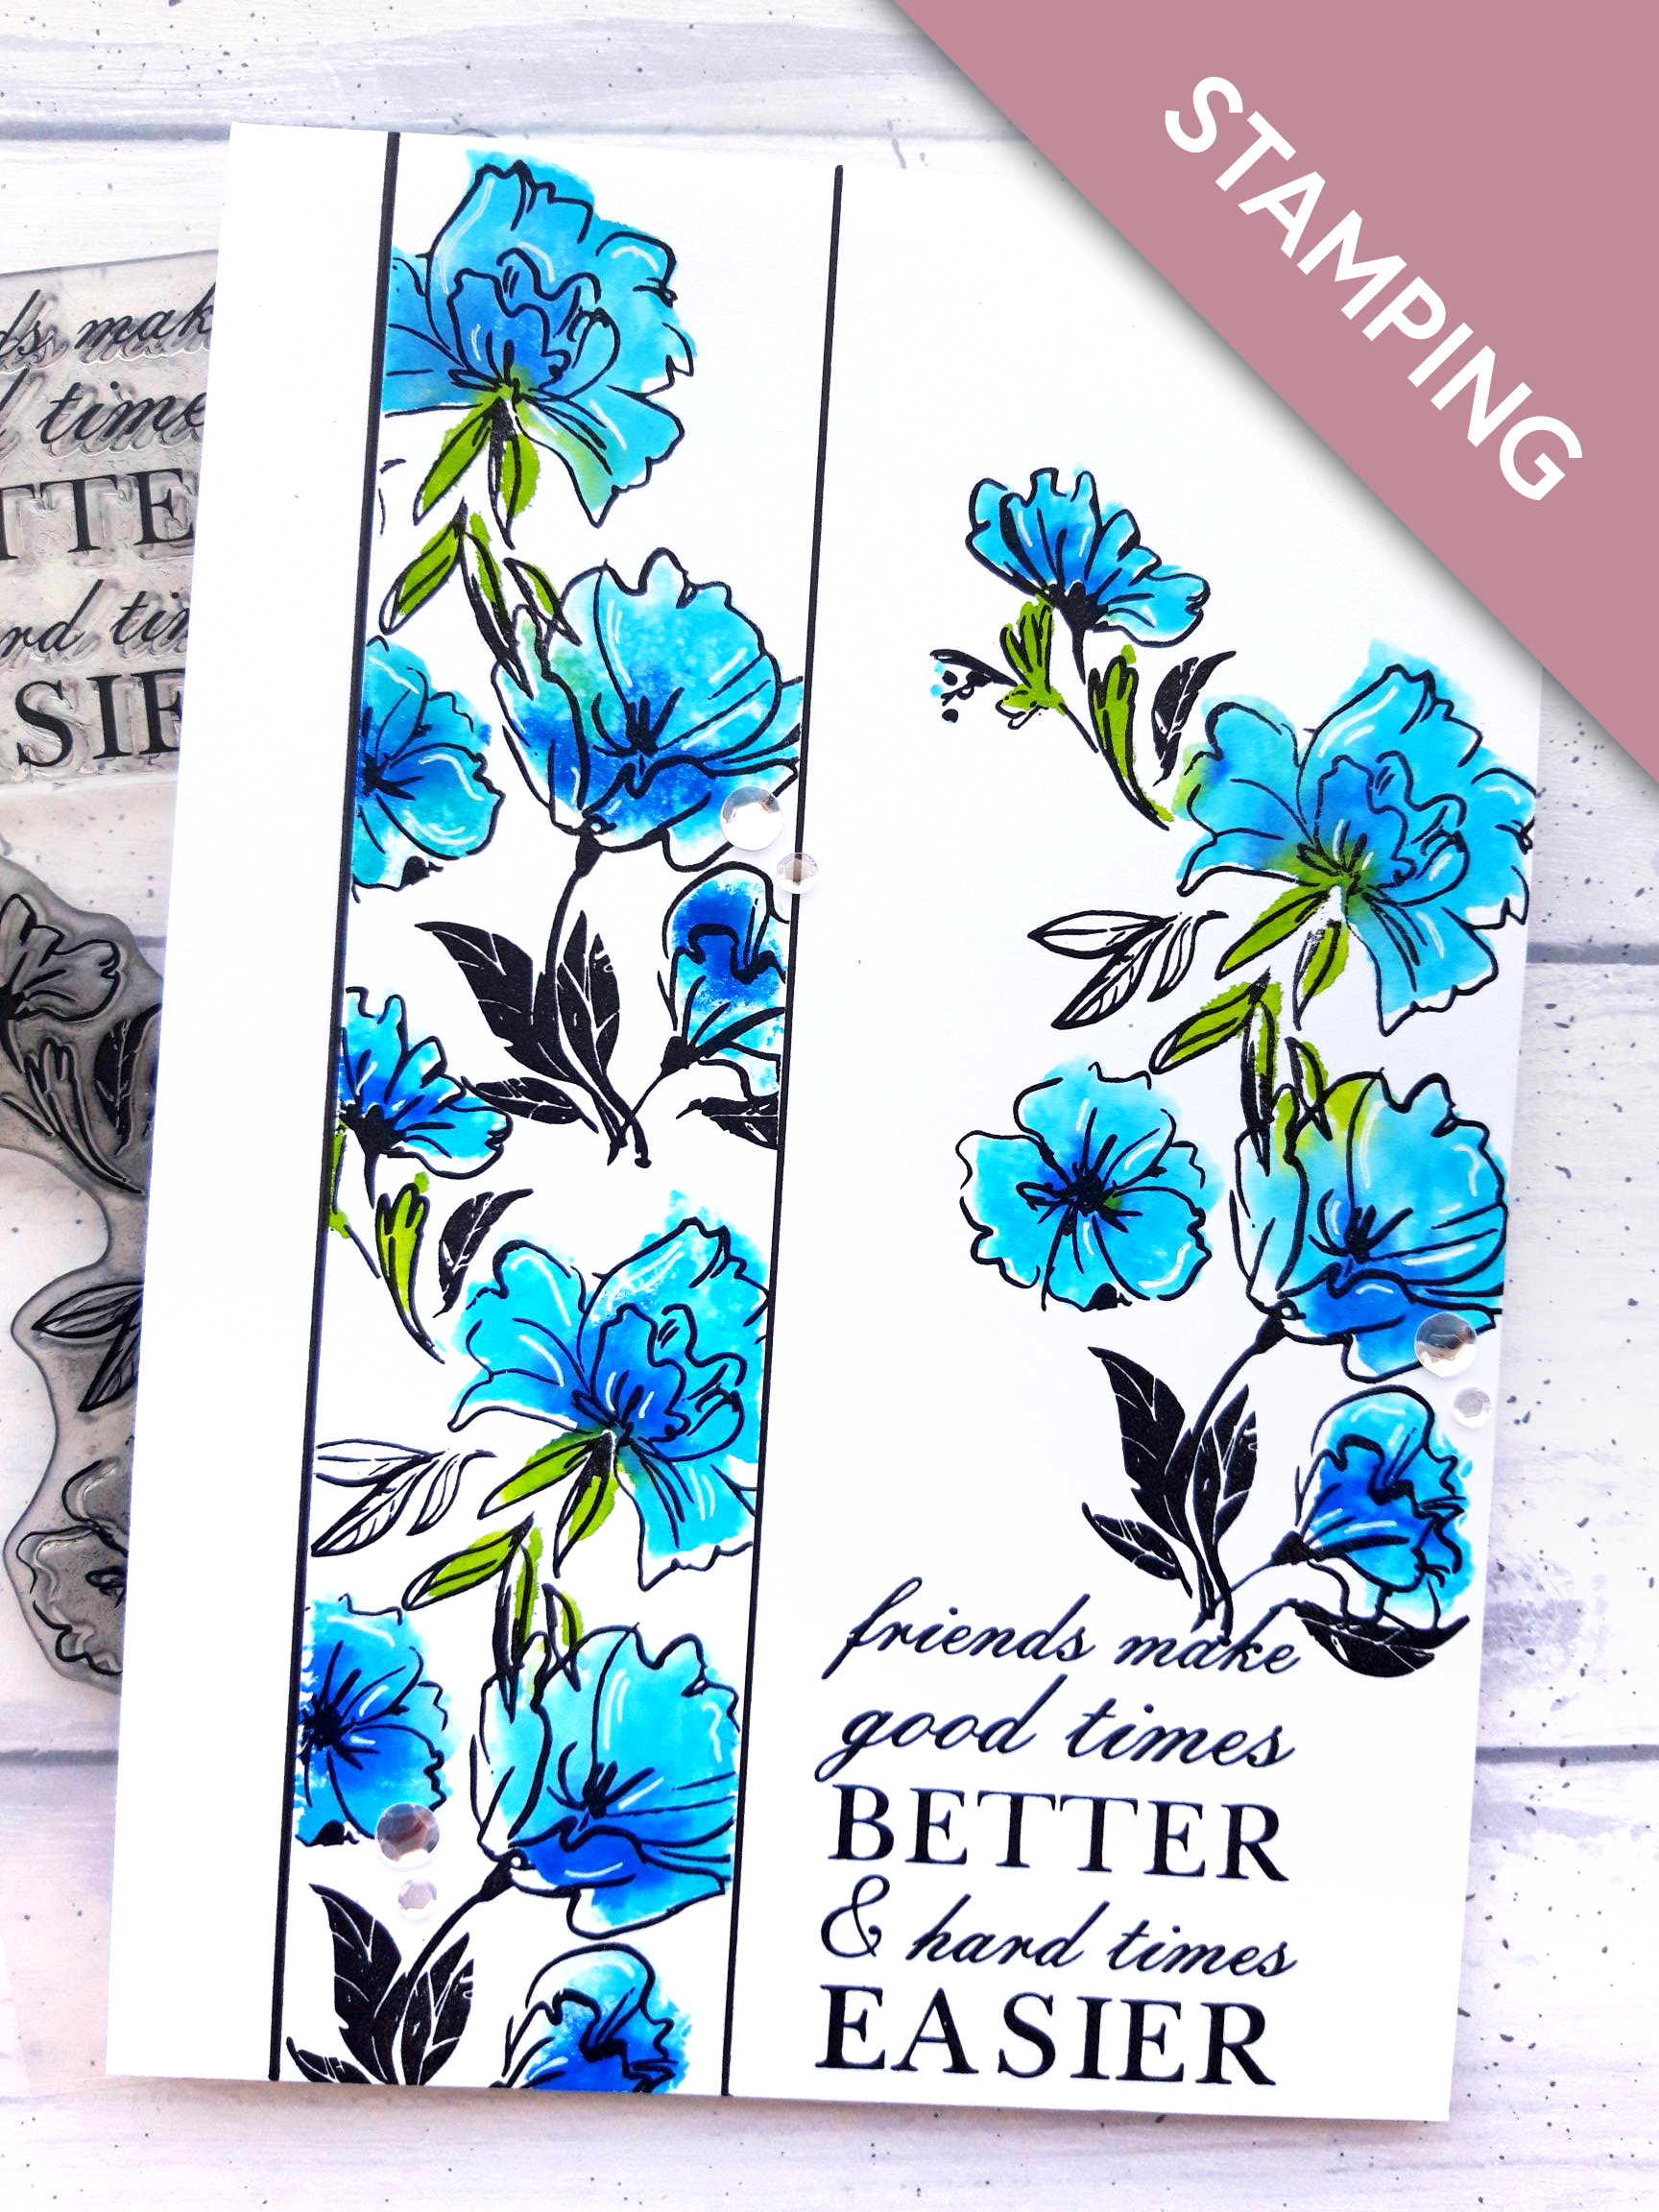
Once your stamped image is completely dry, carefully remove the masking tape from your card blank. Using your black pen, and a ruler, carefully draw a line down each side of your stamped image, to emphasise the "panel". |
|
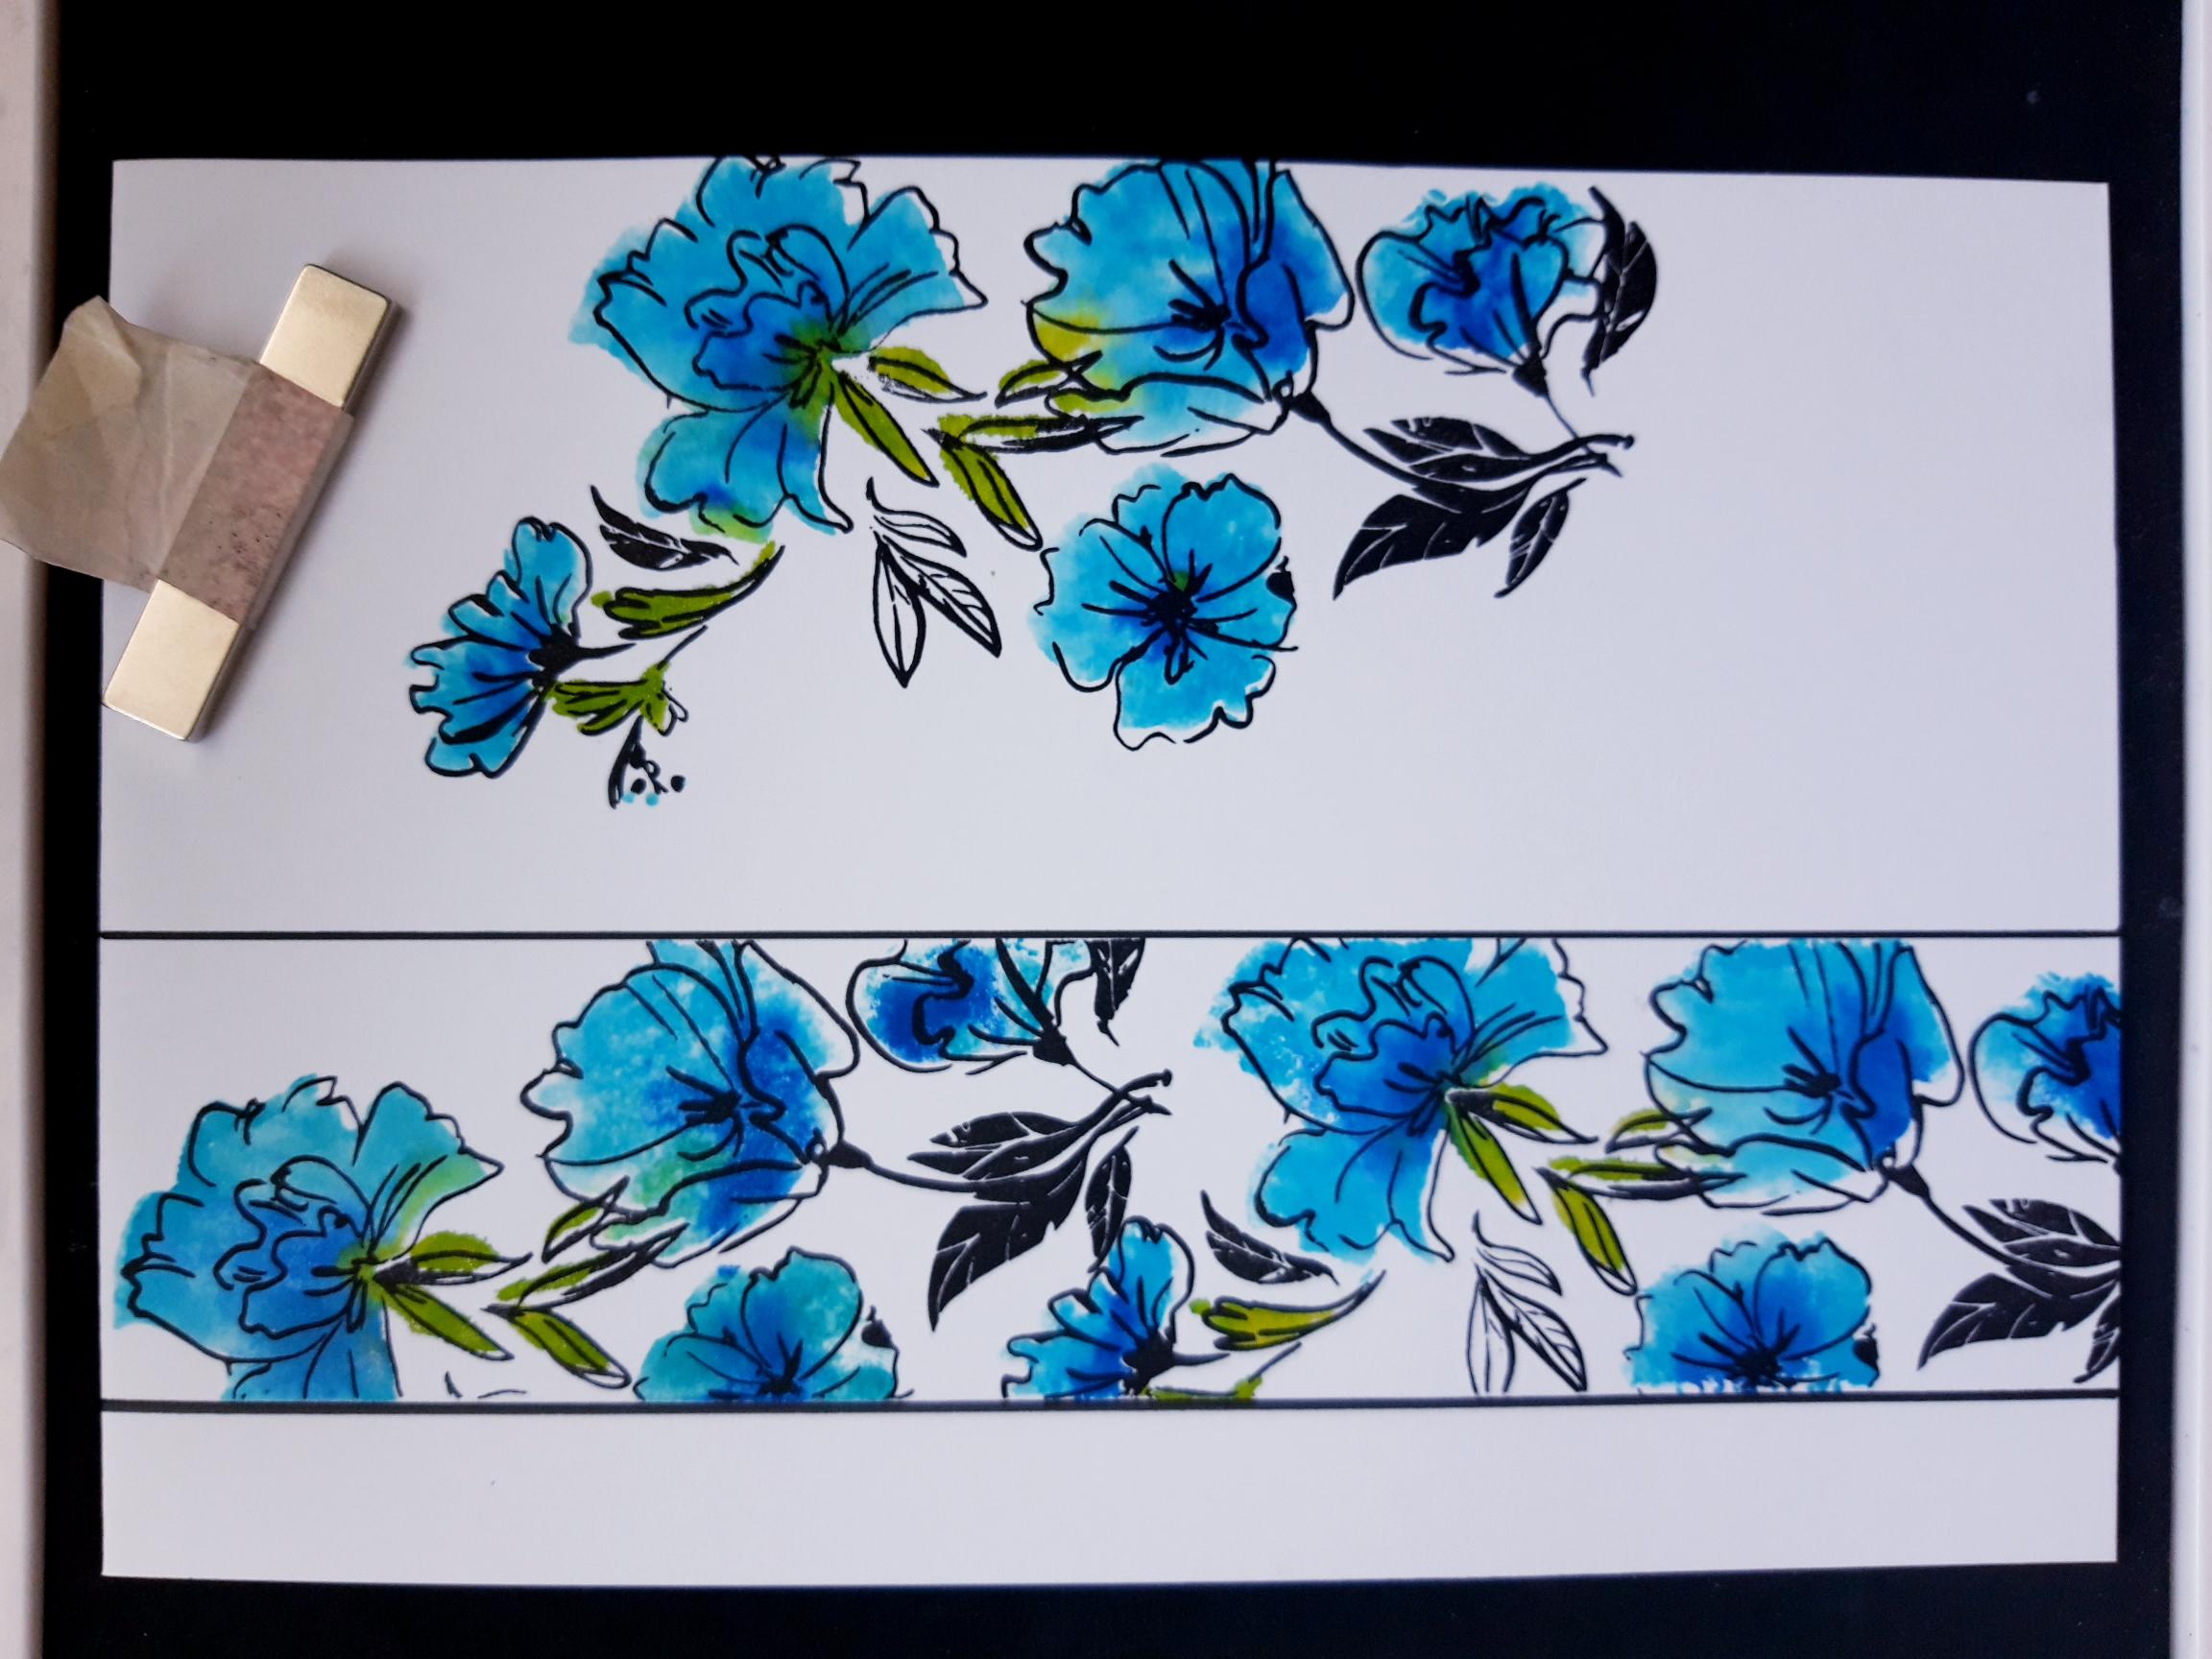
For this next step first lay your chosen sentiment stamp in place to the bottom right of your card blank. Use this as a guide to position the solid floral stamp again, so it will sit just above where the sentiment will be, making sure the image will also go off the right hand edge of the card blank. Remove the sentiment stamp, for now, and ink up your solid floral stamp, as before, using the green, light blue and dark blue pens. Dont forget to spritz with water. Ink up the detailed stamp in the Onyx Black Versafine, as before, and stamp over the solid stamped image. |
|
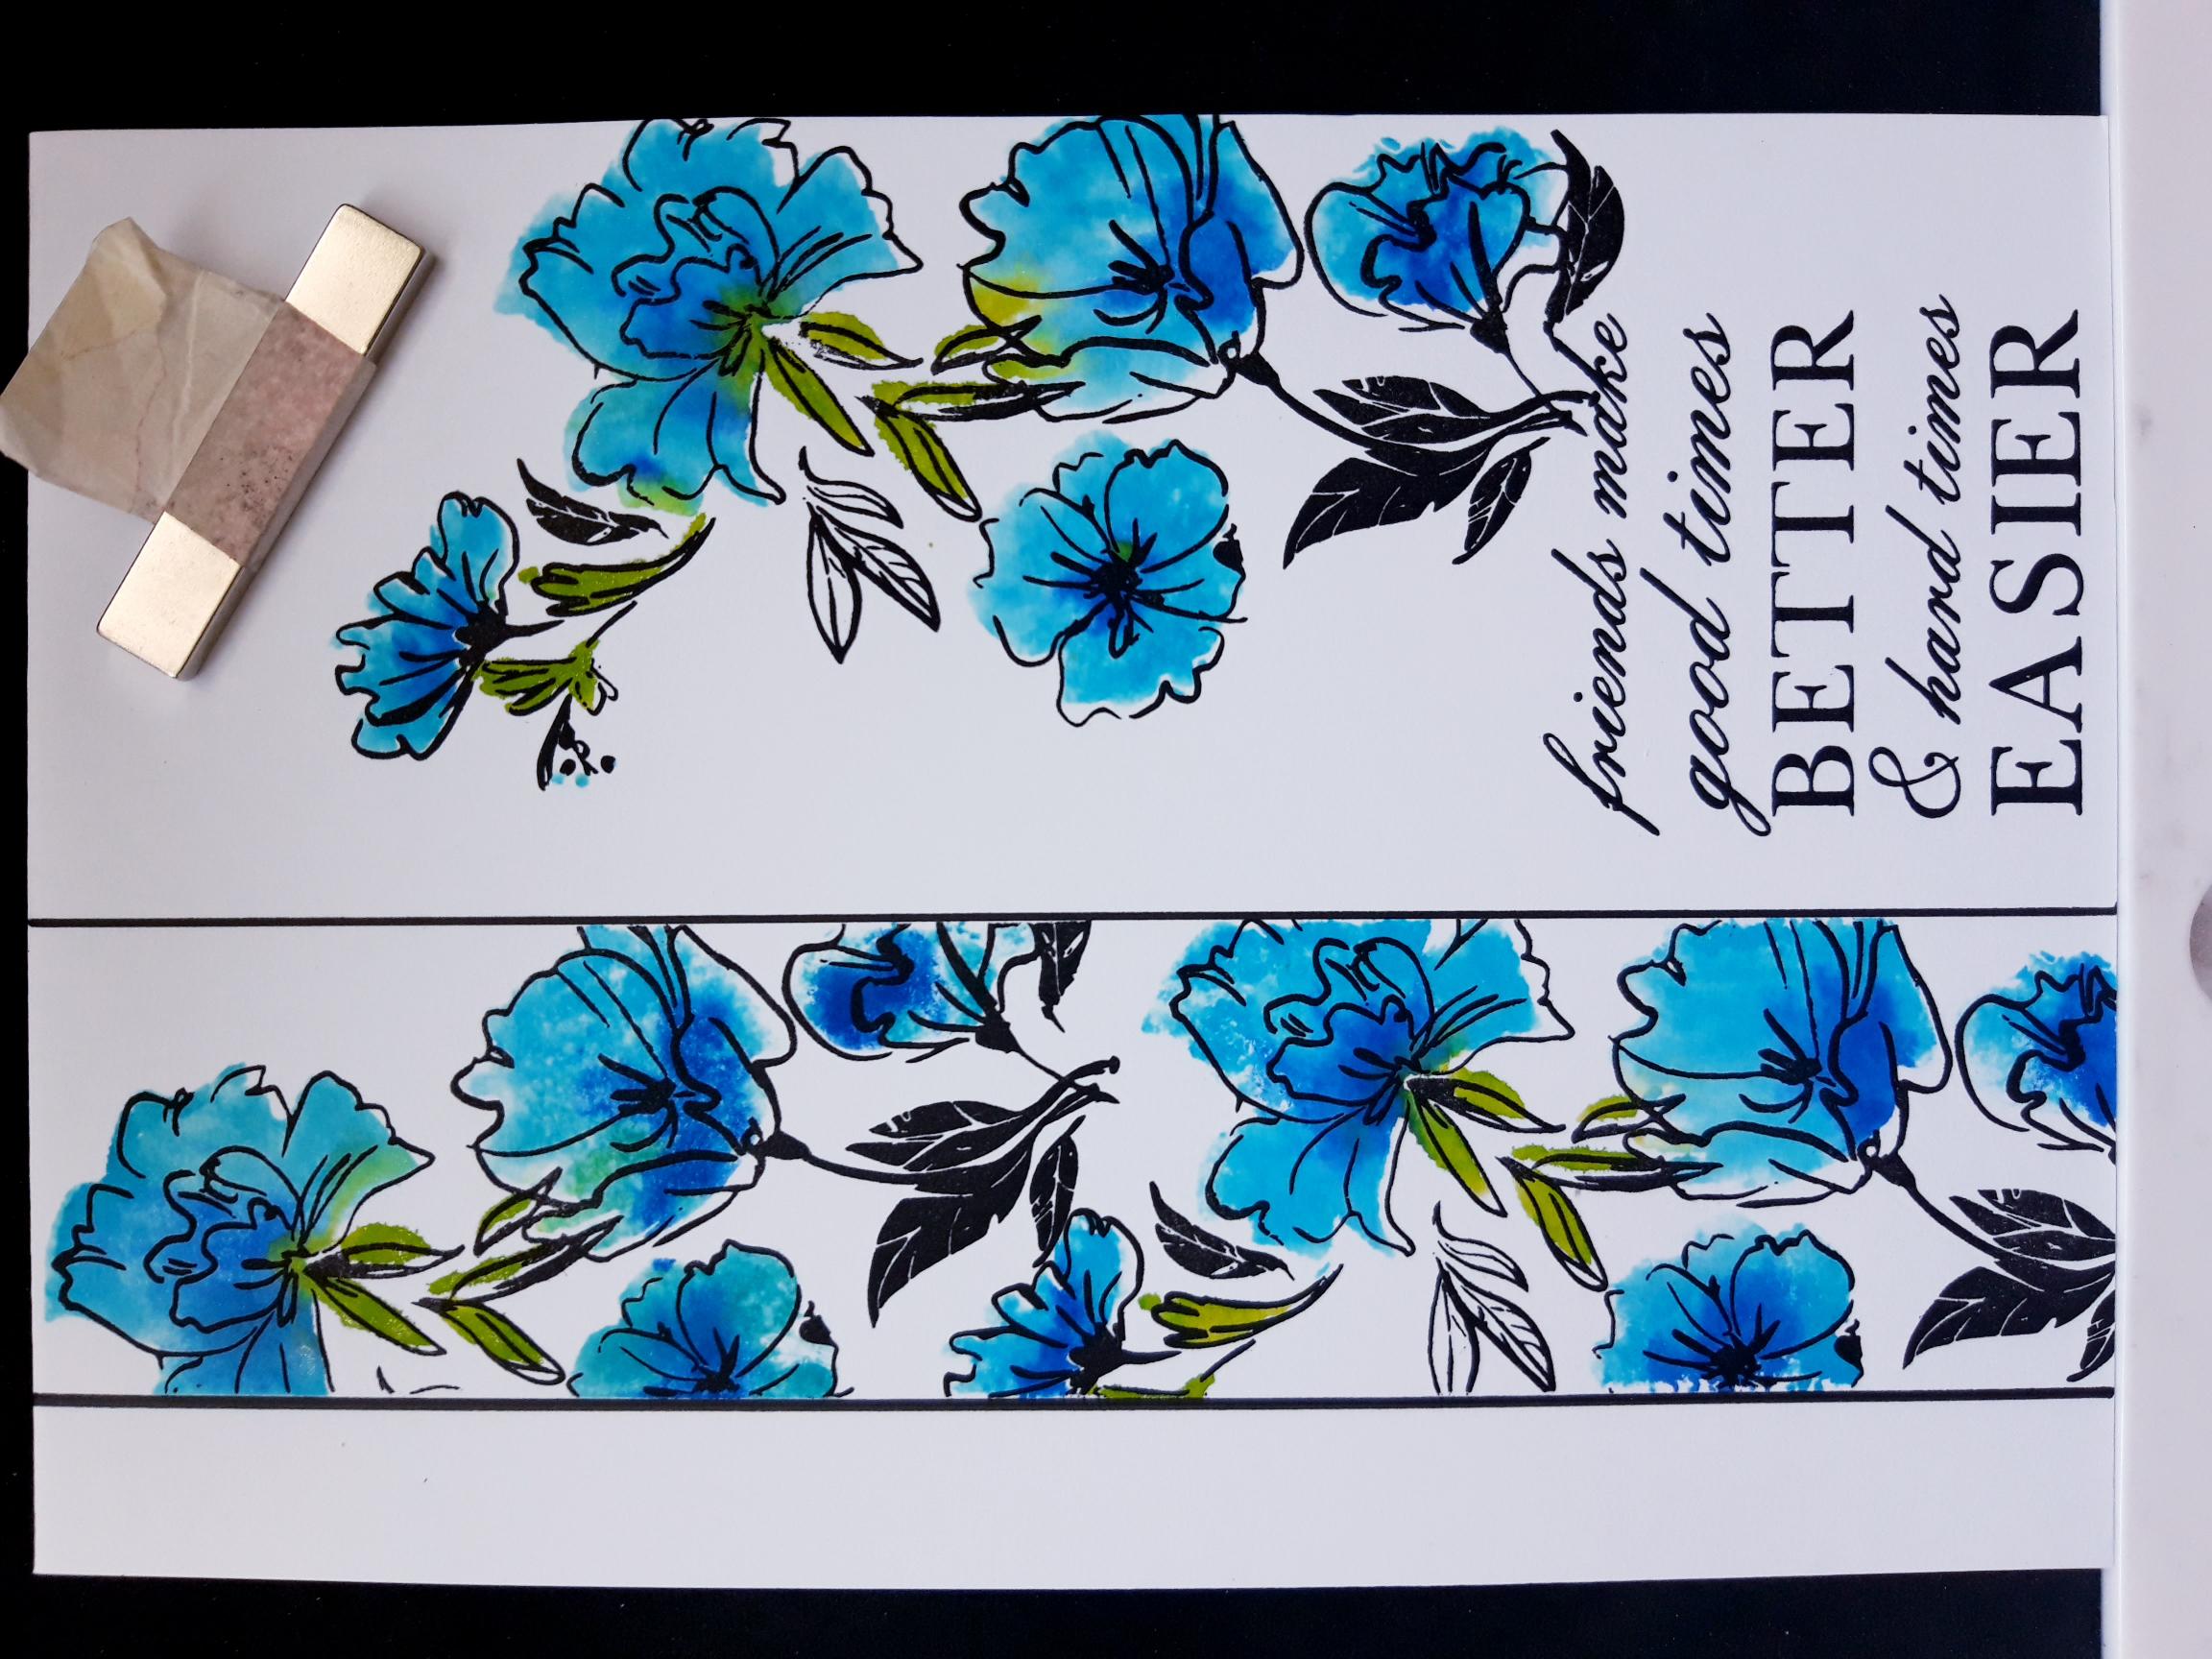
Now you can ink up the sentiment stamp in the Onyx Black Versafine and stamp in place, under your stamped floral image, but so it just "kisses" the bottom of the stamped image, as this gives continuity to your design. |
|
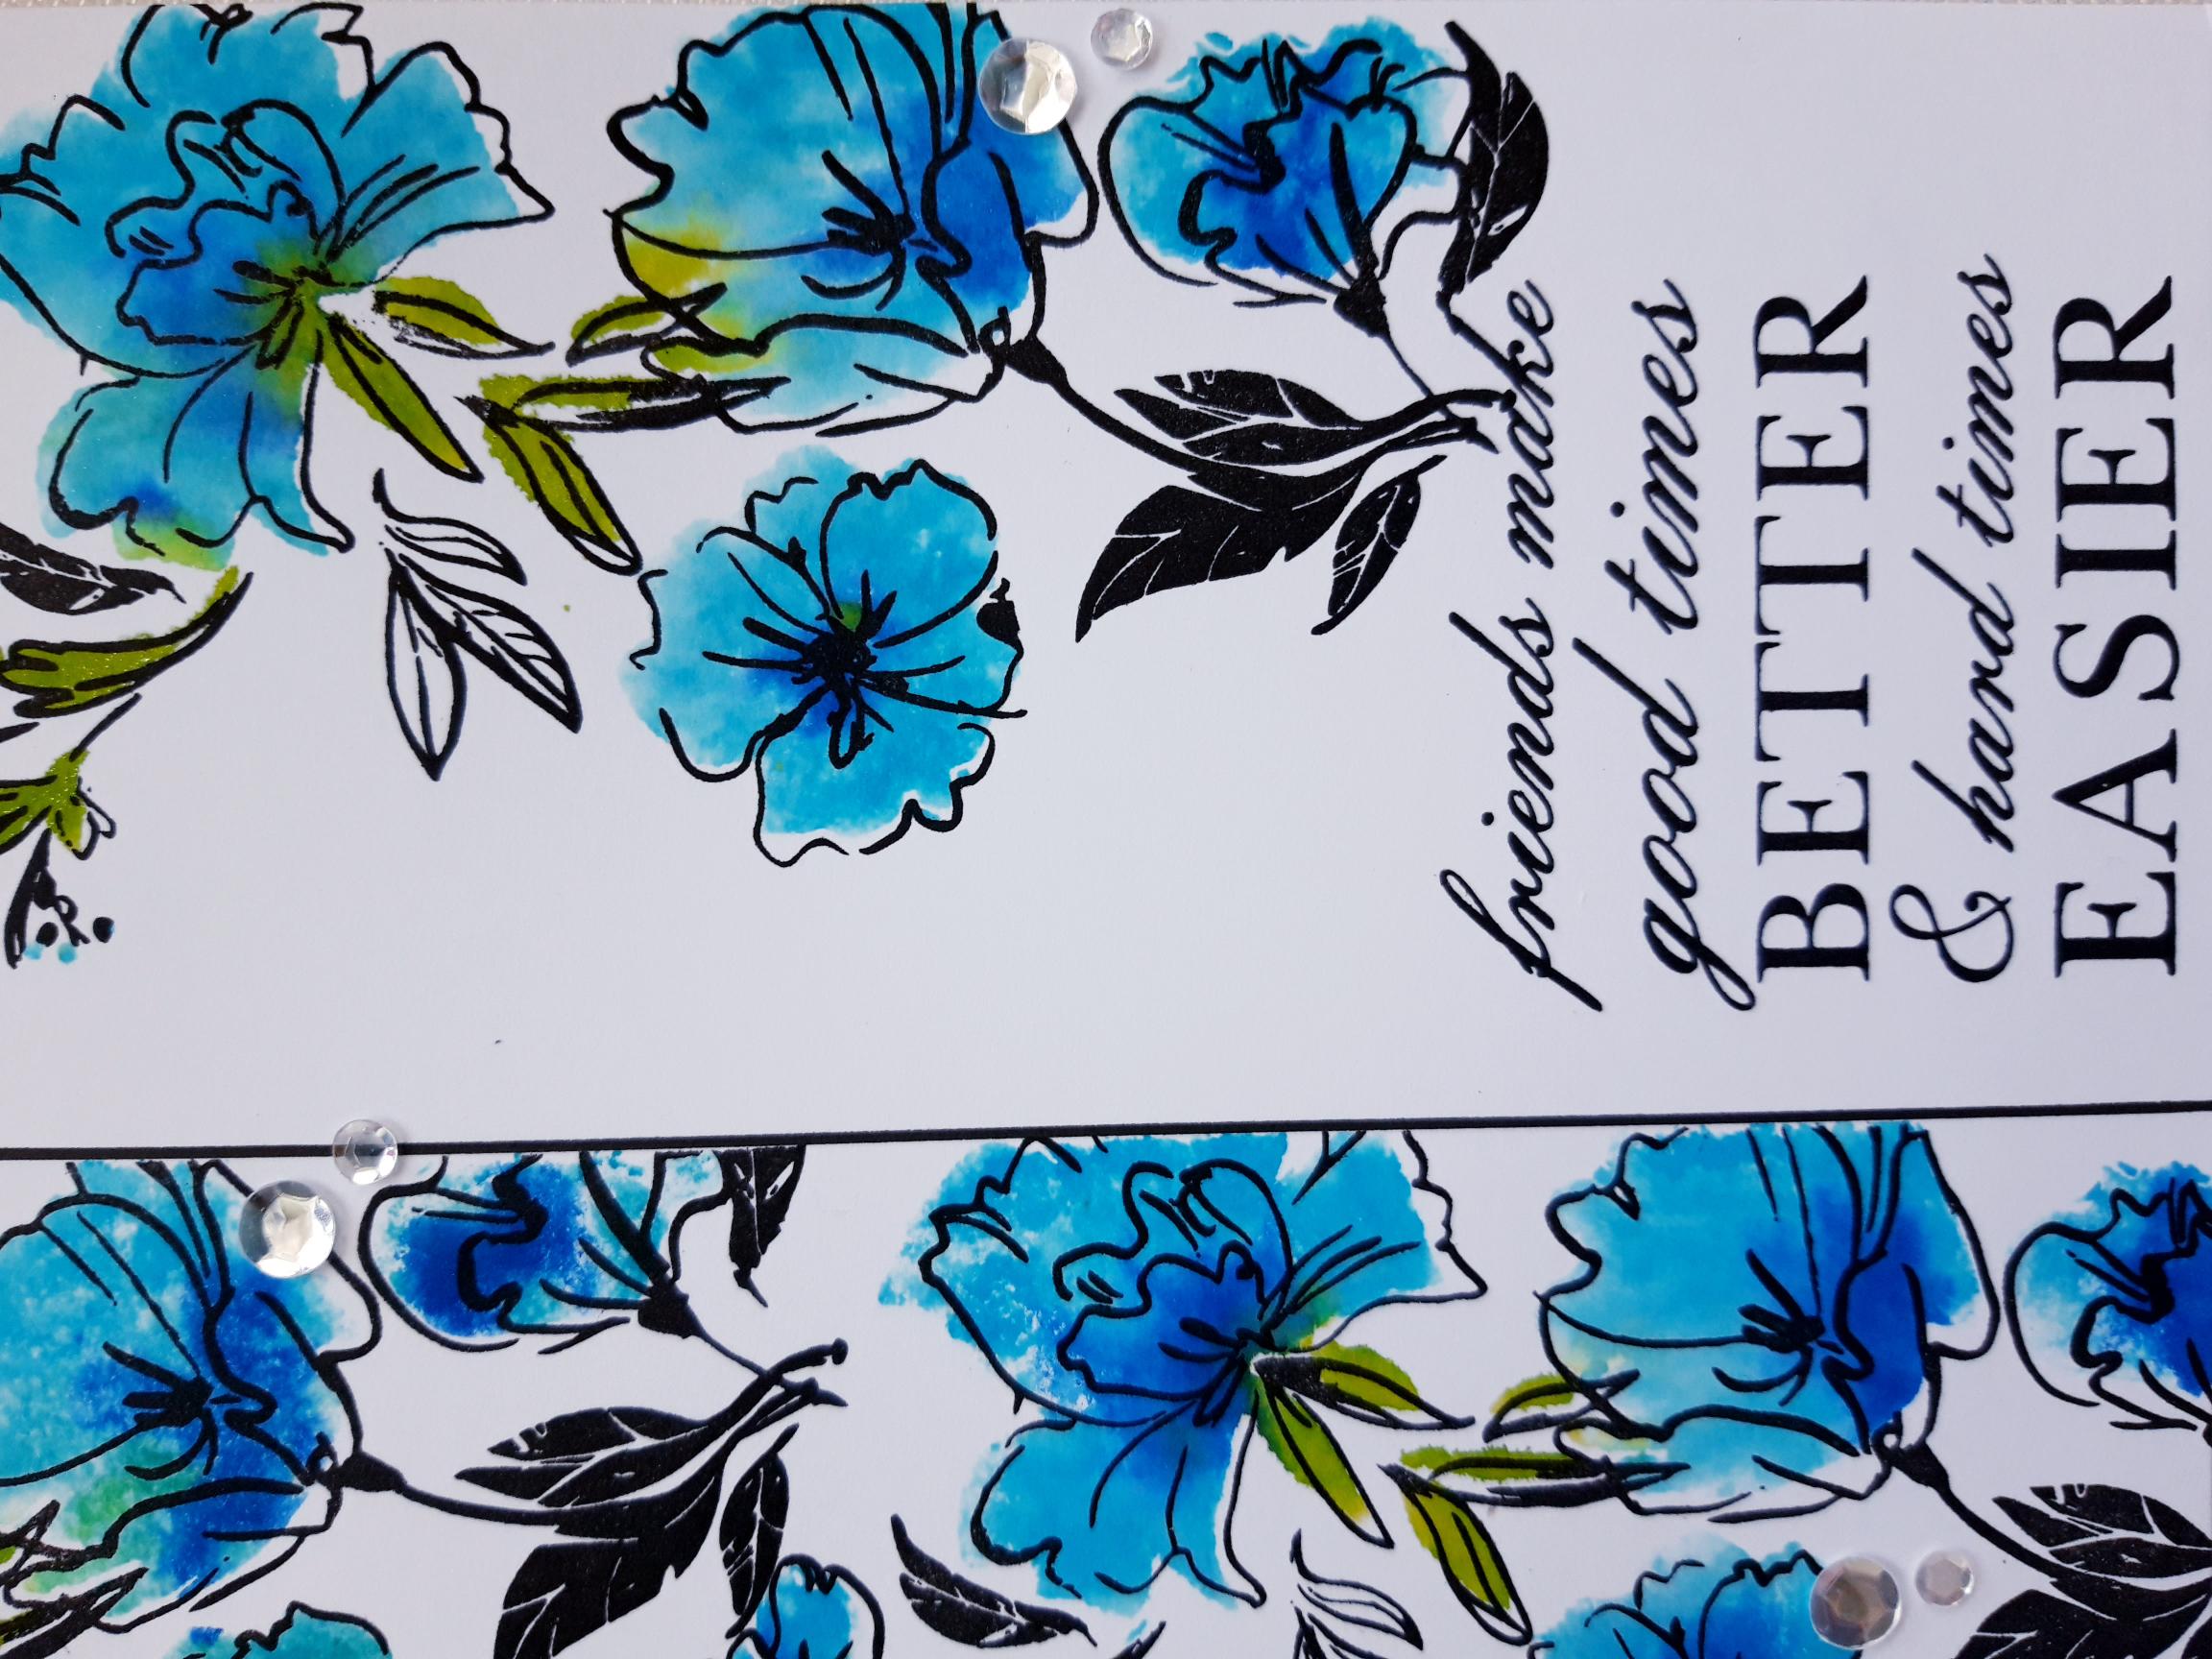
Adhere some clear sequins, from the Creative Box, to your card, as desired. |
|
To finish, use your white gel pen to add highlights to your stamped images. This helps to add light and shade. |