Give your friends $10 off their first order!
Refer a FRIEND


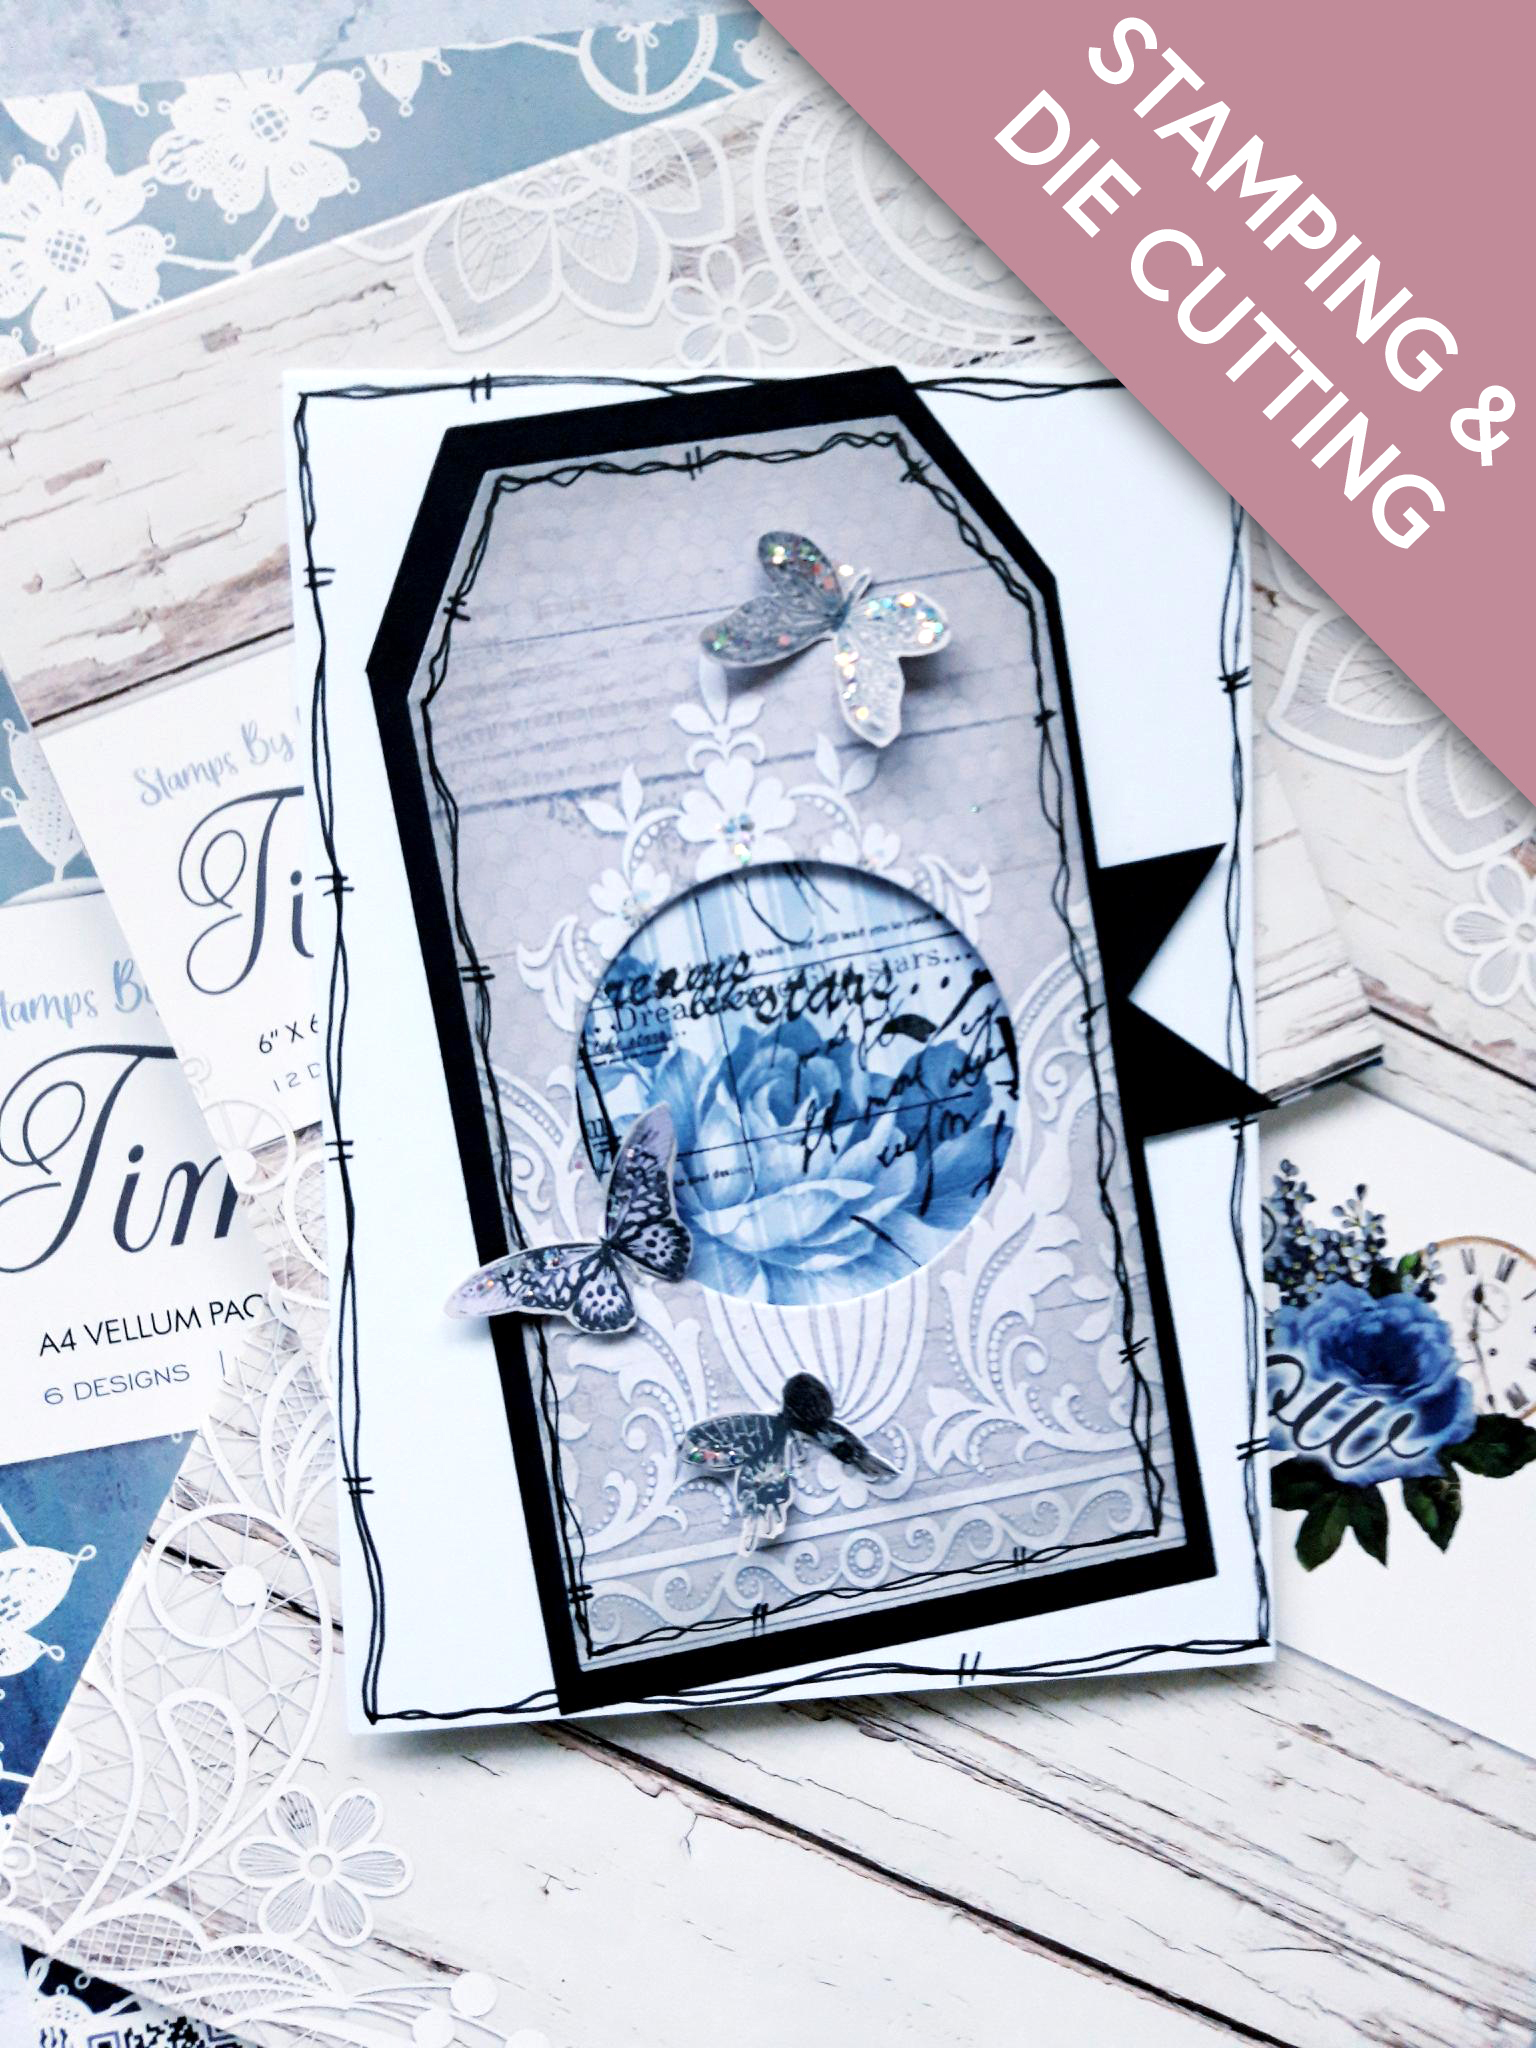
WHAT YOU WILL NEED:
White top folding card blank (cut down to 7 x 5")
Black A4 card
Time To Grow 6 x 6" Paper Pad
Time To Grow 4 x 4" Paper Pad
Time To Grow A4 Paper Pad
Stamps from Imala Destiny stamp set
Stamp from Designer Background 2 Script Stamp Collection
Dies from Thirsty Brush UnLtd Tagged Creative Dies
Dies from Deboss Nesting Dies - Circles
Banner Tag Punch
Versafine Ink Pad: Onyx Black
Distress Oxide: Hickory Smoke
Blending brush/tool
Midas Glitter: Viennese Waltz
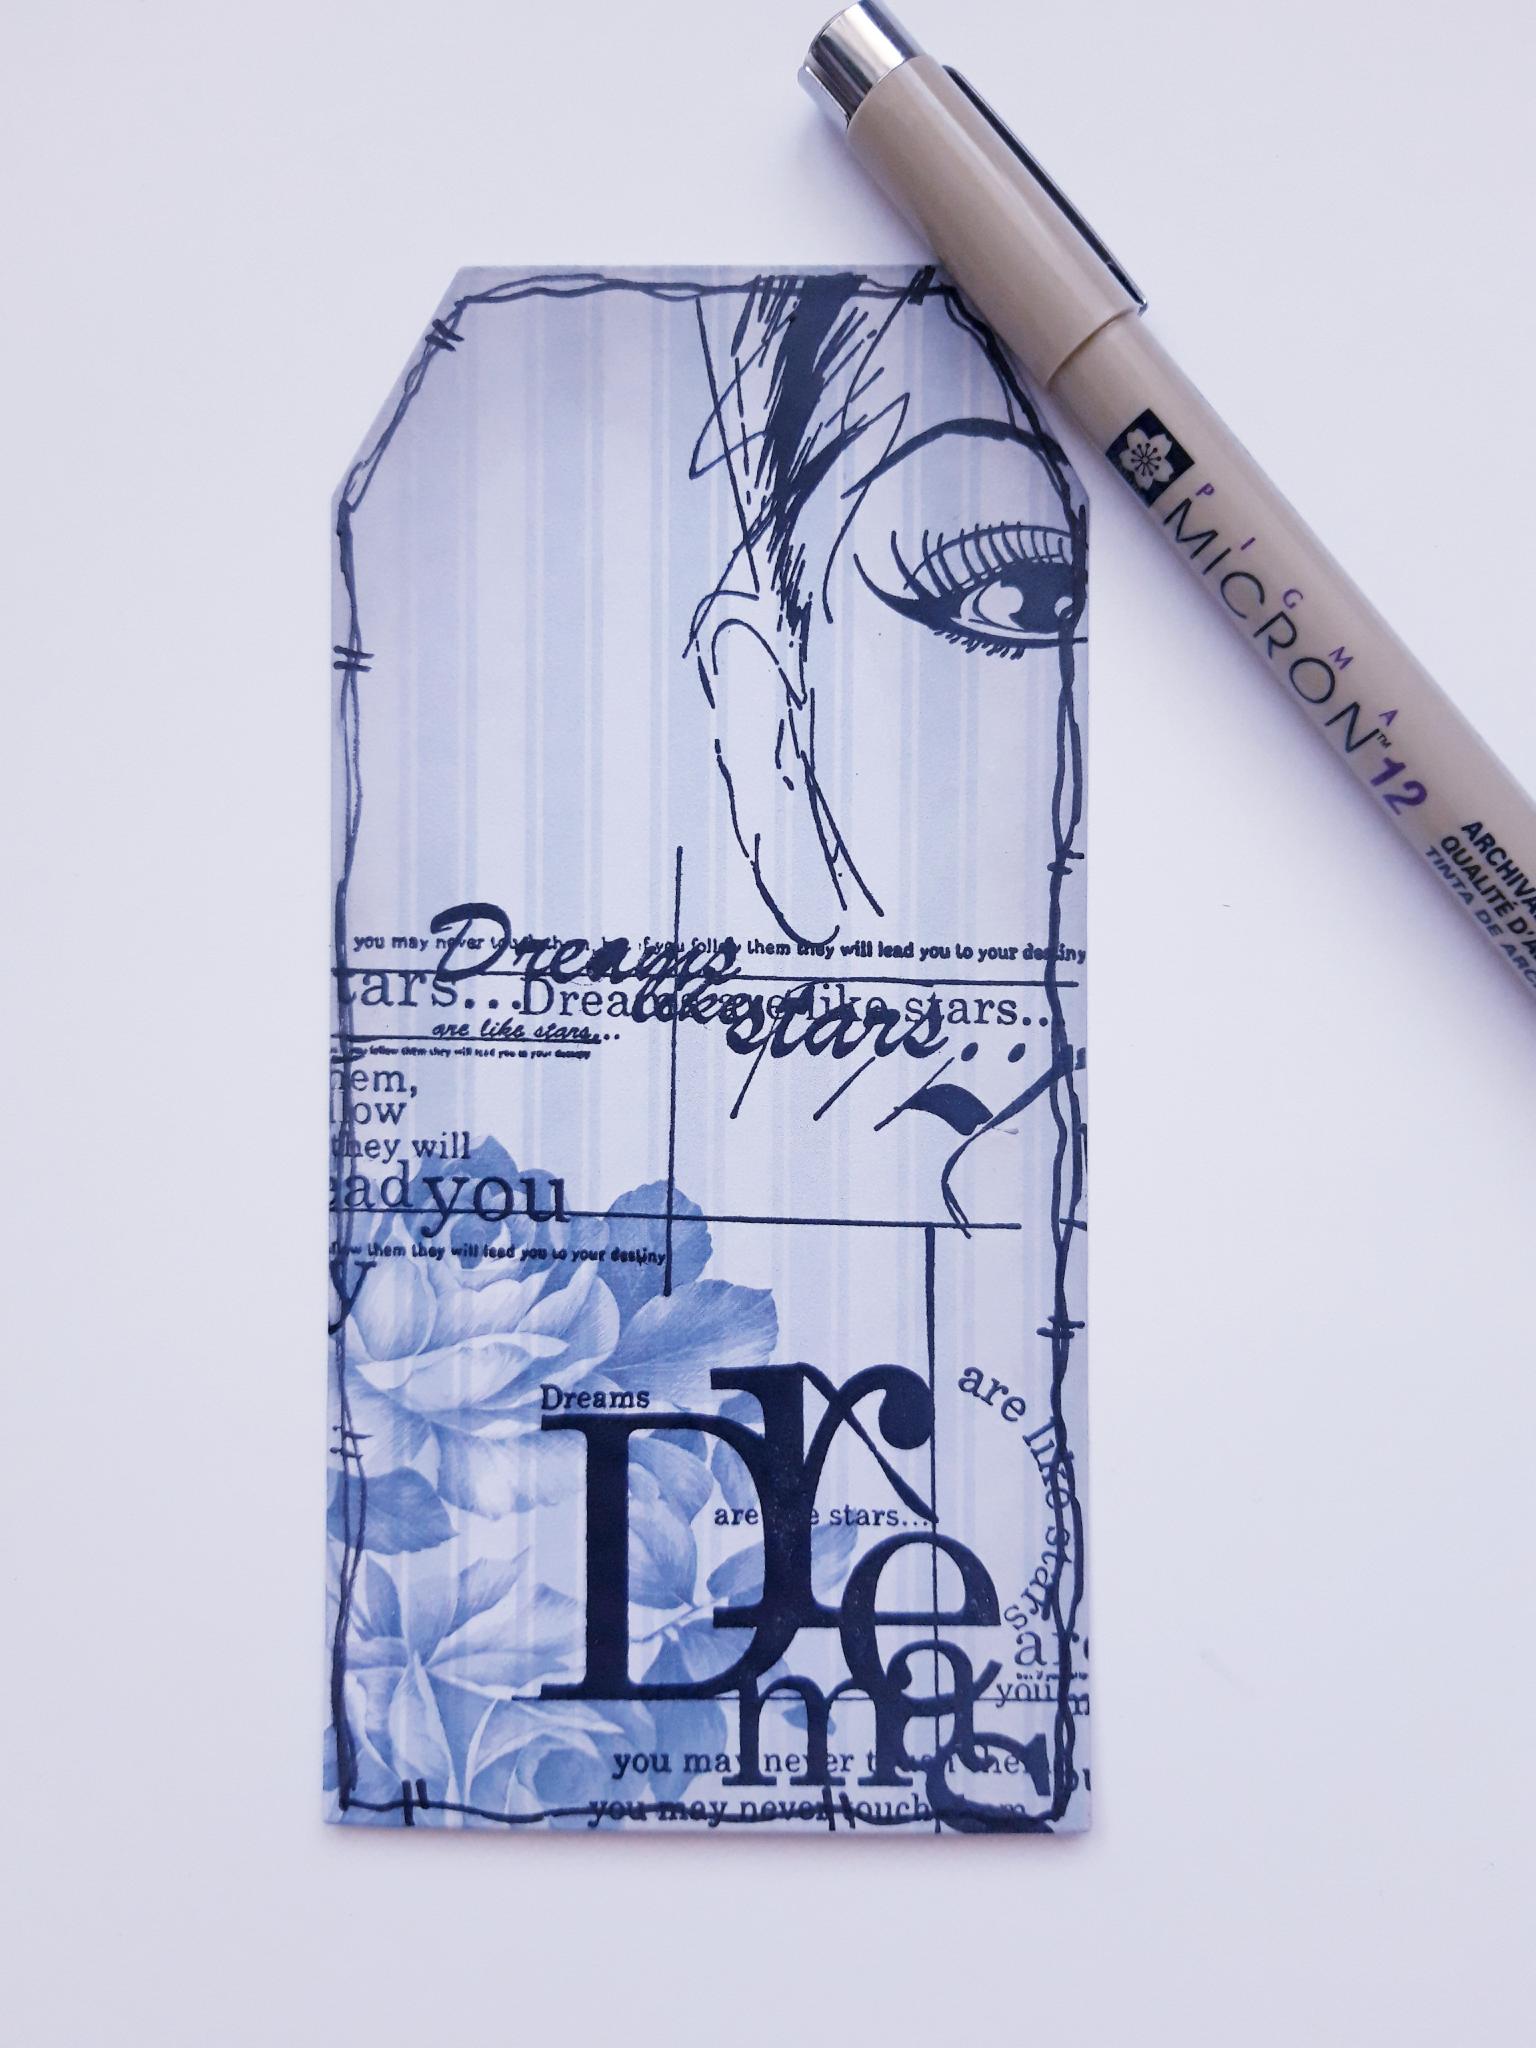
Black pen
Eureka 101
Paper Trimmer
Perfect Together Glue
Red Liner tape
Die Cutting machine
[click image to enlarge] 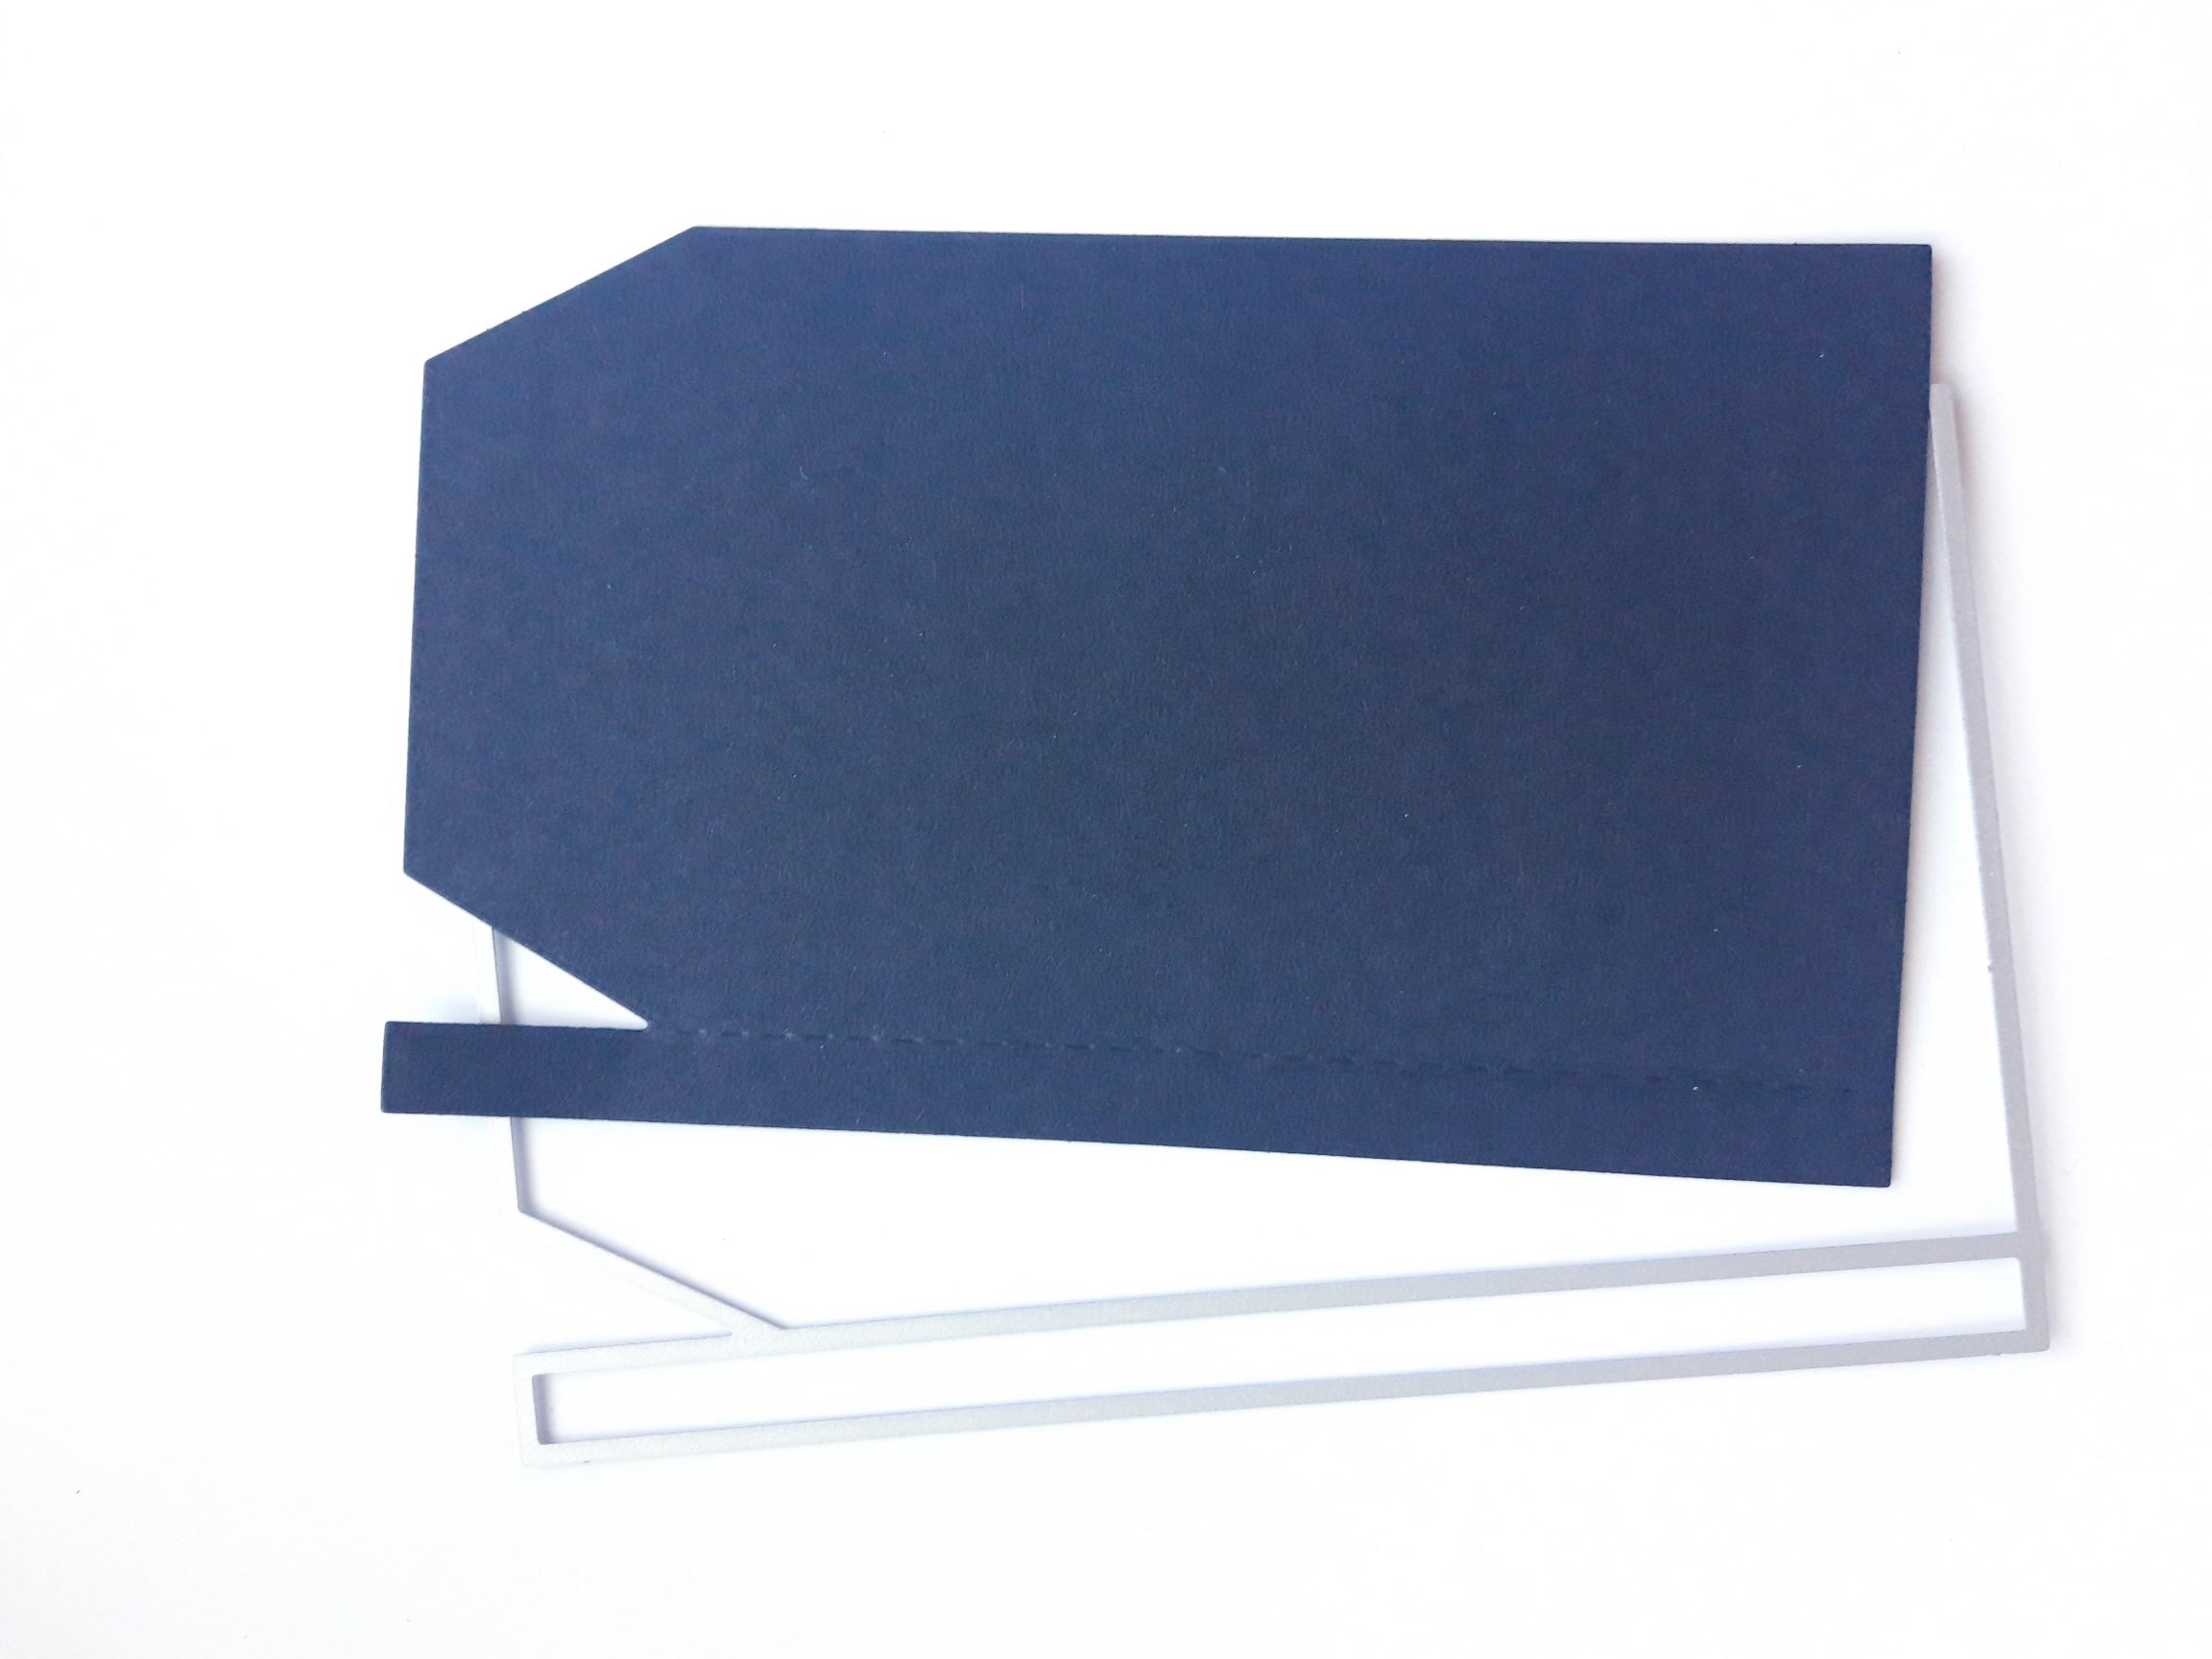
|
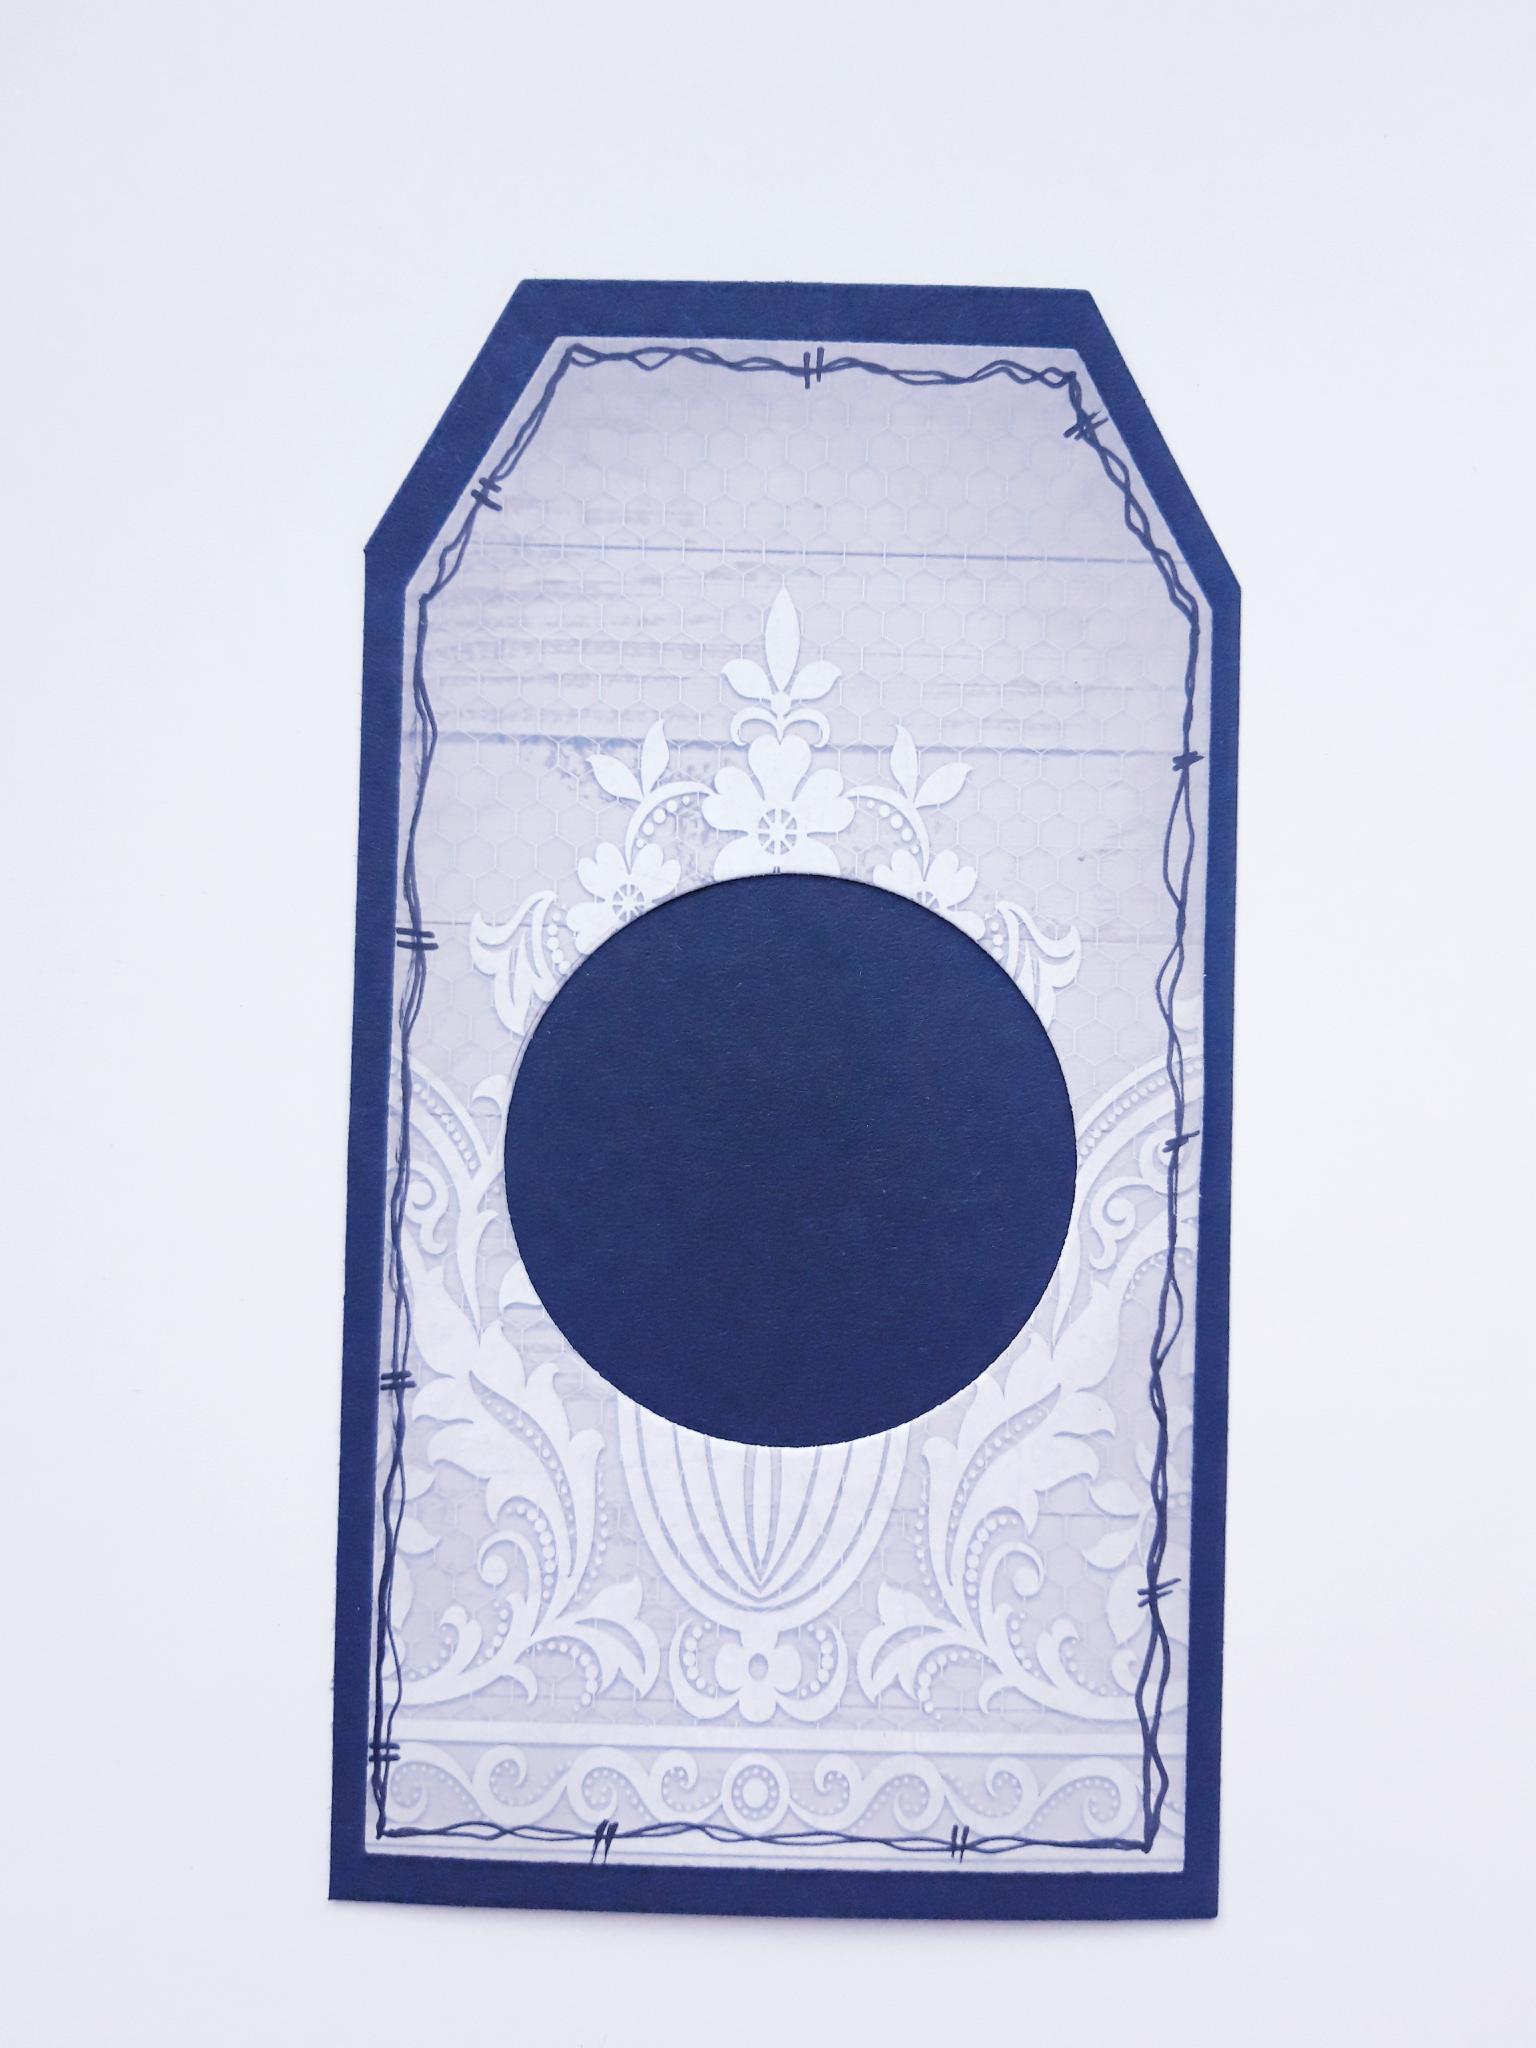
Place the largest tag die, from the Tagged Creative Die set, on to the top corner of the black card, and run through your embossing machine. Set the rest of the black card to one side for later. |

|
Cut off the spine, as shown here. Set to one side. |
|
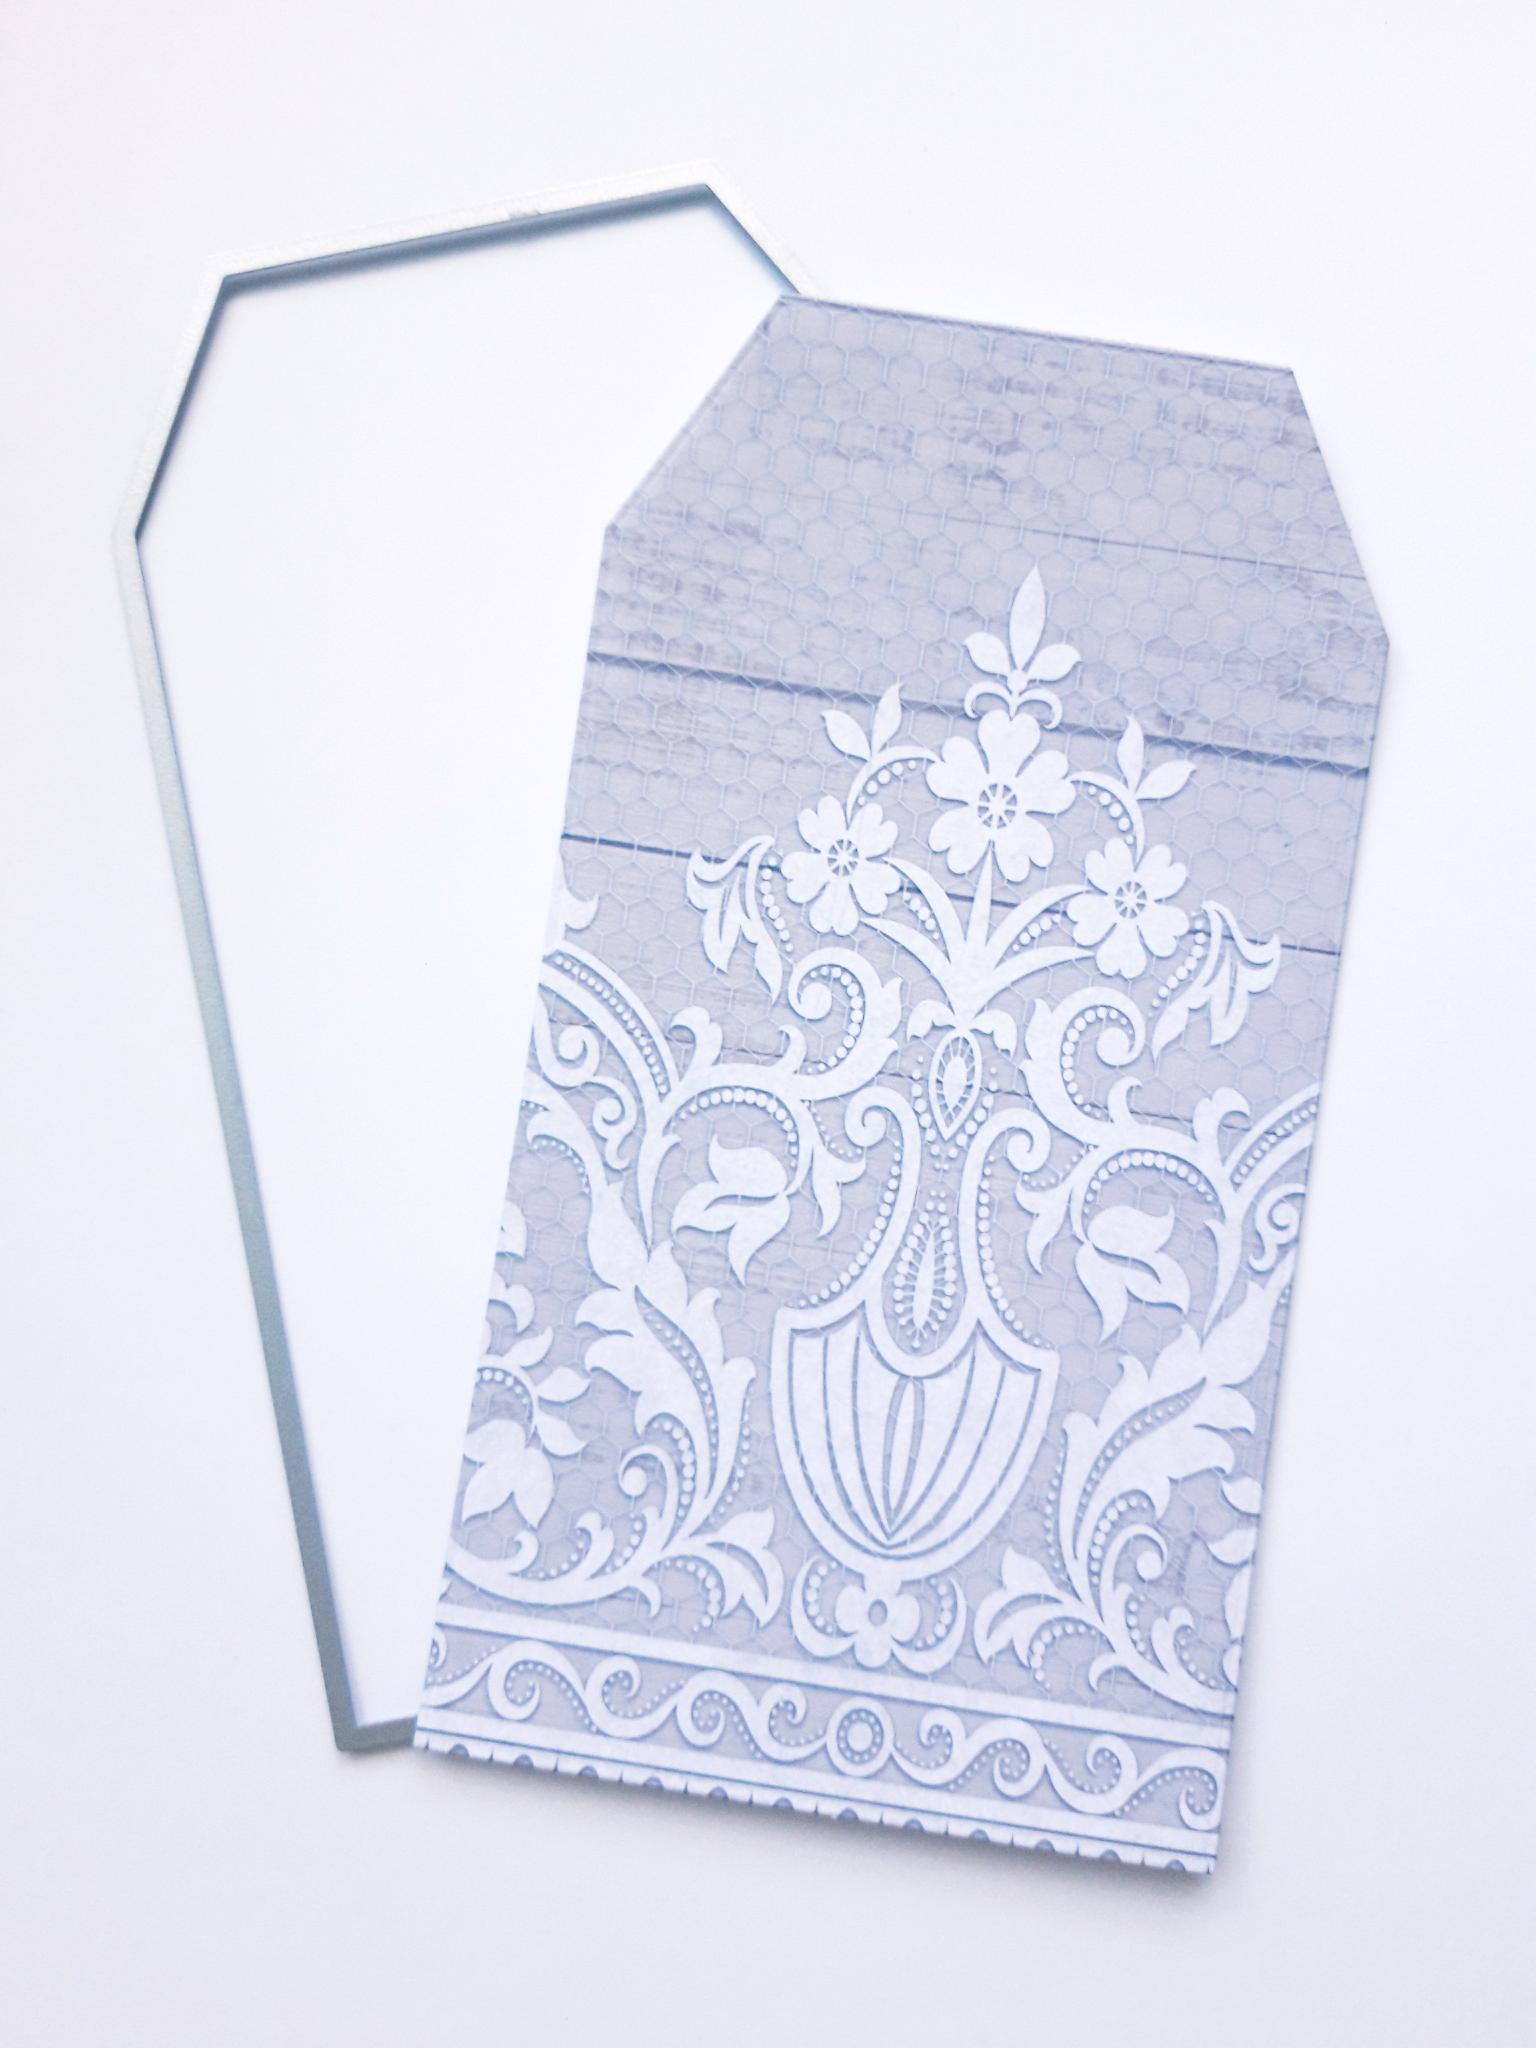
Tear this decorative paper out of the Time To Grow A4 Paper Pad. Place the tag die, that measures approx 6 1/4 x 3 1/4", on to the decorative paper, and run through your die cutting machine. |
|
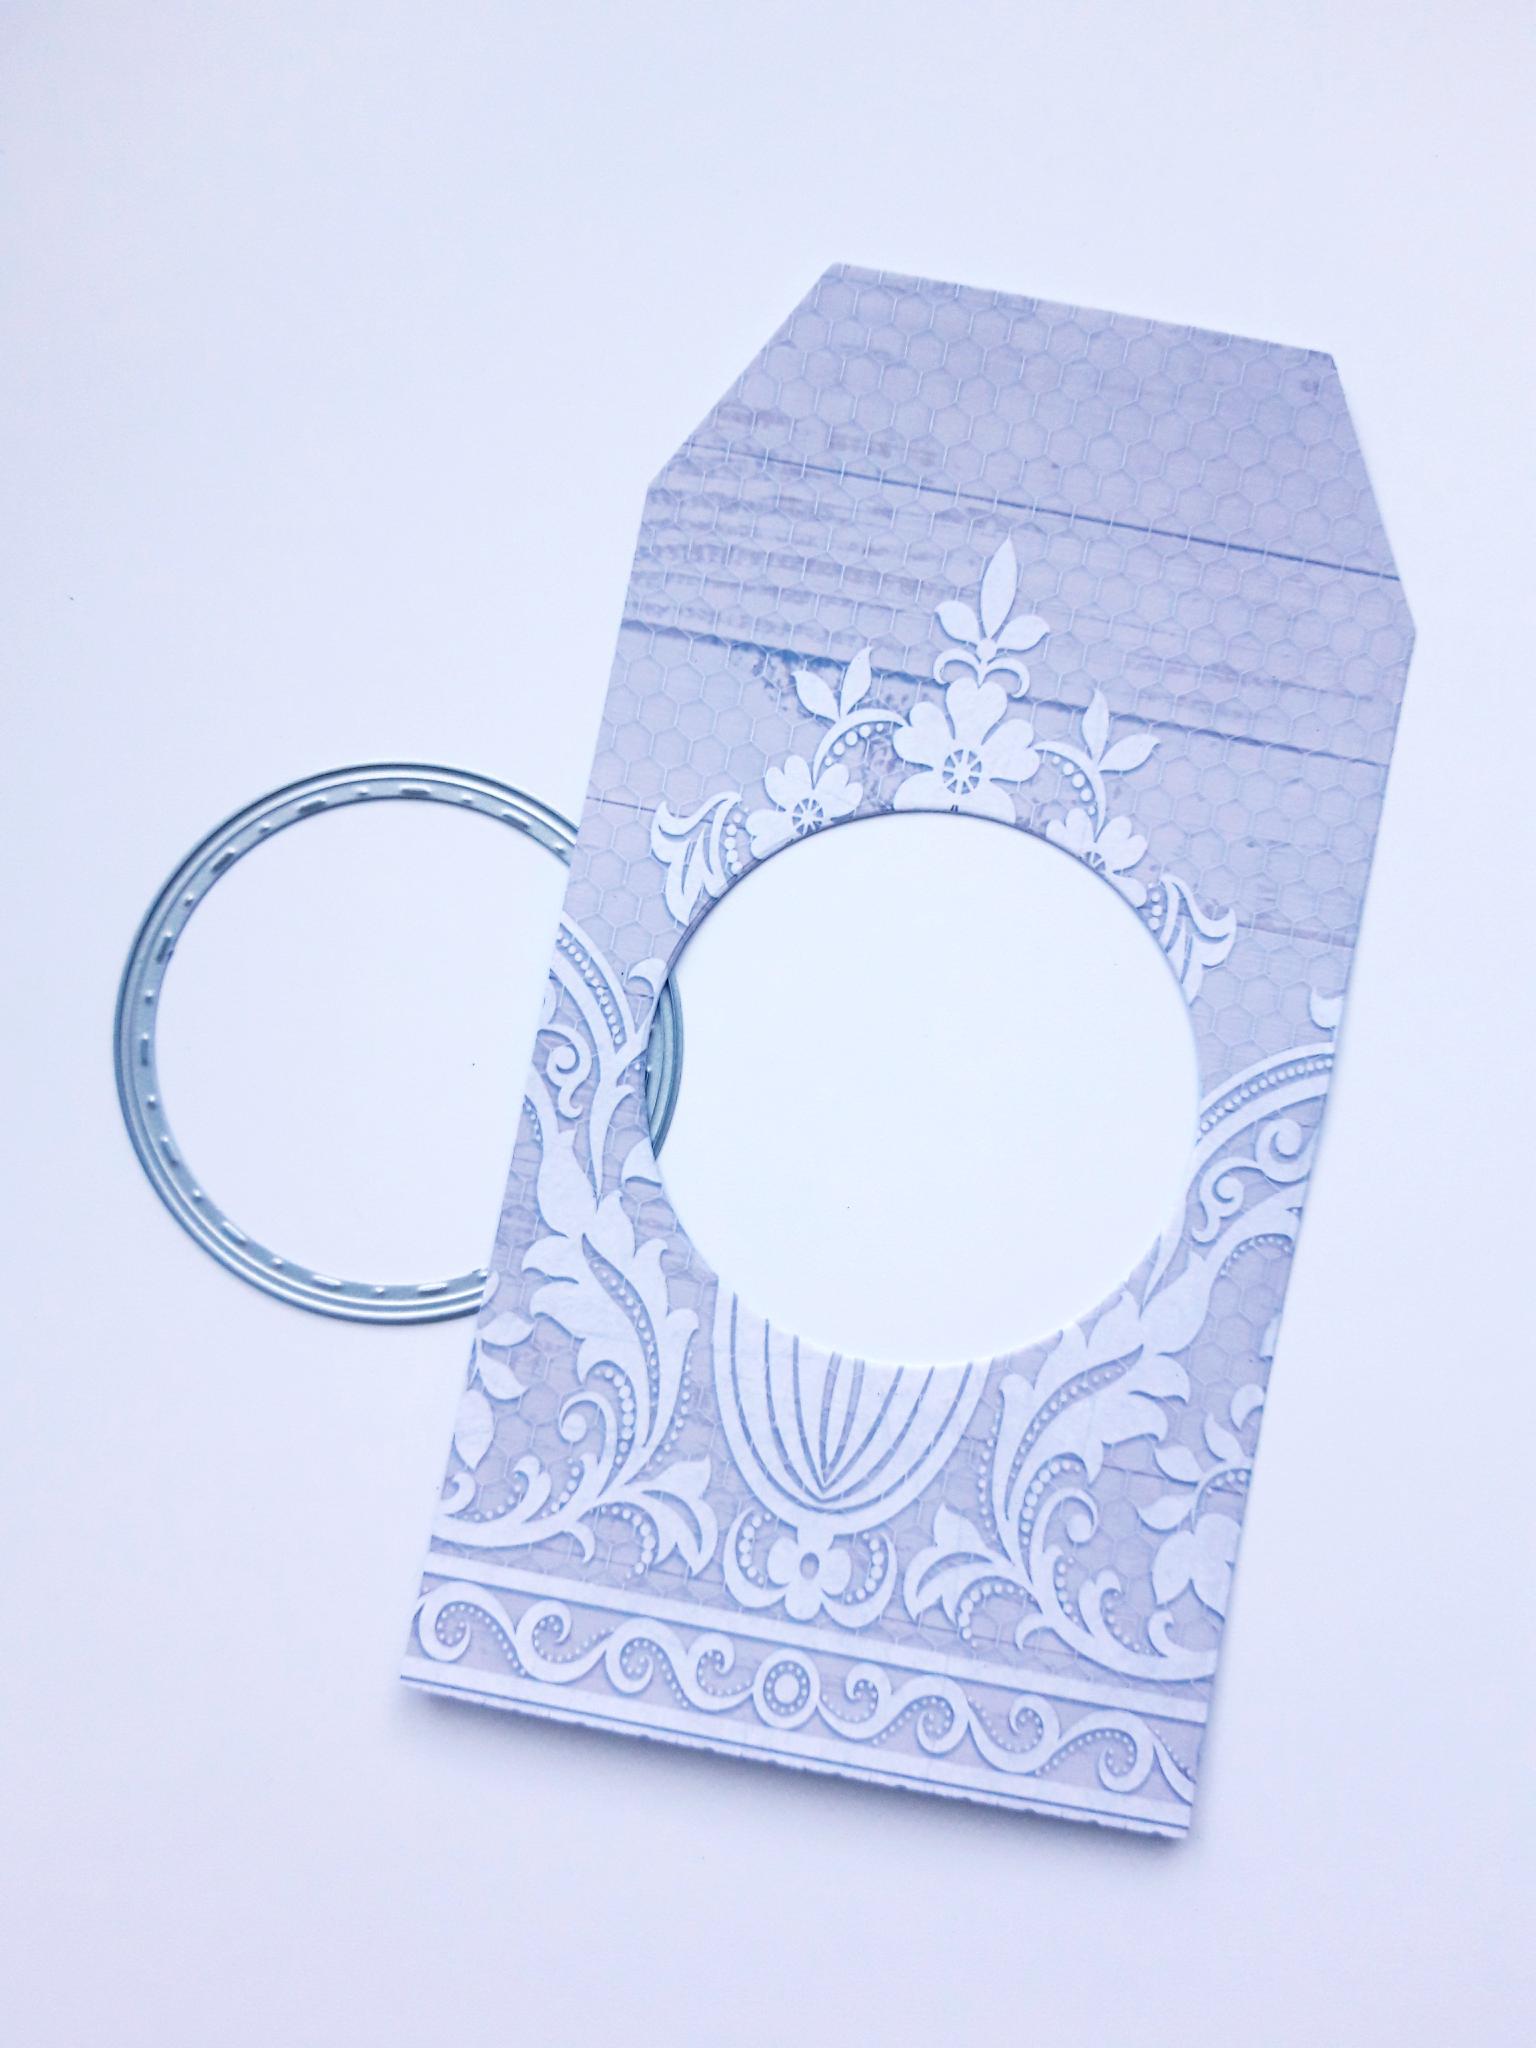
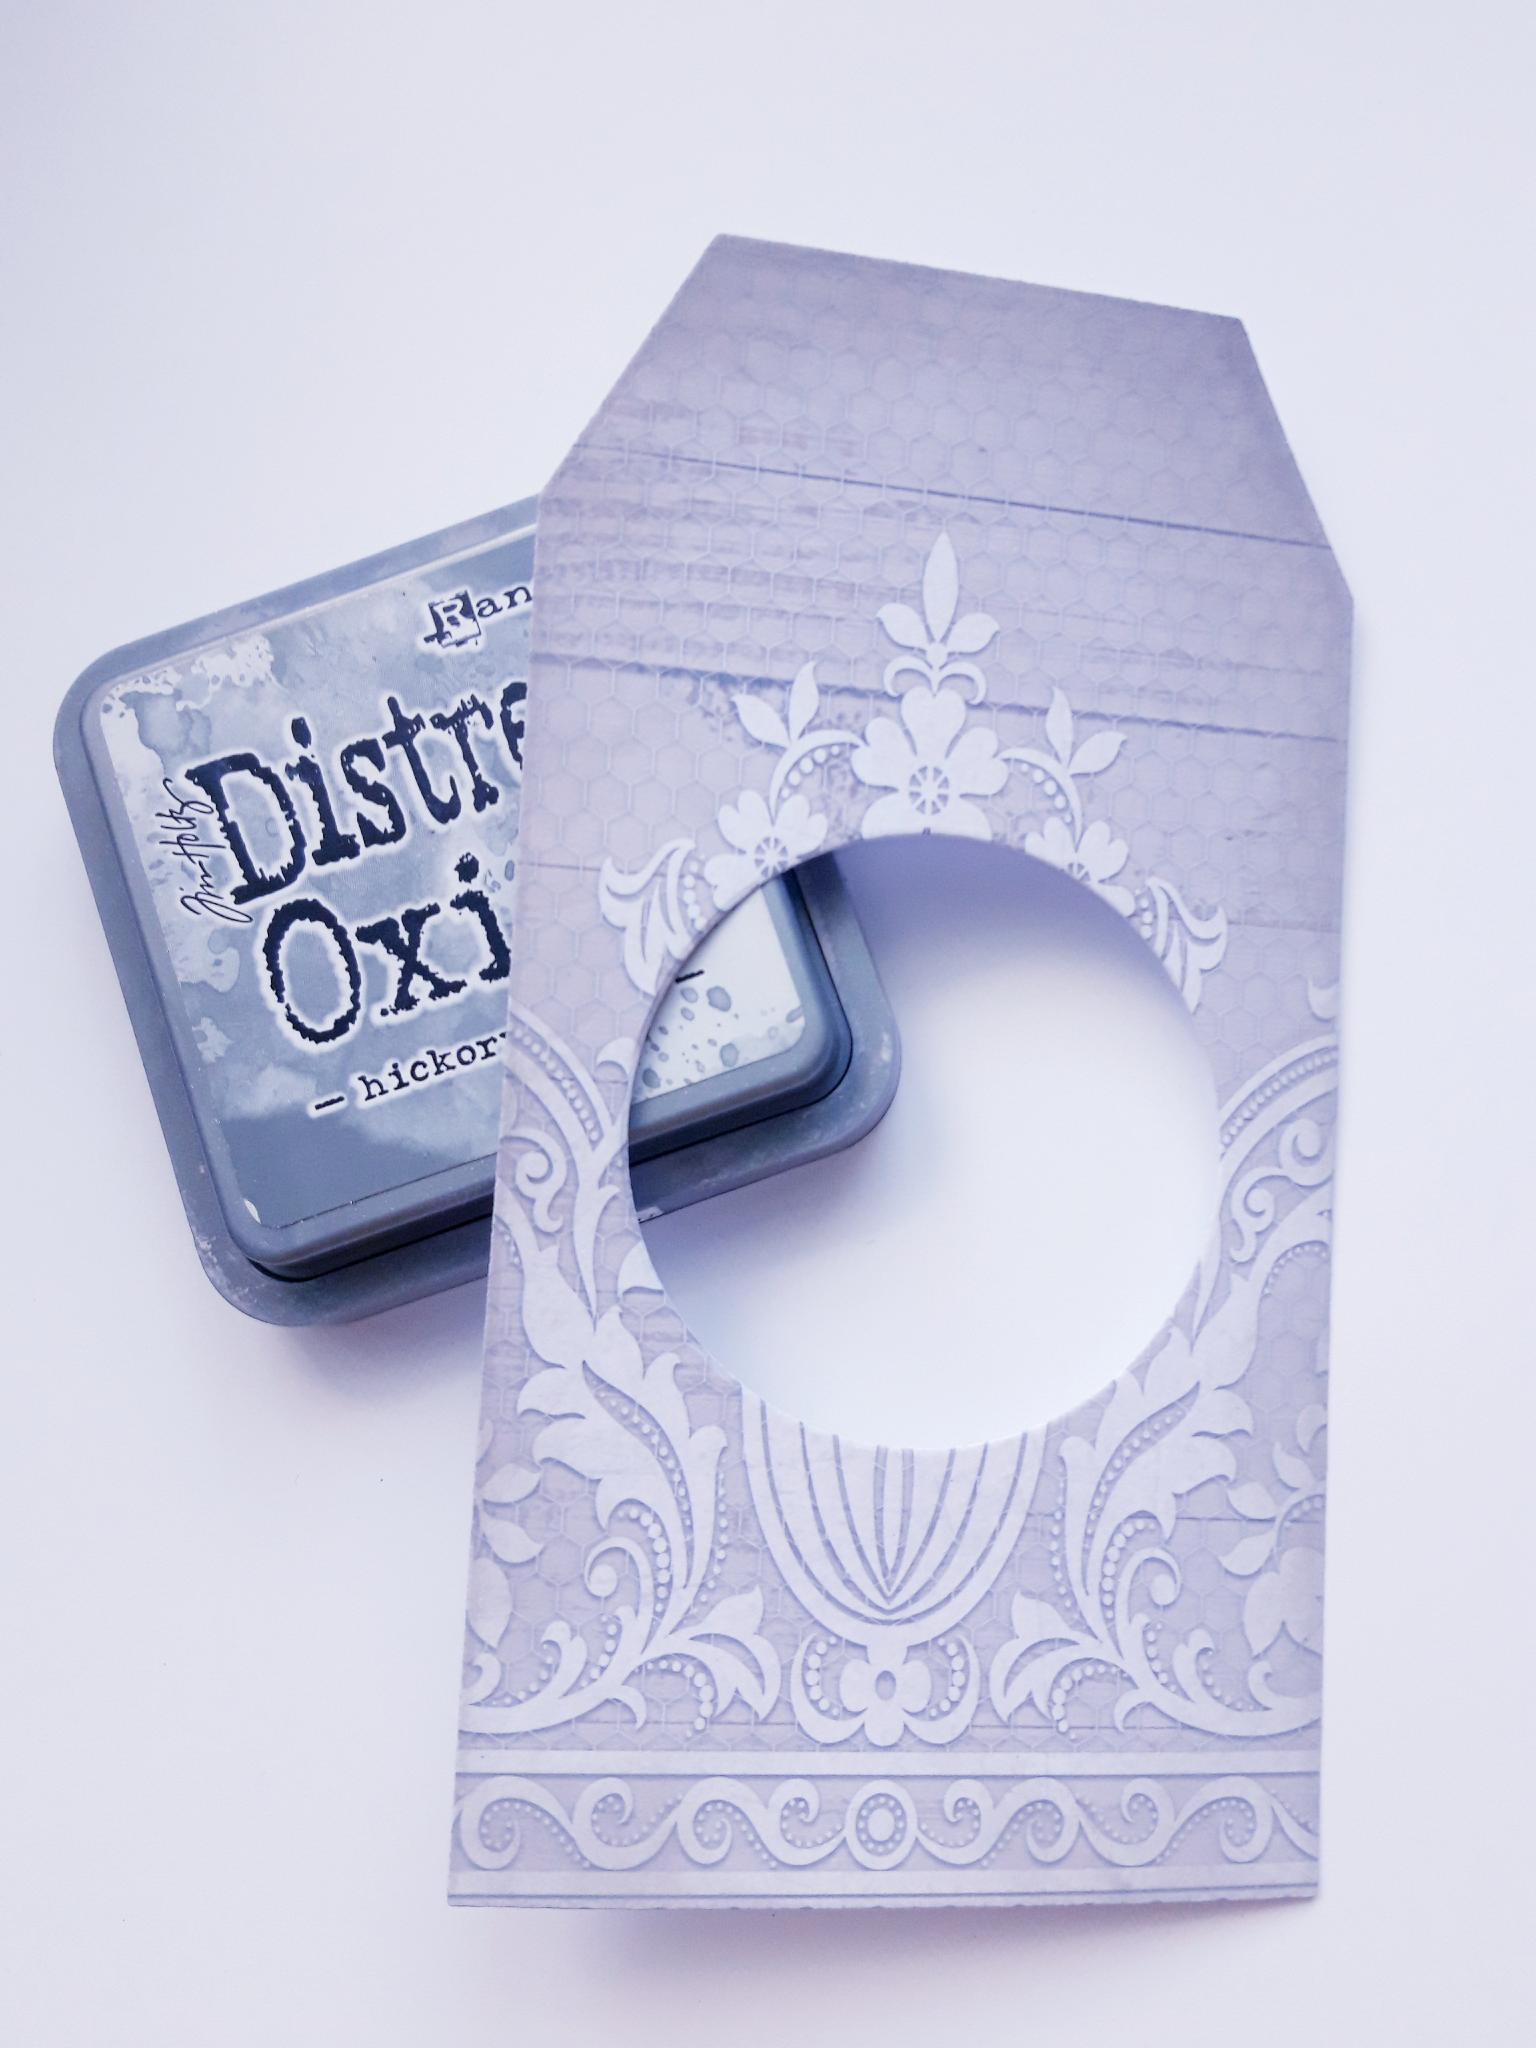
Place the circle die, from the Deboss Nesting Dies set, that measures approx 2 1/2" in diameter, in the centre of the decorative tag, and run through your embossing machine. |
|
Blend the Hickory Smoke Distress Oxide, around the edges of your die cut tag. |
|
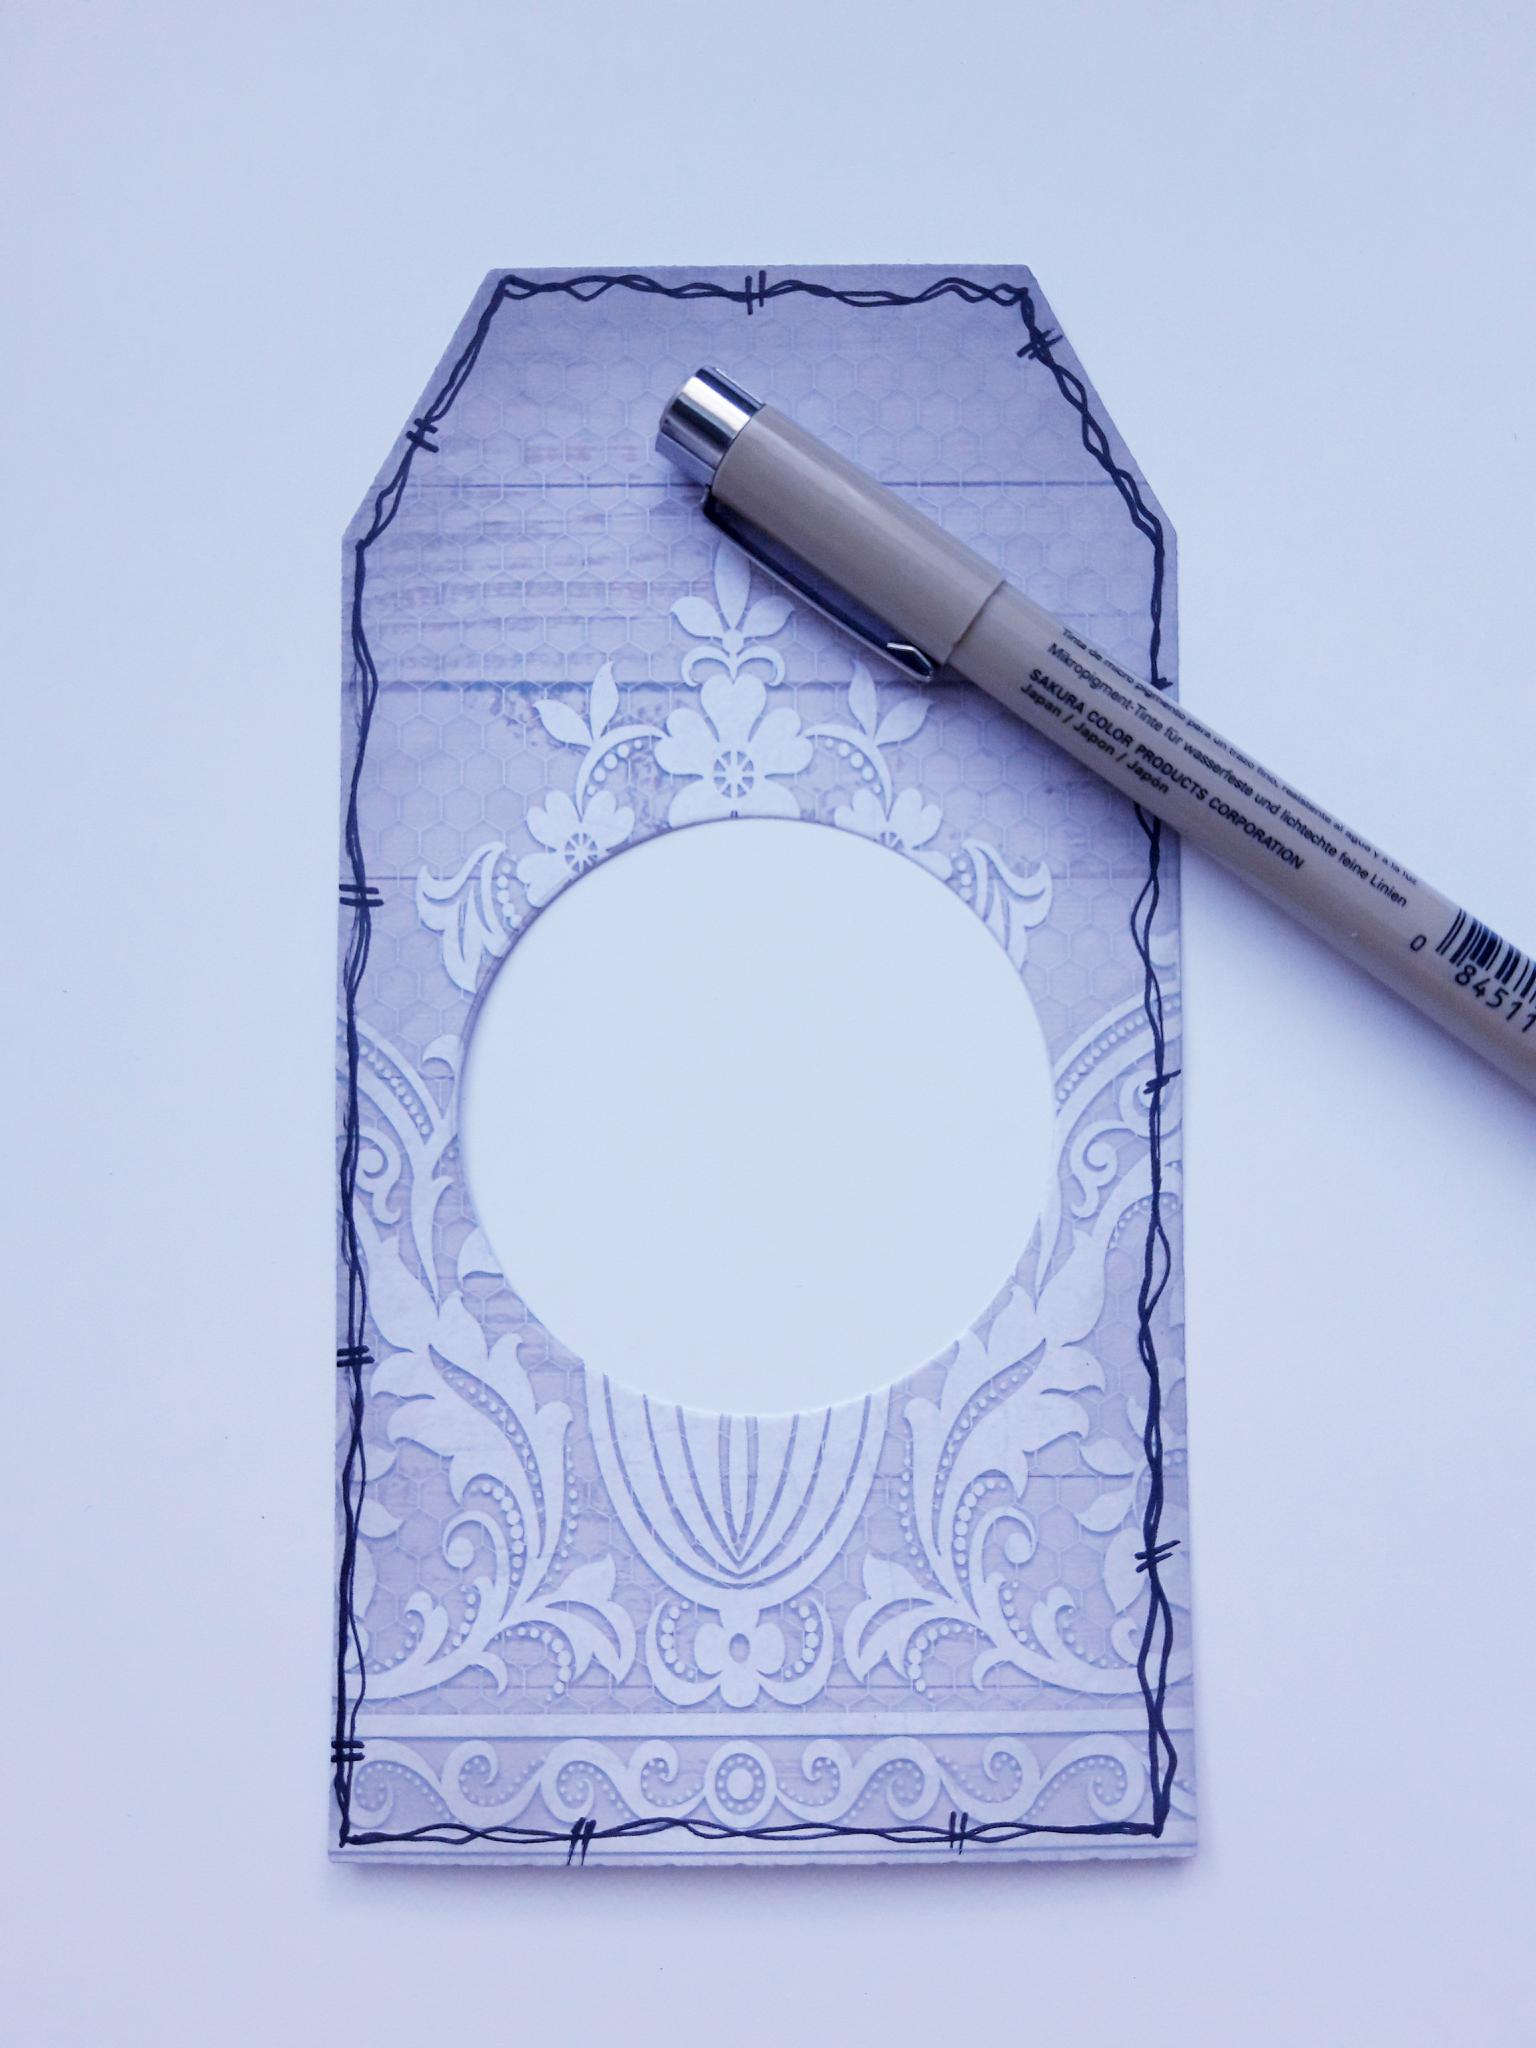
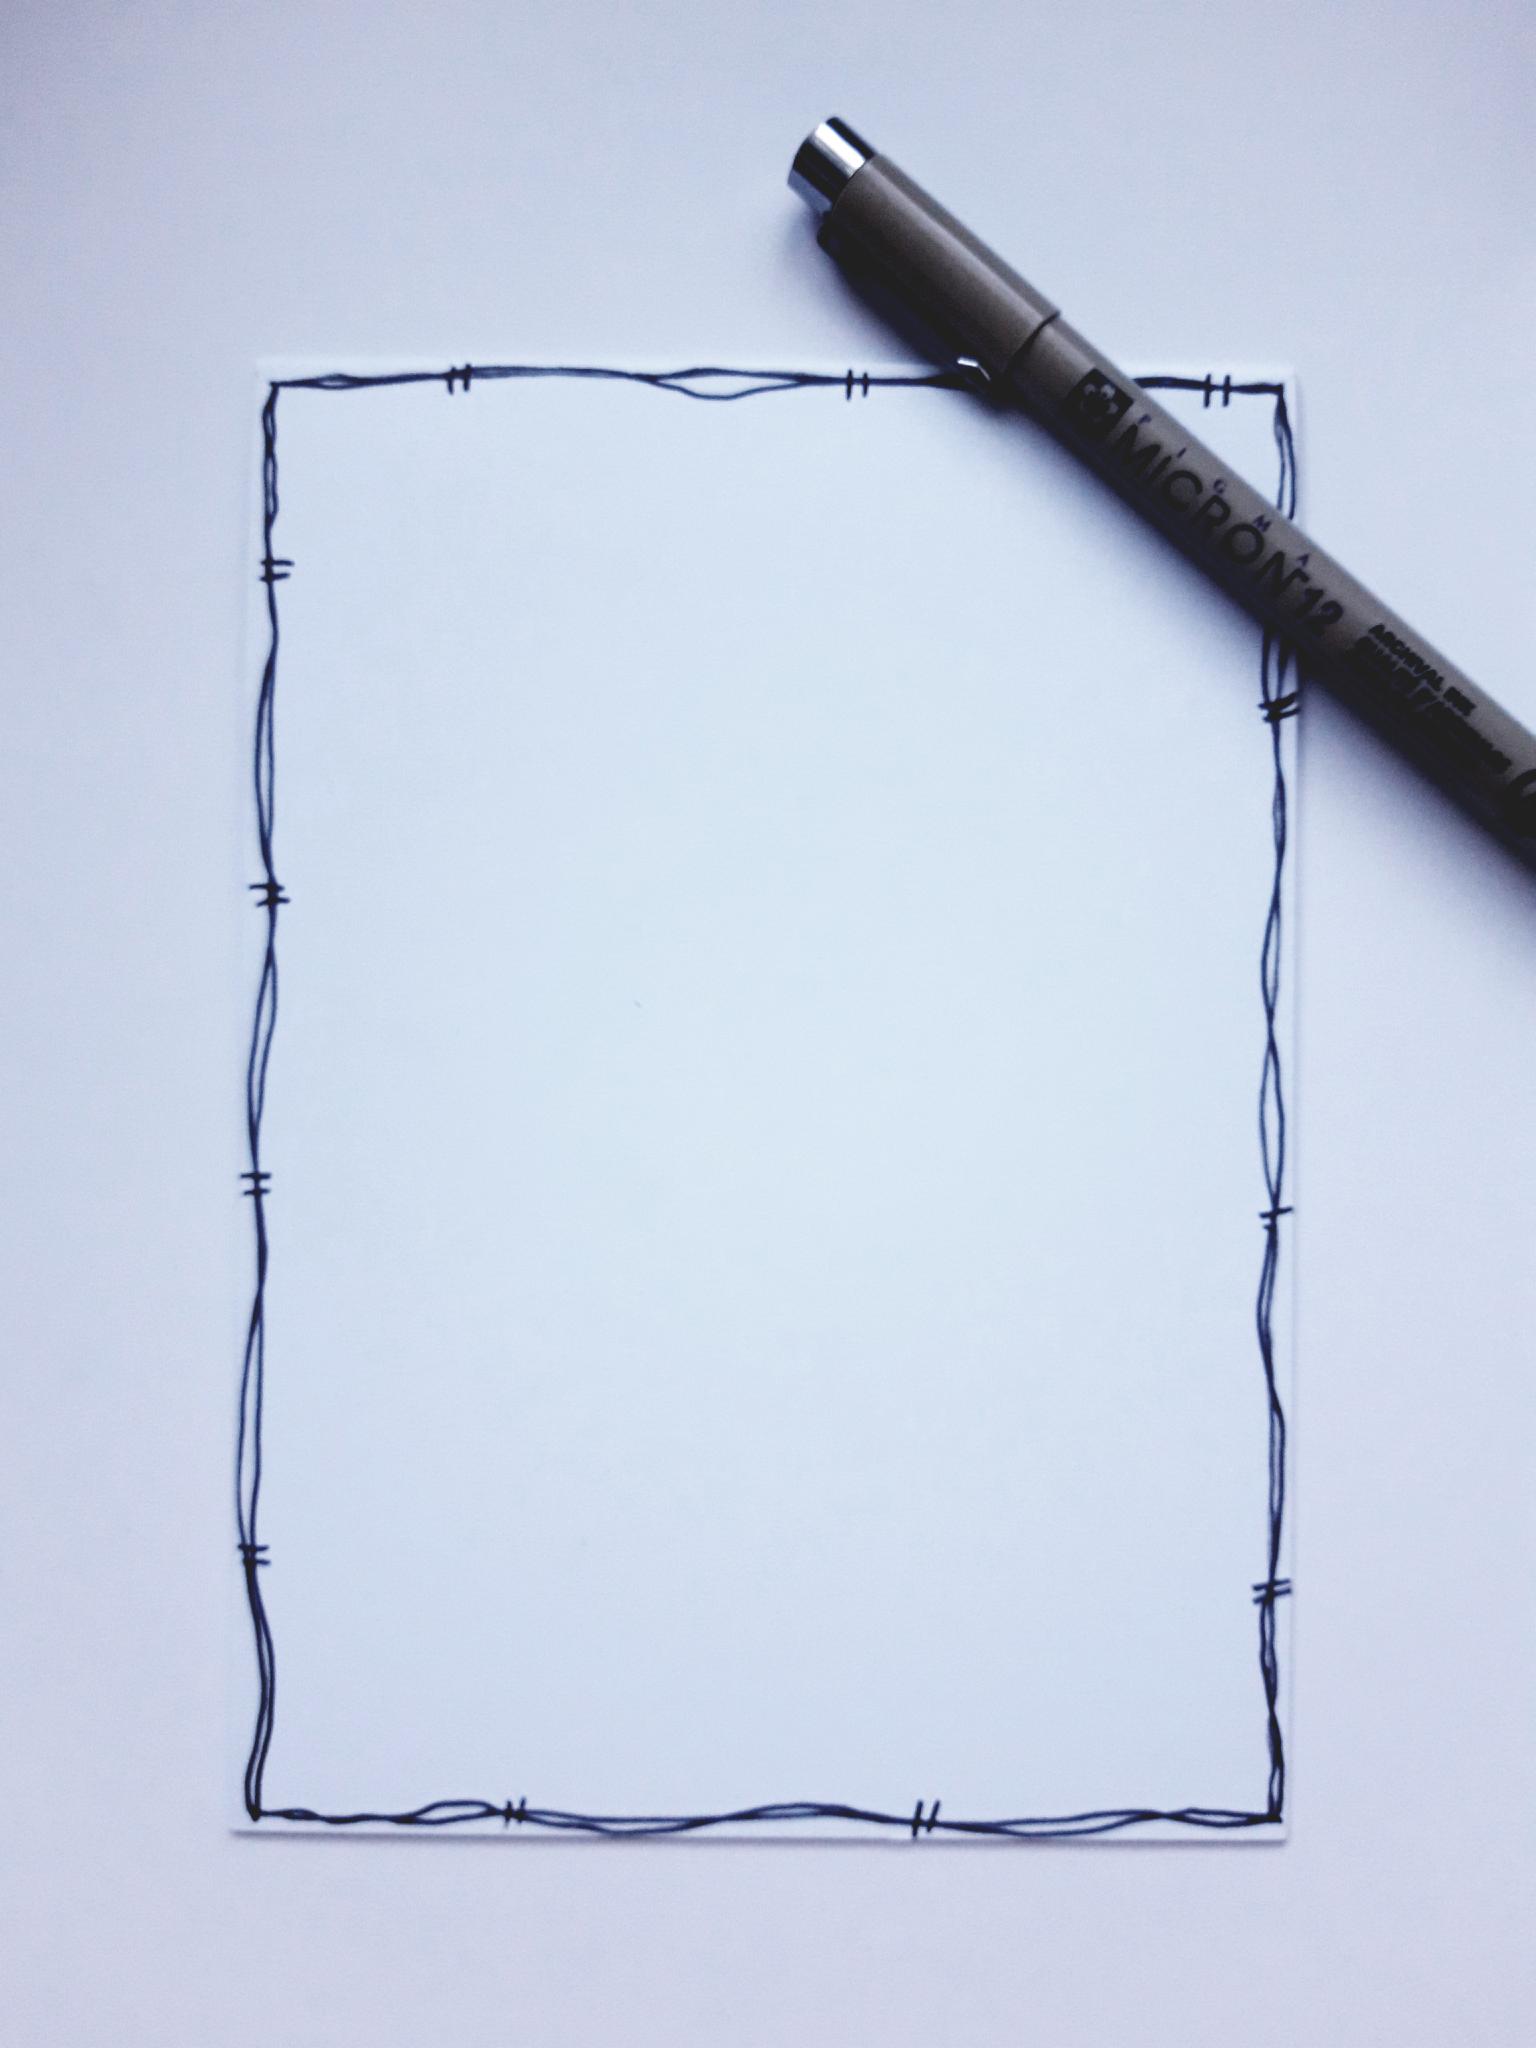
Use a black pen to draw a decorative, wiggly frame, around your die cut tag. |
|
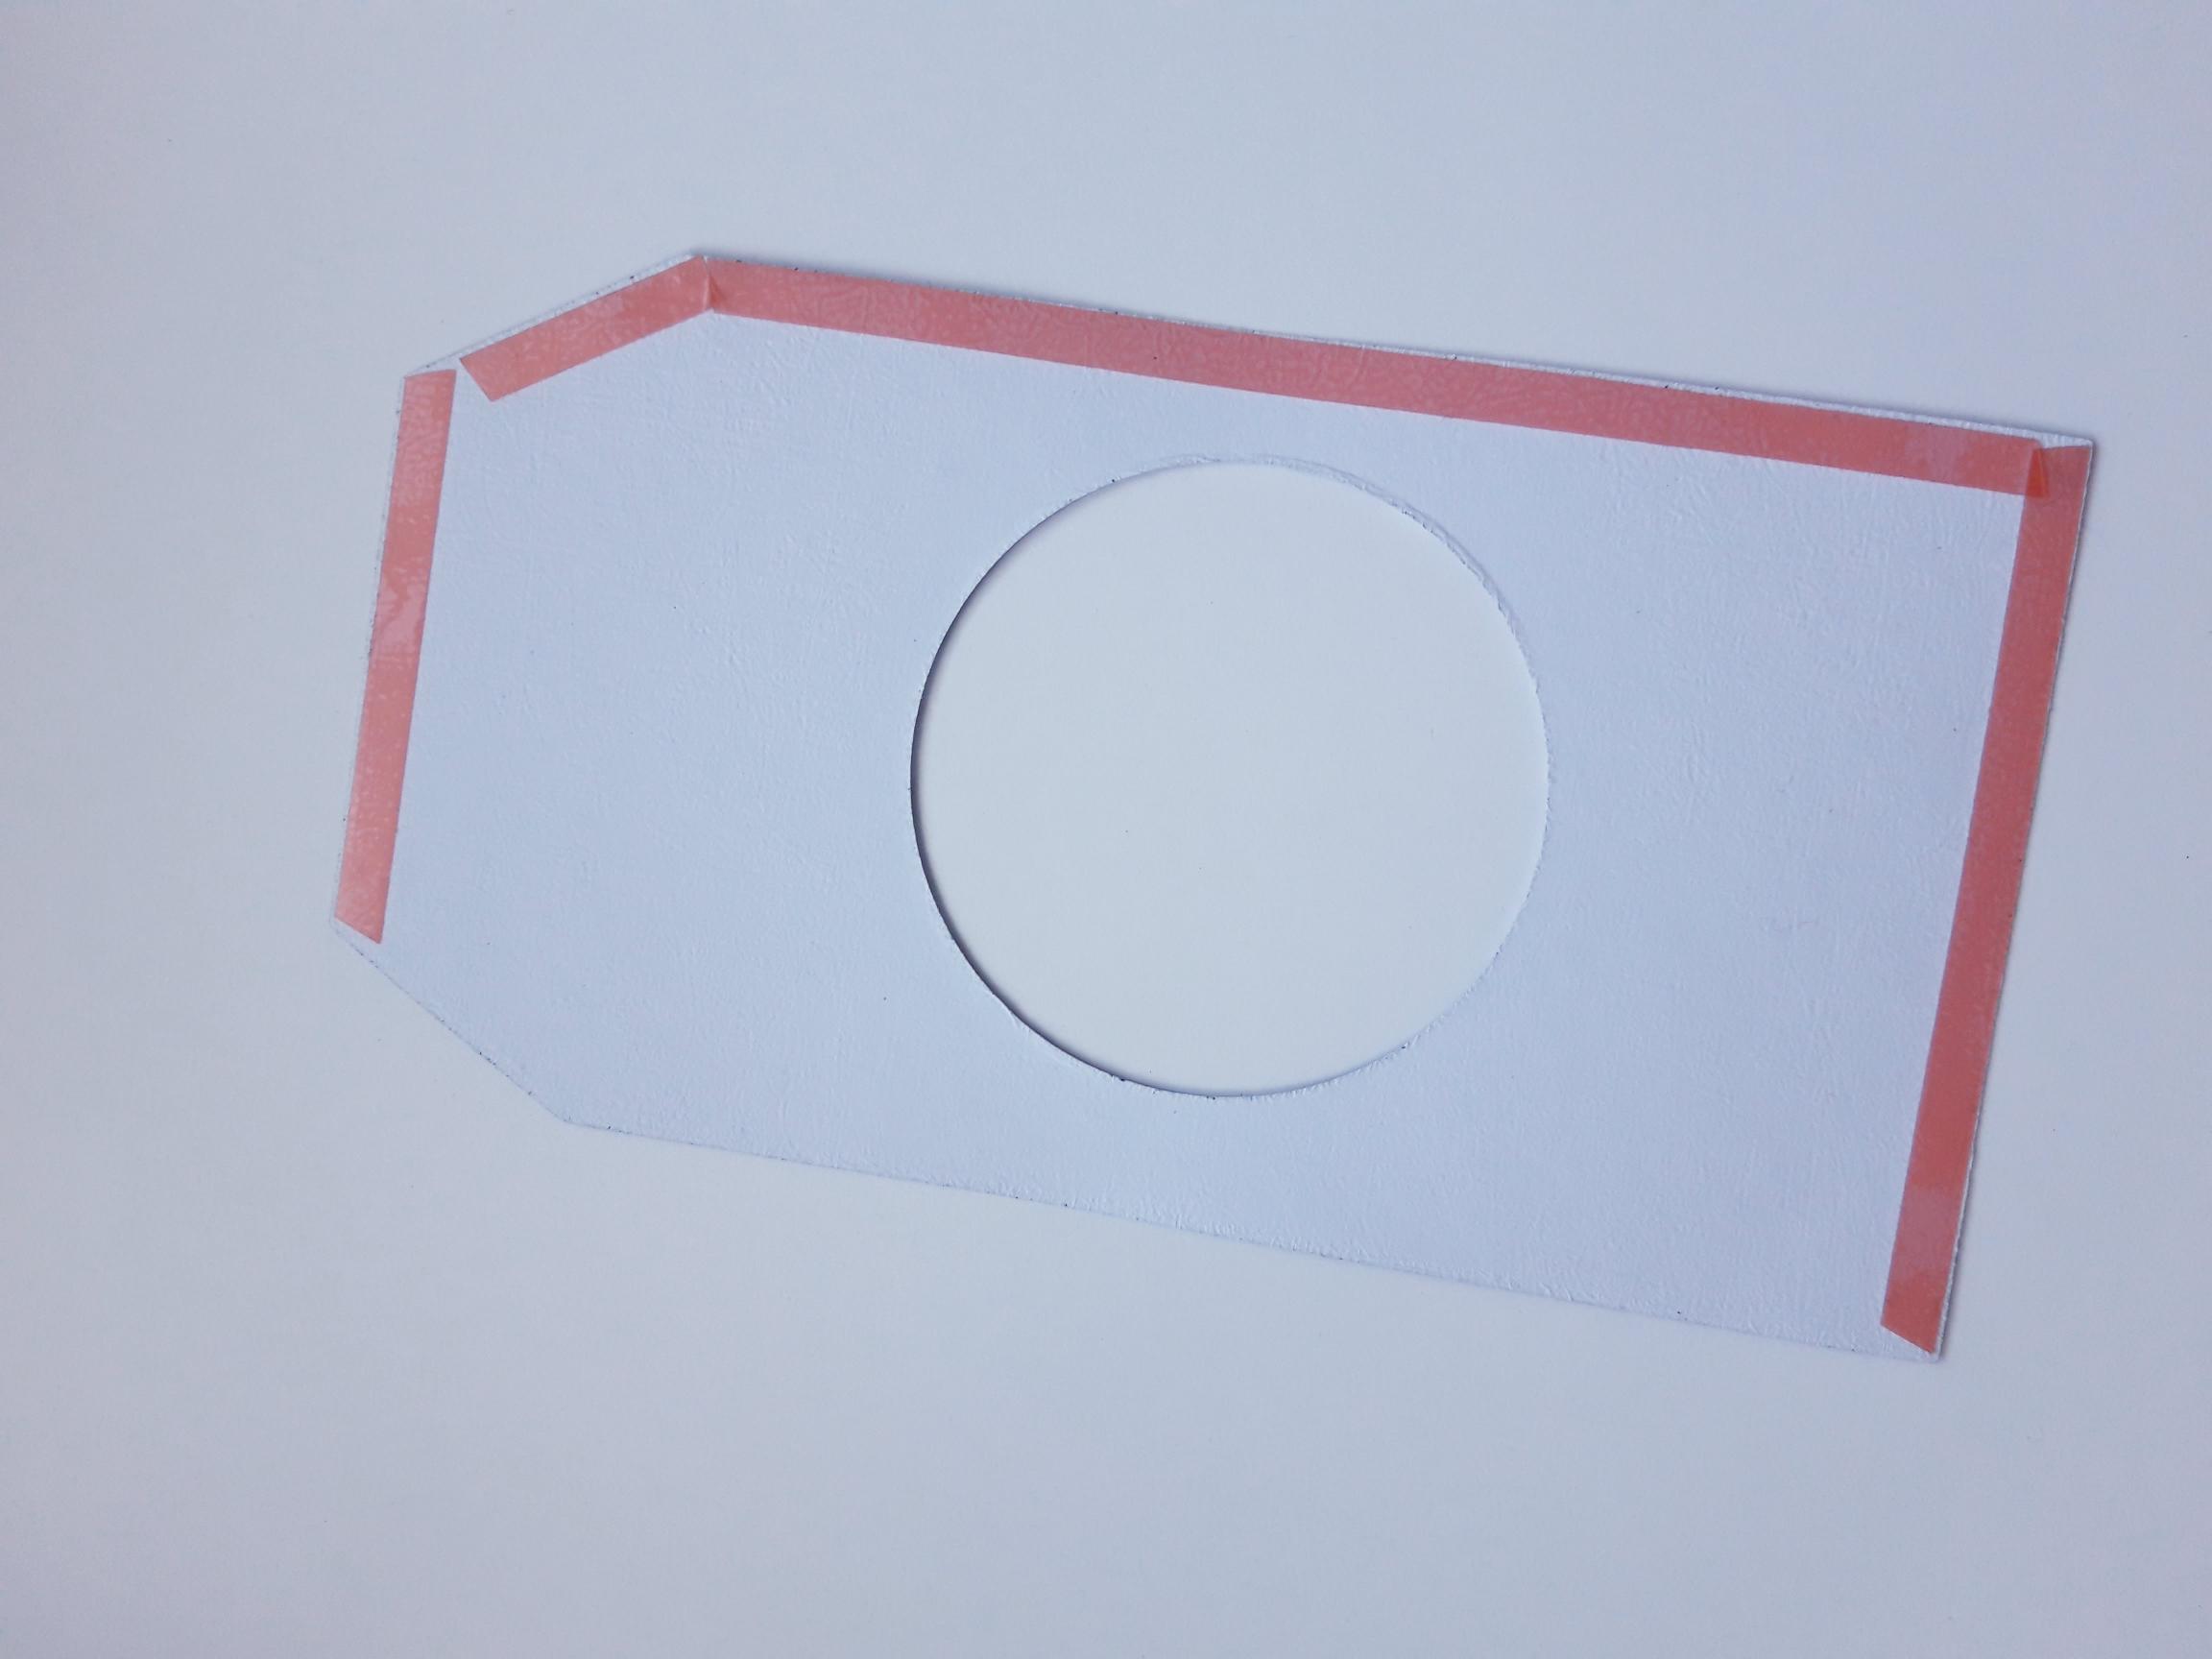
Apply red liner tape on the back of the tag, across the top, bottom, and right hand side, as shown here. |
|
Adhere the decorative tag on to your die cut black tag, to create a pocket. Set to one side. |
|
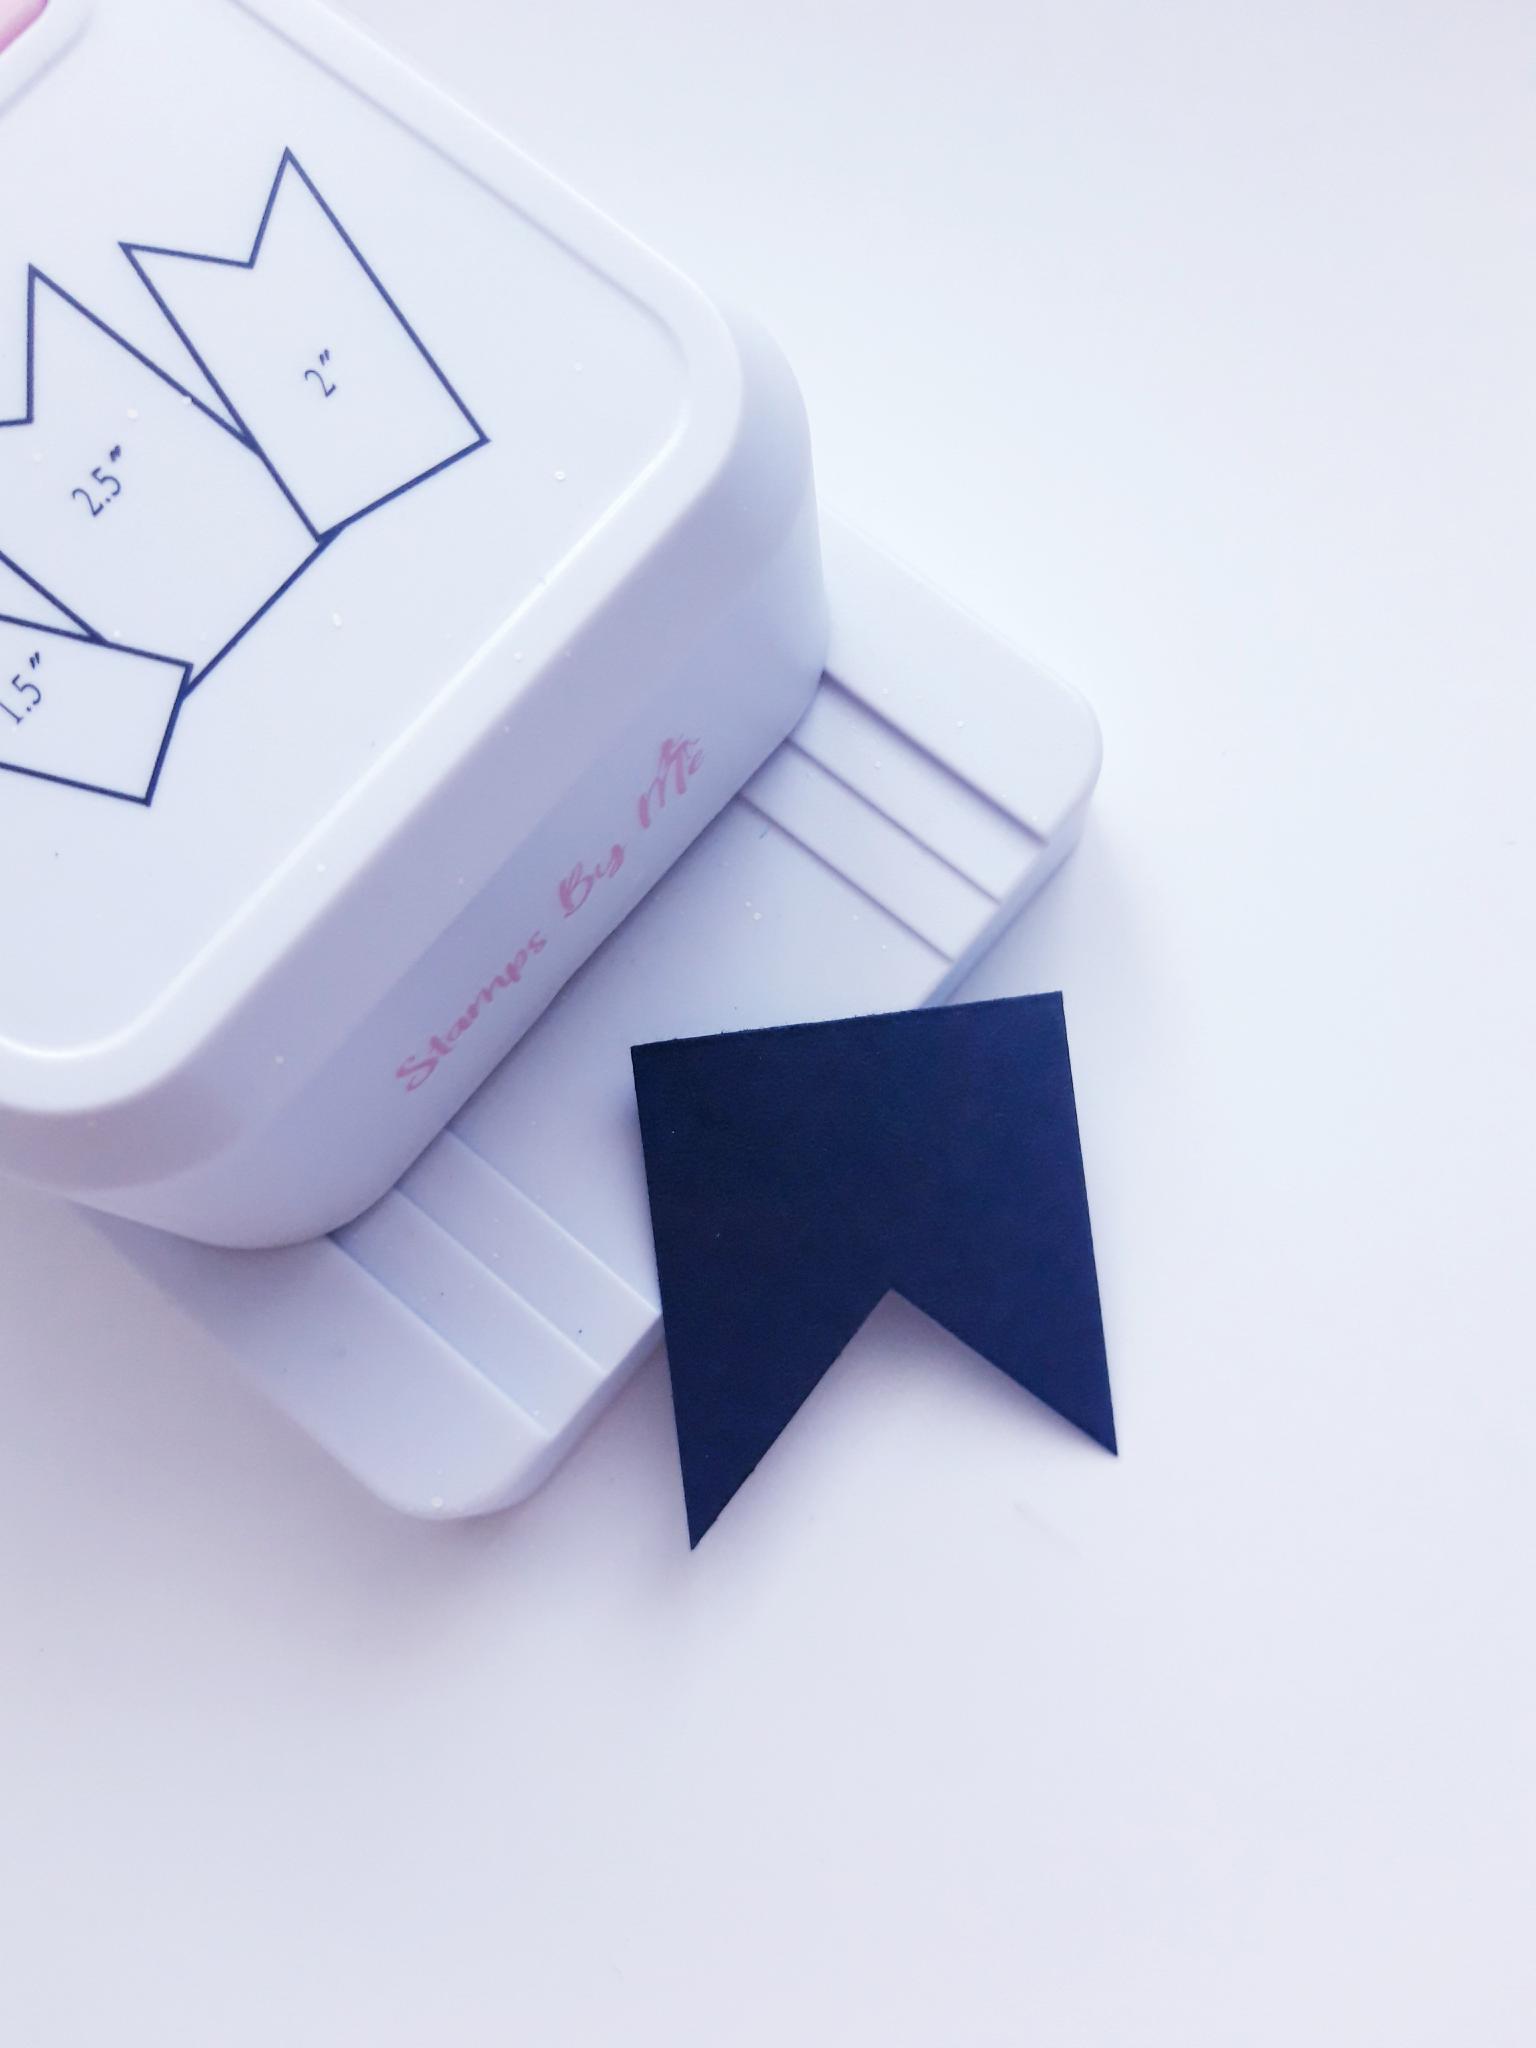
Cut a piece of black card, from the card you set aside earlier, 2 1/2 x 1 1/2" Use the Banner Tag Punch on one end, as shown here. |

|
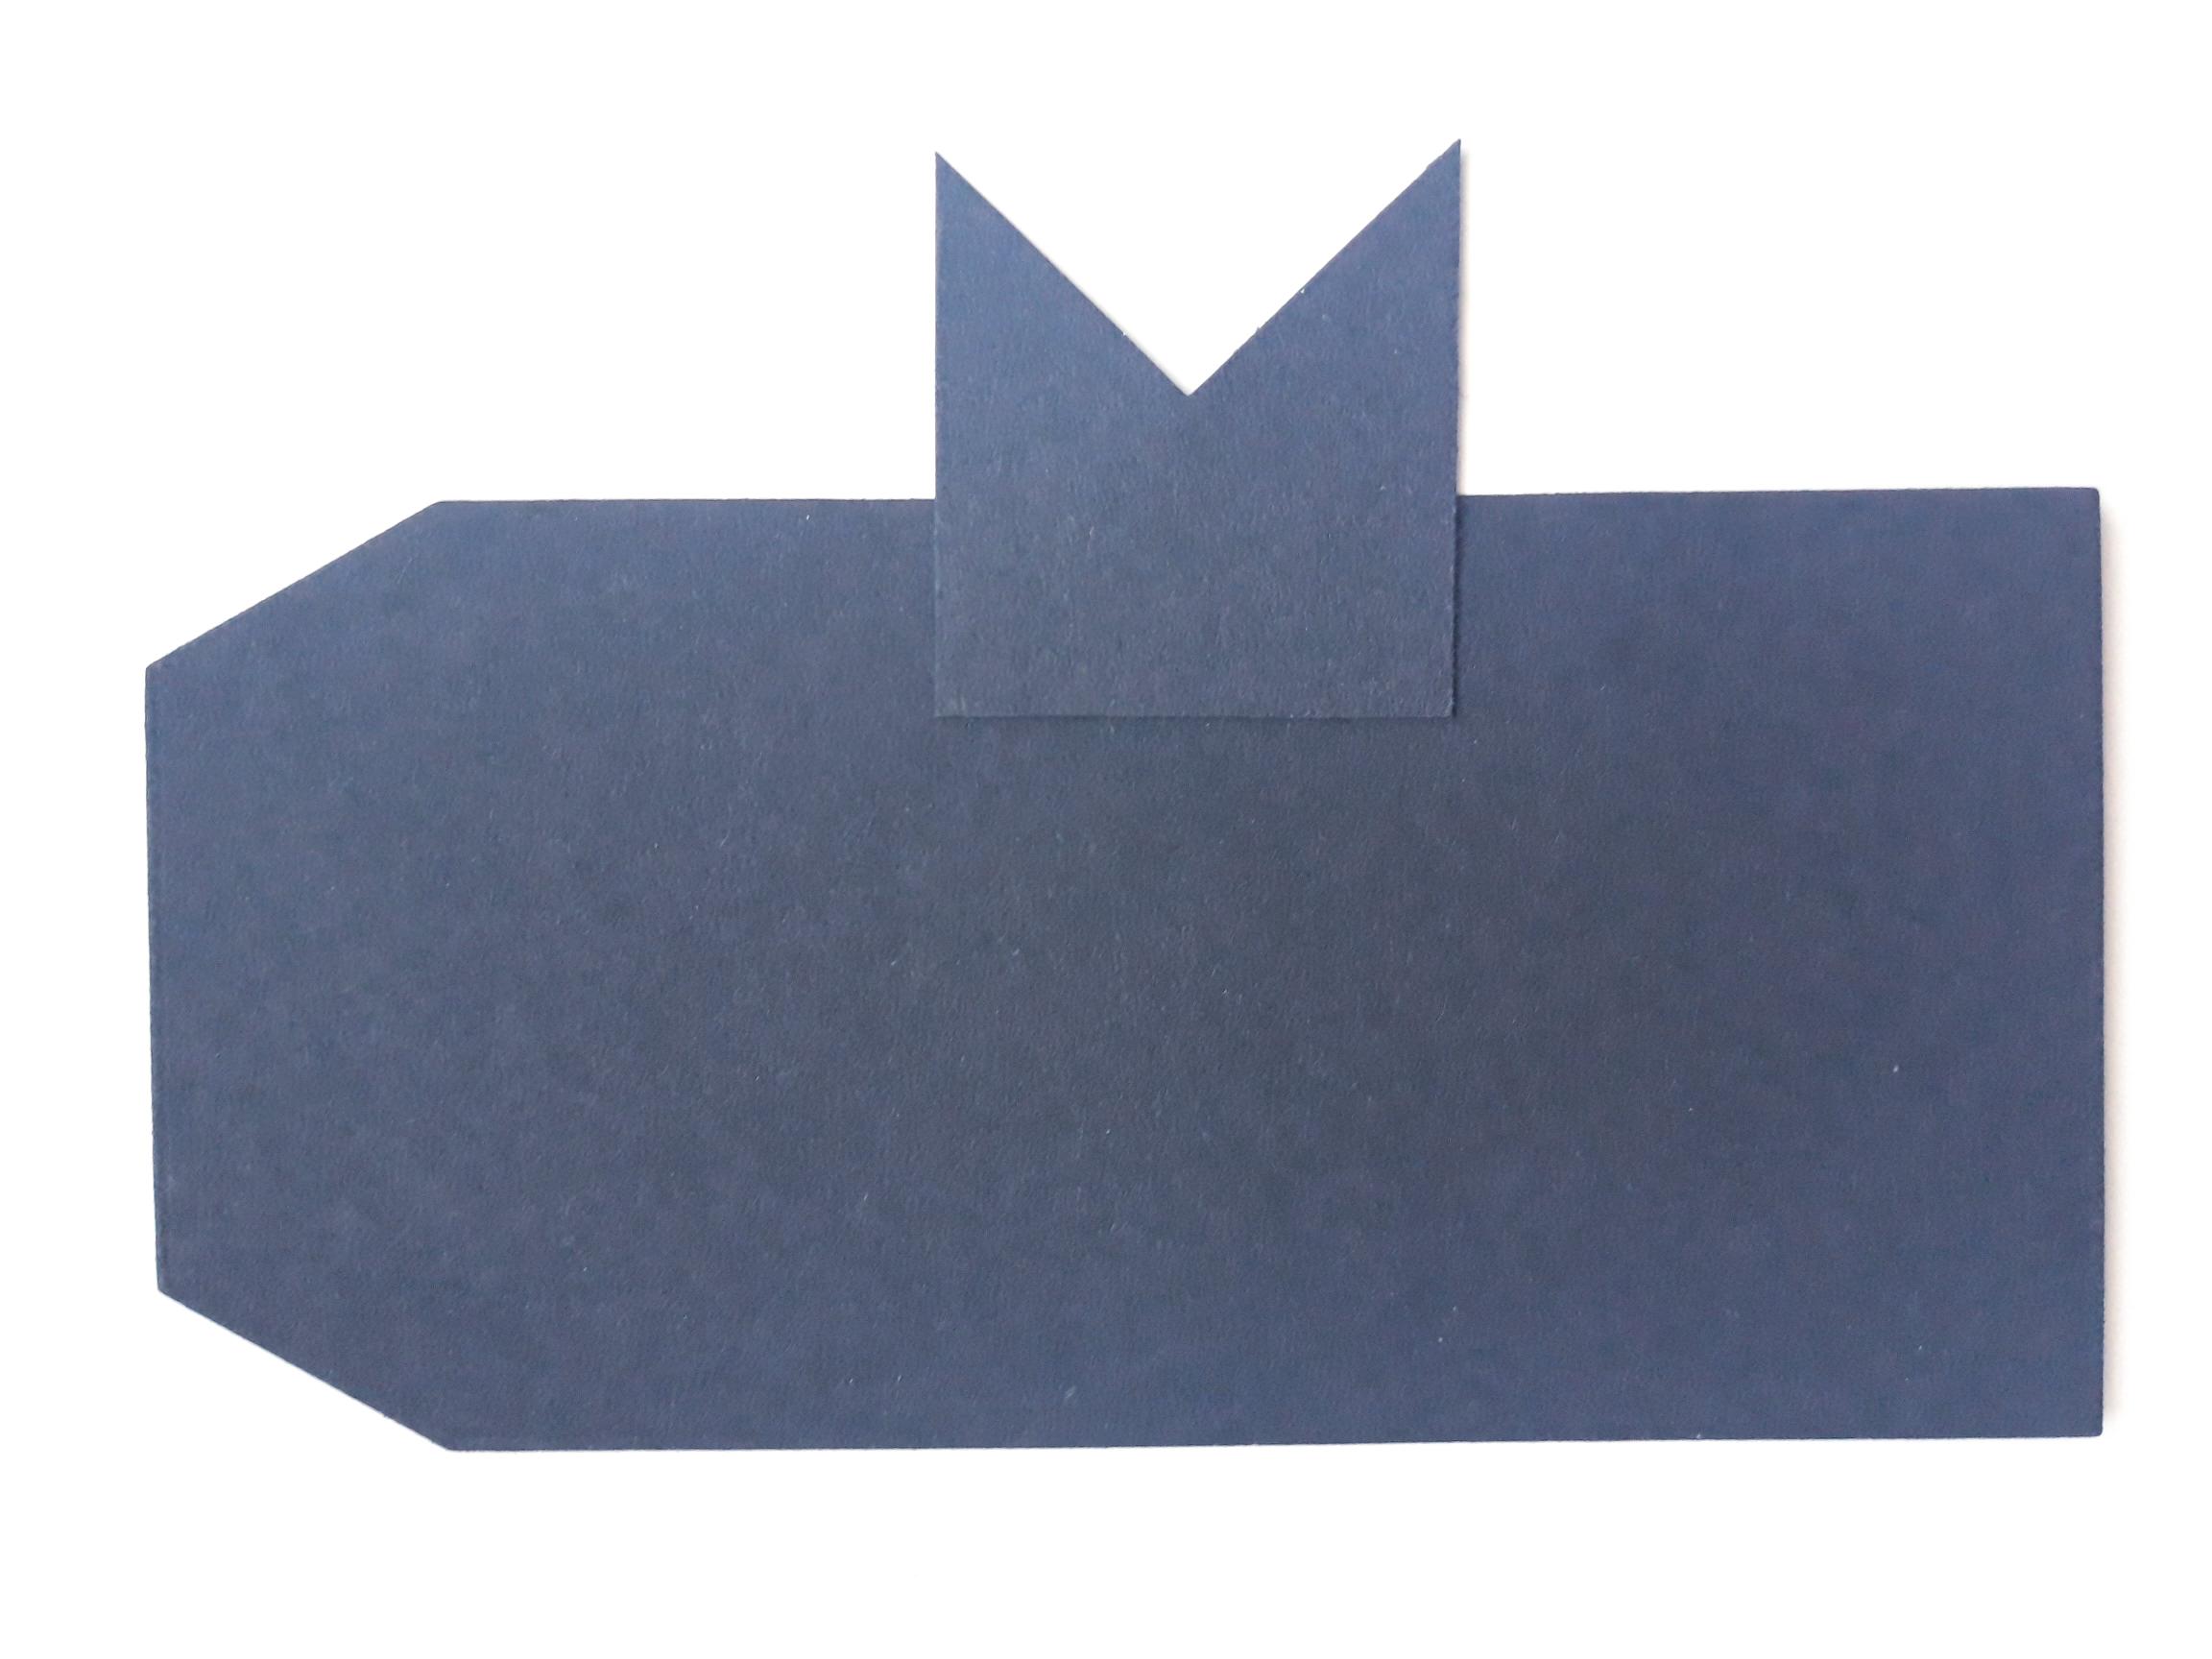
Place a tag die, measuring approx 5 1/2 x 2 3/4", on to the black card you set aside, and run through your die cutting machine. |
|
Adhere the puched banner tag centrally, on to the die cut black tag, as shown here. Set to one side. |
|
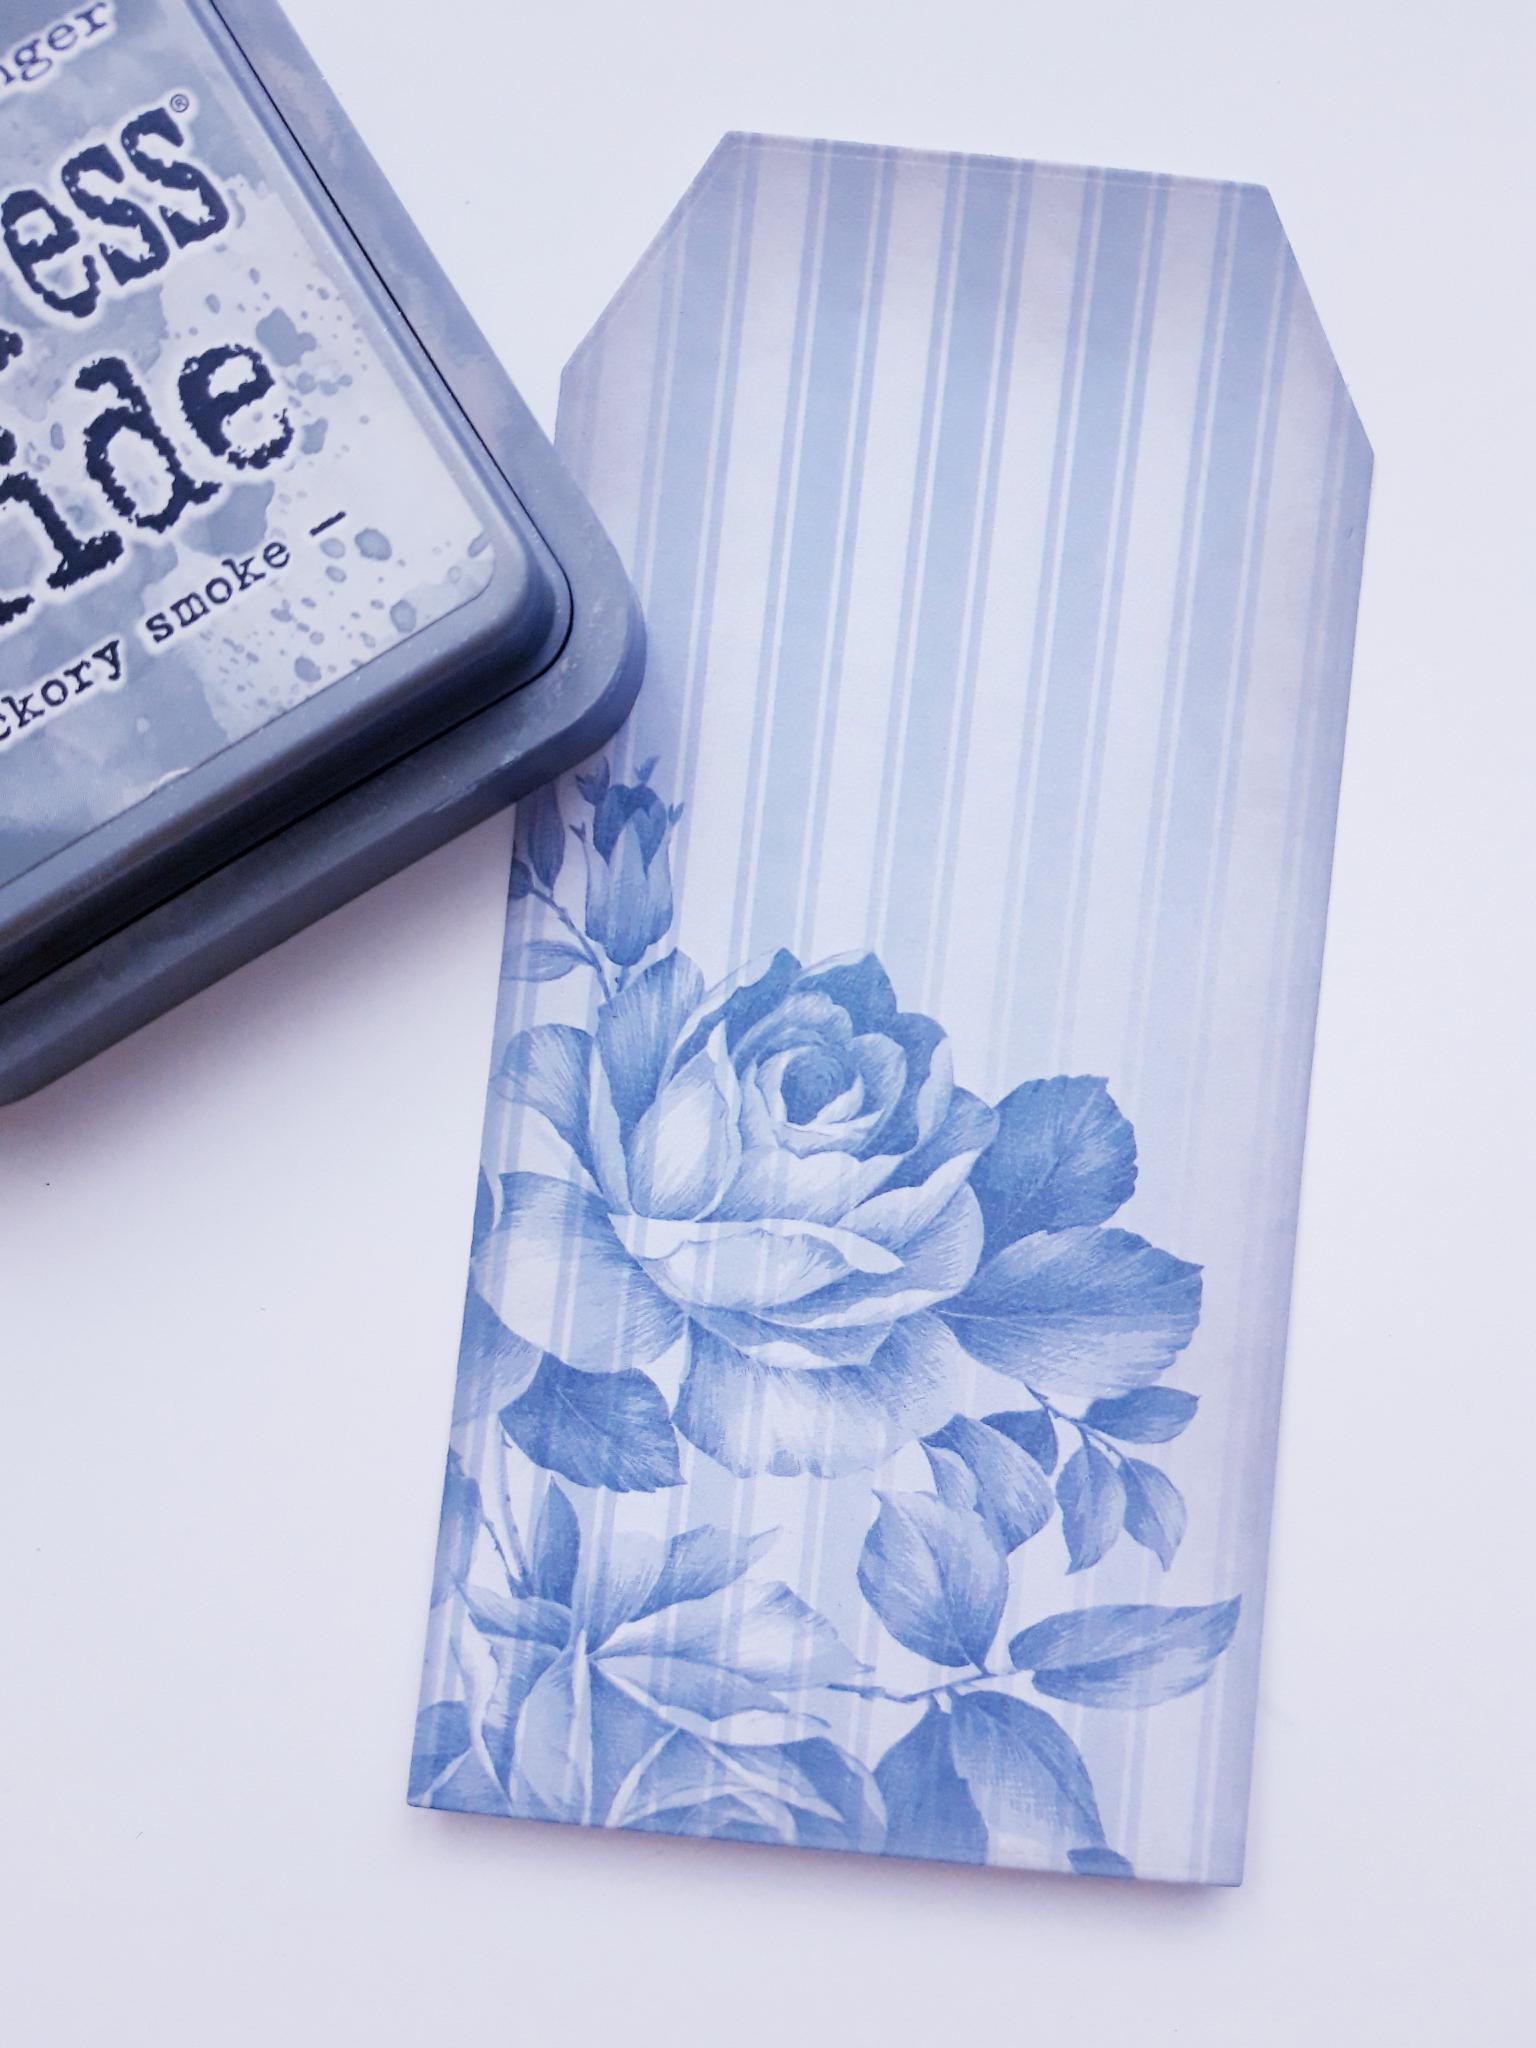
Tear out this decorative paper, from the Time To Grow 6 x 6" Paper Pad. Place the tag die, that measures 5 1/2 x 2 3/4", on to the paper, and run through your die cutting machine. Put the remainder of the paper to one side, for a later step. Ink around the edges with your Hickory Smoke Distress Oxide.
|
|
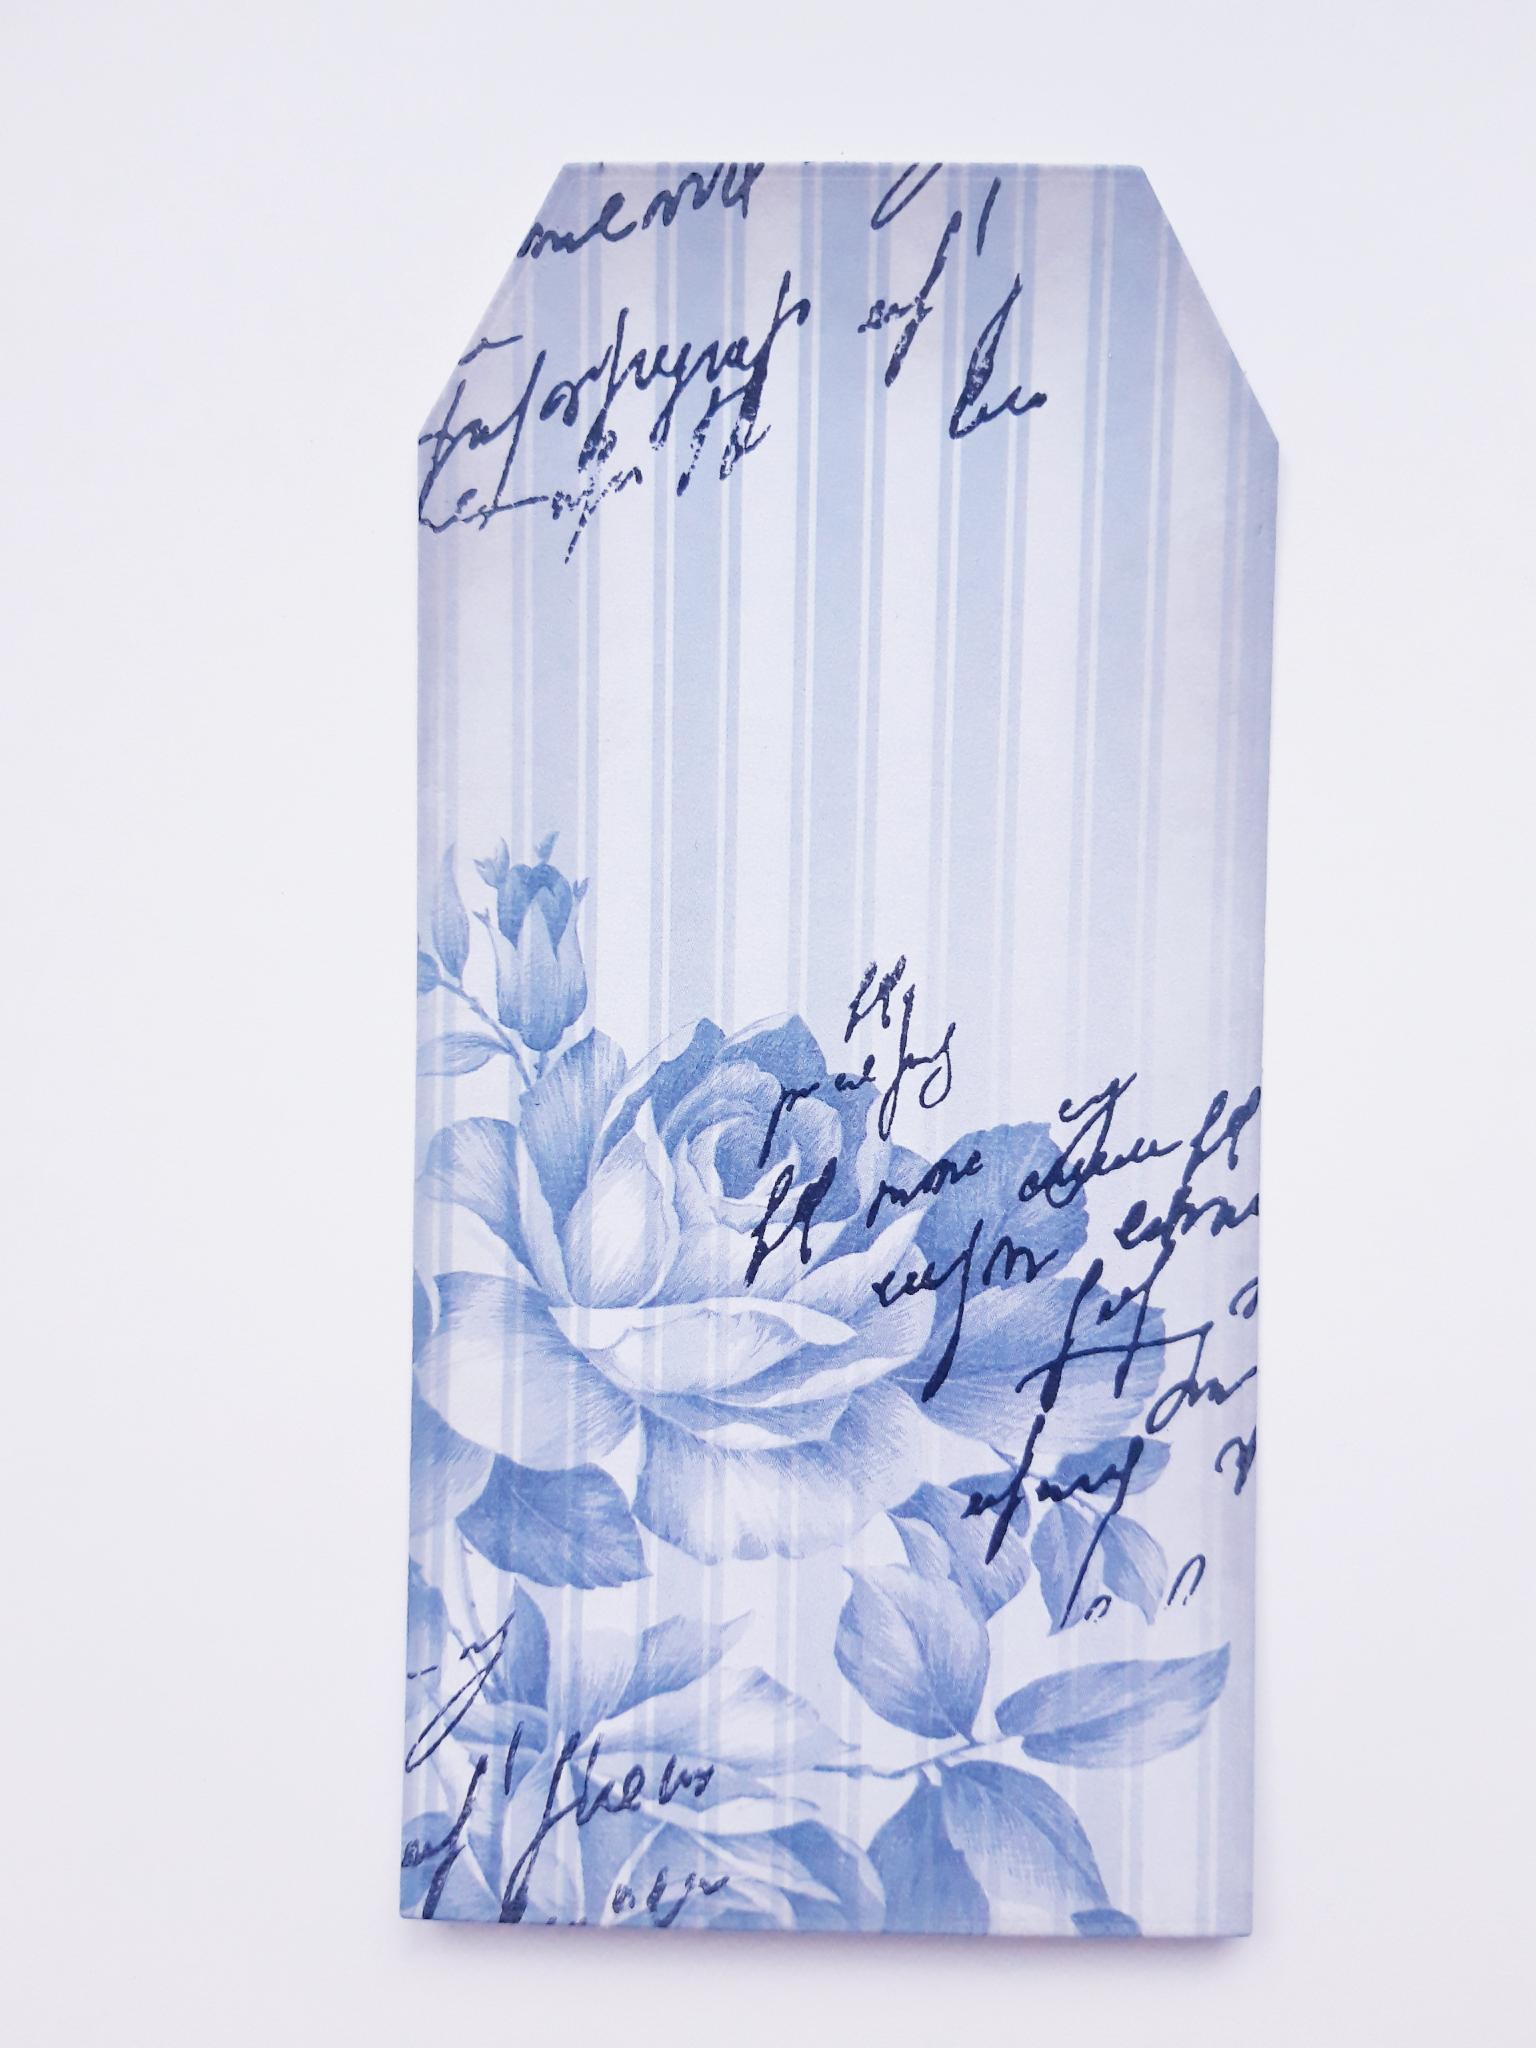
Ink up the Script Stamp set with the Onyx Black Versafine, and stamp randomly on to your die cut paper tag. |
|
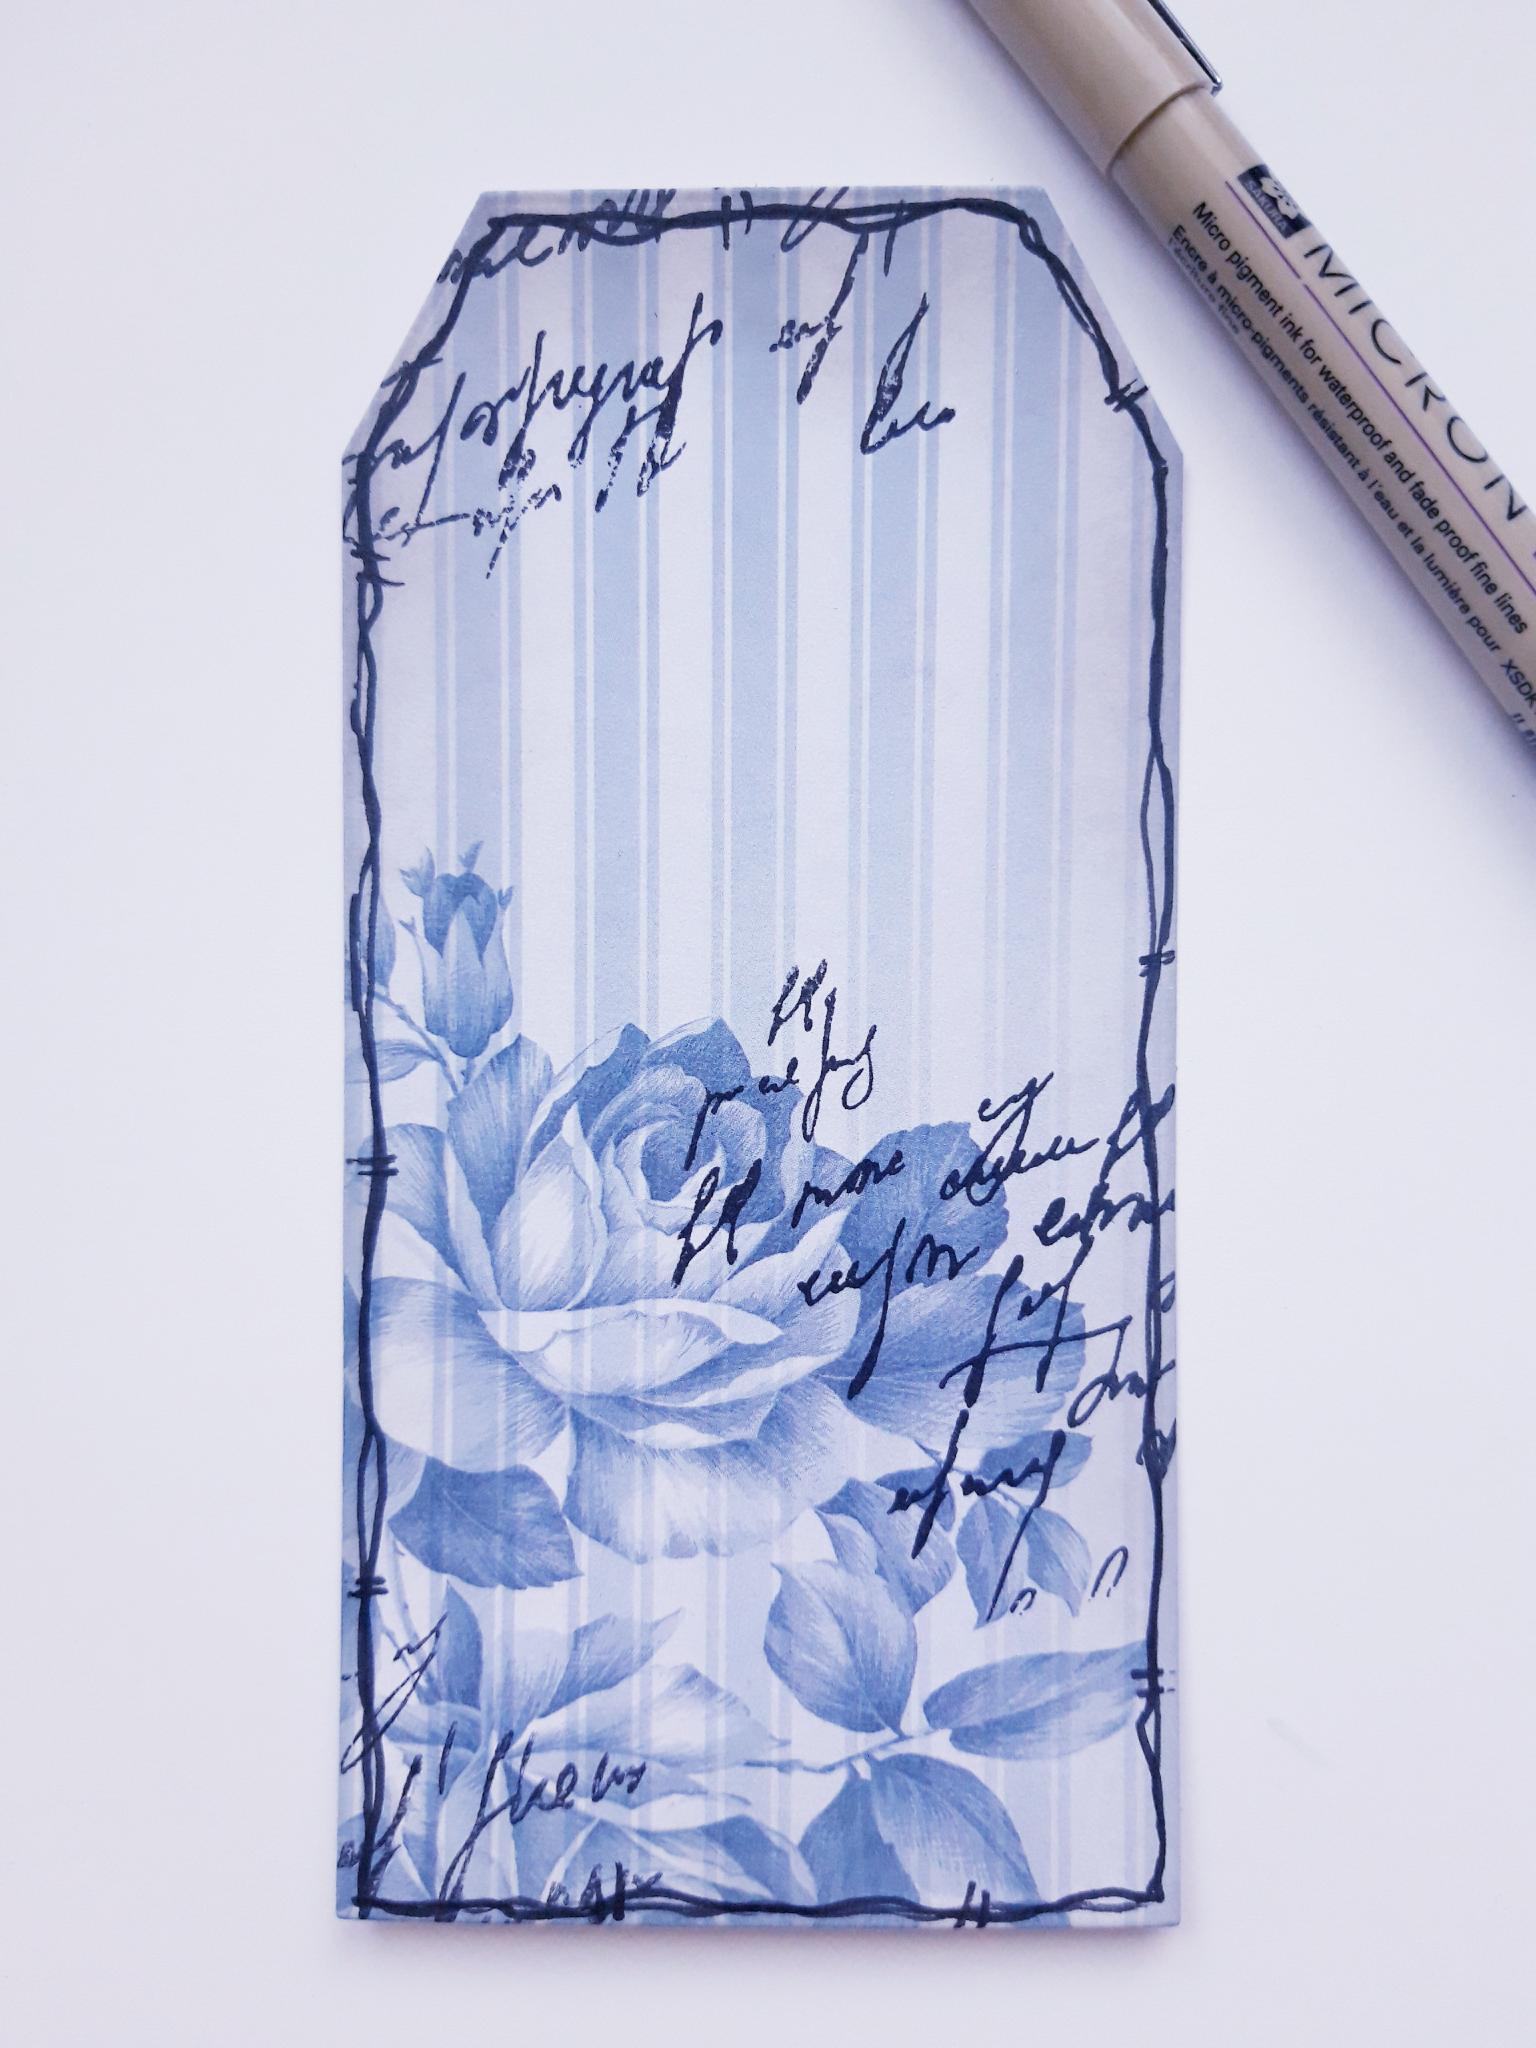
Use a black pen to draw a decorative frame, around your tag. |
|
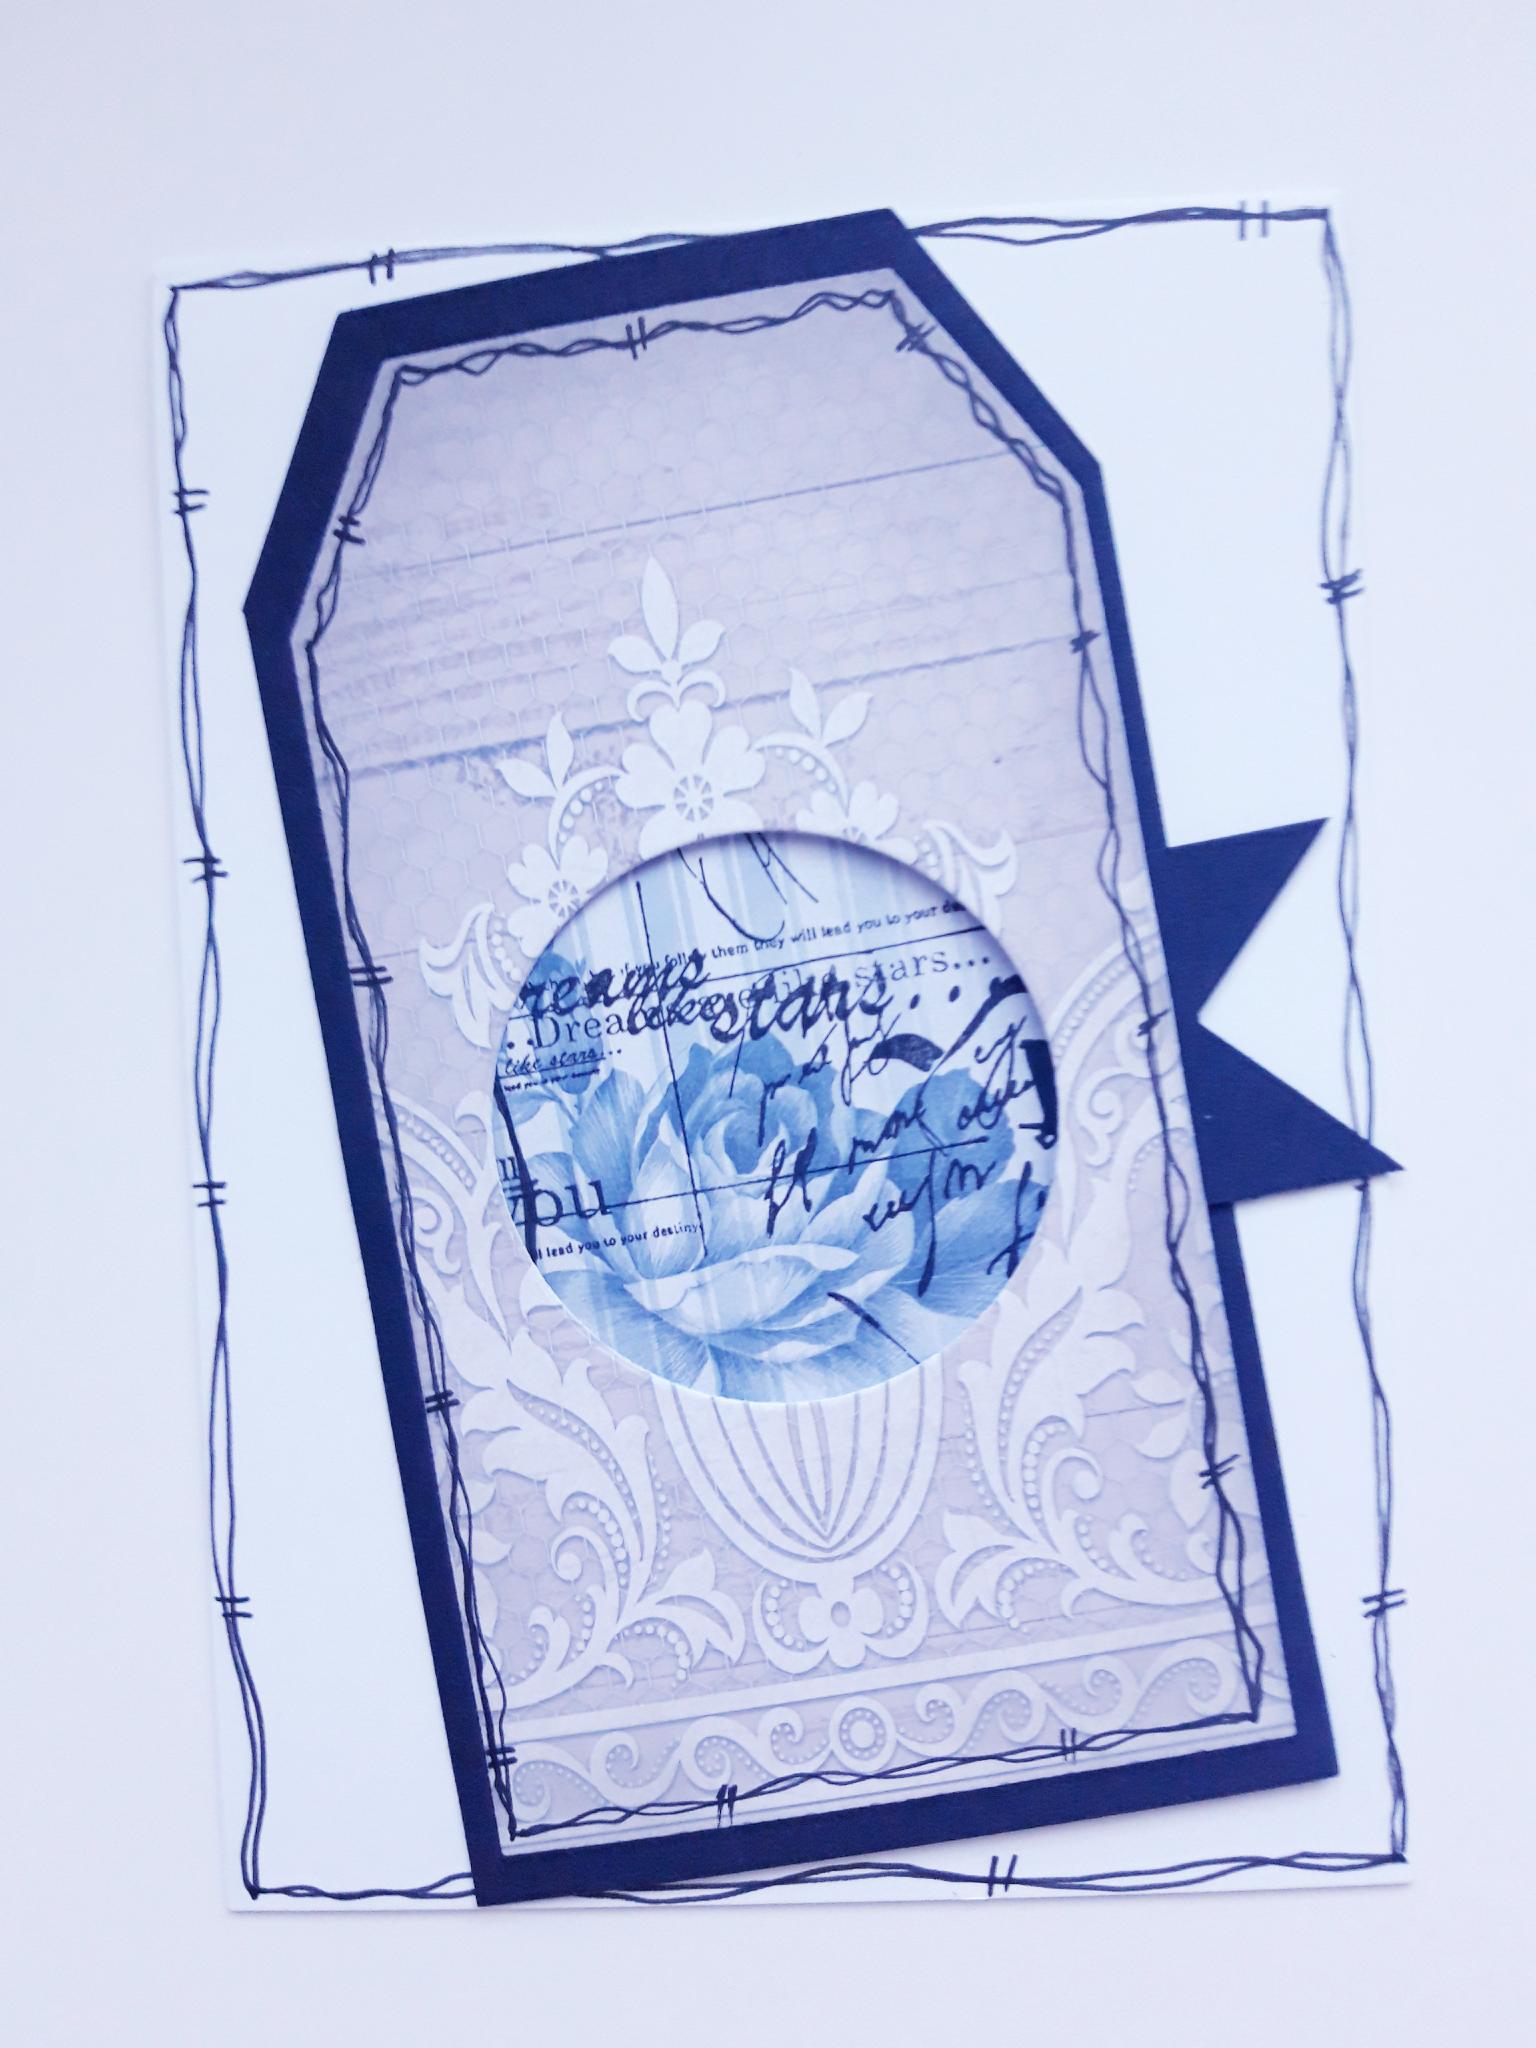
Adhere on to the front of your die cut black tag, so the "pull out" tag is on the right hand side, as shown here.
|
|
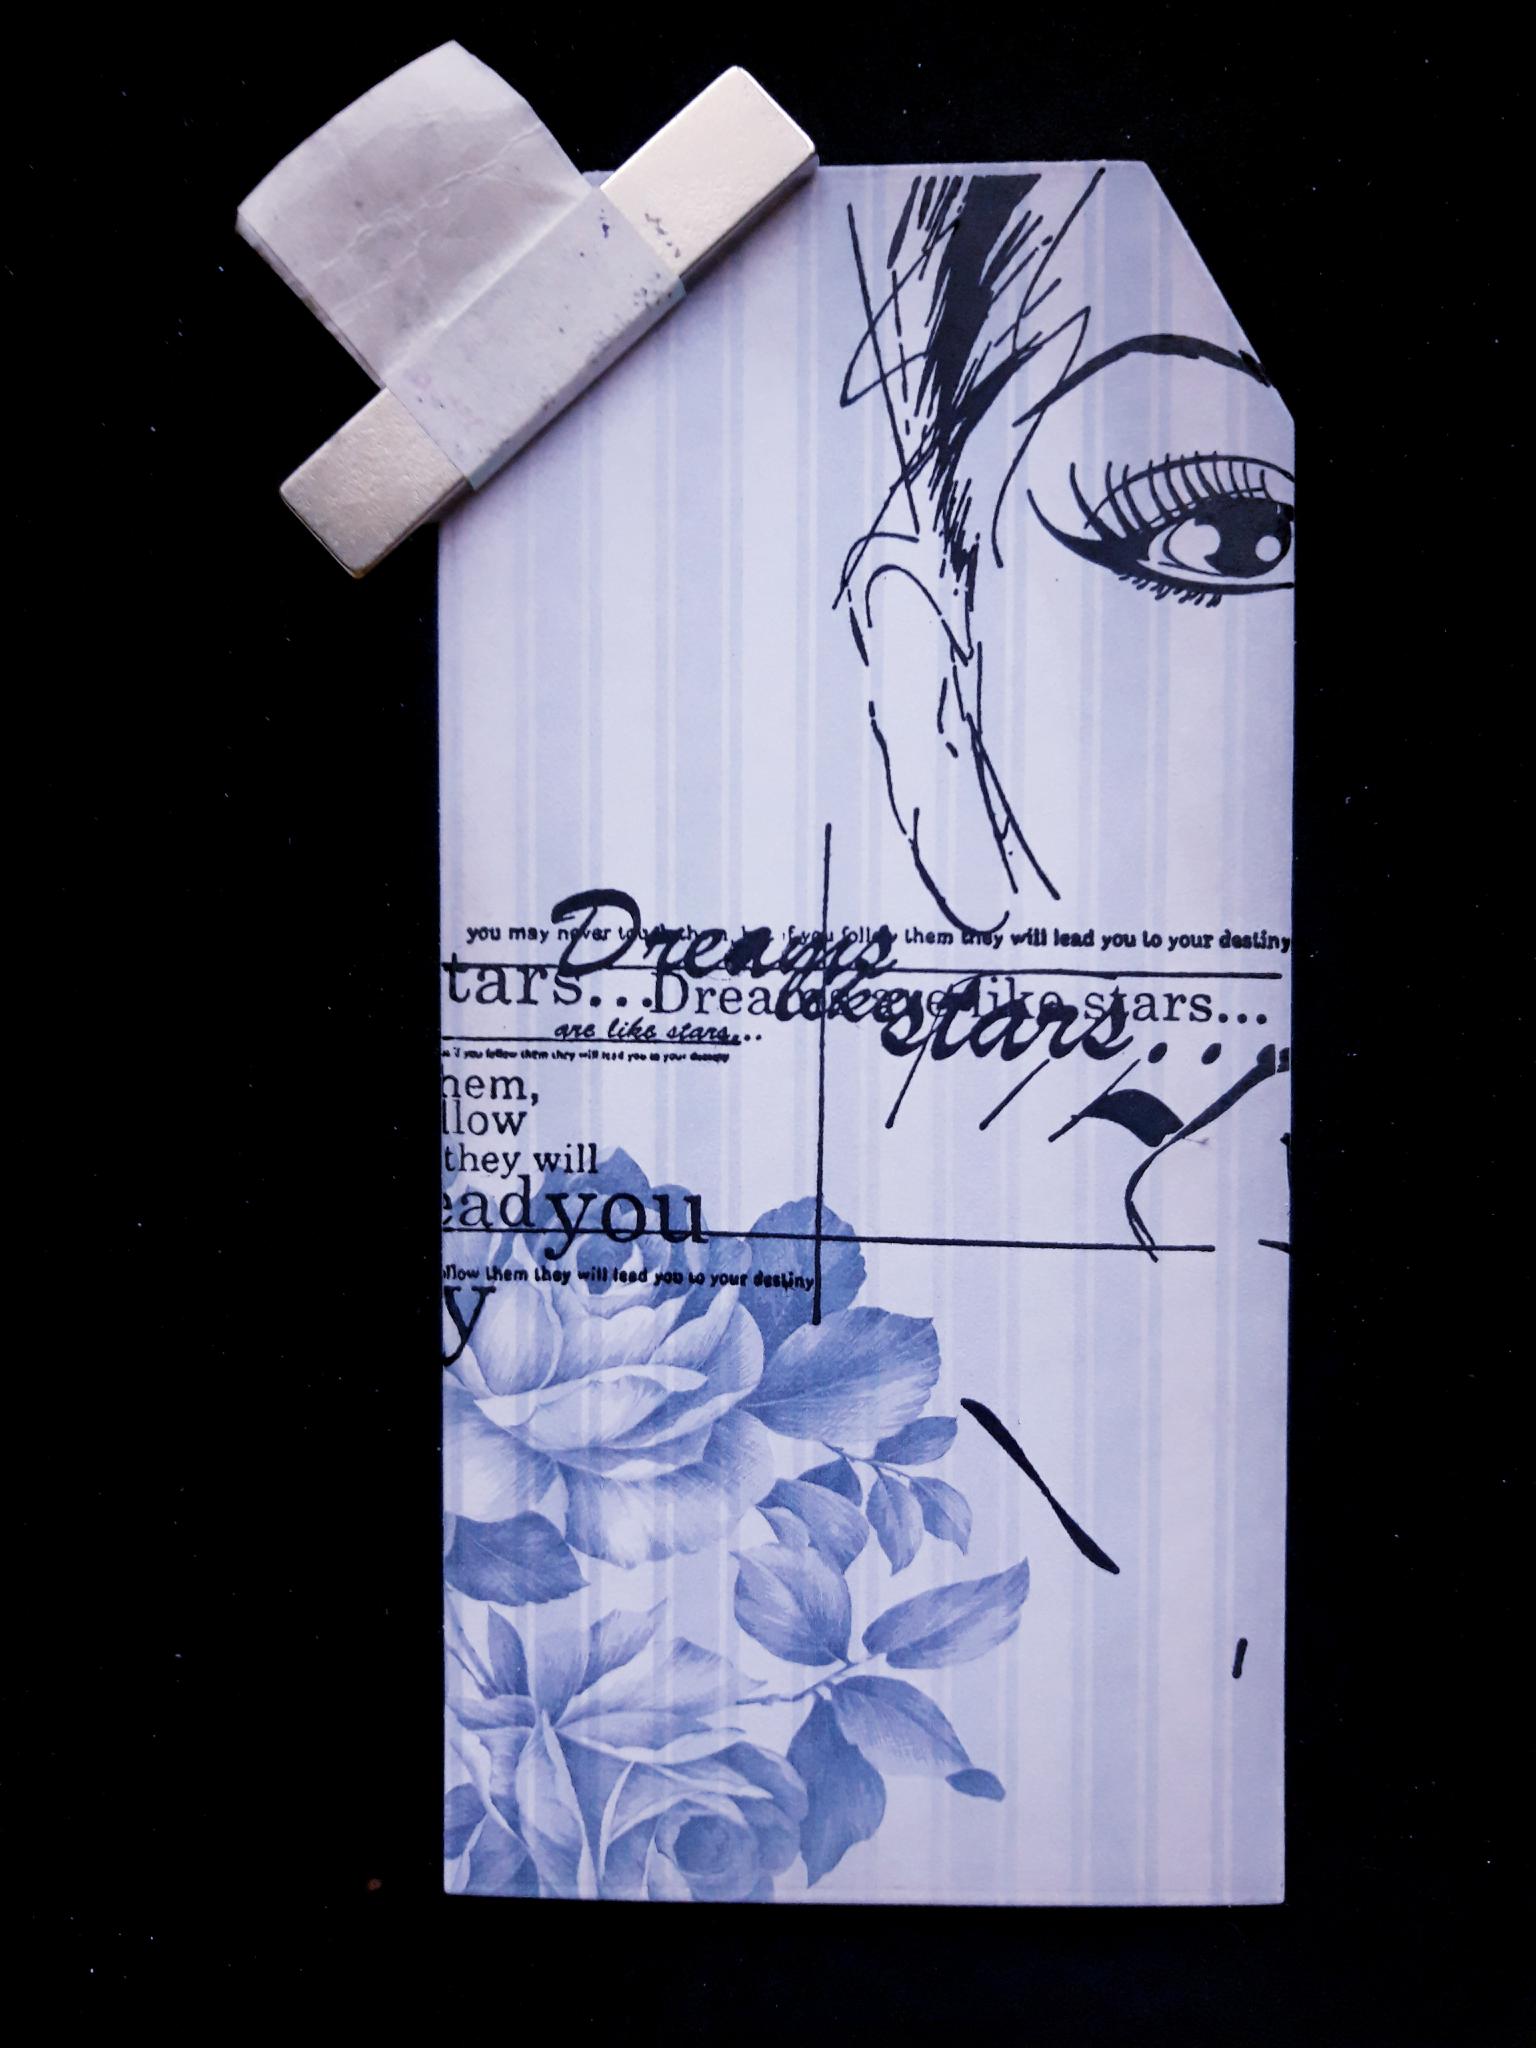
Ink up the Imala Destiny Stamp set with the Onyx Black Versafine, and stamp off the top right of the tag. Set to one side. |
|
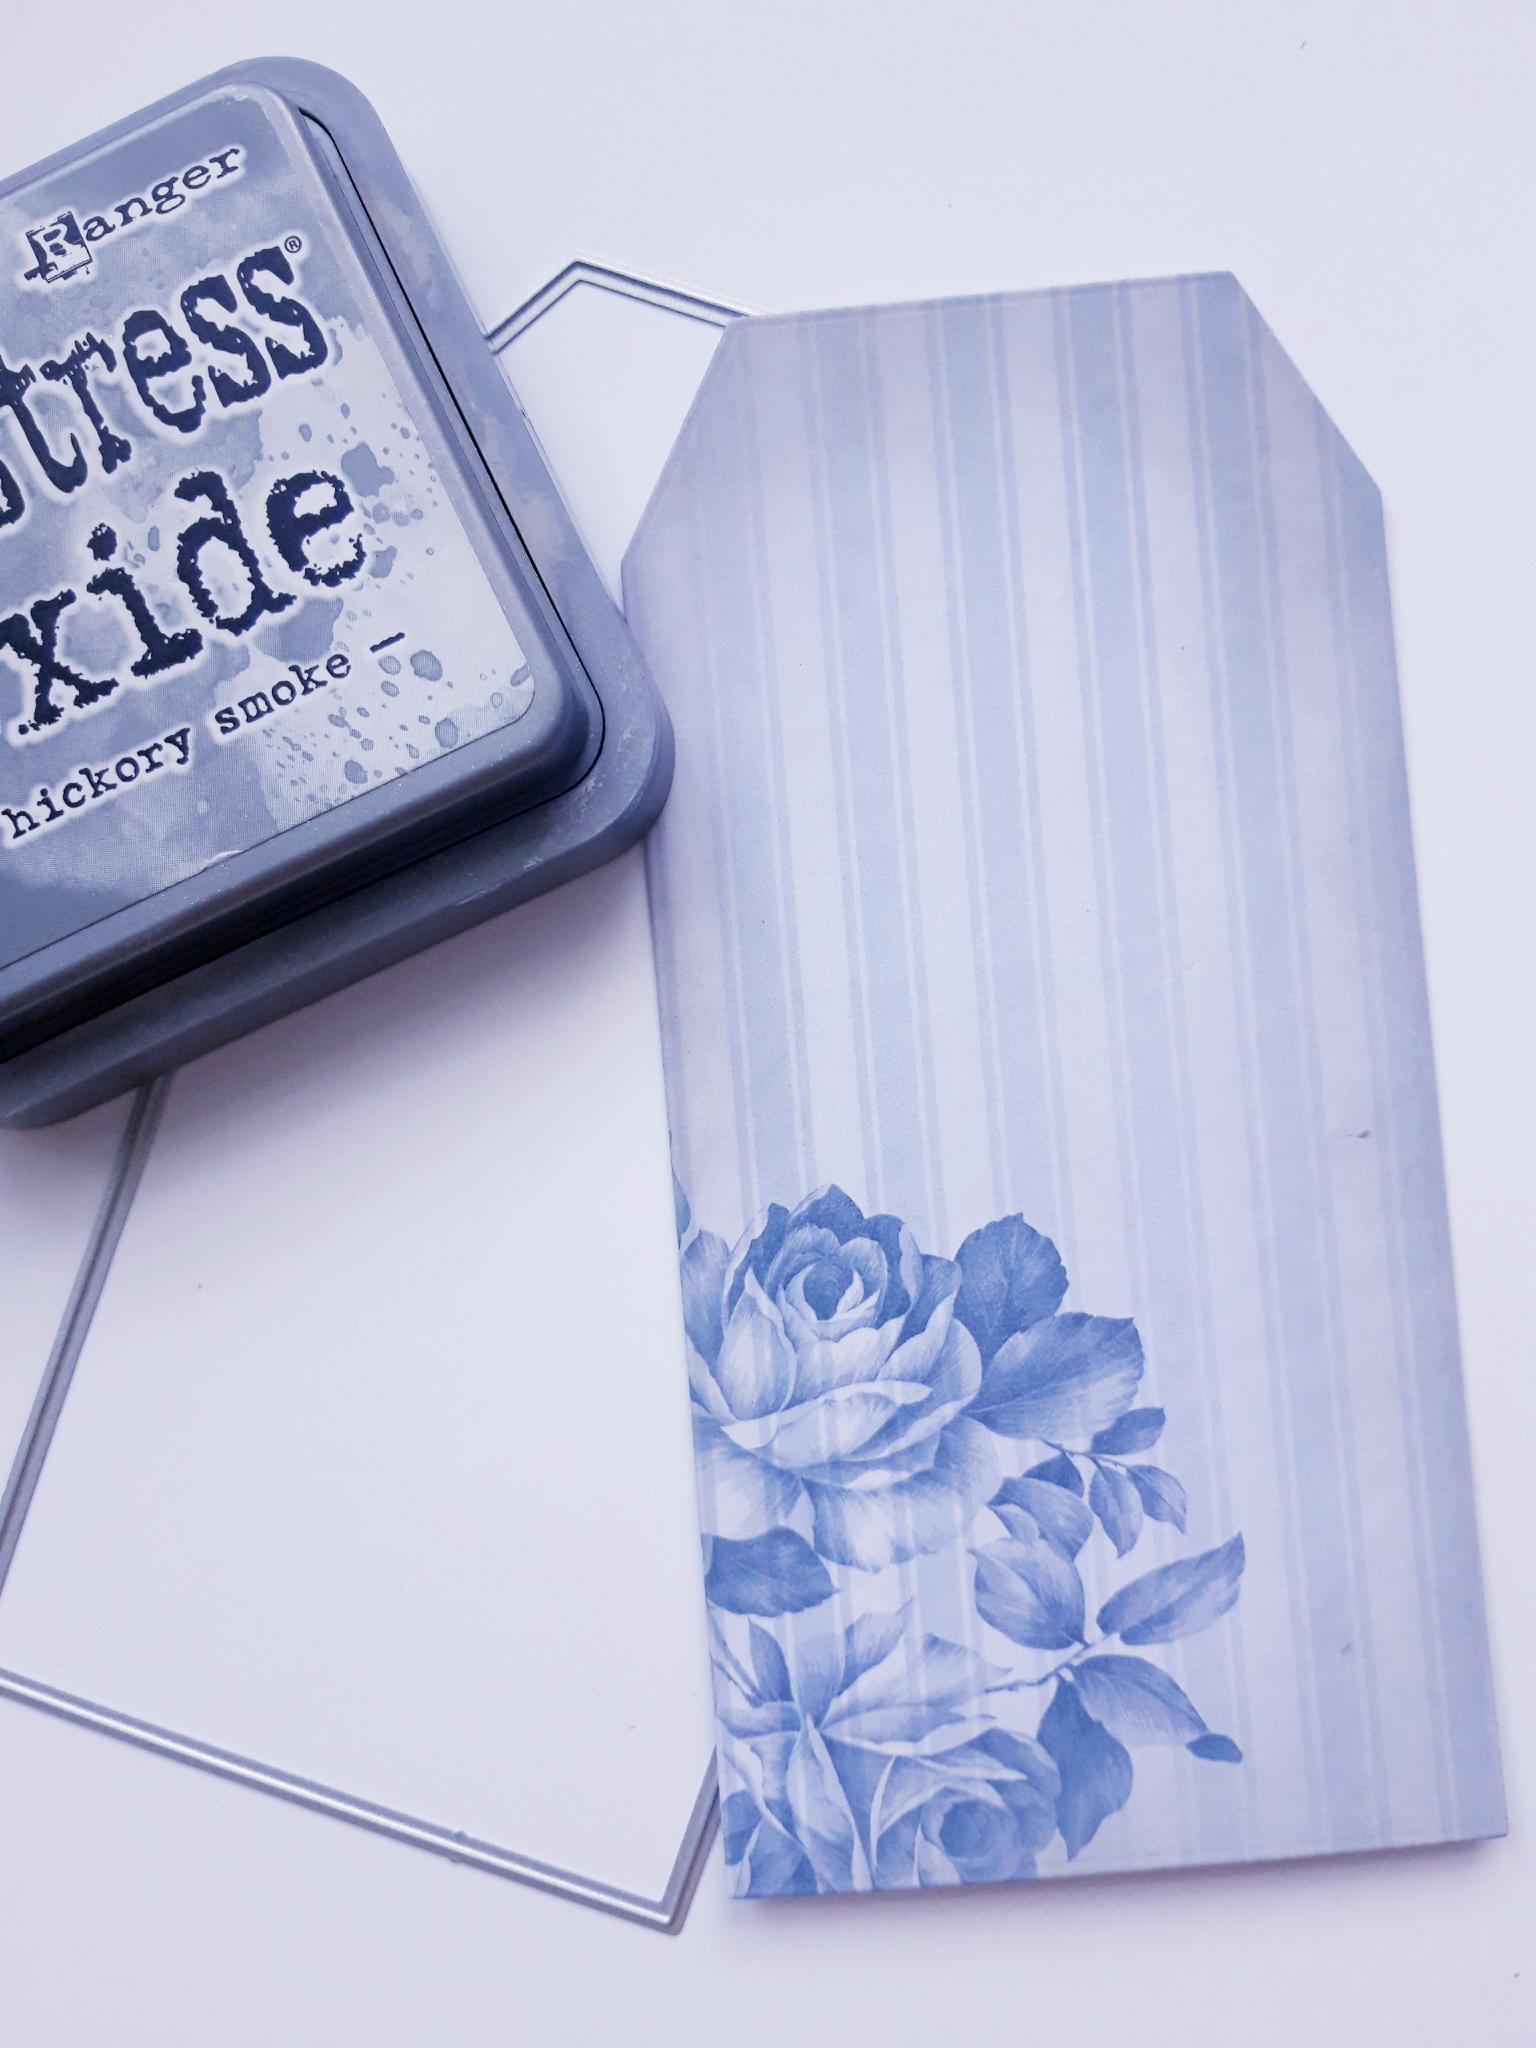
Using the same size tag die, cut another tag, from the decorative striped paper you set aside earlier. Ink around the edges with the Distress Oxide. |
|
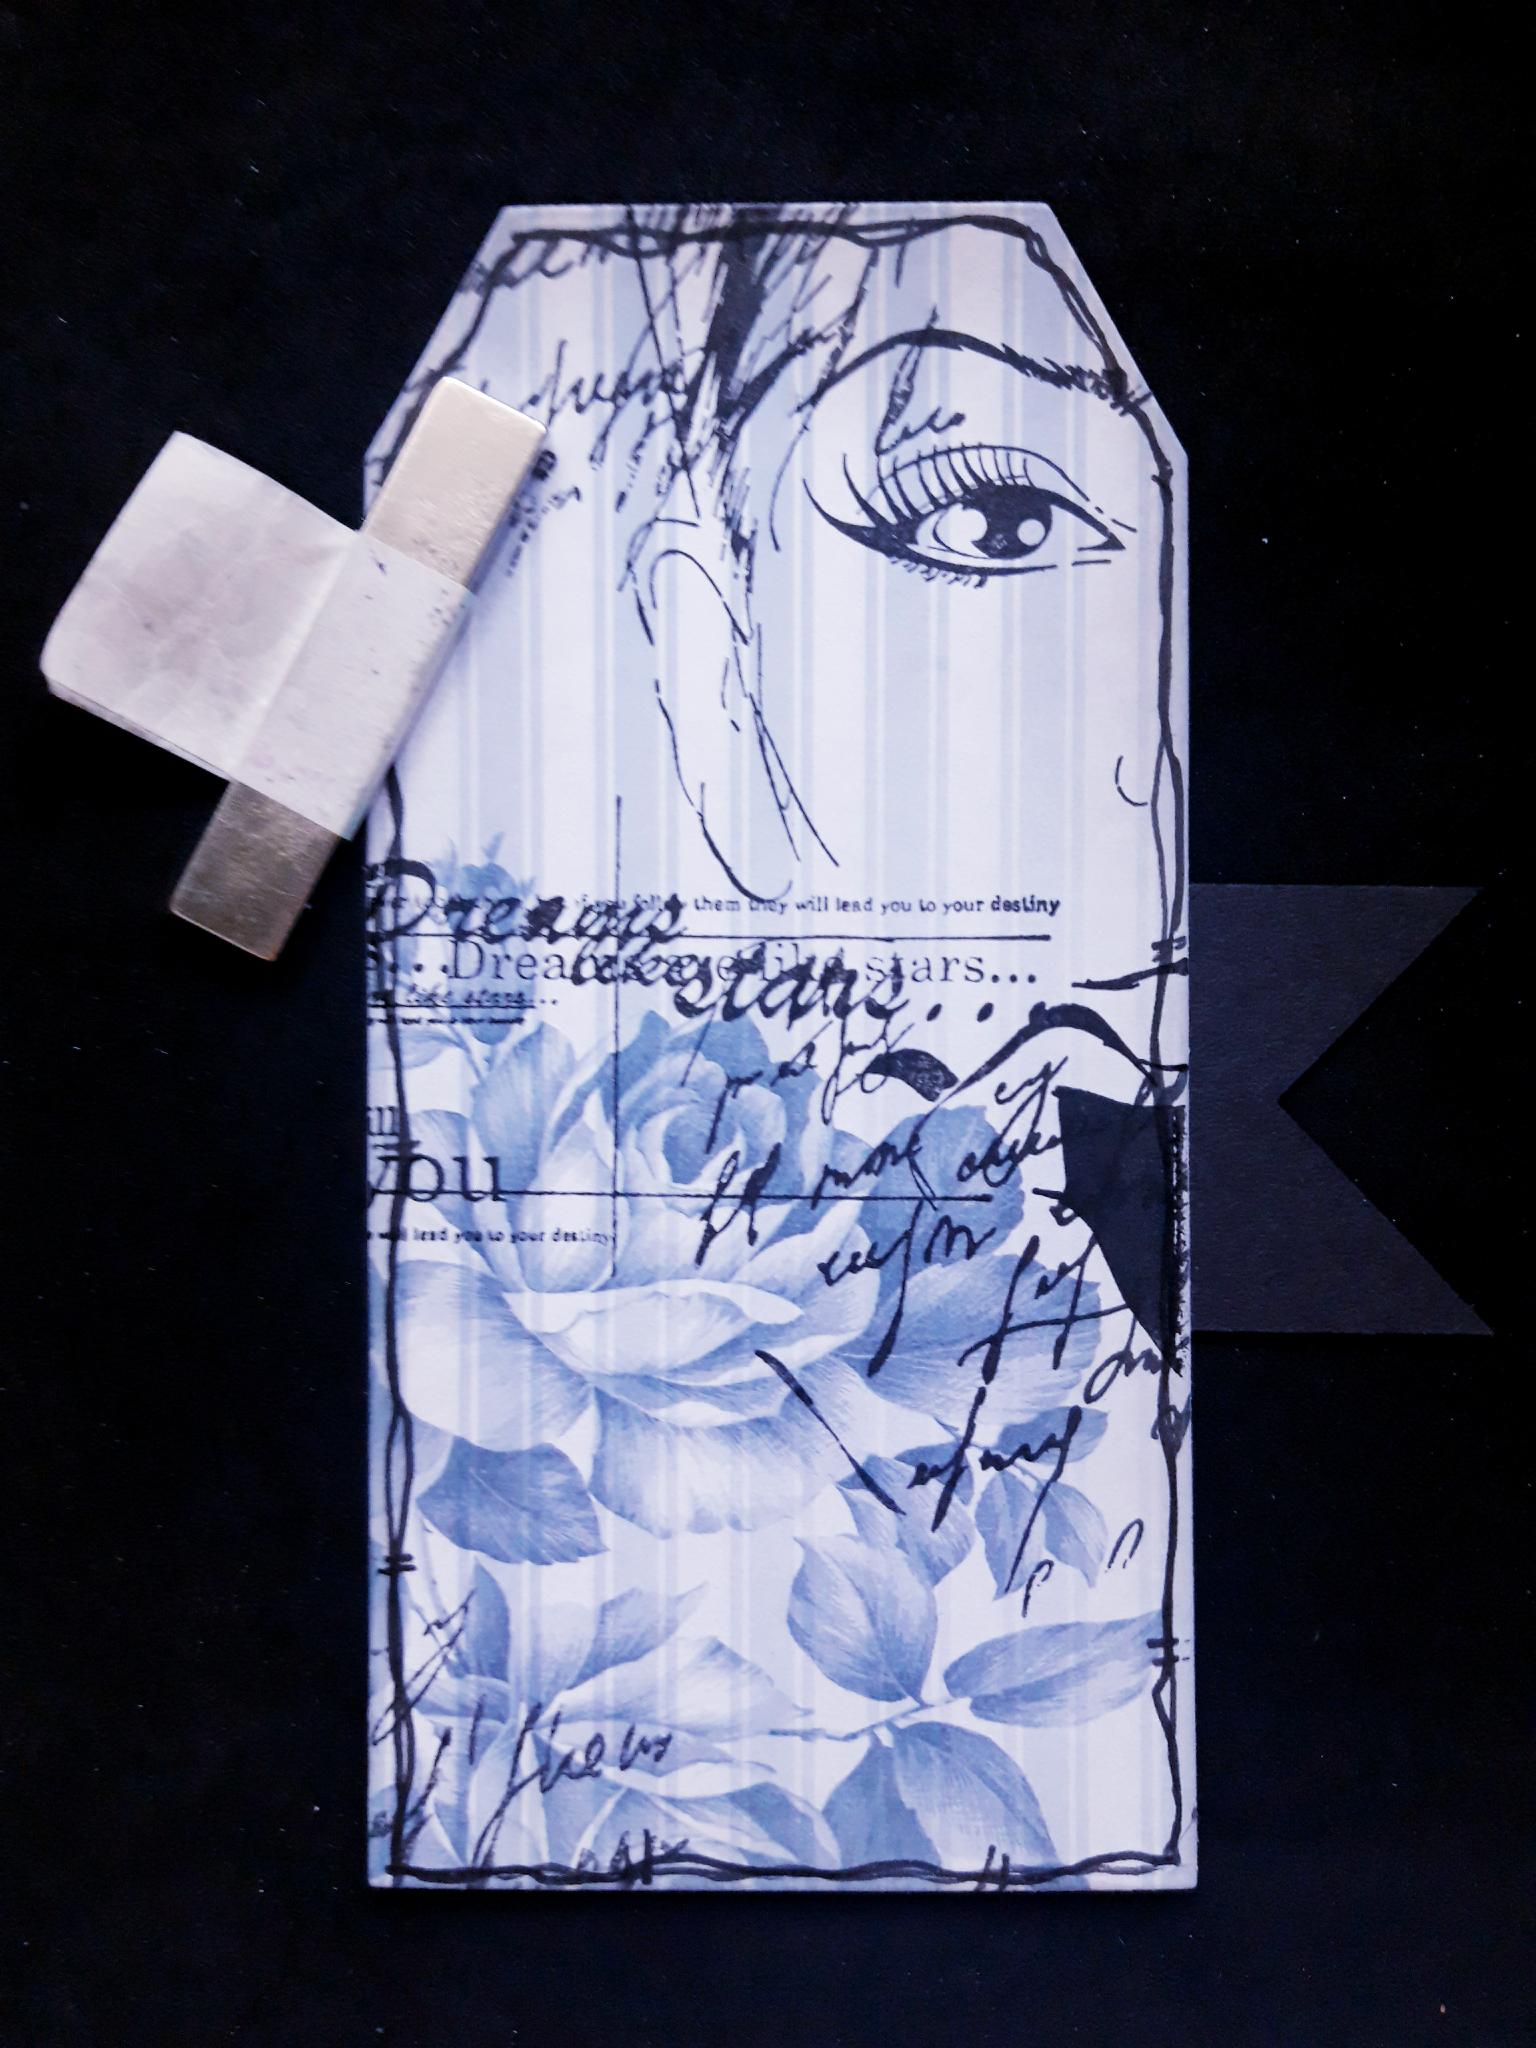
Ink up Imala Destiny with the Versafine, and stamp off the top right hand side of the tag. |
|
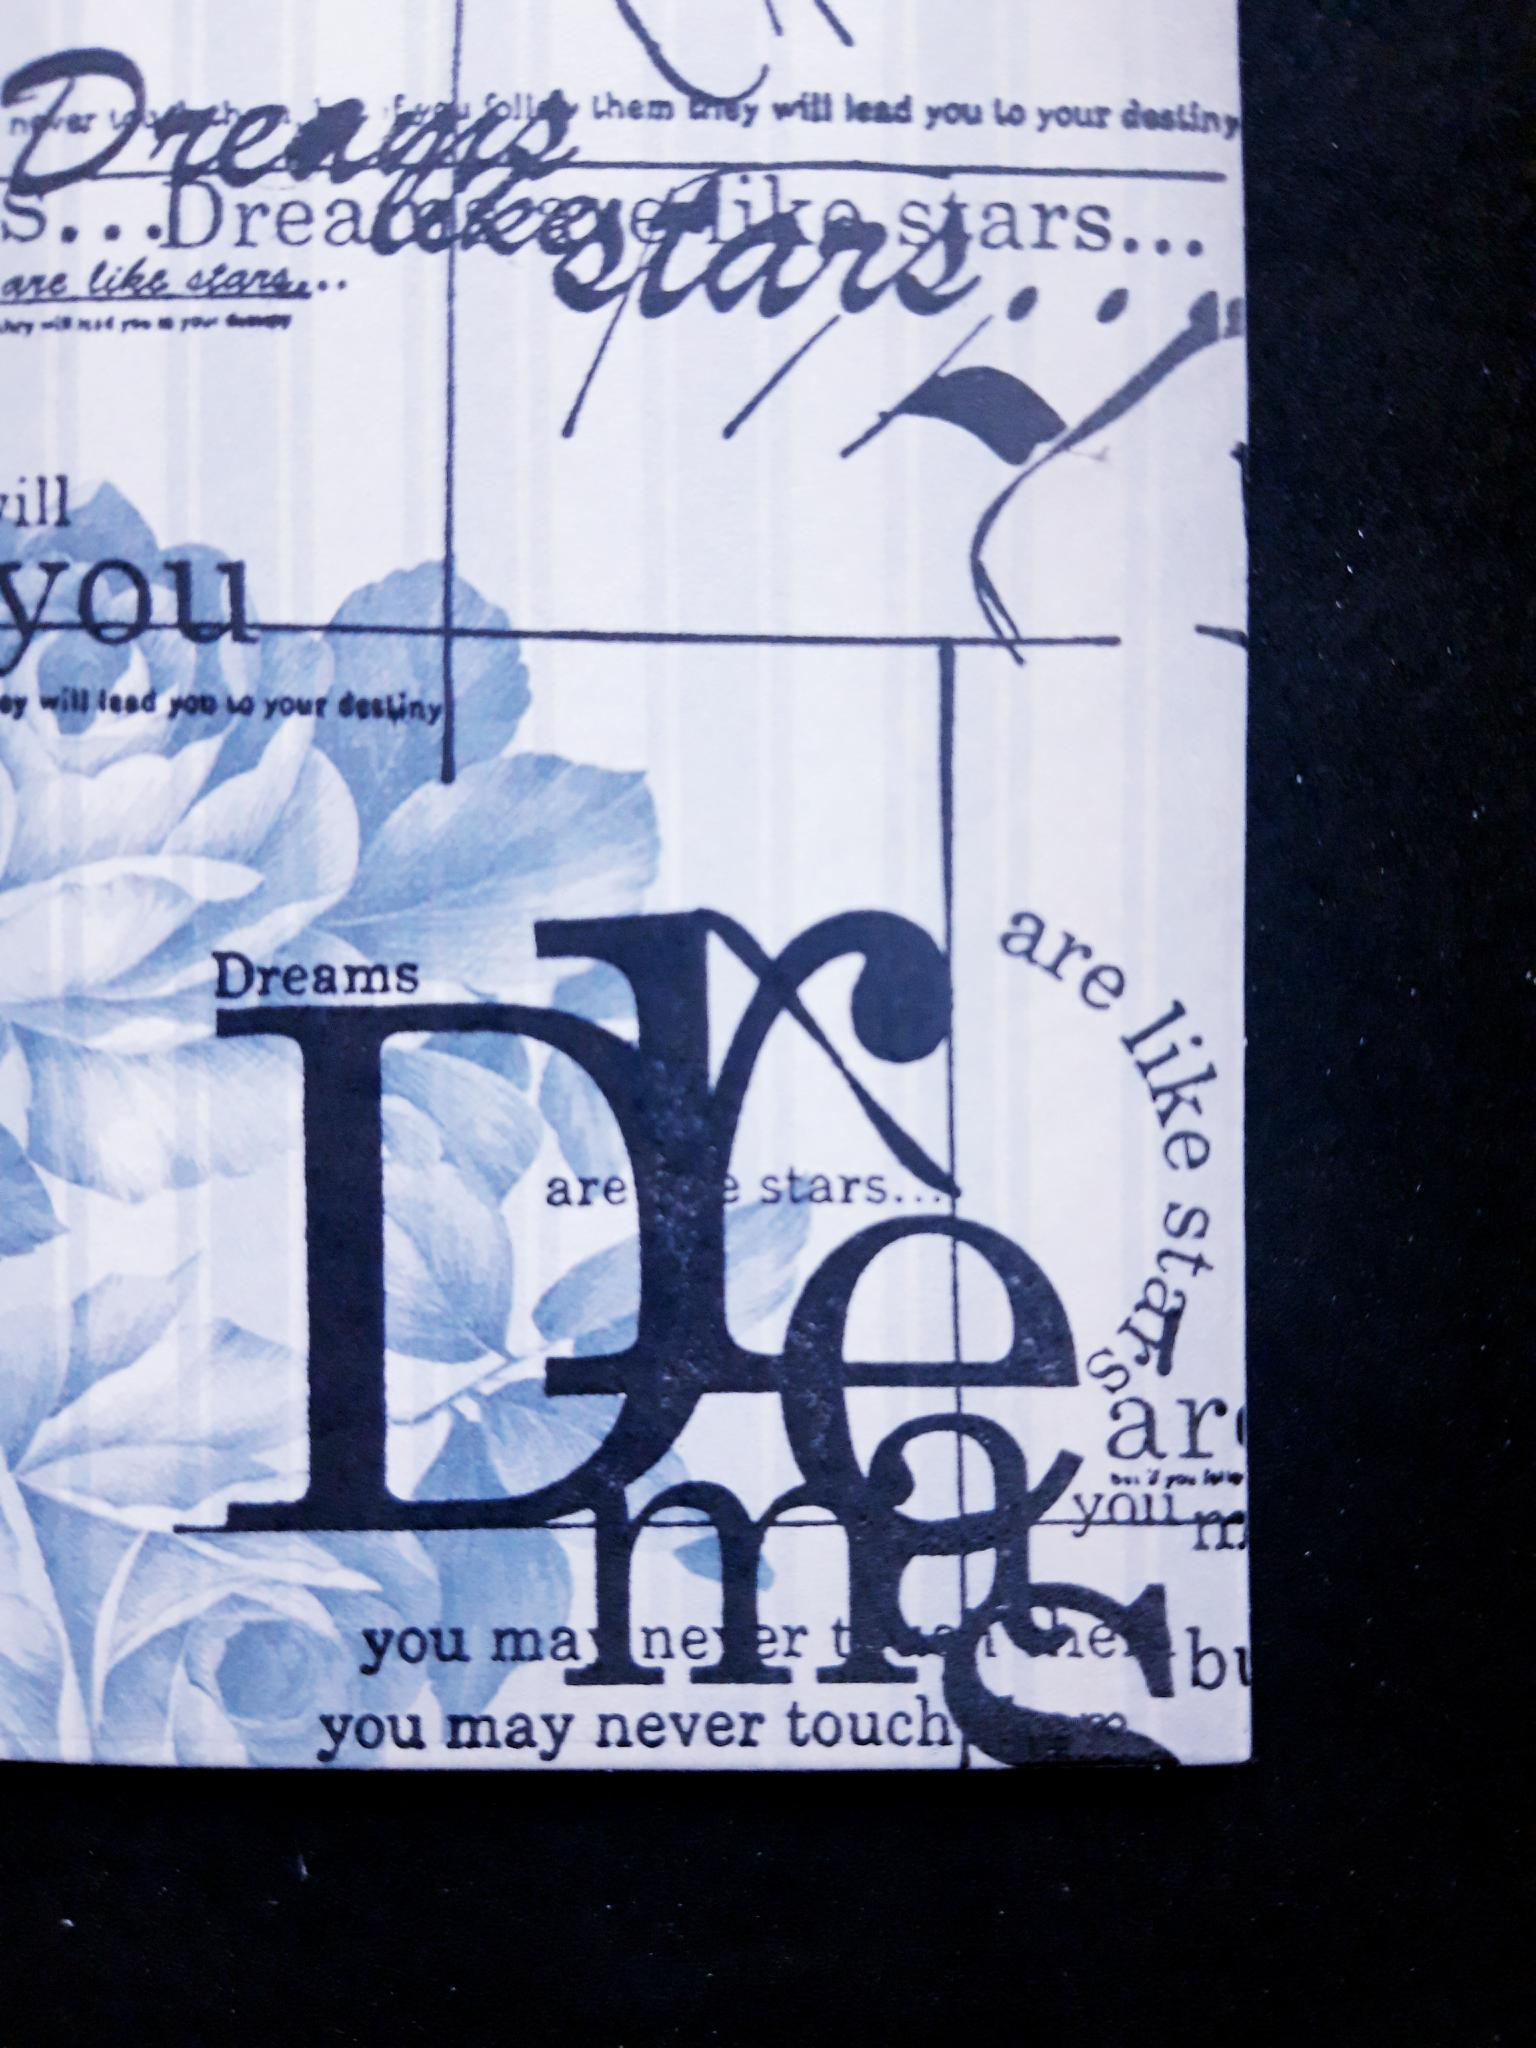
Ink it up again and stamp the "Dreams" script section of the stamp, on to the bottom right of the tag. |
|
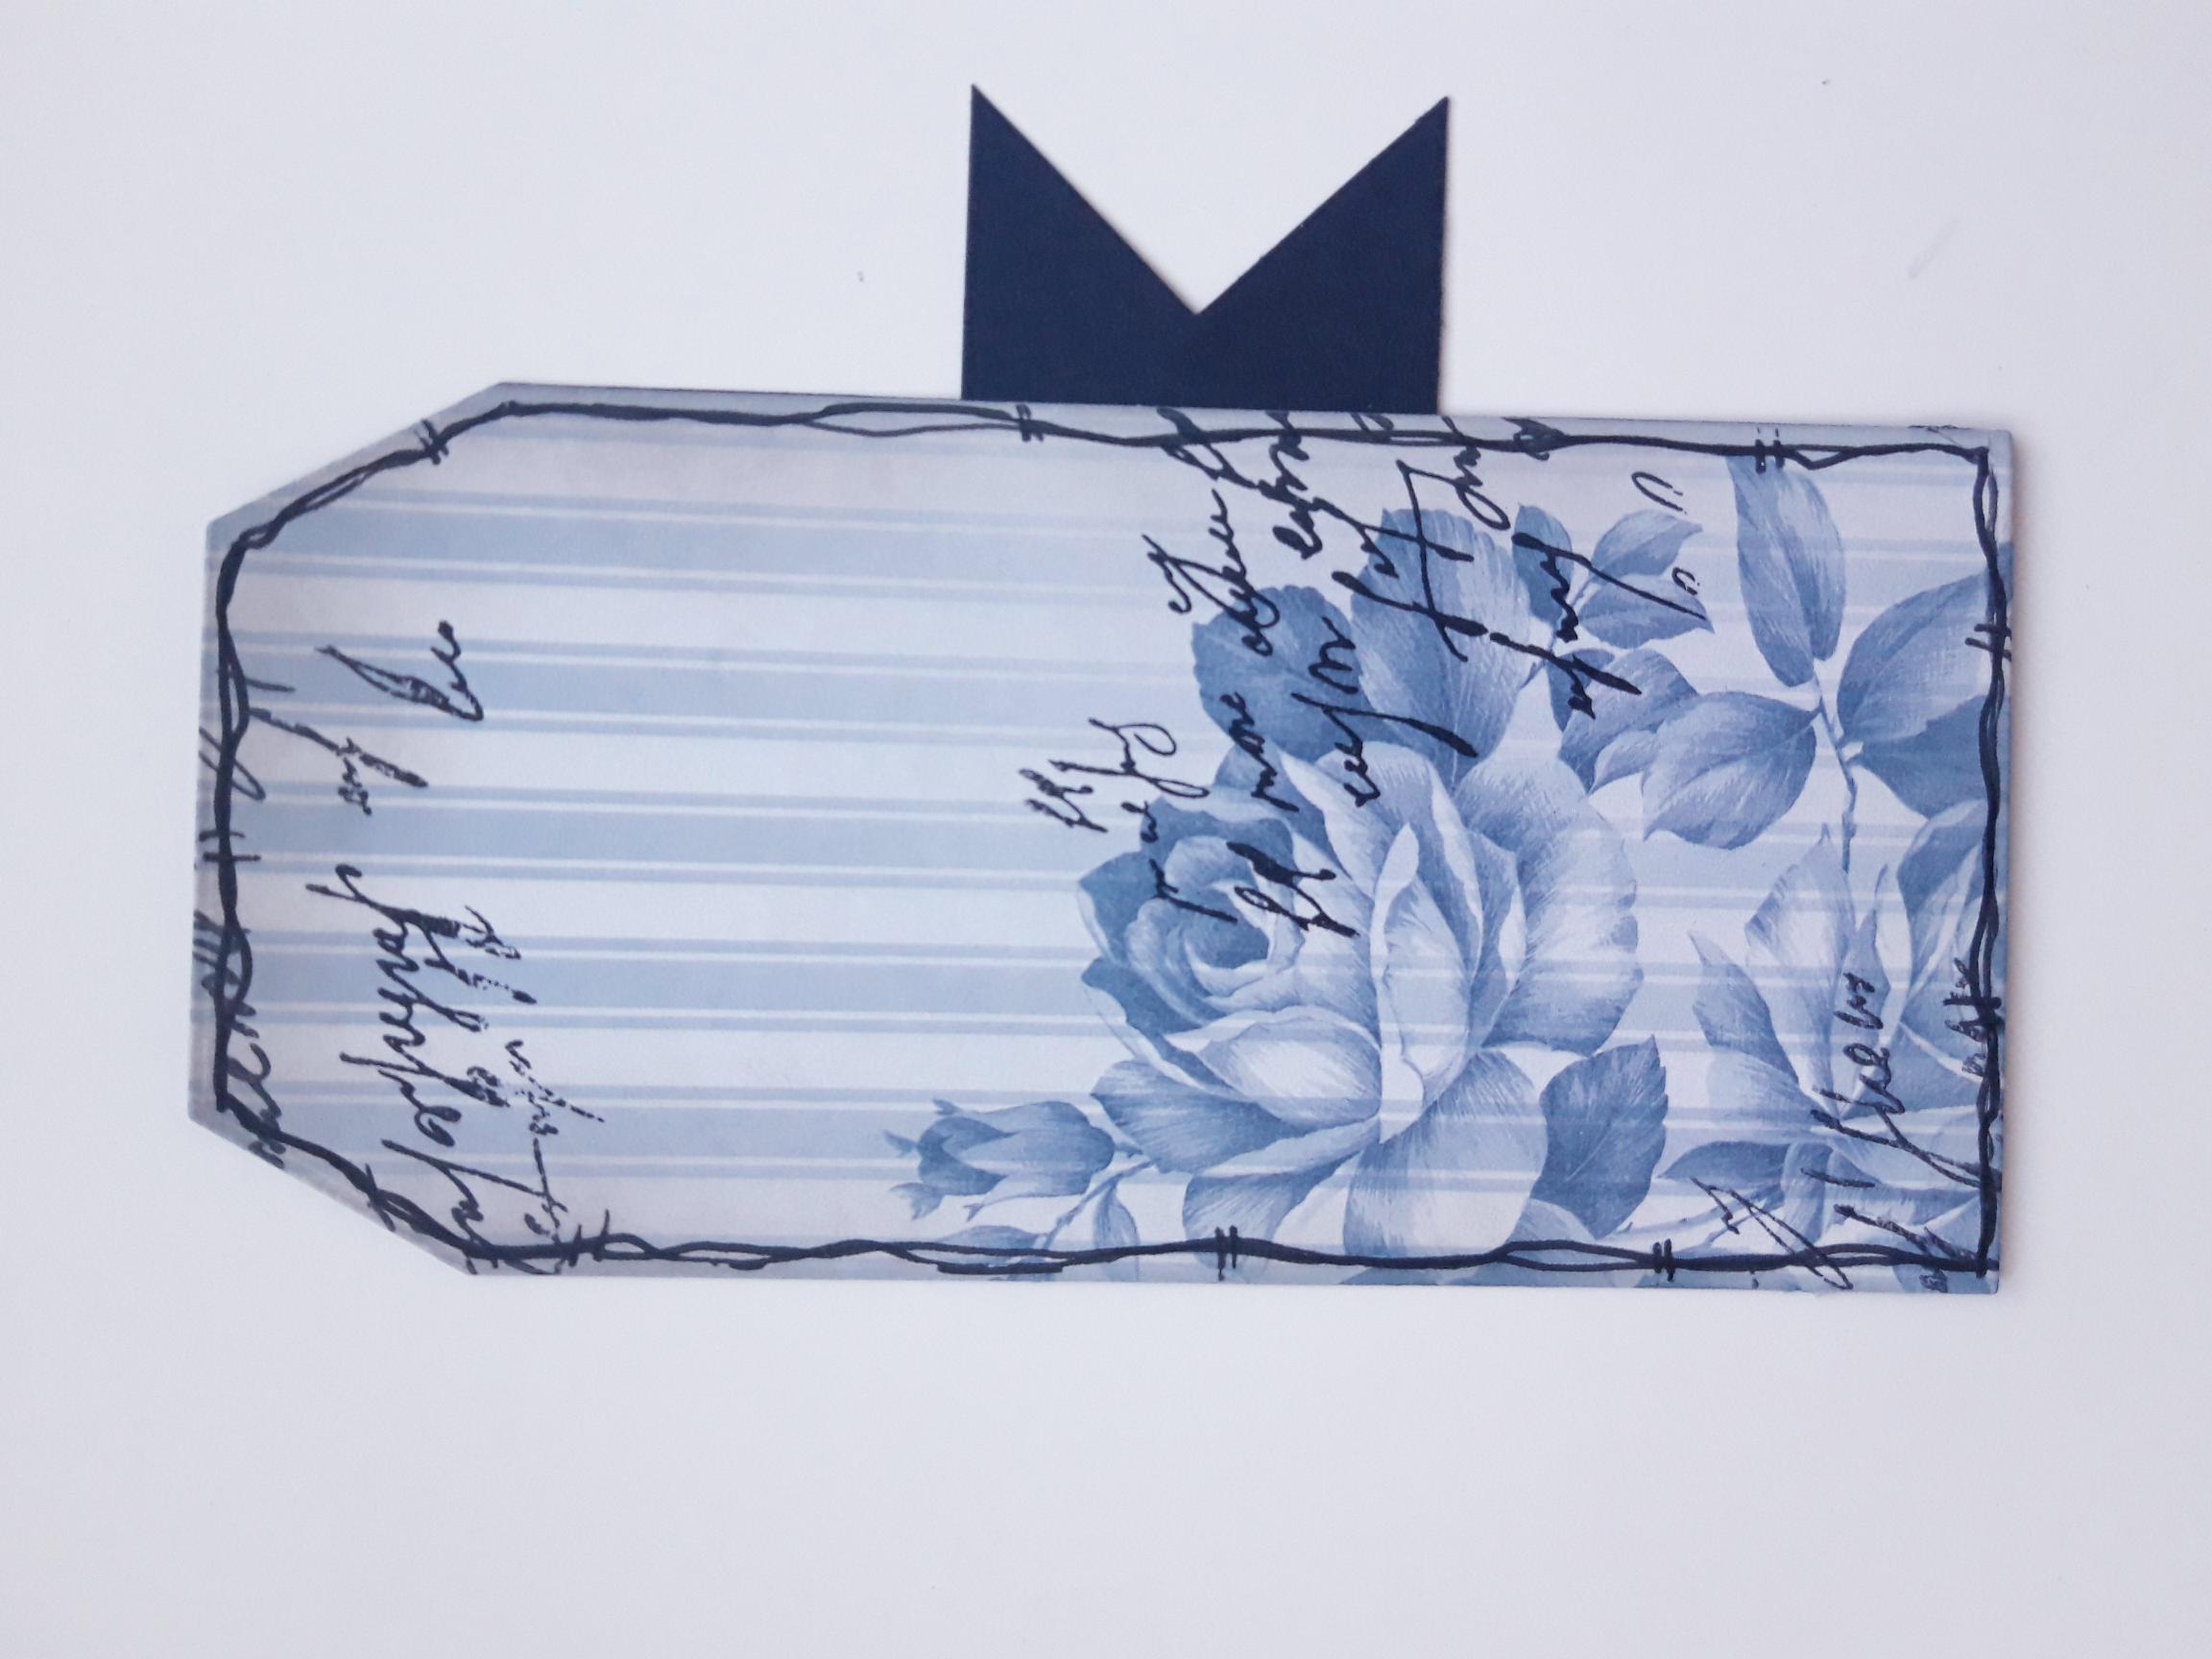
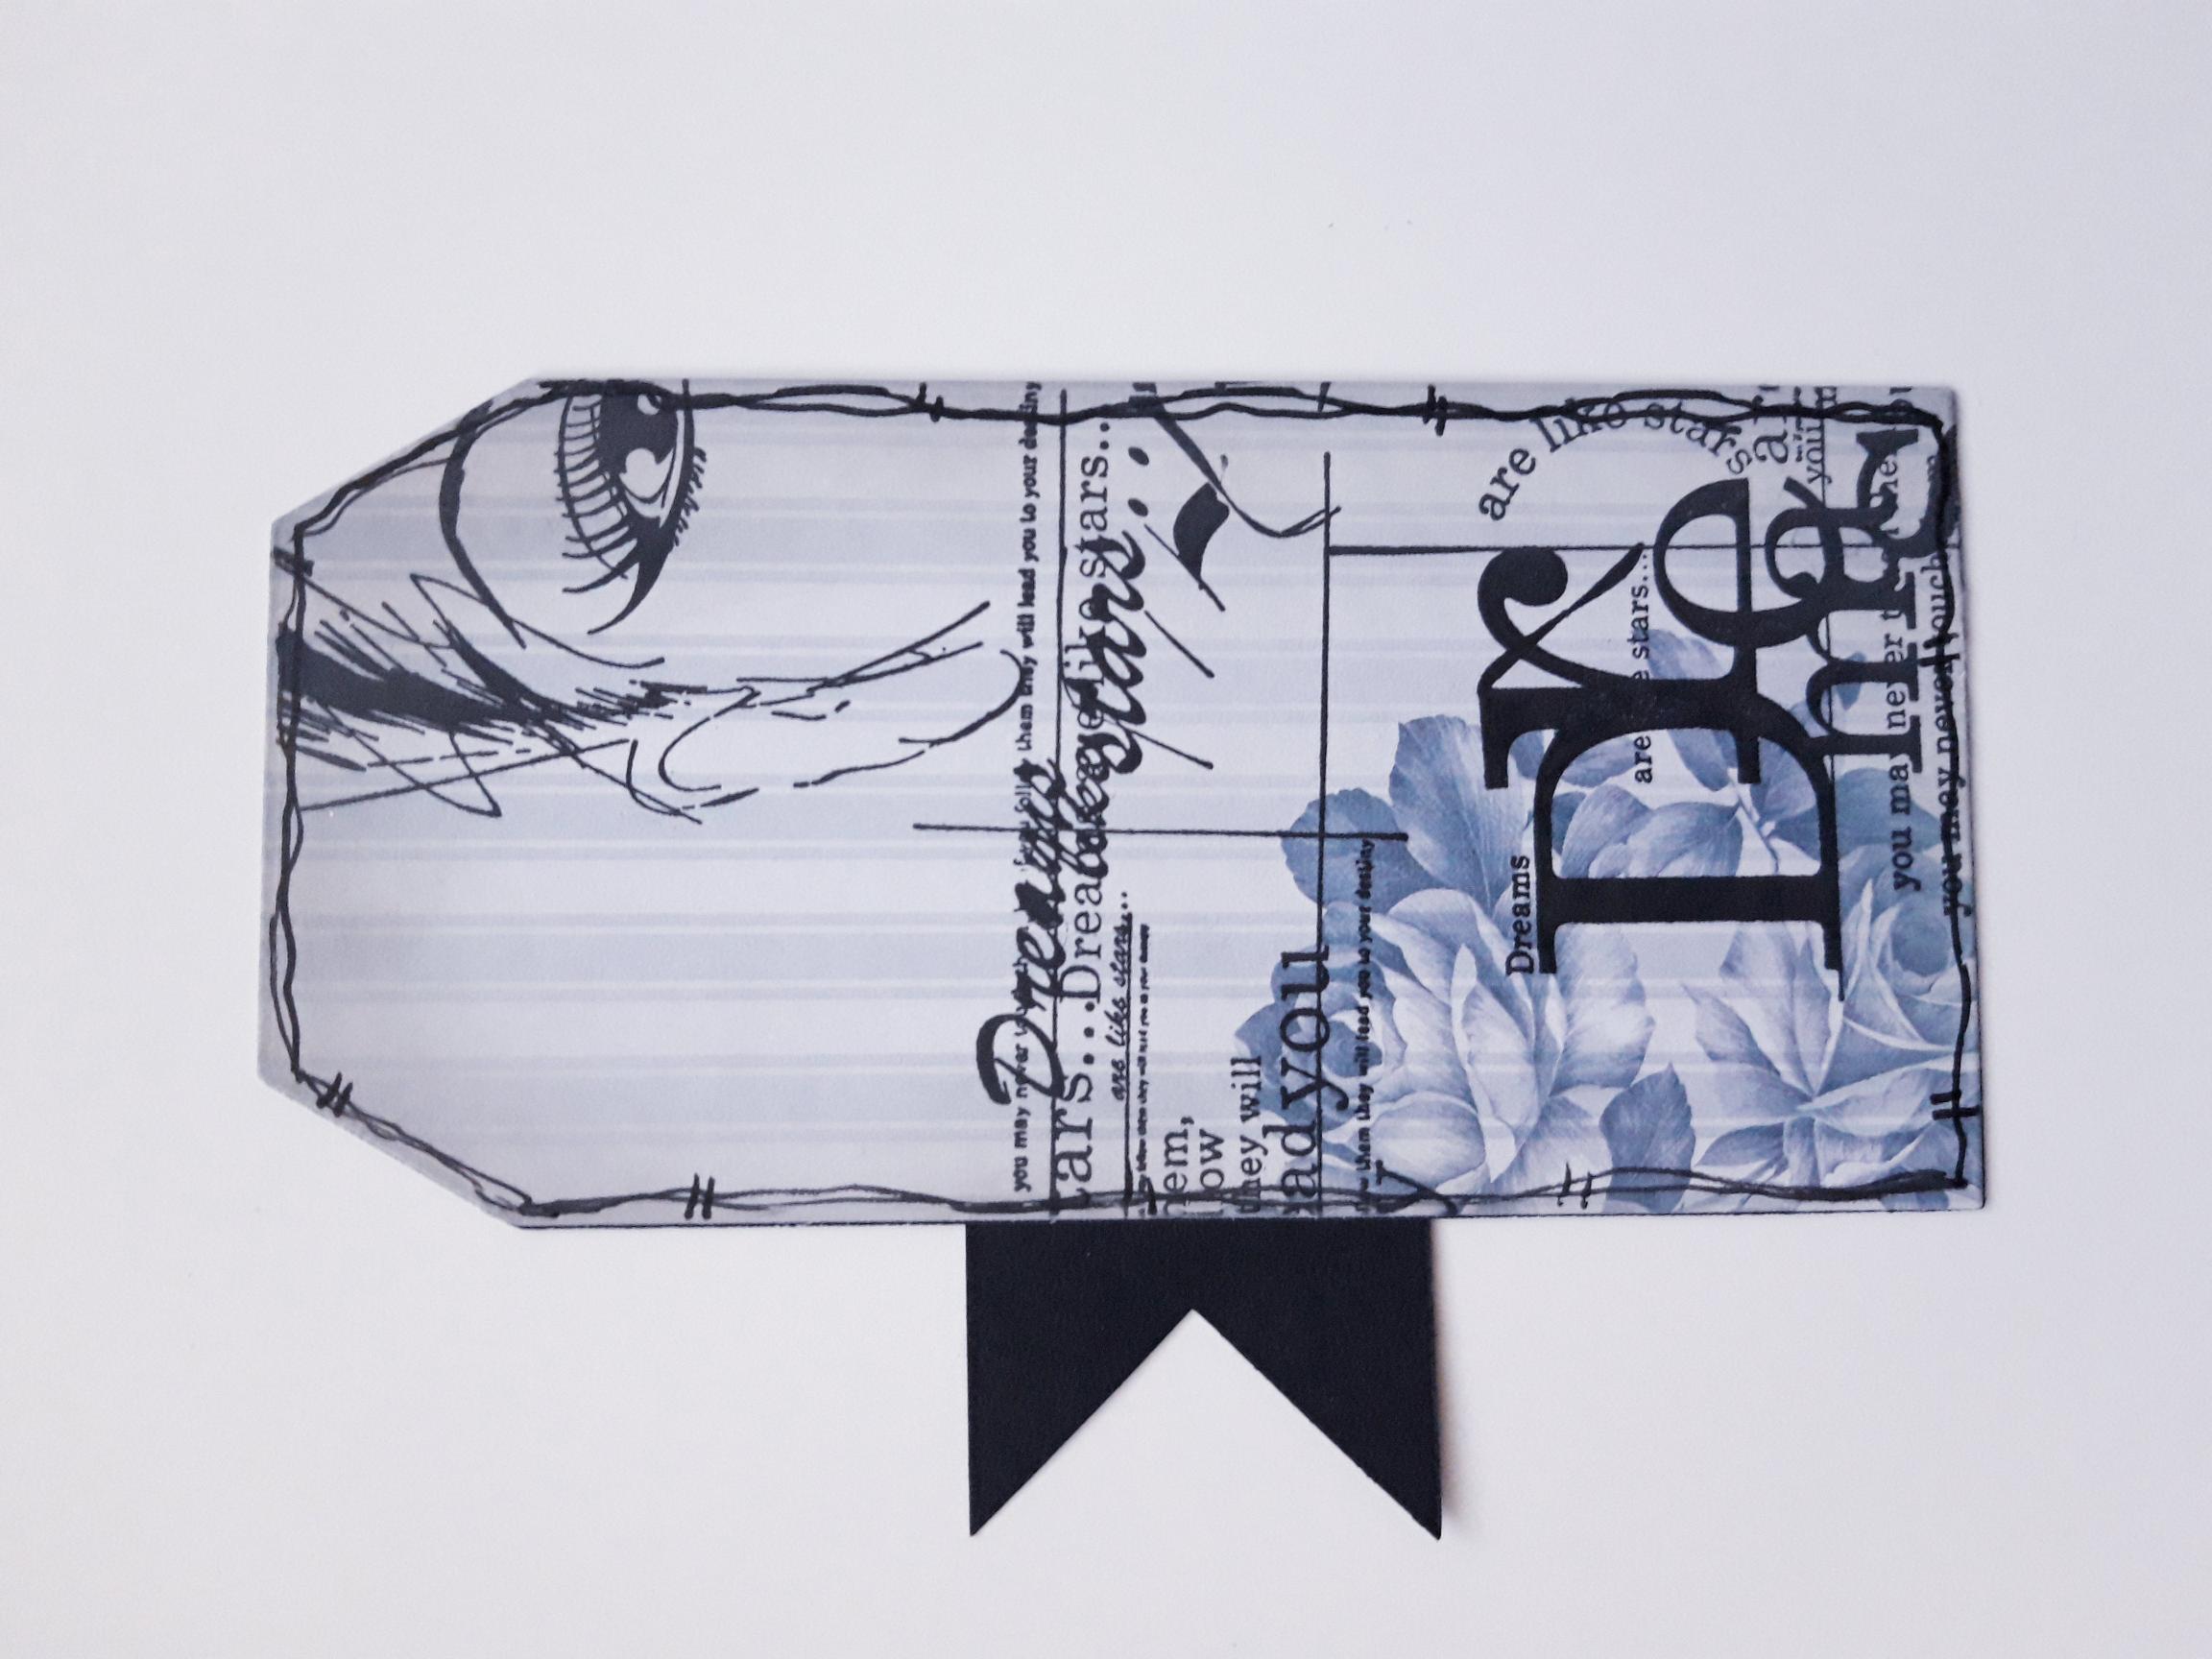
Use a black pen to draw a decorative, wiggly frame, around the tag. |
|
Adhere on to the other side of your decorative tag. Set to one side. |
|
Draw a decorative, wiggly frame, around your white, top folding card blank. |
|
Adhere this on to the front of your card blank. You can pop the decorative tag inside, to help you decide how you want your tag to be placed...I went for jaunty! |
|
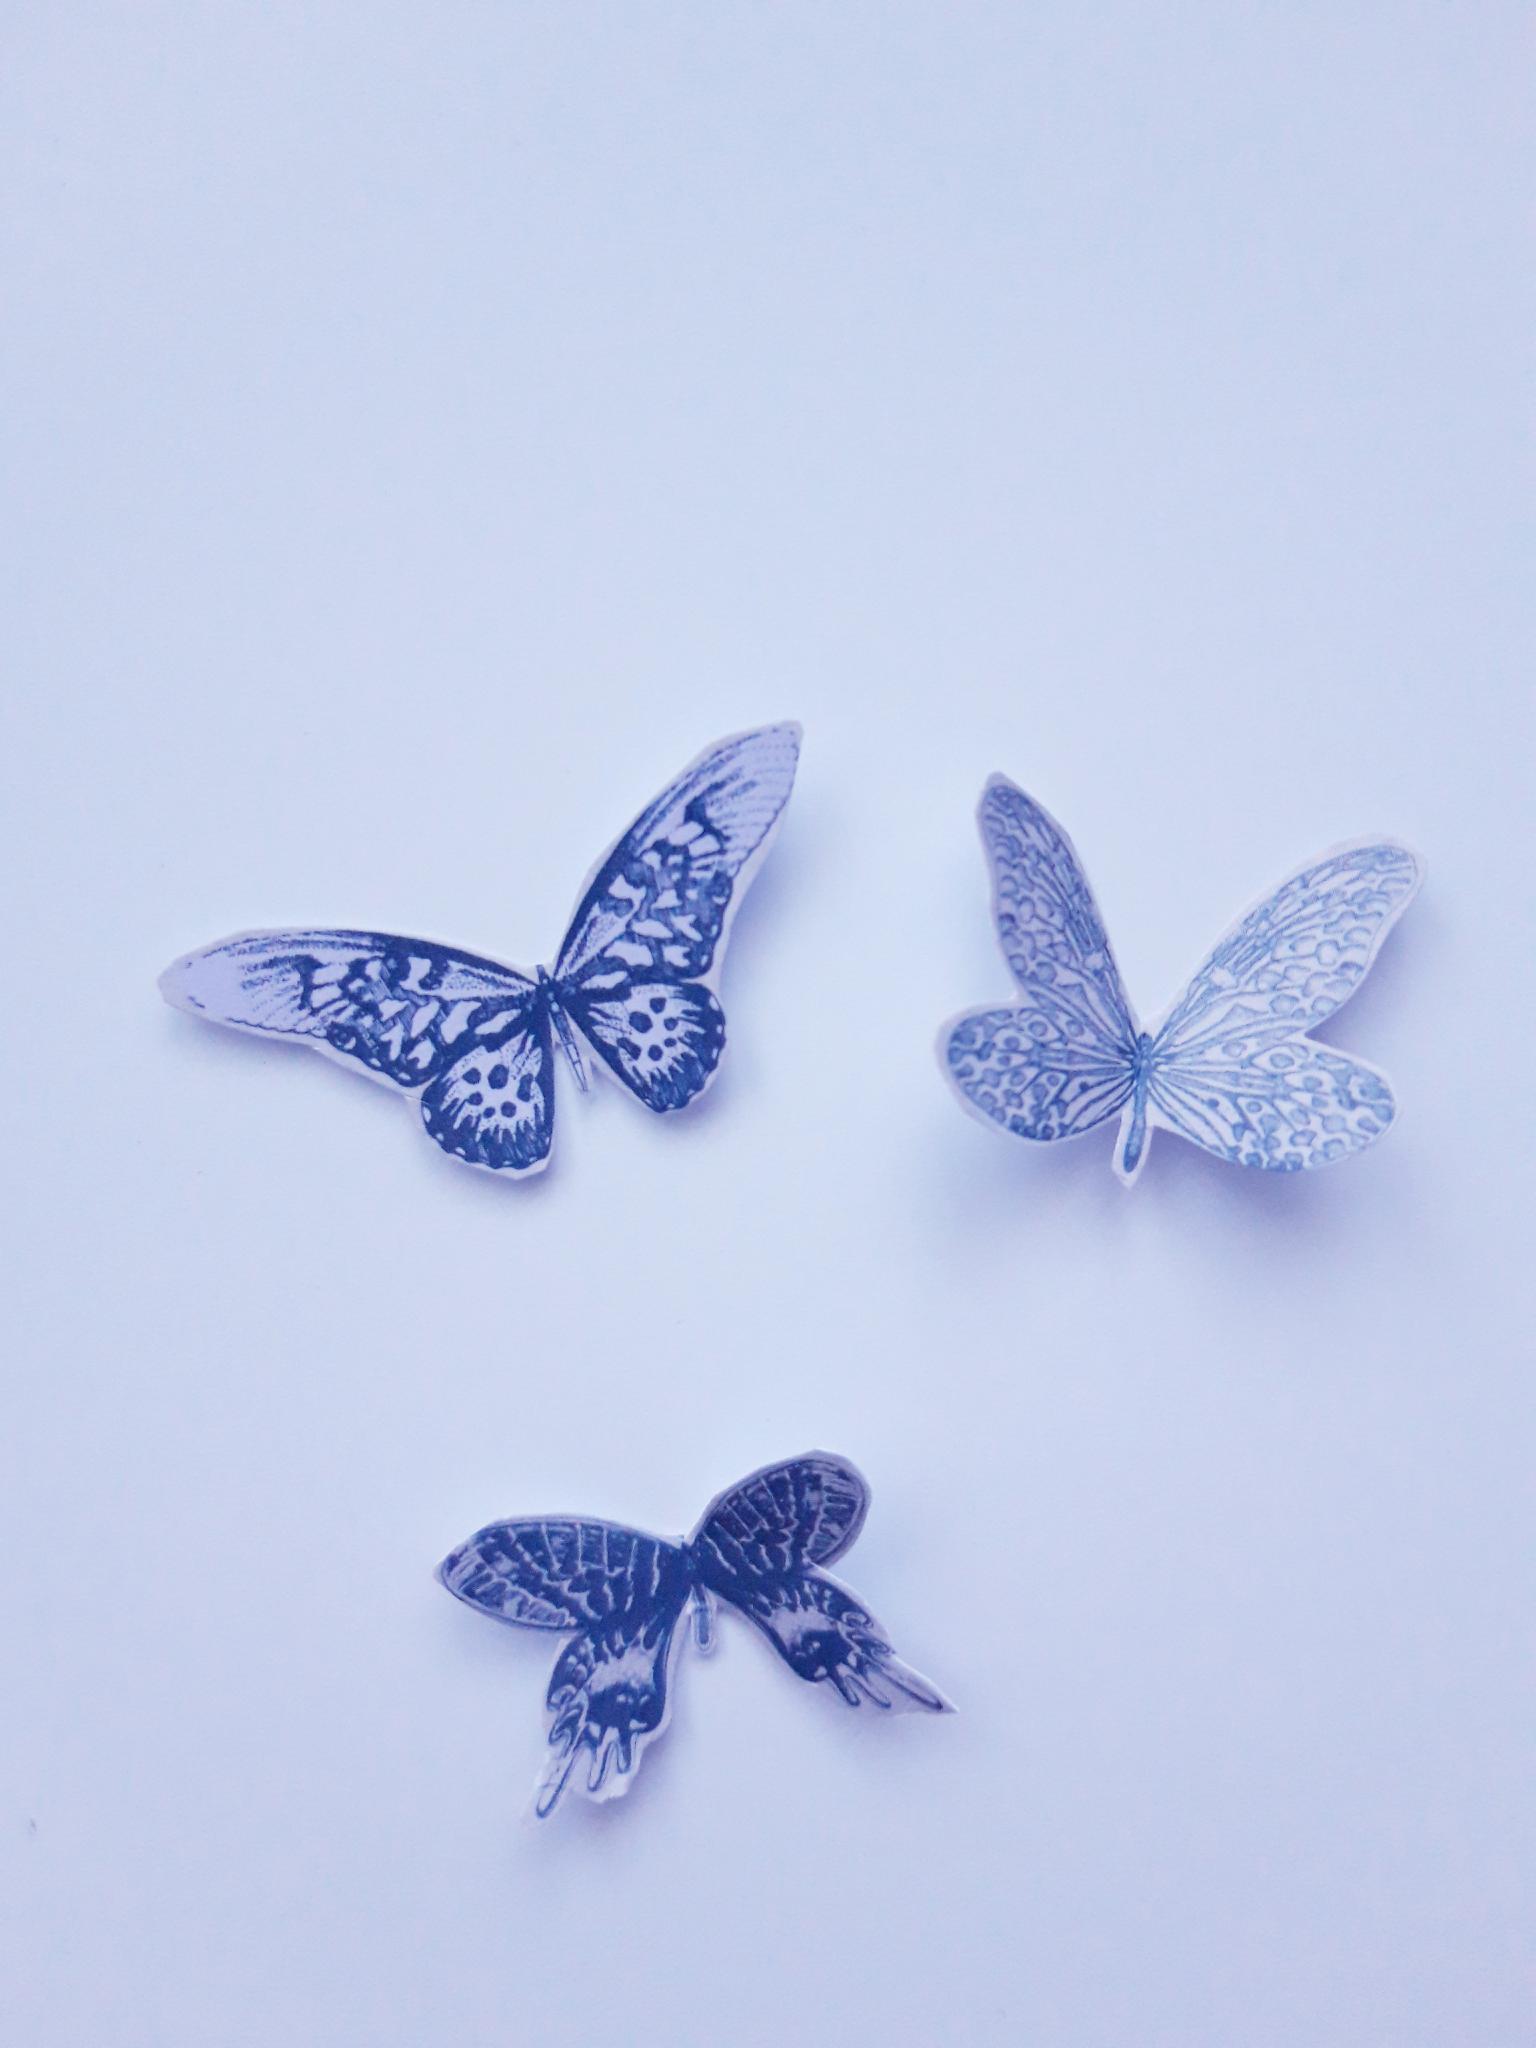
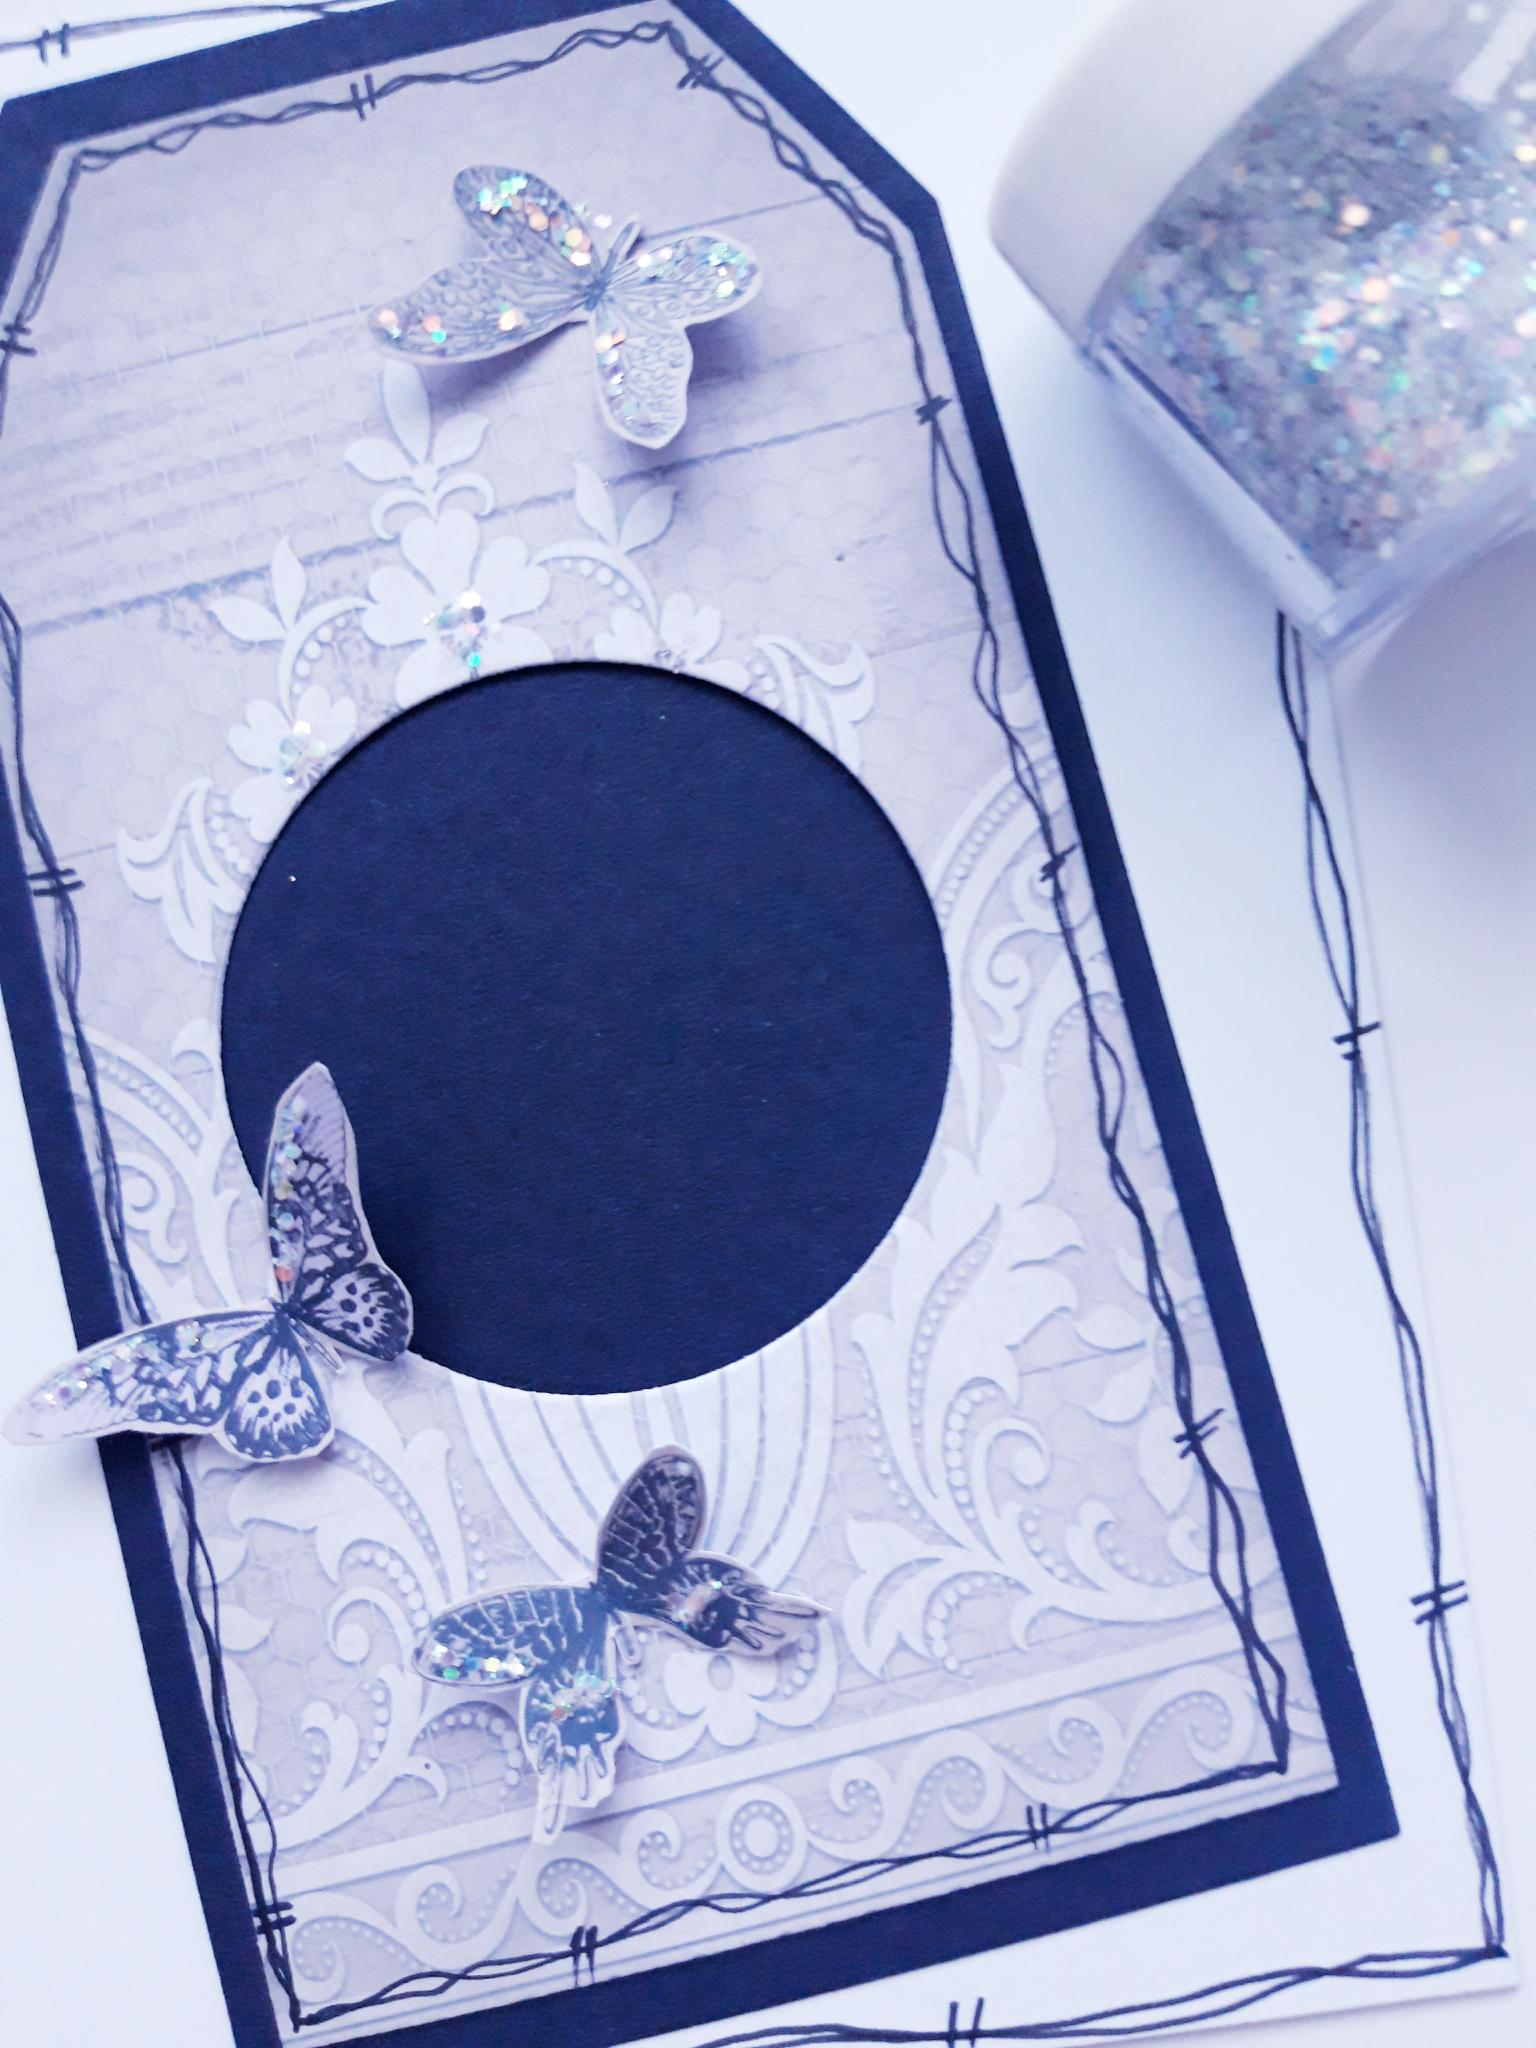
Cut out a few of the butterflies from the 4 x 4" Time To Grow Paper Pad. |
|
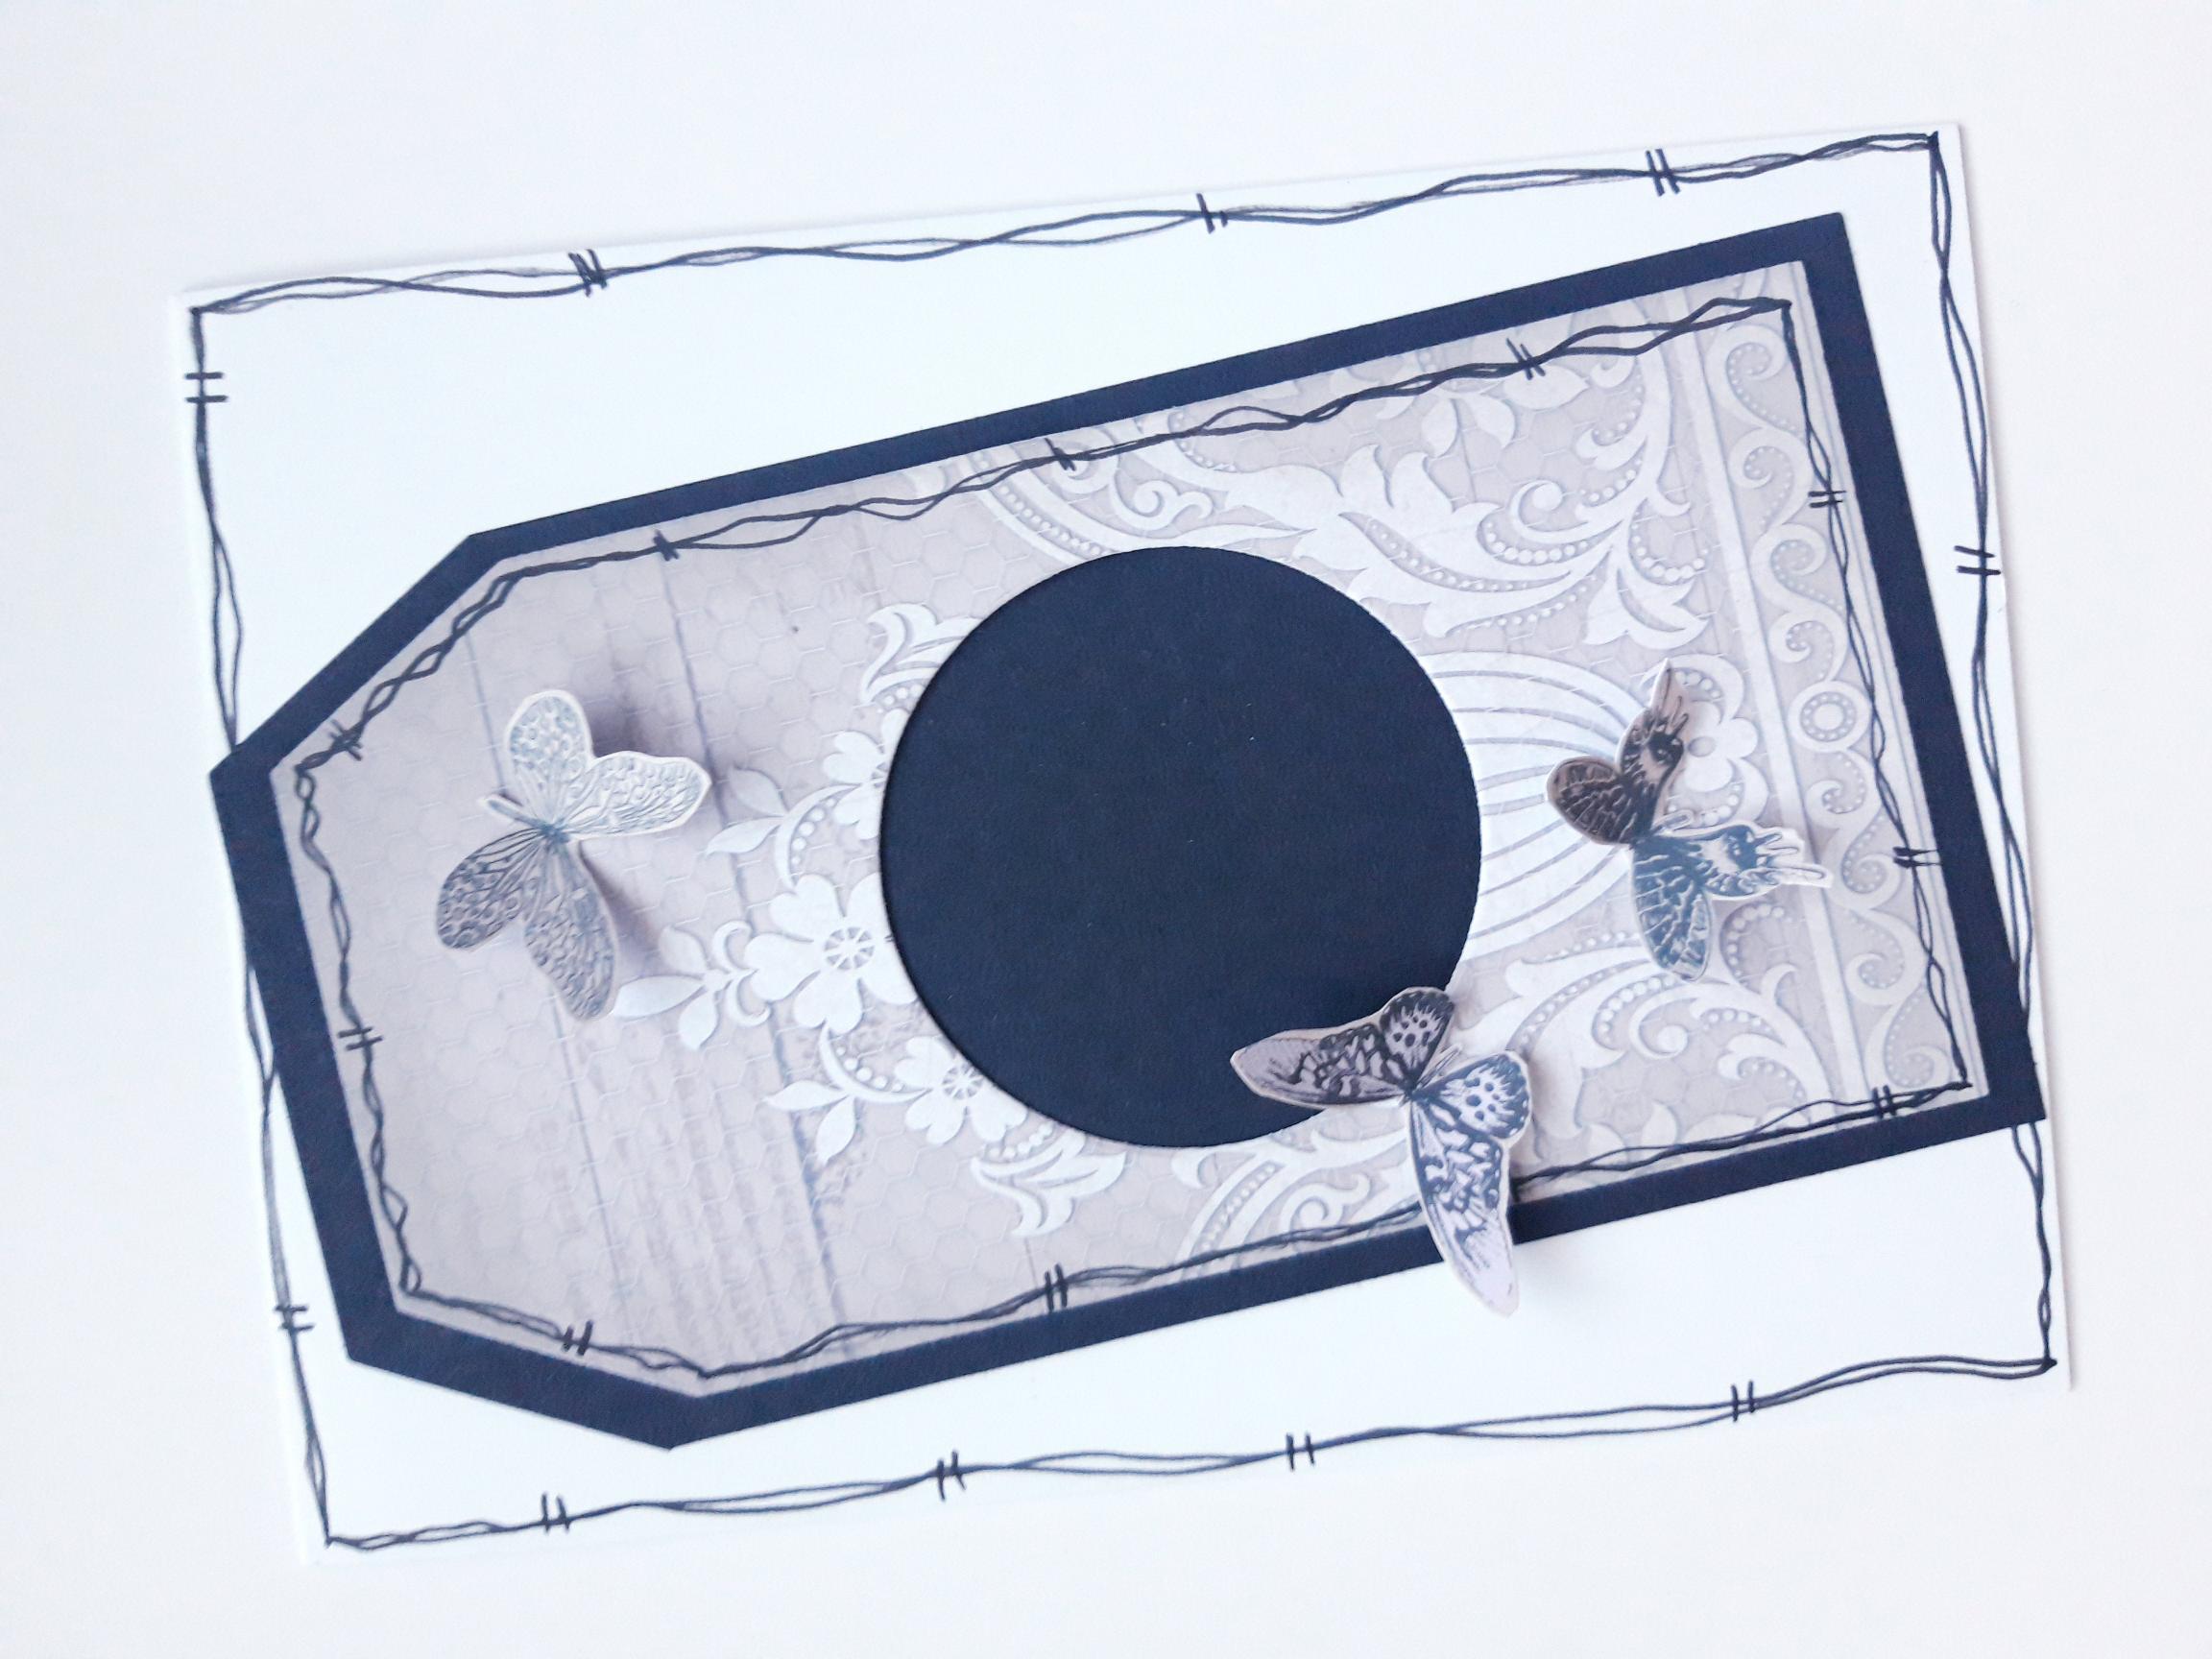
Adhere the butterflies where required. I took out the inner tag whilst doing this, so I didn't accidentally glue anything on to it! |
|
Add some glitter where required, to finish your card. I added it to the centre of the floral images on the paper, and on my butterflies. |