Give your friends $10 off their first order!
Refer a FRIEND


WHAT YOU WILL NEED:
Black top folding card blank (8 1/4 x 5 3/4")
Gossip Glitter Card: Tourmaline 250gsm ( 5 3/4 x 6 3/4")
White card (5 3/4 x 6 1/4")
White card (6 x 6")
Coffee Stains Stencil
Stamps from Thirsty Brush UnLtd Jump Creative Stamps
Stamps from Thirsty Brush UnLtd Bert And Ernie Creative Stamps
Stamps from Go With The Flow Lamination Stamp Collection
Thirsty Brush UnLtd Stencil: Funky Parachutes, Rainbow
Versafine Ink Pad: Onyx Black
Izink Dye ink pads: Emeraude, Mer Du Sud, Nuit
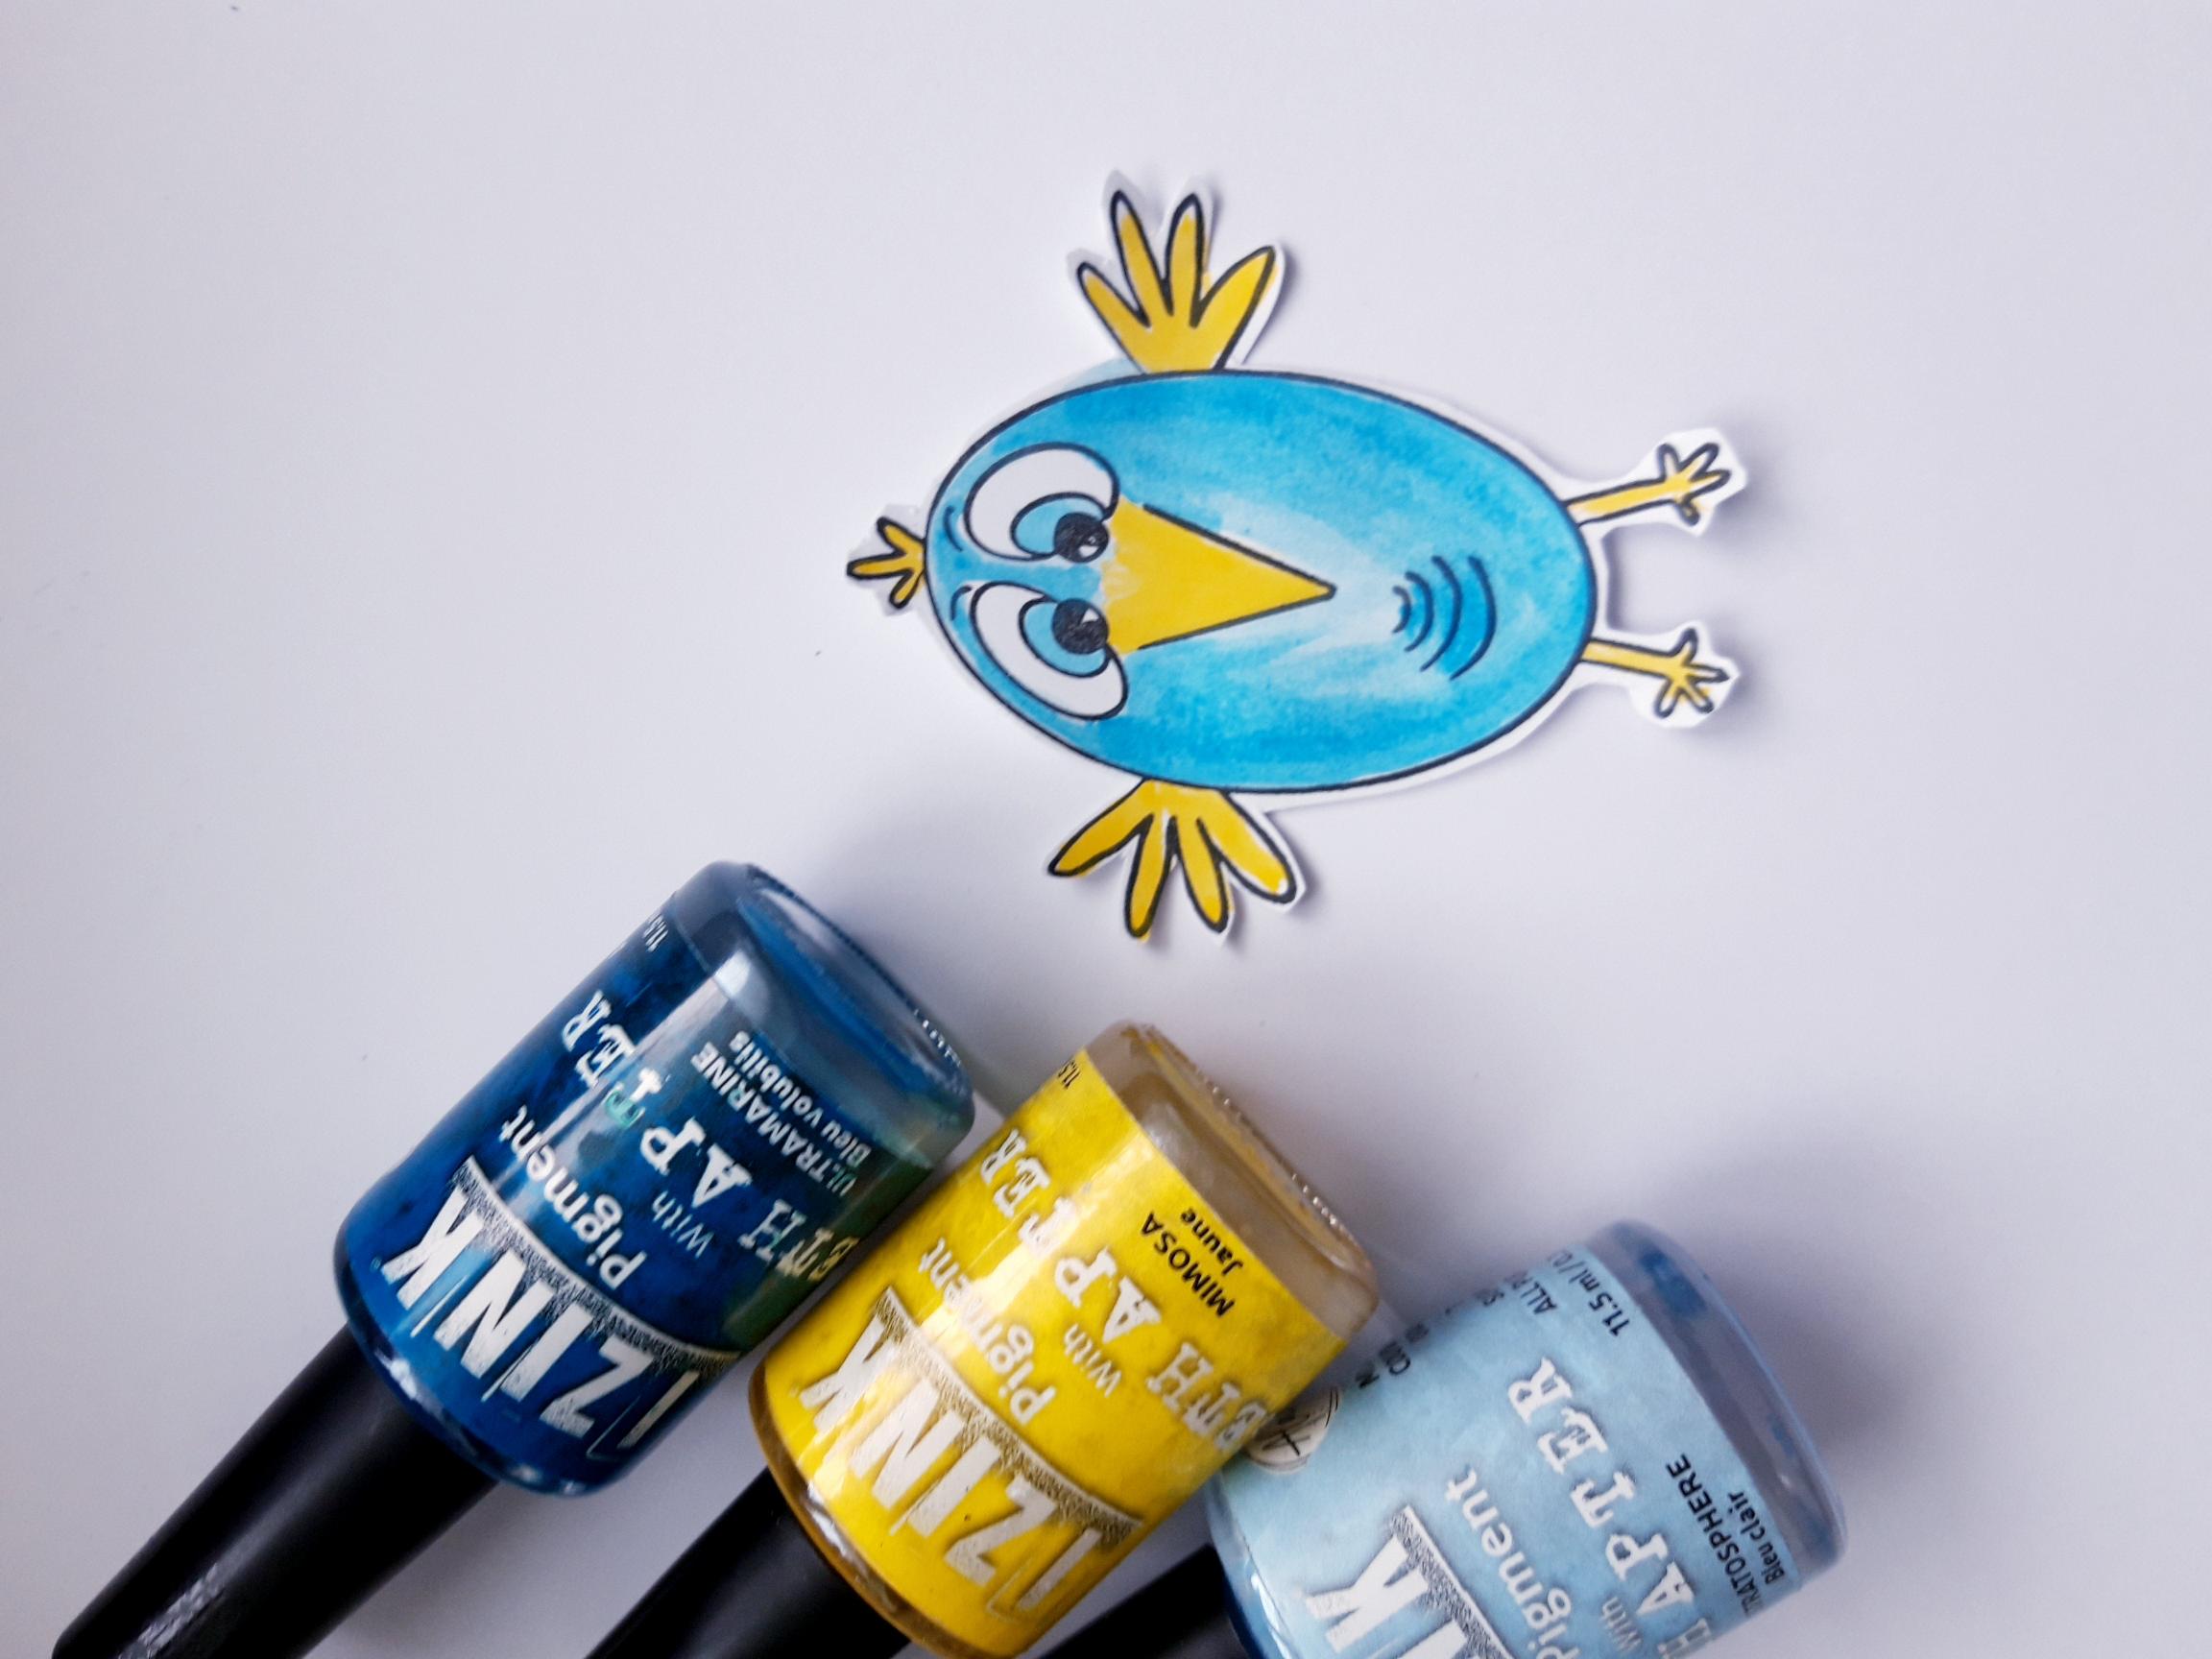
Izink Pigments: Mimosa, Stratosphere, Ultramarine
Black pen
Red liner tape
Twine
Blending brush/tool
Paint brush
Eureka 101
Paper Trimmer
Perfect Together Glue
[click image to enlarge] 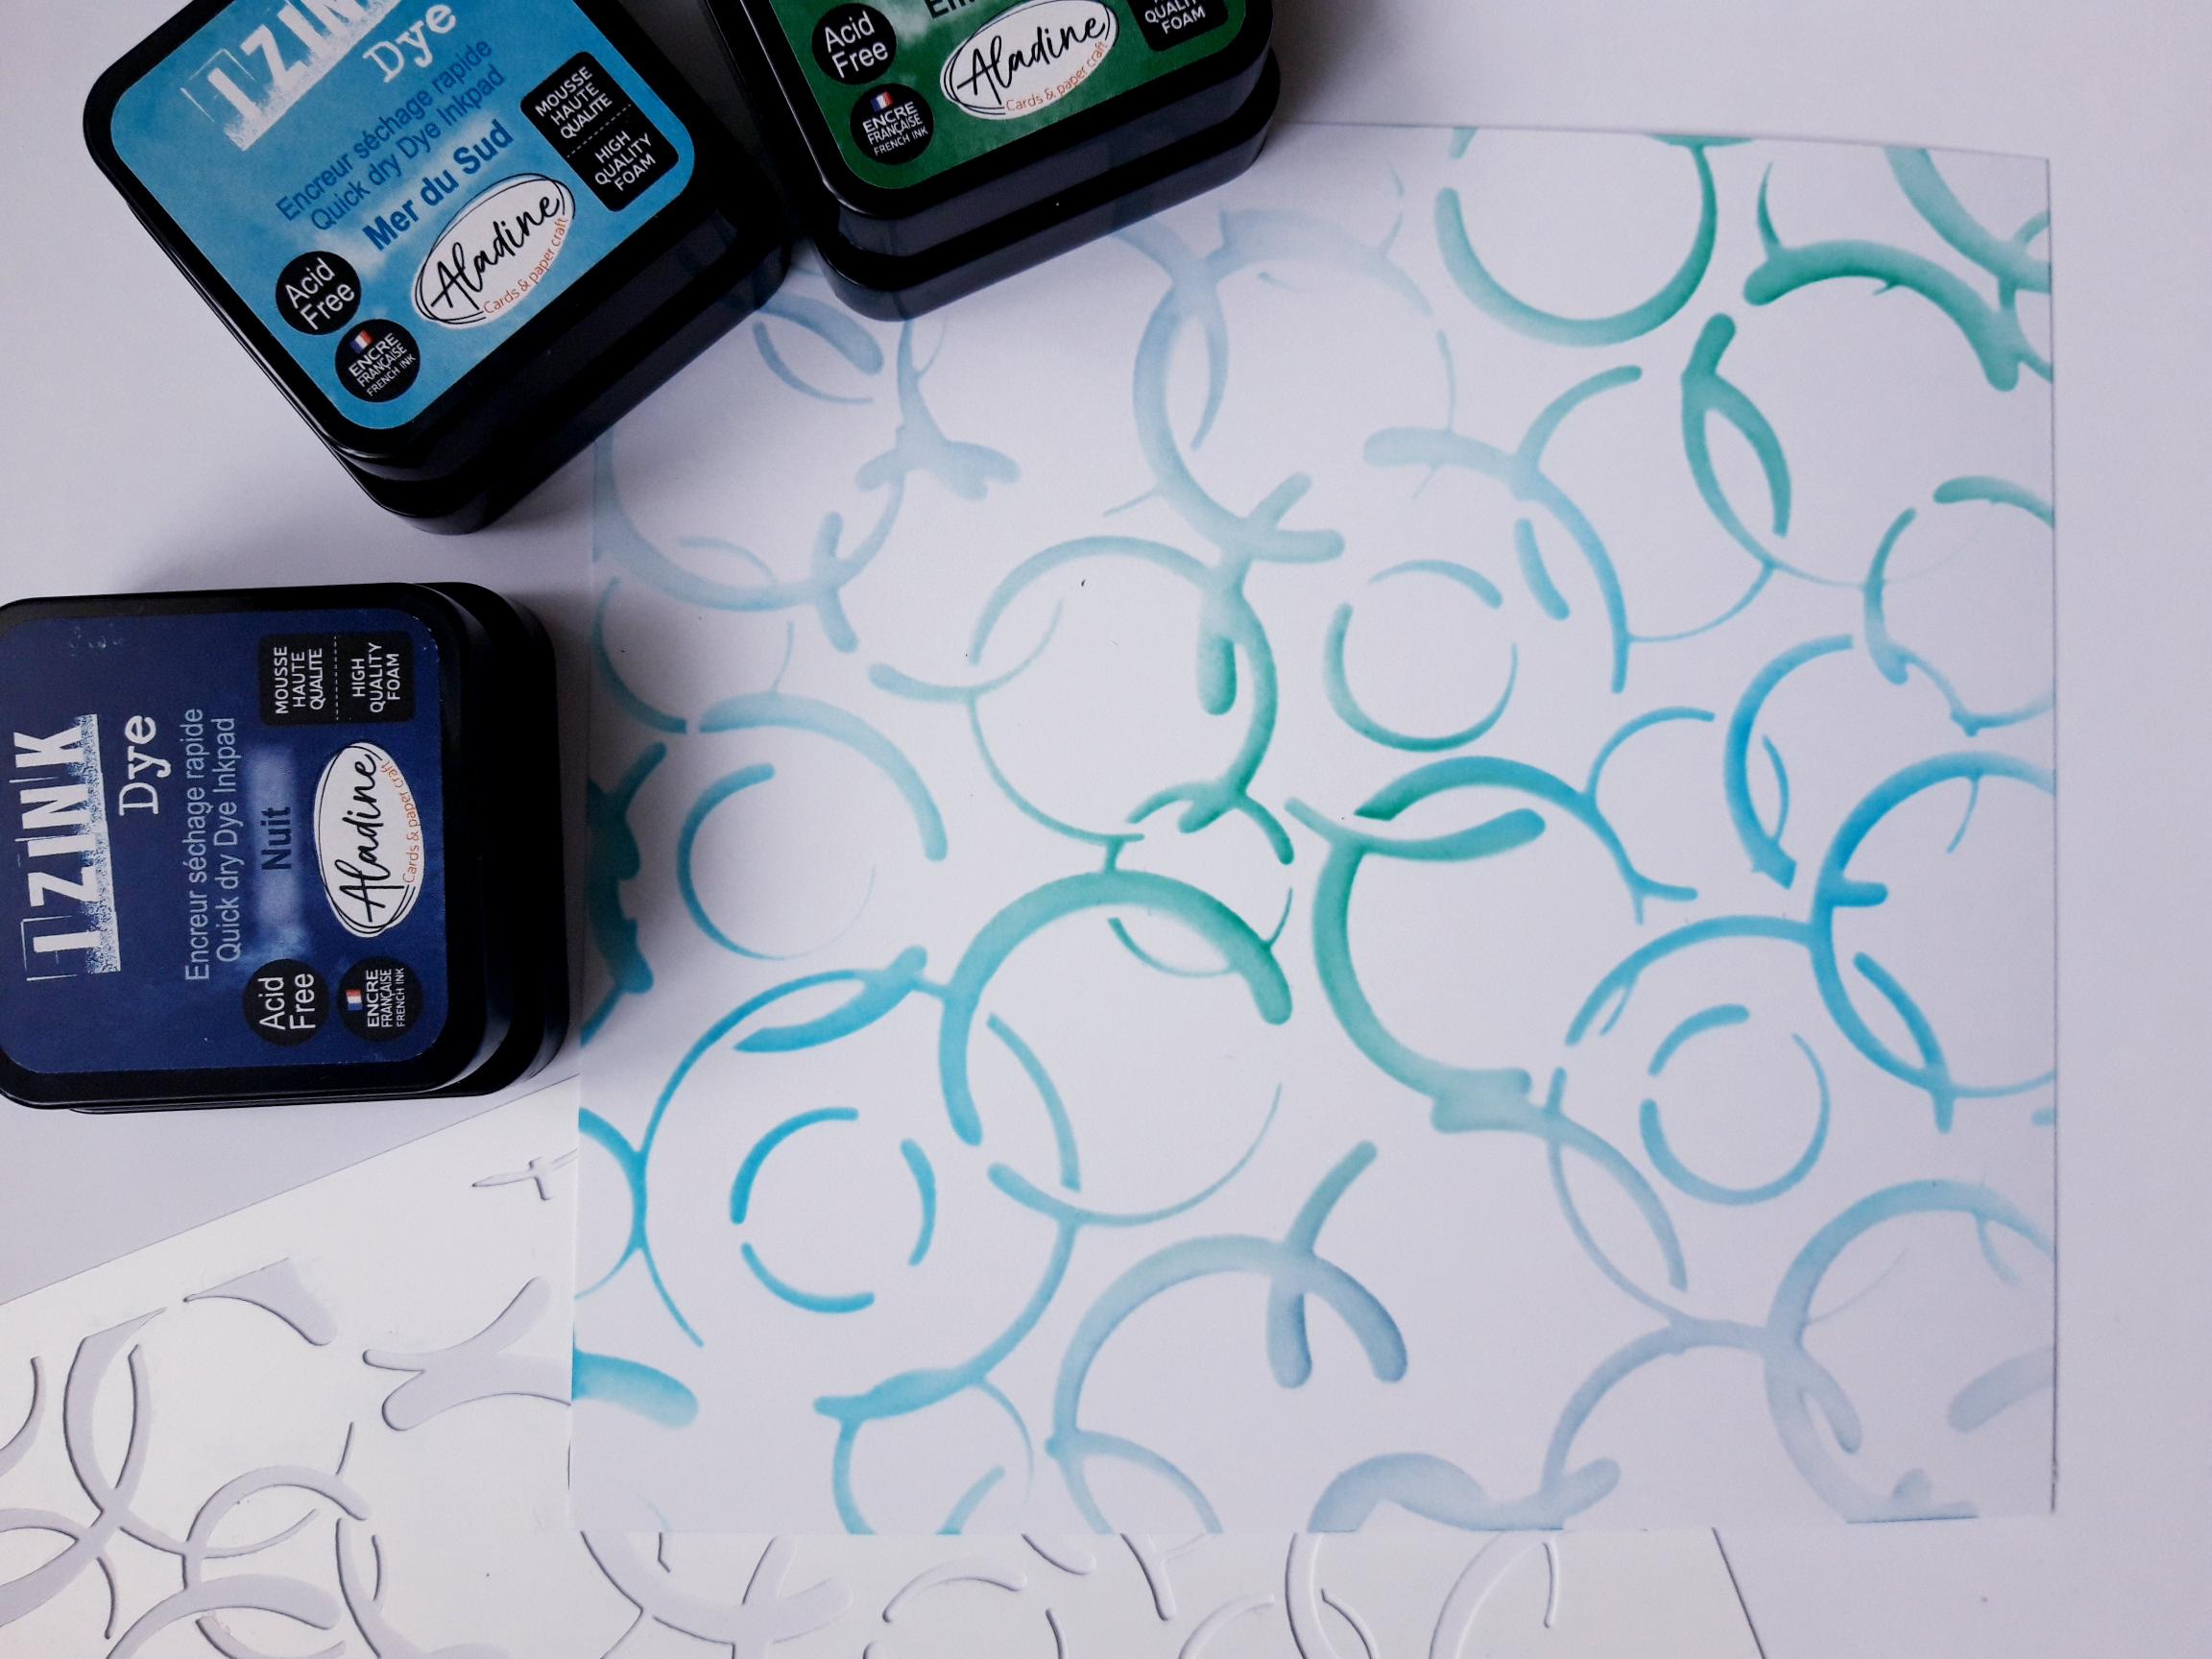
|
Lay the Coffee Stains stencil on top of the 5 3/4 x 6 1/4" white card. Blend the Izink Dye inks randomly through the stencil. |
|
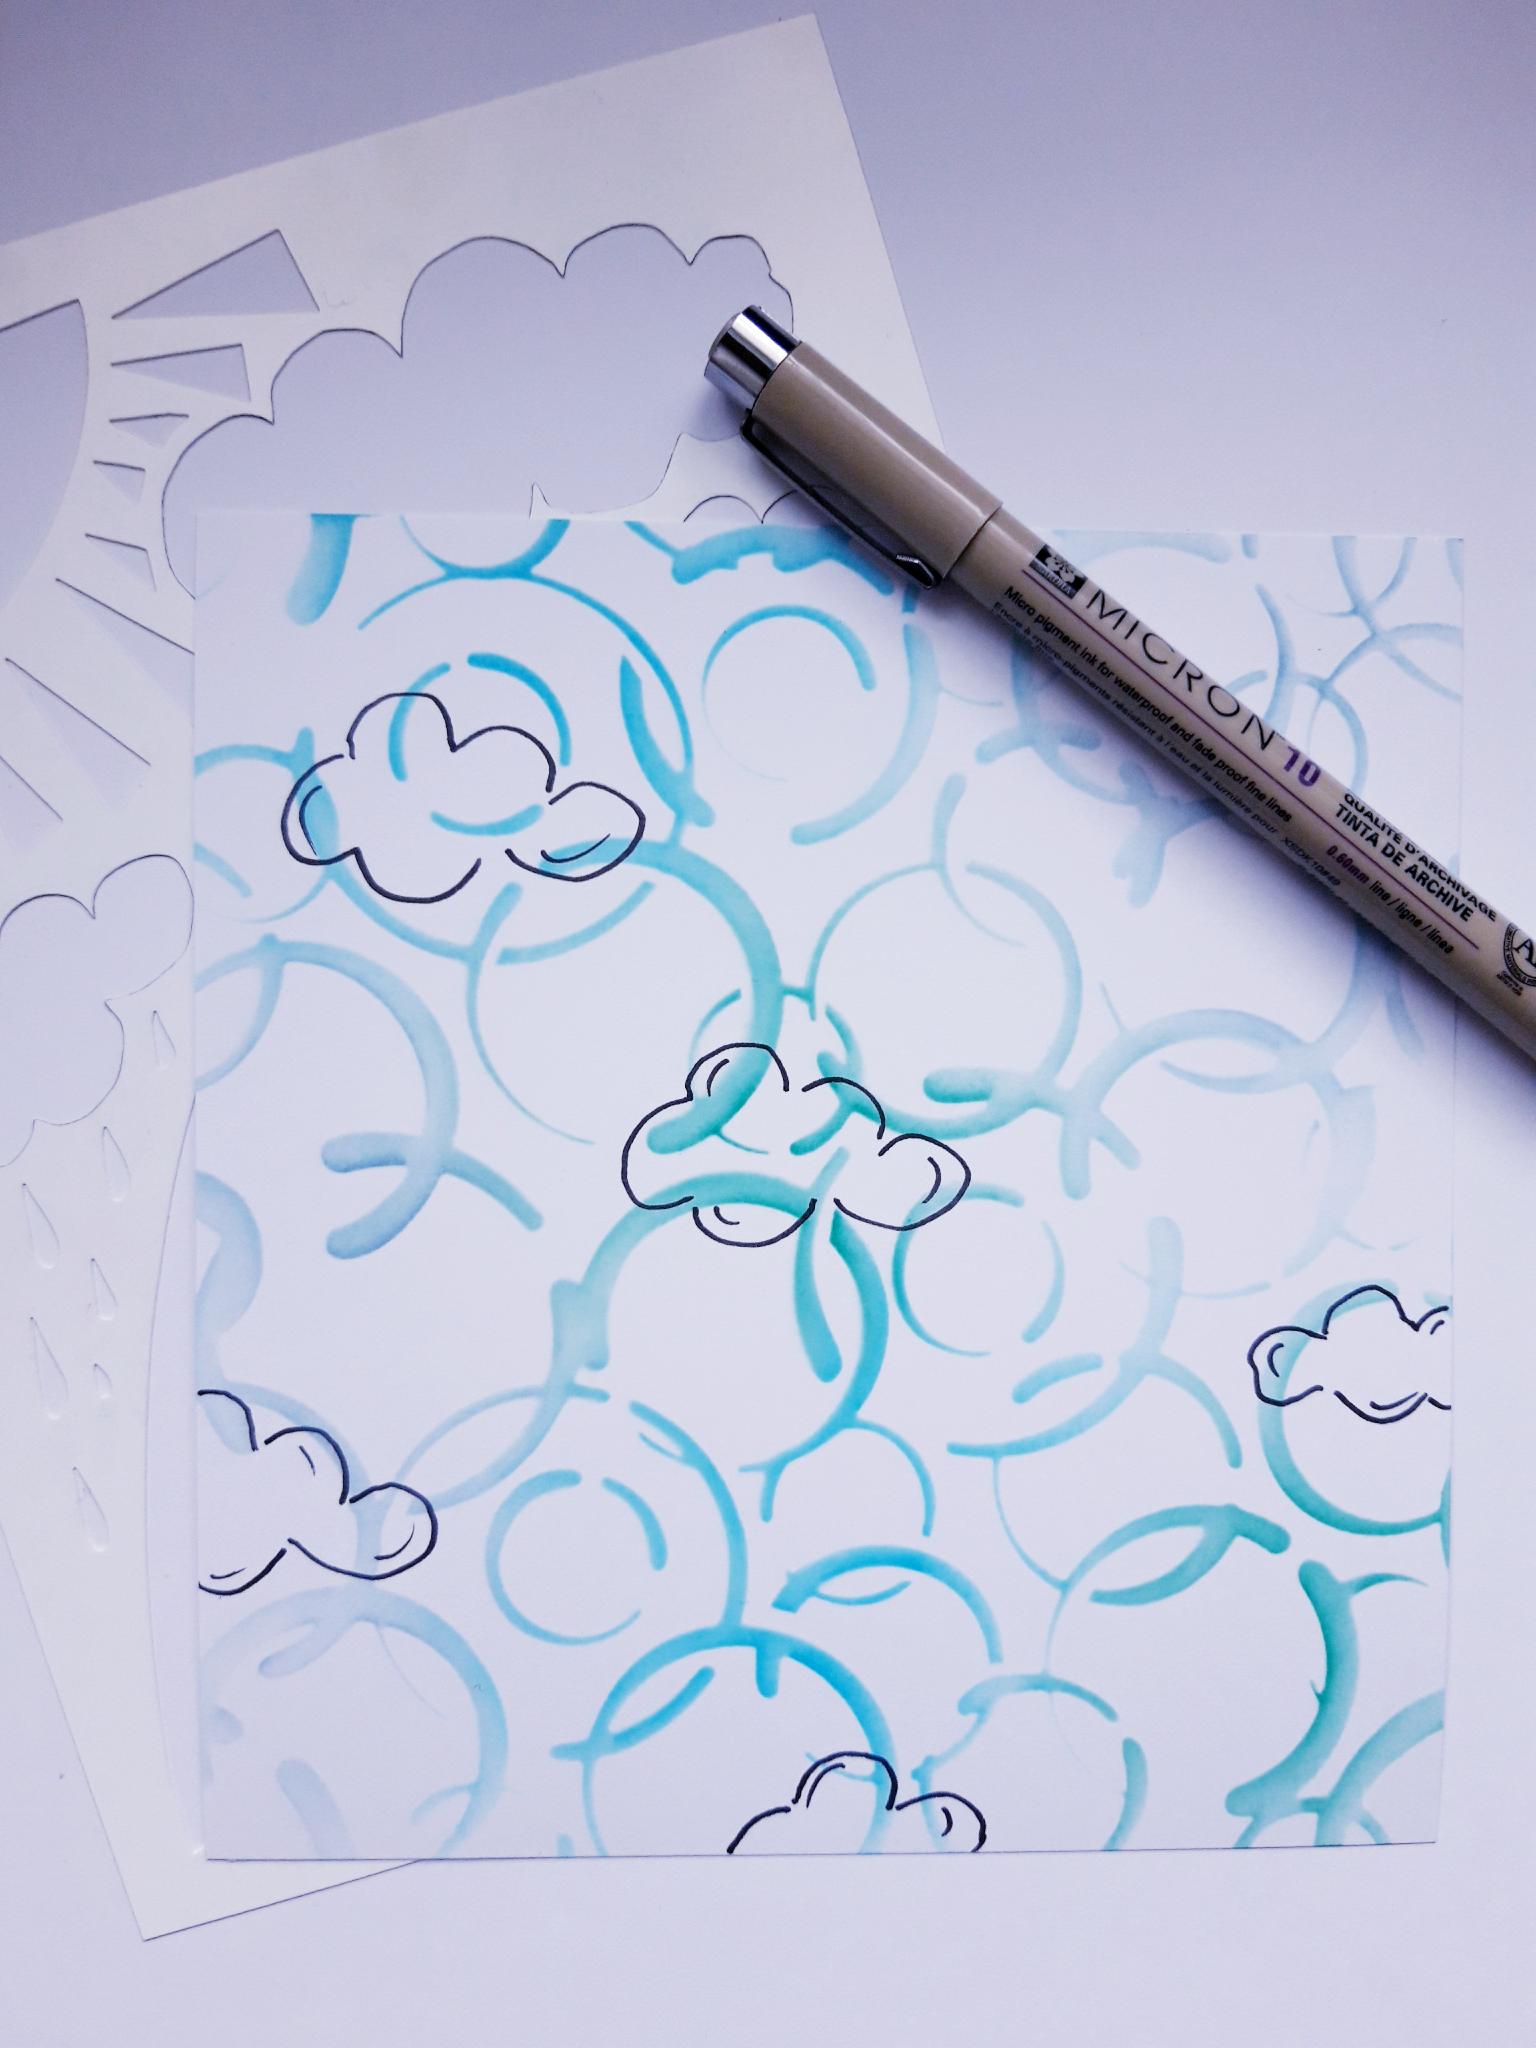
Place the Thirsty Brush Rainbow stencil on to the background, and use your black pen to randomly trace a few clouds. Use your pen to add a few "movement" lines within the clouds. |
|
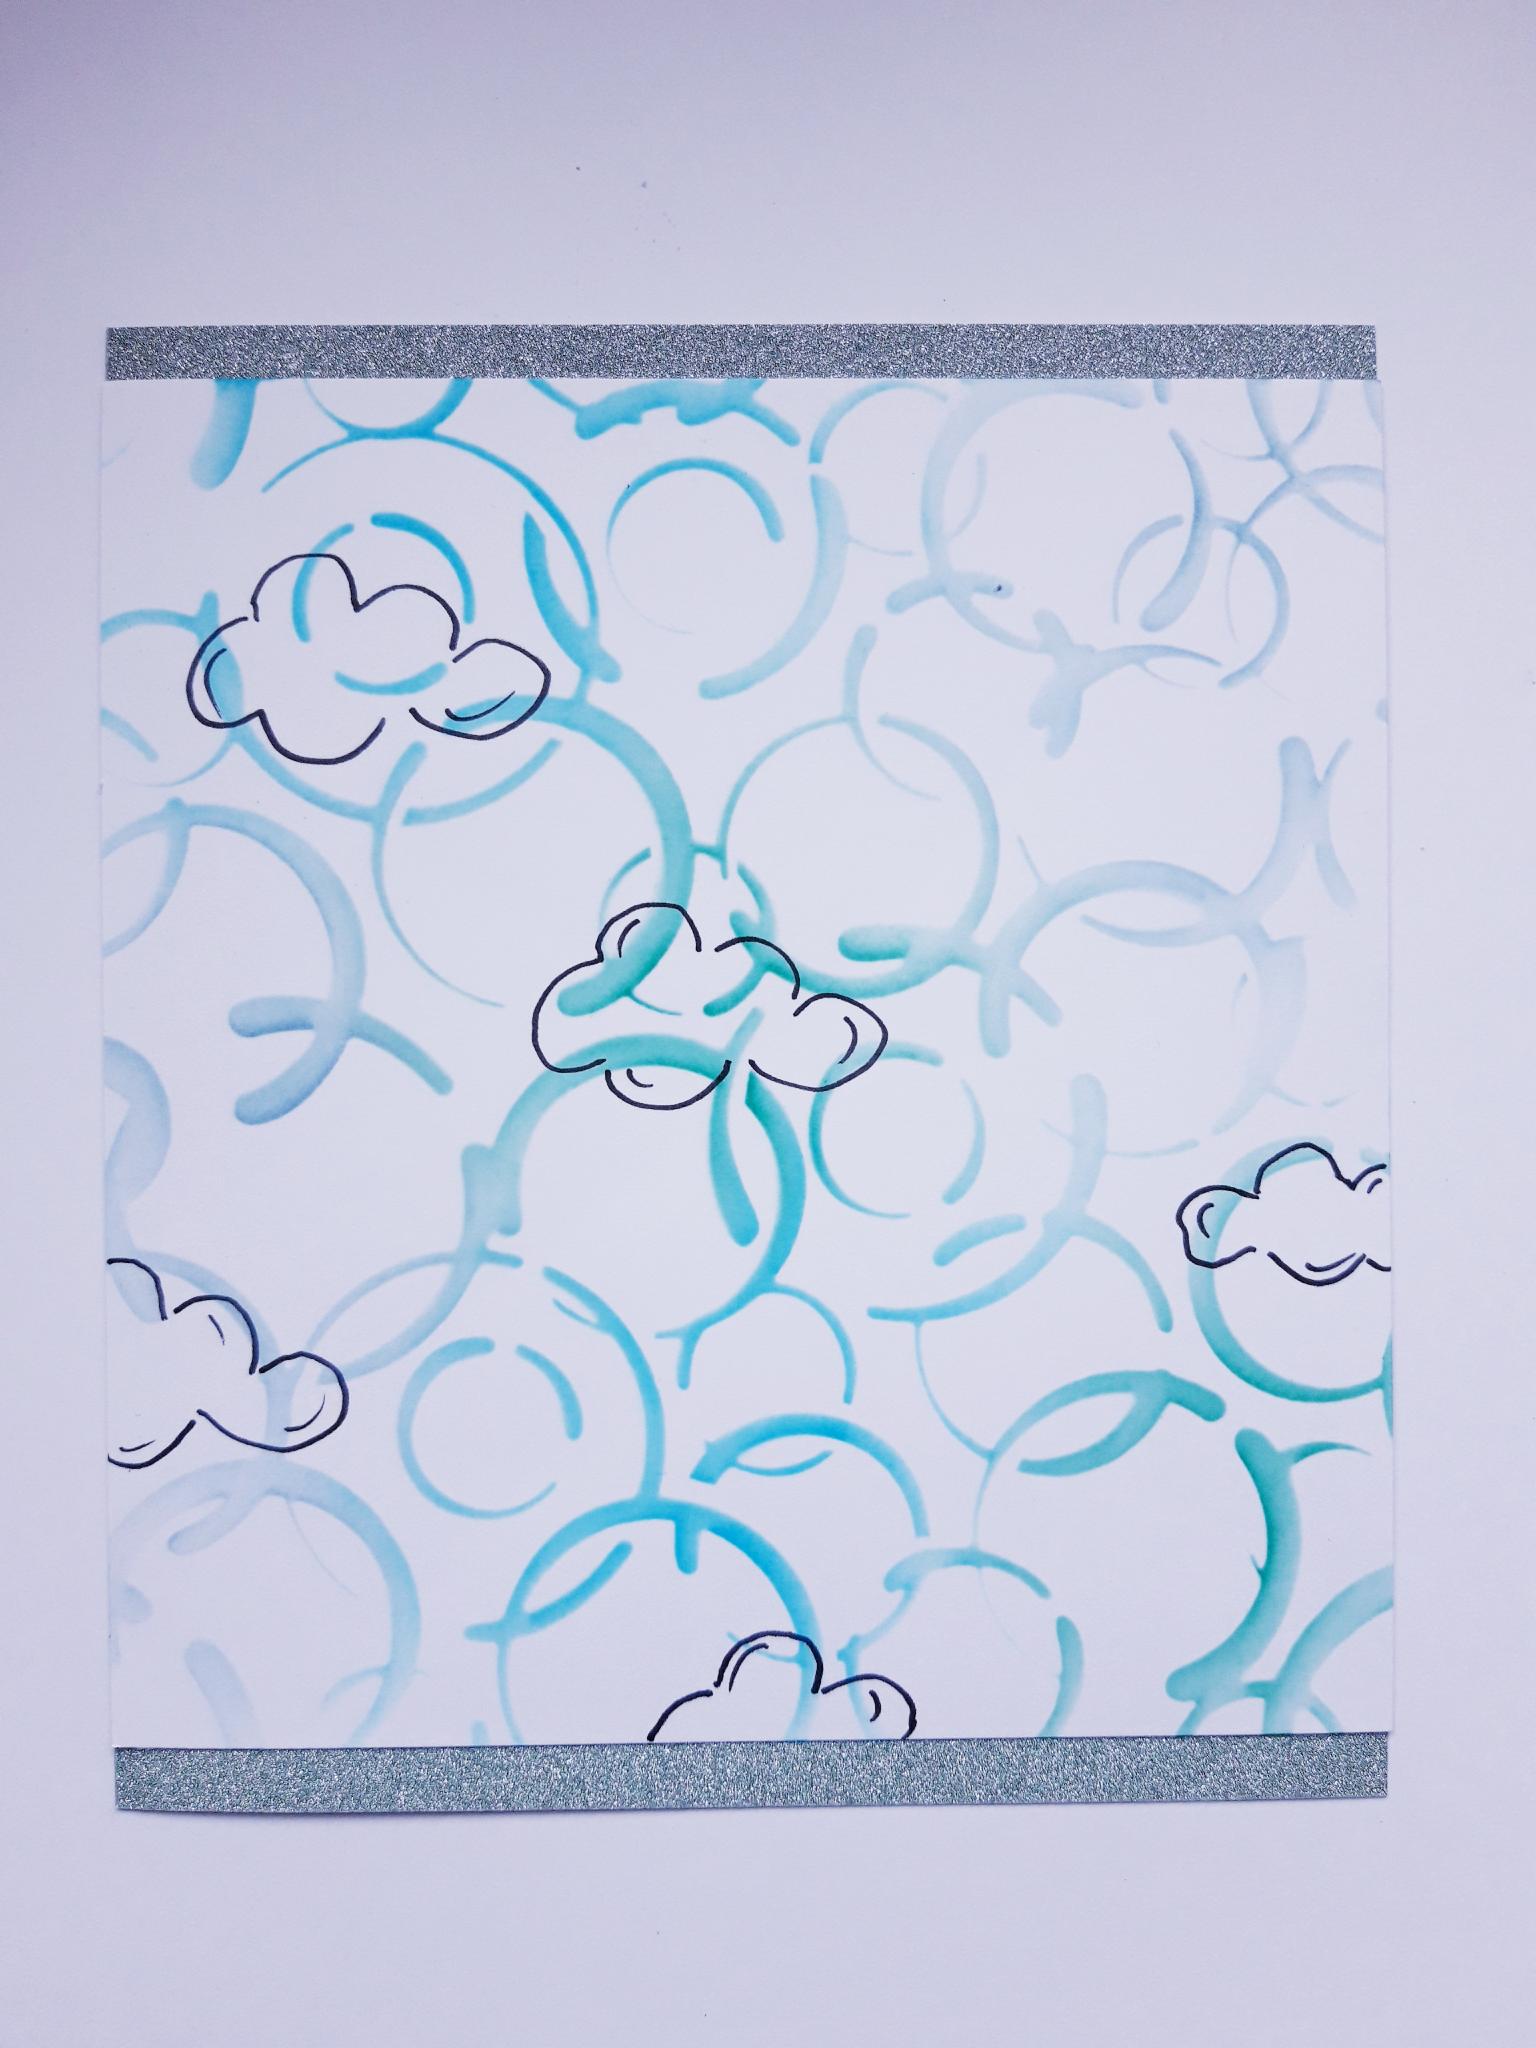
Adhere your dried background on to the Gossip Glitter card, so the sides are flush, and there is an equal amount of glitter card visible top and bottom, as shown here. |

|
Adhere this on to the front of your black, top folding card blank, so the sides are flush and an equal amount of black card blank is visible top and bottom. Set your card to one side. |
|
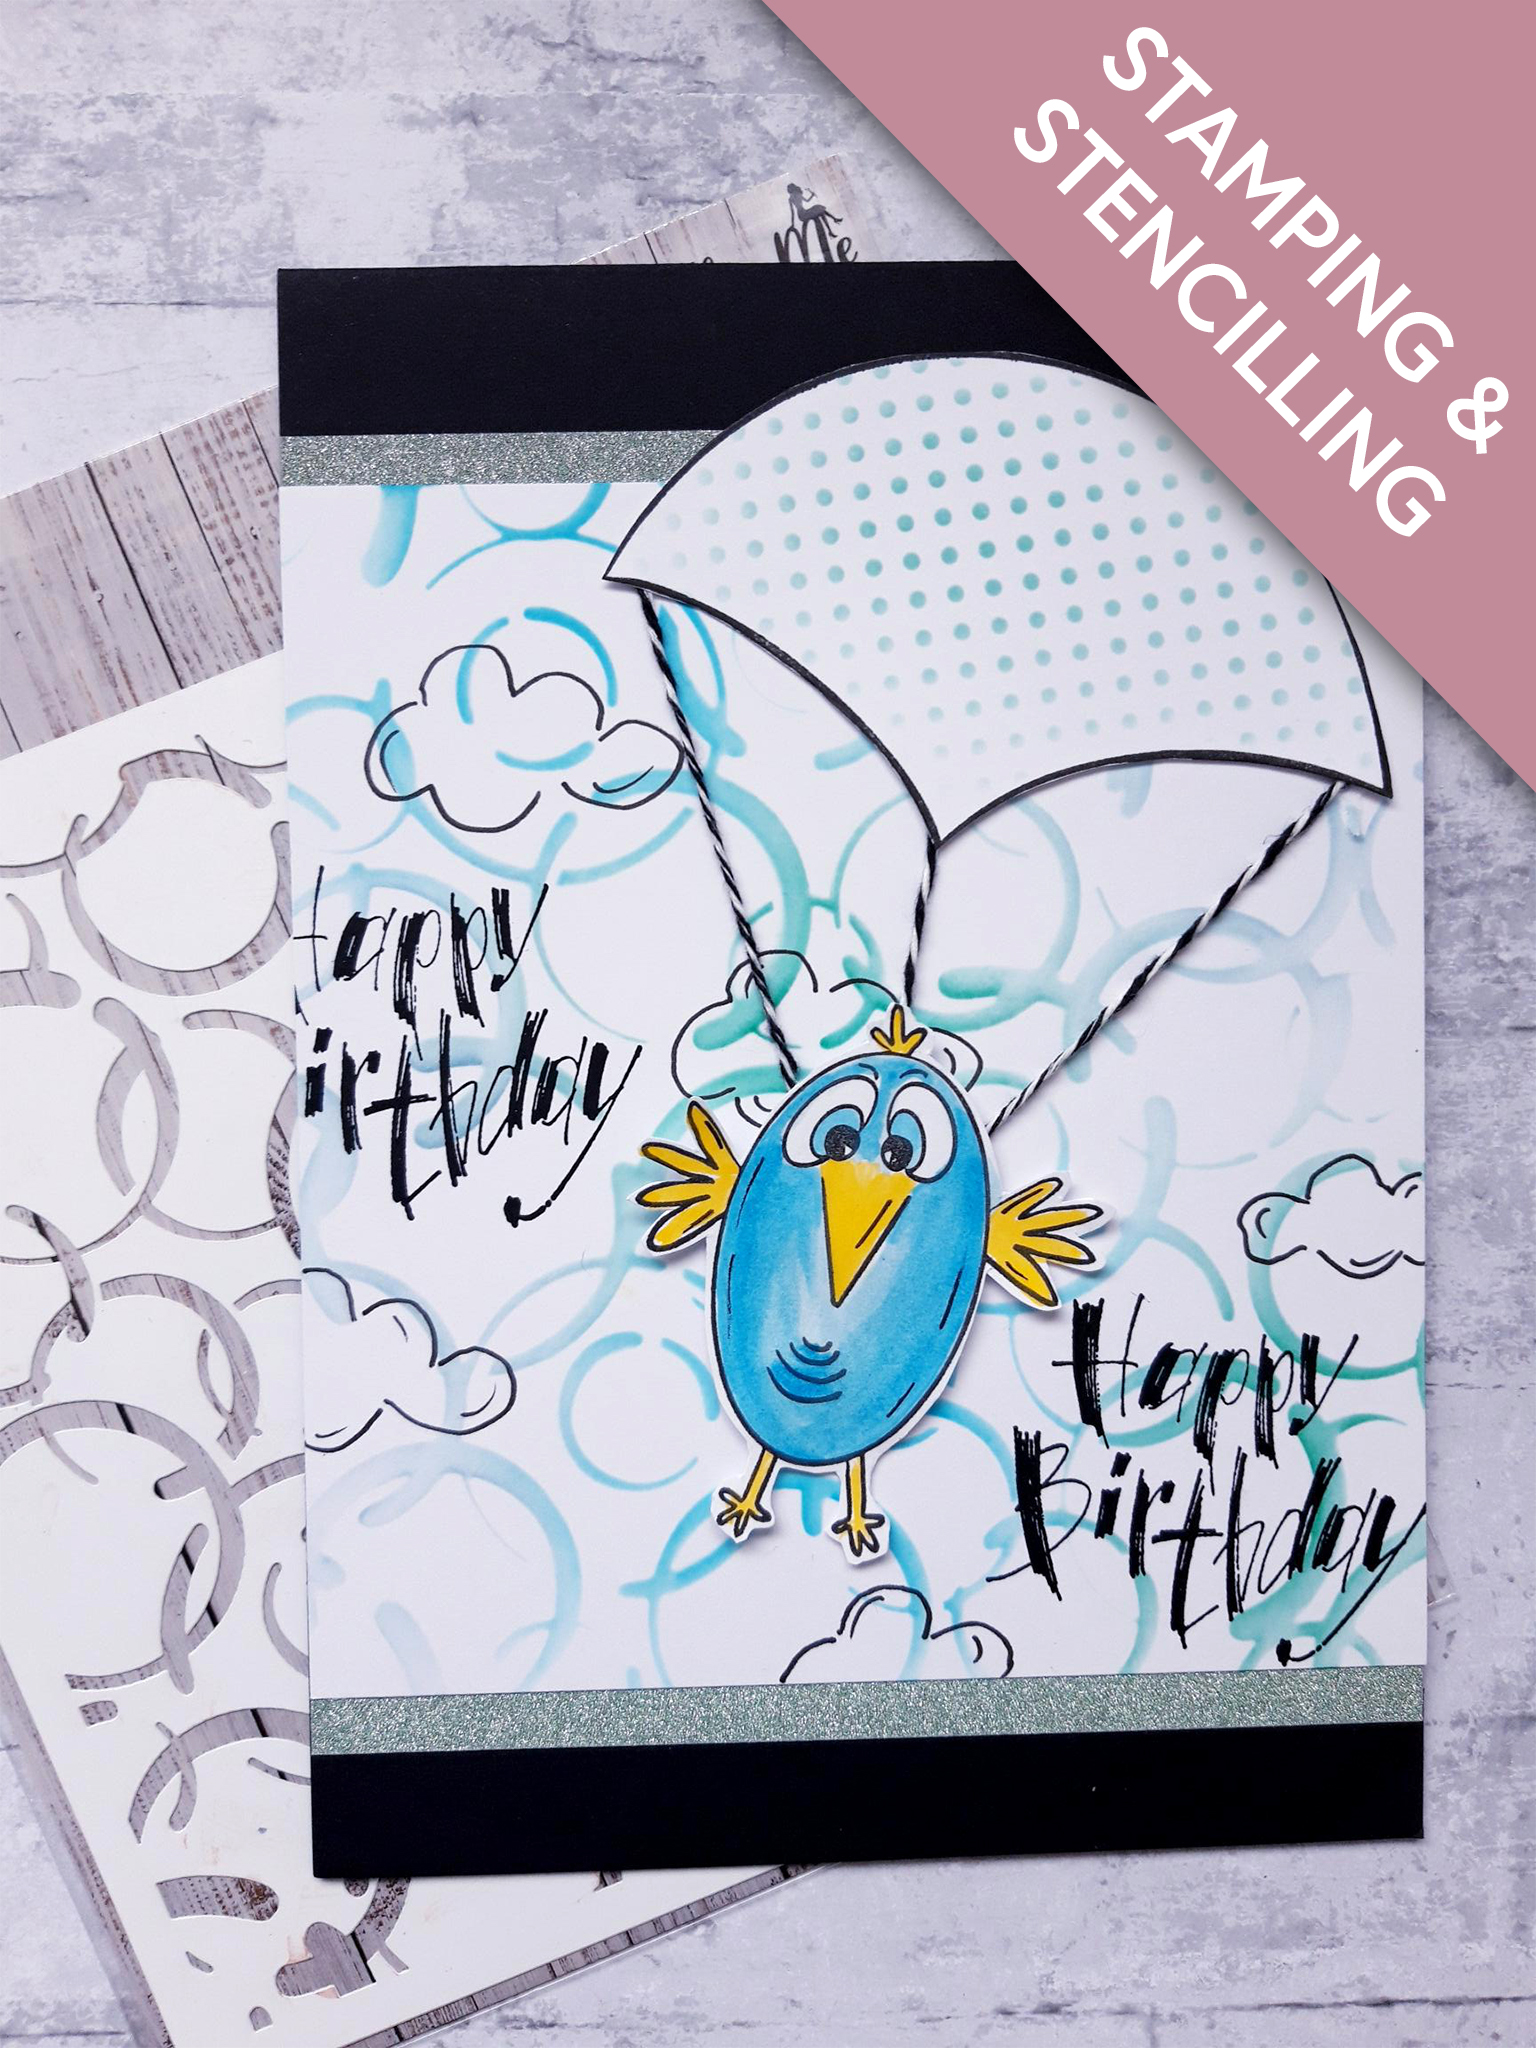
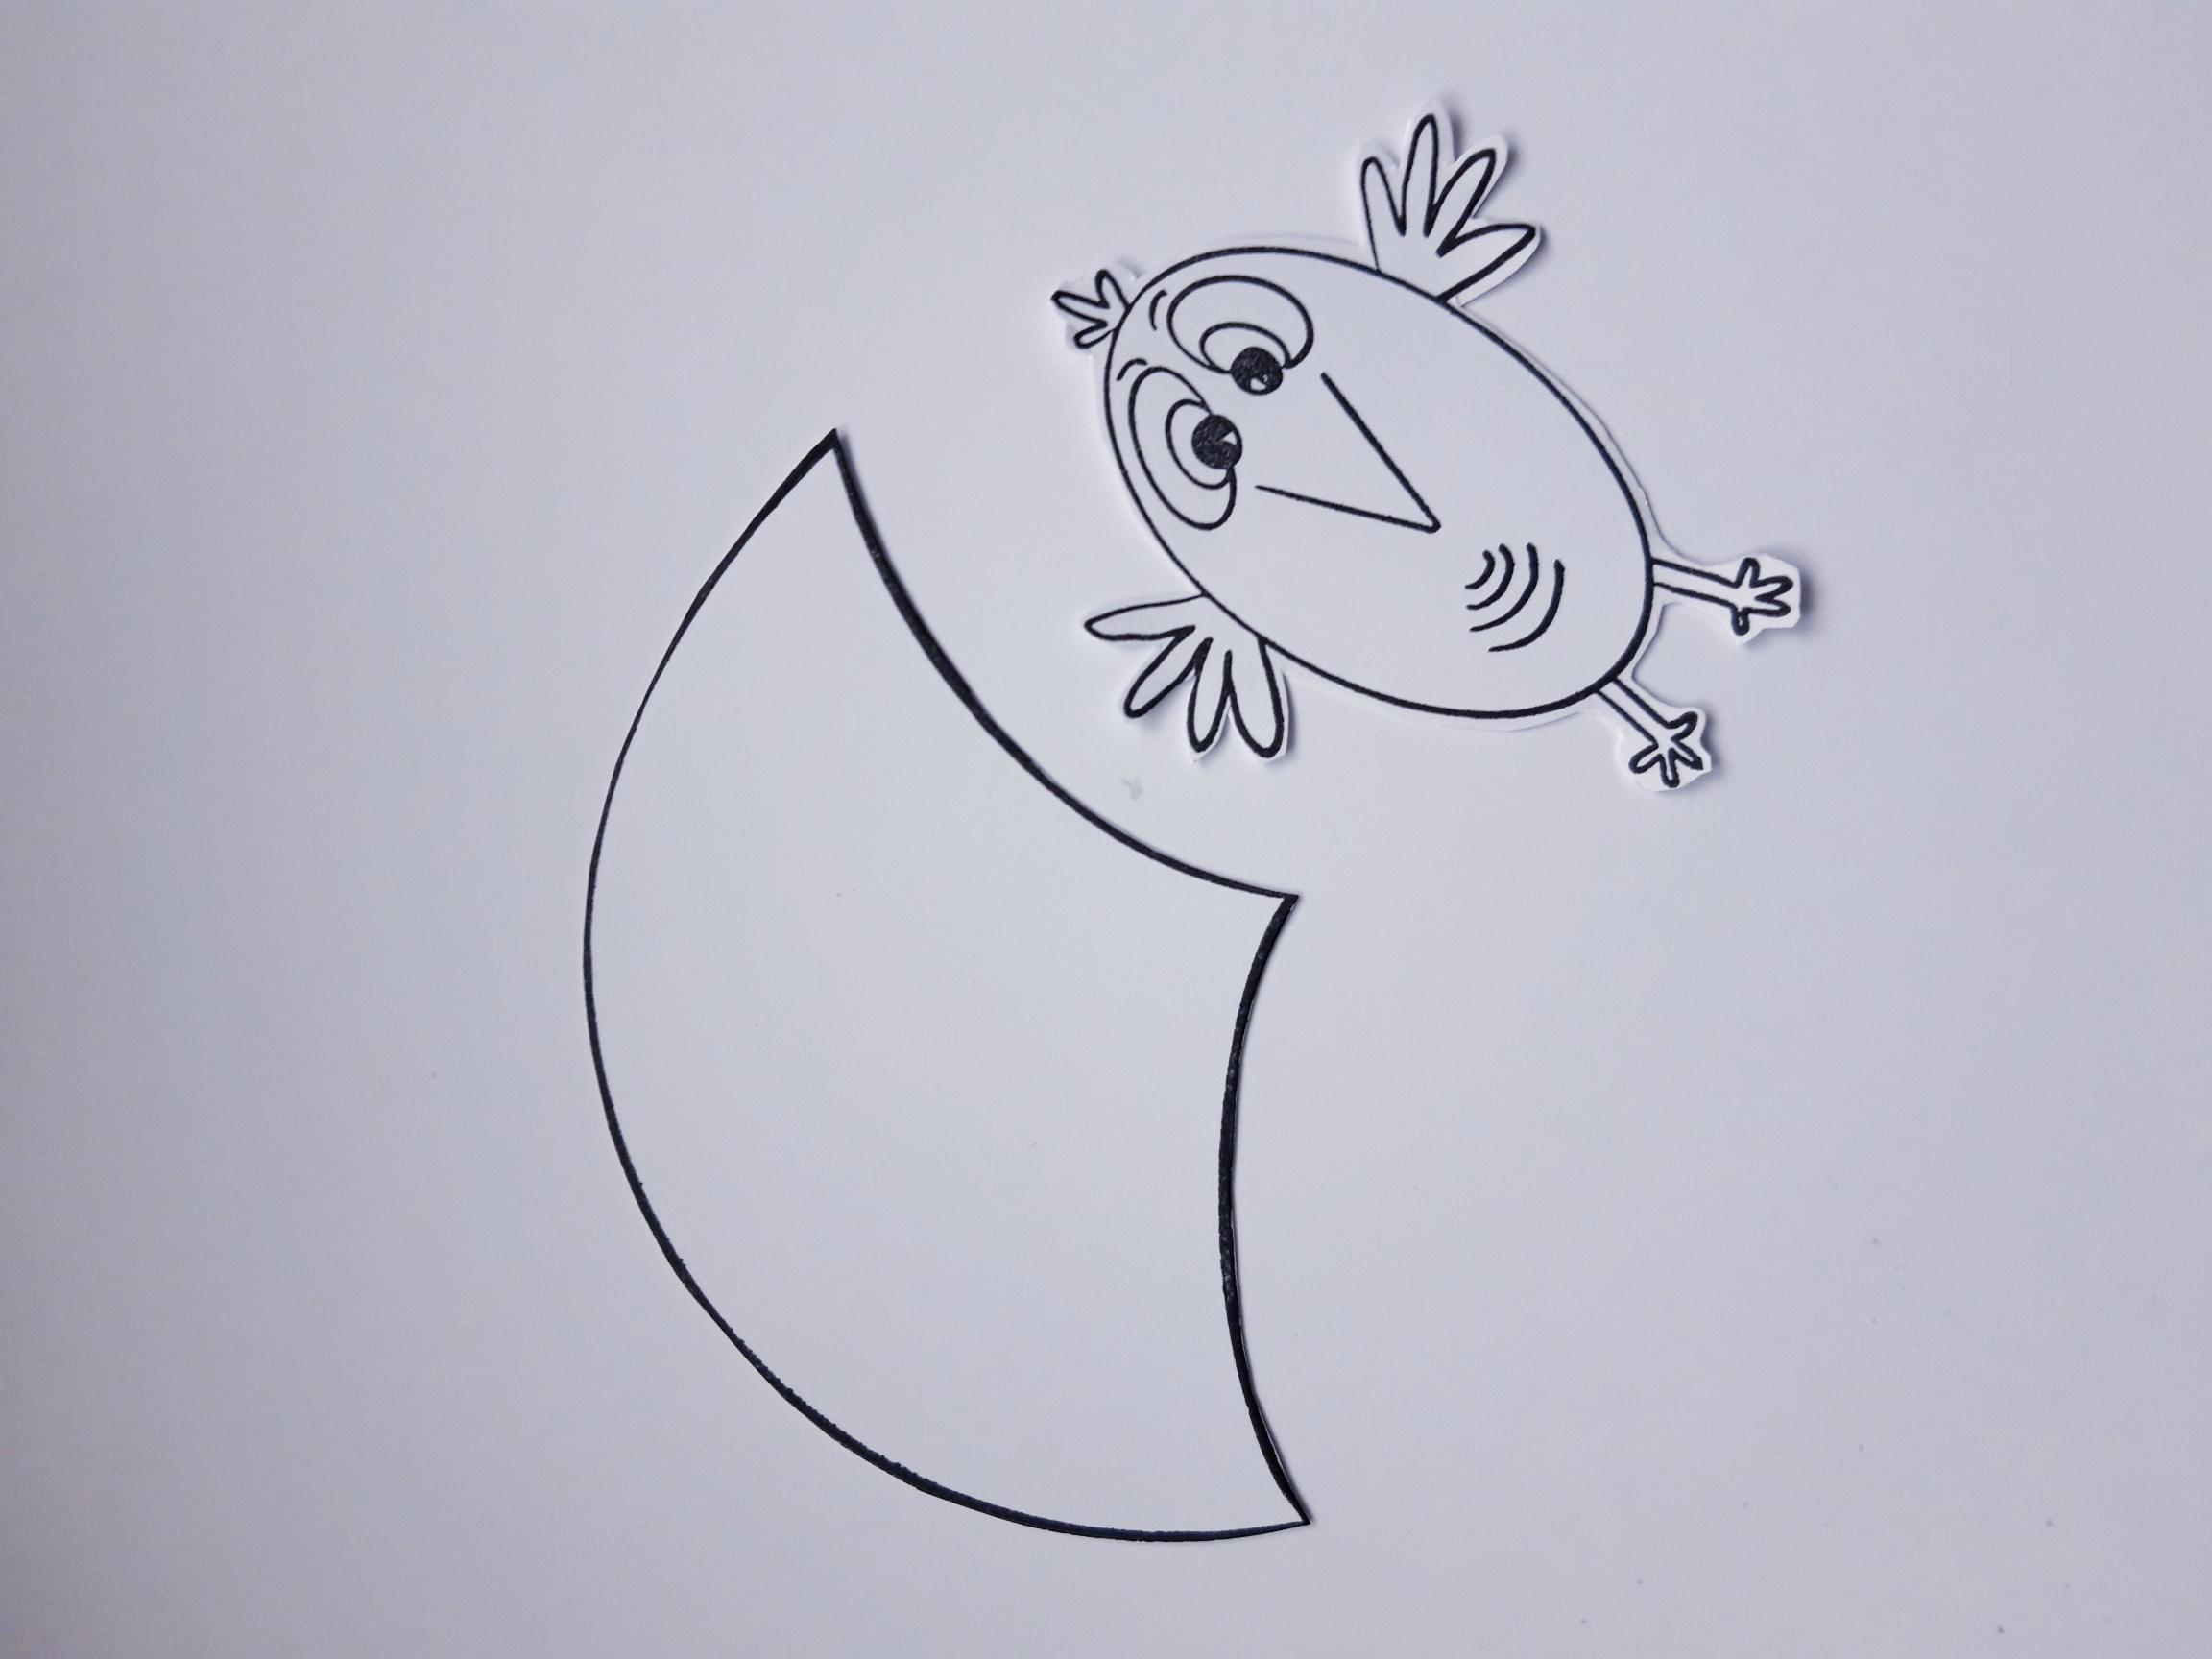
Ink up the parachute stamp, from the Thirsty Brush Jump set, with the Onyx Black Versafine, and stamp on to the 6 x 6" white card. Ink up the Birb, from the Bert And Ernie set, and stamp on to the same piece of card. Once the ink is dry, cut them both out. You only need the top piece of the parachute, as shown here. |
|
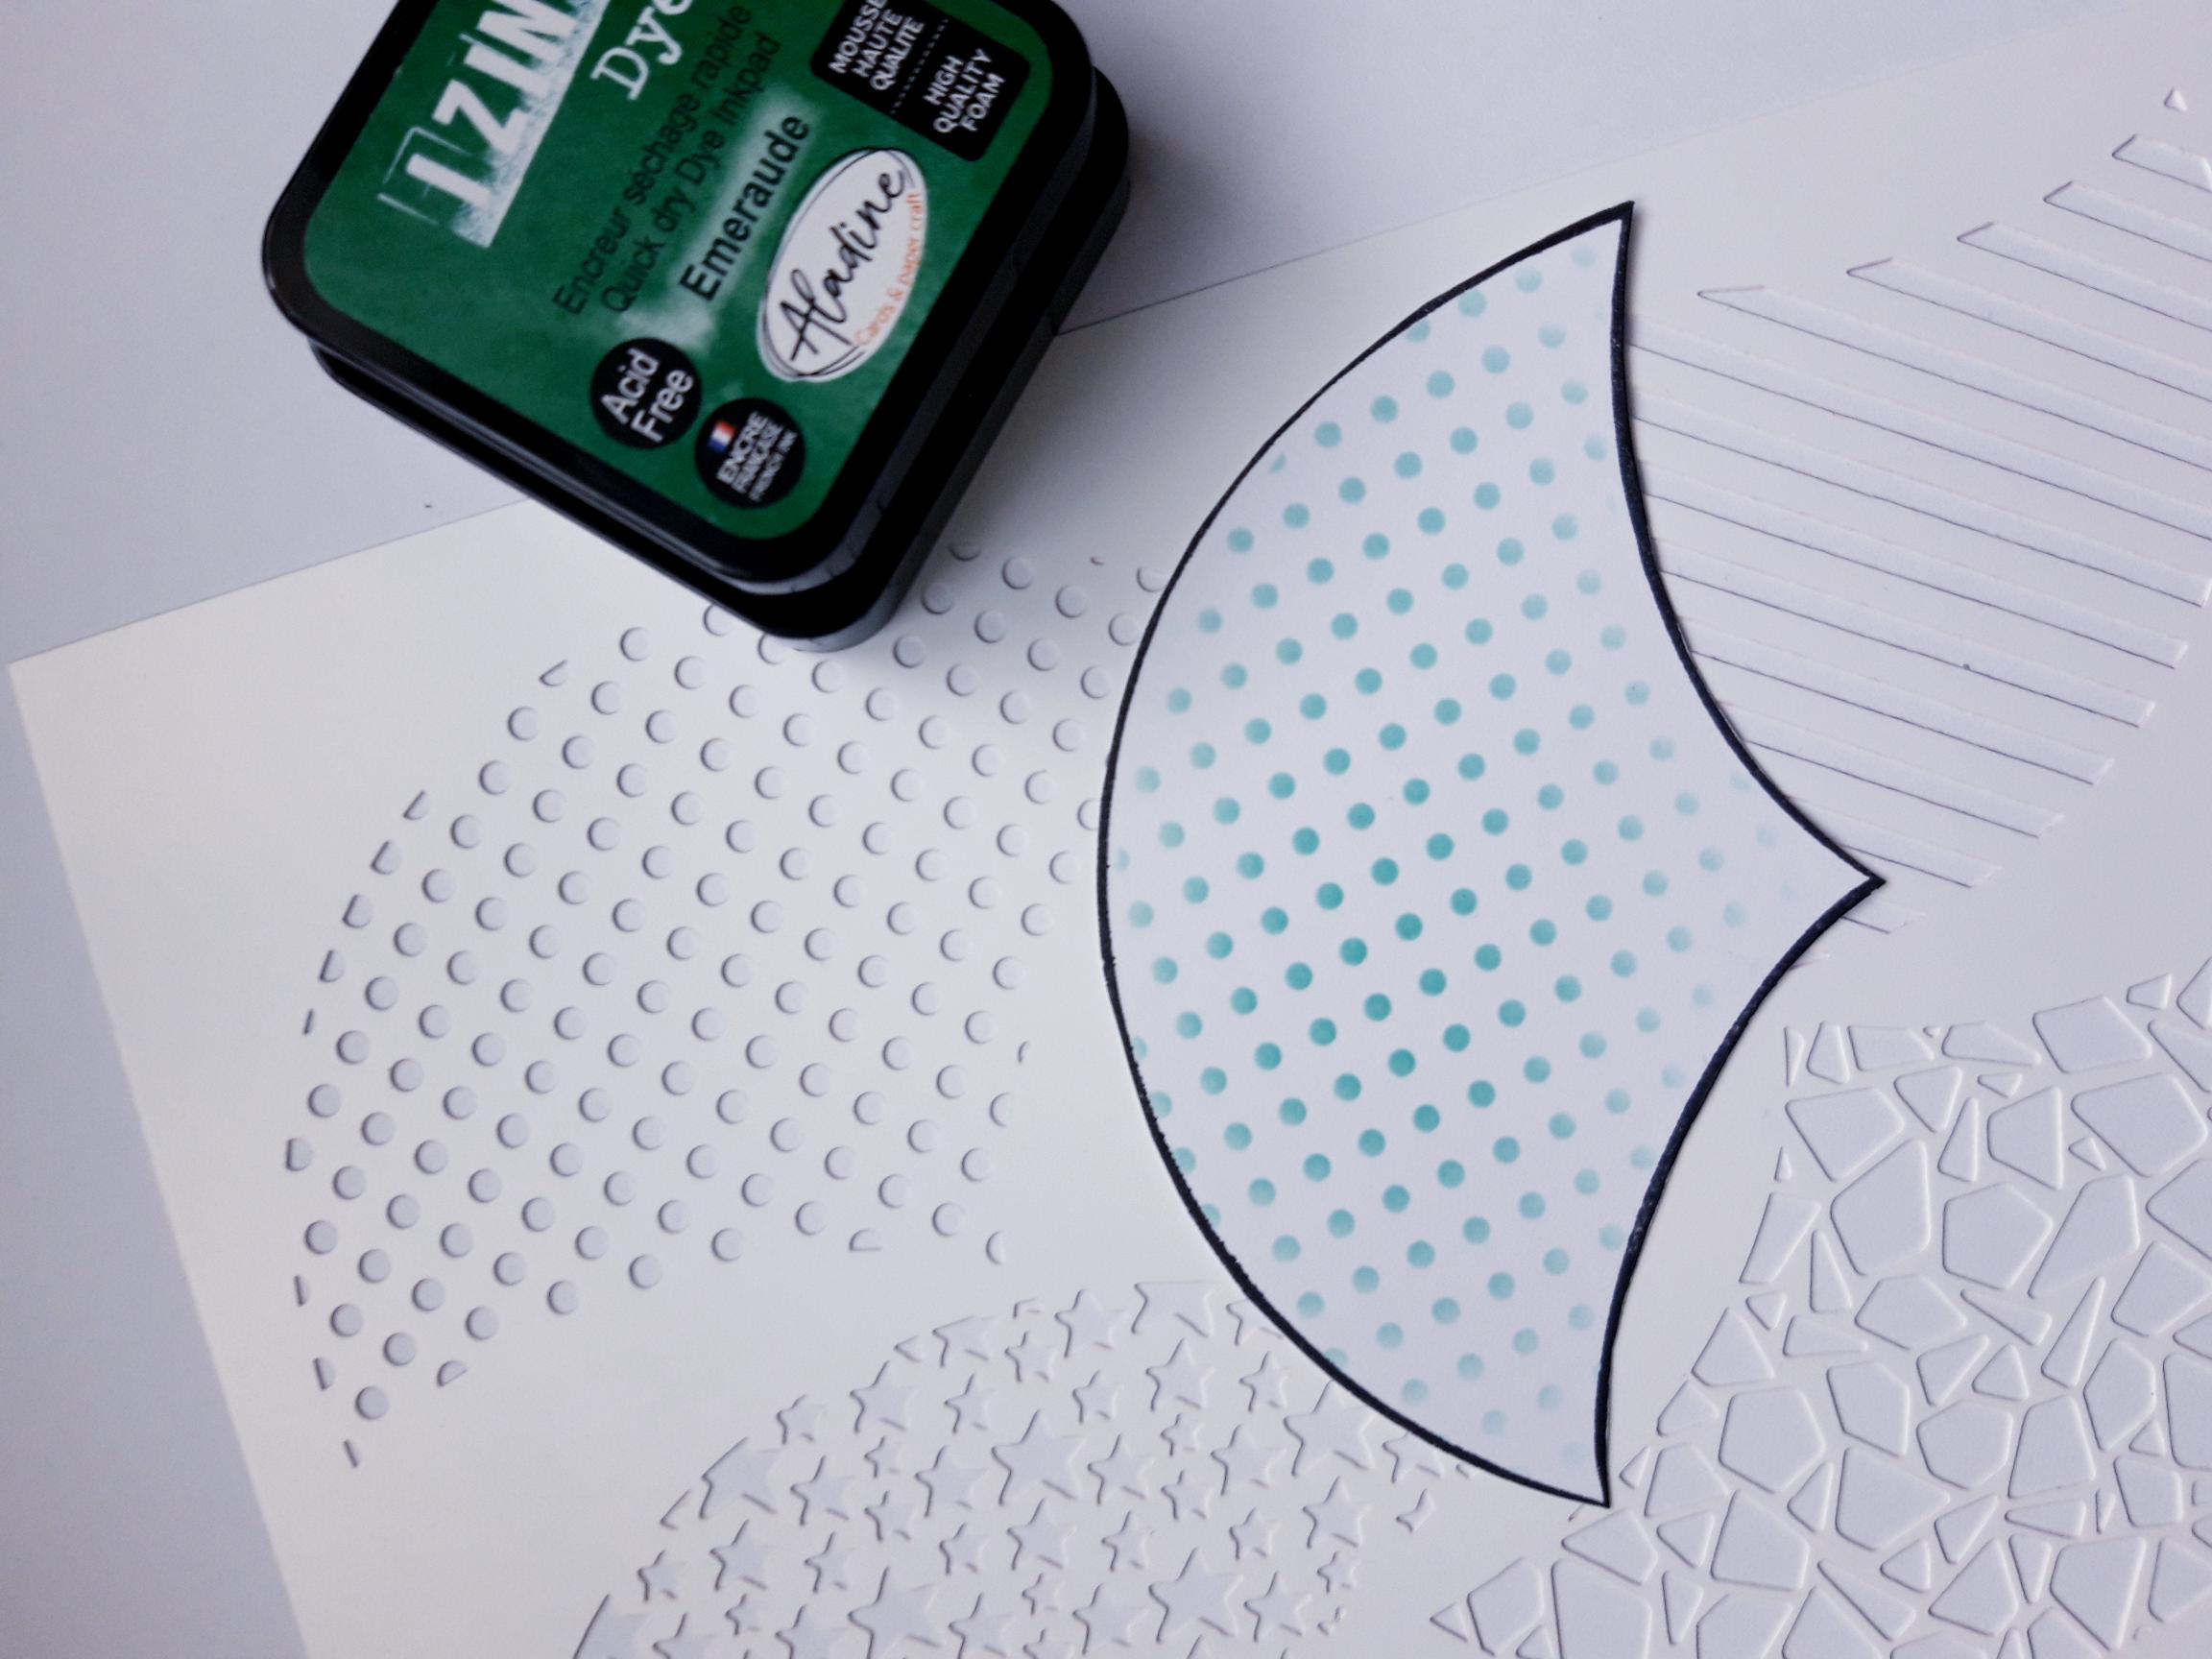
Lay the spotty Thirsty Brush Funky Parachutes stencil over your cut out parachute. Blend the Izink Emeraude through the stencil. |
|
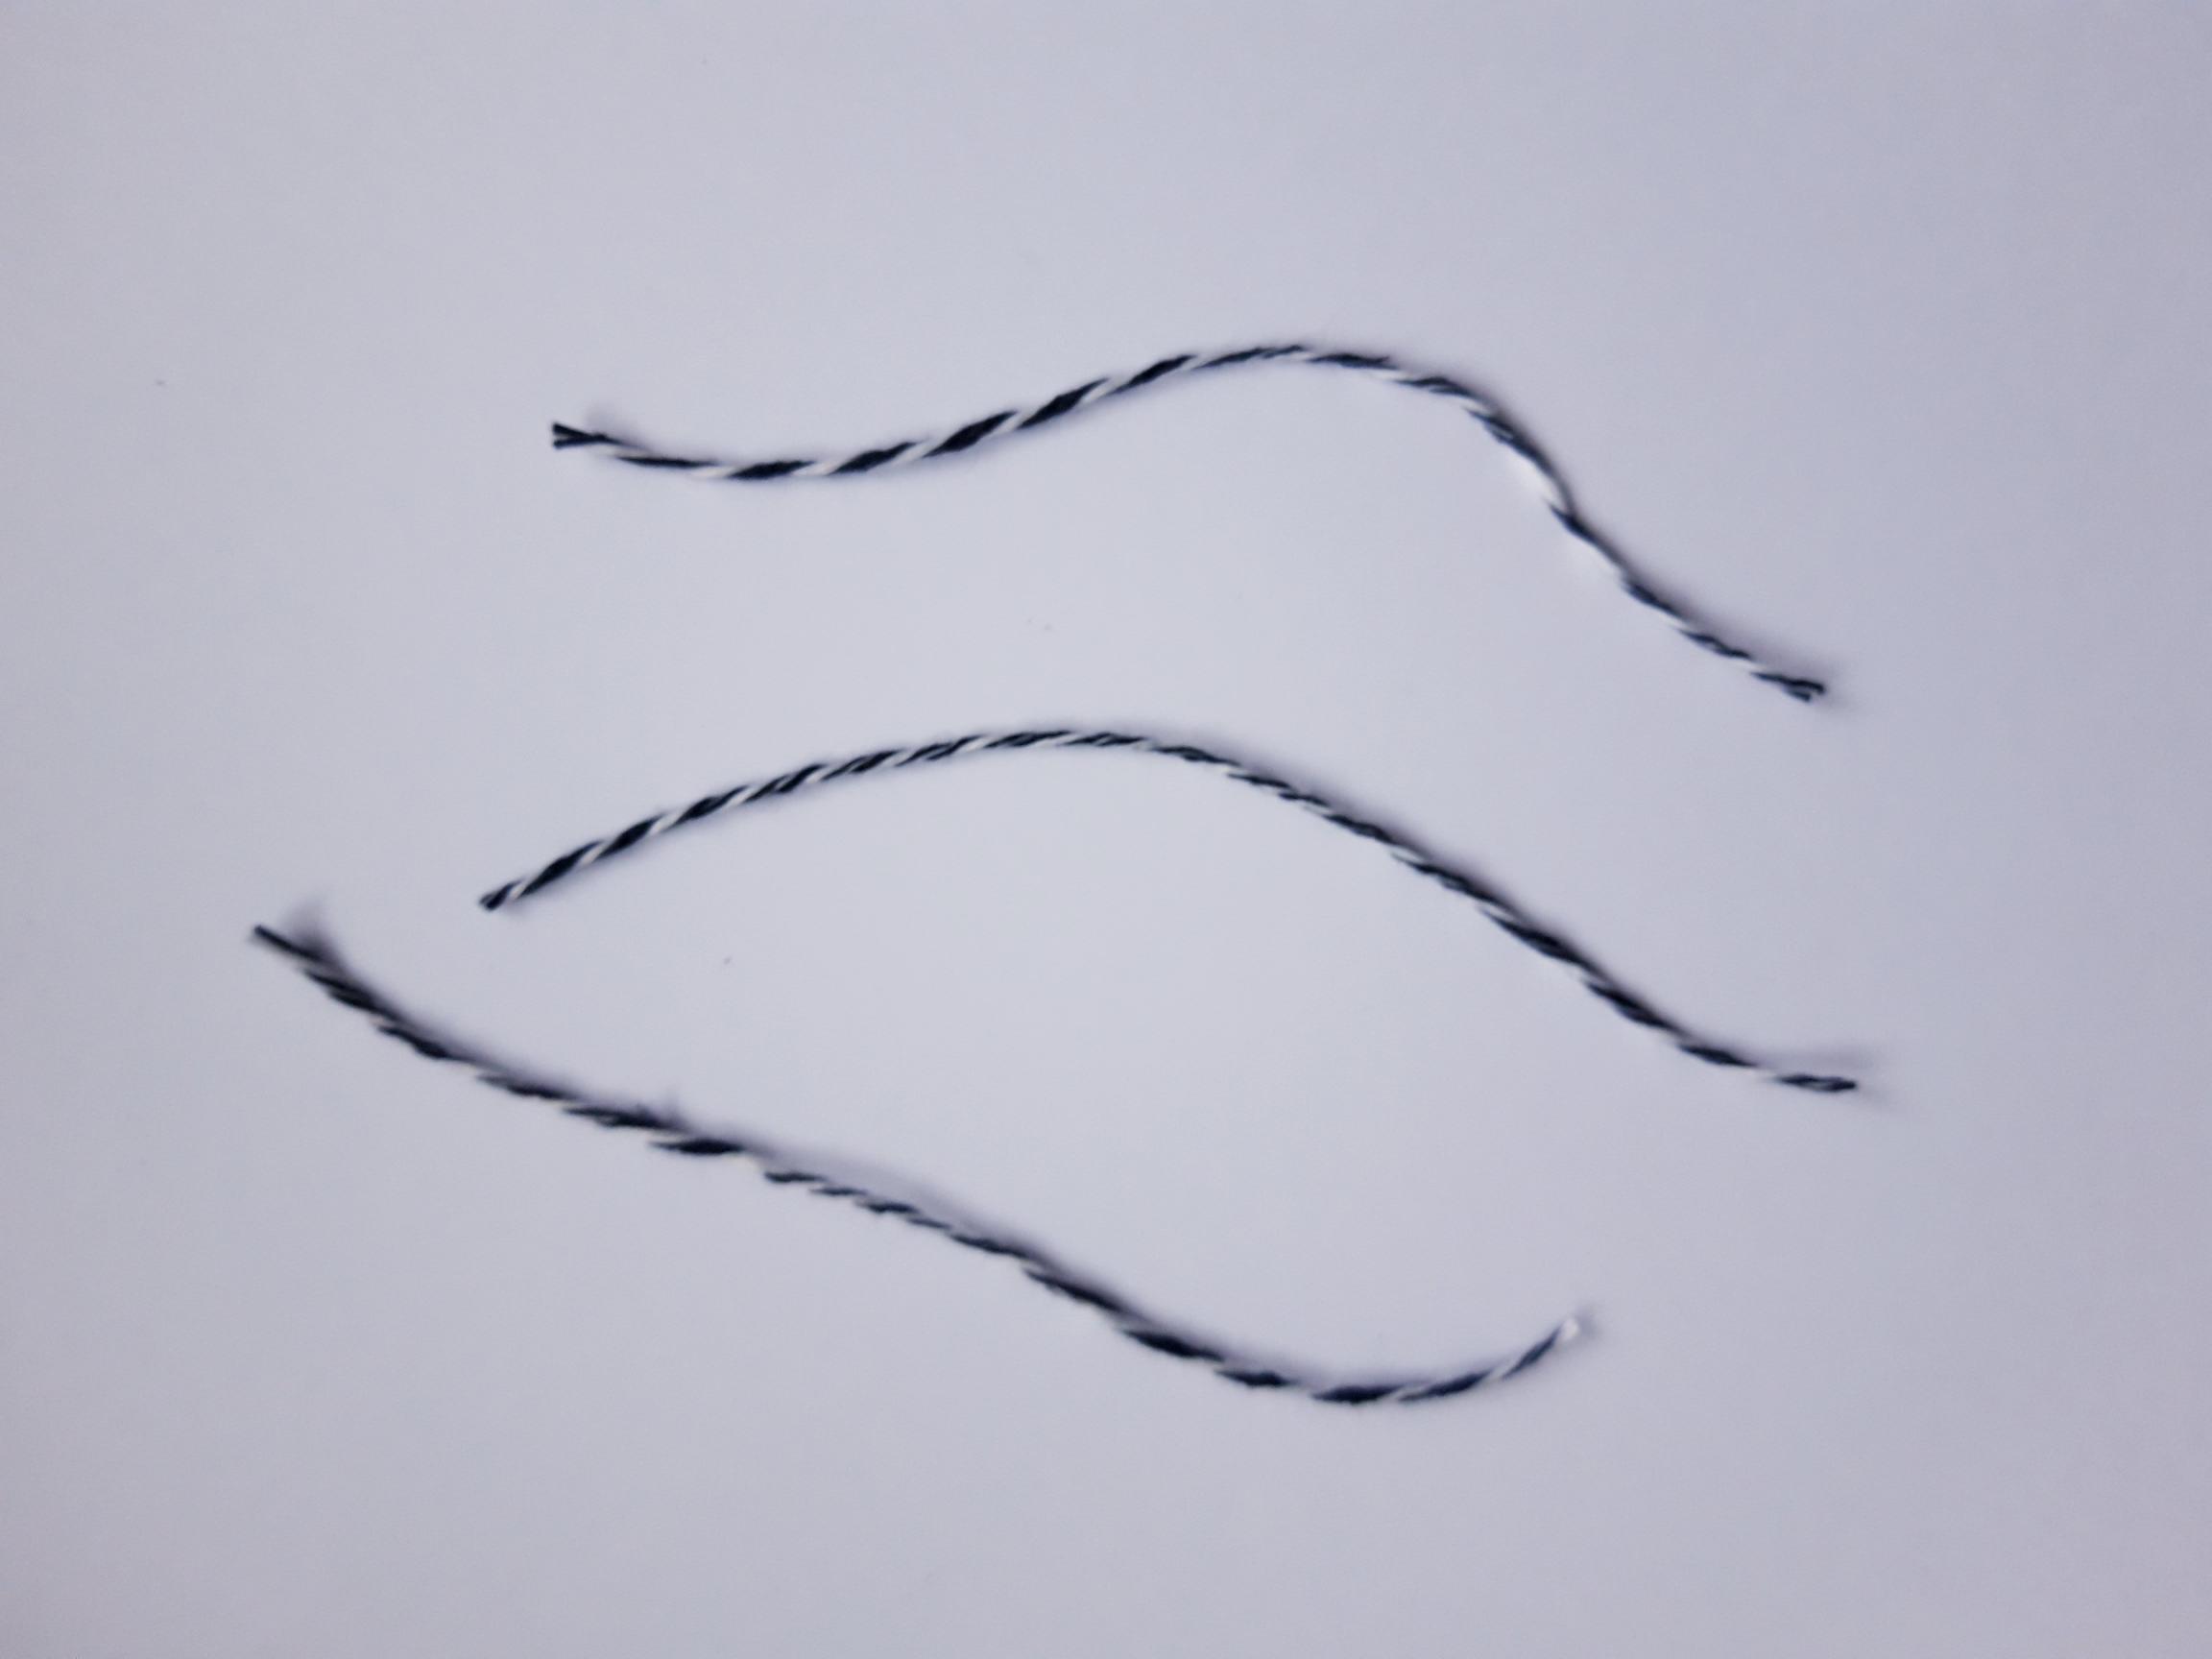
Cut THREE pieces of twine, approx 4" in length. |

|
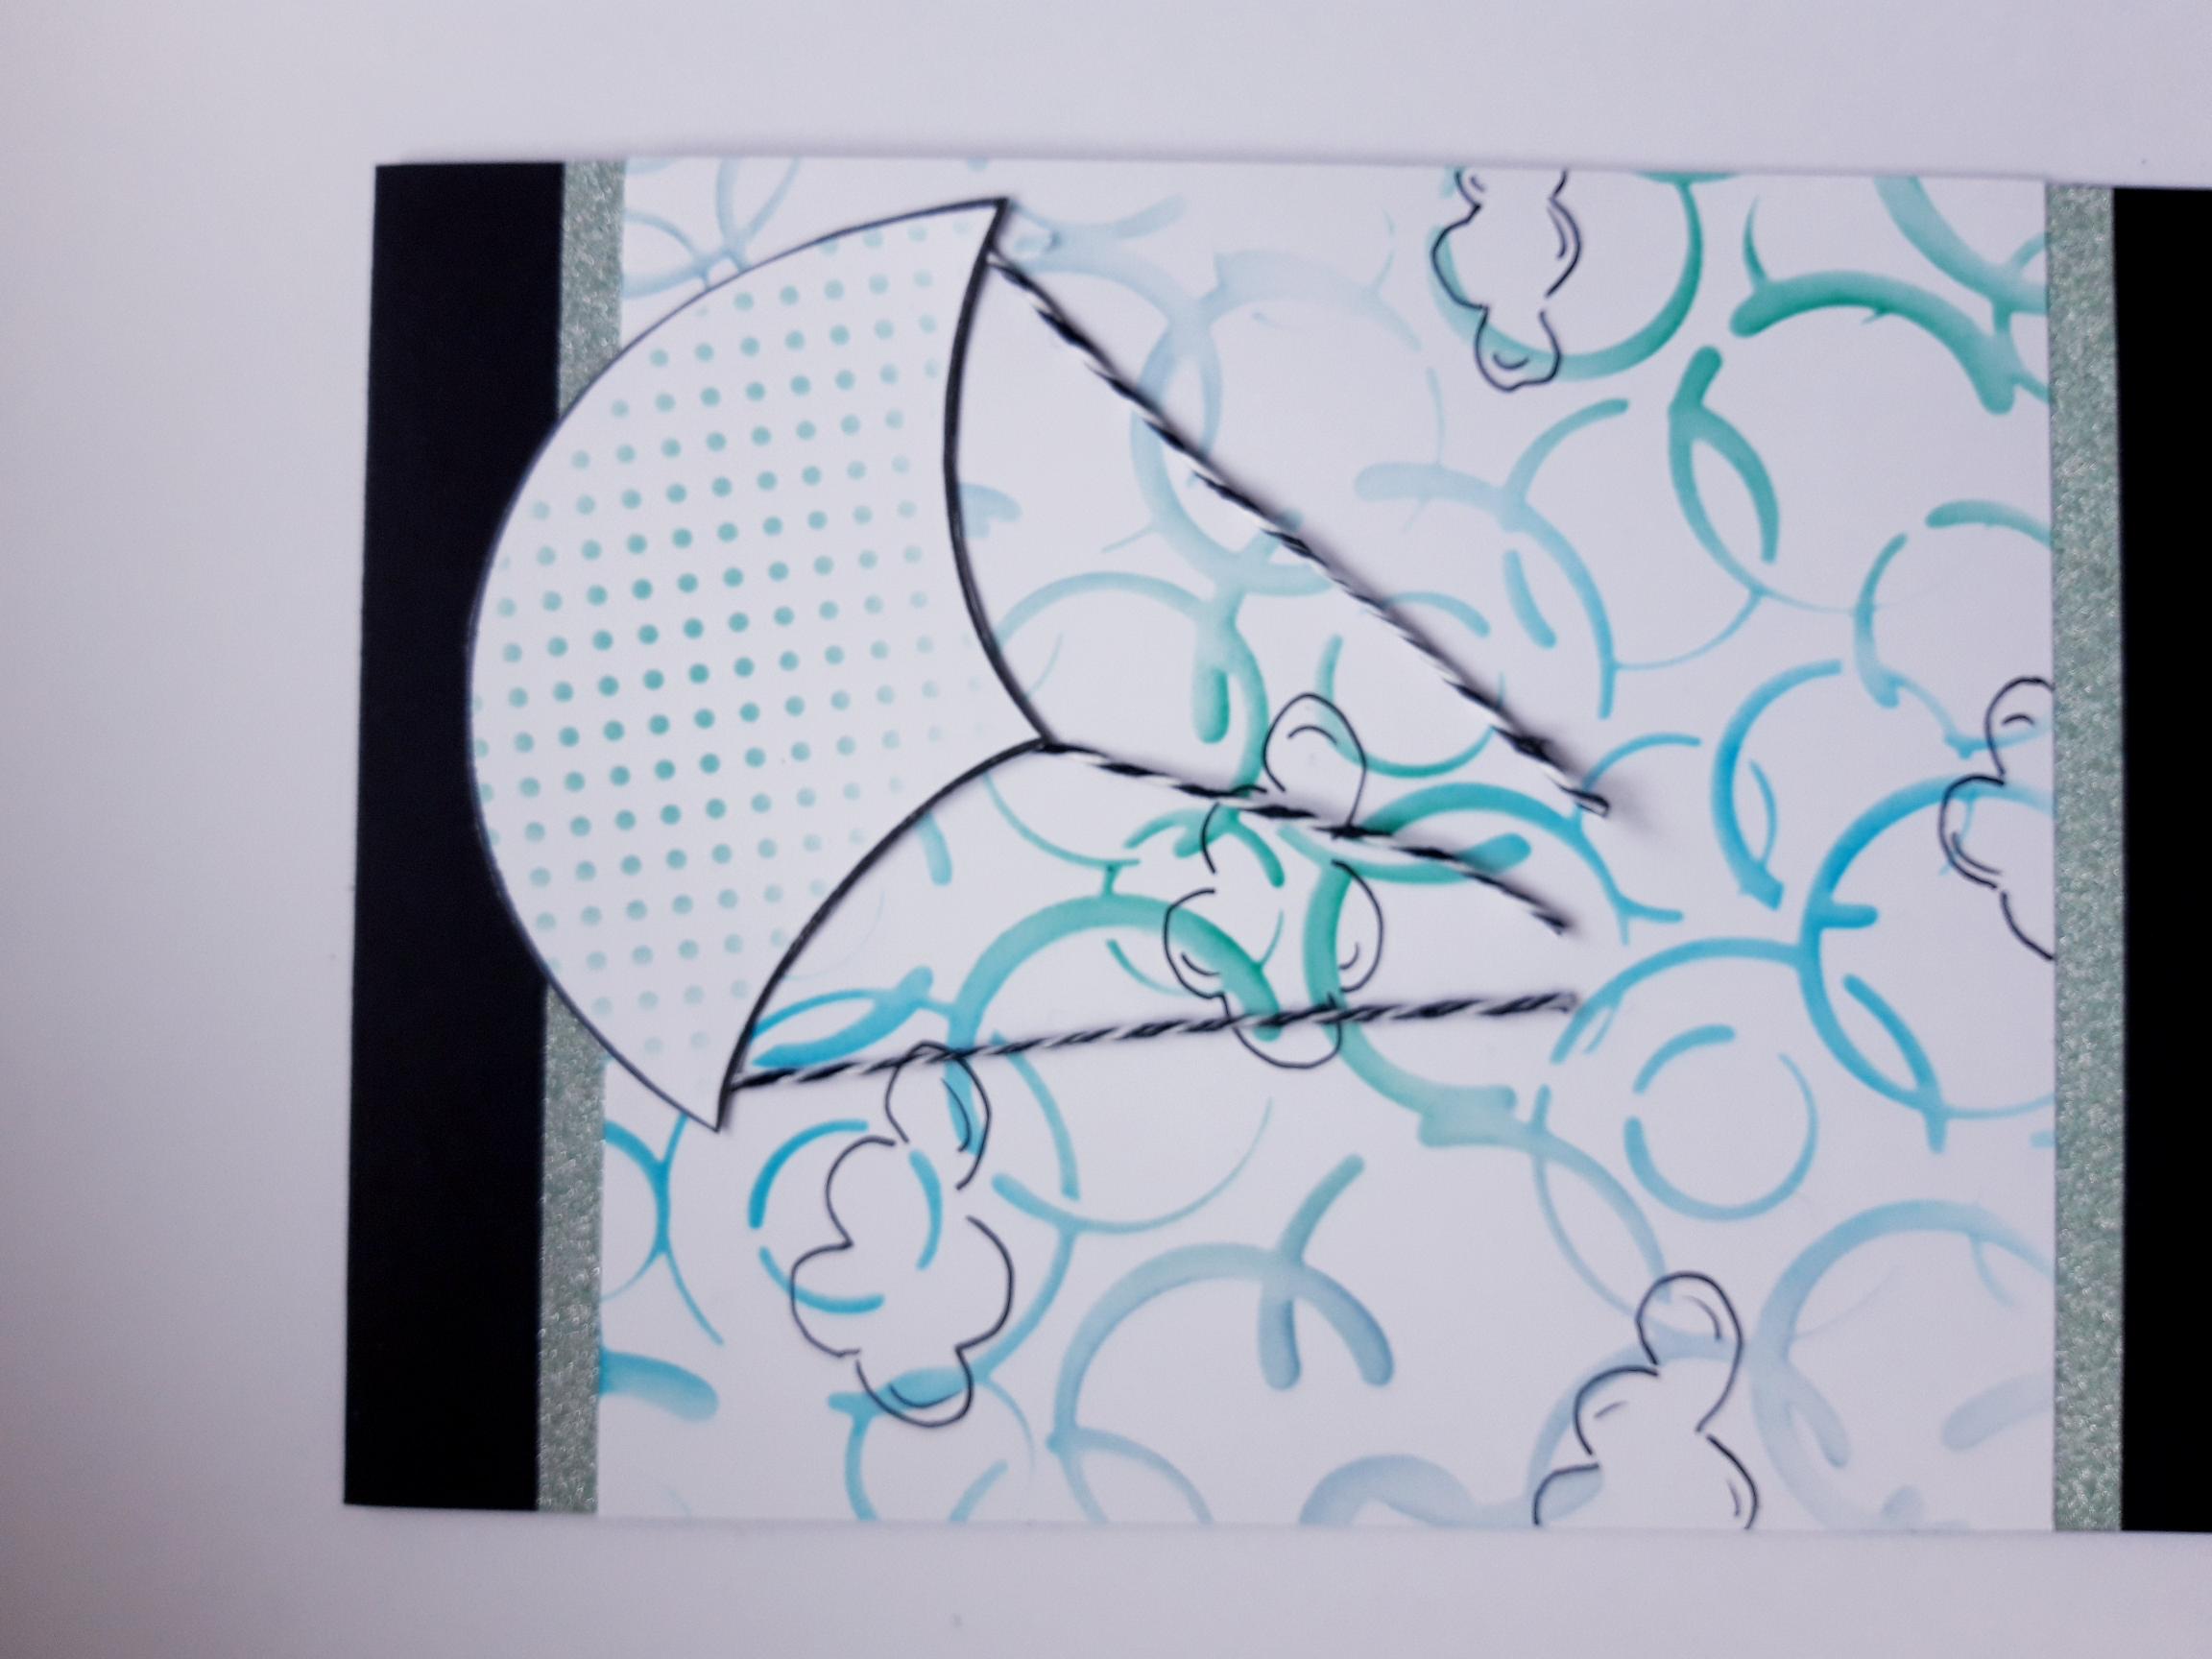
Secure each on to the reverse of your stencilled parachute, with red liner tape, as shown here. |
|
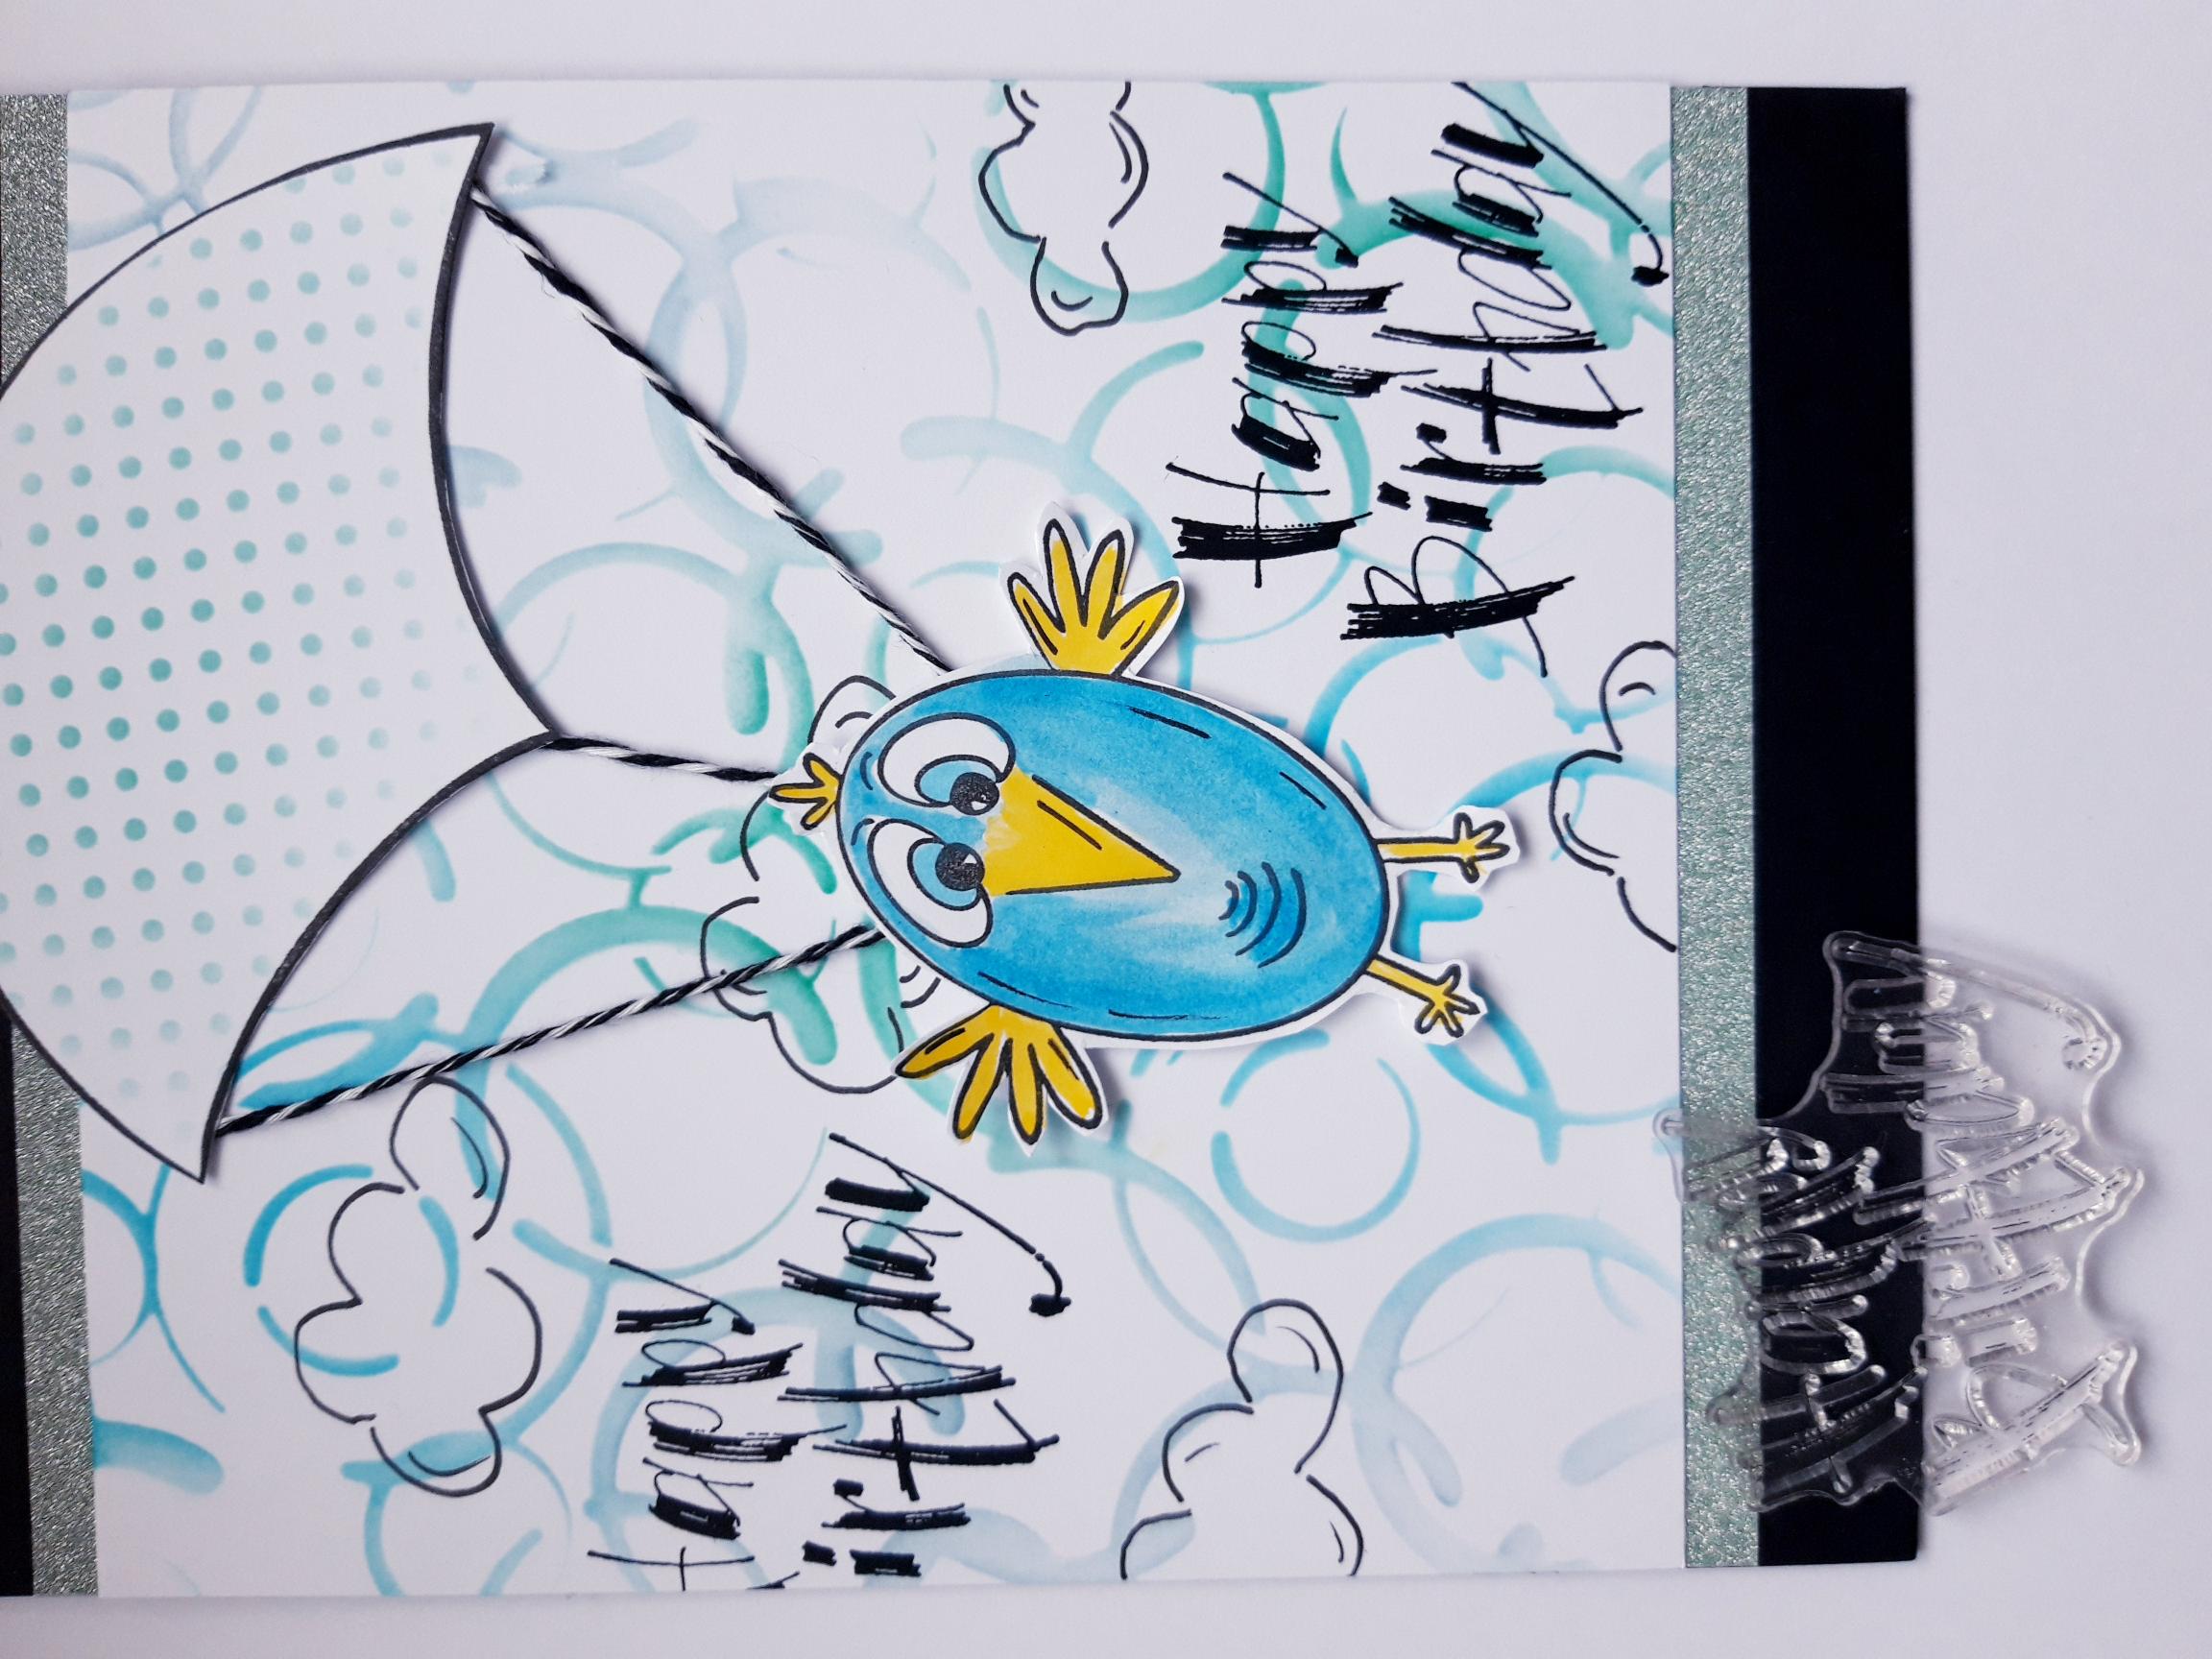
Adhere the parachute on to the top right side your card, leaving the twine loose. |
|
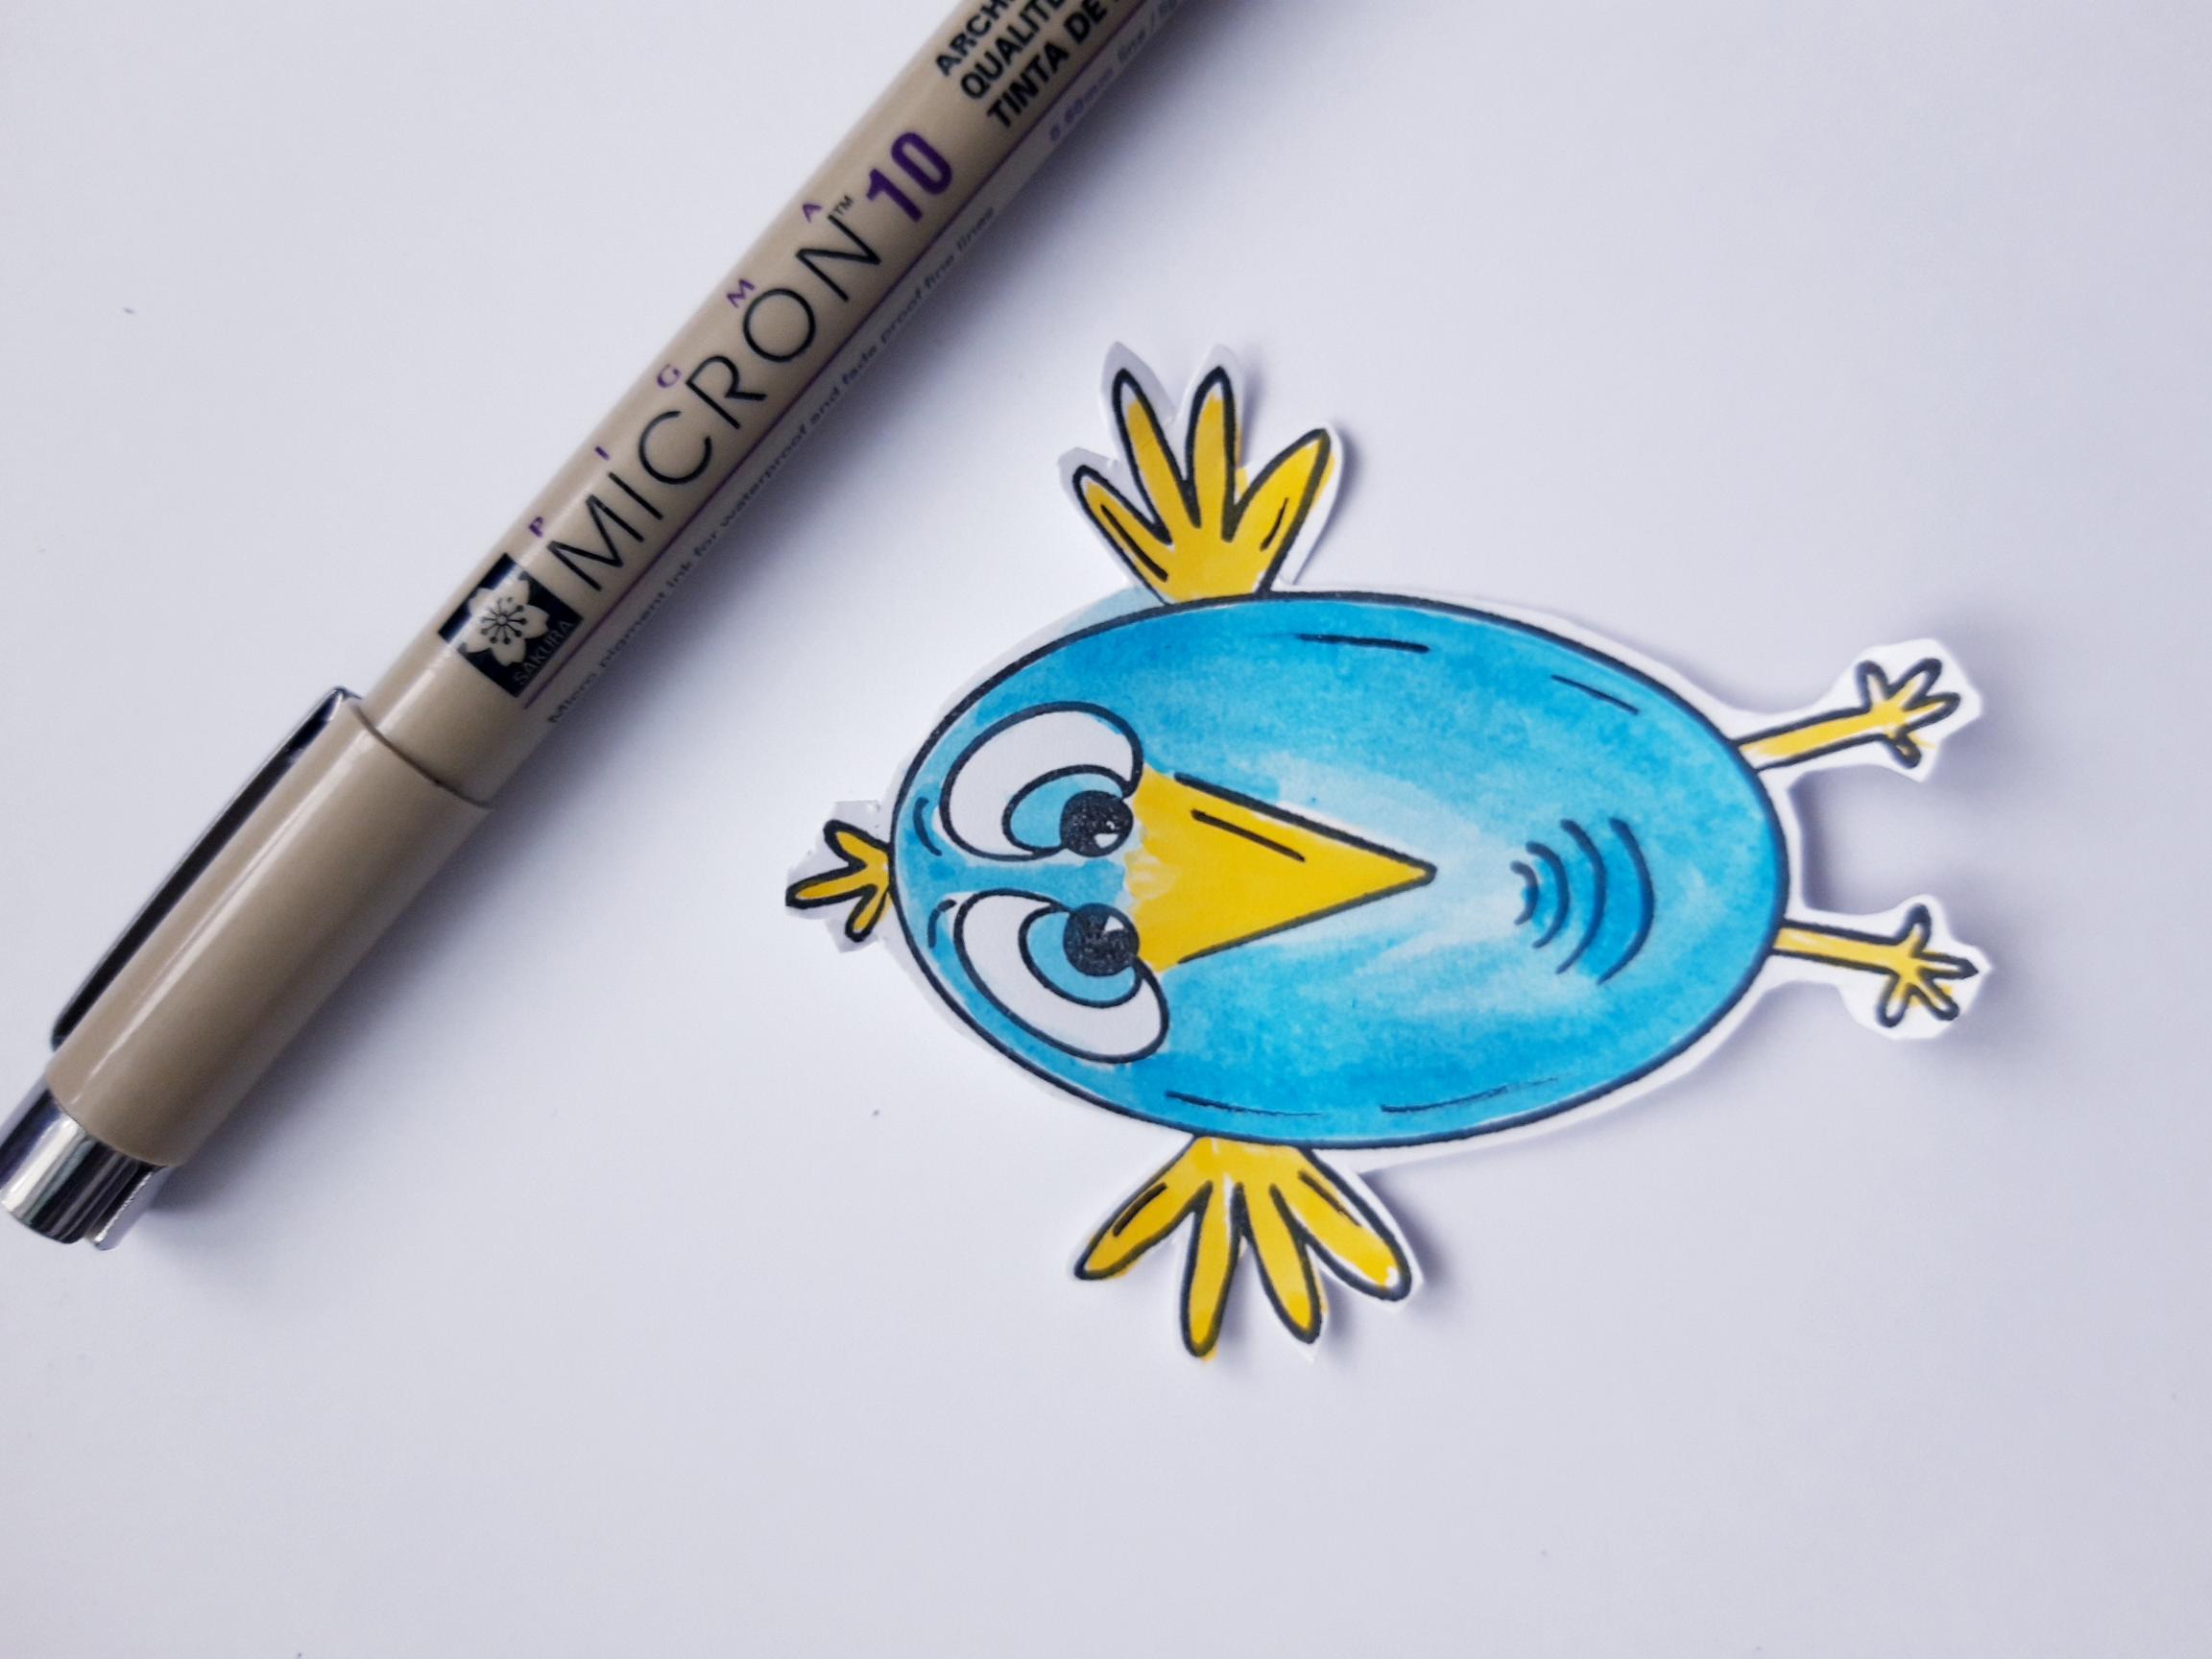
Apply the Izink Pigments on to your craft or glass mat. Add a little water and paint your Birb. |
|
Once the Pigments are dry, add accents to your Birb using a black pen. |

|
Pulling the twine taut, adhere your Birb in place on your card, so it also secures the twine in position. Alternatively you can secure the twine in place first, with a little red liner tape, before adhering your Birb. |
|
Ink up the sentiment stamp from the Go with the Flow Lamination Stamp Collection, with the Onyx Black Versafine. Stamp bottom right of your artwork. To finish, ink it up again, and stamp coming off the left hand side of your artwork, so there is only a partial sentiment visible. |