Give your friends $10 off their first order!
Refer a FRIEND


WHAT YOU WILL NEED:
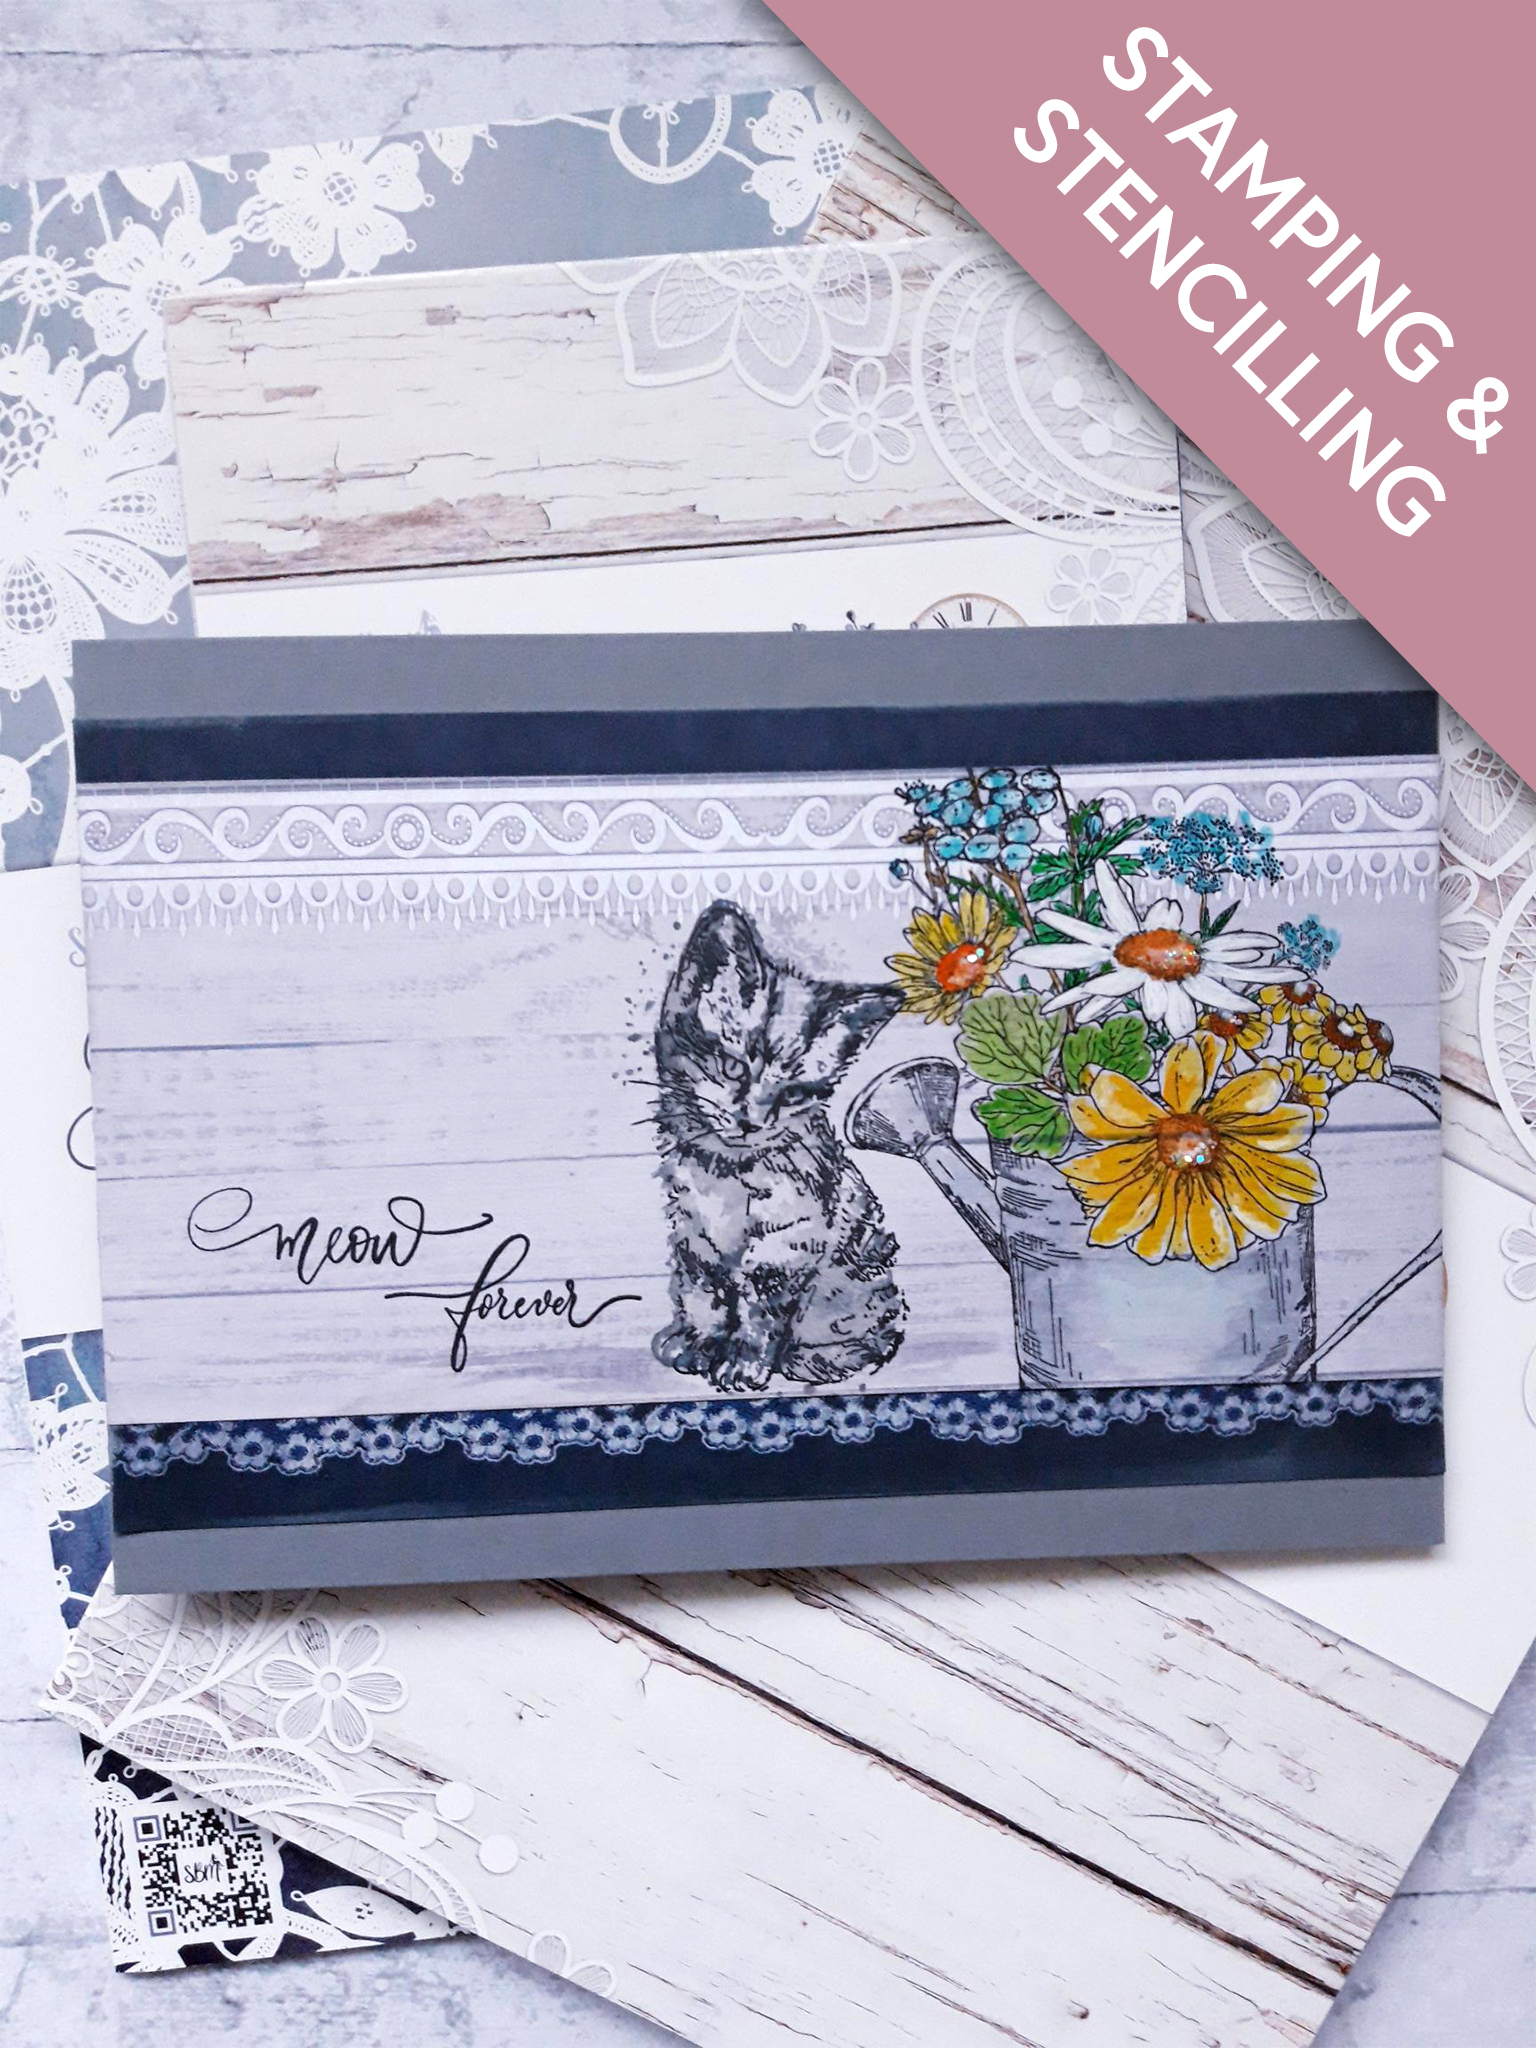
Grey top folding card blank (8 1/4 x 5 3/4")
Time To Grow A4 Paper Pack
Stamps from Let's Be Friends Lamination Stamp Collection
Stamps from You Are Amazing Stamp Collection
Versafine Ink Pad: Onyx Black
Distress Oxide: Hickory Smoke, Black Soot
Watercolour paints
Paint brush
Midas Glitter: Viennese Waltz
Izink Pigment: Avalanche
Eureka 101
Paper Trimmer
Perfect Together Glue
[click image to enlarge] 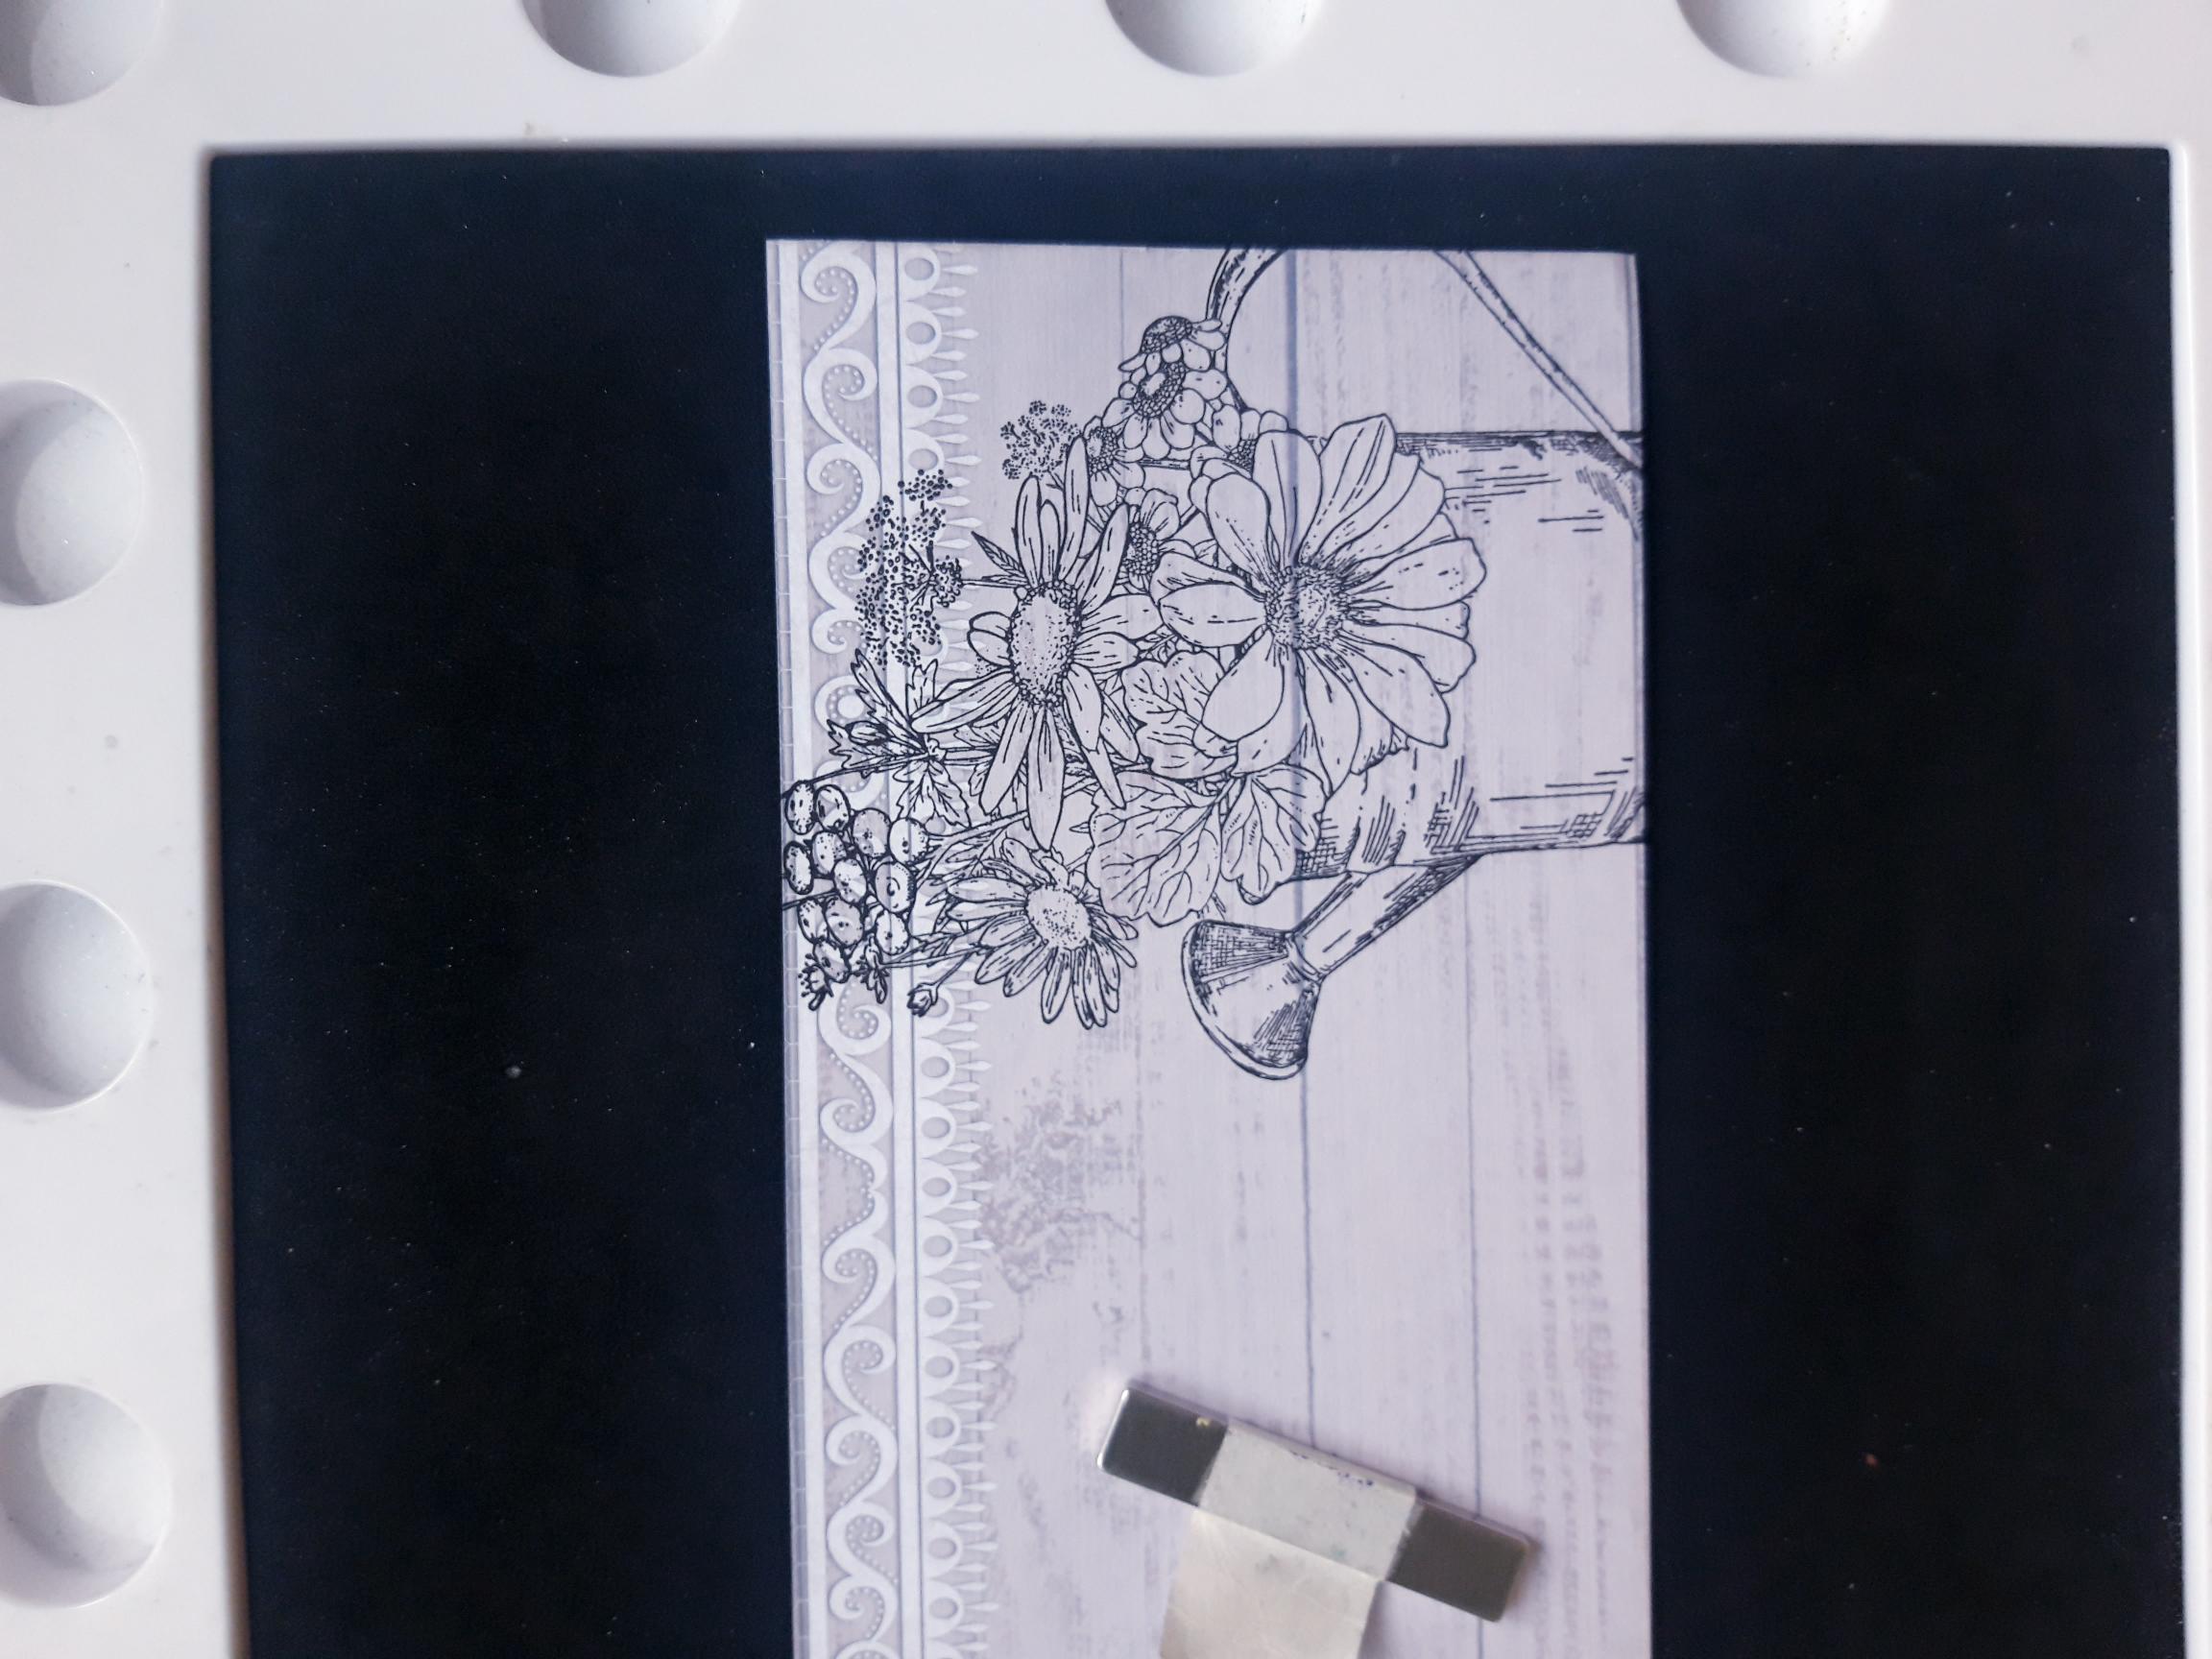
|
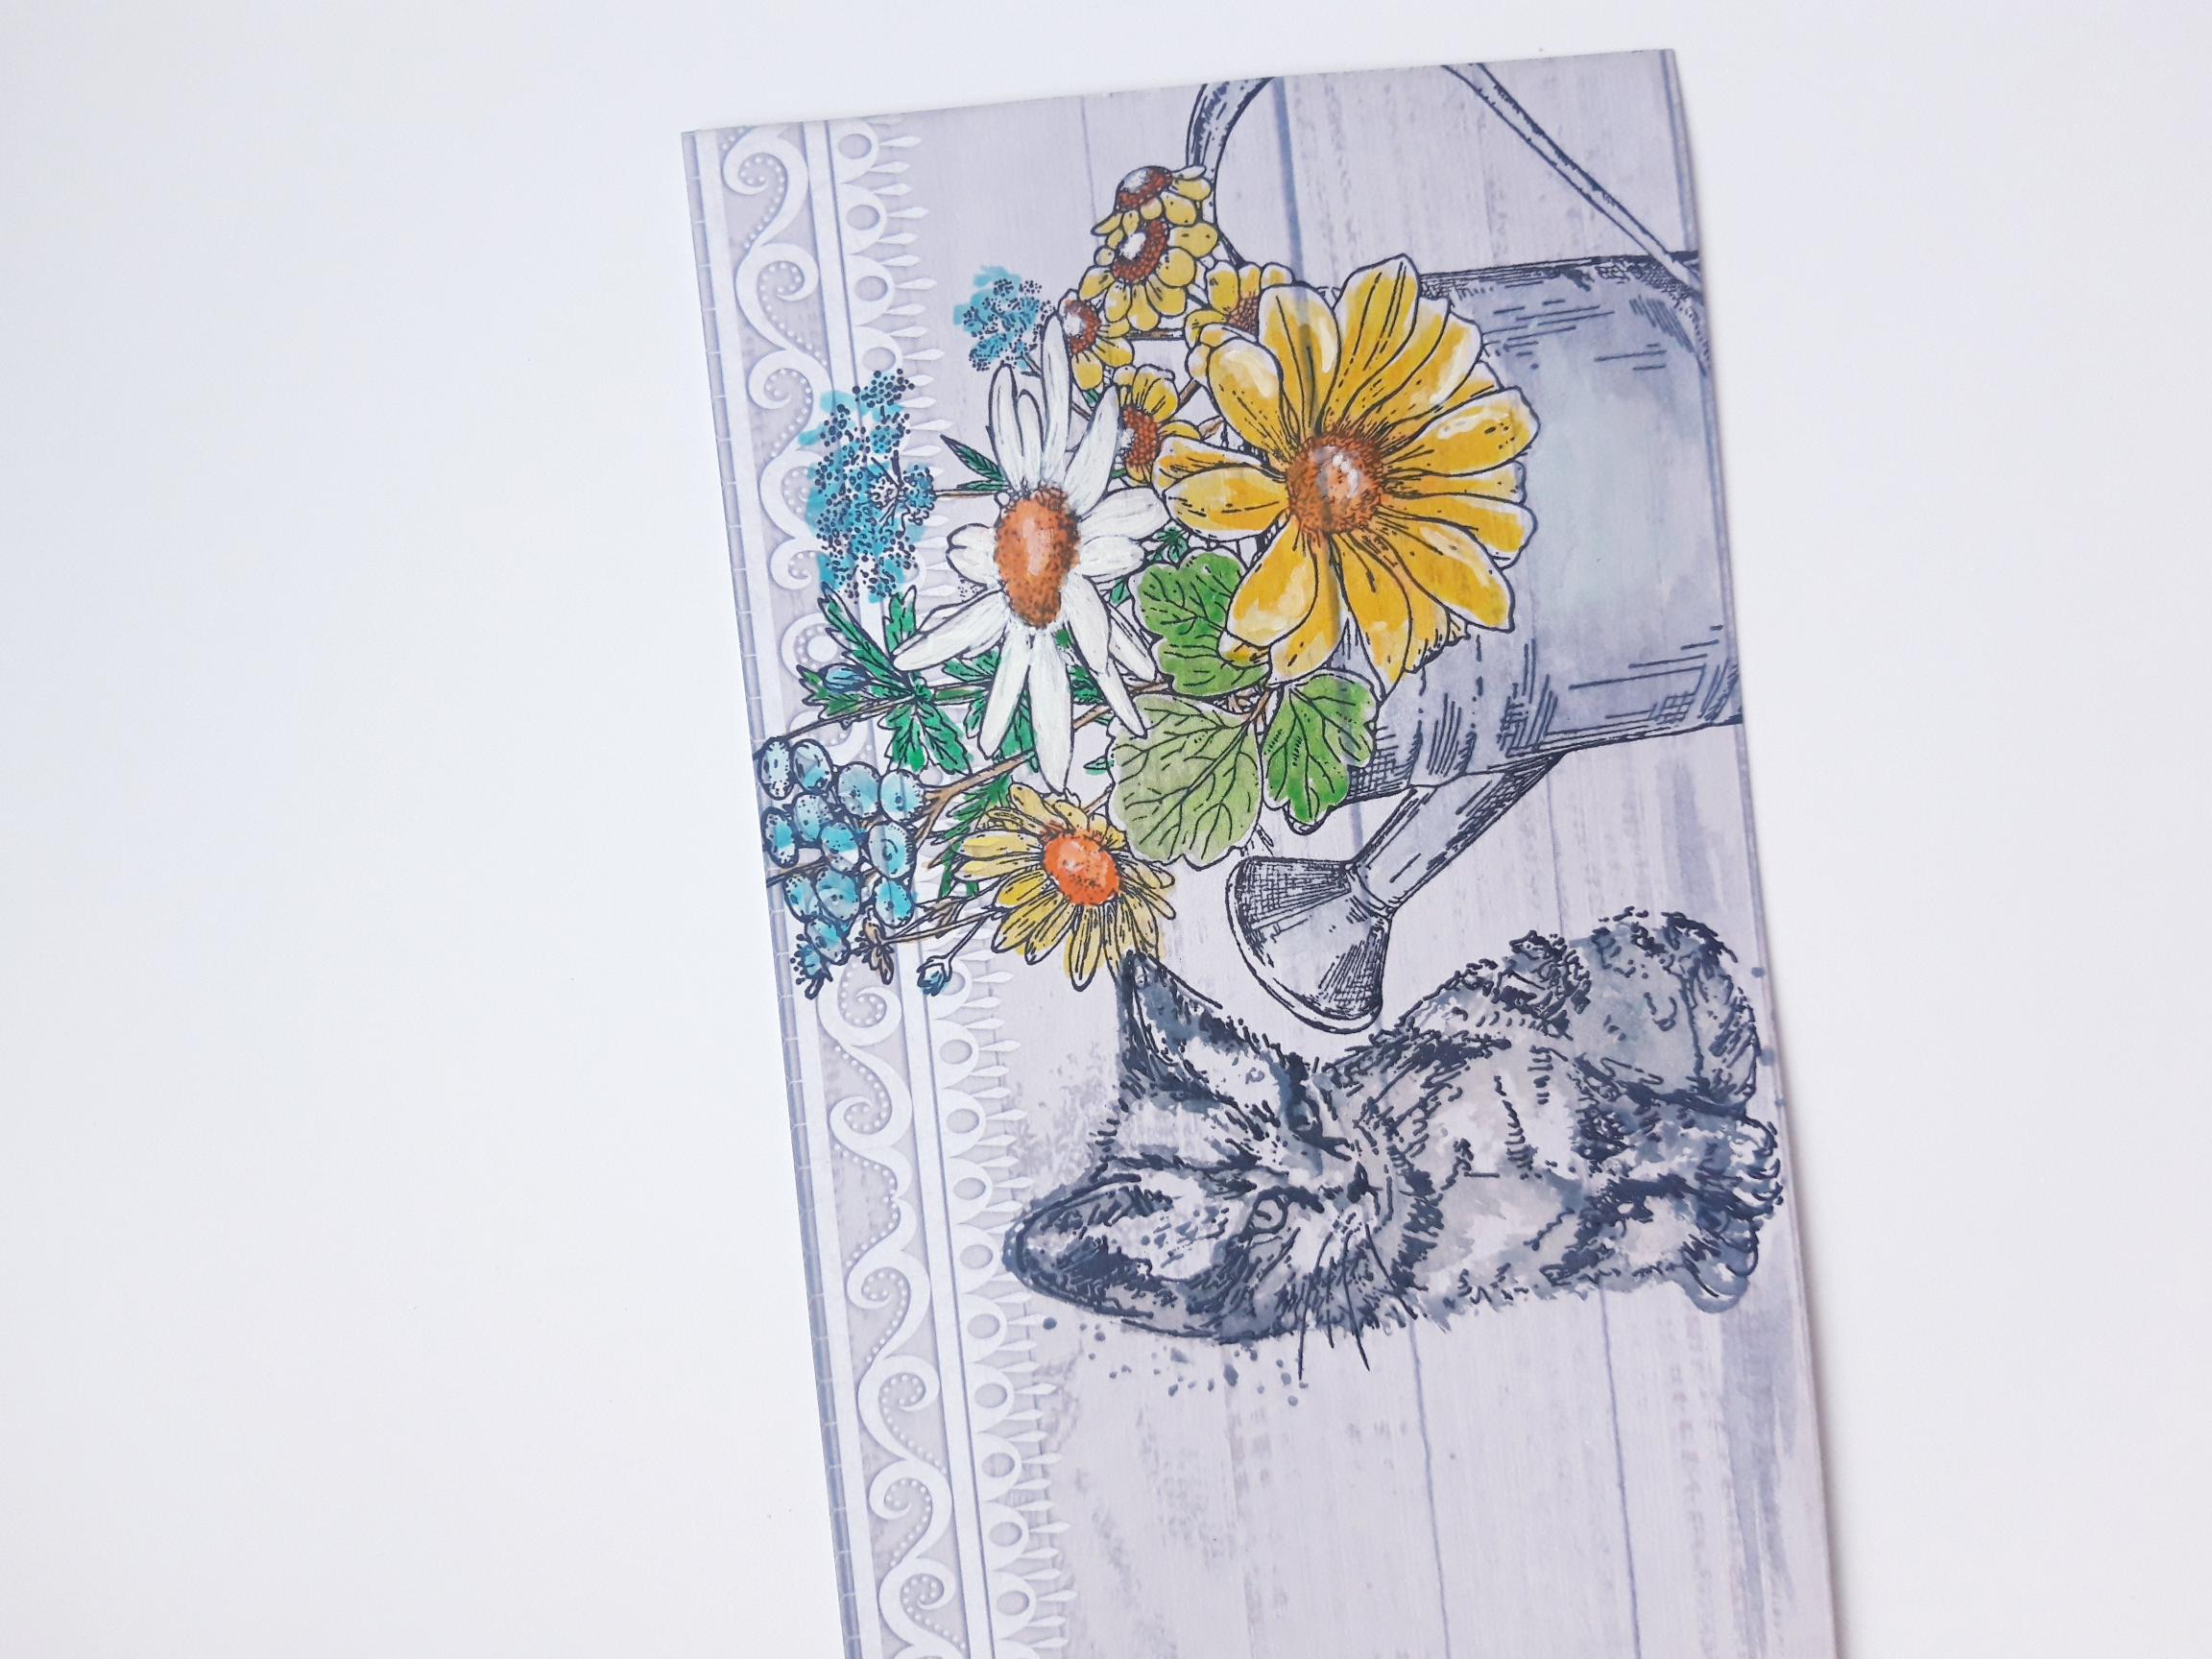
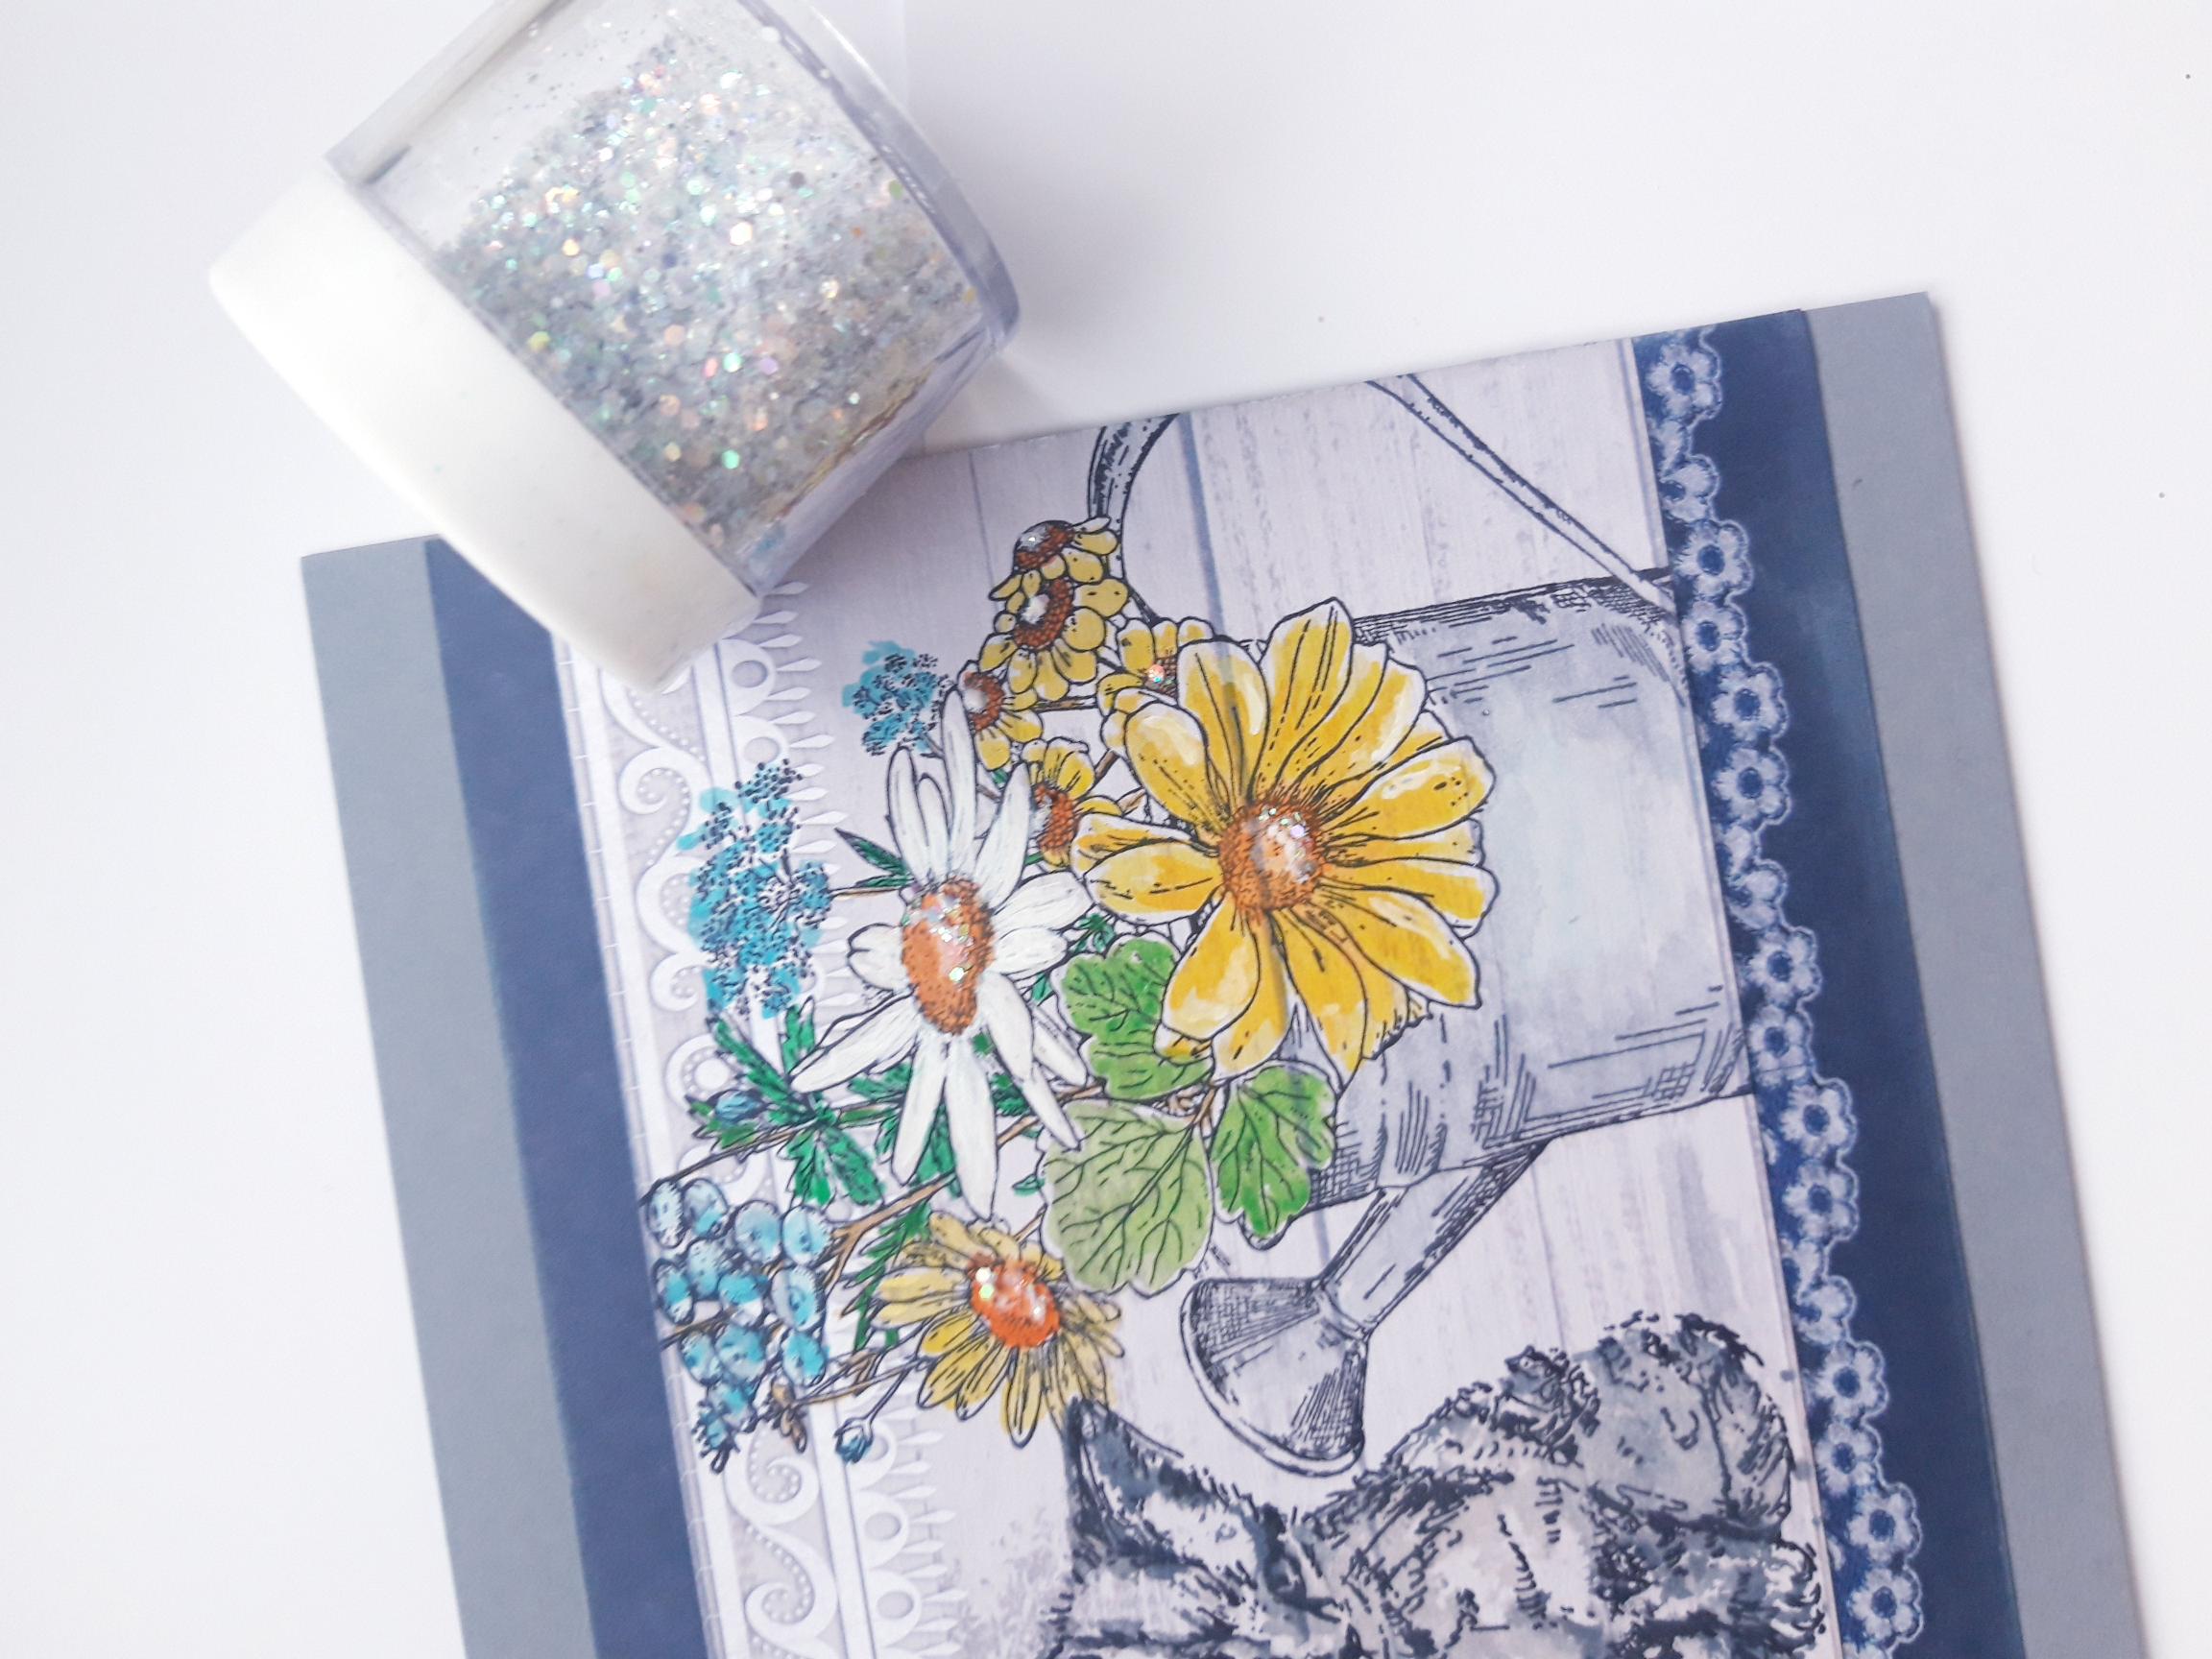
Tear out this sheet of decorative paper, from the Time To Grow A4 Paper Pack. Trim to 8 1/4 x 3 3/4", so the white scroll border is at the top. Ink up the watering can stamp, from You Are Amzing Stamp Collection, with the Onyx Black Versafine. Stamp just off the right hand side of the decorative paper. |
|
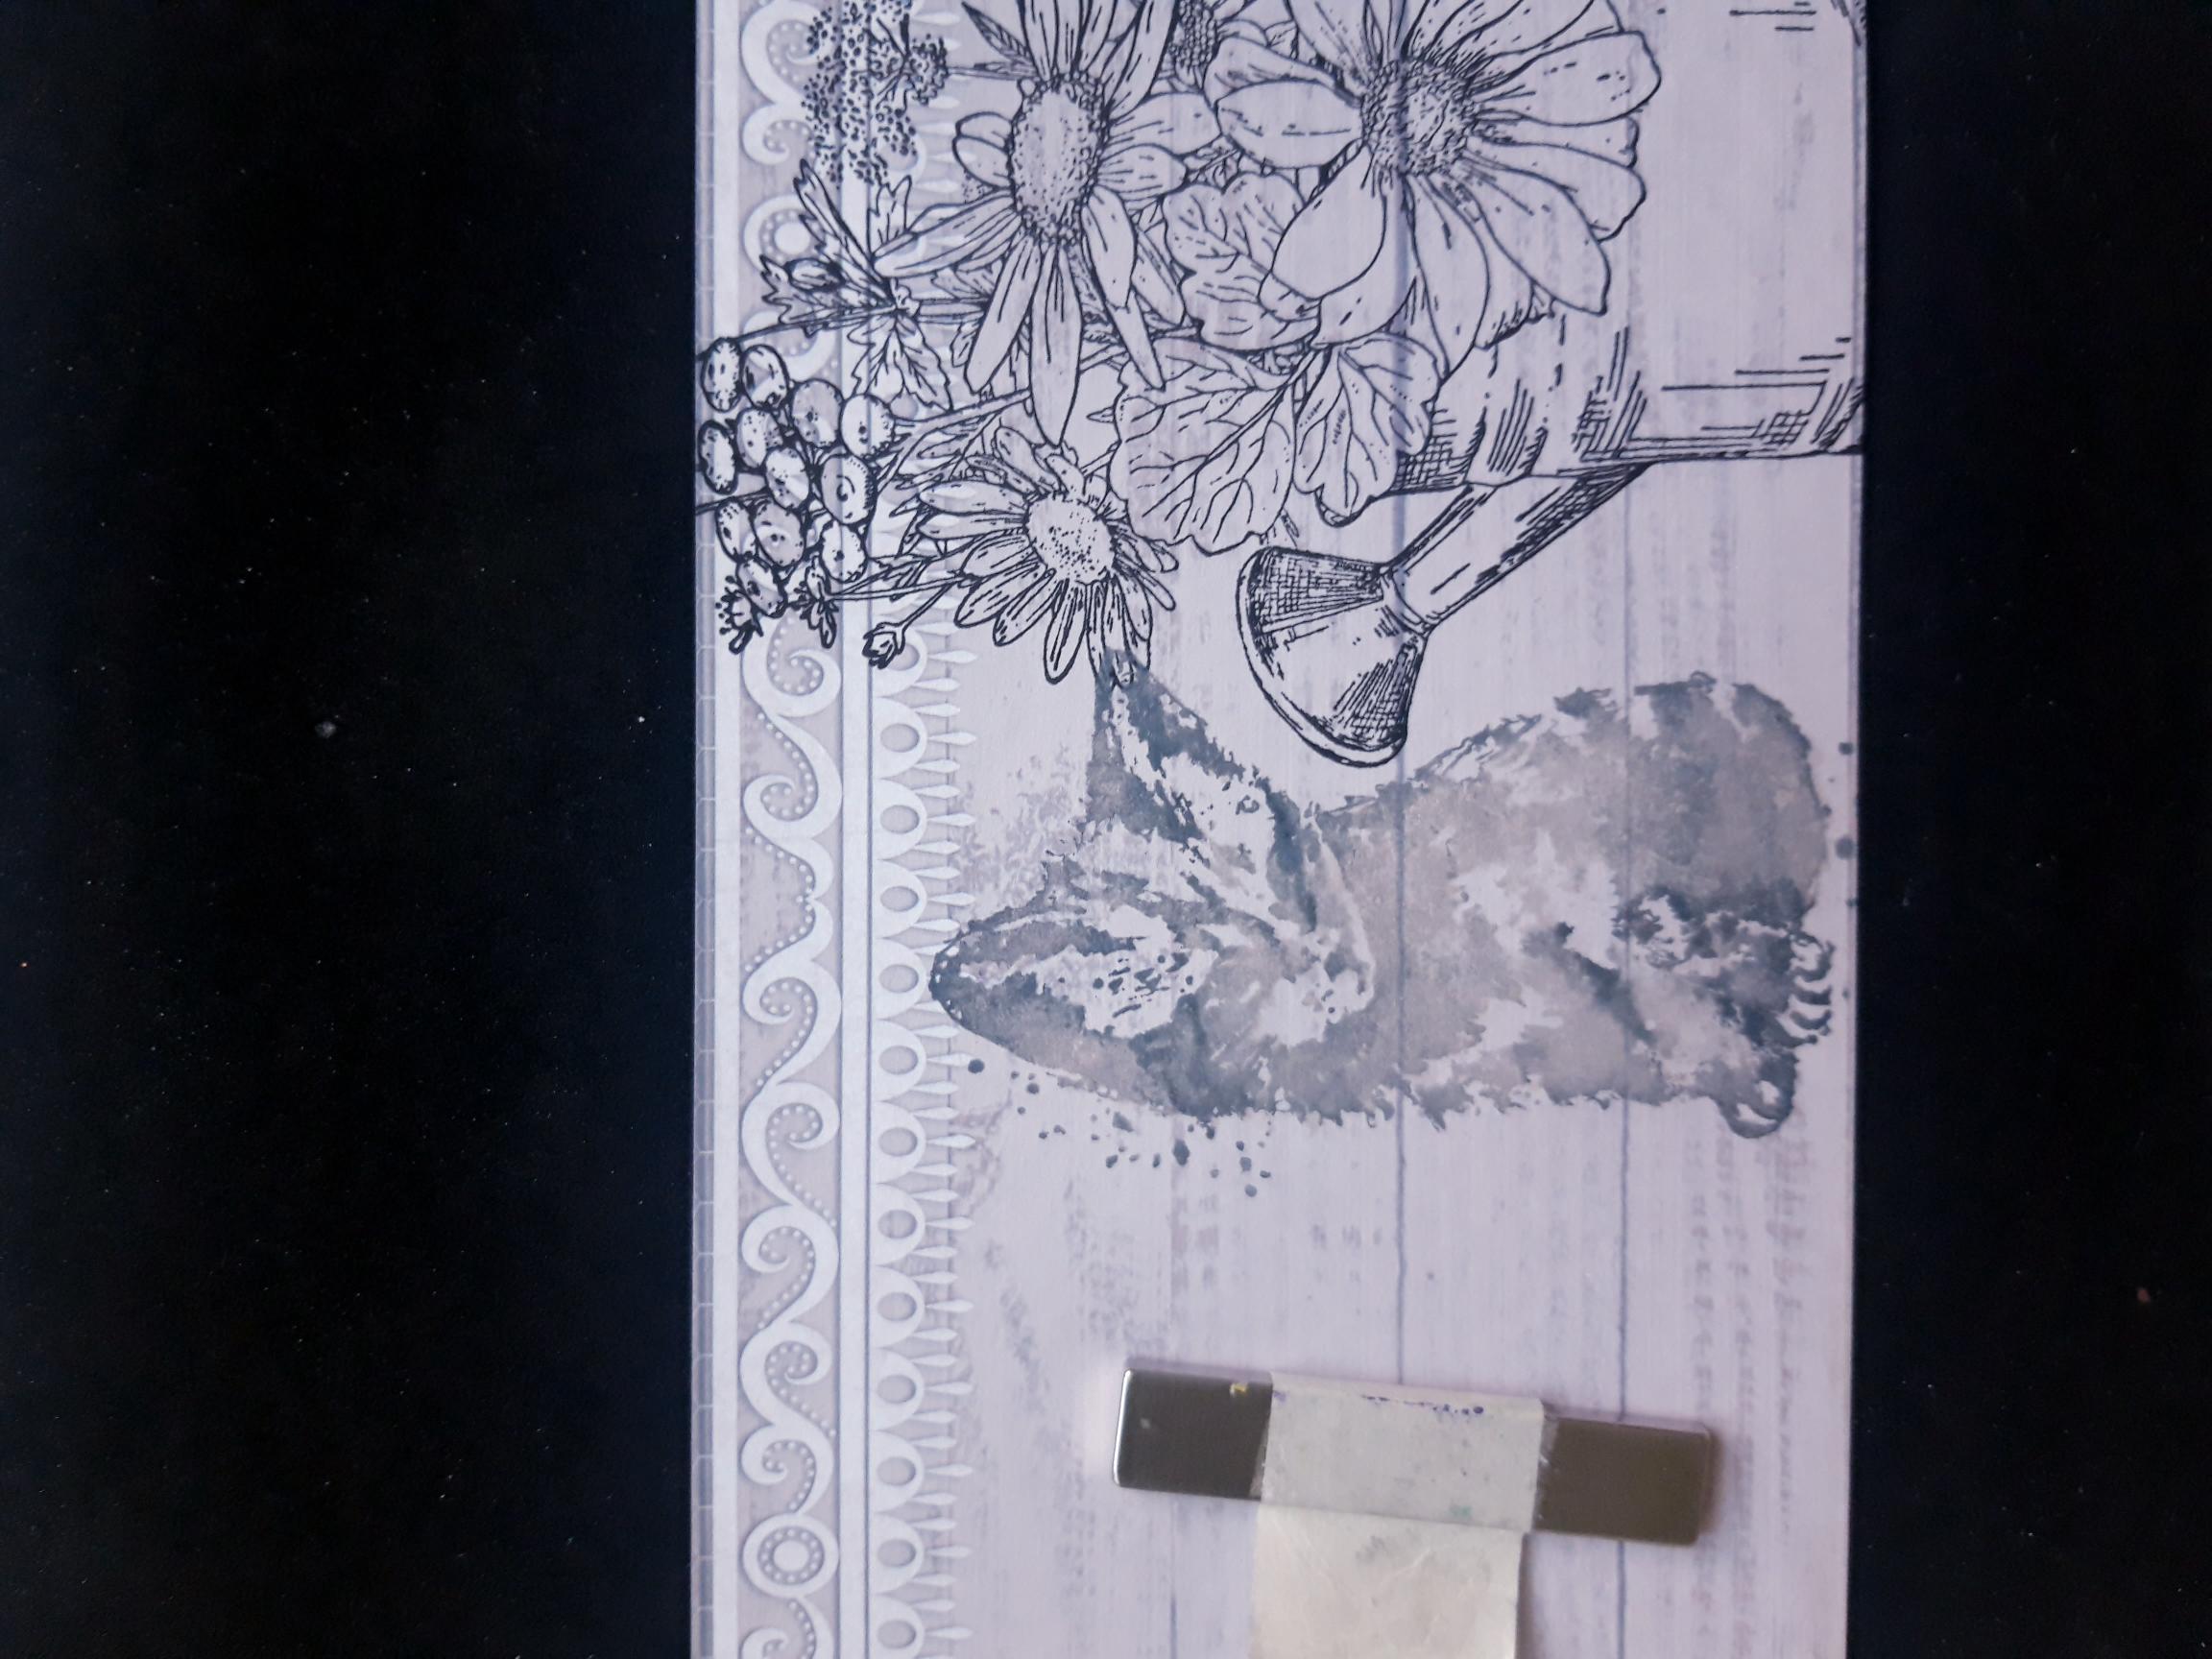
Ink up the solid kitten stamp, from the Let's Be Friends Lamination Stamp Collection, with the Distress Oxides. Spritz the inked stamp with water, and stamp next to the watering can. You can reink and stamp again, until you achieve the desired effect. |
|
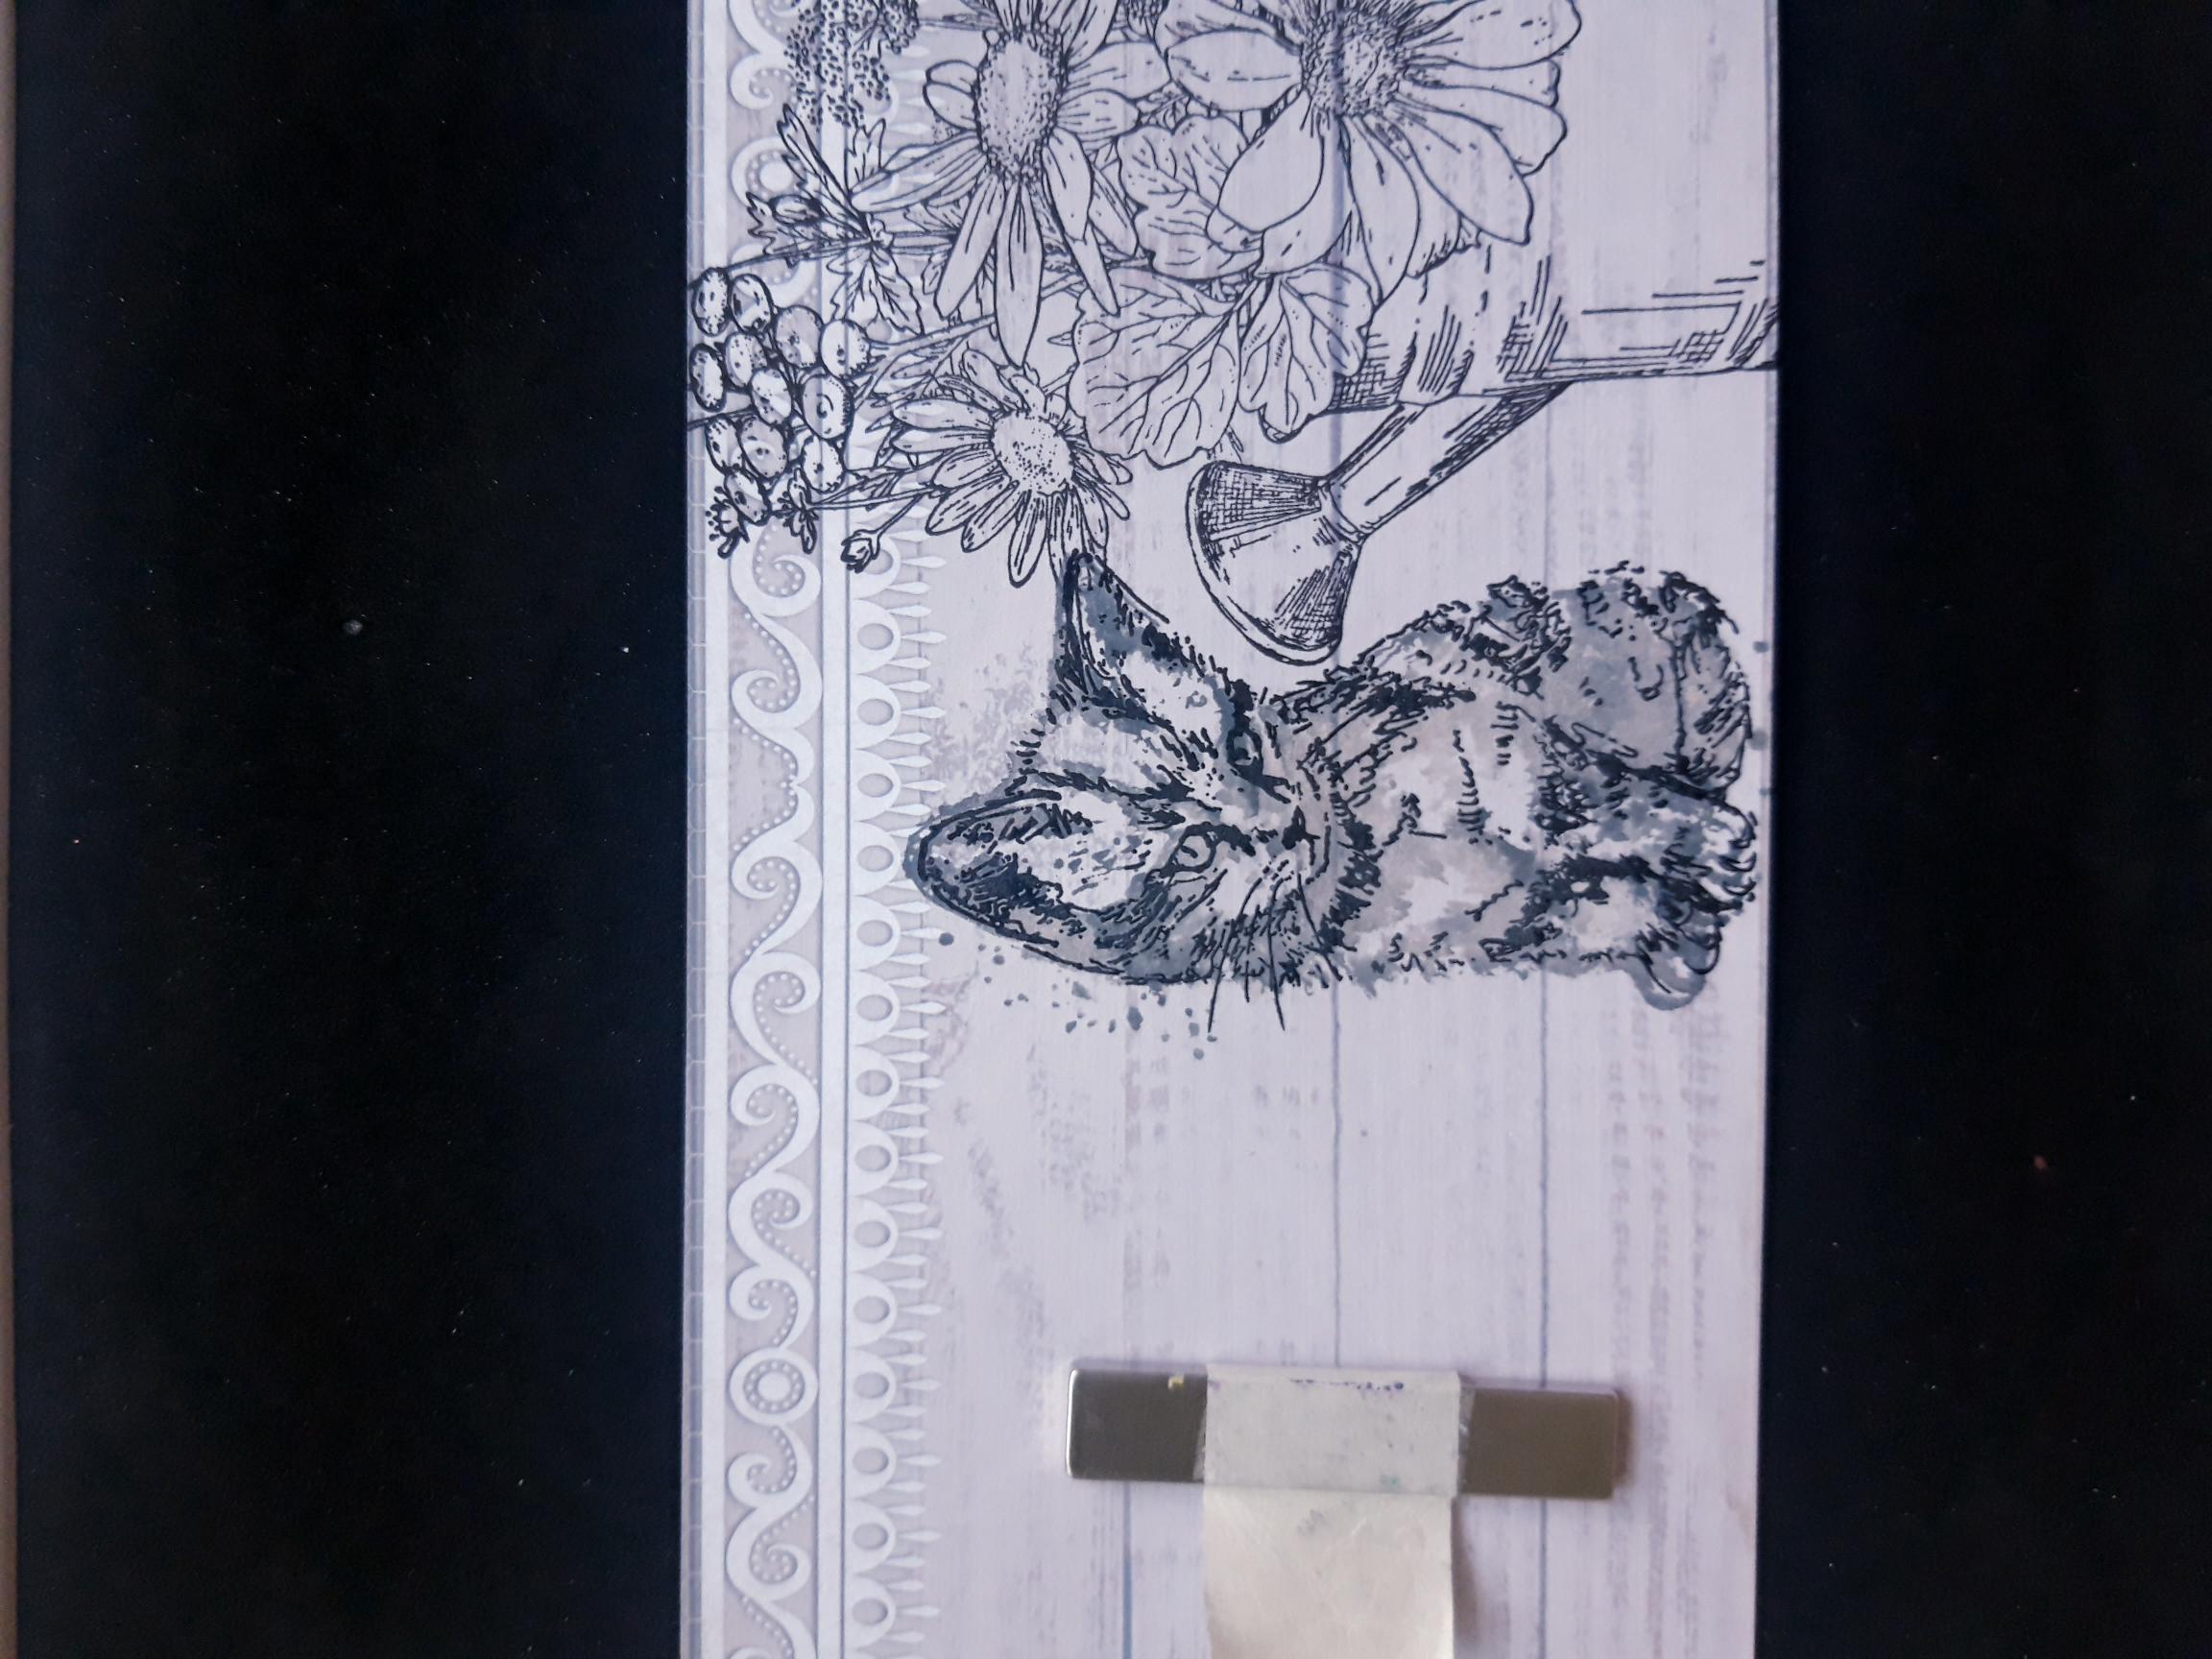
Ink up the coordinating detailed stamp, with the Onyx Black Versafine. Line it up and stamp on to your stamped kitten. If you are unsure where to line it up, the images on the packaging will help. |
|
Paint the stamped watering can with your watercolour paints. Add a little grey paint just under the kitten, to "ground" it, so it doesn't appear to be floating. Use the Izink Avalanche Pigment to add accents and highlights, to your artwork, where required. |
|
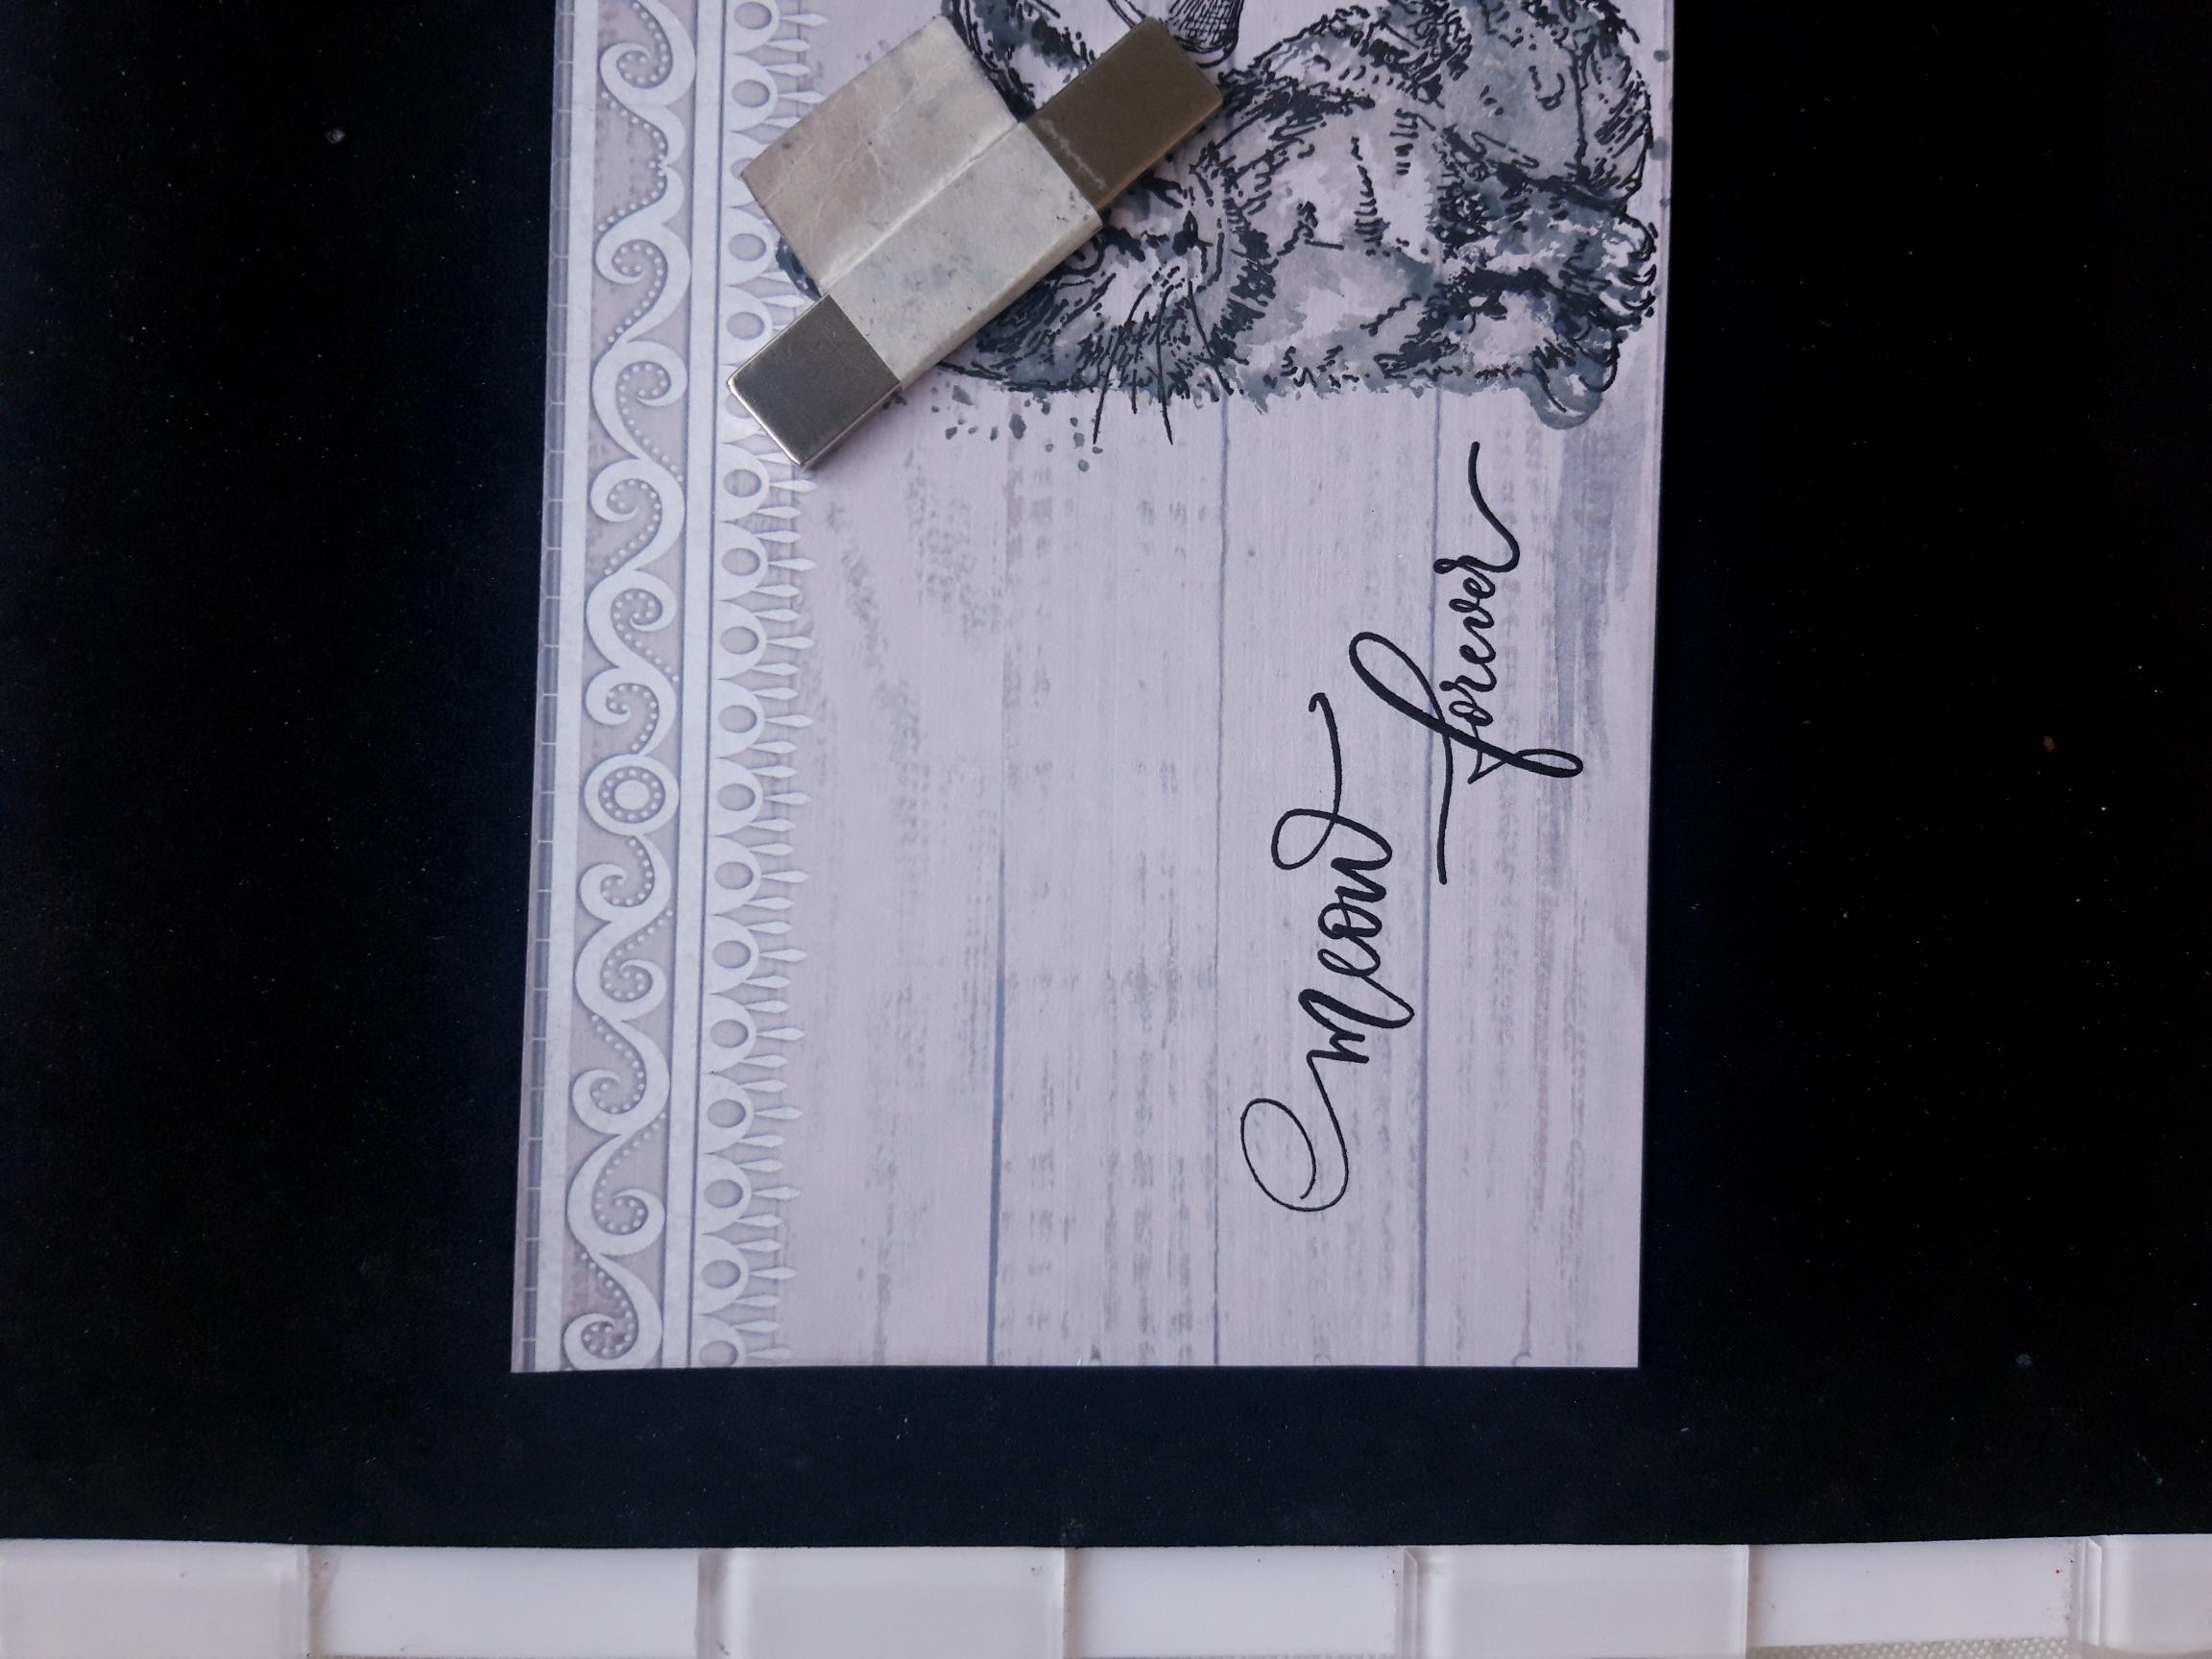
Ink up the sentiment stamp, from the same set, with the Versafine, and stamp just to the left of the kitten. |
|
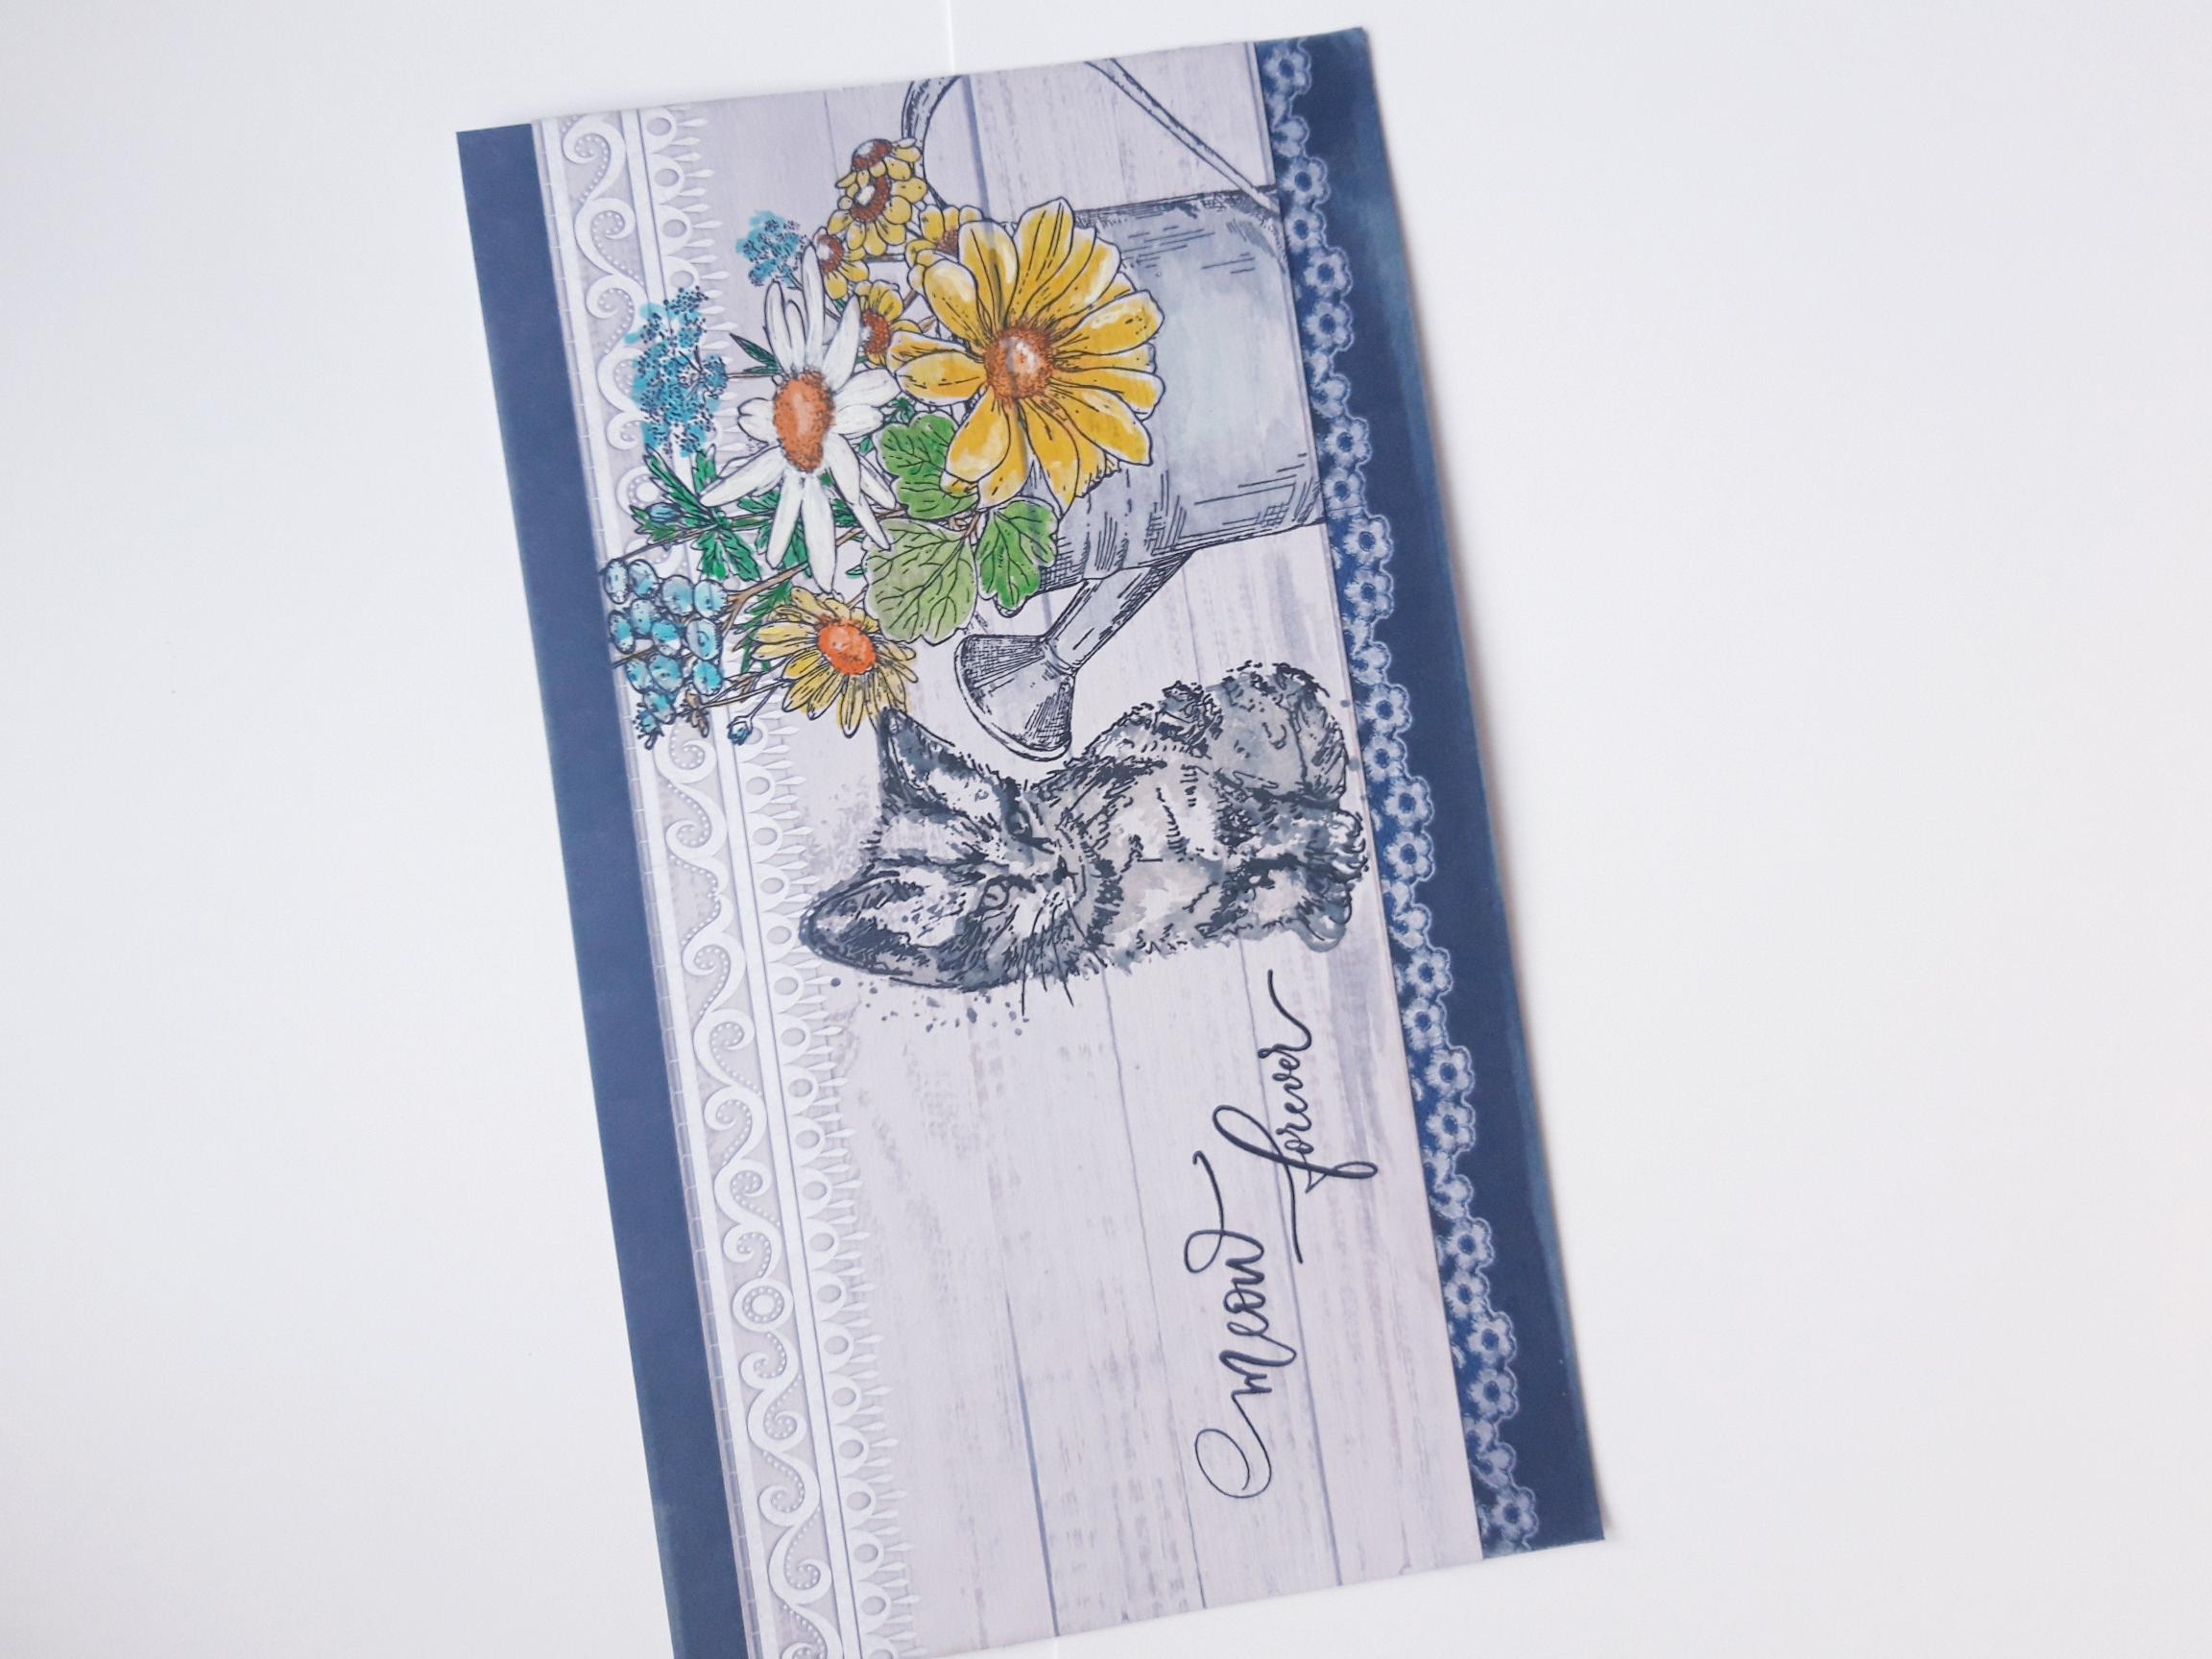
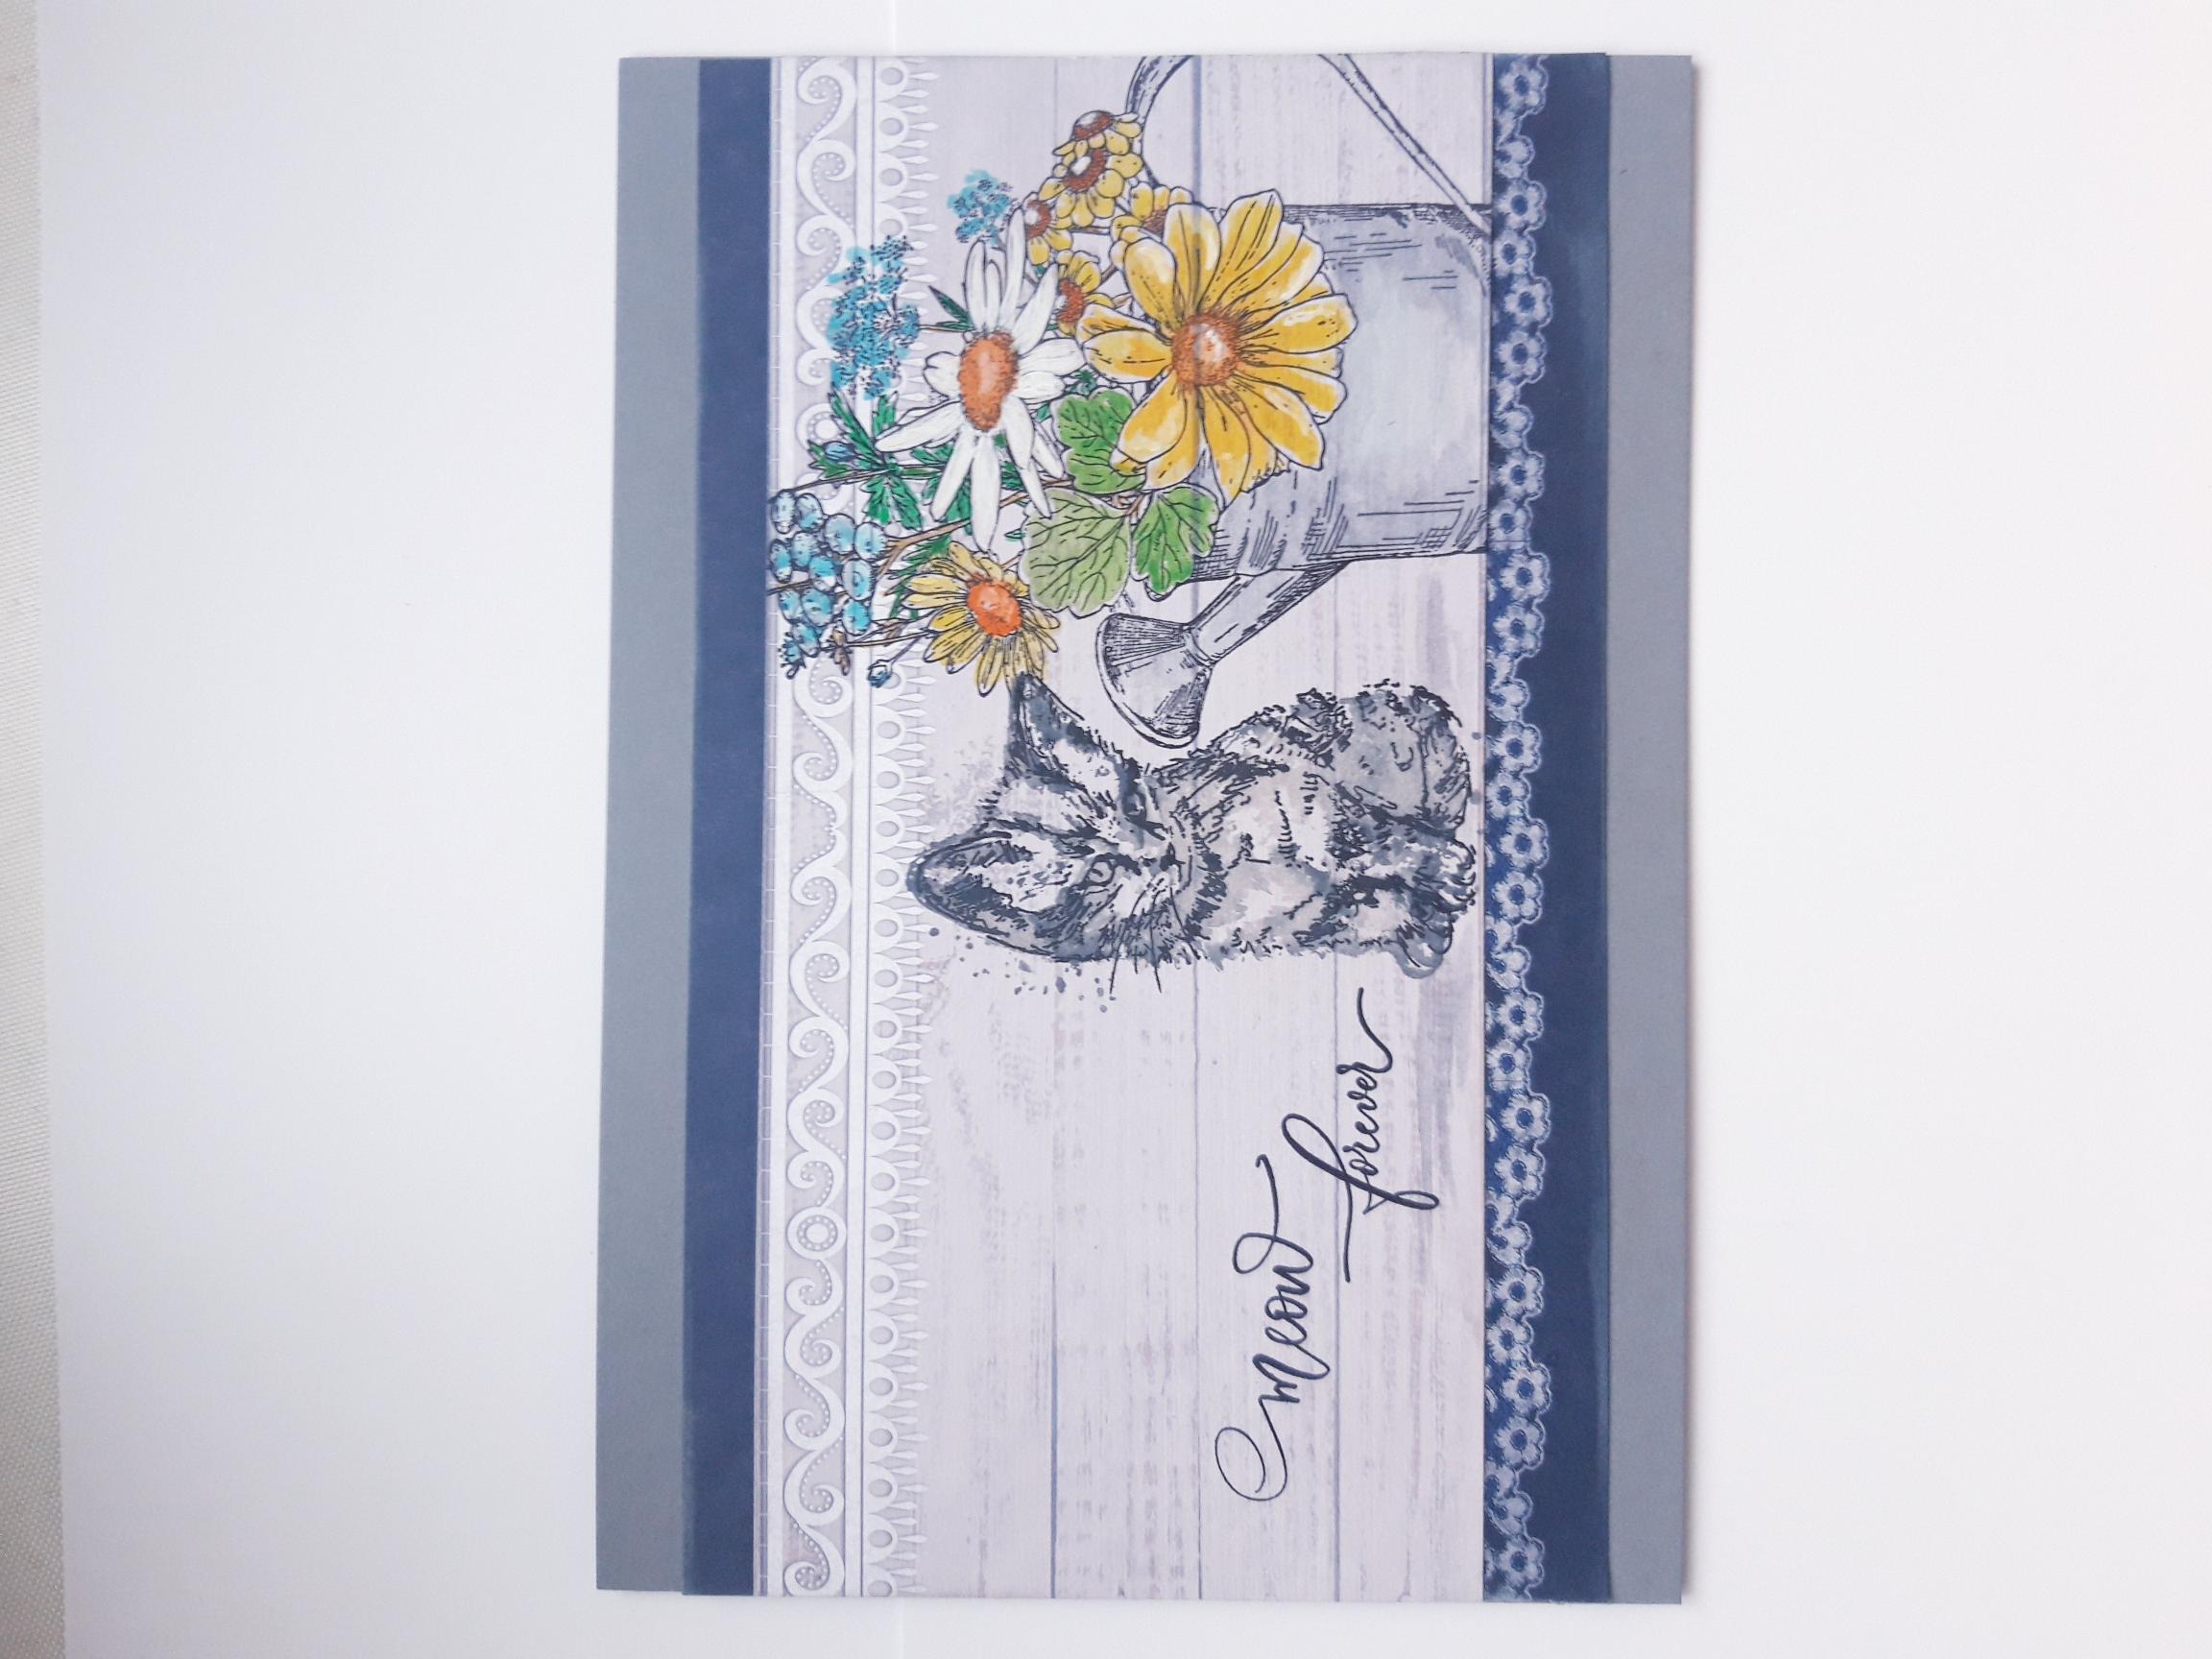
Tear out one of the dark blue, coordinating decorative sheets, from the A4 paper pack. Cut to 8 1/4 x 5". Adhere your stamped, woodgrain paper, on to the dark blue paper, so that the 2 sides are flush, and the blue paper is visible at the top and bottom (as shown here). |
|
Adhere this on to the front of your grey, landscape card blank, so that the 2 sides are flush, and the grey card blank is visible top and bottom. |
|
To finish, add Midas Glitter to your artwork, where required. |