


Step 1 of 12
Ink up the large floral stamp, from the Beautiful Birthday Stamp Collection, with the Onyx Black Versafine.
Stamp in the middle of the white card (6 3/4 x 6 3/4").
Set to one side.








Prices change straight away. Every language is our own translation, not Google.
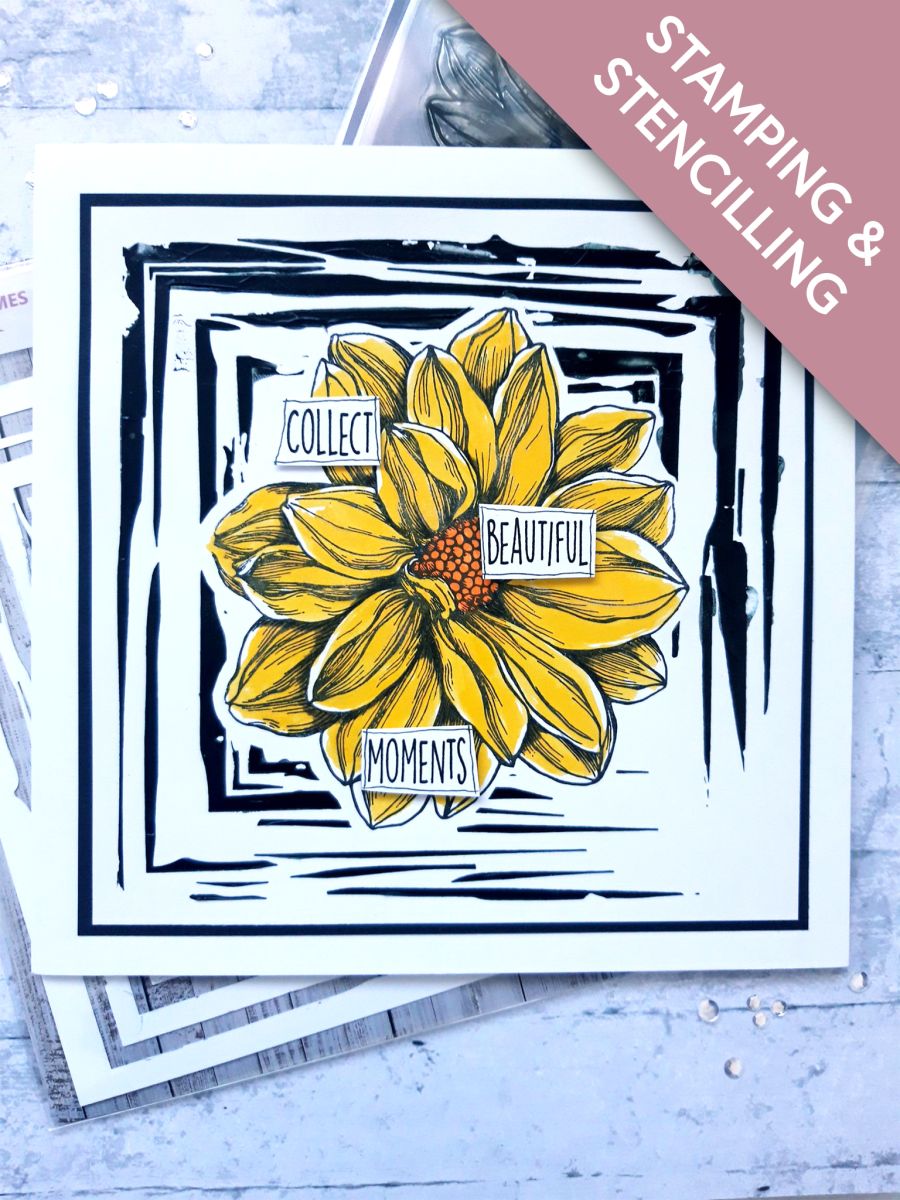
Ink up the large floral stamp, from the Beautiful Birthday Stamp Collection, with the Onyx Black Versafine.
Stamp in the middle of the white card (6 3/4 x 6 3/4").
Set to one side.
Ink up the stamp again, and stamp it on the masking sheet, copier paper or acetate.
Cut the flower out.
Place your mask on top of the image you stamped, on the white card, and secure in place with your bar magnet.
Place the Grunge Frame stencil over your masked off stamped image, securing with your bar magnet.
Use you palette knife to apply the Izink Ice through the stencil. You don't have to be too precise, as it is a grungy design, and if you miss a few bits, it just adds to the effect.
Carefully peel off your stencil, and pop it in a bowl of warm soapy water.
Remove your mask, and either allow the Ice to dry naturally, or speed it up with a heat gun.
Once the Ice is completely dry, you can colour in your floral image with your Gossip Glitter Colouring pens.
Once your artwork has dried, you can add depth and shadow, where required, using the Black HIMI Oil Pencil.
Set to one side.
Adhere your artwork on to the black card (7 x 7")
Adhere this on to the front of your card blank (8 x 8").
Set to one side.
Ink up the sentiment stamp, from the Beautiful Moments Lamination Stamp Collection, with the Versafine.
Stamp on to the white card (1 x 4").
Cut the stamped words up, then use a black pen to draw a wiggly frame around each one.
To finish, adhere your sentiment strips where required, with wet glue, or foam pads for added dimension.
Share your make with the Stamps By Me community - and keep this guide for next time.
Prefer the previous layout? Open the old page.



