Give your friends $10 off their first order!
Refer a FRIEND


WHAT YOU WILL NEED:
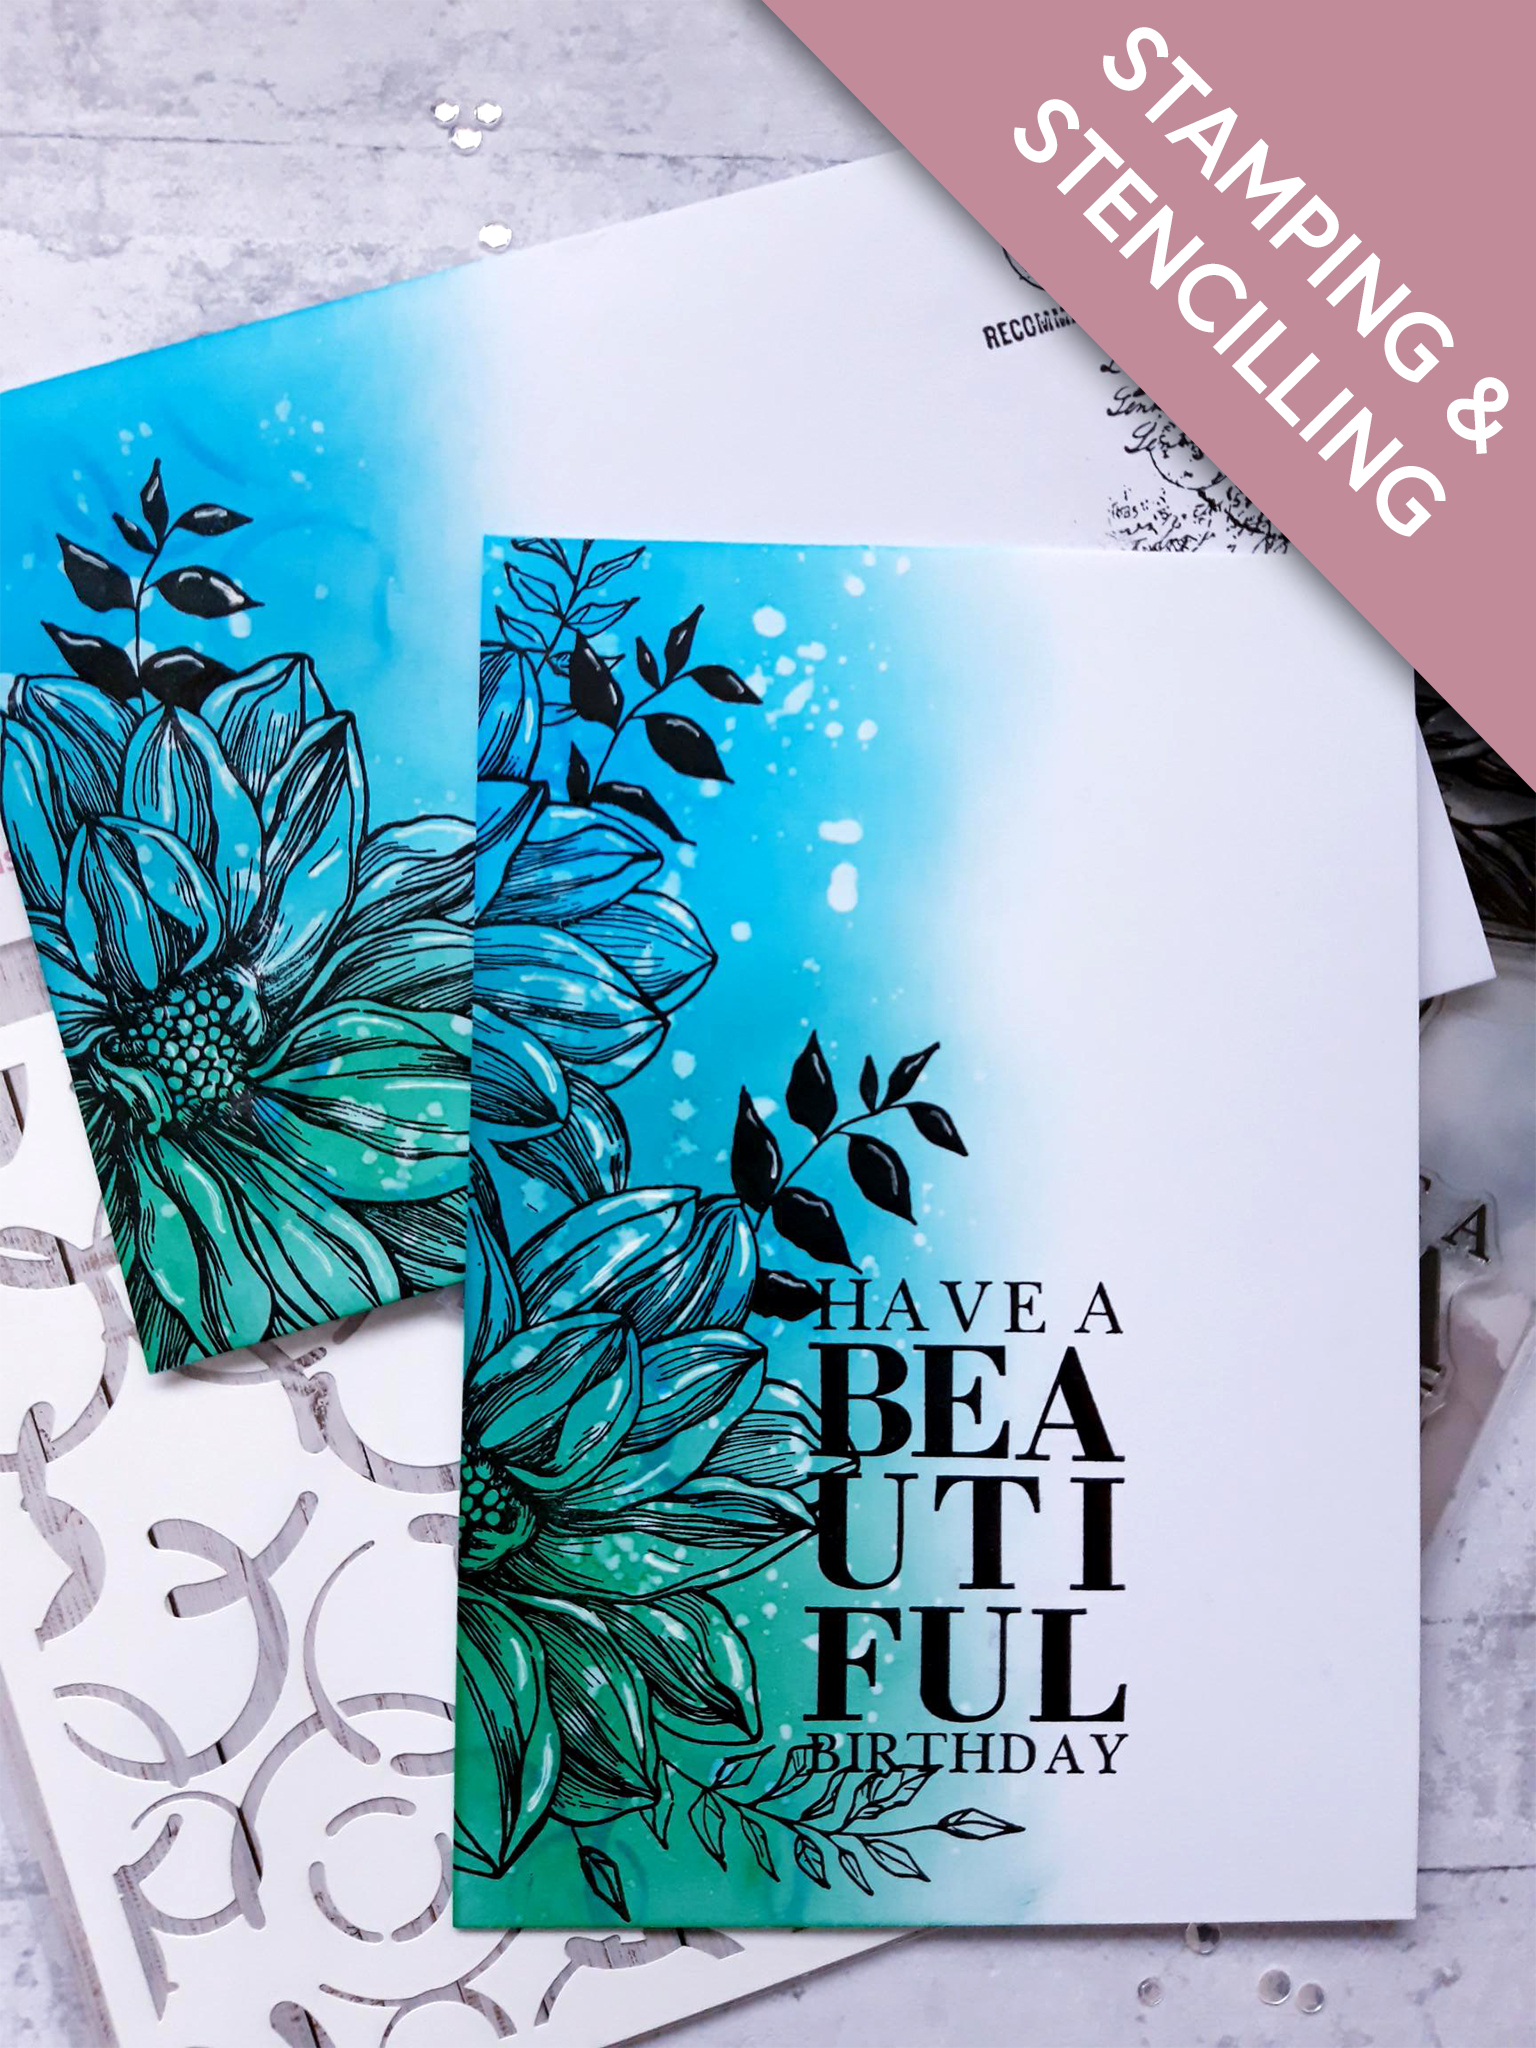
White top folding card blank AND white envelope
Stamps from Beautiful Birthday Stamp Collection
Coffee Stains Stencil
Stamps from Retro Stamps Collection
Versafine Ink Pad: Onyx Black Versafine
Izink Dye Ink Pads: Emeraude, Ocean, Mer Du Sud
Paint brush
White gel pen
Masking sheet (or copier paper or acetate sheet)
Blending brush/tool
Eureka 101
[click image to enlarge] 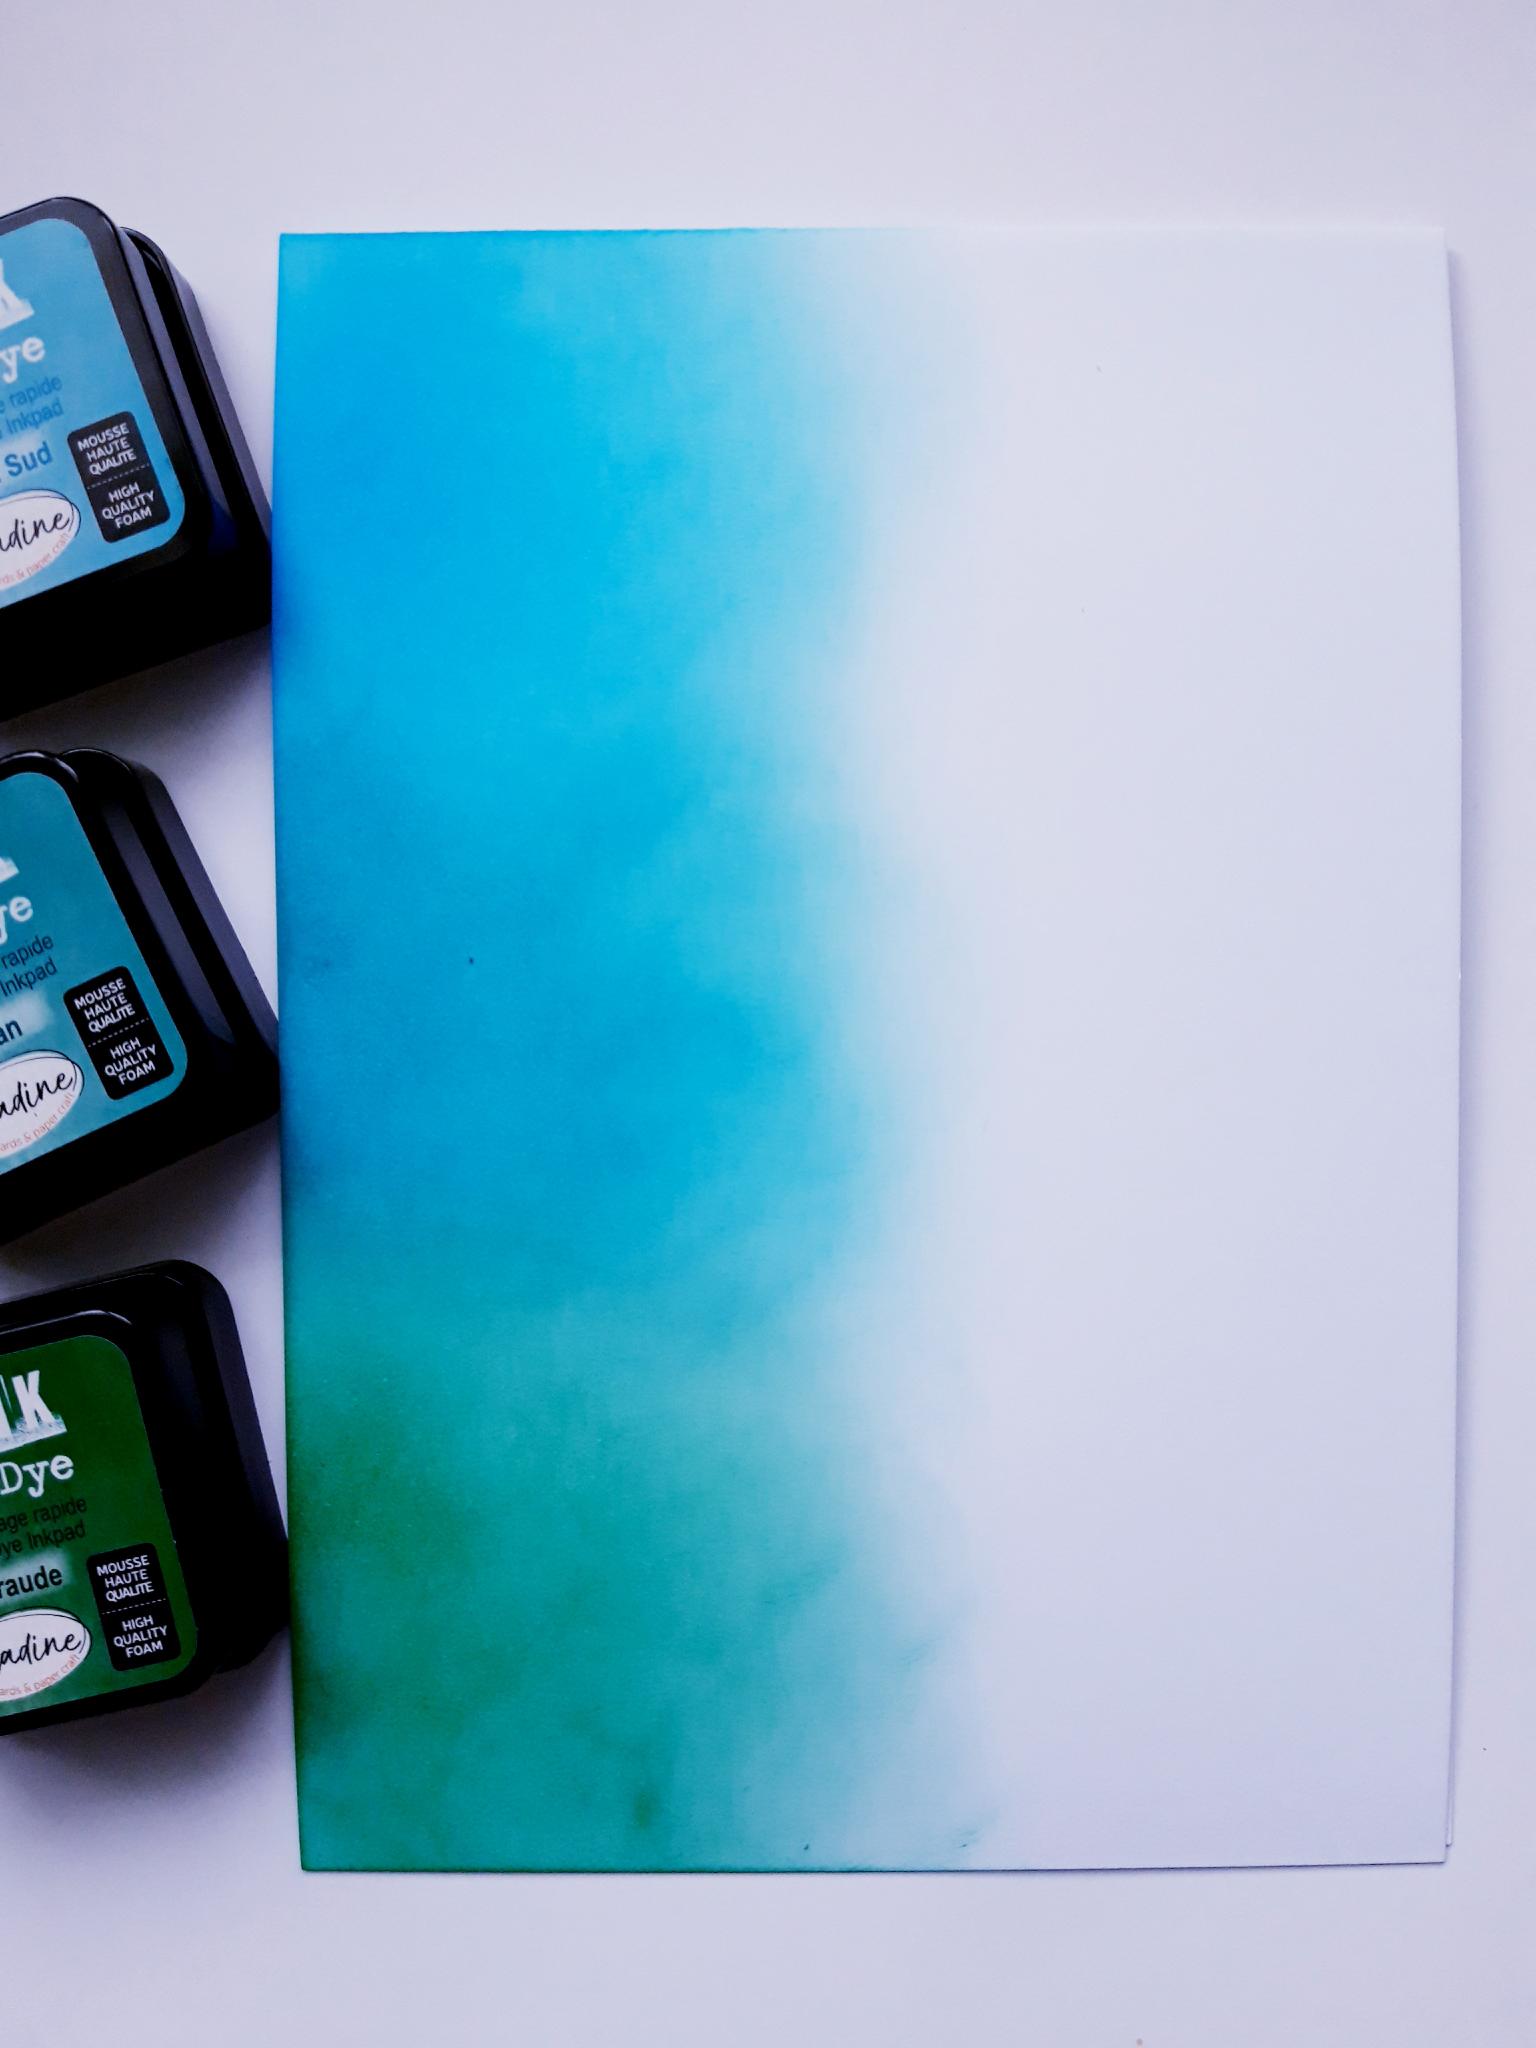
|
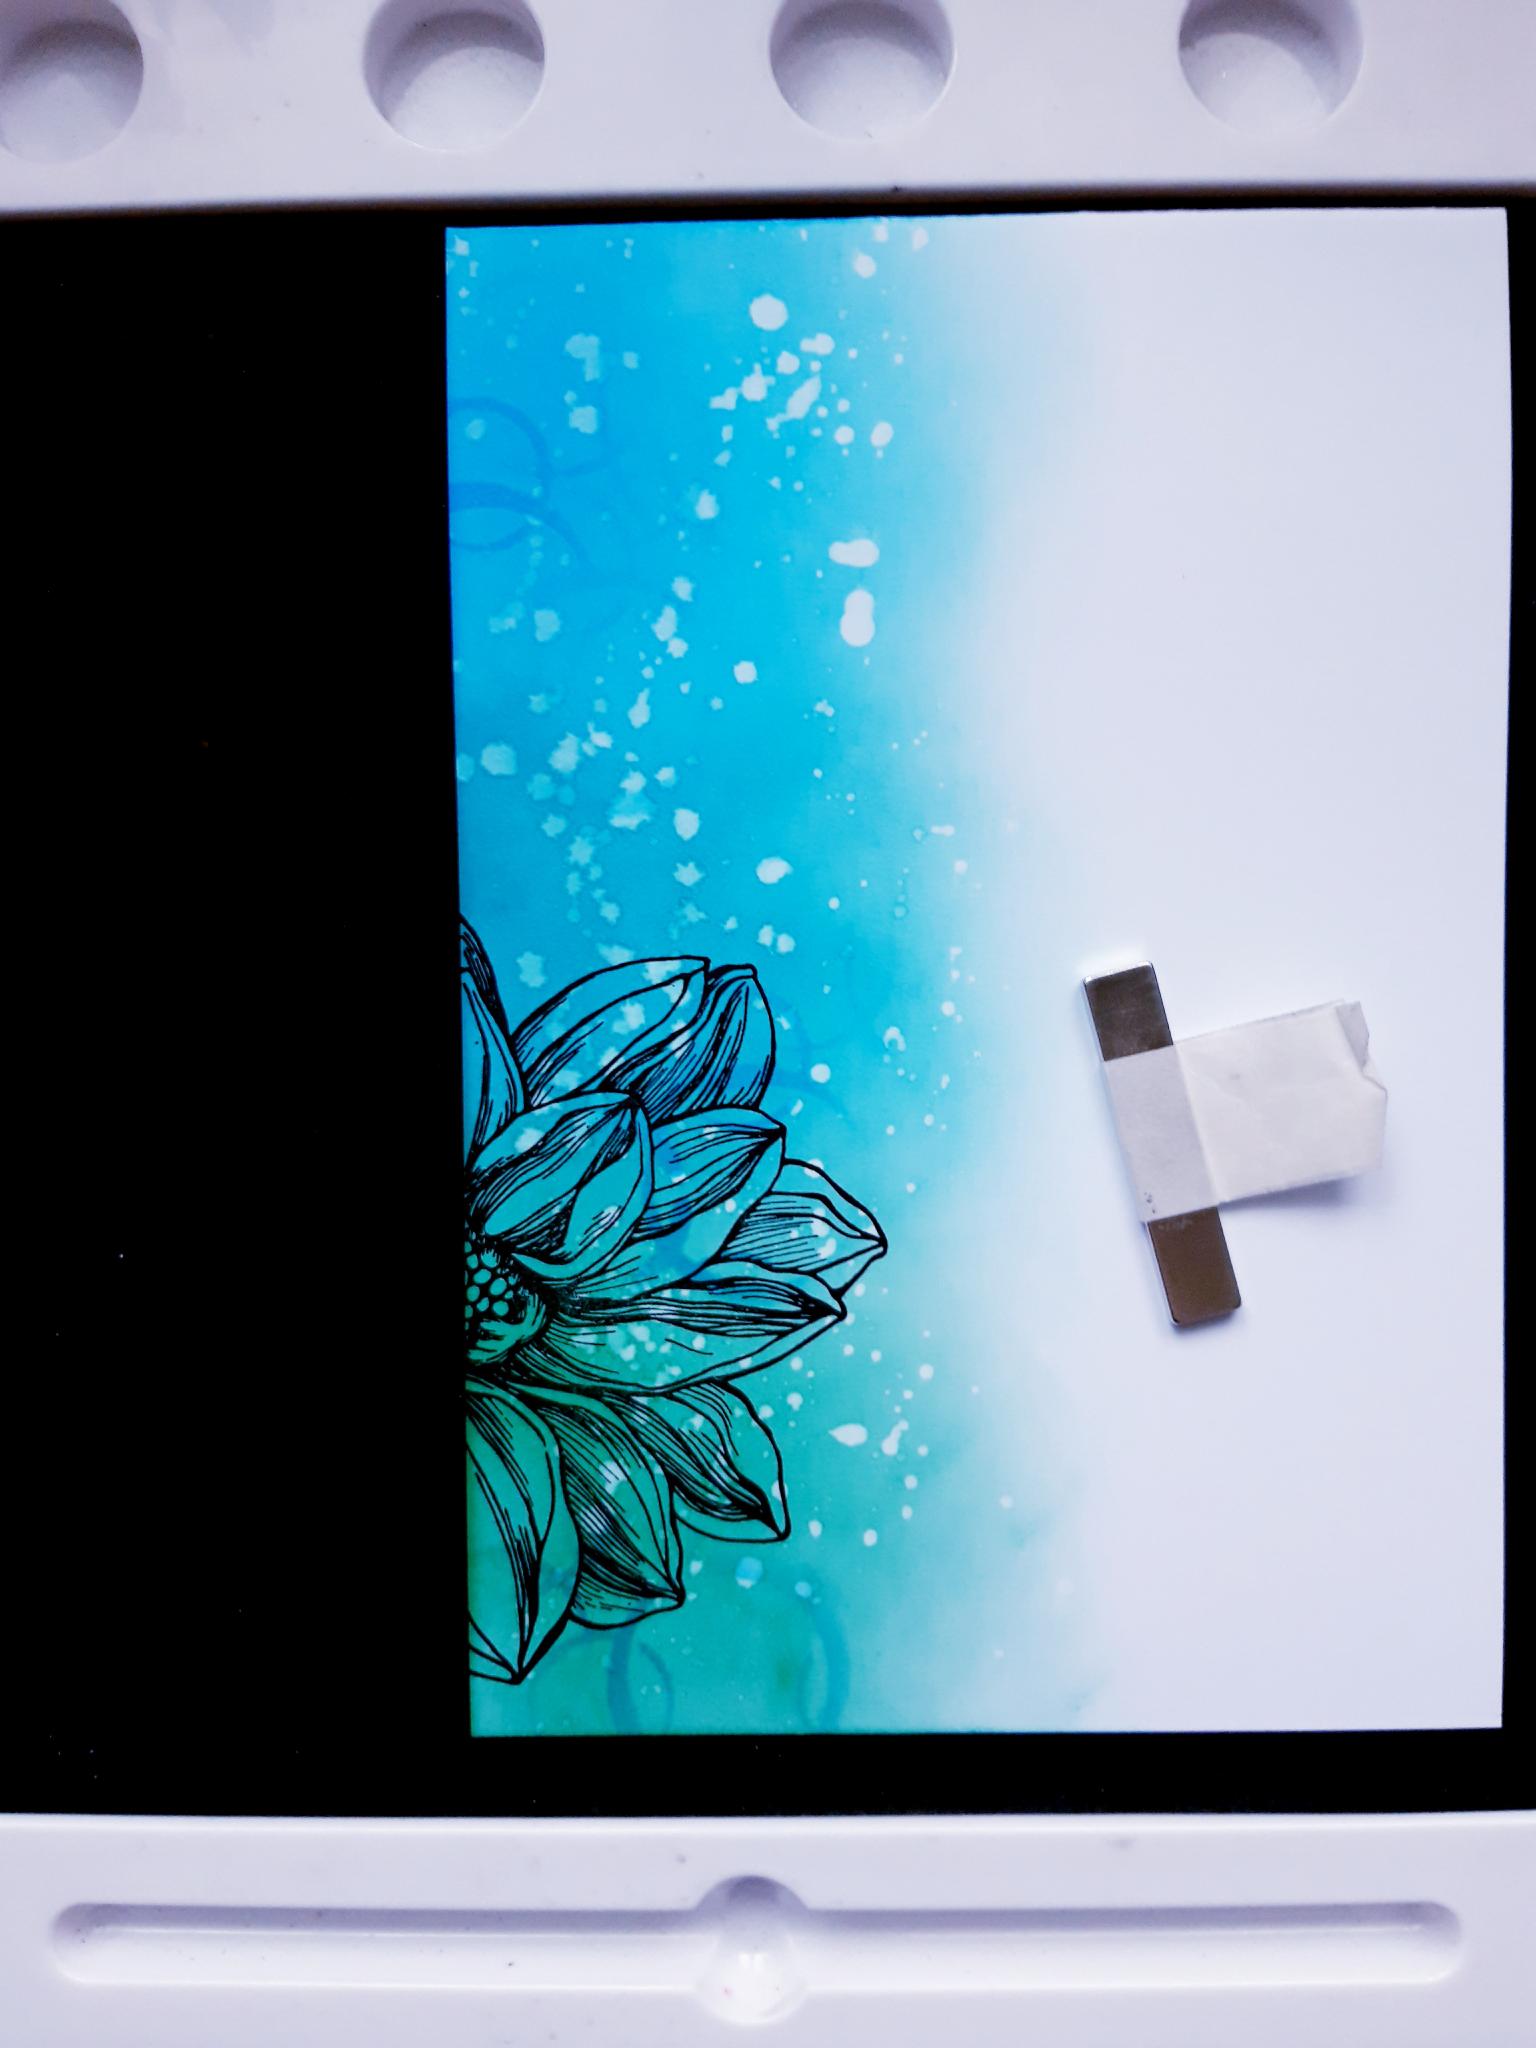
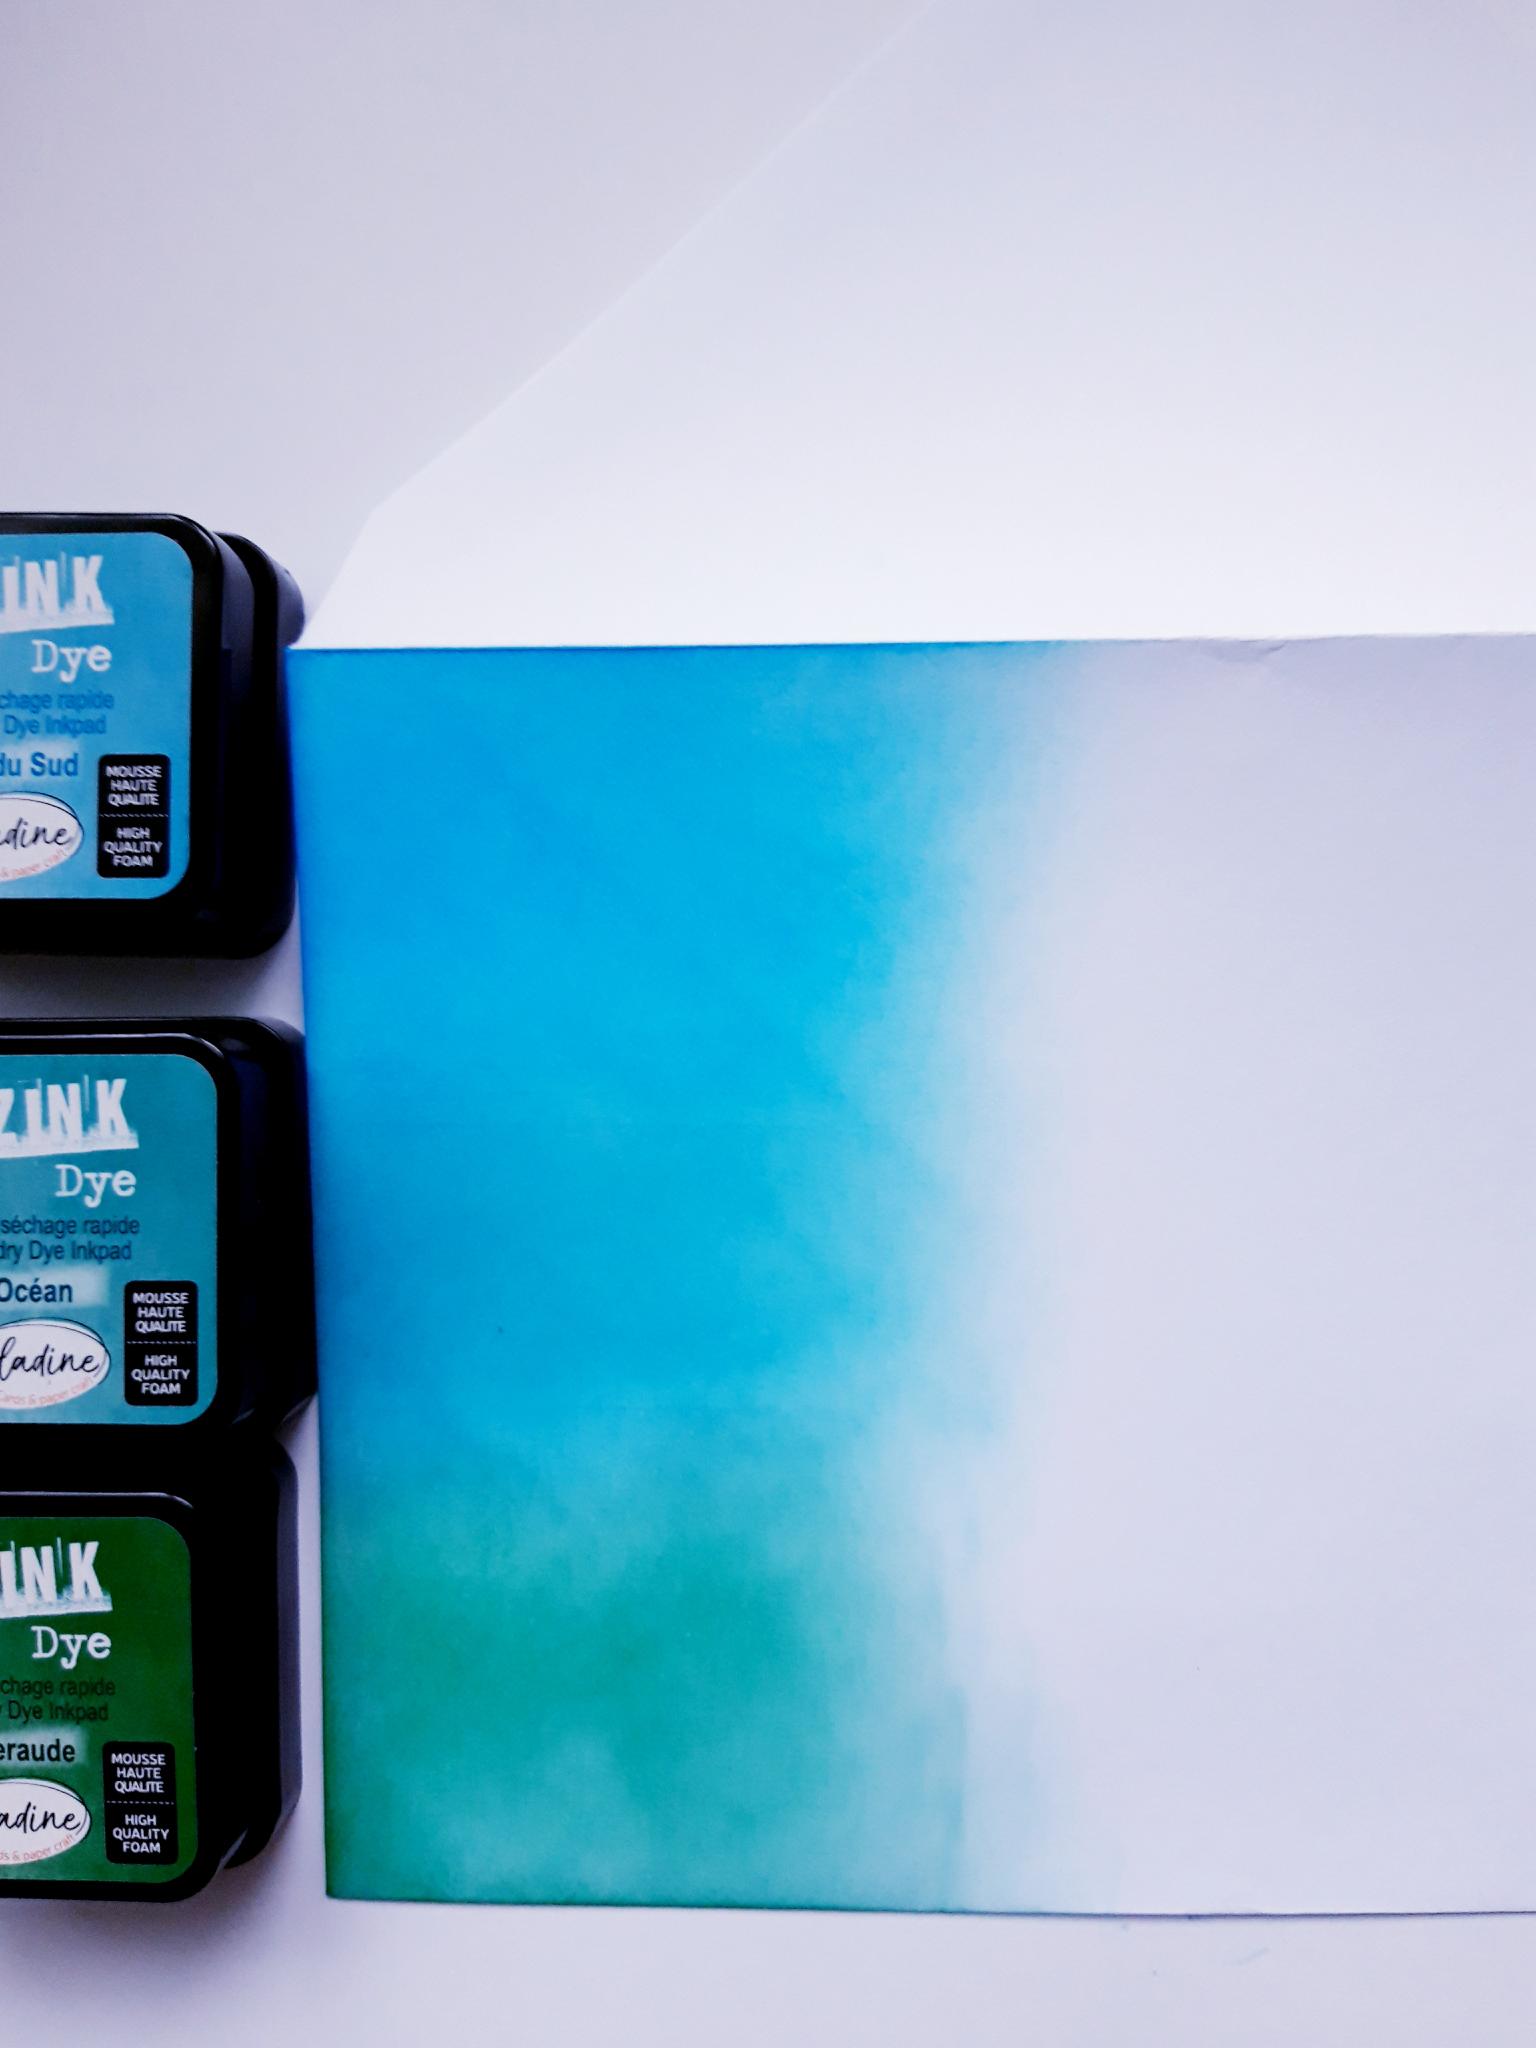
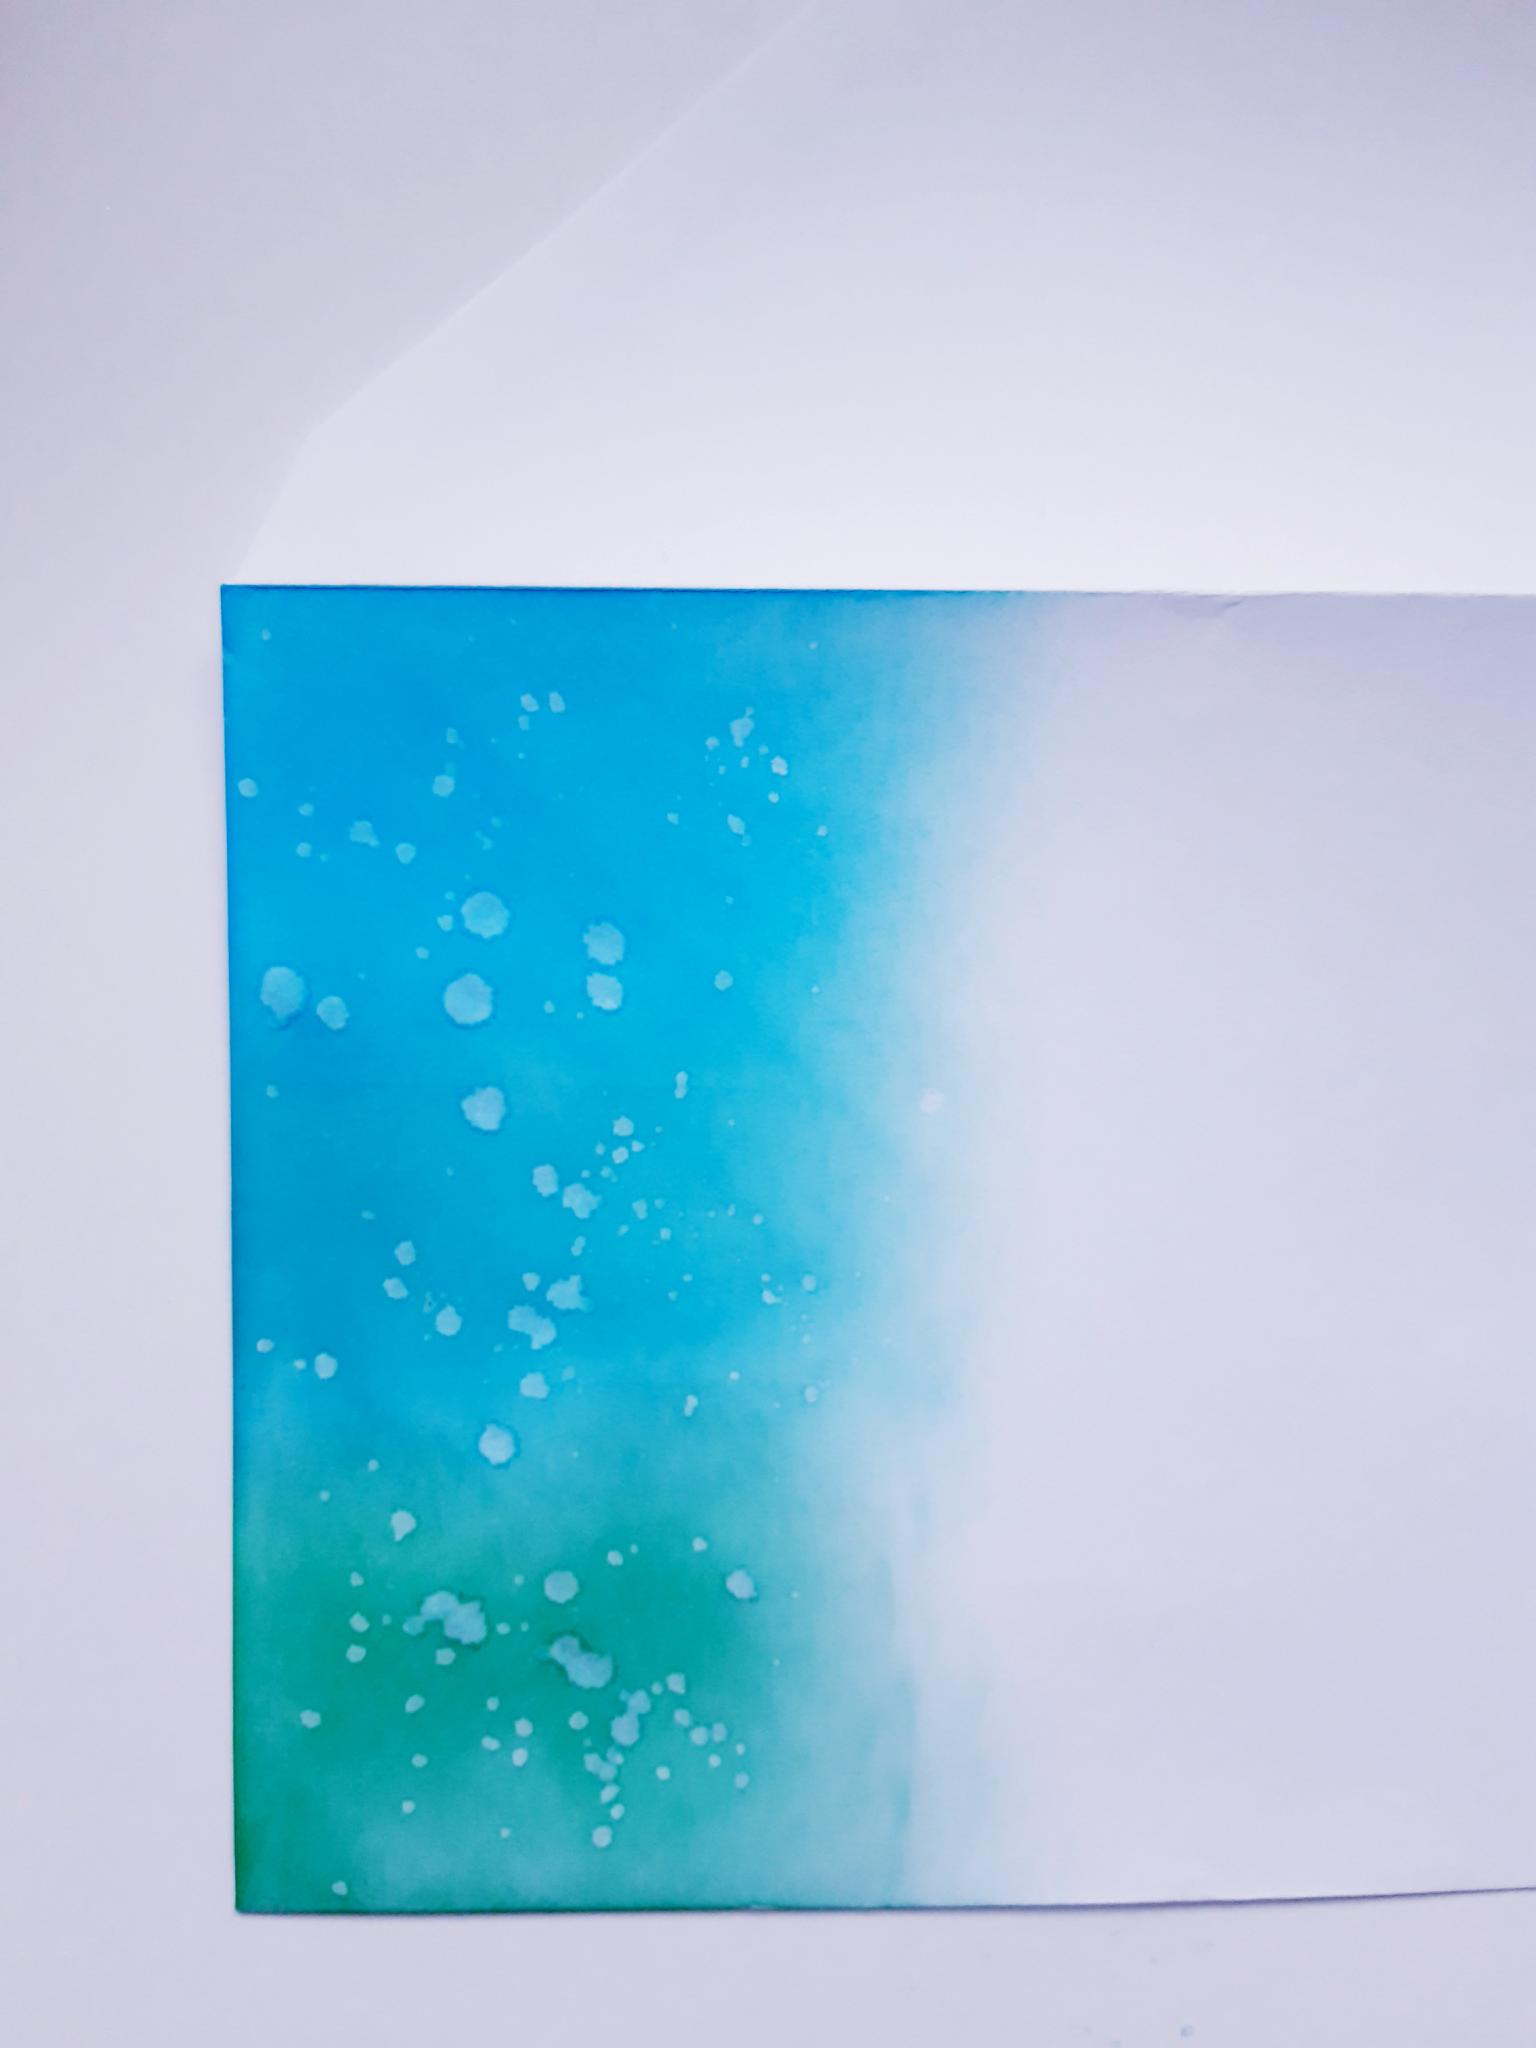
Use your blending brush/tool to blend the Izink Dye inks, down the left hand side of the white card blank. The colour should be darker down the side, fading out half way across the card blank. |
|
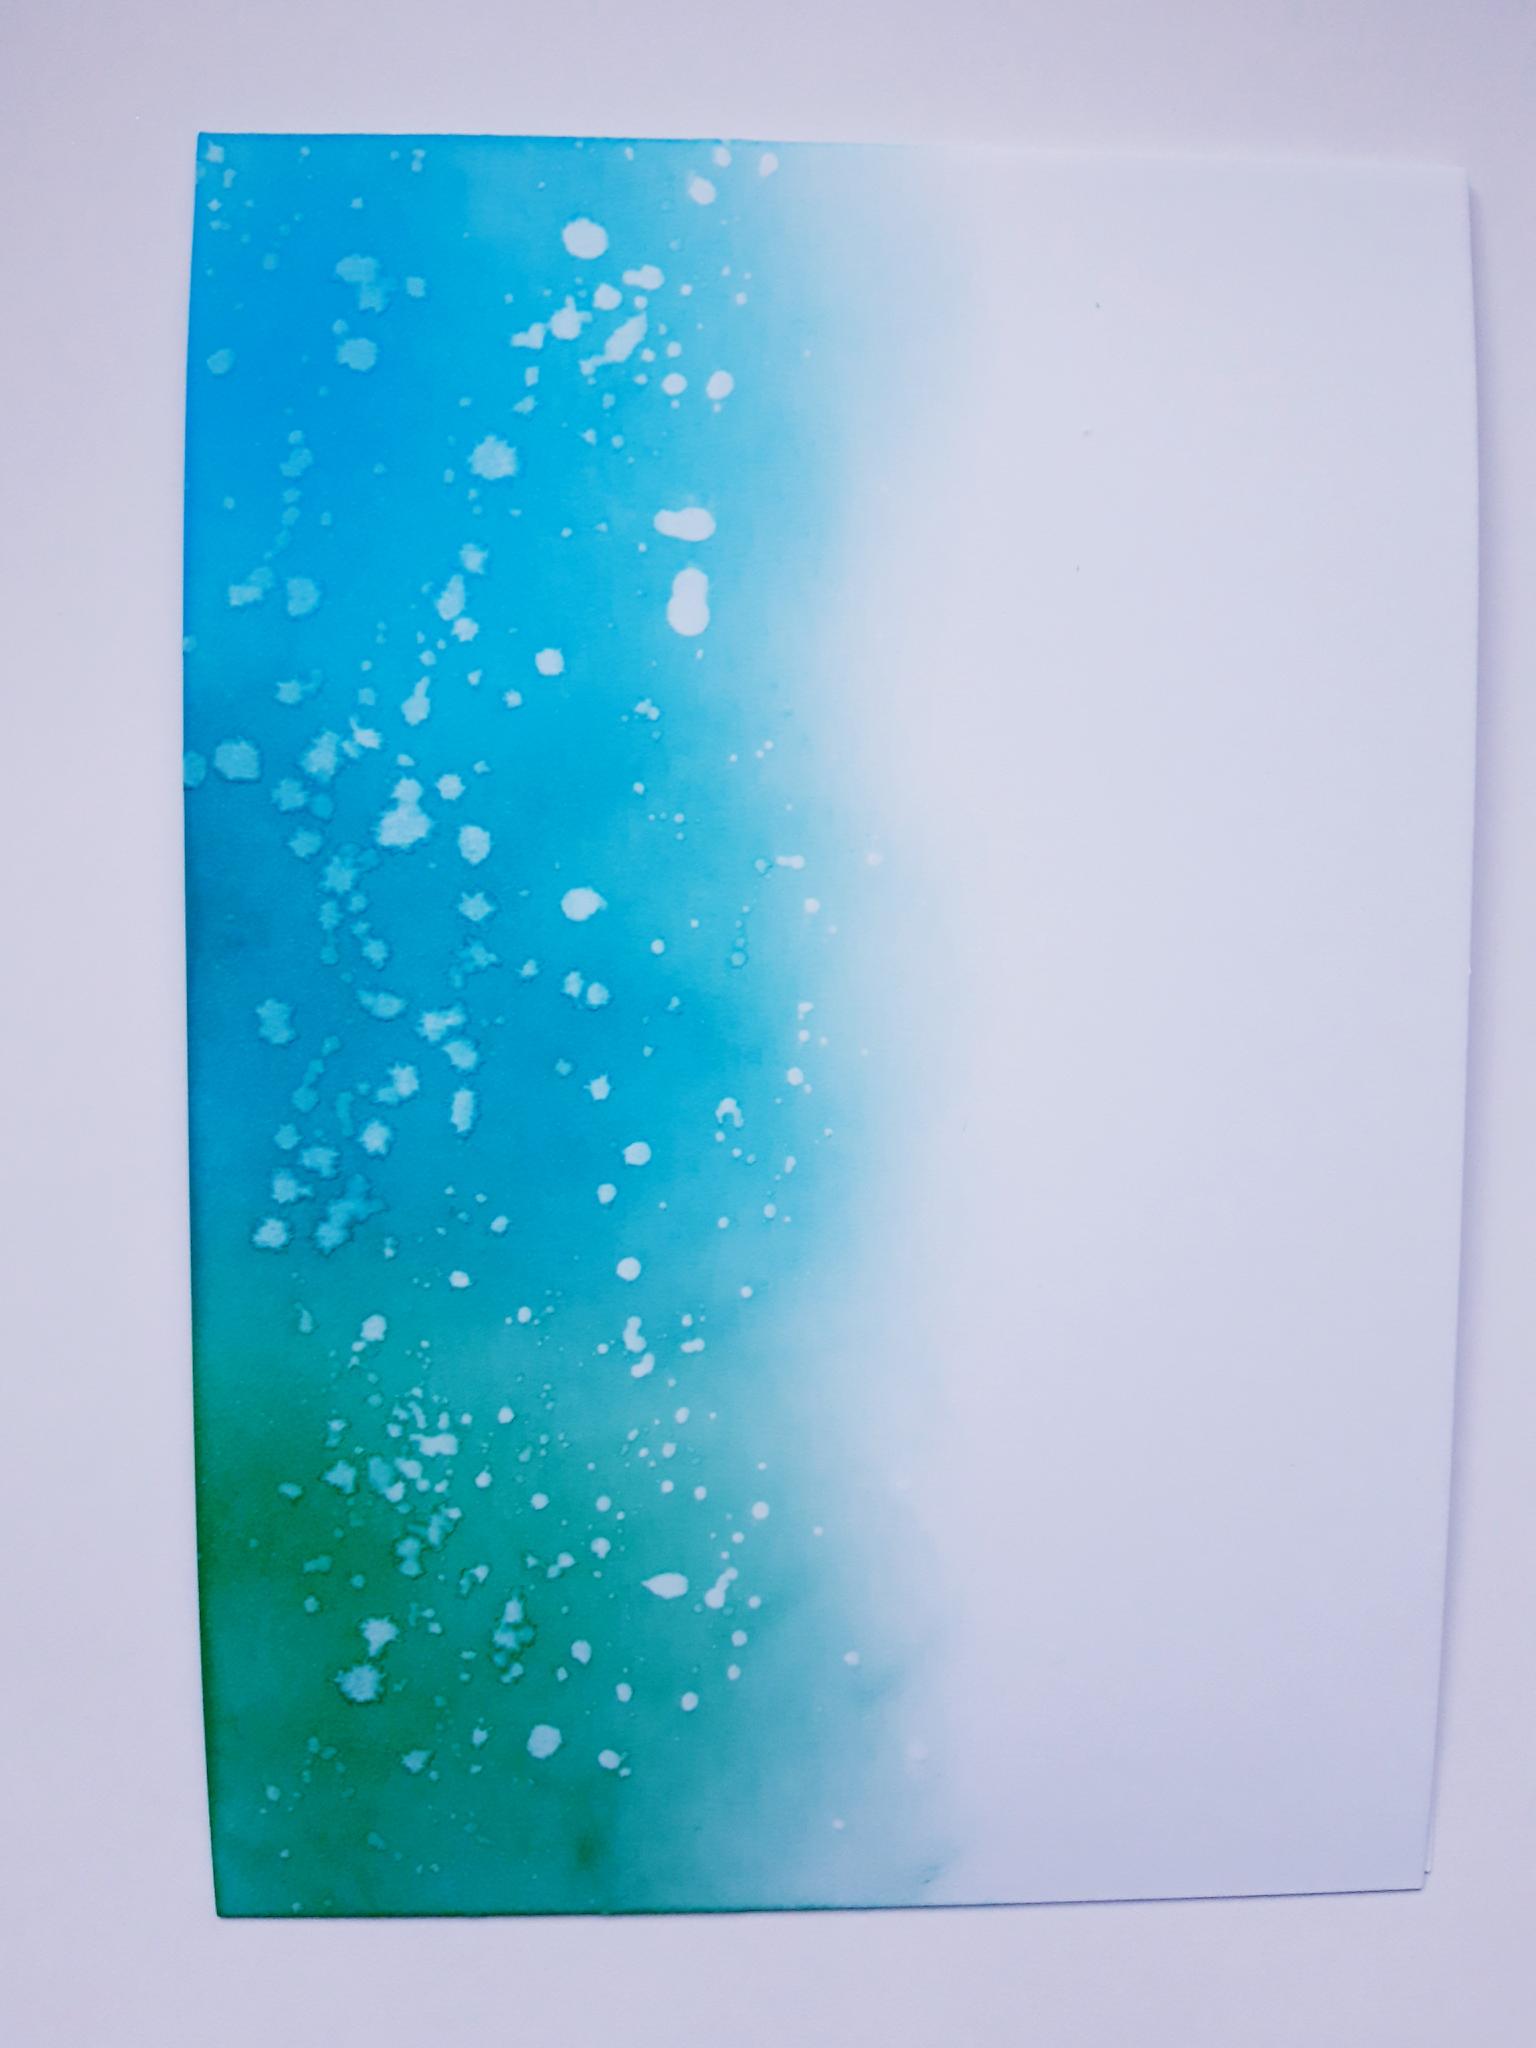
Use your paint brush to splatter water over the ink. Wait a few seconds then lift up the ink with a paper towel.
|
|
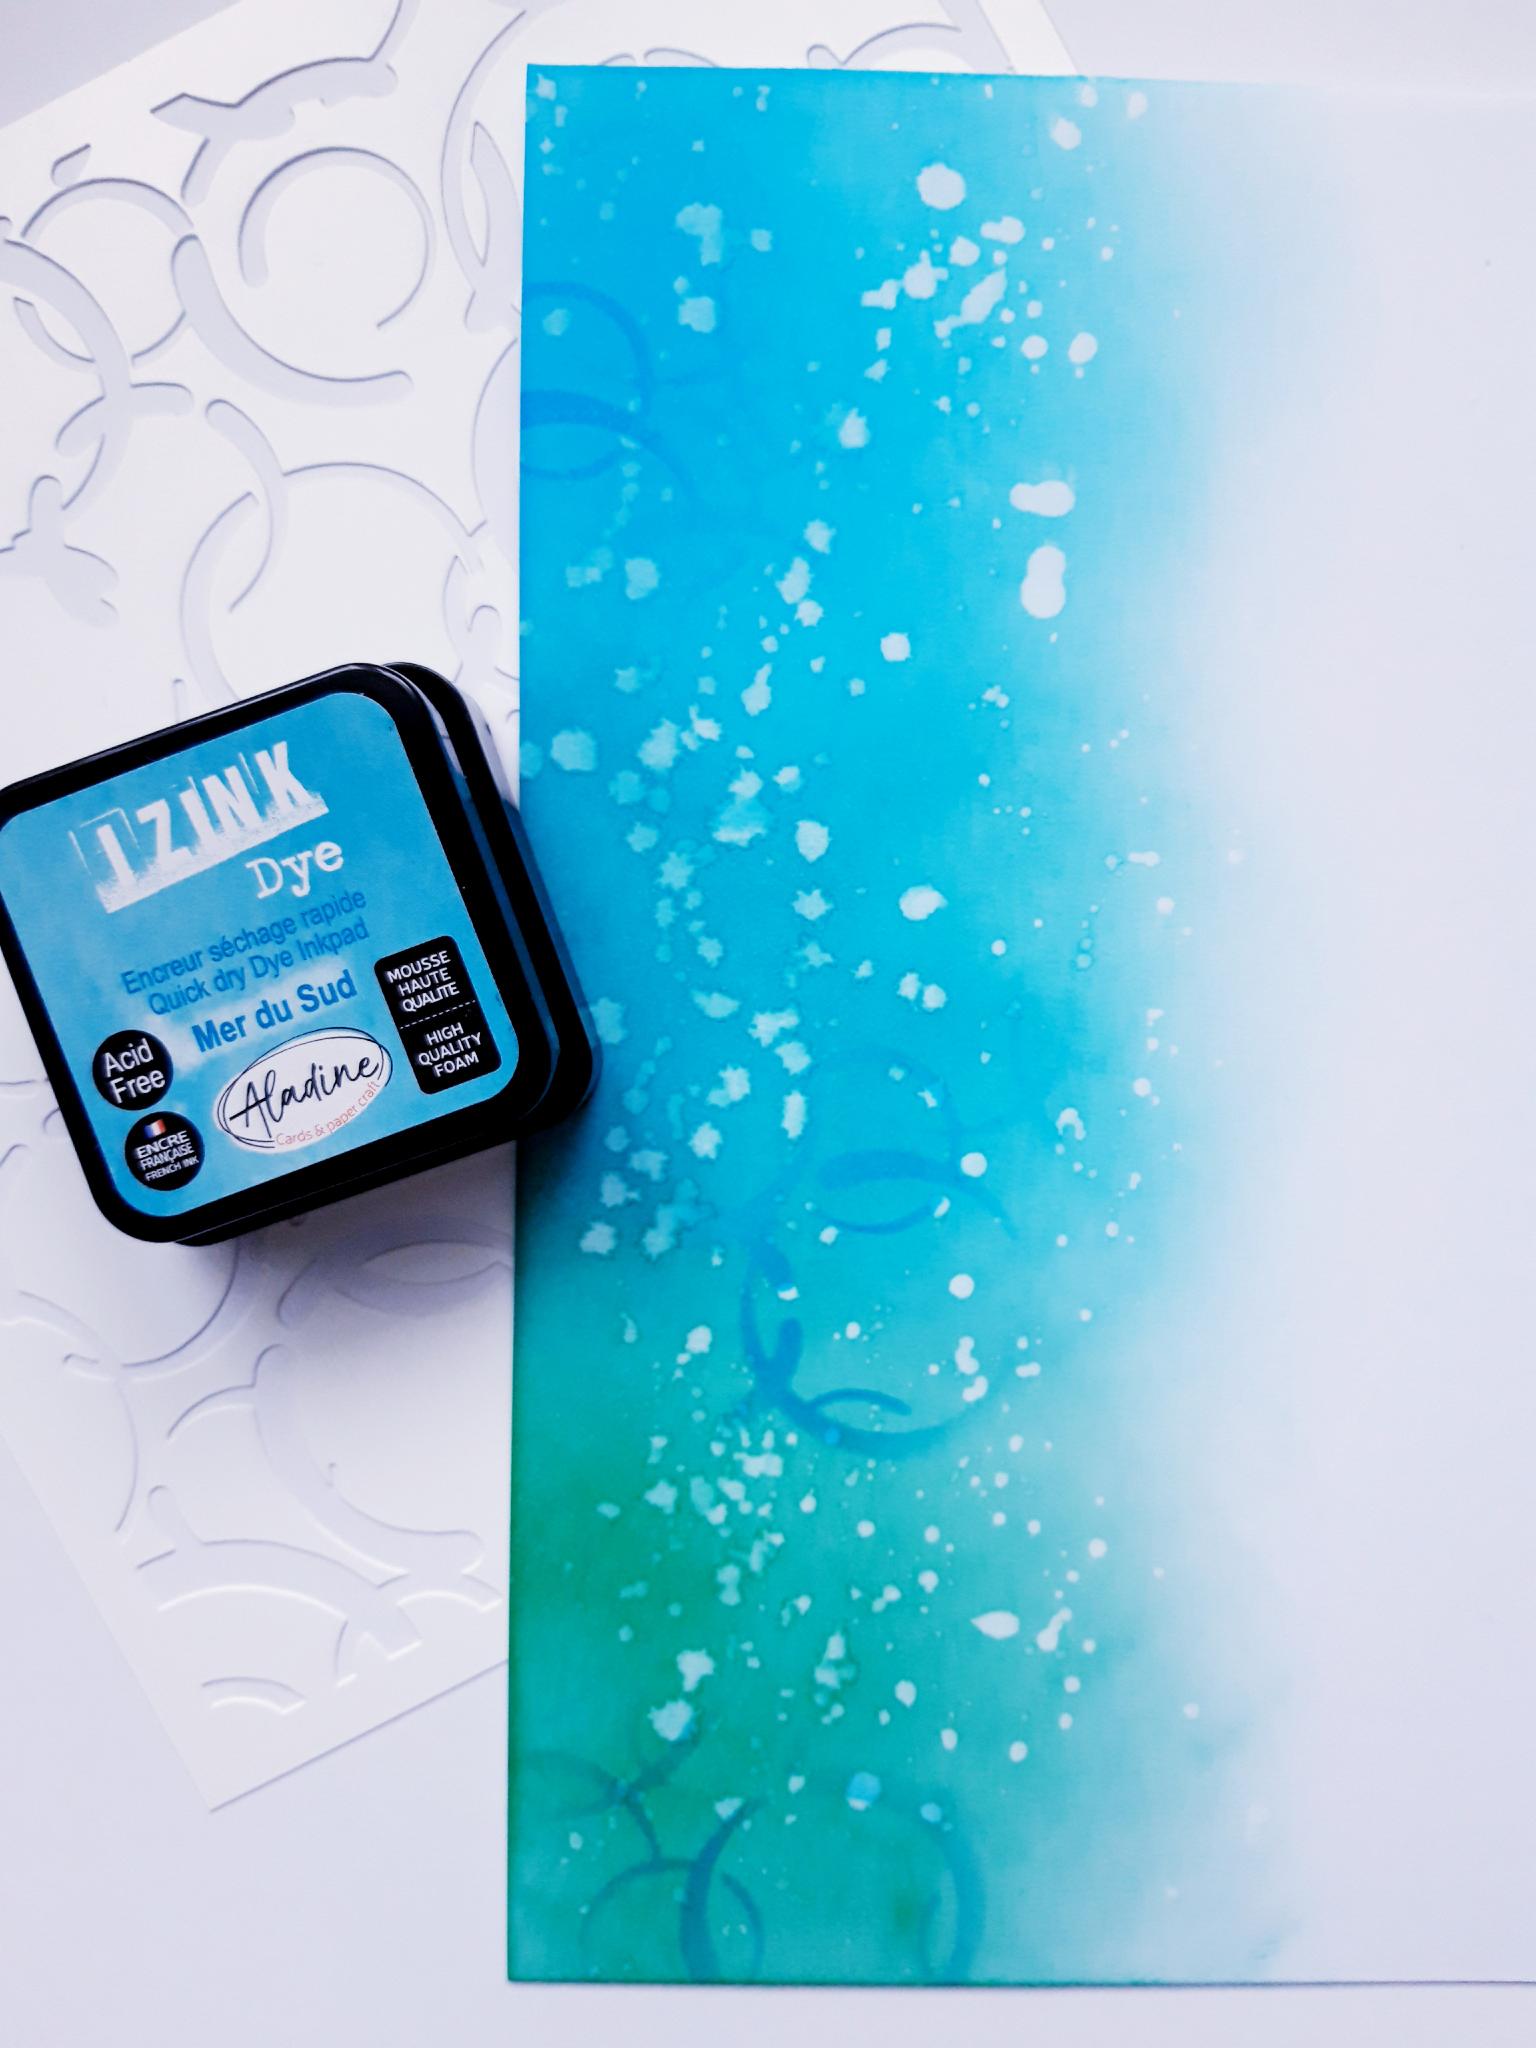
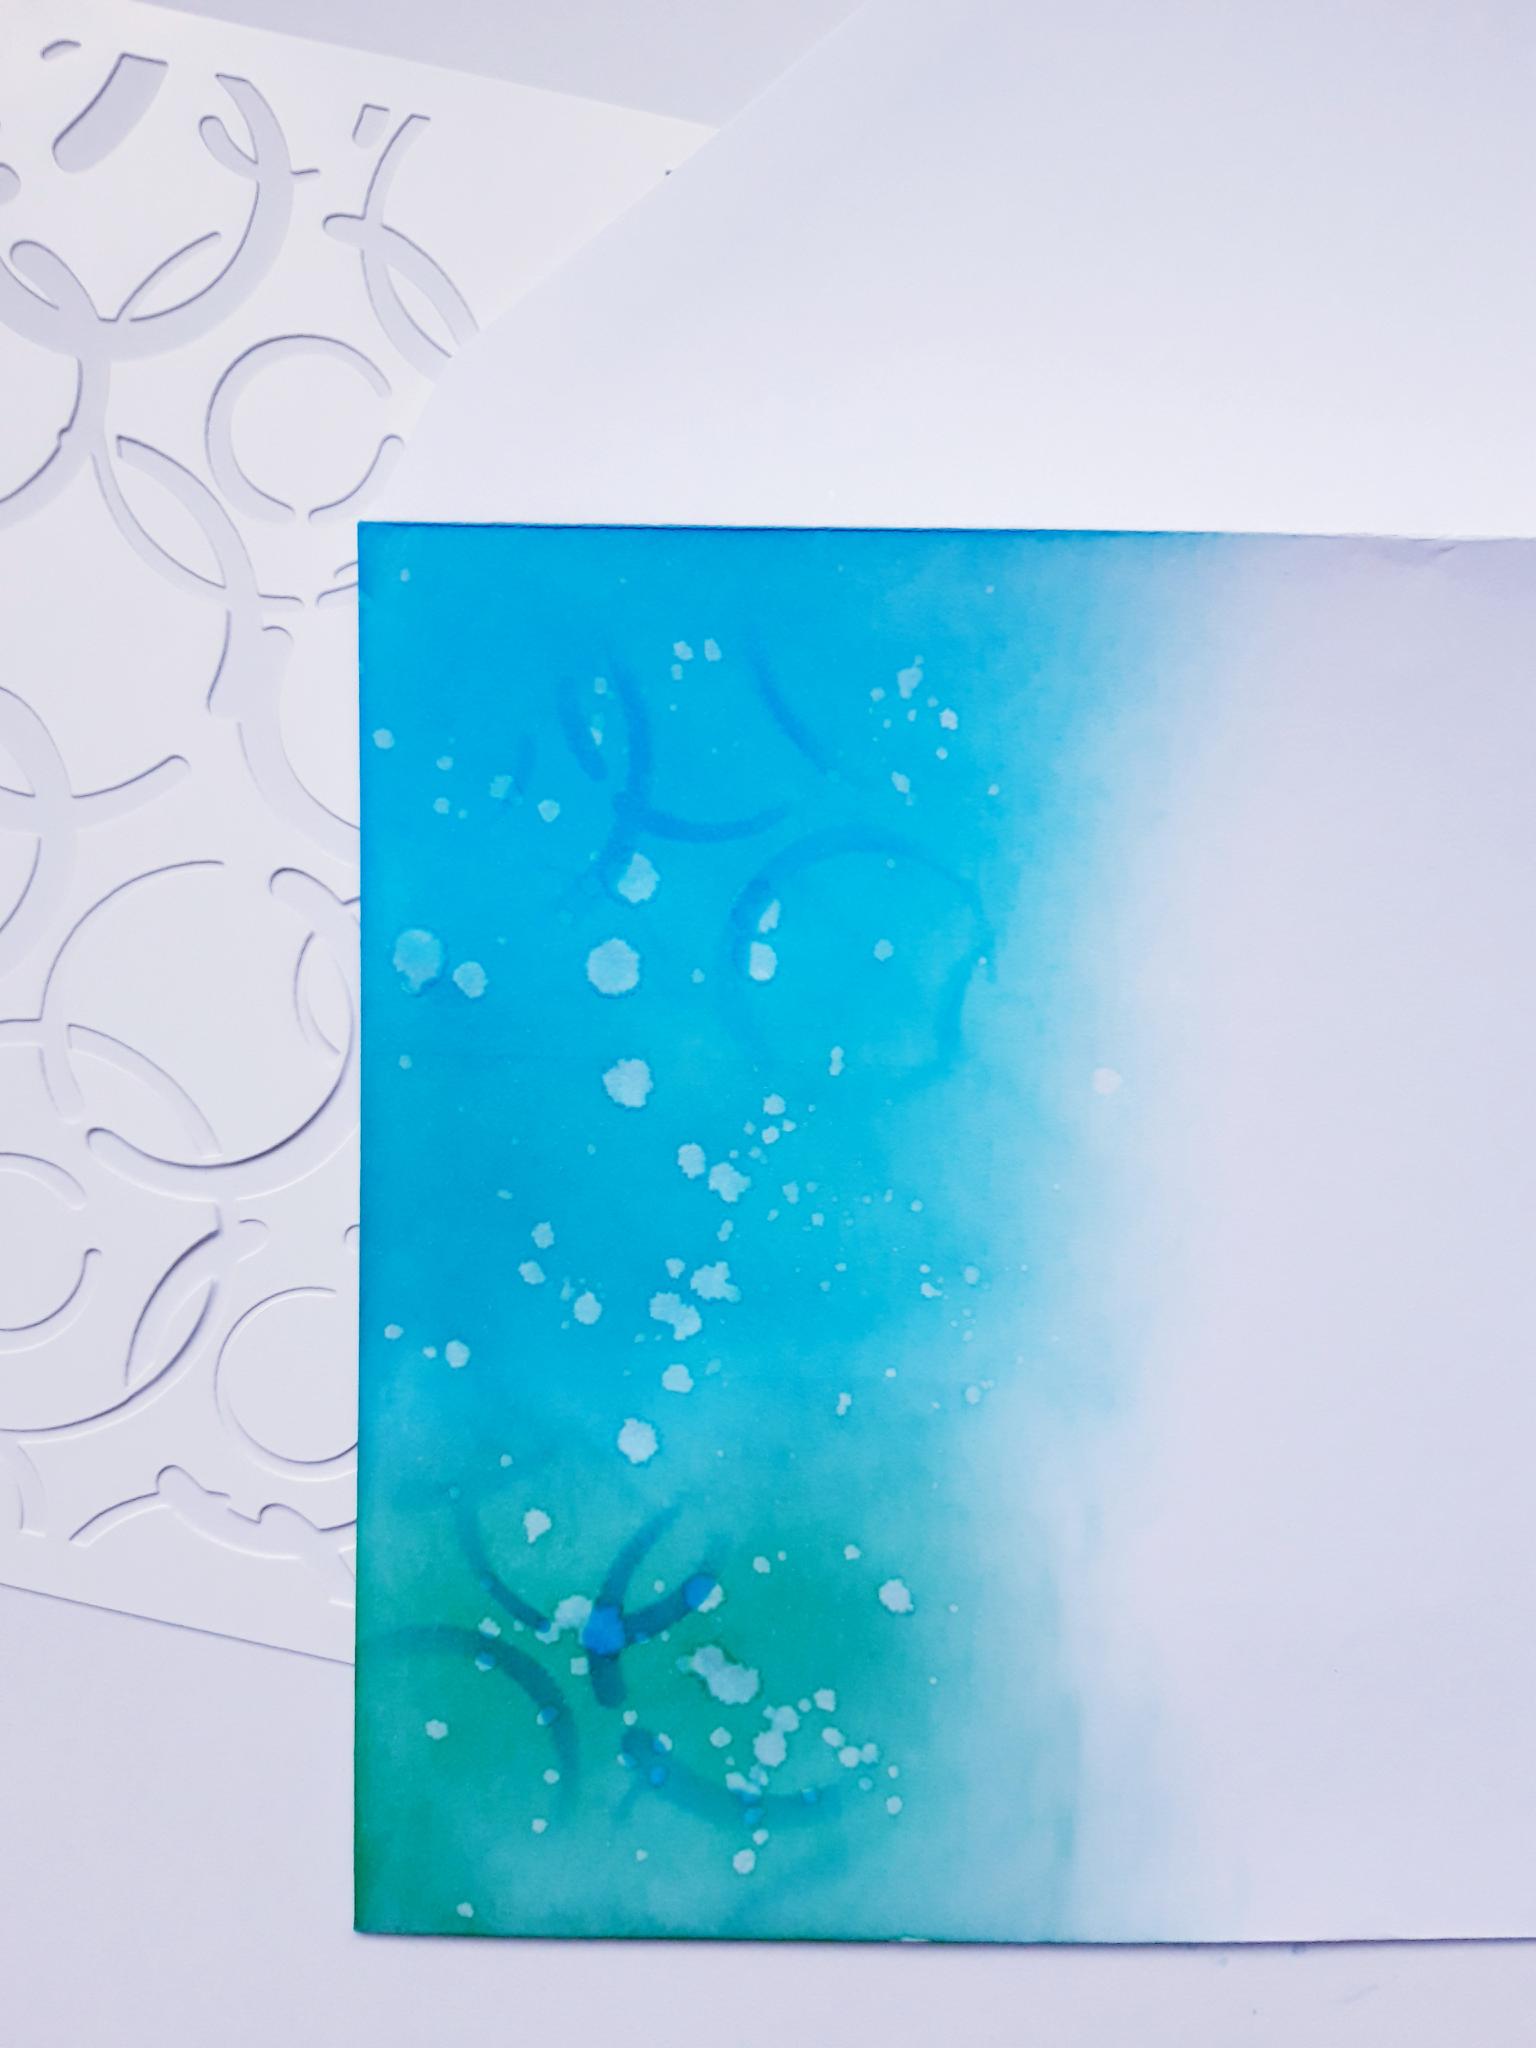
Blend the Izink Mer Du Sud randomly through the Coffee Stains stencil, over the inked area. Set your card to one side to dry. |
|
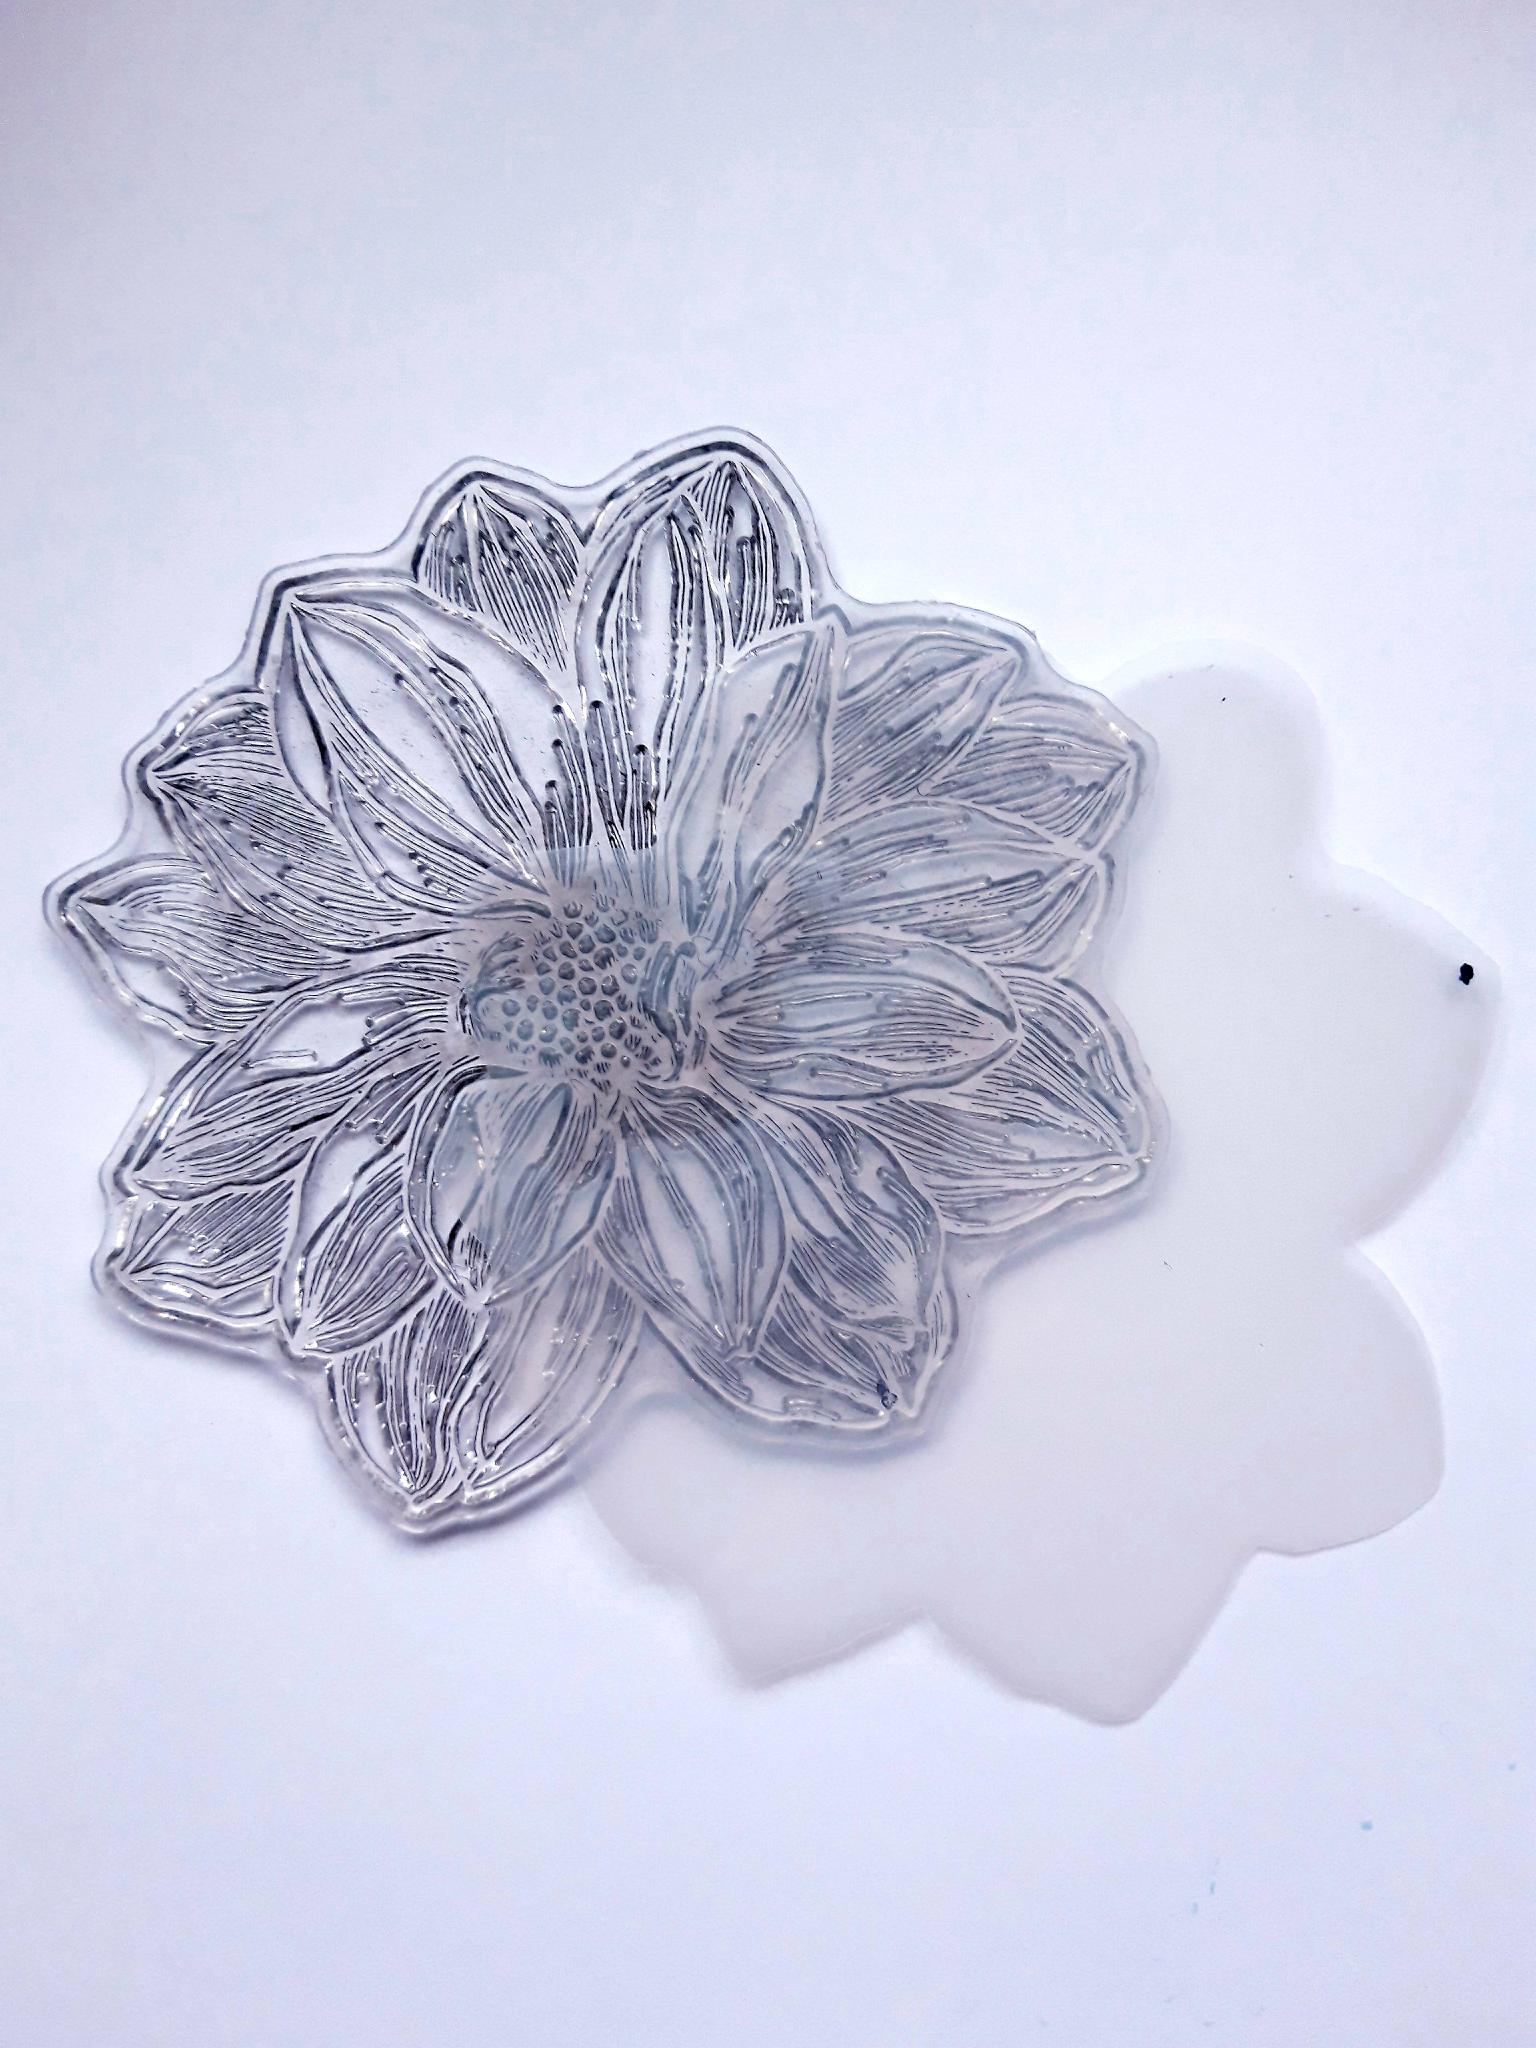
Ink up the large flower stamp, from the Beautiful Birthday Stamp Collection, with the Onyx Black Versafine. Stamp on to your masking sheet, copier paper or acetate sheet. Once ink is dry, cut out the flower. |
|
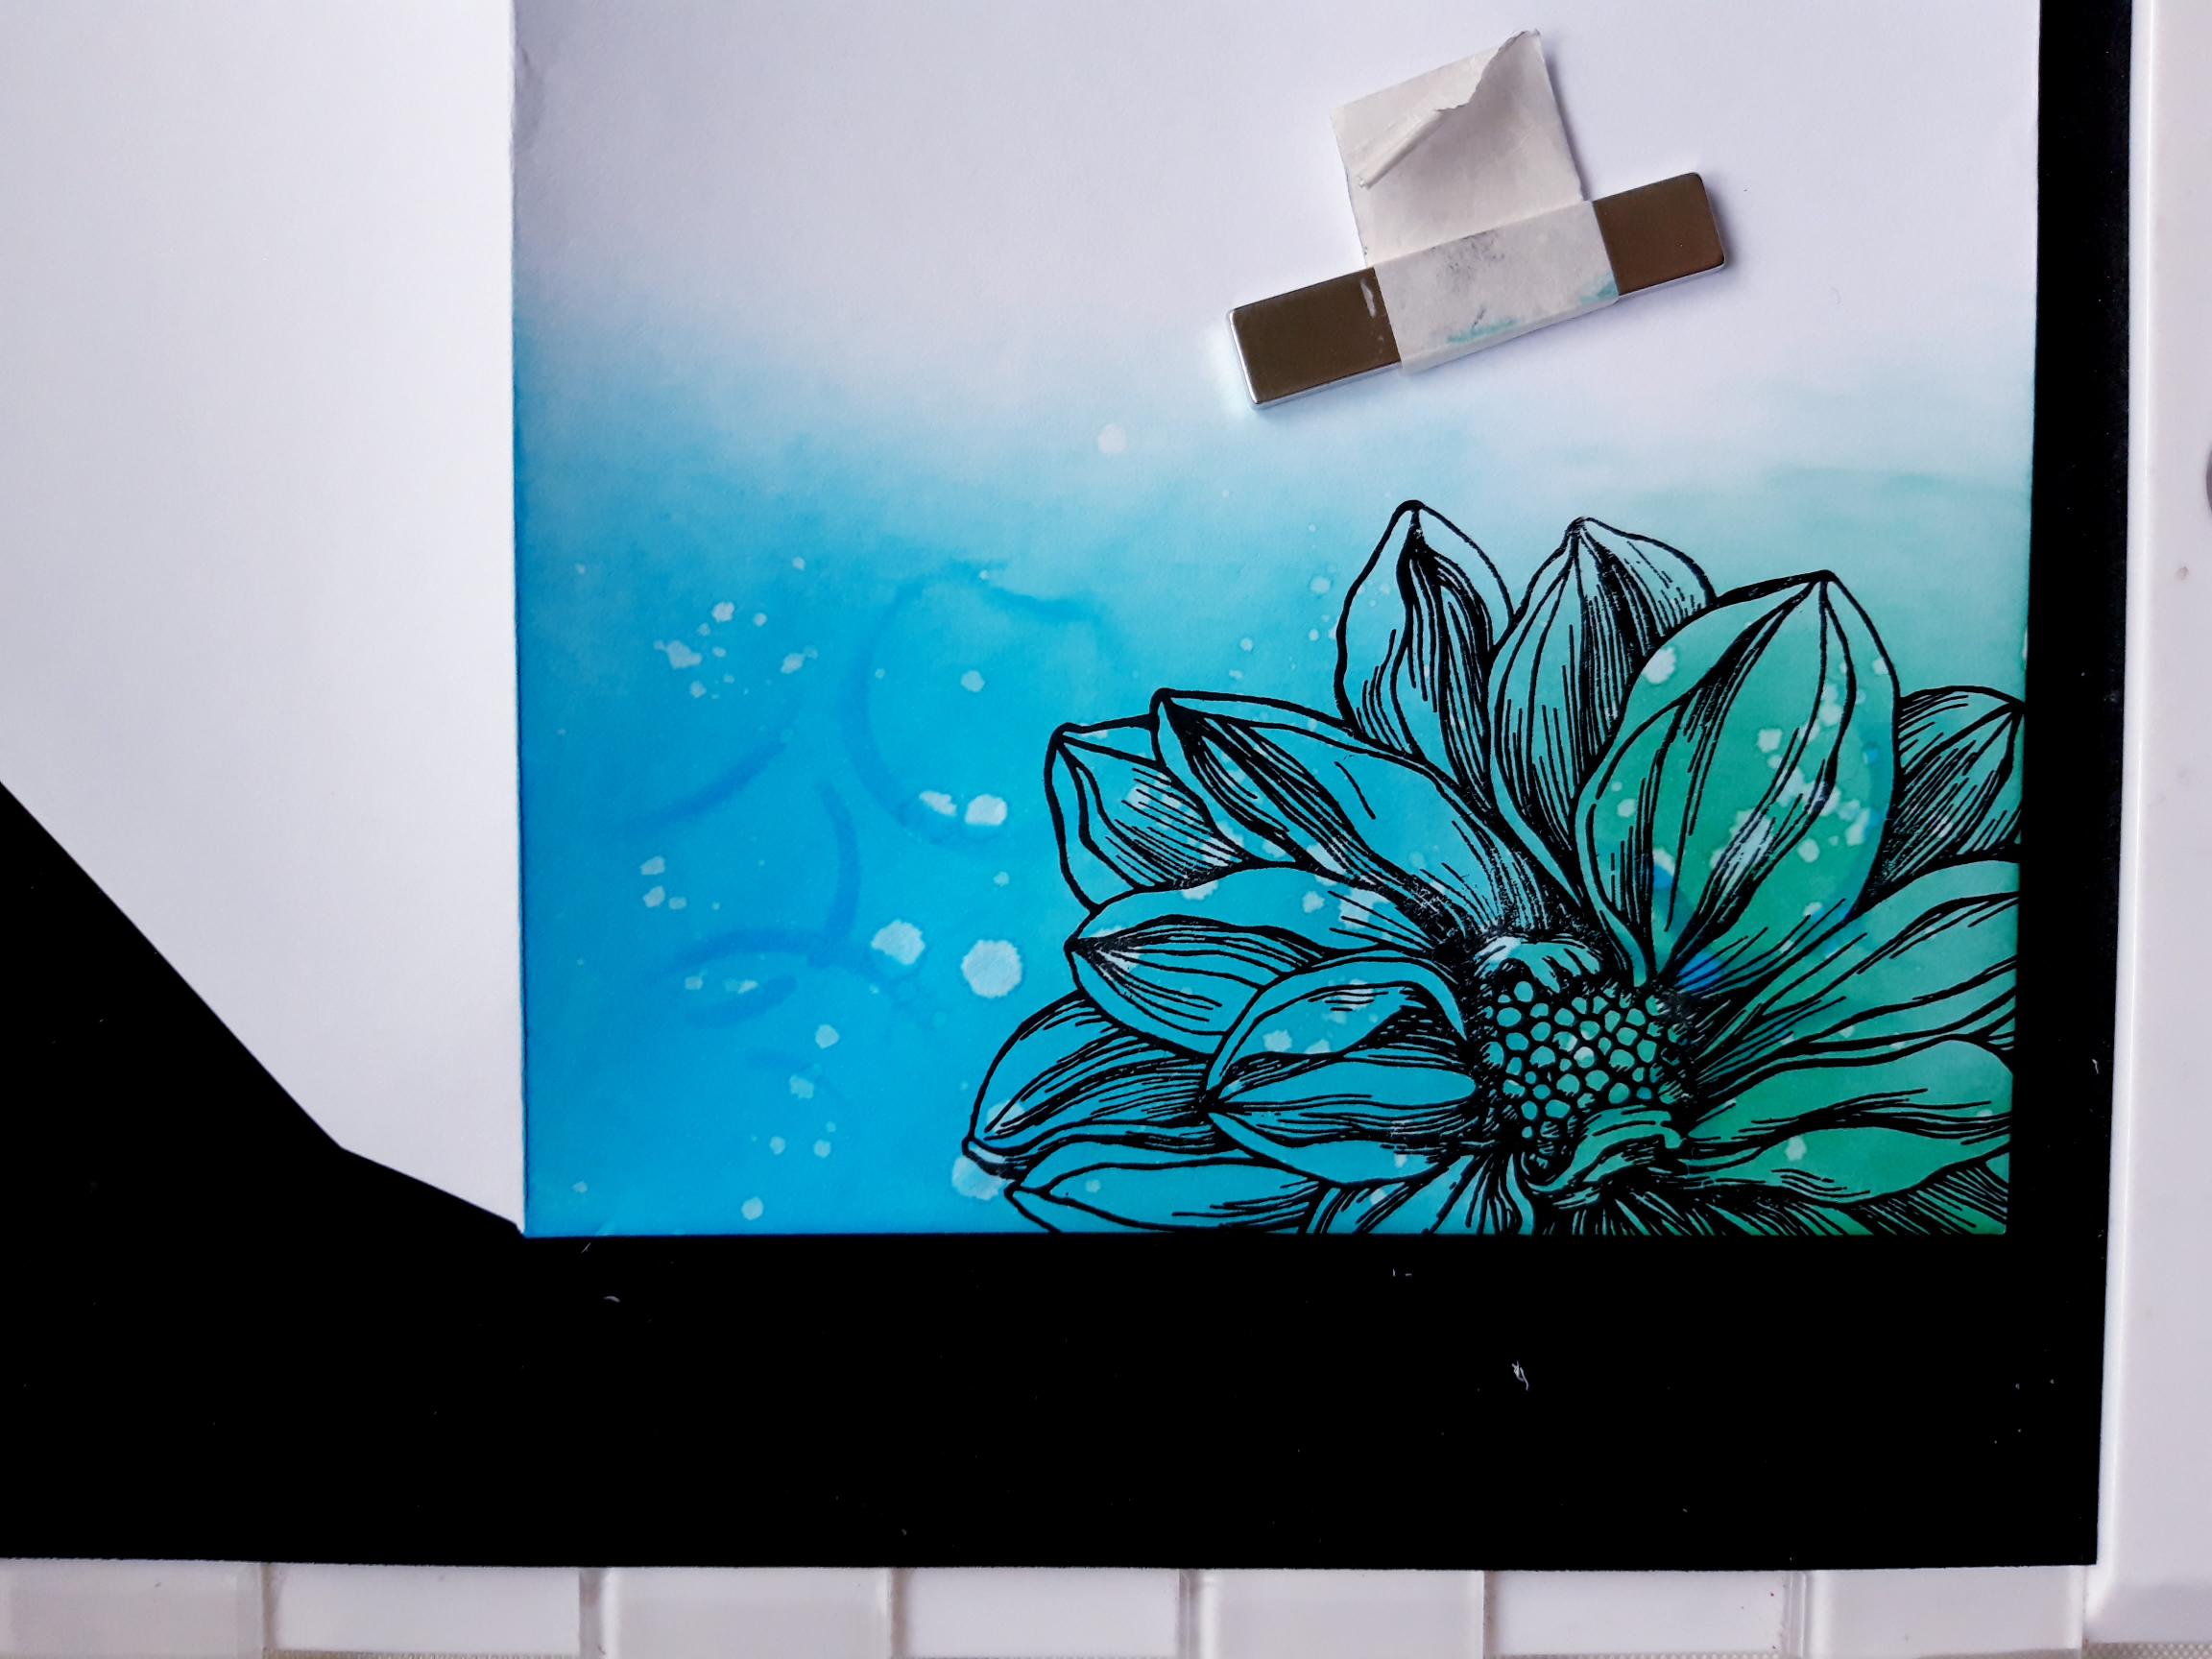
Ink up the same stamp again, with the Versafine, and stamp off the bottom left hand edge of your inked card blank. |
|
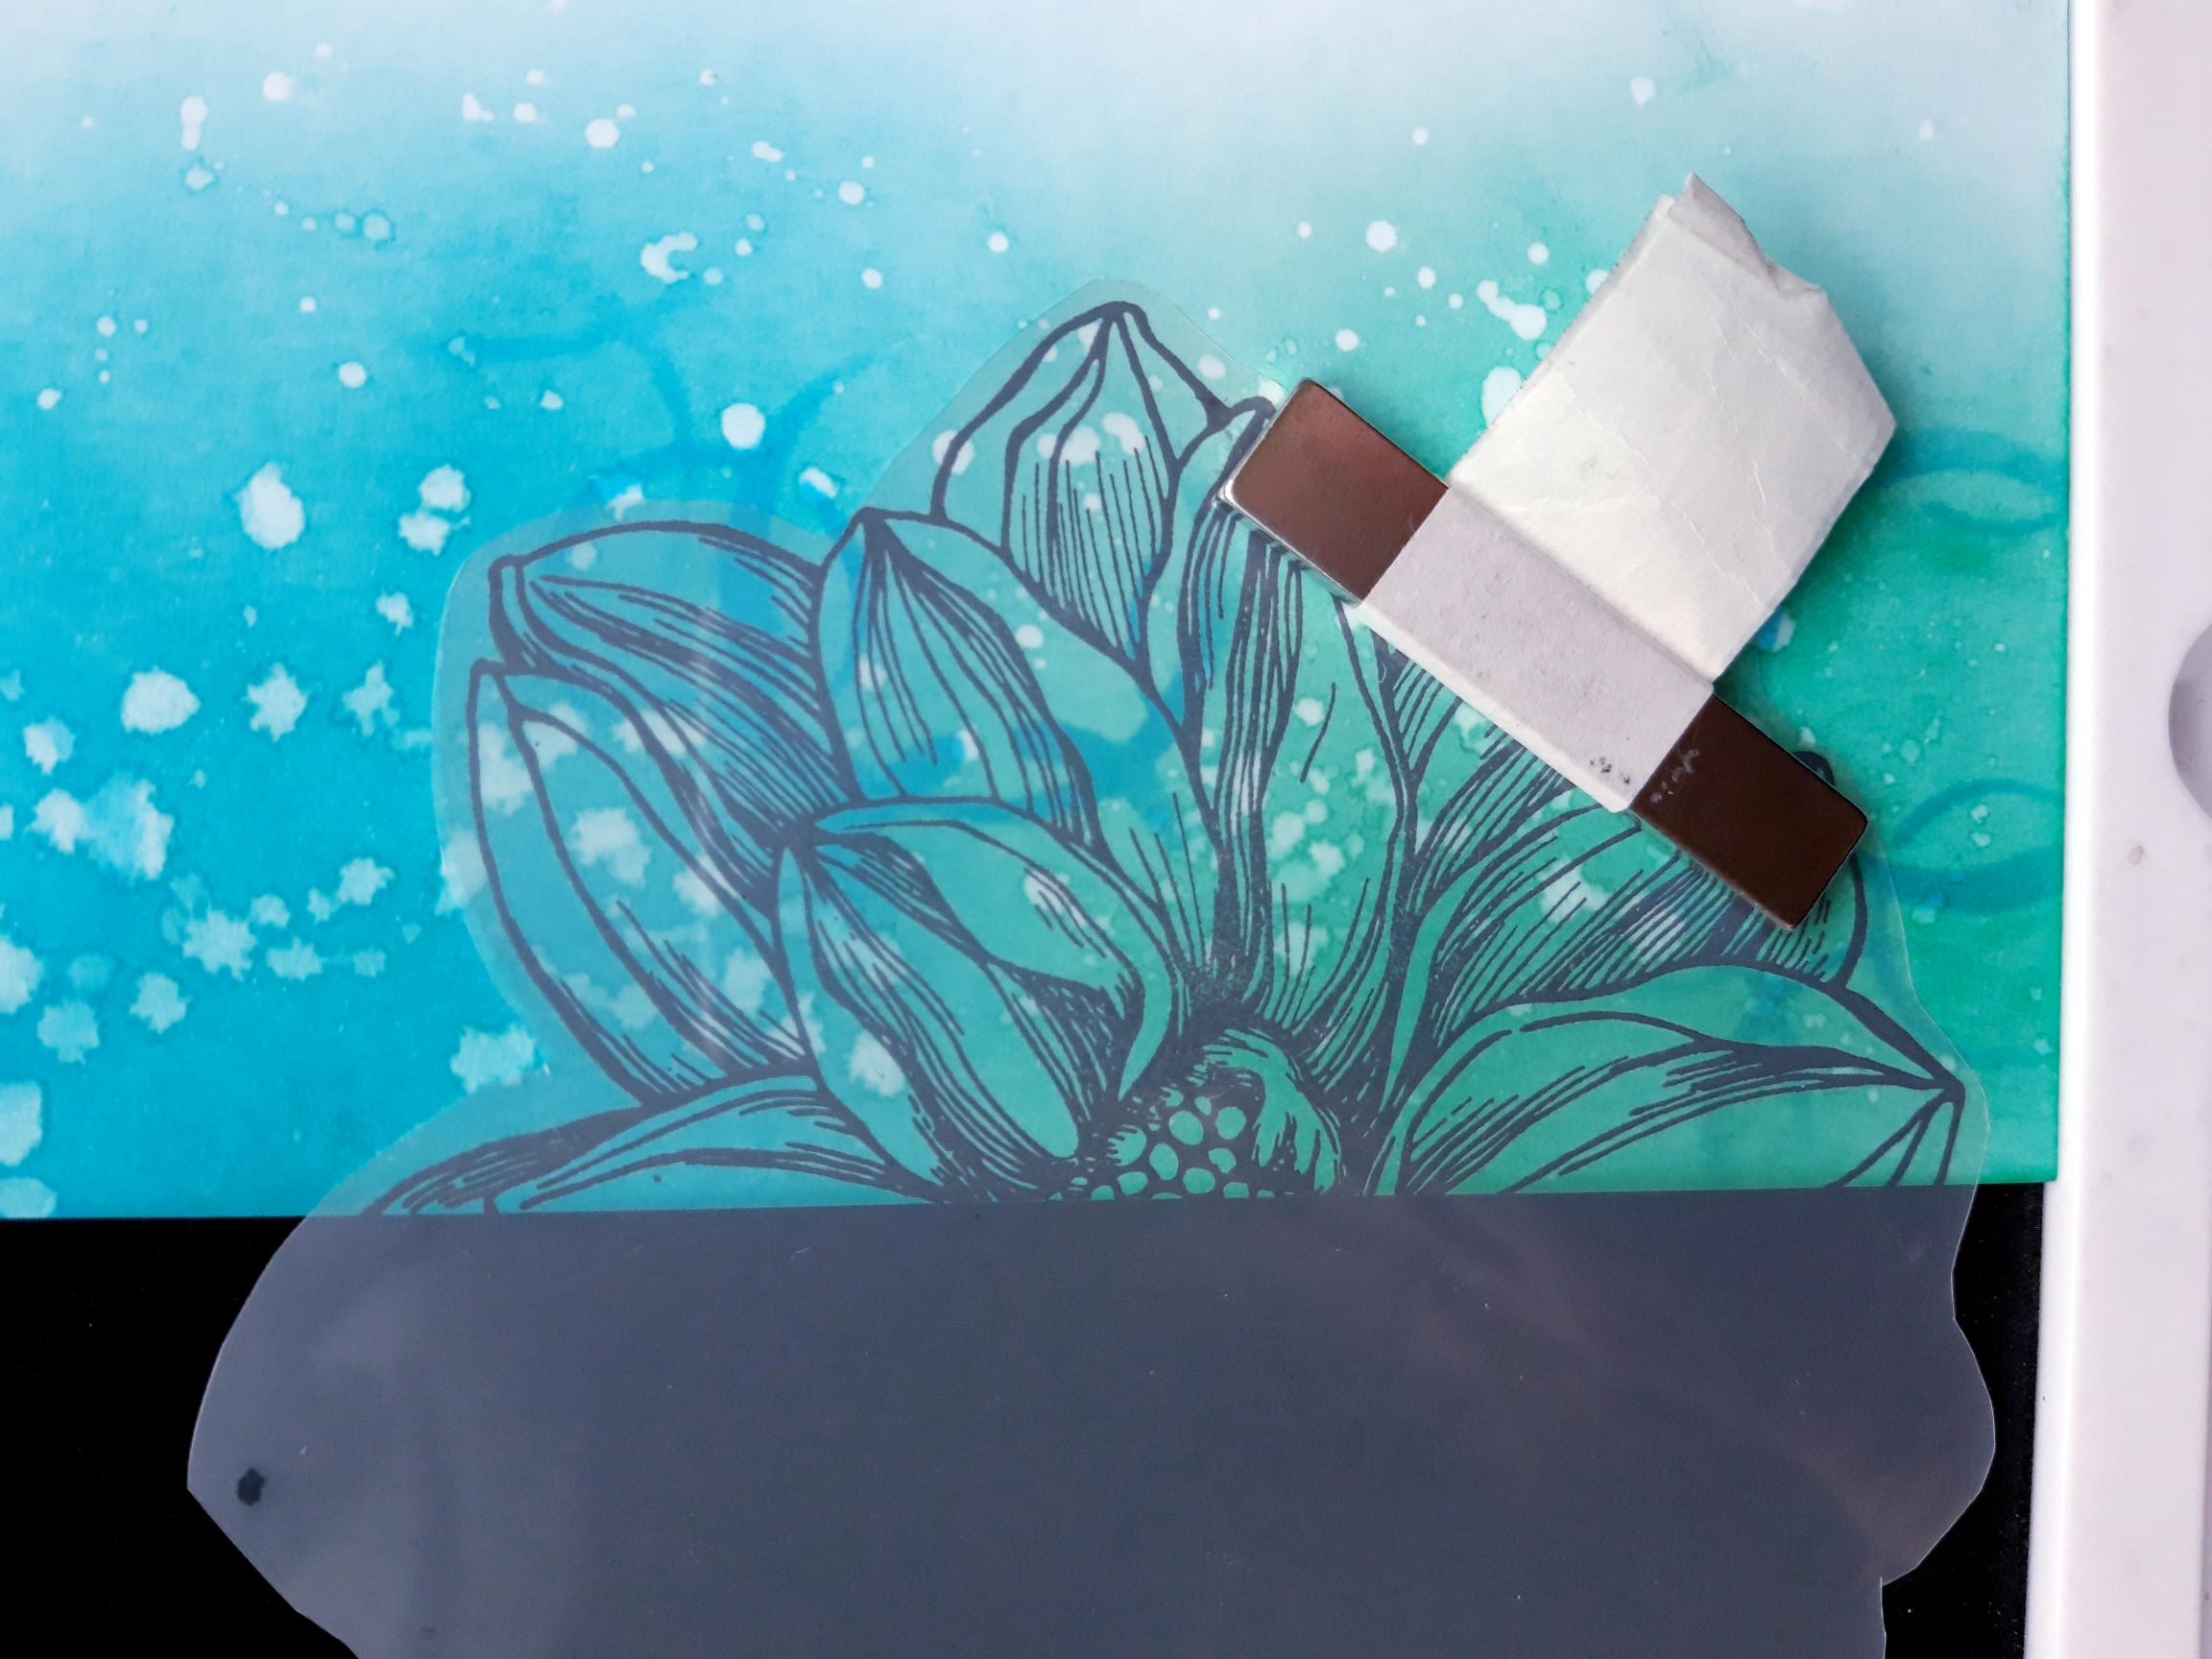
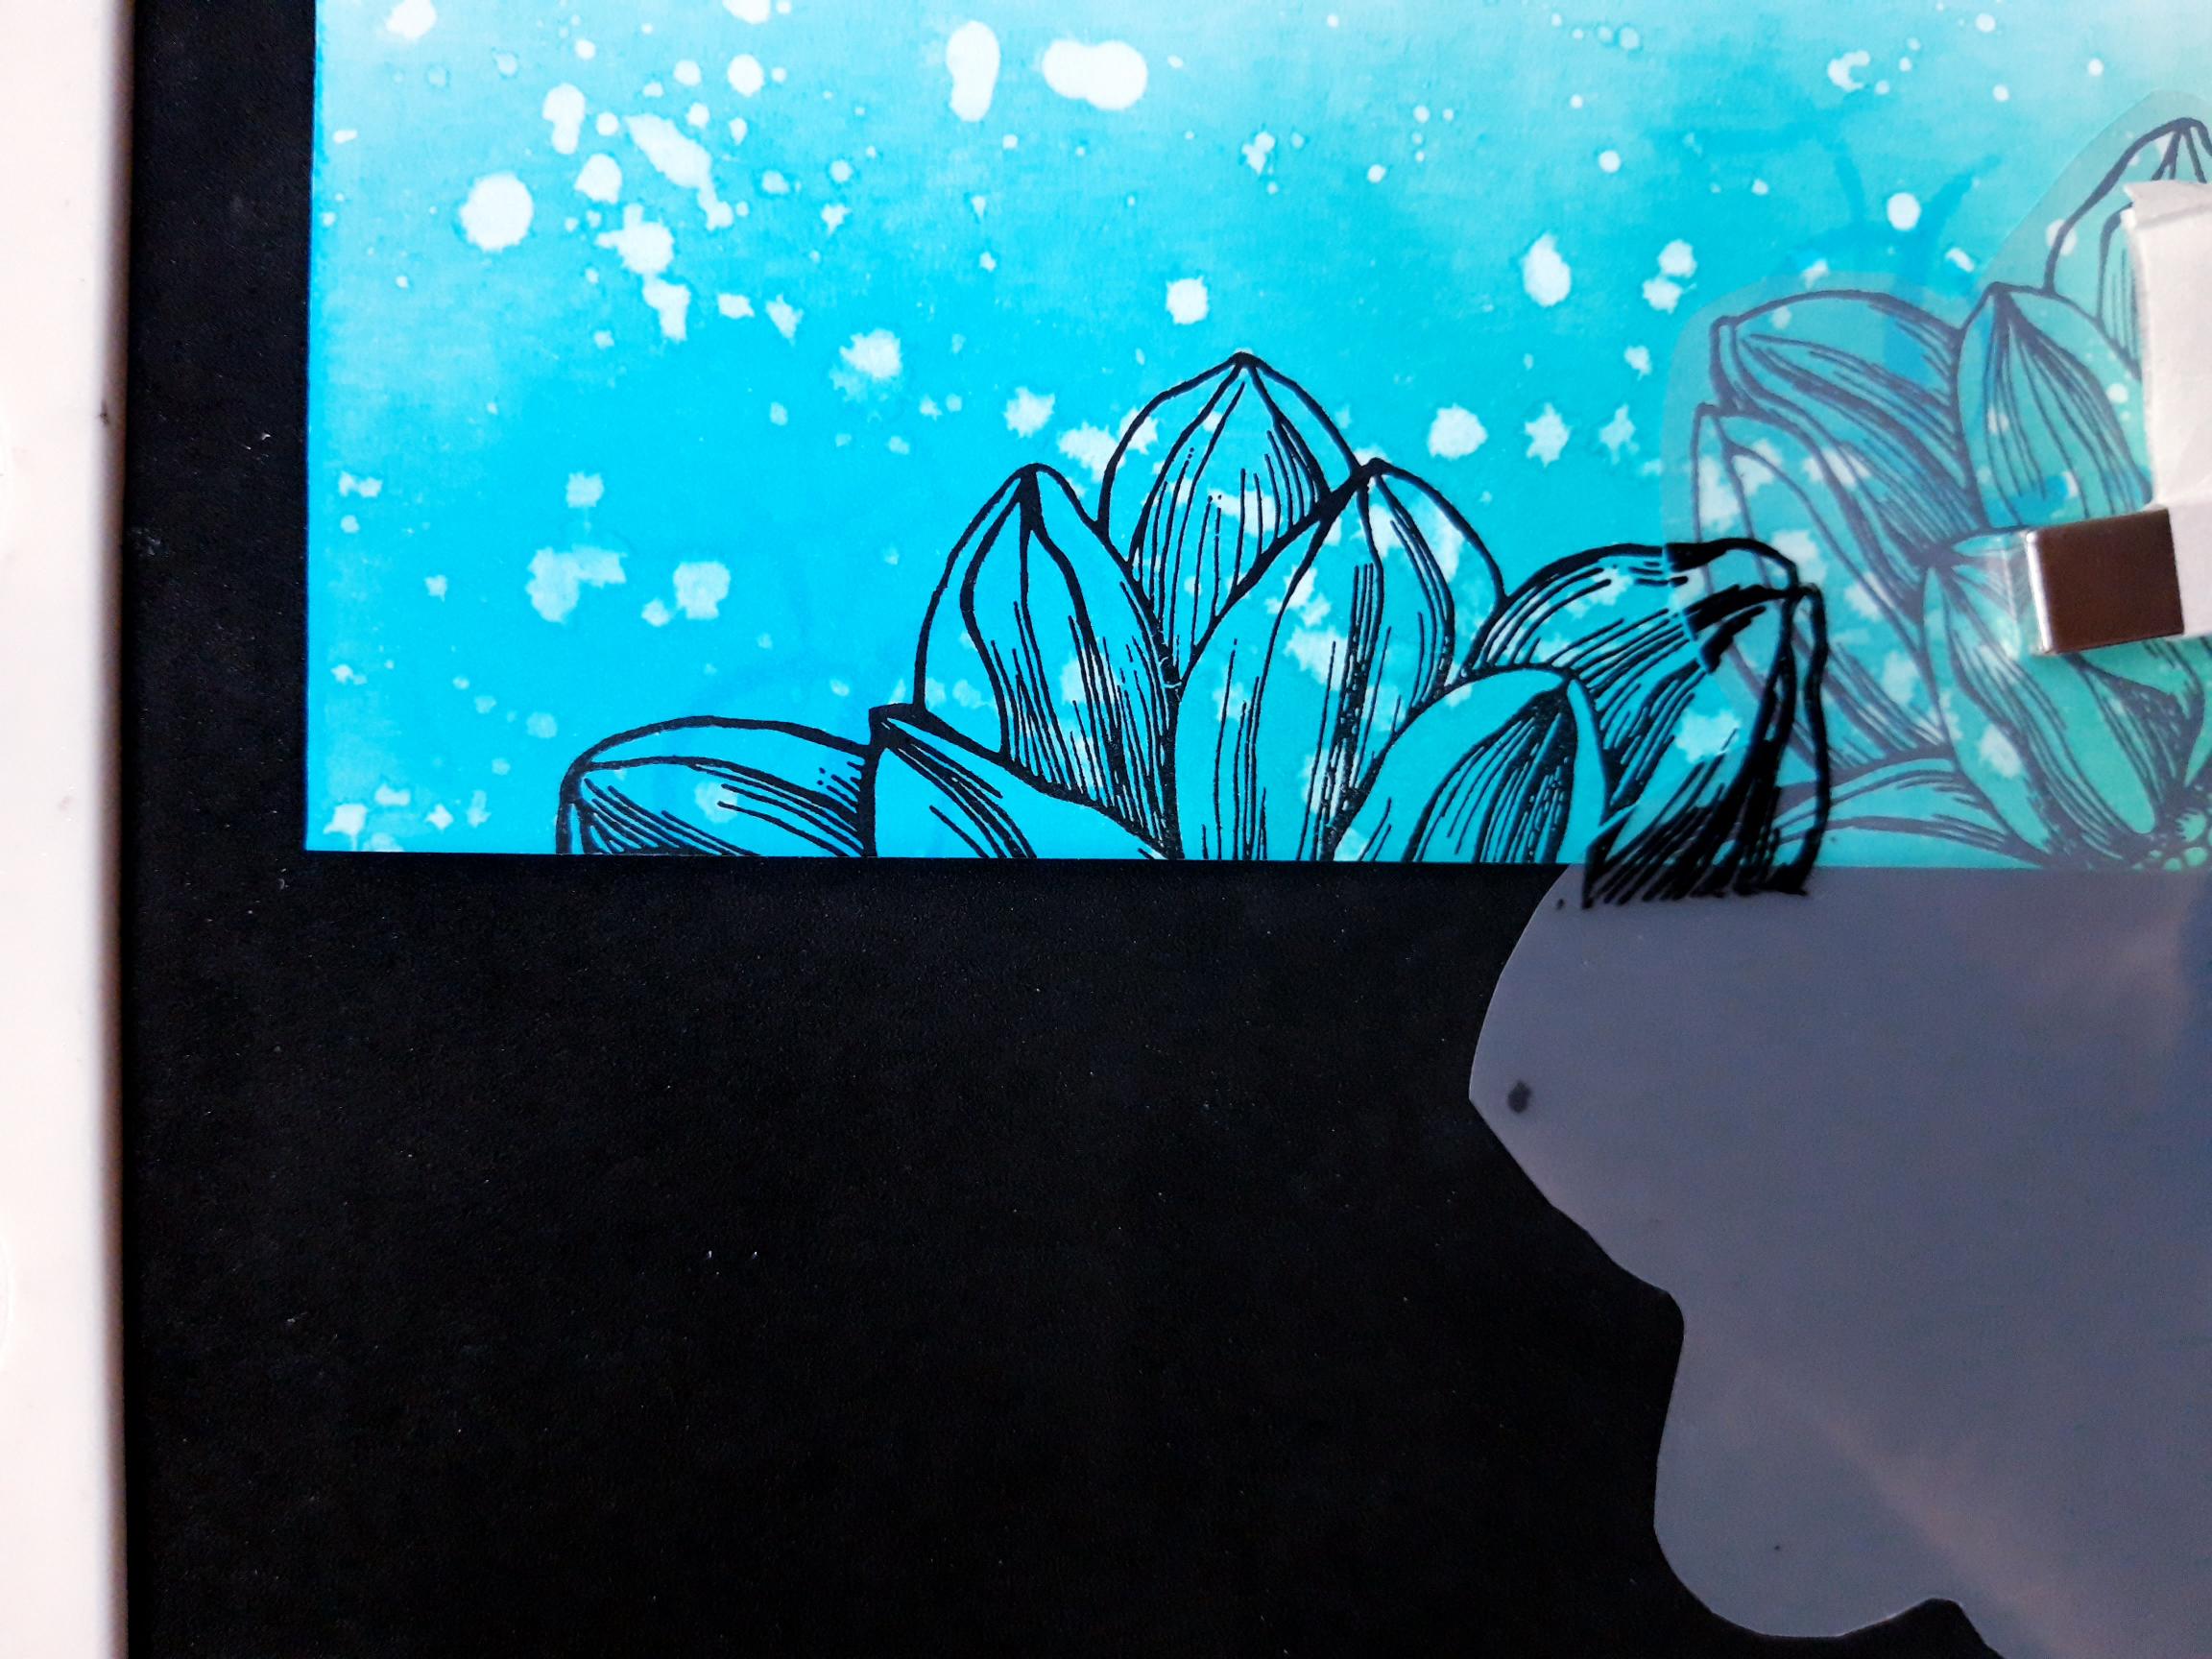
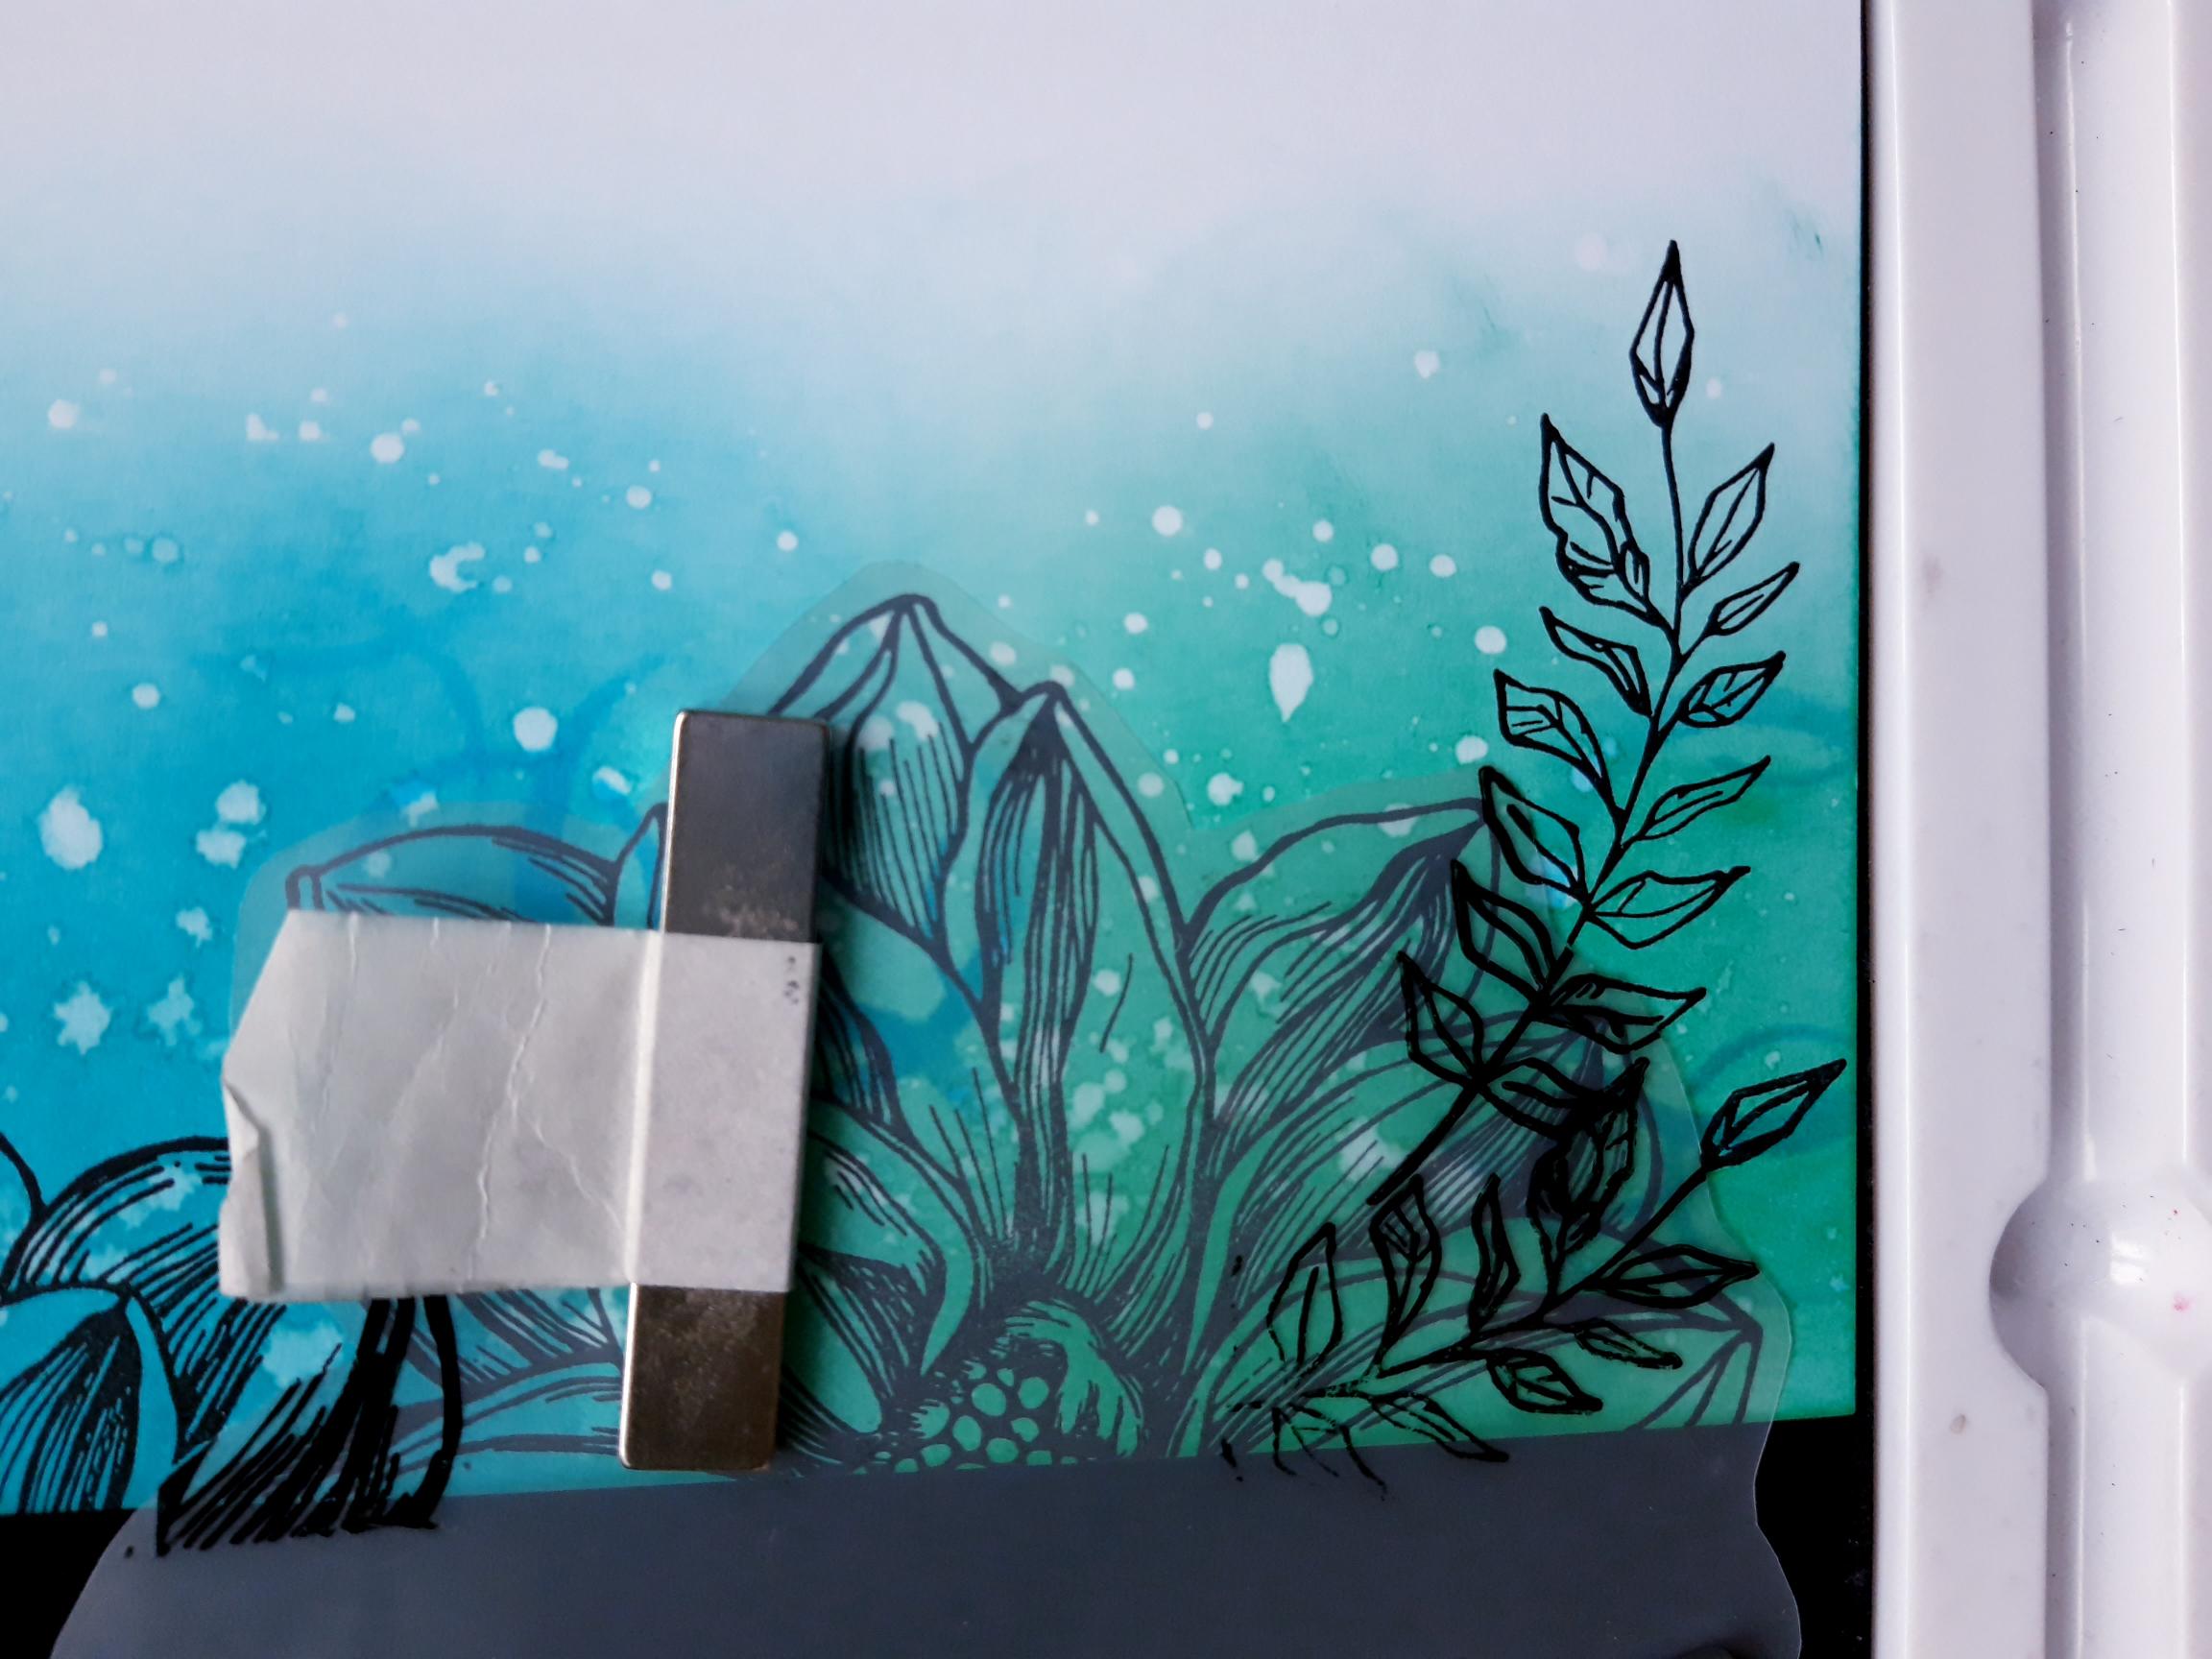
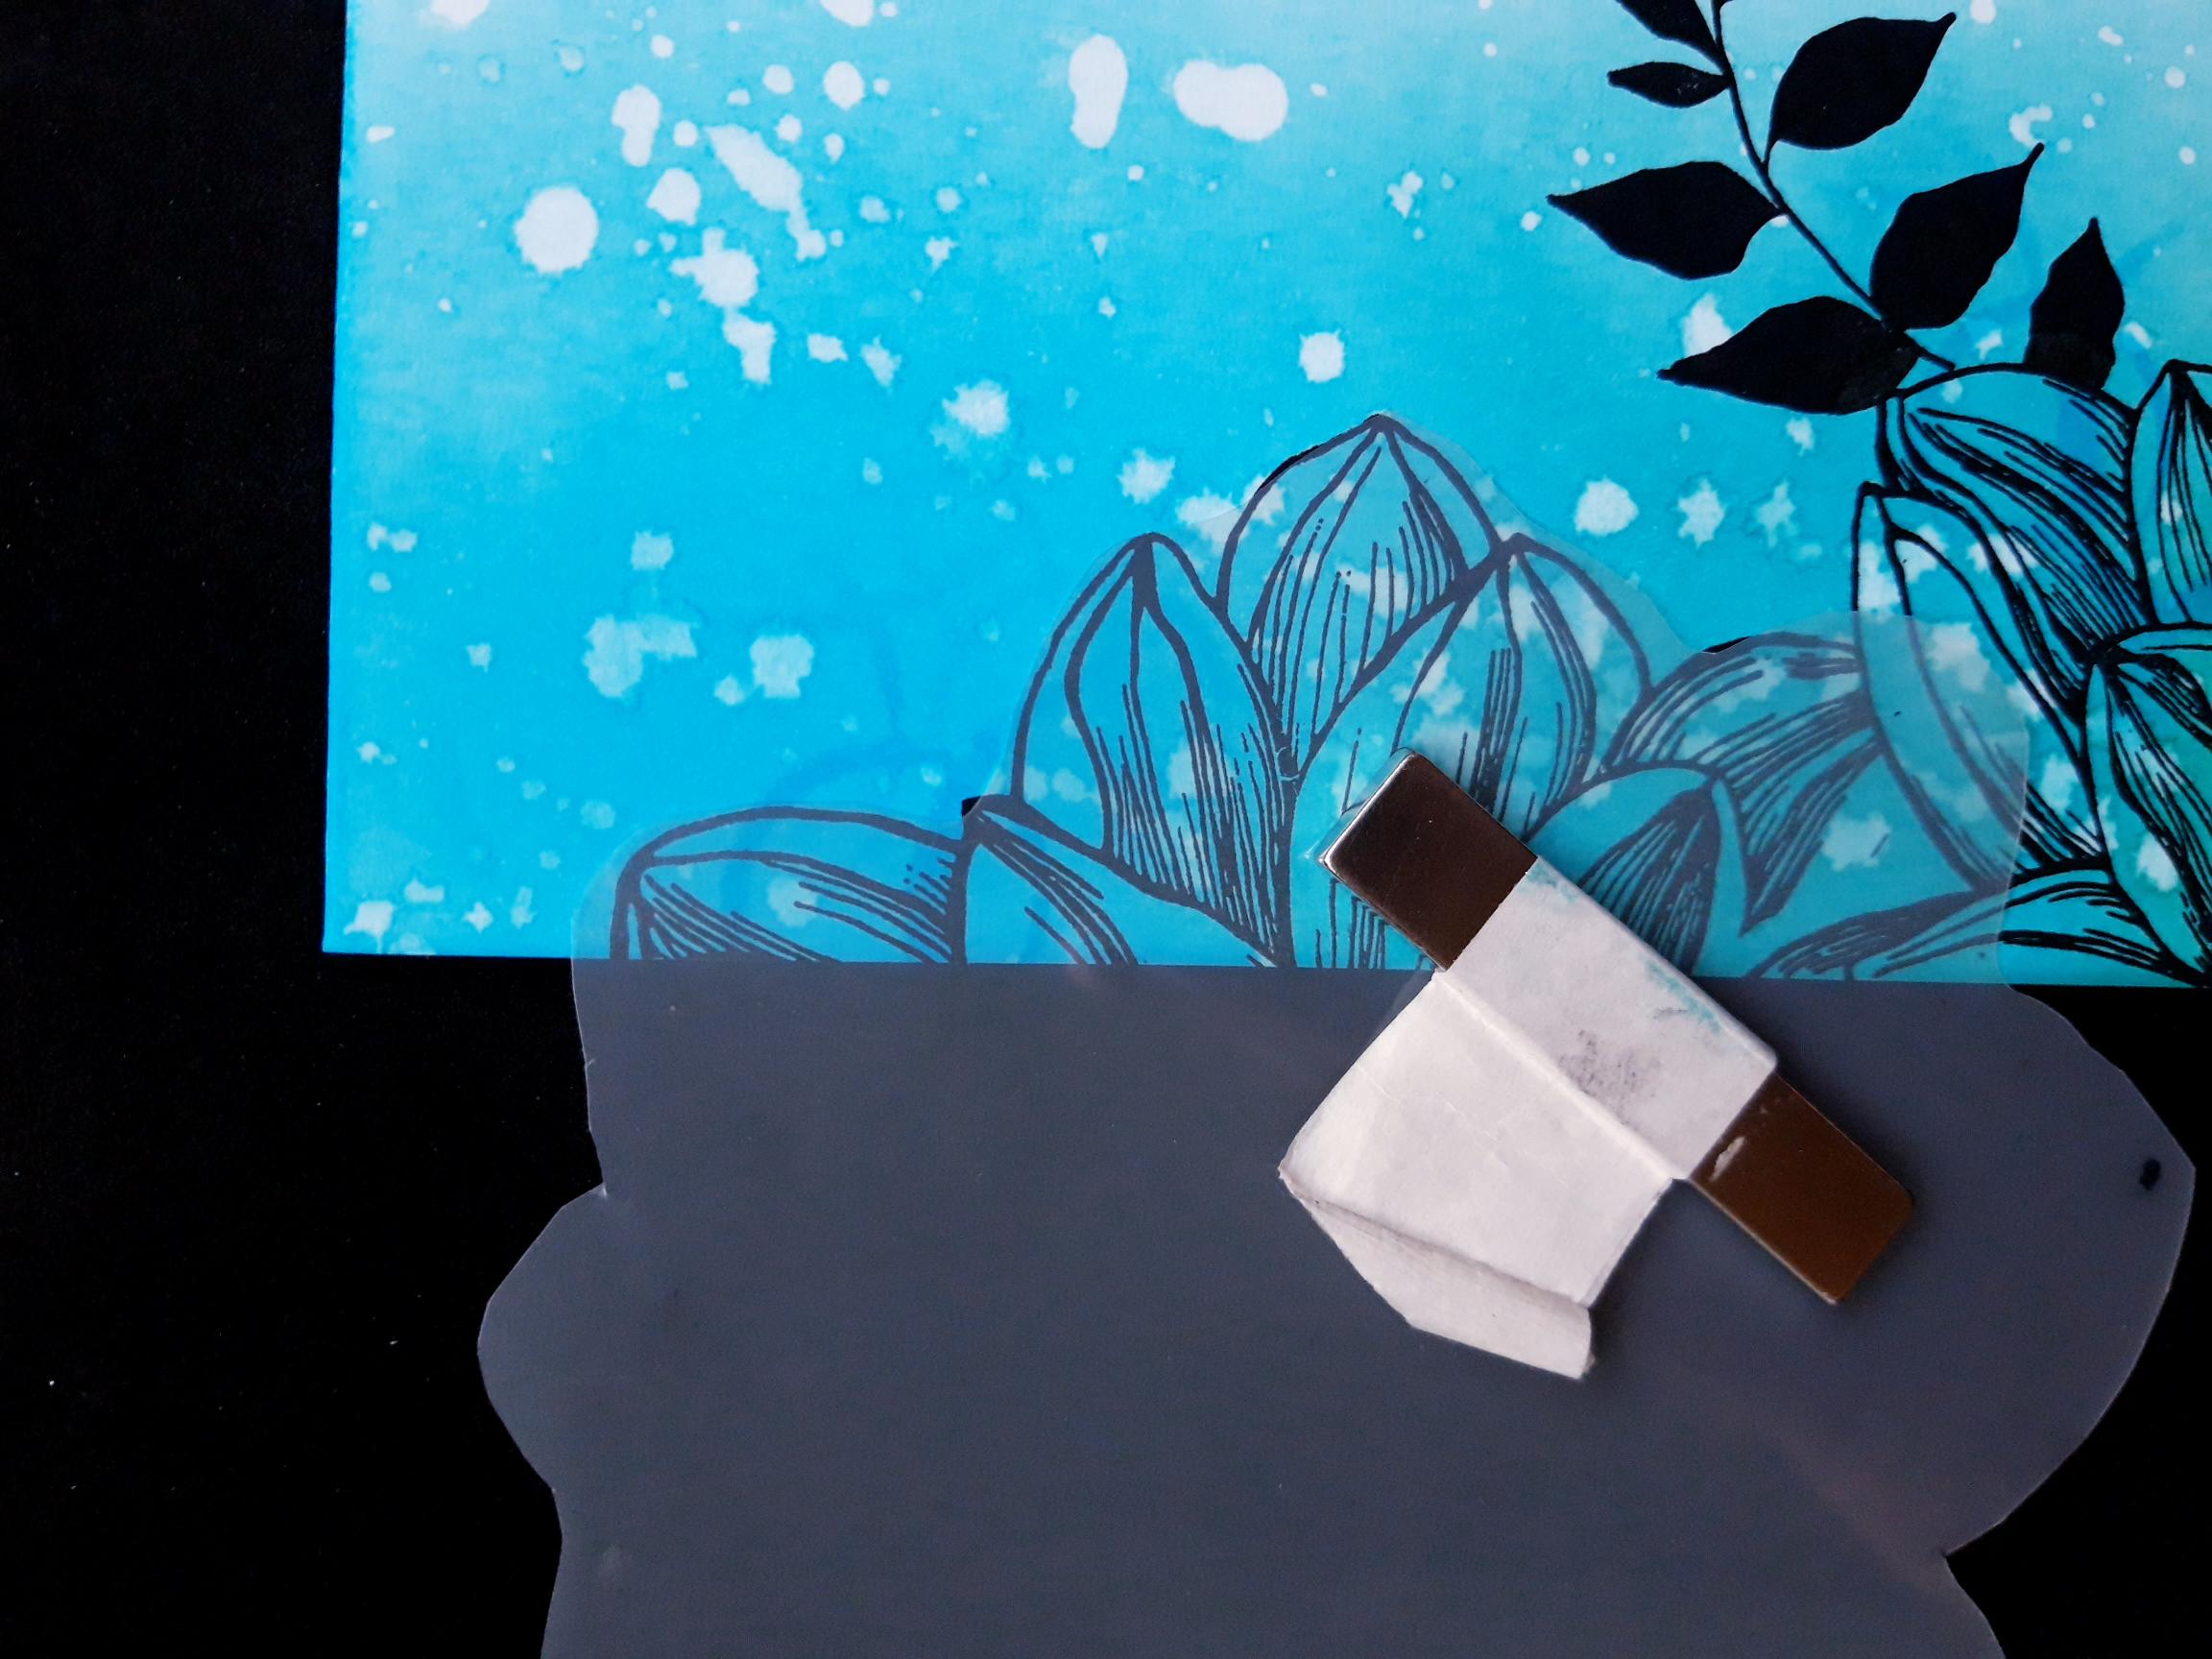
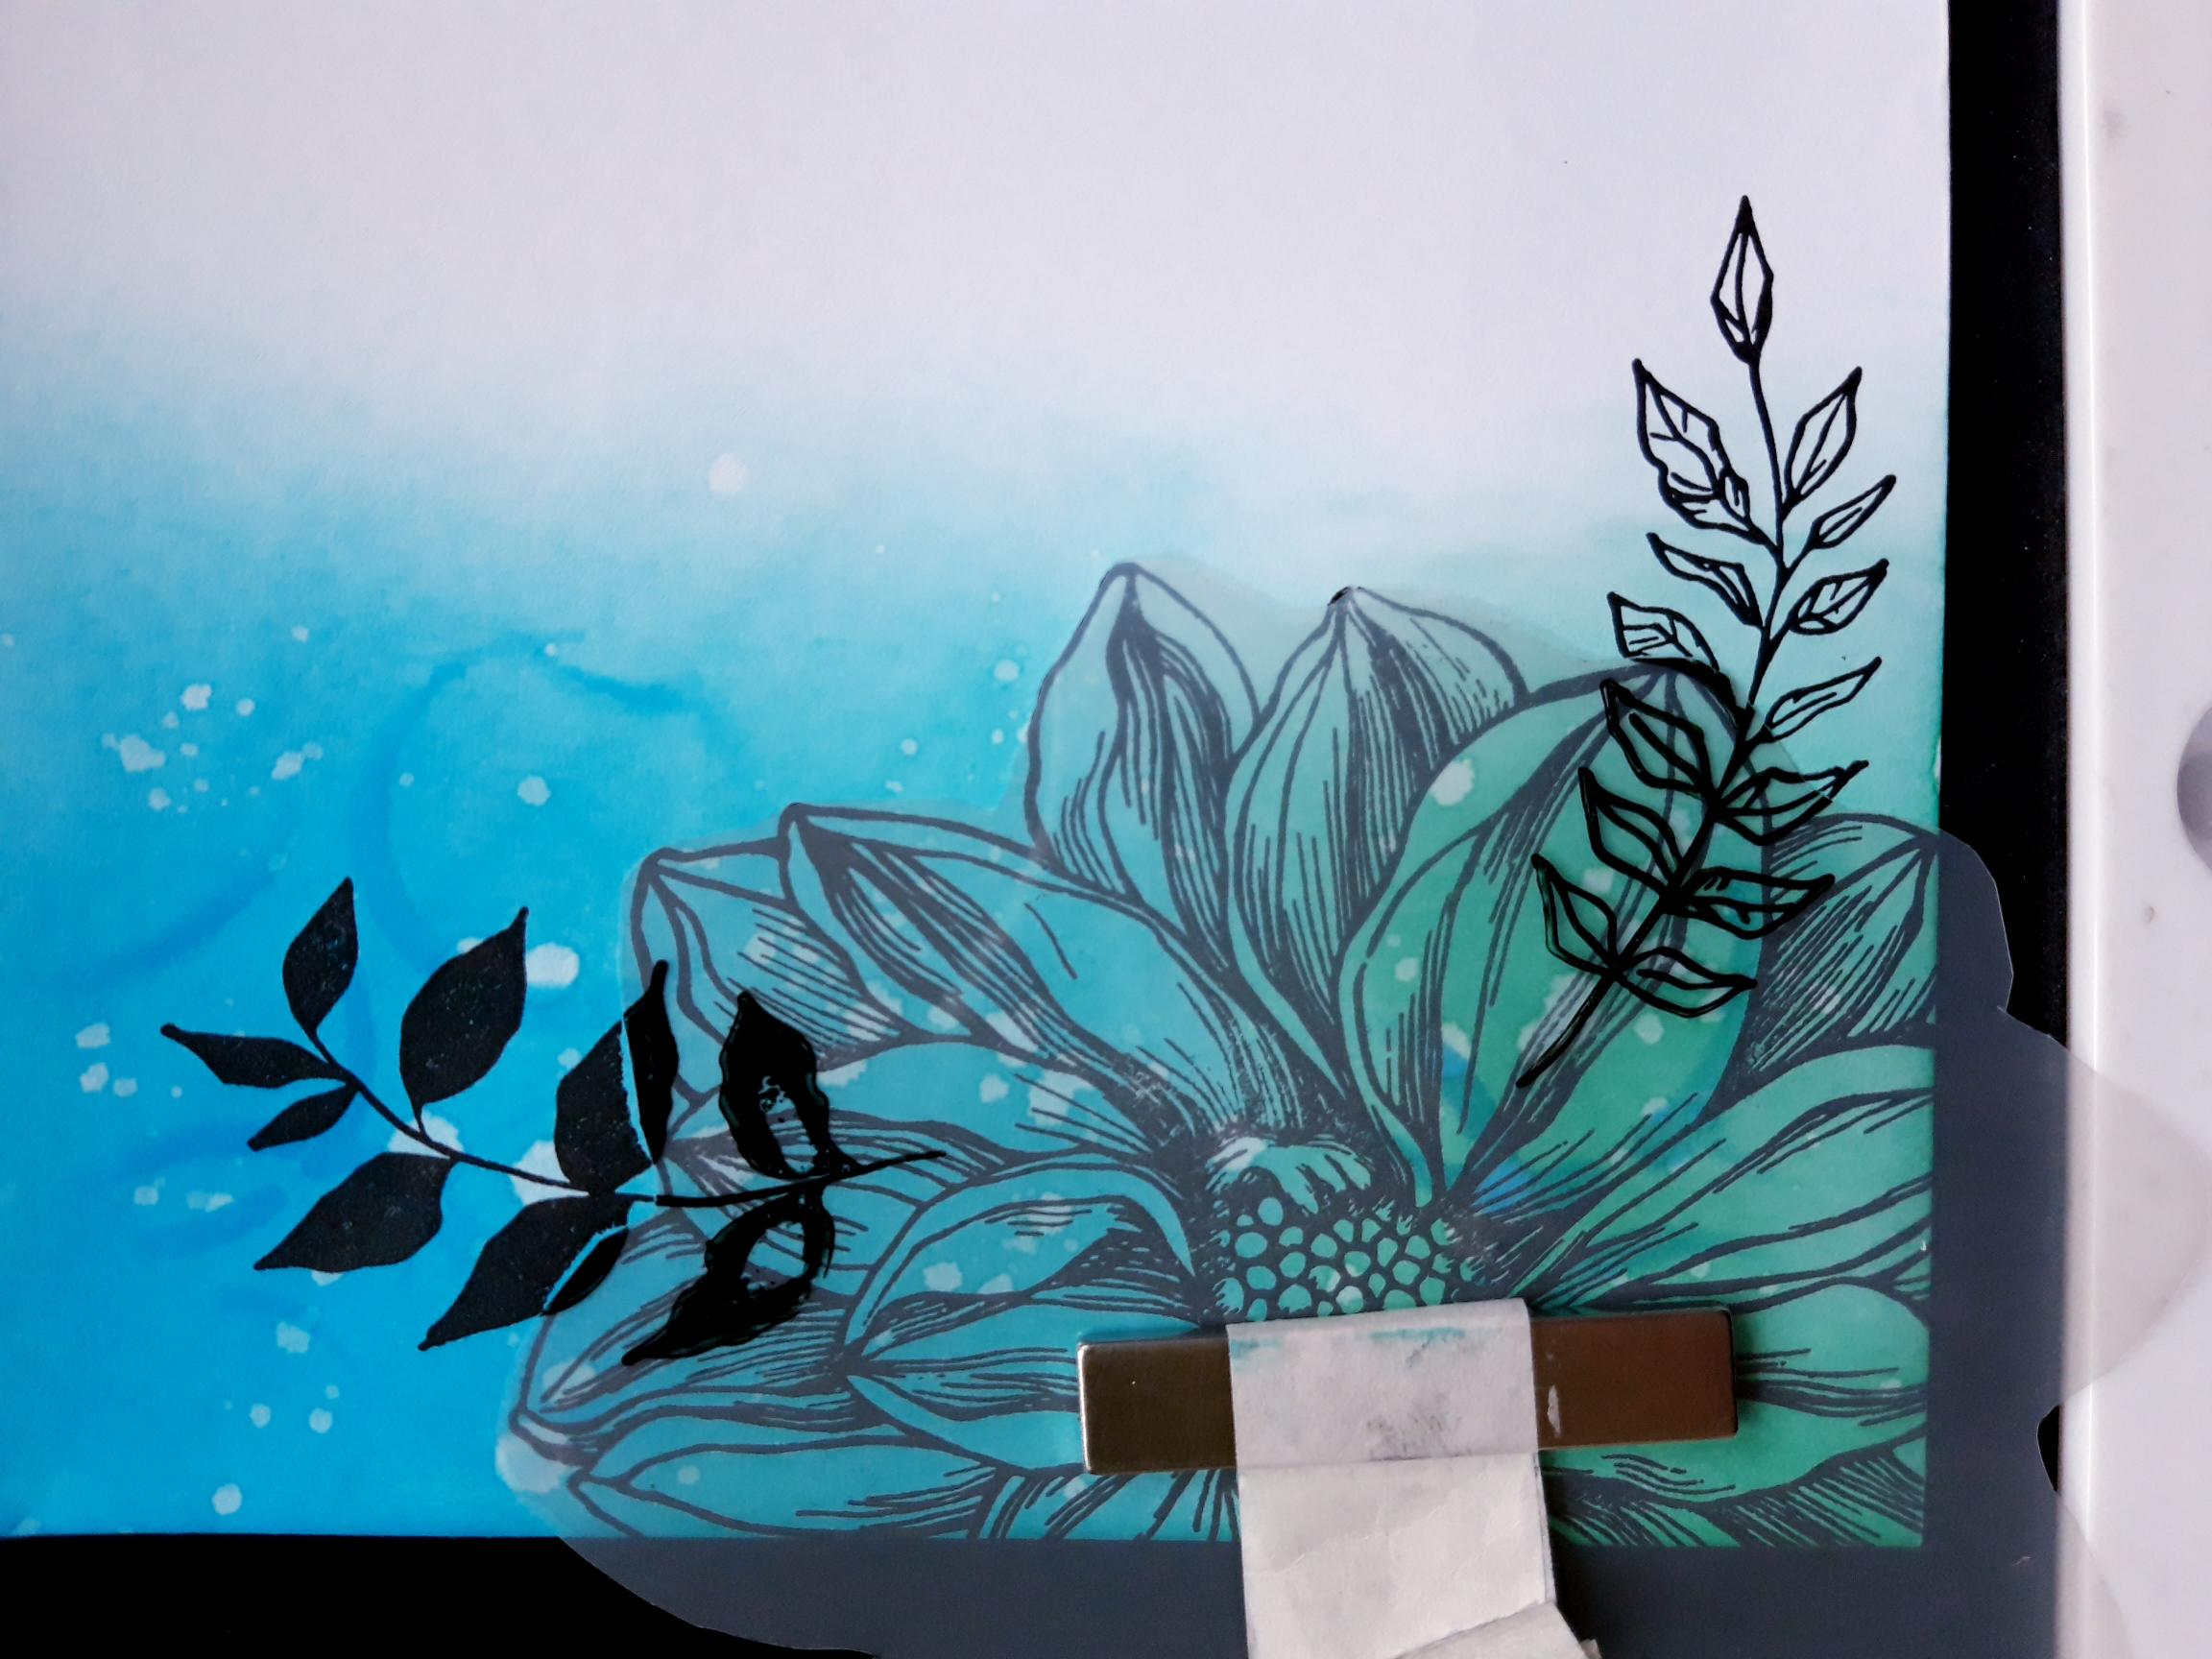
Place the mask you made, over your stamped image, securing it in place with the bar magnet. |
|
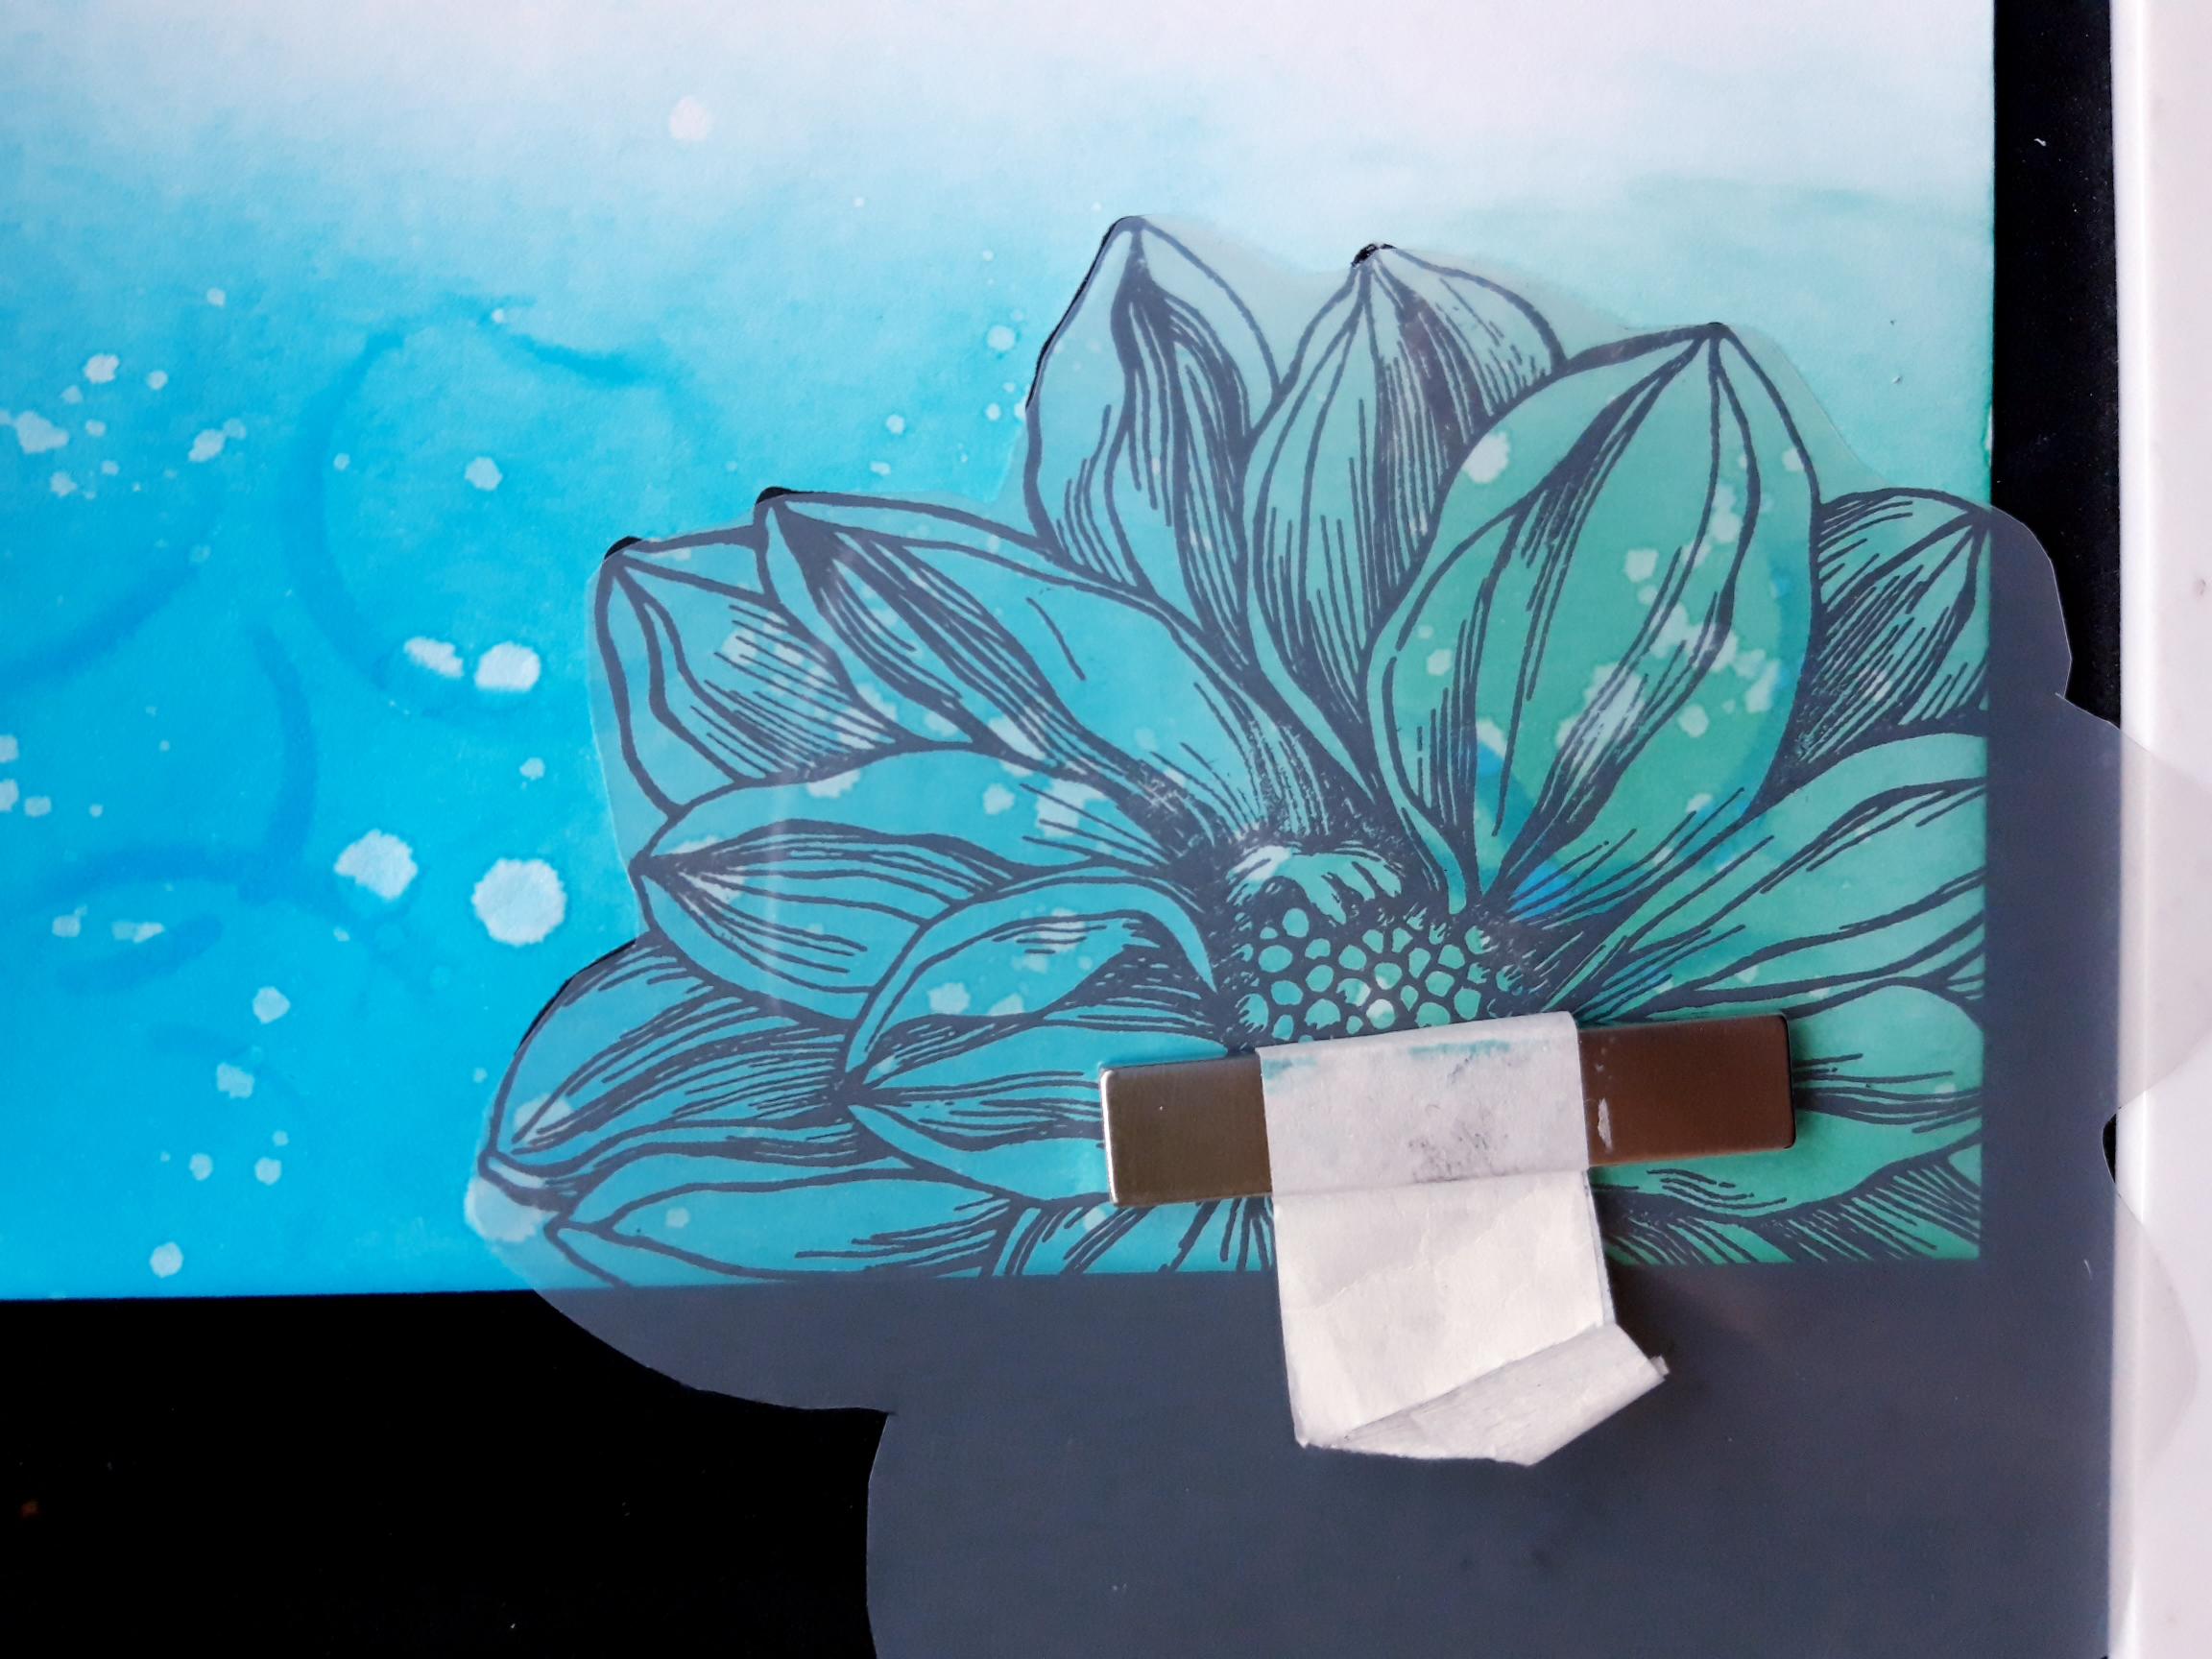
Ink up the same stamp again, and stamp just above the first image, but so it slightly overlaps on to the masking sheet. Keep the mask in place. |
|
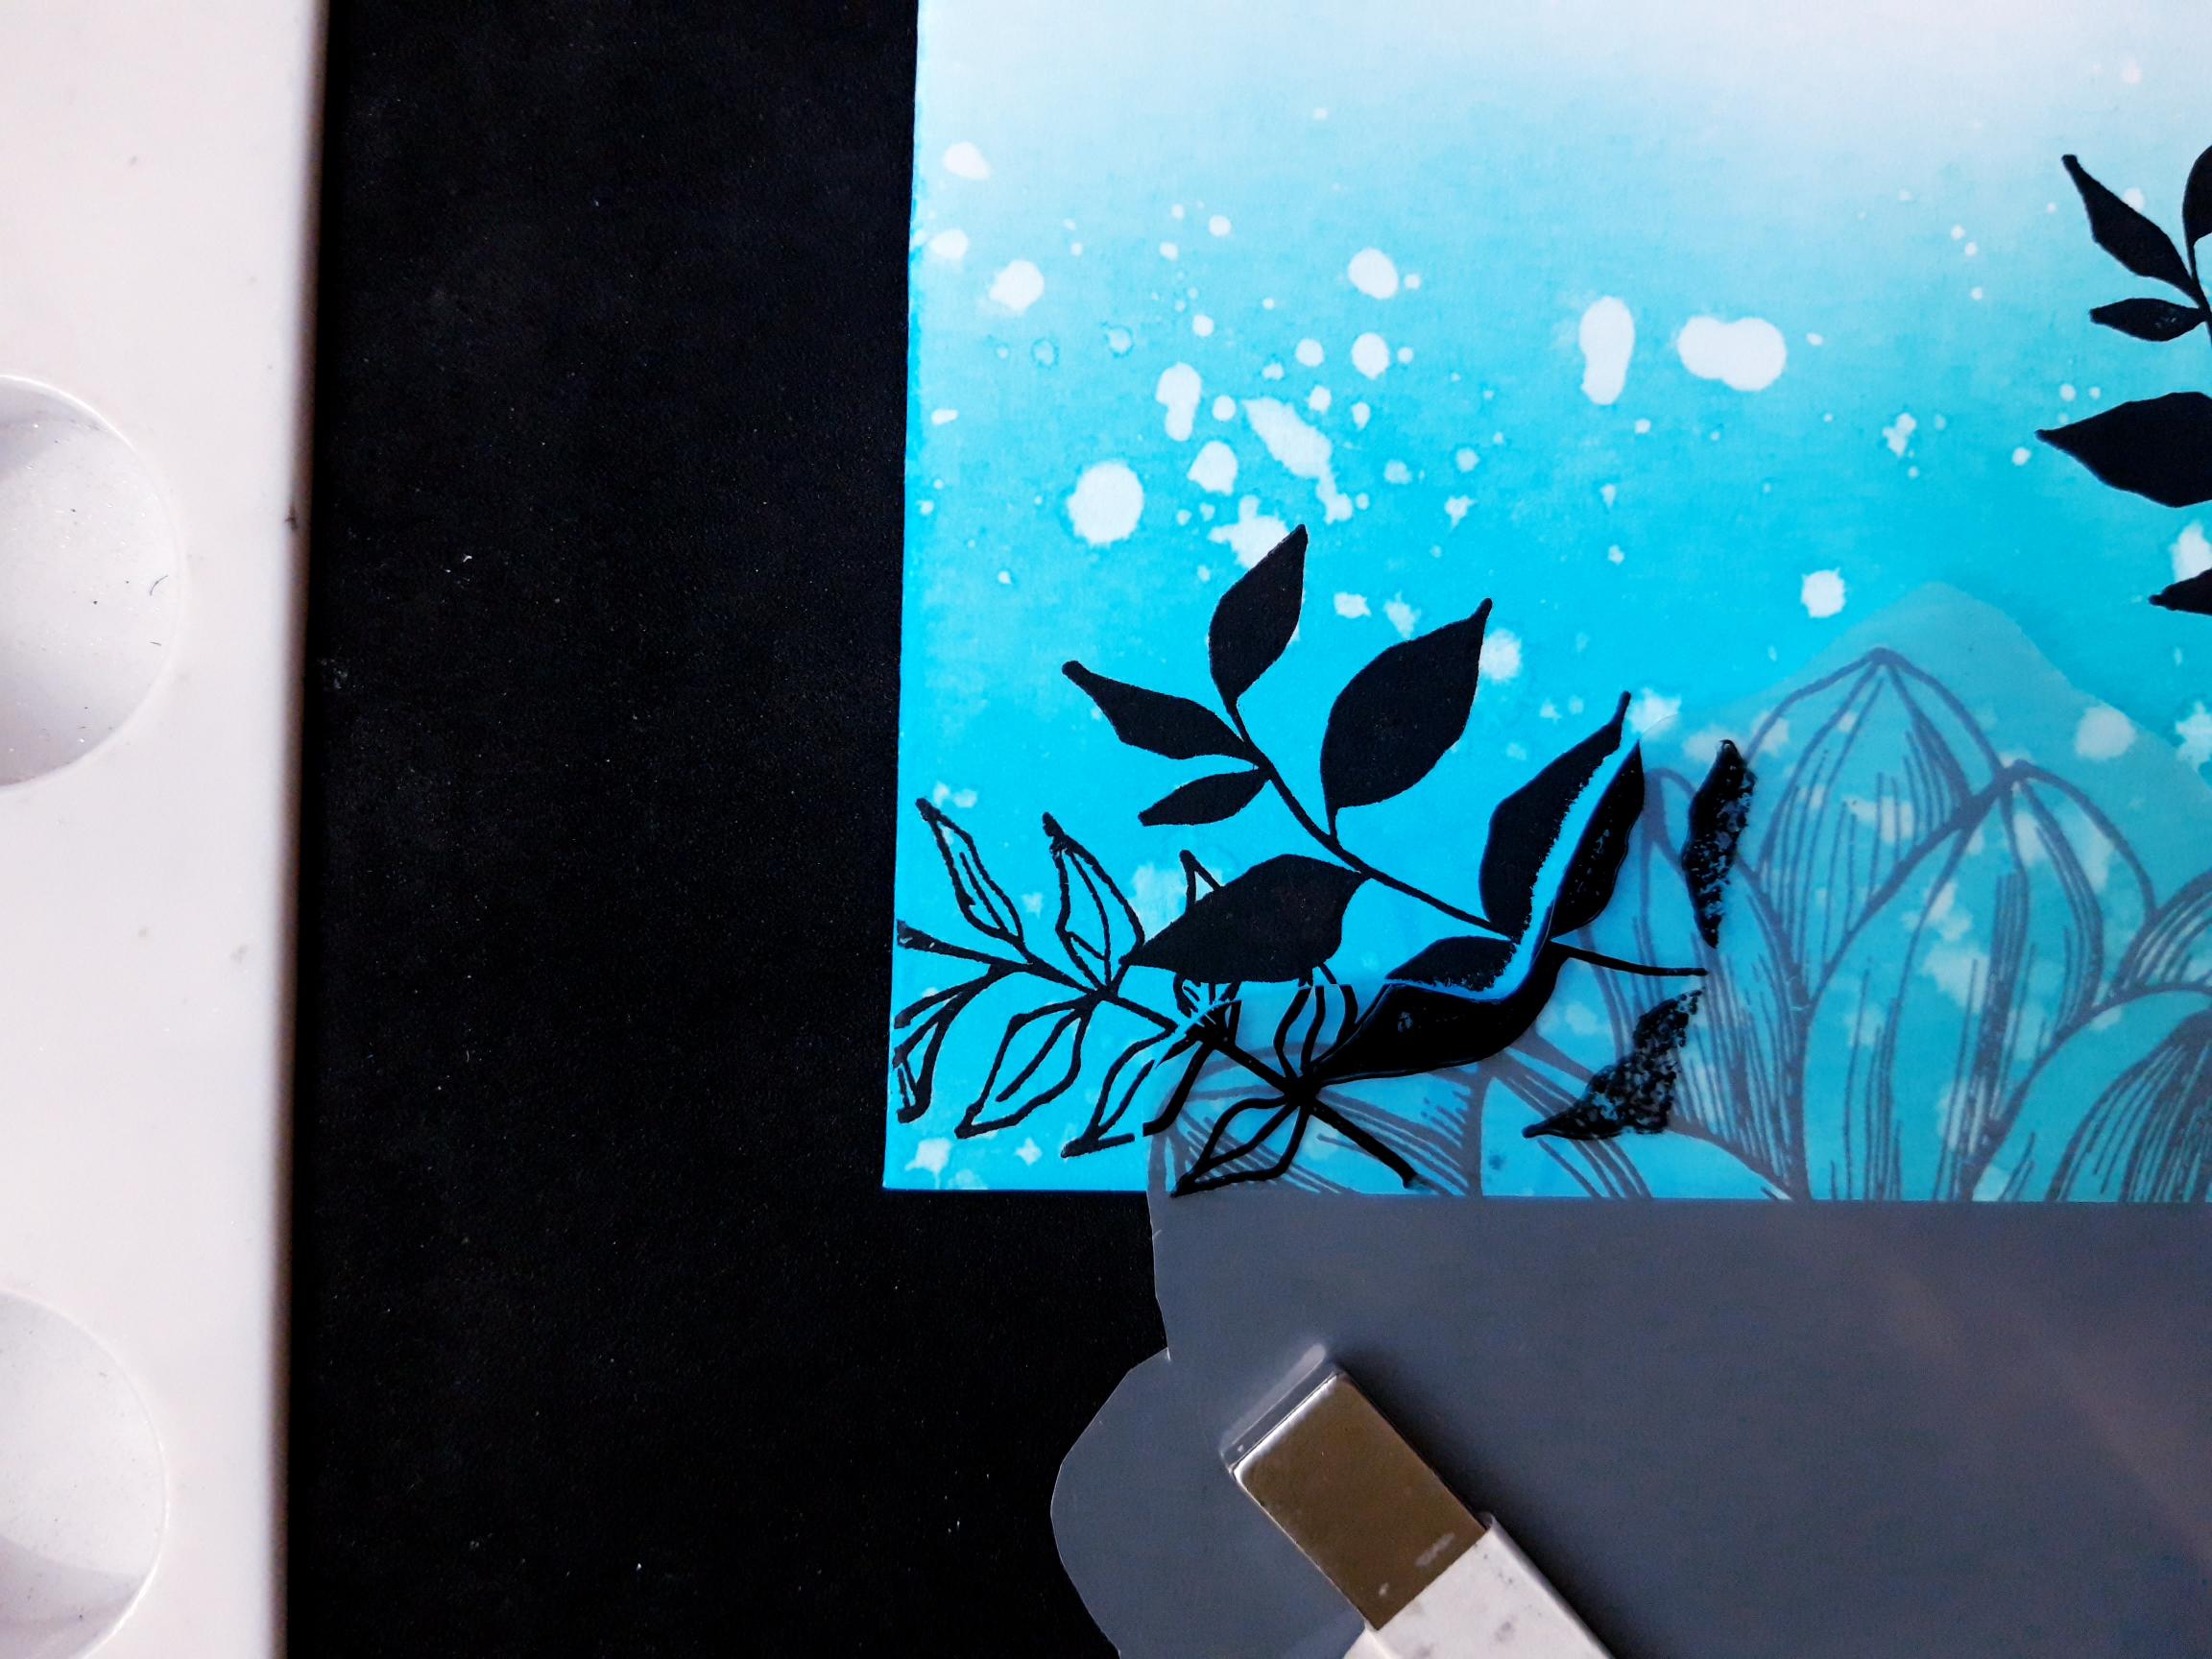
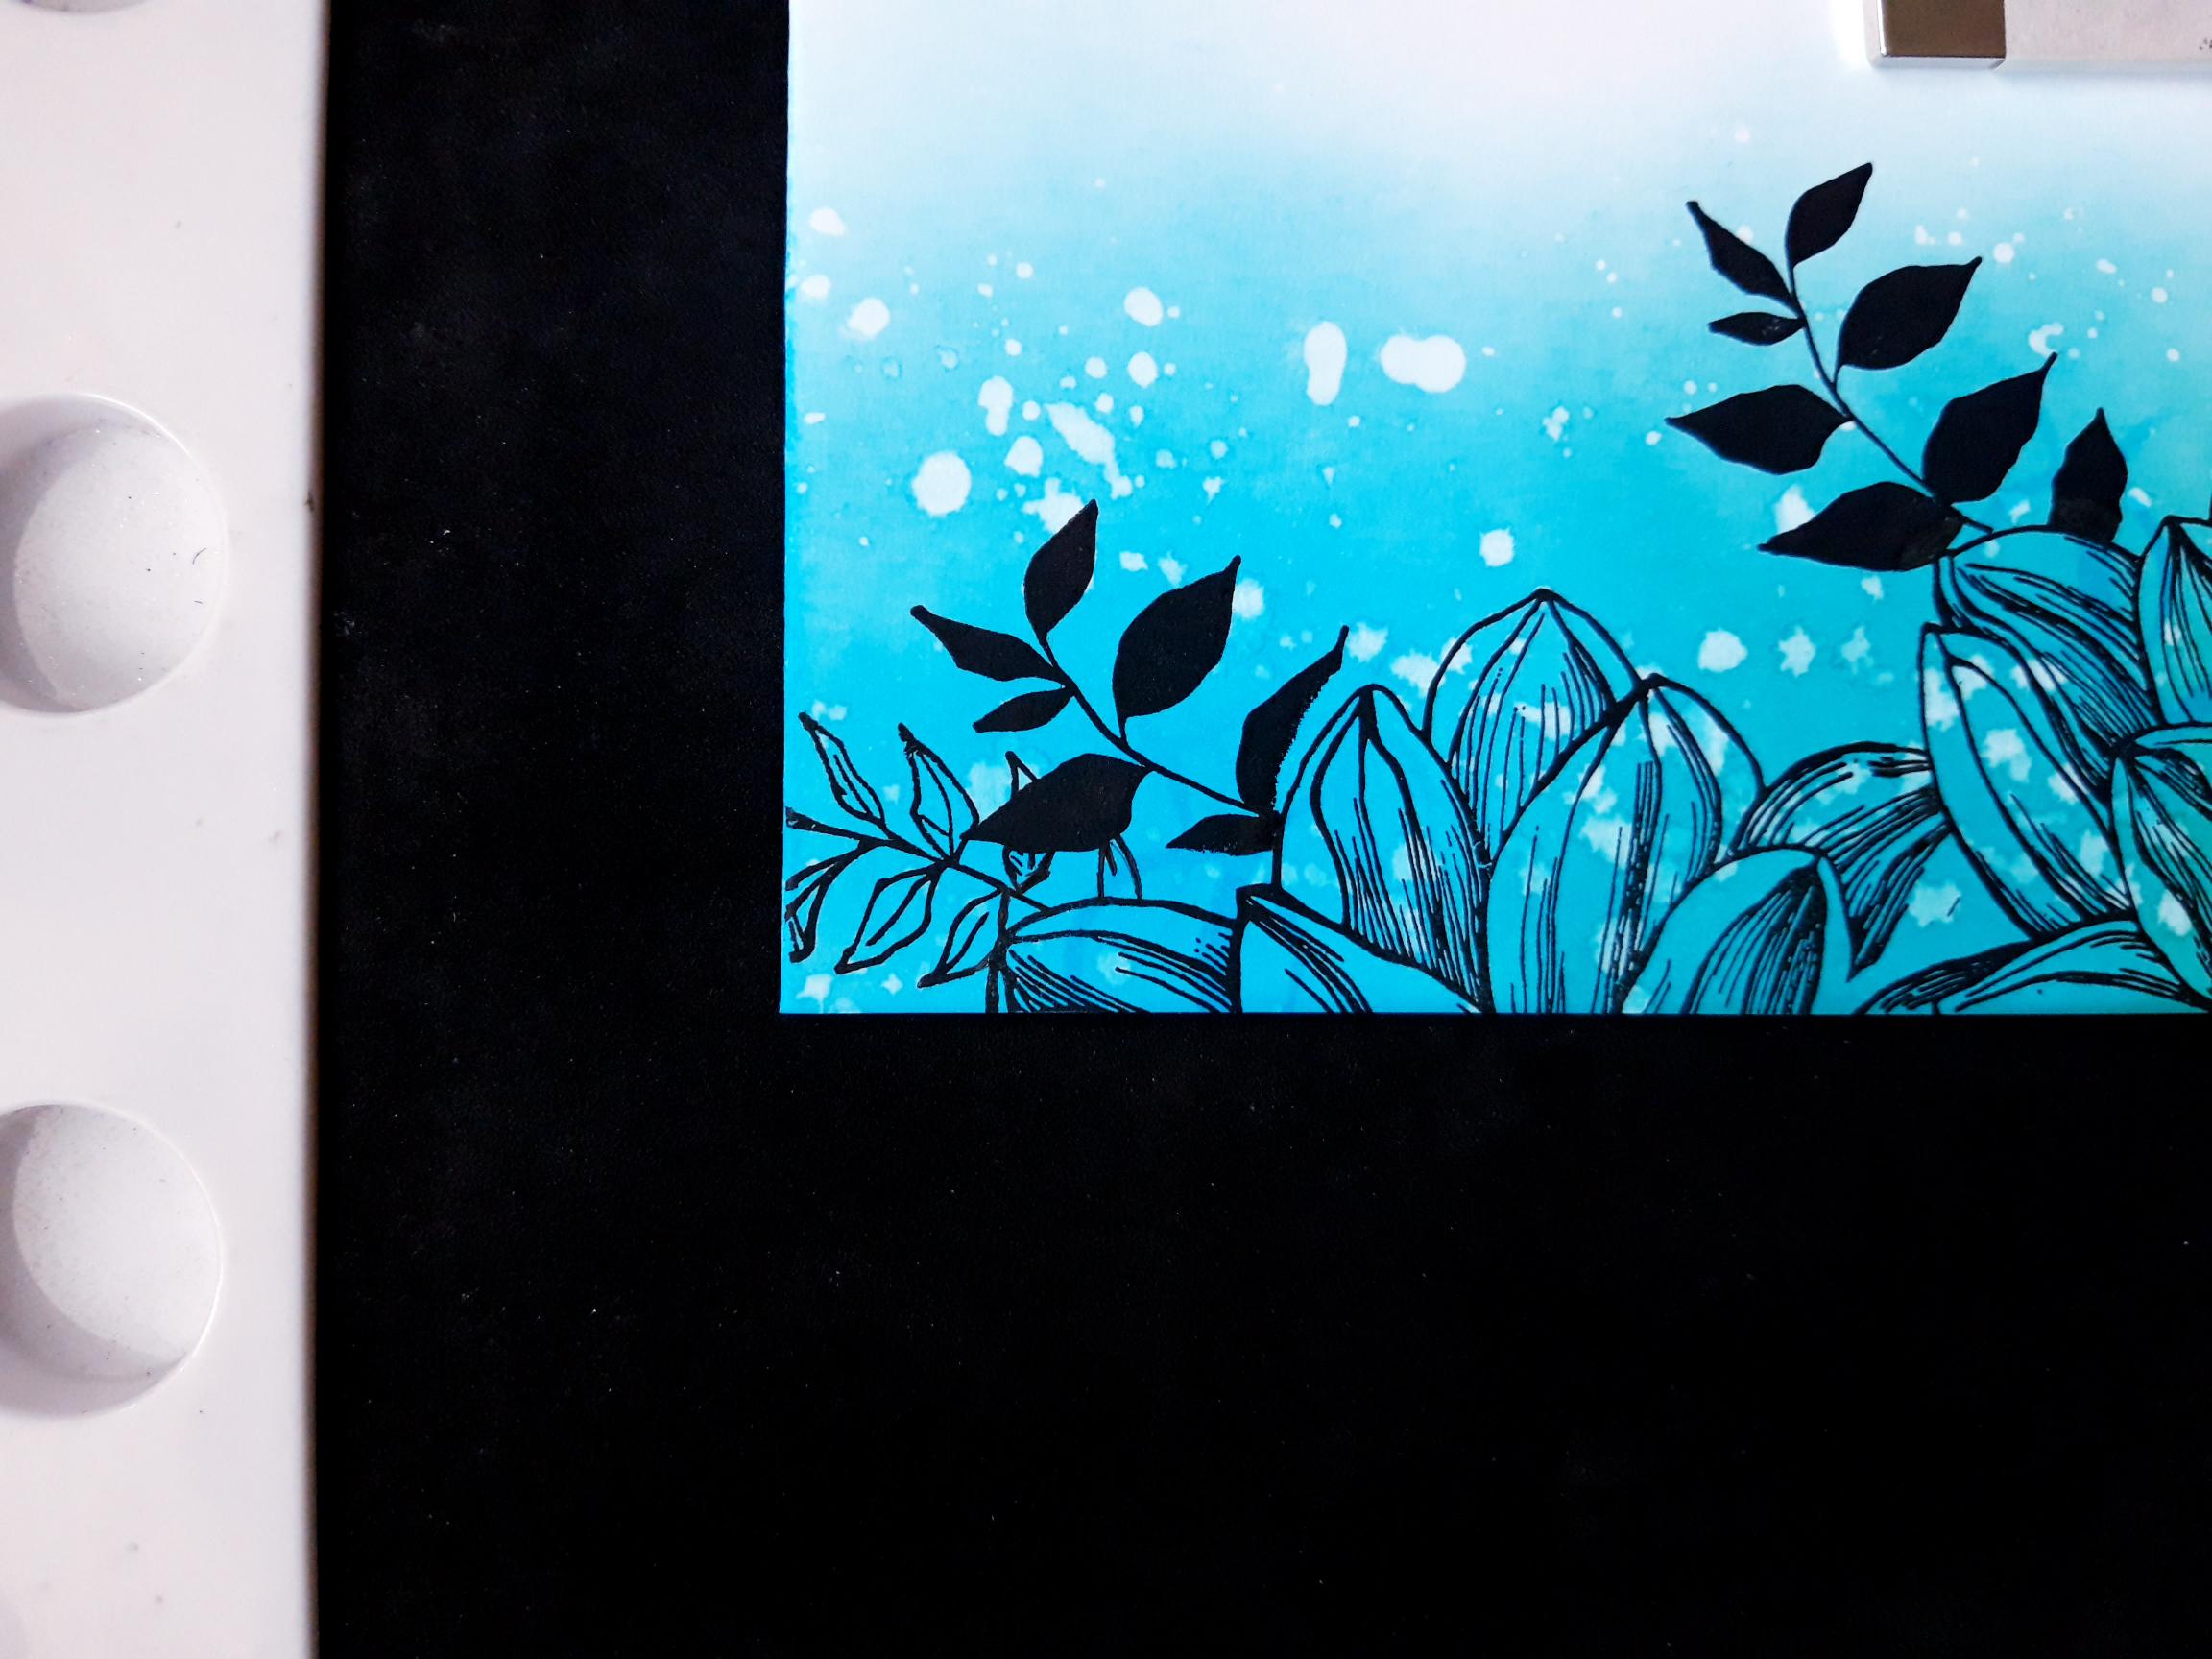
Ink up a foliage stamp, from the same set, with the Versafine. Stamp it coming out from the bottom right of the masked floral image. |
|
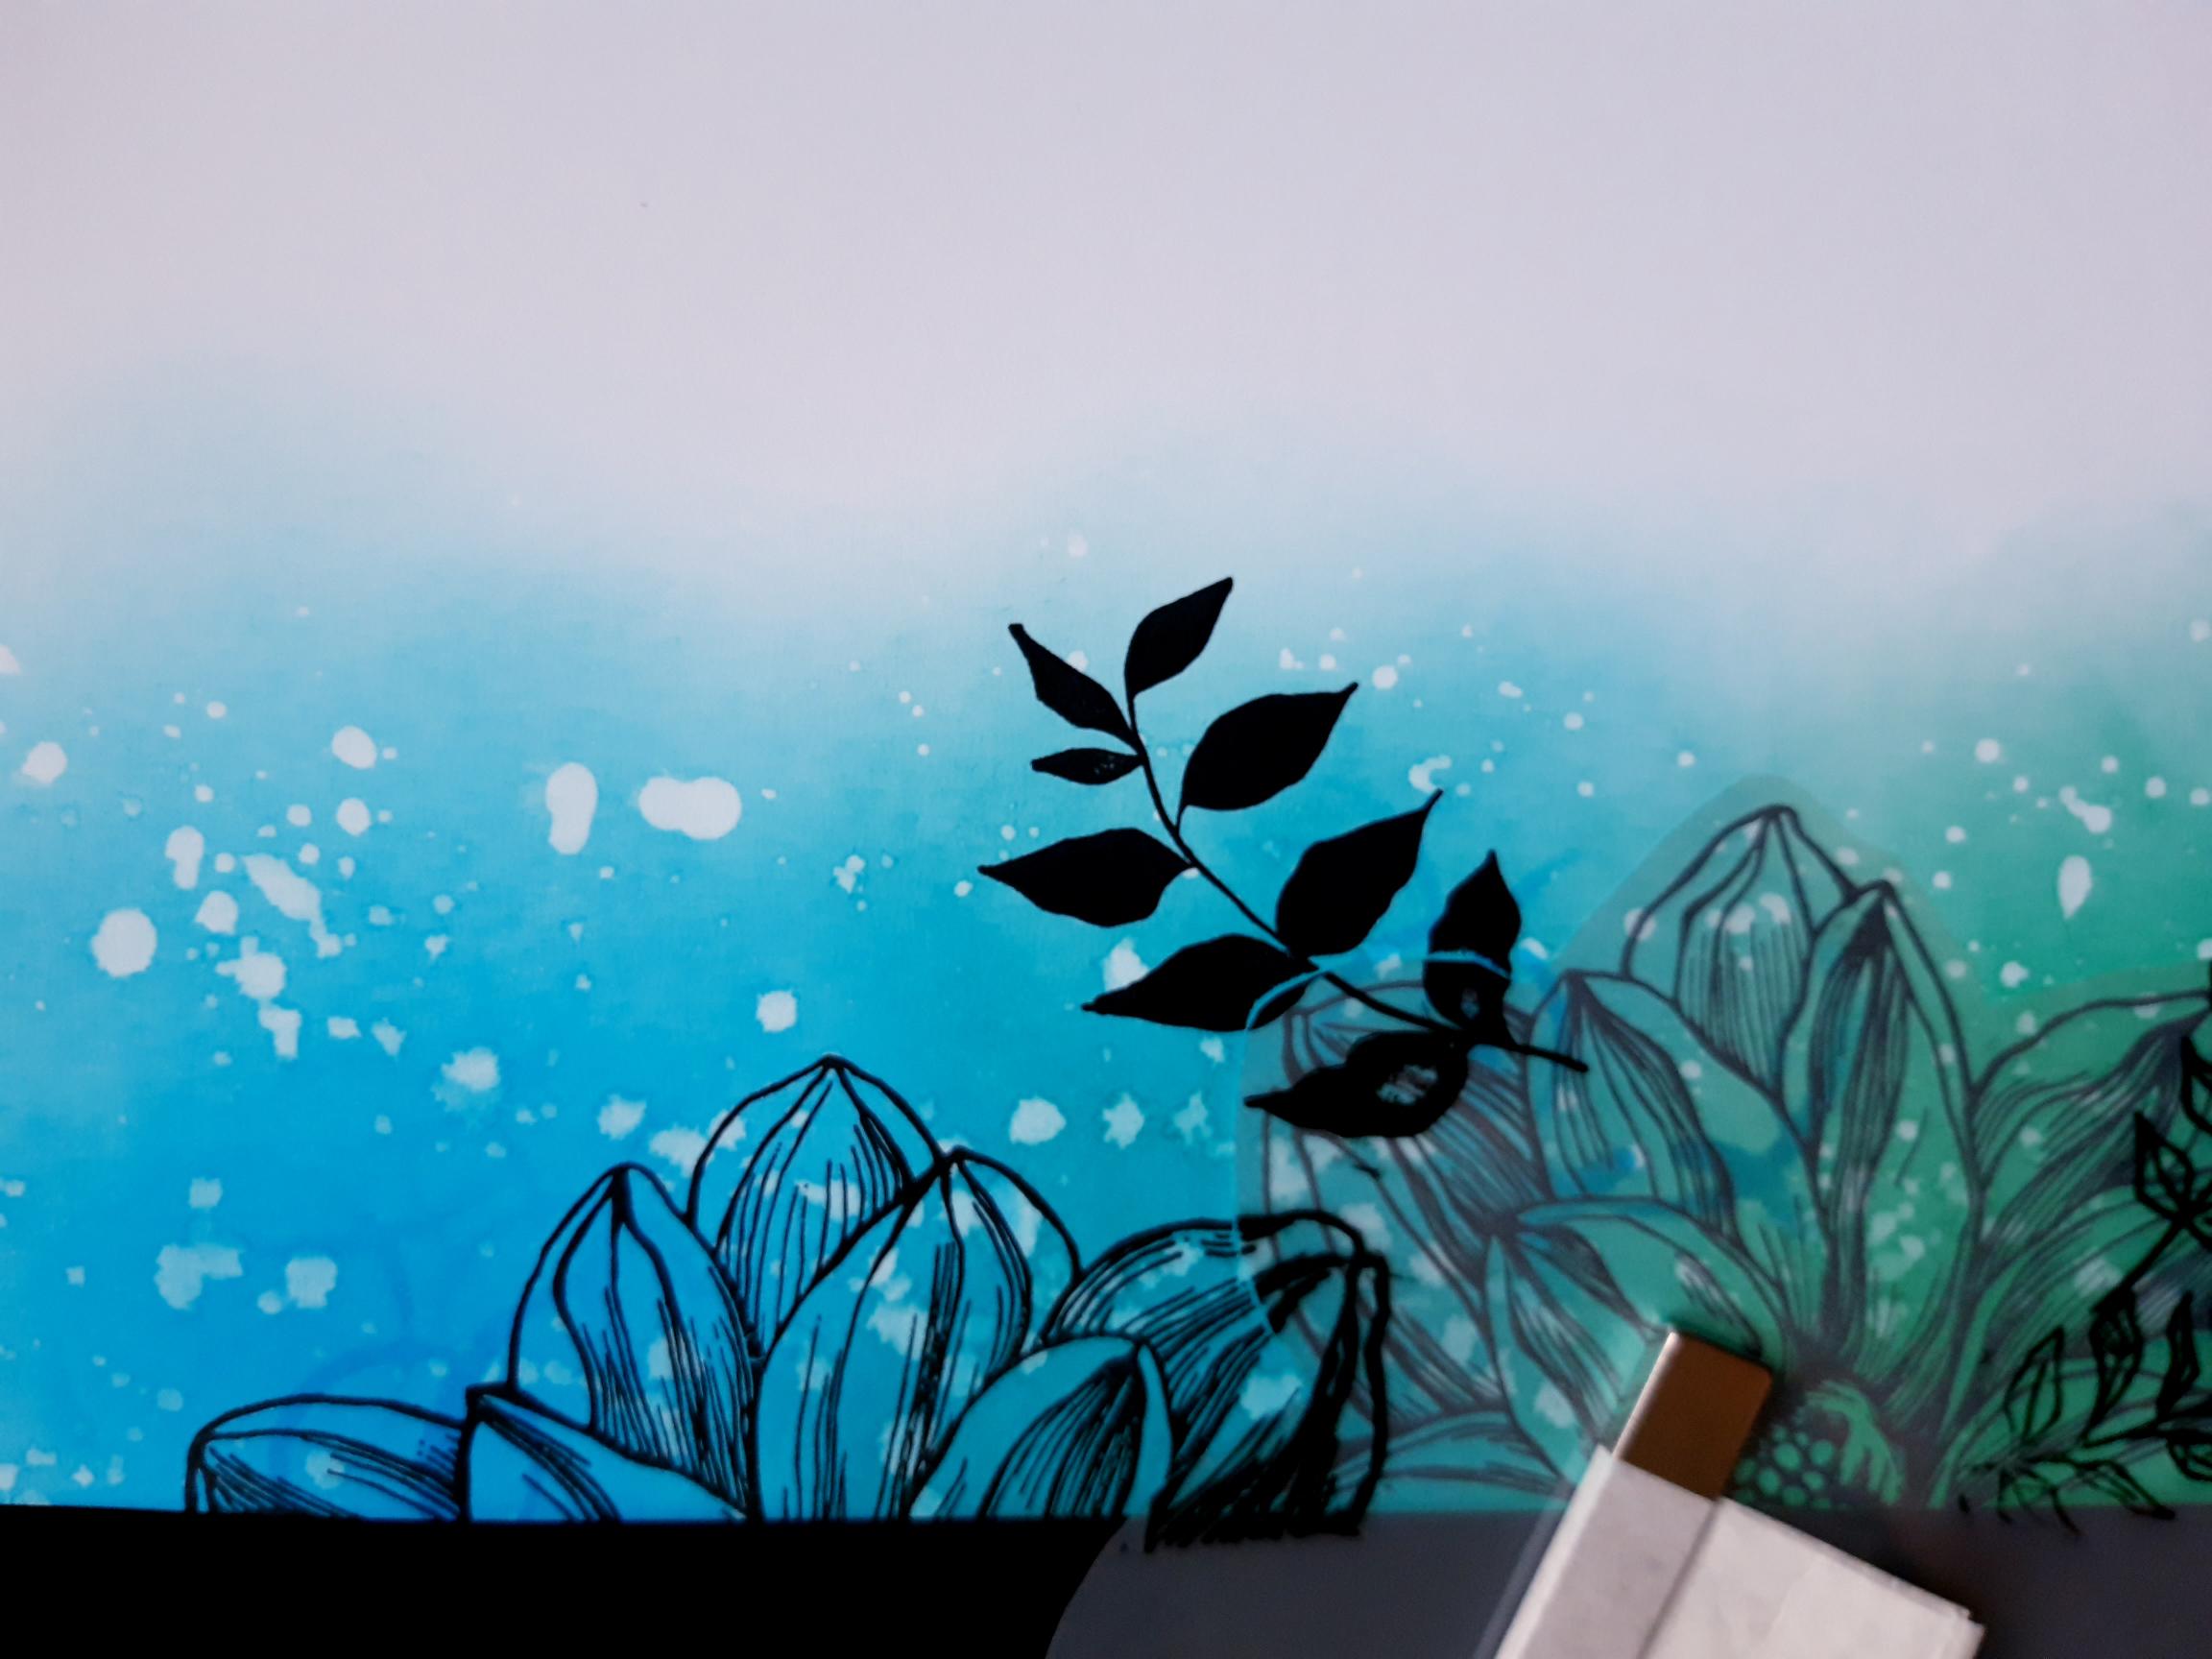
Ink up the silhouette foliage stamp, from the same set, with the Versafine, and stamp it coming out from the top of the same masked off stamped flower. |
|
Carefully remove the mask and dry off the ink. Place the mask over the other stamped floral image, and secure with bar magnet. |
|
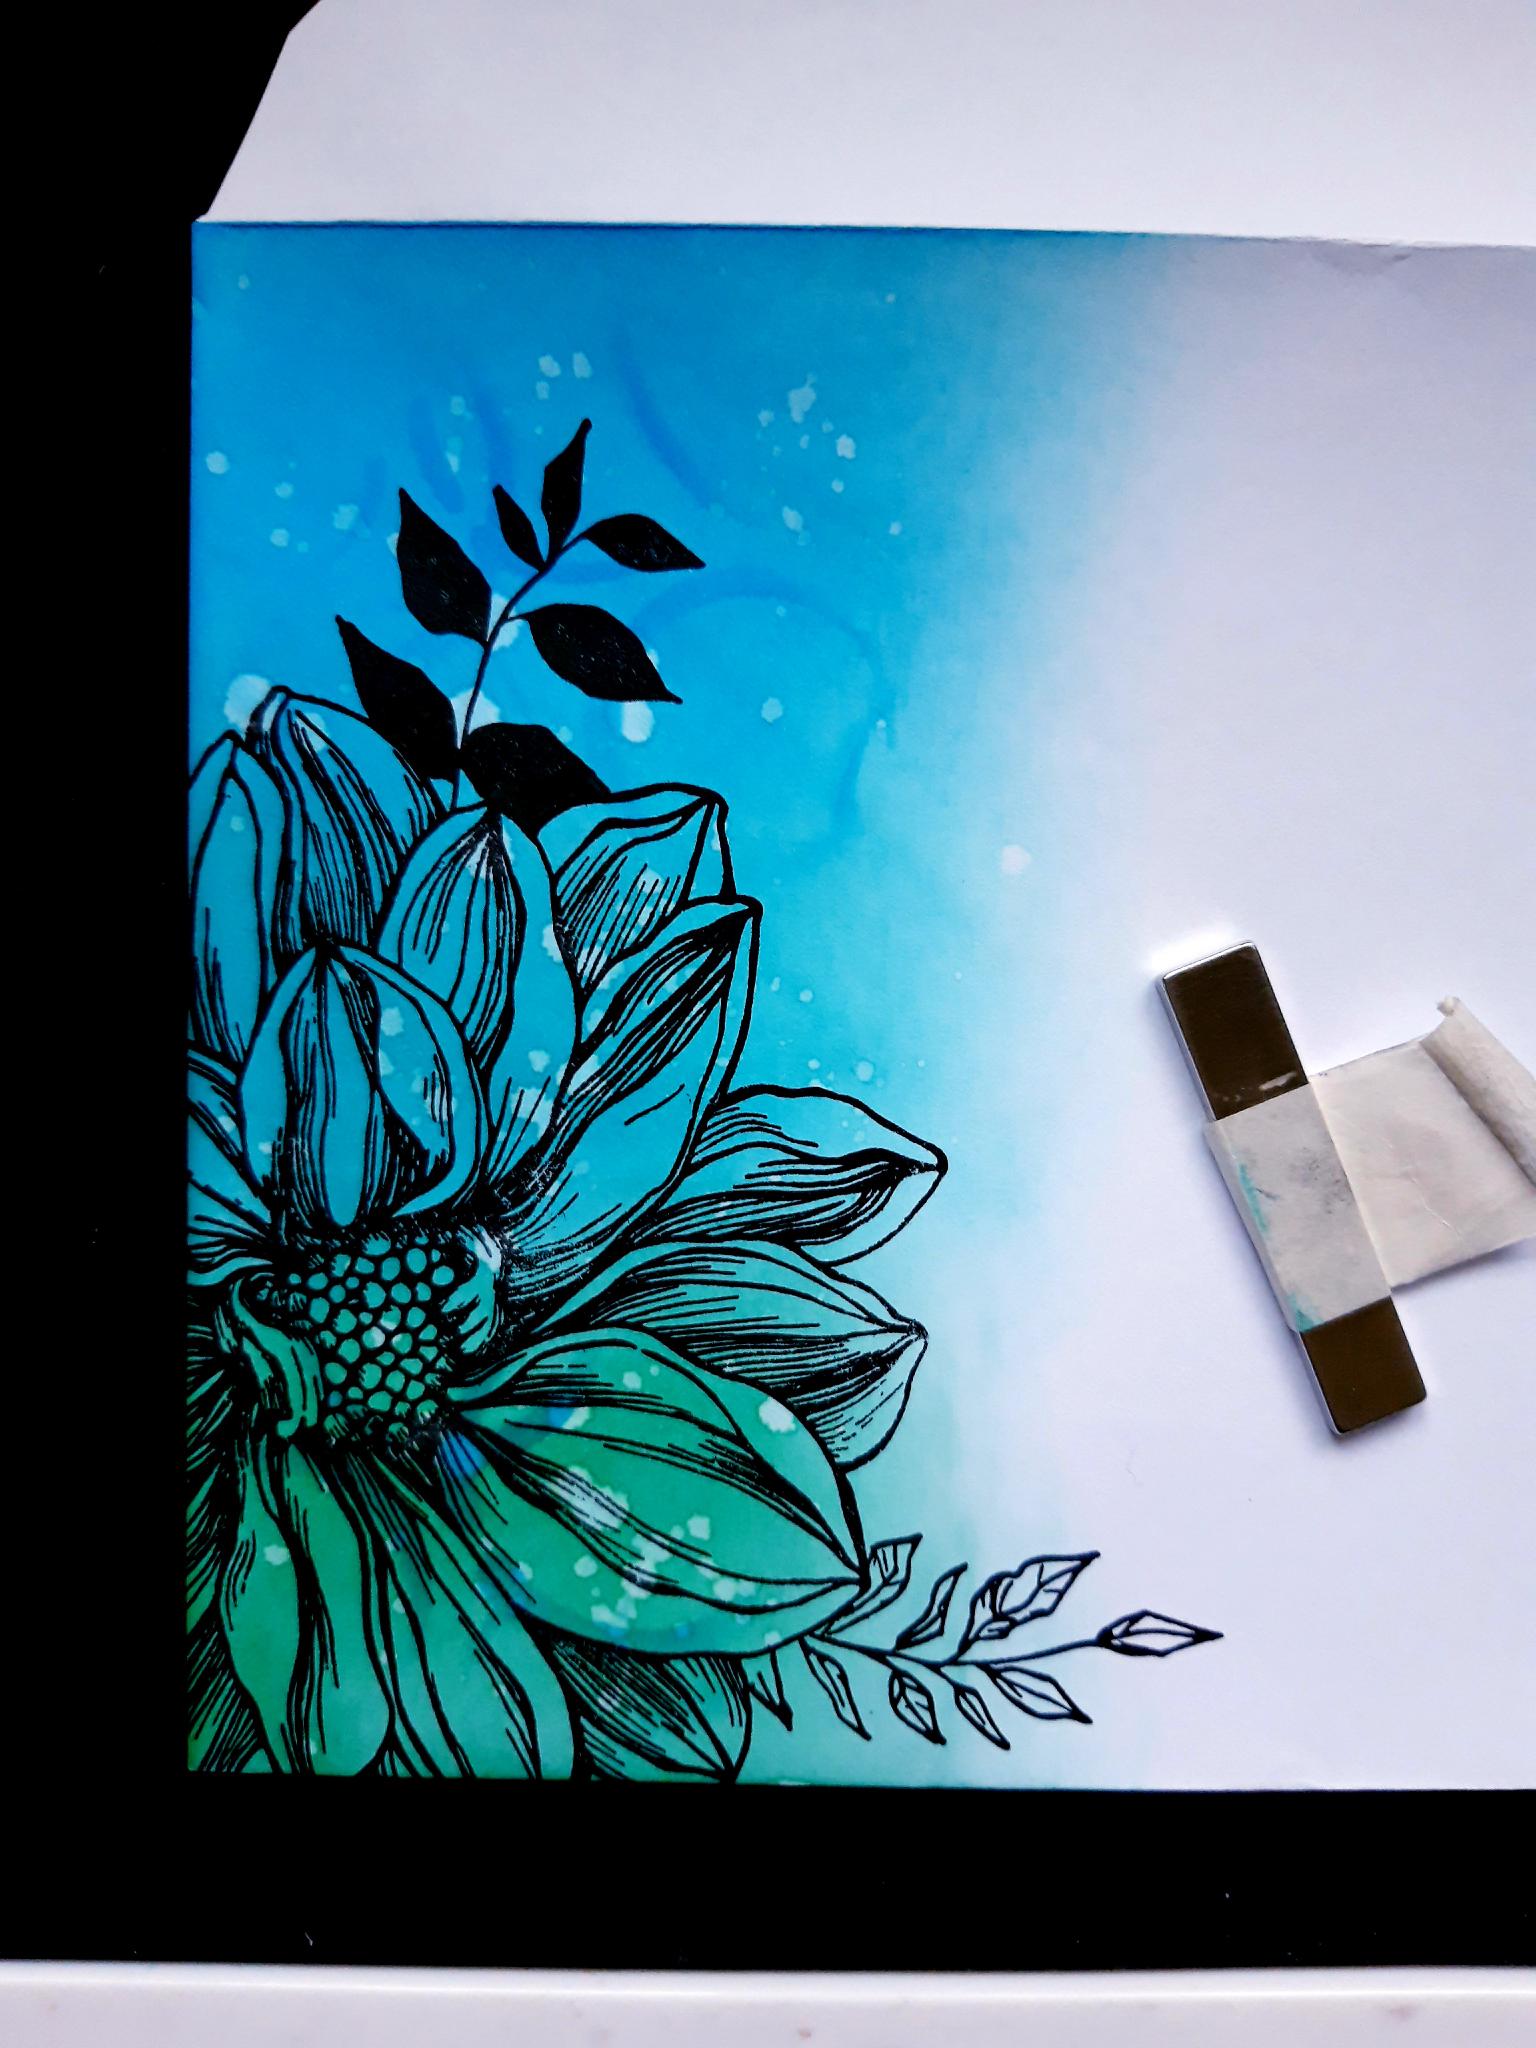
Ink up the open foliage stamp from the same set, with the Versafine, and stamp coming up from the top of the masked off flower. Ink up the silhouette foliage stamp with the Versafine, and stamp so it slightly overlaps the other stamped foliage. |
|
Remove mask, and dry off all your artwork. |
|
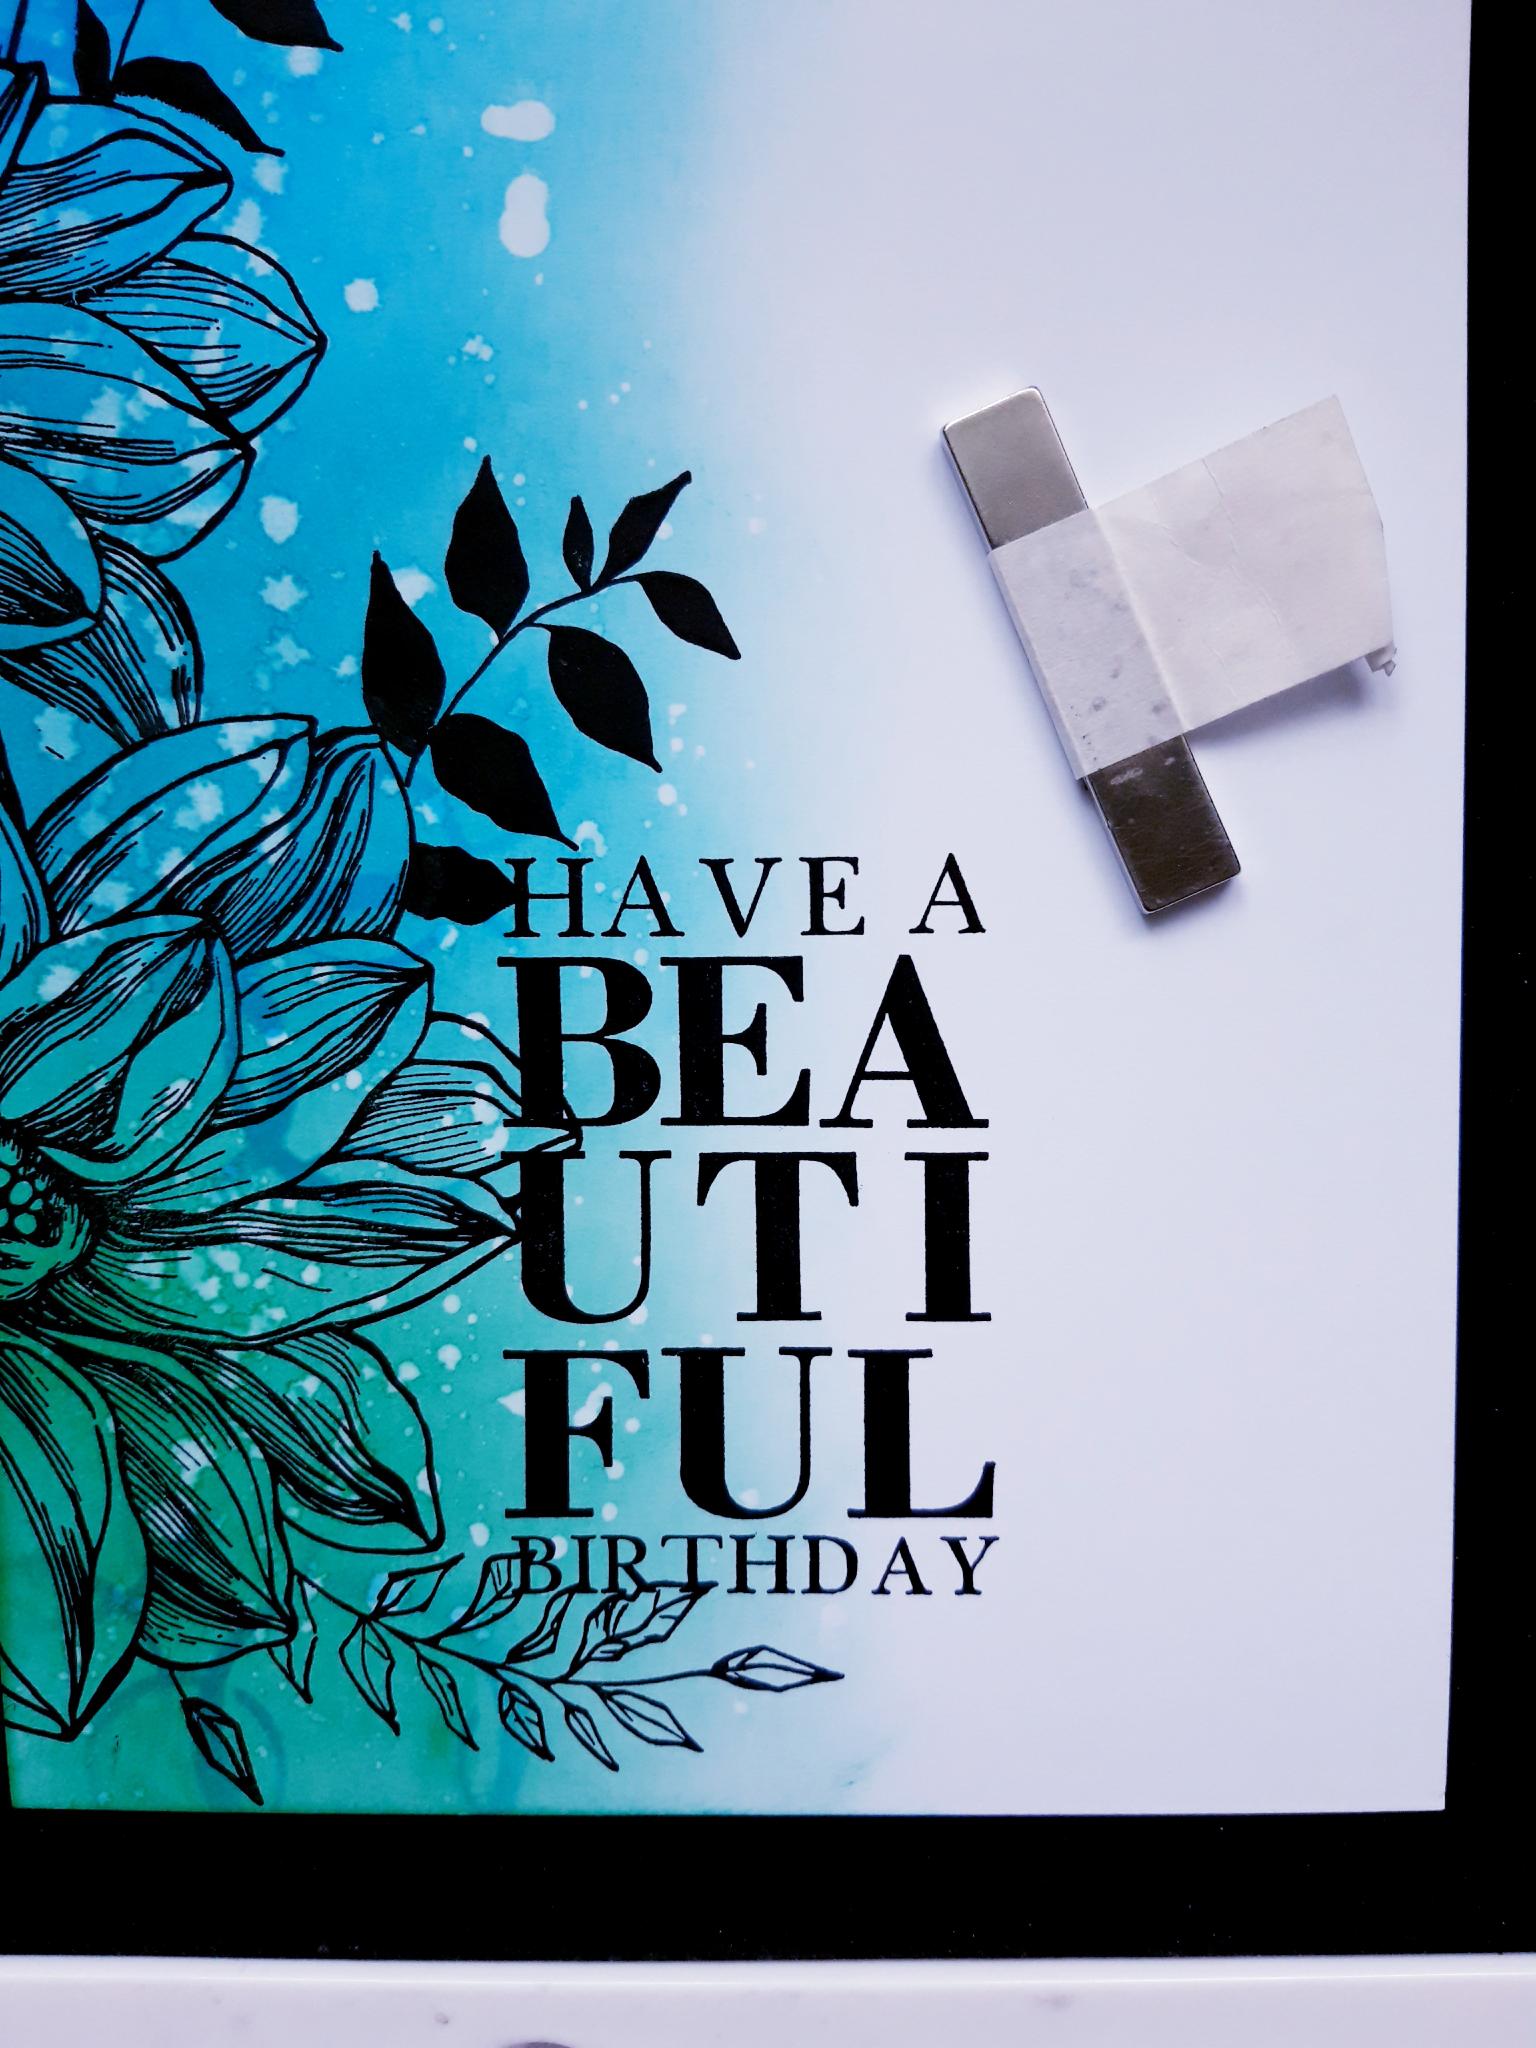
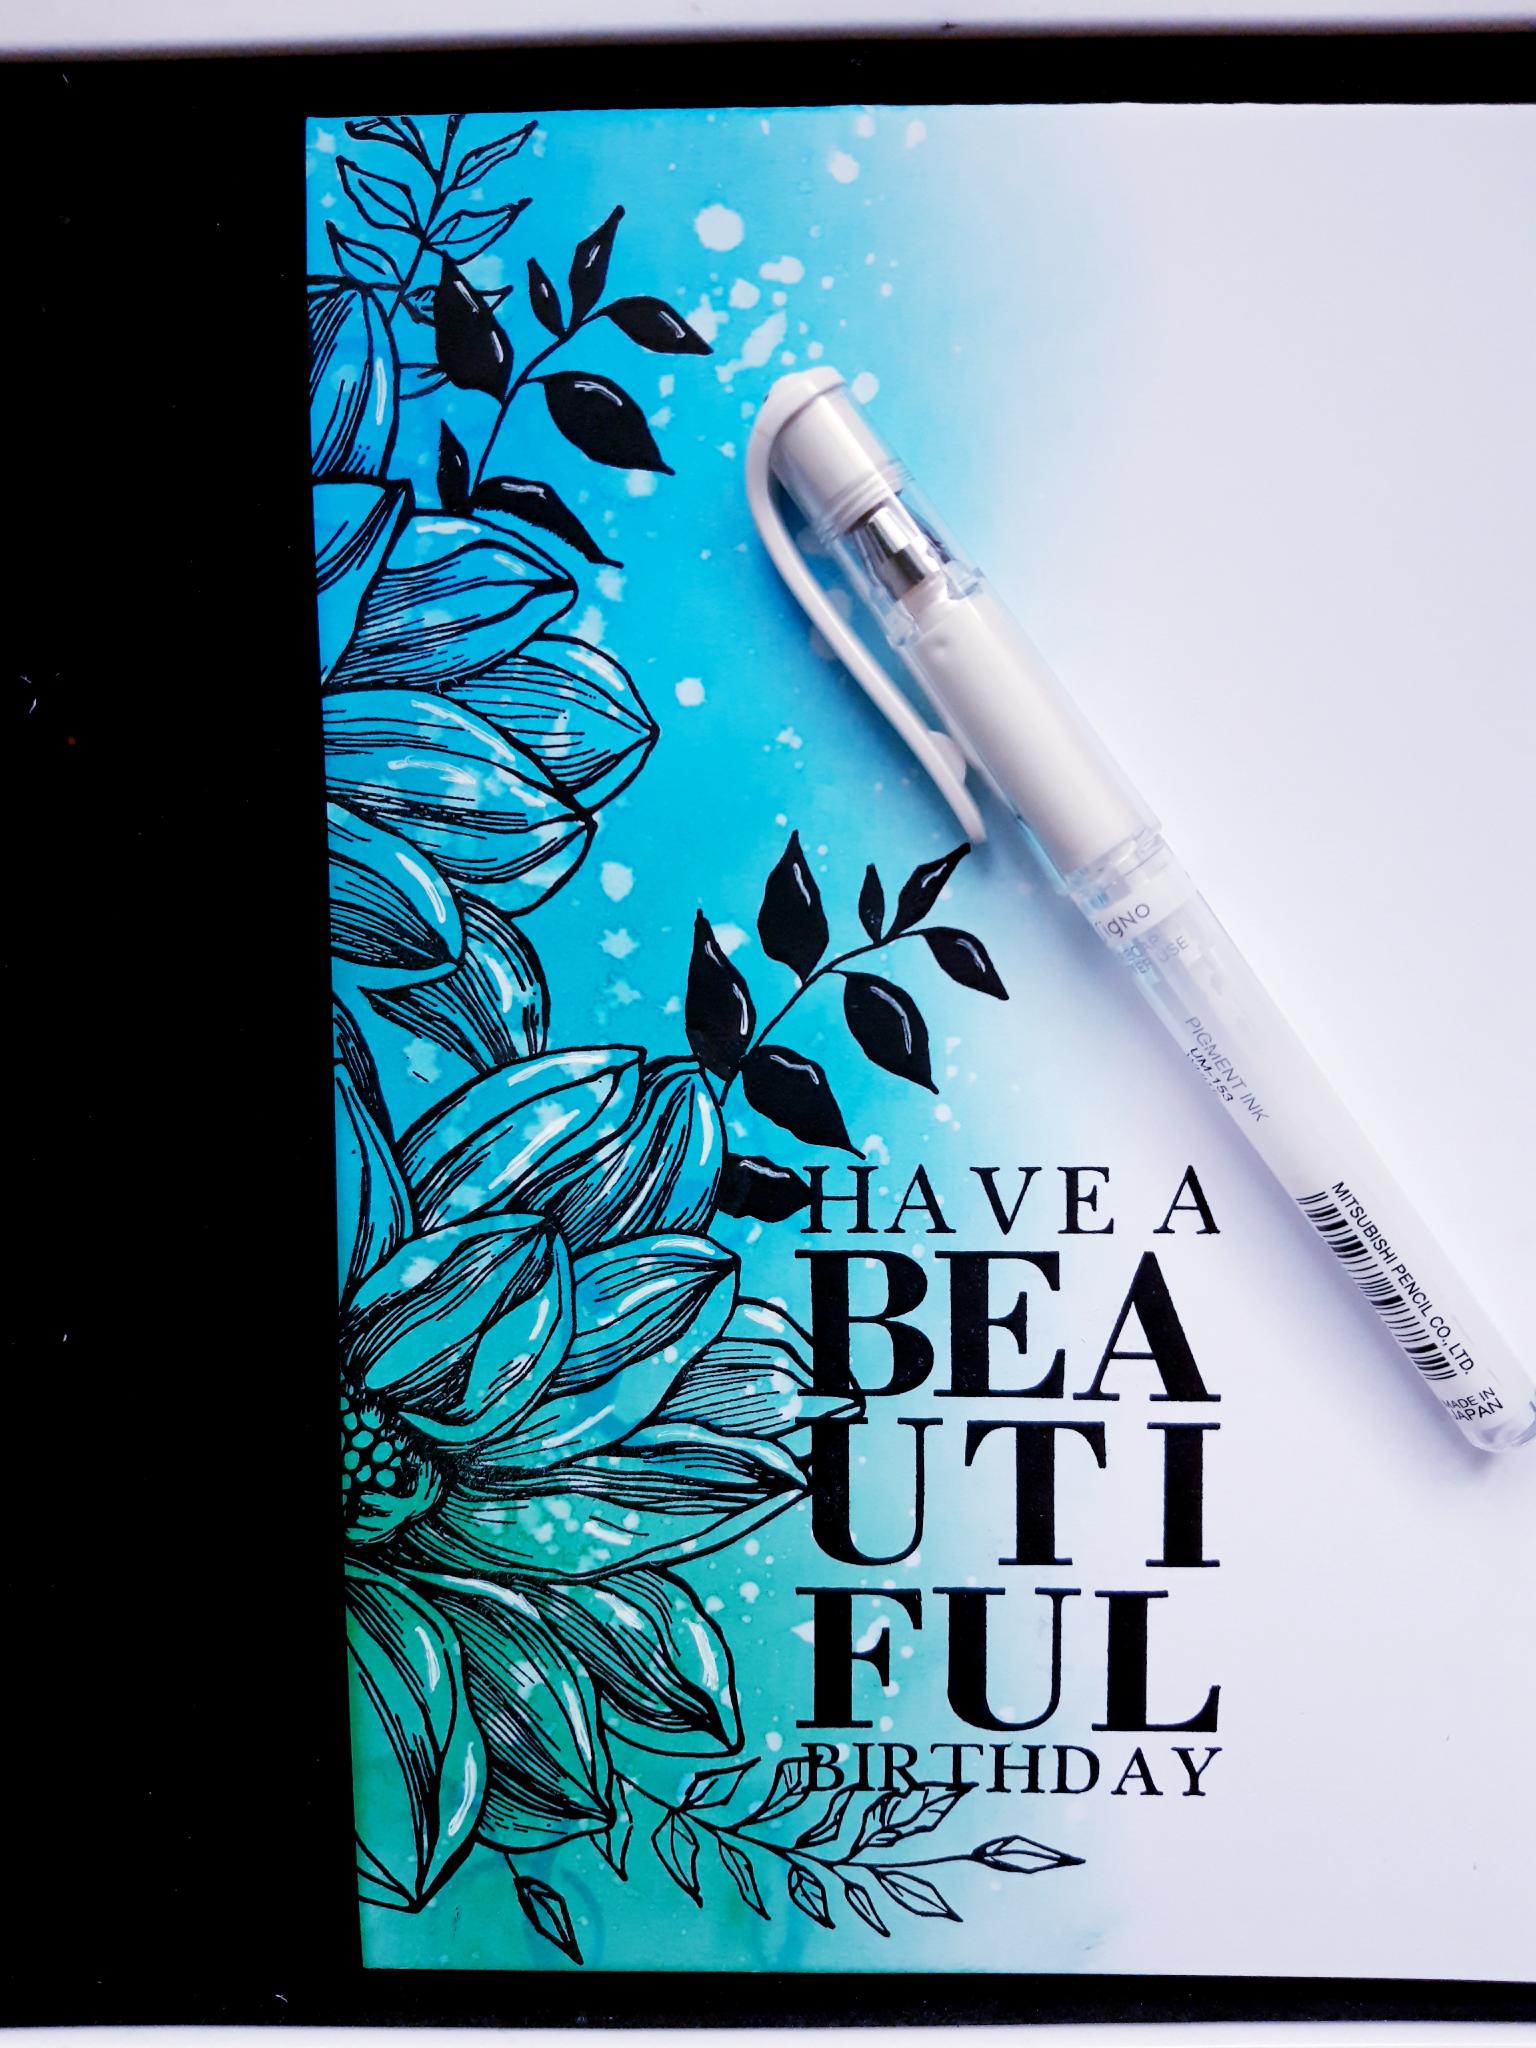
Ink up the sentiment from the same set, with the Versafine, and stamp bottom right of your artwork. |
|
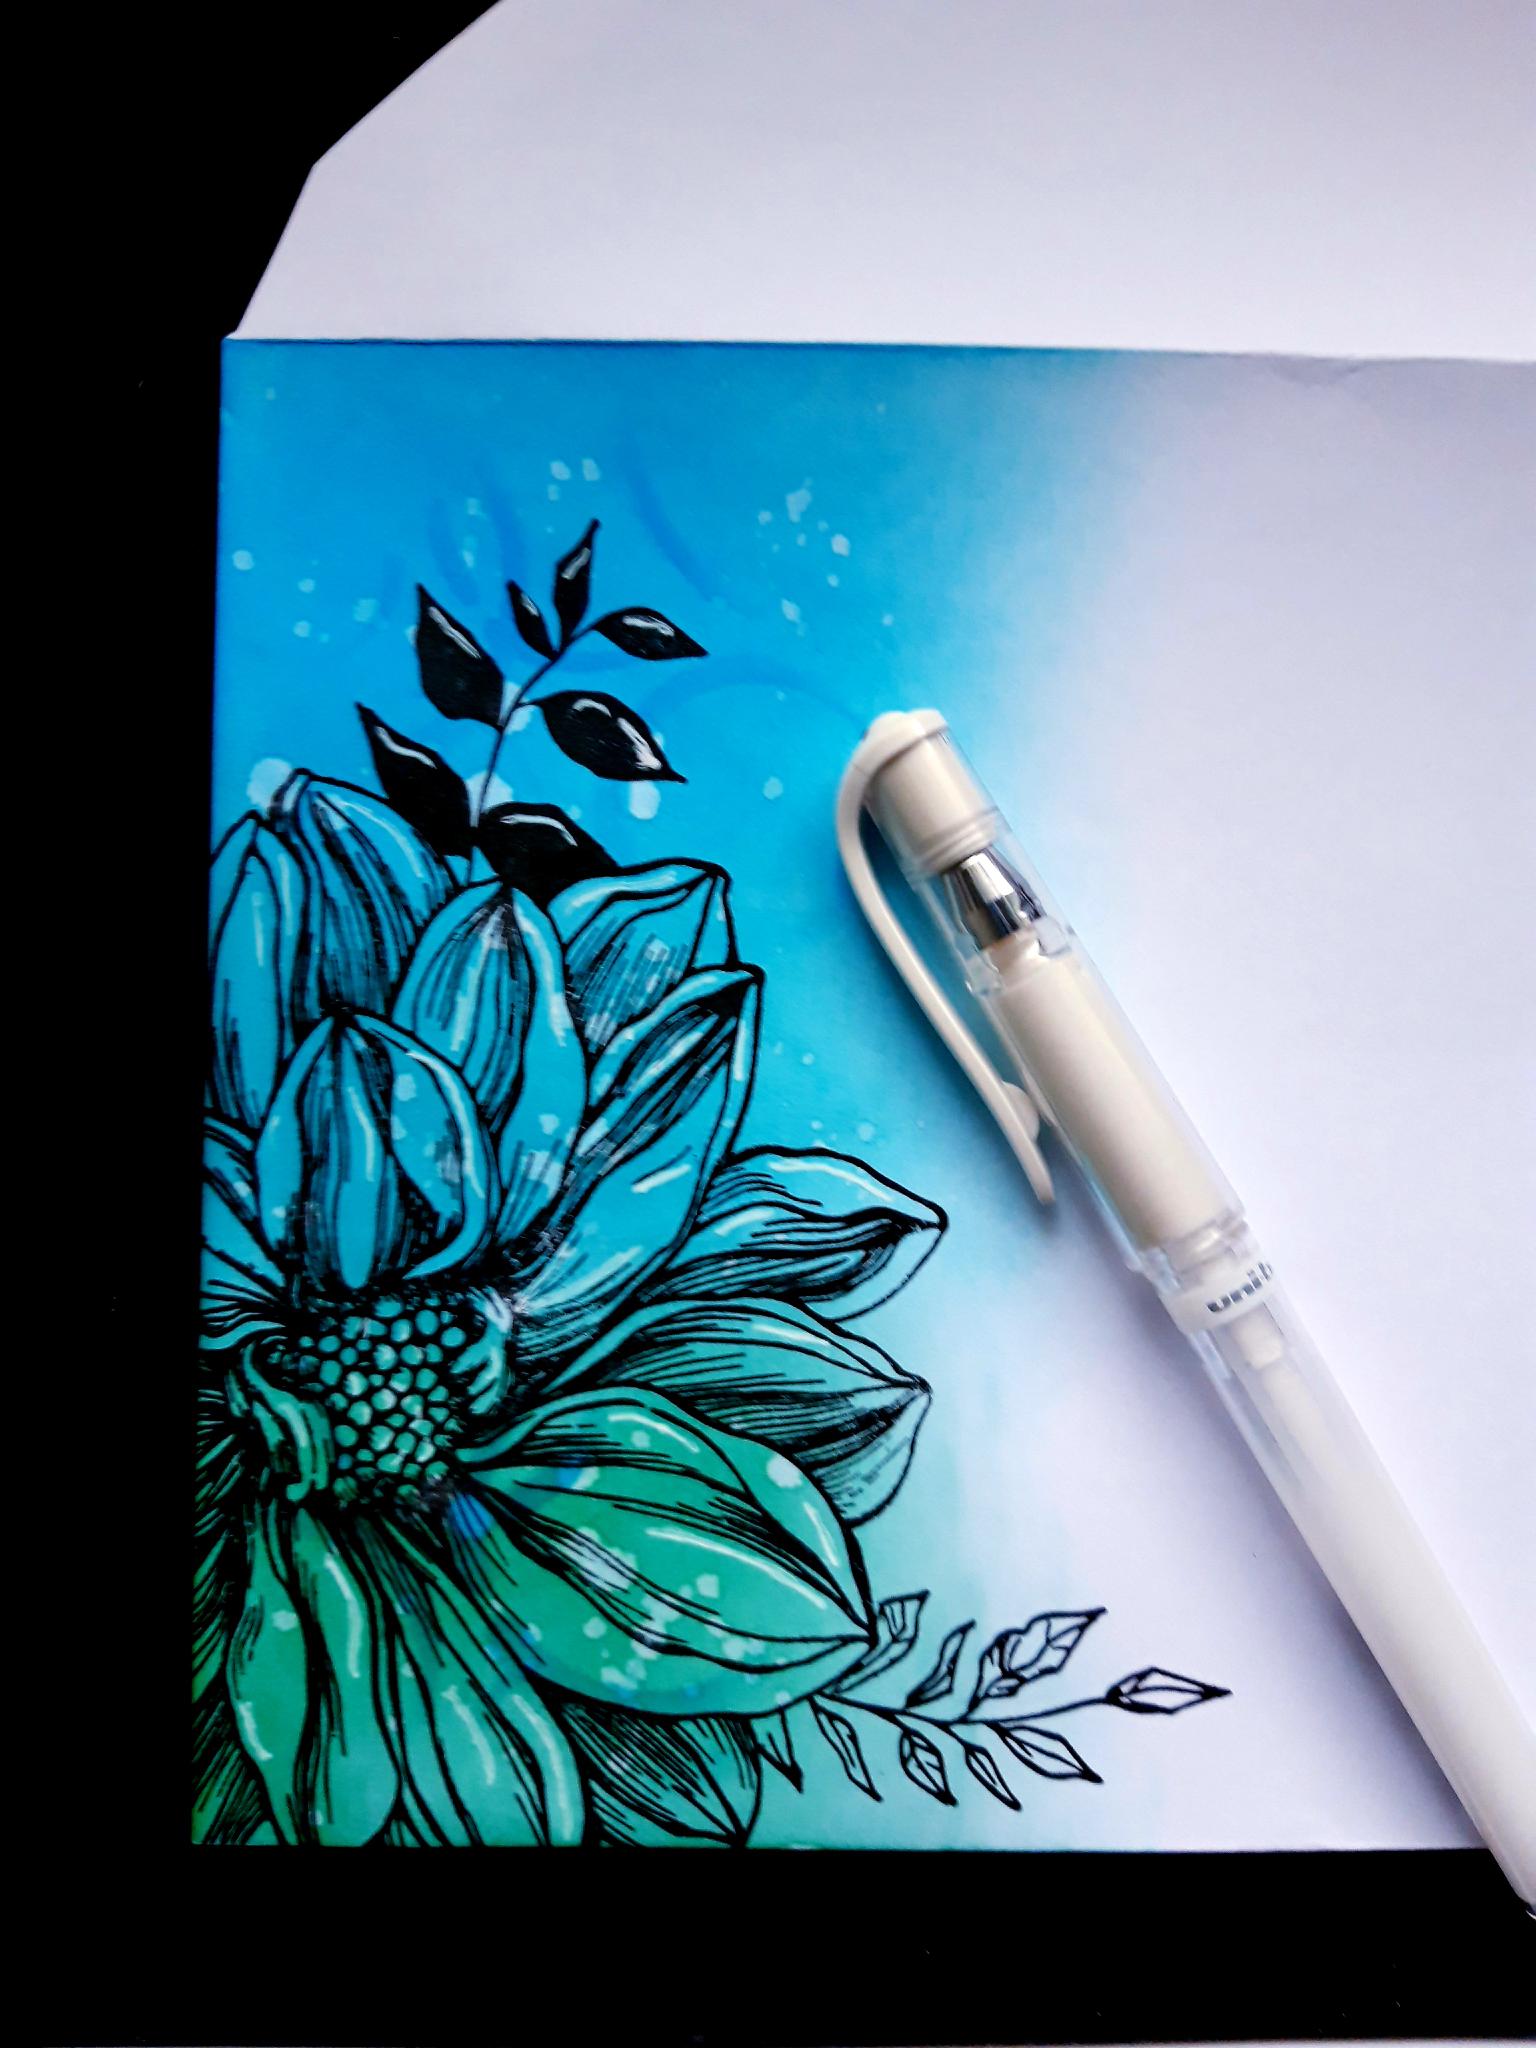
Use a white gel pen to add accents and highlights to your artwork. Set your card to one side. |
|
Blend the three Izink Dye ink pads, coming from the left hand side, on to the front of your coordinating, white envelope, as you did in Step 1. |
|
Splatter water droplets on to the ink, wait a few seconds, then lift up the ink with a paper towel. |
|
Blend the Izink Mer Du Sud randomly through the Coffee Stains stencil, on to your inked panel. |
|
Ink up the large floral stamp again, with the Versafine, and stamp coming up from the bottom left hand corner of the envelope. |
|
Place your mask over the dried stamped image, securing it with the bar magnet. |
|
Ink up the foliage stamps, as shown here, with the Versafine, and stamp as required. |
|
Remove the mask, and dry off the artwork. |
|
Use your white gel pen to add accents, and highlights, to your dried artwork. |
|
Ink up a stamp from the Retro Stamp Collection, with the Versafine, and stamp coming off the top right hand side of the envelope. |
|
Turn the envelope over, with the flap down. Ink up the Retro stamp again, or one of the others in the same set, and stamp across the closed flap. |