Give your friends $10 off their first order!
Refer a FRIEND


WHAT WILL YOU NEED:
White card blank (7 x 7")
Black card (6 3/4 x 6 3/4")
White card (6 1/2 x 6 1/2")
Time To Grow A4 Vellum Pack
Stamps from Go With The Flow Lamination Stamp Collection
Stamps from Imala Cheers stamp set
Versafine Ink Pad: Onyx Black
Versmark sticky ink pad
Anti static bag
White embossing powder
Heat gun
Midas Glitter: Salsa
Eureka 101
Paper Trimmer
Perfect Together Glue
Double sided tape
[click image to enlarge] 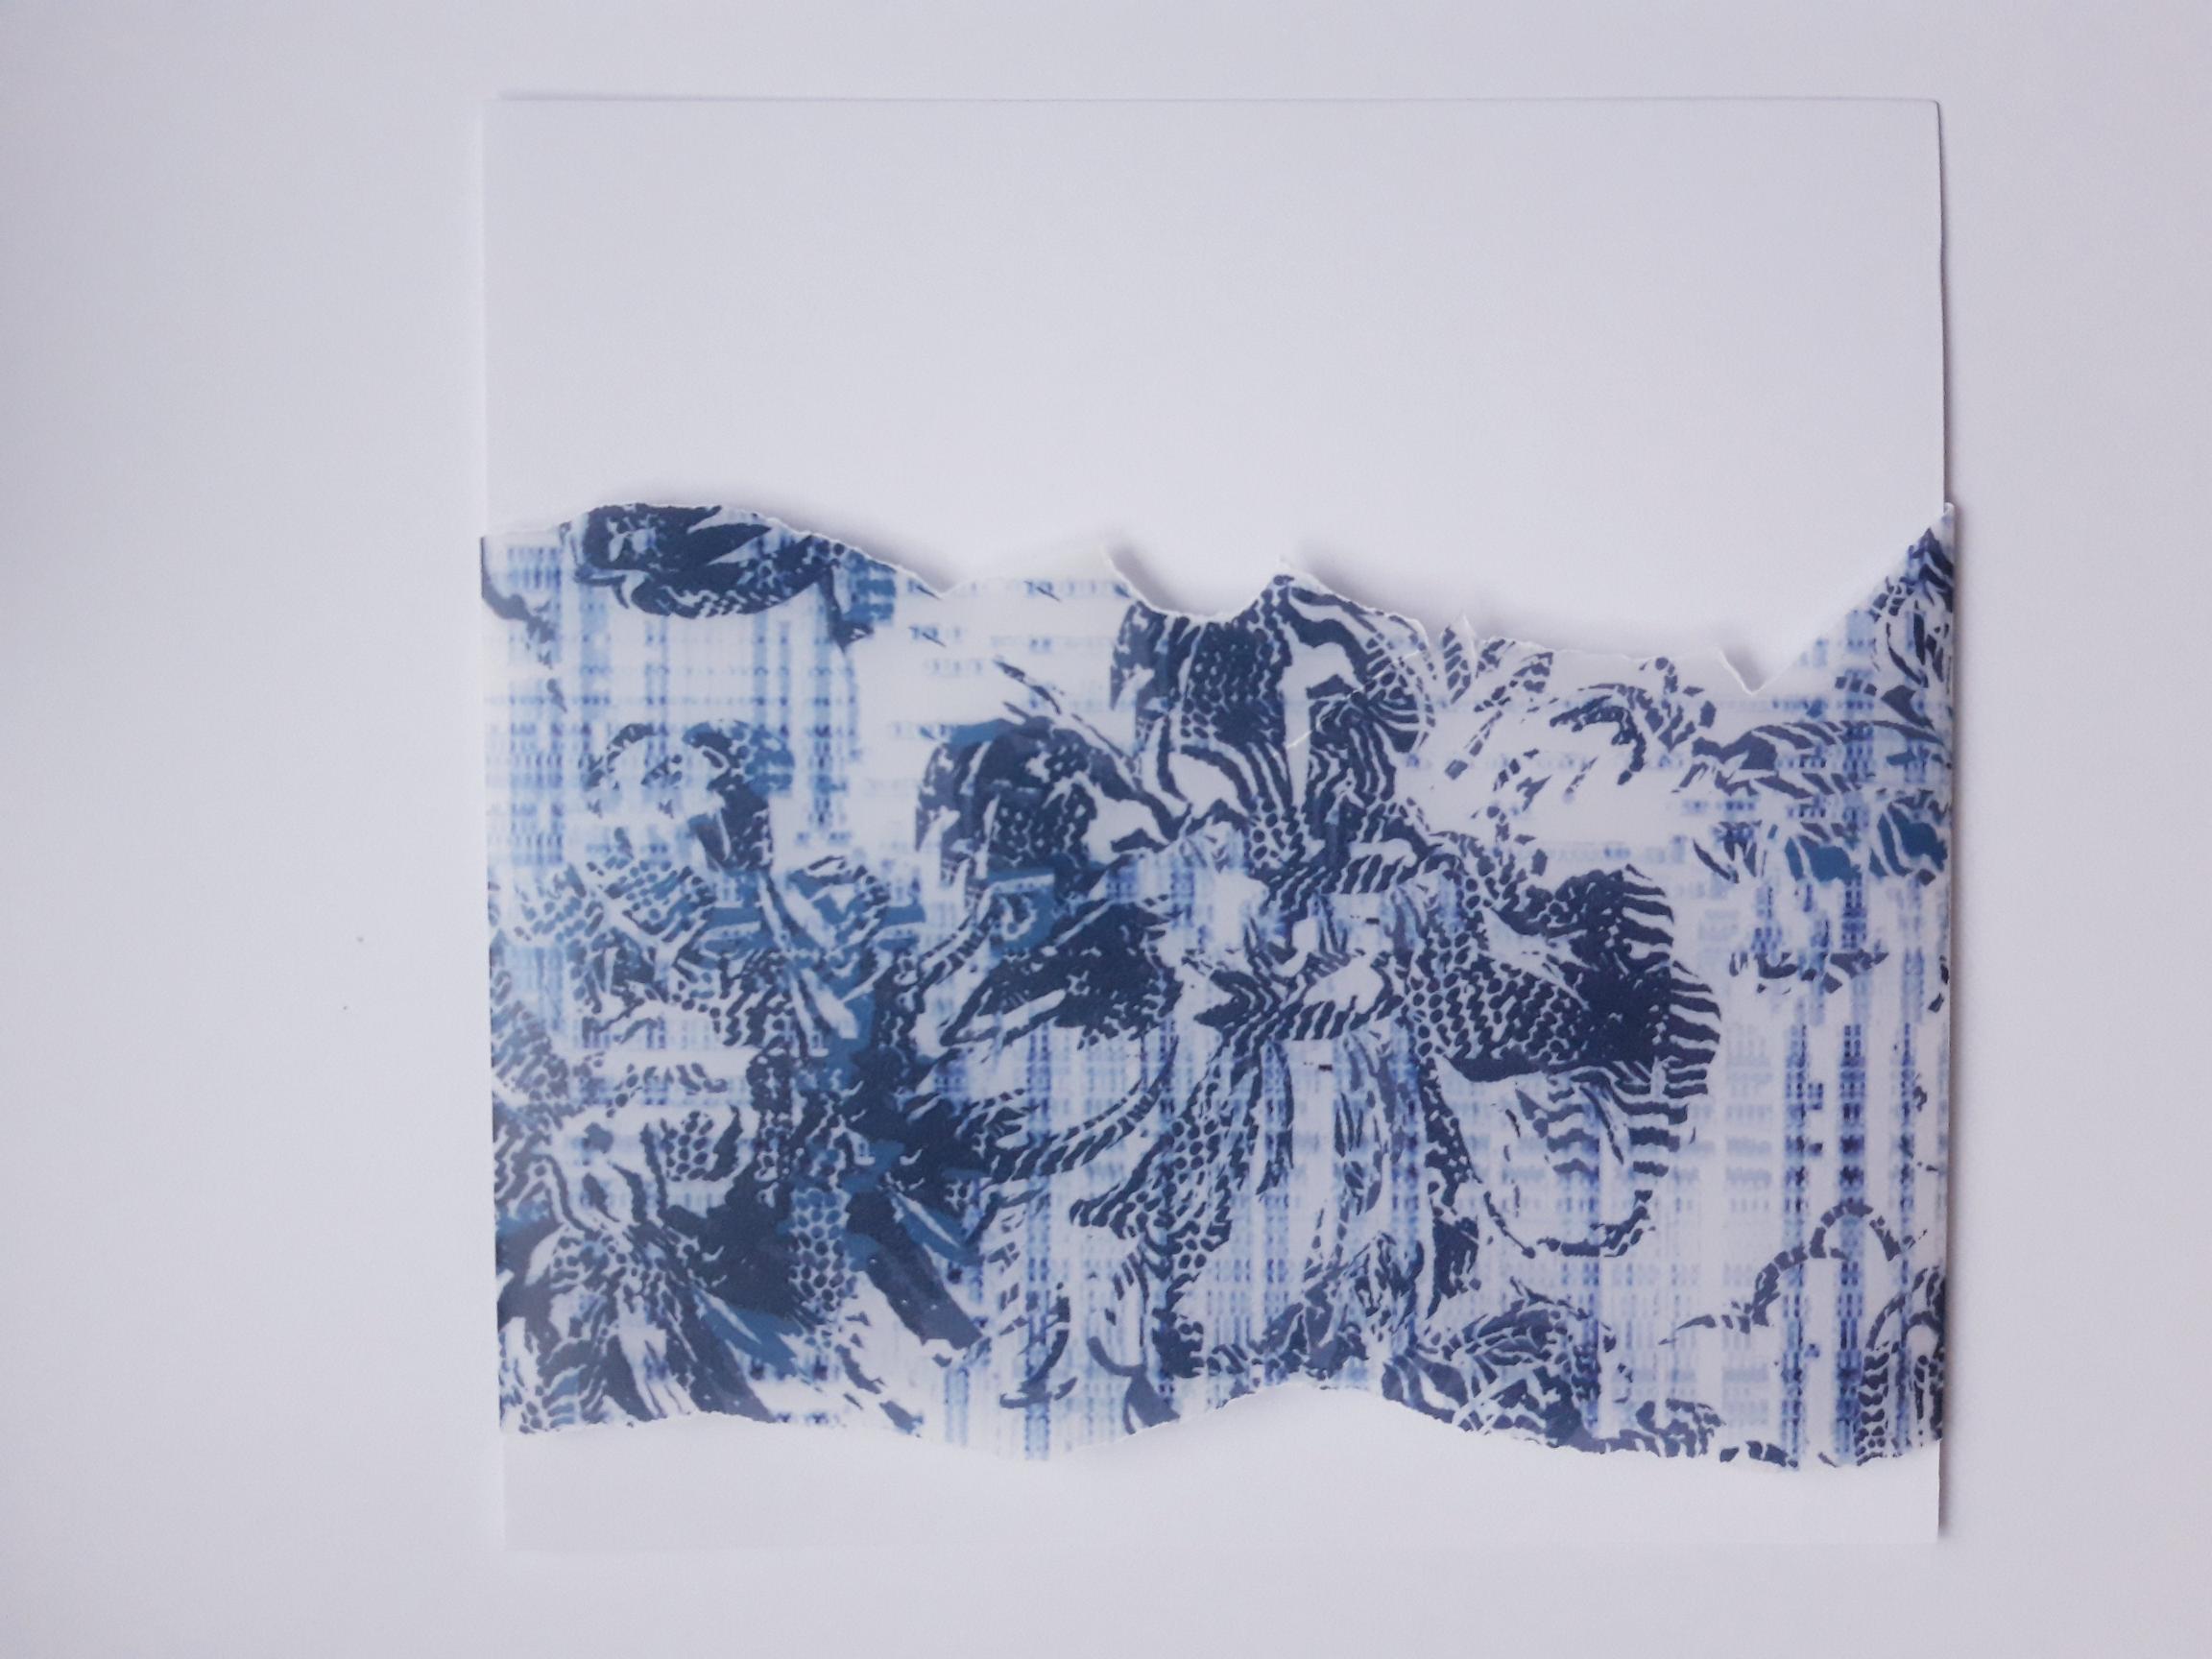
|
Tear out this sheet from the Time To Grow A4 Vellum Pack. Tear it in to a strip approx 7 1/2 x 4". Using the sentiment stamp as a guide, place the vellum on the left hand side of the white card (6 1/2 x 6 1/2"), and tuck it over the top and bottom of the card, securing it with double sided tape on the reverse. |
|
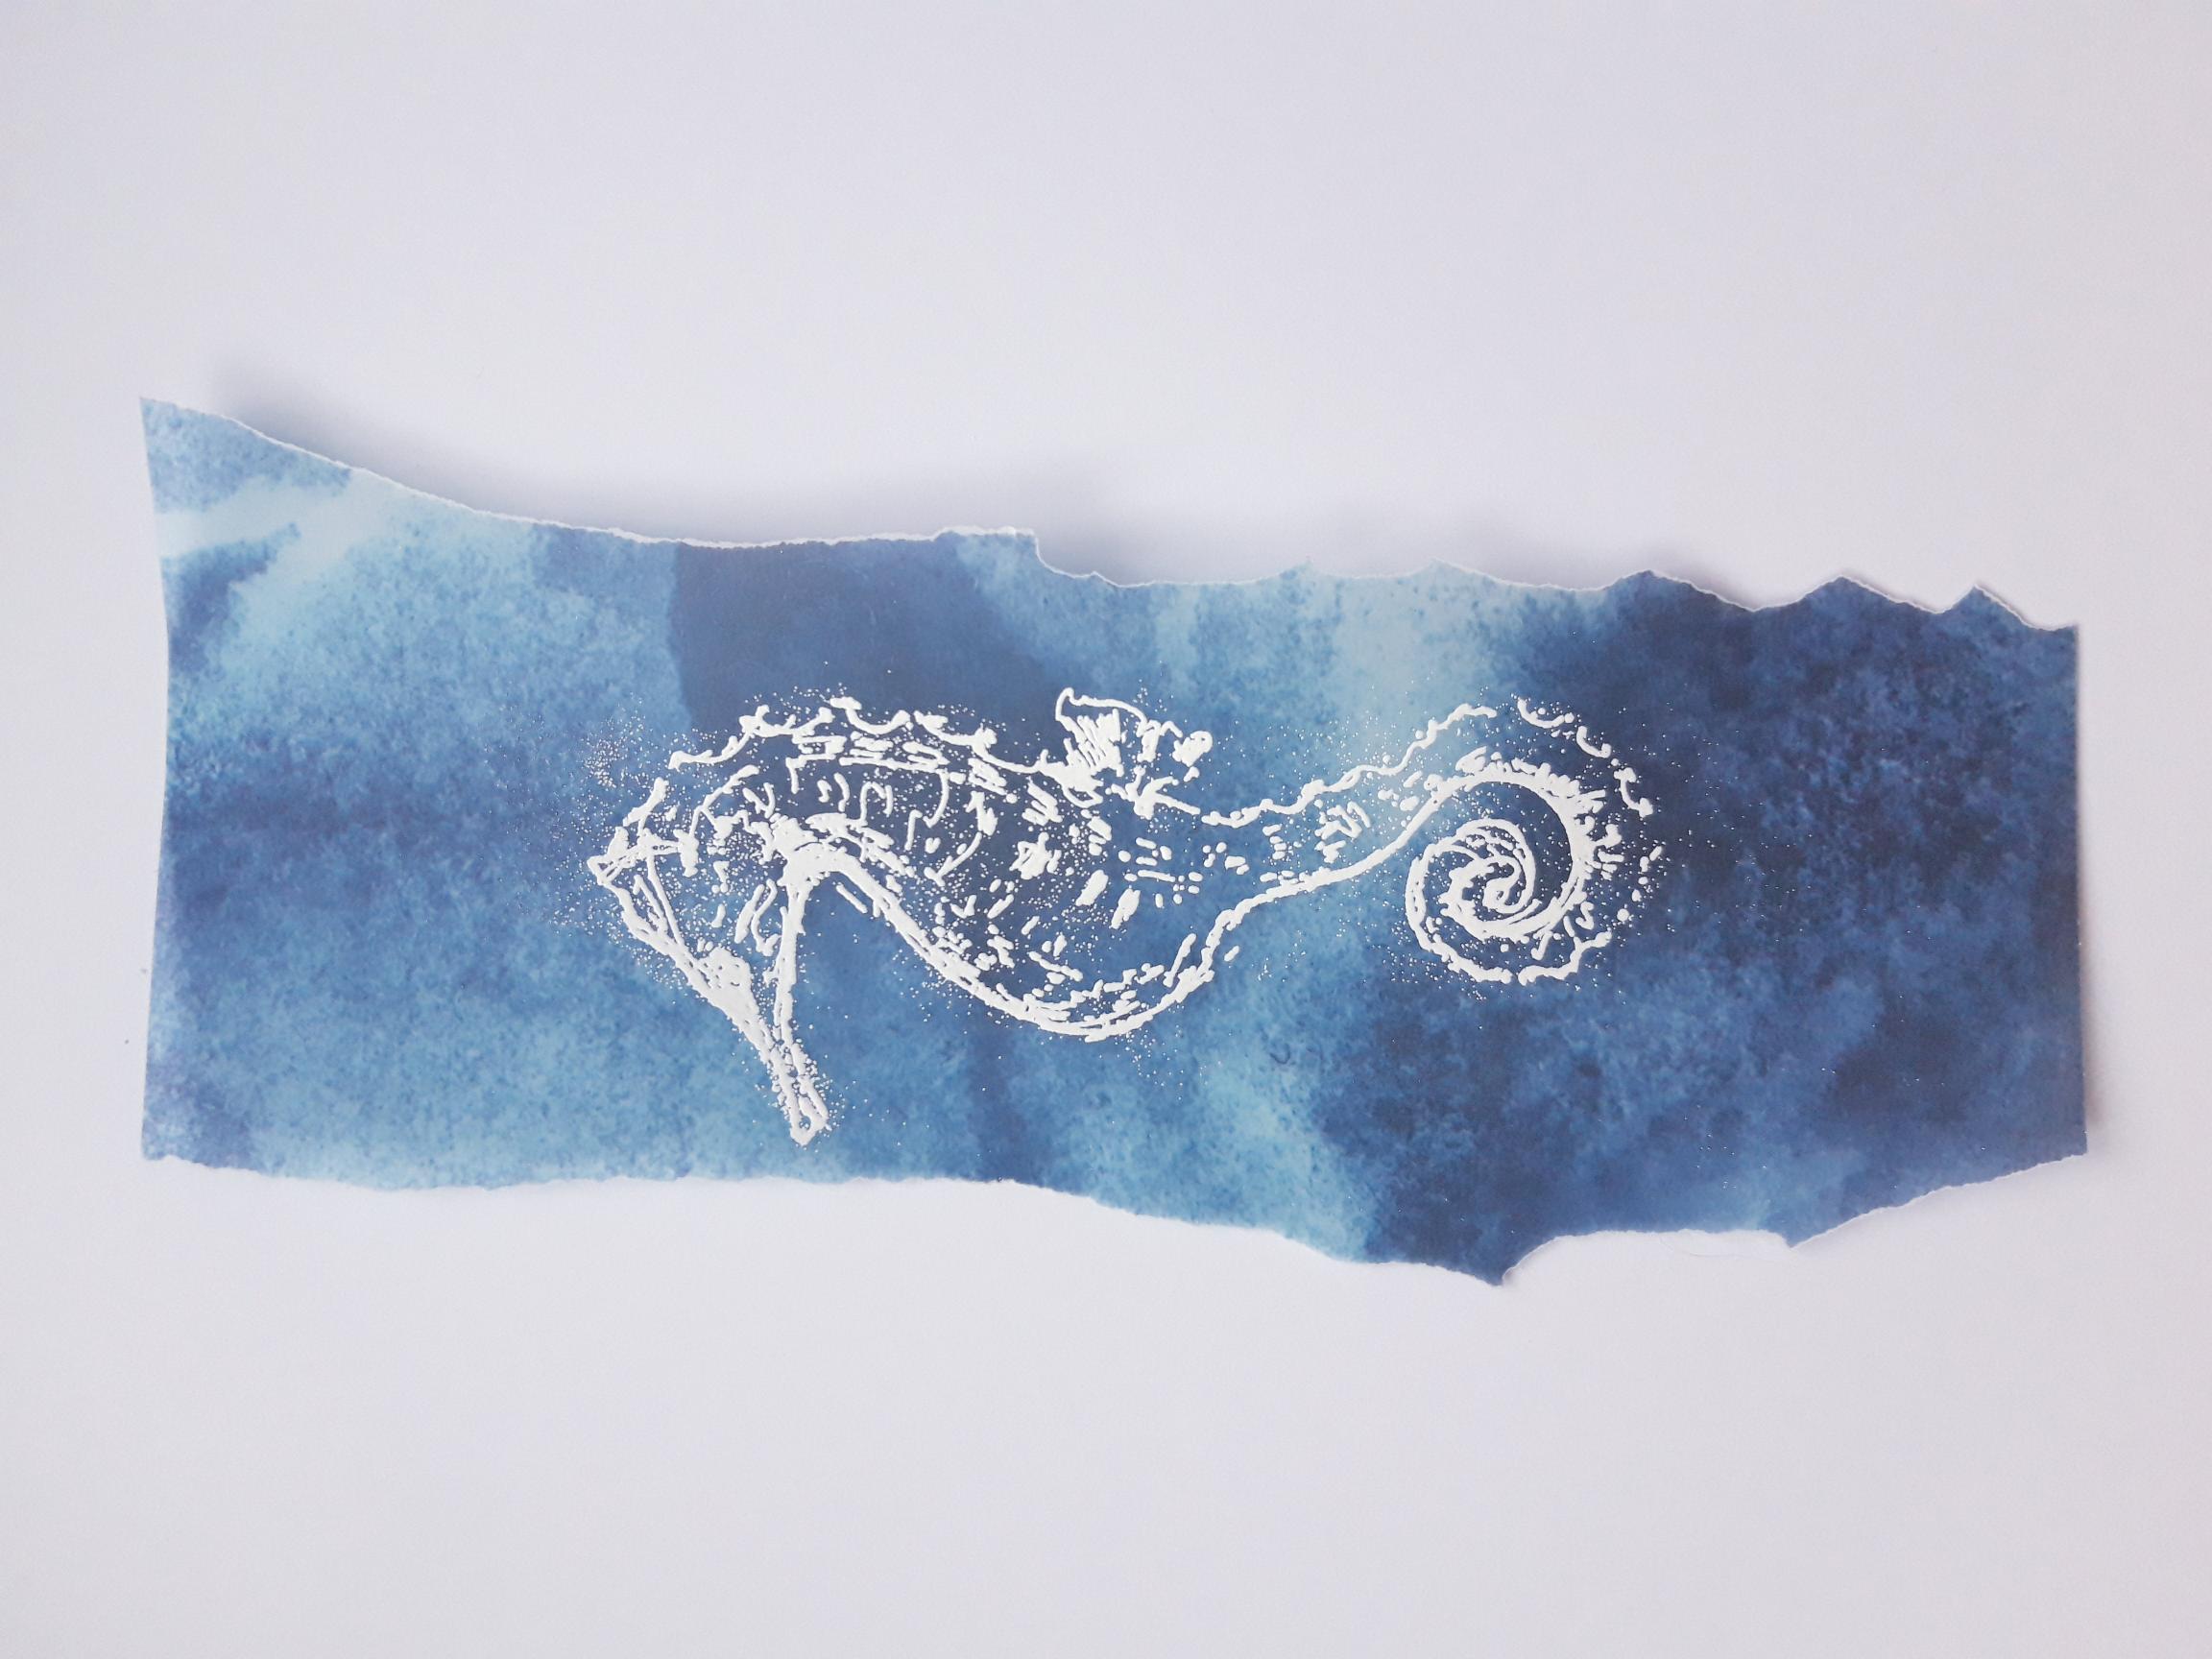
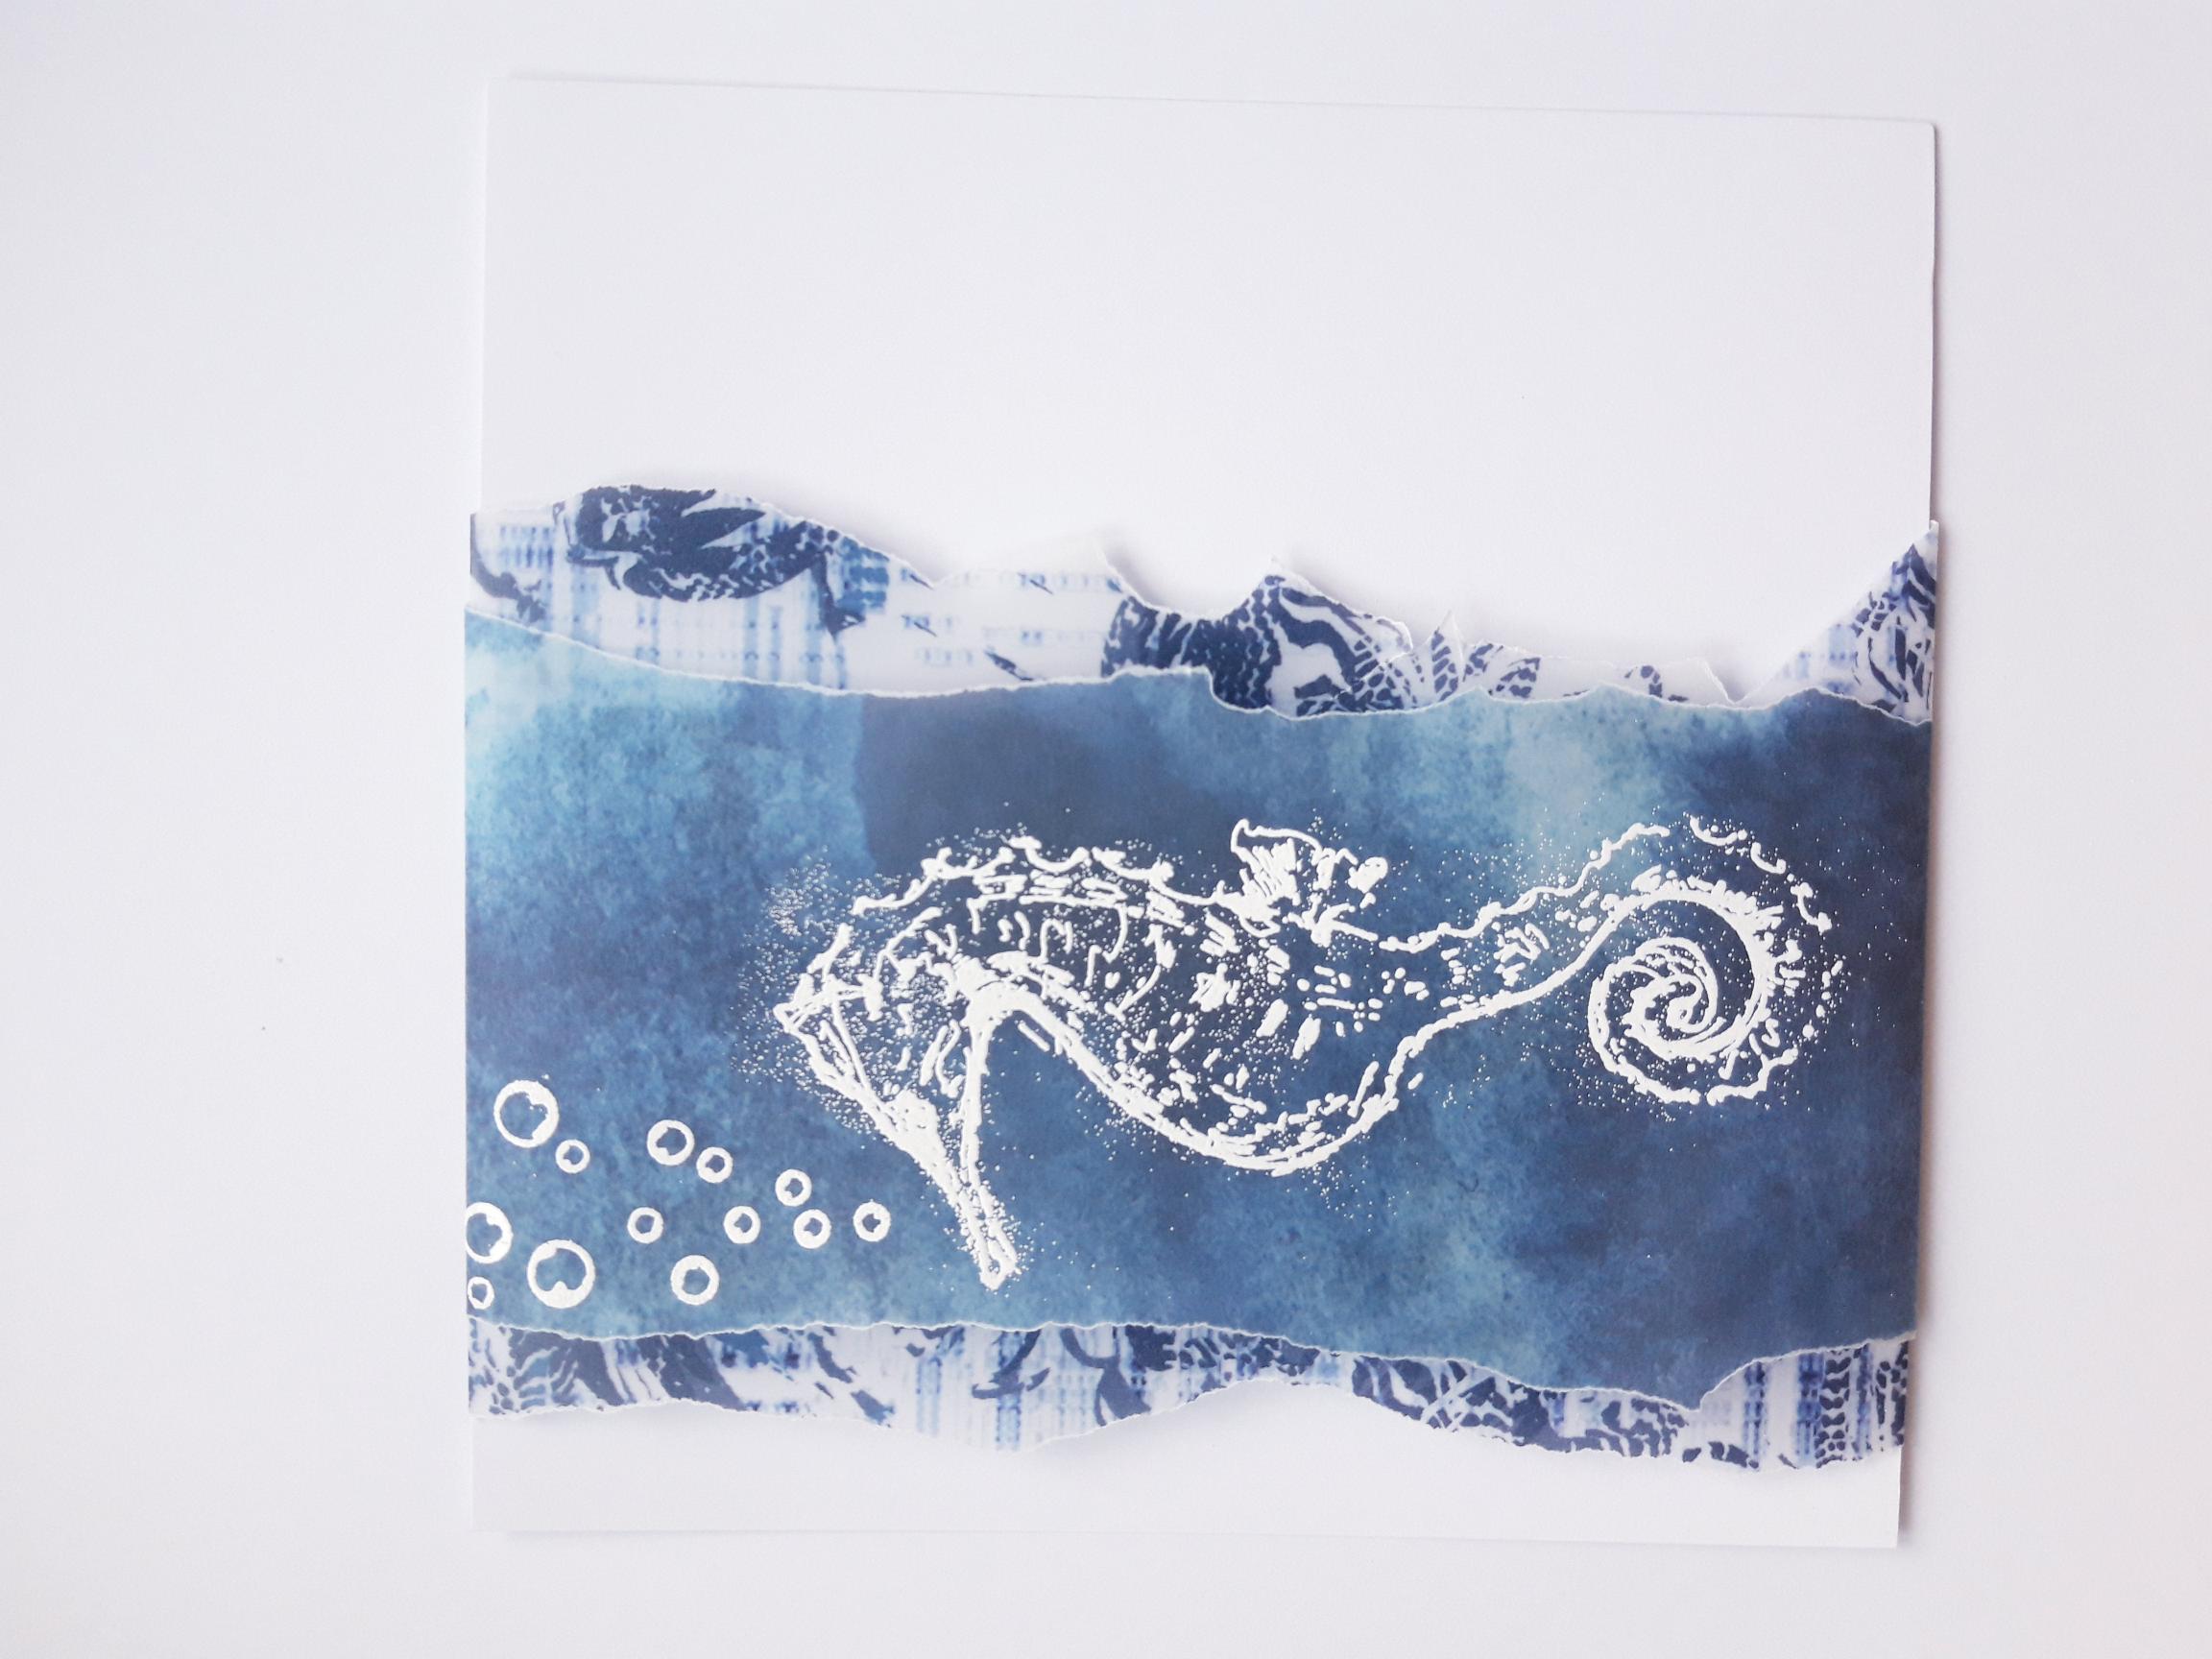
Tear this decorative vellum sheet from the same pack, and tear a strip to approx 7 1/2 x 2 3/4". Wipe the vellum strip over with an anti static bag. Ink up the Seahorse detailed stamp, from the Go With the Flow Lamination Stamp Collection, with the Versmark Sticky Ink. Stamp on the vellum strip and apply the white embossing powder over the stamped image. Make sure your heat gun is hot before heat setting the powder, ensuring you move the gun as soon as the powder starts to turn, to avoid burning your vellum. |
|
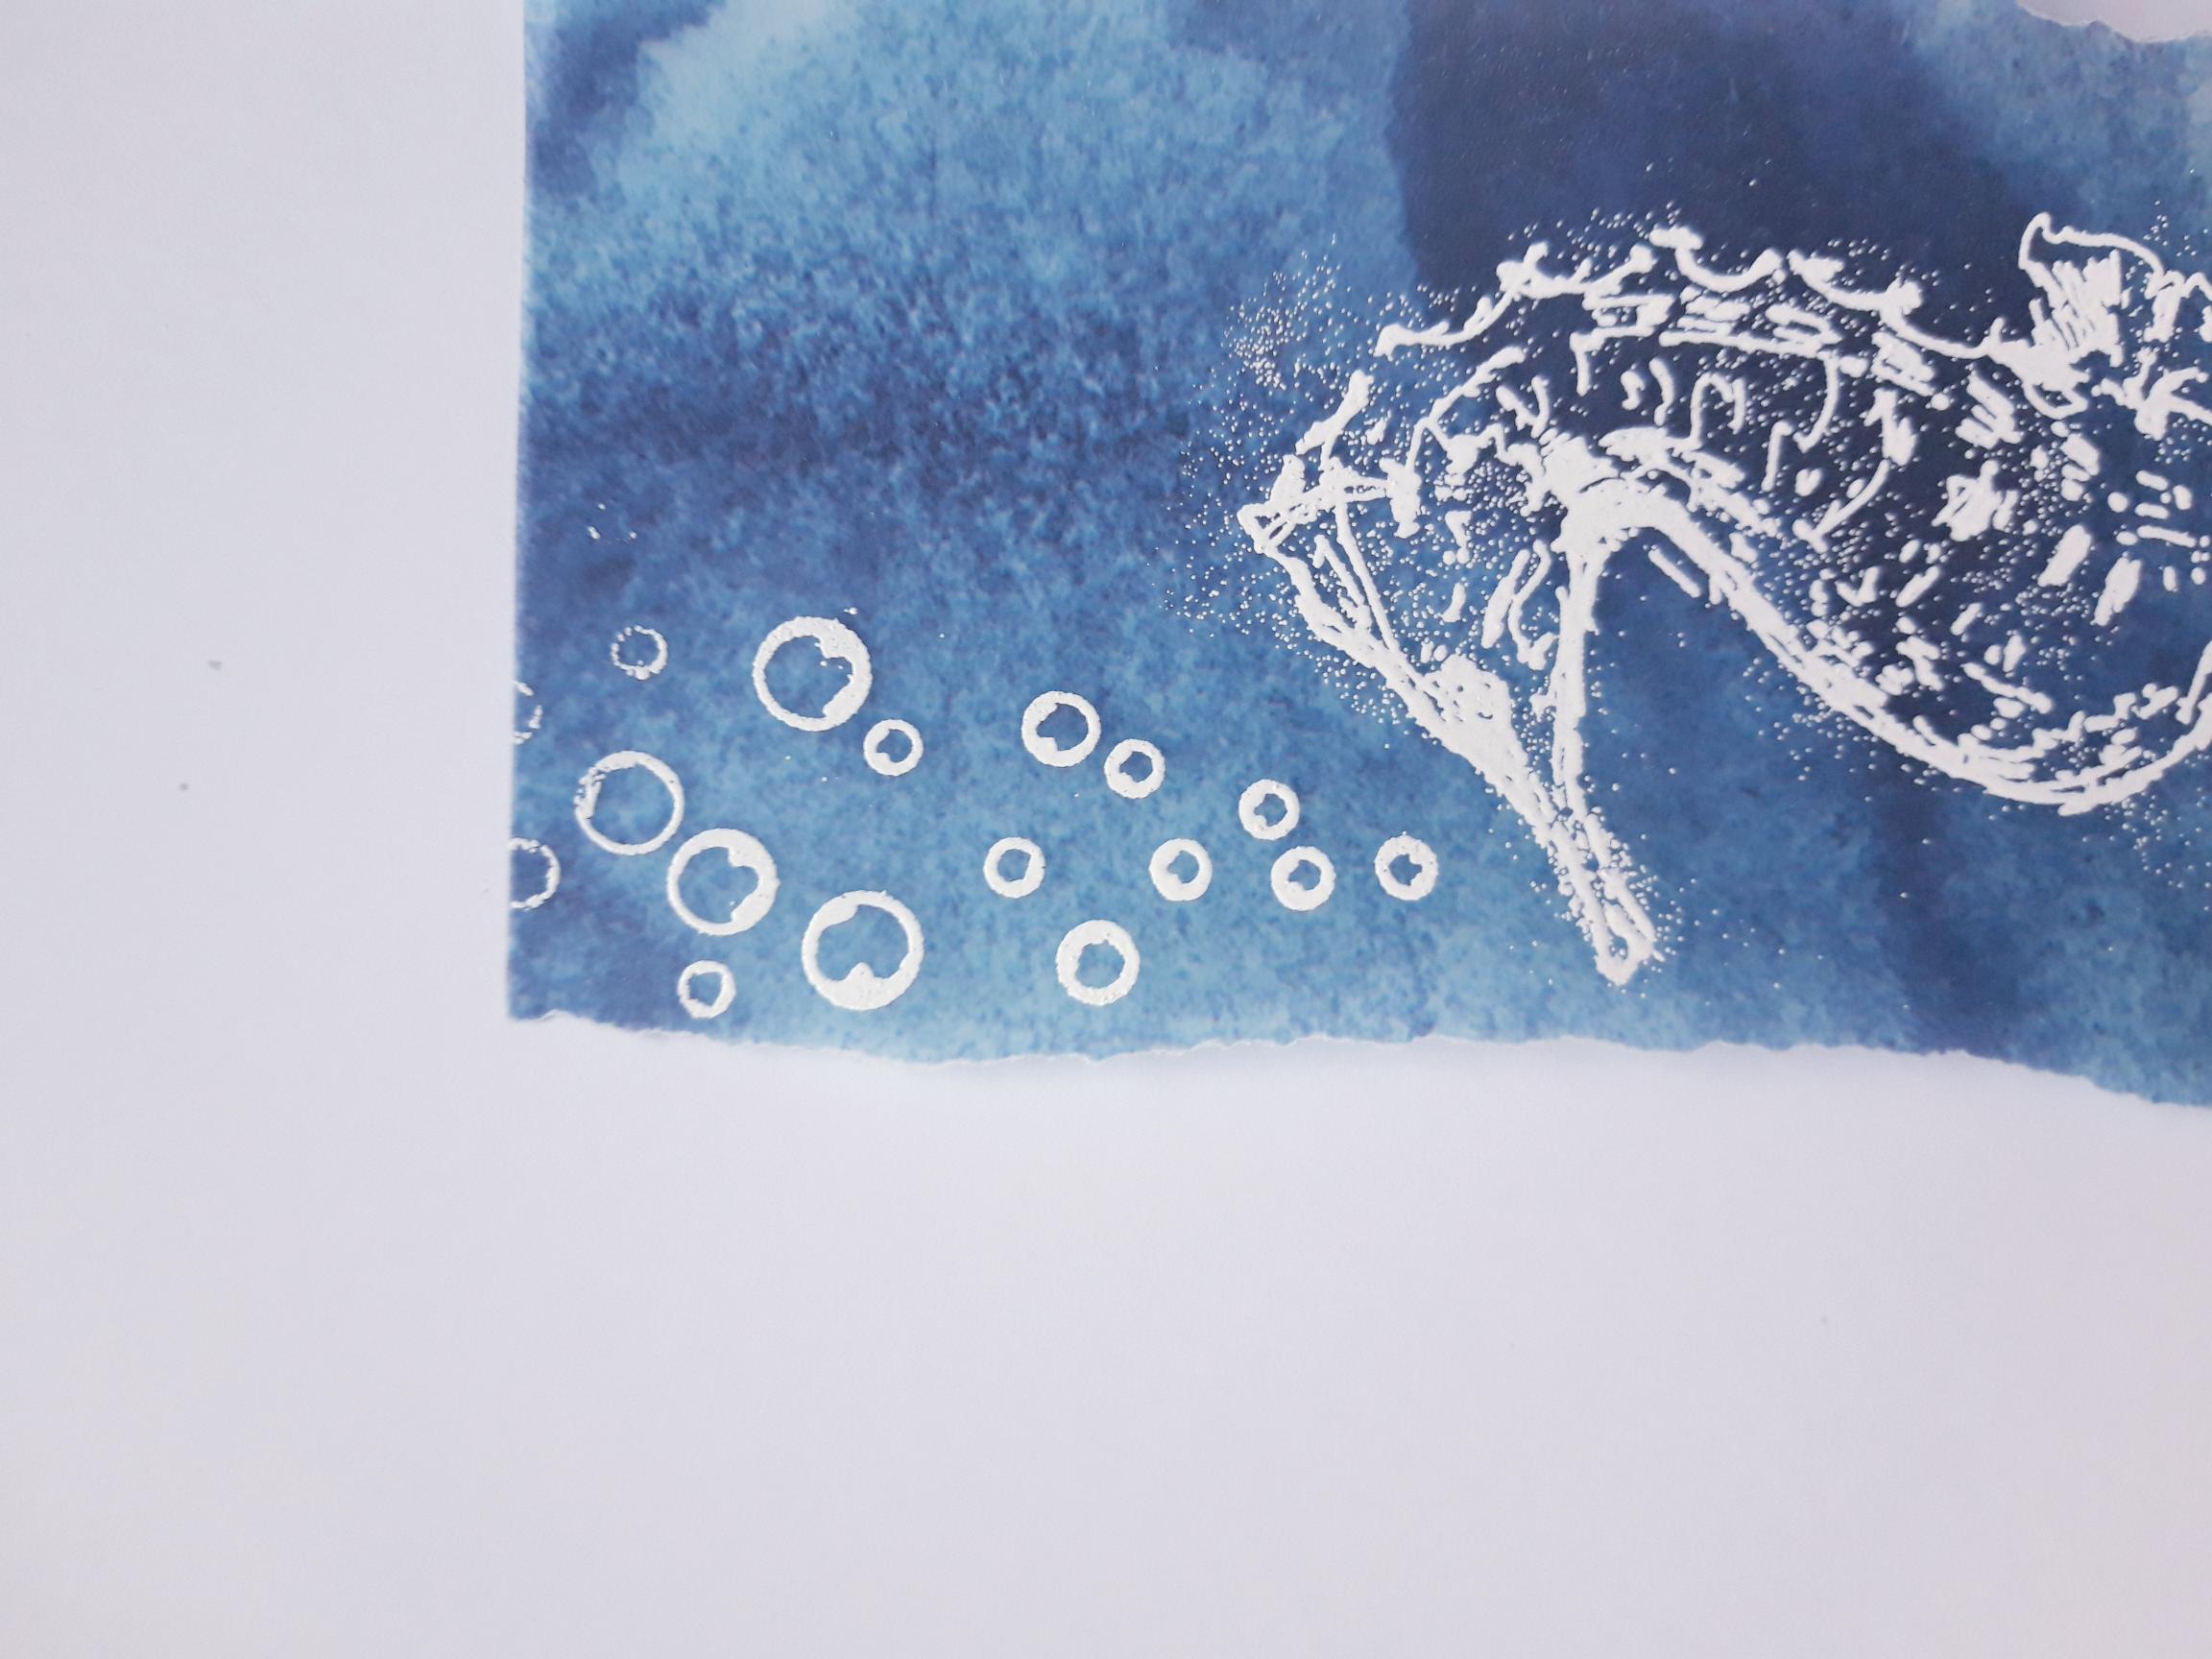
Wipe back over the vellum strip with the anti static bag. Ink up the bubbles stamp, from the Imala Cheers stamp set, with the sticky ink, and stamp coming up from the Seahorse's mouth. Apply the white embossing powder over the ink and heat set, as before. |
|
Place the embossed vellum strip over the top of the other vellum panel, tuck the ends over the top and bottom of the white card, and secure on the reverse with the double sided tape. |

|
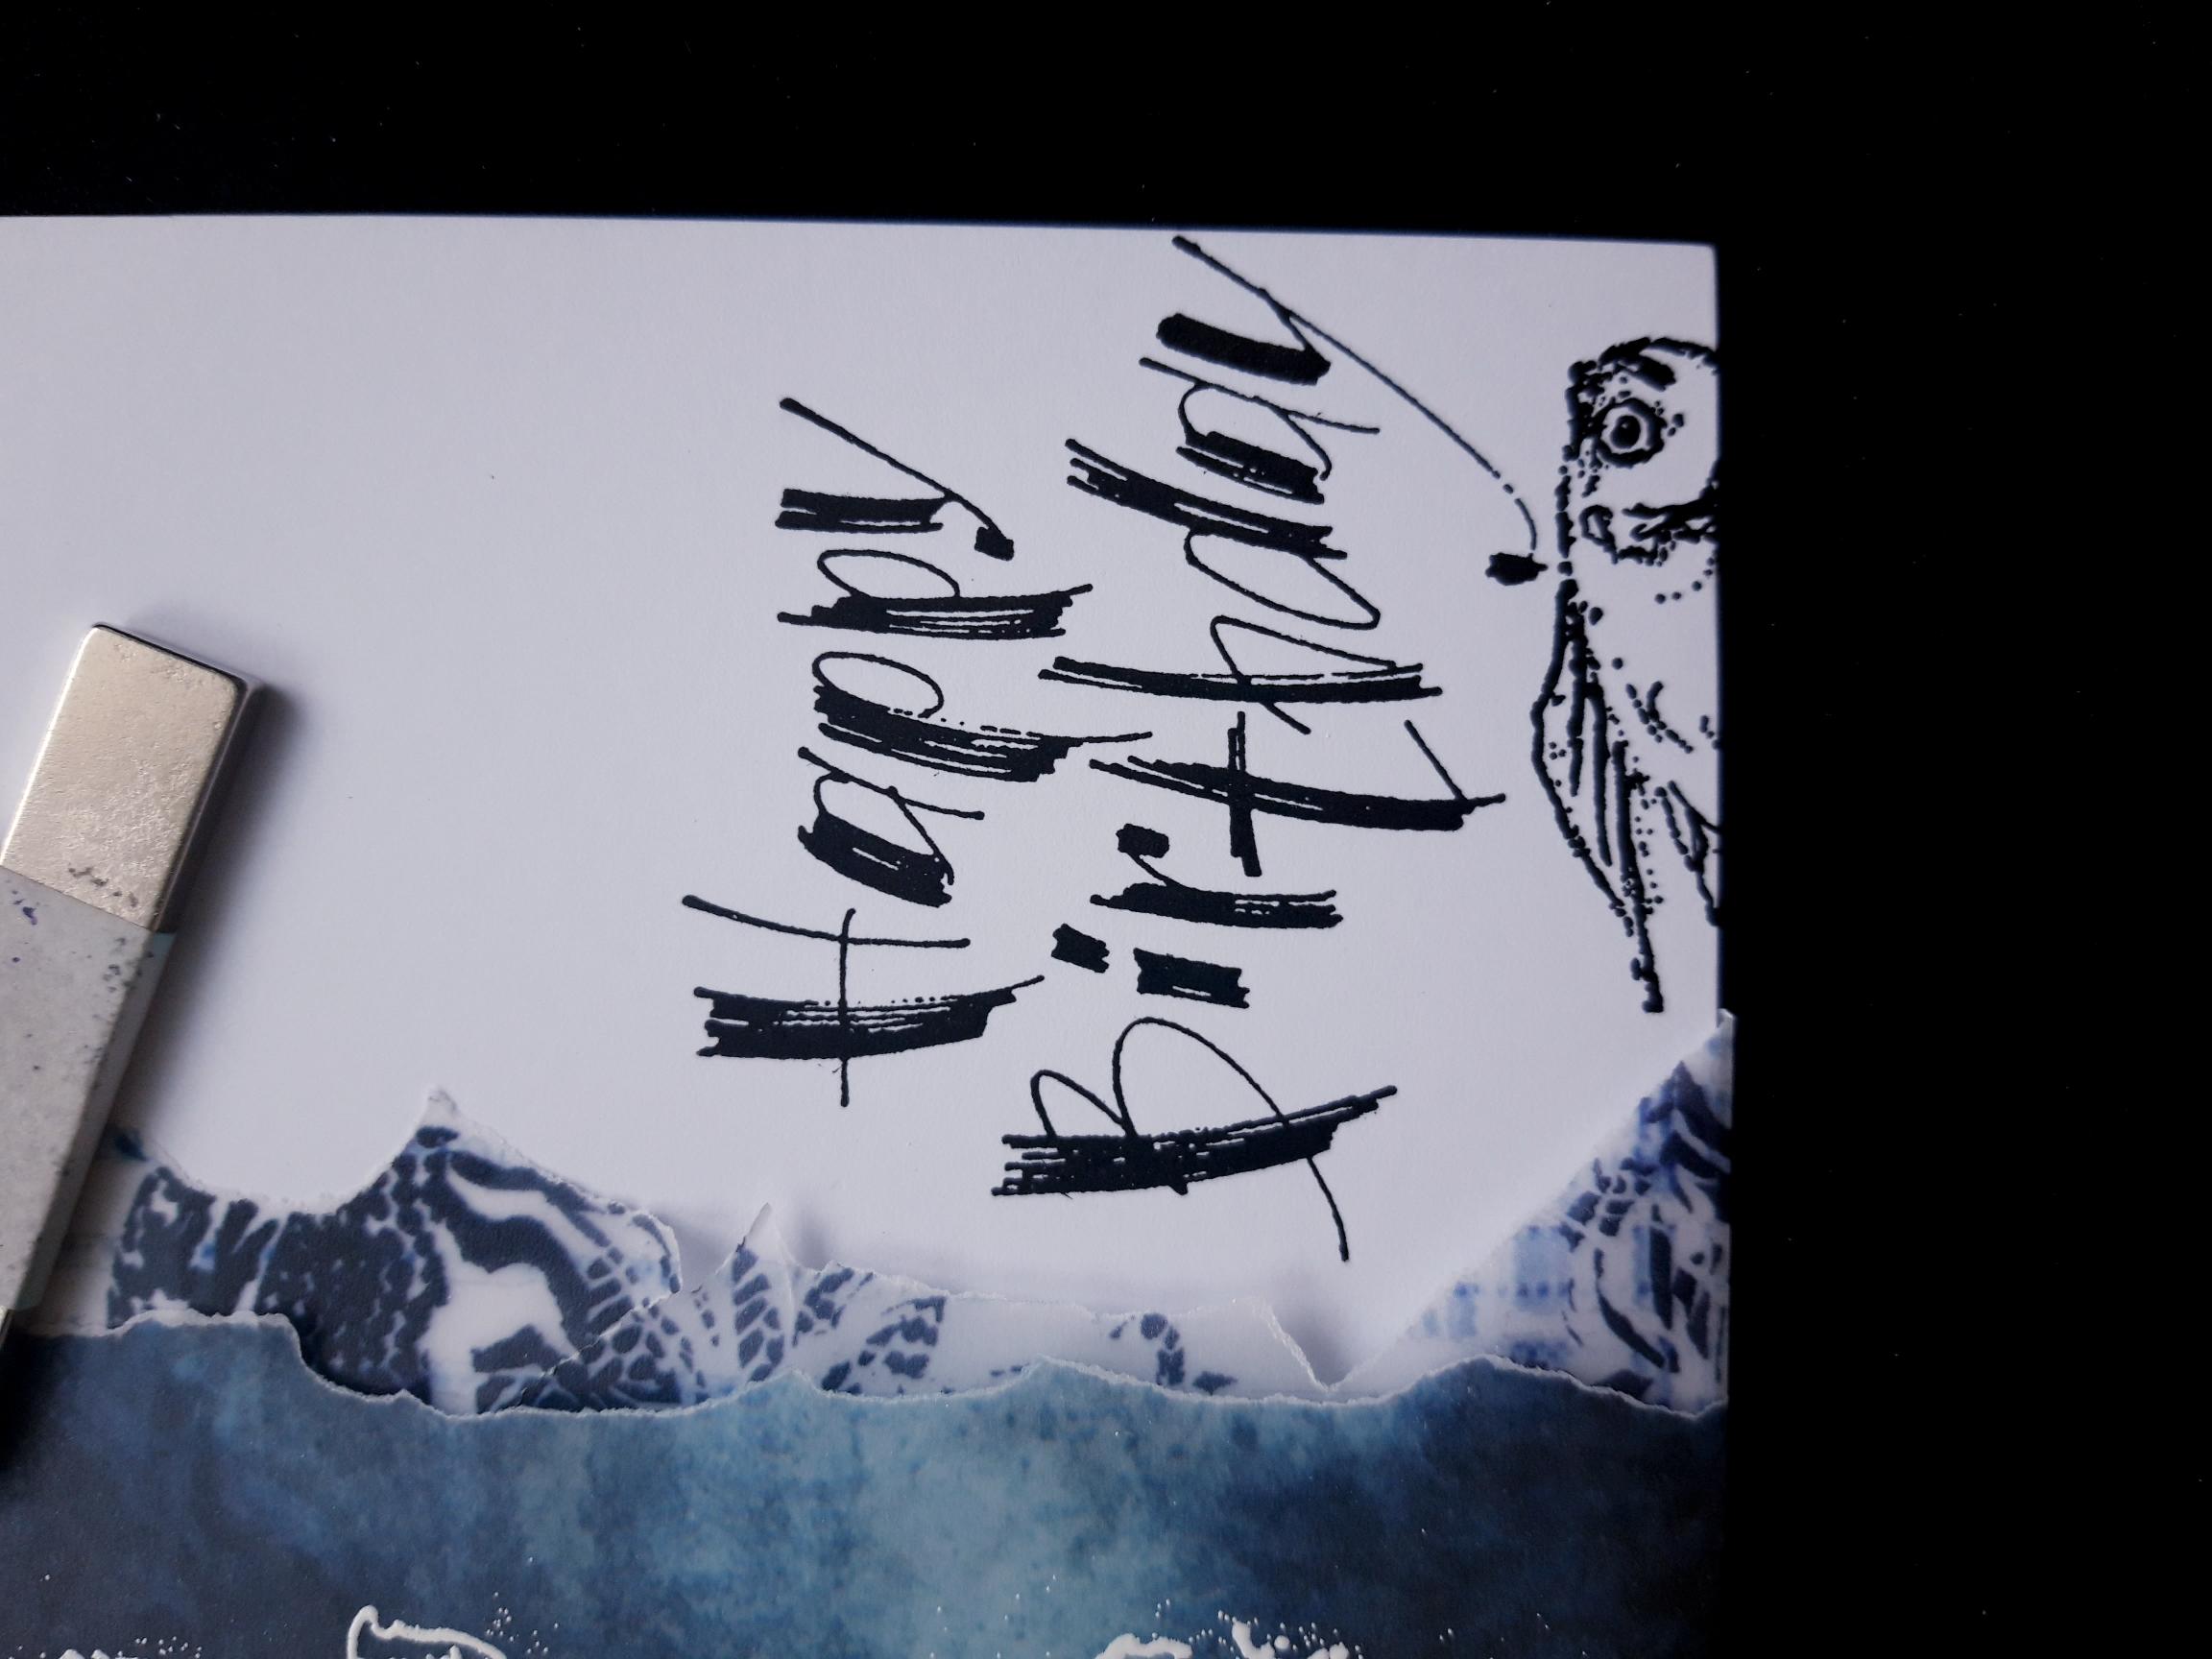
Ink up the sentiment stamp, from the Go with the Flow stamp set, with the Onyx Black Versafine and stamp on the bottom right corner of the white card. |
|
Ink up the little fish stamp, from the same stamp set, with the Versafine, and stamp coming up from the bottom of the card. |
|
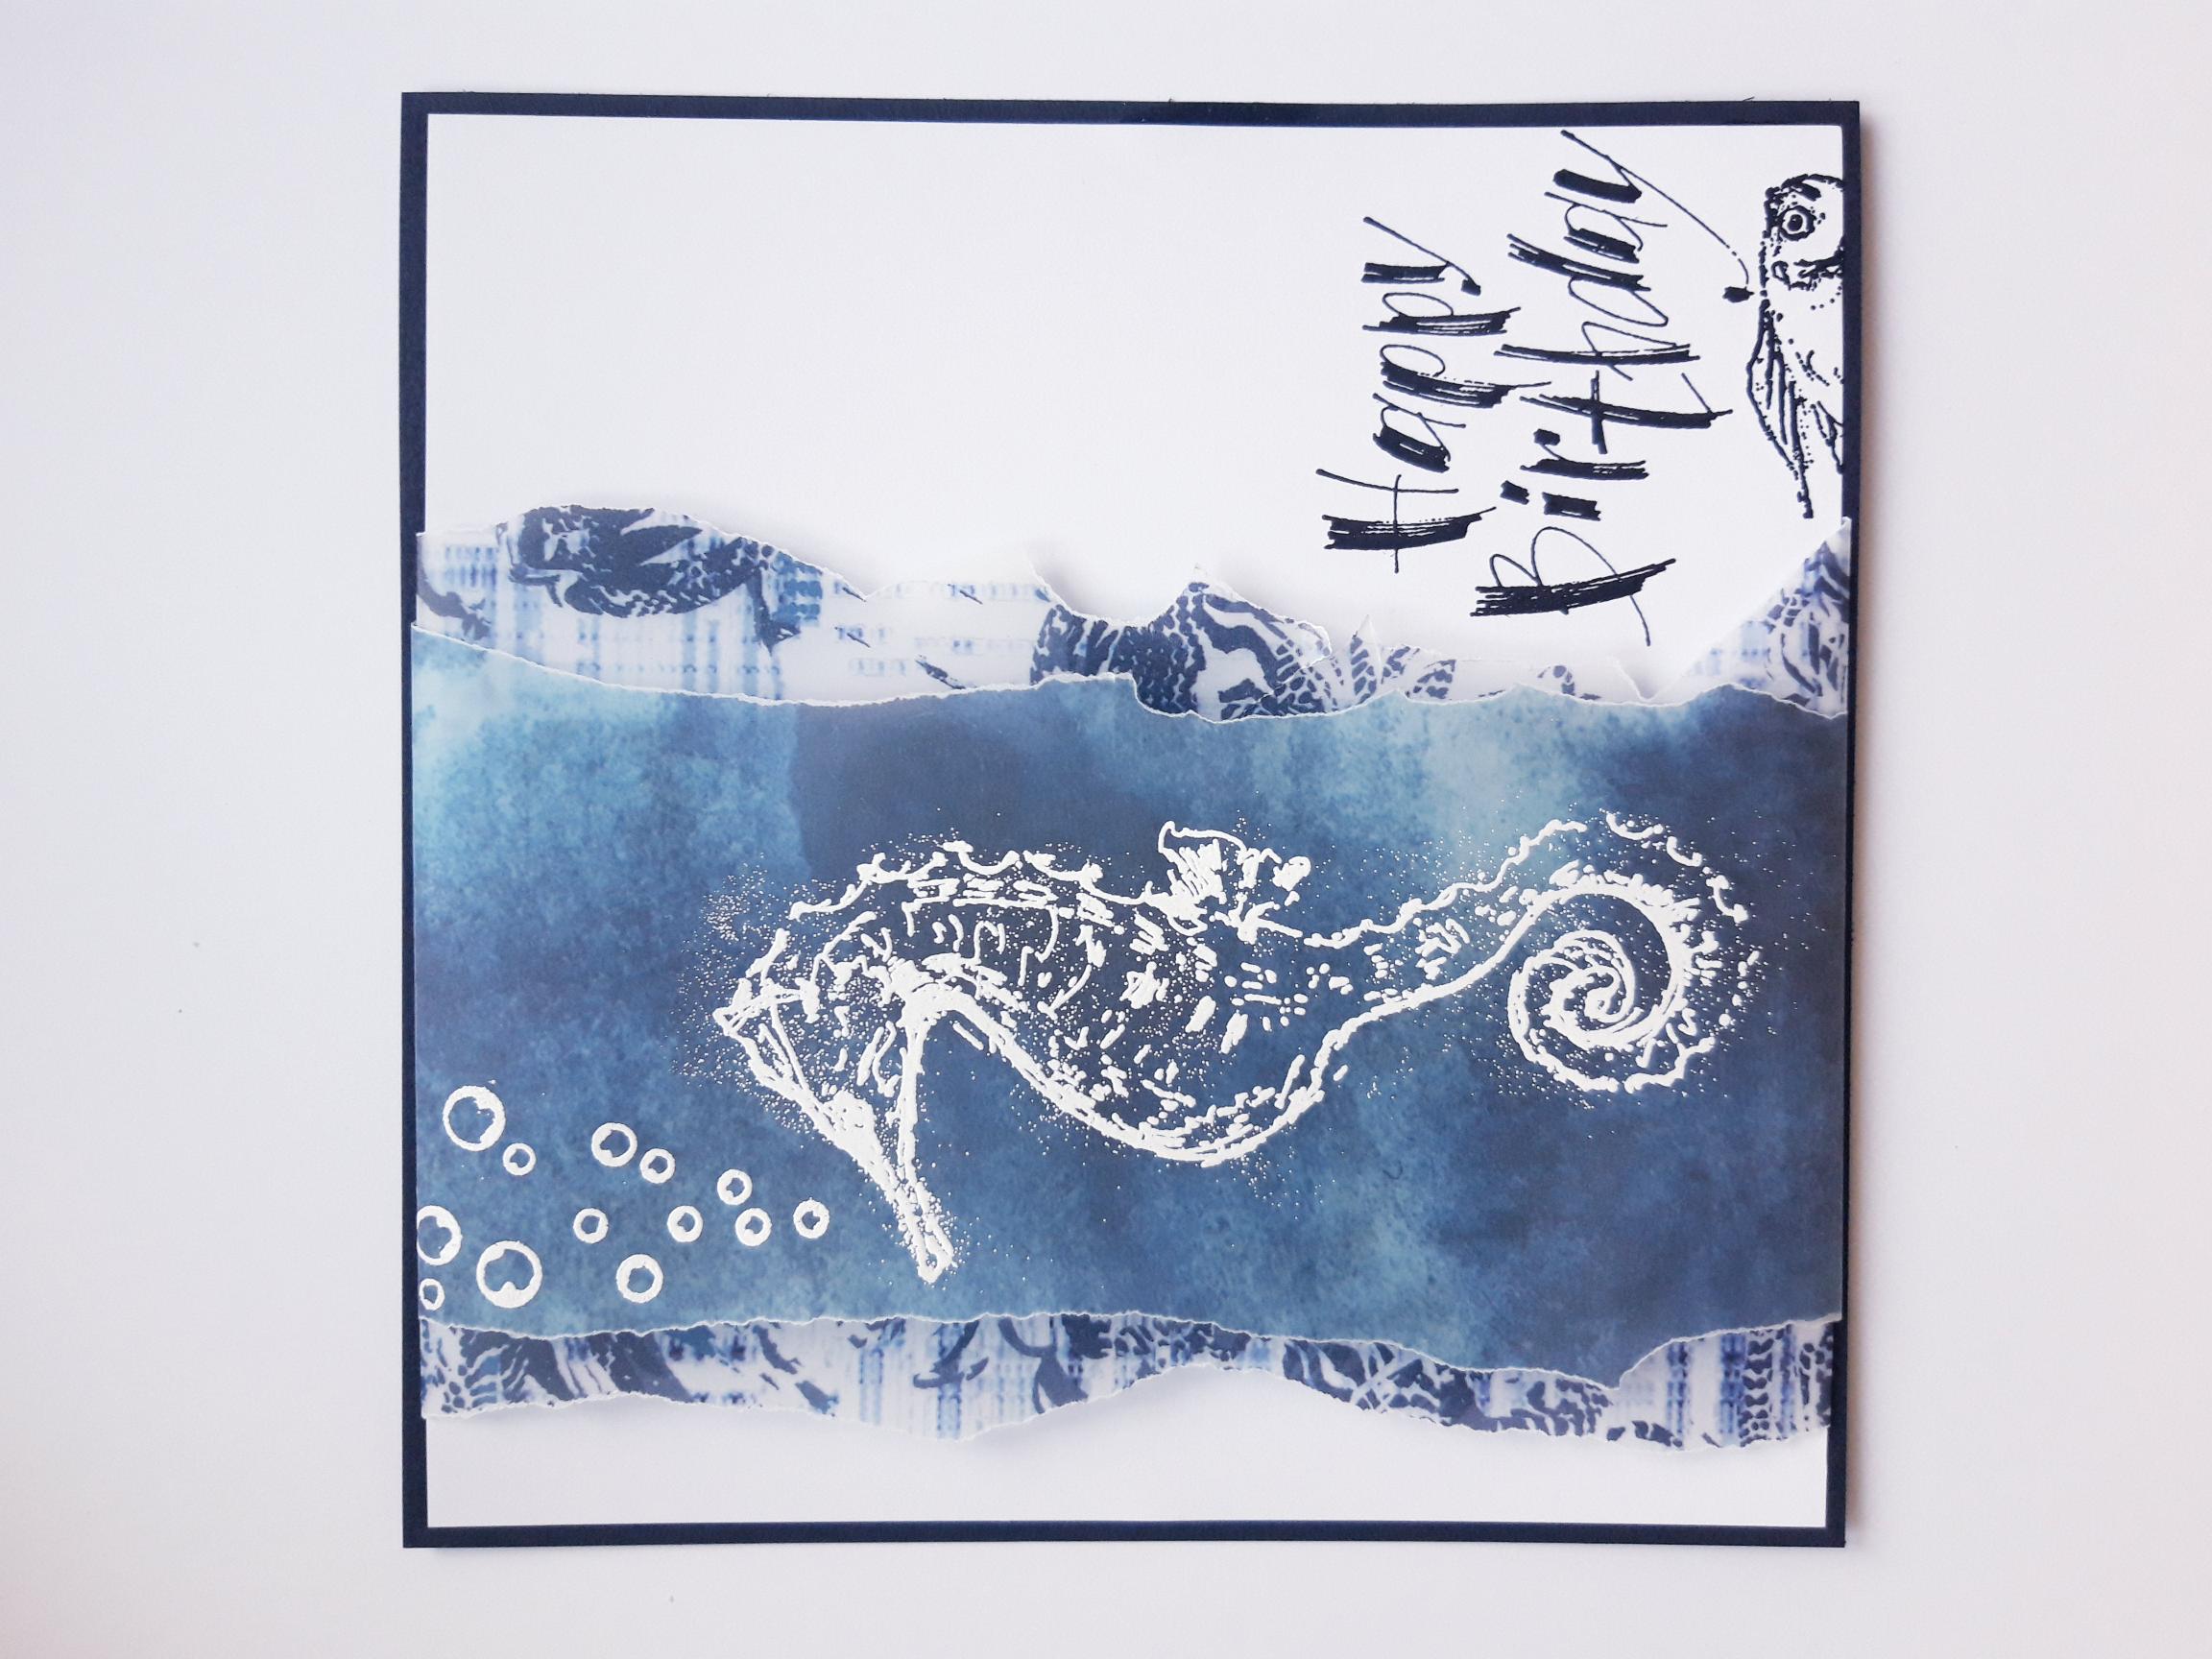
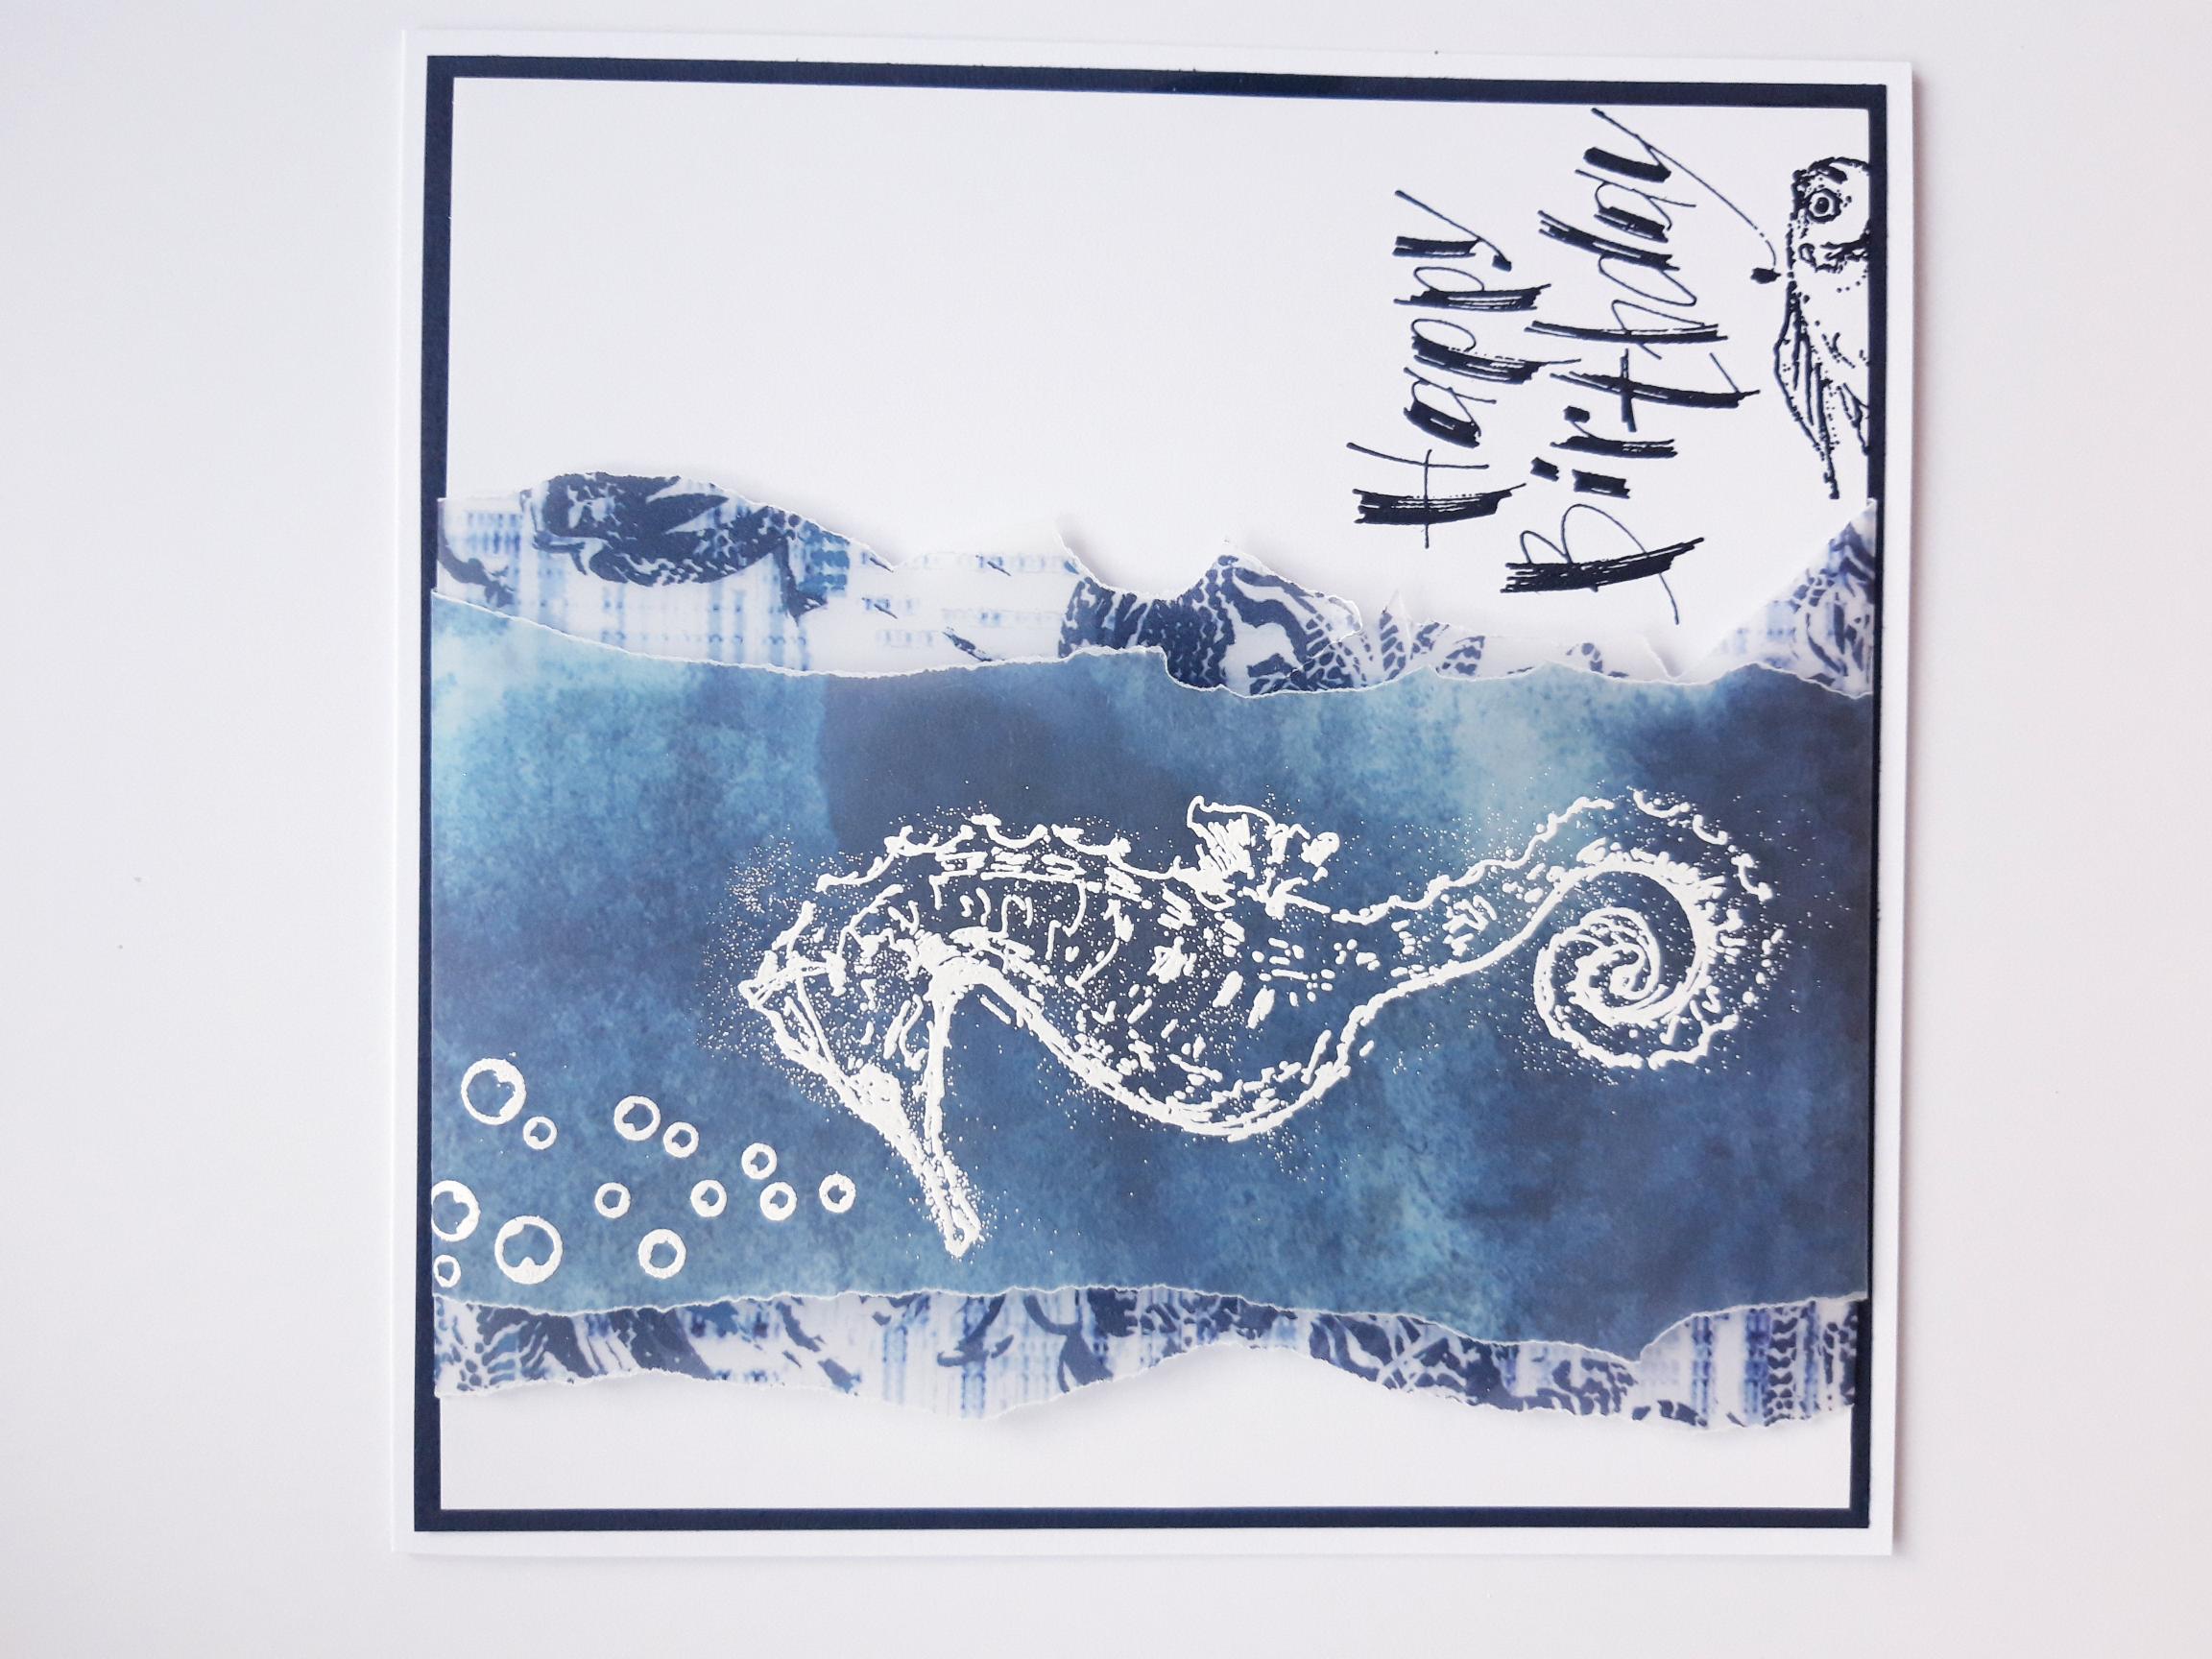
Adhere your artwork on to the black card (6 3/4 x 6 3/4"). |
|
Adhere on to the front of your white card blank. |

|
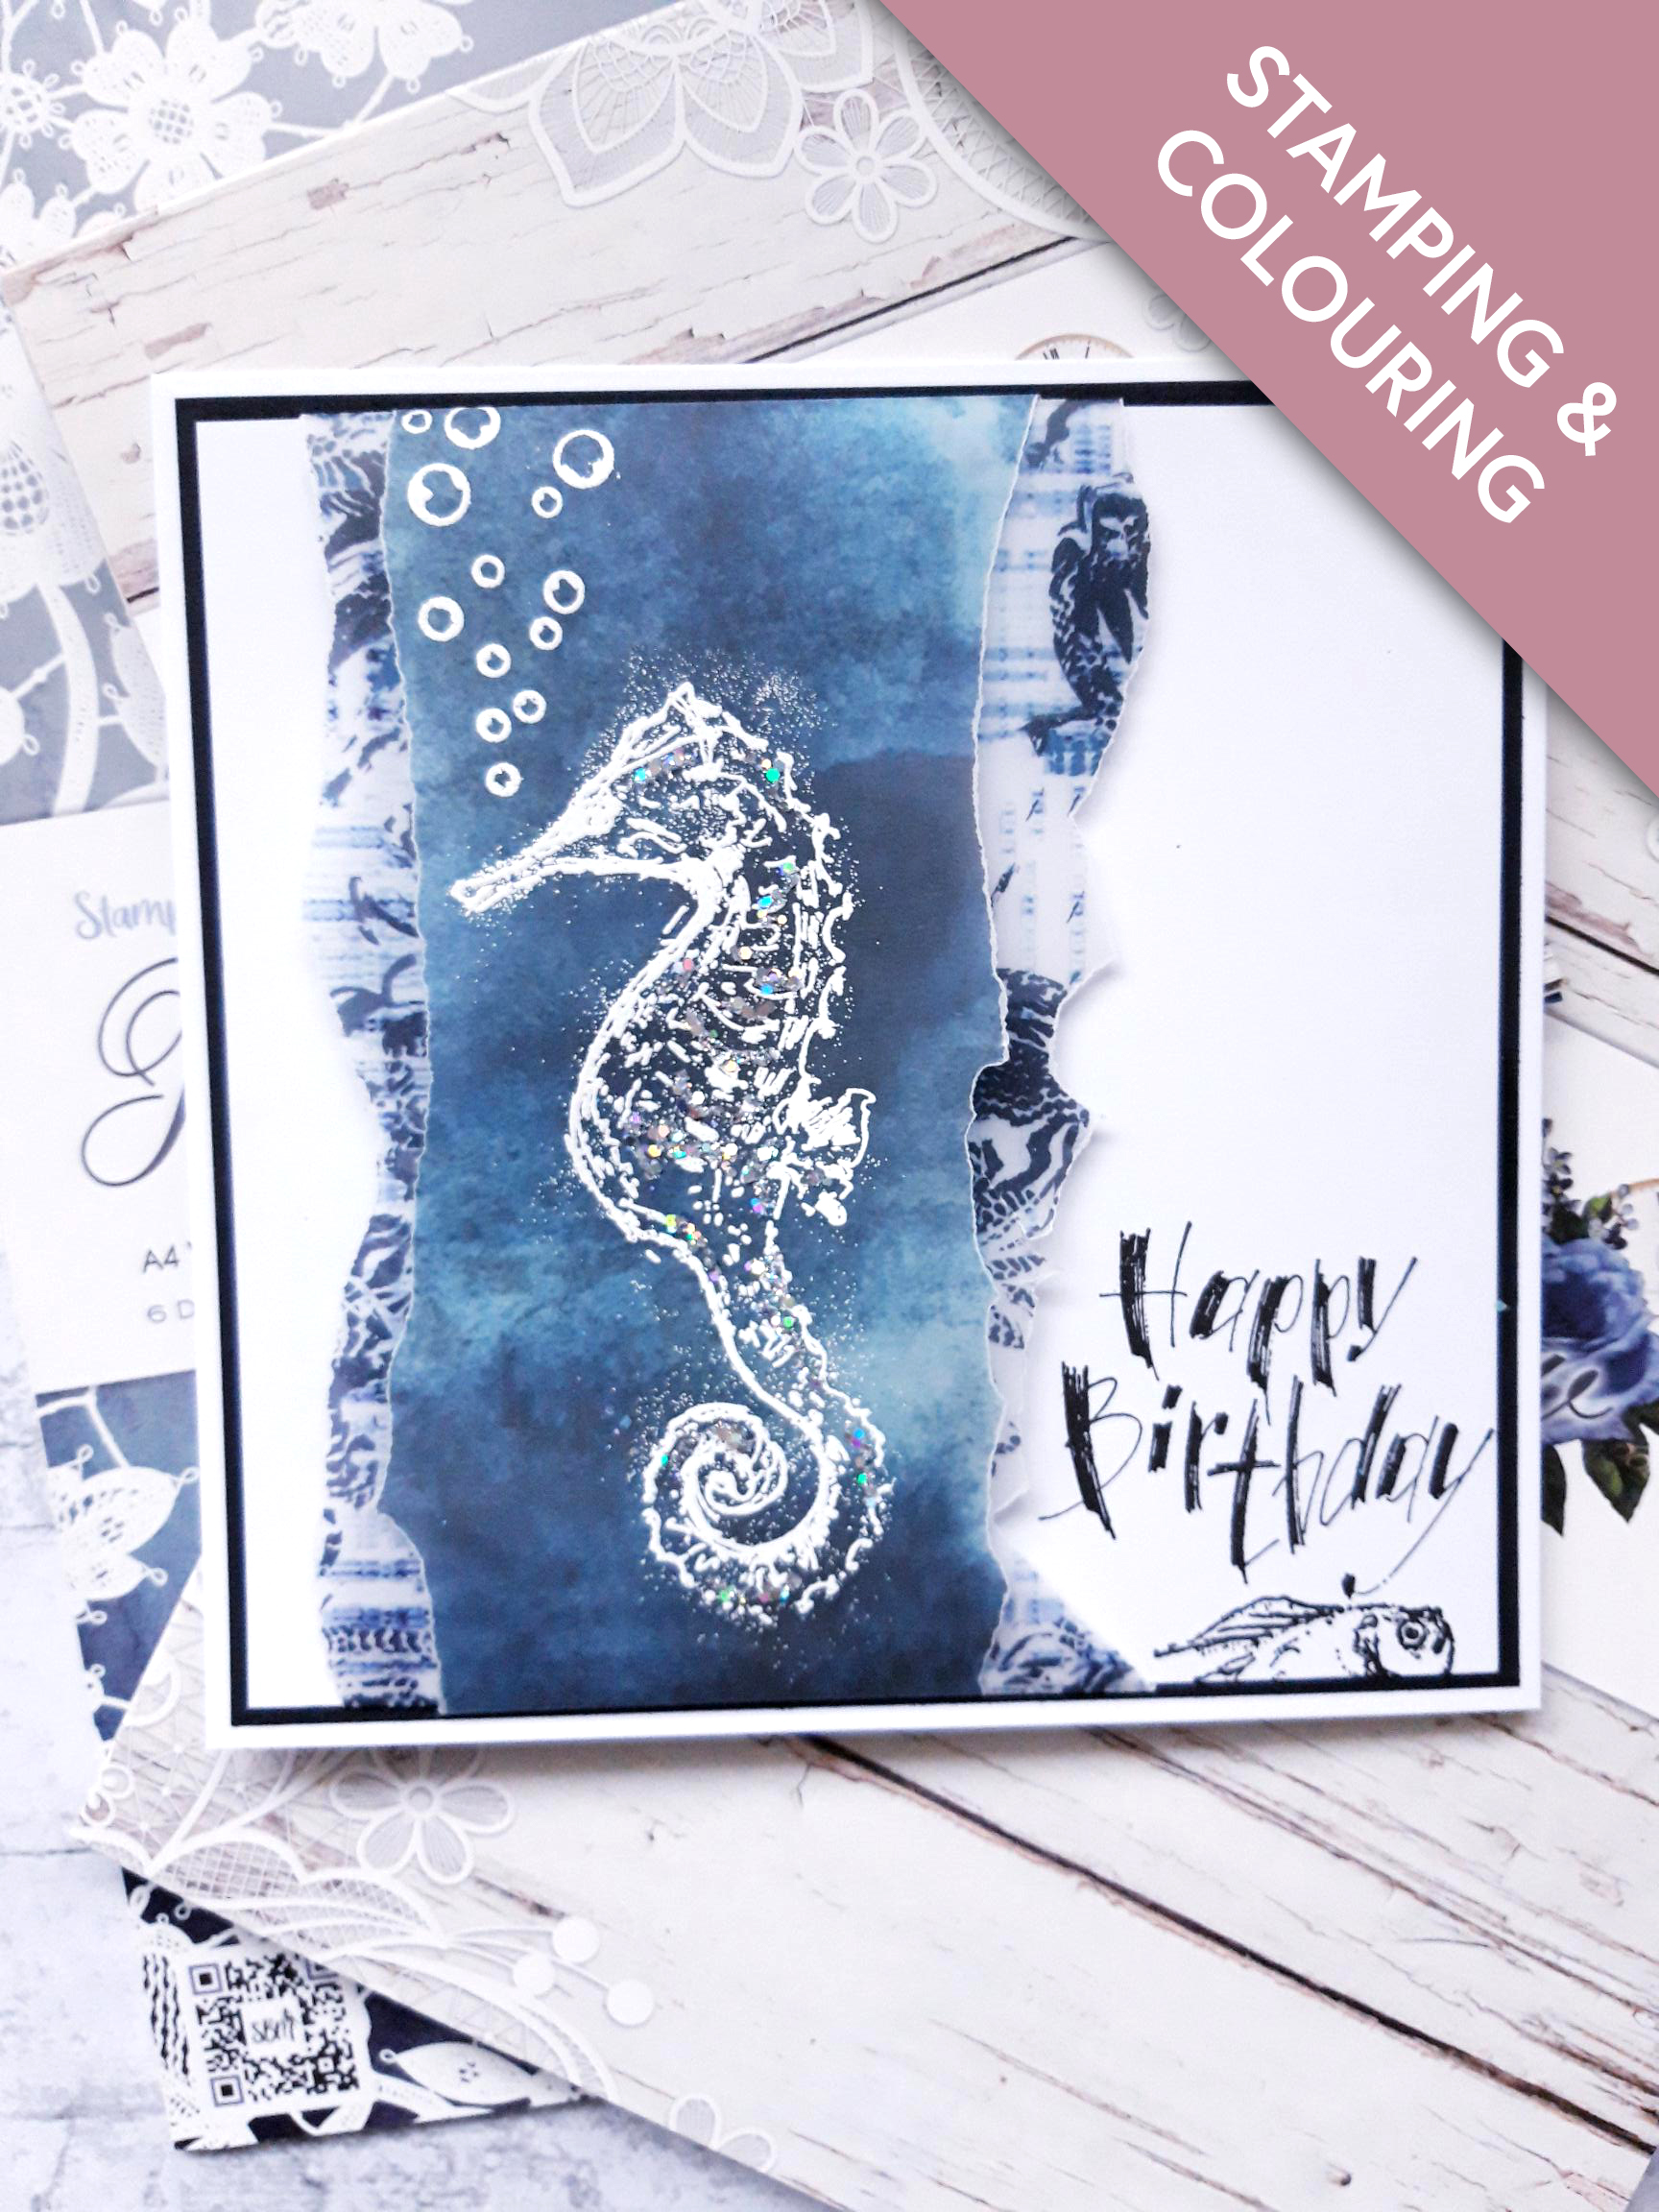
To finish your card, add Midas Glitter to the Seahorse, as required. |