Give your friends $10 off their first order!
Refer a FRIEND


WHAT WILL YOU NEED:
Black card A4 (300 GSM)
White card A4
Dies from Thirsty Brush UnLtd Journal Journey House Page Creative Dies
Stamps from Thirsty Brush UnLtd Birbs Cottage Creative Stamps
Stamps from Thirsty Brush UnLtd Bert and Ernie Creative Stamps
Thirsty Brush UnLtd Boxed In Texture Stencil
Versafine Ink Pad: Onyx Black
Izink Shiny Sprays: Jaune Pastel, Orange Pastel
Izink Pigments: Orange, Lychee, Roast Chestnut, Wet Meadow, Purple Haze, Ultramarine
Black pen
White gel pen
Paint brush
Eureka 101
Paper Trimmer
Perfect Together Glue
Foam pads
Die Cutting machine
[click image to enlarge] 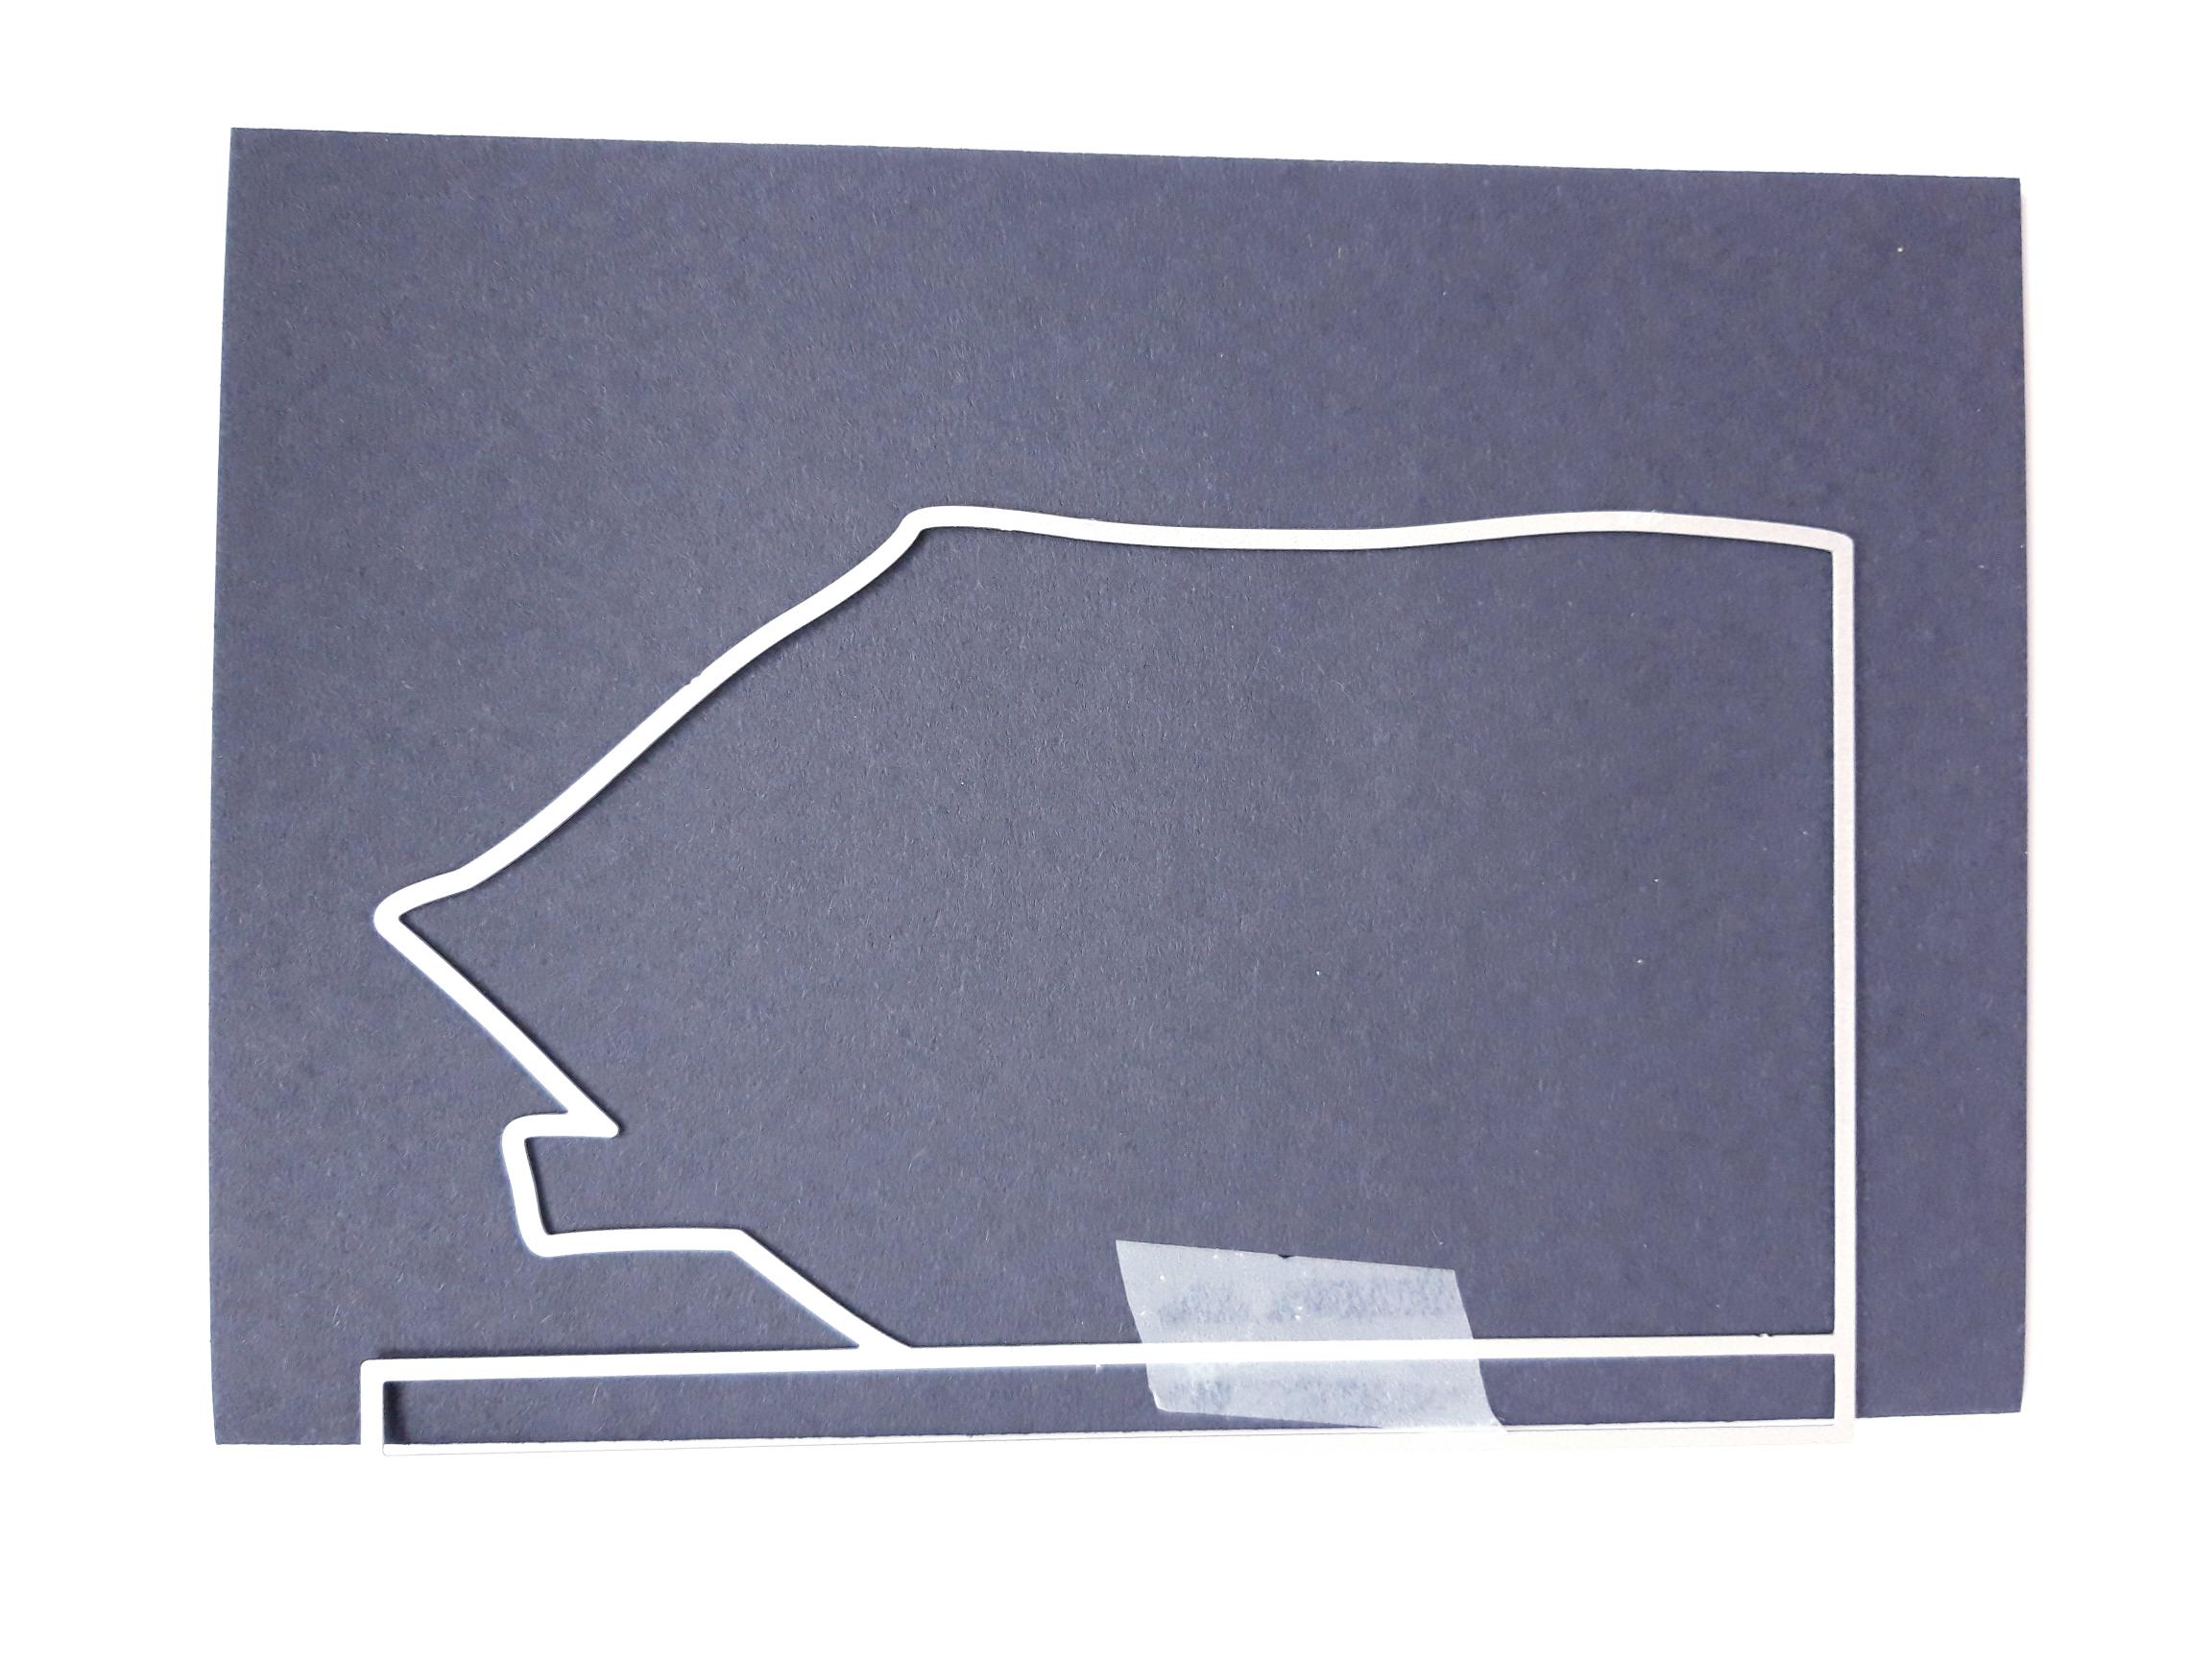
|
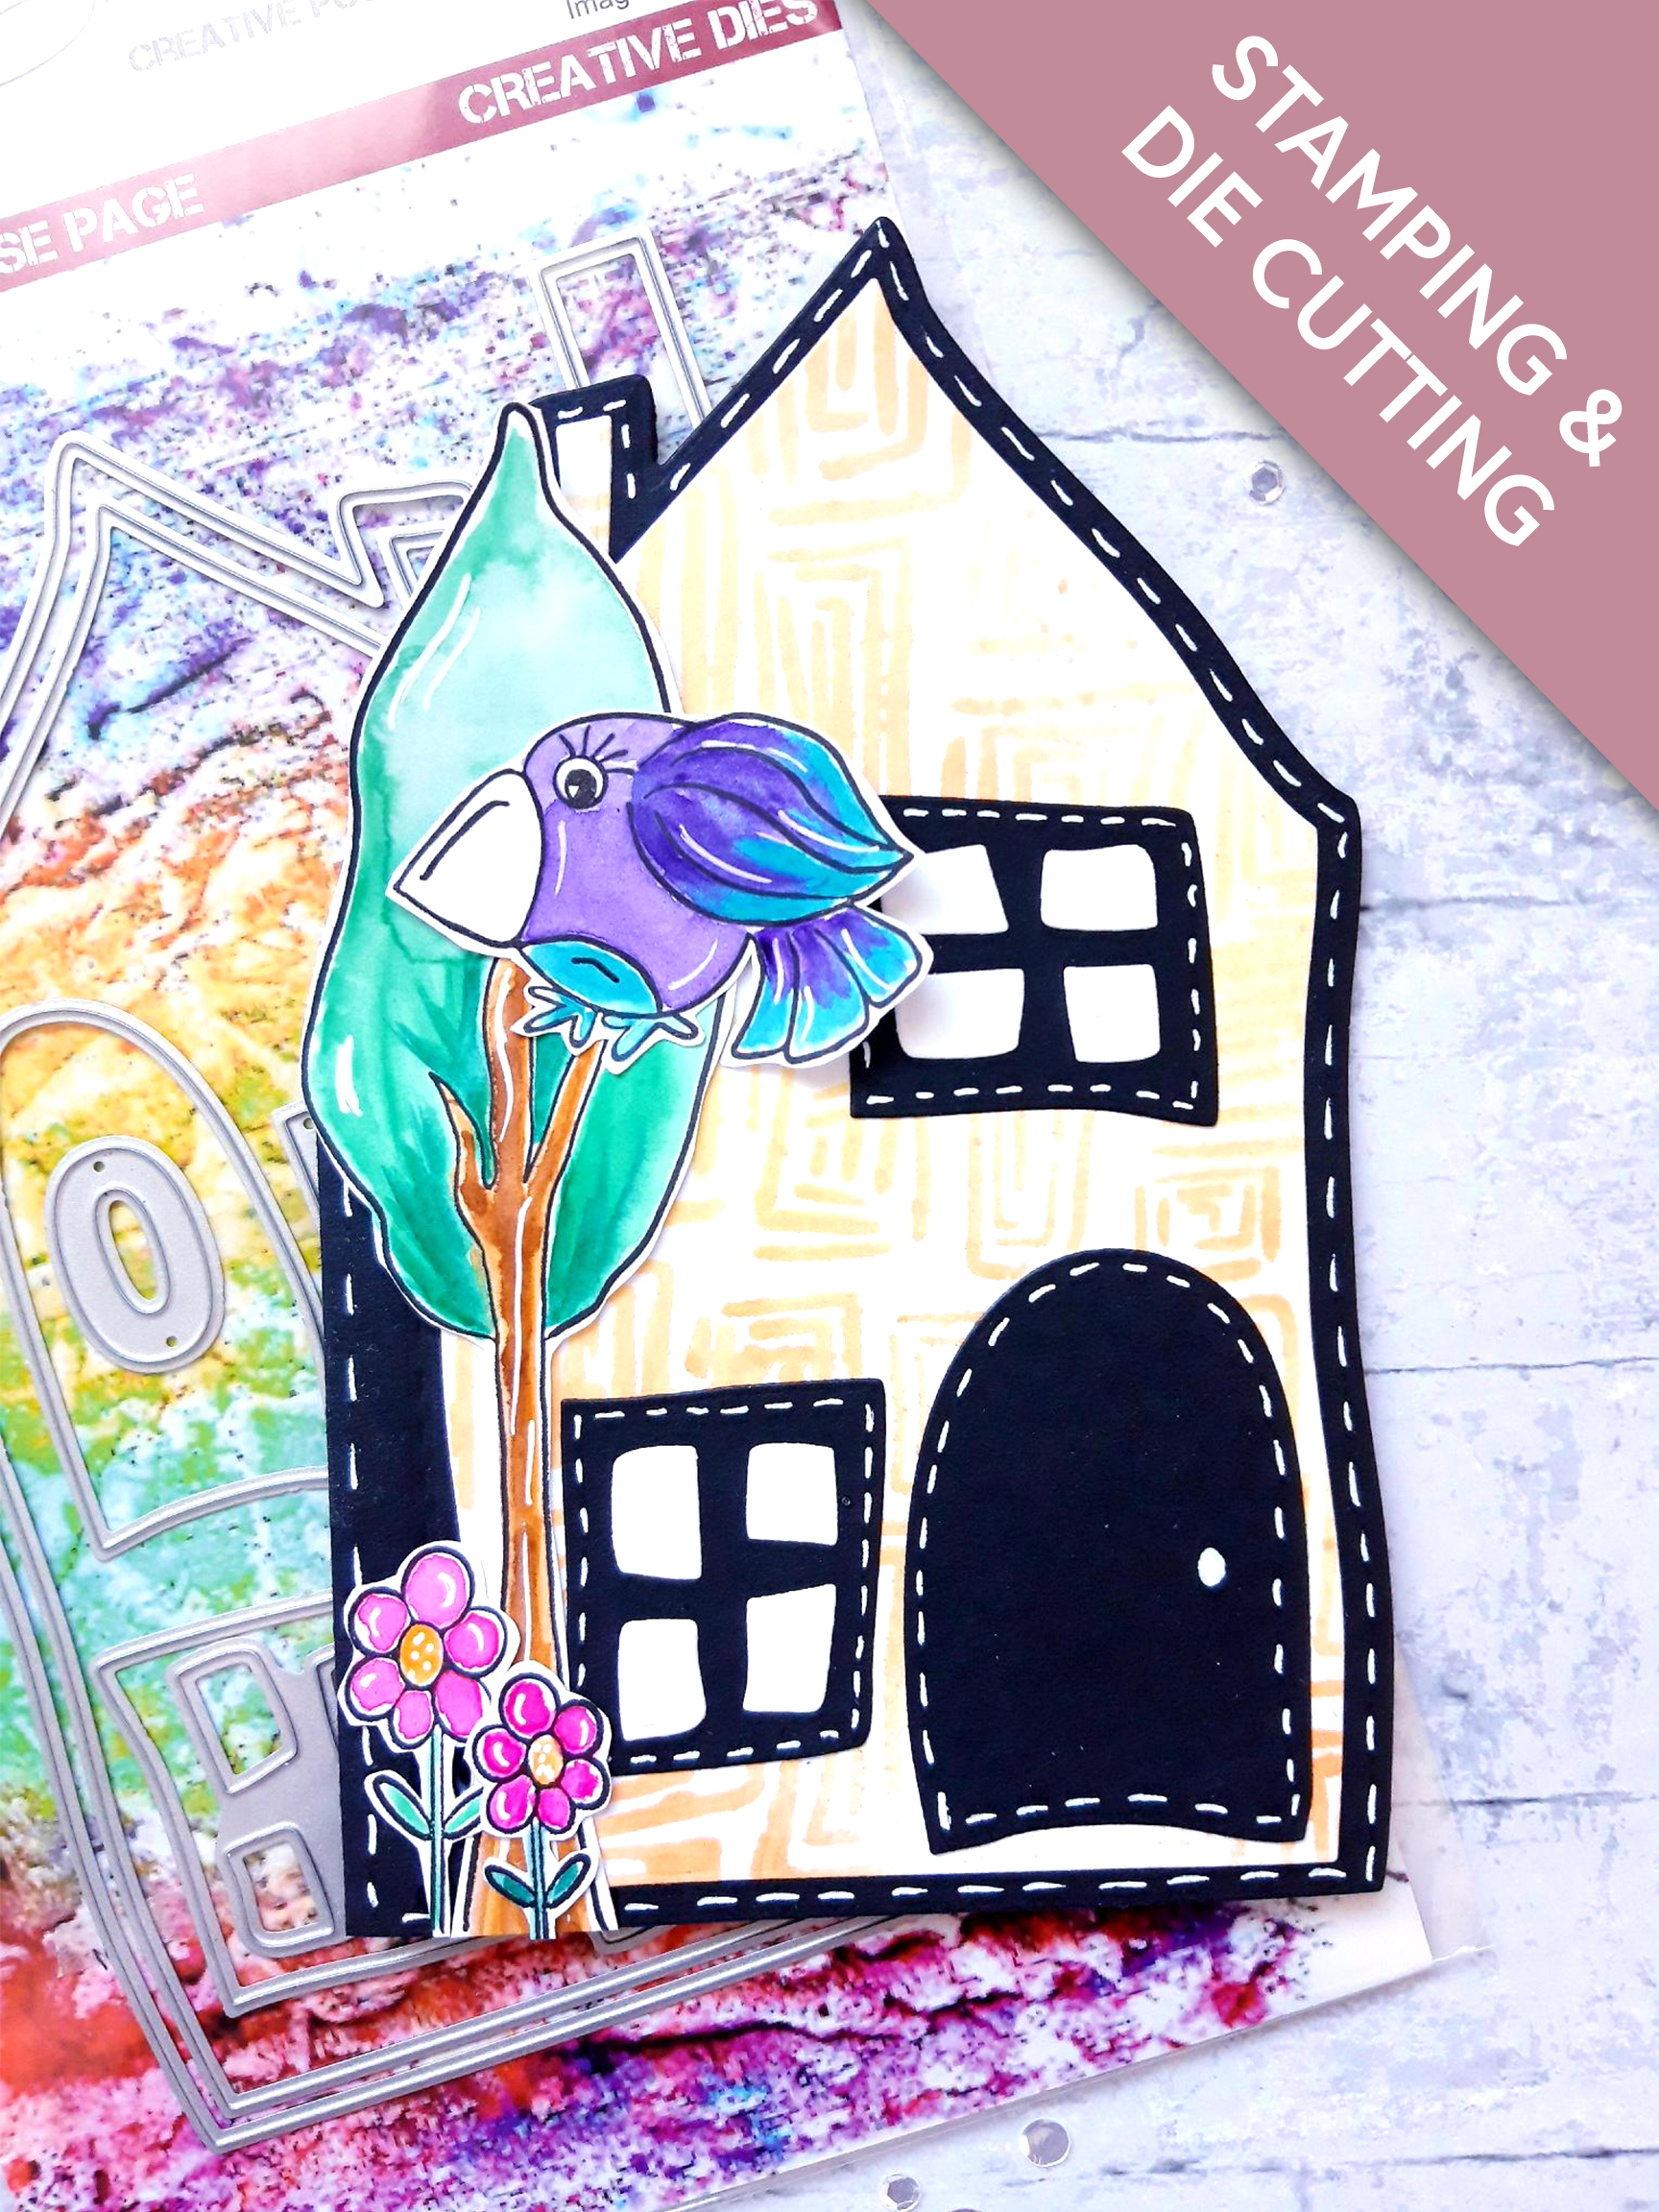
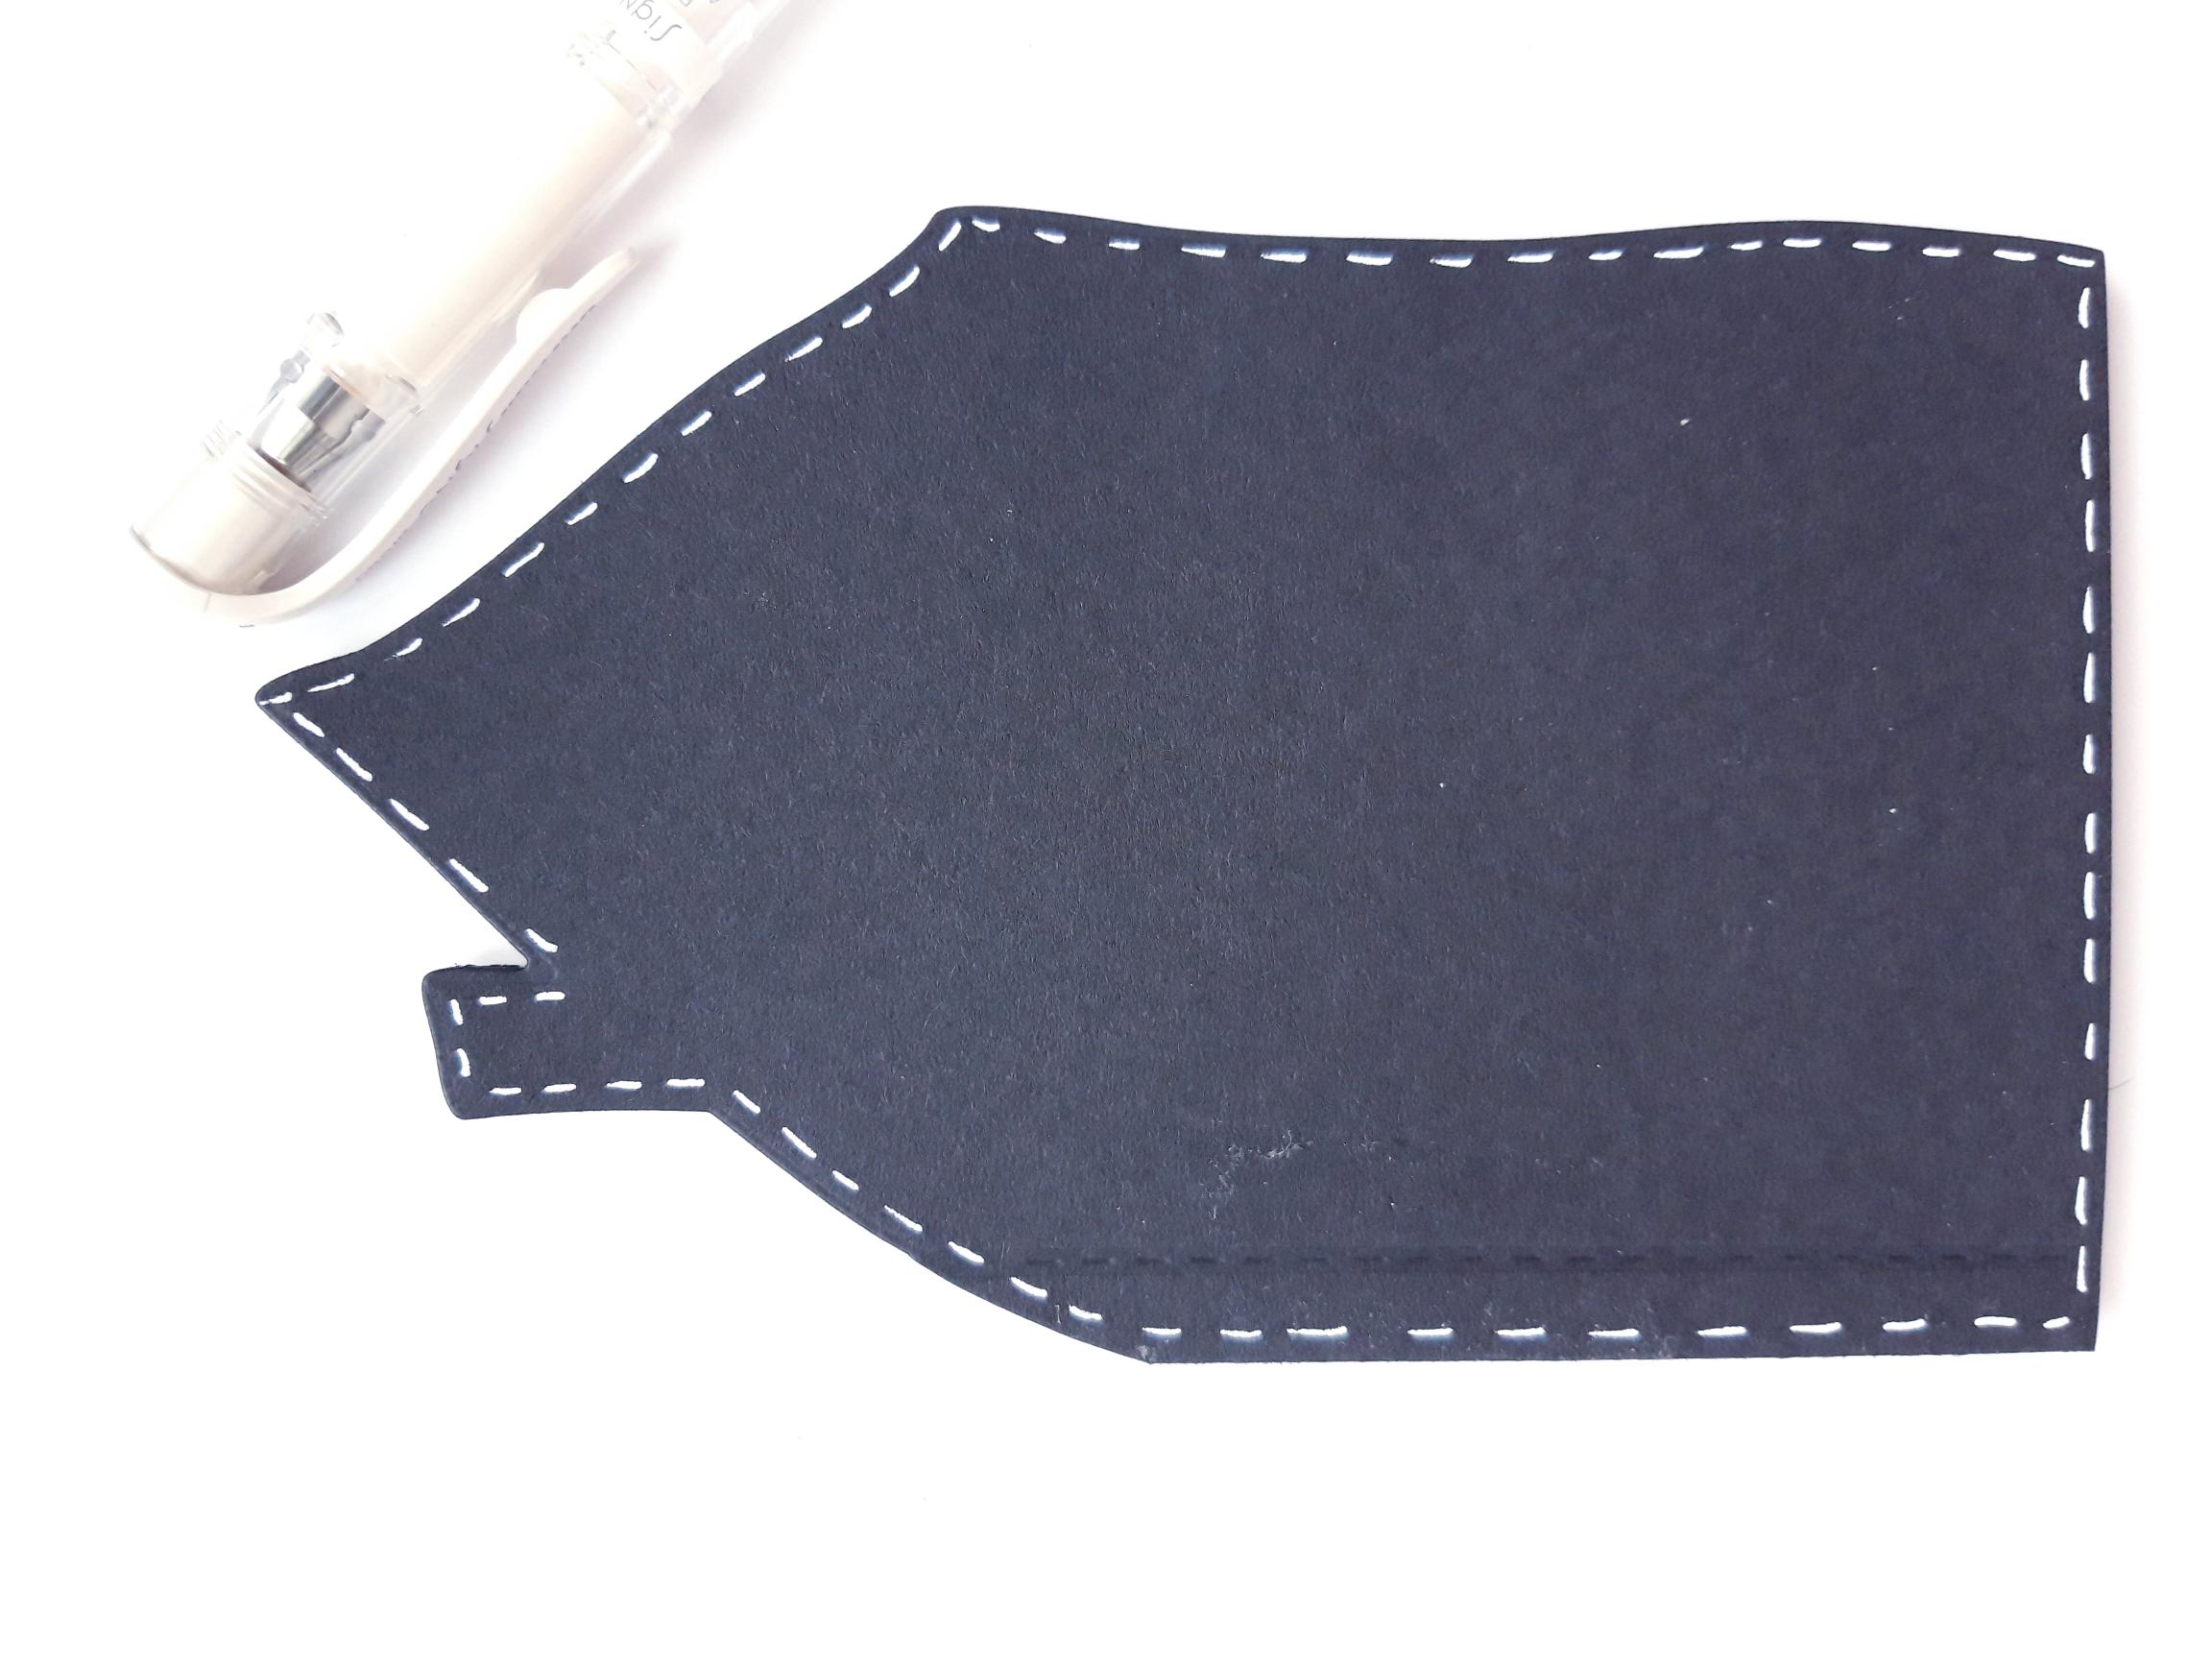
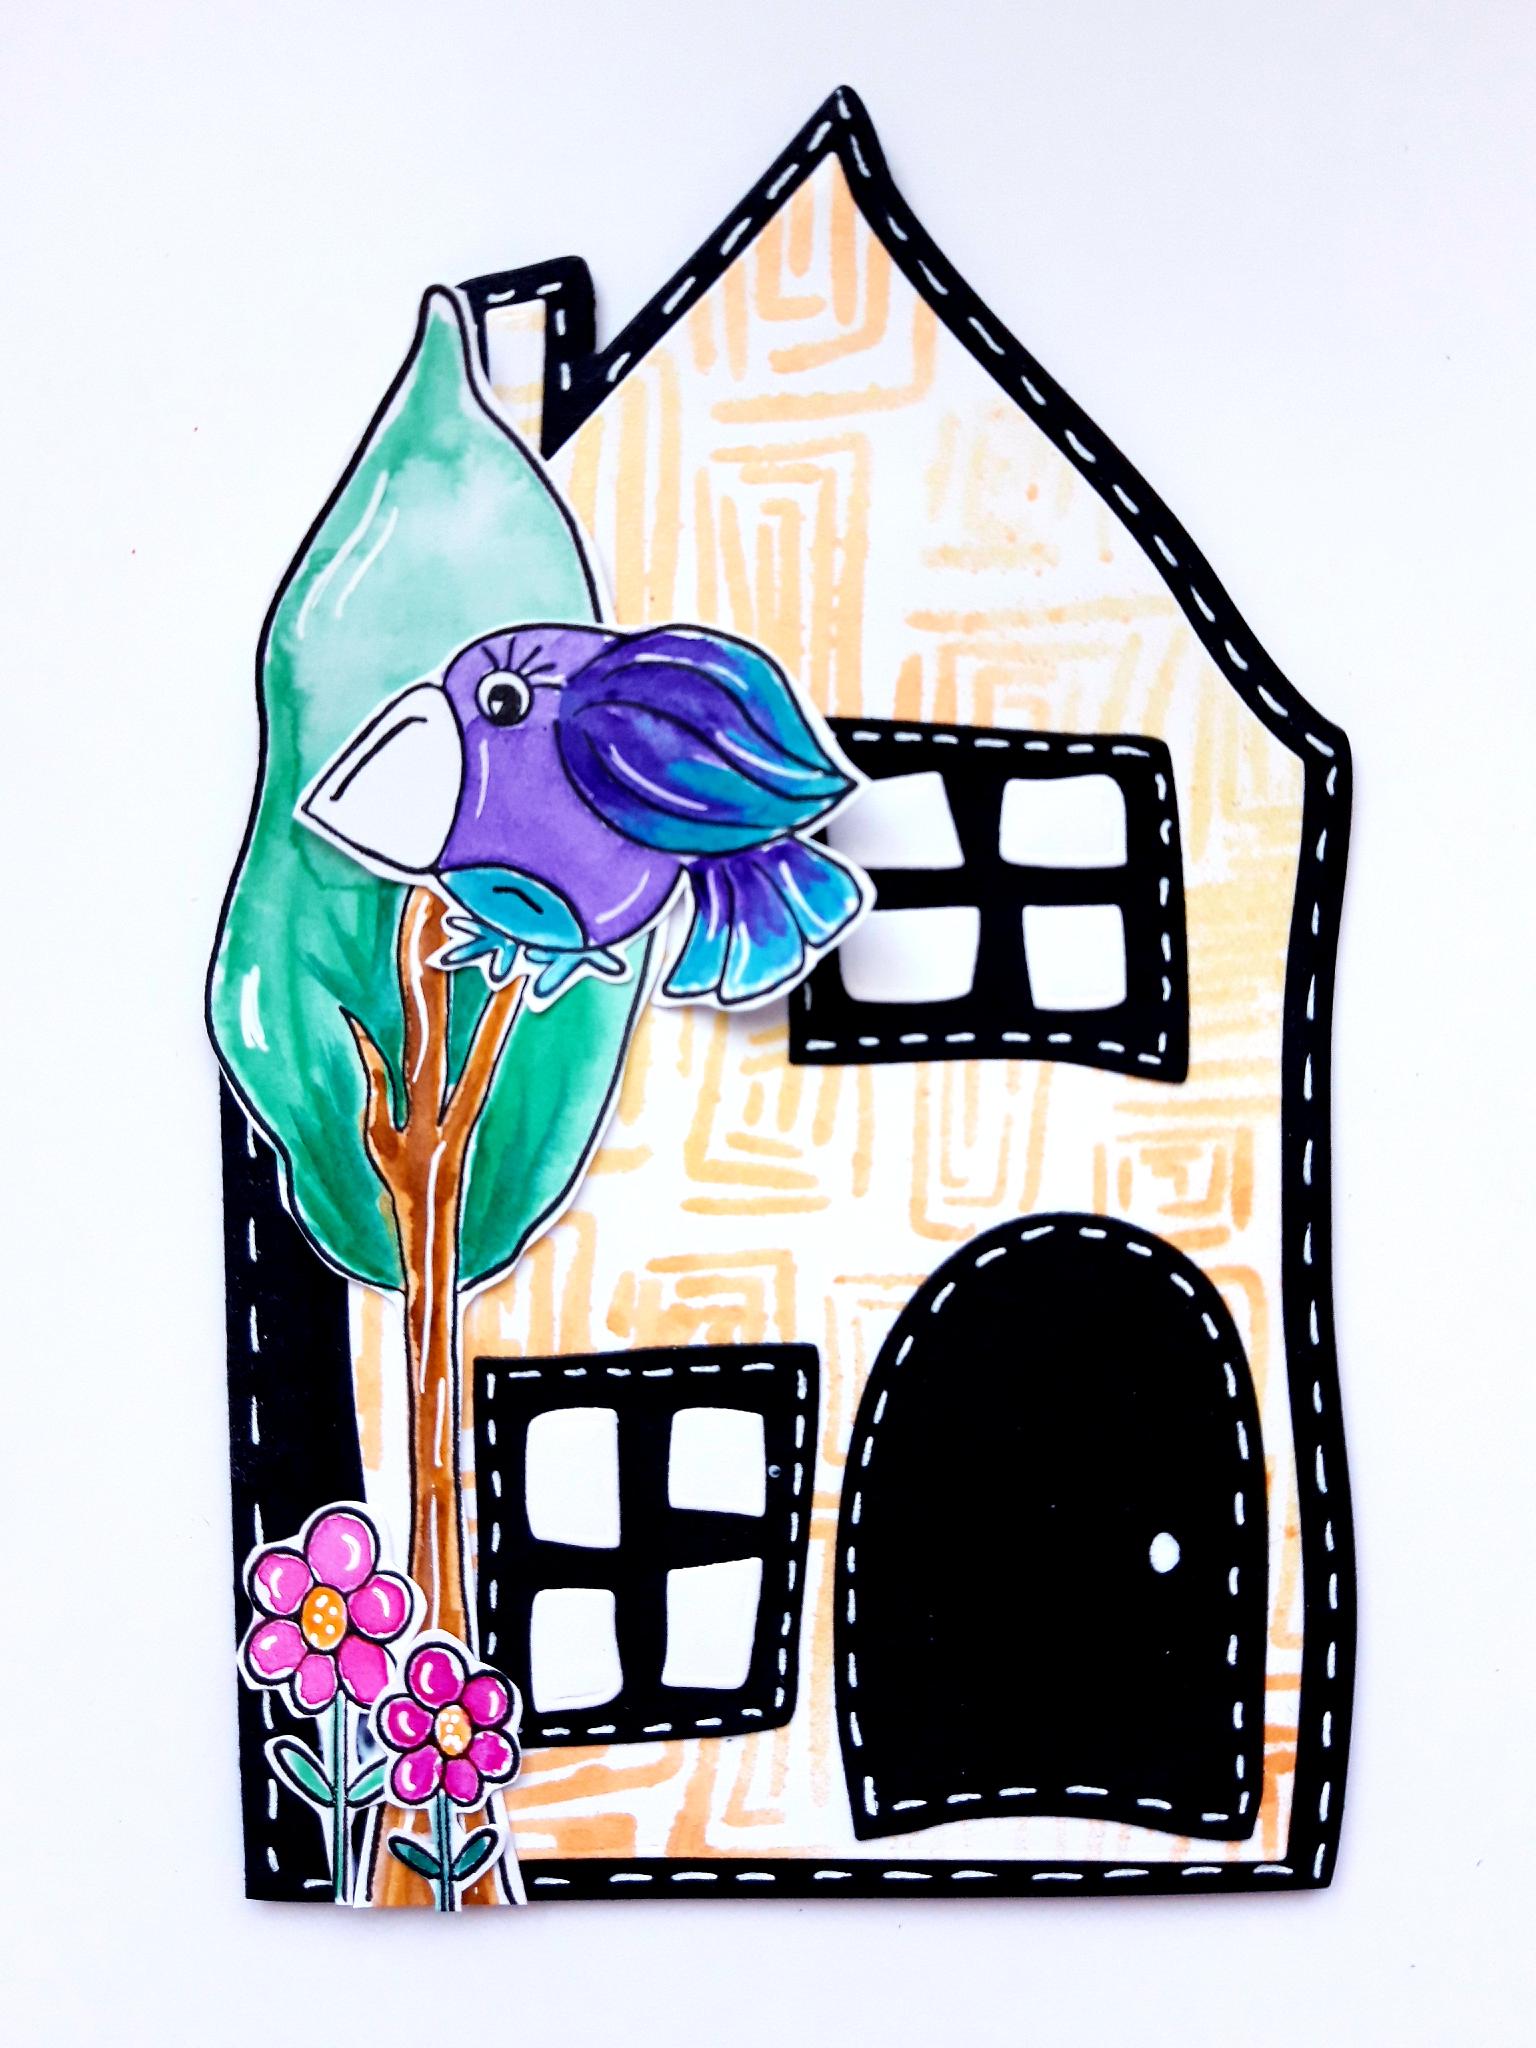
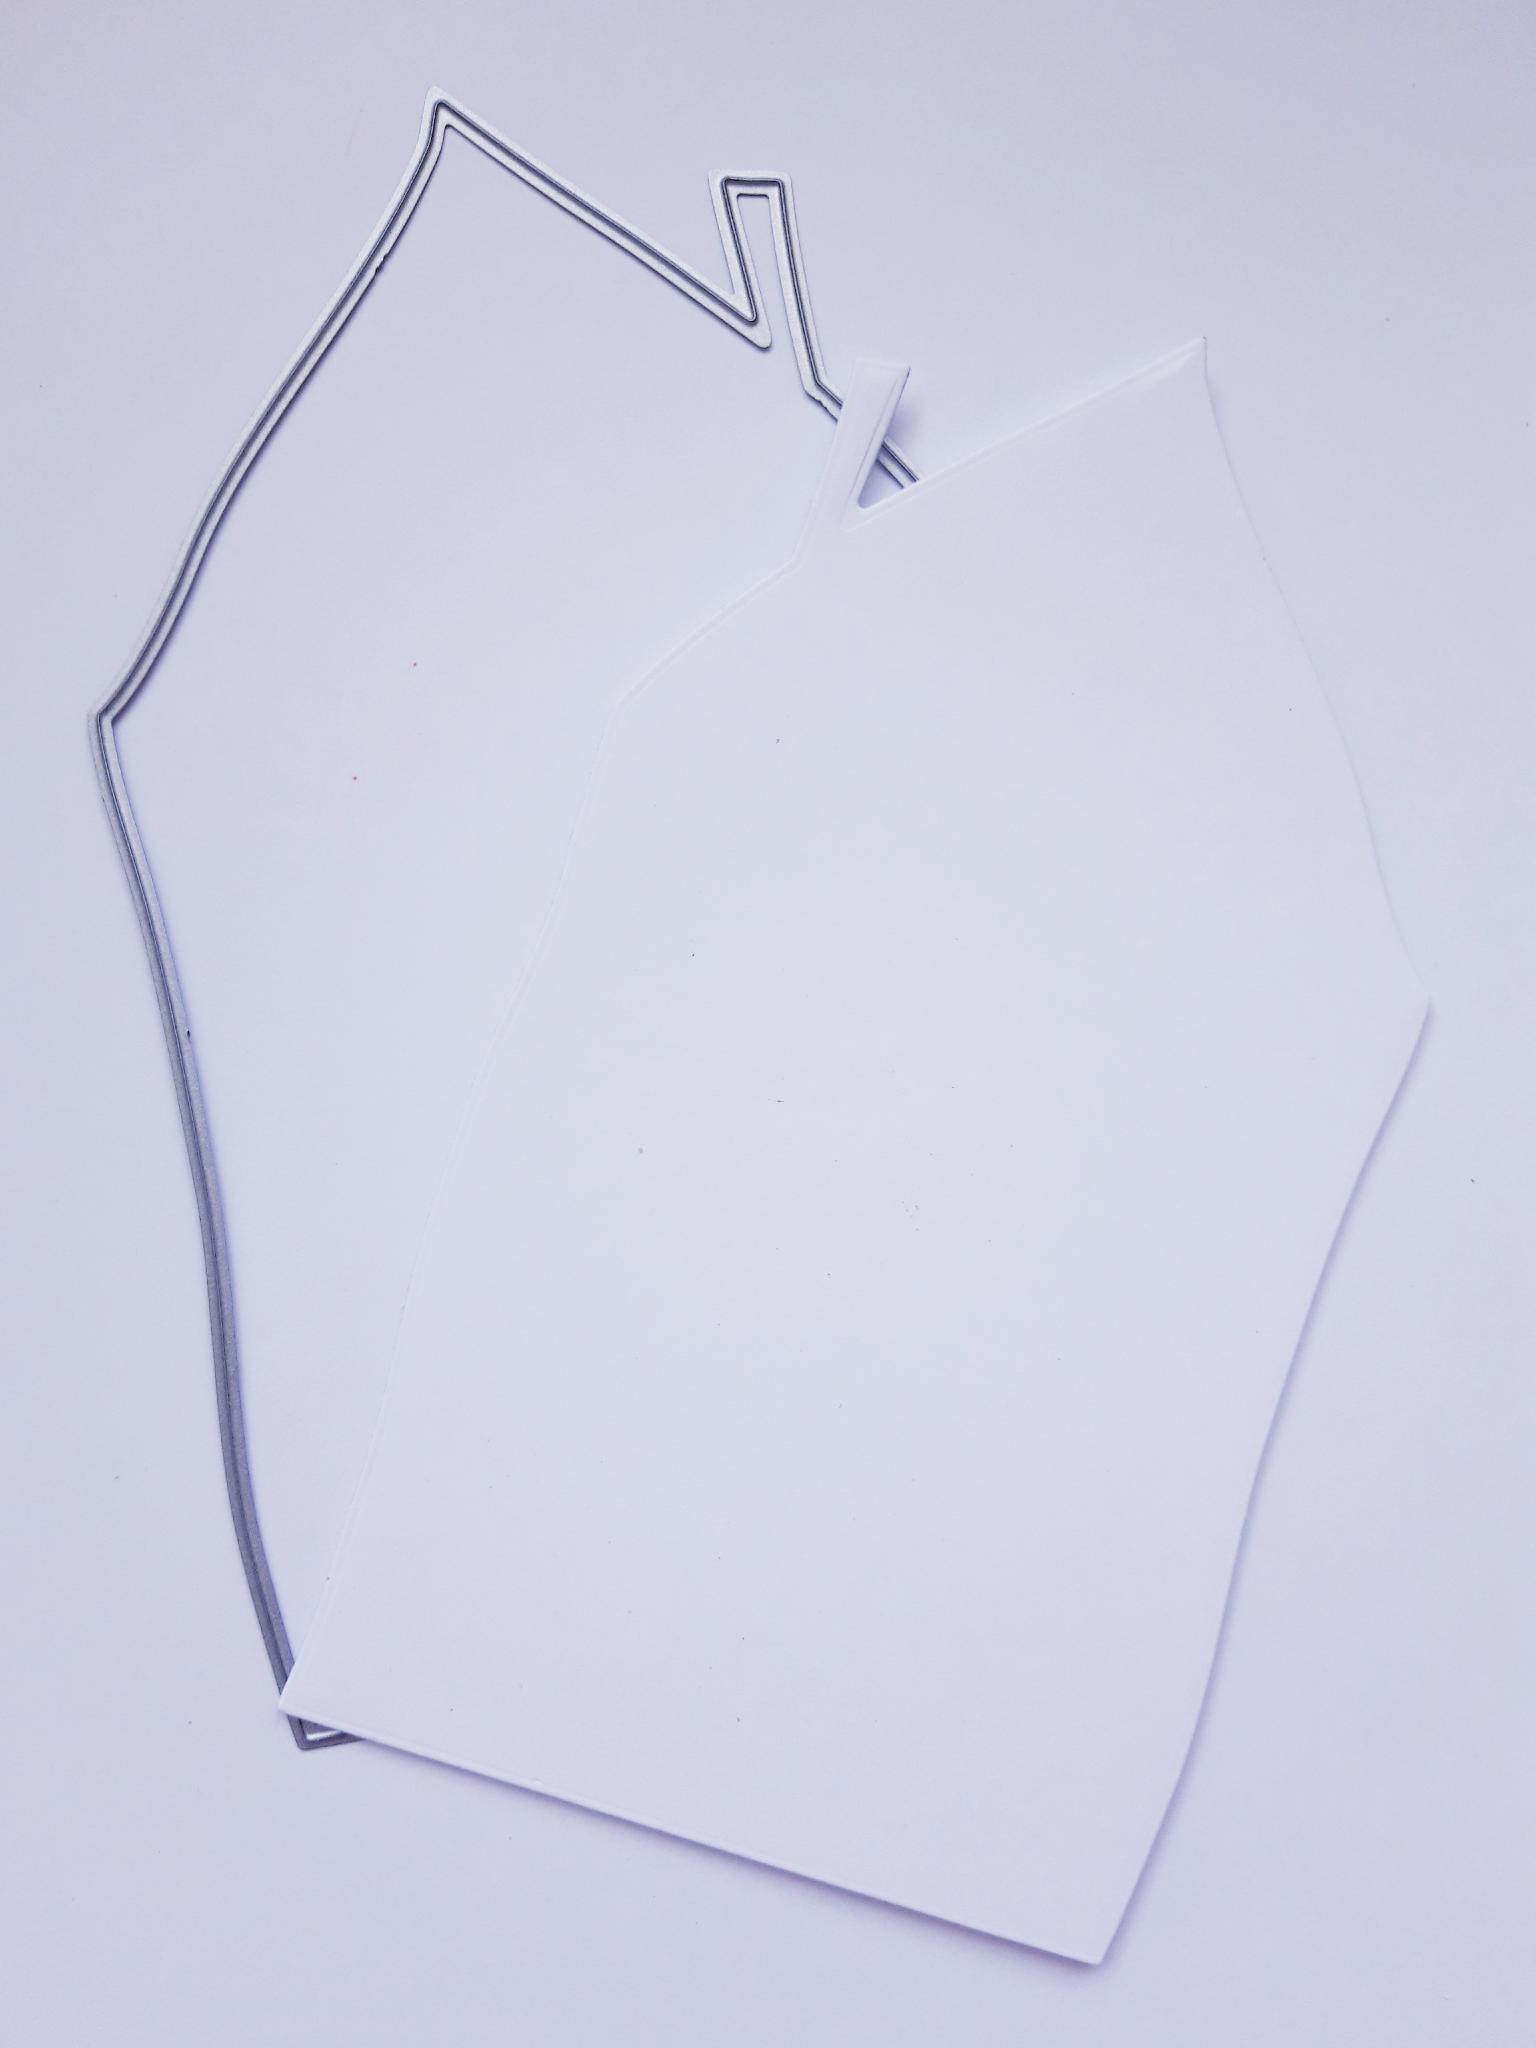
Fold the A4 card stock in half. Place the Journal Journey House Page Die on to the card, so the left hand spine cutting edge of the die, hangs just off the edge of the folded edge of the black card (as shown here). Secure in place with low tack tape then run through your die cutting machine. Be frugal when placing and die cutting from the black card... as you will need this to multi die cut other elements later. |
|
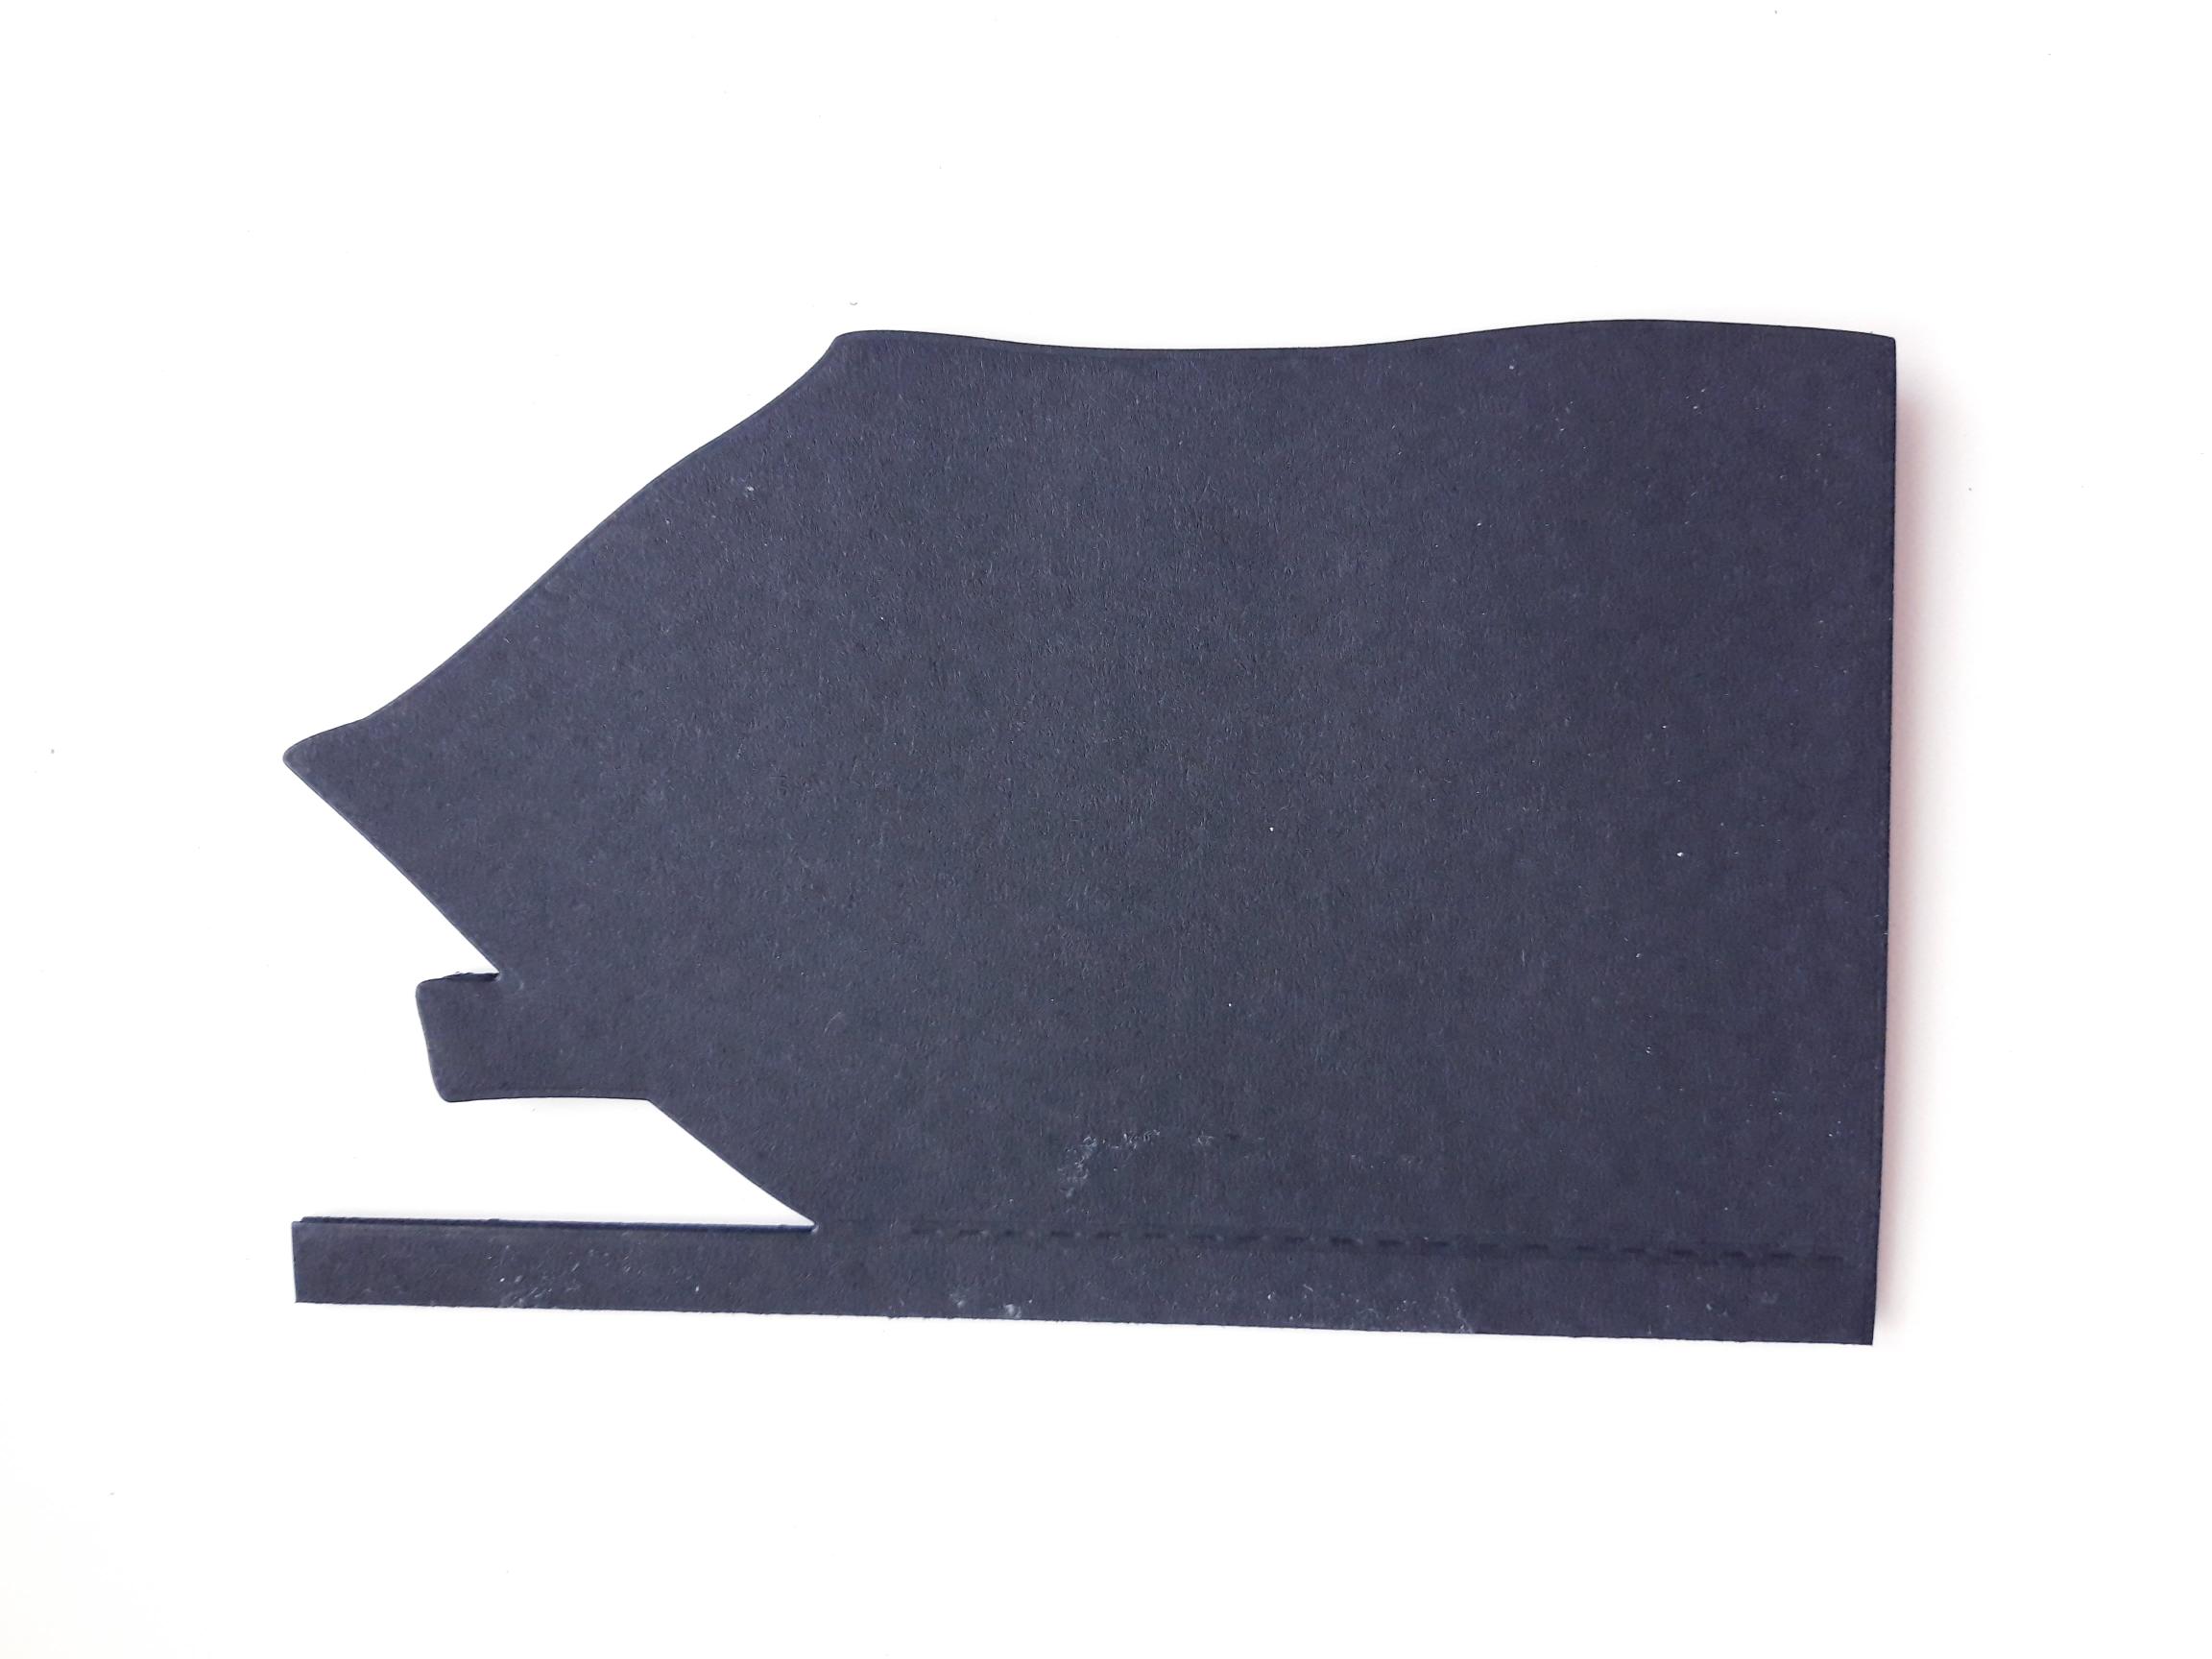
Remove the die and you should have a shaped card blank, with the fold/spine on the left hand side. |
|
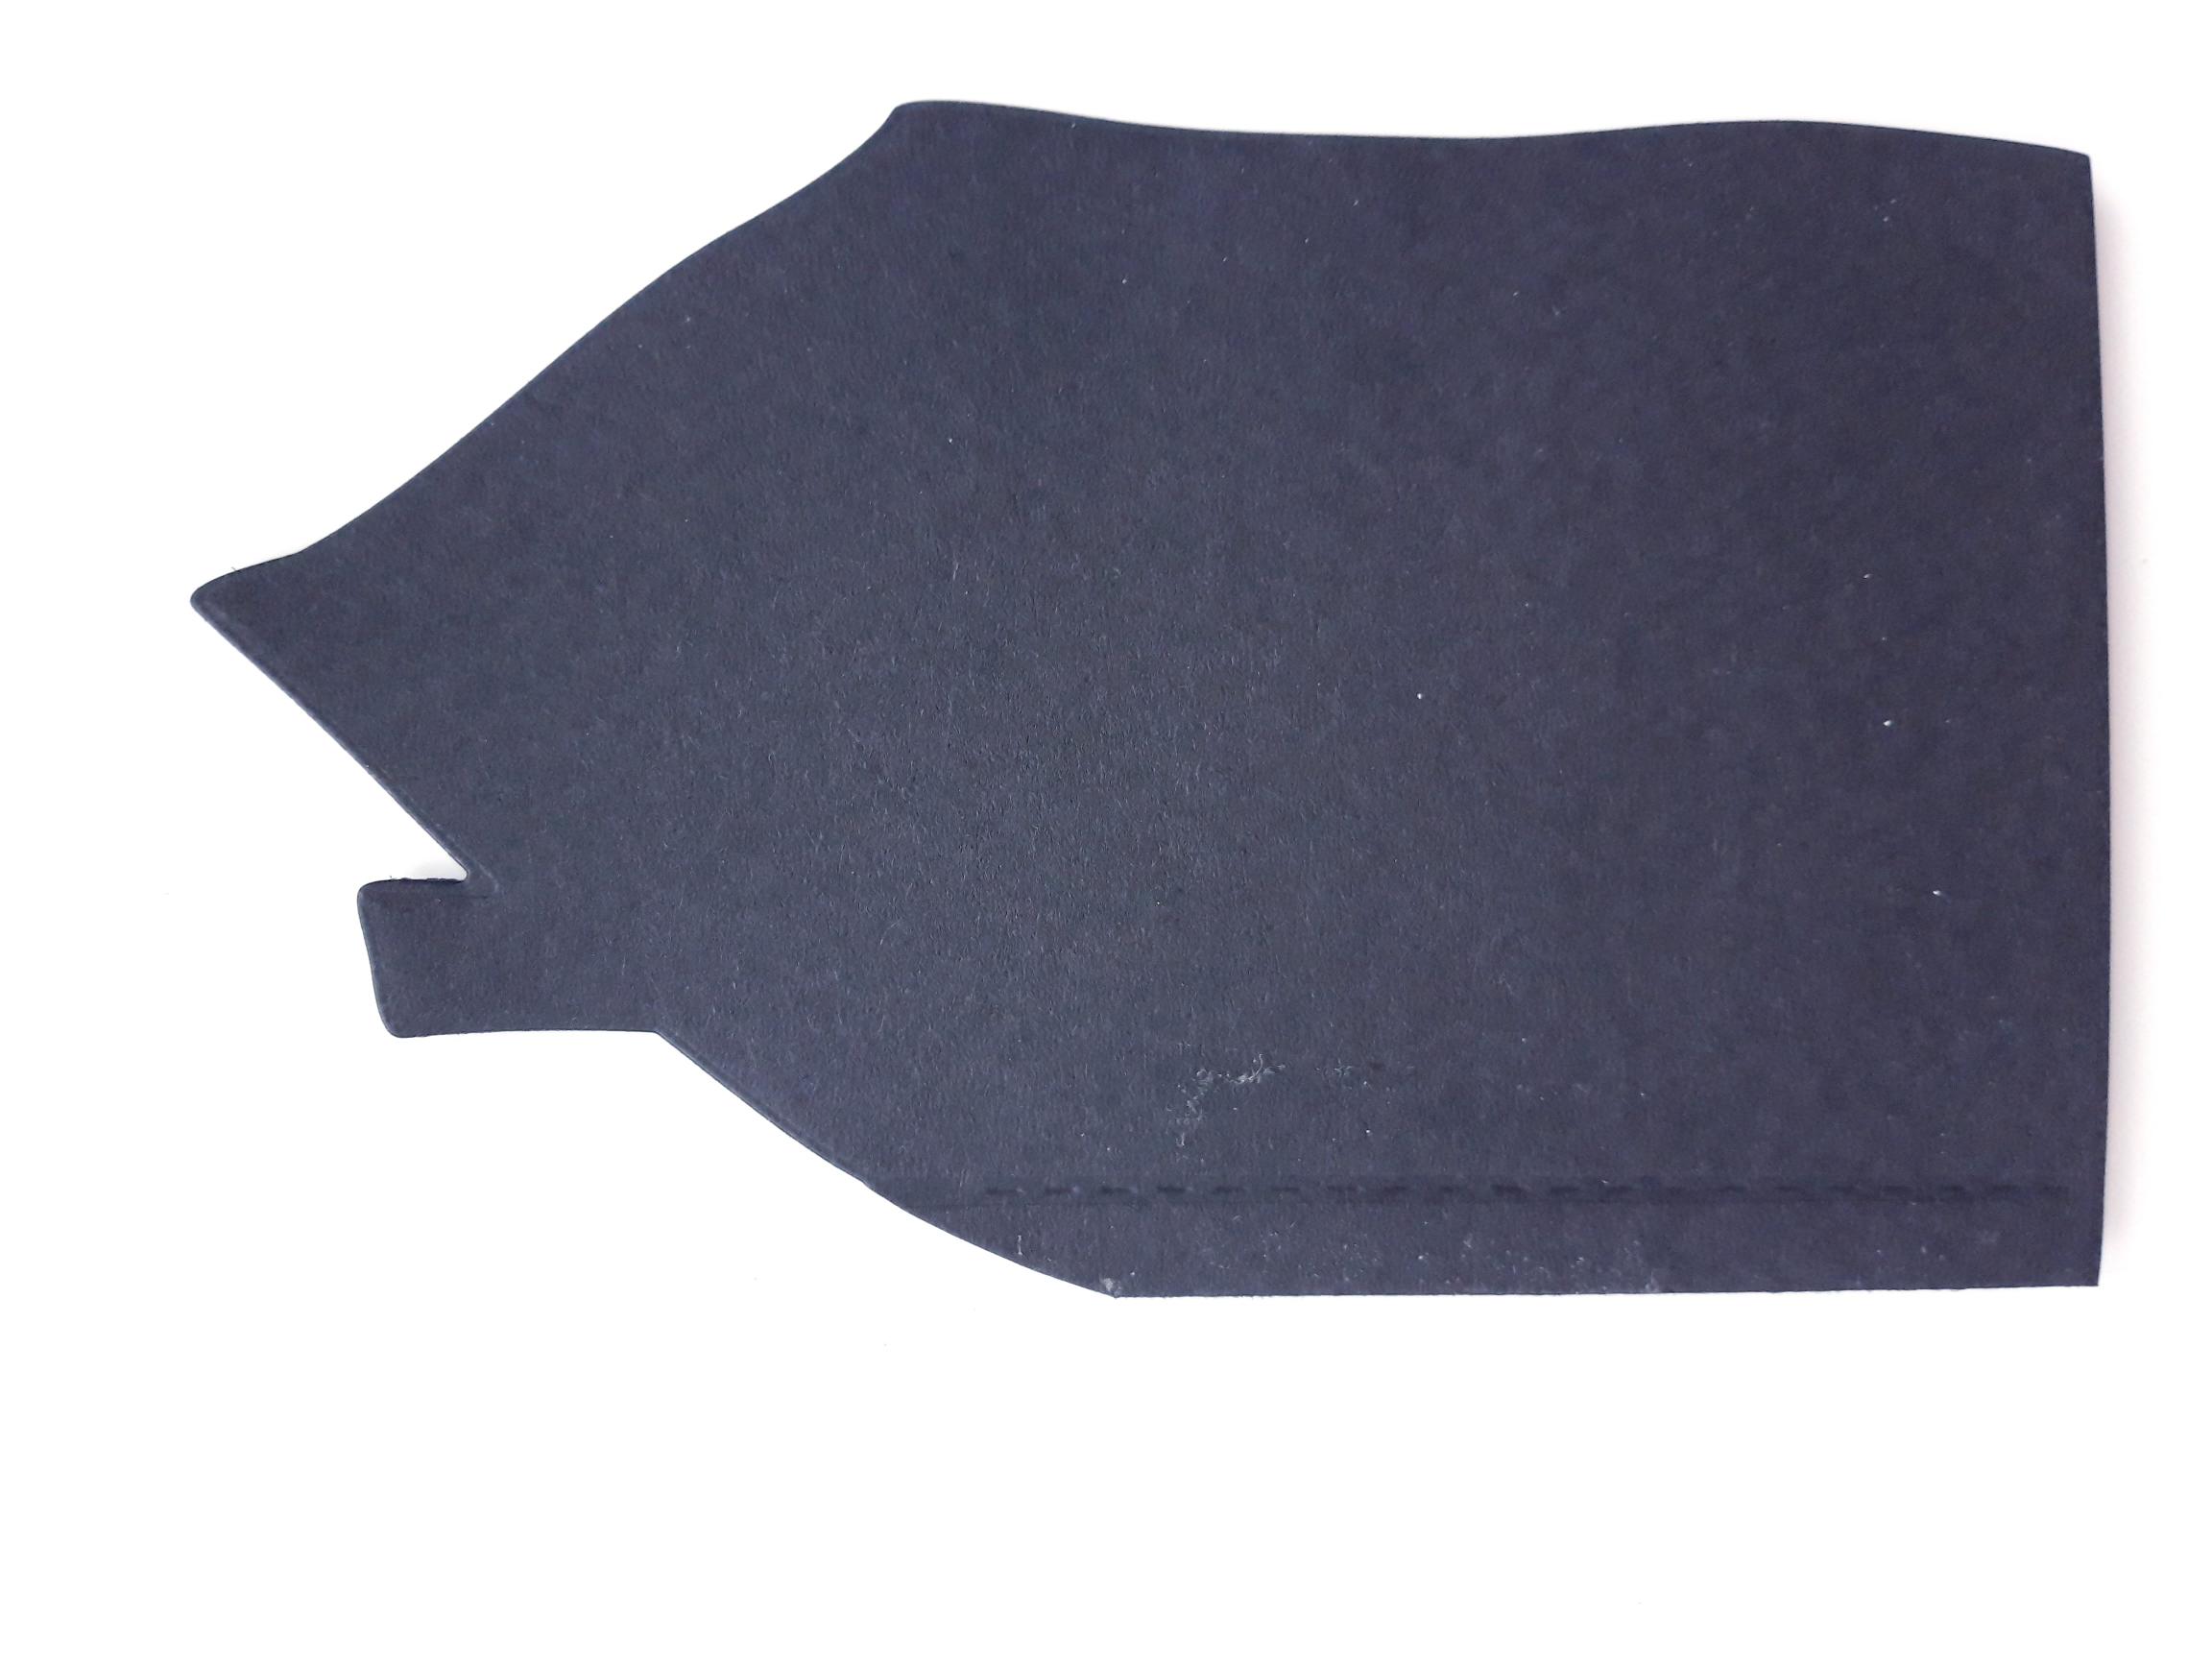
Take your scissors and cut off the excess spine from the roof, so you now have a house shaped card blank.
|
|
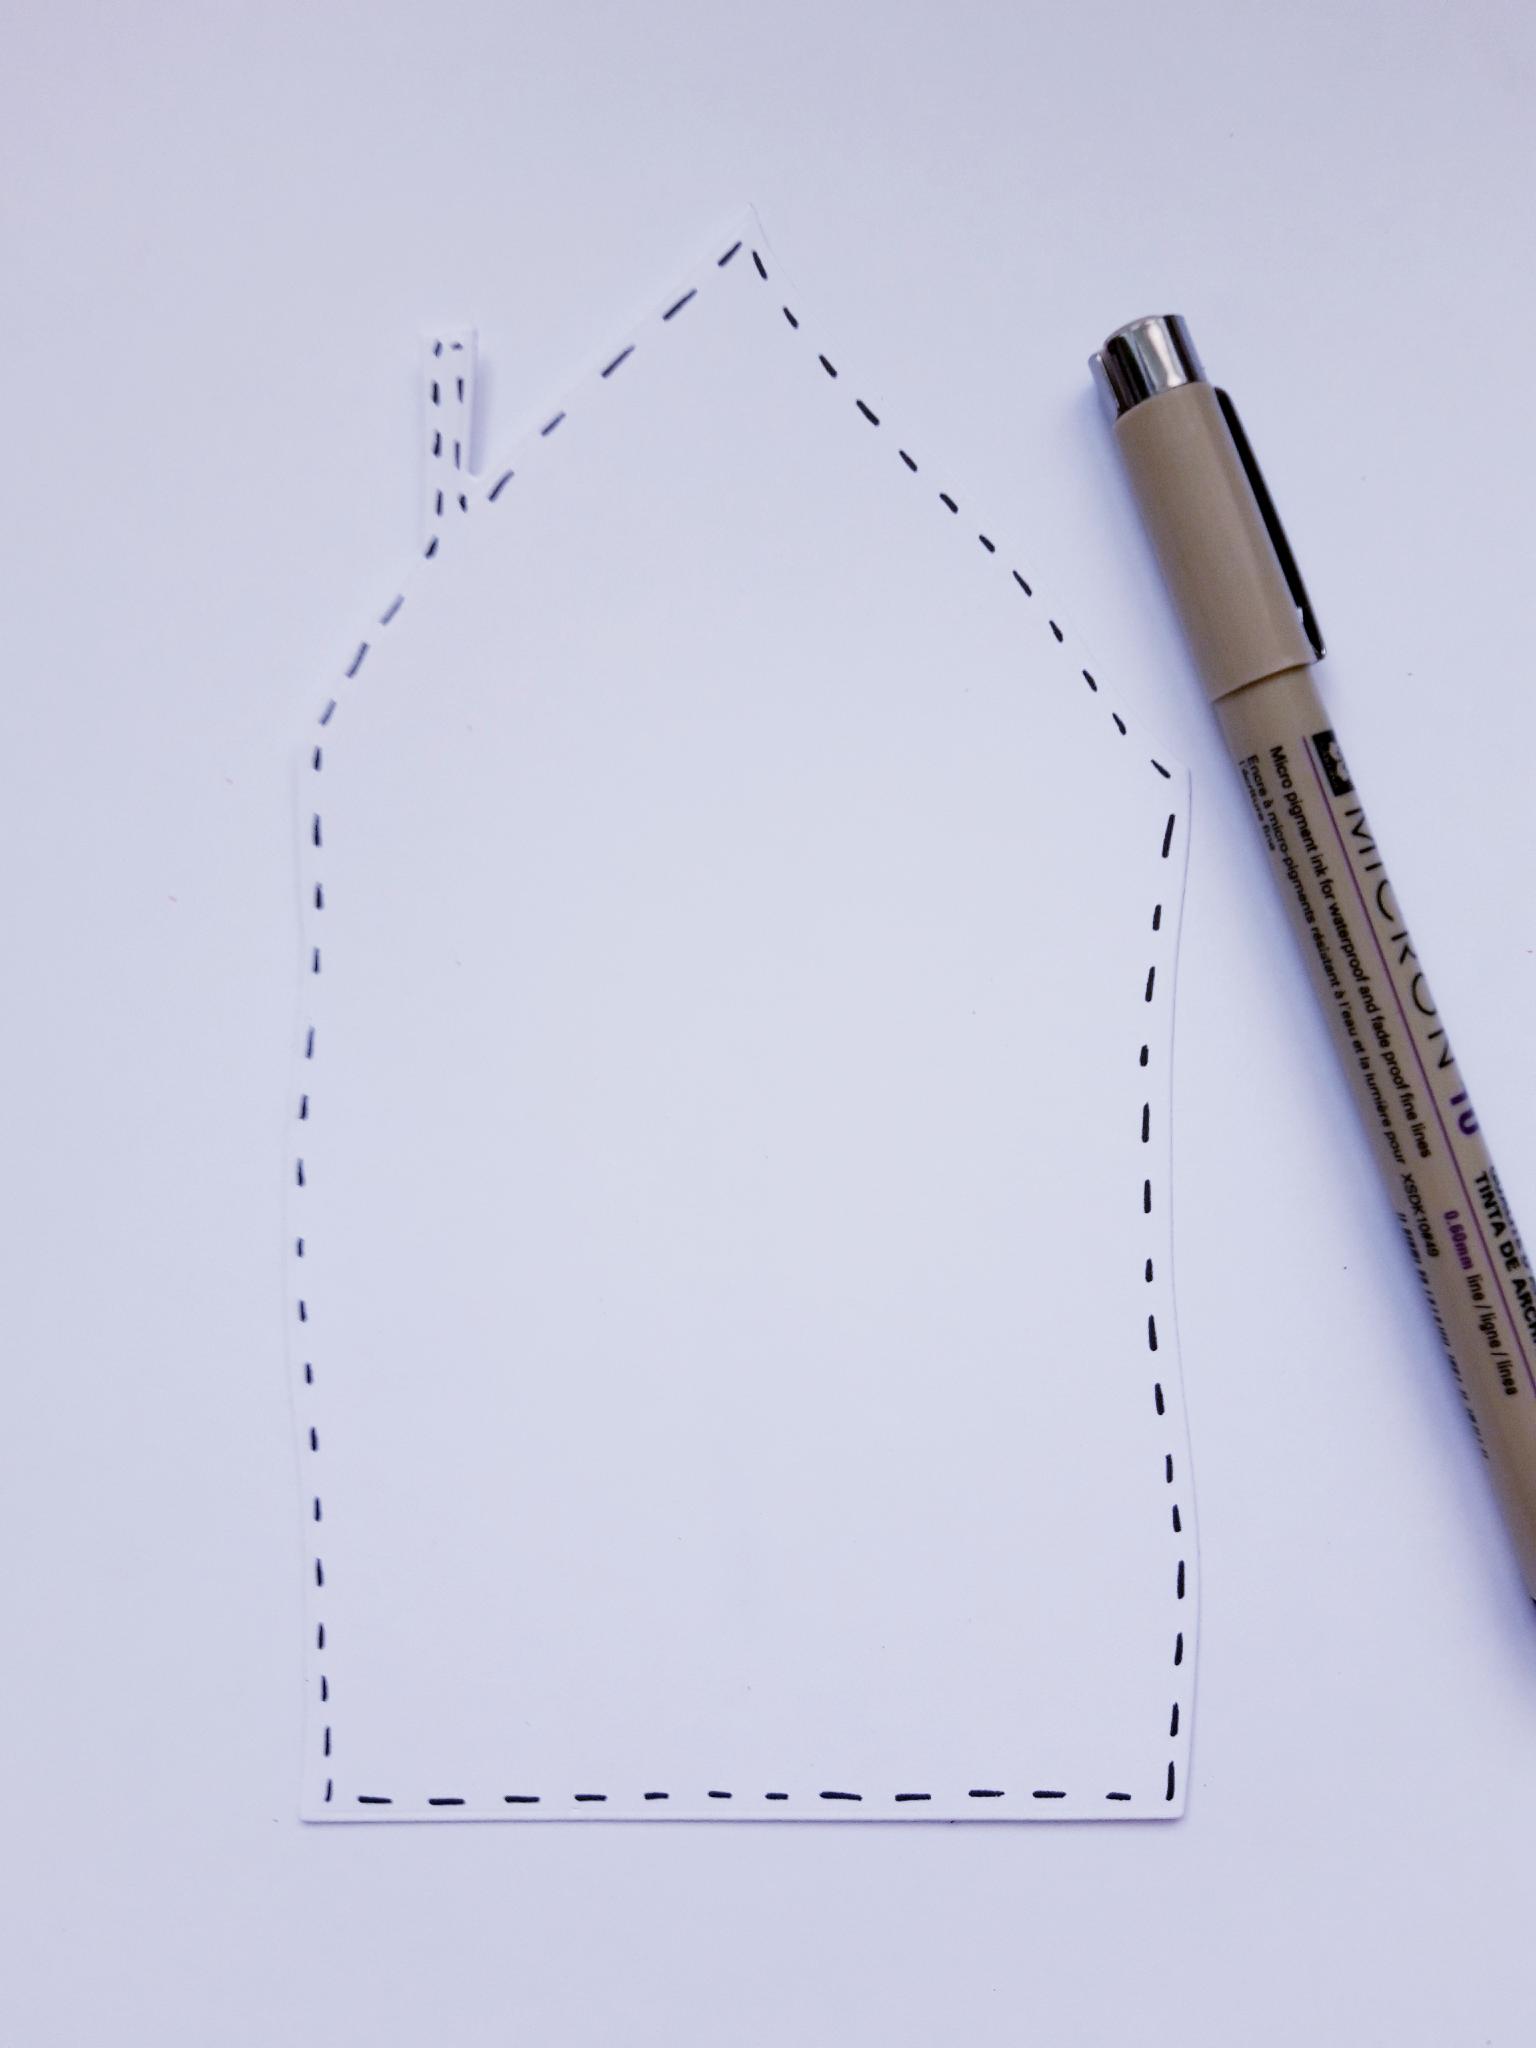
Use a white gel pen to draw a stitched line around your card blank. Set to one side. |
|
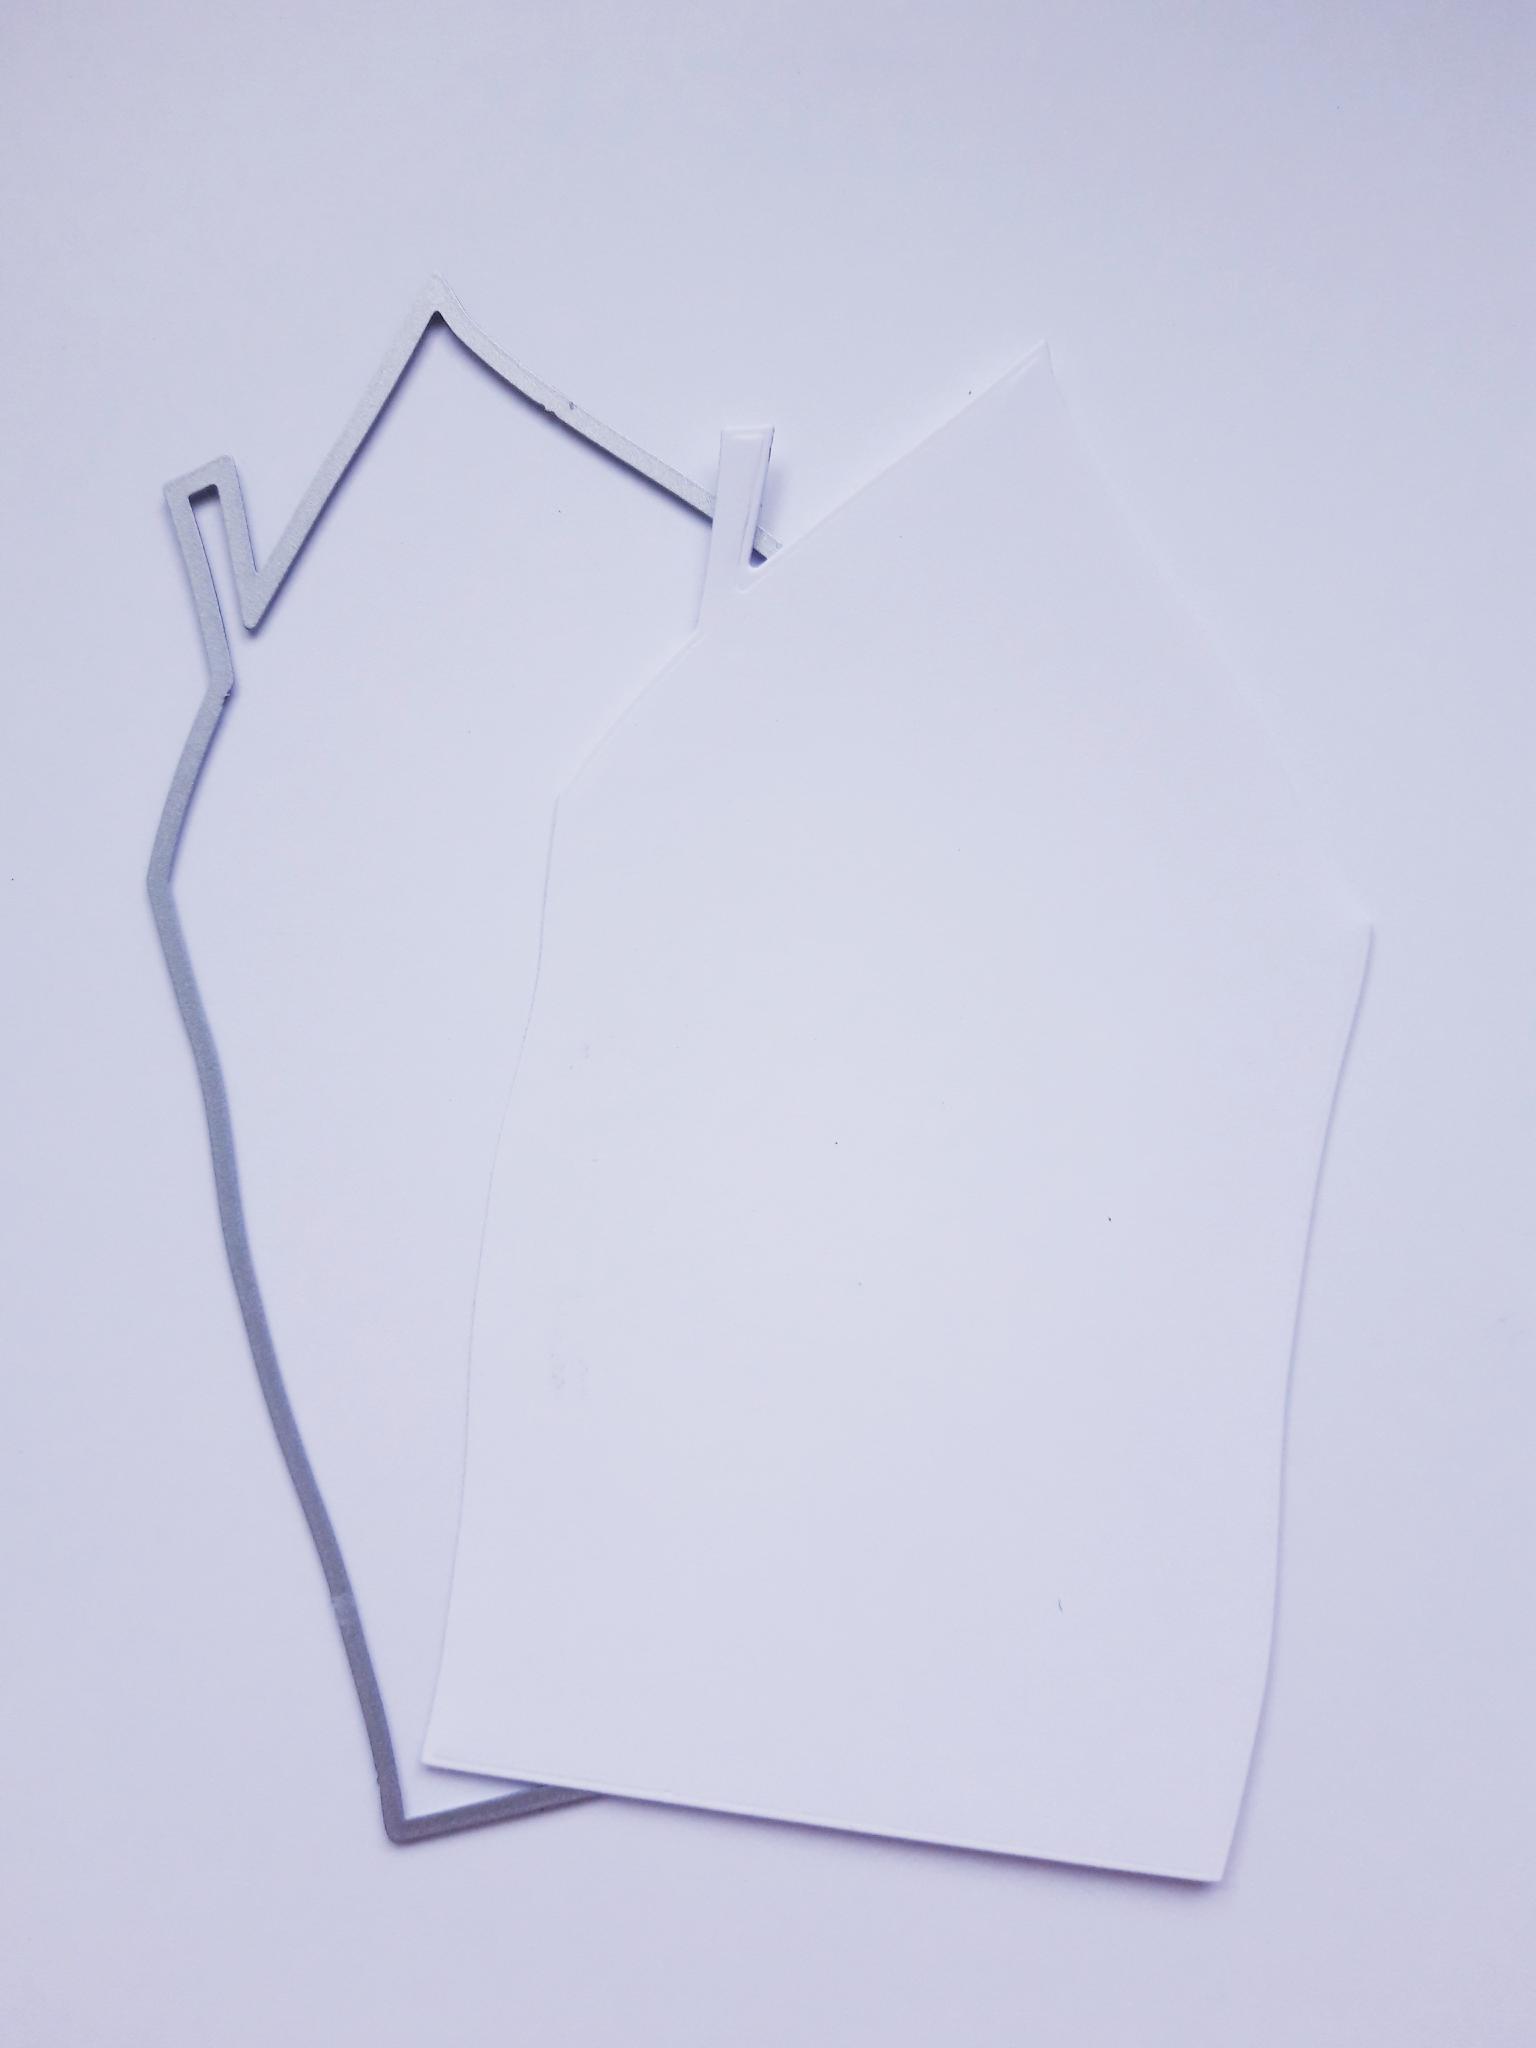
Place the house die (from the same set) that's the next size down, on to one corner of the A4 card (you will be using the leftover cardstock later). Run it through your die cutting machine. Be frugal when placing and die cutting from the white card... as you will need this to die cut another house page, and multi cut other elements, later. |
|
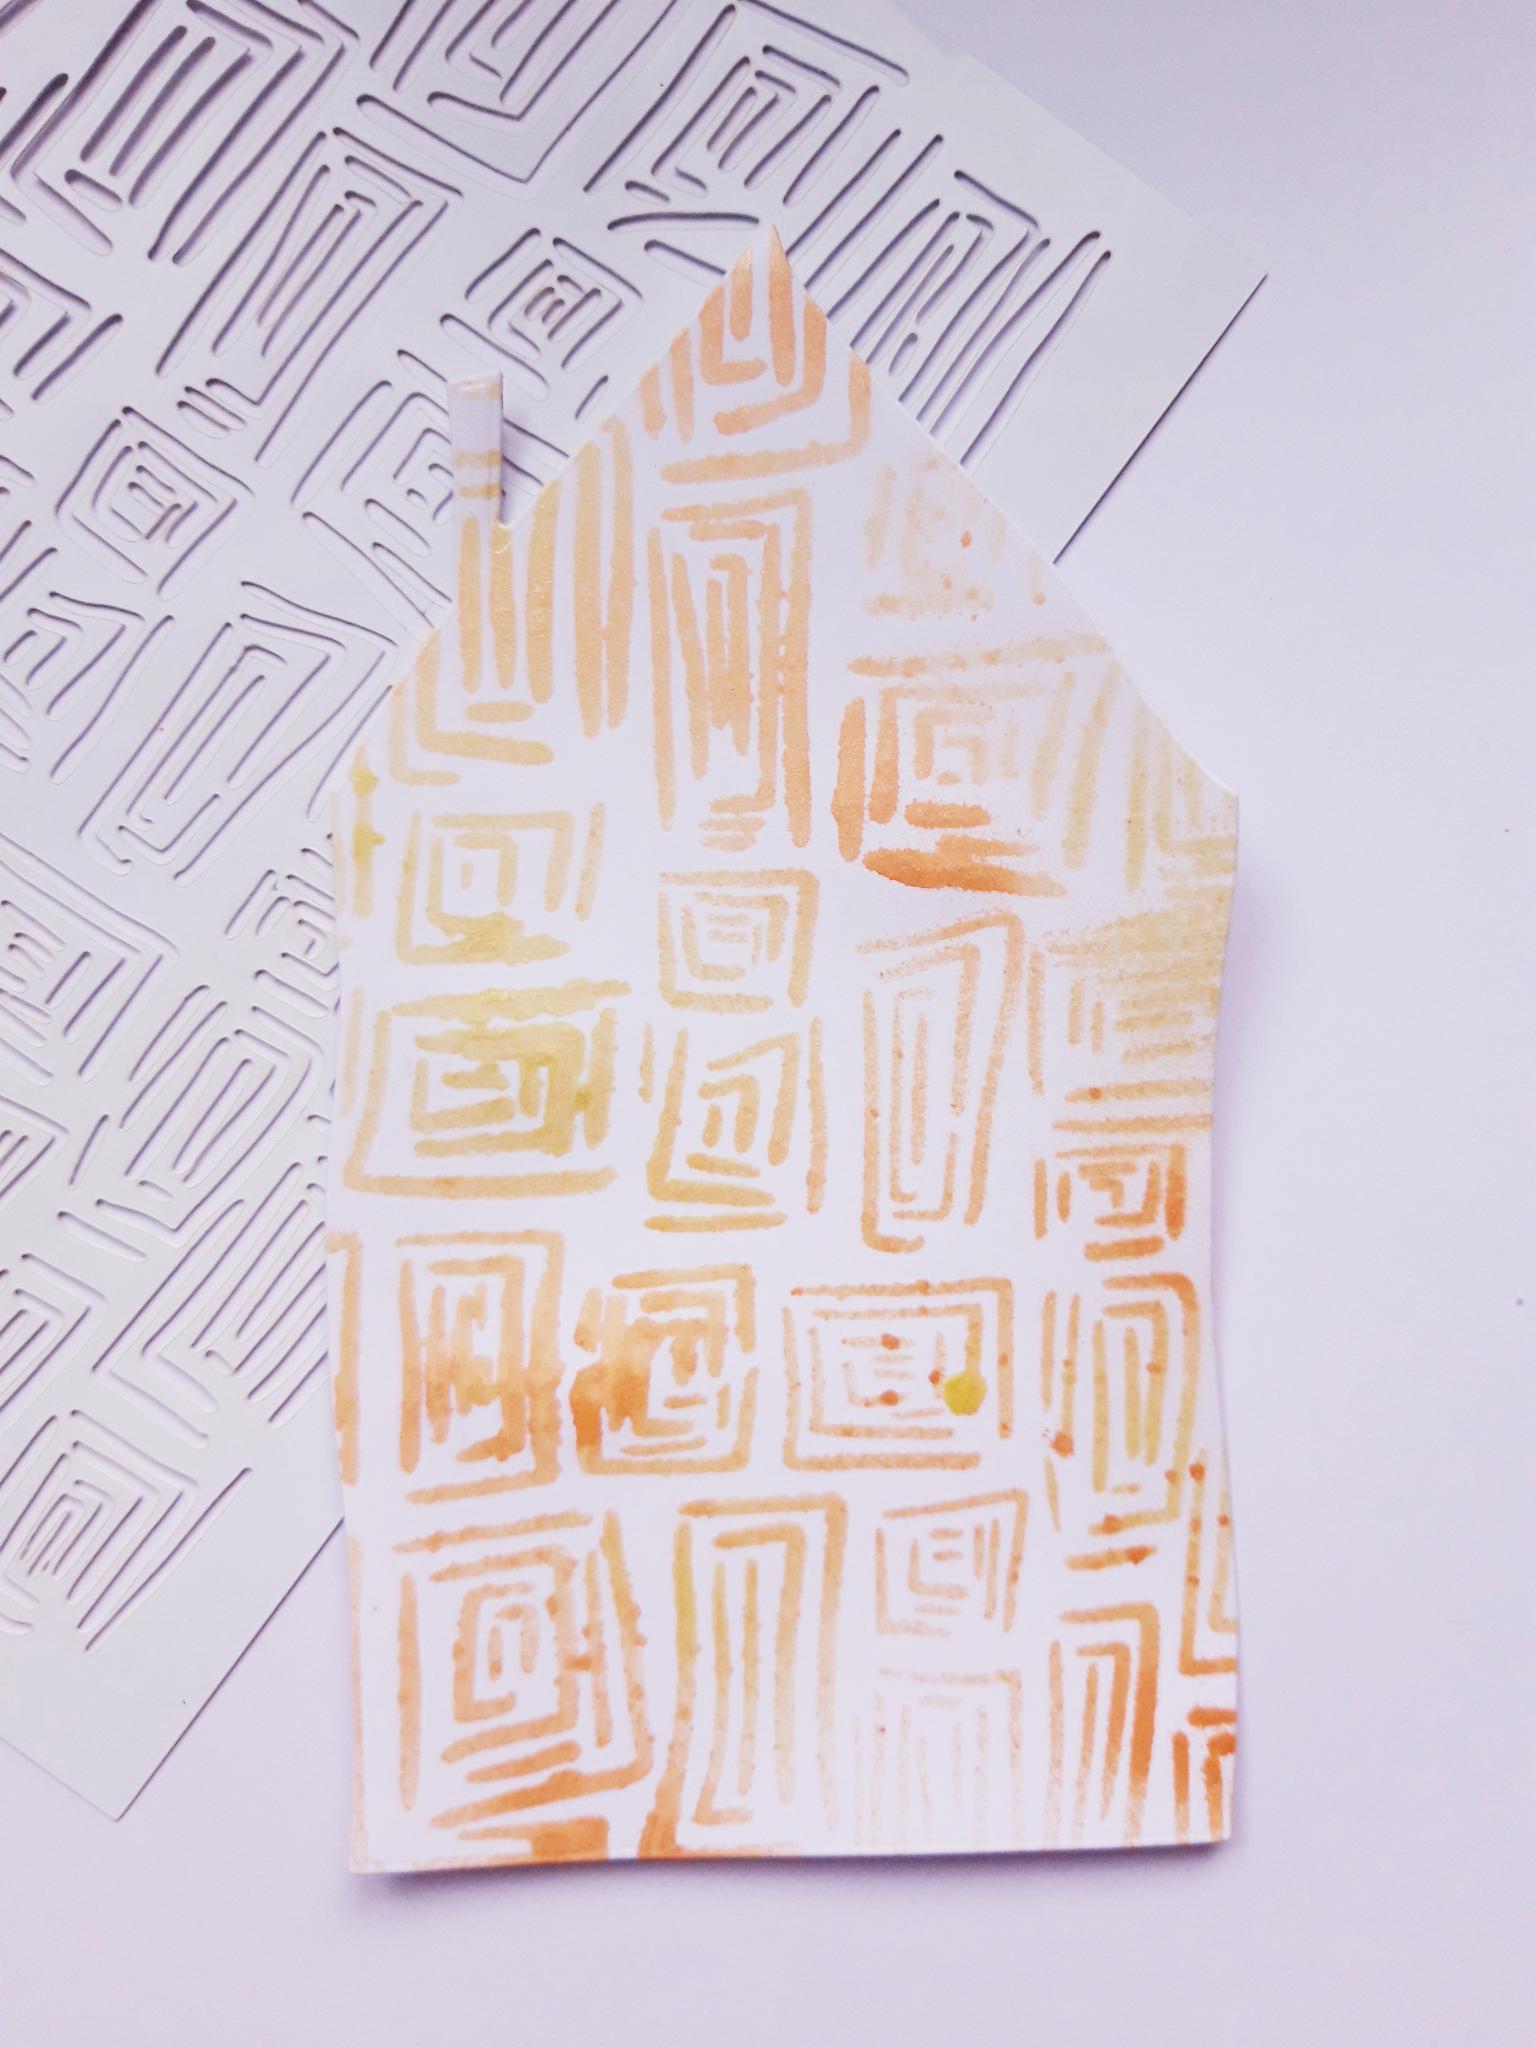
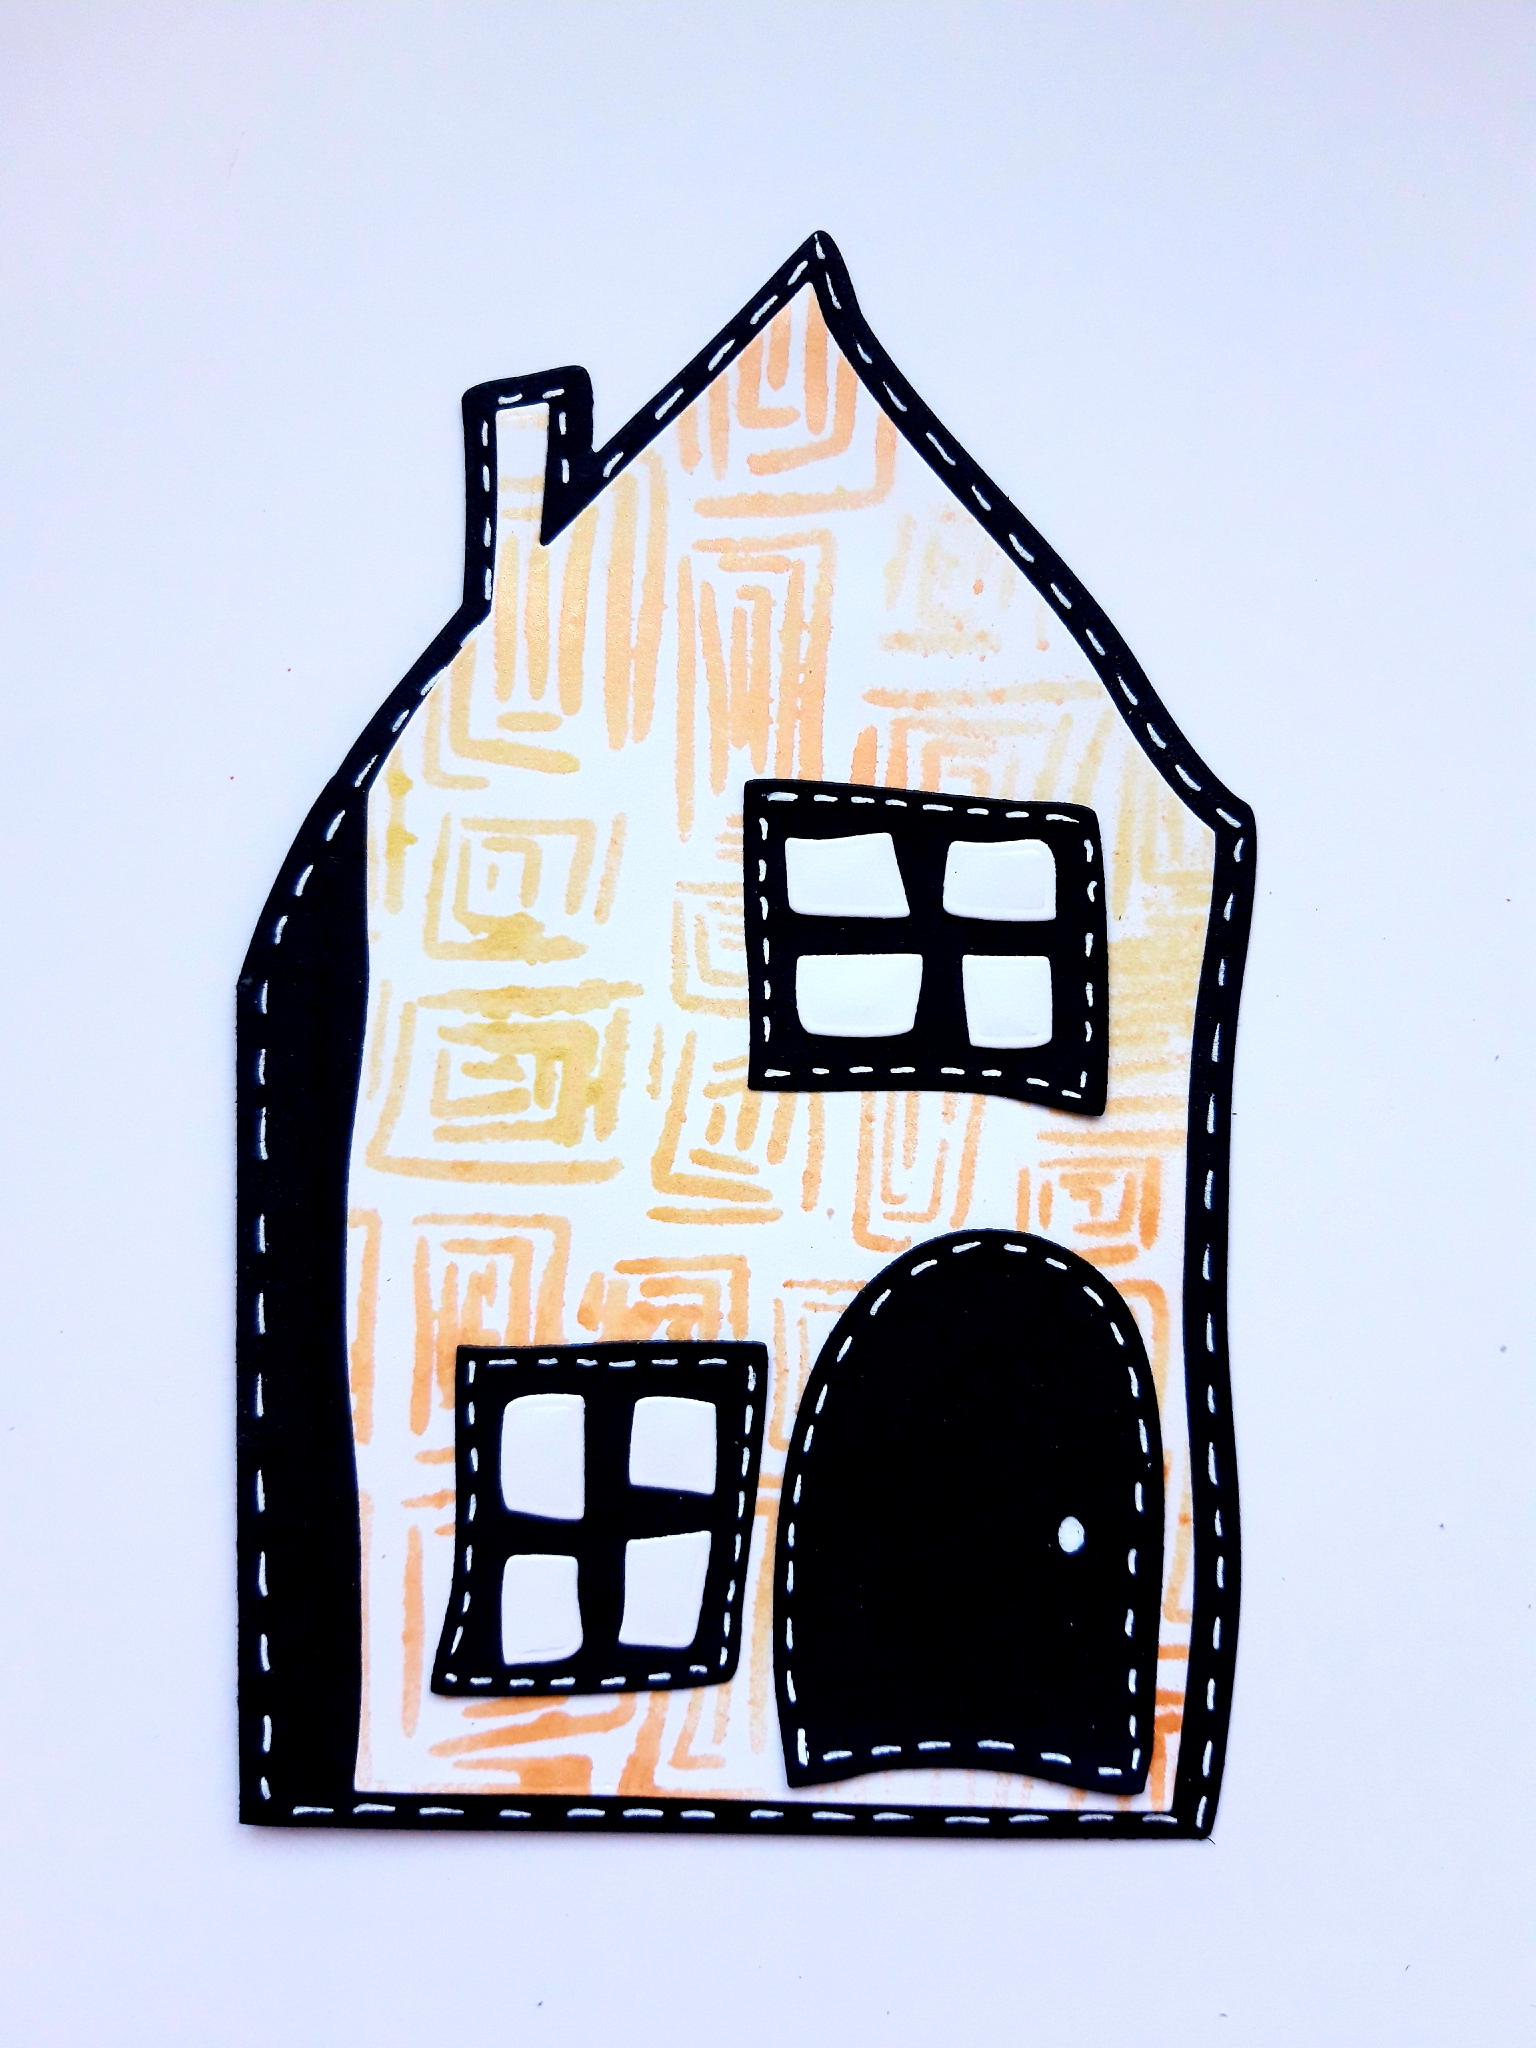
Place the Thirsty Brush Boxed In Texture stencil on to the white die cut house. Spray through the stencil with your Izink yellow and orange Shiny Sprays. Dry off the ink thoroughly. |
|
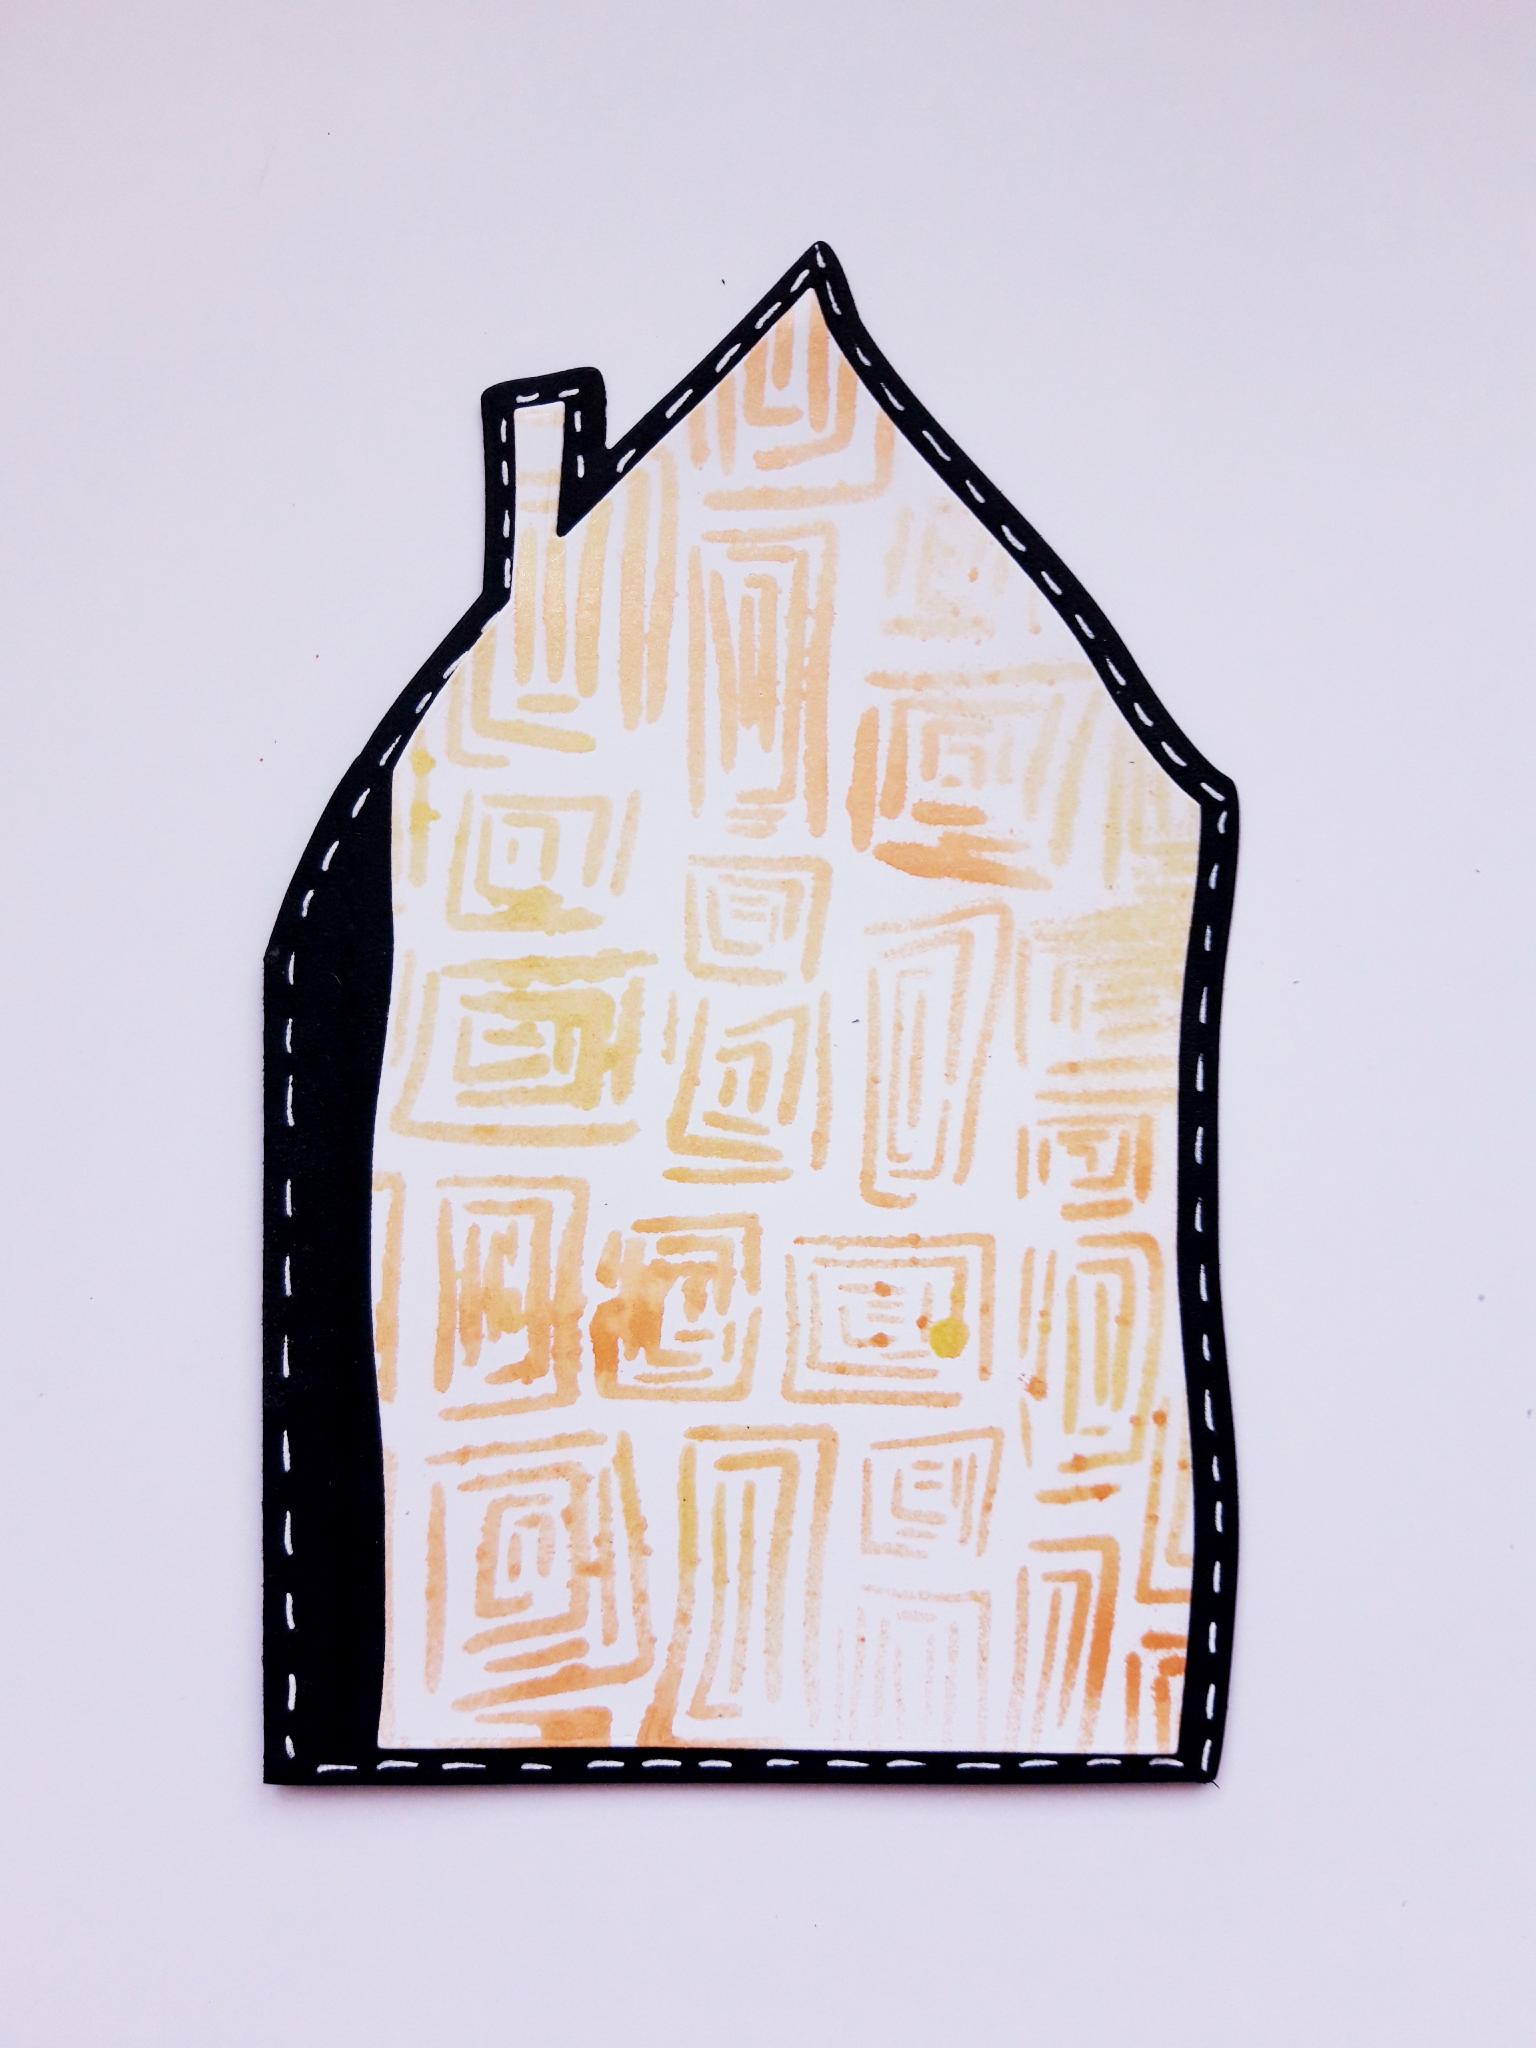
Adhere this on to your shaped card blank, and set to one side. |
|
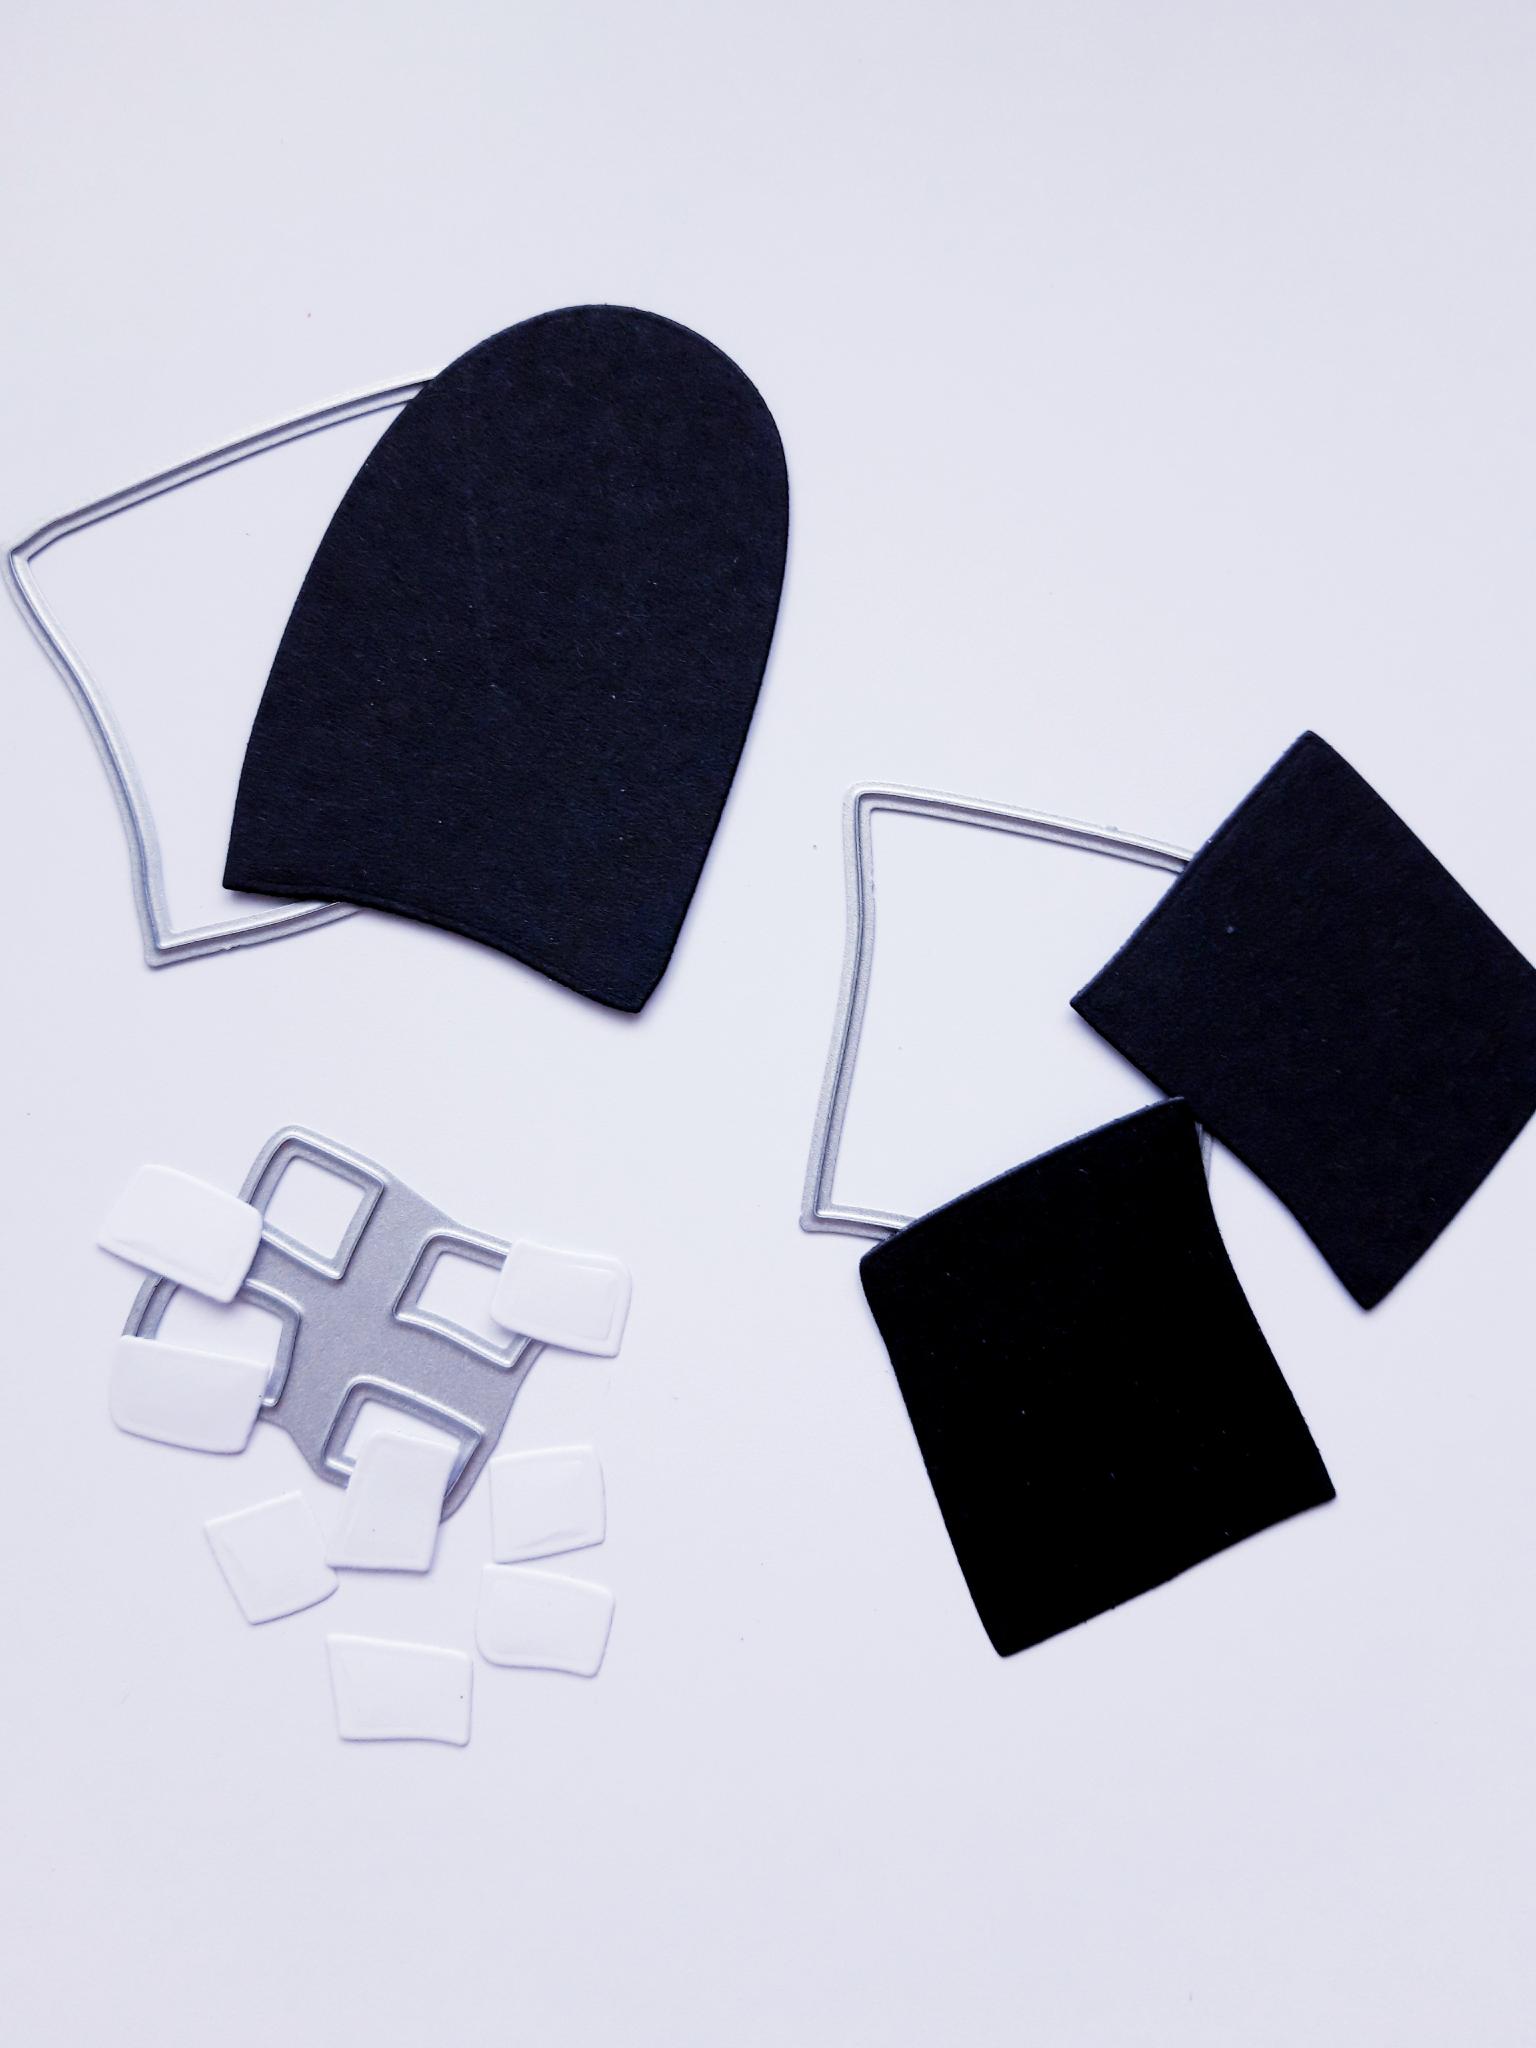
Using the dies from the Journal Journey House Page die set, you need to die cut ONE black door, TWO black window frames and TWO sets of window panels (as shown here), from some of the leftover cardstock you set aside earlier. Keep all remaining cardstock for later. |

|
Use your white gel pen to add stitched detail, around your black die cut elements. |
|
Adhere your black die cut elements in place, on to your shaped card blank. Adhere the white window panels in place, as shown here. Set your card to one side. |
|
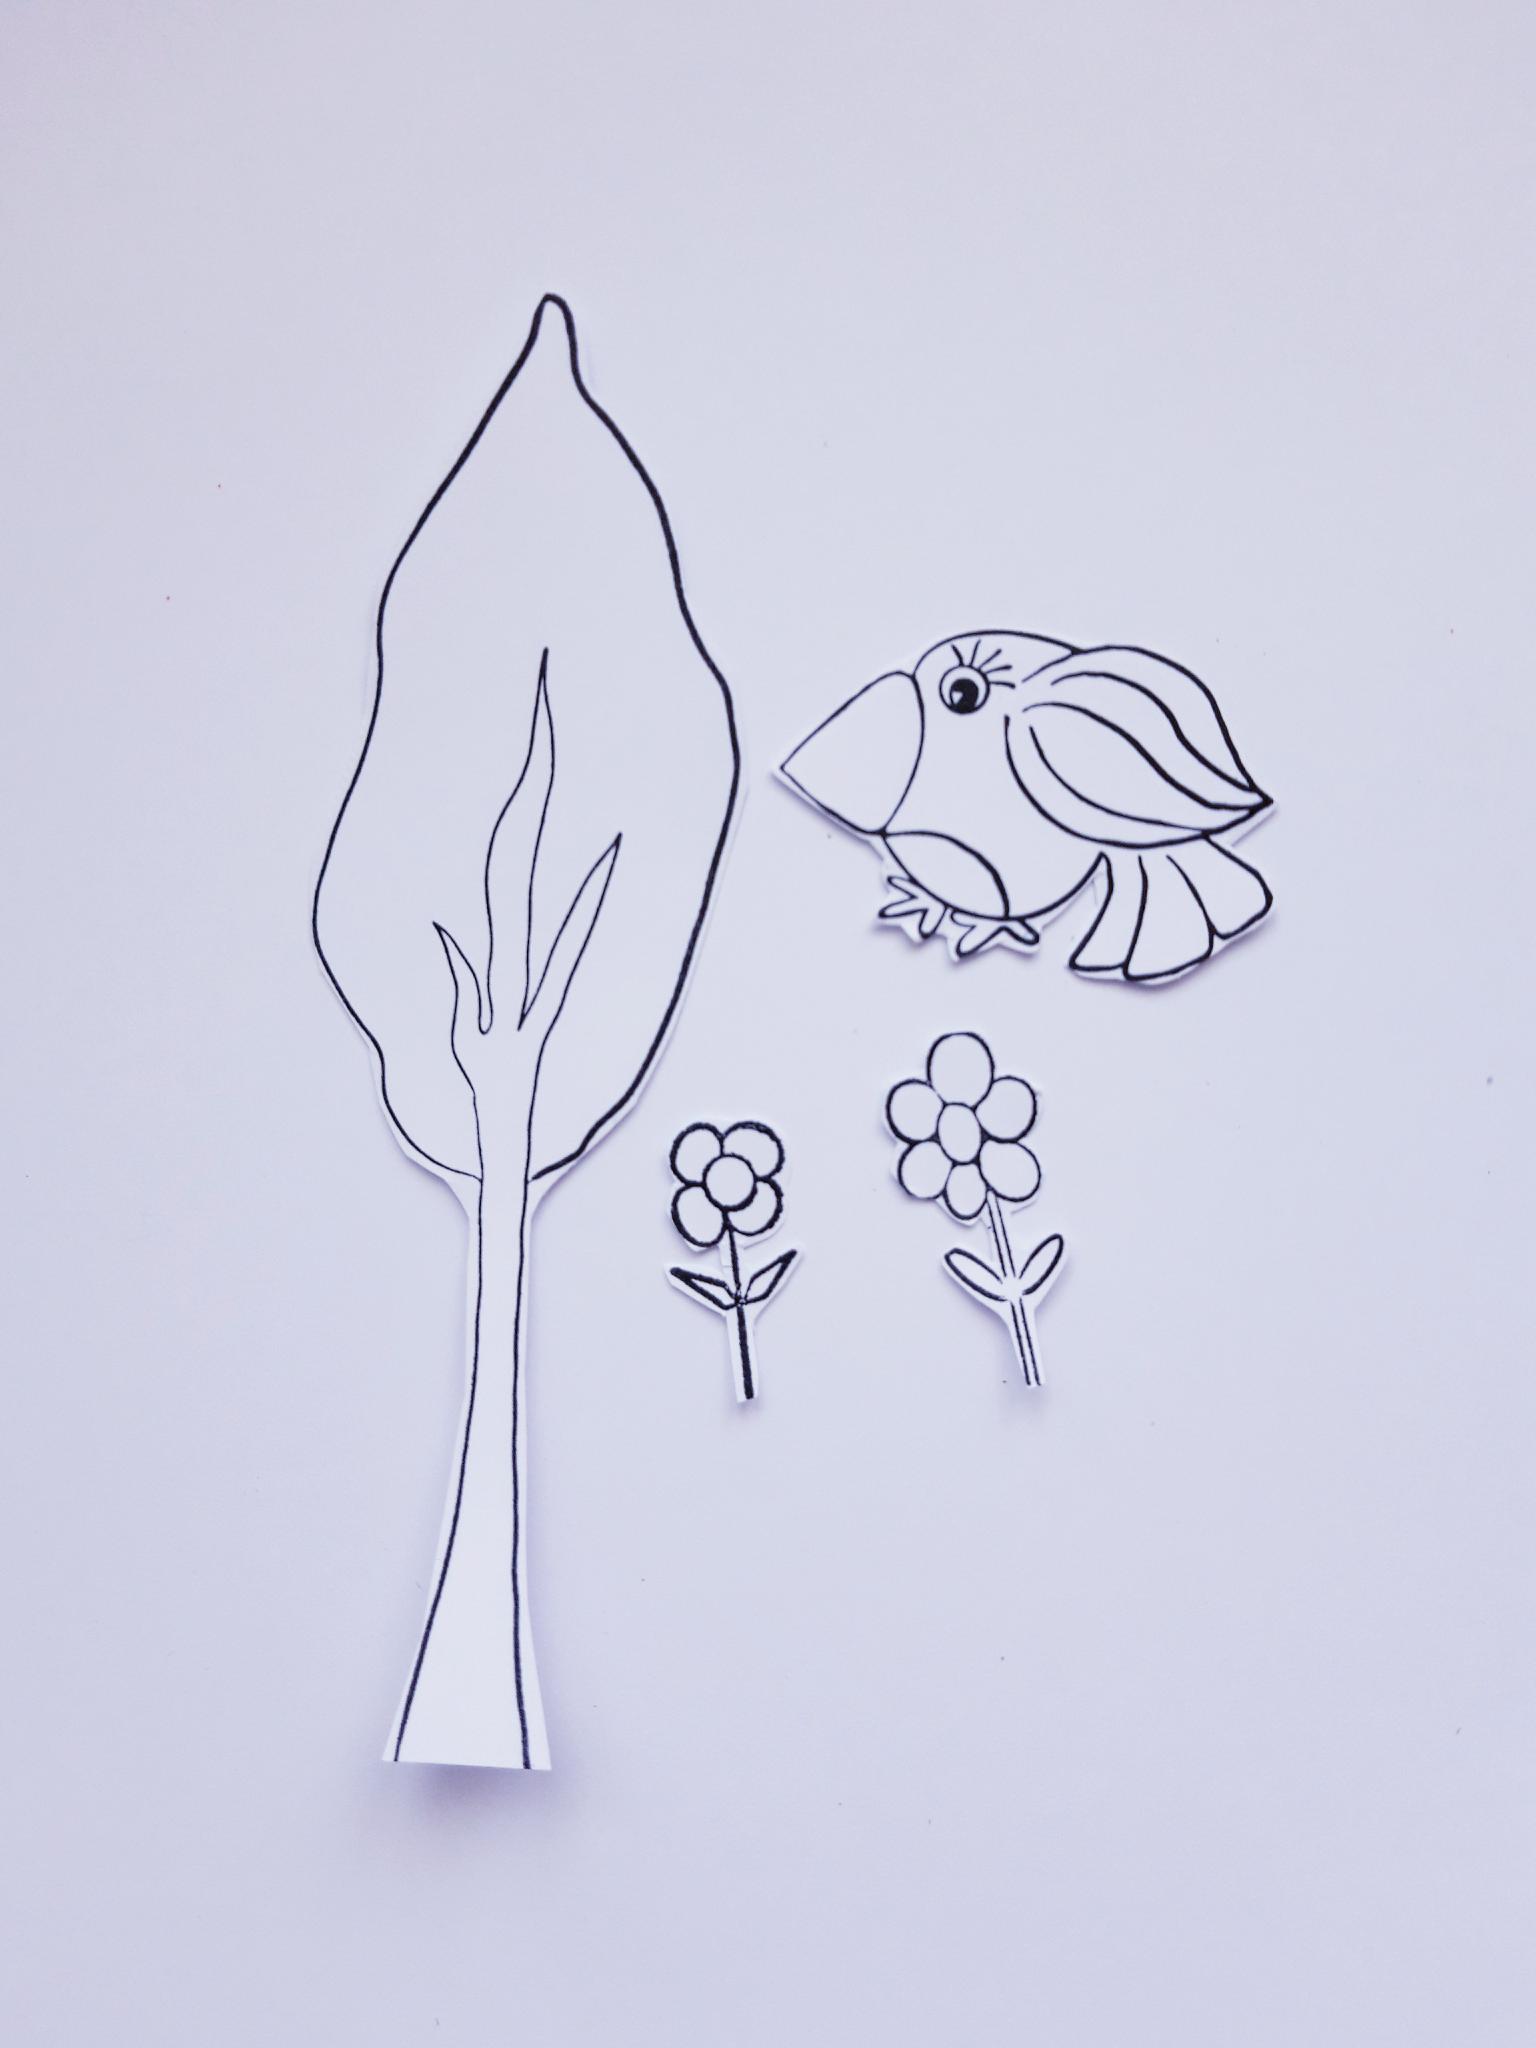
Ink up these stamps, from the Birbs Cottage, and Bert And Ernie Creative Stamp sets, with the Onyx Black Versafine. Stamp on to some of the remaining white card, then cut them out, setting any leftover white cardstock to one side. |
|
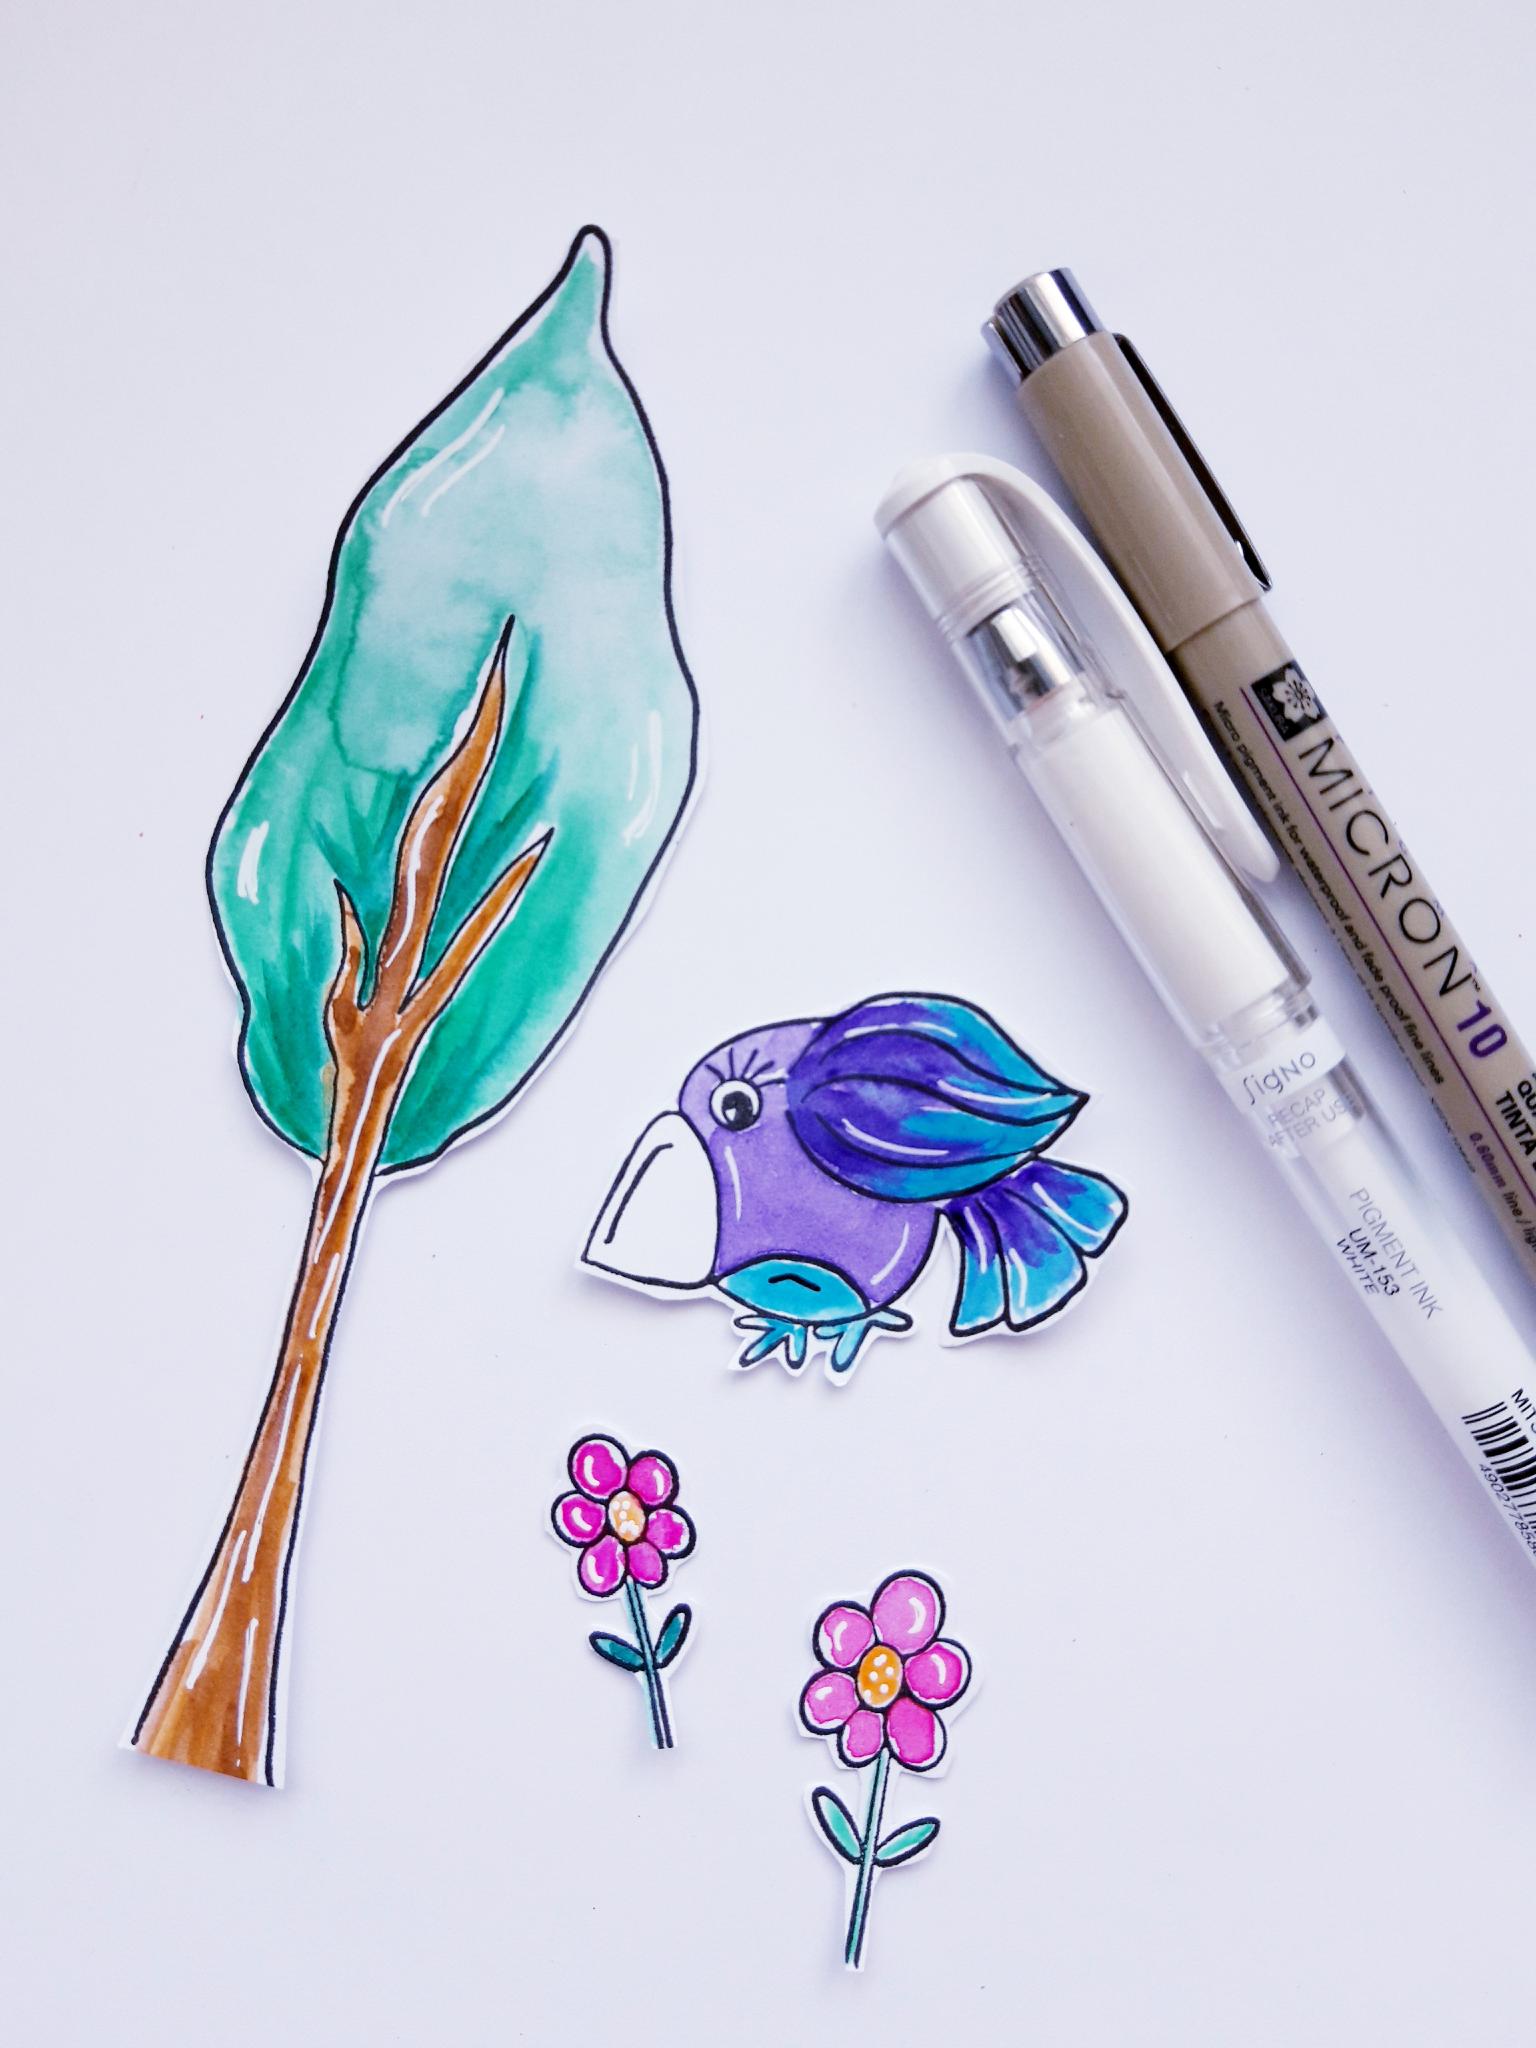
Apply a little of each of the Izink Pigments on to a craft or glass mat, add a little water and use a paint brush to colour in all the cut out elements. Once the ink is dry, use a black and white gel pen, to add accents and highlights to your elements, as required. |
|
Adhere your cut out elements on to your card blank, using wet glue, foam pads, or both. Set to one side. |
|
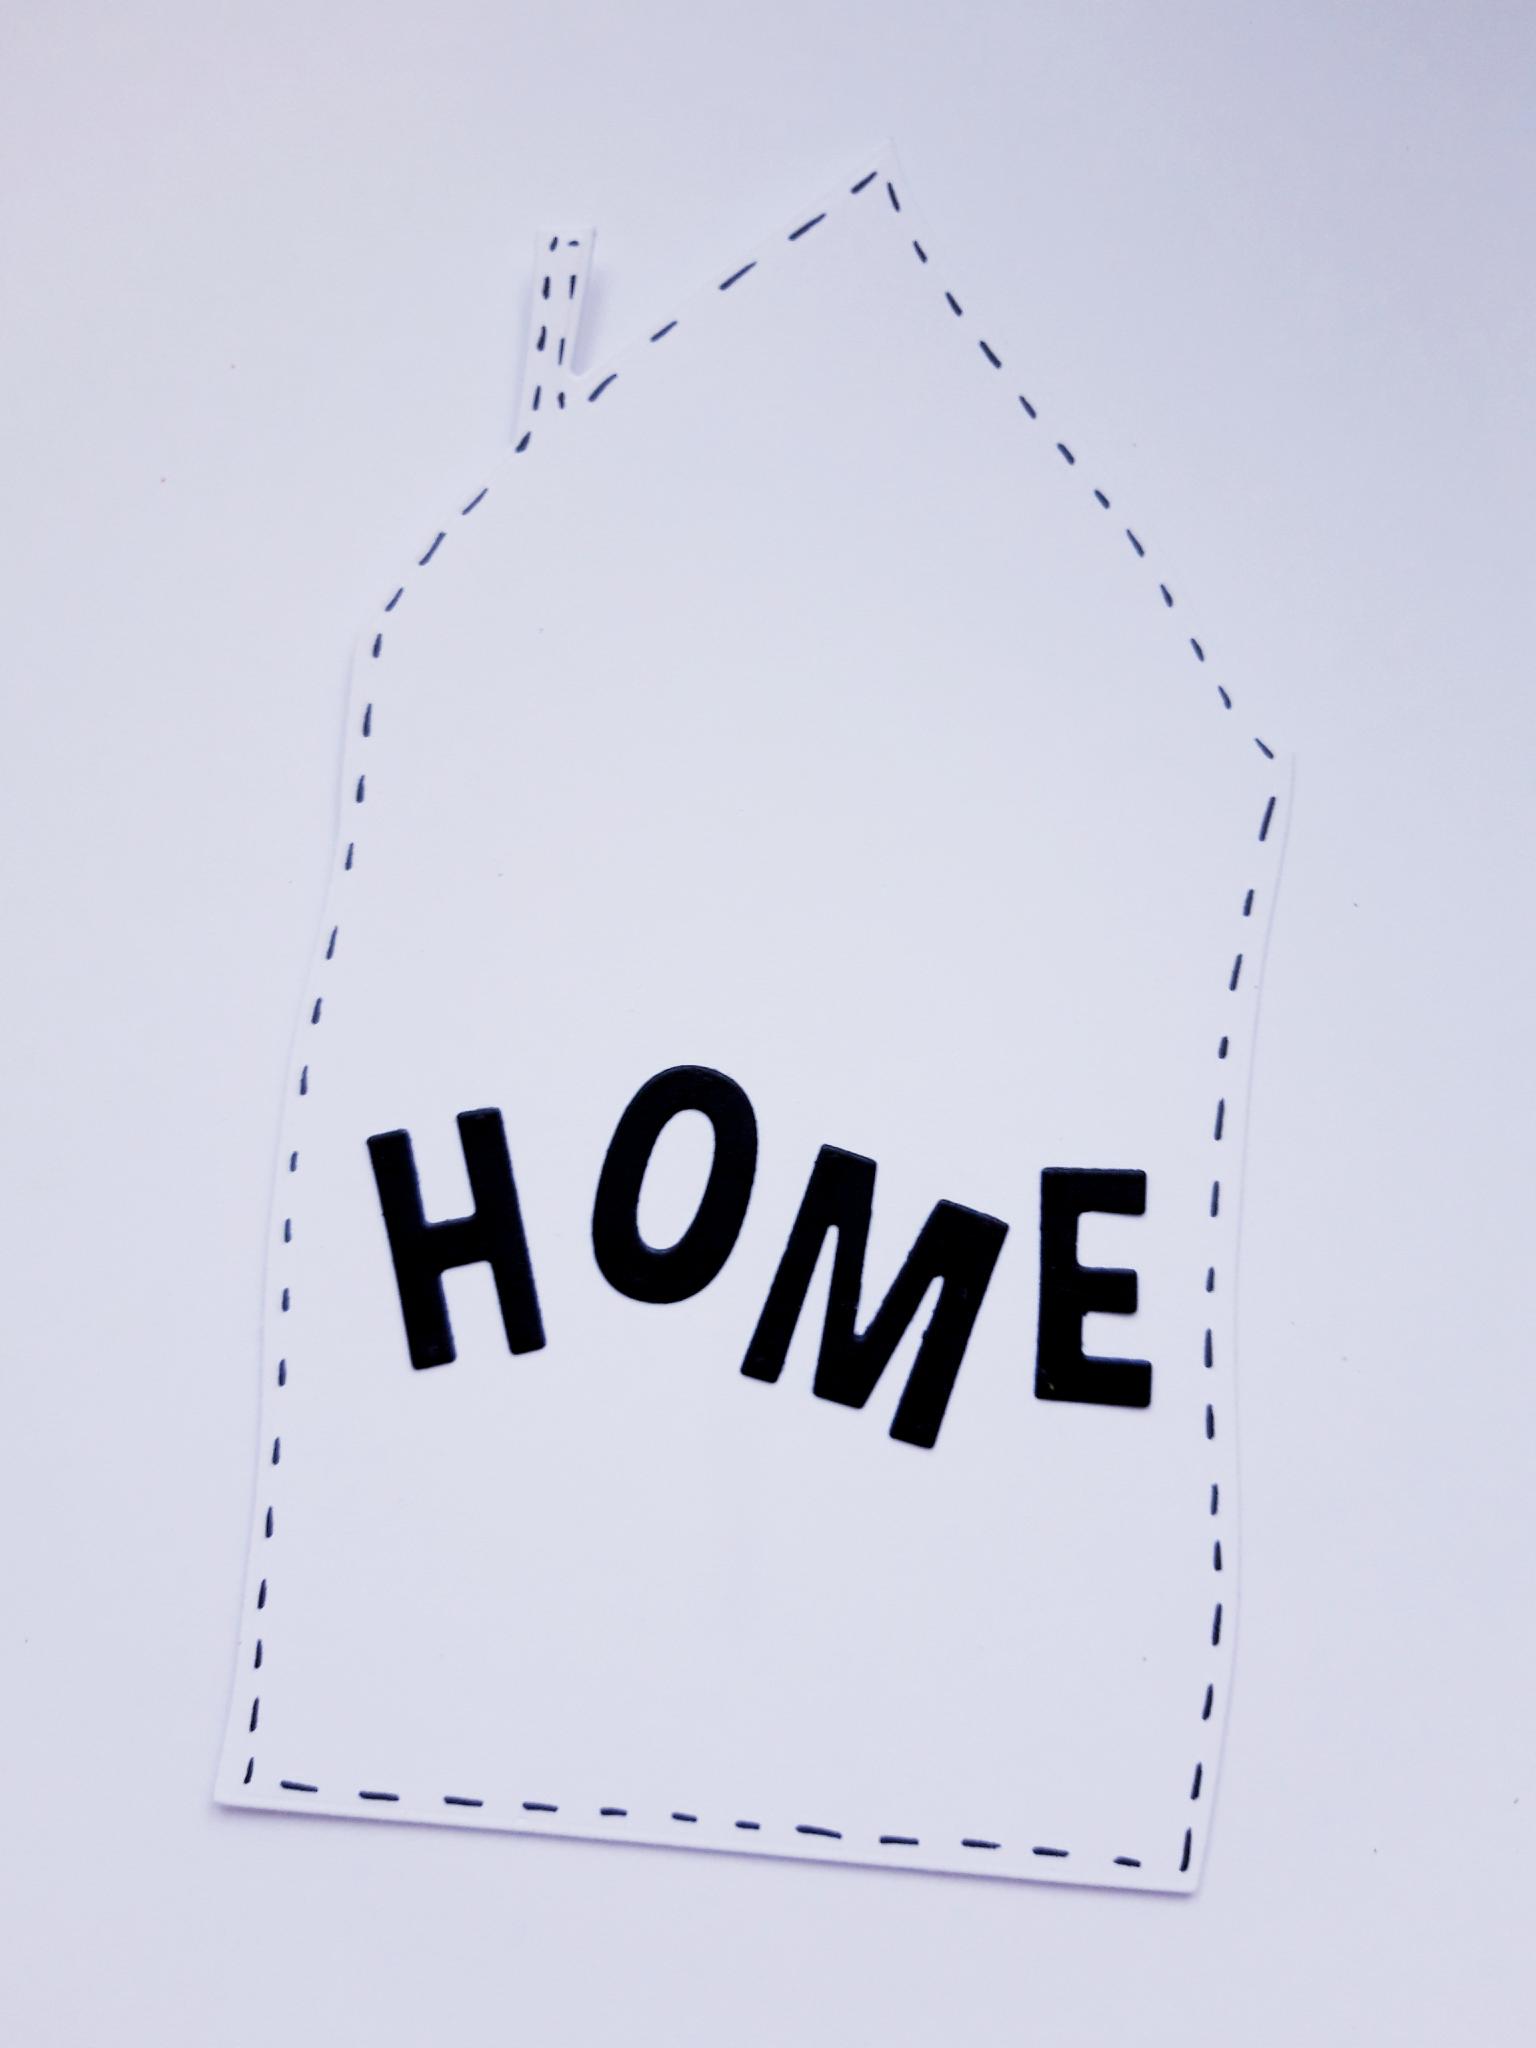
Using the same house die as you did in step 5, die cut another, from your leftover white card.
|
|
Use a black pen to draw a stitched frame around the die cut page. |
|
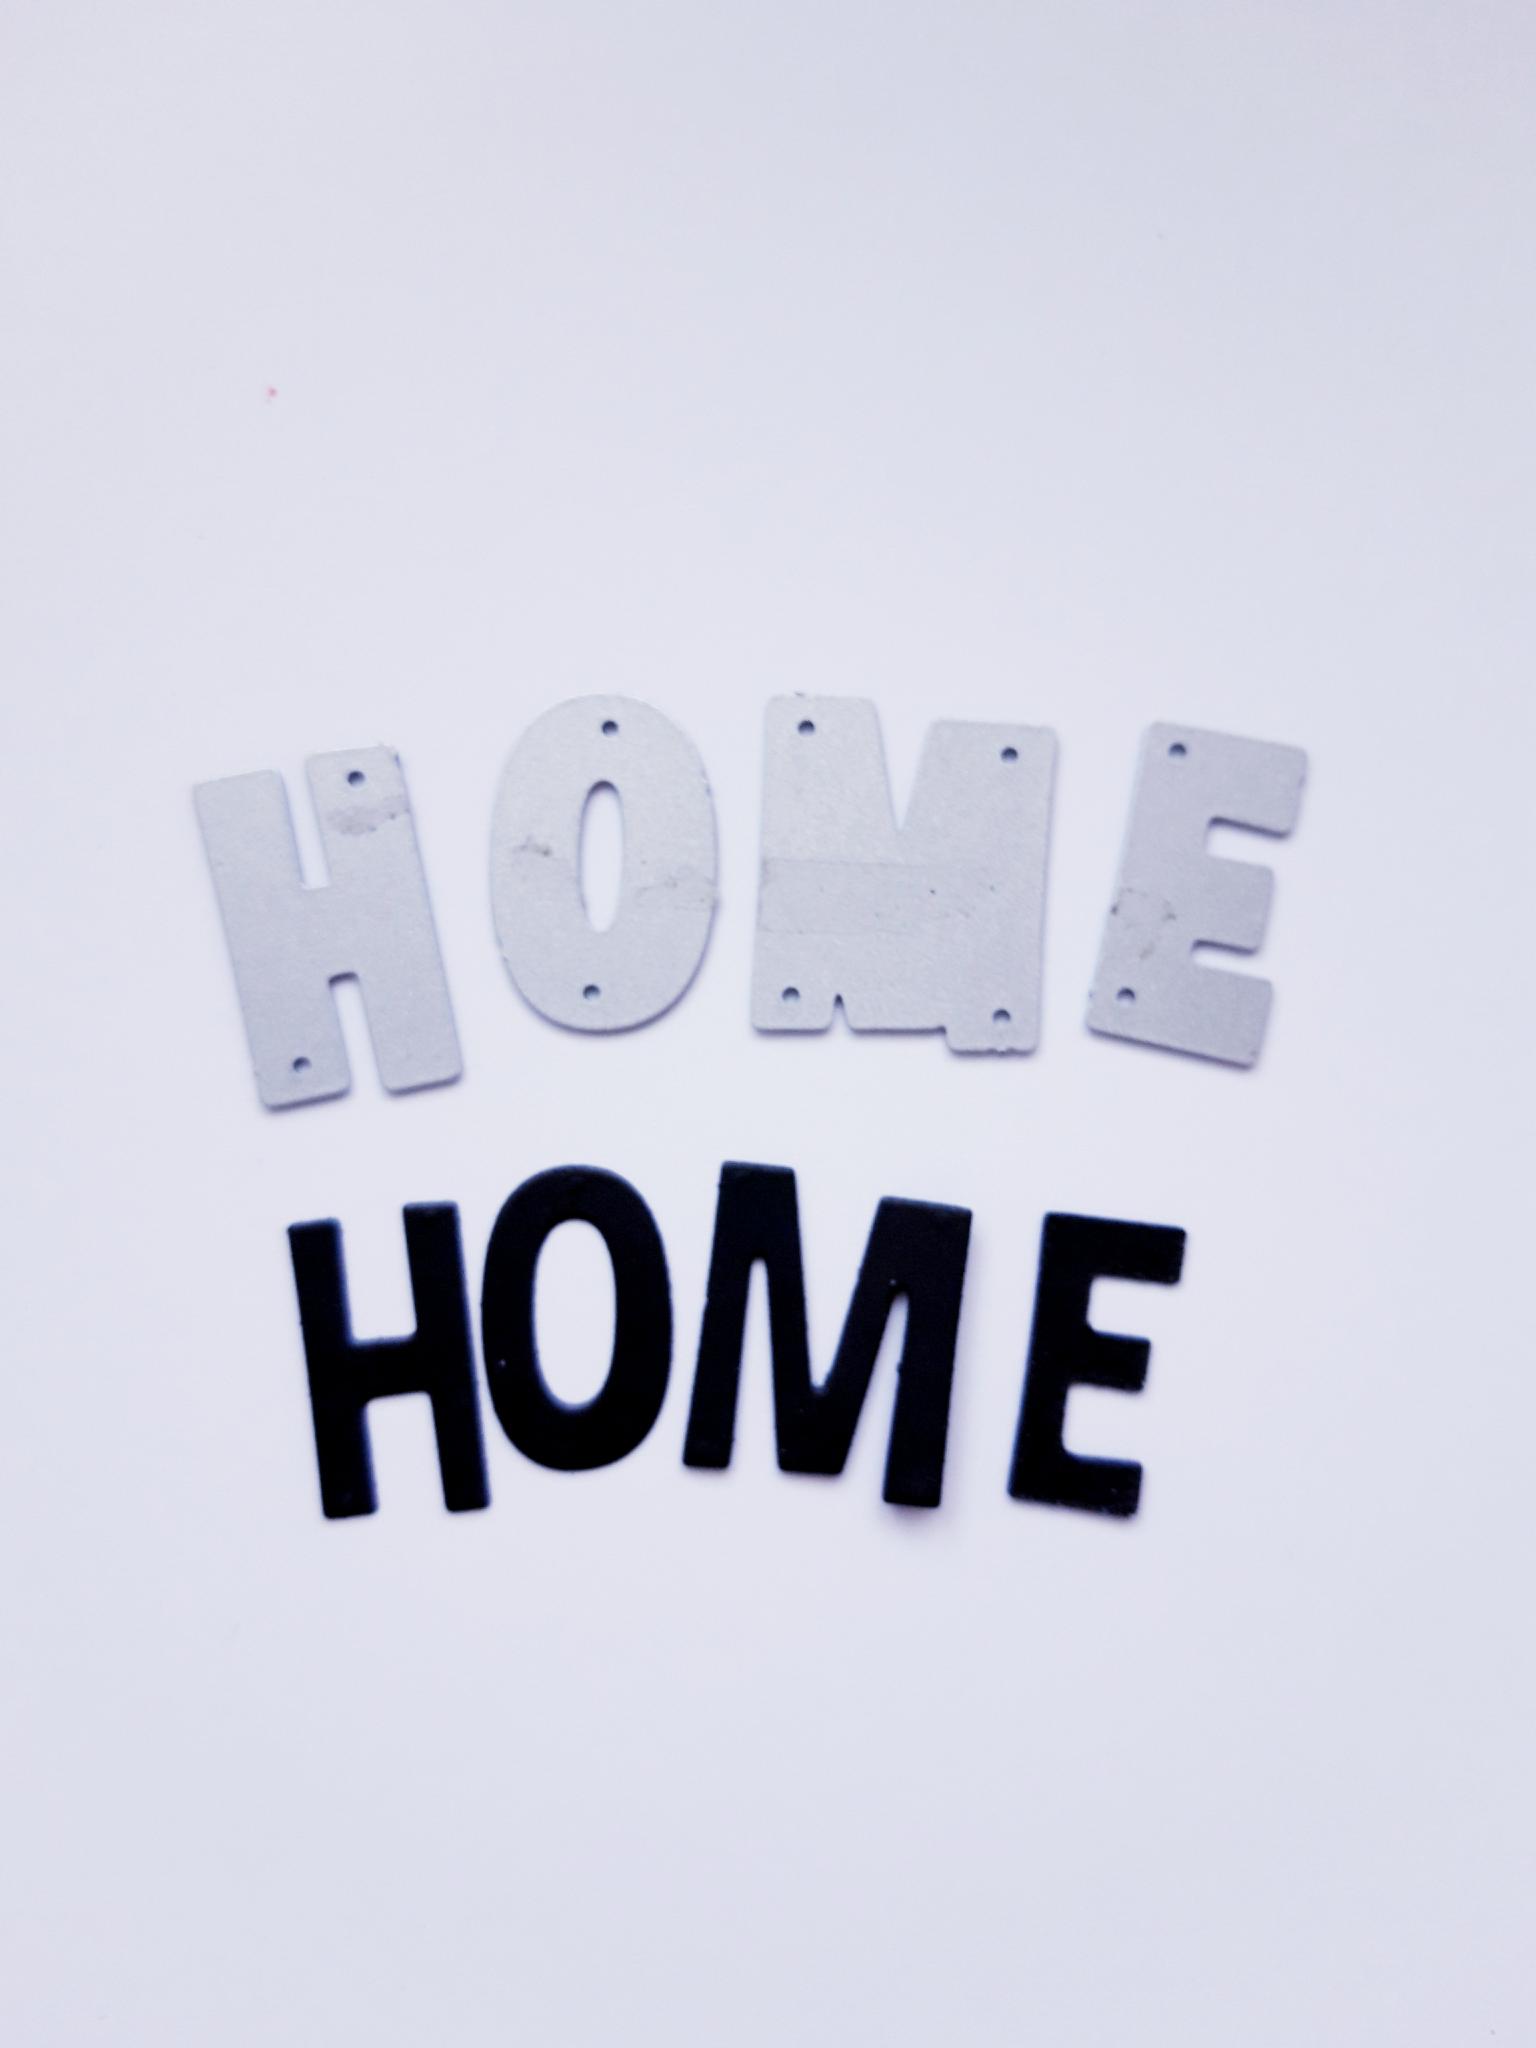
Place the H O M E letter dies, from the Journal Journey House Page die set, on to your left over black card, and run through your die cutting machine. |
|
Adhere your die cut letters on to your white die cut card. |
|
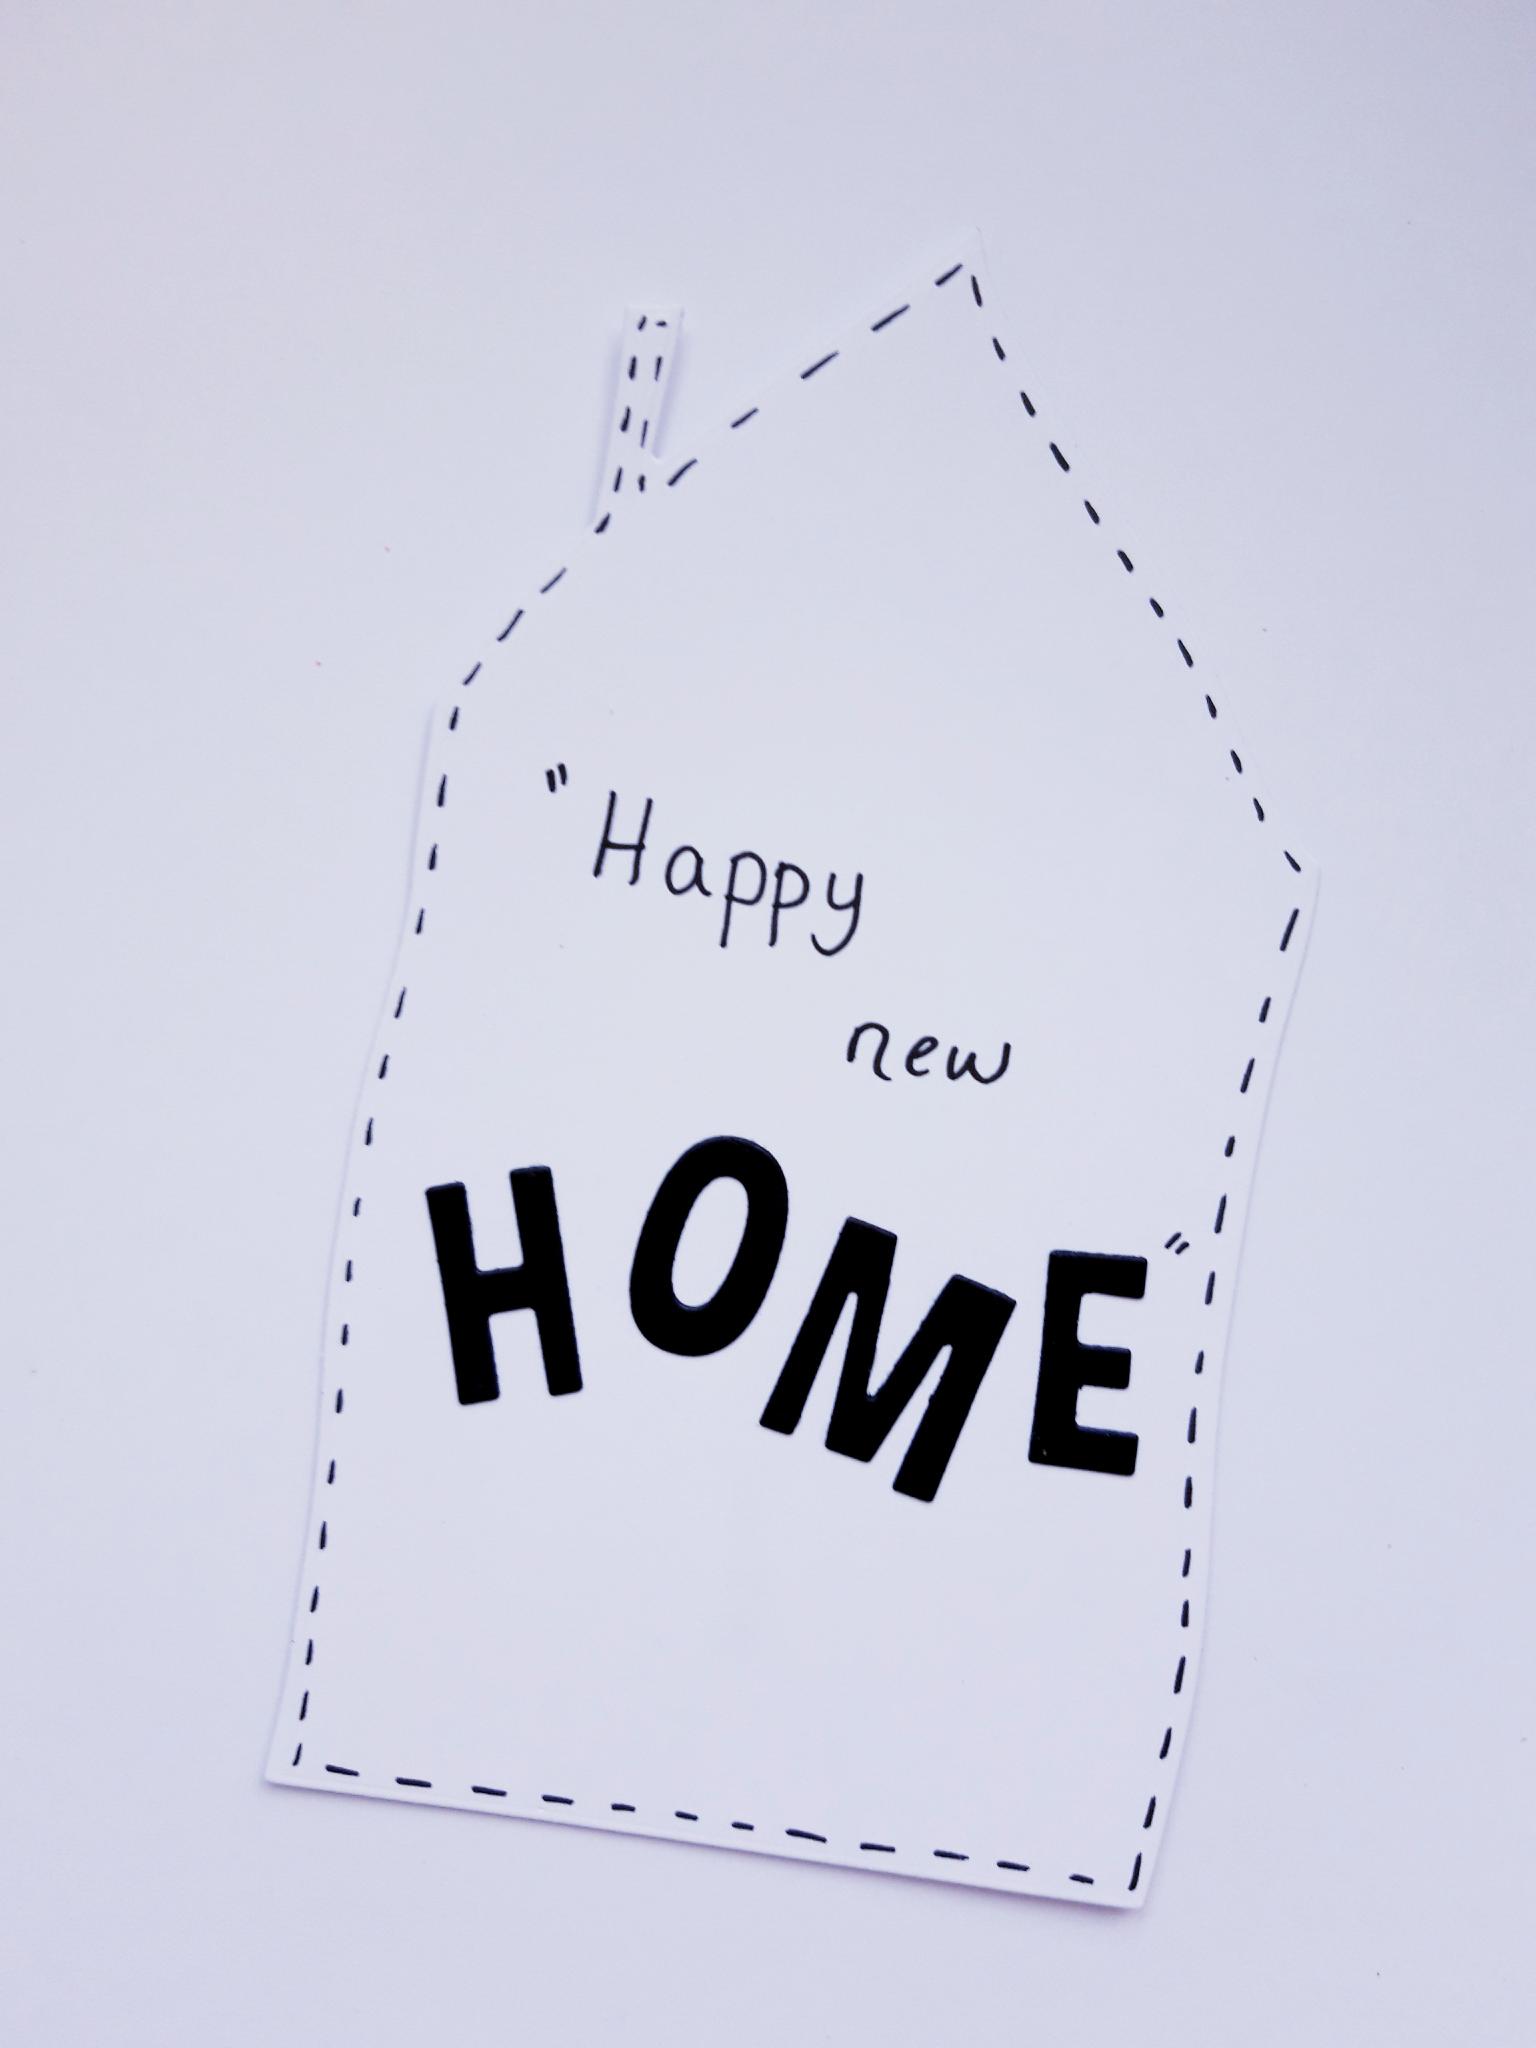
Write your own sentiment on the die cut page. You can stamp a sentiment, if you prefer. |

|
To finish, adhere your page on to the inside of your shaped card blank. |