Give your friends $10 off their first order!
Refer a FRIEND


WHAT YOU WILL NEED:
White card blank (5 3/4 x 4")
Stamps from Craft Queen Lamination Stamp Collection
Stamps from Love And Hope Stamp Collection
Delicate and Beautiful stencil
Versafine Ink Pad: Smoky Grey
Distress Ink: Kitsch Flamingo
Distress Oxide: Salvaged Patina
Water spray bottle
White gel pen
Clear adhesive gems - So Happy Creative Box
Masking tape
Eureka 101
[click image to enlarge] 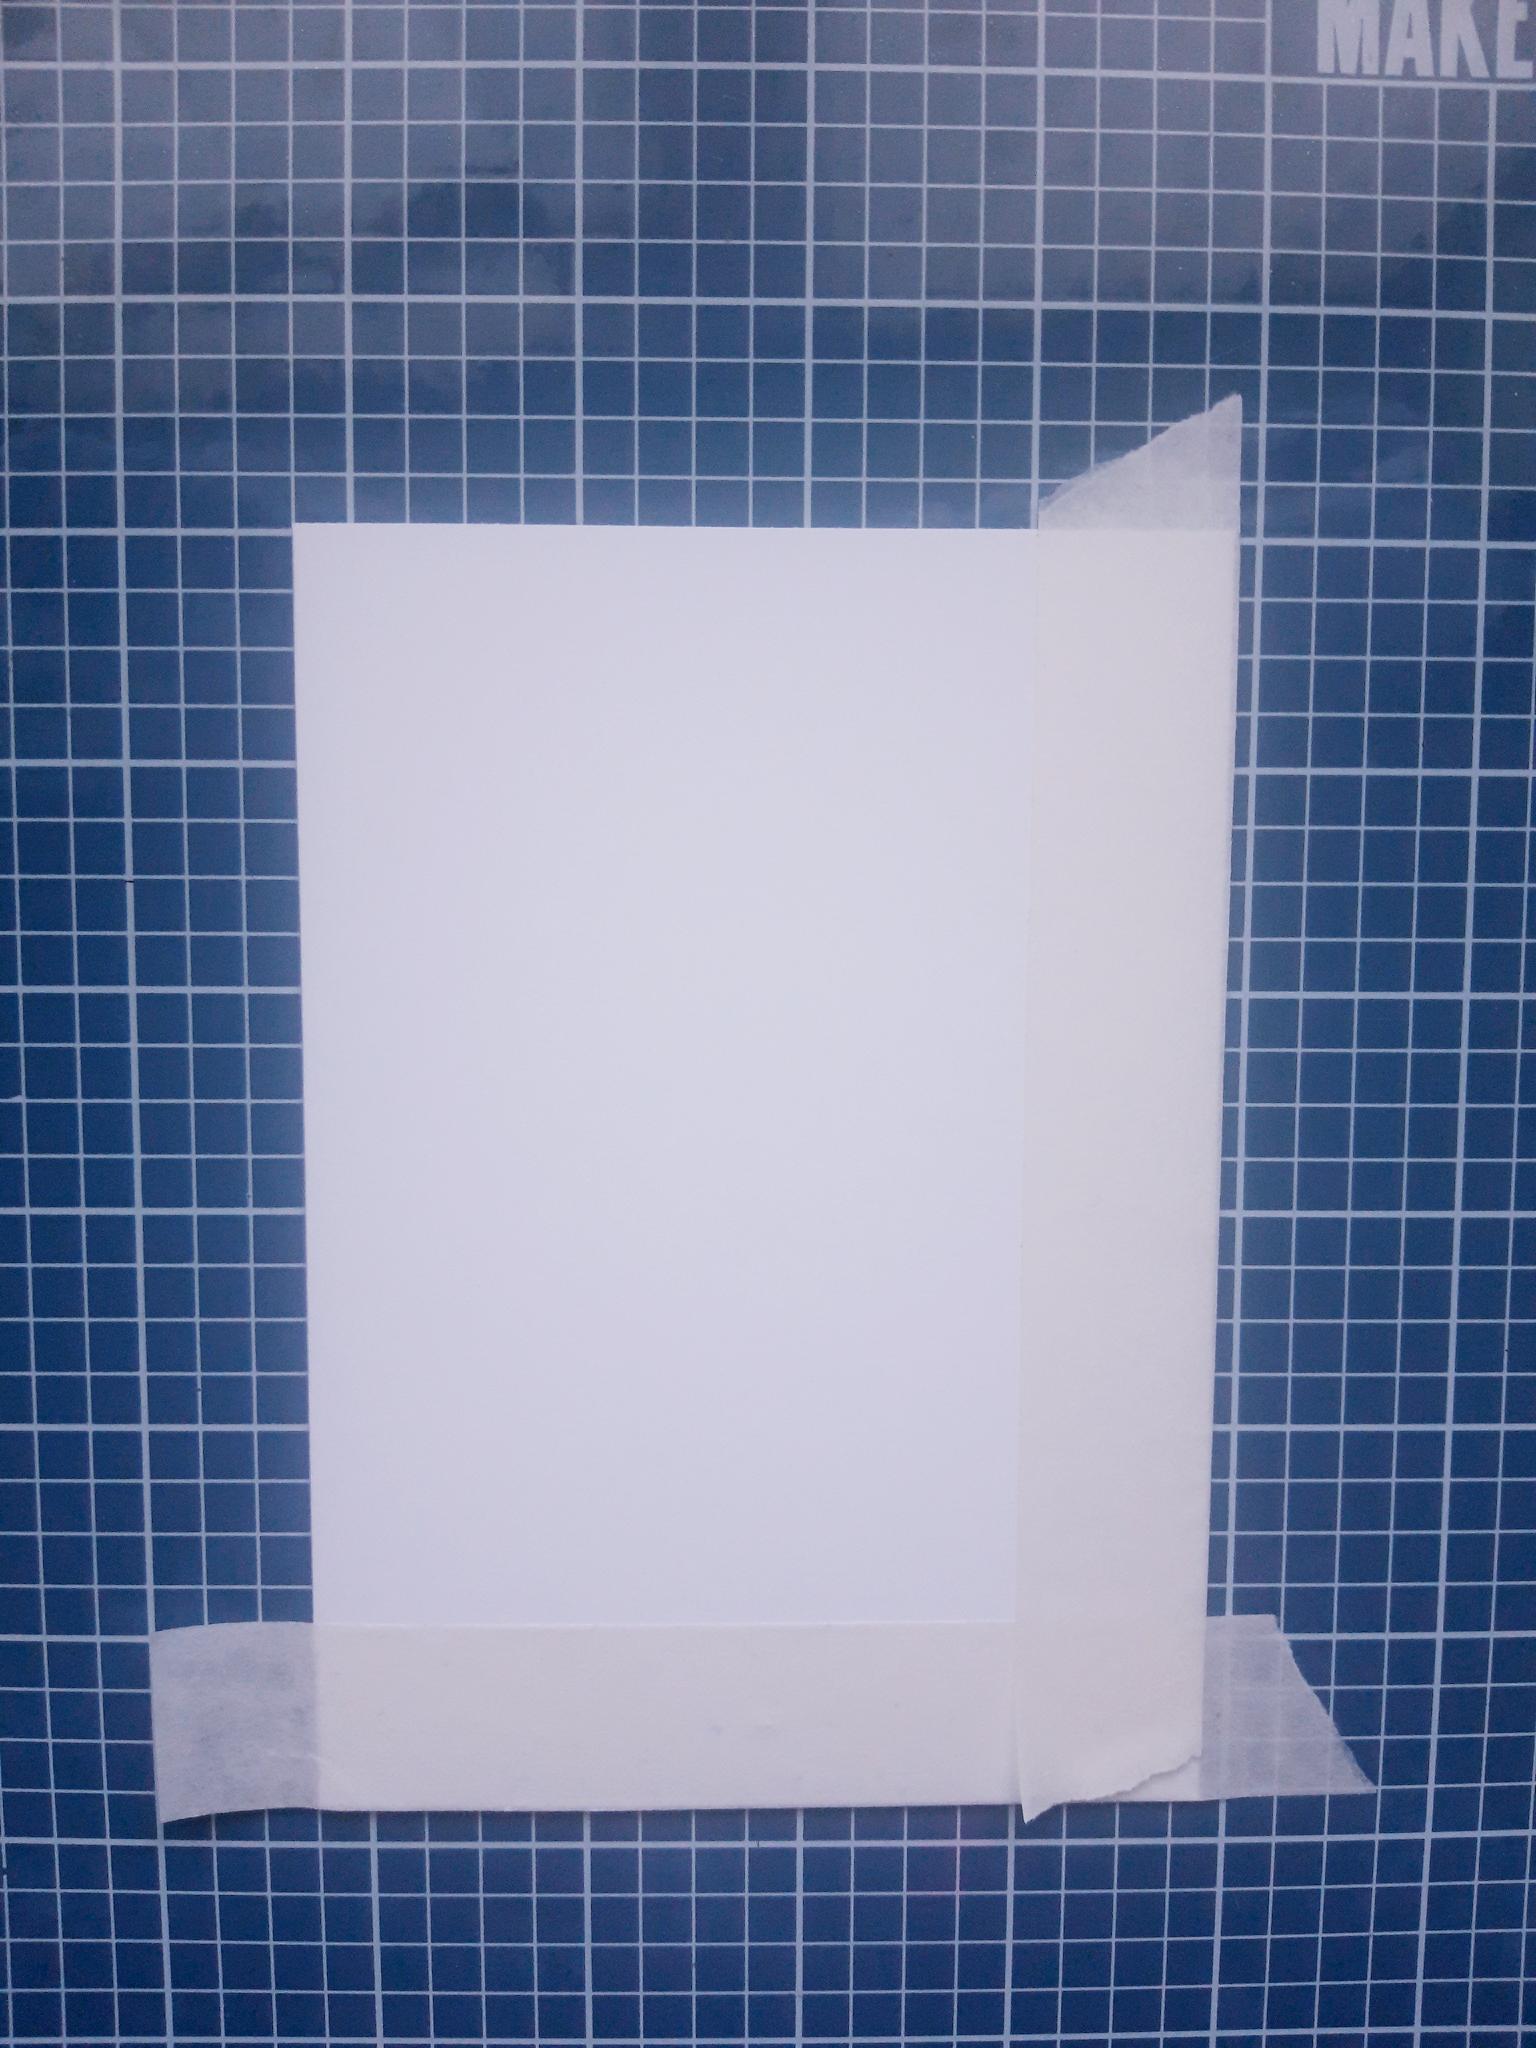
|
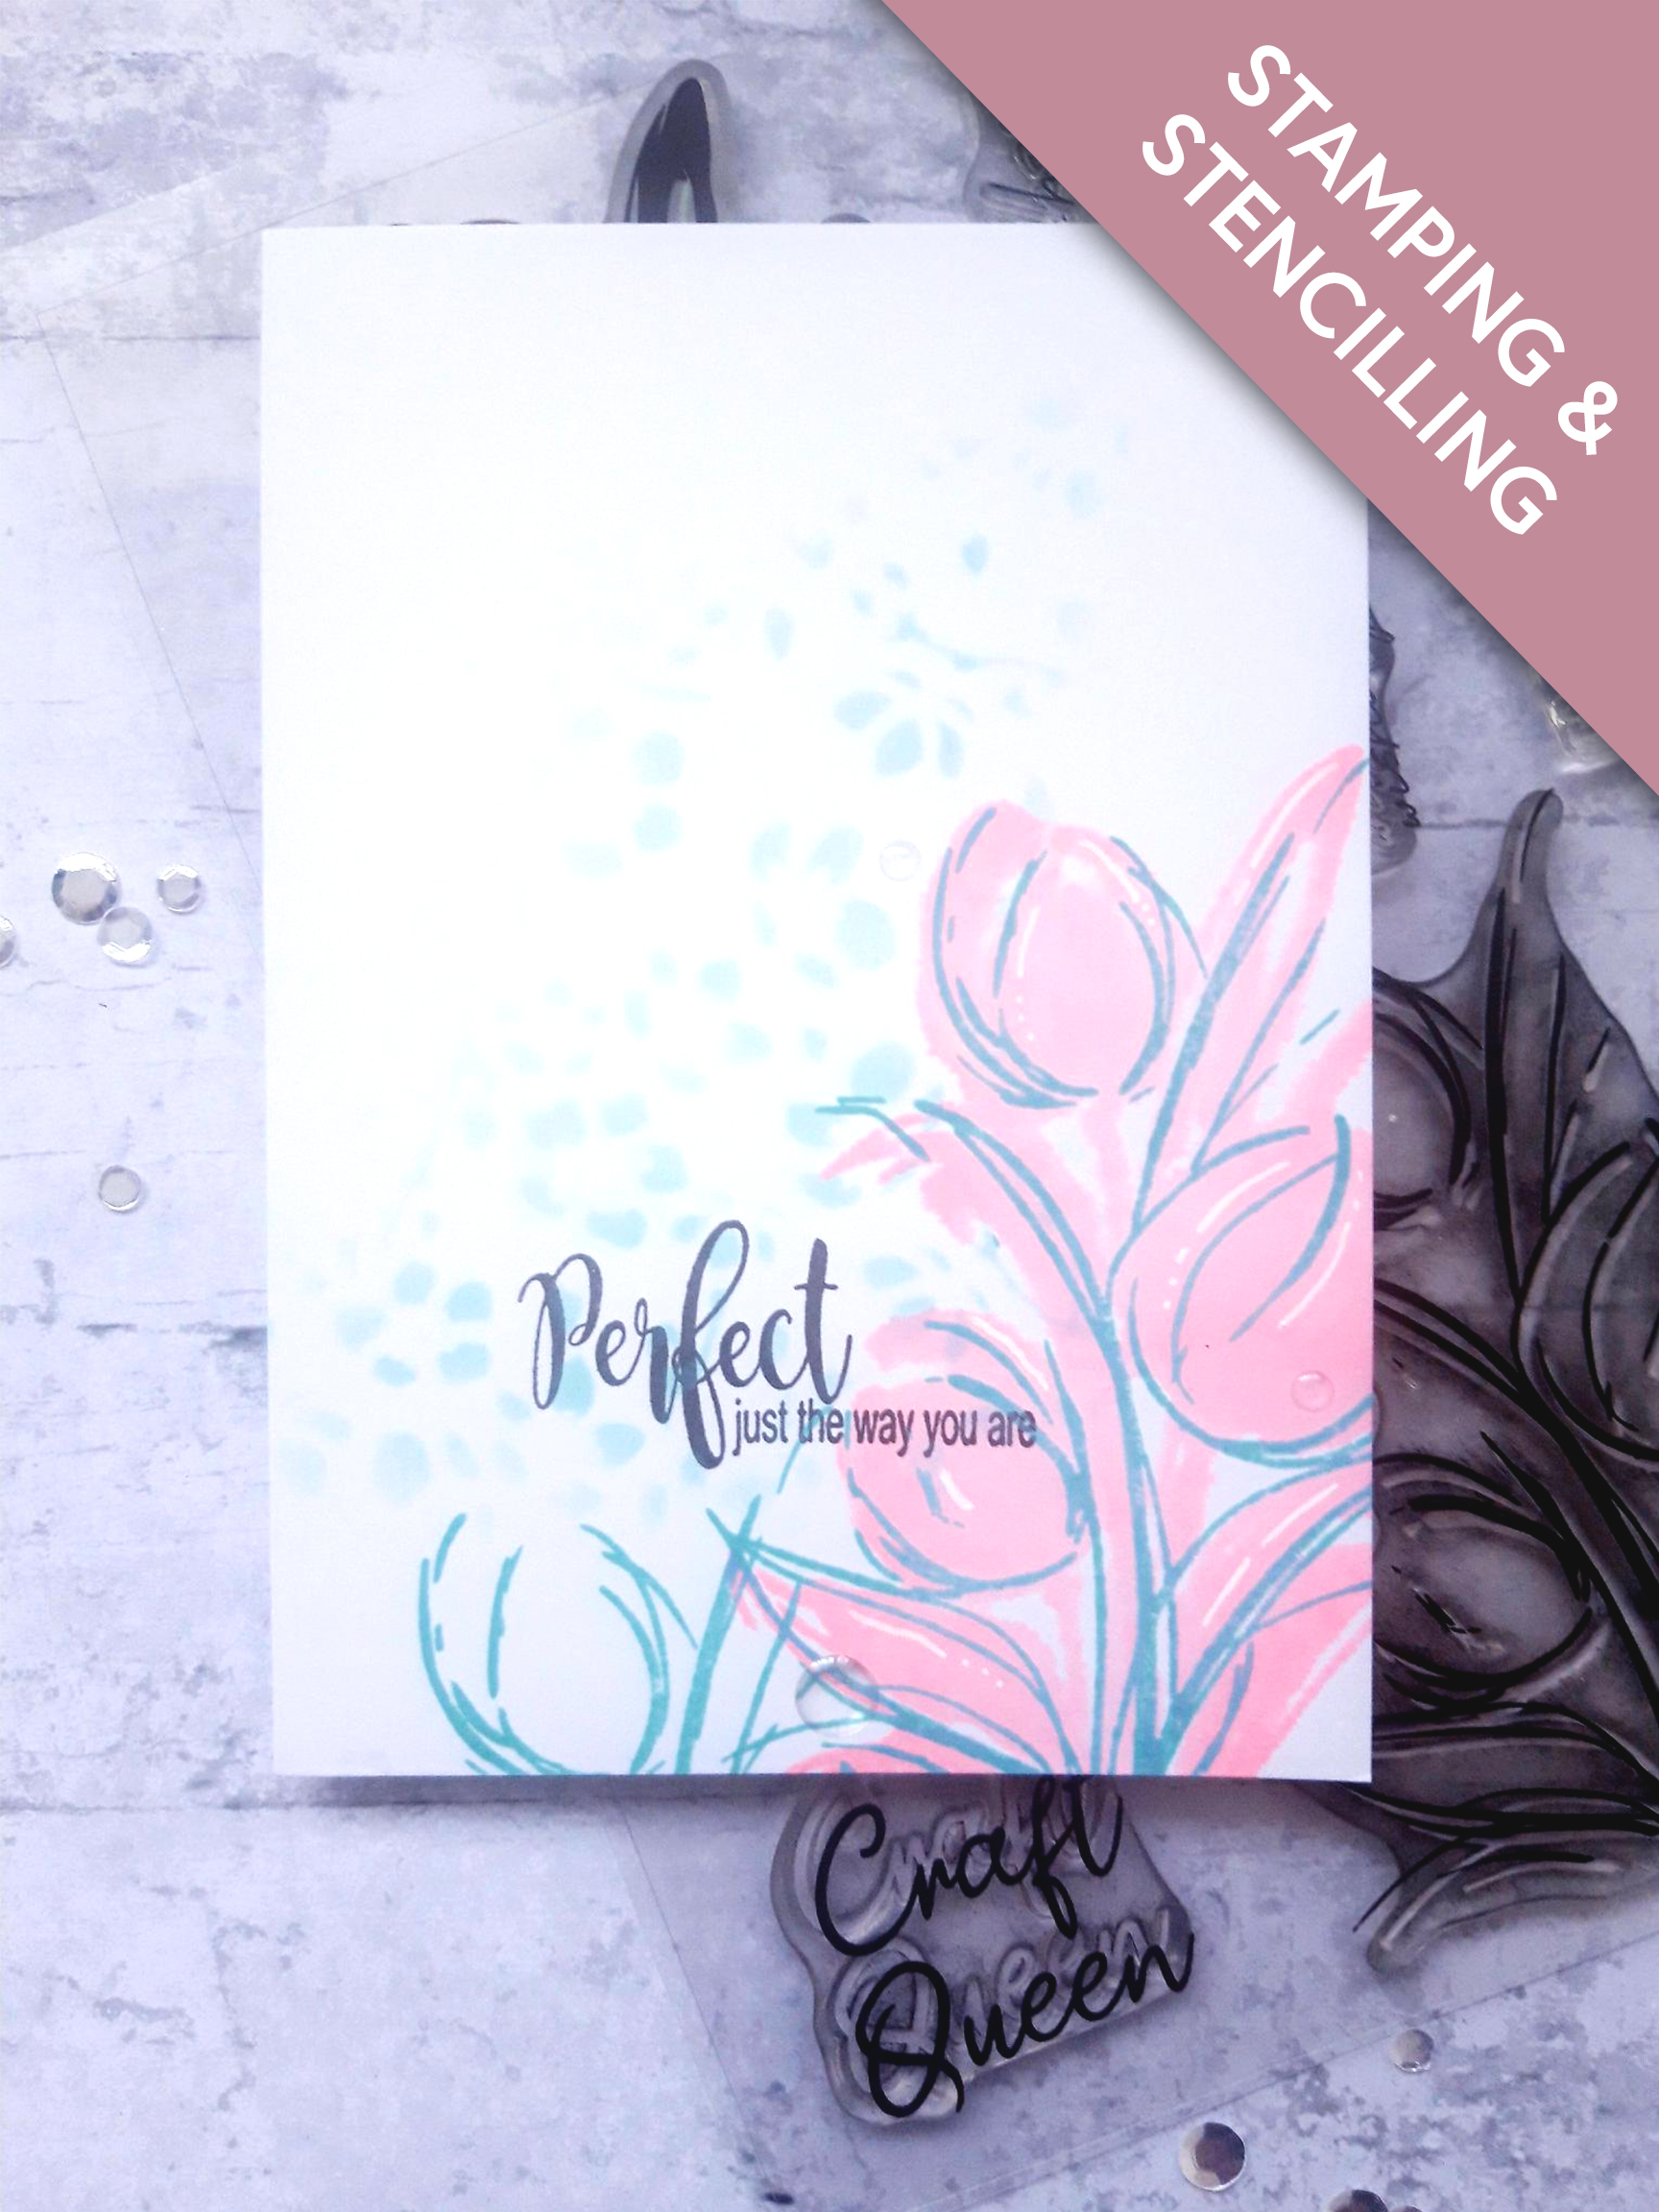
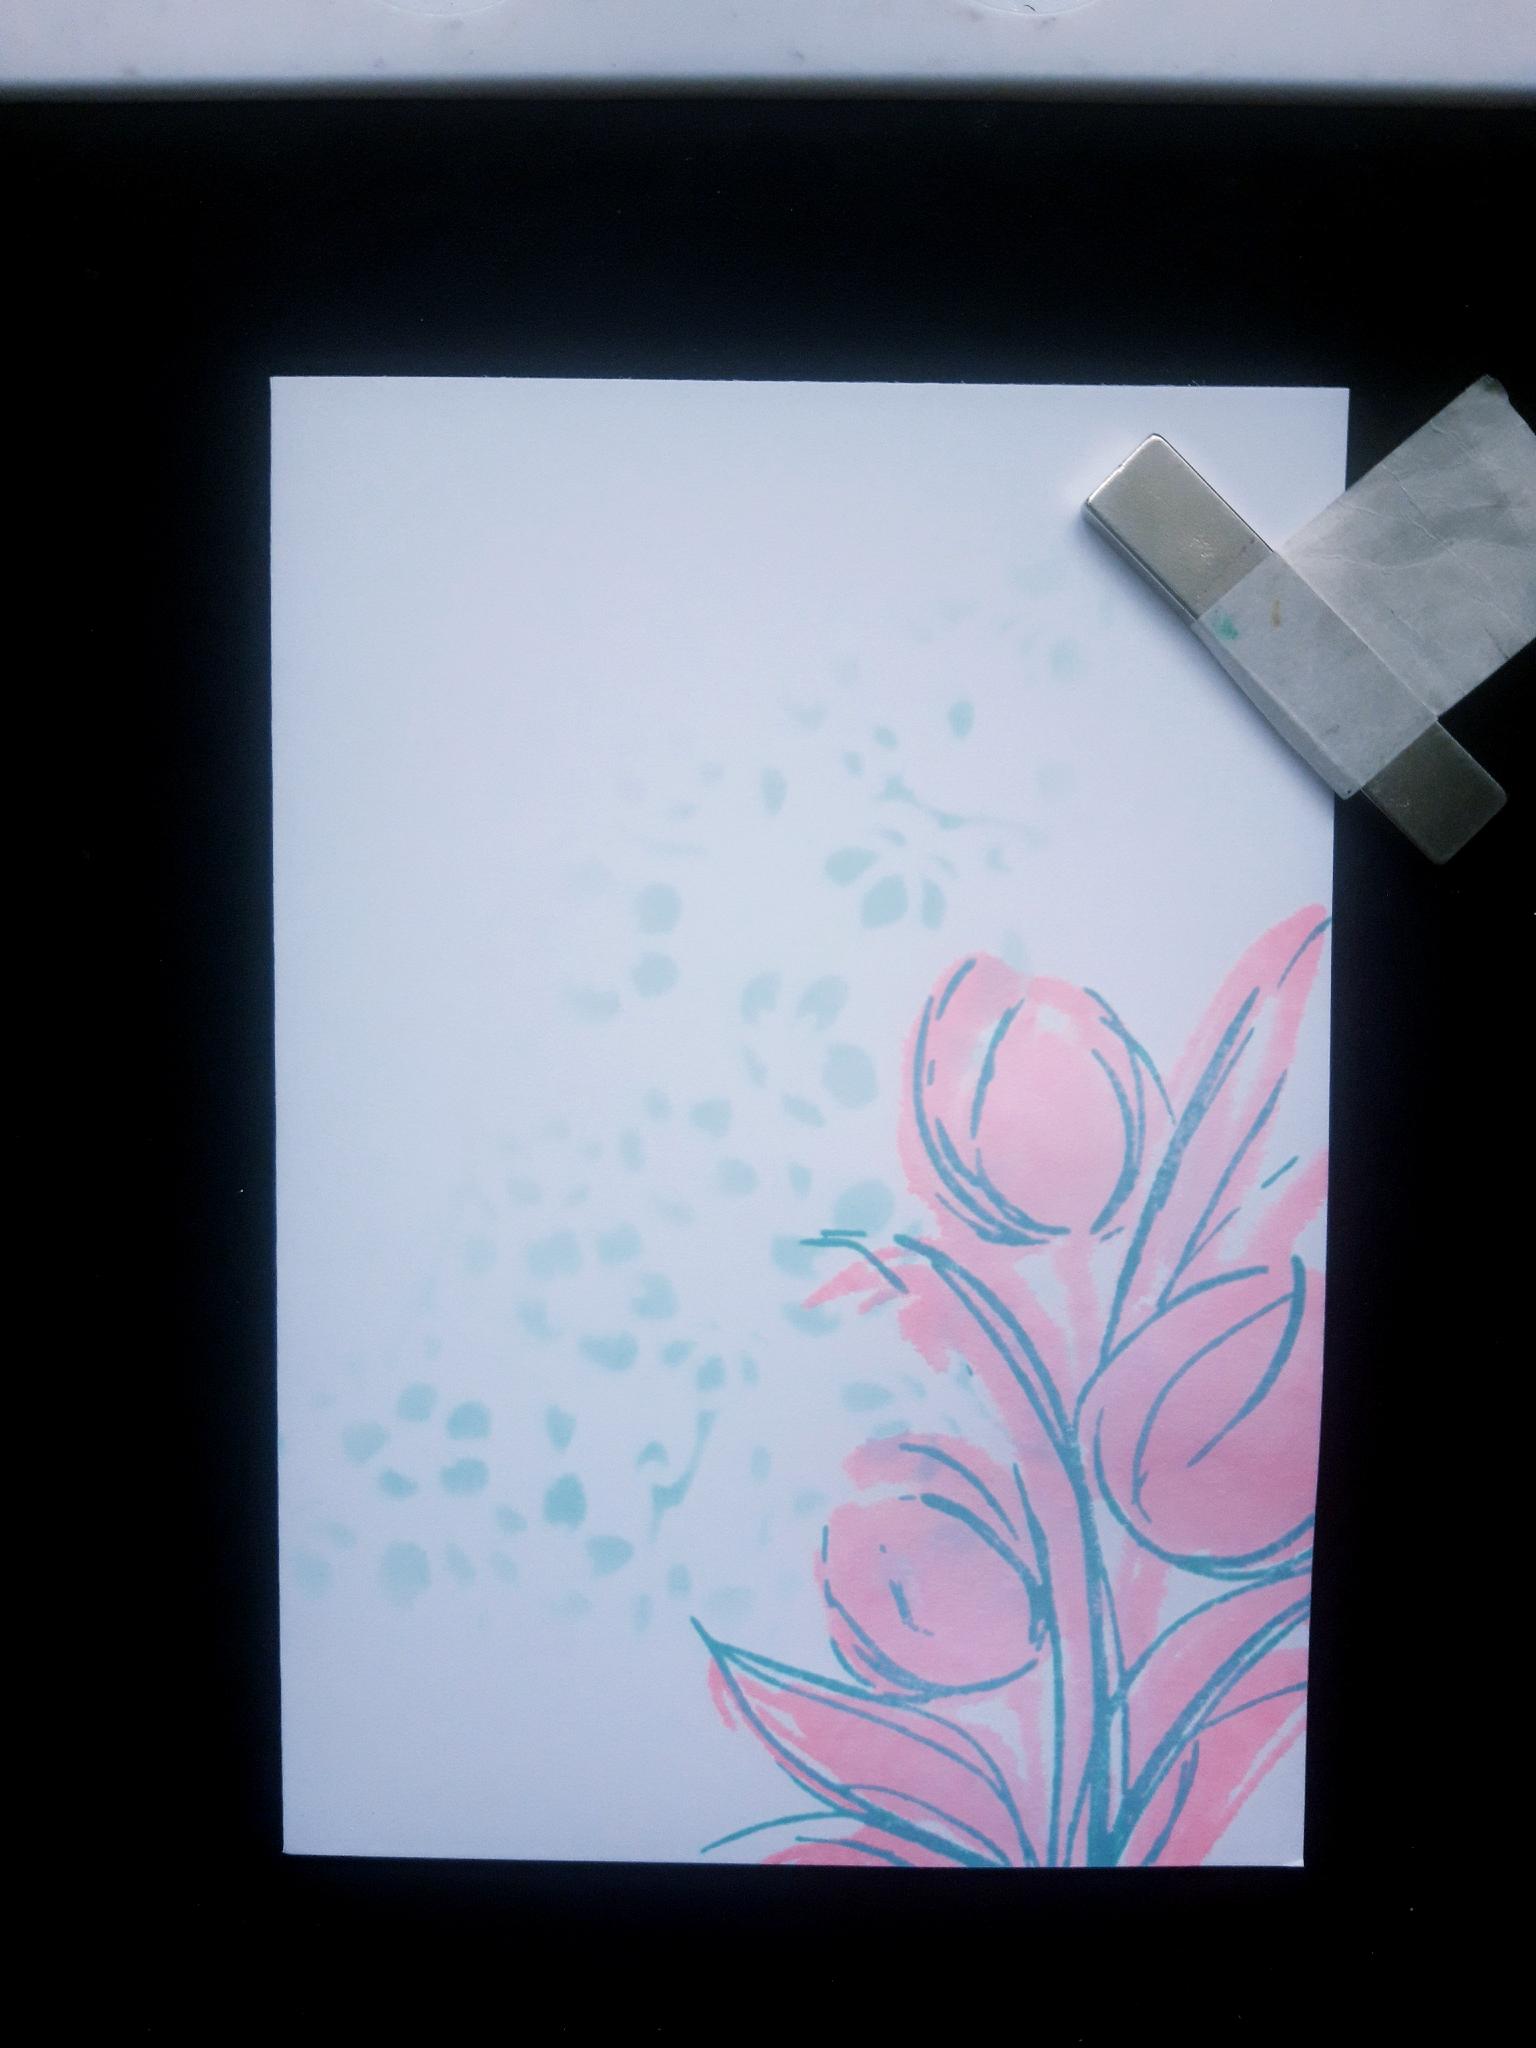
Apply masking tape along the bottom, and down the right hand side, of the white card blank. |

|
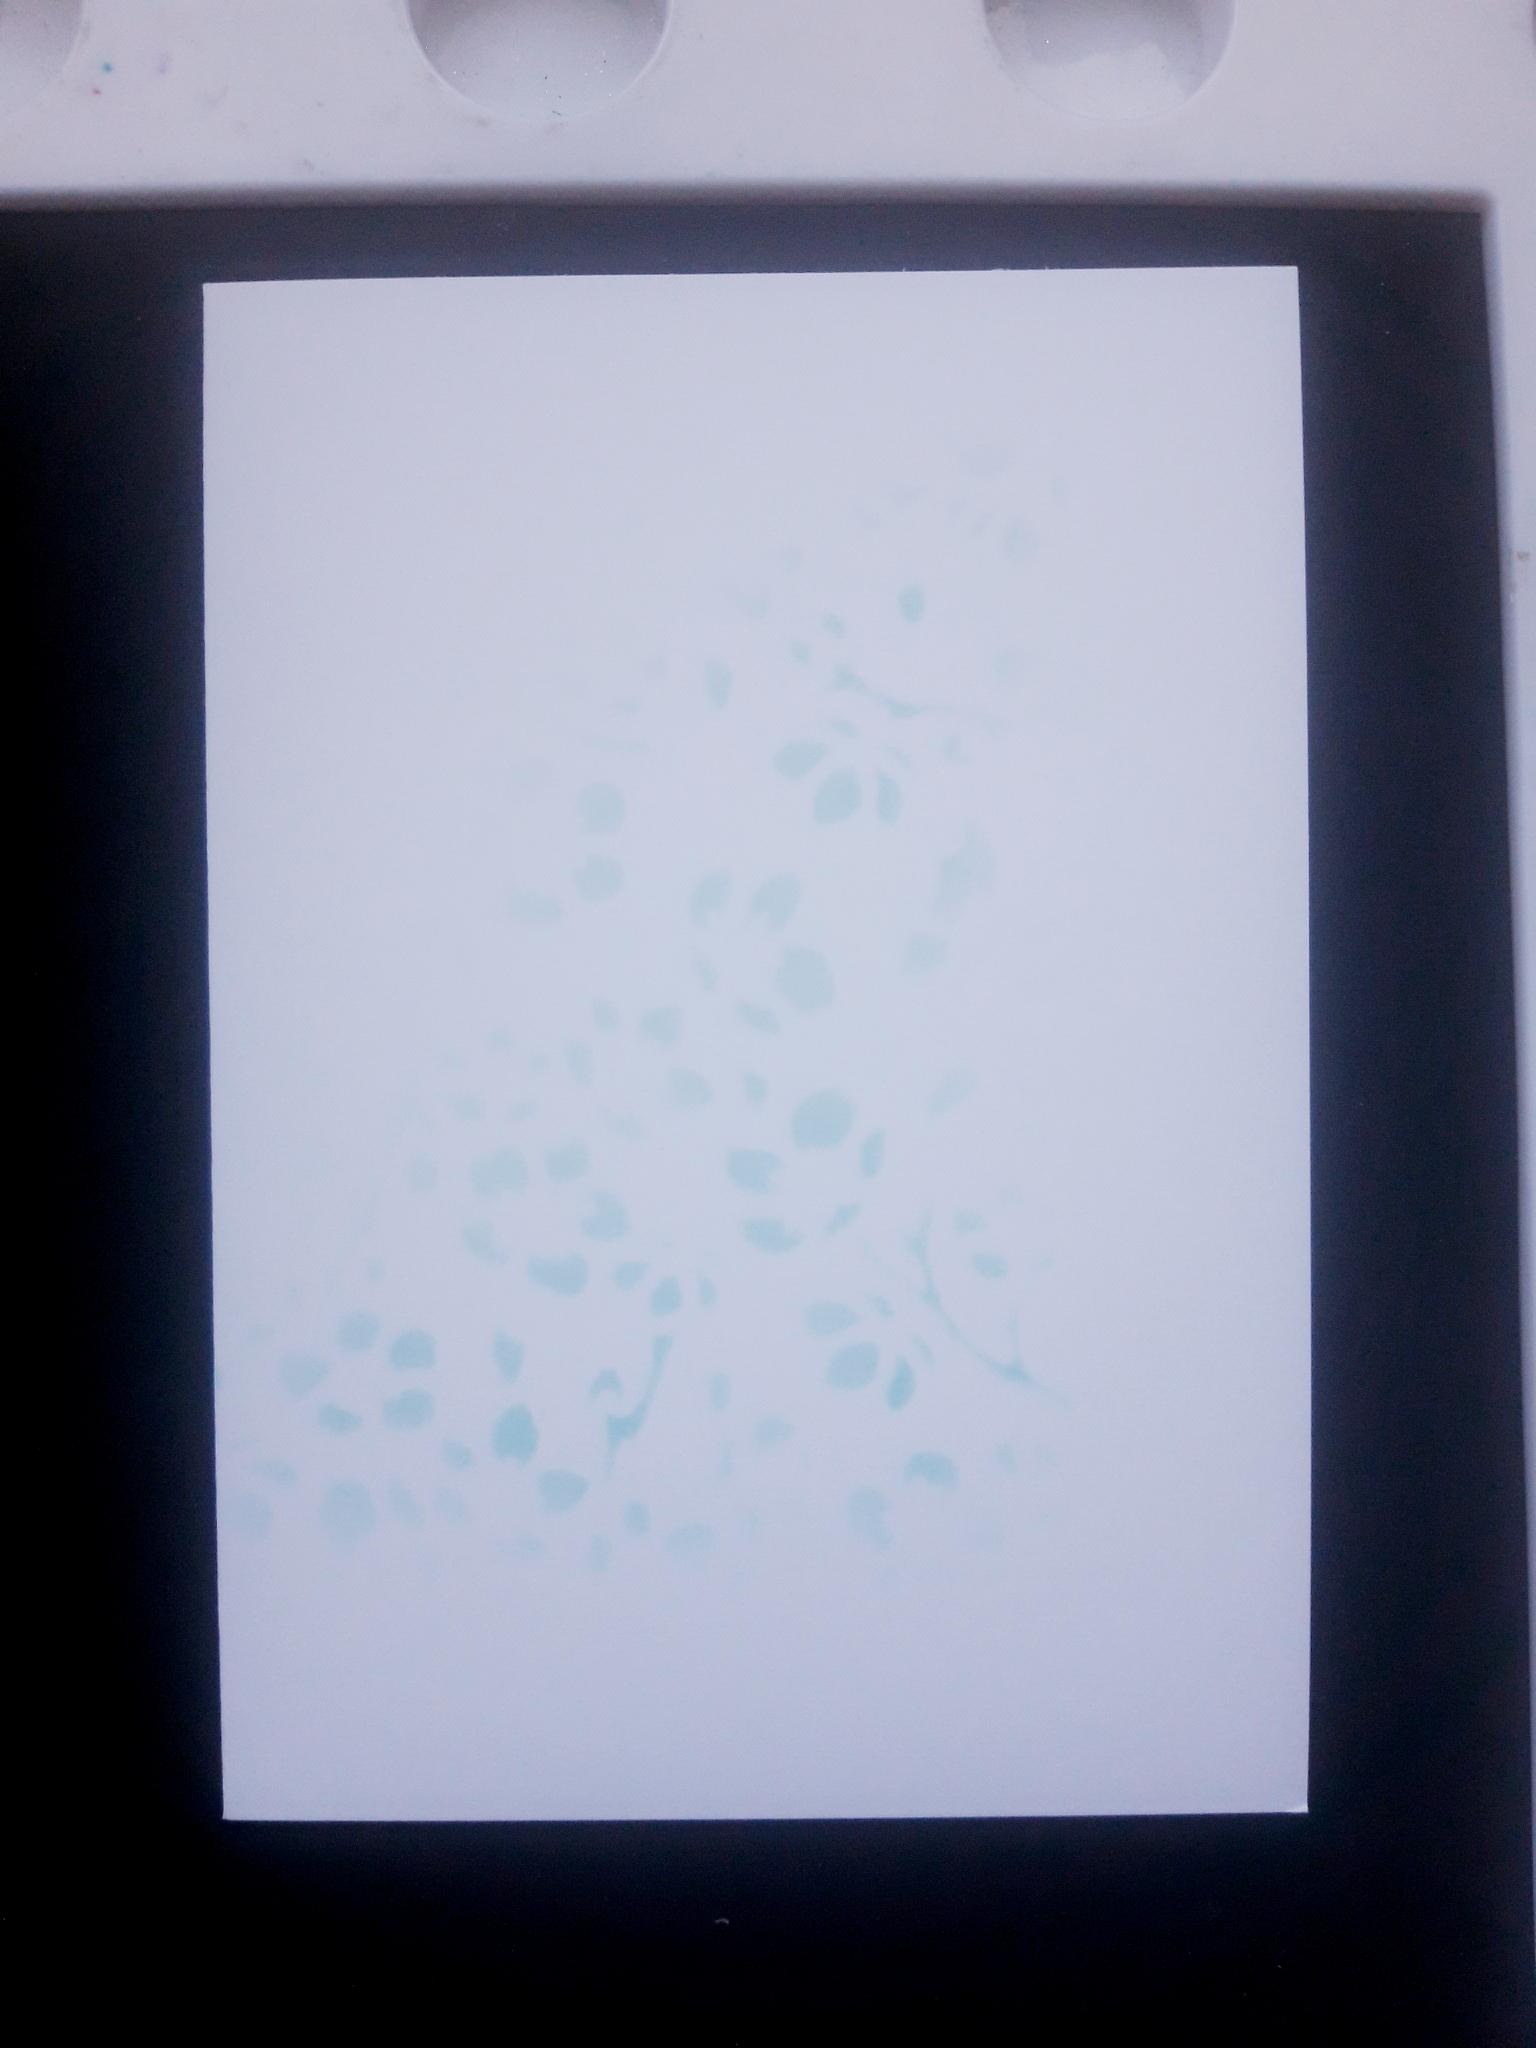
Lay the Delicate and Beautiful stencil over your card blank. Randomly blend the Salvaged Patina Distress Oxide through the stencil, blending the ink darker in the bottom right hand corner, and fading out to nothing as you move outwards. |
|
Carefully remove your masking tape. |
|
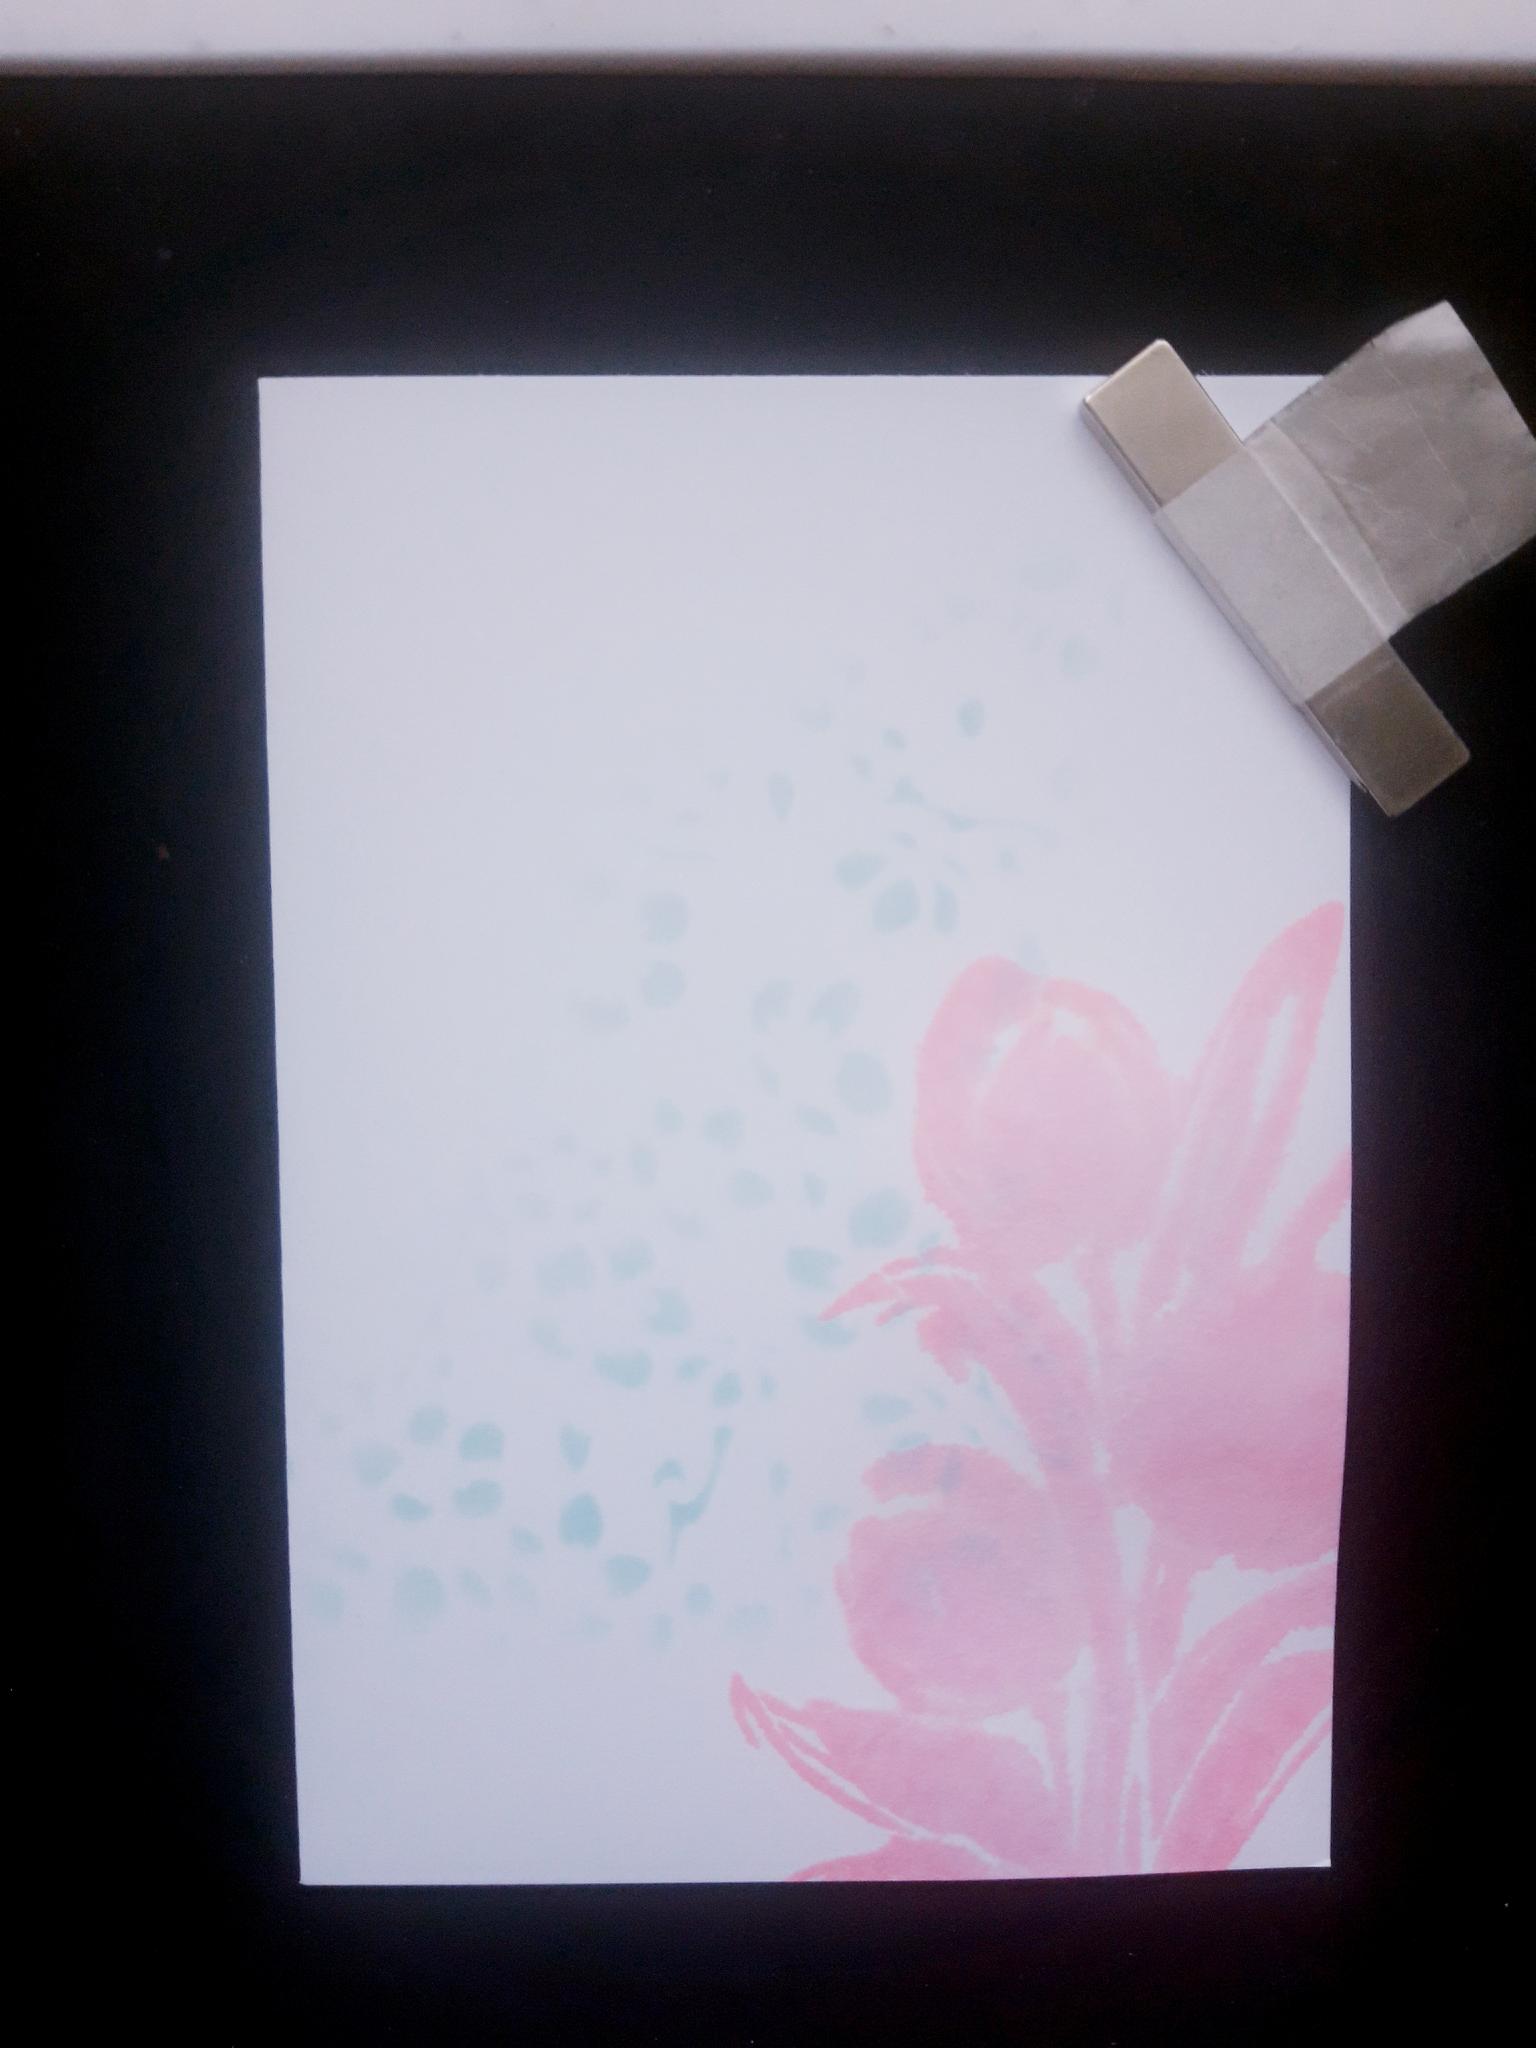
Ink up the solid stamp, from the Craft Queen Lamination Stamp Collection, with the Kitsch Flamingo. Spritz with water and stamp coming up from the bottom right hand corner. |
|
Ink up the coordinating detailed stamp, with the Salavged Patina Distress Oxide. Spritz with water and stamp in place over your solid, stamped image. |

|
Ink it up again, with the same ink, and stamp a little of the image peeking up from the bottom of the card, to the left of the other stamped image. |
|
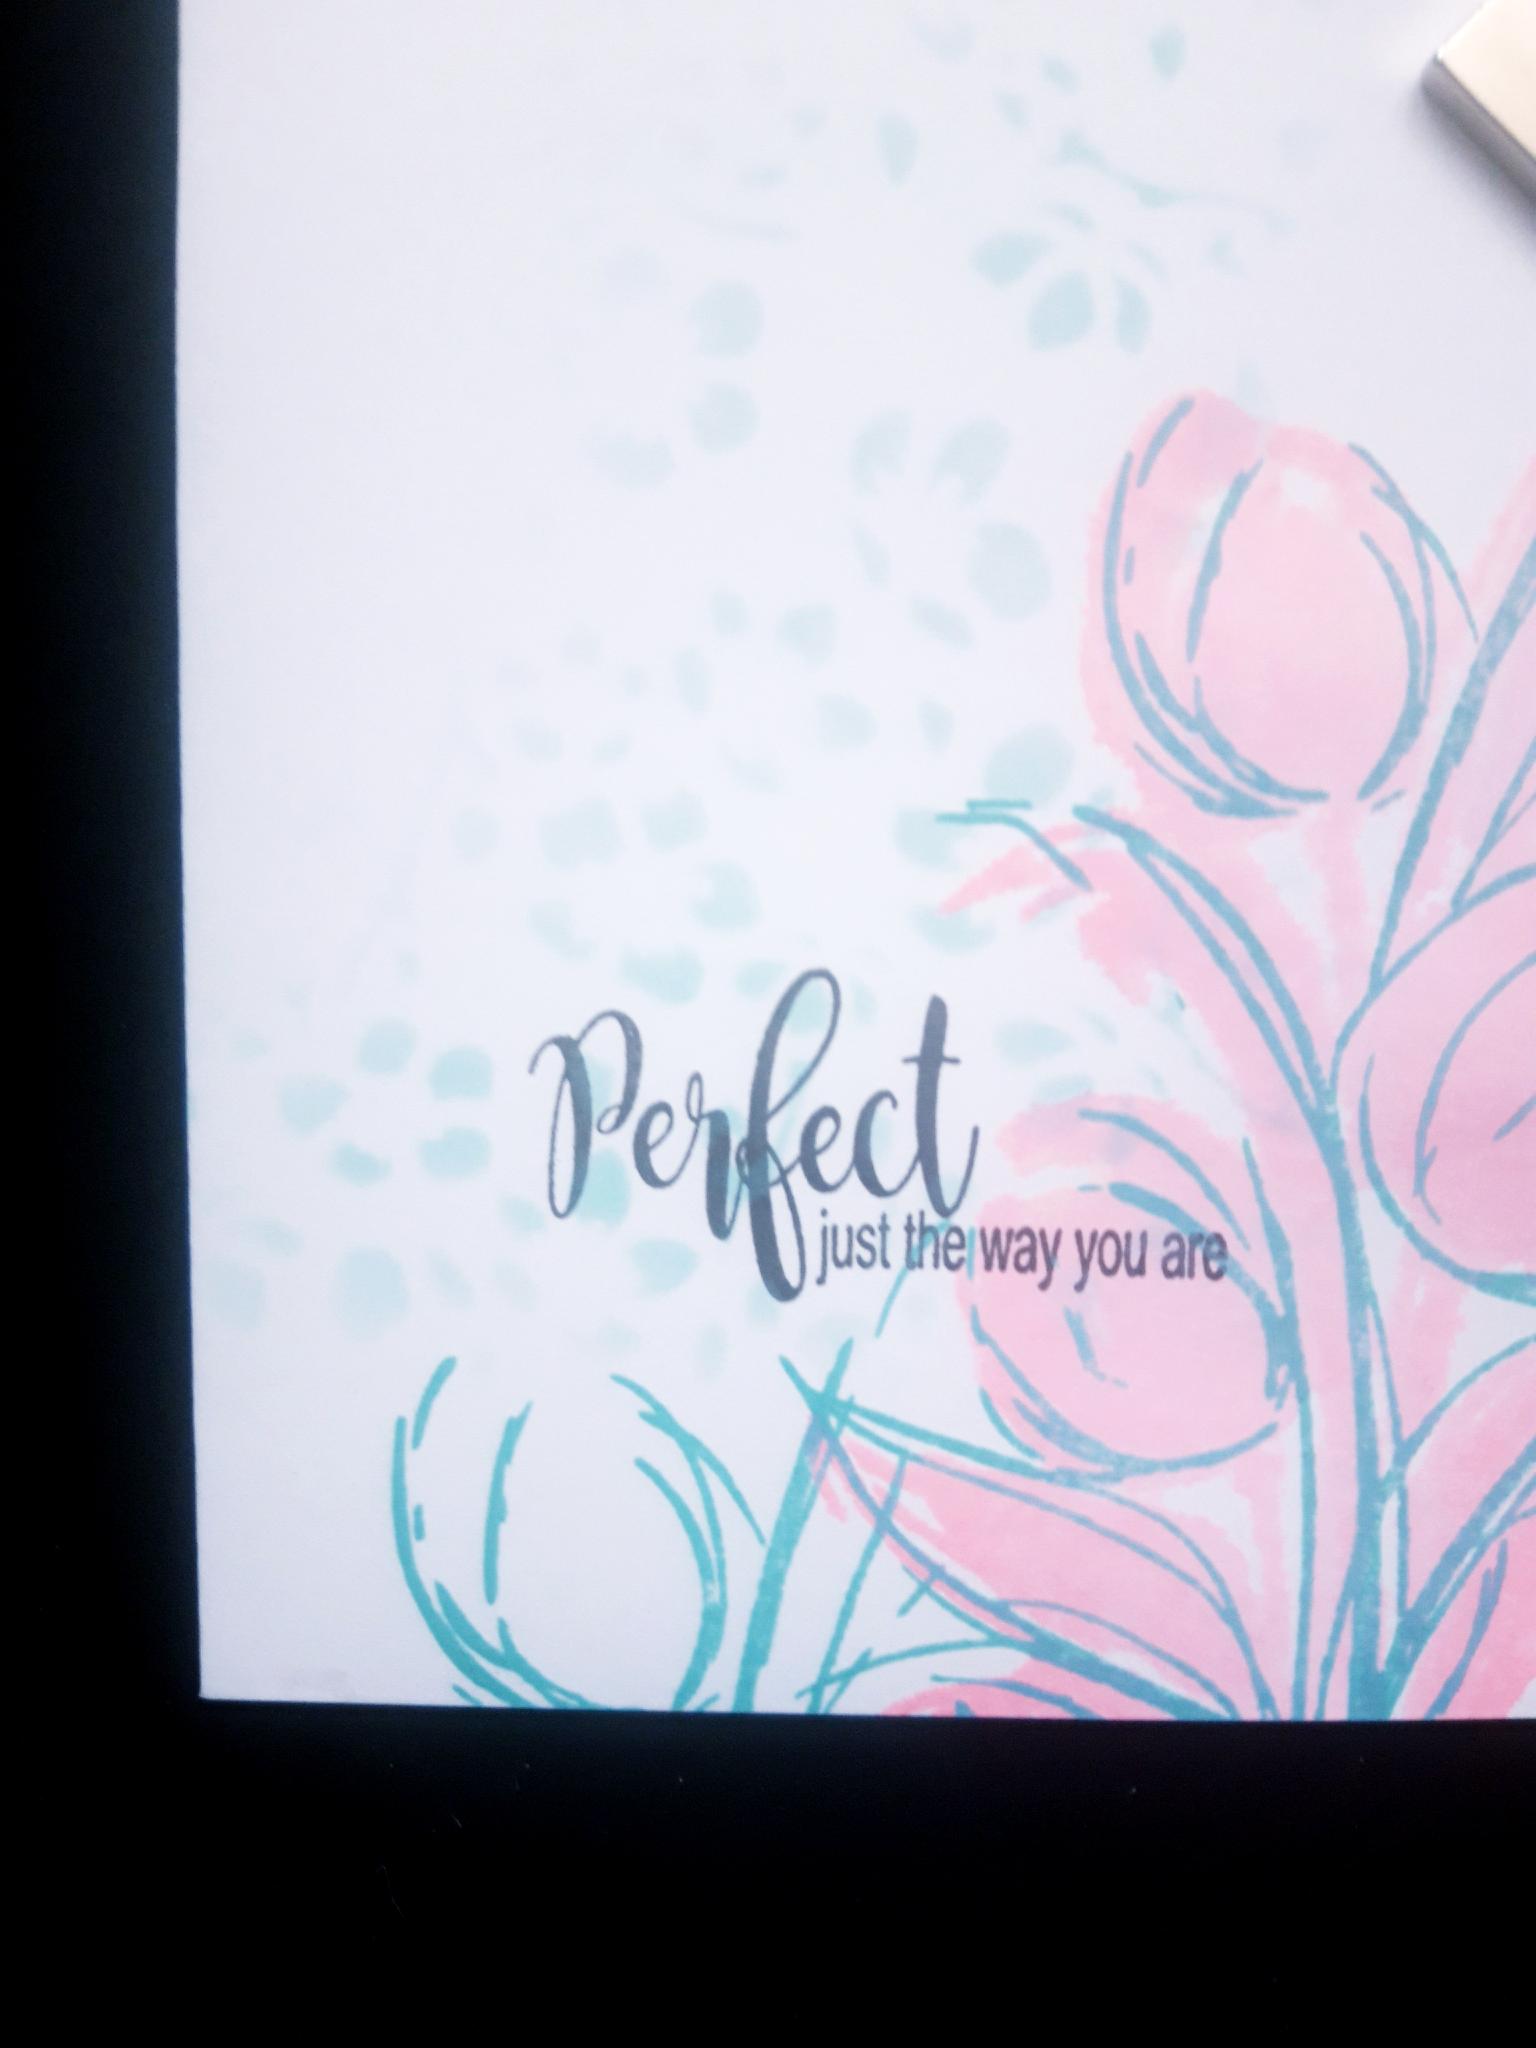
Ink up the sentiment from the Love And Hope Stamp Collection, with the Smoky Grey Versafine, and stamp through your floral image. |
|
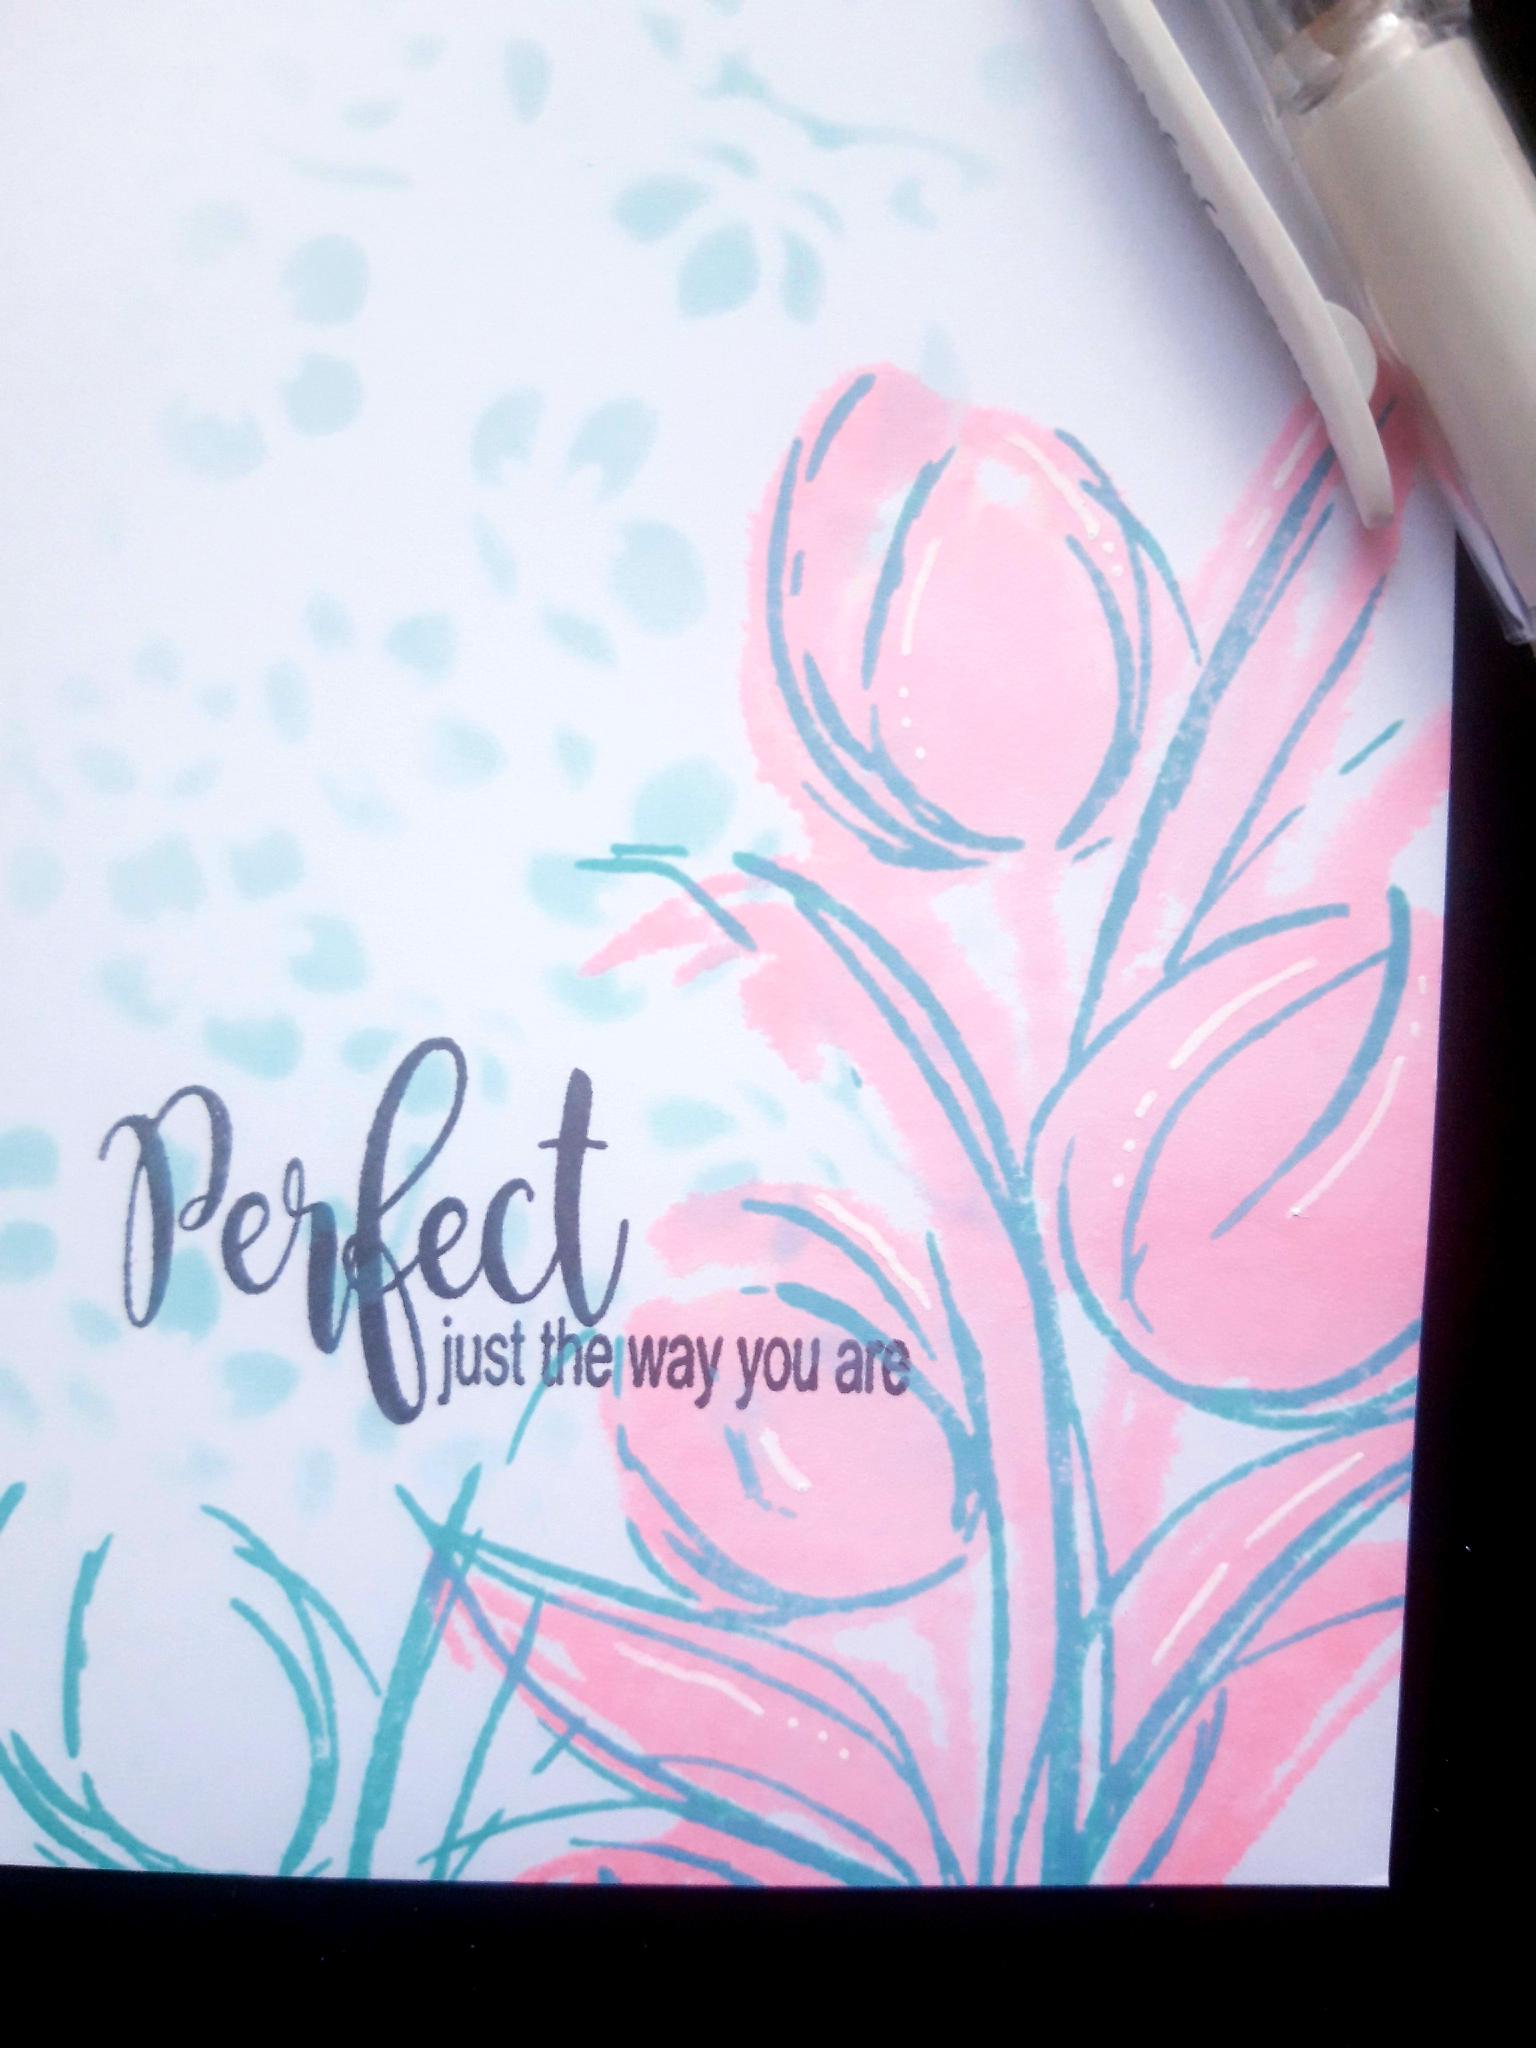
Use a white gel pen to add accents and highlights to your artwork. |
|
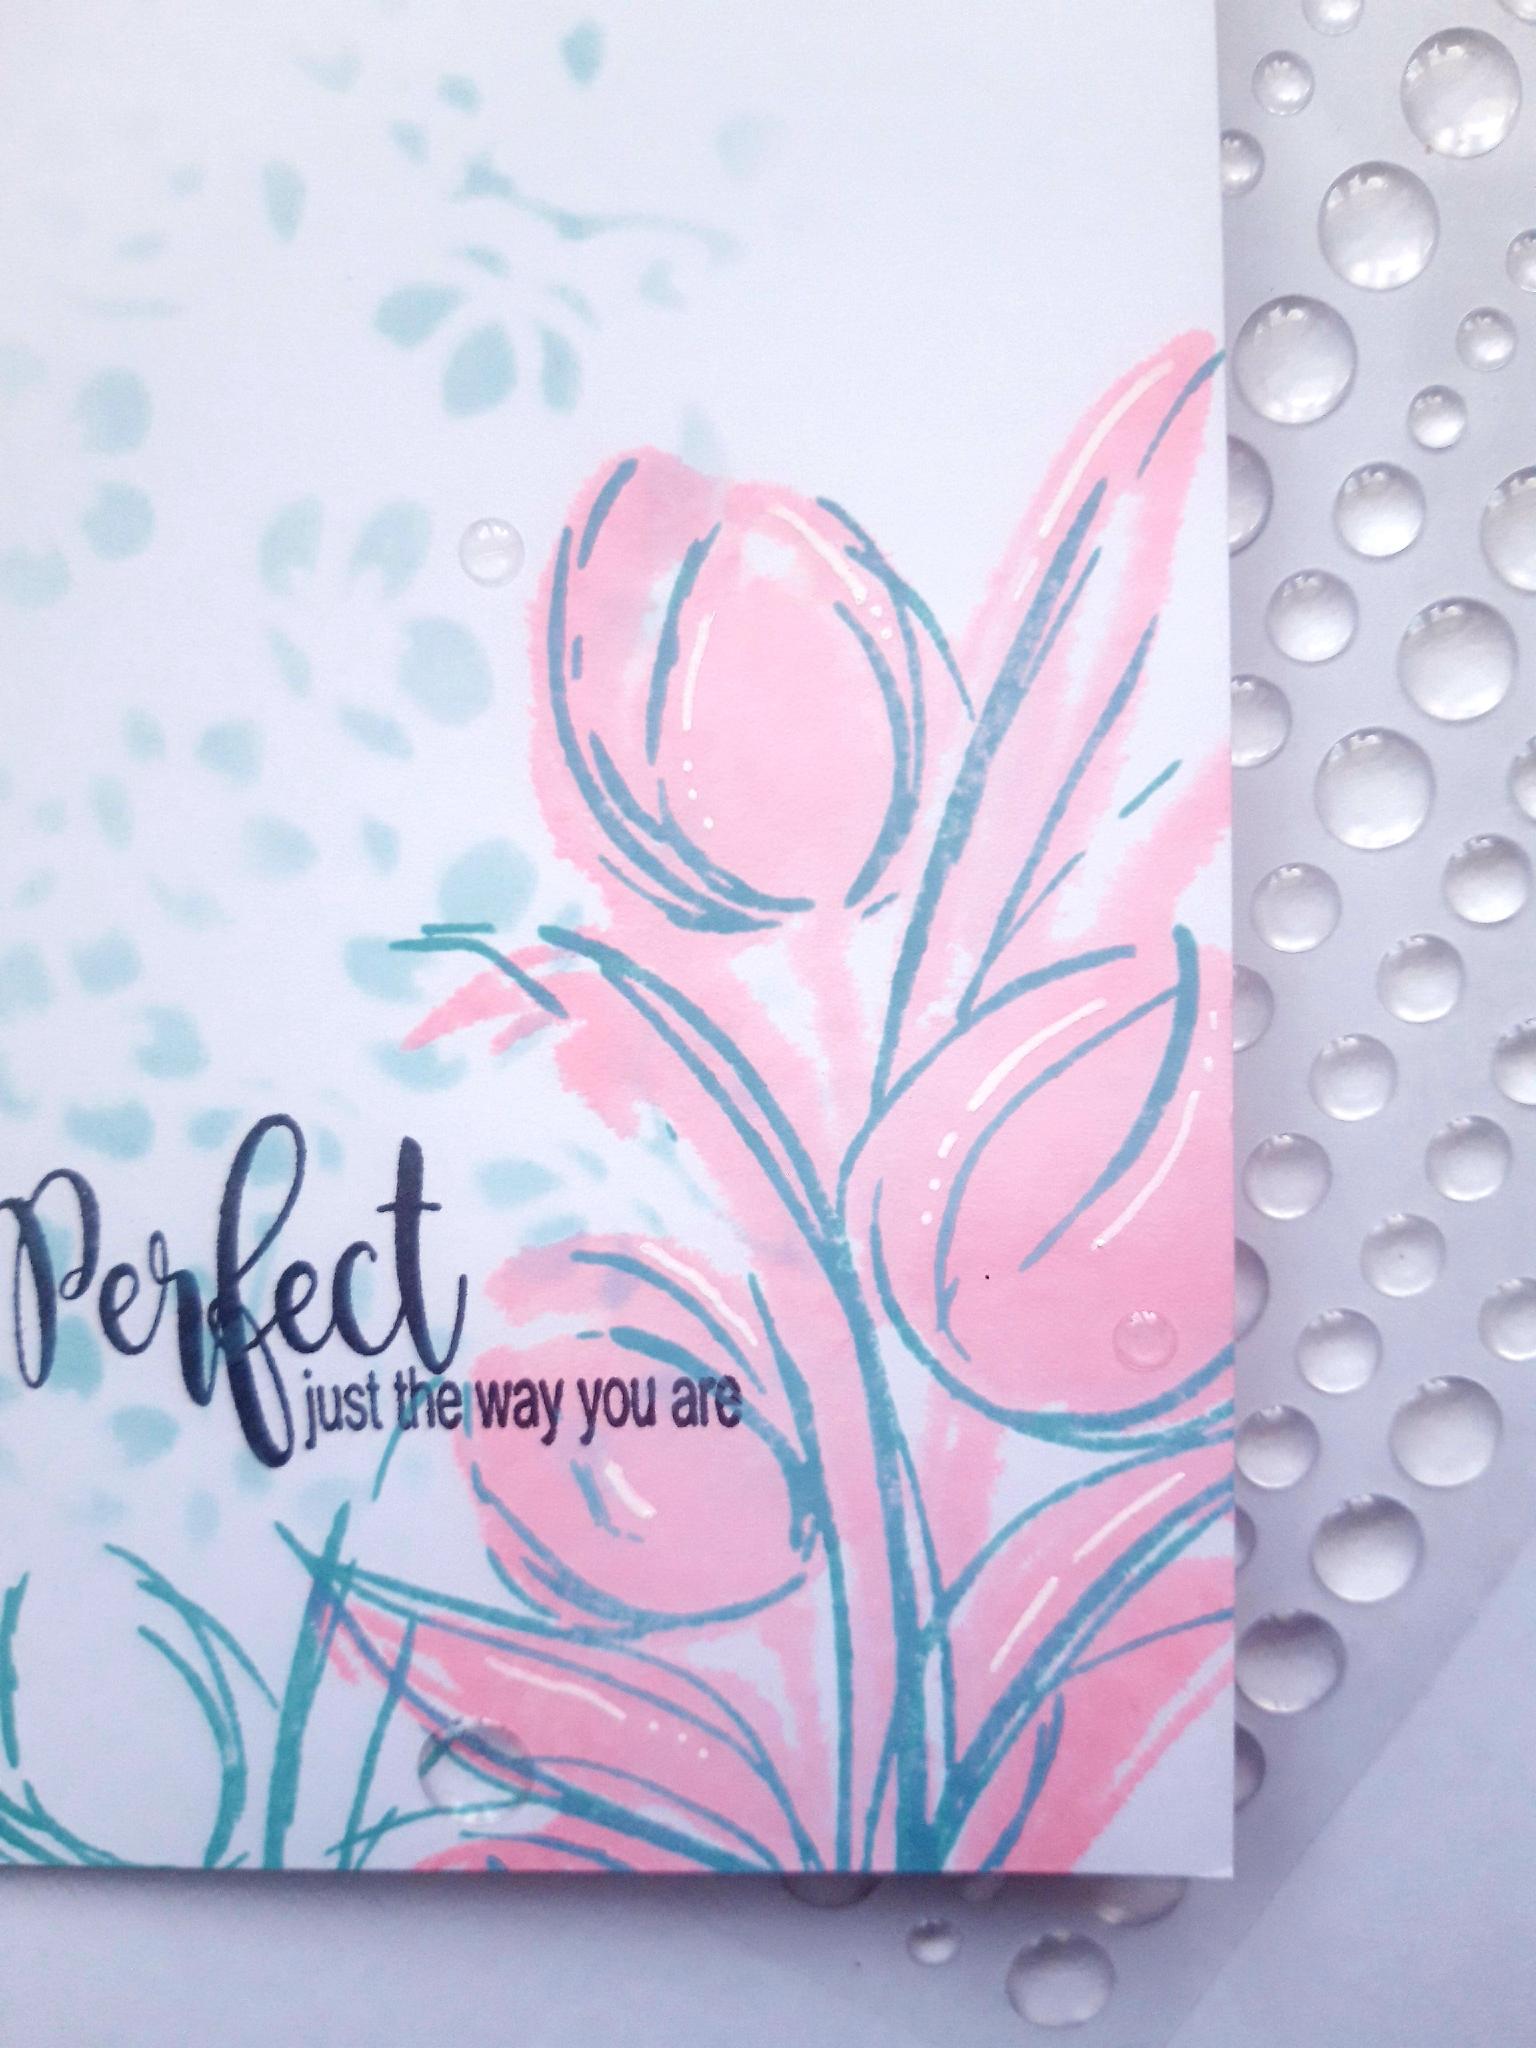
To finish add clear gems on your artwork, where required. |