Give your friends $10 off their first order!
Refer a FRIEND


WHAT YOU WILL NEED:
Kraft Gift Bag (12 x 9 1/2")
Subtle Tranquility 8 x 8" Paper Pad
Stamps from Beautiful Birthday Stamp Collection
Versafine Ink Pad: Onyx Black
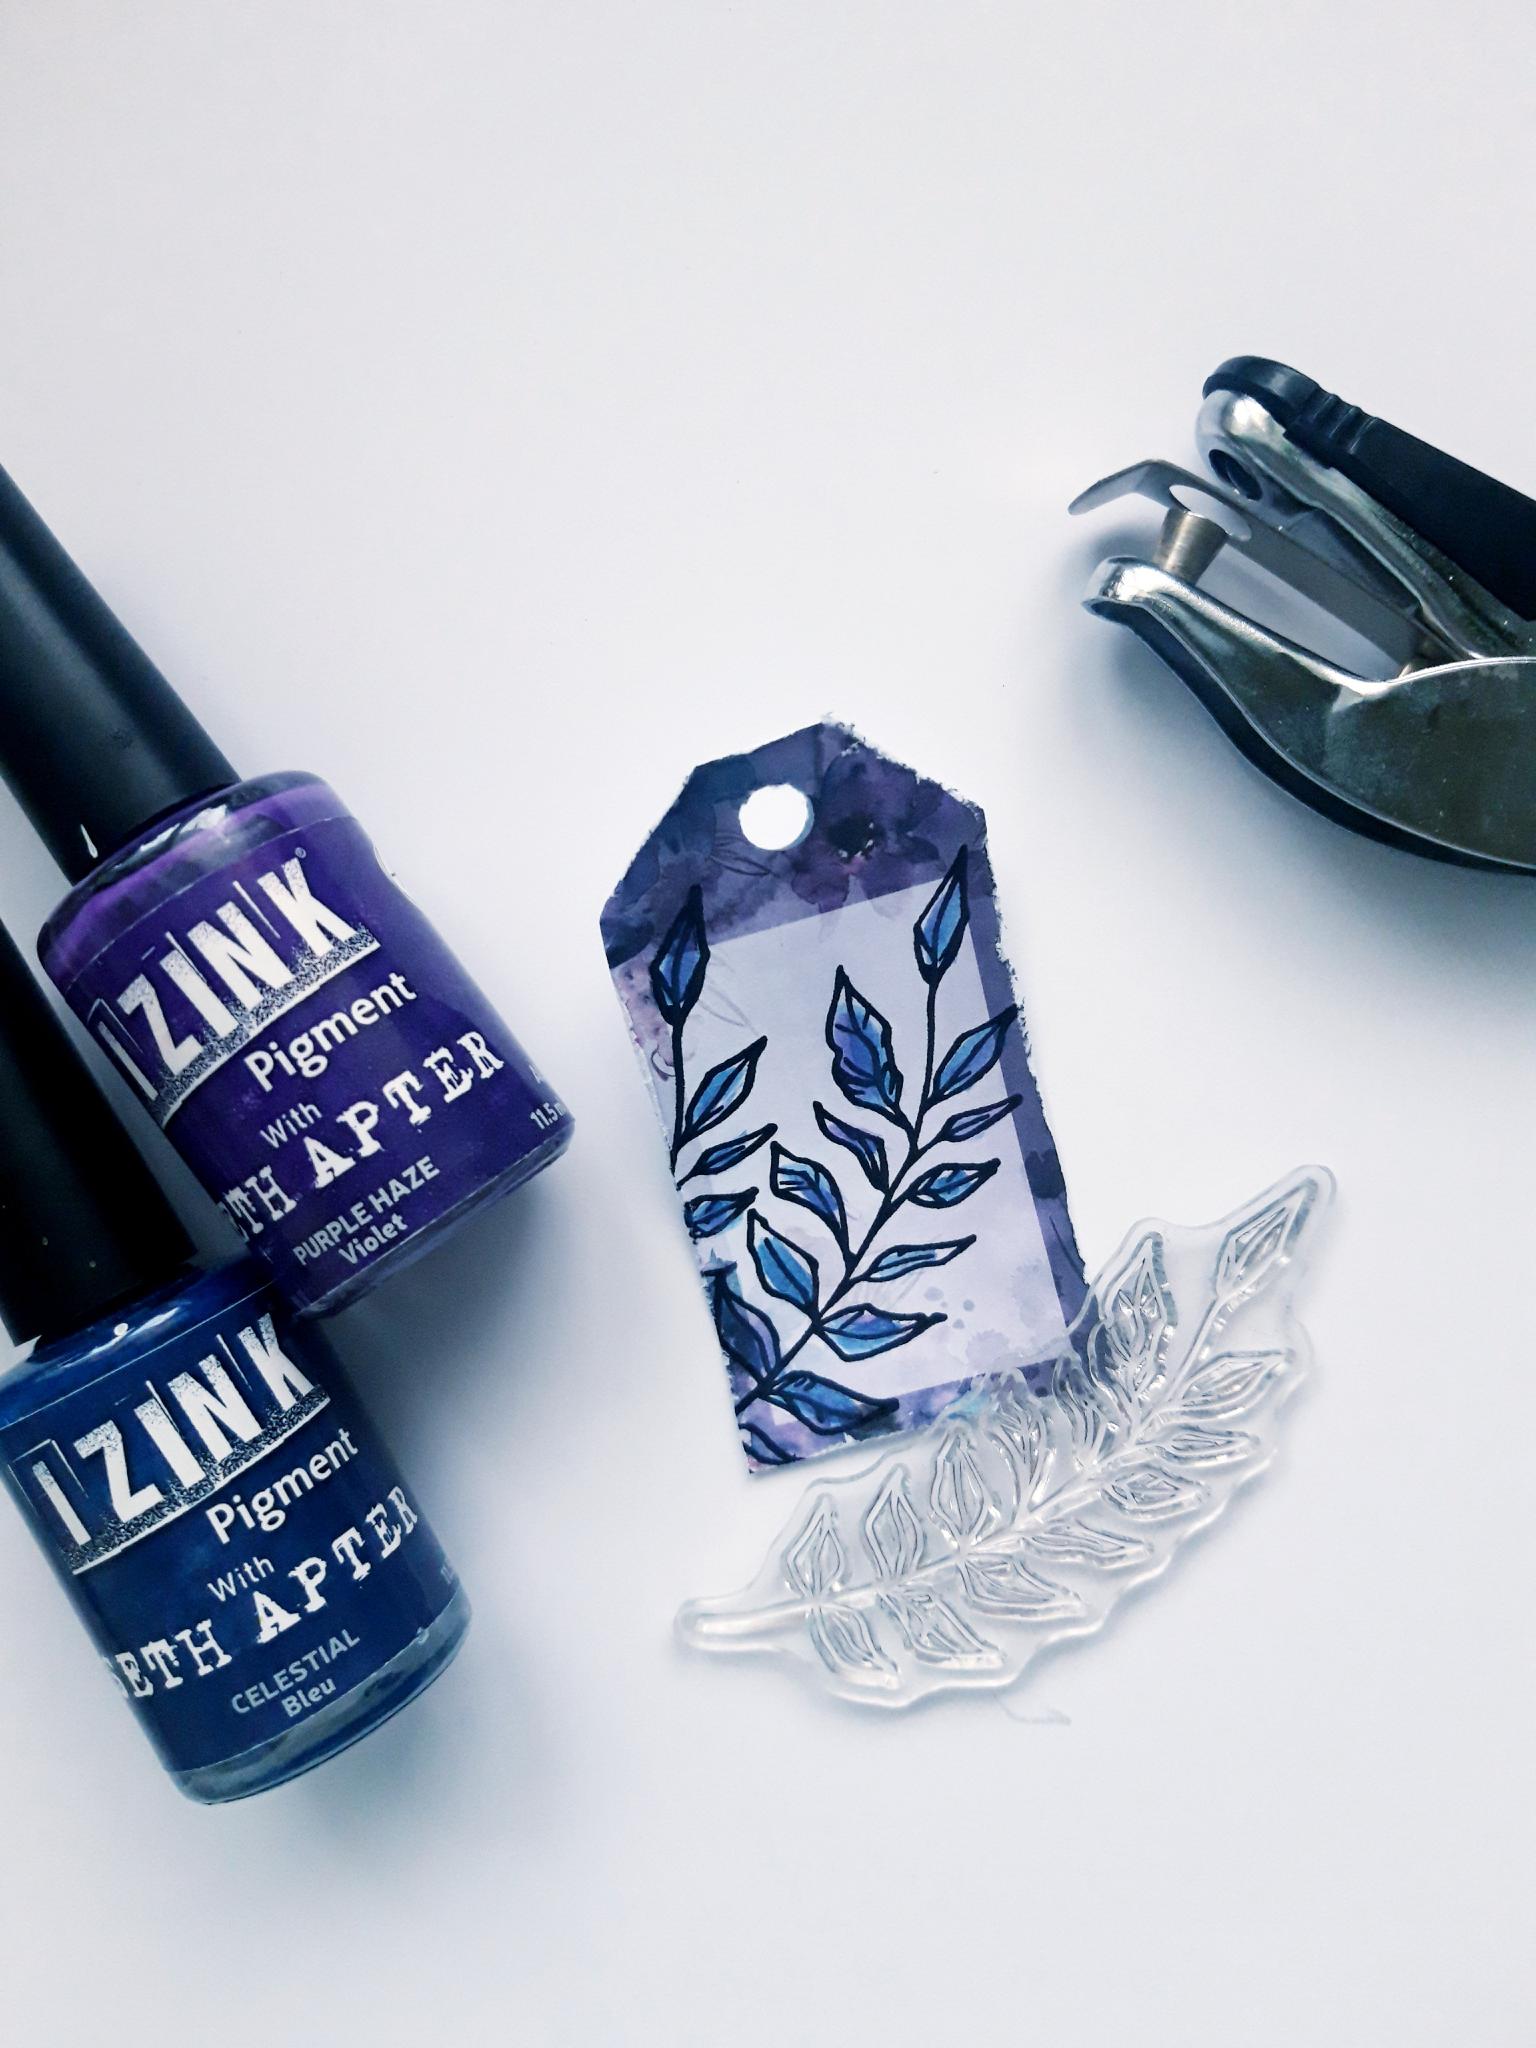
Izink Pigments: Celestial, Purple Haze
Black pen
White gel pen
Hole punch
Bakers twine
Sequins: Amethyst
Paintbrush
Gem pick up and Pokey Tool
Scissors
Eureka 101
Perfect Together Glue
[click image to enlarge] 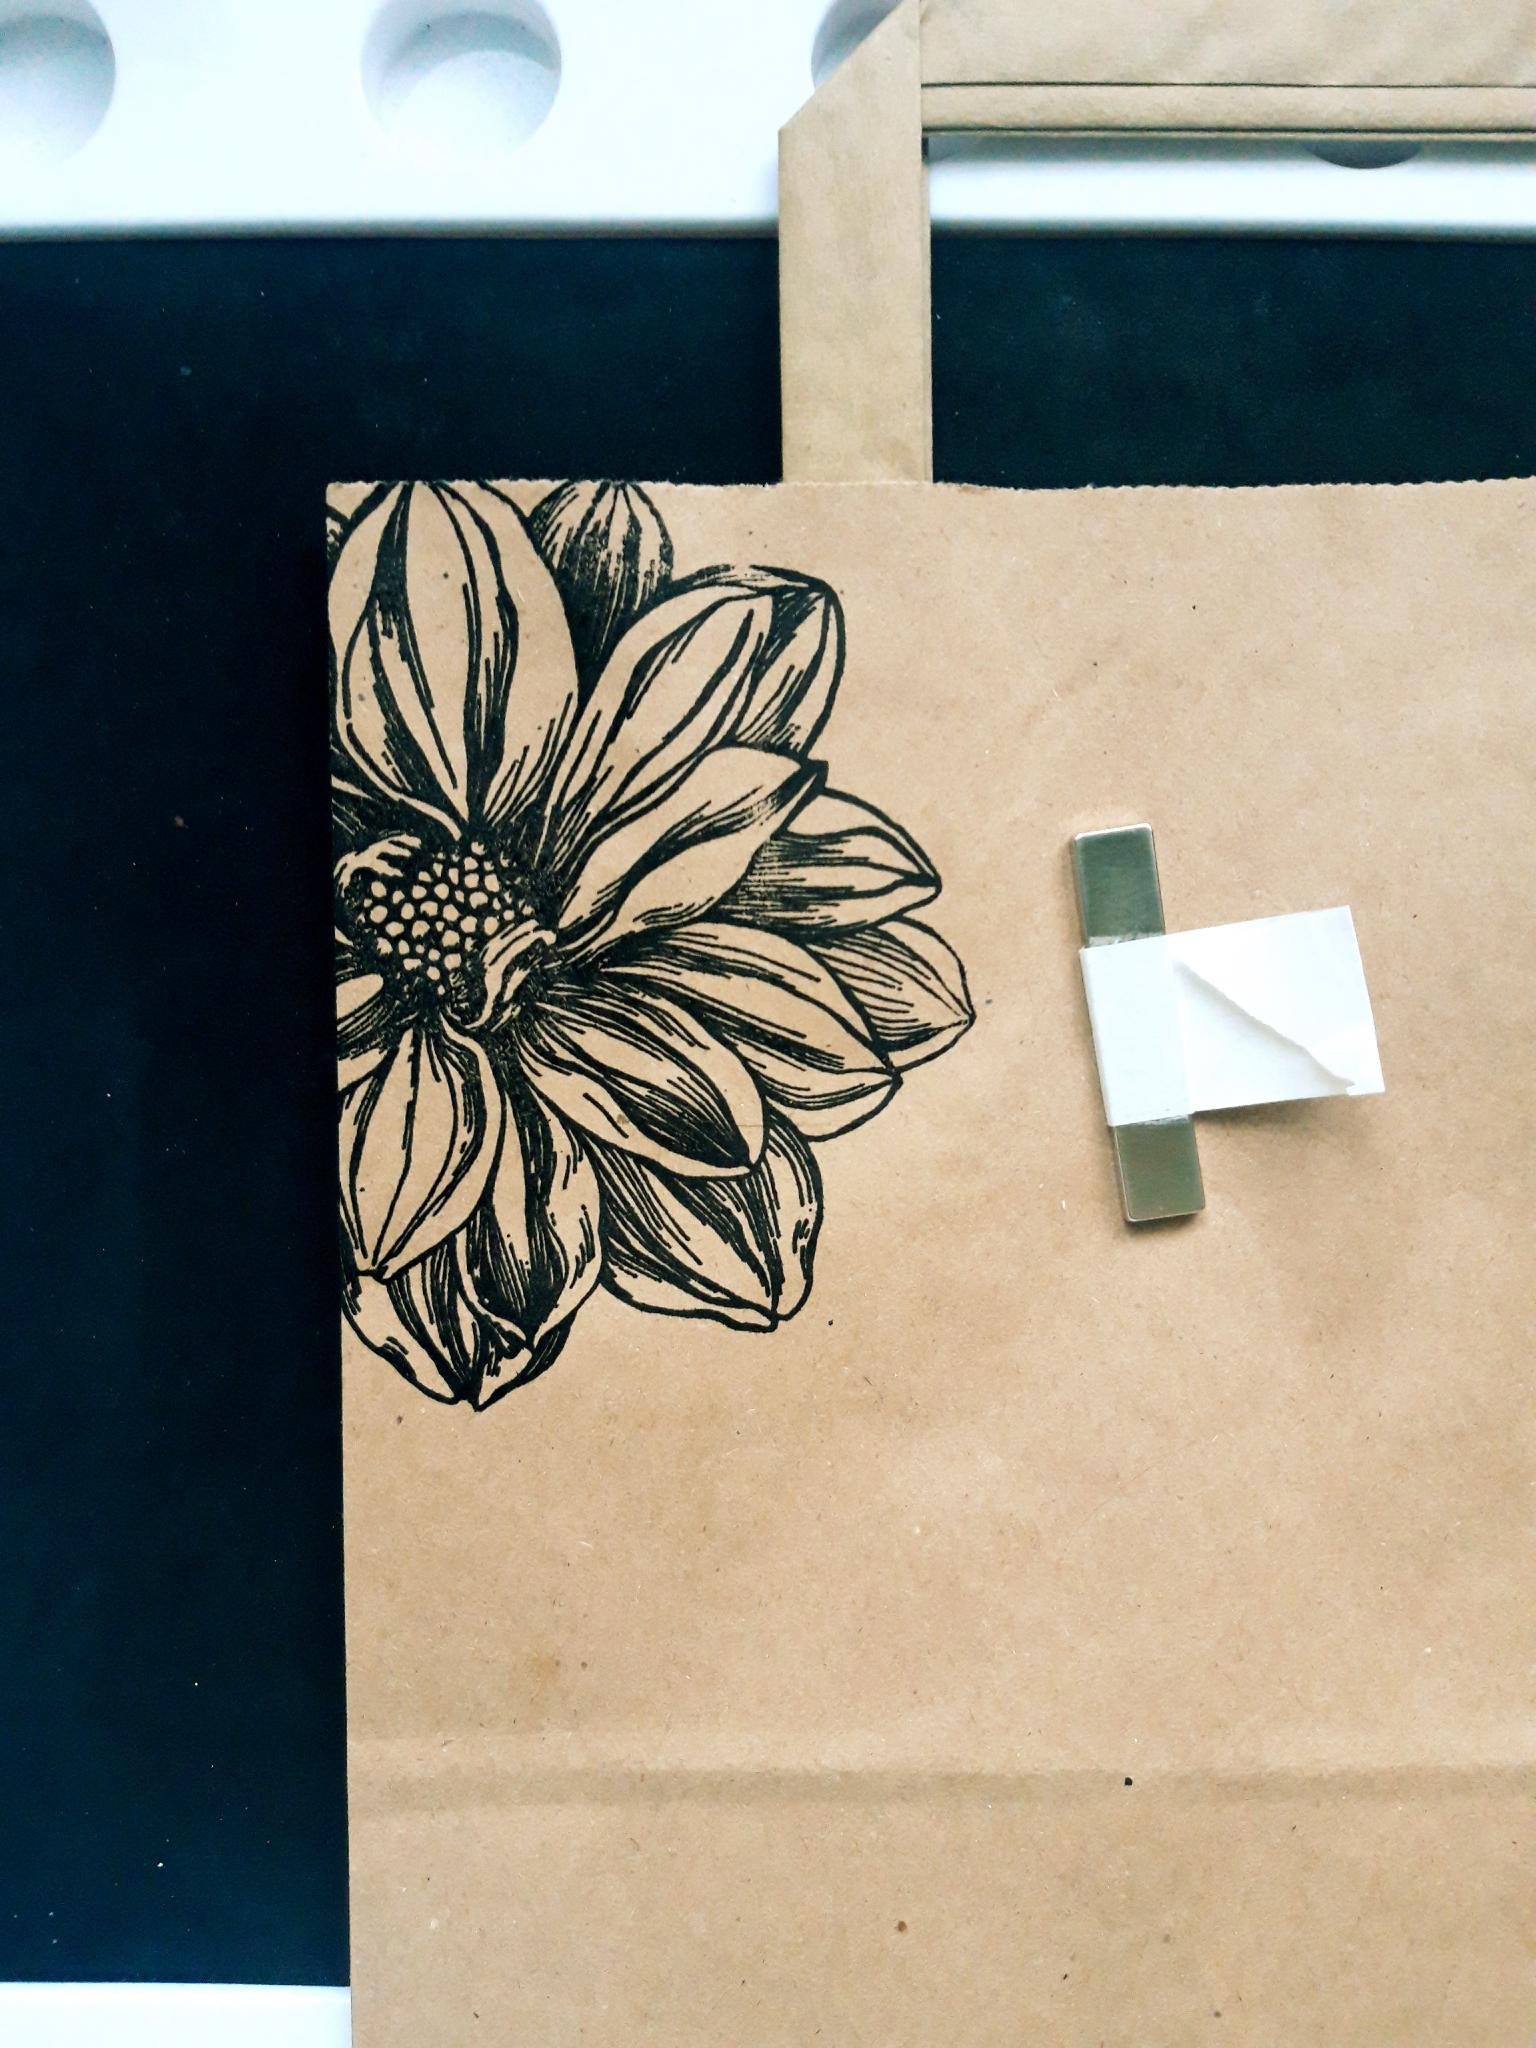
|
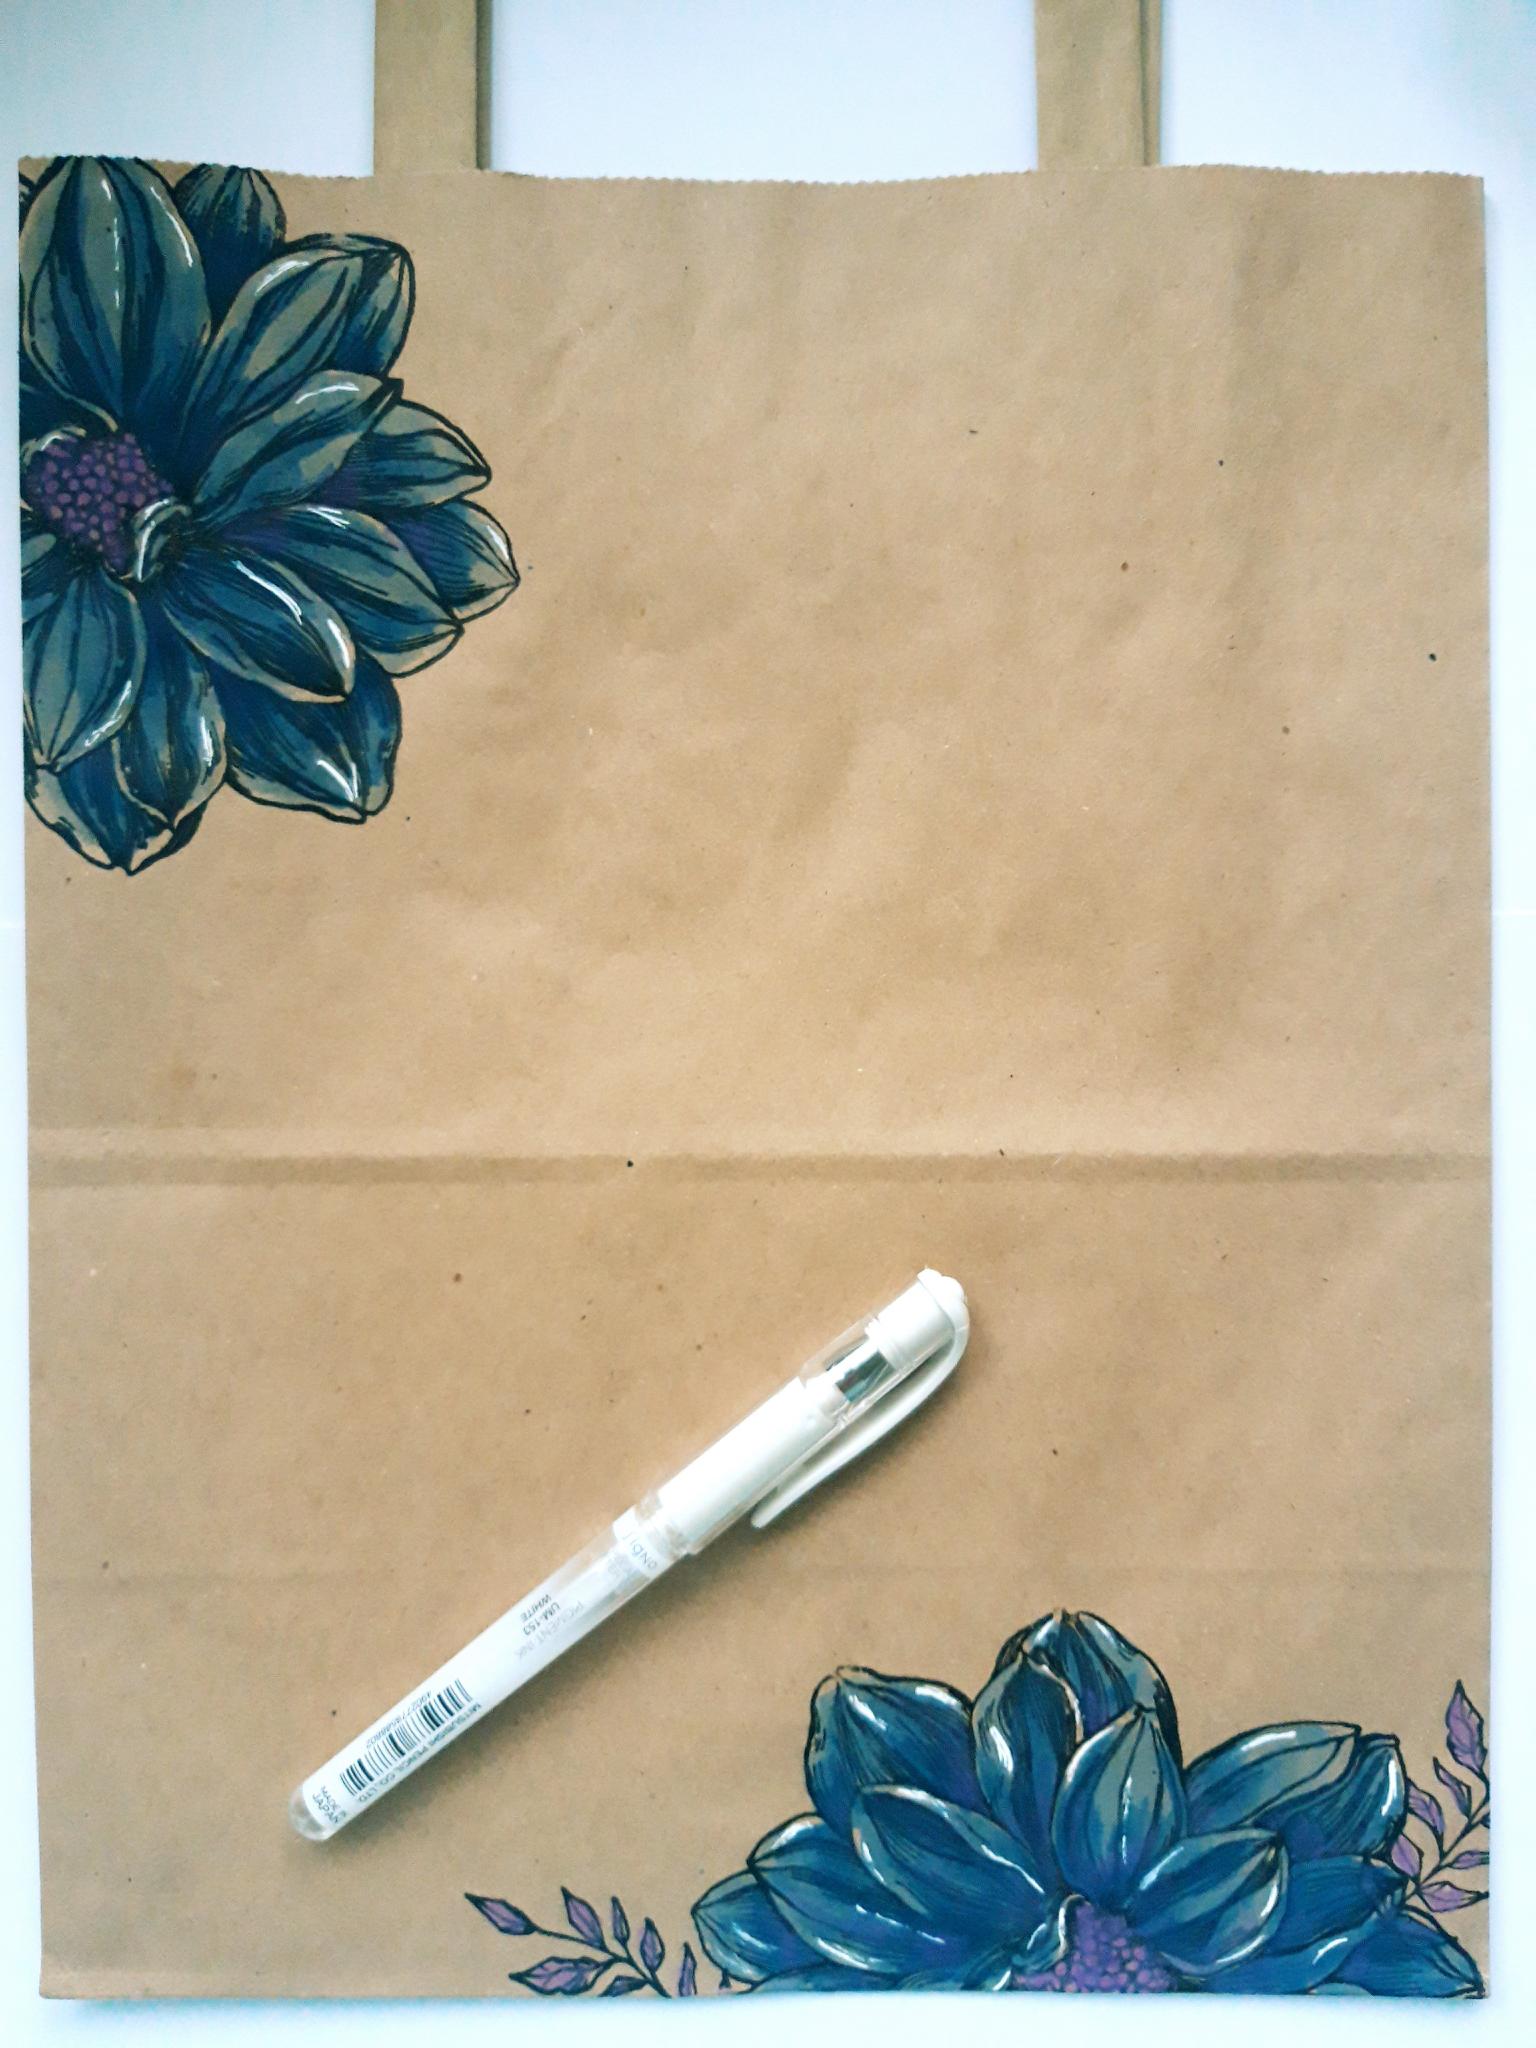
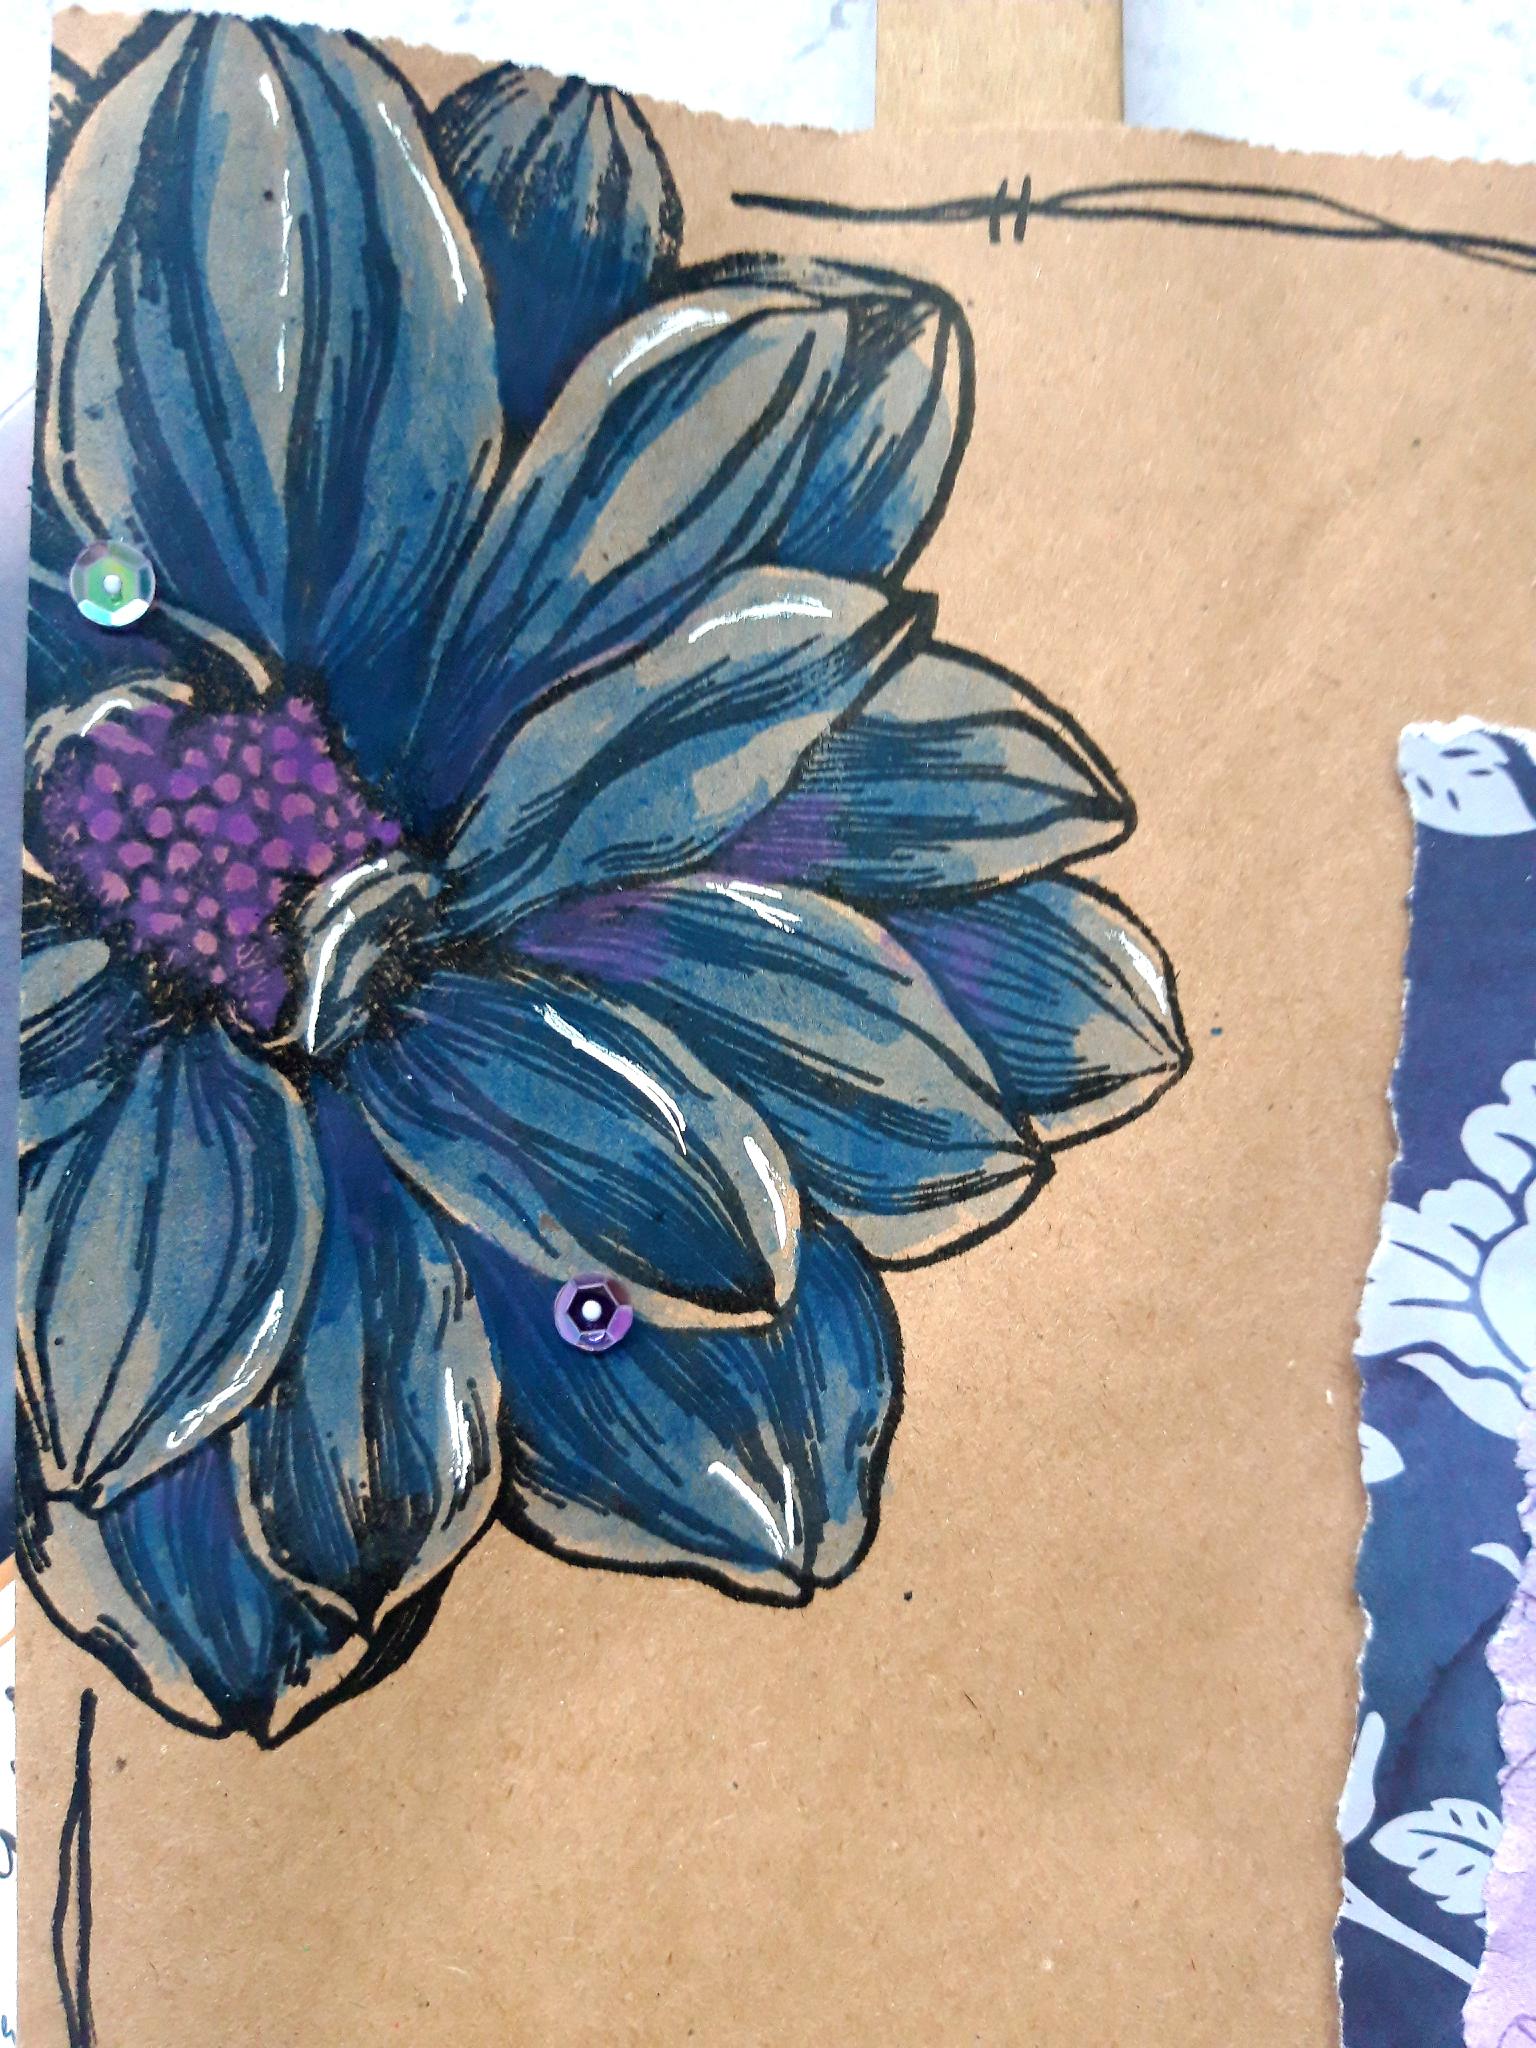
Place your gift bag inside your Eureka 101, positioned so you can stamp on the top left corner. It doesnt affect the stamping capability if you allow the bag to hang outside of the stamping area. Tip: I place a piece of card inside the bag, to give me a smoother, firmer base on which to stamp. Ink up the stamp from the Beautiful Birthday Stamp Collection, with the Onyx Black Versafine. Stamp off the top left corner of your gift bag.
|
|
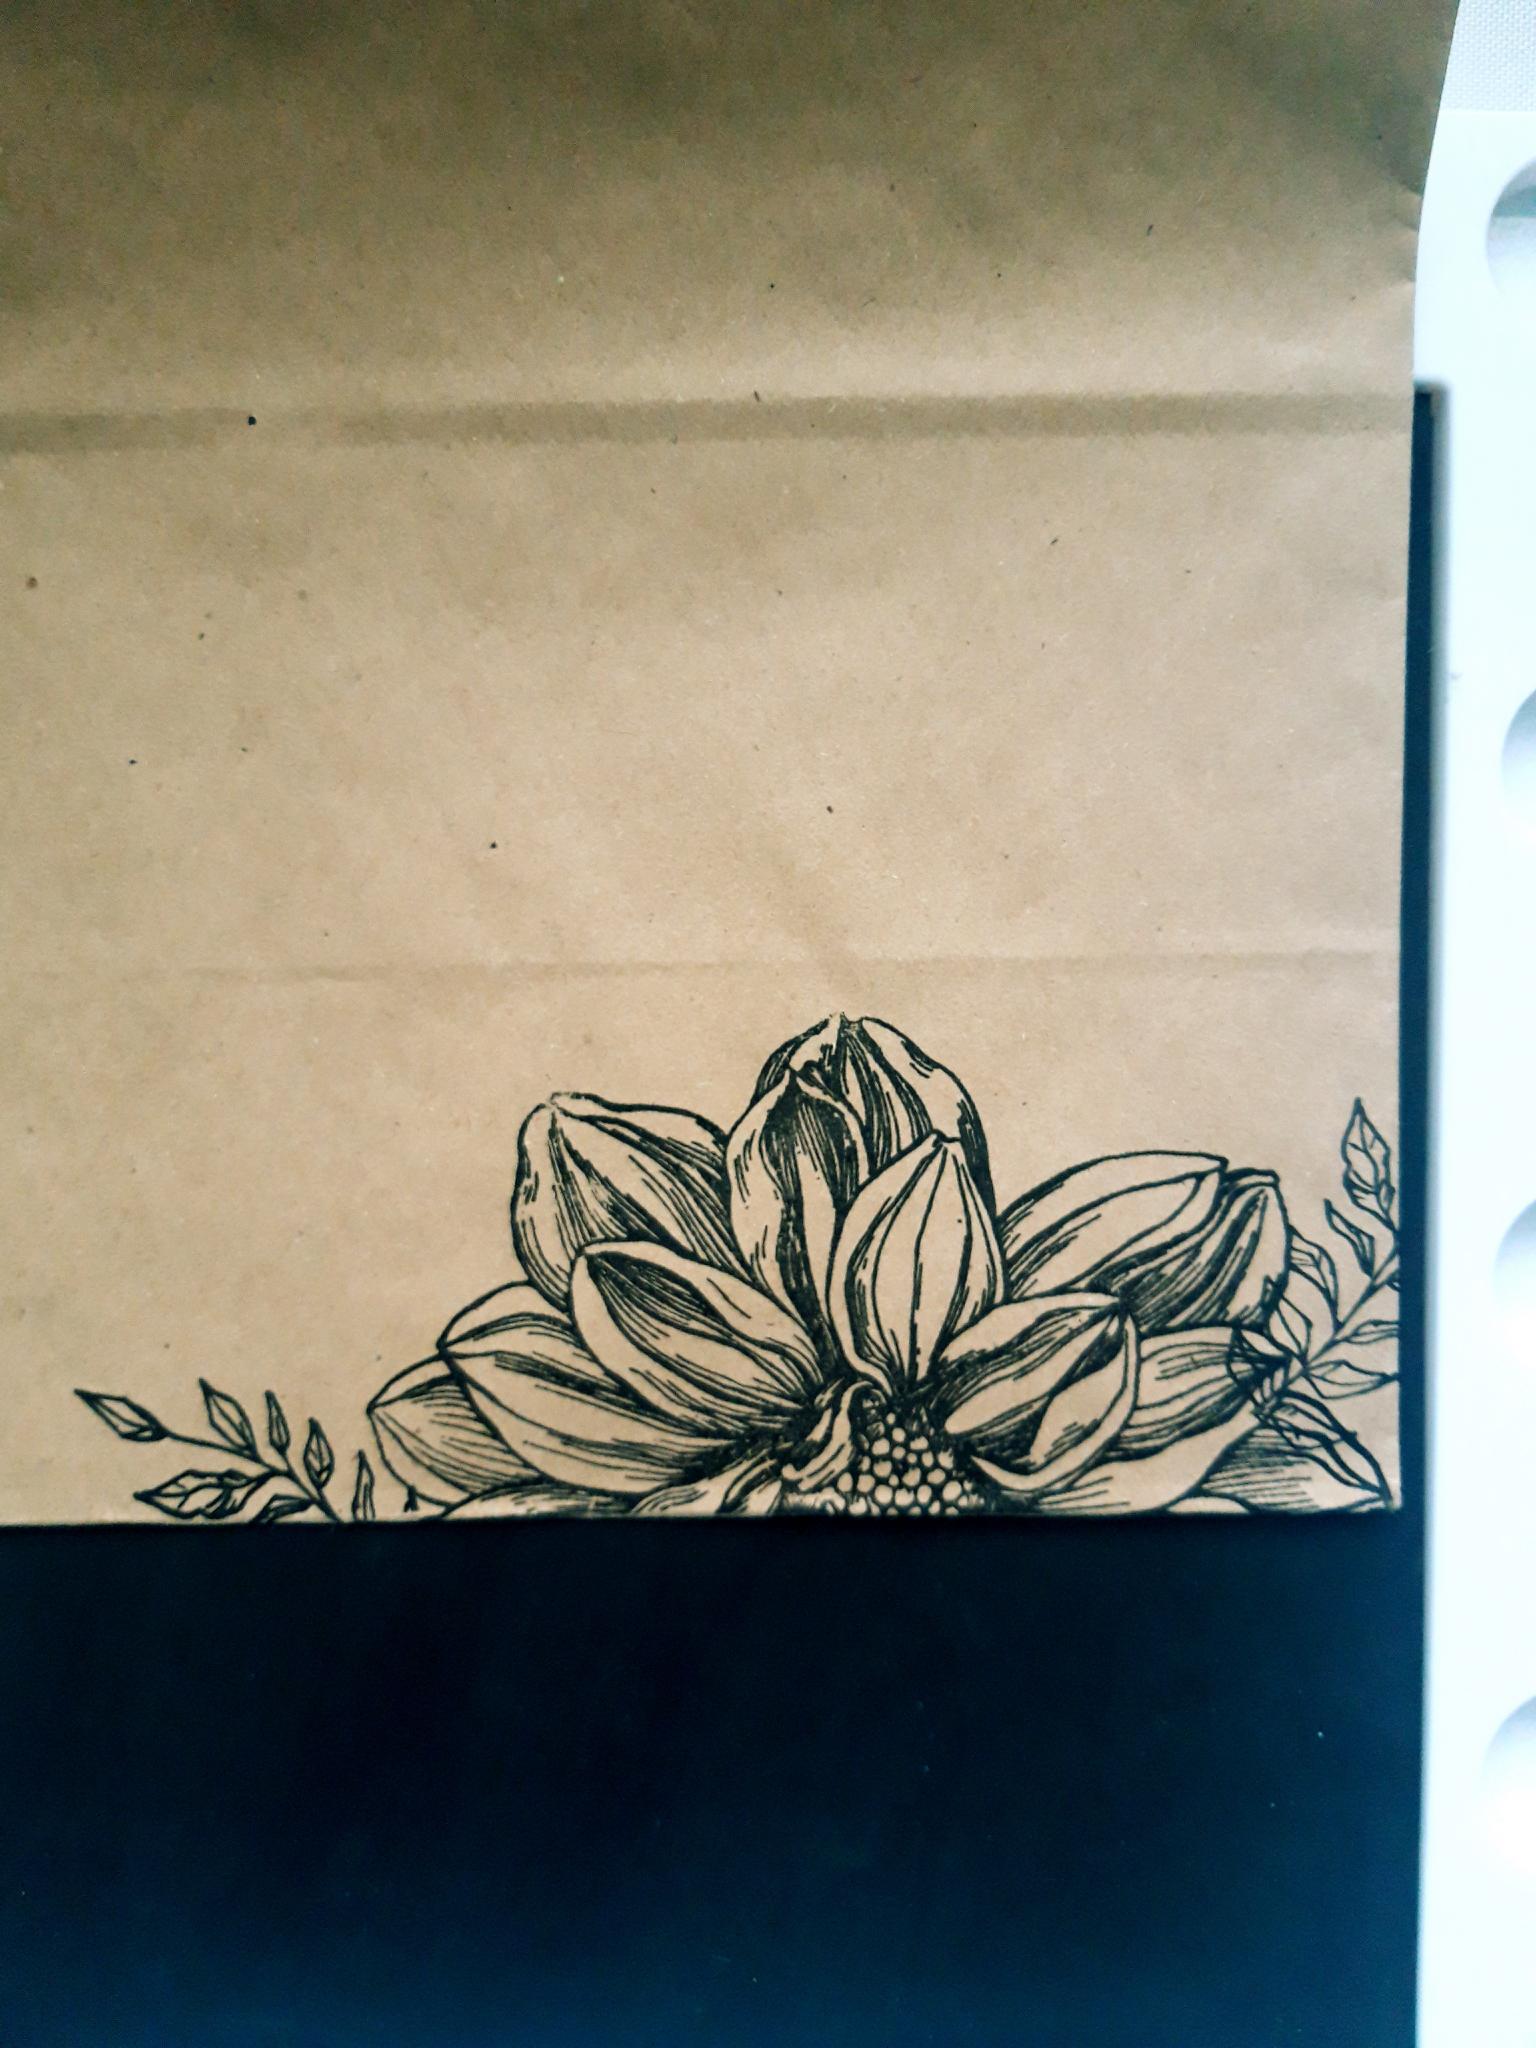
Move your gift bag up, in your Eureka 101, so you can stamp on the bottom. Ink up the same stamp again, with the Versafine, and stamp it coming up from the bottom right hand edge of your kraft bag. Keep the card inside the bag, and dry off the Versafine before proceeding to the next step. |
|
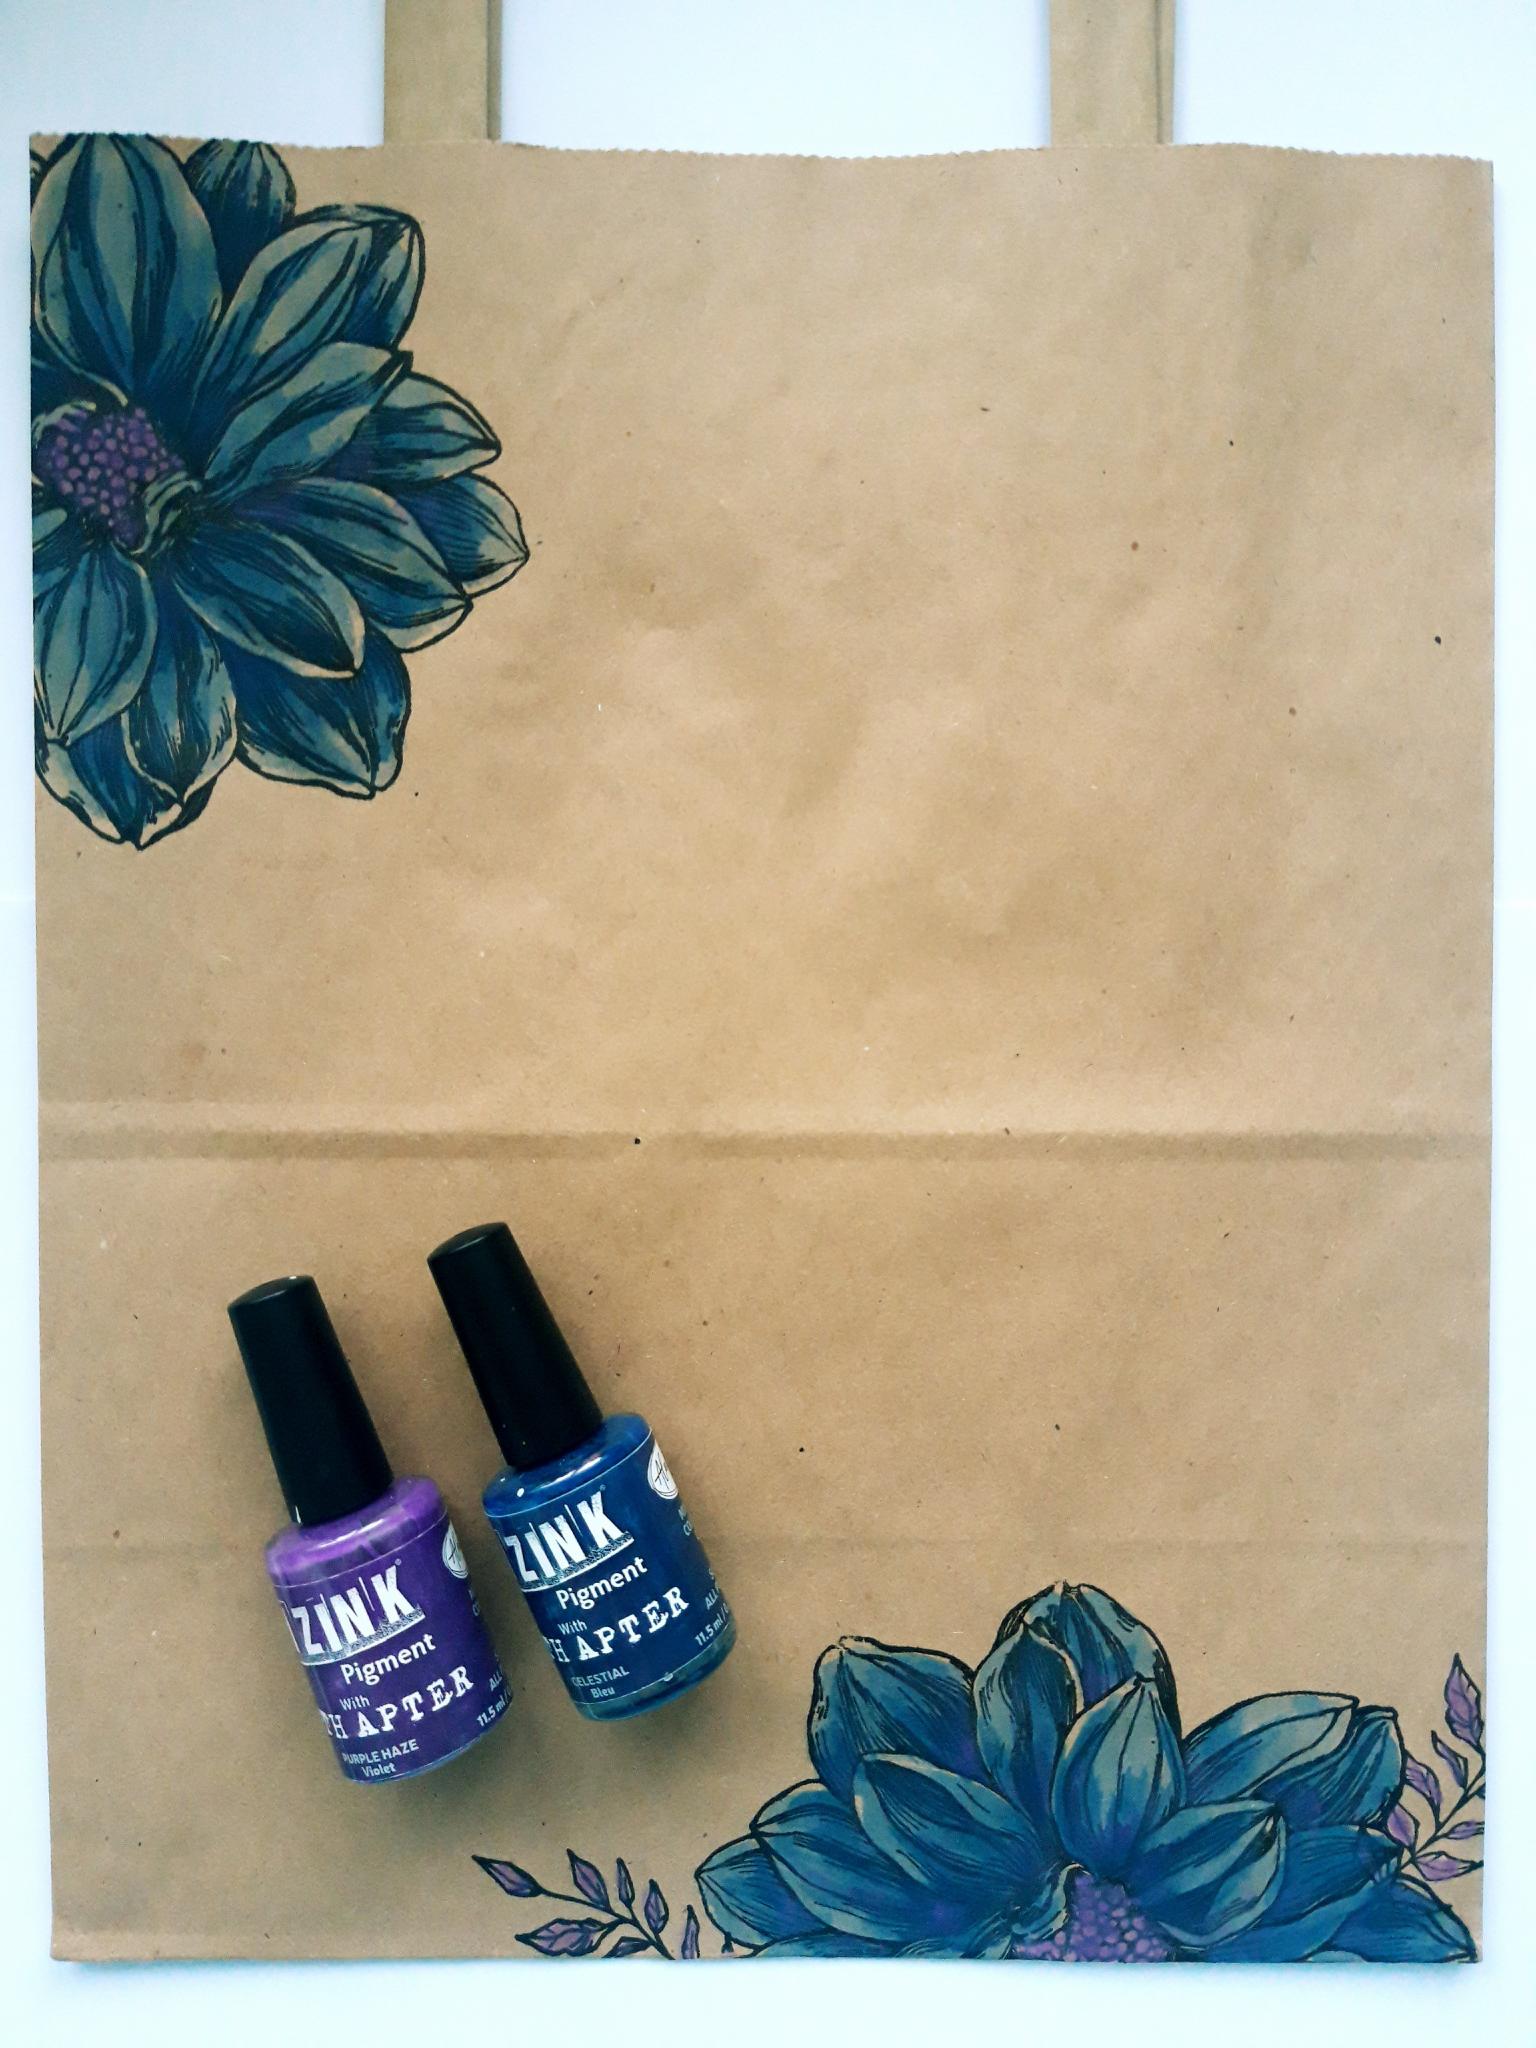
Apply some of the Izink Pigments on to your craft or glass mat. Add some water and use a paint brush to paint your stamped images. |
|
Once all the ink is completely dry, use a white gel pen to add accents and highlights to the stamped images. |
|
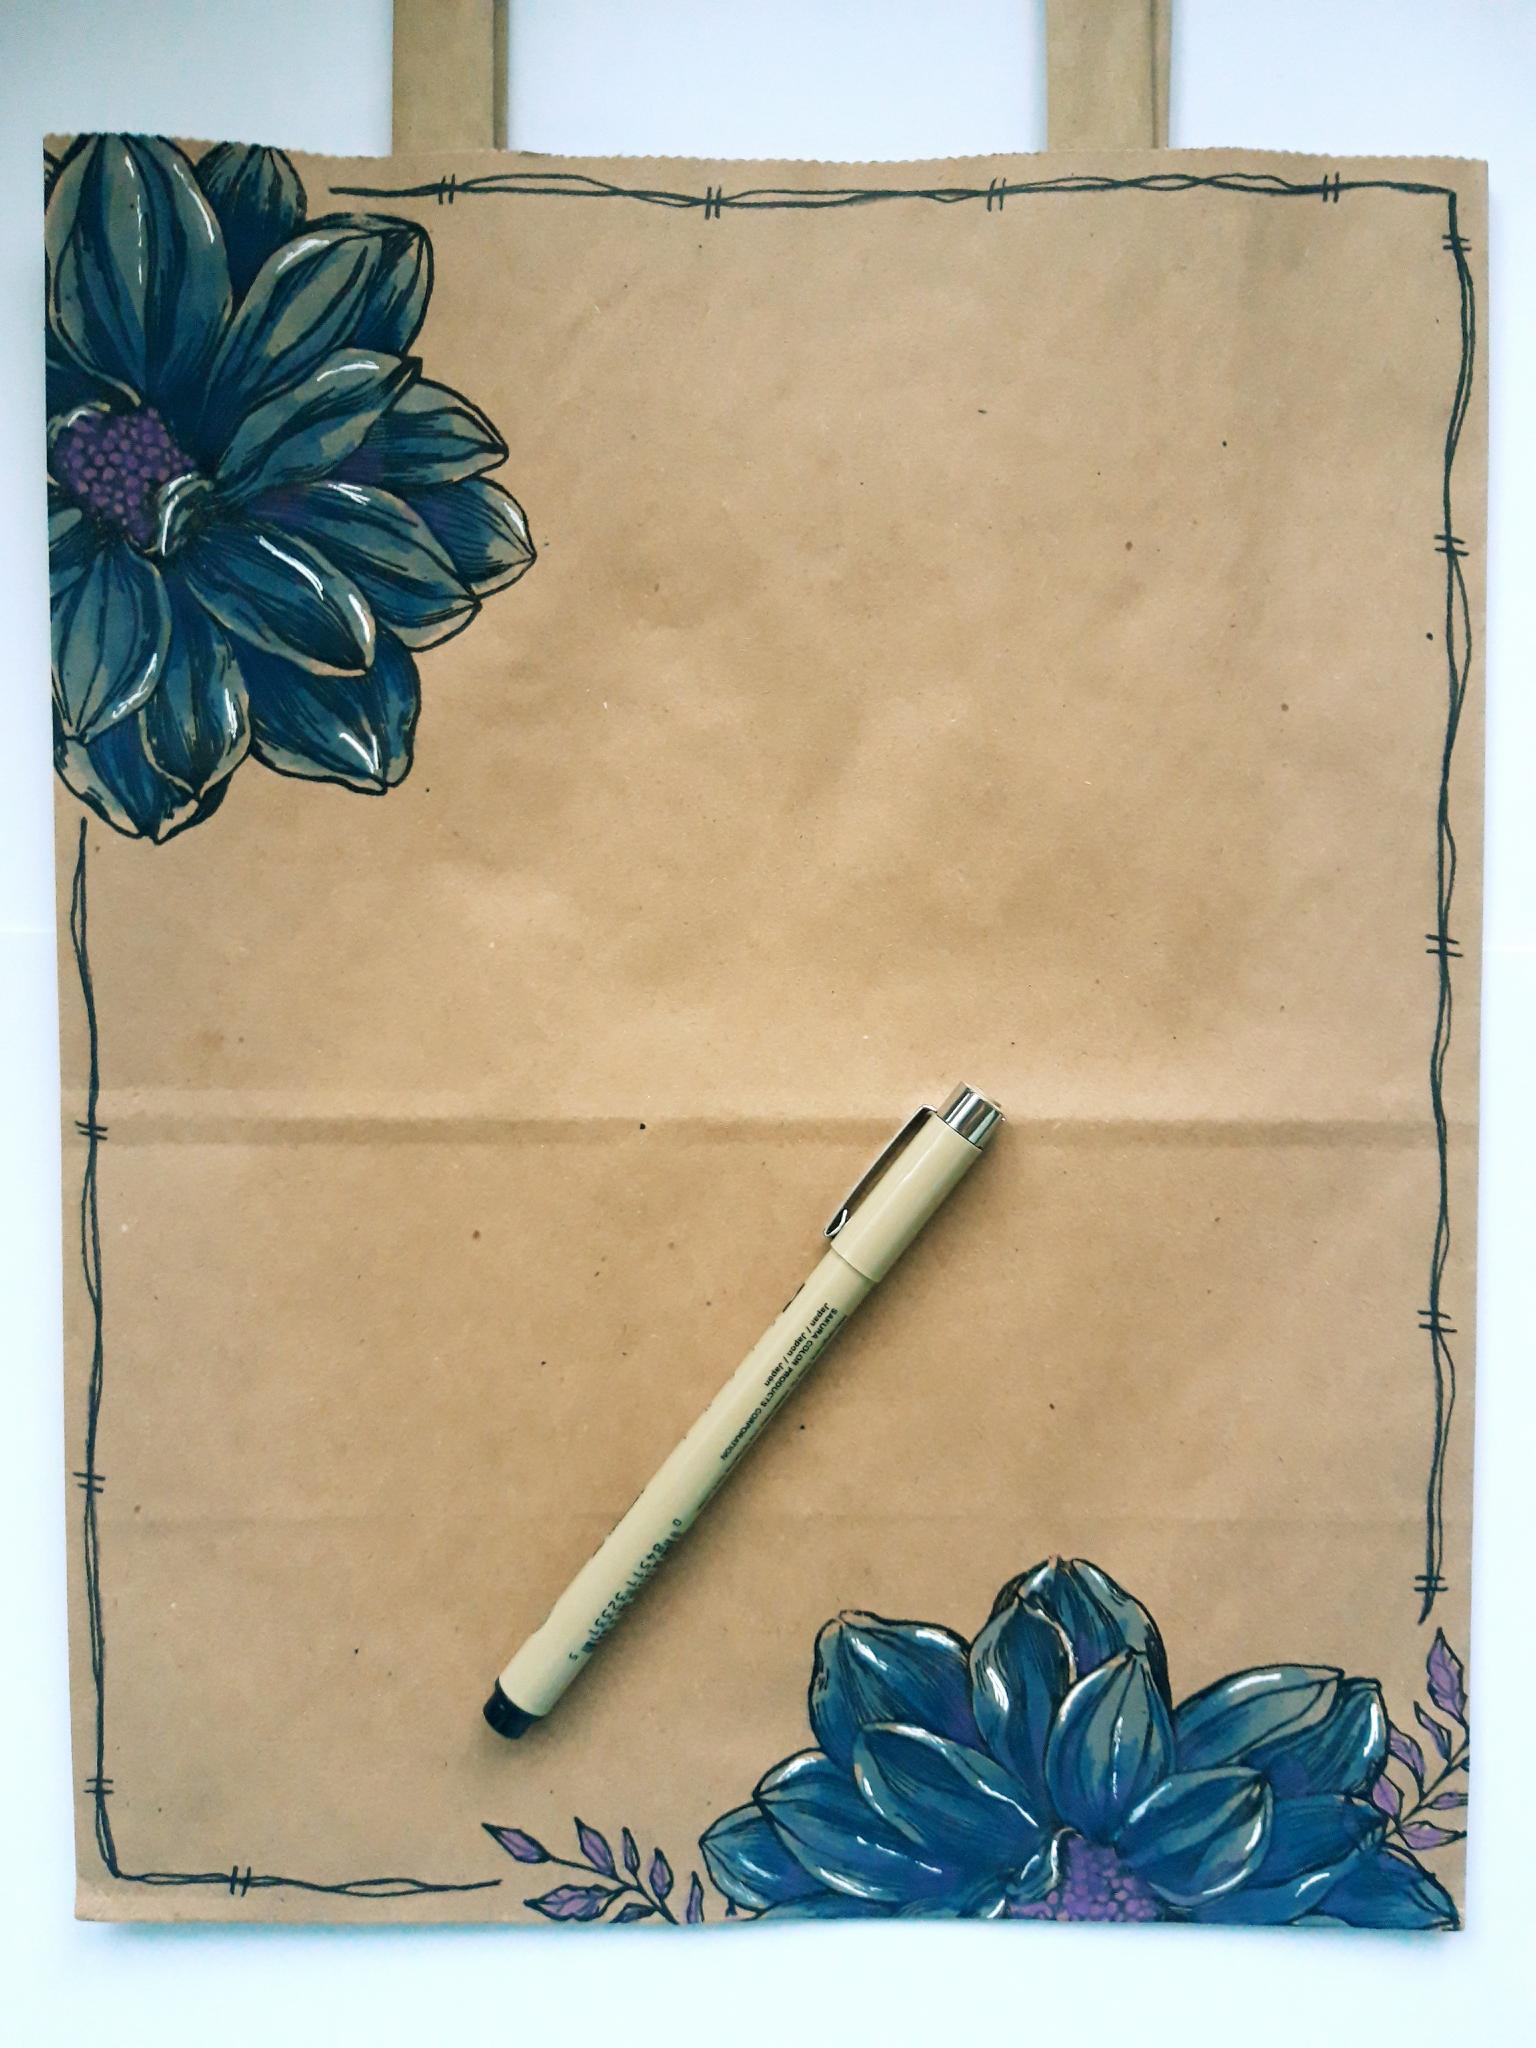
Use a black pen to draw a decorative frame around your gift bag. |
|
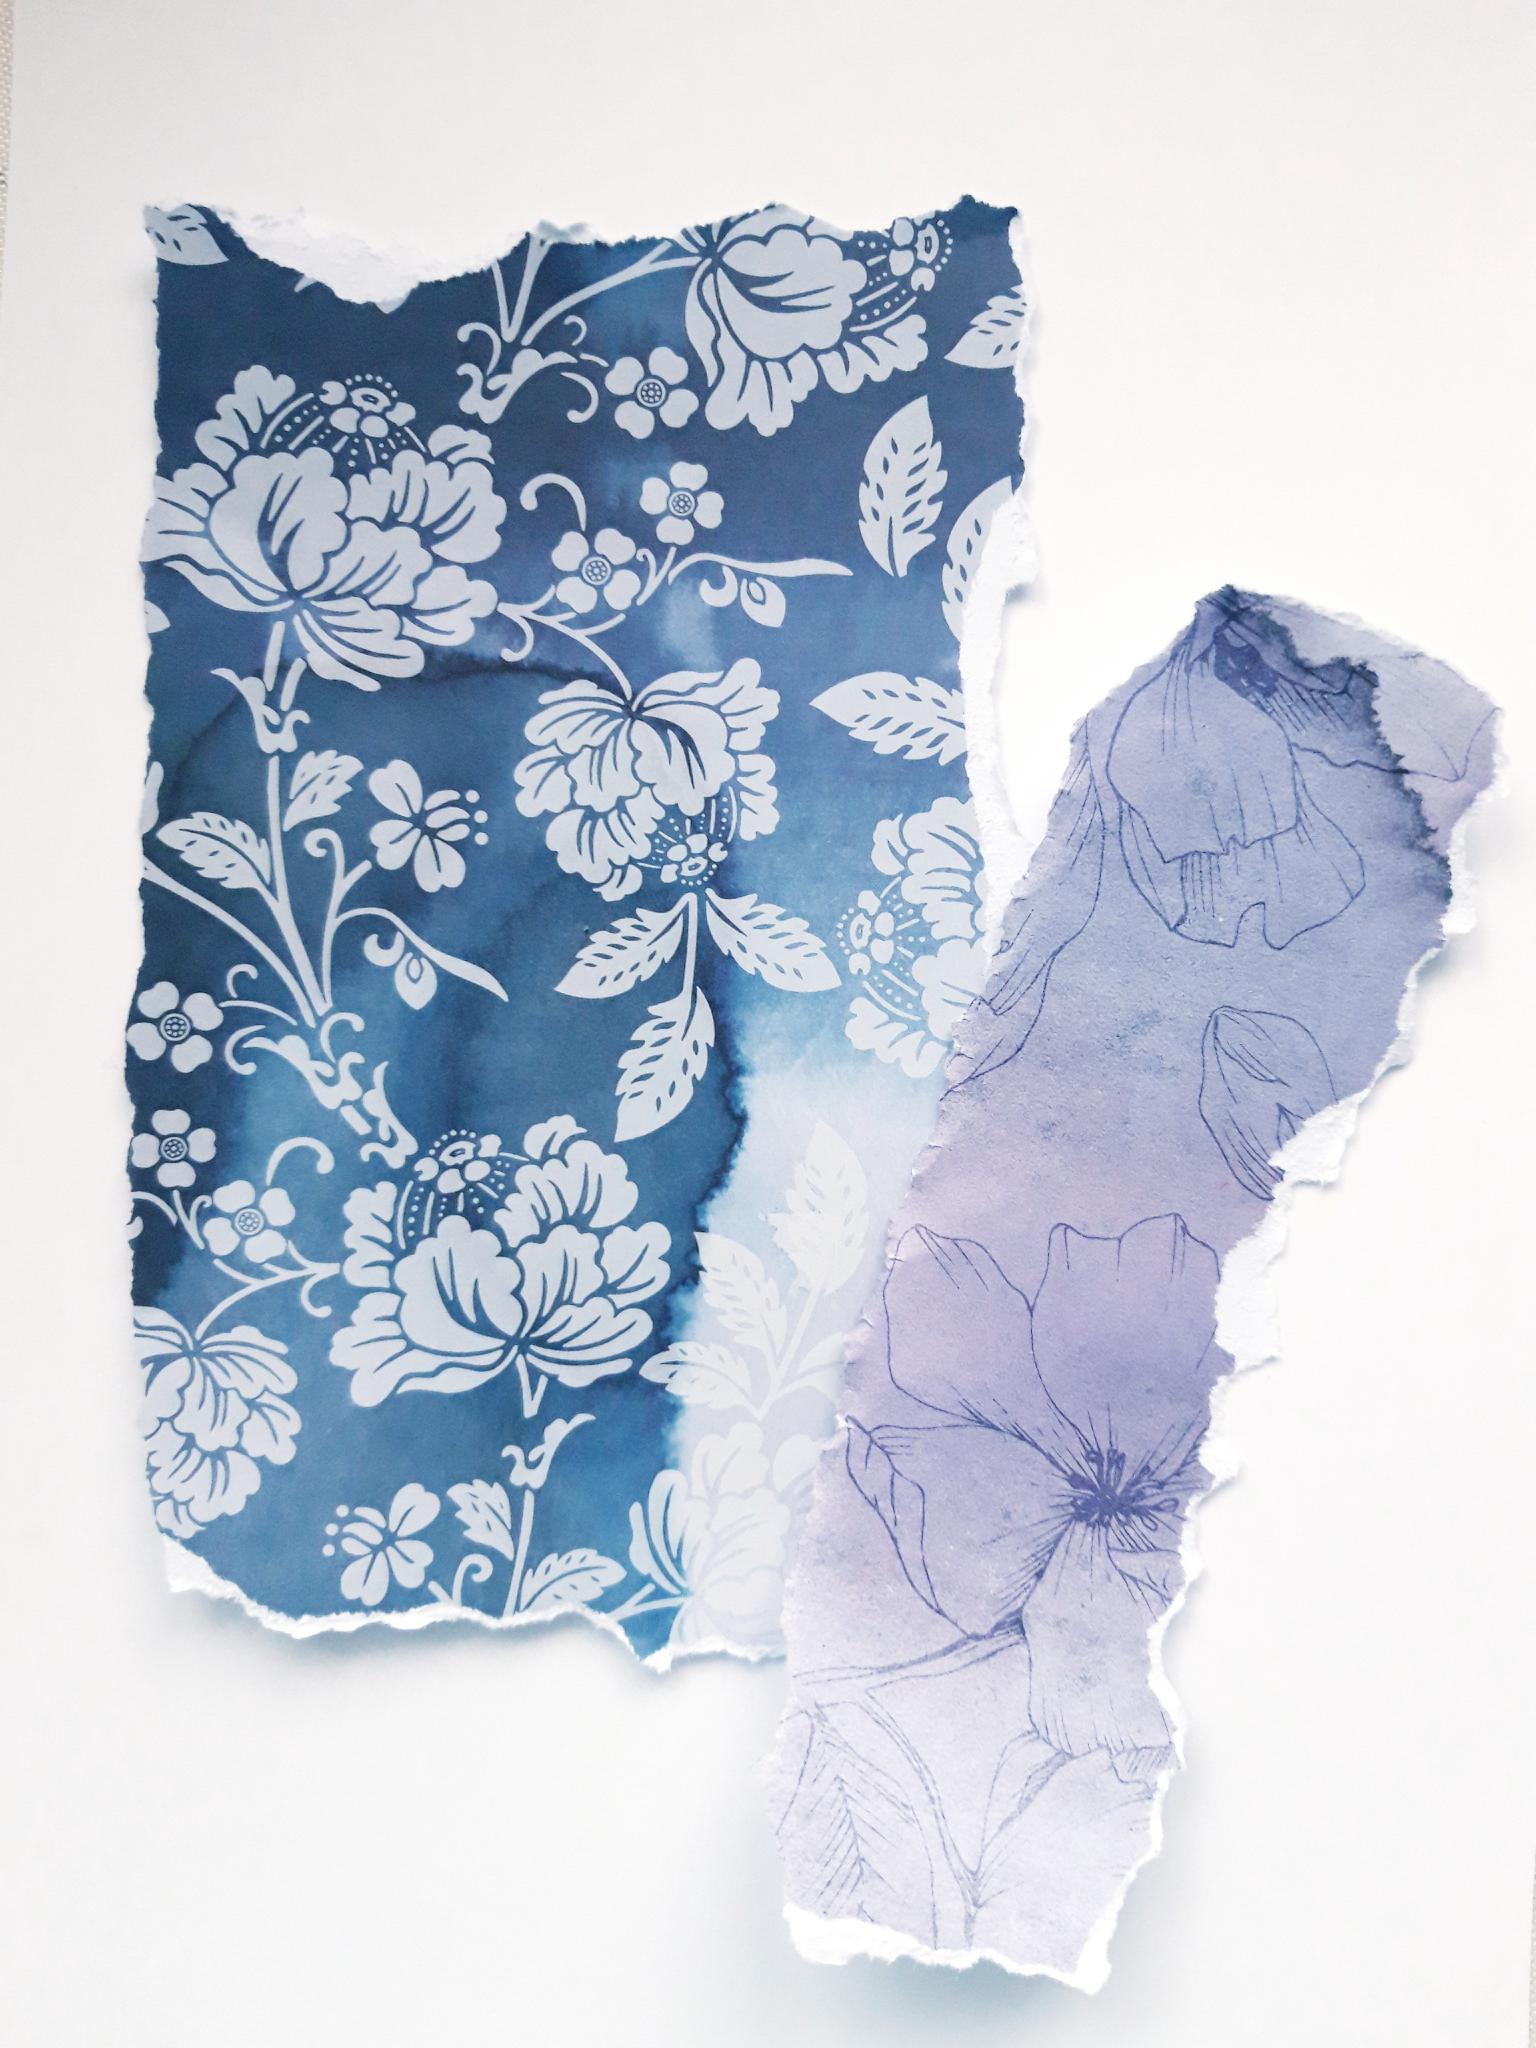
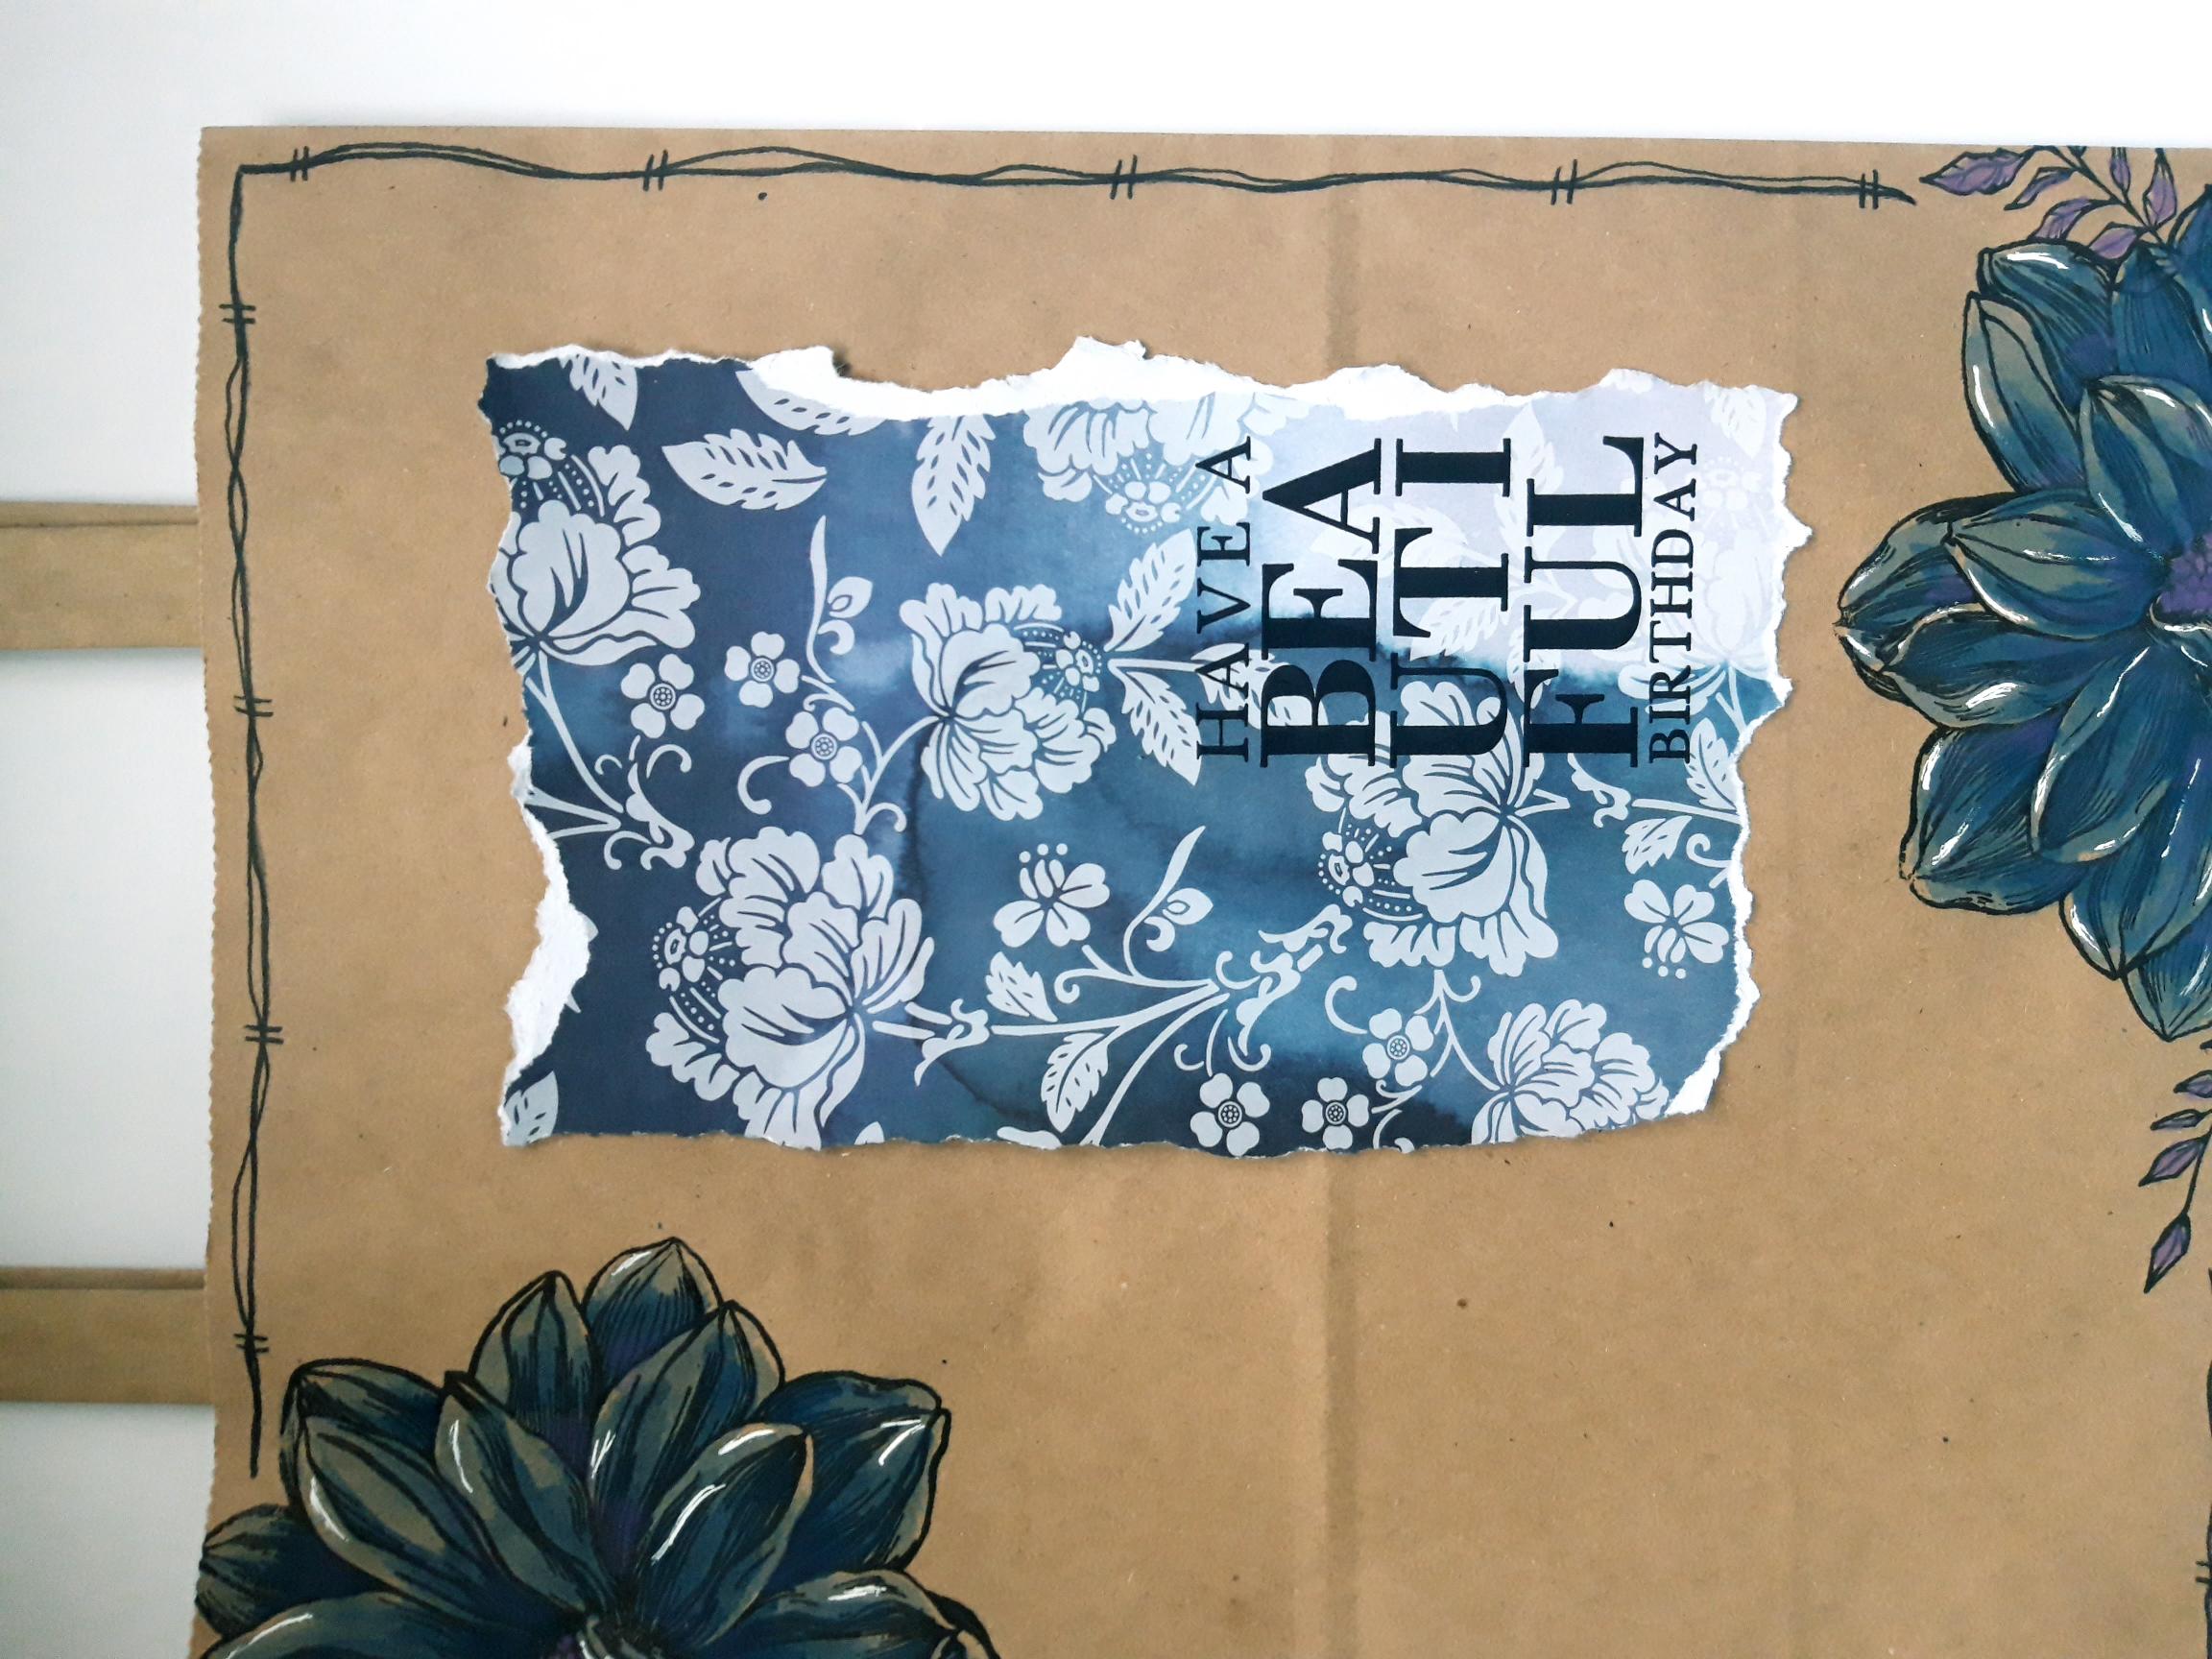
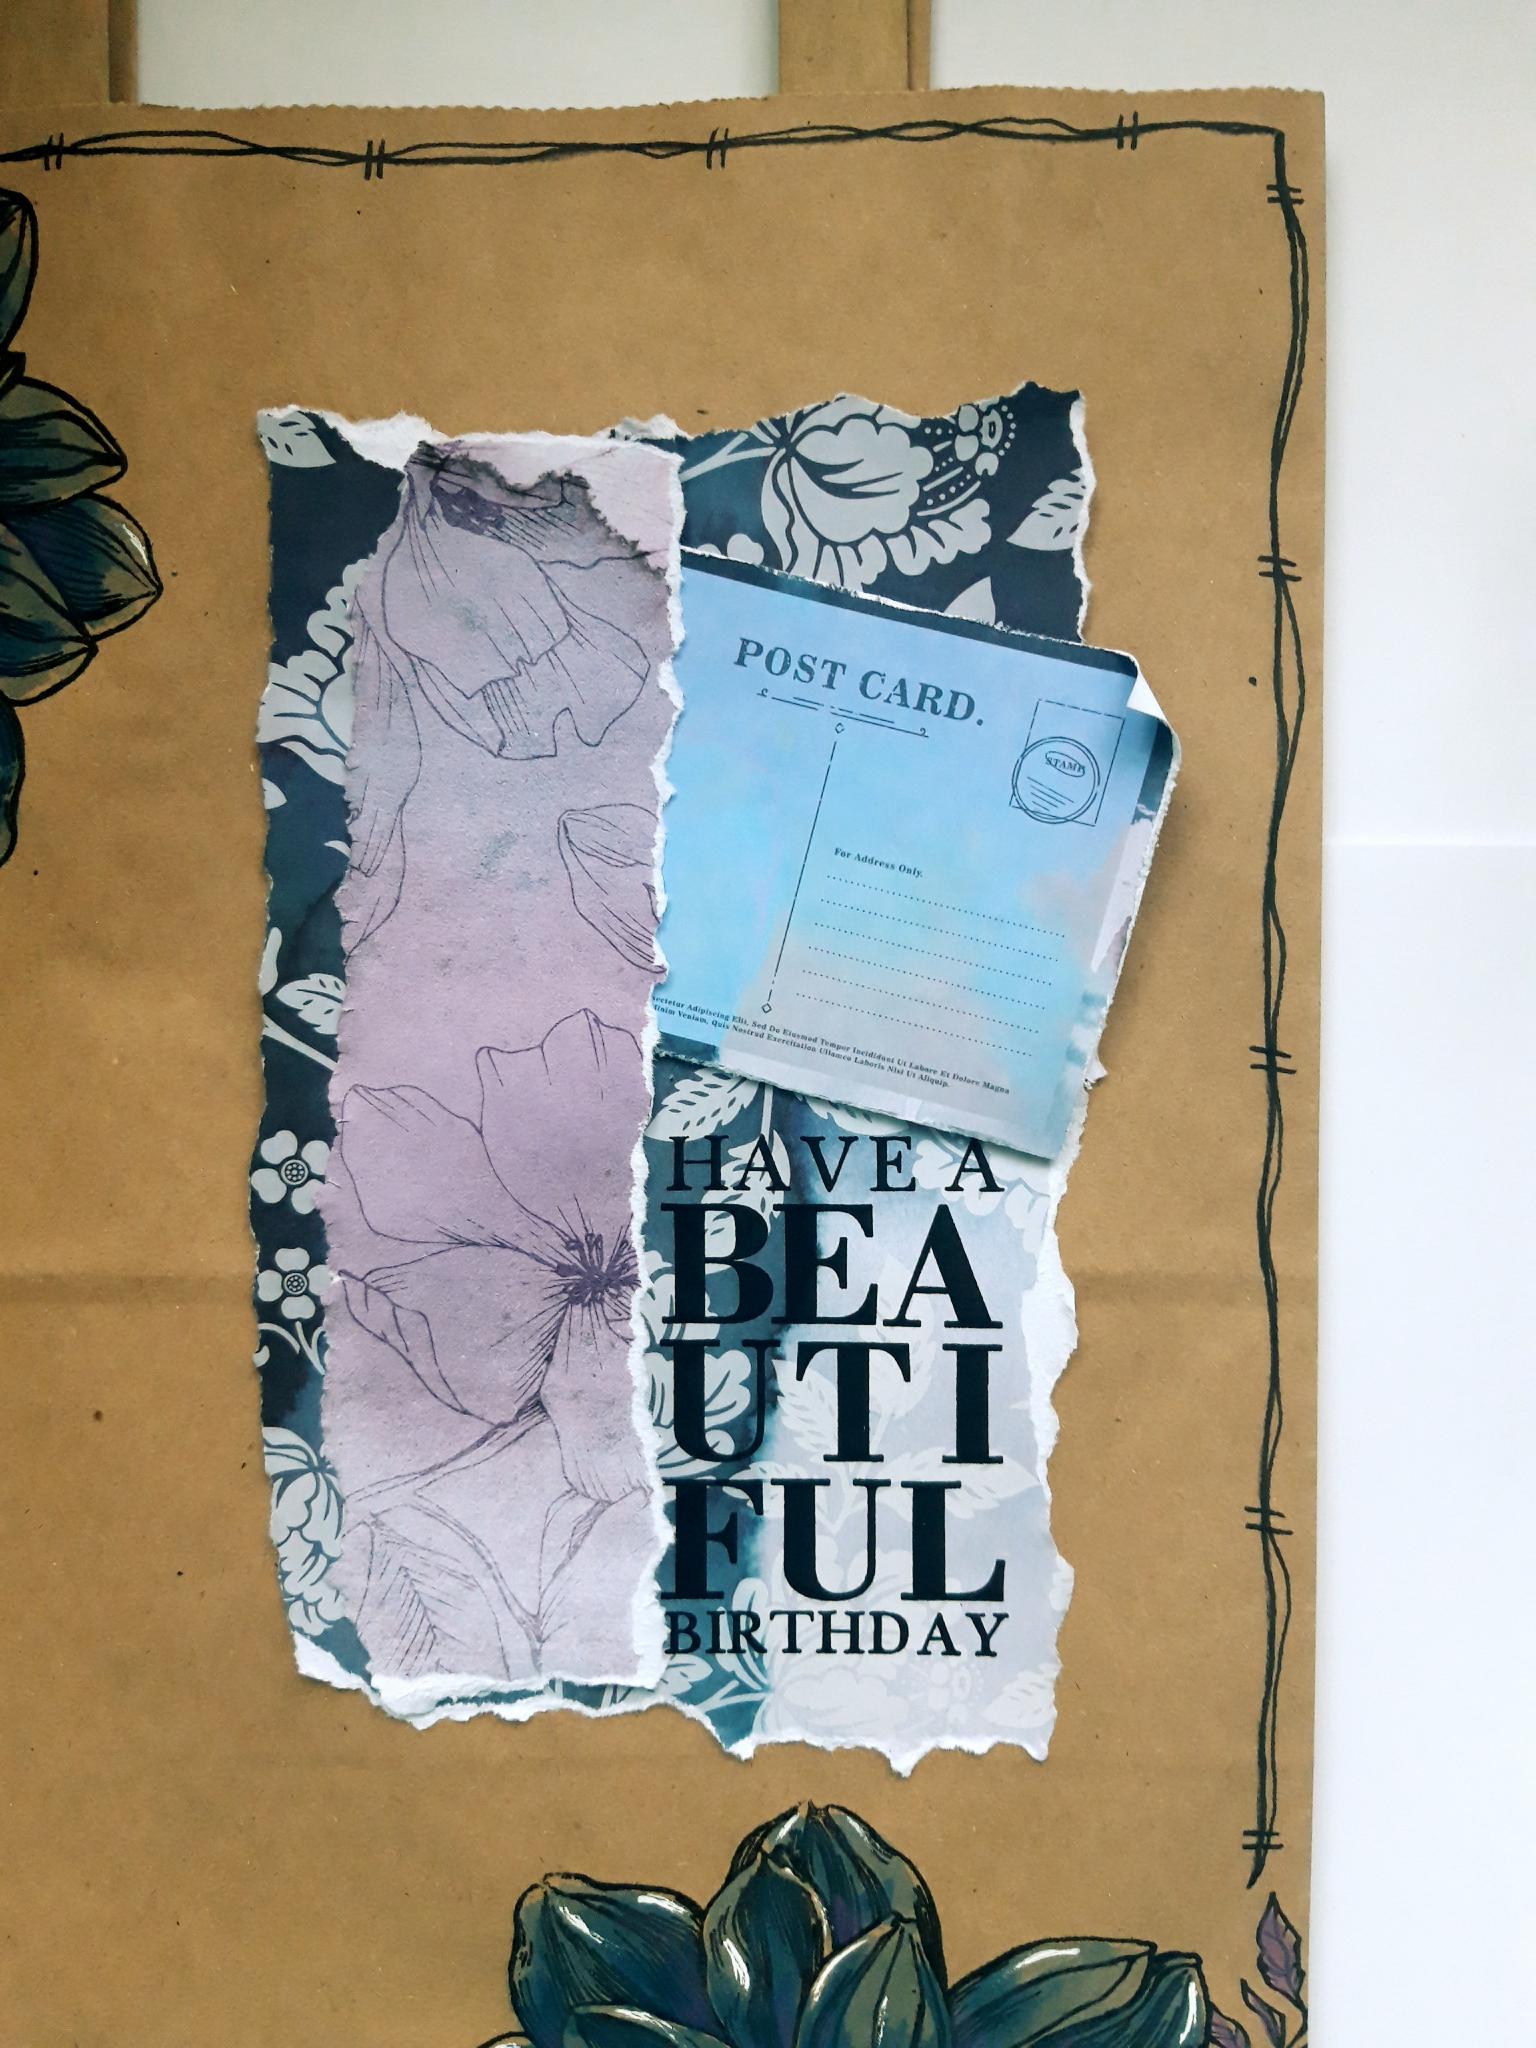
Choose 2 coordinating papers from the Subtle Tranquility 8 x 8" paper pad. Tear one in to a strip 7 1/4 x 4 1/2" and the other to 7 x 1 3/4". |
|
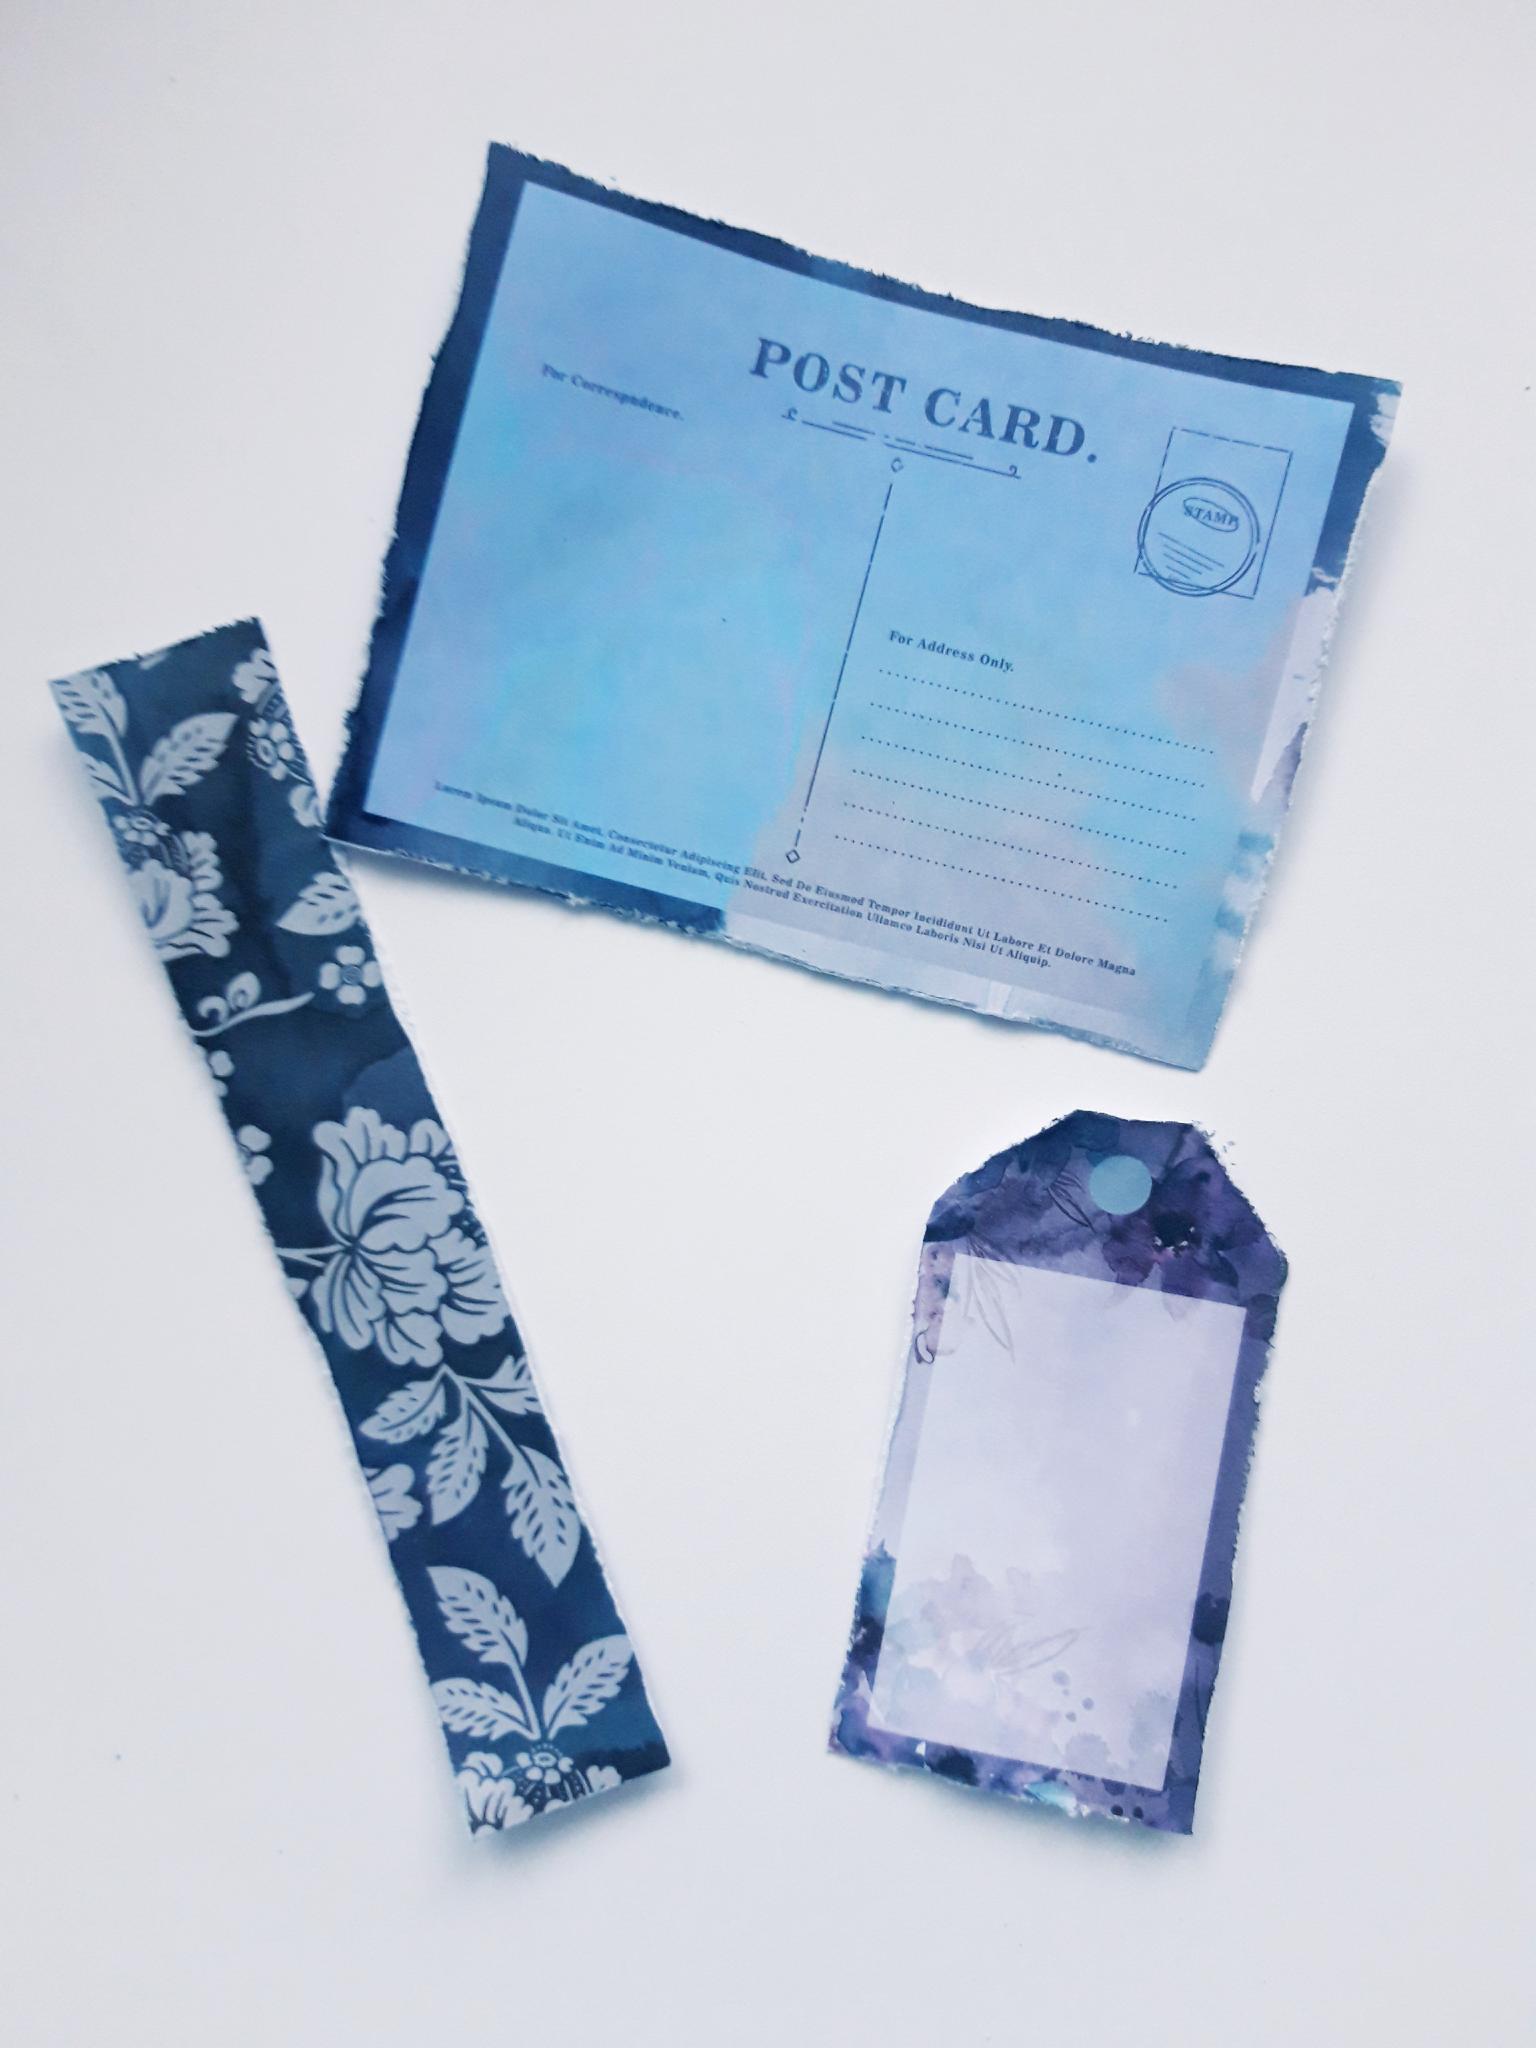
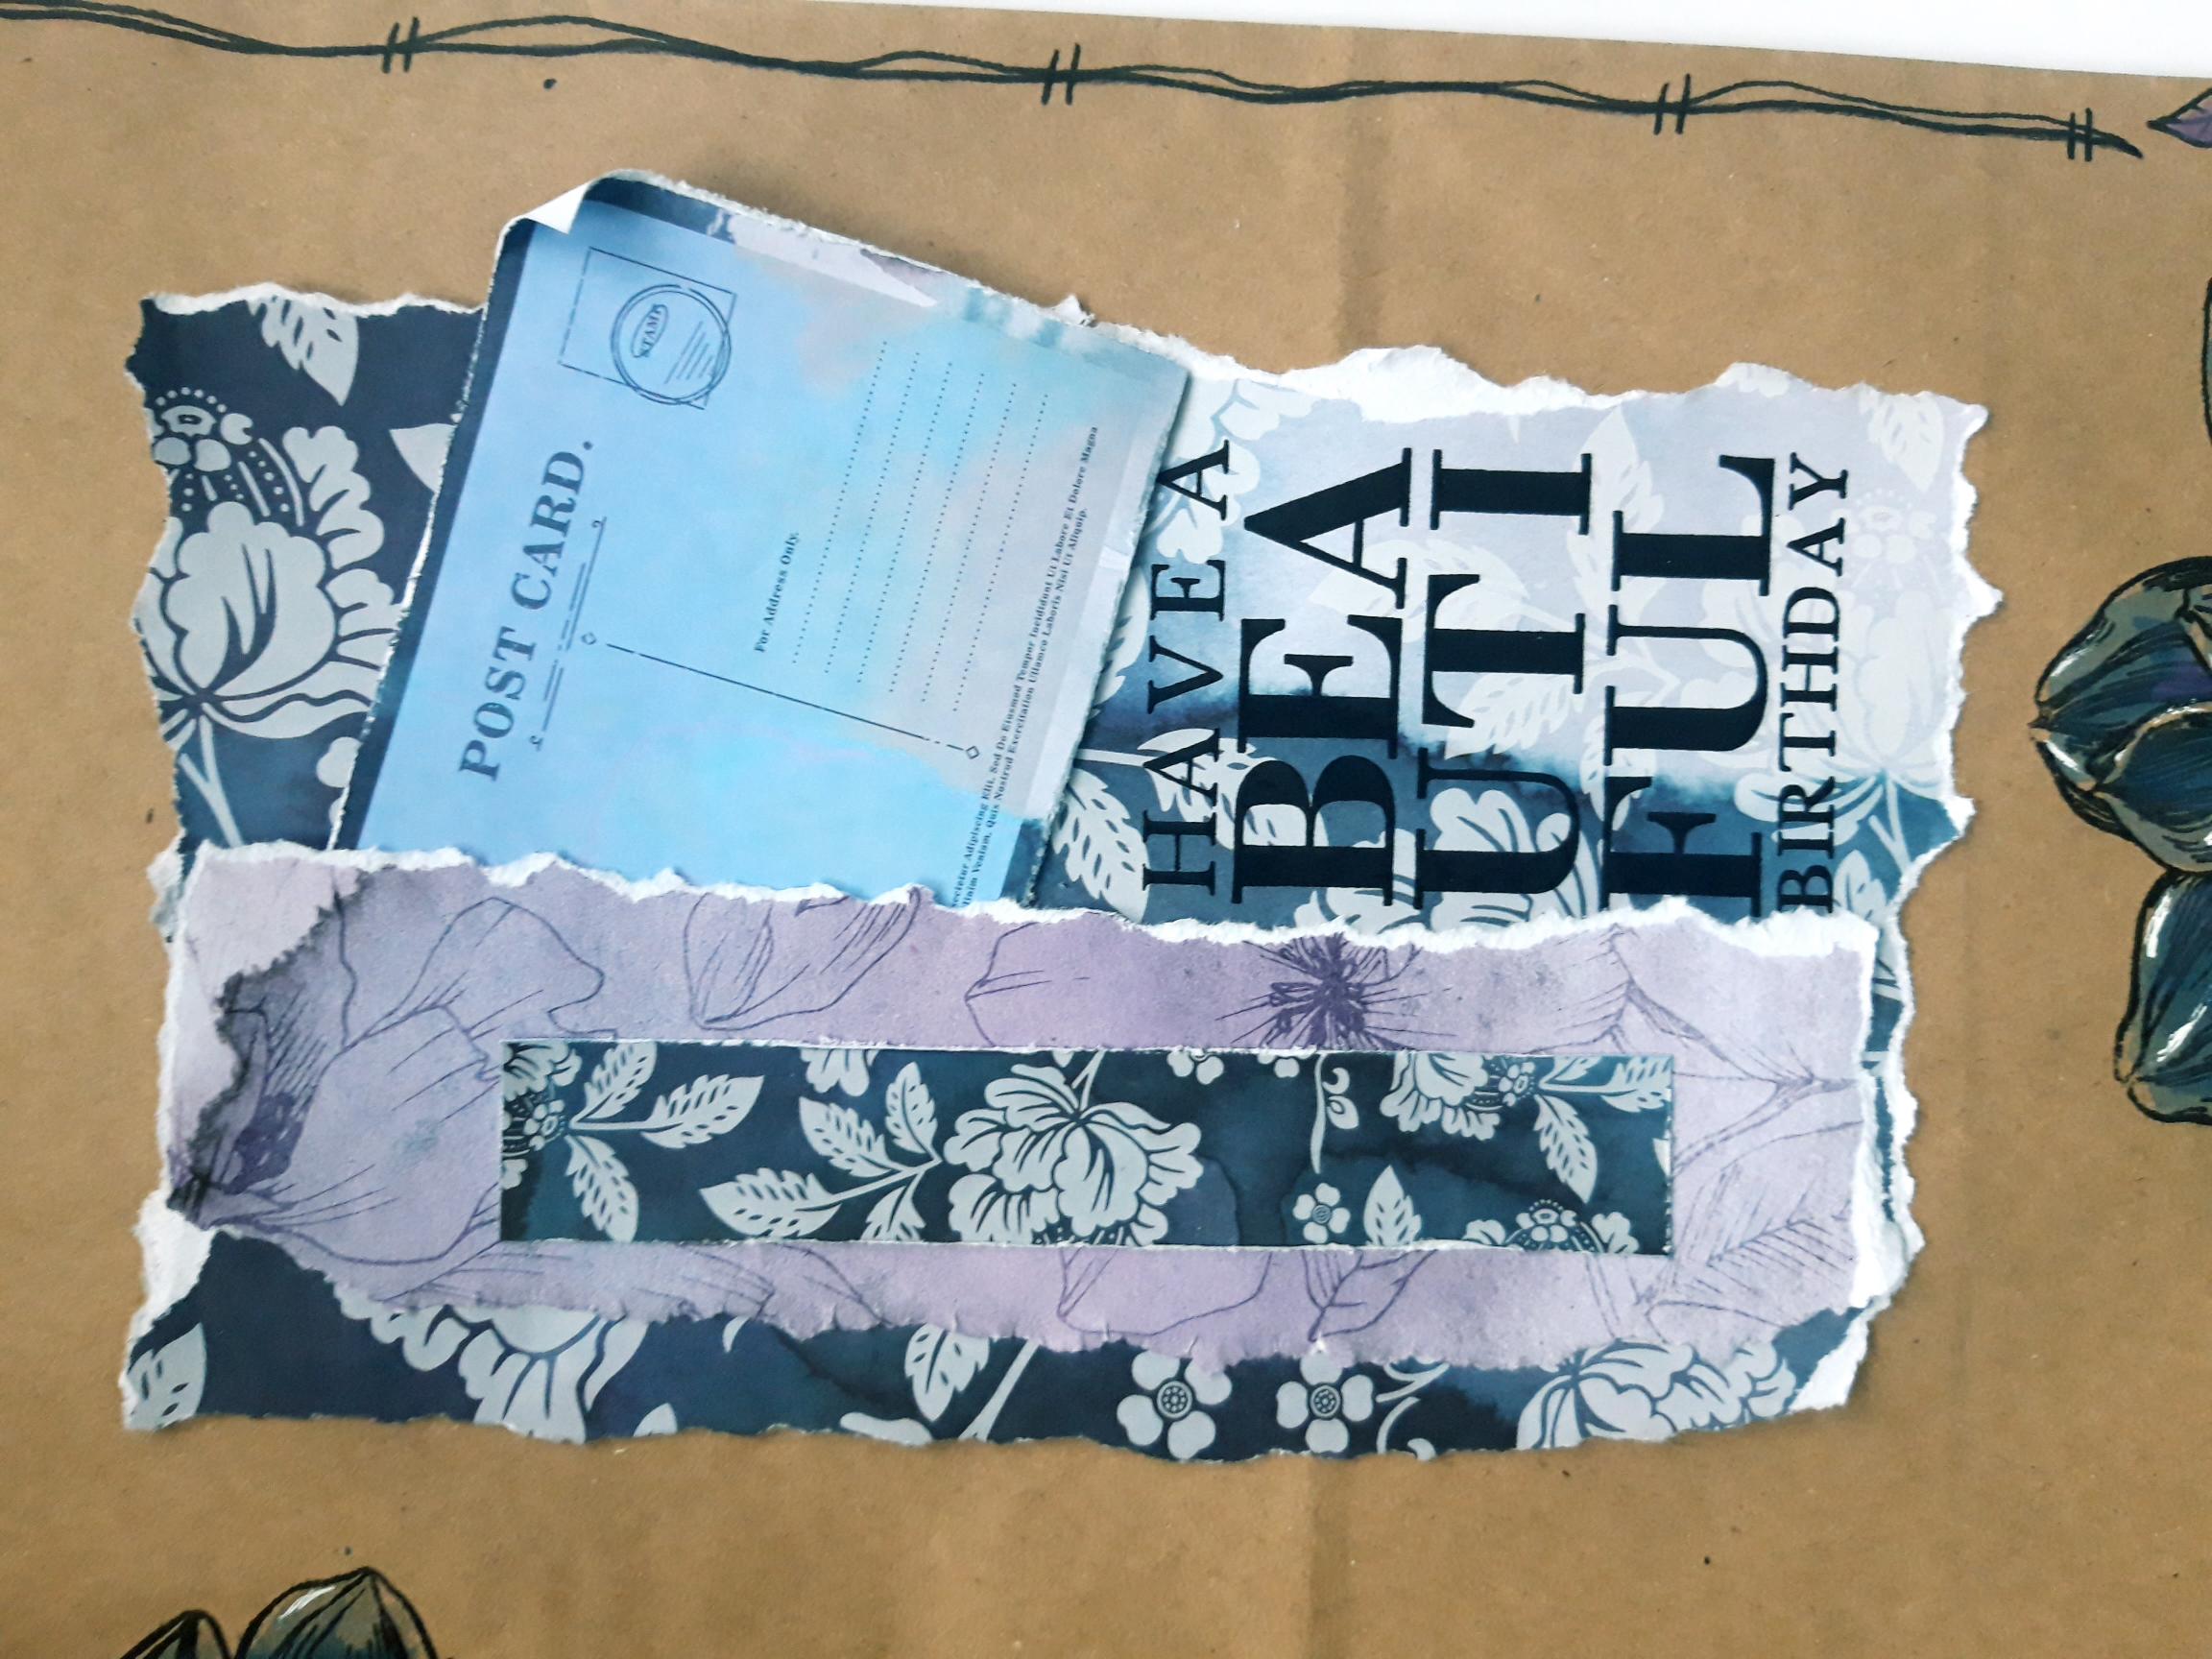
Also from the pad cut out one of the border strips, a tag and a postcard. Roughen up the edges using the side of your scissors |
|
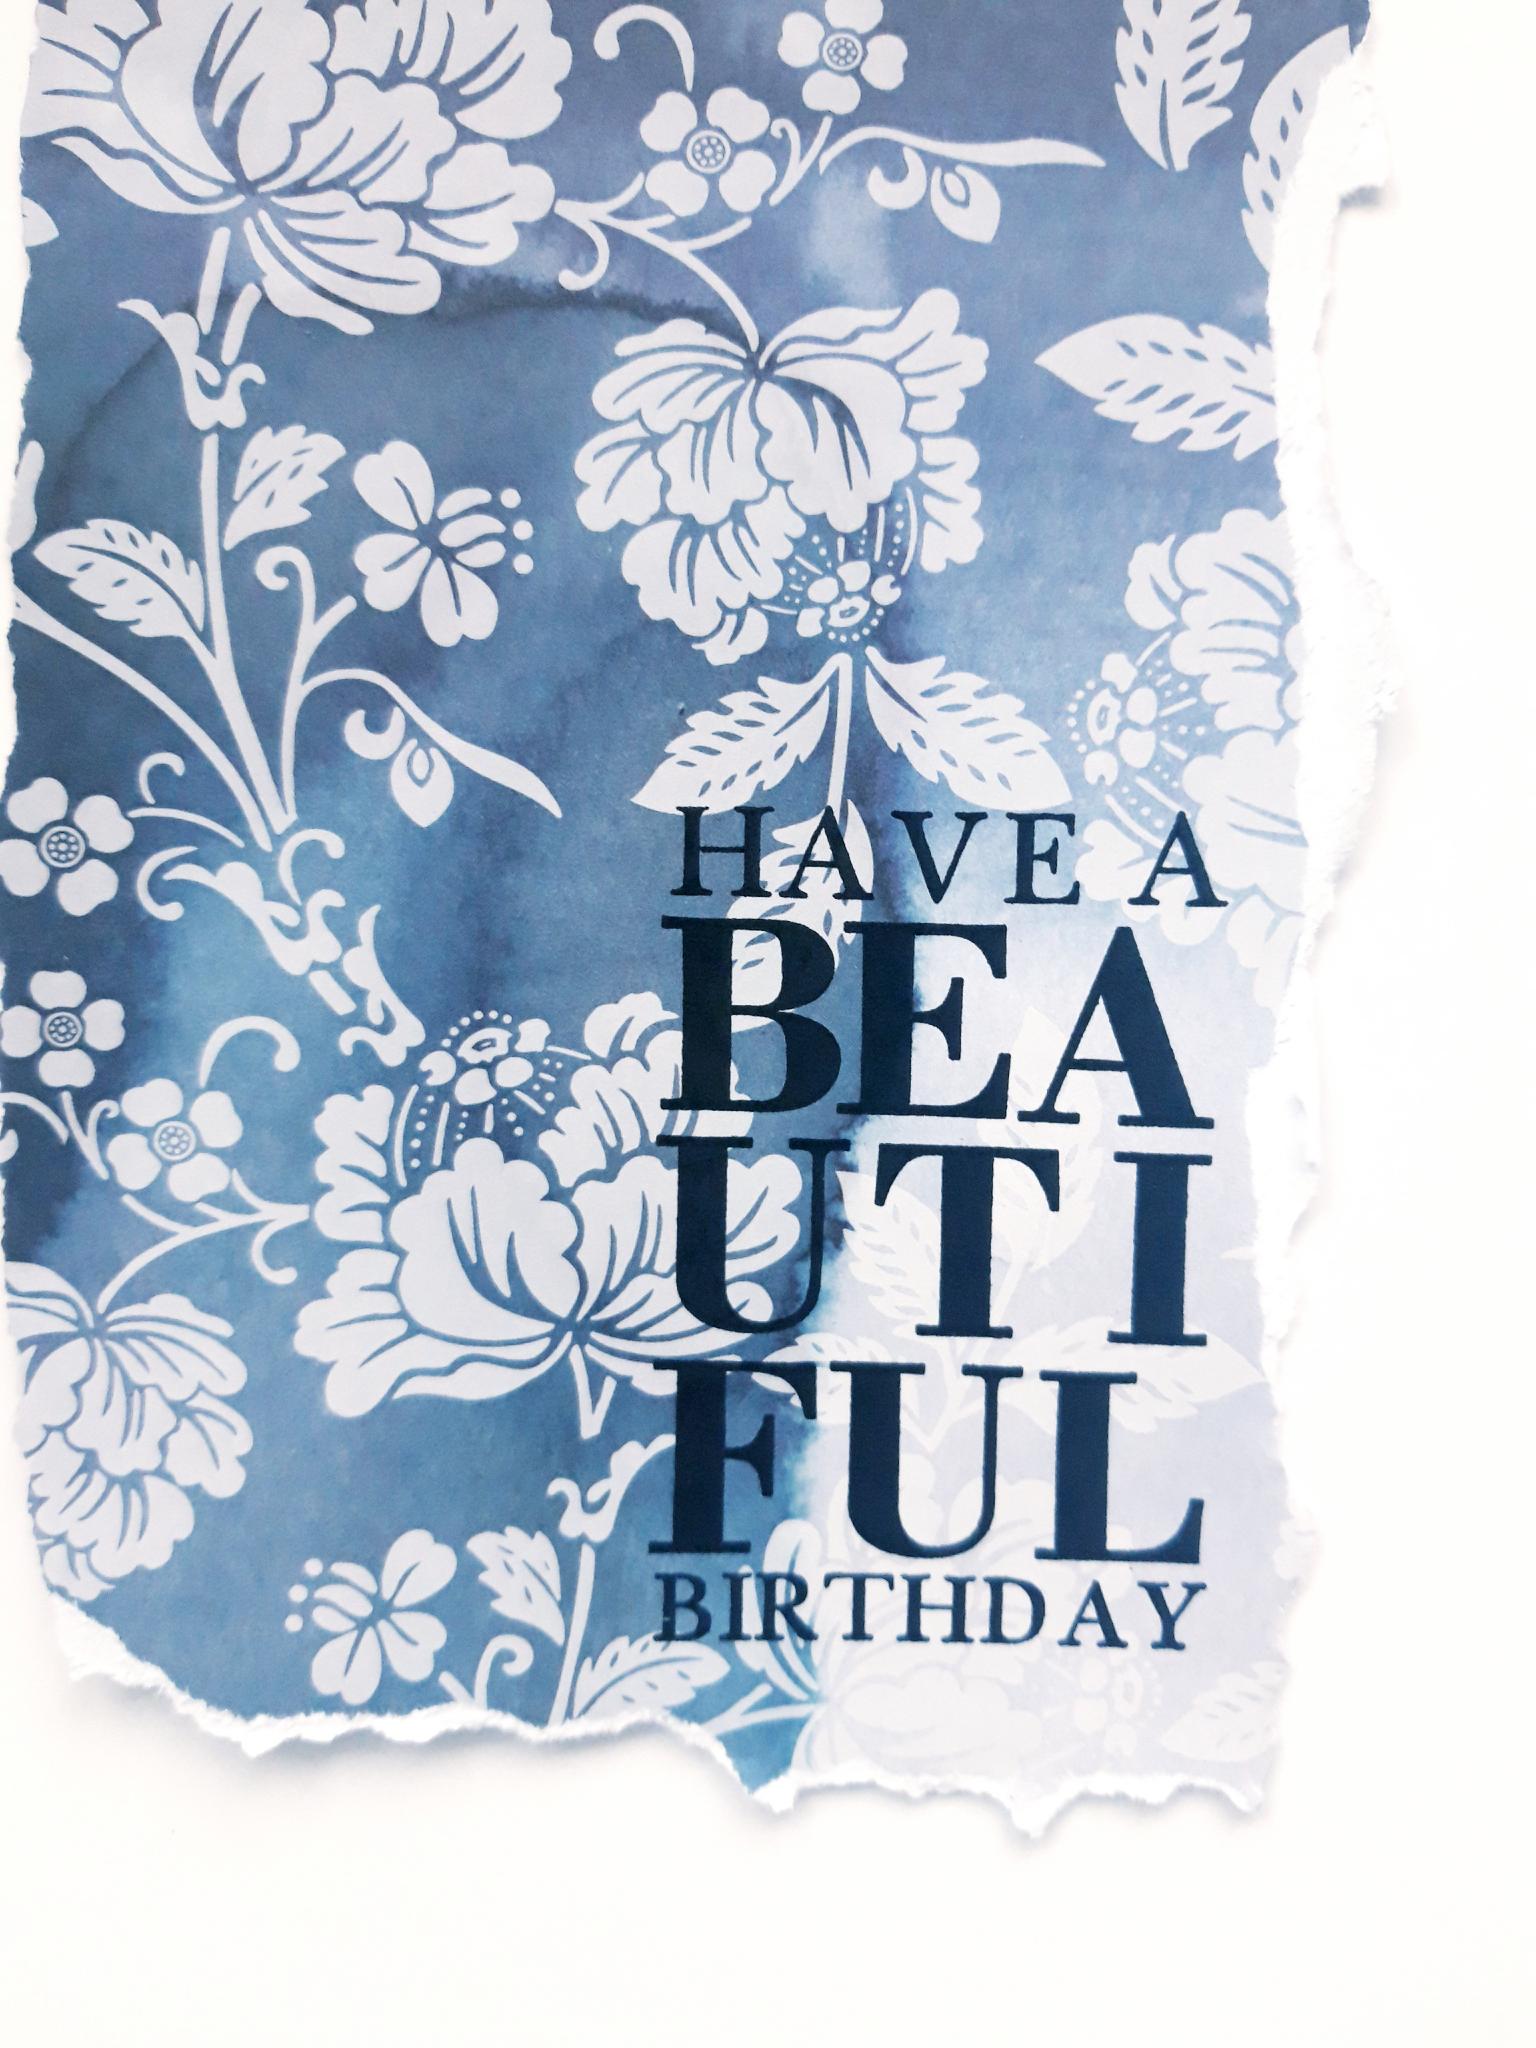
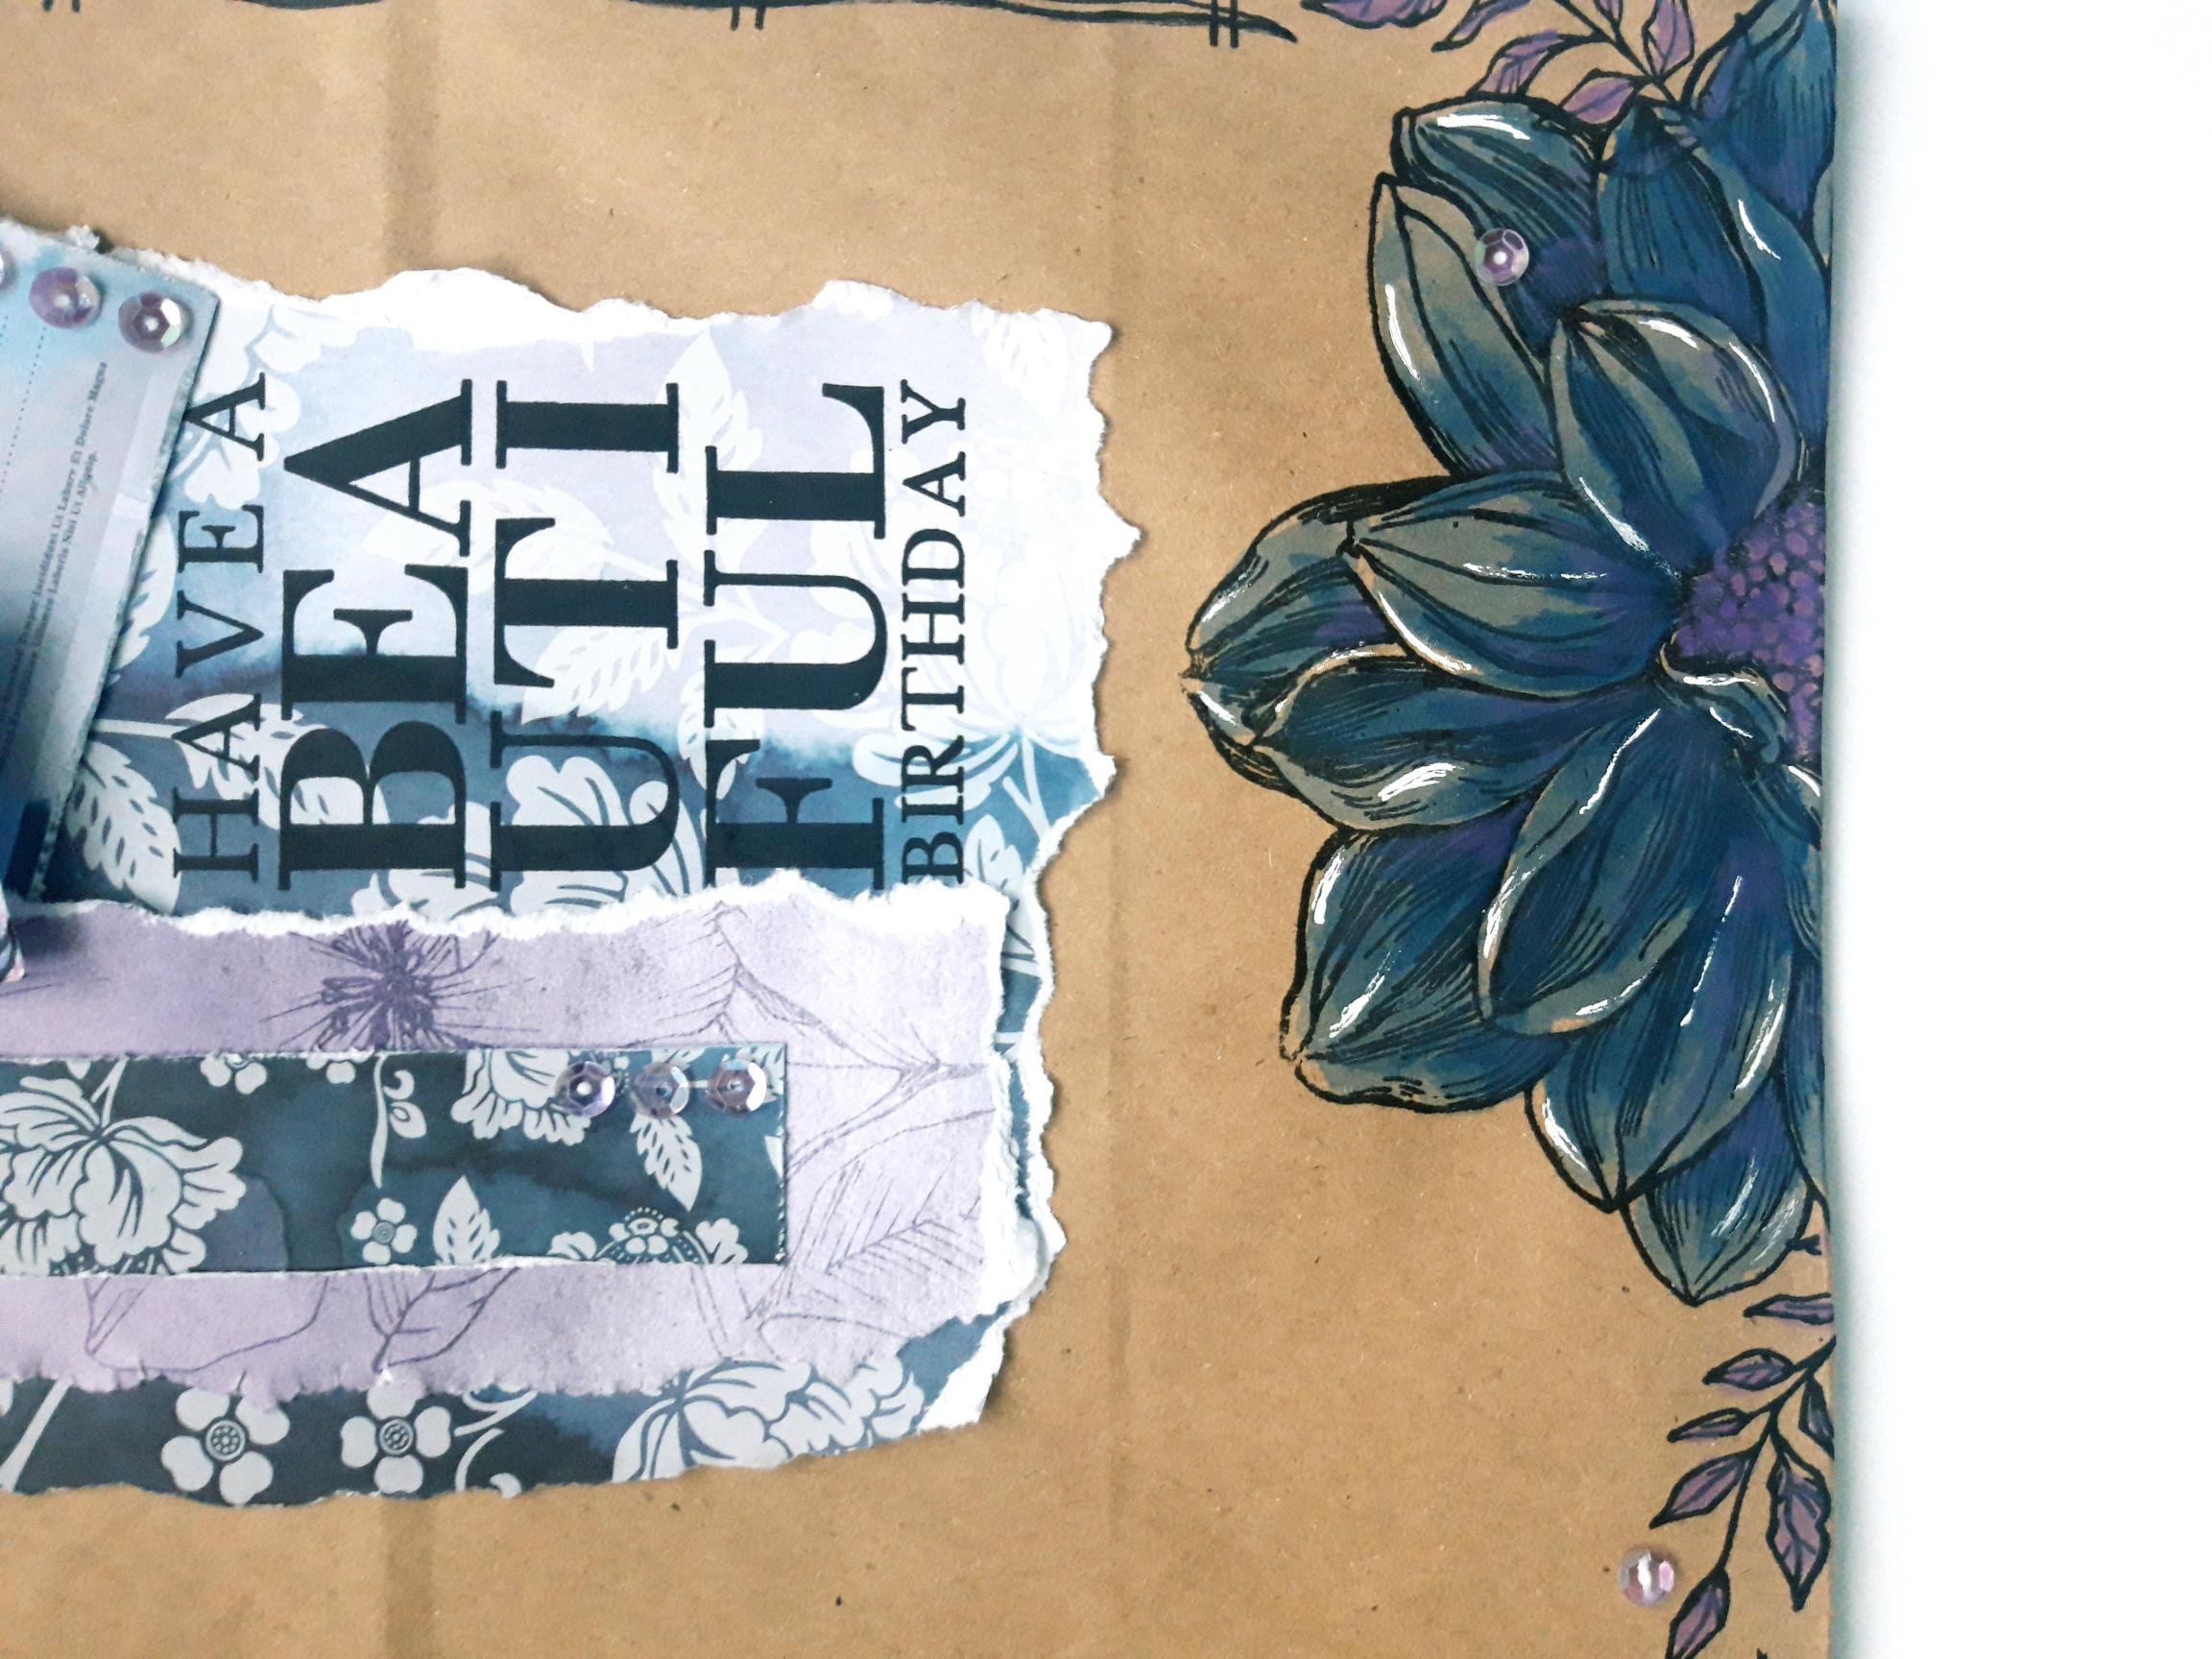
Ink up the sentiment stamp, from the Beautiful Birthday stamp set, with the Onyx Black Versafine. Stamp in the bottom right corner of your largest piece of torn paper. |
|
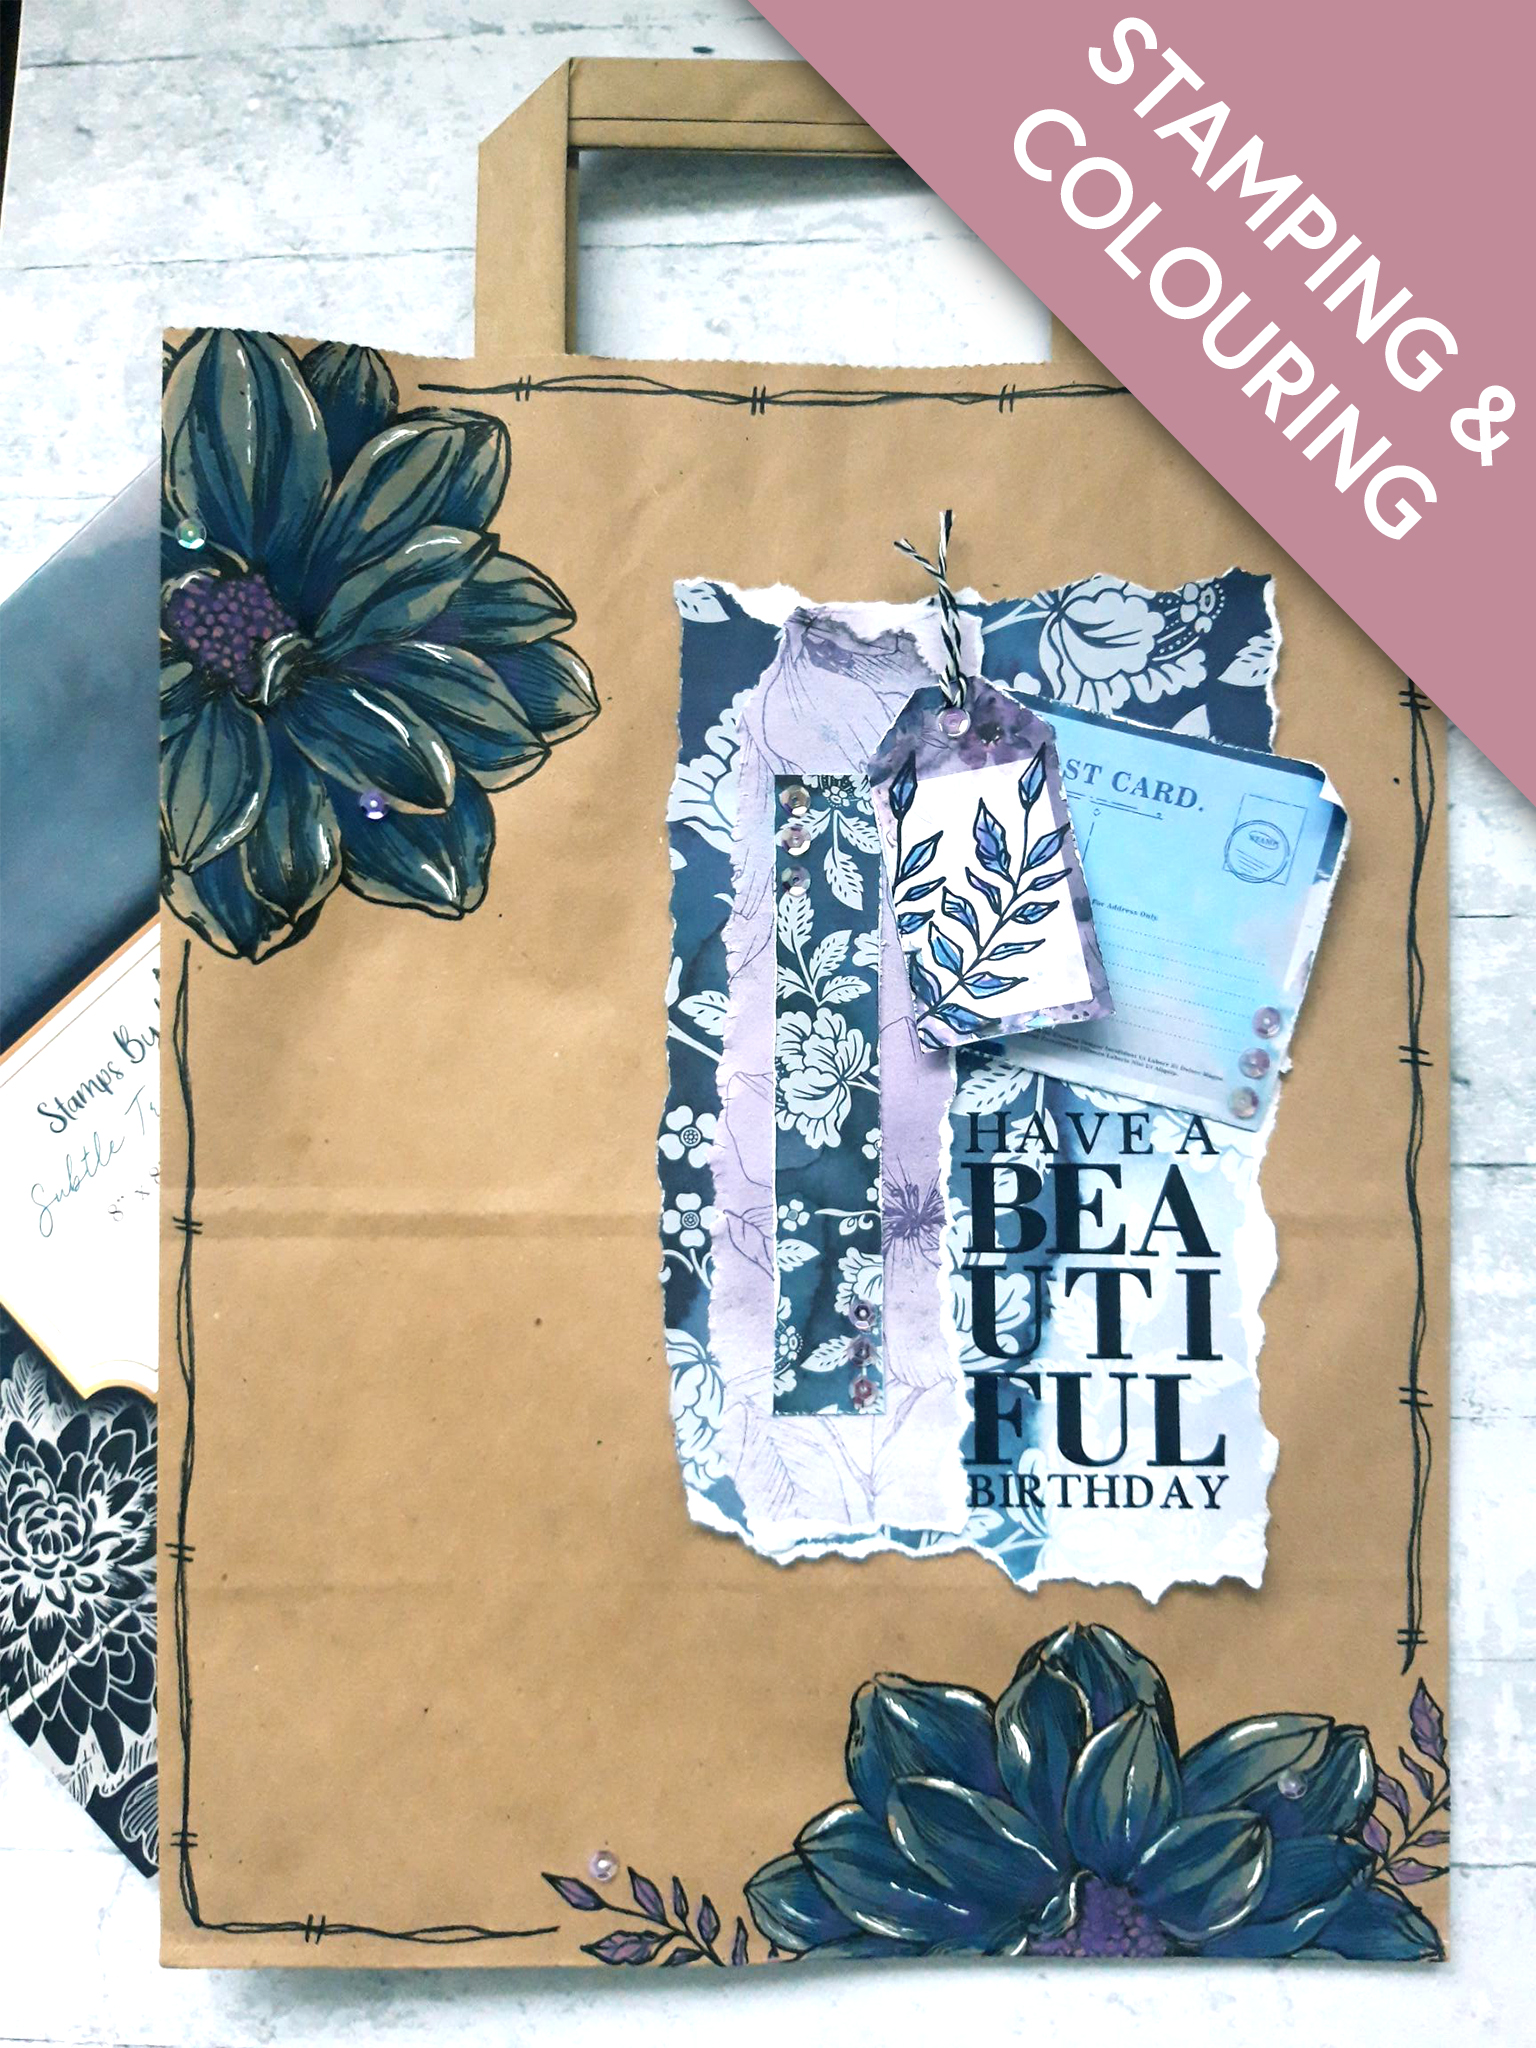
Once the sentiment is dry, adhere this on to the front, top right hand side, of your stamped gift bag. |
|
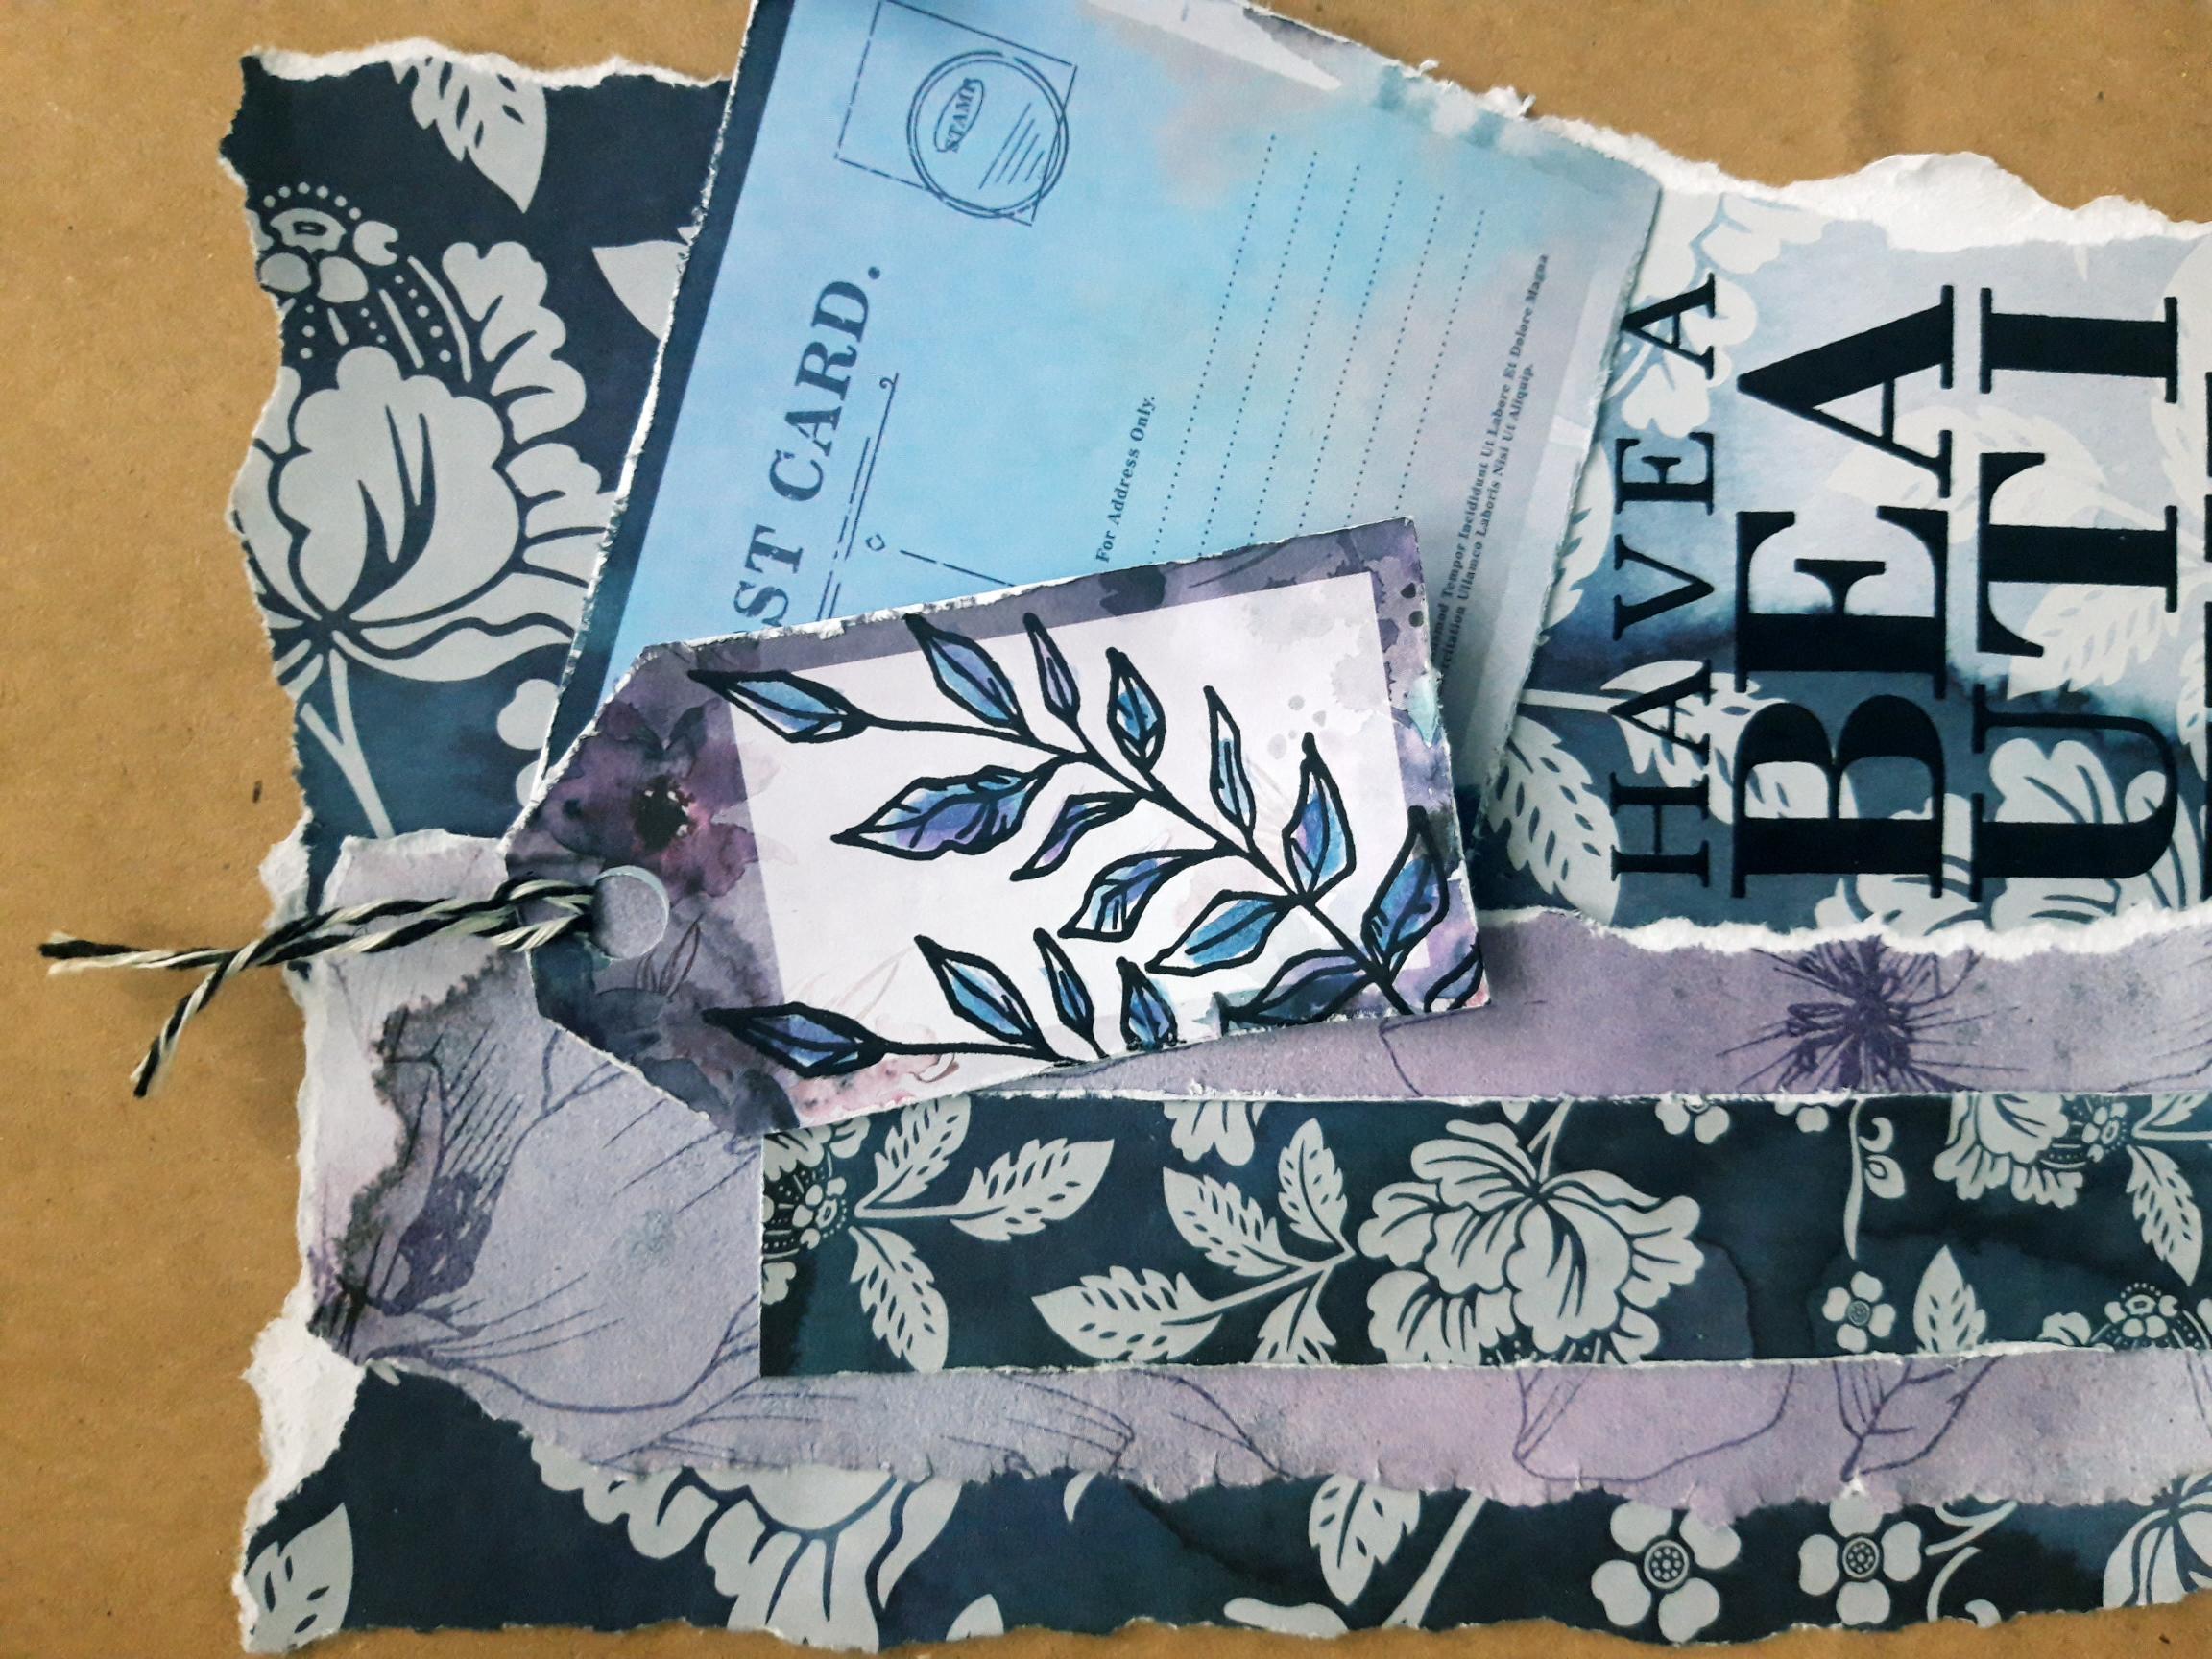
Adhere the other strip of paper, with the Postcard tucked underneath, as shown here. |
|
Adhere the cut out border paper on top of your paper elements, as shown. |
|
Ink up the foliage stamp, from the Beautiful Birthday Stamp Collection, with the Versafine, and stamp on to the tag that you cut out earlier. Add a little of the Izink Pigments on to your craft or glass mat, add a little water and use your paint brush to colour the foliage in. Use a hole punch to create a hole in the top of your tag. |

|
Tie Bakers Twine through the punched hole. |
|
Adhere the tag in place, on top of your decorative paper elements, as shown here. |
|
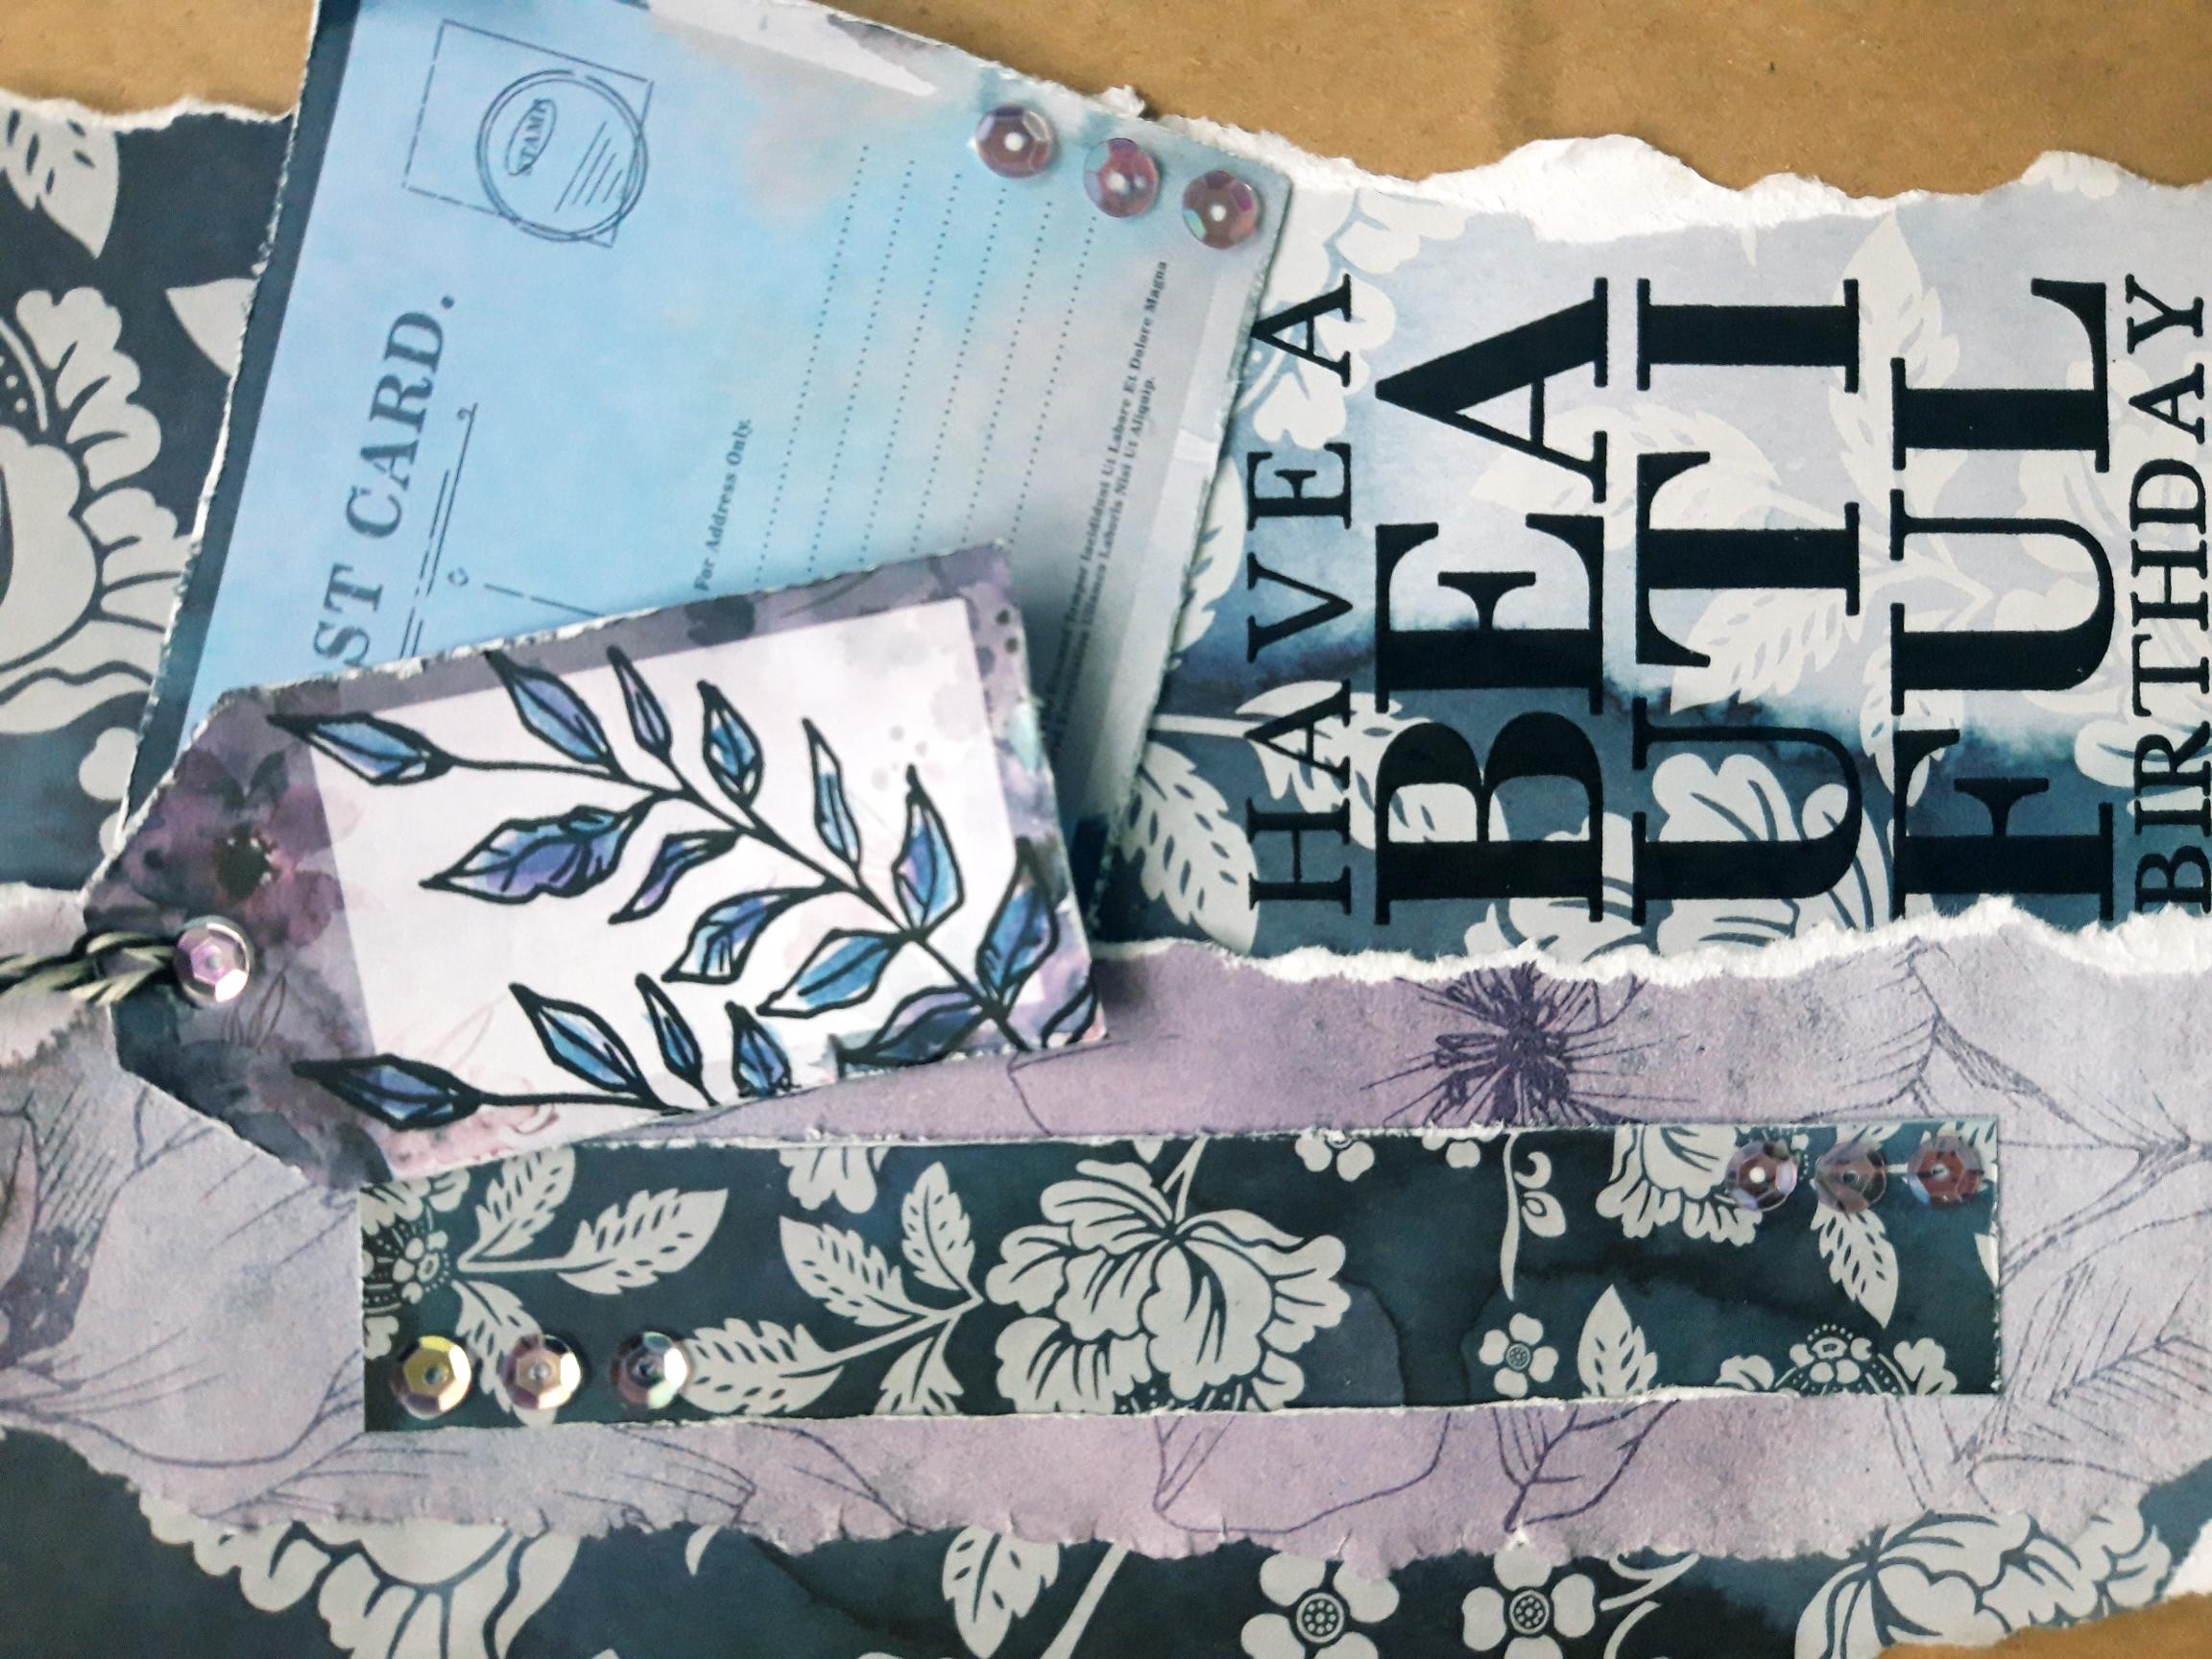
Add sequins on, around and tucked under, your decorative paper elements. |
|
Add sequins around the floral stamped image, at the bottom of your gift bag. |
|
Add sequins to the floral element, top left of your bag. |