Give your friends $10 off their first order!
Refer a FRIEND


WHAT YOU WILL NEED:
White top folding card blank (8 1/4 x 5 3/4")
Black card (6 3/4 x 5")
White card (7 1/2 x 5 1/2")
Circle mask (approx 2" diameter) or cut out a 2" circle from copier paper, using a circle die
Stamps from Imala Enchanted Forest stamp set
Stamps from Imala Perfect Outfit stamp set
Stamps from Imala Fairies
Versafine Ink Pad: Onyx Black
Izink Shiny spray: Jaune, Vert D'Eau, Bleu Ciel
Distress Oxides: Peacock Feathers, Mowed Lawn
Texture Glitter: Teal
Water spray bottle
Eureka 101
Paper Trimmer
Perfect Together Glue
[click image to enlarge] 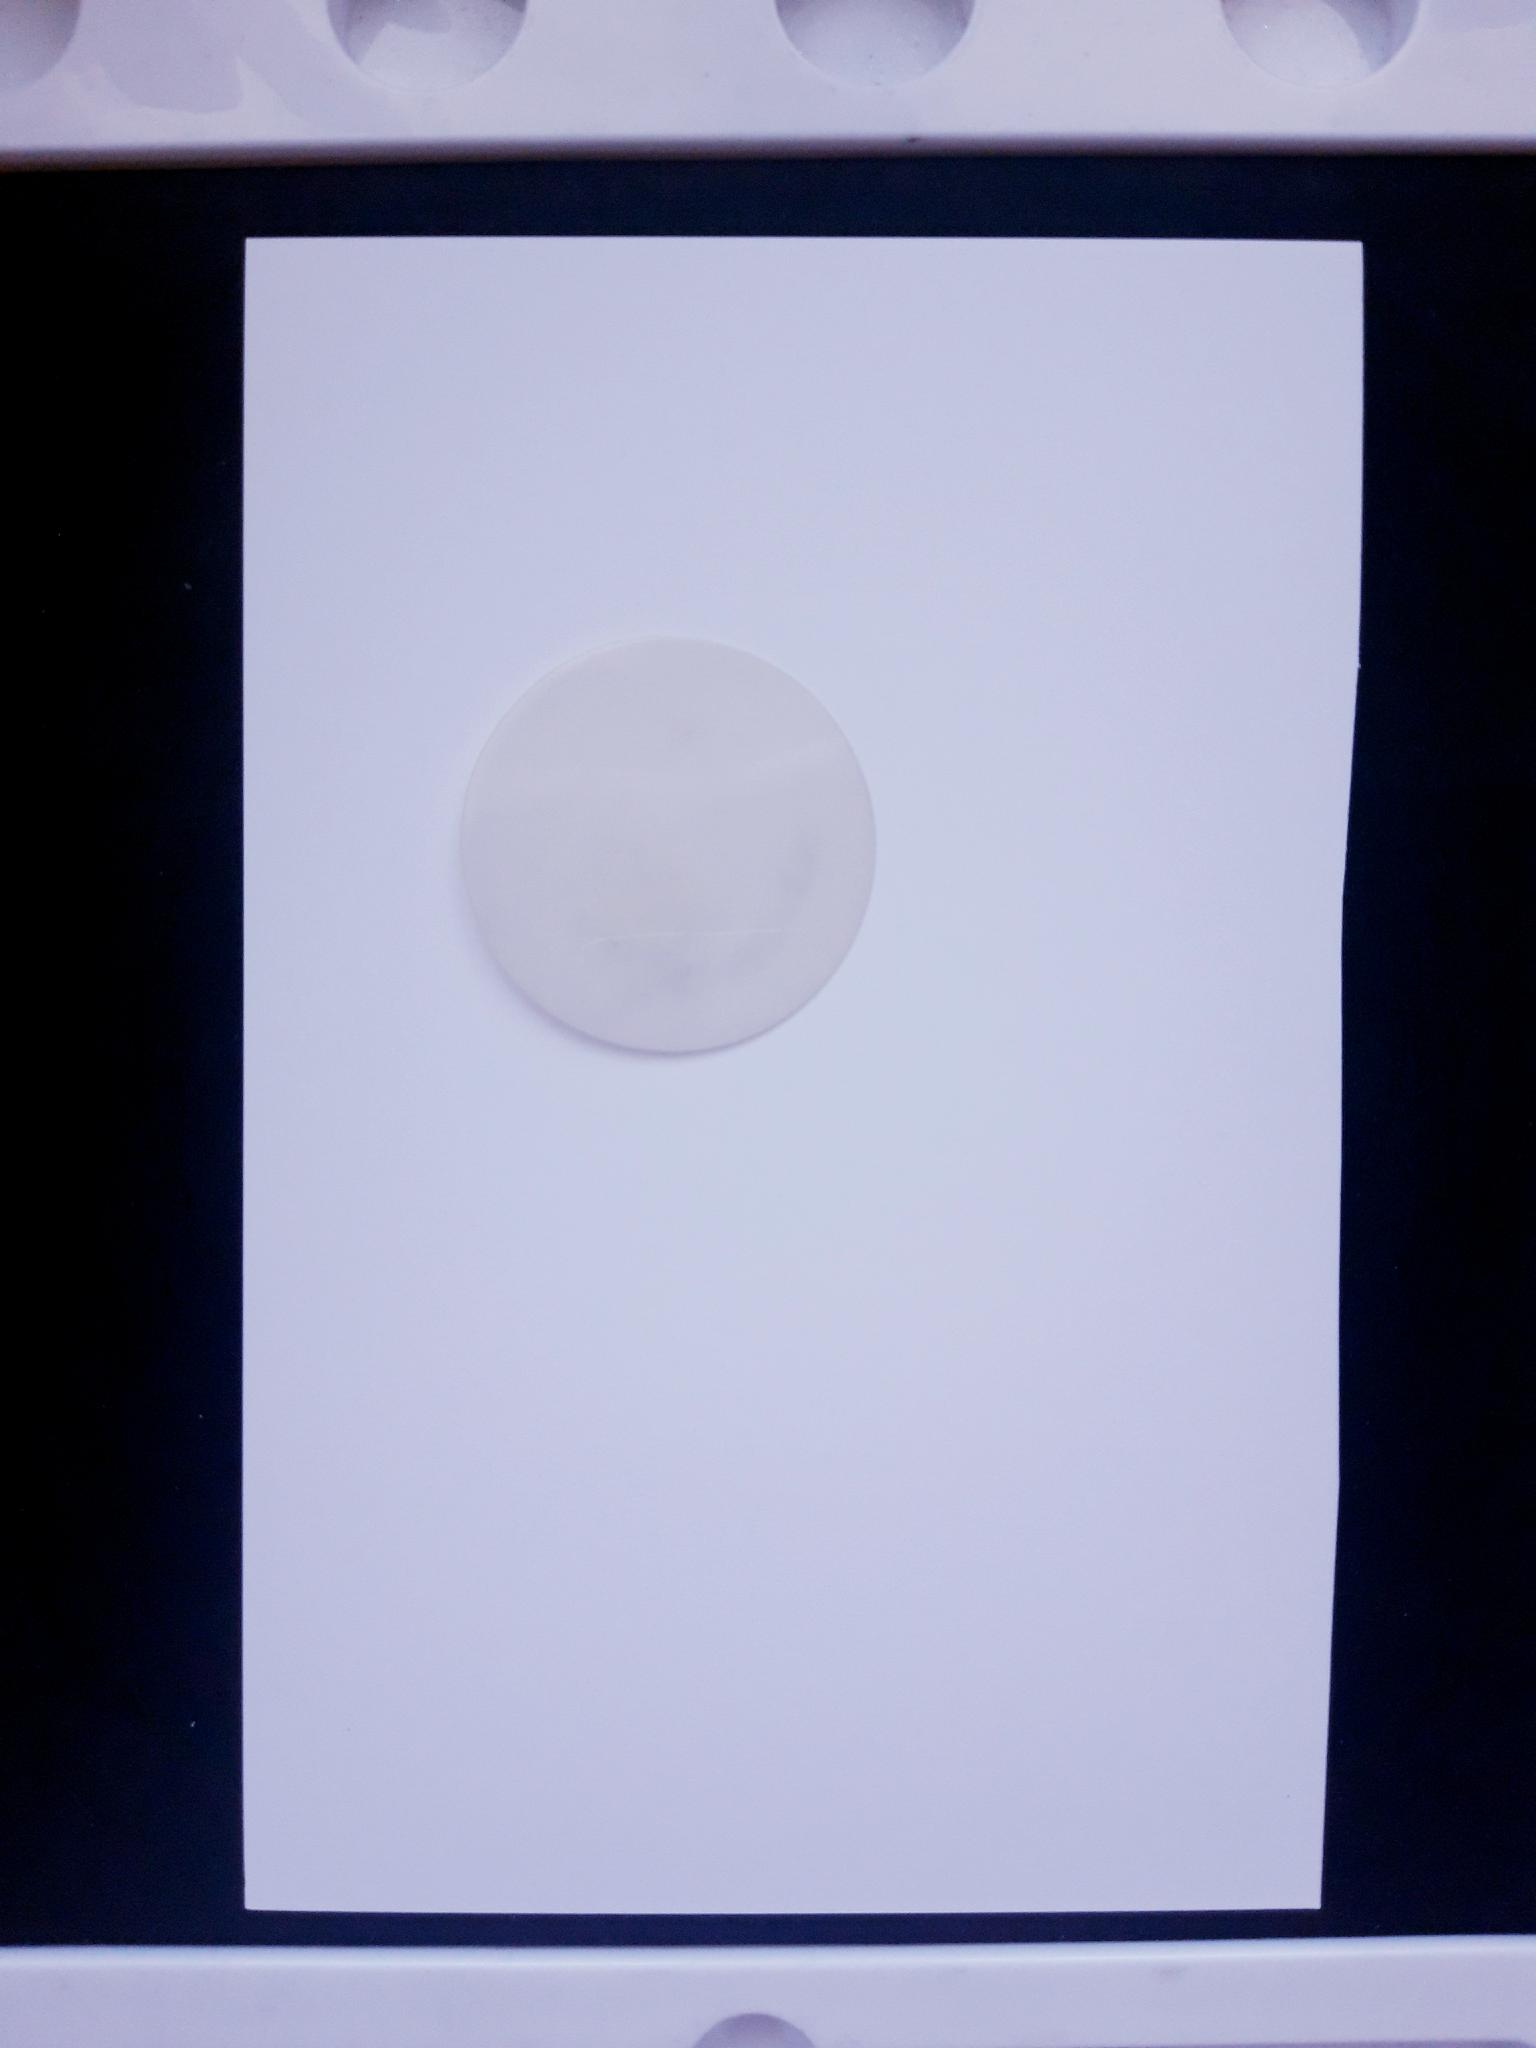
|
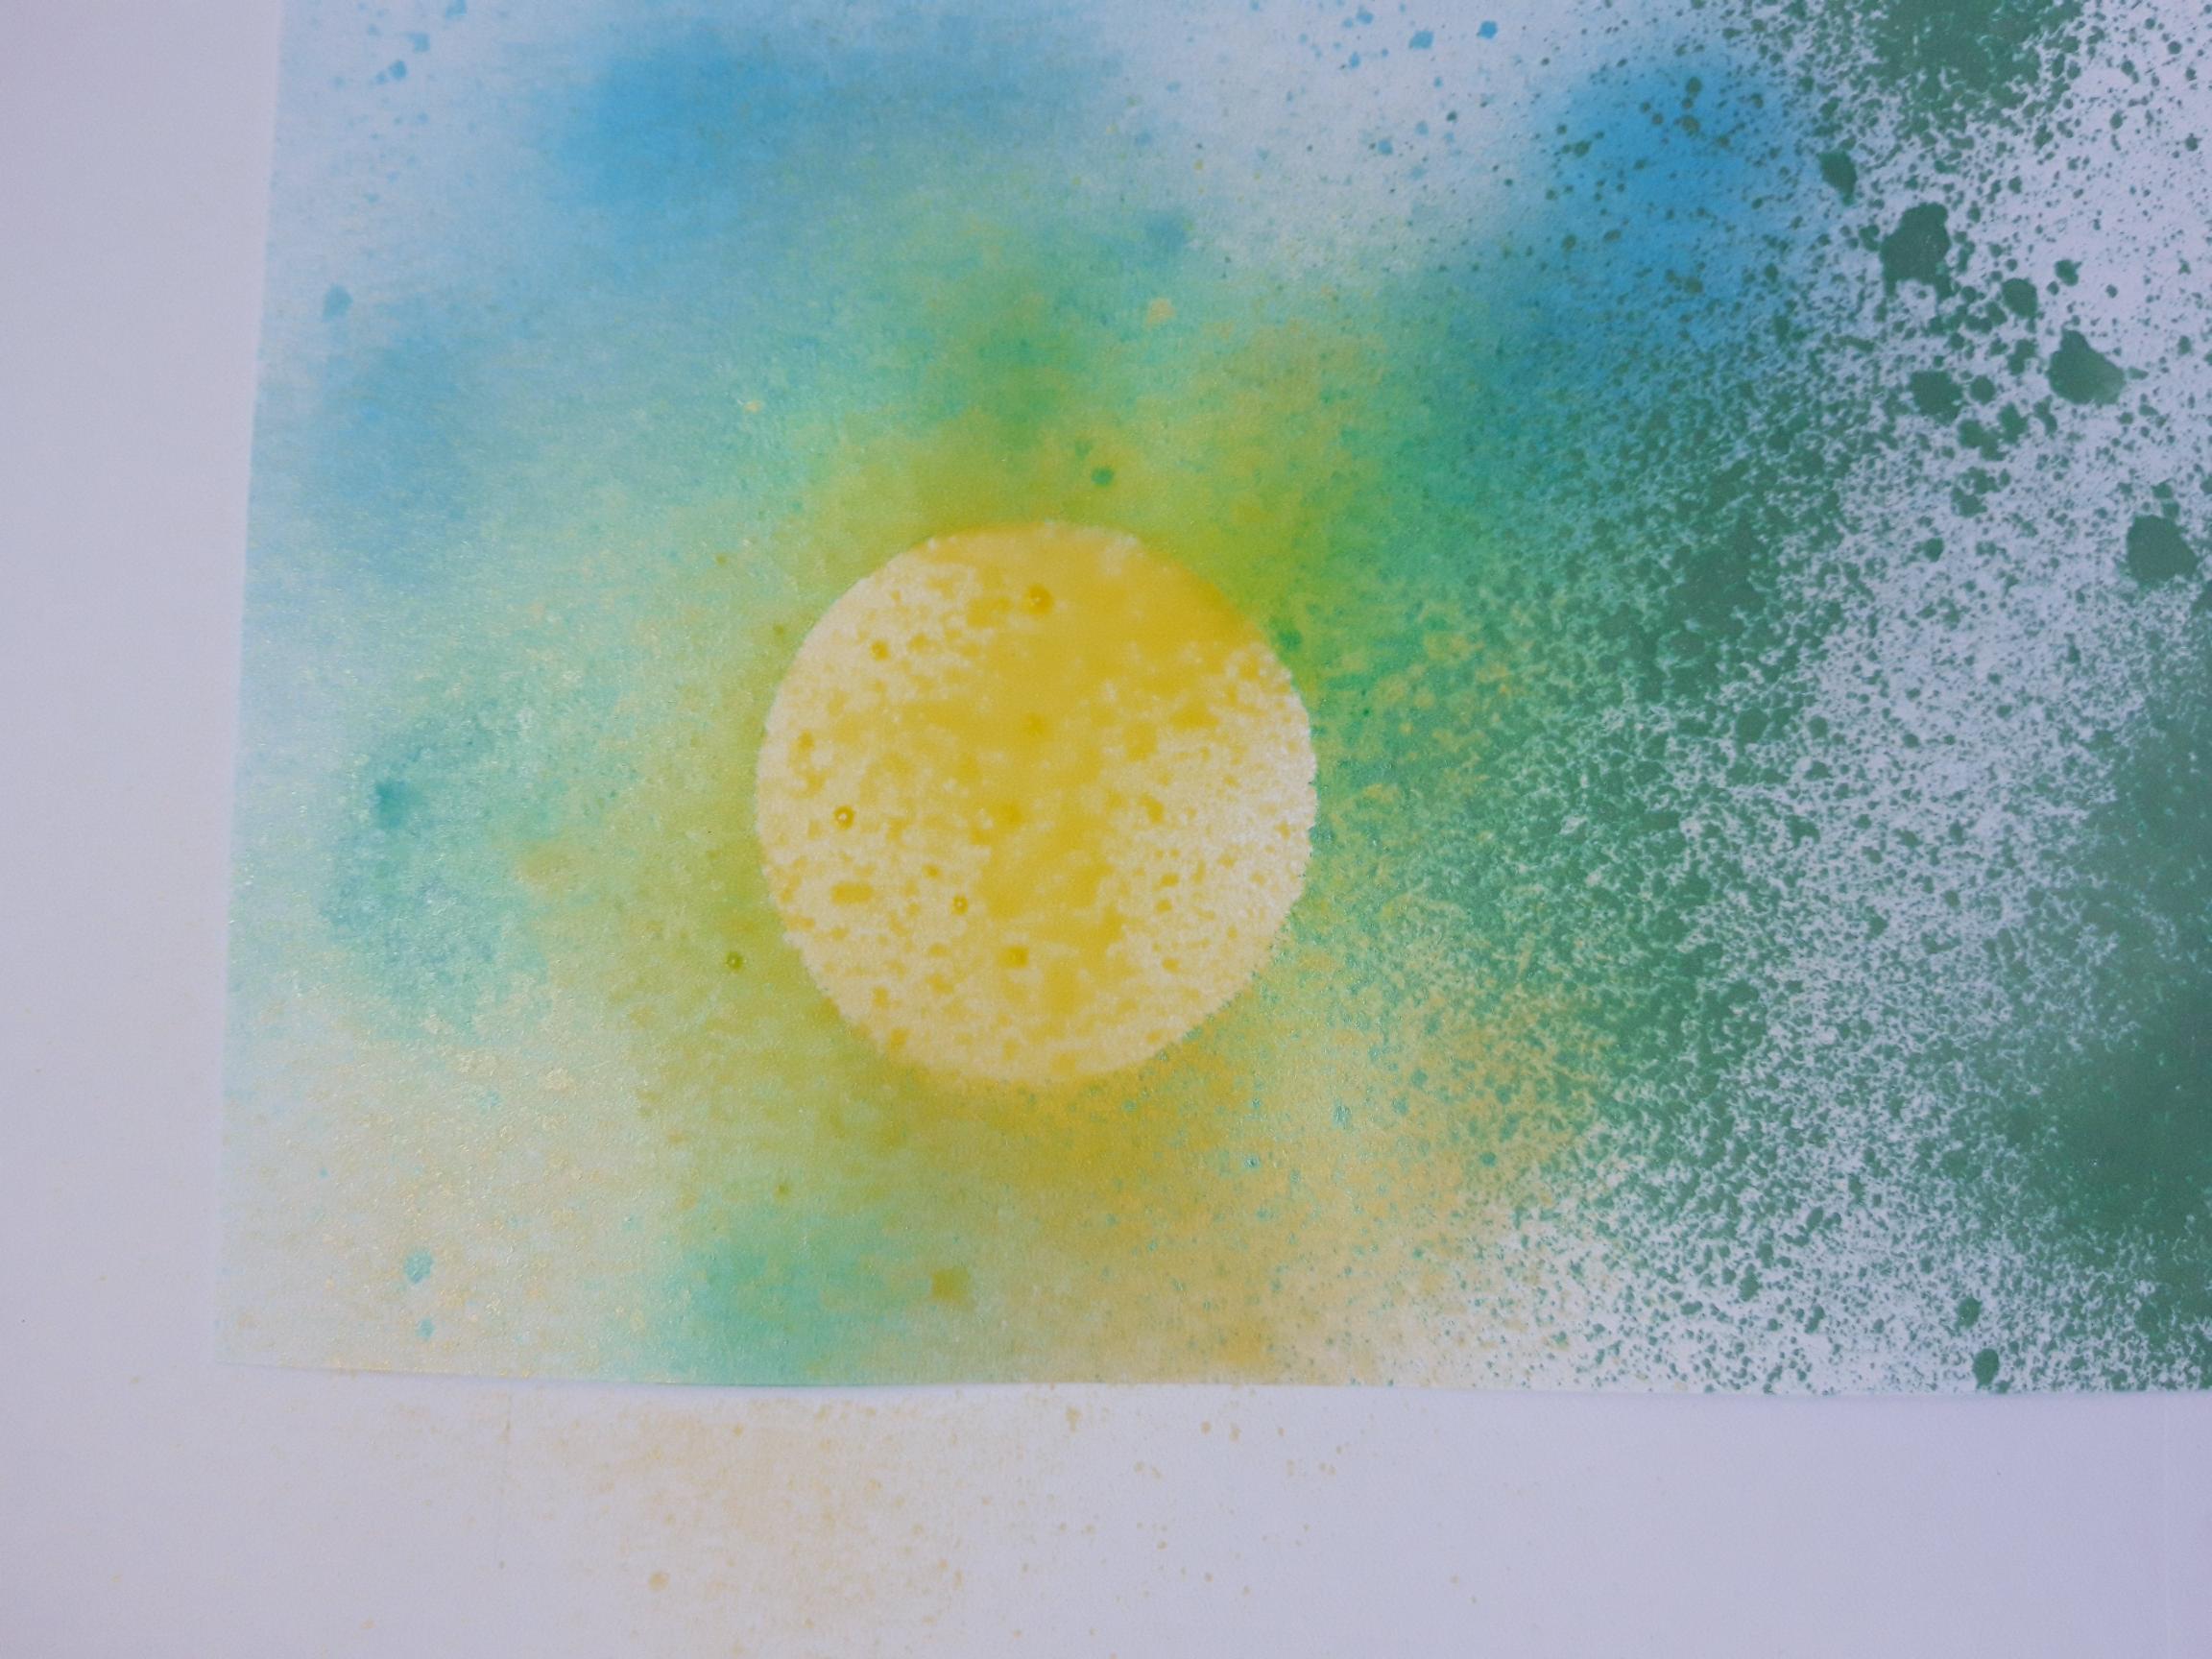
Using the Enchanted Forest stamp as a guide, place your circle mask on the white card, where you want your "moon/sun" to be. |
|
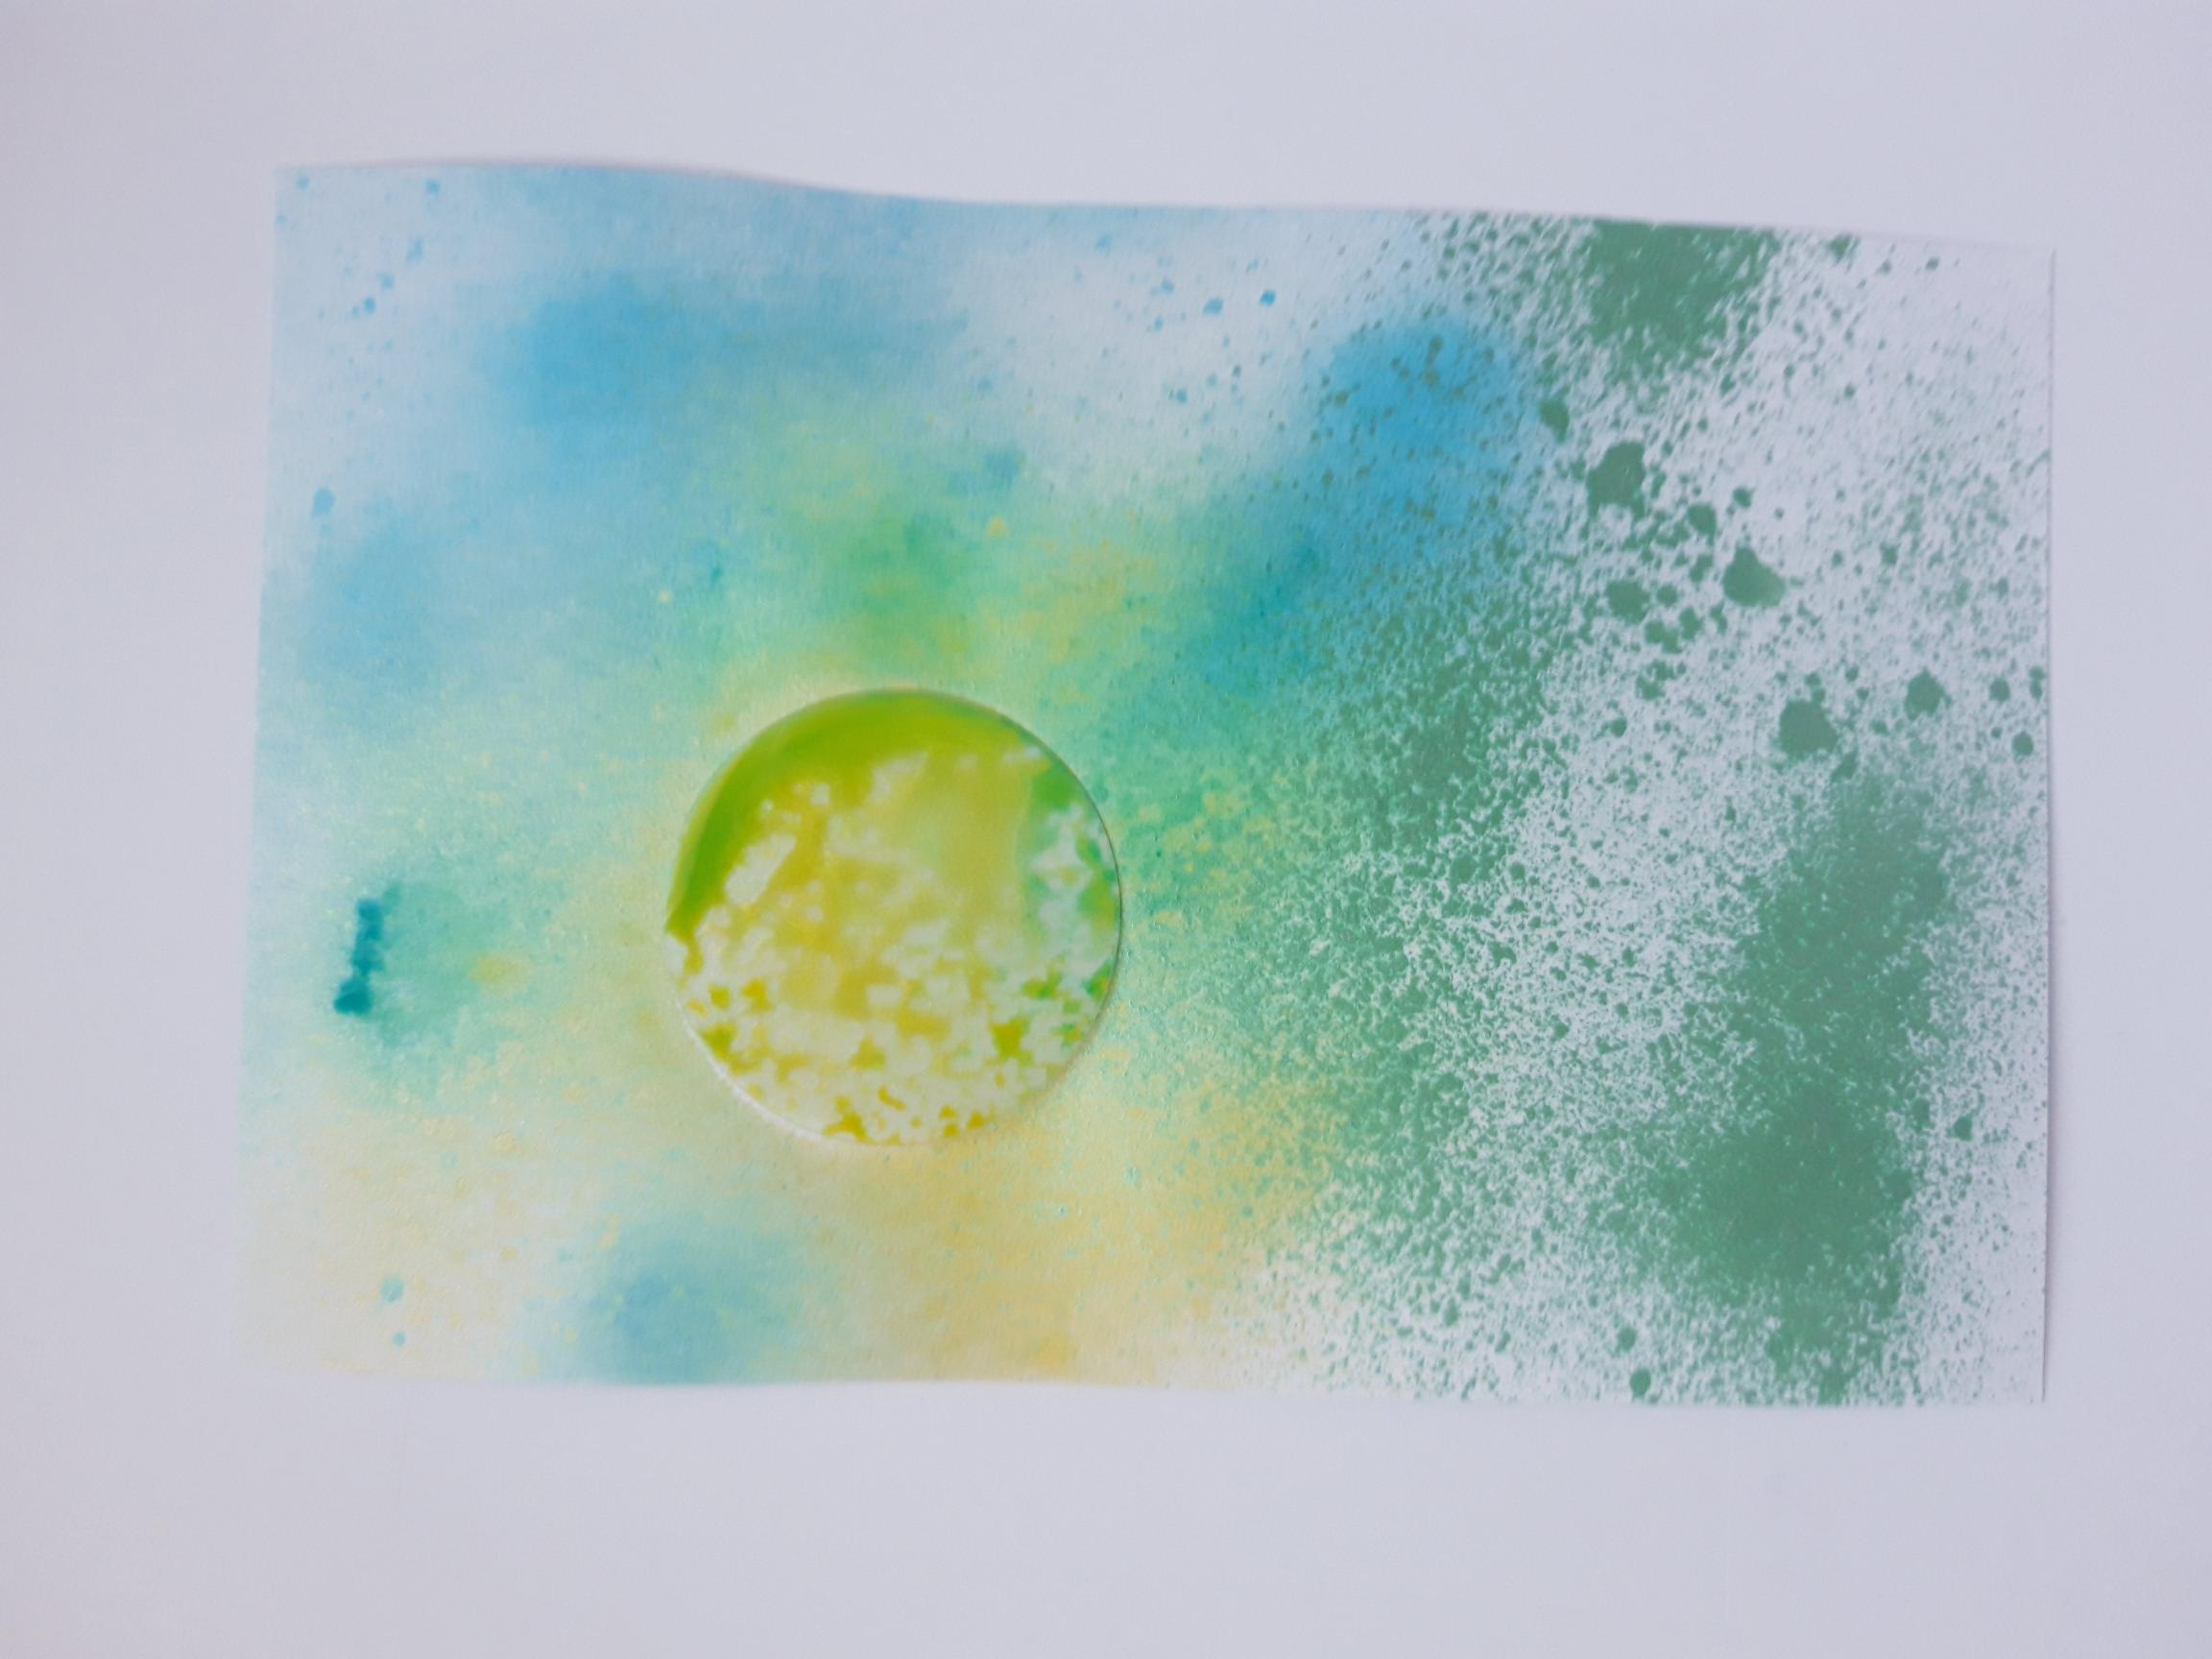
Spray the 3 Izink Shiny sprays over your white card, to create a background. Leave some white spaces, and you can use a paper towel to mop up excess ink, before drying it off. |
|
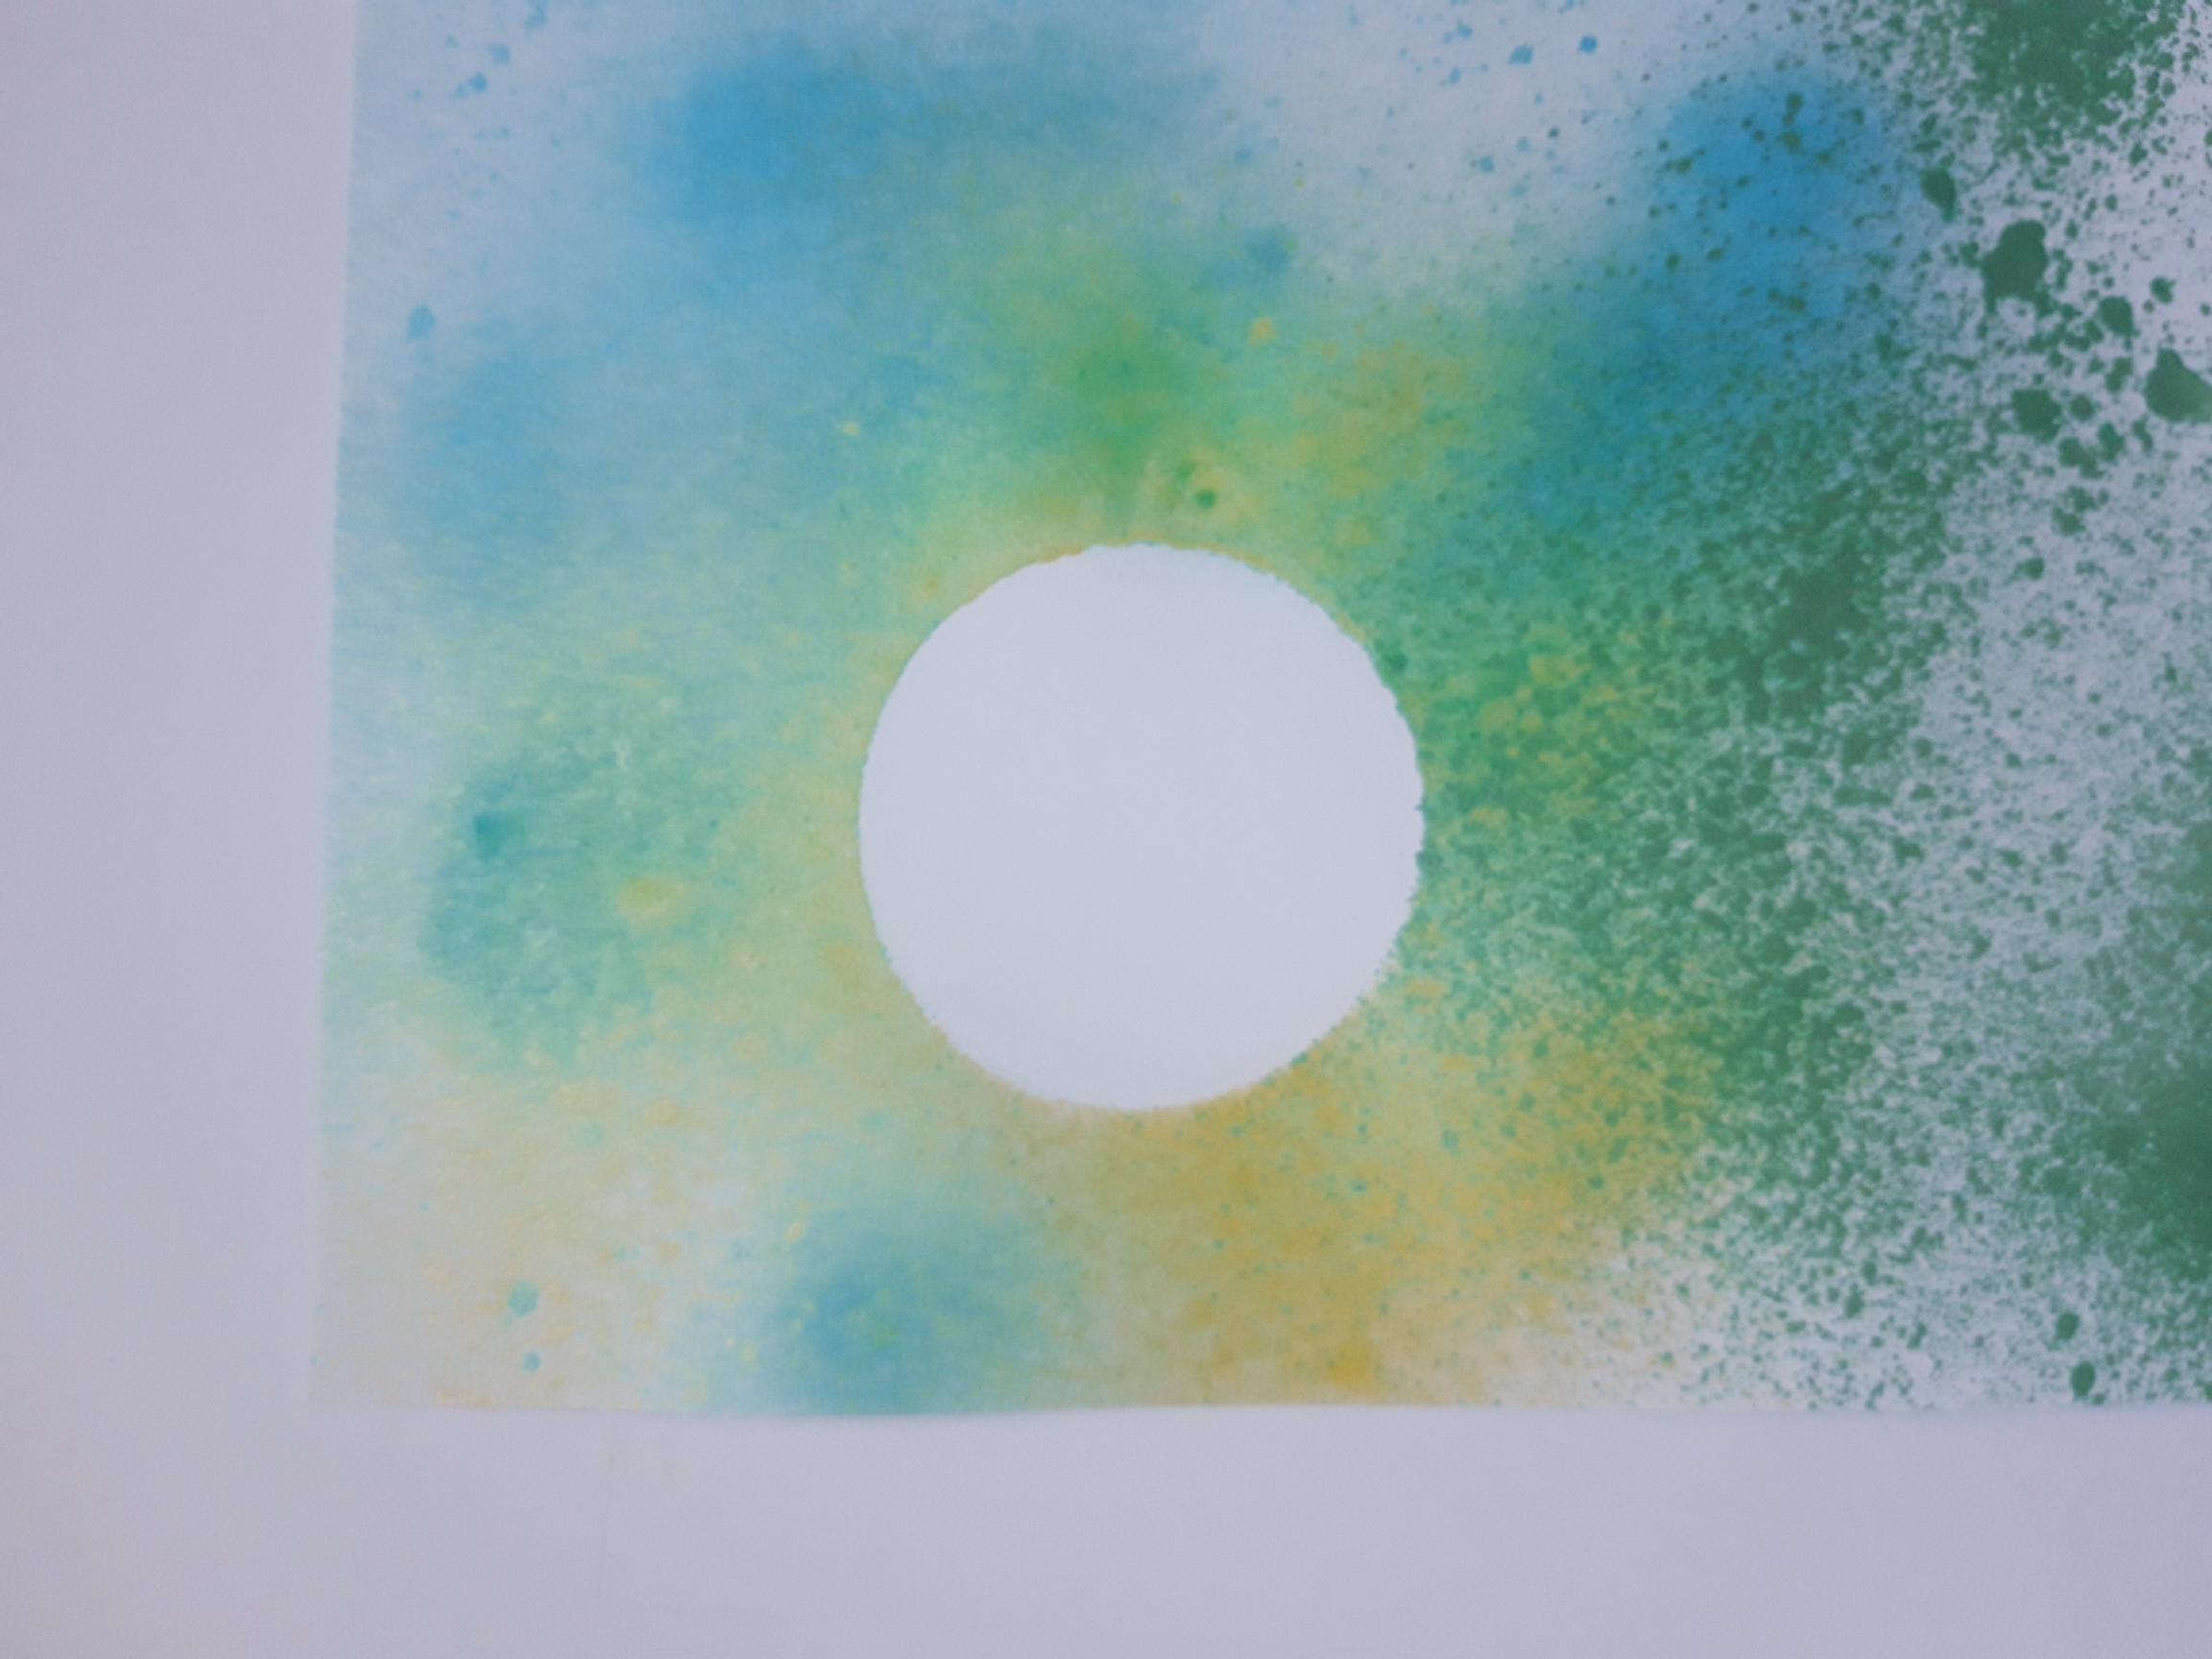
Remove your mask, to reveal your moon/sun. |
|
Lightly spray the Izink Jaune over your moon/sun, to blend it in, and take away the starkness of the white card. |

|
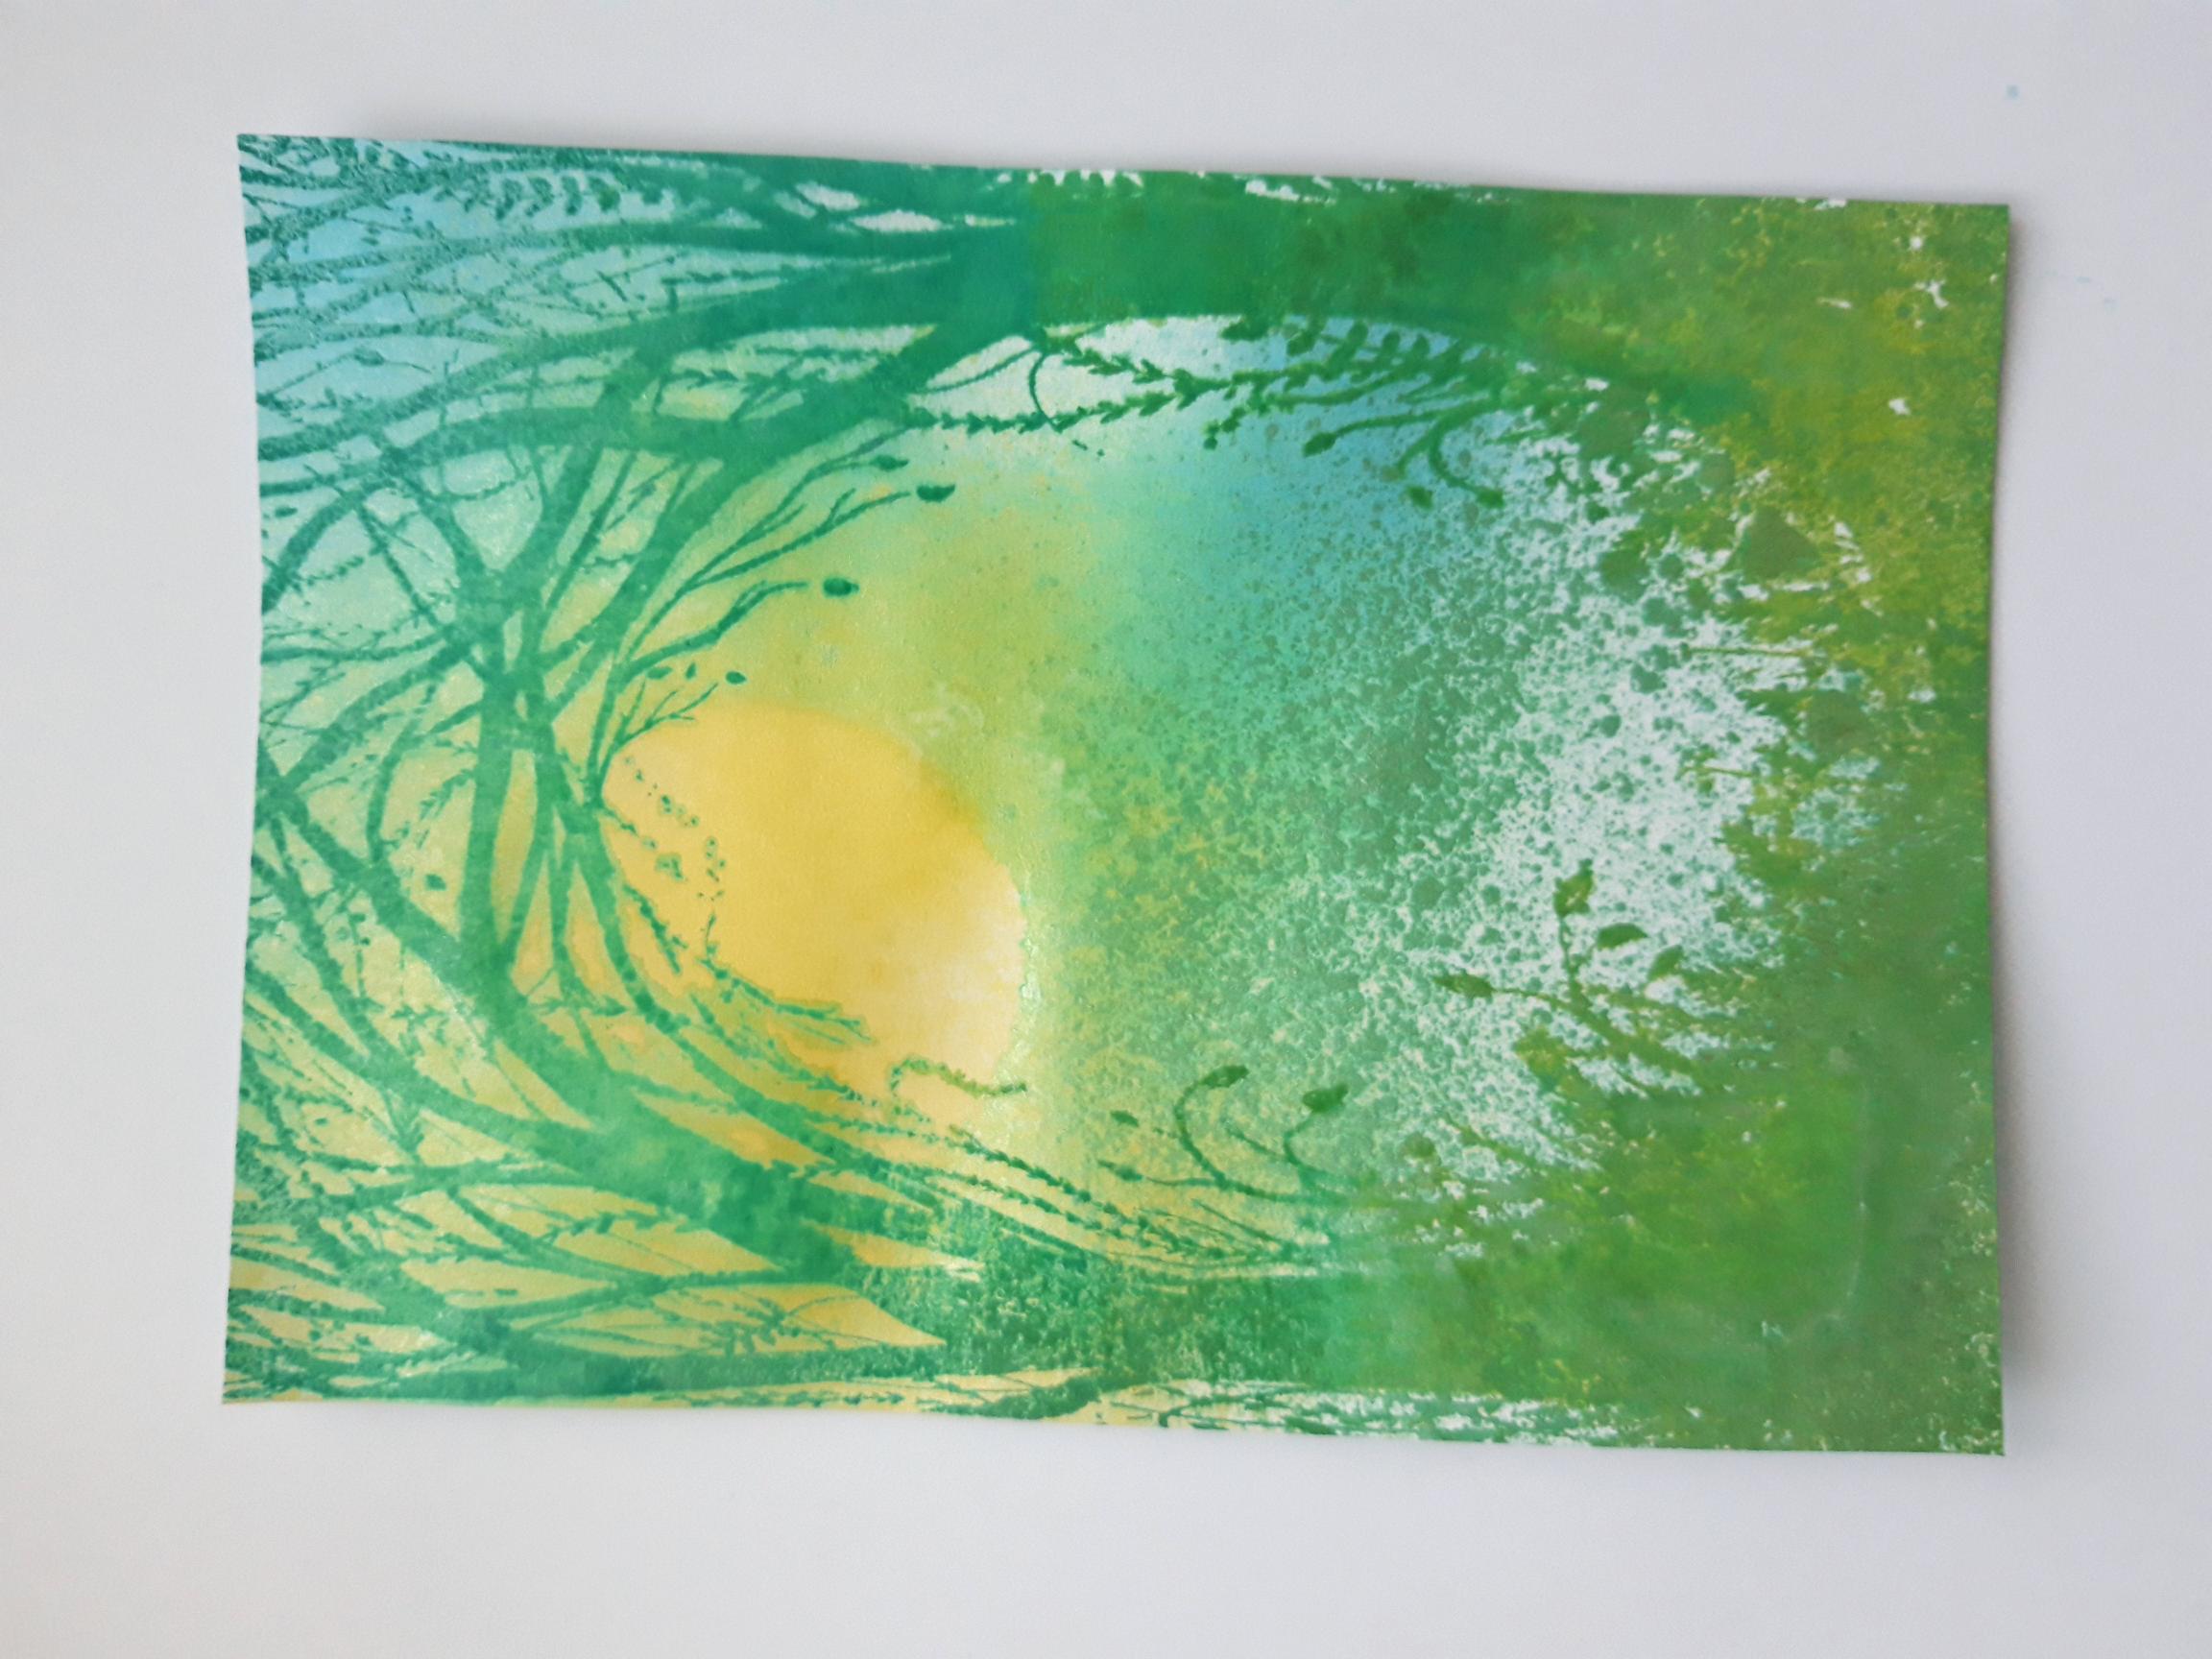
Ink up the Enchanted Forest stamp with the Distress Oxides. Spritz with water and stamp on to your inked background. You can spray your stamped image, allowing the ink to bleed slightly and/or you can reink and restamp it again, until you achieve the desired effect. Dry off your artwork thoroughly. |
|
Cut your artwork down, to 6 1/2 x 4 3/4". |
|
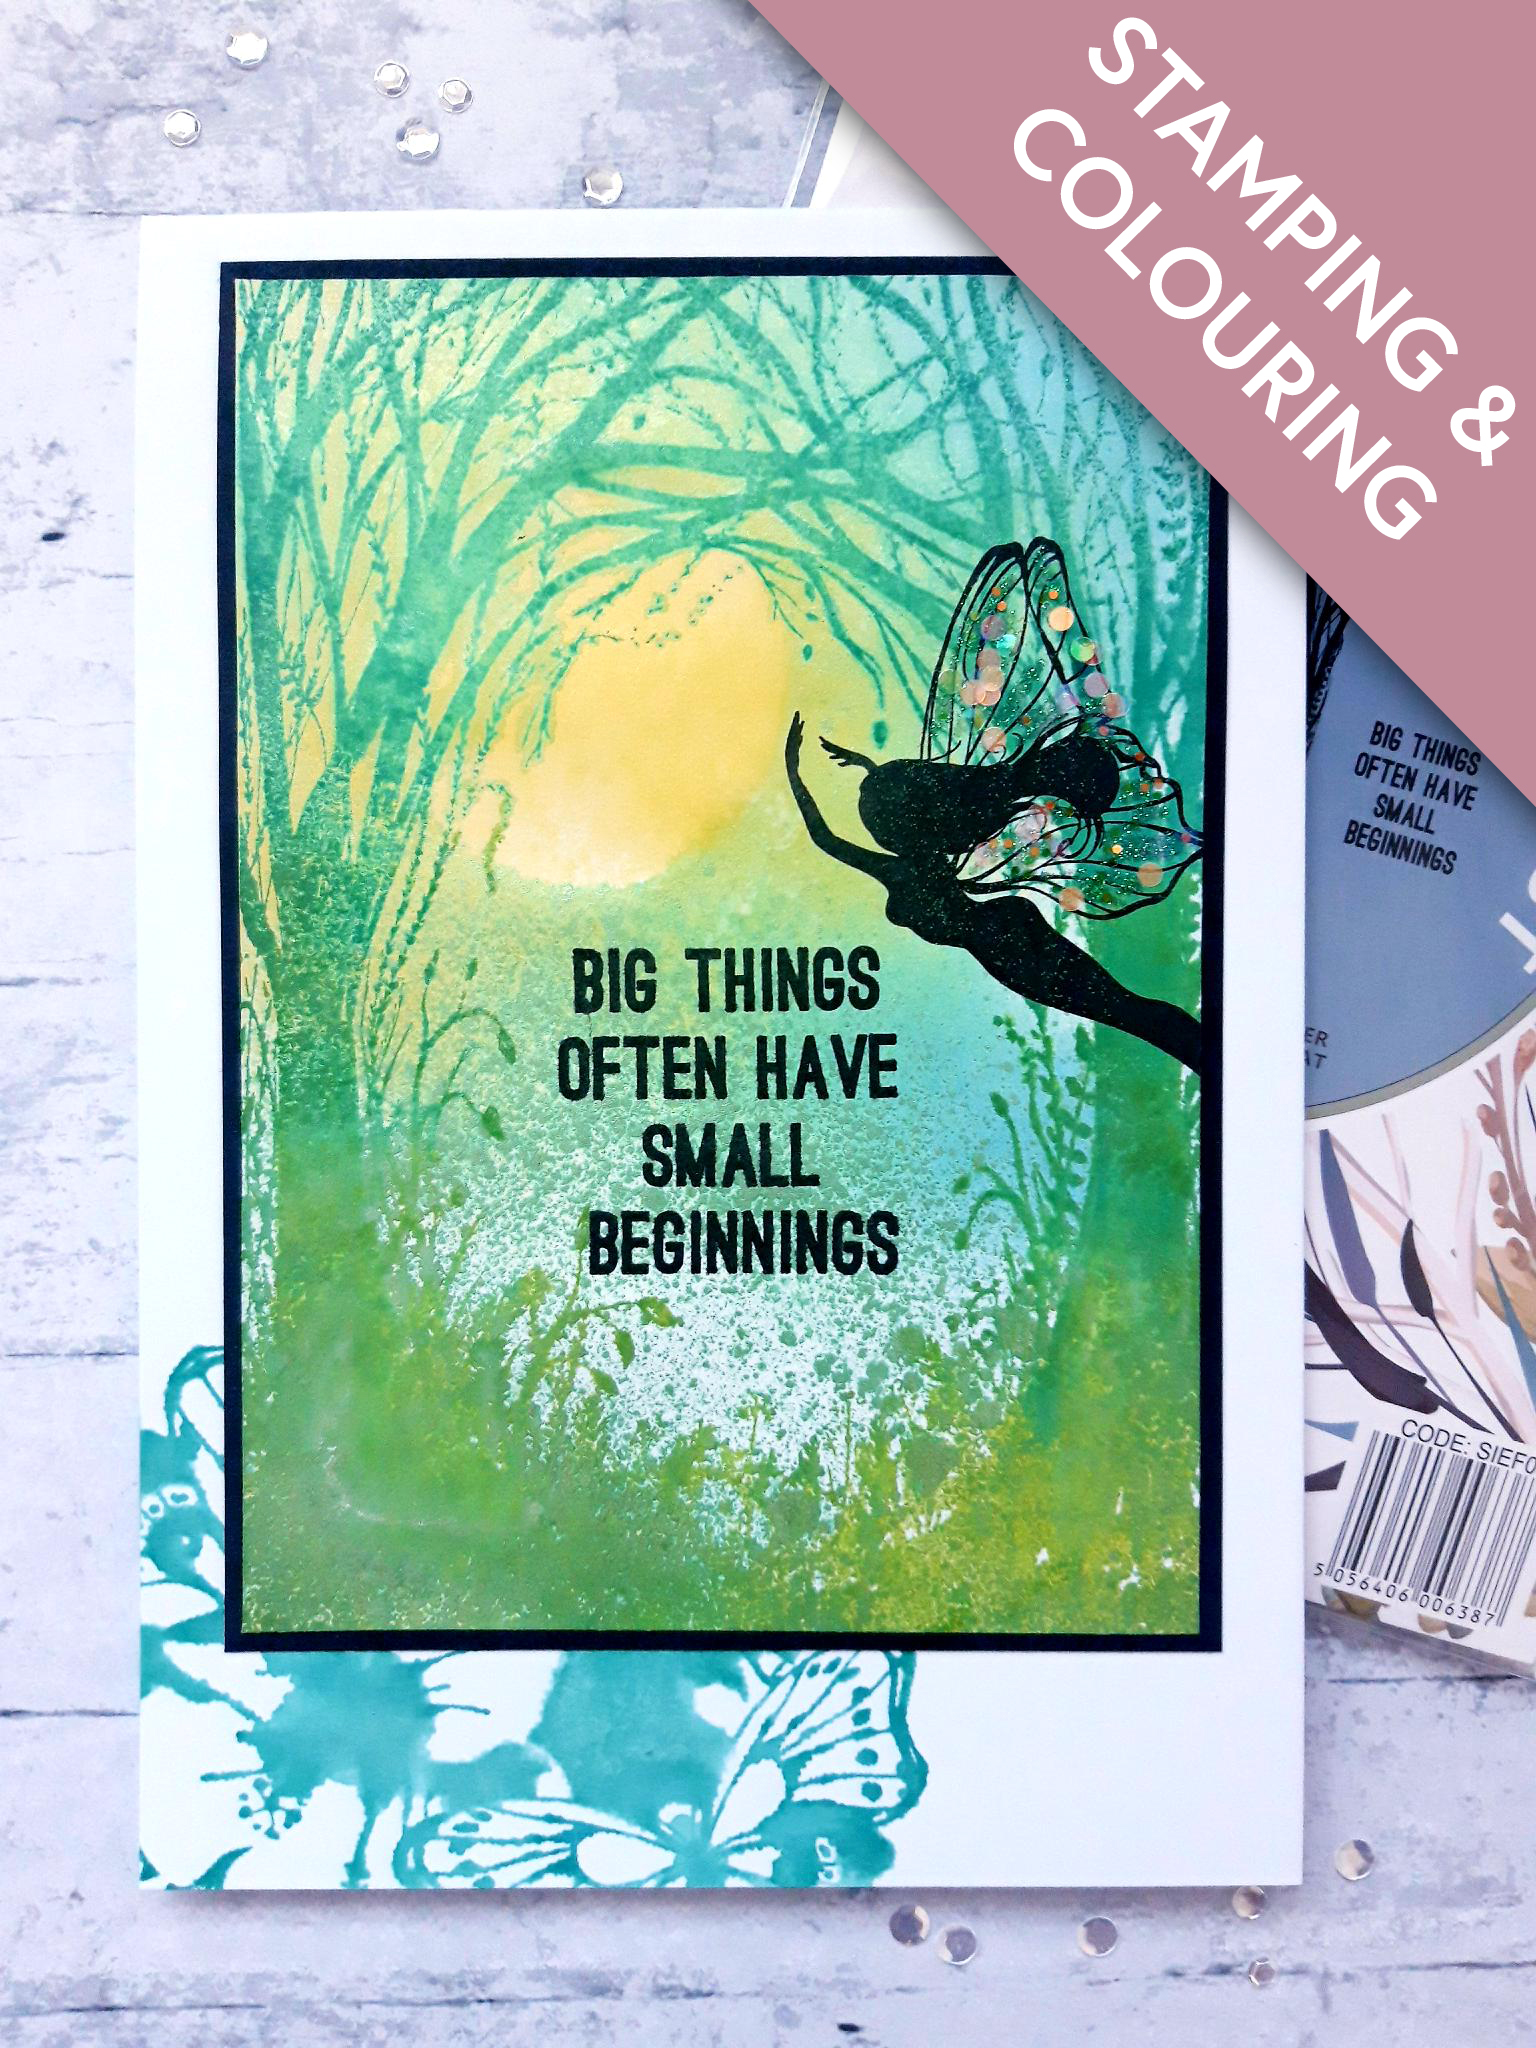
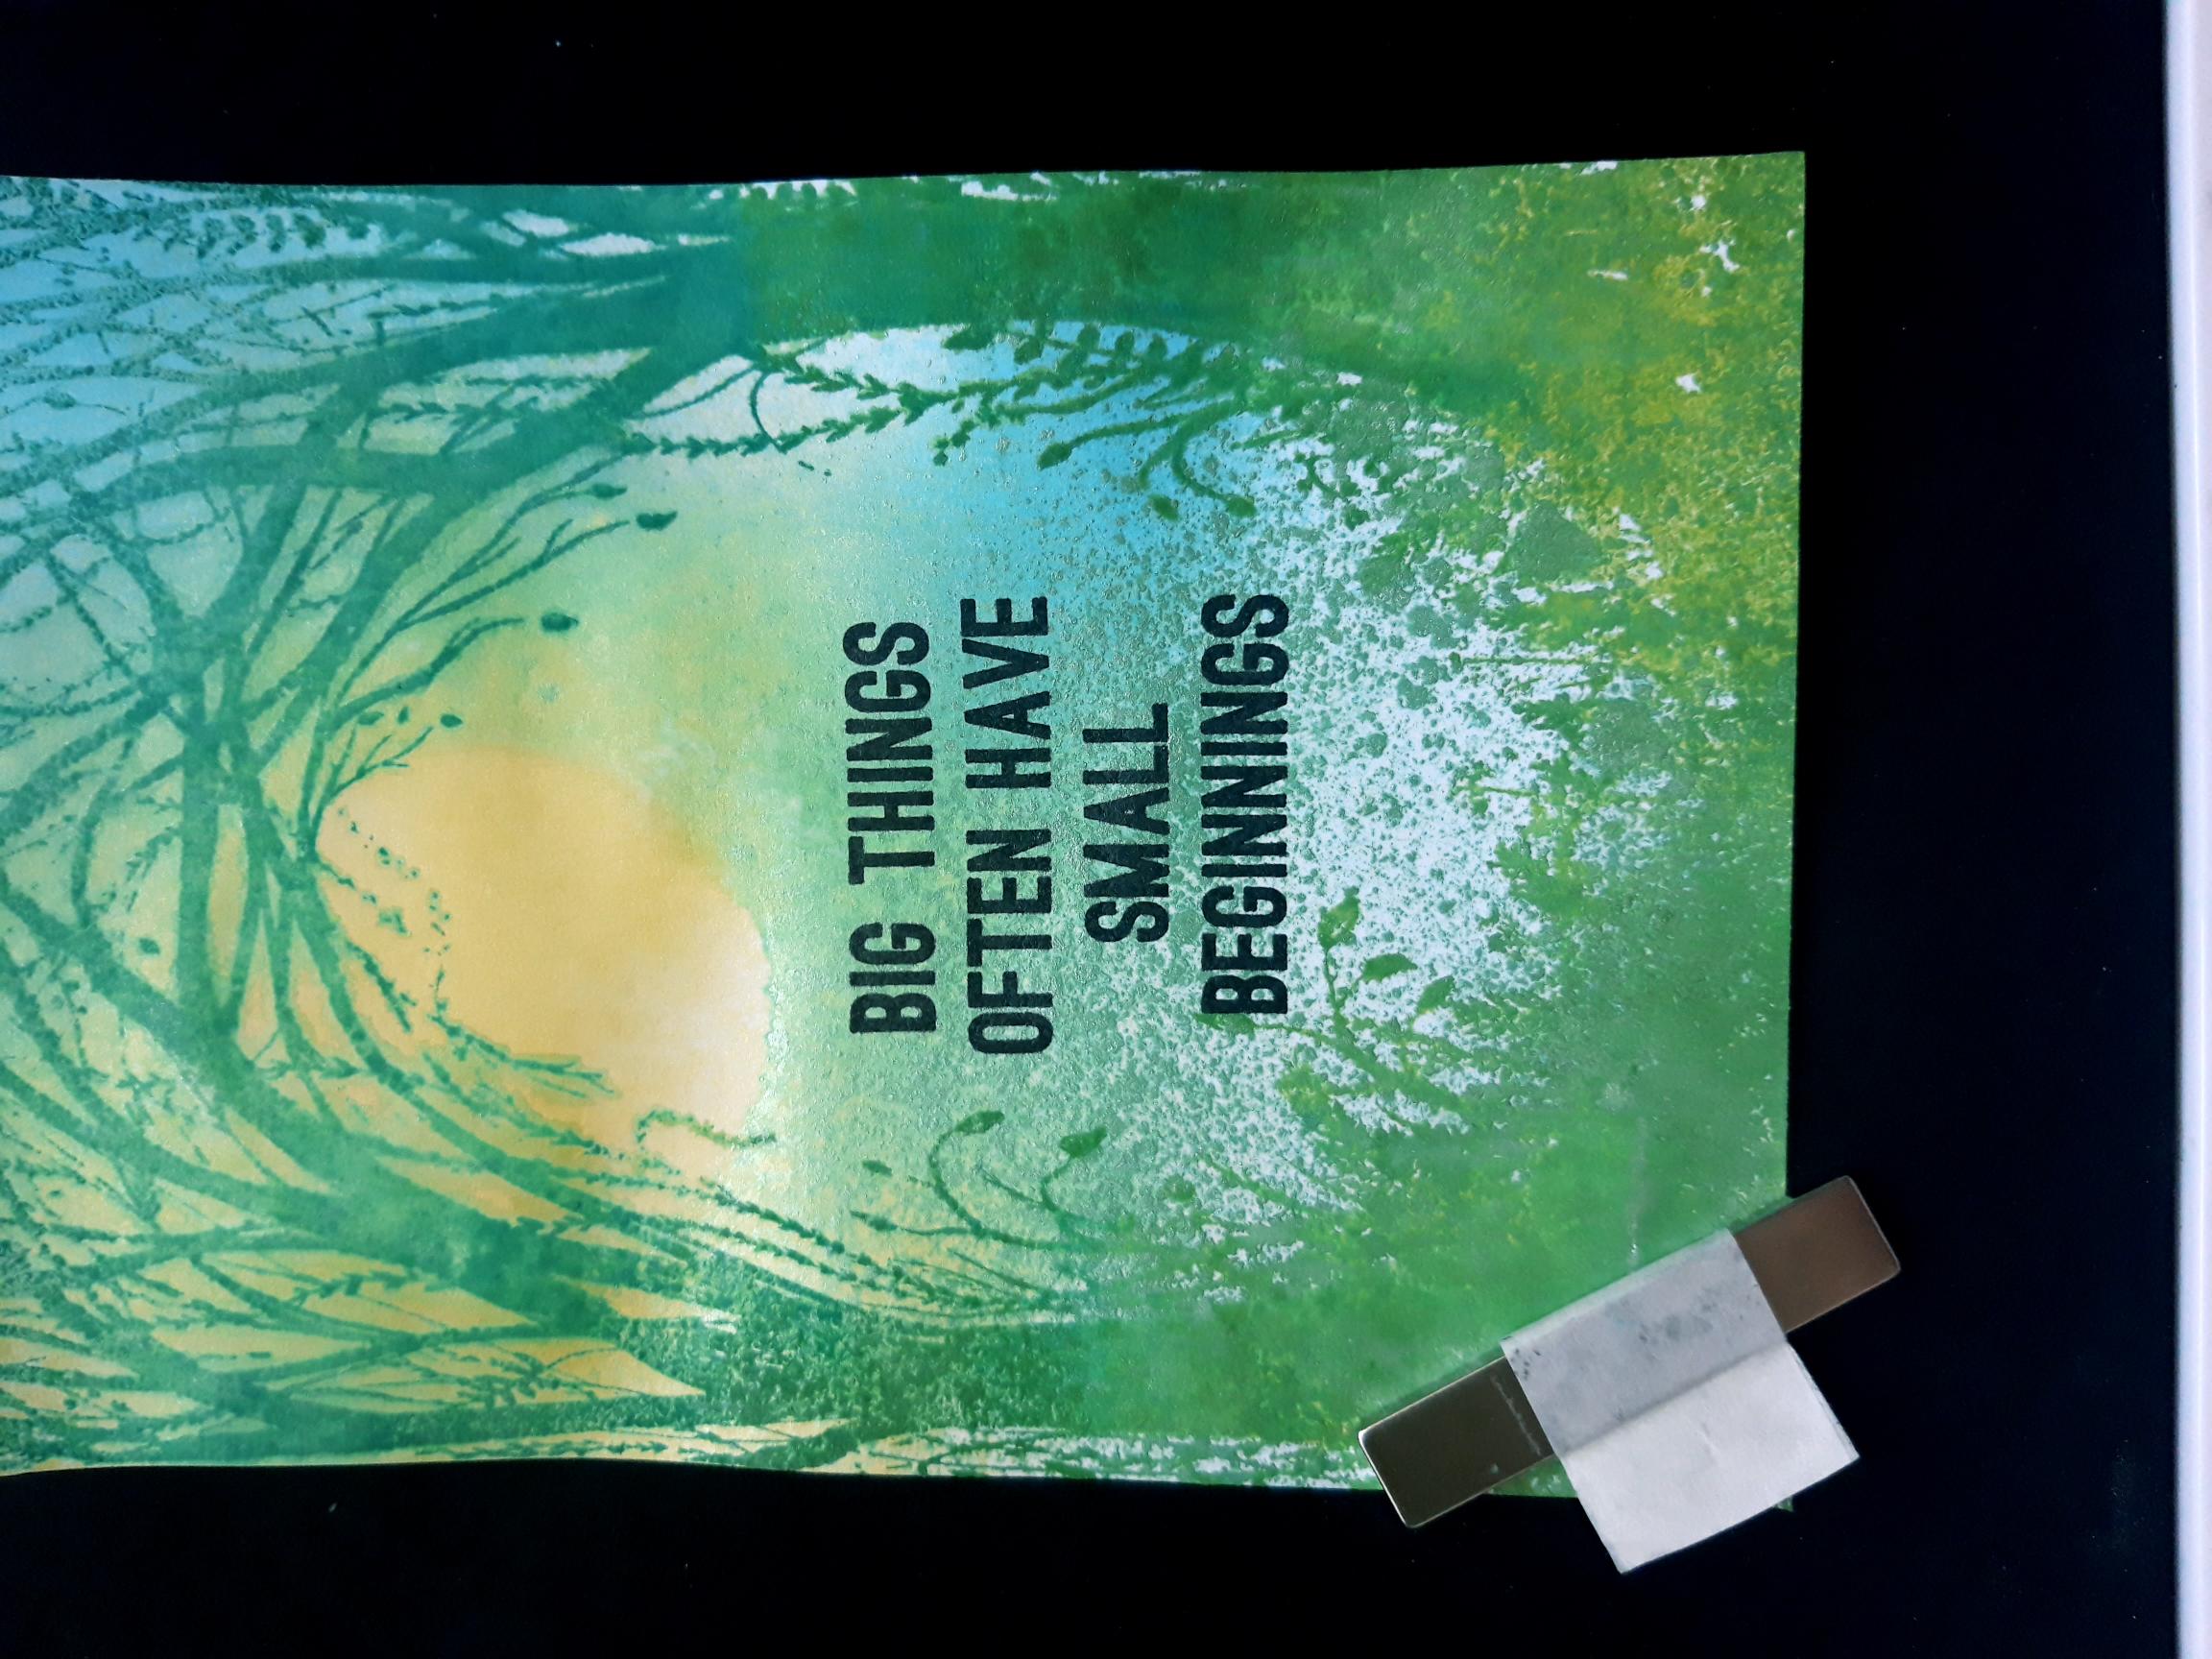
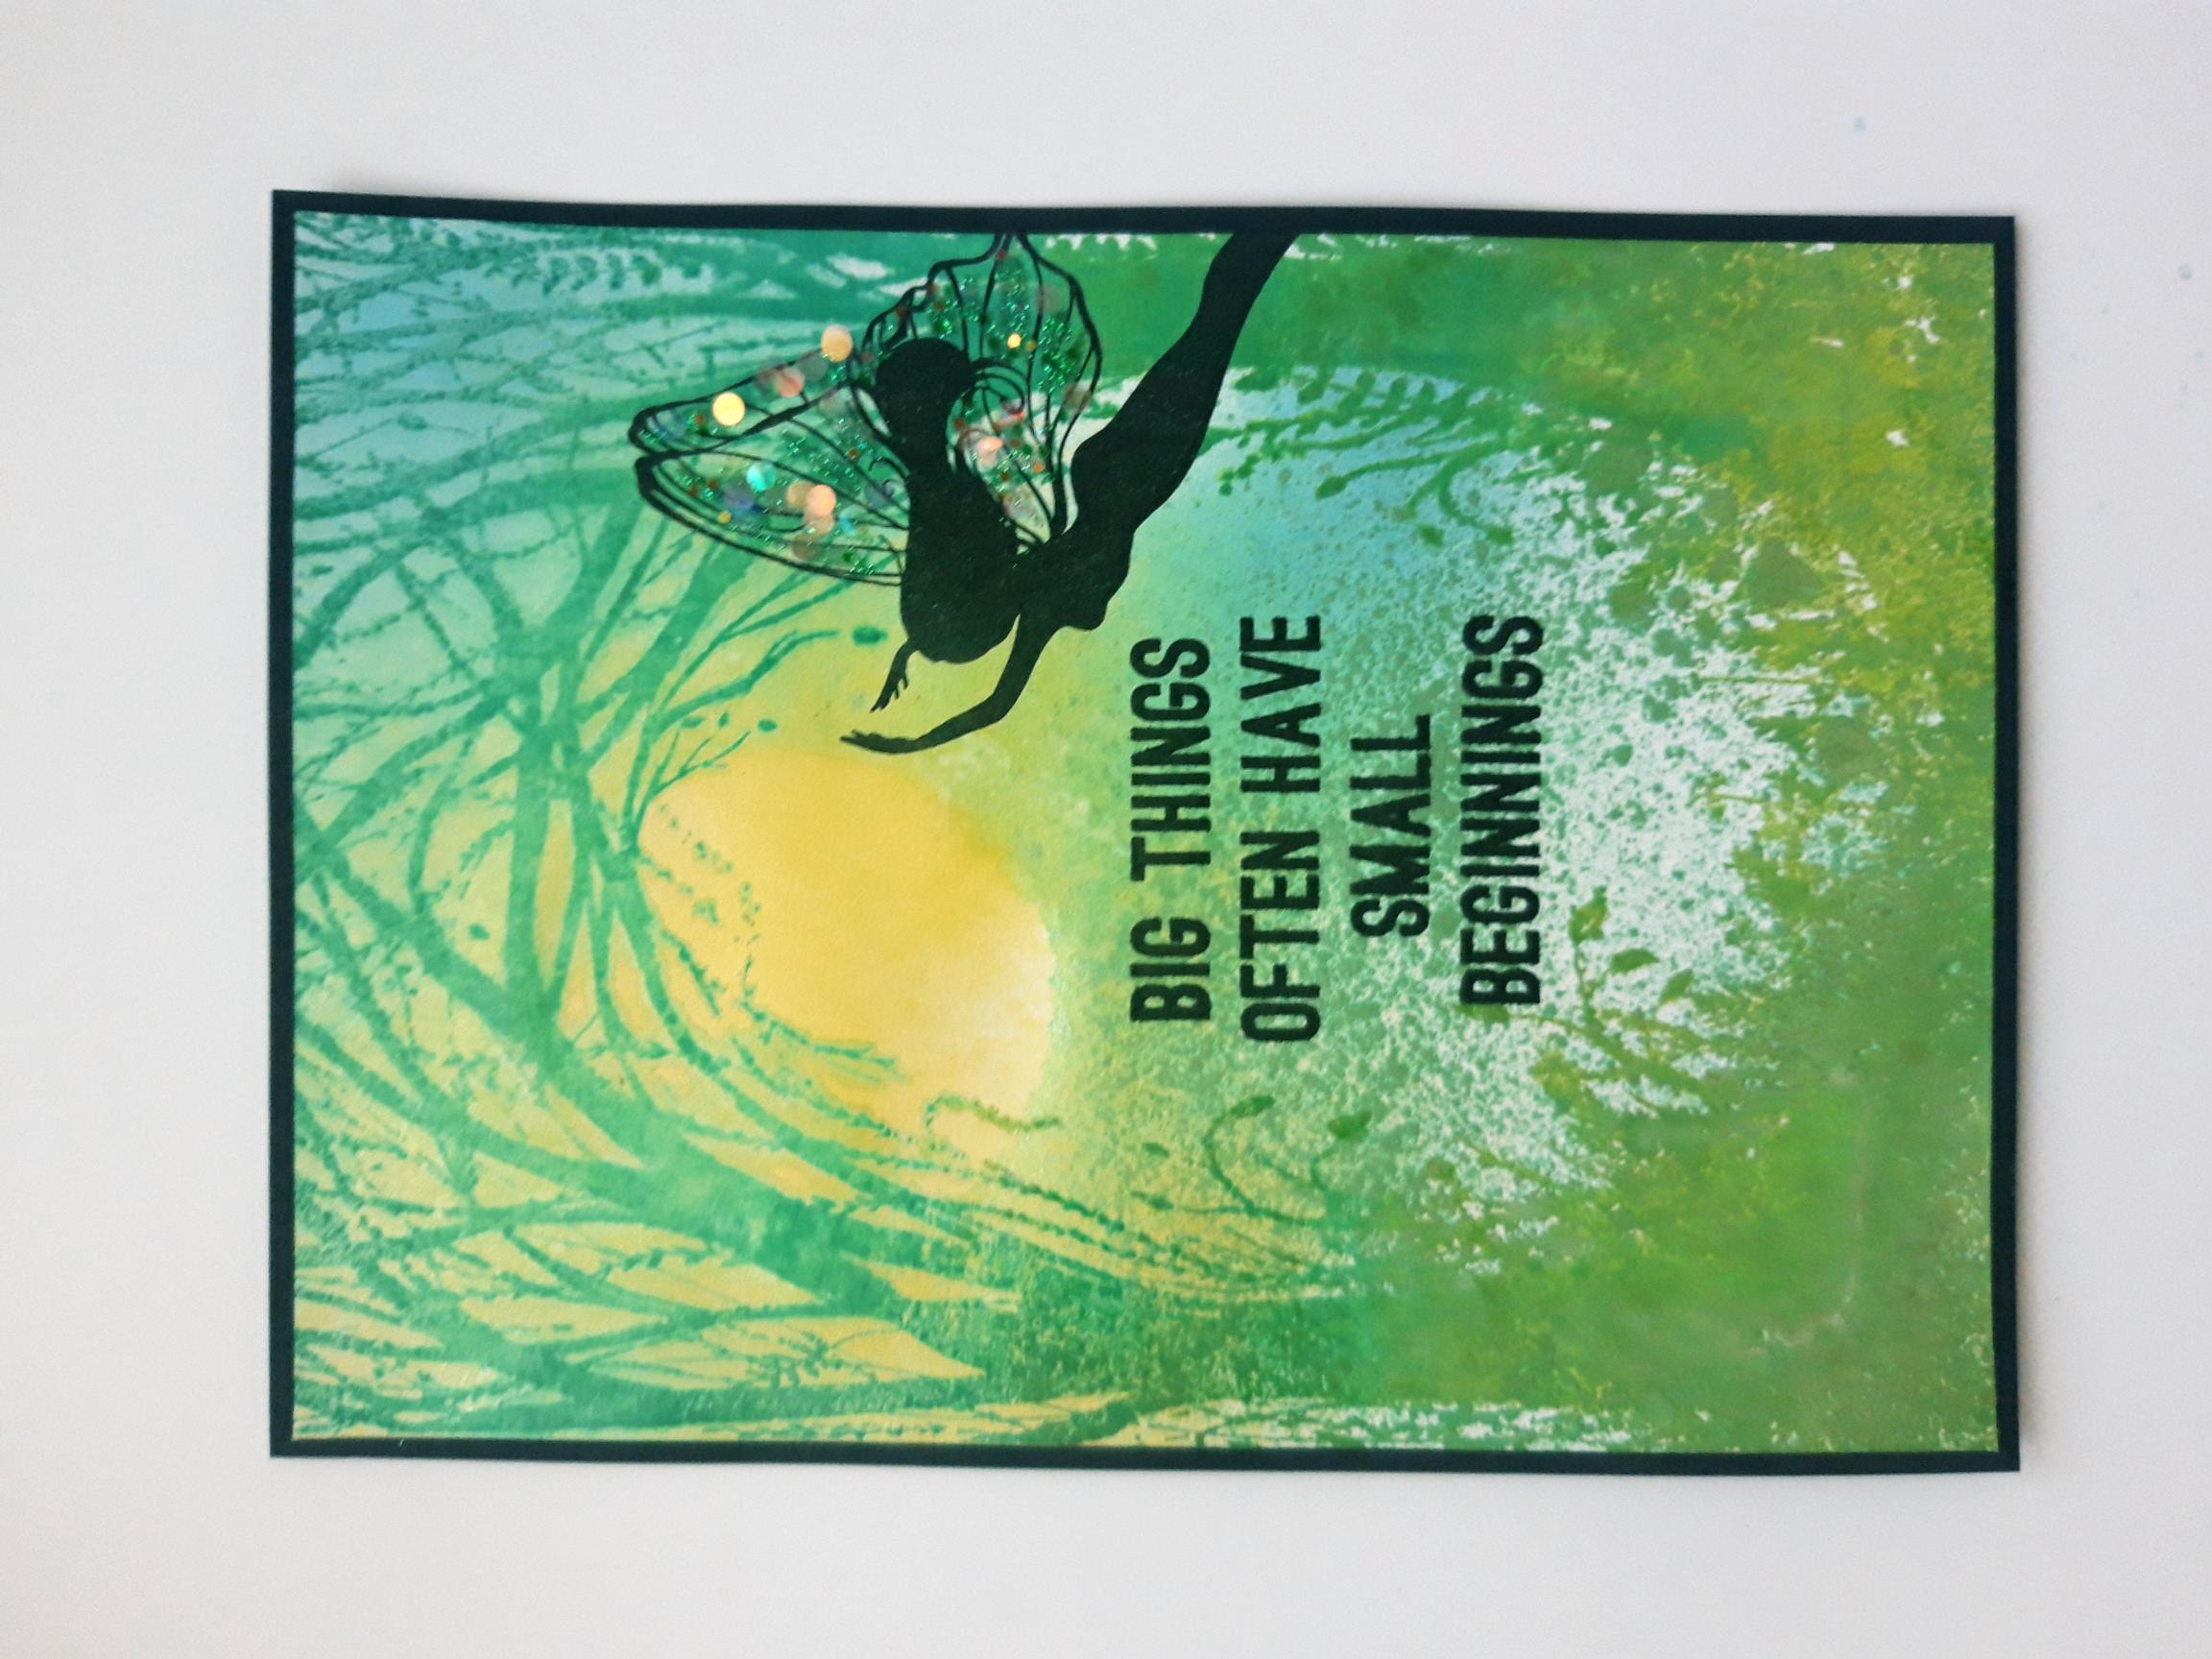
Ink up the sentiment stamp from the same set, with the Onyx Black Versafine. Stamp low down, in the middle of your Enchanted Forest. |
|
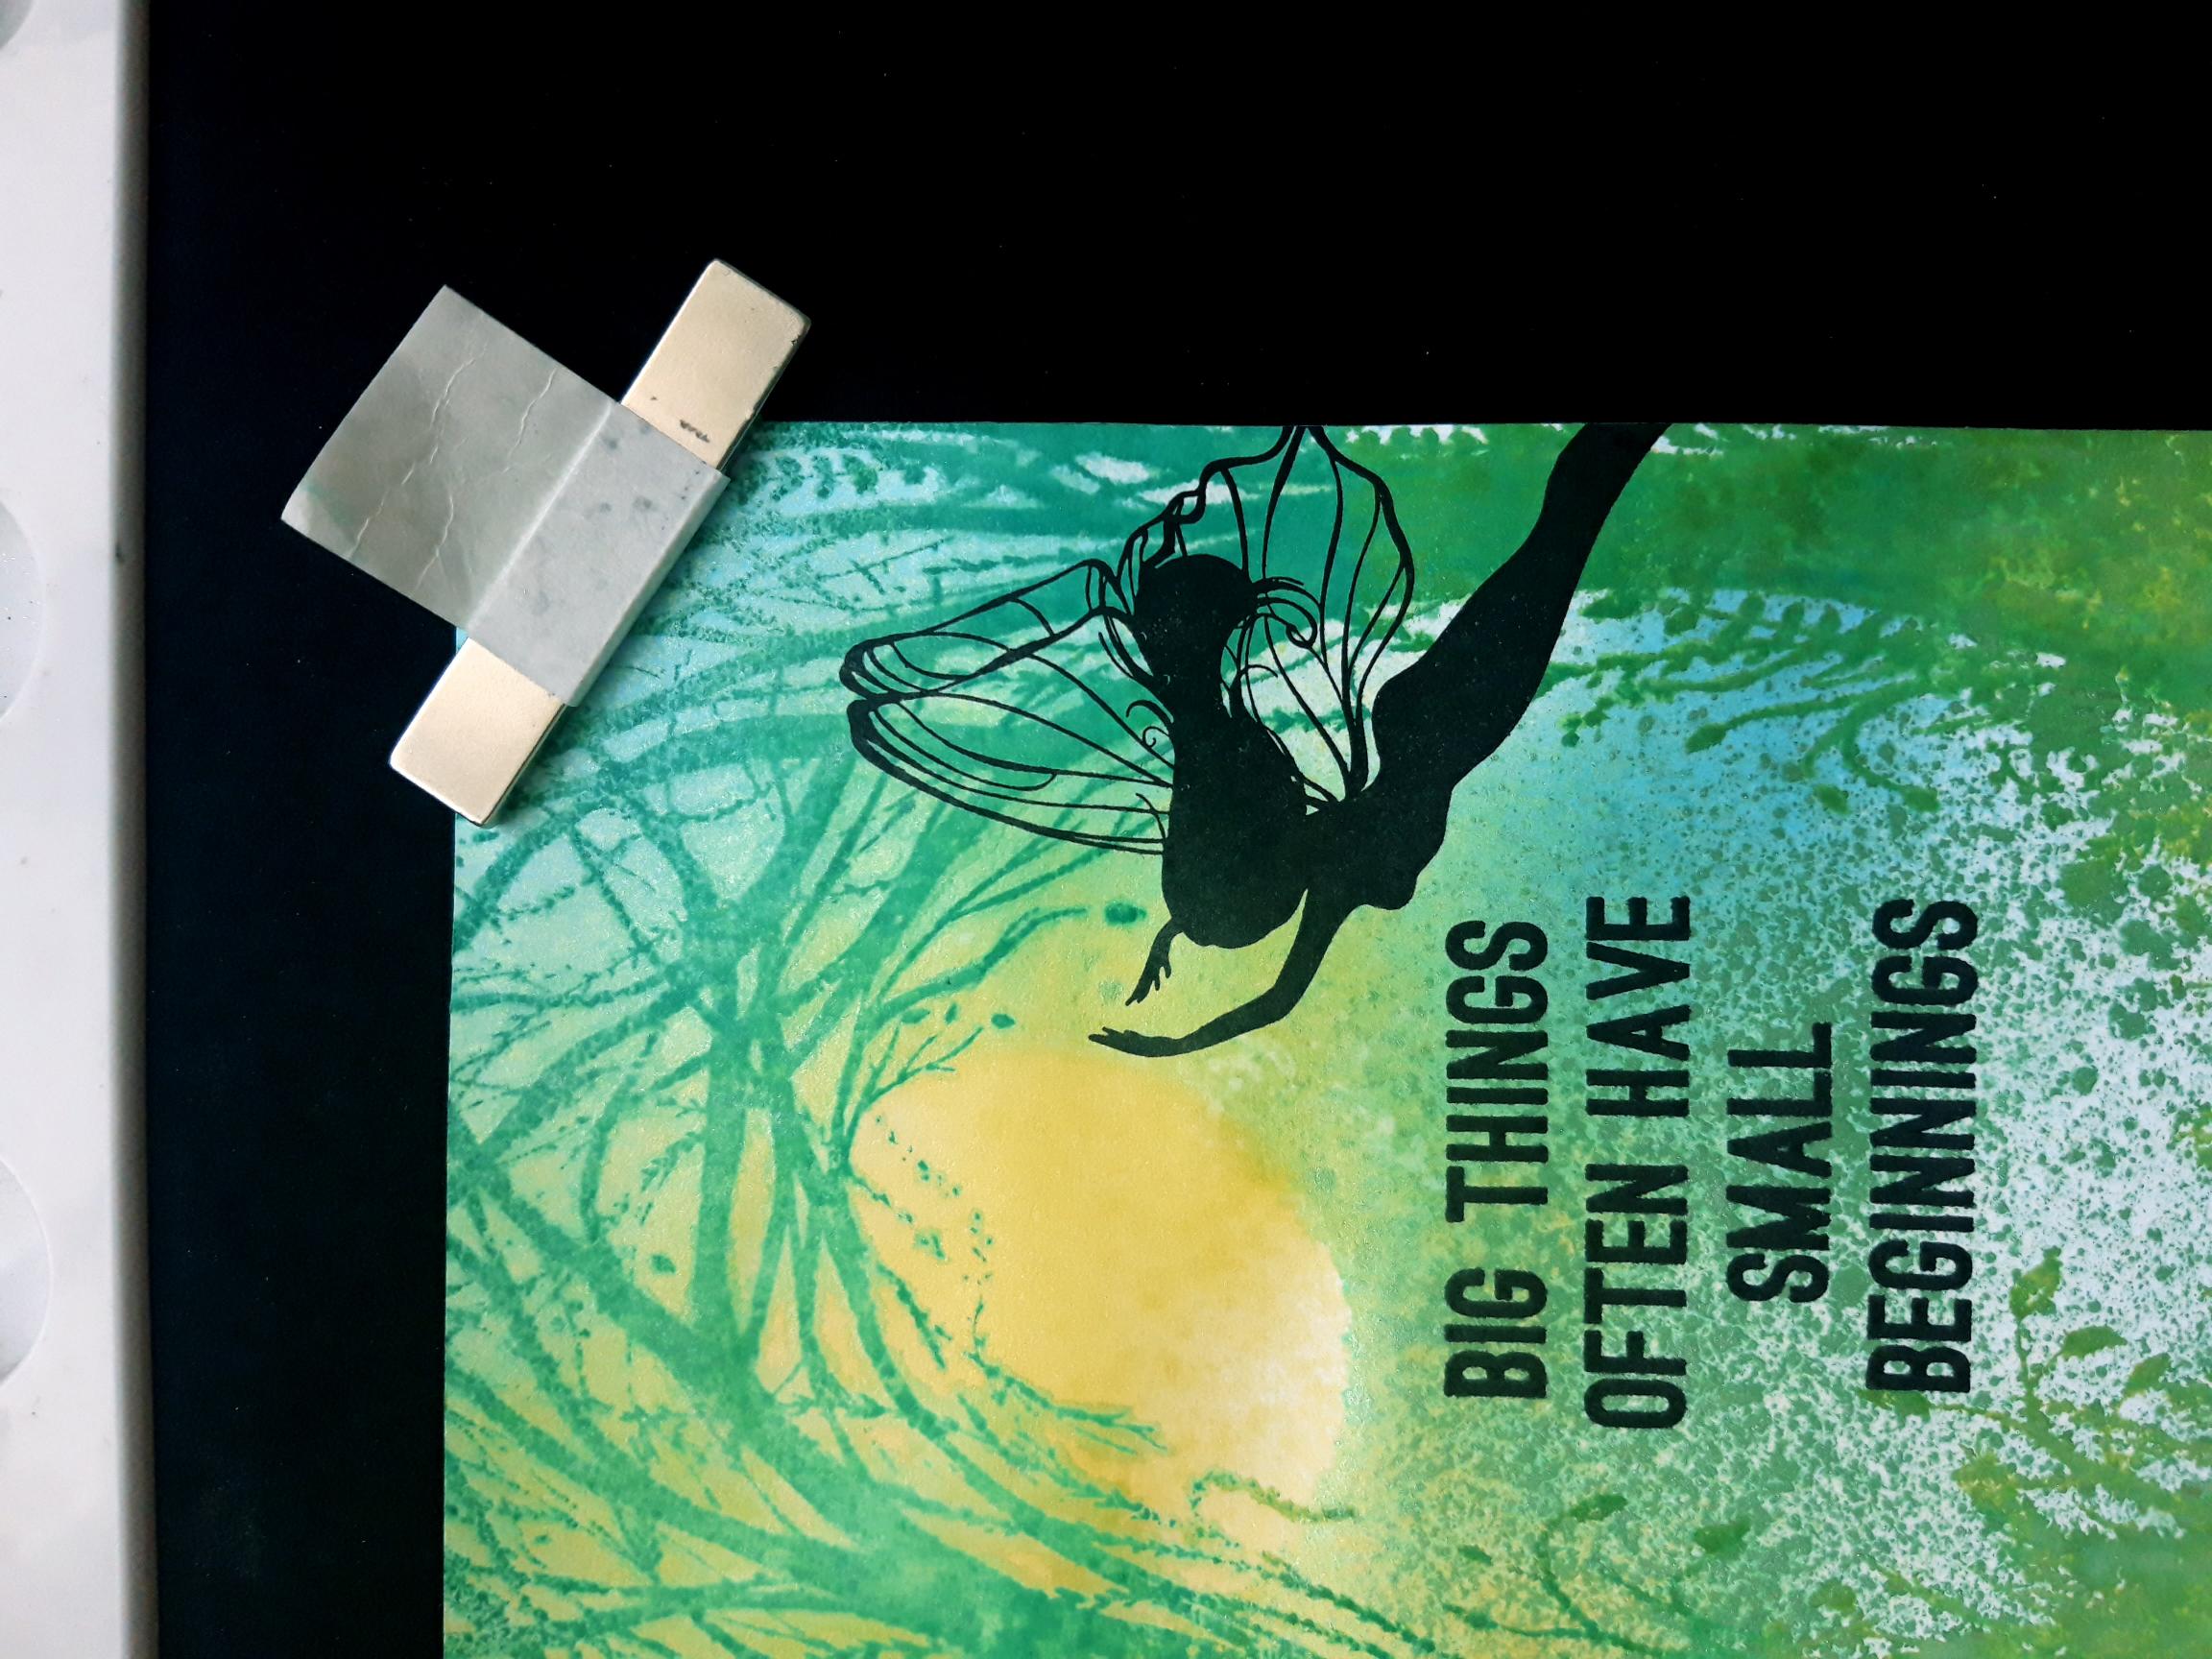
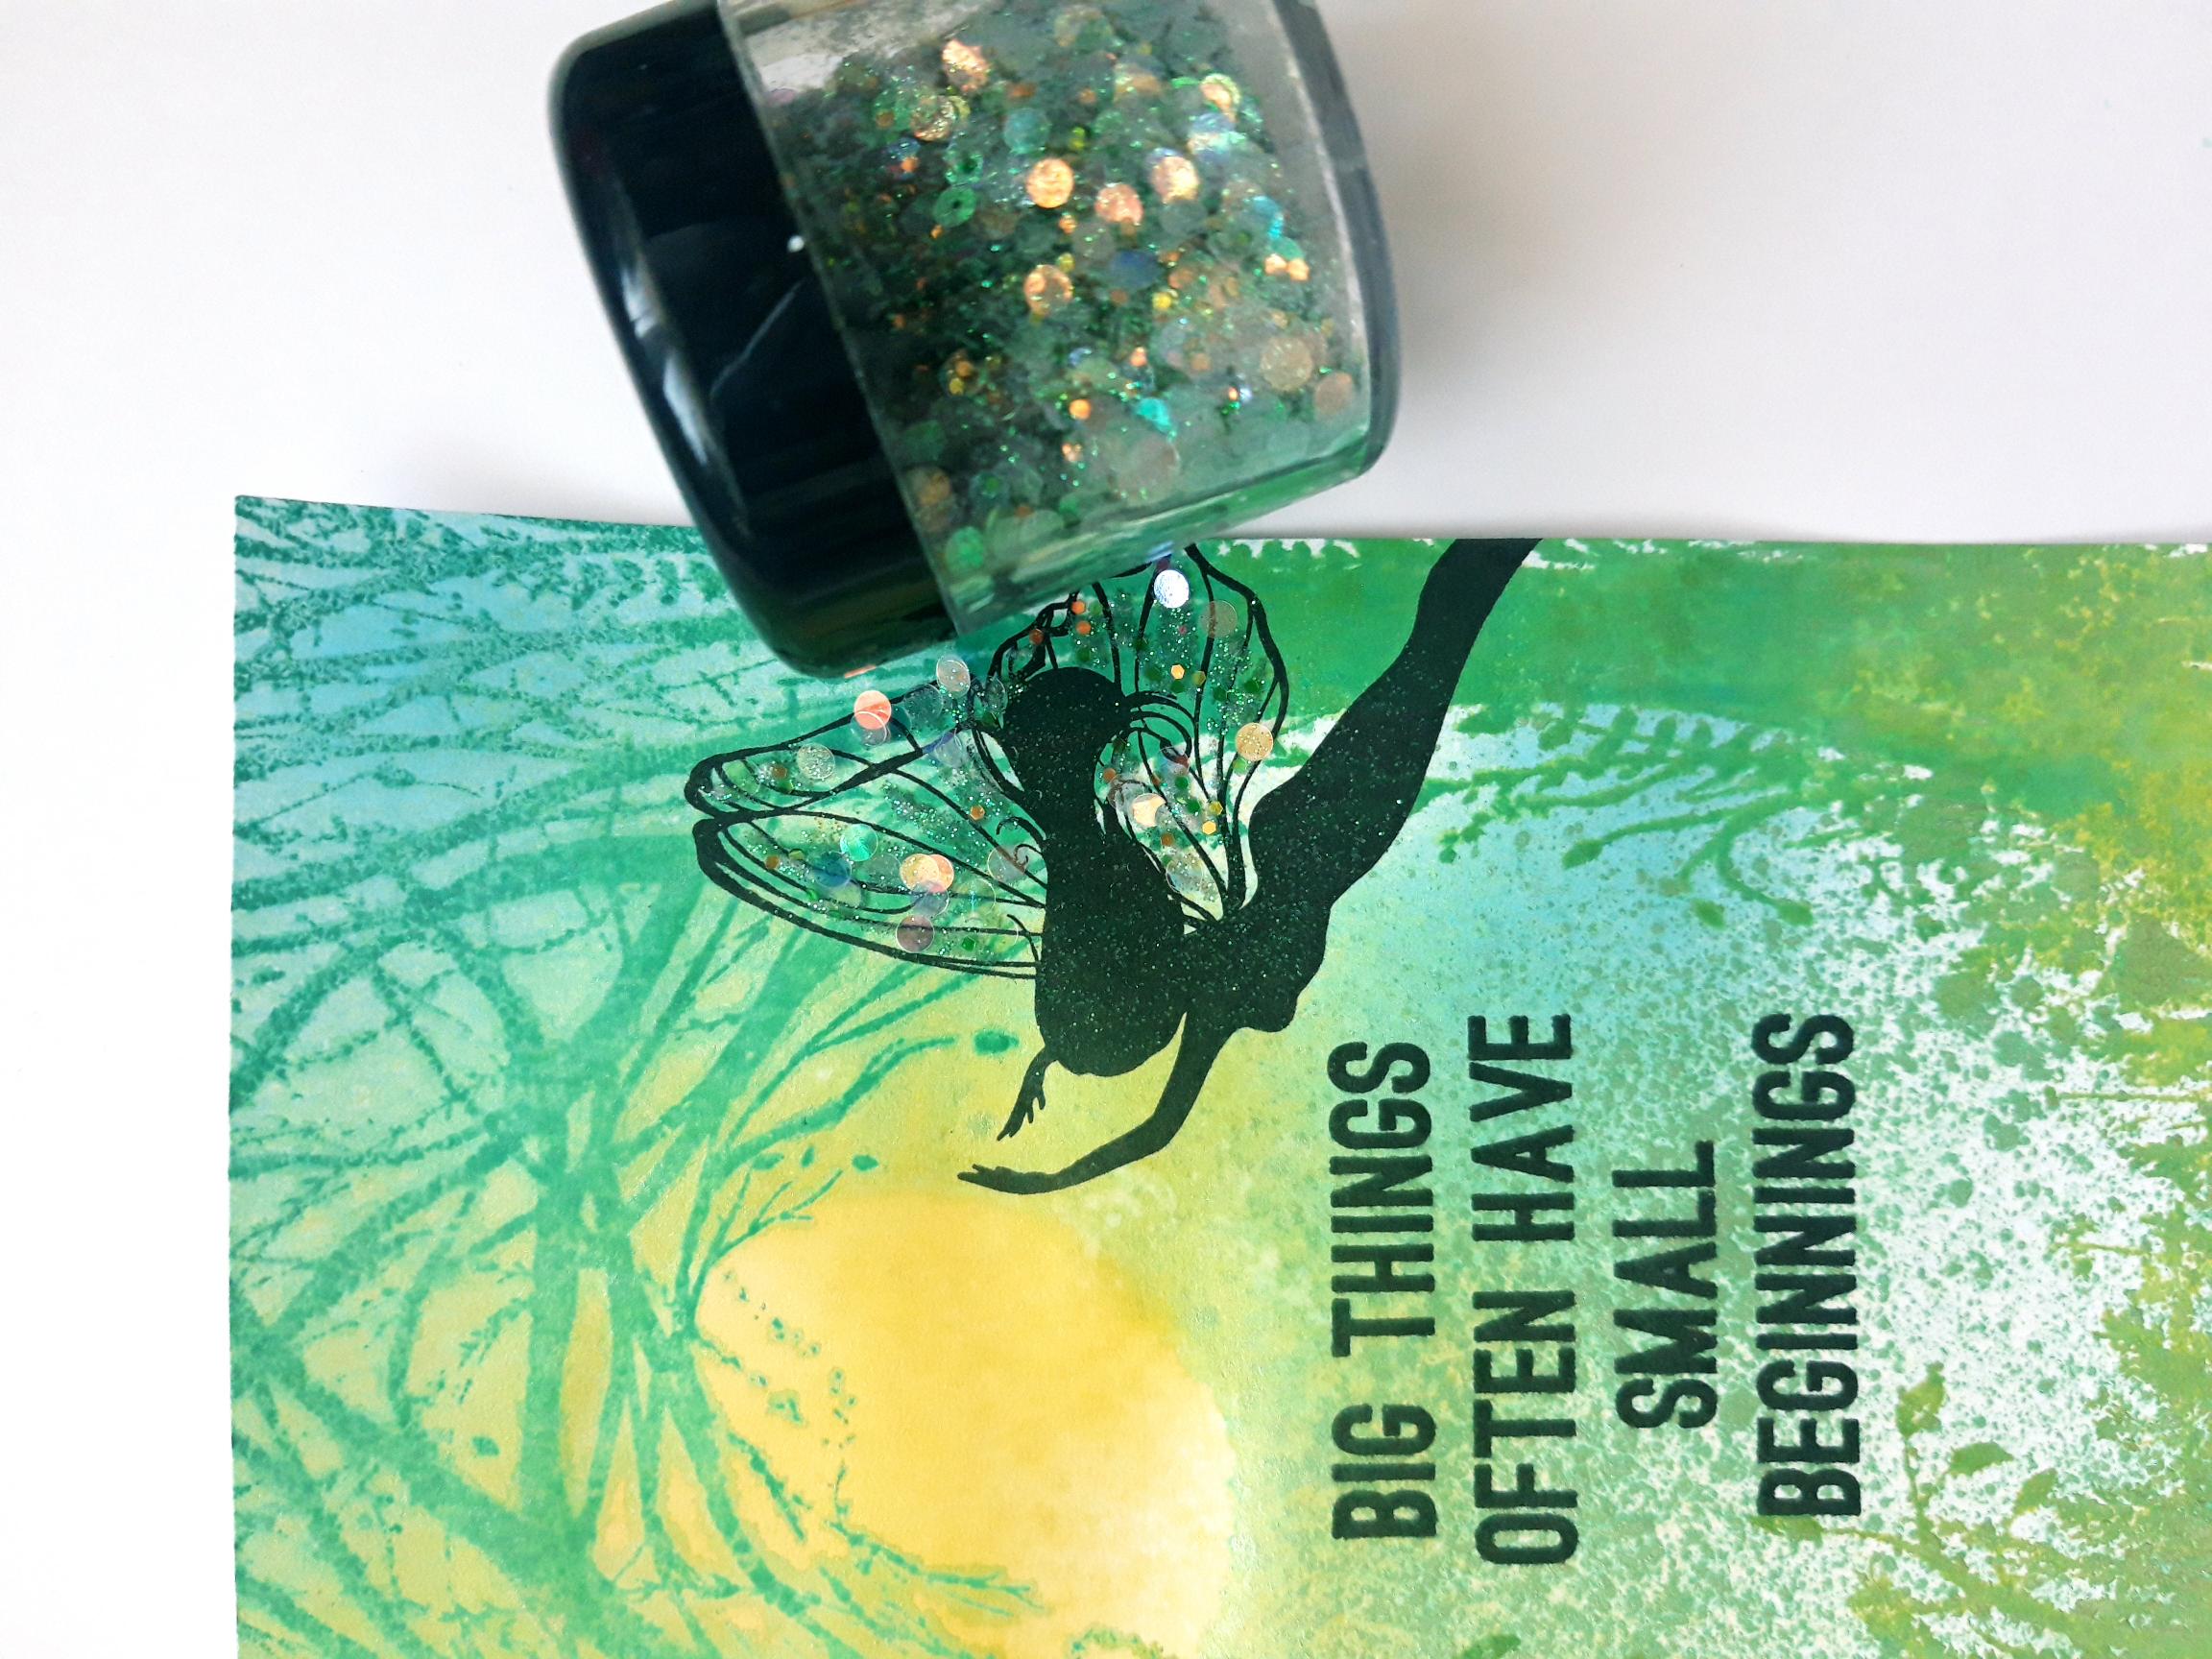
Ink up one of the fairies from the Imala Fairies stamp set, with the Versafine. Stamp her just off the right hand edge of the background, above the sentiment. Dry off the ink before proceeding to the next step. |
|
Add the Teal Texture Glitter to the Fairy's wings. |
|
Once the glitter is set, adhere your artwork on to the black card. Set to one side. |
|
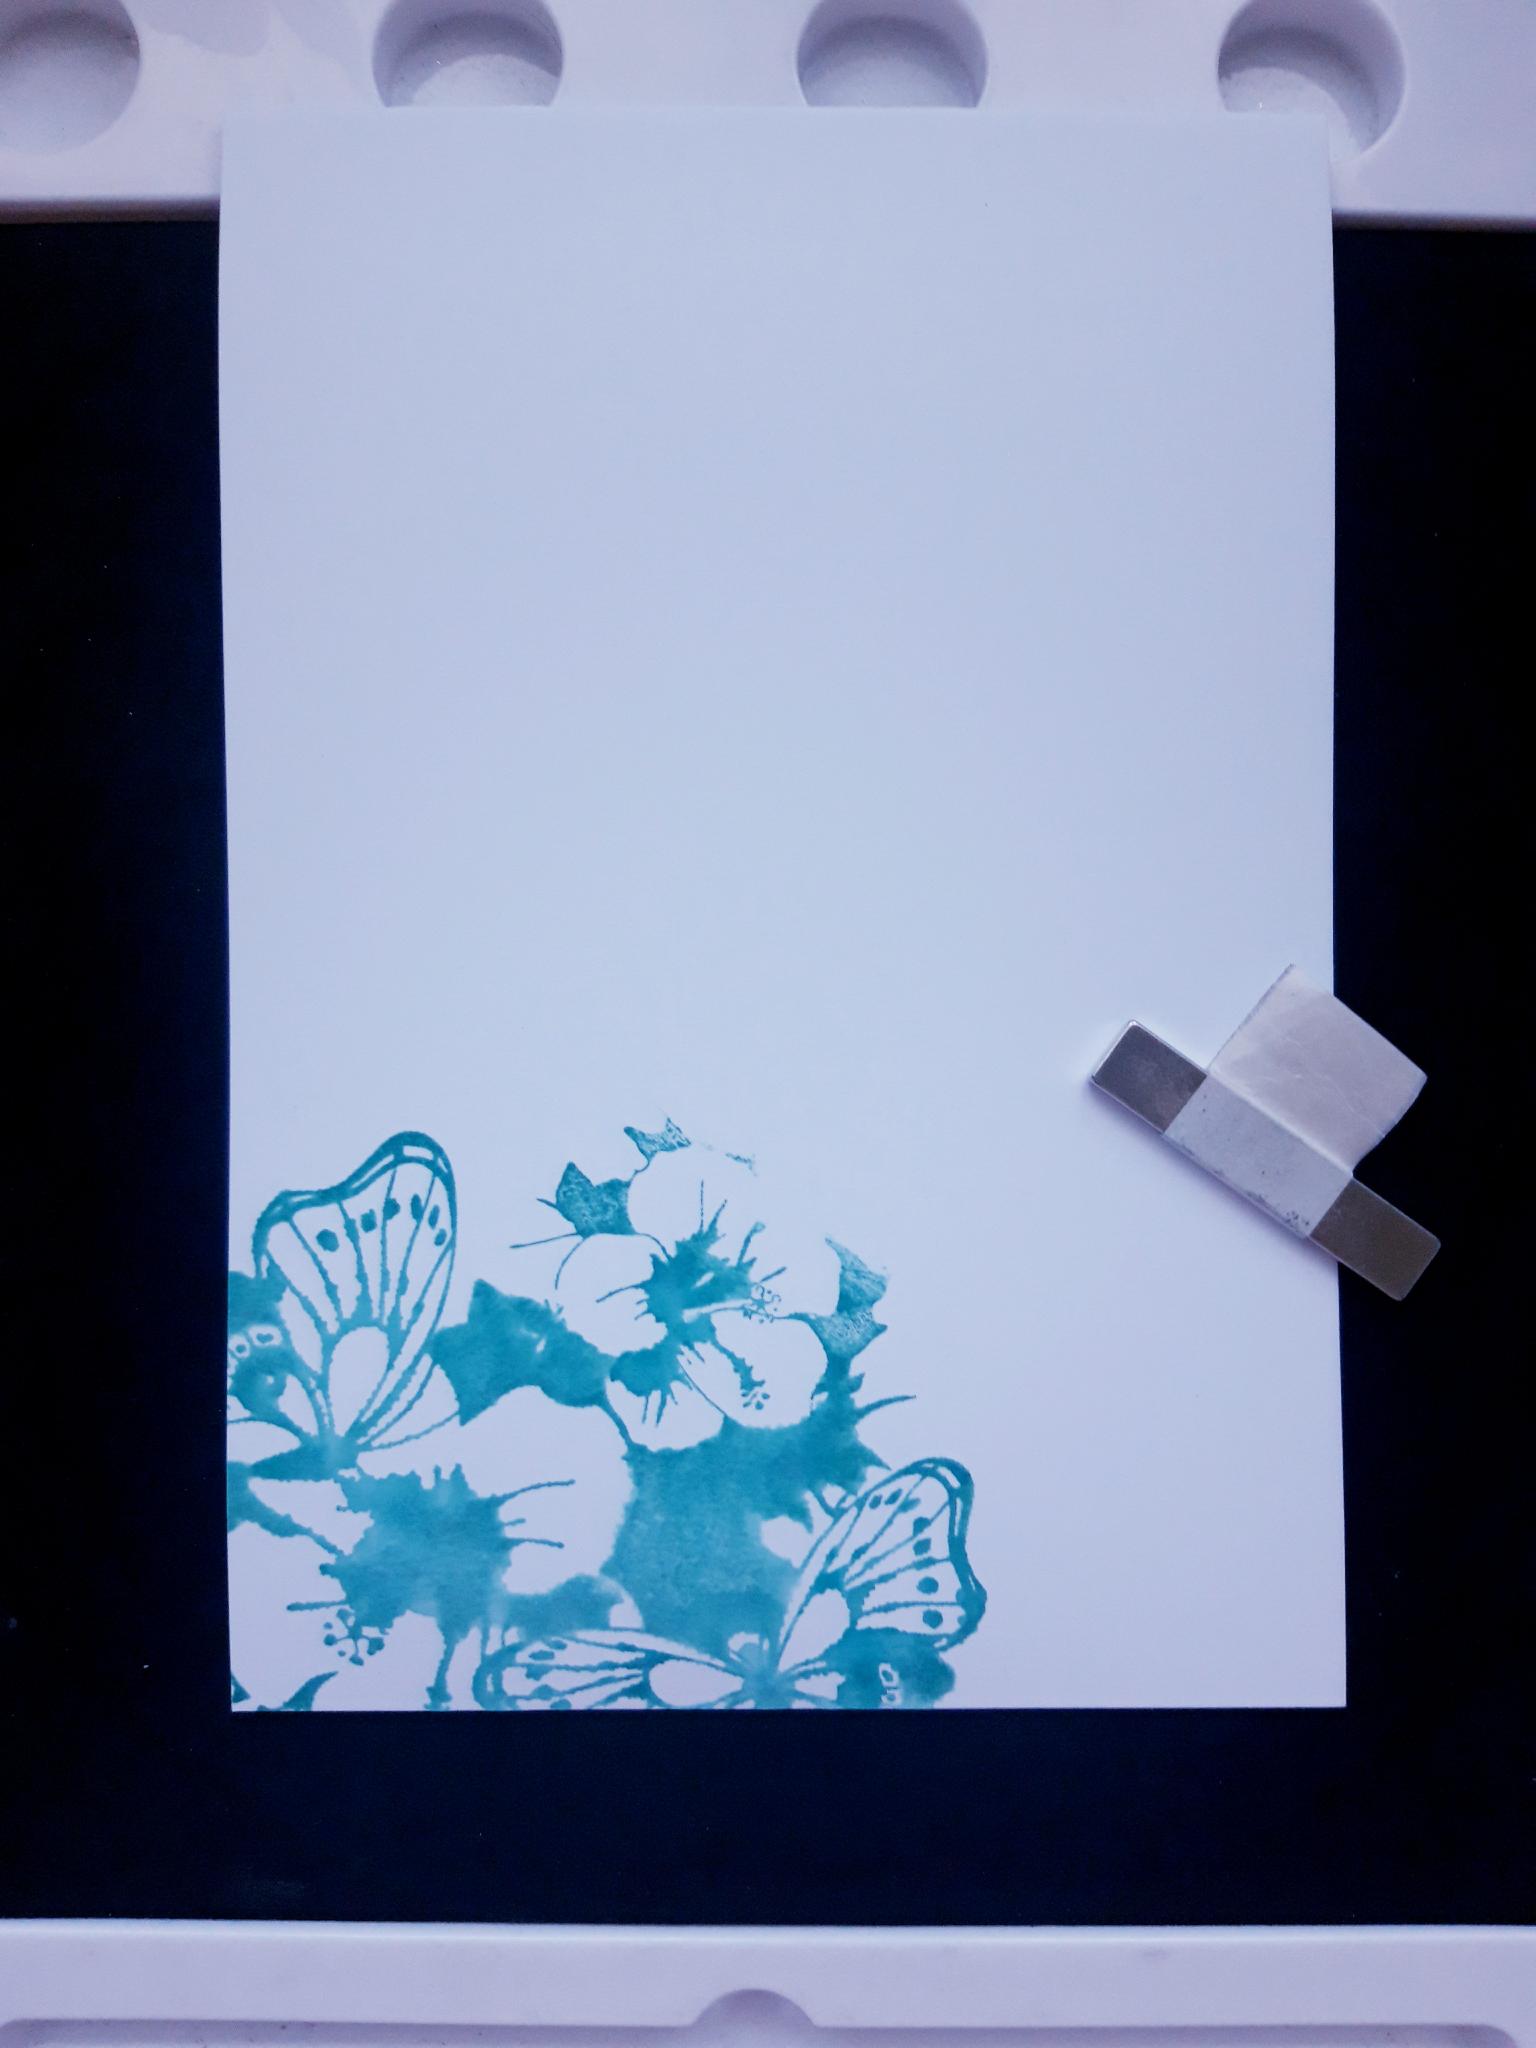
Ink up the floral part of the stamp, from the Imala Perfect Outfit, in the Peacock Feathers Oxide. Spritz with water and stamp coming up from the bottom, left hand corner, of the white, top folding card blank. |
|
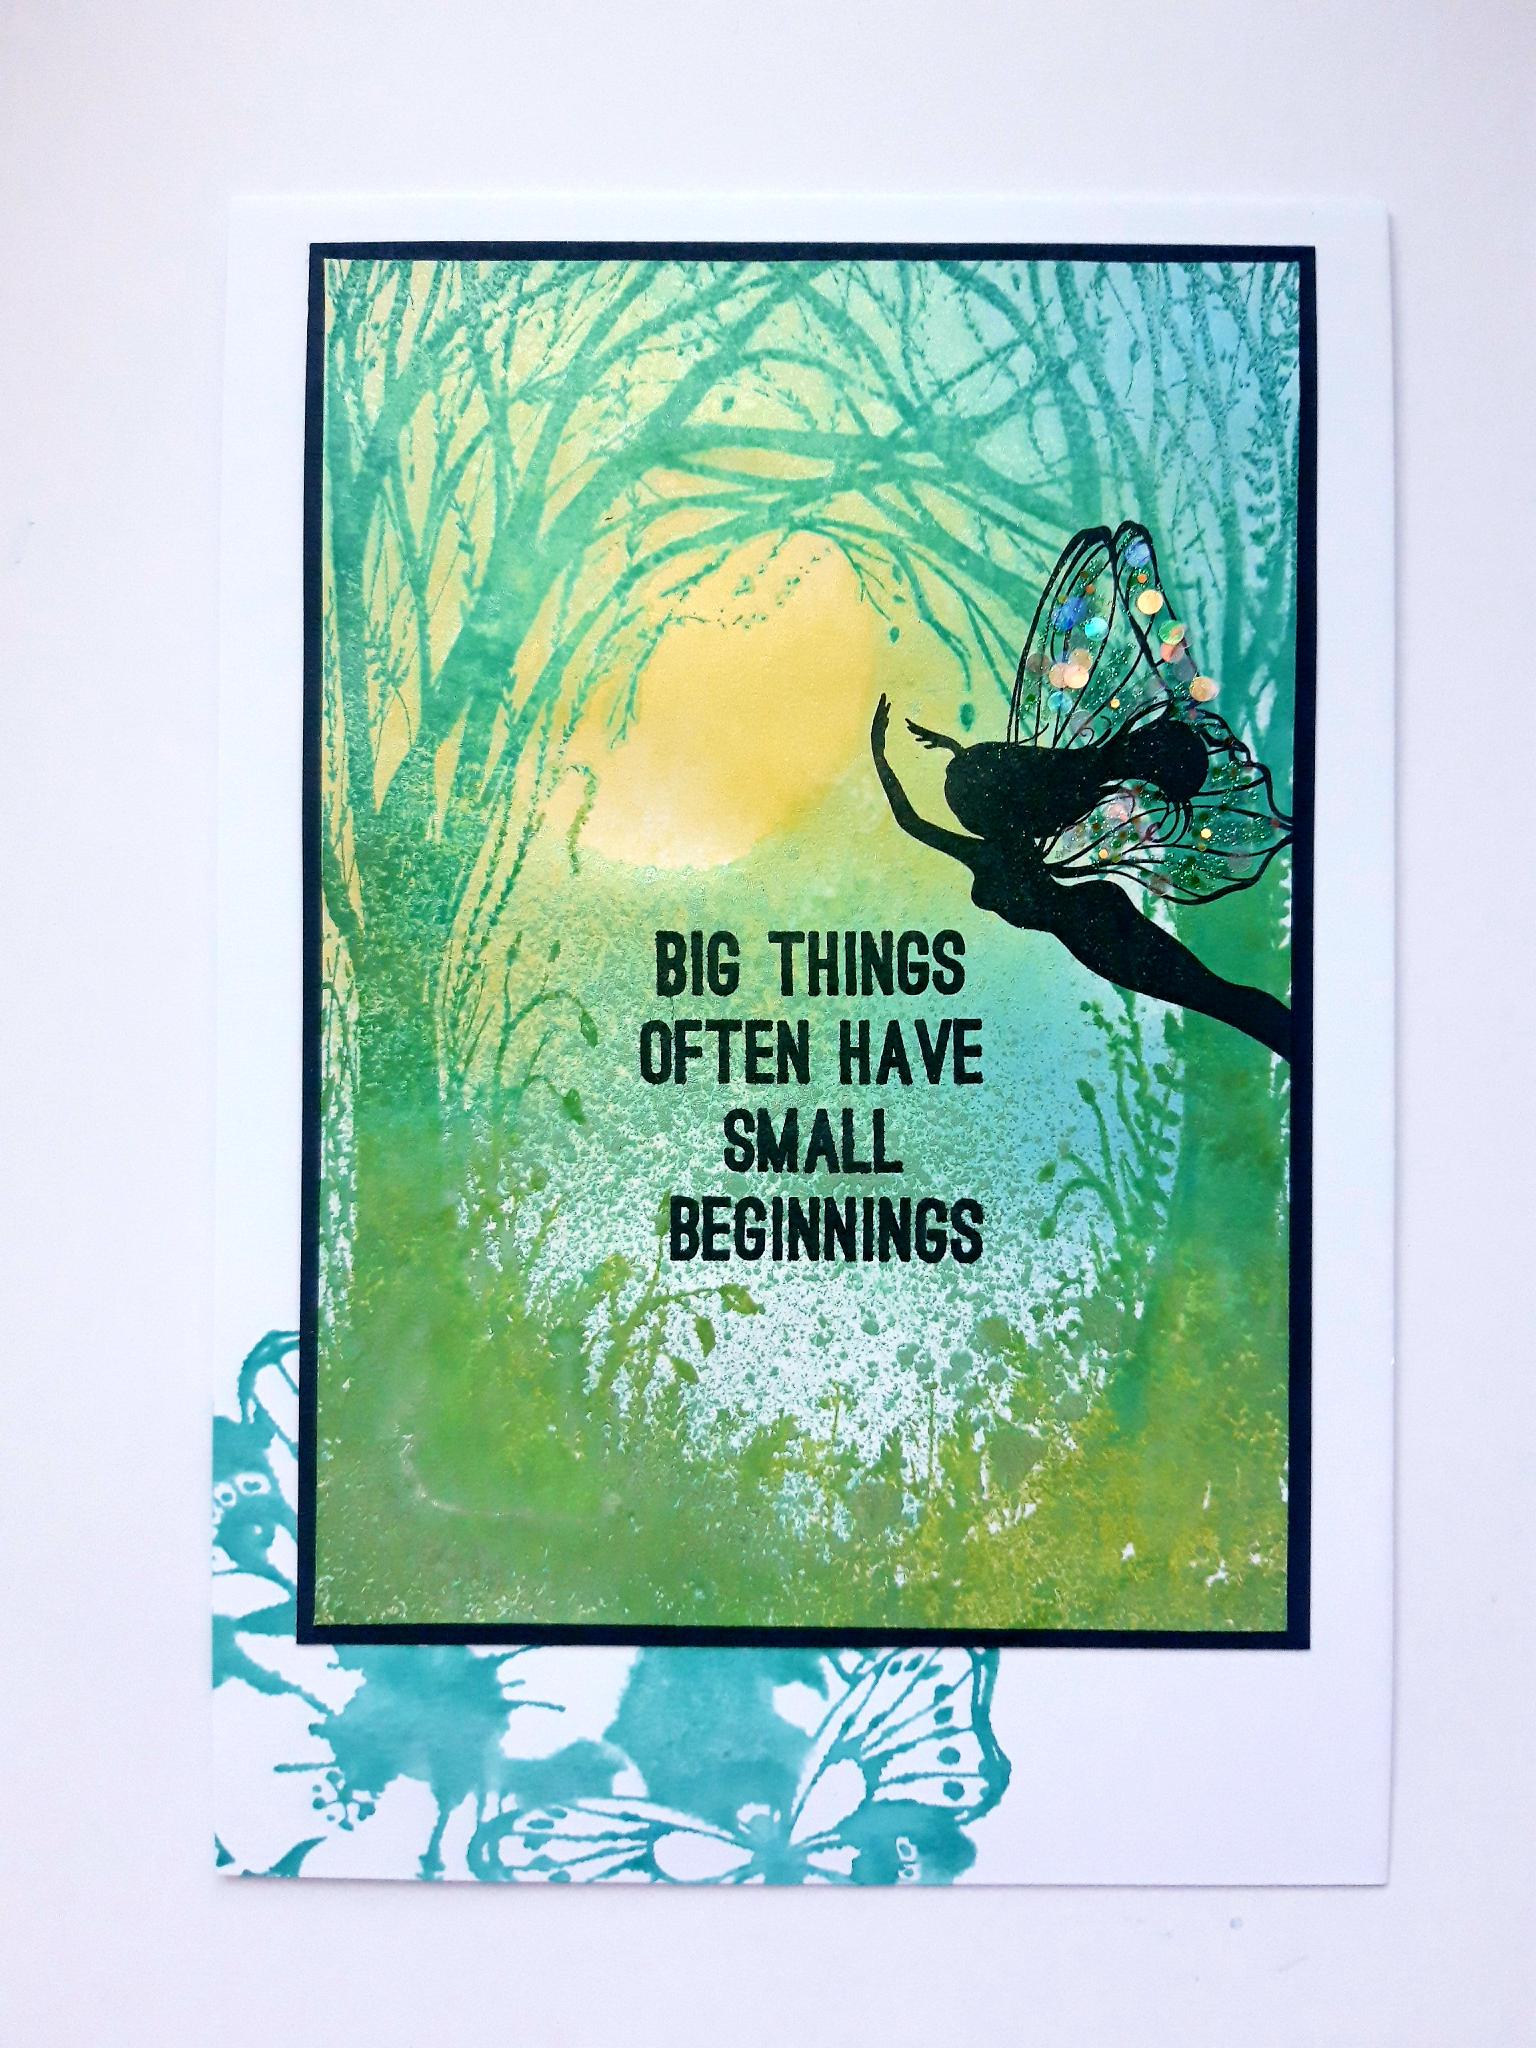
Adhere your completed Enchanted Forest artwork, on to the front of your stamped card blank, so the stamped floral element is visible. |