Offrez à vos amis 10 $ de remise sur leur première commande !
Parrainez un AMI








 The Thursday Dropjeu. 5 nov. 13 h 00
 The Friday Final Cutven. 6 nov. 5 h 00
 Community Showcaselun. 9 nov. 5 h 00
Les prix sont mis à jour immédiatement. Chaque langue est notre propre traduction, pas Google.
Une création de notre émission en direct Émission Create and Craft du 10 MARS 23 - Rejoignez Toni pour découvrir ses nouveautés et ses idées - émission 1 · 03/10/2023
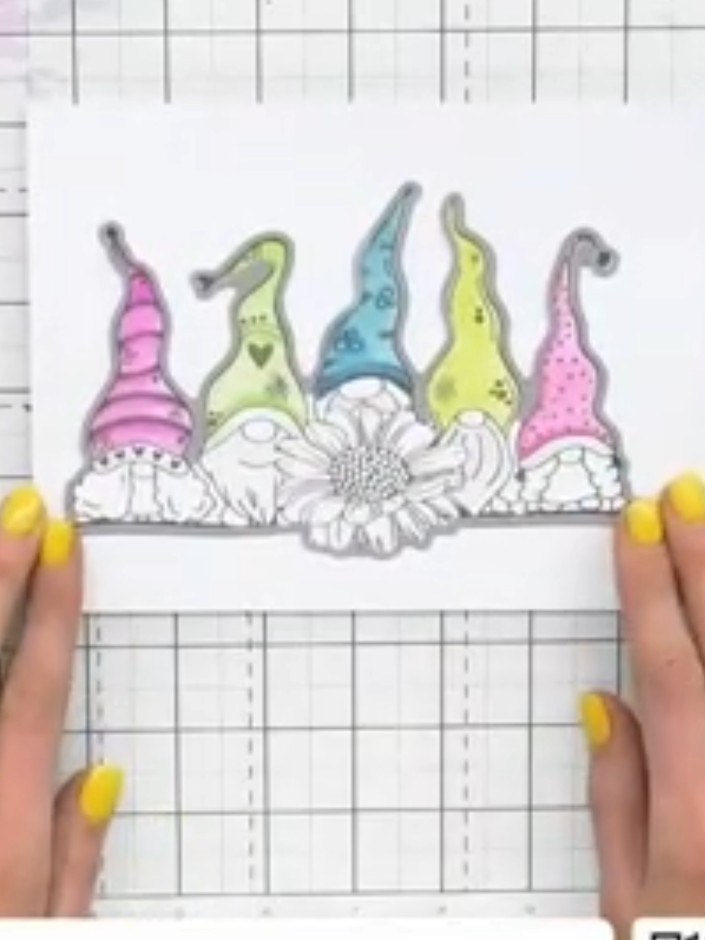
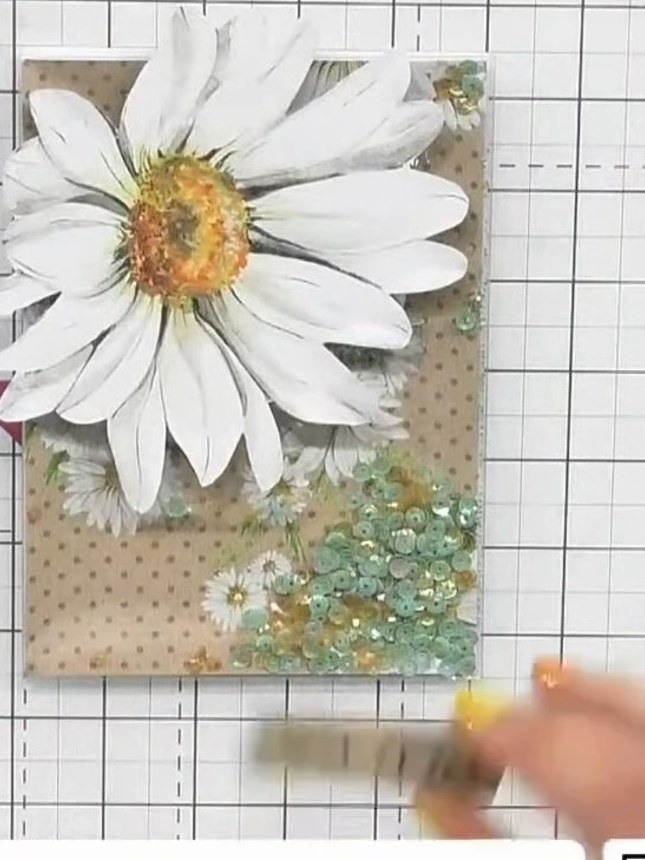
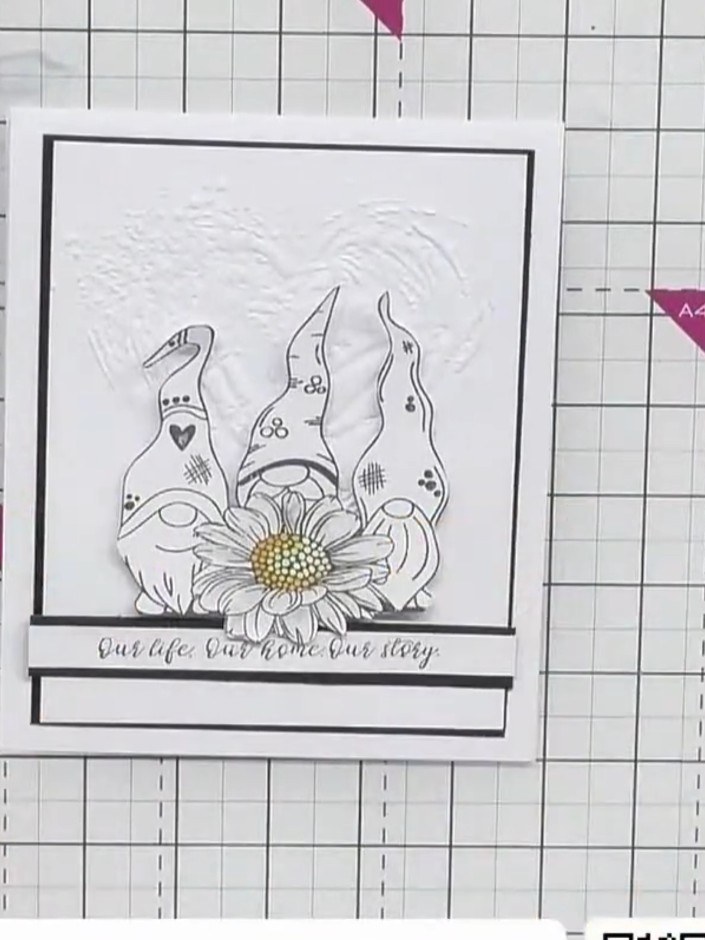
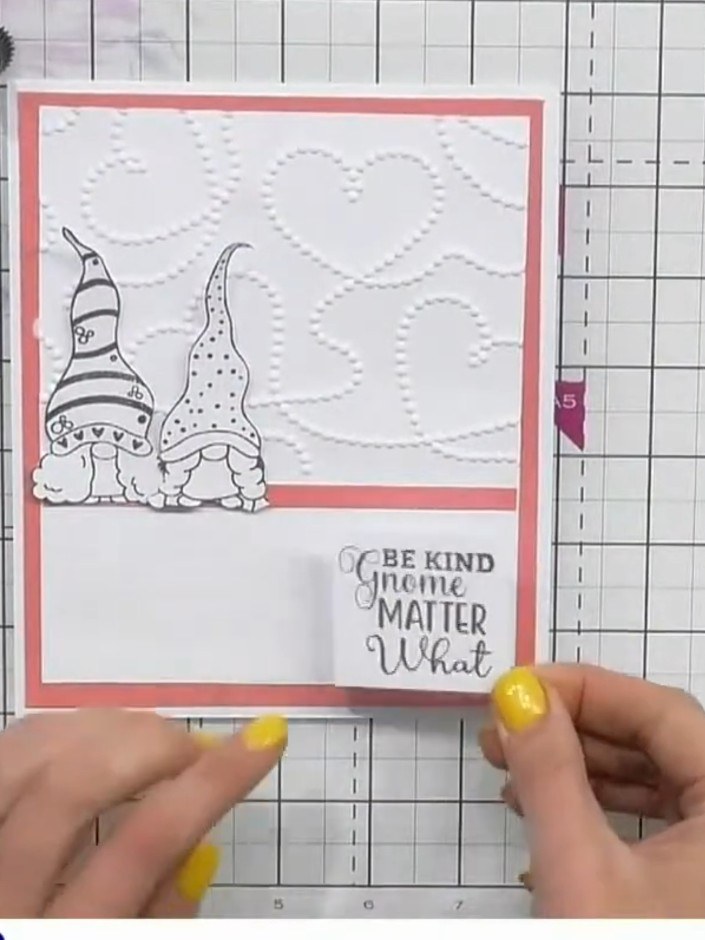
Réalisez une élégante carte embossée au motif floral texturé, rehaussé de délicats cœurs perlés. Grâce à un papier métallisé ou brossé aux tons corail doux et blanc, cette carte raffinée prend un bel effet de métal martelé en relief. Ce projet associe l'embossage 3D à des gnomes tamponnés et à un texte pour une carte faite main pleine de charme.
 1
Score and fold a 5 x 7 inch card blank to create the card base.
 2
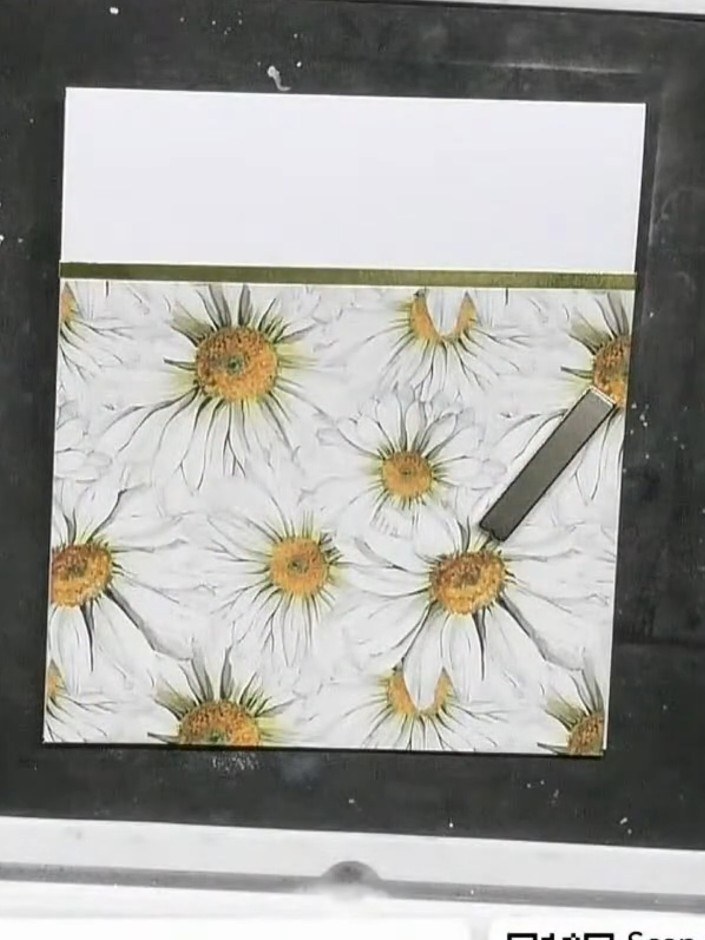
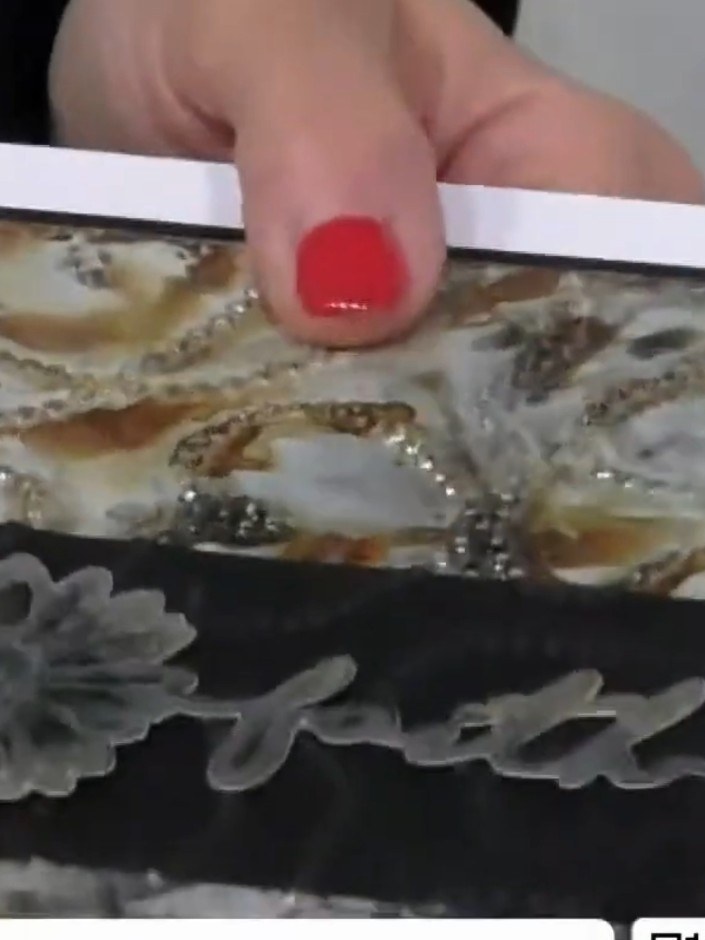
Place your metallic or textured cardstock into the embossing folder, ensuring it is positioned centrally within the folder.
 3
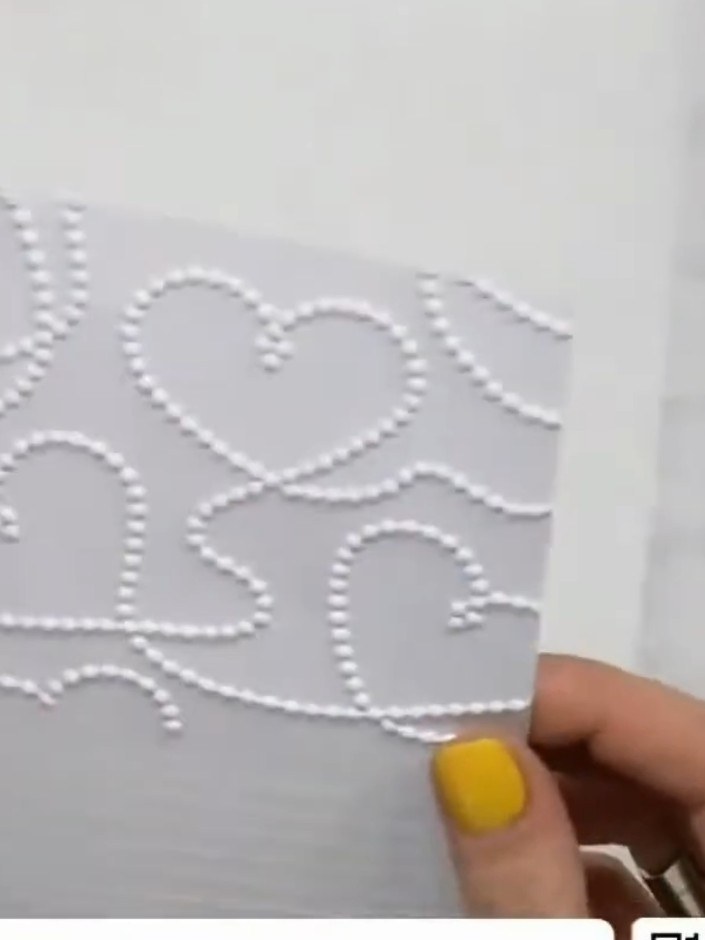
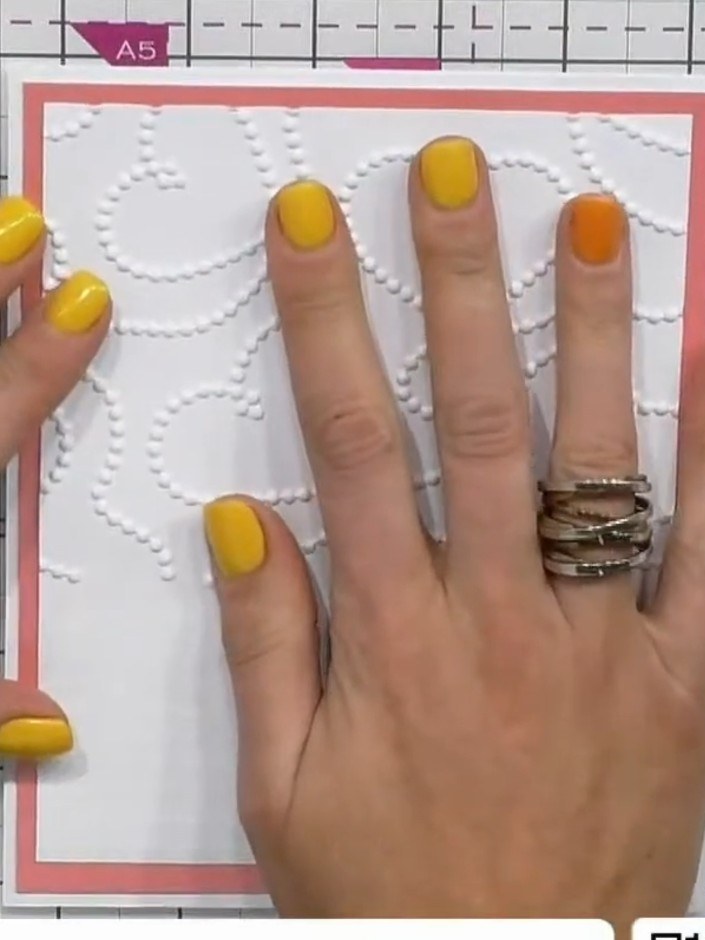
Place your cardstock inside the embossing folder and run it through your die-cutting machine to emboss the beaded heart design onto the paper.
 4
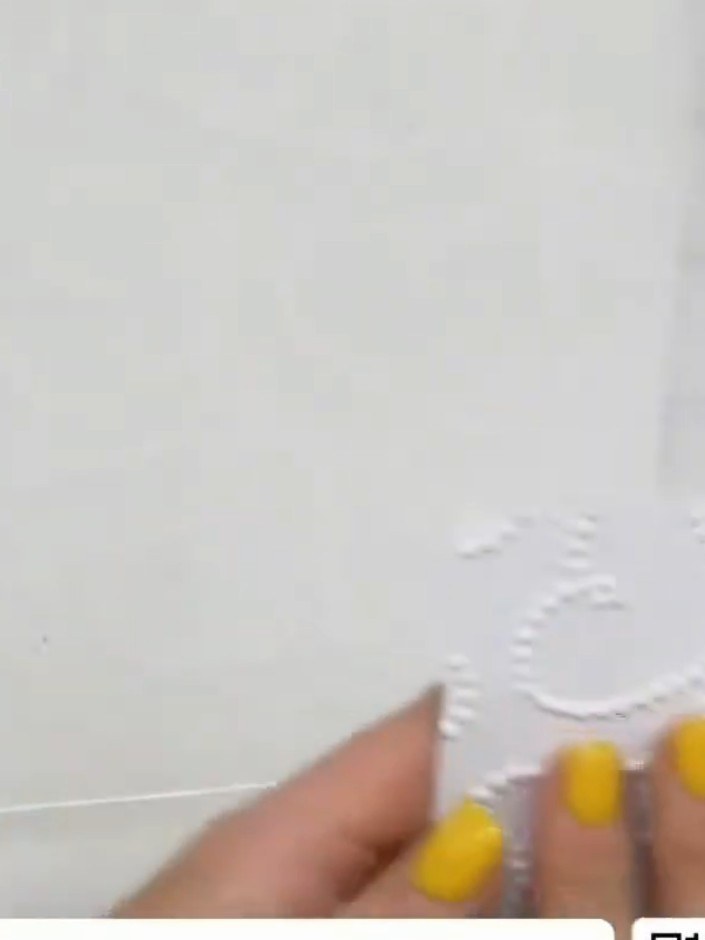
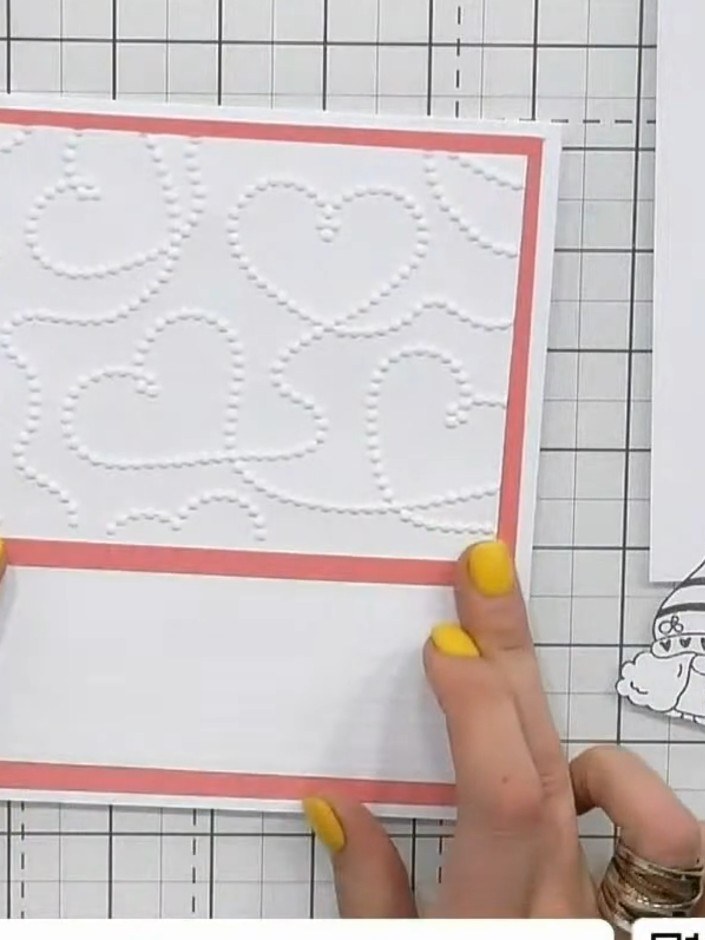
Remove the embossed cardstock from the folder and examine the raised beaded design. Check both sides to see the dimensional effect created by the embossing.
 5
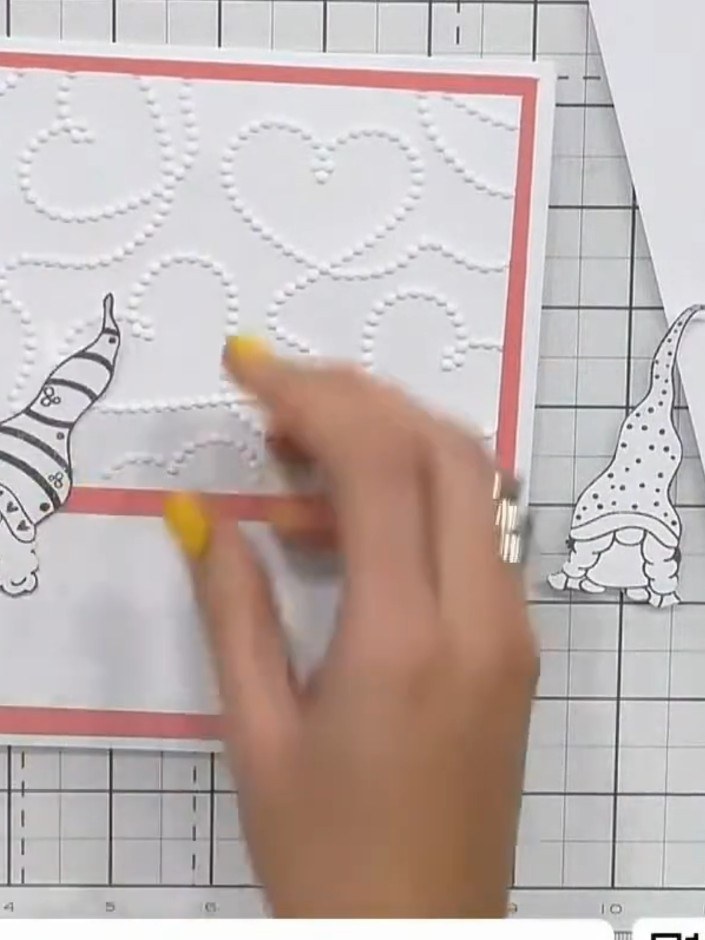
Cut a piece of pink cardstock slightly smaller than your card base to create a mat layer behind the embossed panel. Position it to frame the embossed design.
 6
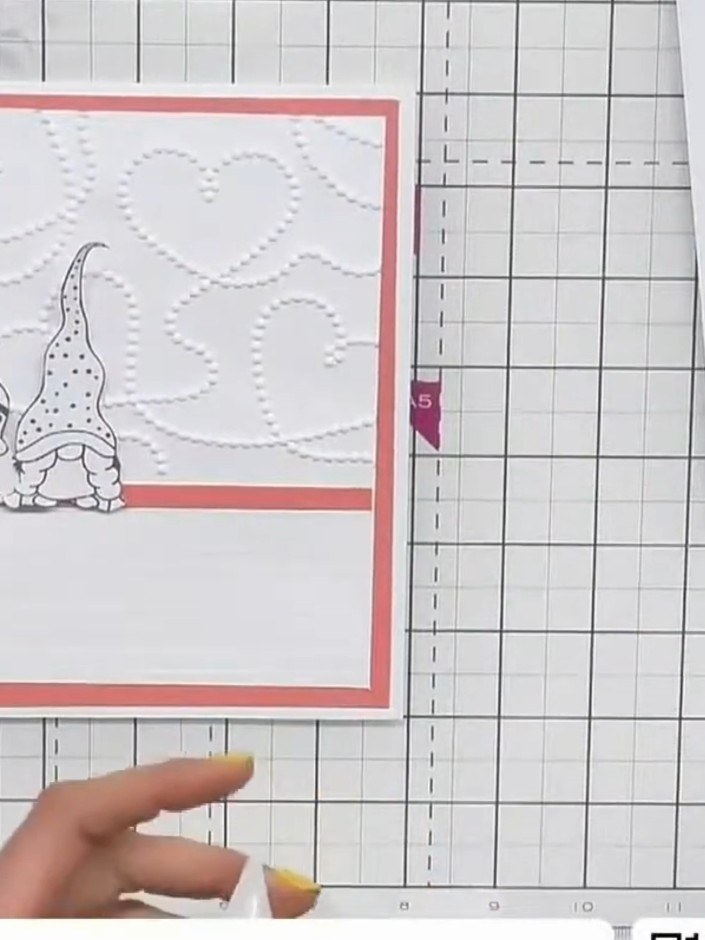
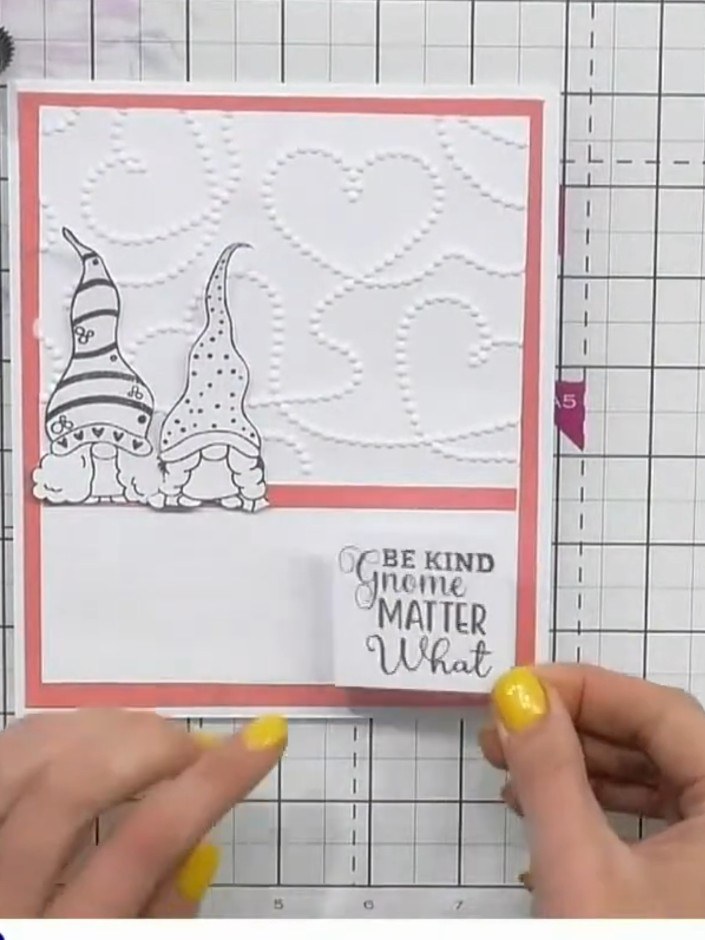
Stamp the gnome designs from the Sunshine Gnomes stamp set onto the embossed card panel. Position the gnomes in the lower corners of the card, selecting your preferred designs from the set.
 7
Add a small ribbon bow or decorative embellishment to the centre of the card where the two gnomes meet to tie the design together.
 8
Stamp a sentiment such as 'Be Kind Gnome Matter What' onto the lower section of the card using black ink.
Partagez votre création avec la communauté Stamps By Me - et gardez ce tutoriel pour la prochaine fois.
Rédigé à partir de l’émission elle-même. Tous les tutoriels de nos émissions · tutoriels gratuits · en direct sur My Telly · l’ancienne présentation