Offrez à vos amis 10 $ de remise sur leur première commande !
Parrainez un AMI








 The Thursday Dropjeu. 5 nov. 13 h 00
 The Friday Final Cutven. 6 nov. 5 h 00
 Community Showcaselun. 9 nov. 5 h 00
Les prix sont mis à jour immédiatement. Chaque langue est notre propre traduction, pas Google.
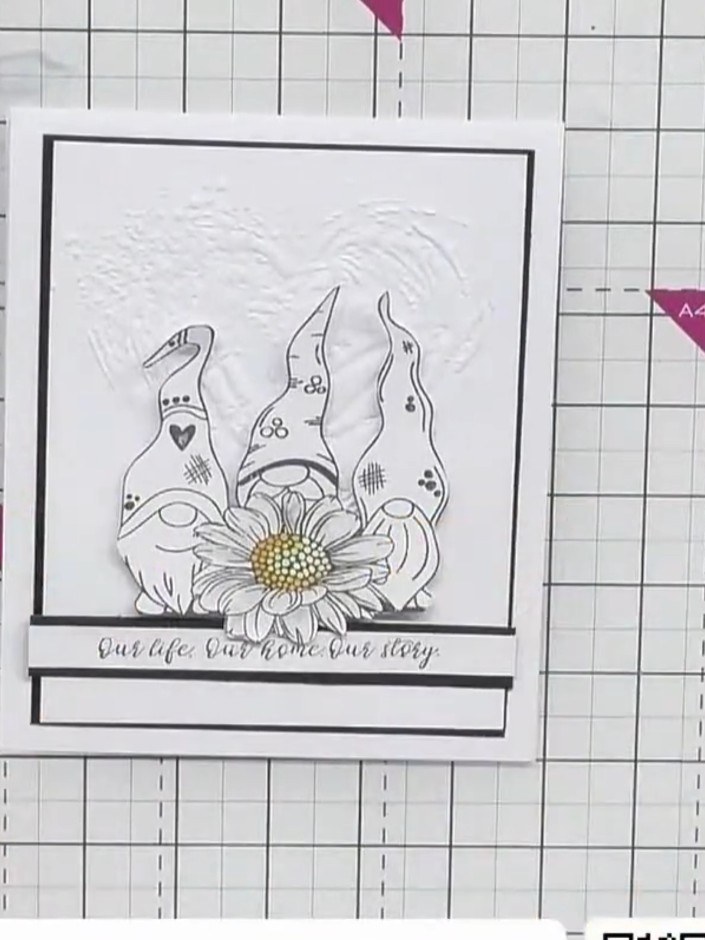
Une création de notre émission en direct Émission Create and Craft du 10 MARS 23 - Rejoignez Toni pour découvrir ses nouveautés et ses idées - émission 1 · 03/10/2023
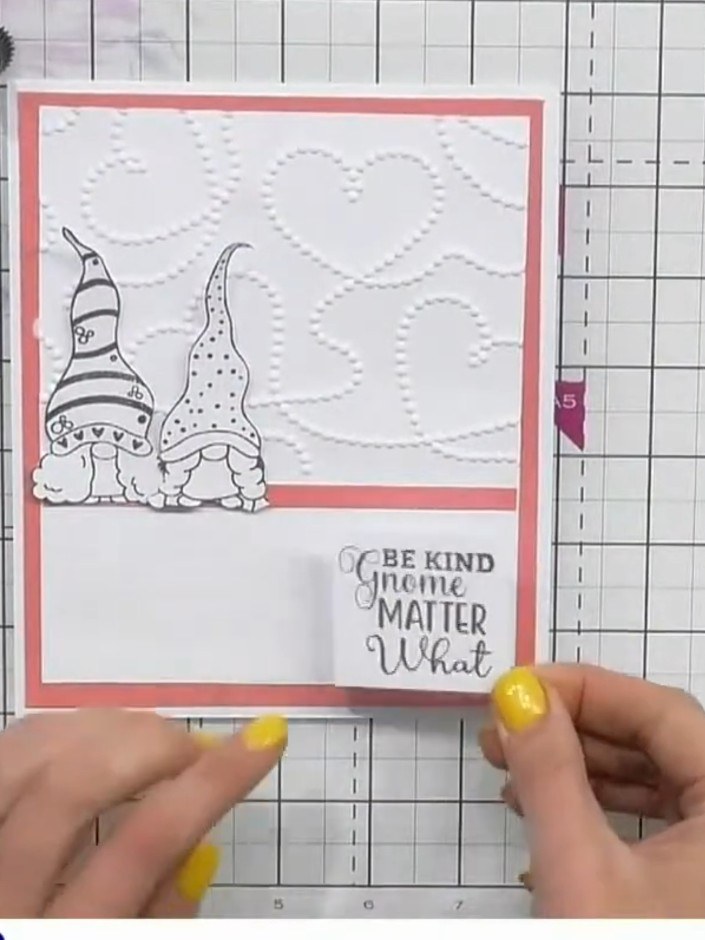
Réalisez une élégante carte blanc sur blanc où de jolis cœurs embossés côtoient d'adorables gnomes tamponnés. Cette carte raffinée utilise l'embossage 3D pour créer un relief superbe, sublimé par de délicates images tamponnées et un texte plein de tendresse. Le camaïeu de blanc donne un rendu épuré et élégant, parfait pour toutes les occasions.
 1
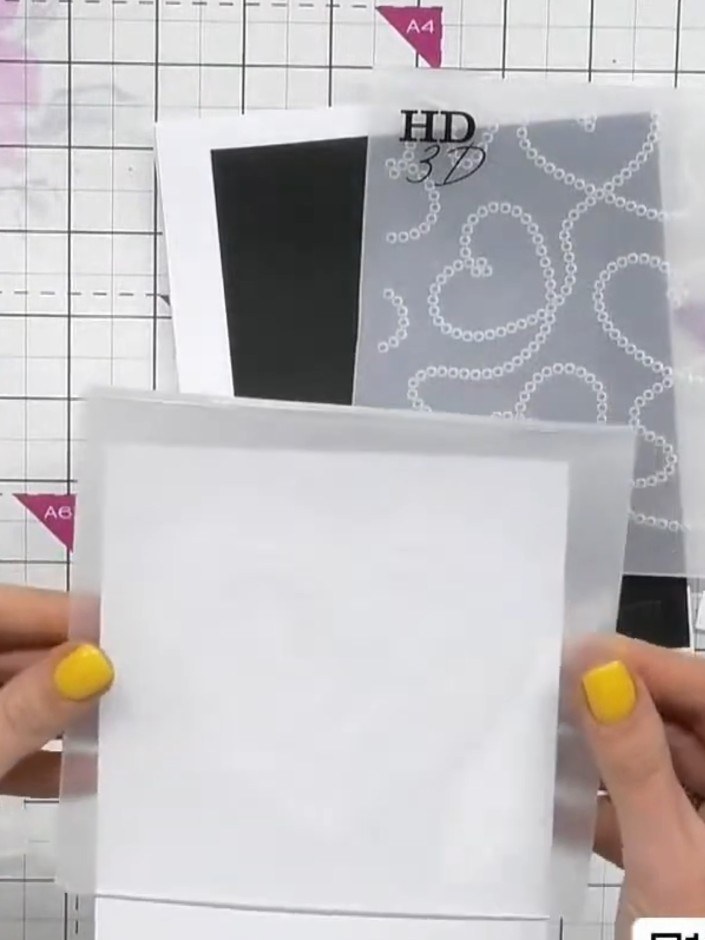
Place your white cardstock into the embossing folder, positioning it towards the top of the card. Ensure the cardstock is properly aligned within the folder before embossing.
 2
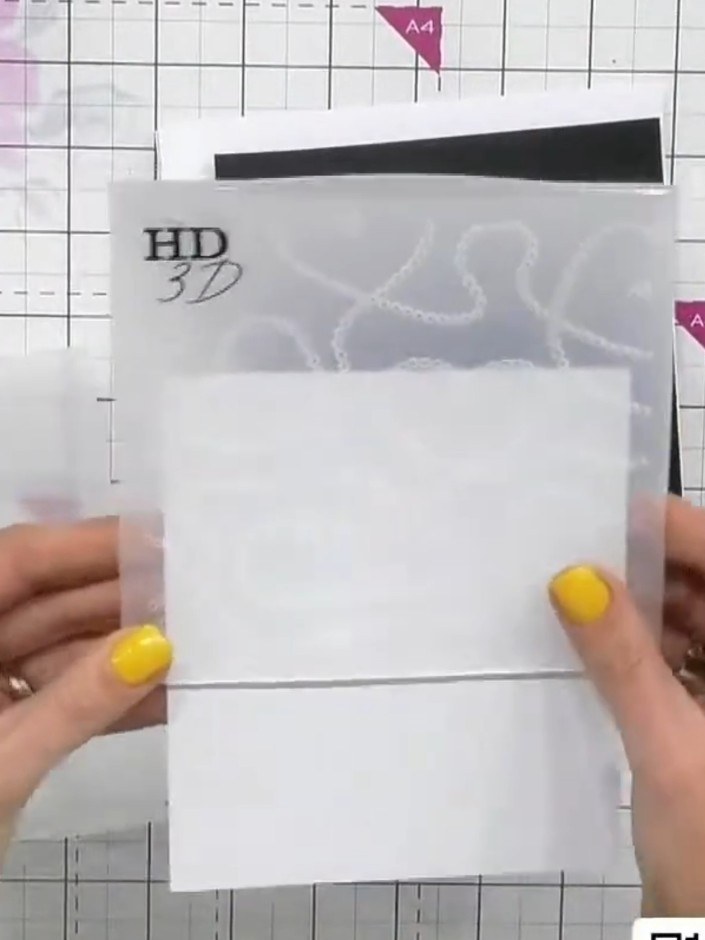
Place your white card inside the HD 3D embossing folder with the heart design. Run the folder through your die-cutting machine to create the raised embossed pattern on the card.
 3
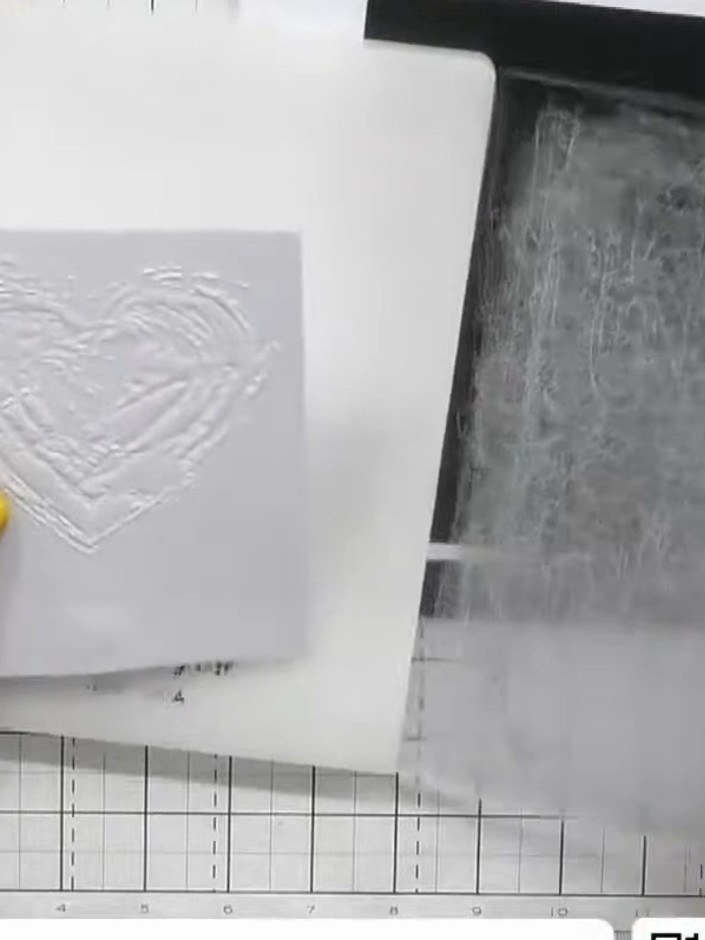
Carefully open the embossing folder and remove the embossed white cardstock. The heart design should now be raised on the surface of the card.
 4
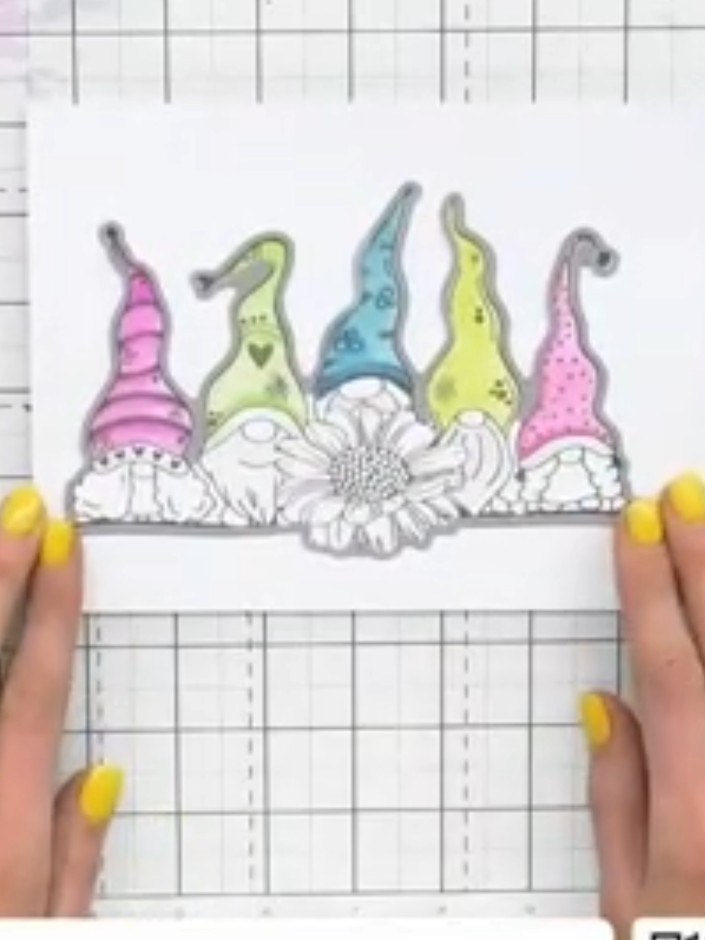
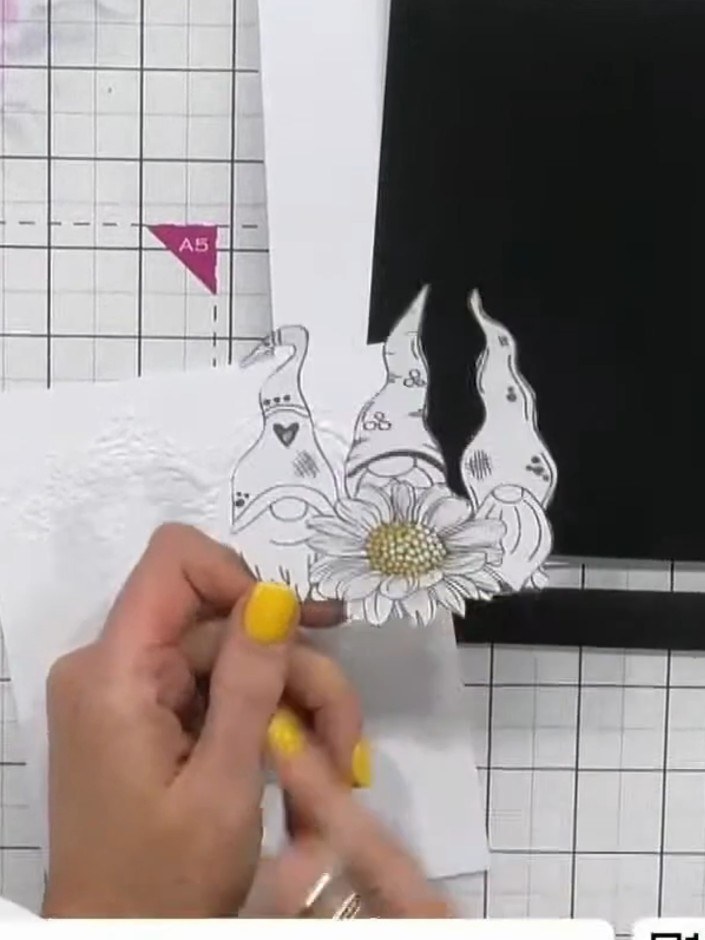
Stamp the gnome design onto white cardstock using black ink. You can stamp just the centre gnome or all three gnomes as desired.
 5
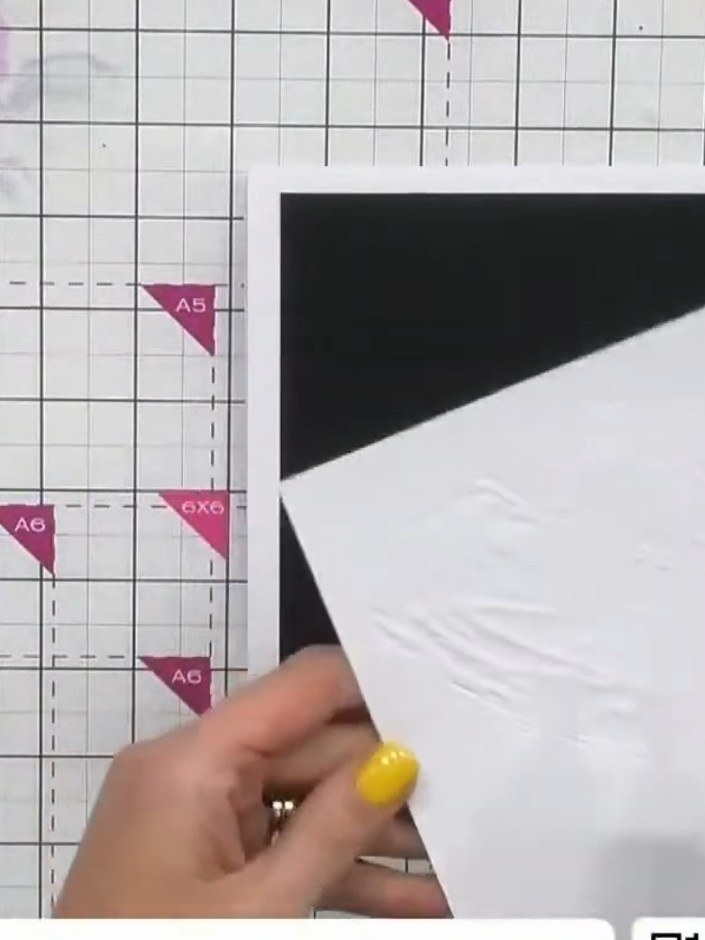
Colour the stamped gnome design using your chosen colouring media. Work carefully to add colour to the different elements of the gnome image.
 6
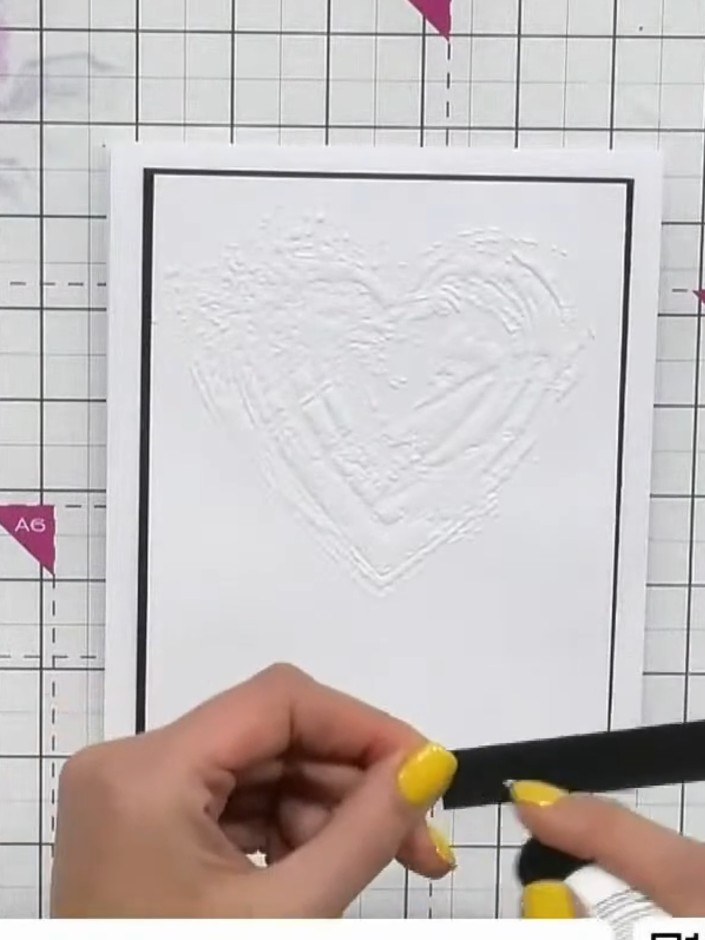
Add a black banner strip of cardstock horizontally across the embossed card front to soften the visual break created by the embossing folder line.
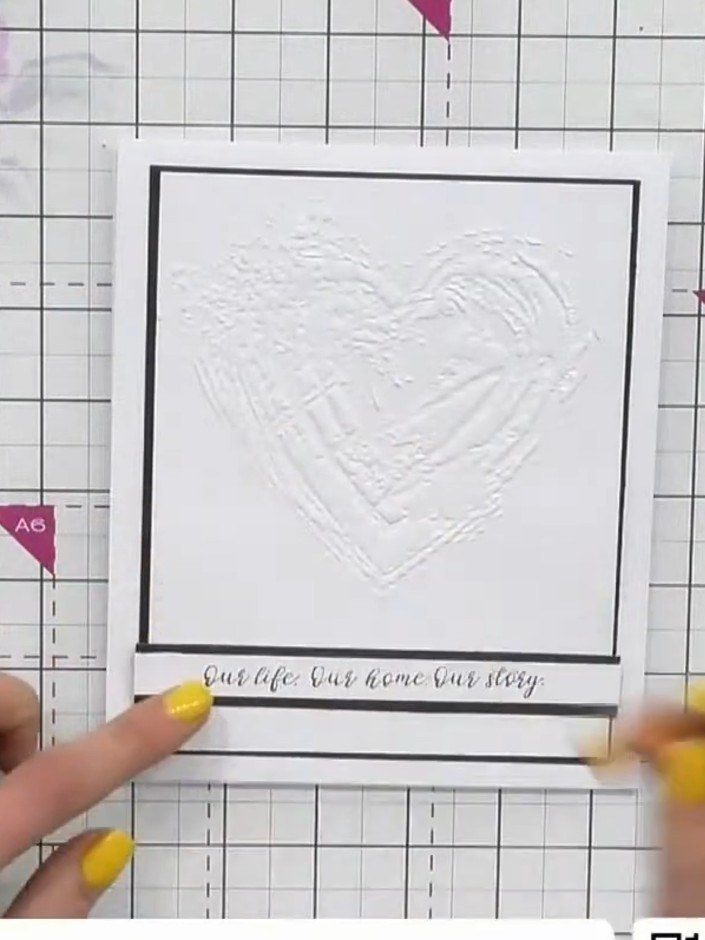 7
Stamp a sentiment such as 'Our Life Our Home Our Story' onto the bottom of the card front using black ink.
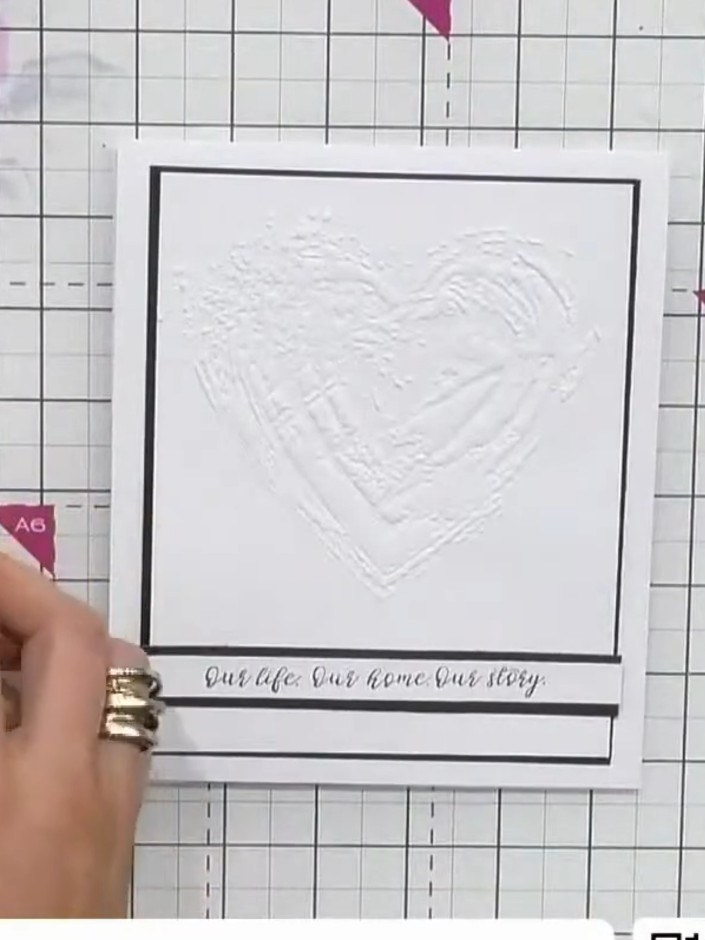 8
Adhere three foam pads to the back of the embossed card panel to add dimension.
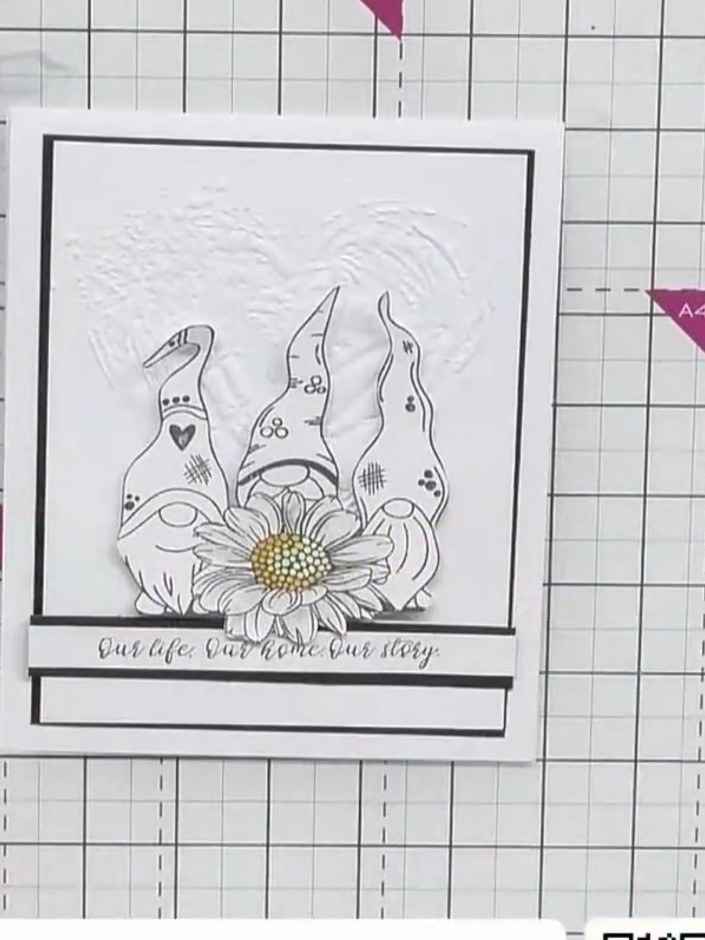 9
Optionally add sparkle pen details to the flower elements on the gnome design to add extra dimension and shine.
Partagez votre création avec la communauté Stamps By Me - et gardez ce tutoriel pour la prochaine fois.
Rédigé à partir de l’émission elle-même. Tous les tutoriels de nos émissions · tutoriels gratuits · en direct sur My Telly · l’ancienne présentation