¡Regálales a tus amigos $10 de descuento en su primer pedido!
Recomienda a un AMIGO








Un proyecto de nuestro programa en vivo CREATE AND CRAFT TV - ESPECIAL DE UN DÍA SBM - Acompaña a Toni con sus productos más nuevos e inspiración - programa 3 transmitido el 6 de mayo 23 · 05/06/2023 · velo desde 27:15
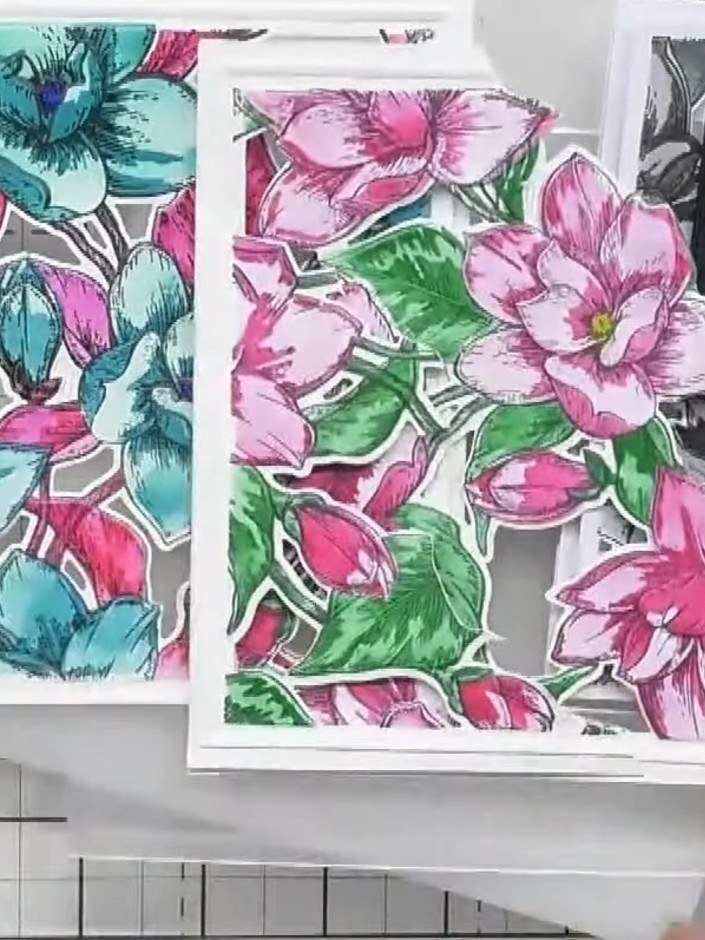
Create a stunning layered card featuring beautiful magnolia flowers in soft pink and green tones, presented in an elegant chamfered frame. This project combines multiple techniques including stencil colouring, stamping, die-cutting and 3D embossing to build a dimensional floral design that resembles a miniature piece of framed artwork. The Quattro D system guides you through four stages to achieve a professional, shop-quality finish.
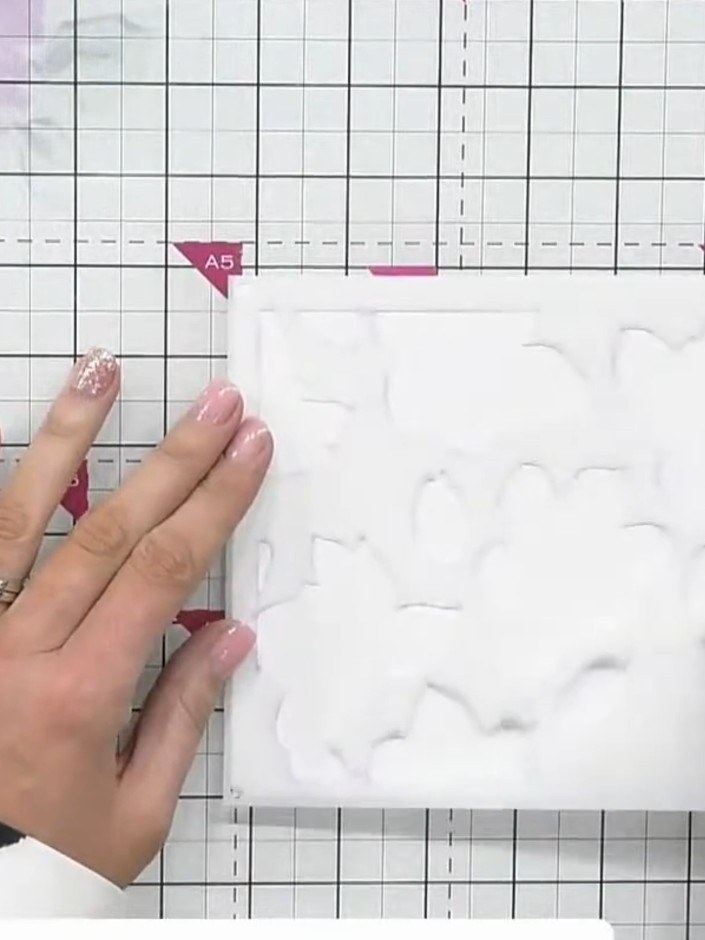
Place stencil number one on your white cardstock and apply ink through it using an ink brush, pressing lightly to build up the first layer of colour.
▶ ver este paso (29:30)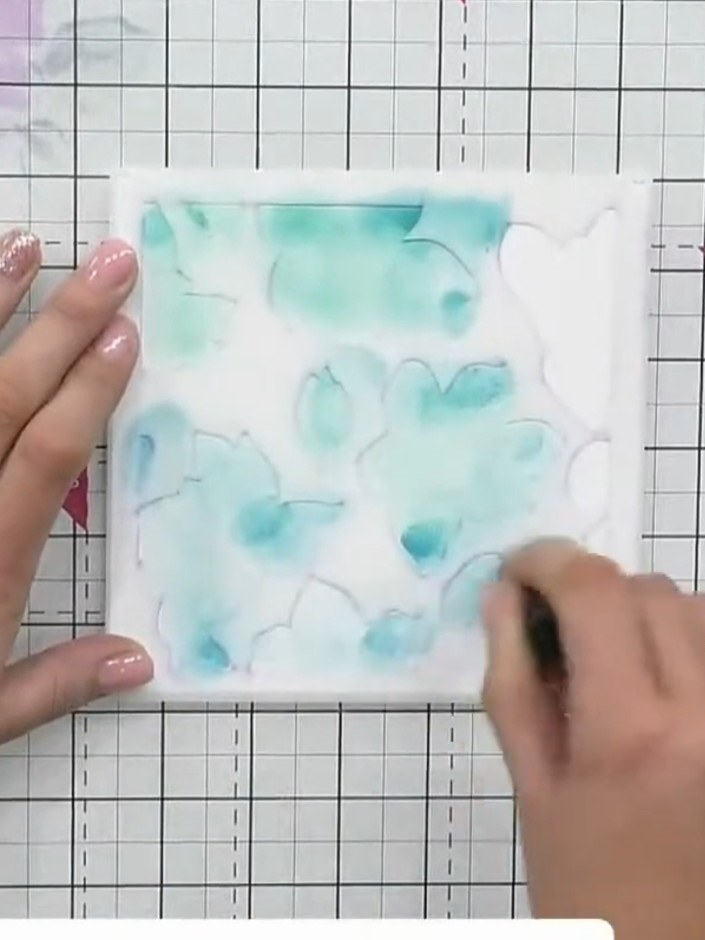
Place stencil number three (the leaves design) over the same area of your card. Using a blending sponge, apply a different colour ink through the stencil to add depth and dimension to your background.
▶ ver este paso (31:00)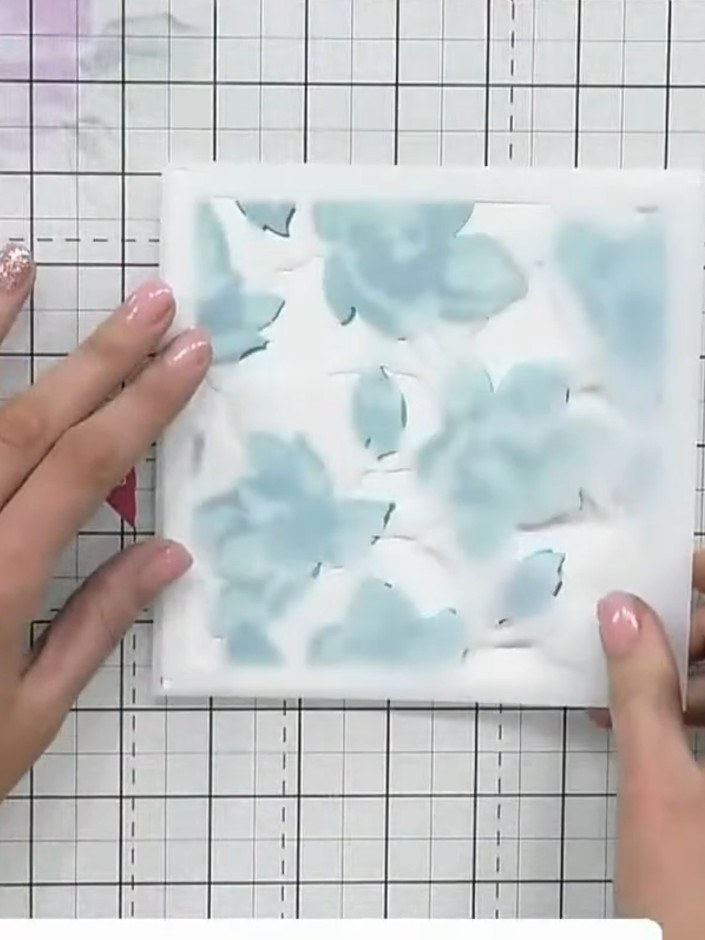
Apply the fourth stencil (flower centres) using a darker ink colour. Press slightly harder with the blending tool to create tonal variation and depth in the flower centres.
▶ ver este paso (33:15)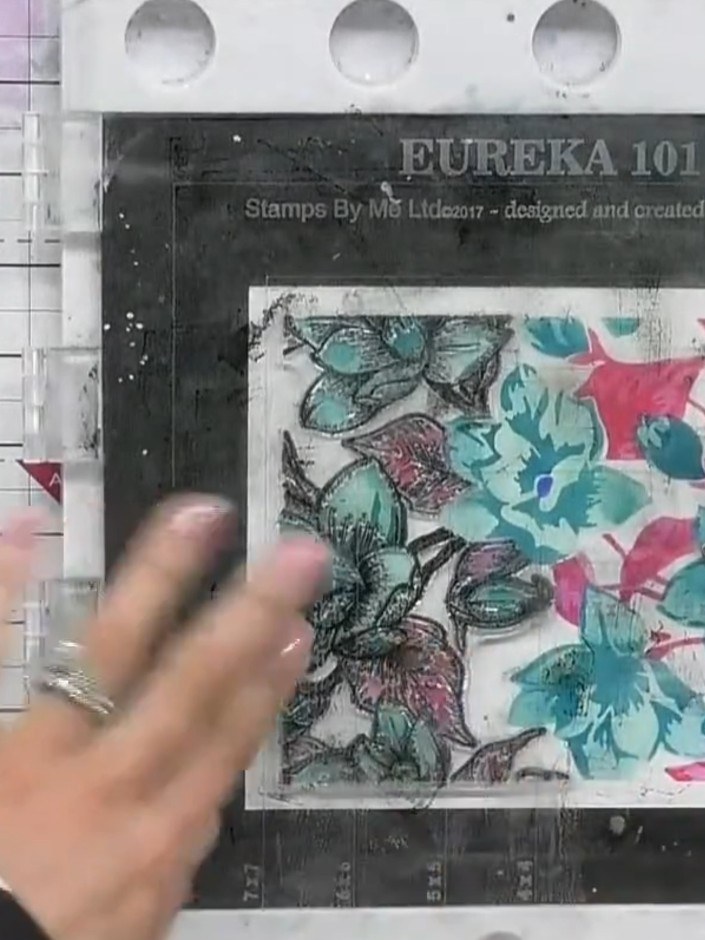
Stamp the first half of the separated stamp onto your coloured background using hybrid ink. Line up the stamp carefully with your design. The stamped image shows the turquoise and pink floral pattern with black detailing.
▶ ver este paso (38:45)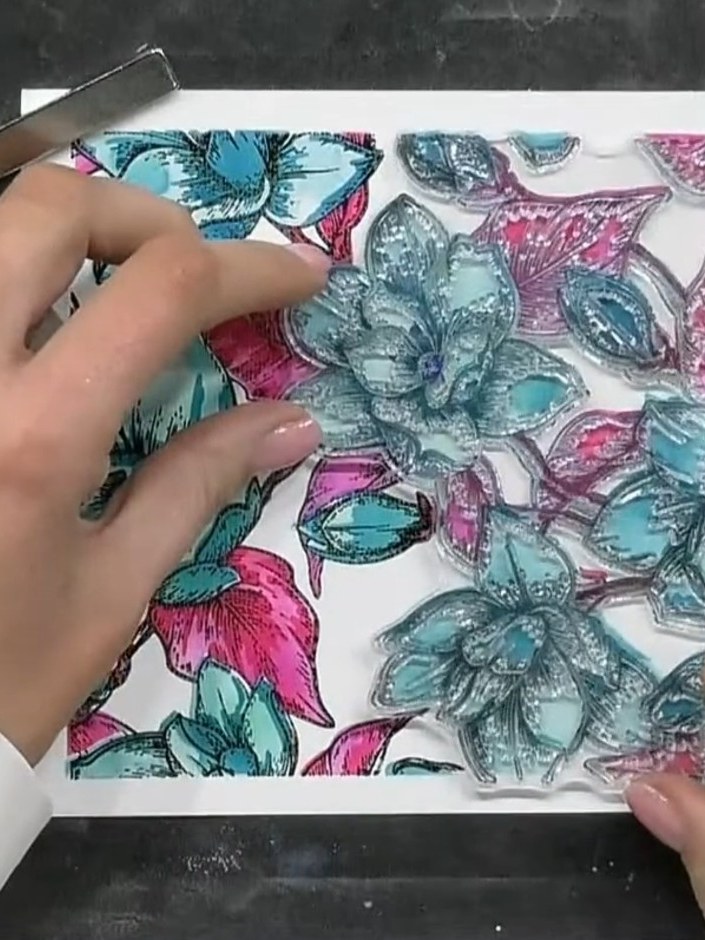
Stamp the second half of the floral stamp onto the right side of the card to complete the image. Ensure the stamped flowers in turquoise and pink align with the existing design to create a cohesive floral pattern across the card.
▶ ver este paso (39:00)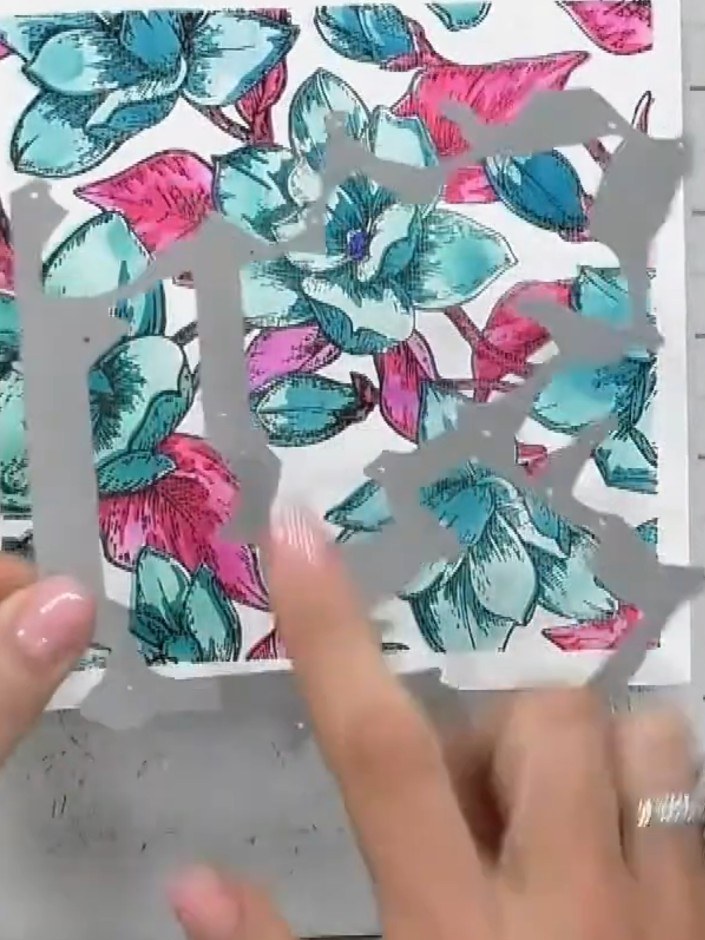
Place your decorative cardstock into the aperture die, ensuring it is lined up correctly within the embossing folder. The floral design should be centred within the die-cut opening.
▶ ver este paso (40:45)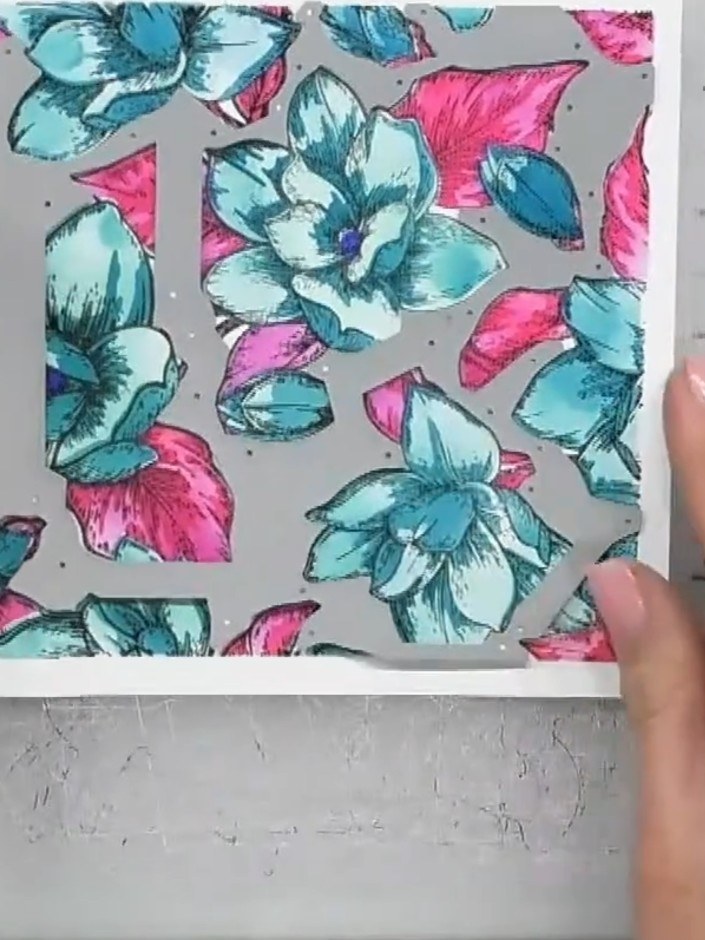
Run the layered floral design through your die-cutting machine with the appropriate cutting plates to cut out the apertures and create the chamfered frame effect.
▶ ver este paso (41:00)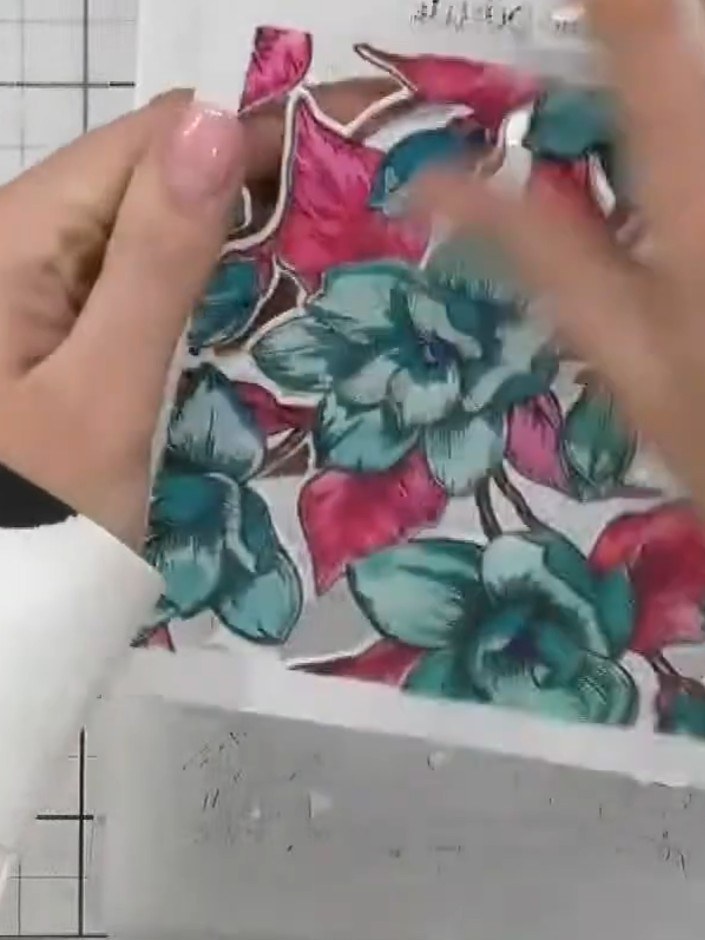
Place the decorated topper into the 3D embossing folder and run it through your die-cutting machine to add dimensional detail to the flowers and leaves.
▶ ver este paso (42:30)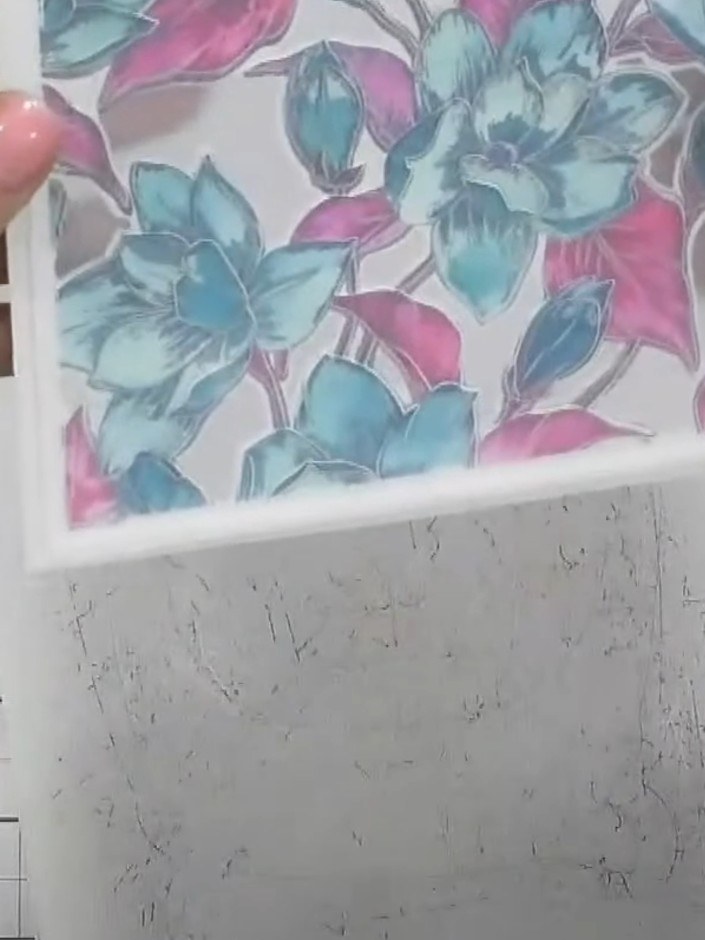
Carefully pop out all the die-cut elements from the frame to reveal the finished layered magnolia design with blue and pink flowers.
▶ ver este paso (43:00)Redactado a partir del propio programa. Mira todas las guías de nuestros programas · guías paso a paso gratis · mira en vivo en My Telly