¡Regálales a tus amigos $10 de descuento en su primer pedido!
Recomienda a un AMIGO








Un proyecto de nuestro programa en vivo CREATE AND CRAFT TV - ESPECIAL DE UN DÍA SBM - Acompaña a Toni con sus productos más nuevos e inspiración - programa 3 transmitido el 6 de mayo 23 · 05/06/2023 · velo desde 51:45
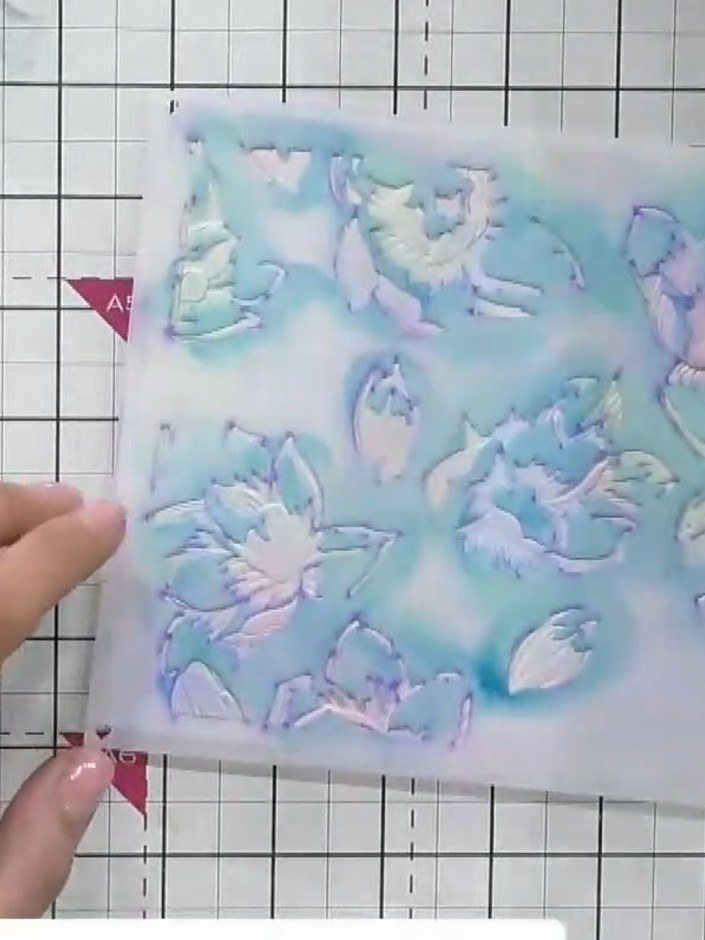
Create a stunning mixed-media card featuring delicate floral imagery on holographic-effect paper with soft pink, green and purple tones. This project combines embossing techniques with selective stencil colouring to achieve an artistic, dimensional finish. Layer your techniques in reverse order to build up beautiful depth and texture on your handmade card.
Place your holographic-effect cardstock into the 3D embossing folder with the Eternity floral design. Run it through your die-cutting machine to create the raised embossed pattern on the card.
▶ ver este paso (52:00)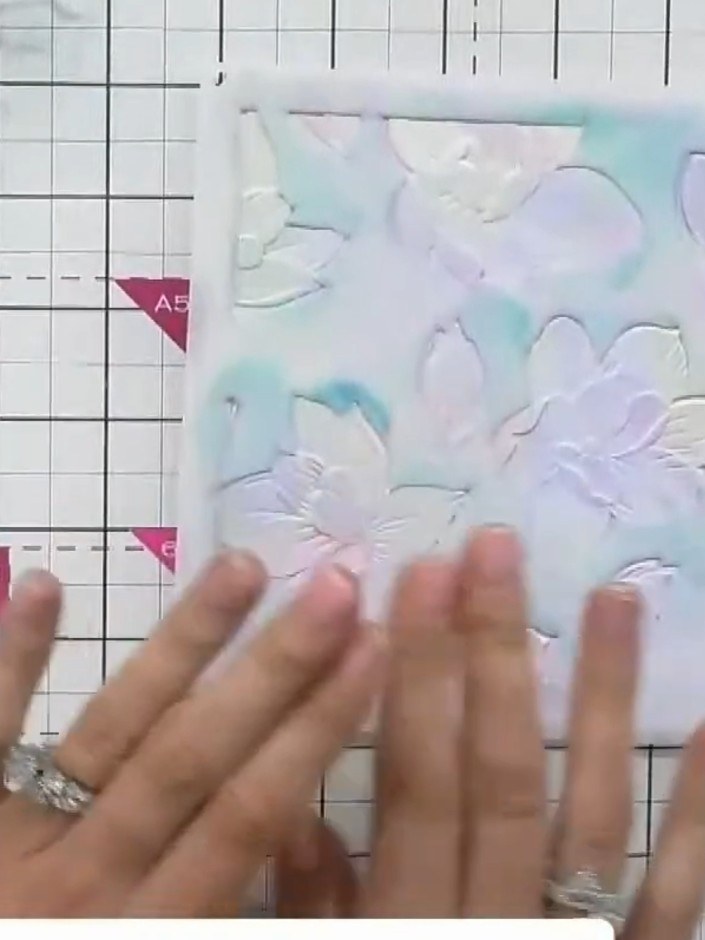
Place a stencil over the embossed cardstock. Using your fingers or a blending tool, apply ink lightly through the stencil to add colour to the raised design, allowing the embossed pattern to show through.
▶ ver este paso (53:15)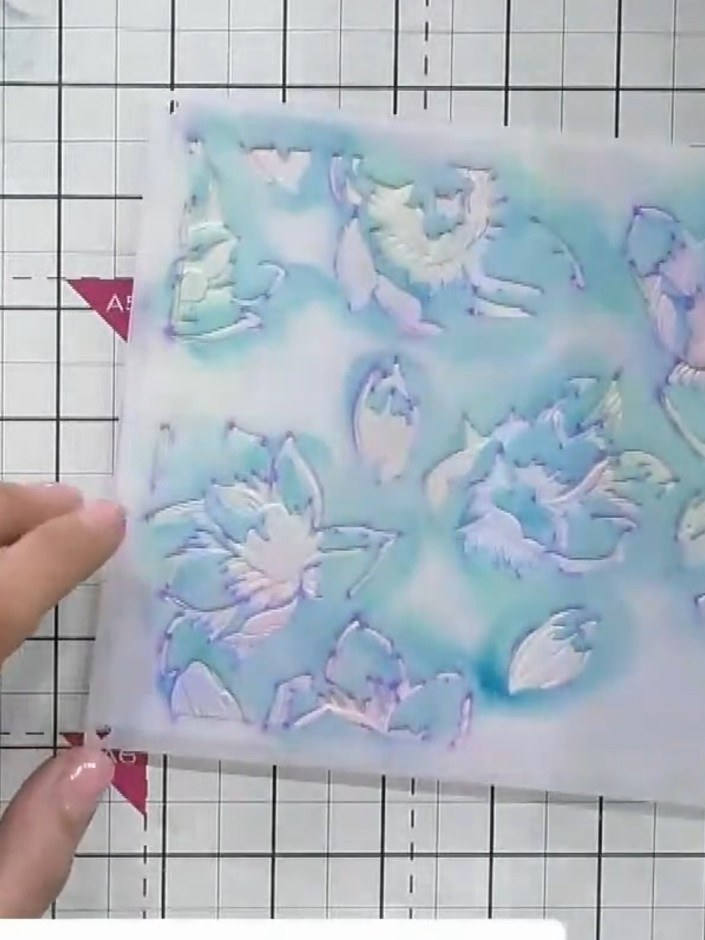
Position the second stencil over the embossed design and apply a contrasting colour through it, pressing firmly to ensure good coverage and build up the colour gradually.
▶ ver este paso (53:45)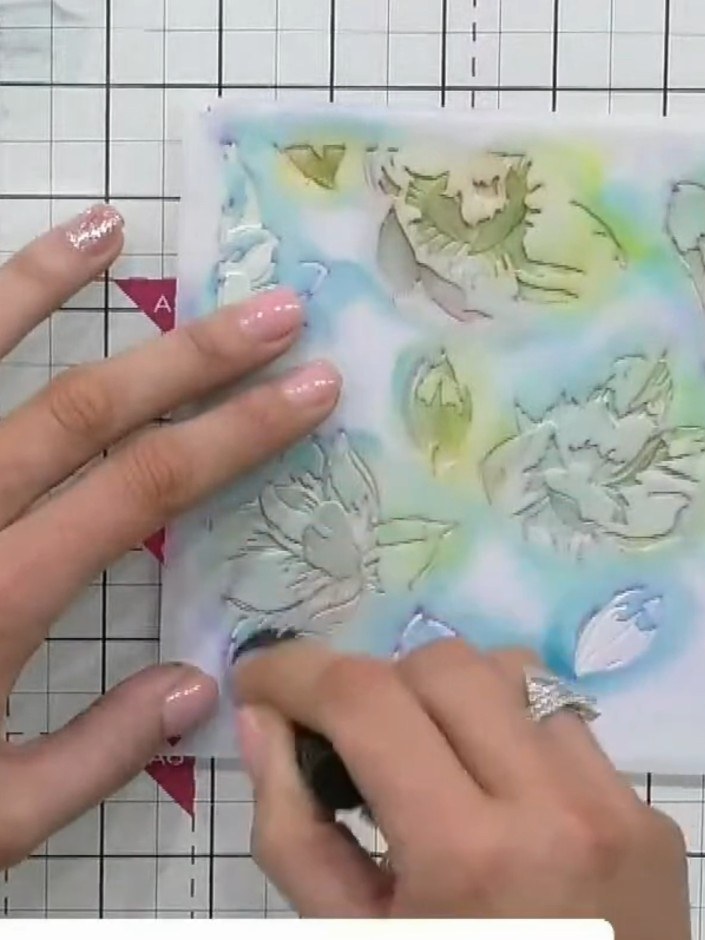
If desired, apply the third stencil section using a complementary colour ink. Blend the ink over the stencil to add additional butterfly and leaf details to your background.
▶ ver este paso (54:30)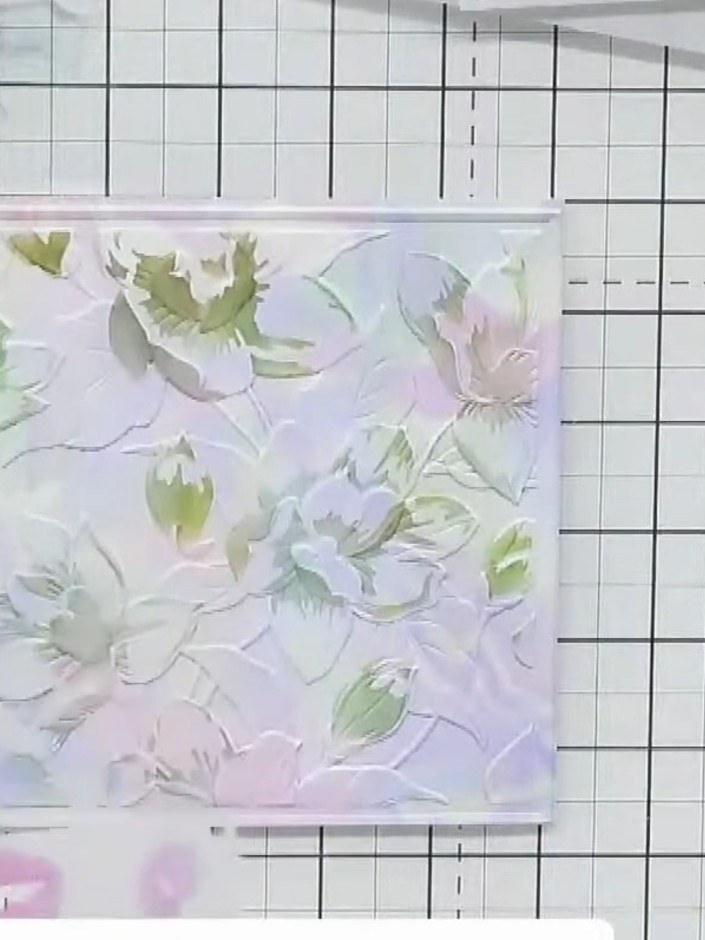
Place the leaf stencil over your embossed design. Apply green ink through the stencil using a blending tool to add foliage detail to the magnolia flowers.
▶ ver este paso (55:00)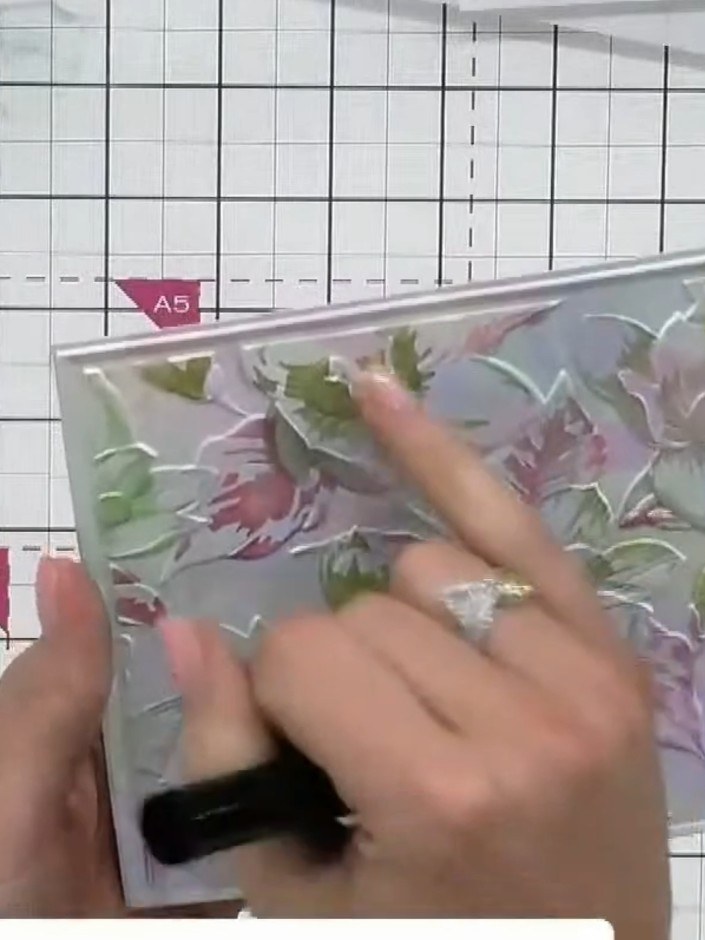
Stamp your floral image onto the embossed and stencilled background, pressing firmly to ensure the stamp picks up the dimensional surface details.
▶ ver este paso (56:45)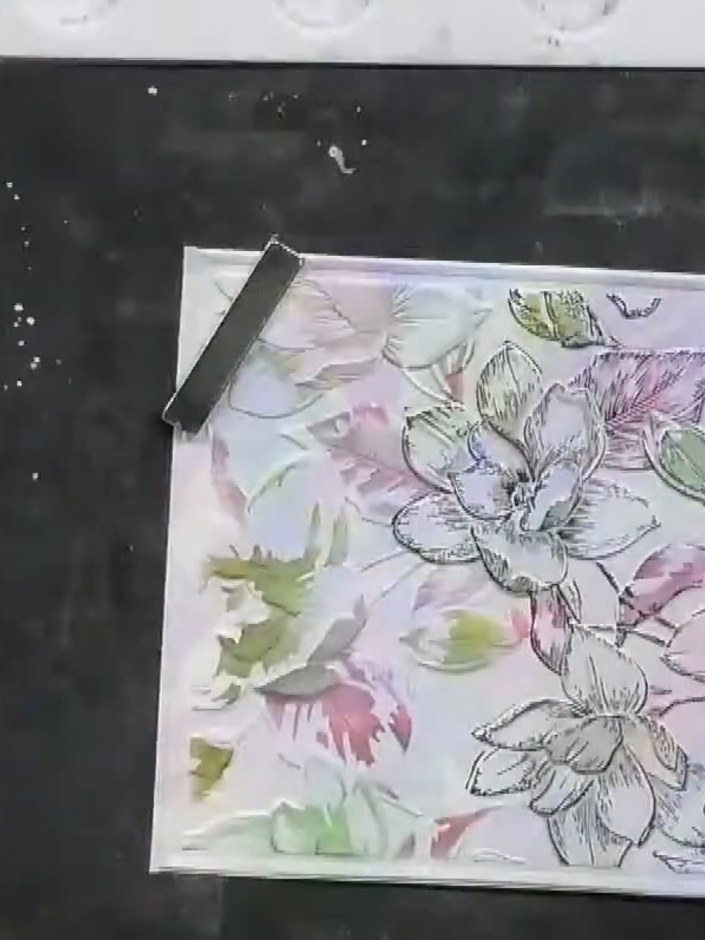
Allow the embossed and stencilled design to dry completely. Admire the layered effect created by combining the embossing folder texture, stencilled colours, and stamped floral images on your finished card.
▶ ver este paso (57:30)Redactado a partir del propio programa. Mira todas las guías de nuestros programas · guías paso a paso gratis · mira en vivo en My Telly