¡Regálales a tus amigos $10 de descuento en su primer pedido!
Recomienda a un AMIGO








 Community Showcaselun 9 nov 5:00 a. m.
 Hobbymaker TVlun 9 nov 9:00 a. m.
 Deal Huntersmar 10 nov 9:00 a. m.
Los precios cambian al instante. Cada idioma es nuestra propia traducción, no Google.
Un proyecto de nuestro programa en vivo PONTE AL DÍA con Toni y su GHOST STAMPING 22 sep 21 · 09/22/2021
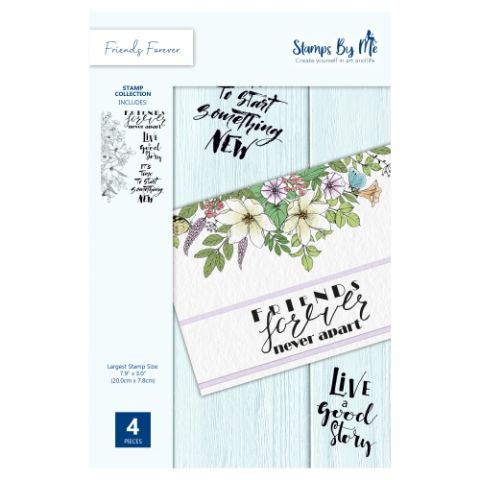
A striking card featuring partial stamping in two colours with heat embossing. The design uses a large border stamp printed in clear embossing powder on the card base and white embossing powder on vellum, layered together to create a seamless, elegant effect with dimensional flowers on top.
Place a piece of vellum in the centre of your card base, holding it in place with magnets.
Ink up your large border stamp with a sticky ink pad and stamp onto the vellum with firm, even pressure.
Remove the vellum carefully and set it aside, then re-ink the stamp and stamp the same design onto the card base in the same position.
Cover the stamped area on the vellum with white embossing powder, tapping off the excess.
Cover the stamped area on the card base with clear embossing powder, tapping off the excess.
Heat set the white powder on the vellum piece with a heat gun until fully melted.
Heat set the clear powder on the card base with a heat gun until fully melted.
From the white embossed cardstock, carefully cut out two large flower motifs from the stamped design.
Align and layer the vellum piece onto the card base, ensuring the designs line up seamlessly.
Adhere the vellum to the card base with a small amount of glue, being mindful not to use too much moisture as it can cause the vellum to cockle.
Attach the two cut-out flowers to the card using foam pads to add dimension.
Secure the vellum further by adding sequins or gems to hold it flat and add embellishment.
Comparte tu proyecto con la comunidad de Stamps By Me - y guarda esta guía para la próxima vez.
Escrito a partir del propio programa. Todas las guías de nuestros programas · guías gratis · en vivo en My Telly · el diseño anterior