¡Regálales a tus amigos $10 de descuento en su primer pedido!
Recomienda a un AMIGO








Un proyecto de nuestro programa en vivo CREATE AND CRAFT - COLECCIÓN TOTALMENTE NUEVA - Acompaña a Toni en su más reciente programa de lanzamiento 2 - Transmitido el 29 de nov. del 22 · 11/29/2022 · velo desde 17:45
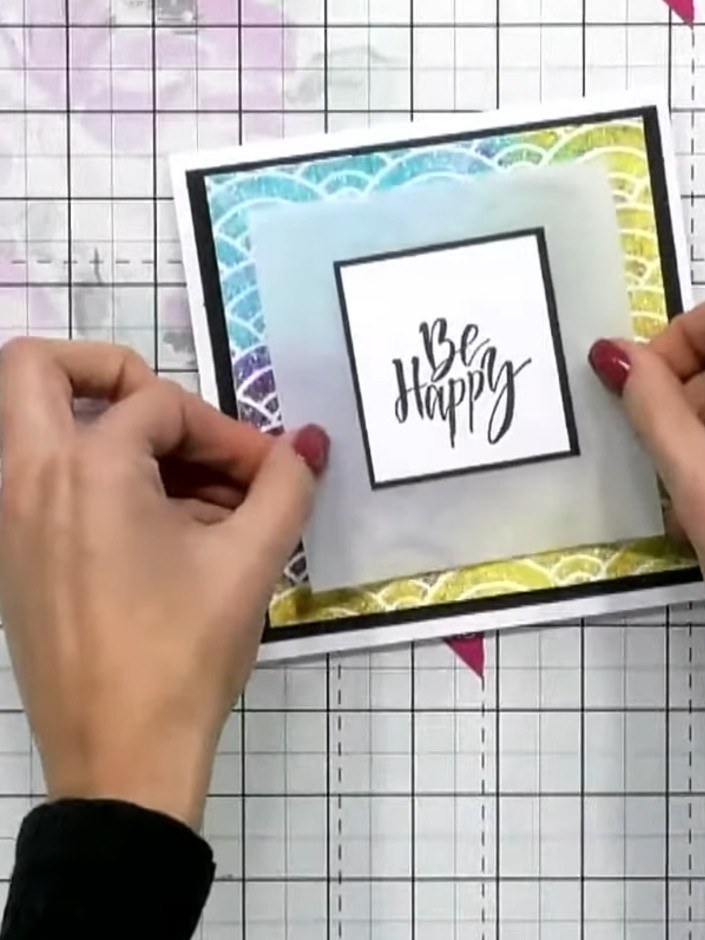
Create a stunning layered card featuring vibrant stencilled backgrounds with glitter paste in rainbow colours, mounted on black cardstock and softened with a vellum overlay. The design showcases a scalloped wave pattern with an uplifting sentiment in the centre, combining sparkle and elegance. This project demonstrates stencilling techniques with glitter paste and layering to achieve a striking dimensional effect.
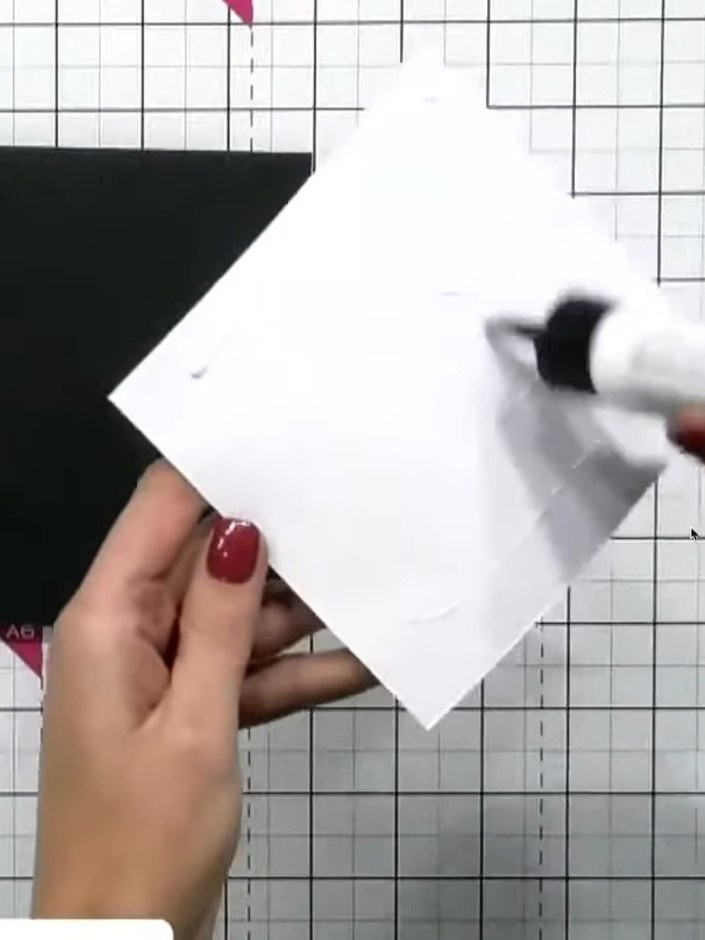
Cut a piece of vellum and place it over the centre of your stencilled and glittered design to soften the brightness of the colours.
▶ ver este paso (17:45)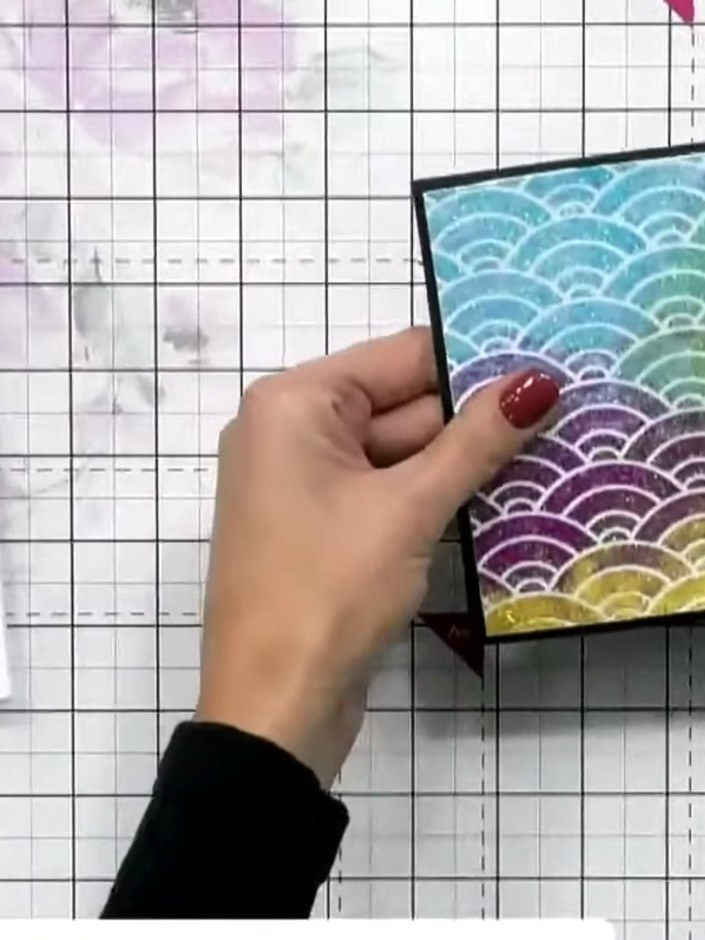
Tape the vellum piece with the rainbow scallop pattern to a piece of black cardstock to create your base layer.
▶ ver este paso (18:15)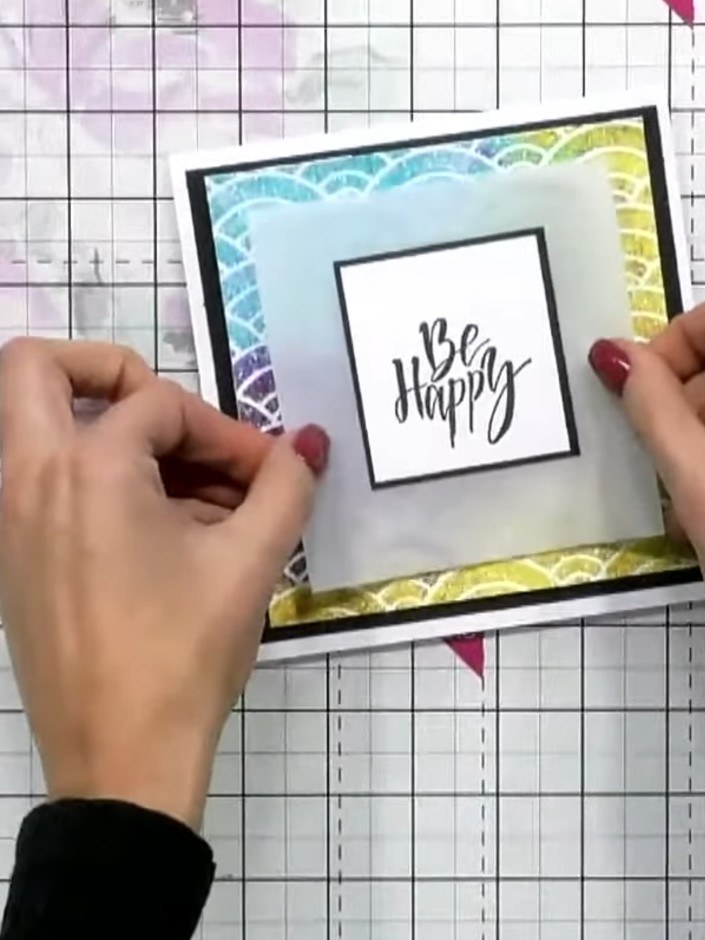
Apply foam pads to the back of the stencilled rainbow panel. Position the panel on top of the vellum layer to create dimension.
▶ ver este paso (20:30)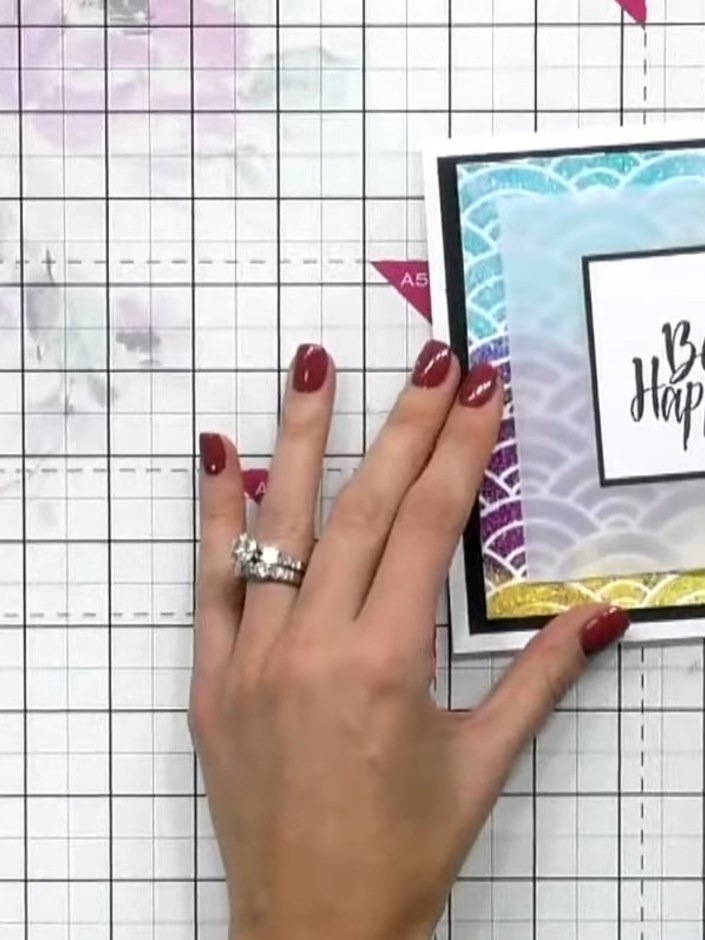
Adhere the raised sentiment panel to the centre of the card front using foam pads or adhesive. Position it carefully to ensure it sits centrally over the stencilled background.
▶ ver este paso (20:45)Redactado a partir del propio programa. Mira todas las guías de nuestros programas · guías paso a paso gratis · mira en vivo en My Telly