¡Regálales a tus amigos $10 de descuento en su primer pedido!
Recomienda a un AMIGO








Un proyecto de nuestro programa en vivo MONDAY MADNESS - Acompaña a Simon de AVAGO-INK y descubre sus productos más nuevos - Transmitido el 5 de diciembre de 2022 · 12/05/2022 · velo desde 28:15
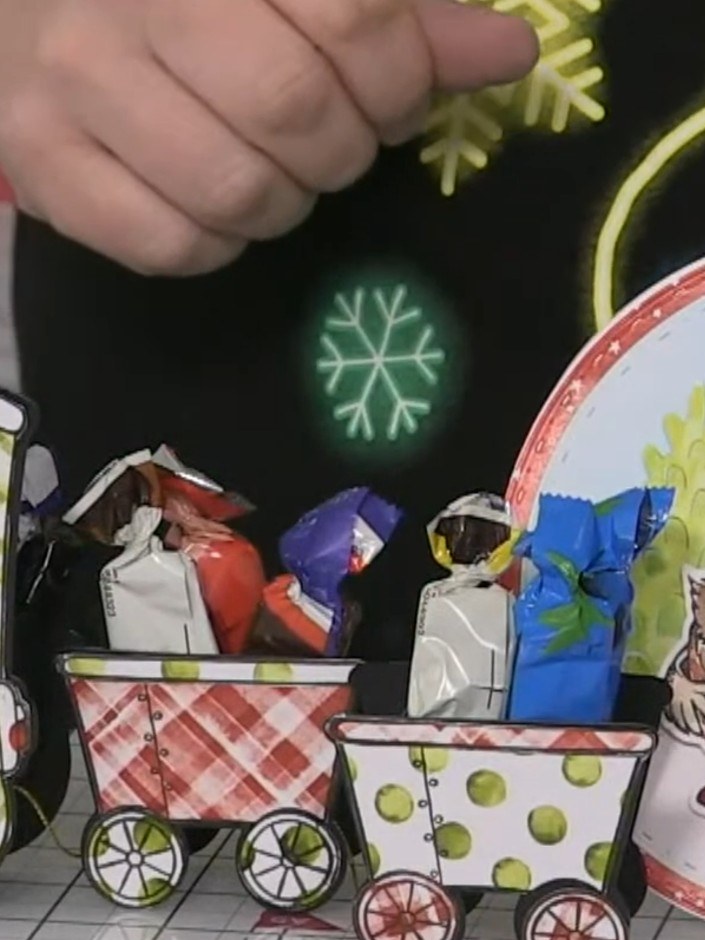
Create a charming 3D chocolate train gift box complete with carriages, perfect for festive gifting. This delightful project features a decorative locomotive and multiple carriages decorated with festive patterns including polka dots and gingham checks, designed to hold chocolates and small treats. The main techniques include die-cutting, paper assembly, and dimensional construction to create a freestanding display piece.
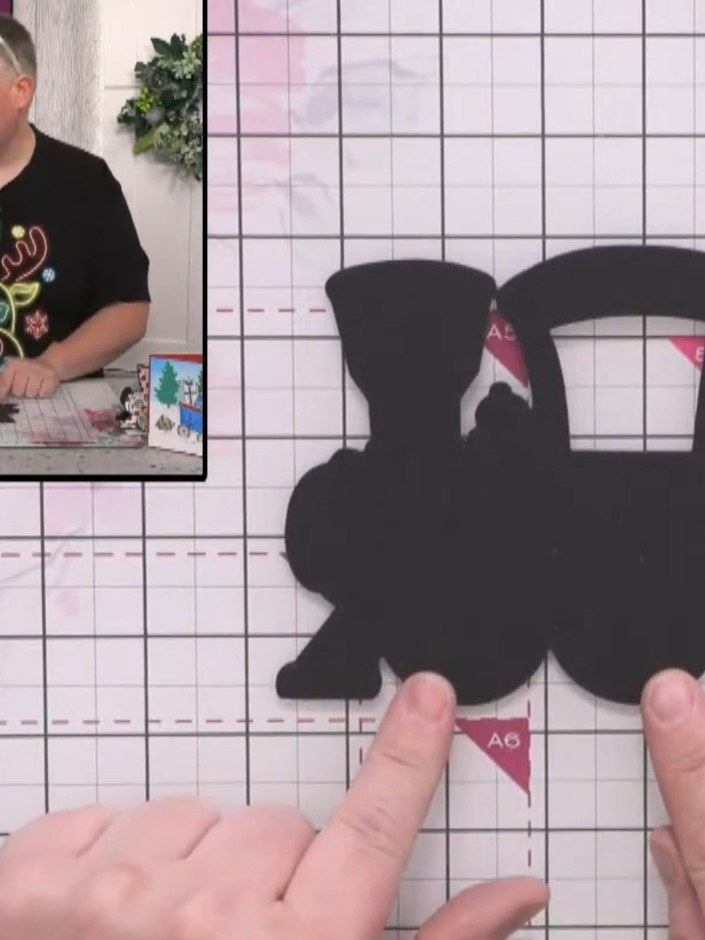
Cut two pieces from black card using the large train die to create the front and back of your train engine.
▶ ver este paso (29:15)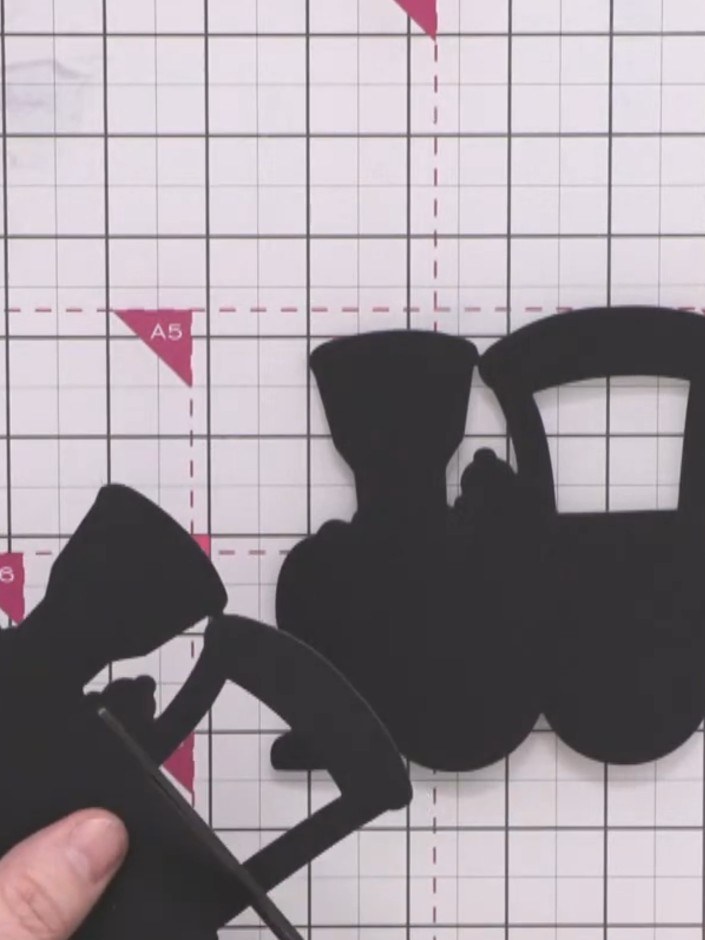
Cut the second train piece in half horizontally across the window line. Keep only the lower half to create the box-like back section of the train.
▶ ver este paso (30:30)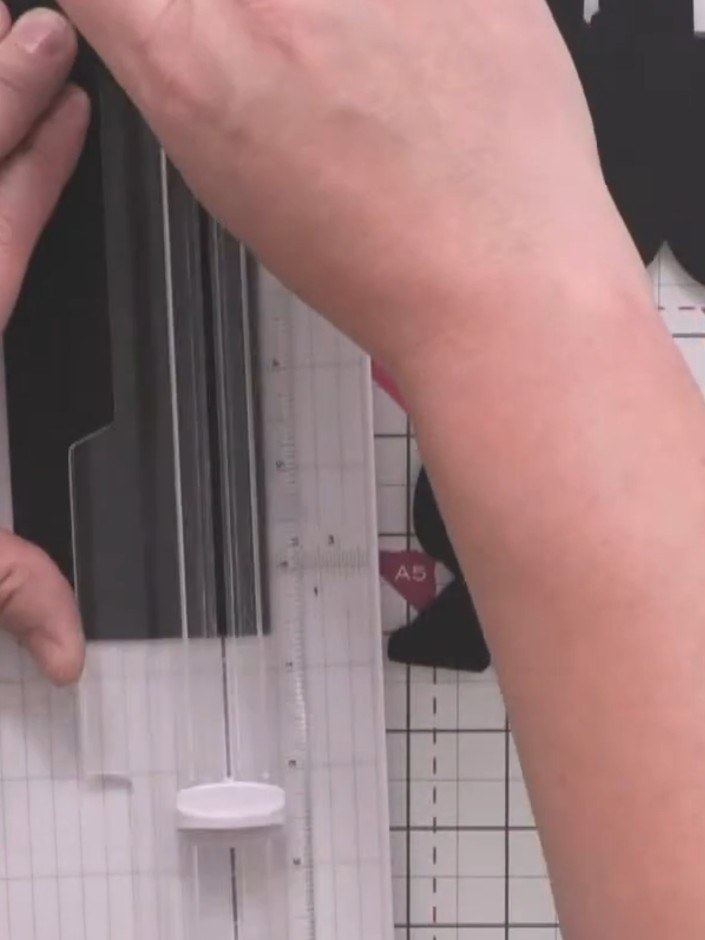
Cut a piece of card measuring 6.5 by 2.5 inches using a scoring cutter. Score at half an inch all the way down the length of the card.
▶ ver este paso (31:00)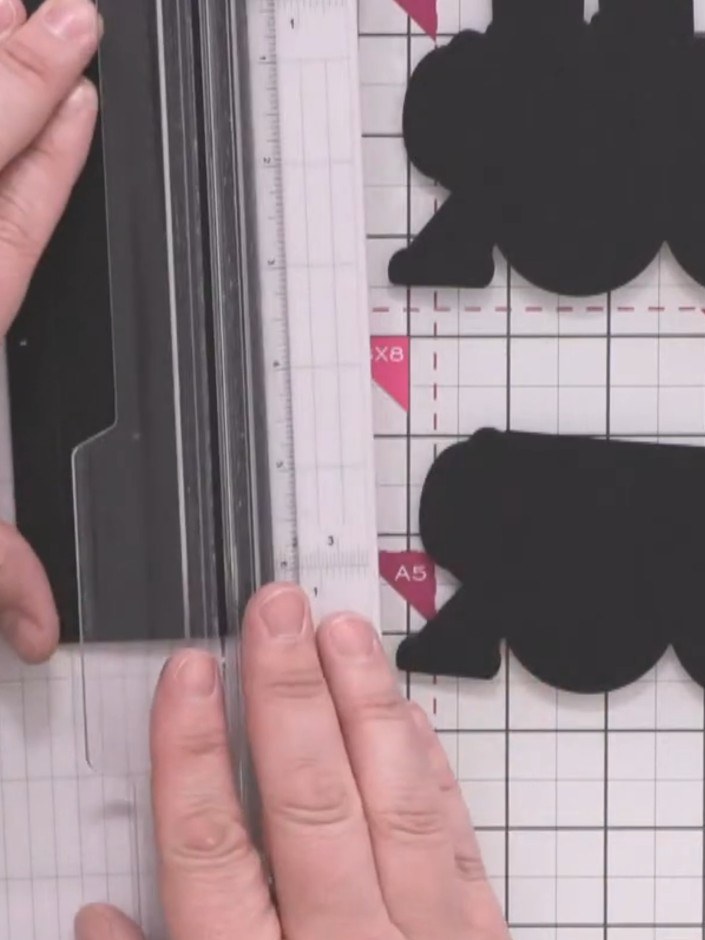
Score the black card at half-inch intervals down the length. Then score at 1.5 inches across the width to create fold lines for the box structure.
▶ ver este paso (31:15)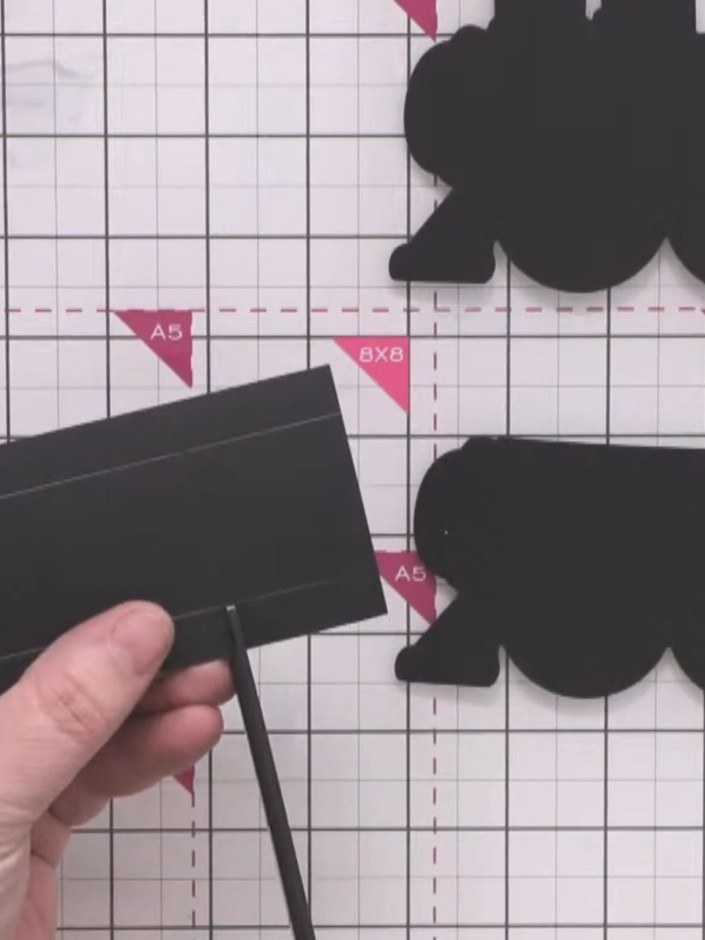
Make small snips into the scored black card at the corners to allow the sides to fold up and create the box shape.
▶ ver este paso (32:00)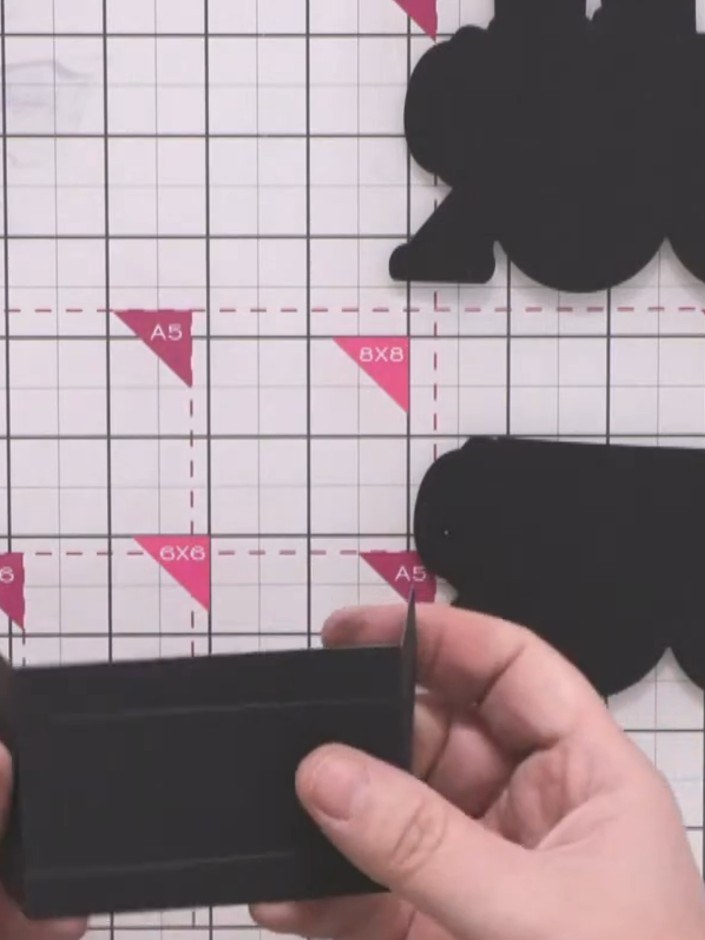
Fold all the scored lines on the black card piece to create the three-dimensional box structure. Give each fold a good crease to ensure crisp edges.
▶ ver este paso (32:15)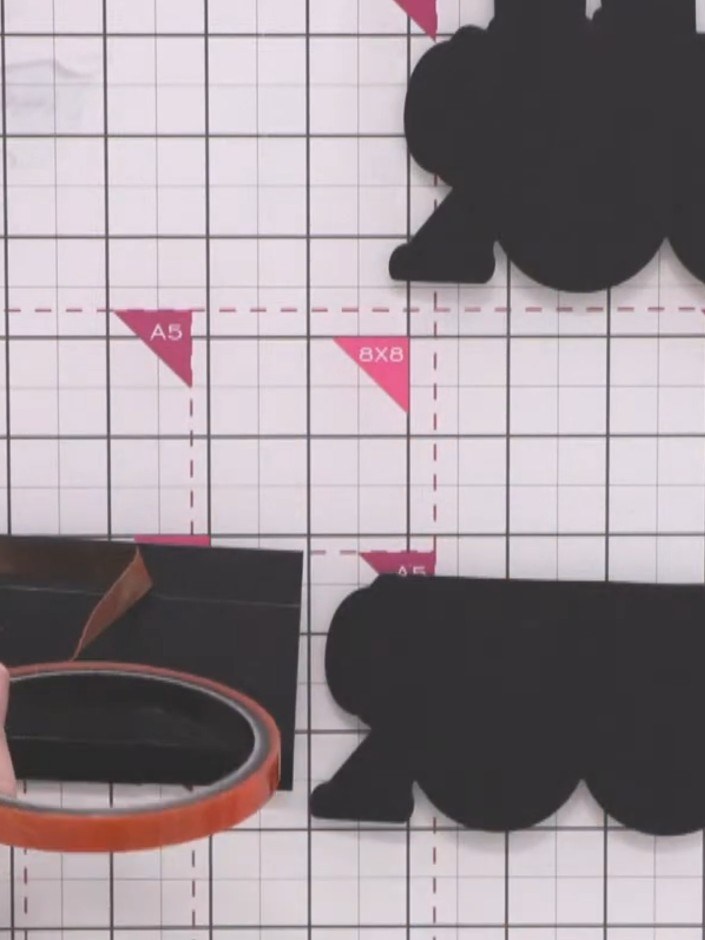
Apply red liner tape to the two long edges of the black box structure piece.
▶ ver este paso (32:45)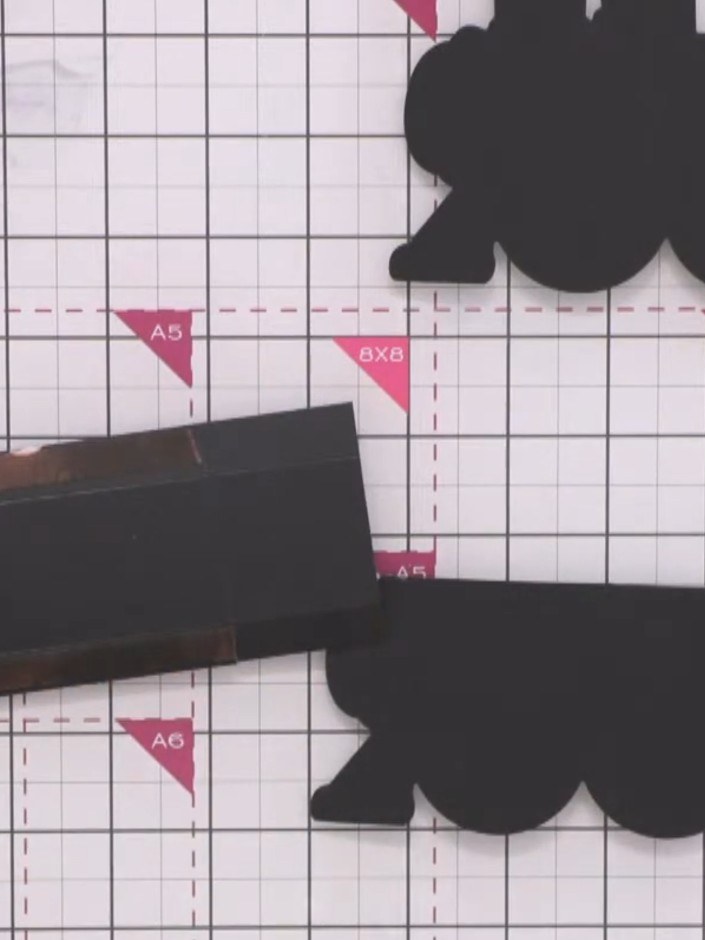
Cut two carriage pieces from black card using the carriage die. These pieces will be the same size, unlike the train which has a shortened back.
▶ ver este paso (33:00)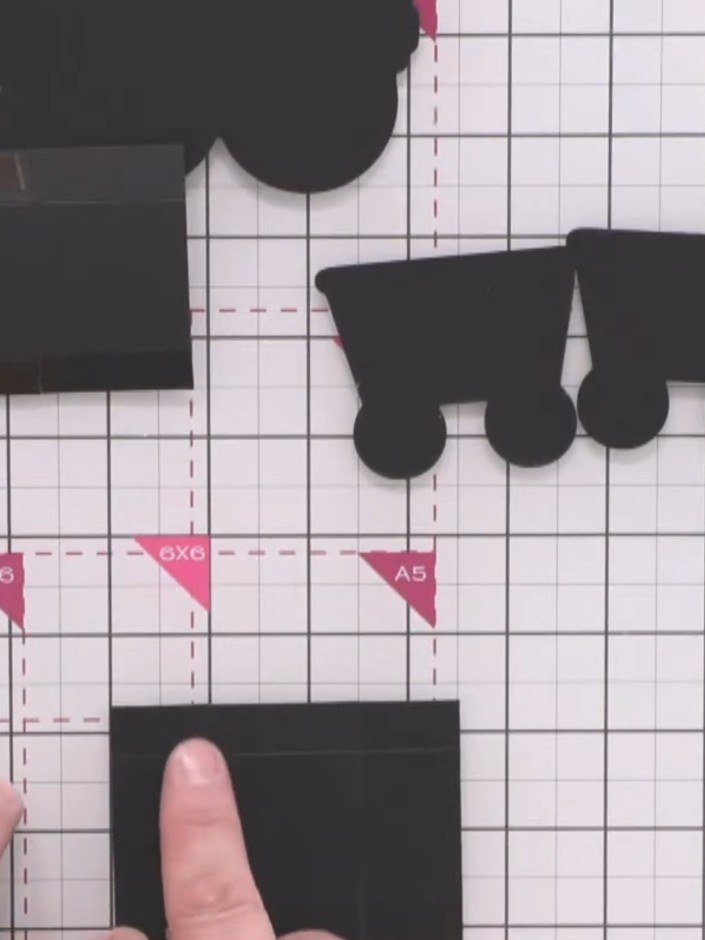
Cut a piece of black card measuring 3.5 by 2.5 inches for each carriage's structural base.
▶ ver este paso (34:15)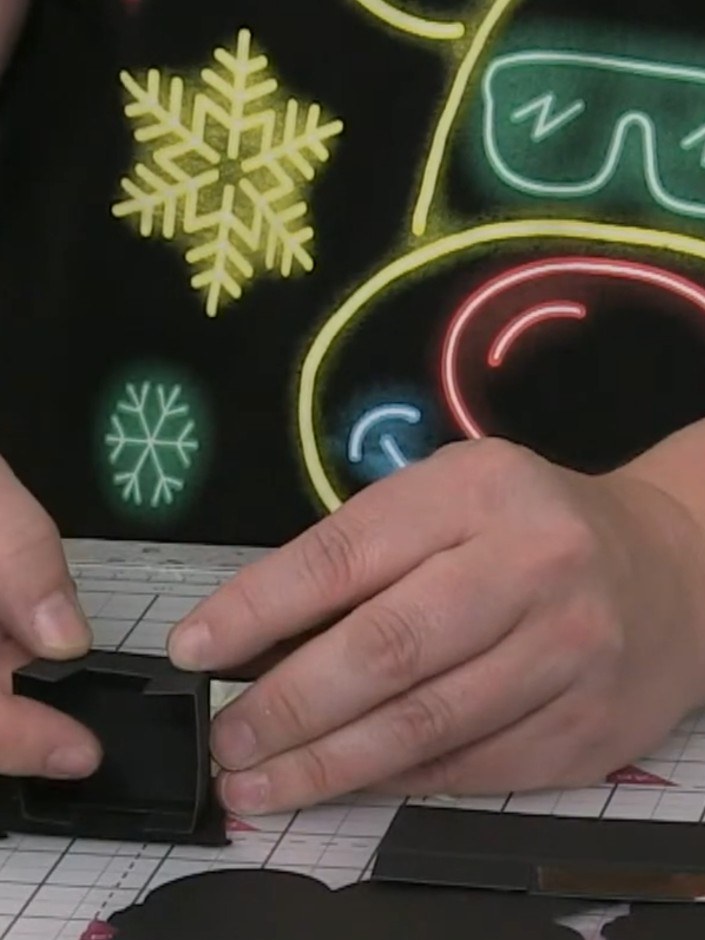
Score the carriage base card at one-inch intervals and half-inch intervals to create the smaller box structures for the carriages.
▶ ver este paso (34:30)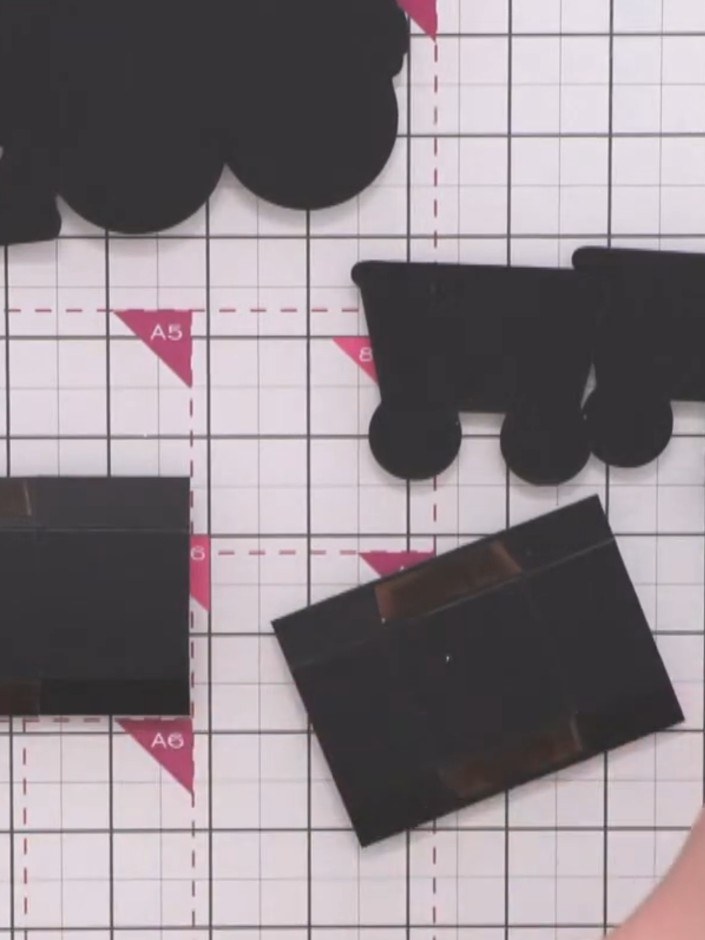
Apply red liner tape to the edges of the black carriage base pieces. Trim off any excess tape with scissors.
▶ ver este paso (34:45)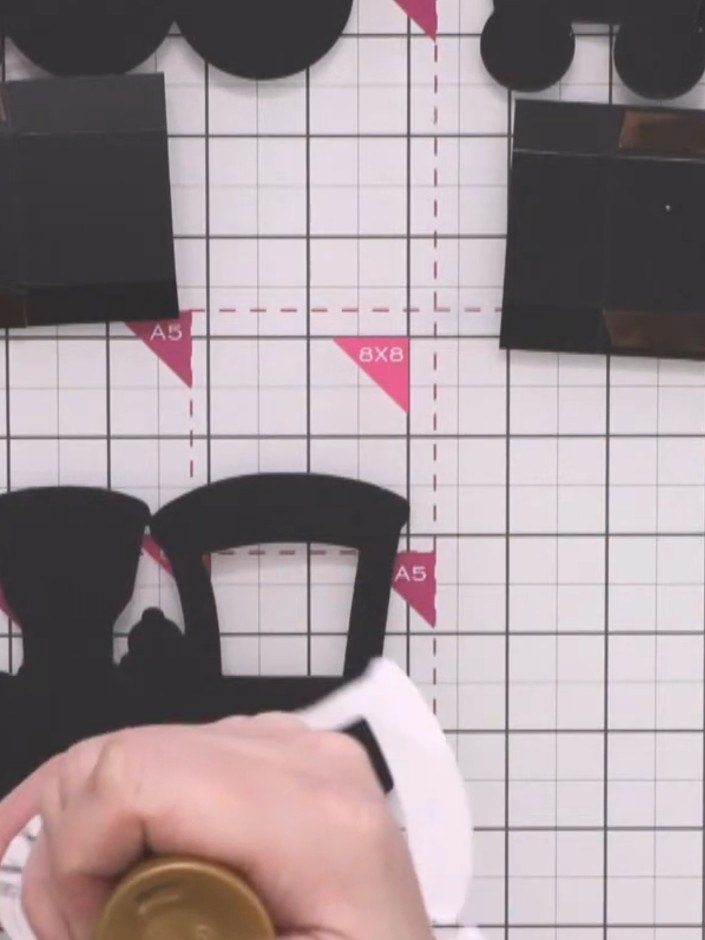
Paper-piece the front of the green train by gluing coloured and patterned card pieces onto the black die-cut train shape. Add details such as wheels, door panels, and decorative elements using coordinating papers.
▶ ver este paso (35:15)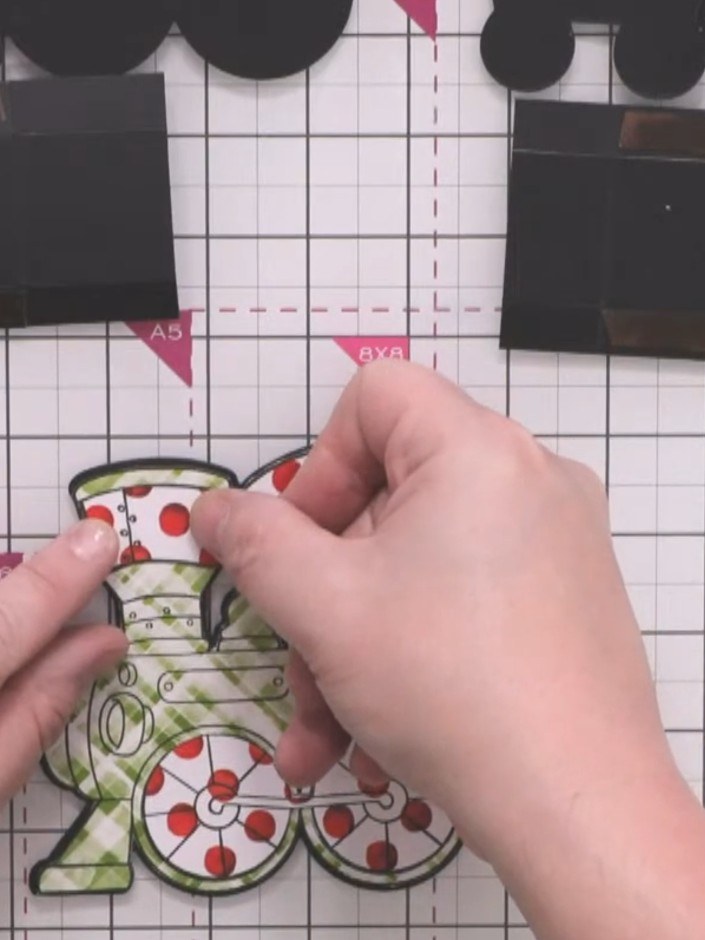
Paper-piece the front of each carriage in the same way, using coordinating colours and patterns. The train features green striped patterns whilst the carriages use red polka dot designs.
▶ ver este paso (36:30)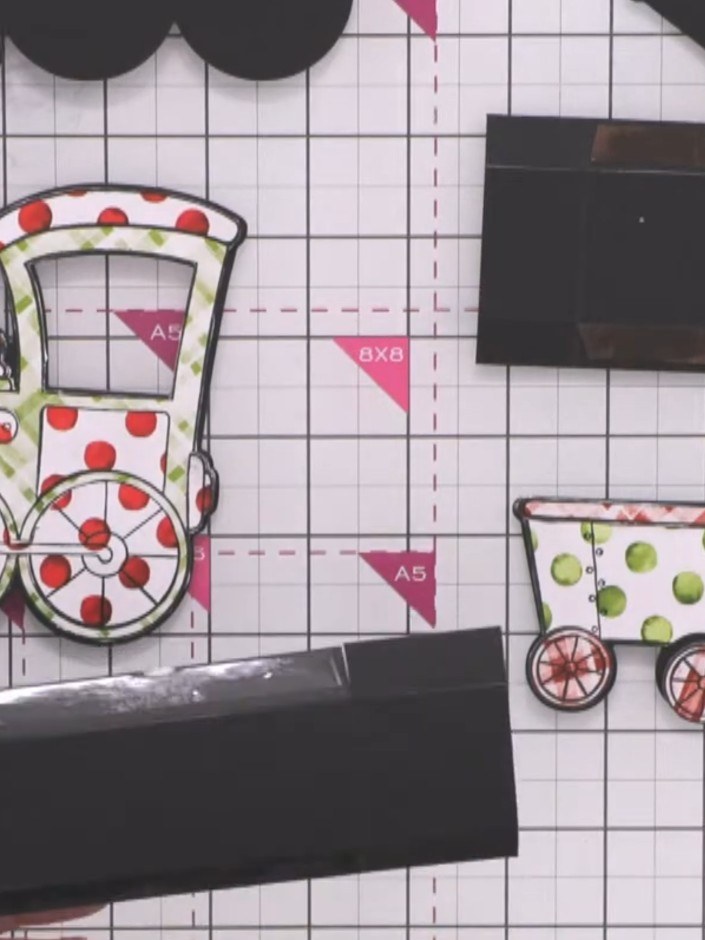
Fold in the scored sides of the black box base and attach it between the front and back train pieces using red liner tape to complete the train assembly.
▶ ver este paso (39:15)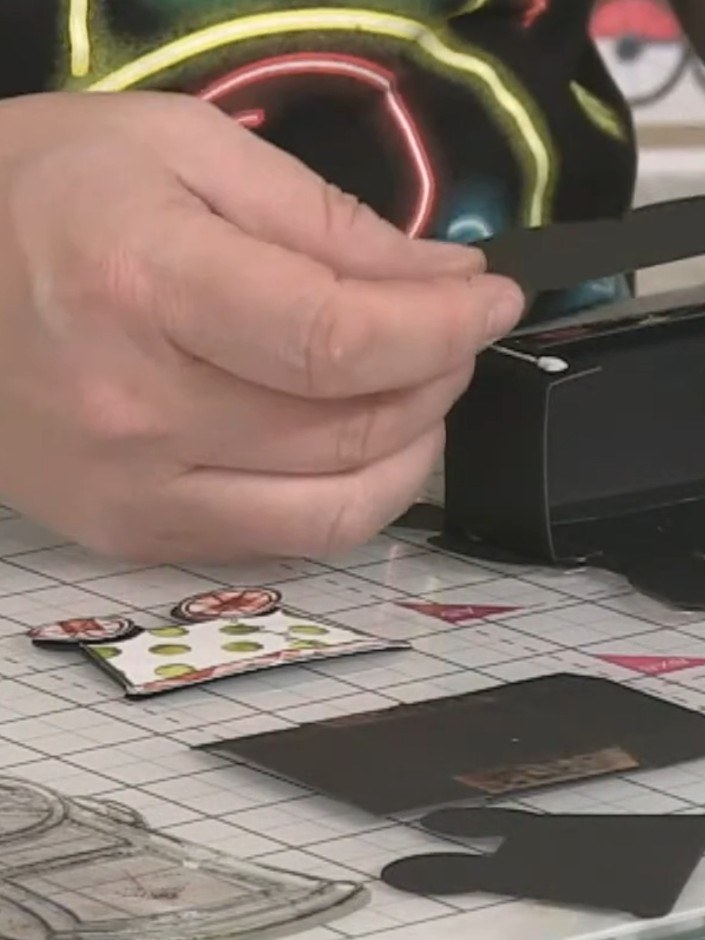
Assemble each carriage by folding the scored base and attaching it between the front and back carriage pieces. Hold the pieces in position whilst the adhesive sets.
▶ ver este paso (40:00)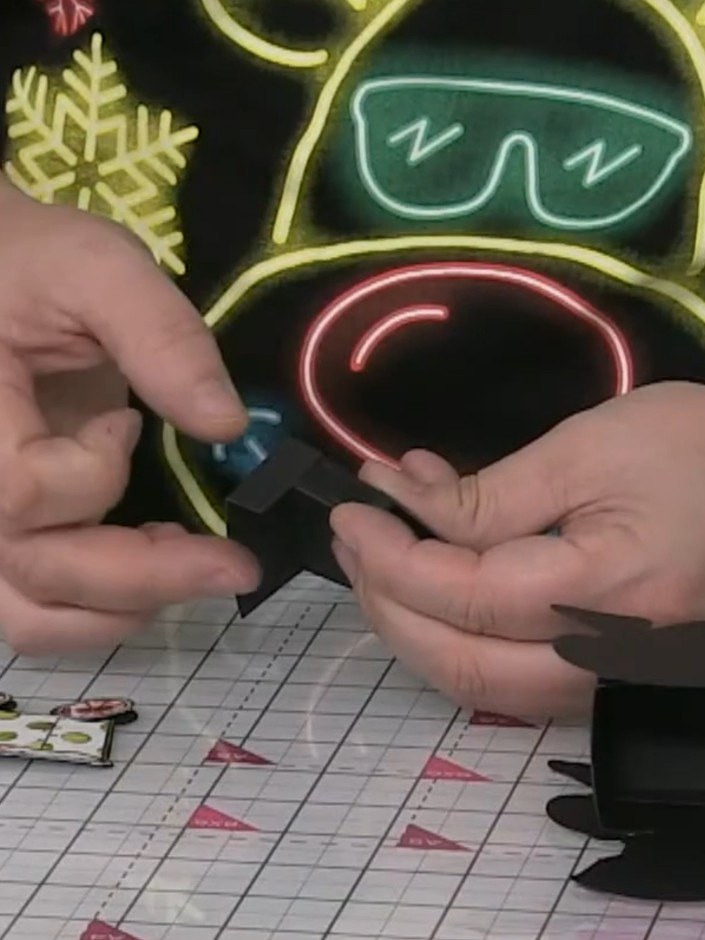
Apply red liner tape to the underside of the train and carriages where marked with crosses. Fold the tape in to secure it, creating attachment points for the connecting string.
▶ ver este paso (40:45)Redactado a partir del propio programa. Mira todas las guías de nuestros programas · guías paso a paso gratis · mira en vivo en My Telly
