¡Regálales a tus amigos $10 de descuento en su primer pedido!
Recomienda a un AMIGO








Un proyecto de nuestro programa en vivo MONDAY MADNESS - Acompaña a Simon de AVAGO-INK y descubre sus productos más nuevos - Transmitido el 5 de diciembre de 2022 · 12/05/2022 · velo desde 2:45
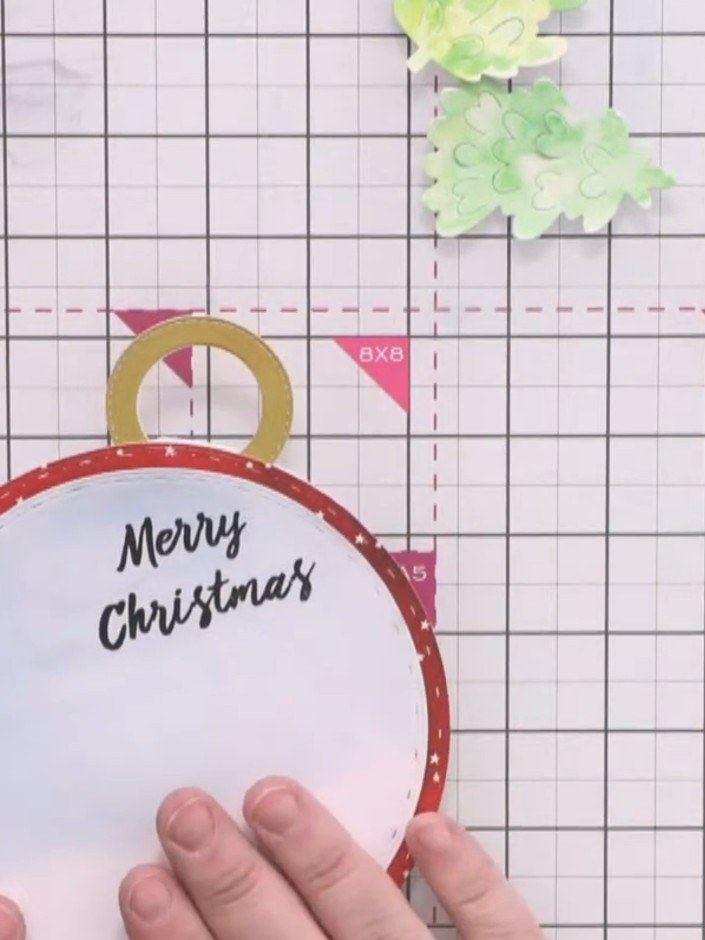
Create a stunning Christmas bubble card featuring a dimensional circular bauble design that pops up when opened. The card showcases a beautiful watercoloured winter sky with delicate trees and an adorable owl character holding a festive hot drink. Using watercolour painting, die-cutting and layering techniques, you'll craft an impressive 3D card with a red polka dot bauble frame and 'Merry Christmas' sentiment.
 AVAGO-INK DESIGNS - SELLO Y TROQUEL A5 - NAVIDAD - JOYFUL JOURNEY - 060522bVERLO
 ALMOHADILLA DE TINTA VERSAFINE - ONYX BLACK - 300921cVERLO
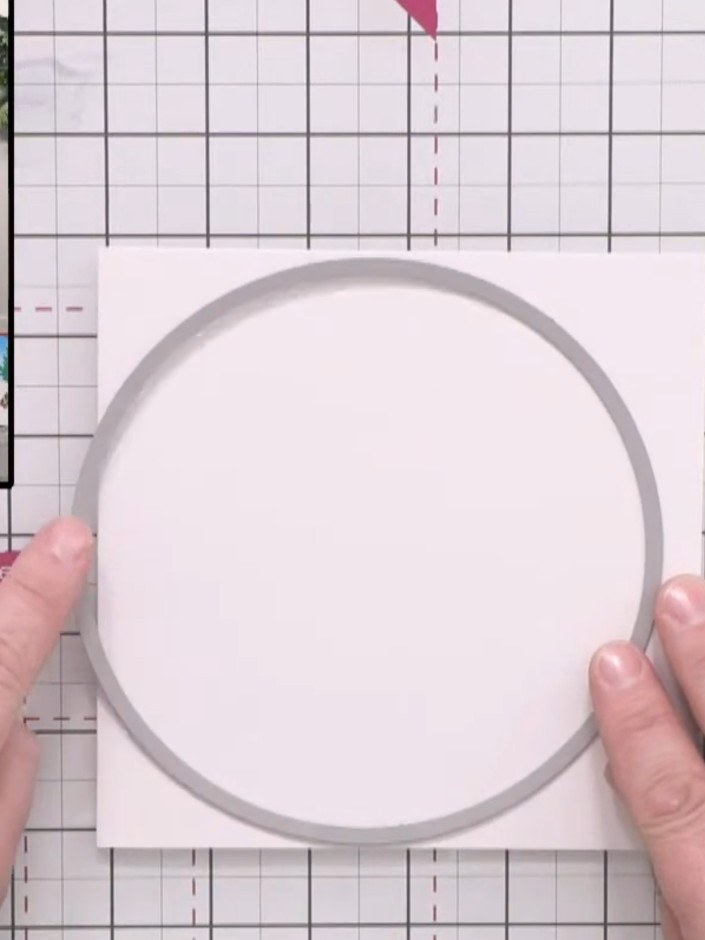
Take a 6x6 inch card blank and position a circular die over the centre crease, overlapping slightly so the card will fold and operate as a bubble mechanism.
▶ ver este paso (3:00)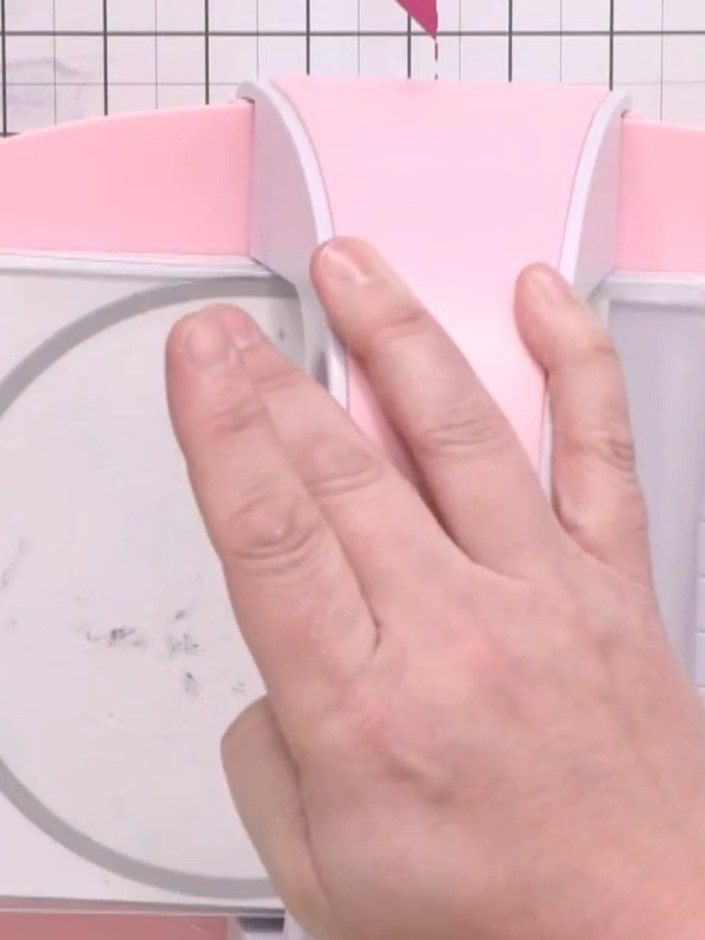
Use a portable die-cutting machine to cut out the circular shape through both layers of the card blank. Position the die centrally on the folded card and run it through the machine to create the bubble card mechanism.
▶ ver este paso (3:30)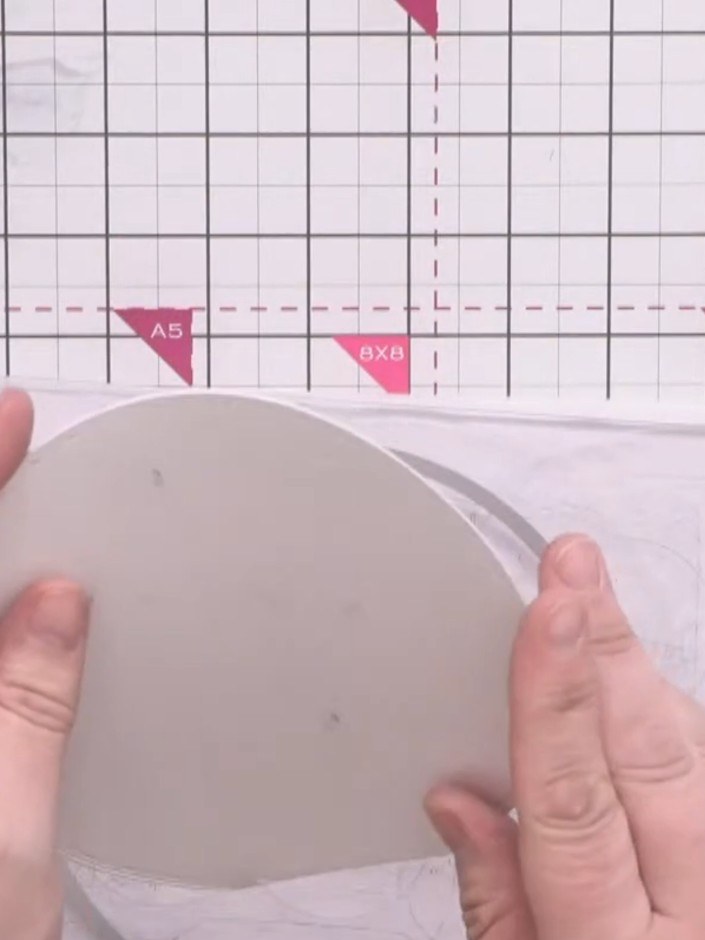
Trim the back edge of the circular card flat to create a stable resting base so the bubble won't rock when standing.
▶ ver este paso (4:30)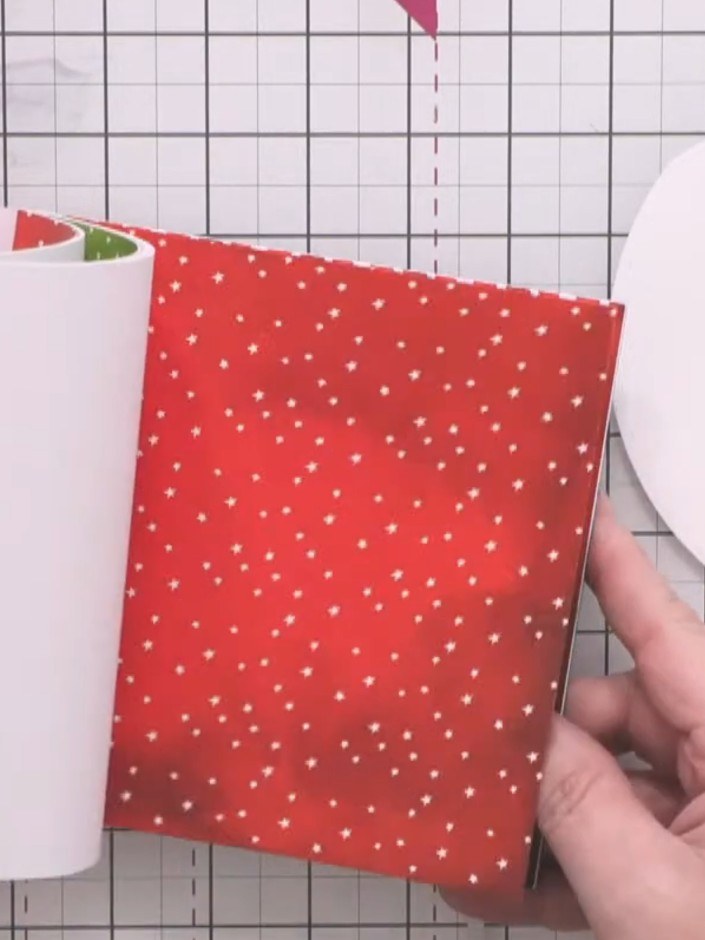
Cut a circular backing piece from festive patterned card (red with gold stars or similar) to match the size of your bubble circle.
▶ ver este paso (5:00)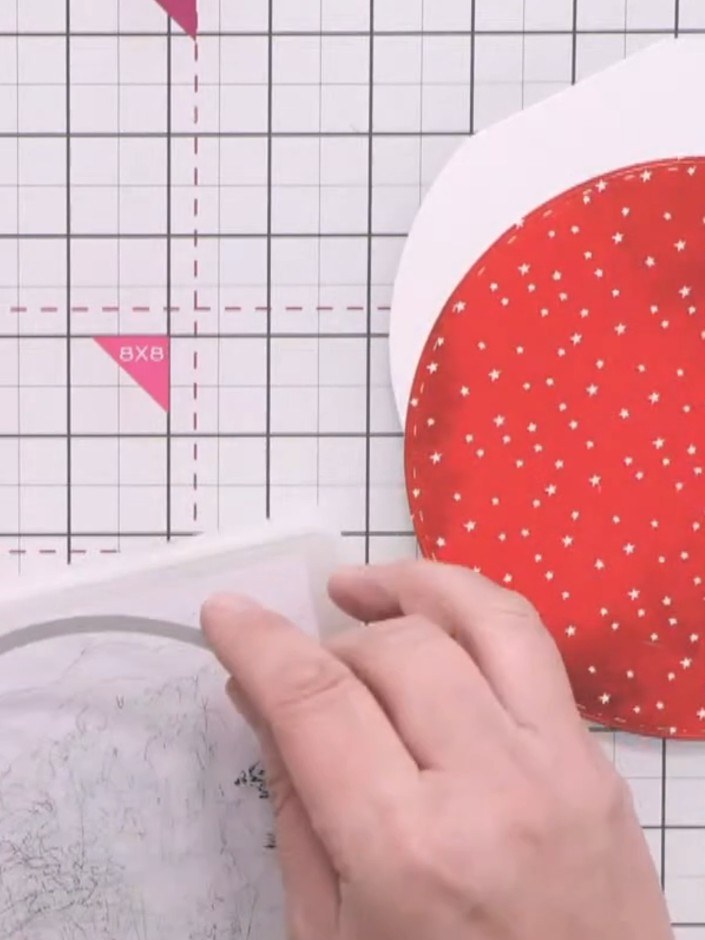
Adhere the red patterned paper circle to the inside of the bubble card base. Leave the top corner unglued as you will need to insert the hoop mechanism there later.
▶ ver este paso (5:45)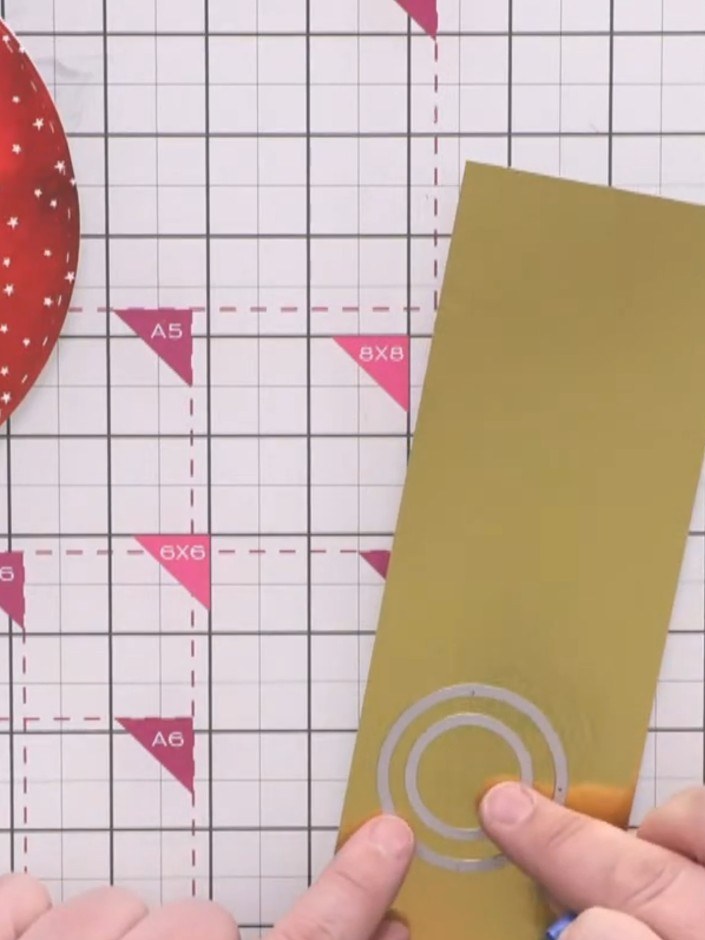
Nest two circular dies (one small and one larger) on gold card to create a donut-shaped hoop. Cut two of these gold hoops for the bauble tops.
▶ ver este paso (7:30)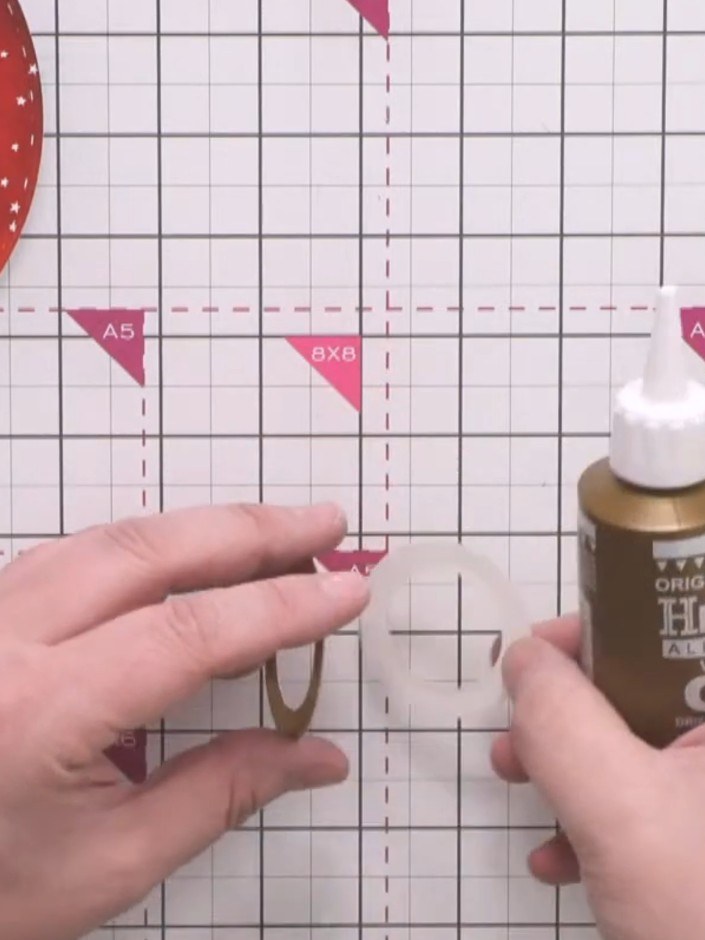
Glue the two gold rings back-to-back to create a finished hoop with no visible joins.
▶ ver este paso (9:45)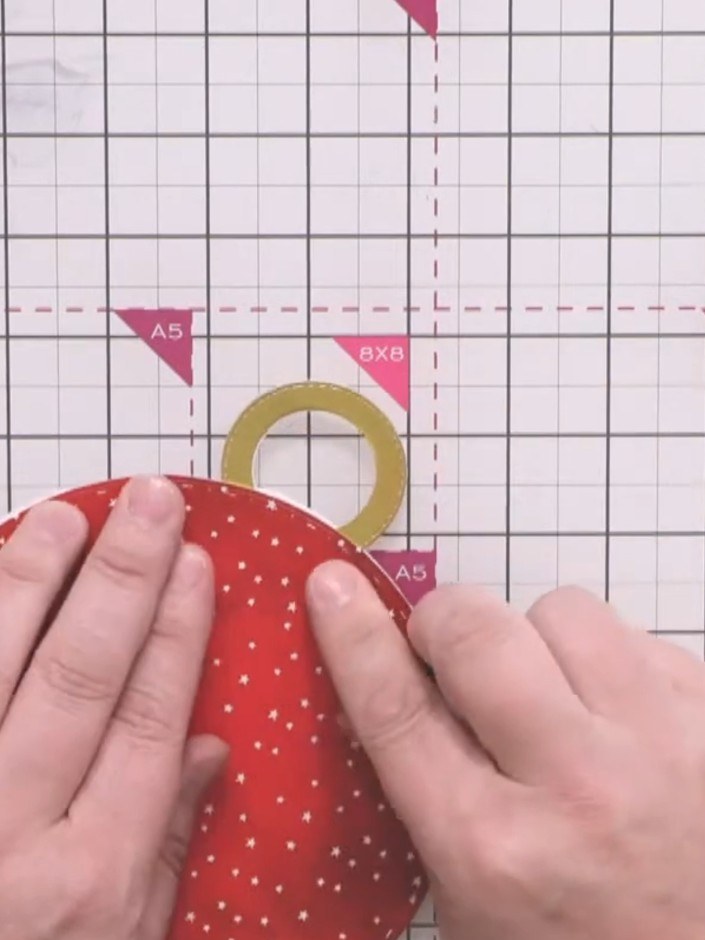
Glue the gold hoop to the top of the red bauble circle to create a hanging loop for the bubble card.
▶ ver este paso (10:45)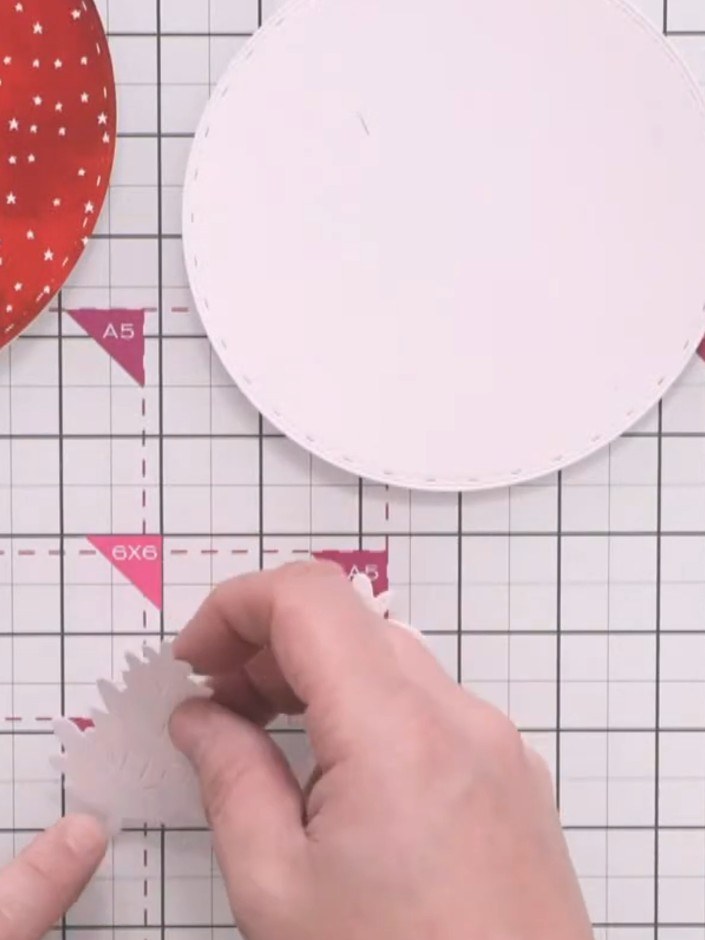
Cut a slightly smaller circle from white card to fit within the red dotted bauble backing, creating a border around the edge for your design.
▶ ver este paso (11:30)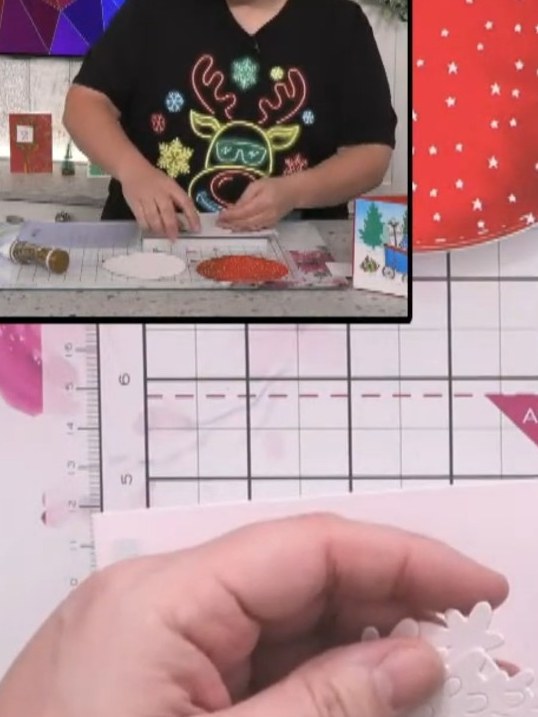
Cut two small tree shapes from white card using the terrific trees die.
▶ ver este paso (12:15)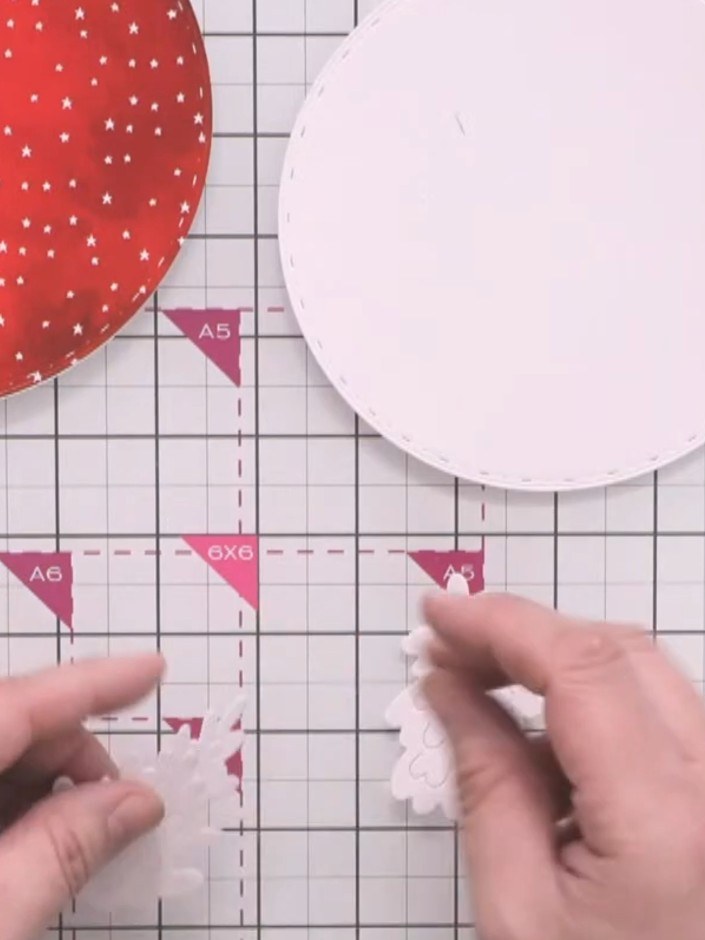
Gently tease up the lift-up panels on the tree pieces to add dimension and texture to the trees.
▶ ver este paso (13:00)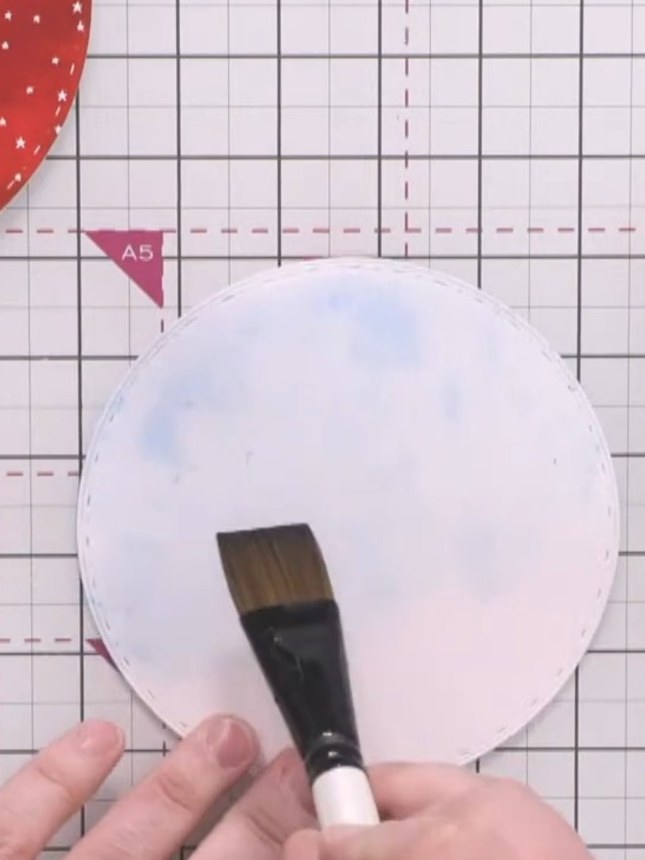
Apply water across the top portion of the white circular background using a brush. Add blue watercolour pigment to create a sky wash effect.
▶ ver este paso (13:45)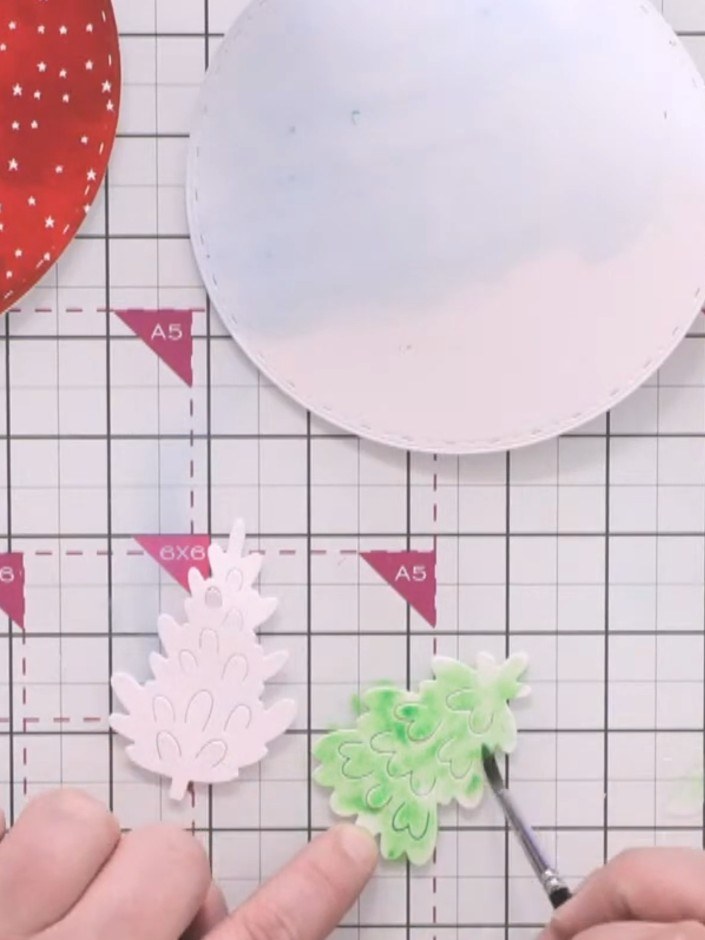
Apply green watercolour washes to the tree pieces using a paintbrush, varying the shades to create depth and dimension. Work on one tree at a time, allowing the colours to blend naturally on the white die-cut pieces.
▶ ver este paso (15:00)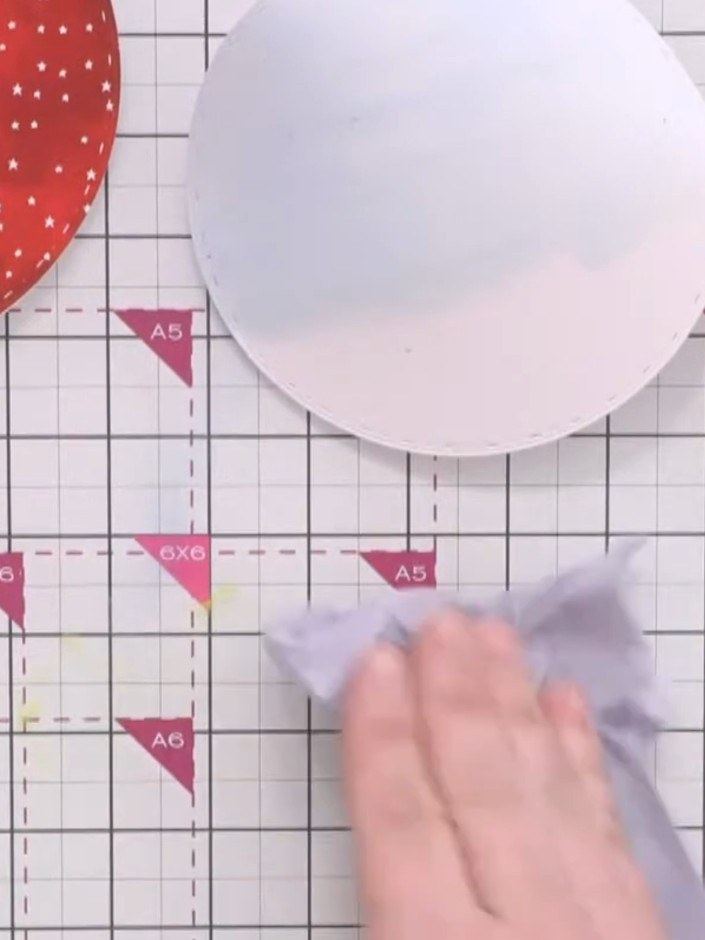
Press the wet watercoloured pieces with paper towel to remove excess water. Dry thoroughly with a heat gun.
▶ ver este paso (16:30)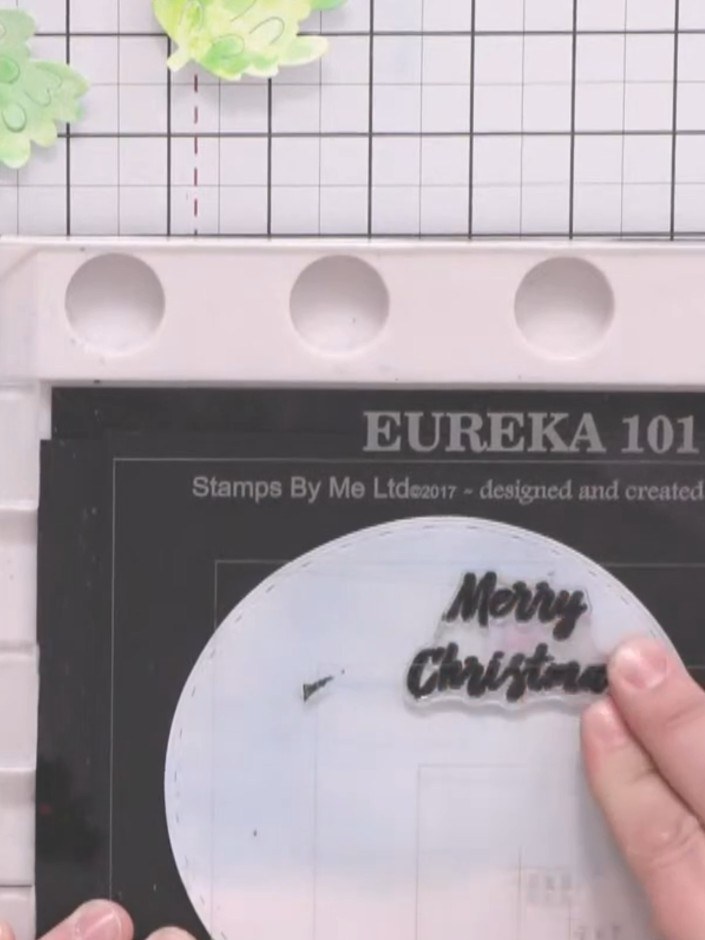
Stamp a 'Merry Christmas' sentiment onto the white circular background using black ink, positioning it in the top corner of the circle.
▶ ver este paso (17:45)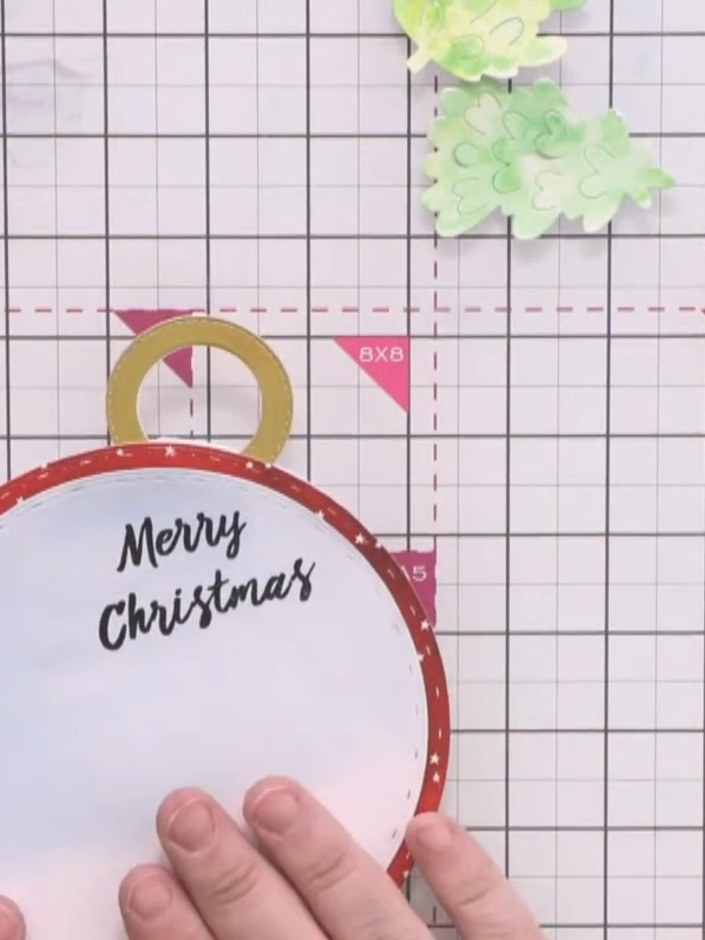
Glue the watercoloured background piece onto the bubble card base, aligning it with the red patterned circle so the 'Merry Christmas' sentiment is centred on the bauble.
▶ ver este paso (19:15)Redactado a partir del propio programa. Mira todas las guías de nuestros programas · guías paso a paso gratis · mira en vivo en My Telly