¡Regálales a tus amigos $10 de descuento en su primer pedido!
Recomienda a un AMIGO








Un proyecto de nuestro programa en vivo CREATE AND CRAFT TV - ESPECIAL DE UN DÍA SBM - Acompaña a Toni con sus productos más nuevos e inspiración - programa 2 transmitido el 5 de mayo 23 · 05/05/2023 · velo desde 15:00
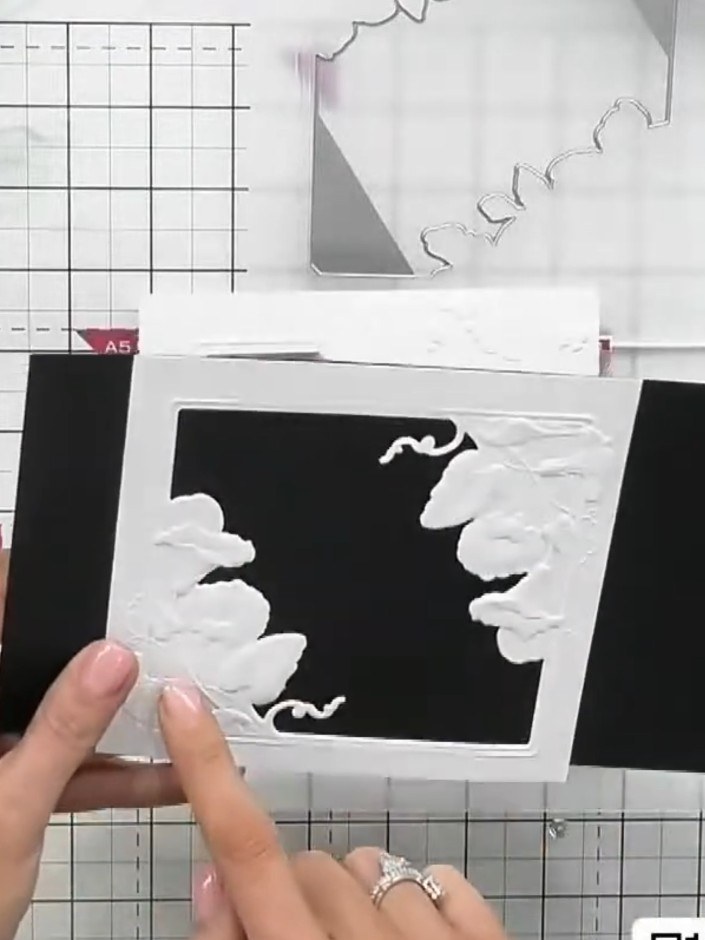
Create an elegant square card featuring beautiful blossom embossing on textured cardstock. The embossed floral design creates a stunning frame effect on black card, which can be enhanced with sparkly gilding wax or embossing powder for added dimension. This sophisticated technique combines embossing folders with decorative finishes to produce a card perfect for any special occasion.
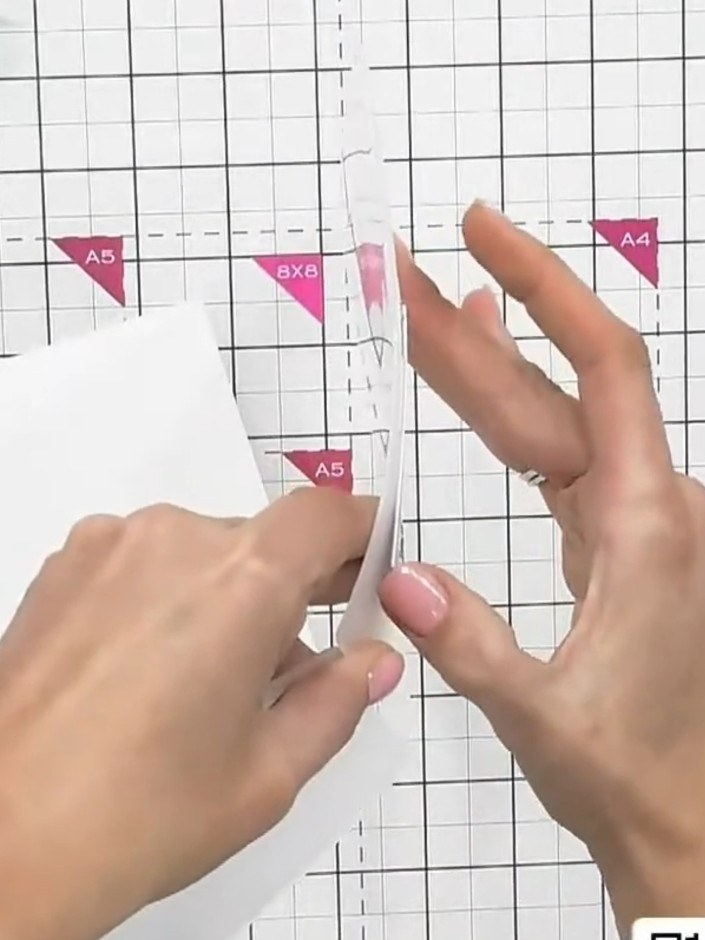
Insert the cardstock into the embossing folder, positioning it centrally between the two halves of the folder.
▶ ver este paso (15:15)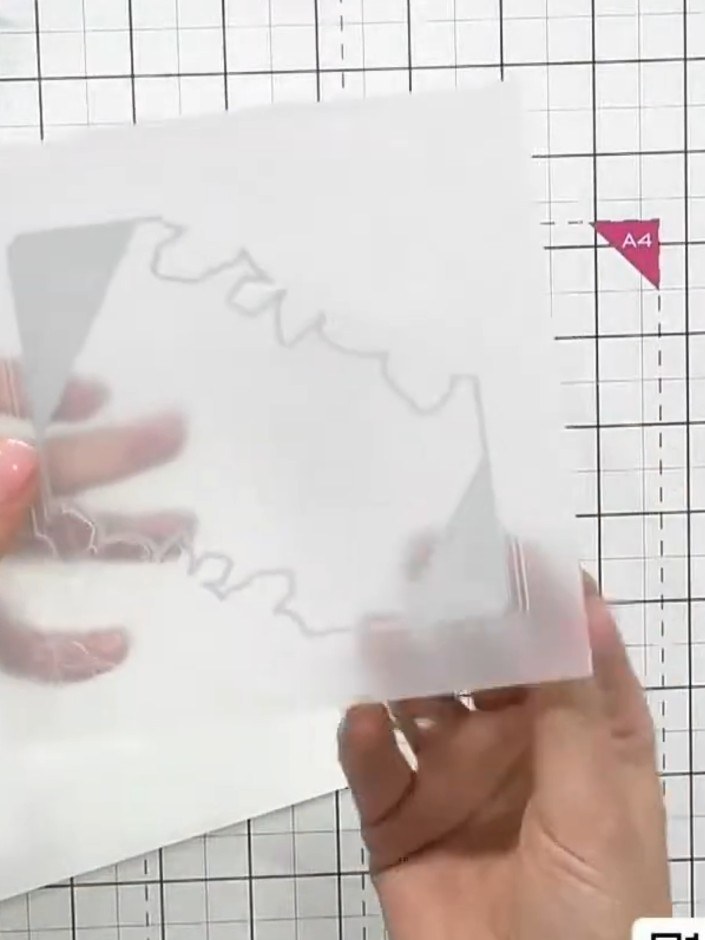
Run the embossing folder through your die-cutting machine to create the embossed design on your cardstock.
▶ ver este paso (15:30)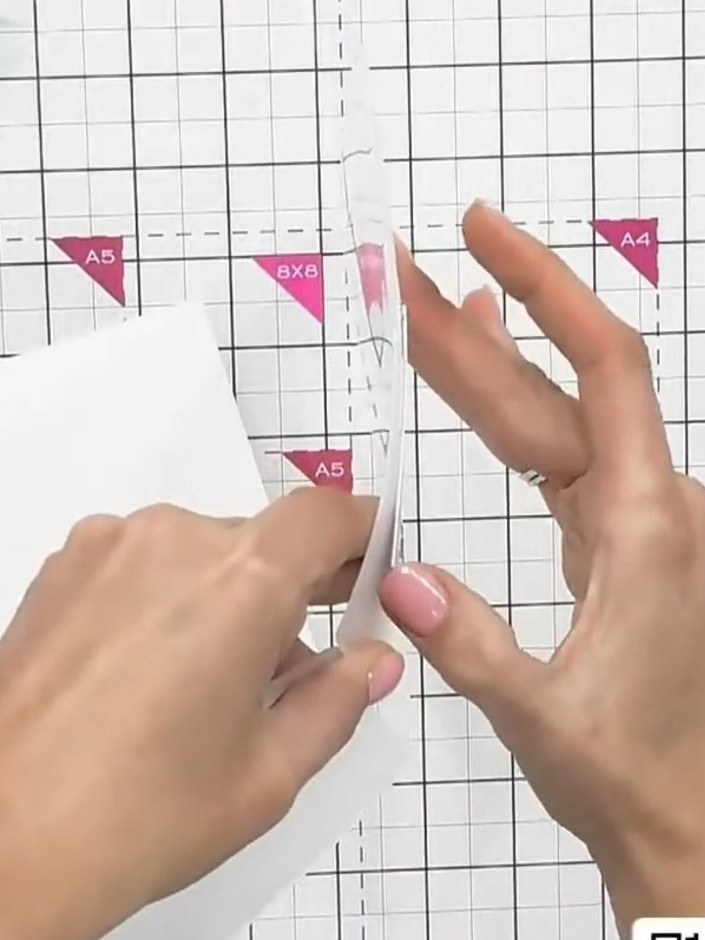
Remove the embossed card from the die and carefully pull out the centre piece to reveal the embossed frame with the double hexagon edge detail.
▶ ver este paso (15:45)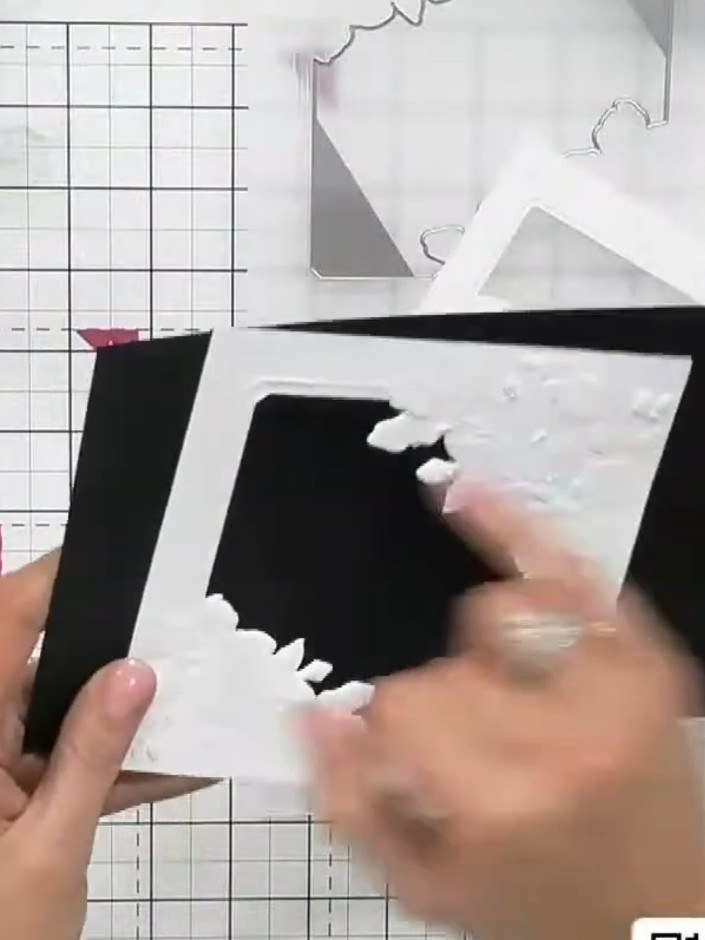
Optionally apply gilding wax over the embossed areas to highlight the detail and add dimension to your design.
▶ ver este paso (17:00)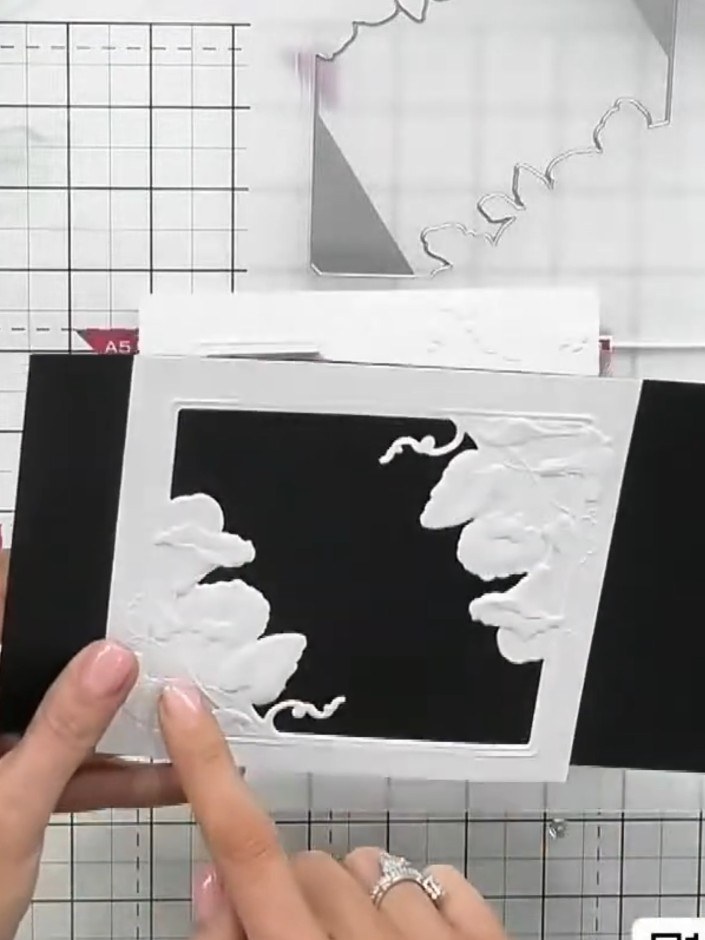
Mount the embossed sweet pea design onto black cardstock, ensuring the white embossed flowers are centred and clearly visible against the dark background. Position the mounted piece onto your card base to complete the design.
▶ ver este paso (17:30)Redactado a partir del propio programa. Mira todas las guías de nuestros programas · guías paso a paso gratis · mira en vivo en My Telly