ENLACES RÁPIDOS

info@howtocraftnetwork.com
Ahora somos más inteligentes: compra y mira con la app de SBMDESCARGA LA APPMíranos en vivo en tu smart TVVER CÓMODescubre nuestro canal IPTV exclusivo: visita my-telly.comVERAcumula puntos de fidelidad en cada pedidoMÁS INFORMACIÓN
Te damos la bienvenida a How to Craft Network
 
SBM SHOP
SÍGUENOS
REGÁLALES $10 DE DESCUENTO A TUS AMIGOS RECOMIENDA A UN AMIGO › DESCUBRE MY-TELLY.COM › AHORA SOMOS MÁS INTELIGENTES DESCARGA LA APP › CANAL GALARDONADO EN TU TV › ÚNETE AL CLUB PARA AHORRAR ›
 

Tarjeta Sweet Pea con embossing y marco de color

Un proyecto de nuestro programa en vivo CREATE AND CRAFT TV - ESPECIAL DE UN DÍA SBM - Acompaña a Toni con sus productos más nuevos e inspiración - programa 2 transmitido el 5 de mayo 23 · 05/05/2023 · velo desde 10:30
Tarjeta Sweet Pea con embossing y marco de color - the finished project
El proyecto terminado

Create an elegant square card featuring a beautiful sweet pea design with embossed texture and a sophisticated chamfered frame. Layer a watercolour-style floral mount inside the embossed window to create a stunning framed artwork effect. Add dimensional white flower embellishments and sentiment text to complete this delicate and artistic greeting card.
Vas a necesitar

STAMPS BY ME - CARPETA DE EMBOSSING 3D Y TROQUEL - SWEETPEA GARDEN - 060722DSTAMPS BY ME - CARPETA DE EMBOSSING 3D Y TROQUEL - SWEETPEA GARDEN - 060722DVERLO

DESCARGA ESTA GUÍA (PDF)

Paso a paso

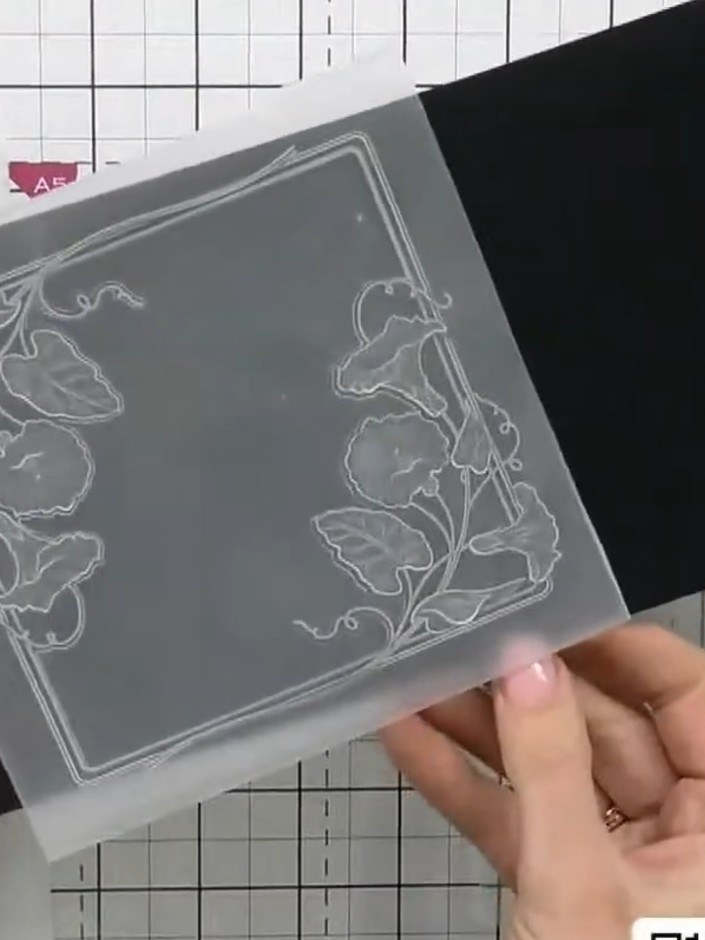
  1. Step 1: Place your white cardstock centrally into the embossing folder with the sweet pea design. Position it carefull

    Place your white cardstock centrally into the embossing folder with the sweet pea design. Position it carefully to ensure the design will be centred on your card.

    ▶ ver este paso (10:45)
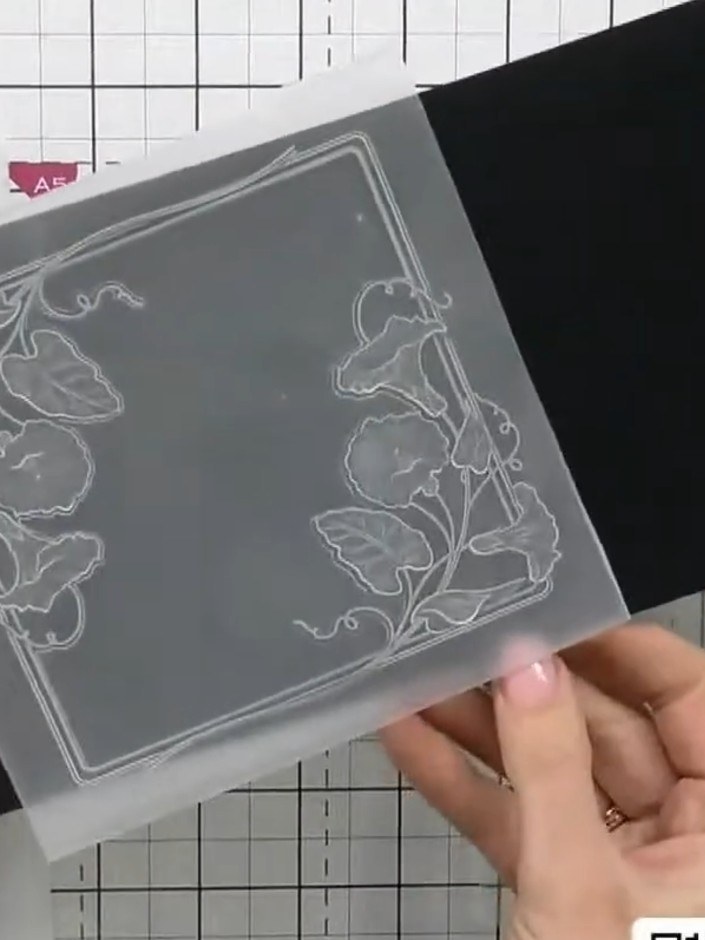
  2. Step 2: Place your cardstock inside the embossing folder and run it through your die-cutting machine using the appropr

    Place your cardstock inside the embossing folder and run it through your die-cutting machine using the appropriate plates for your machine type.

    ▶ ver este paso (11:00)
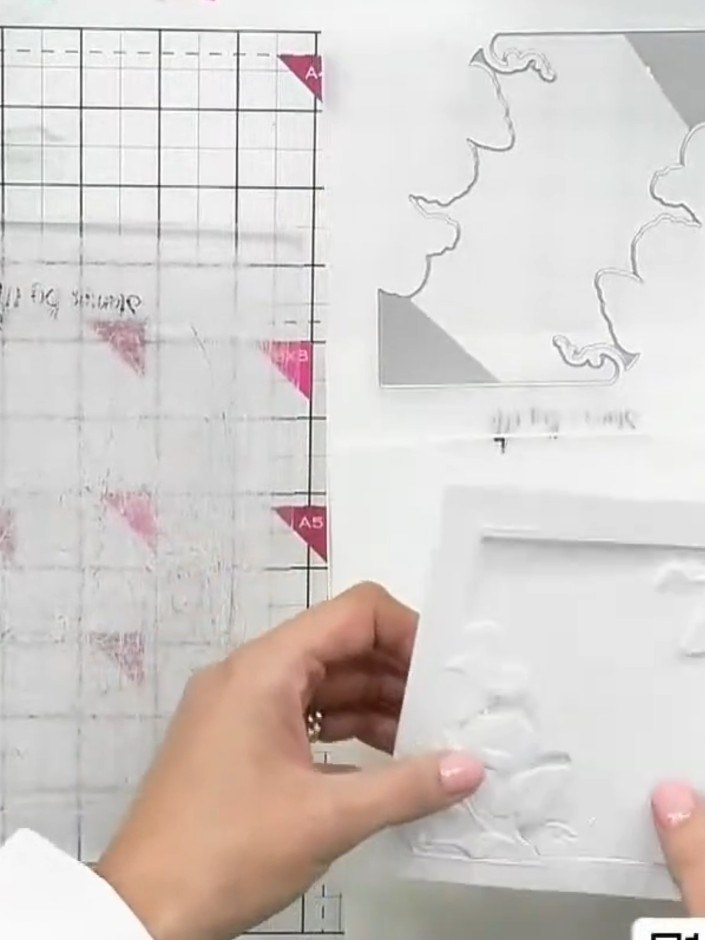
  3. Step 3: Remove the embossed card from the folder and carefully pull out the centre detail to reveal the embossed frame

    Remove the embossed card from the folder and carefully pull out the centre detail to reveal the embossed frame design.

    ▶ ver este paso (12:30)
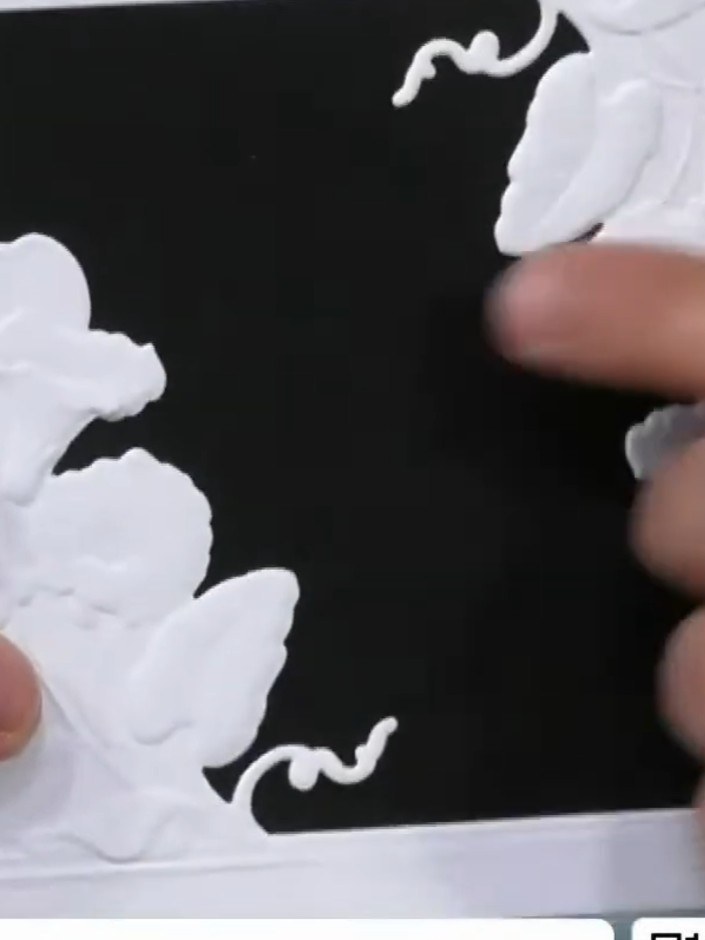
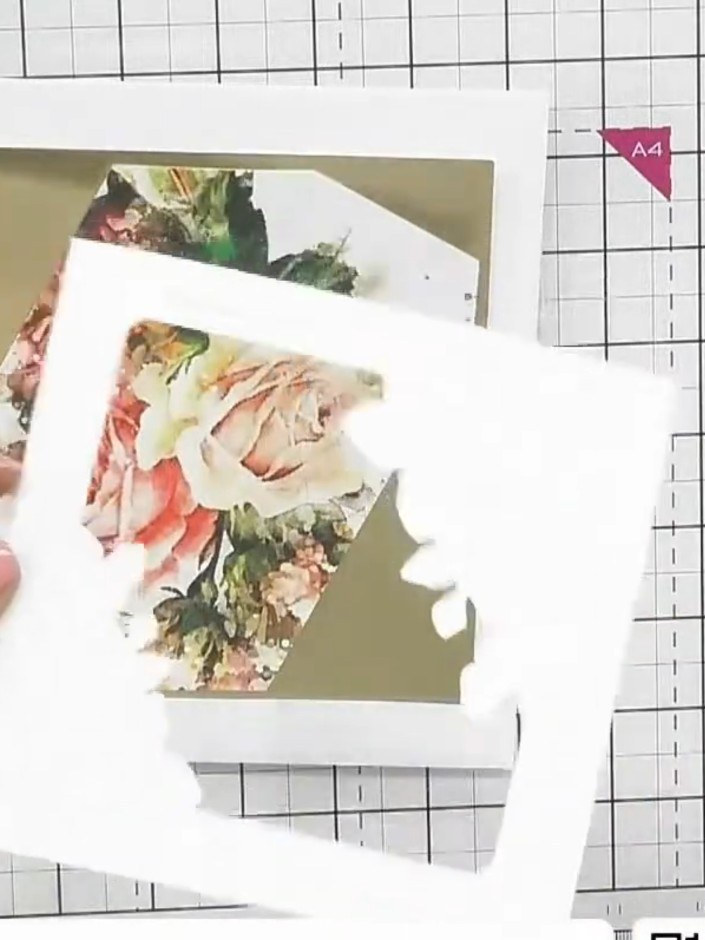
  4. Step 4: Select one of the artistic mount pieces and trim the edges so it fits within the embossed window frame on your

    Select one of the artistic mount pieces and trim the edges so it fits within the embossed window frame on your card.

    ▶ ver este paso (13:15)
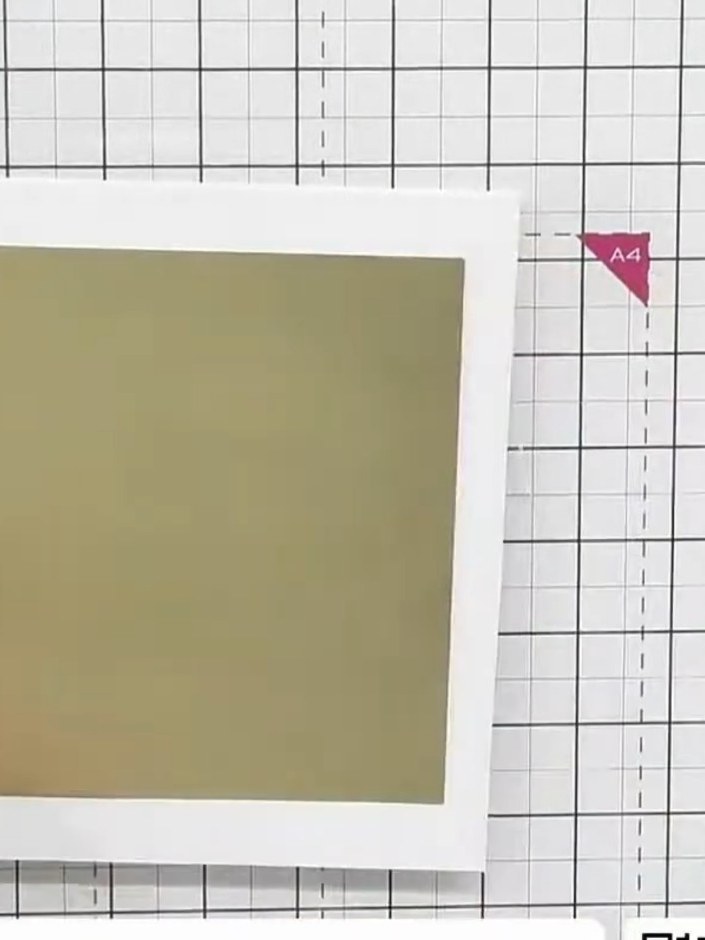
  5. Step 5: Adhere the gold coloured mount into the window aperture of your card using tape or glue. Position it carefully

    Adhere the gold coloured mount into the window aperture of your card using tape or glue. Position it carefully to frame the embossed design.

    ▶ ver este paso (18:30)
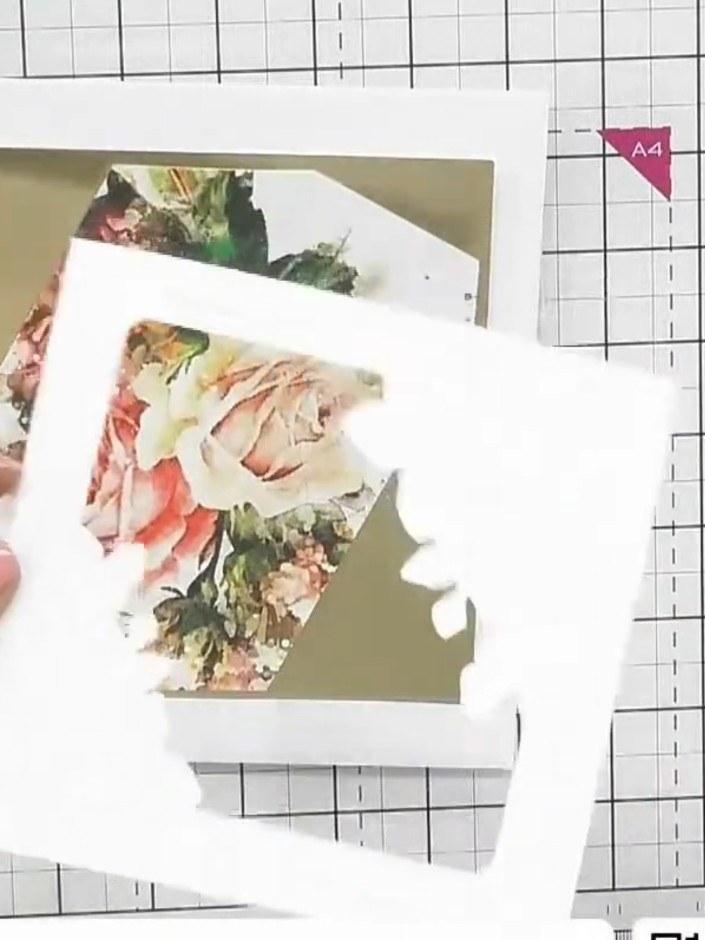
  6. Position your chosen sentiment die-cut on the card front. Place it like a mount in the centre of the card where you want it to appear. ▶ watch 19:00
  7. Step 7: Add foliage or other embellishments from your stash to build up the design and create dimension on your card.

    Add foliage or other embellishments from your stash to build up the design and create dimension on your card.

    ▶ ver este paso (19:15)

Consejos del programa

Más de este programa

Redactado a partir del propio programa. Mira todas las guías de nuestros programas · guías paso a paso gratis · mira en vivo en My Telly







