Schenke deinen Freundinnen und Freunden 10 $ Rabatt auf ihre erste Bestellung!
Freunde WERBEN








 HSN InspirationMorgen 13:00 Uhr
 Hidden GemsMi., 11. Nov. 5:00 Uhr
 The Thursday DropDo., 12. Nov. 13:00 Uhr
Preise ändern sich sofort. Jede Sprache ist unsere eigene Übersetzung, nicht Google.
Ein Projekt aus unserer Live-Show HOBBYMAKER TV - Sendung vom 9. November 2026 · 11.09.2026 · ab 0:15 ansehen
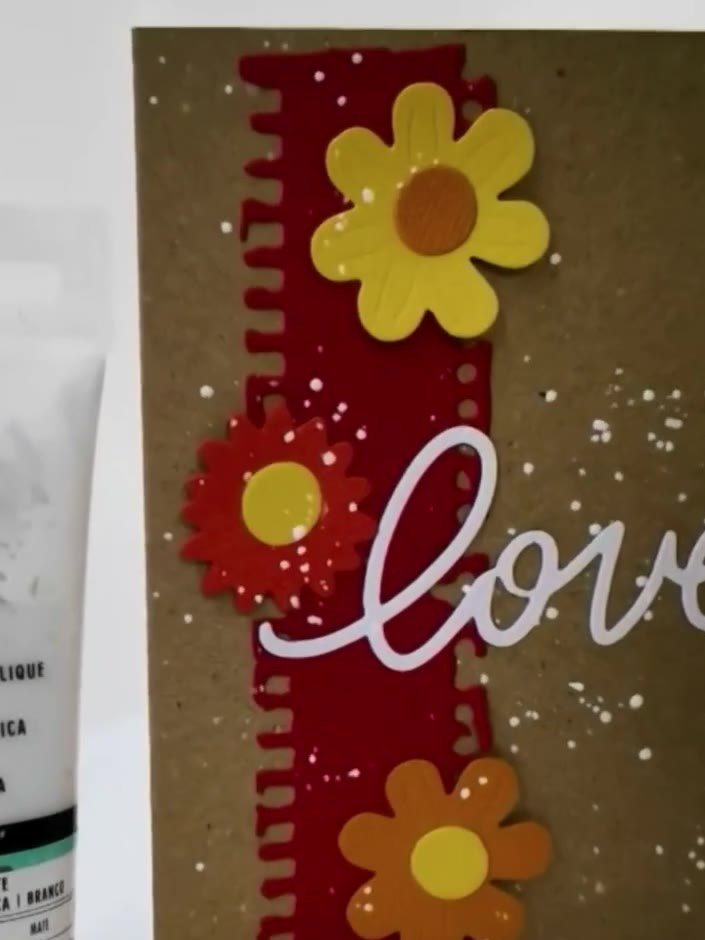
Create an elegant circular wreath card featuring stamped leaves and berries arranged in a perfect ring. Using a rotating template guide and stamping platform, you'll build up layers of foliage and berry stamps in evenly-spaced impressions around the circle. This cost-effective technique produces professional-looking wreath designs without the need for expensive die-cutting machinery.
DIESE ANLEITUNG HERUNTERLADEN (PDF)
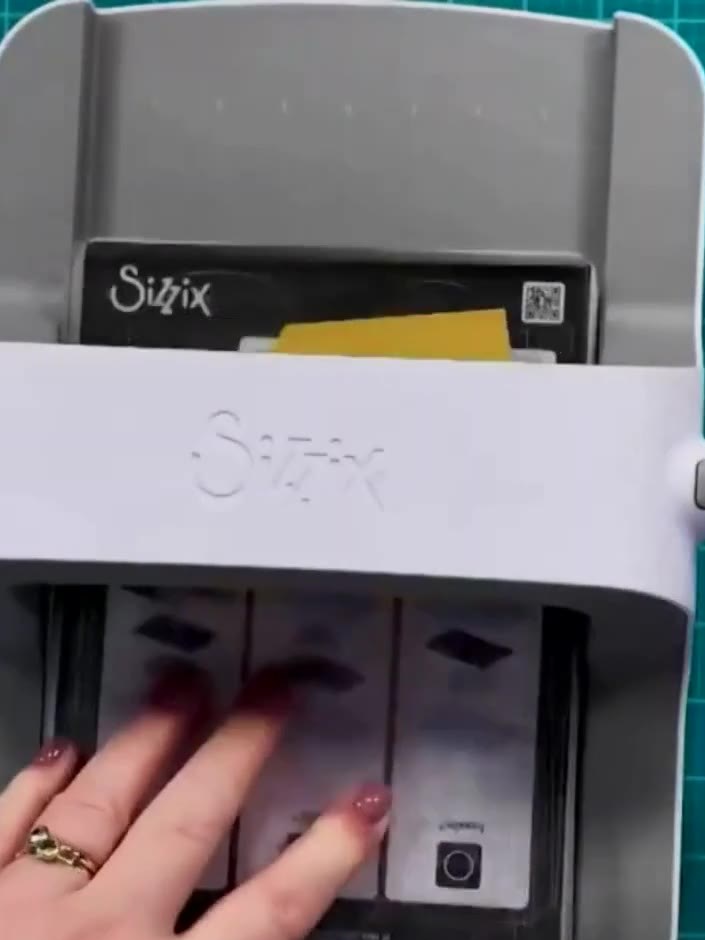
Secure your cardstock to the stamping platform using low-tack tape or magnetic disks, ensuring it sits flush against the notches on the platform. Choose your desired template size (4×4, 5×5, or 6×6) and position your first stamp in the template. The stamp should be placed ready for stamping onto your card base. Ink up your stamp and press it firmly into the cardstock at the first 90-degree notch position on your circular guide. Rotate the cardstock to the next notch on the die-cutting machine, keeping the red decorative stamp and template aligned in place, then press through the machine again to create the next section of the design.
▶ diesen Schritt ansehen (0:45)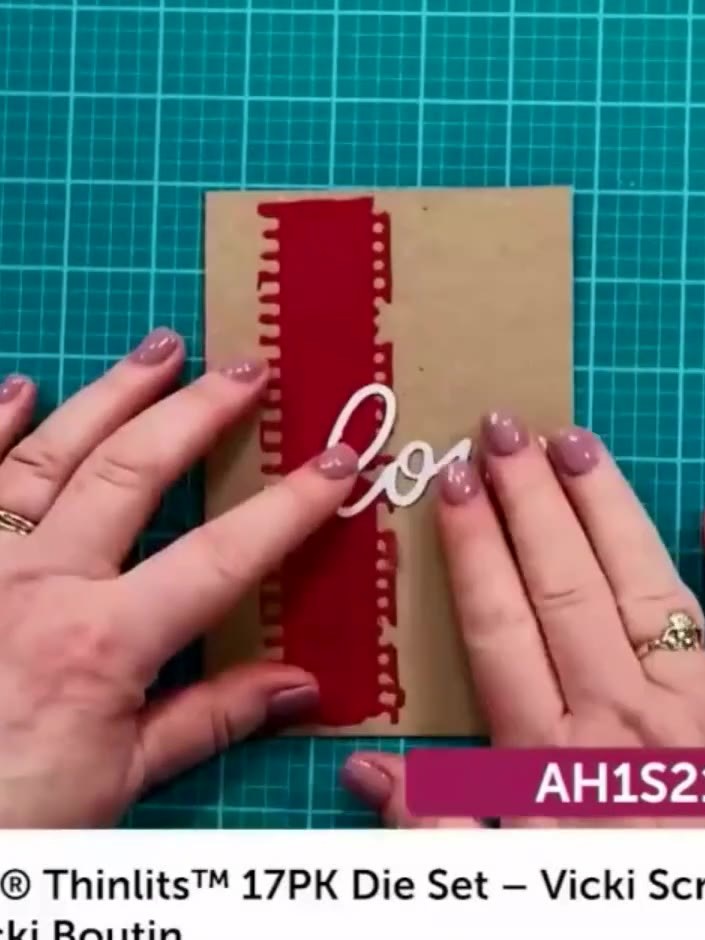
Continue rotating the card and stamping around the full circle, aligning each red rectangular impression with the 90-degree corner notches on the die-cut piece to create an evenly spaced wreath pattern.
▶ diesen Schritt ansehen (2:45)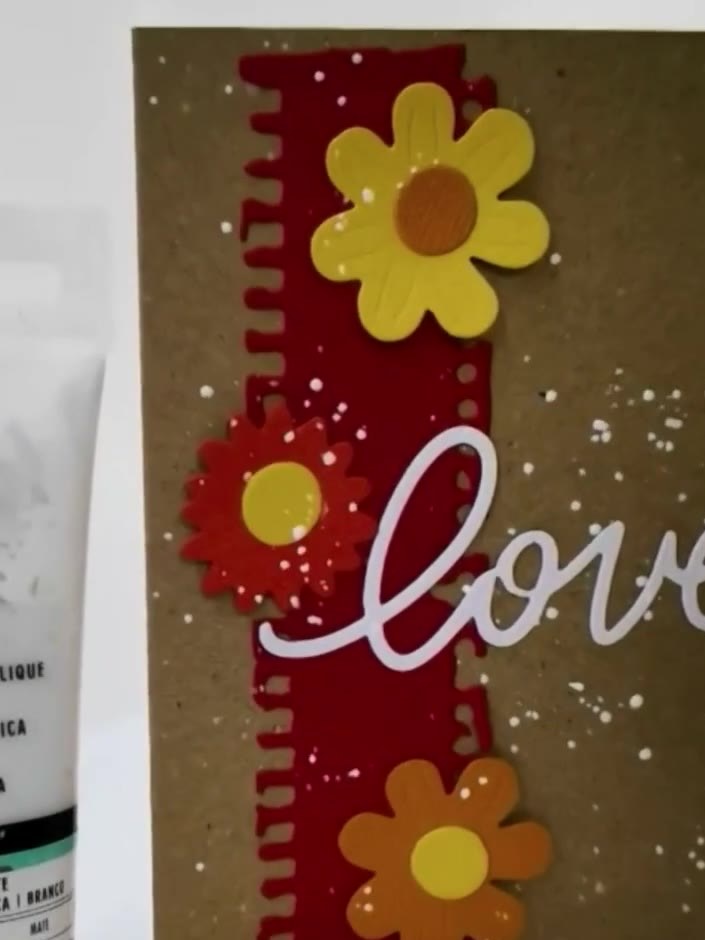
Switch to a different stamp, such as filler foliage or berries. Stamp between or over the existing leaf impressions to add texture and detail to your wreath design. Continue building up the wreath by adding more stamped leaves and berries in various positions. Rotate the card and stamp additional layers until you achieve a full, balanced circular design that you're happy with. Mount your completed wreath onto your card base, or trim it to your desired size before attaching.
▶ diesen Schritt ansehen (3:30)Direkt aus der Show aufgeschrieben. Alle Anleitungen aus unseren Shows ansehen · kostenlose Anleitungen · live auf My Telly ansehen