Regala ai tuoi amici 10 $ di sconto sul loro primo ordine!
Invita un AMICO








I prezzi si aggiornano subito. Ogni lingua è una nostra traduzione, non Google.
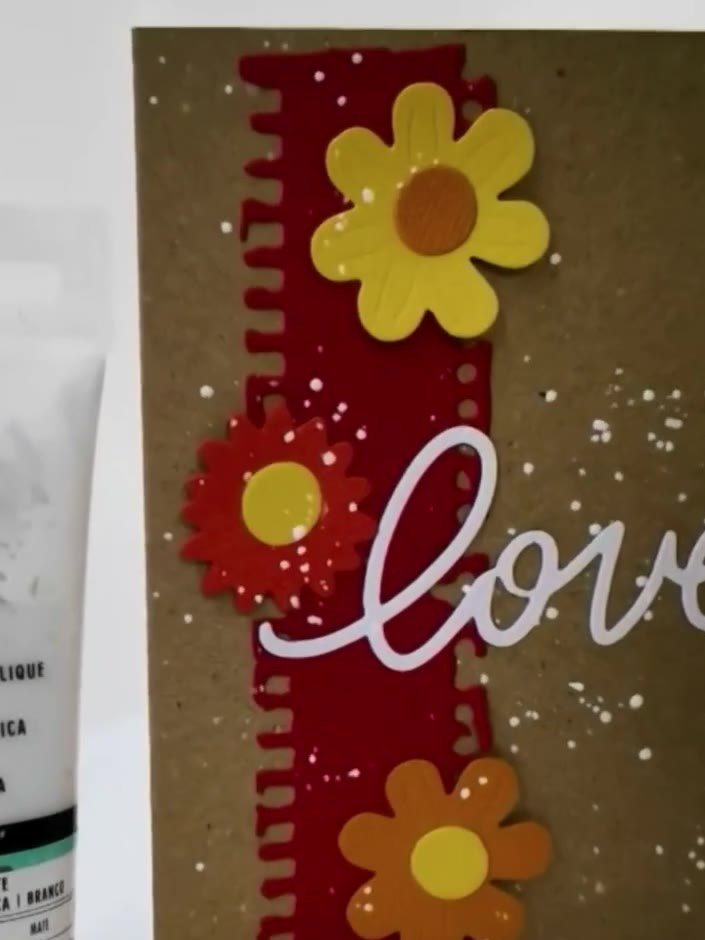
Un progetto dalla nostra diretta HOBBYMAKER TV - Puntata del 9 novembre 2026 · 11/09/2026
Create an elegant circular wreath card featuring stamped leaves and berries arranged in a perfect ring. Using a rotating template guide and stamping platform, you'll build up layers of foliage and berry stamps in evenly-spaced impressions around the circle. This cost-effective technique produces professional-looking wreath designs without the need for expensive die-cutting machinery.
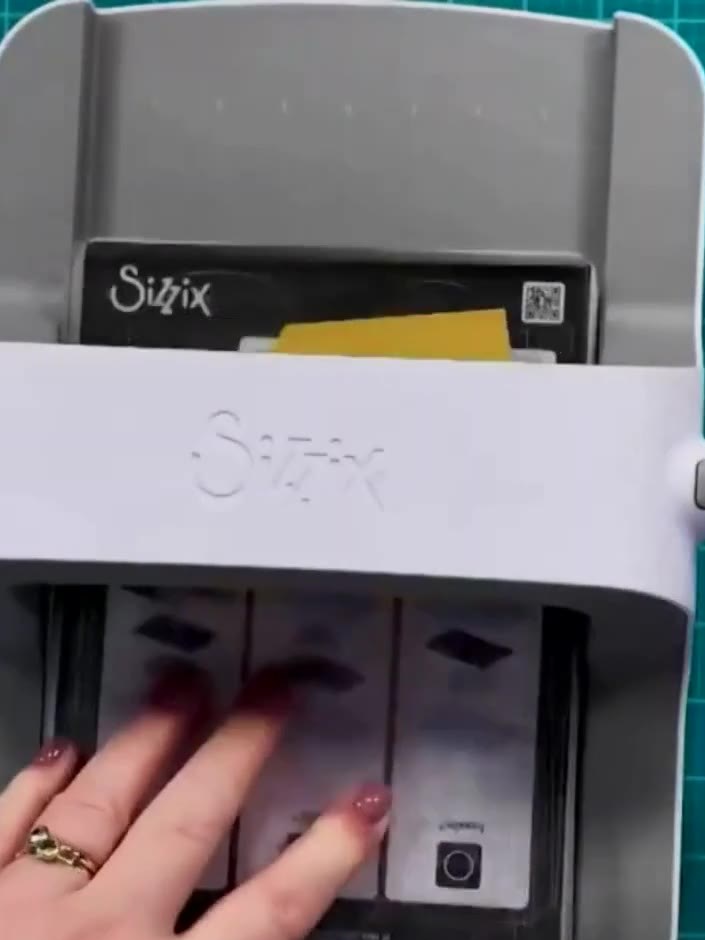 1
Secure your cardstock to the stamping platform using low-tack tape or magnetic disks, ensuring it sits flush against the notches on the platform. Choose your desired template size (4×4, 5×5, or 6×6) and position your first stamp in the template. The stamp should be placed ready for stamping onto your card base. Ink up your stamp and press it firmly into the cardstock at the first 90-degree notch position on your circular guide. Rotate the cardstock to the next notch on the die-cutting machine, keeping the red decorative stamp and template aligned in place, then press through the machine again to create the next section of the design.
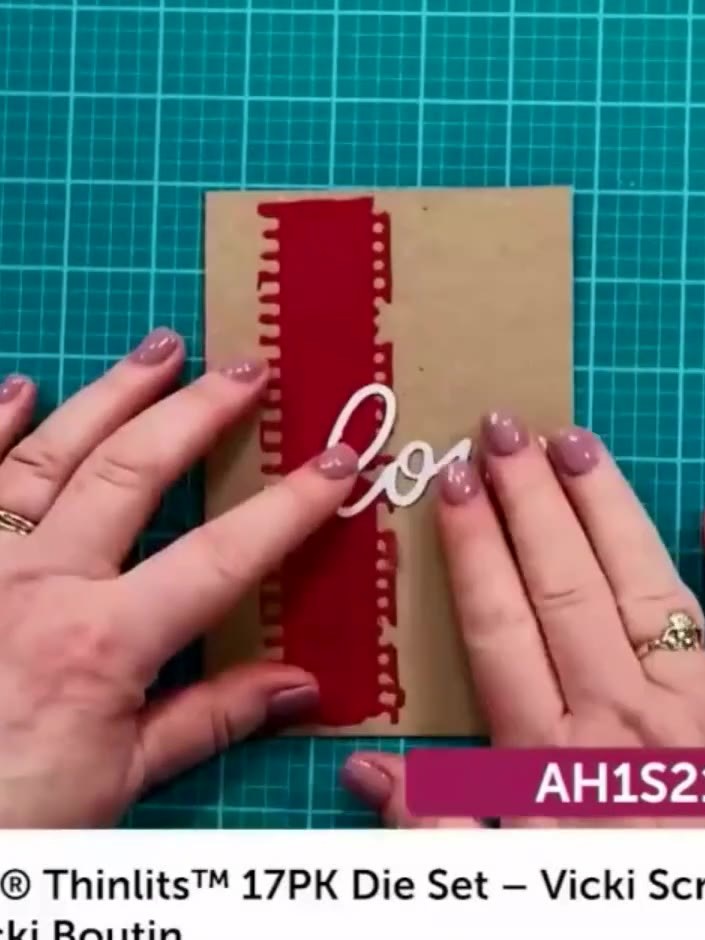 2
Continue rotating the card and stamping around the full circle, aligning each red rectangular impression with the 90-degree corner notches on the die-cut piece to create an evenly spaced wreath pattern.
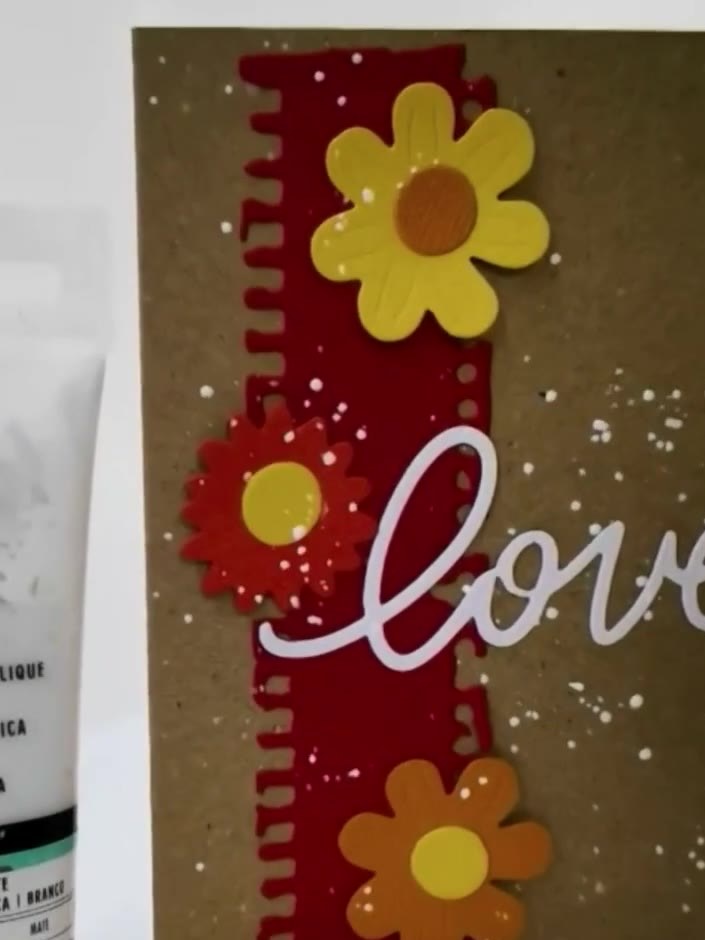 3
Switch to a different stamp, such as filler foliage or berries. Stamp between or over the existing leaf impressions to add texture and detail to your wreath design. Continue building up the wreath by adding more stamped leaves and berries in various positions. Rotate the card and stamp additional layers until you achieve a full, balanced circular design that you're happy with. Mount your completed wreath onto your card base, or trim it to your desired size before attaching.
Condividi il tuo progetto con la community di Stamps By Me - e conserva questa guida per la prossima volta.
Scritto direttamente dalla puntata. Vedi tutti i tutorial delle nostre puntate · tutorial gratuiti · guarda in diretta su My Telly · la versione precedente