Schenke deinen Freundinnen und Freunden 10 $ Rabatt auf ihre erste Bestellung!
Freunde WERBEN








 The Friday Final CutFr., 6. Nov. 5:00 Uhr
 Community ShowcaseMo., 9. Nov. 5:00 Uhr
 Hobbymaker TvMo., 9. Nov. 9:00 Uhr
Preise ändern sich sofort. Jede Sprache ist unsere eigene Übersetzung, nicht Google.
Ein Projekt aus unserer Live-Show CREATE AND CRAFT EXCLUSIVE - Sei LIVE dabei bei Tonis neuestem Launch FLOWERS FOR YOU - Sendung vom 31. März 22 · 03.31.2022 · ab 48:30 ansehen
Create a delightful springtime card featuring wellington boots filled with a gorgeous floral display. This project uses selective ink application and watercolour accents to add depth and dimension to die-cut boots, creating a charming hand-painted effect. The finished design combines soft purples, greens, and greys with delicate flowers and a heartfelt sentiment.
 STAMPS BY ME 6 INCH STANZ- & PRÄGEMASCHINE - 240921aANSEHEN
 TV - GOSSIP - GLITZERSTIFTE-SET 7 OLIVE LILAC TANGERINE - 130422wANSEHEN
DIESE ANLEITUNG HERUNTERLADEN (PDF)
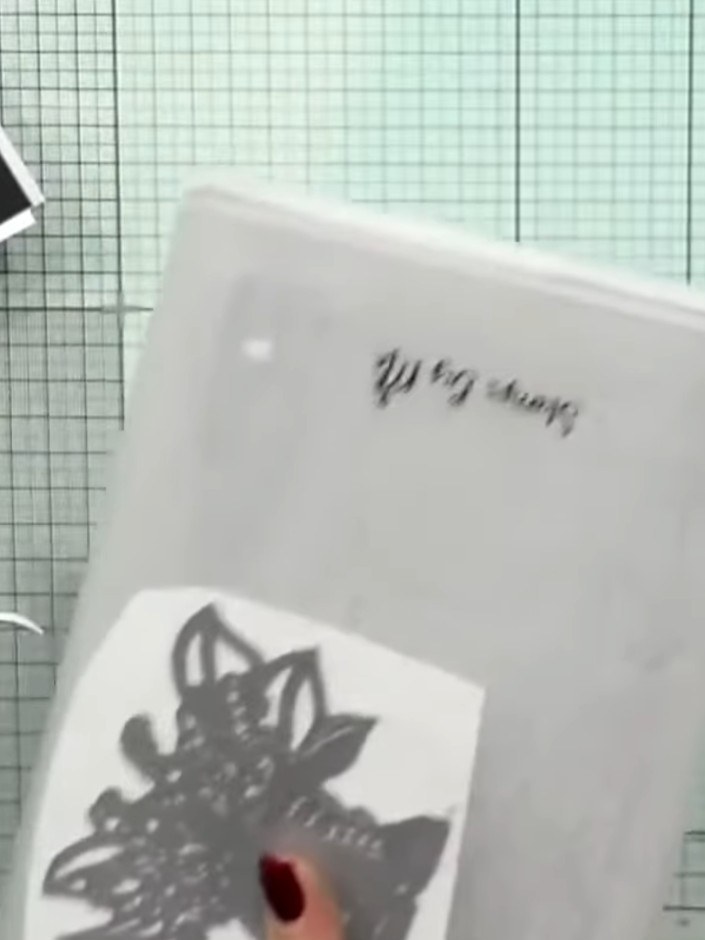
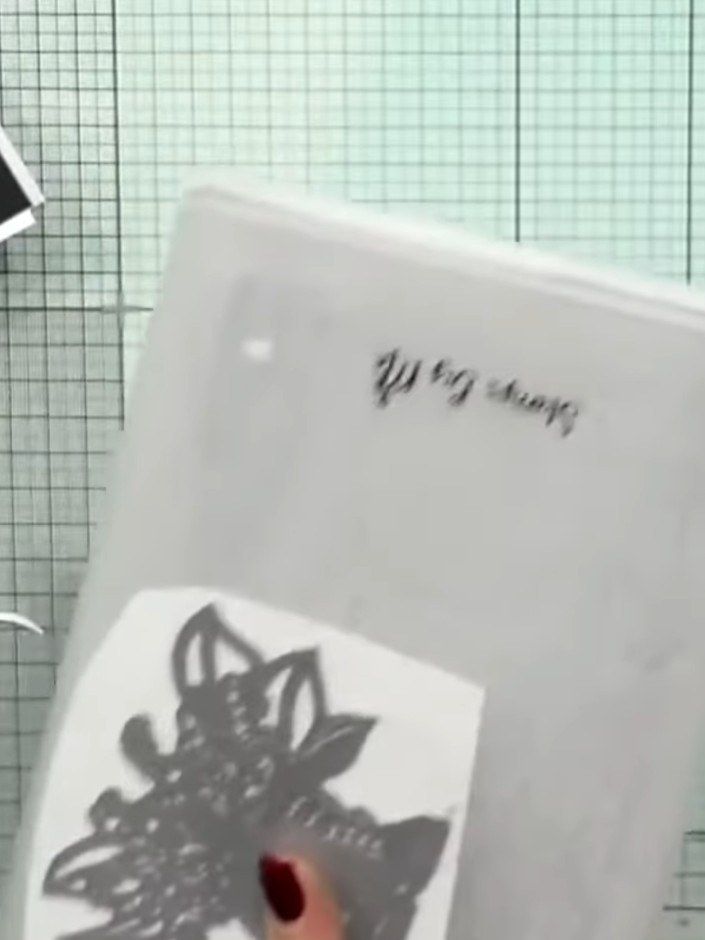
Place the die-cut floral wellington boot design face down on watercolour card. Run it through the die-cutting machine several times to ensure a clean cut and good embossing detail.
▶ diesen Schritt ansehen (48:30)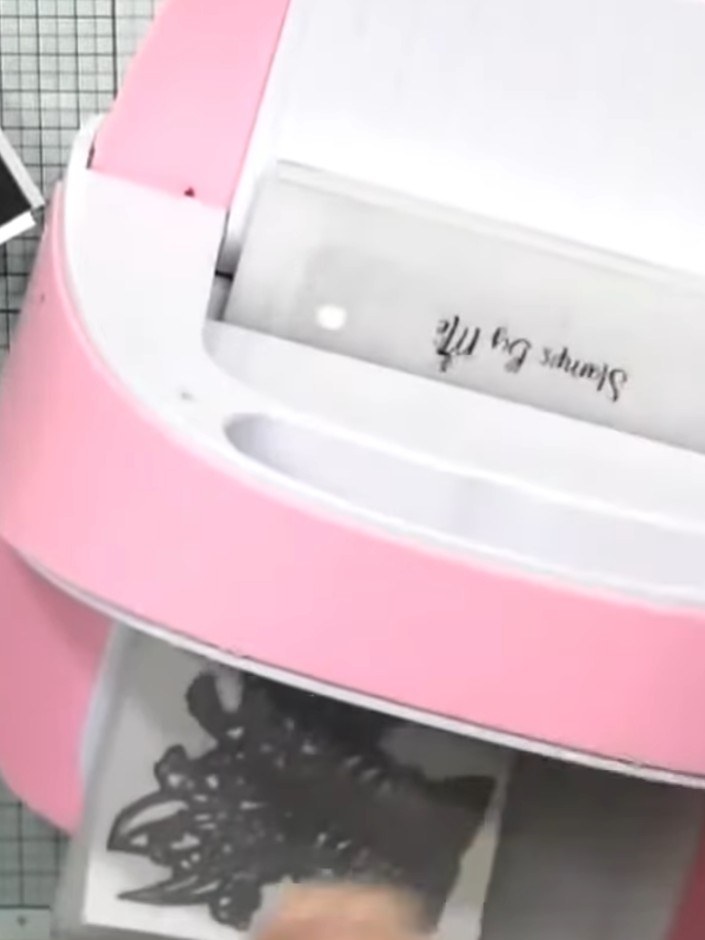
Die-cut the Spring Boots design from the watercolour card using your die-cutting machine. Remove the die-cut pieces from the card.
▶ diesen Schritt ansehen (48:45)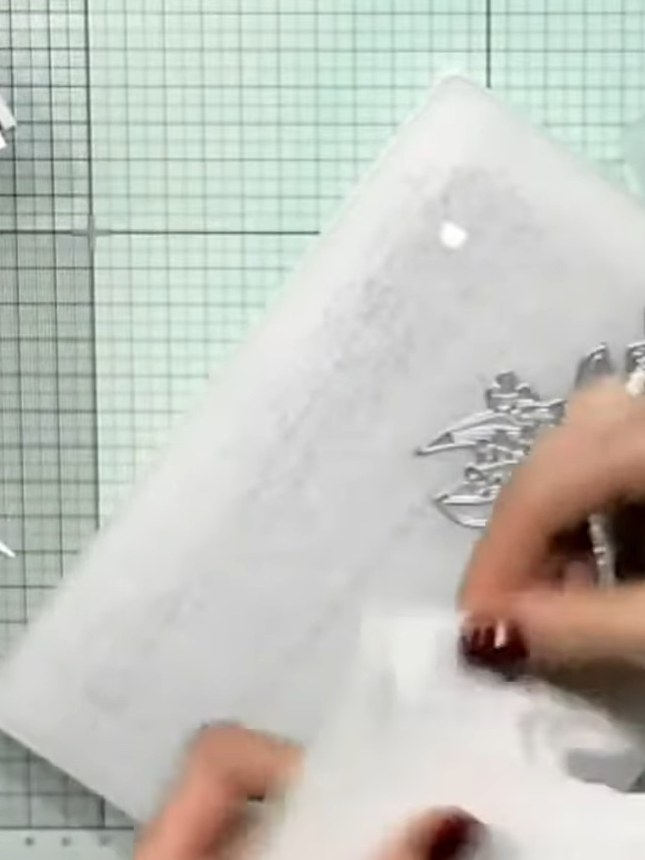
Carefully tap out all the die-cut pieces from the card. Set the pieces aside ready for assembly.
▶ diesen Schritt ansehen (49:00)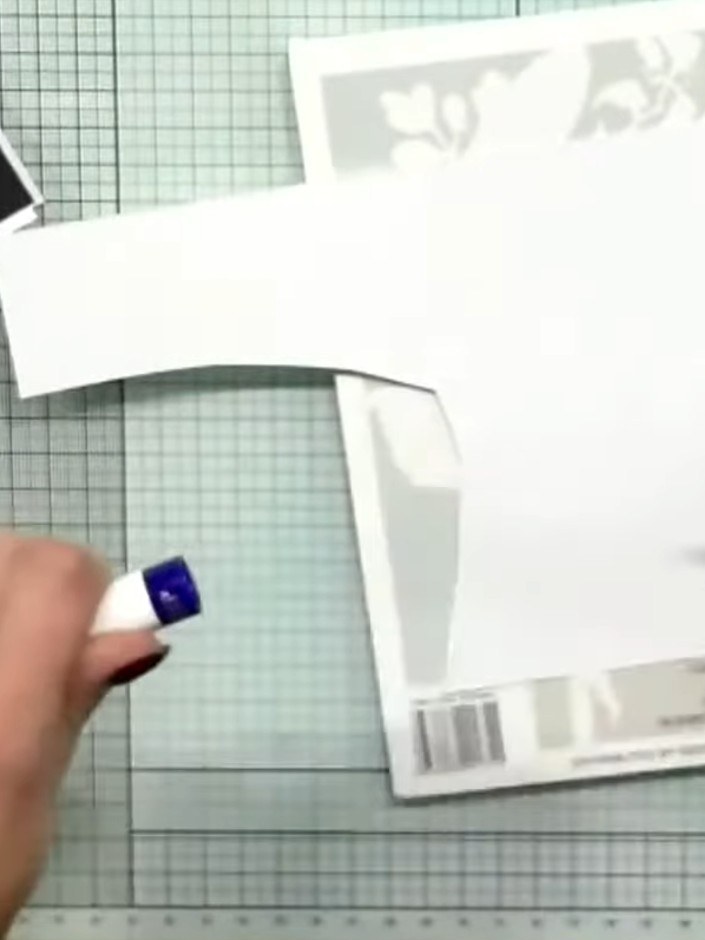
Dip the die-cut wellington boots into a blue ink pad to create selective colour coverage on the boots, applying the ink minimally for a subtle effect.
▶ diesen Schritt ansehen (49:15)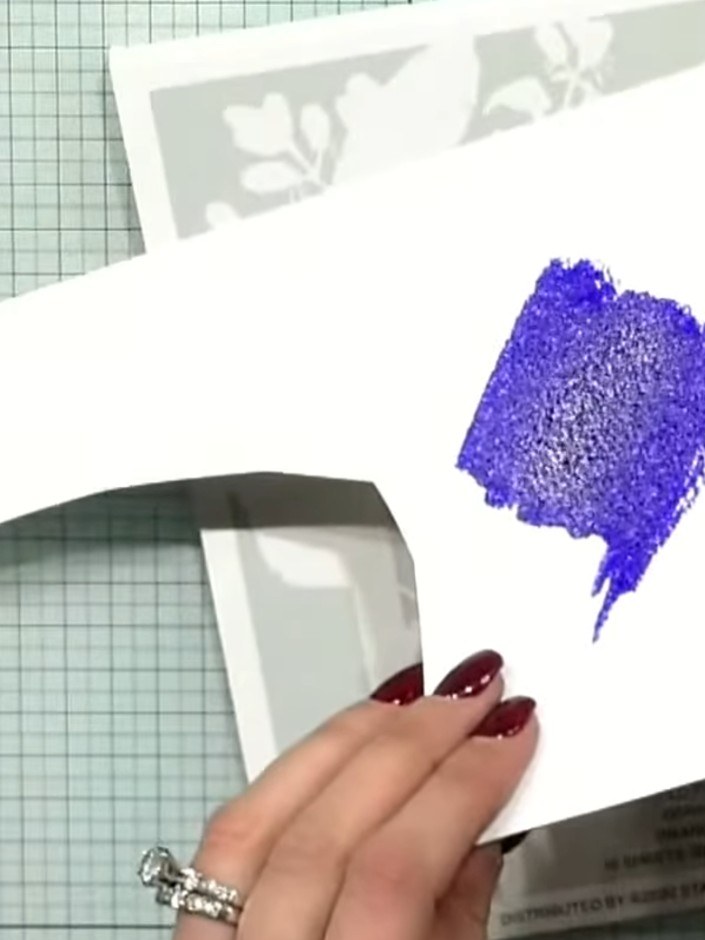
Allow the purple ink to dry slightly, leaving white areas visible on the boots for dimension and depth.
▶ diesen Schritt ansehen (49:45)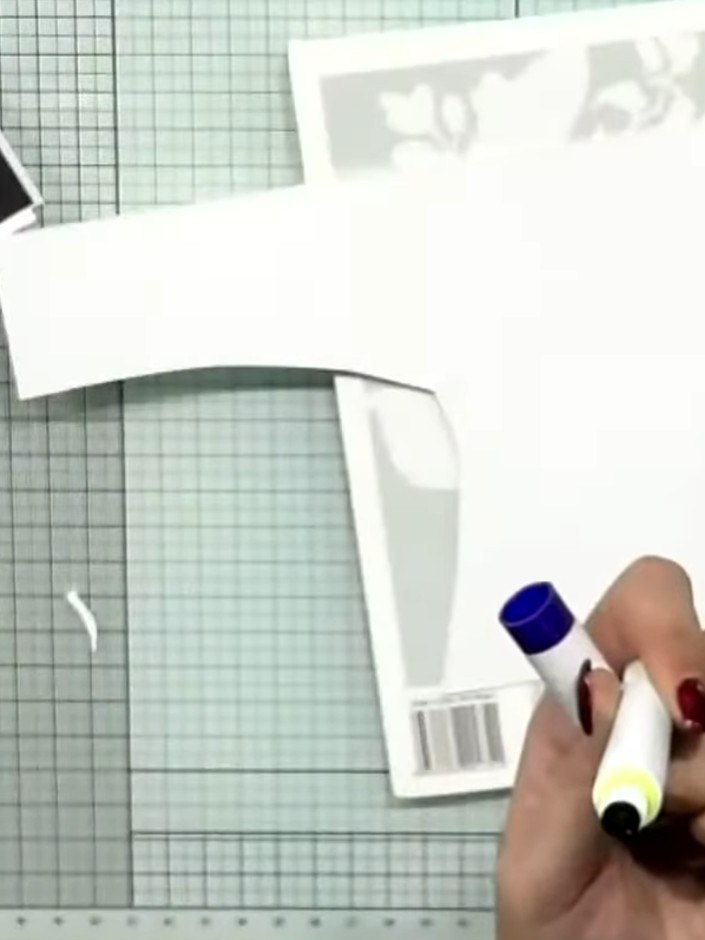
Using a brush, add a touch of blue watercolour to the top of the wellington boots.
▶ diesen Schritt ansehen (50:00)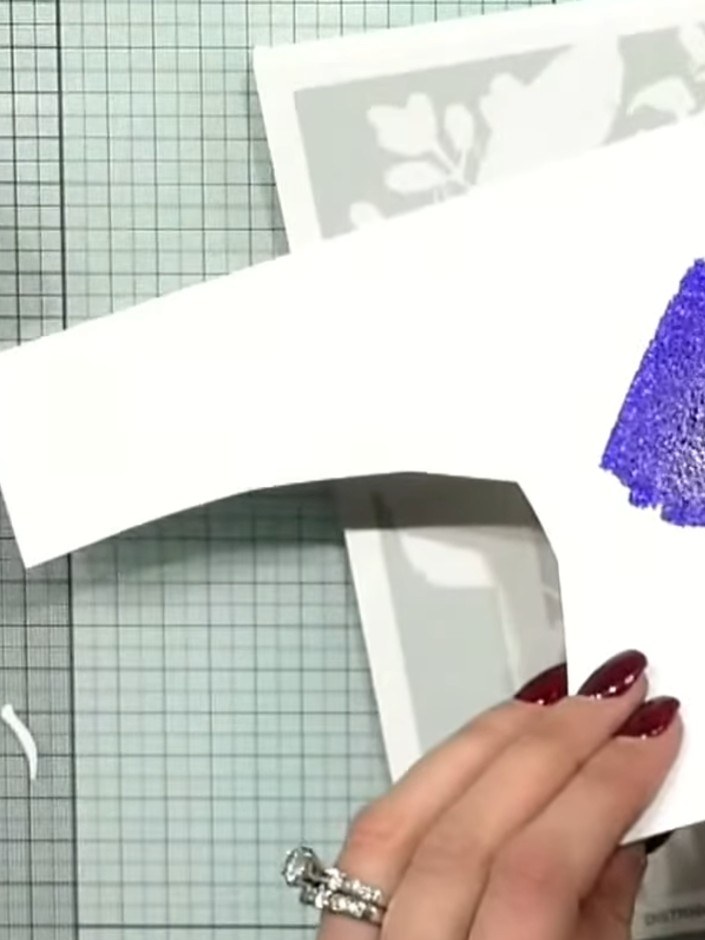
Apply purple sparkle pen colour to a corner of the card, creating a decorative patch of colour for added interest.
▶ diesen Schritt ansehen (50:30)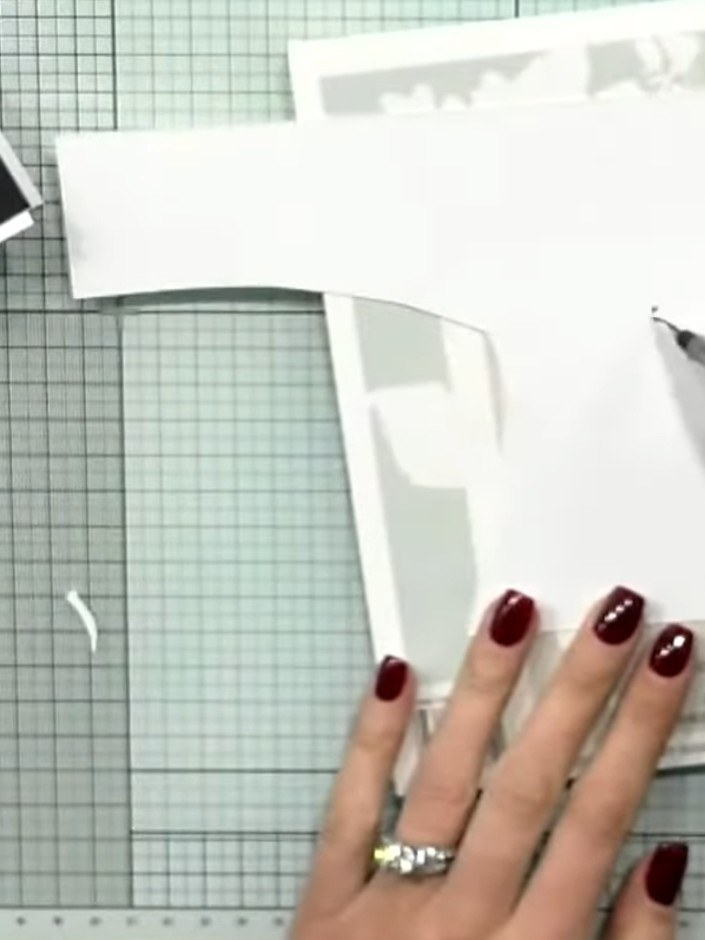
Layer the die-cut wellington boots onto black card to create a mat. Use the scoring tool to burnish the layers together firmly.
▶ diesen Schritt ansehen (51:00)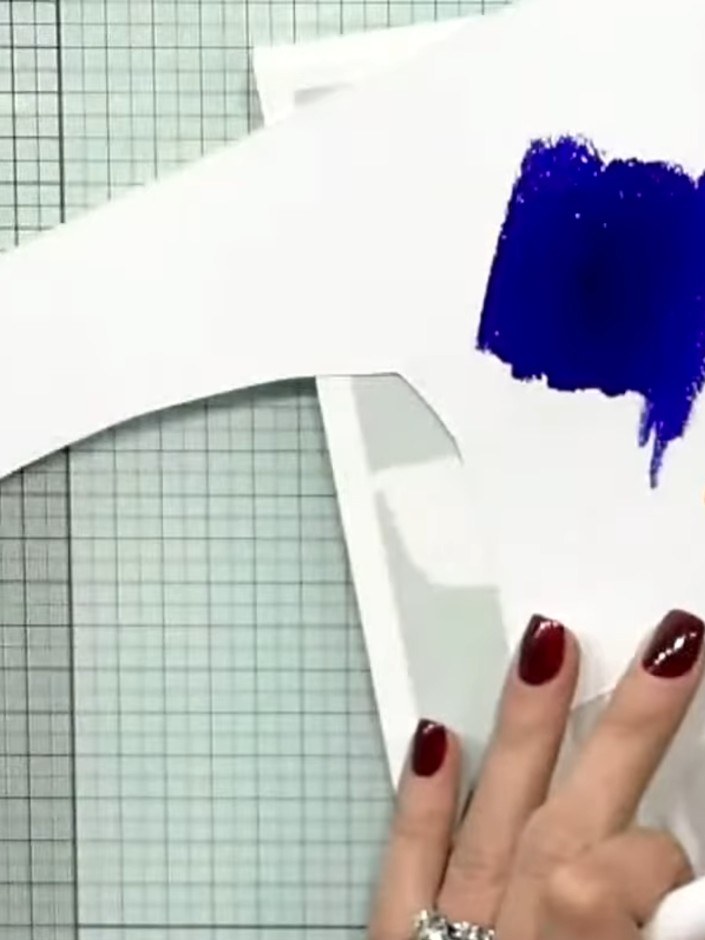
Add a white card layer on top of your coloured background for additional dimension.
▶ diesen Schritt ansehen (51:30)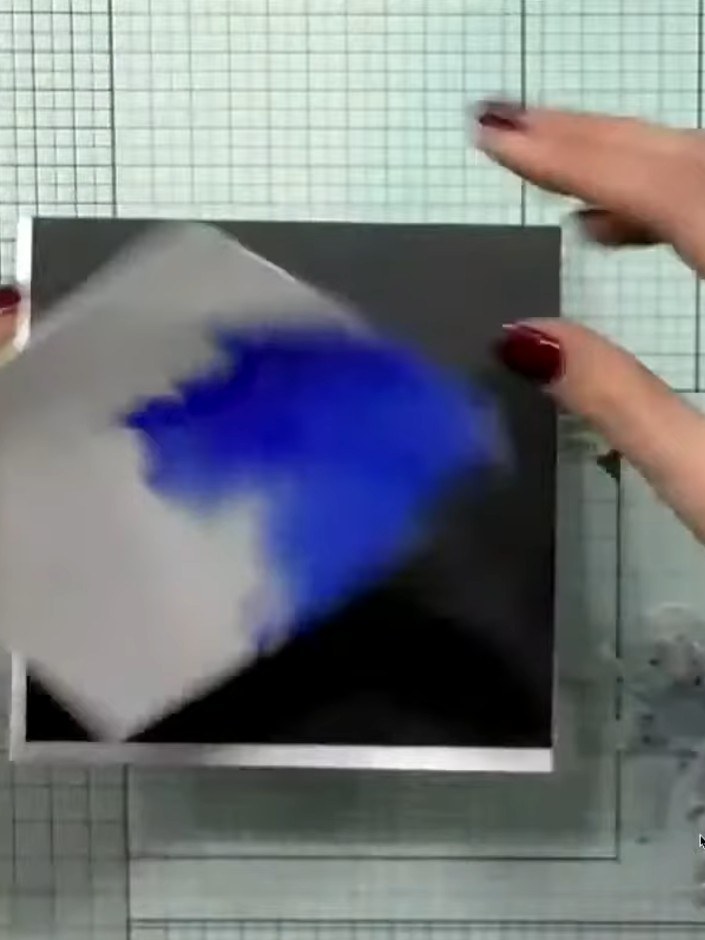
Mount the completed wellington boots design onto your card base using adhesive, ensuring it is centred and secure.
▶ diesen Schritt ansehen (56:00)Direkt aus der Show aufgeschrieben. Alle Anleitungen aus unseren Shows ansehen · kostenlose Anleitungen · live auf My Telly ansehen