Schenke deinen Freundinnen und Freunden 10 $ Rabatt auf ihre erste Bestellung!
Freunde WERBEN








 The Friday Final CutFr., 6. Nov. 5:00 Uhr
 Community ShowcaseMo., 9. Nov. 5:00 Uhr
 Hobbymaker TvMo., 9. Nov. 9:00 Uhr
Preise ändern sich sofort. Jede Sprache ist unsere eigene Übersetzung, nicht Google.
Ein Projekt aus unserer Live-Show CREATE AND CRAFT EXCLUSIVE - Sei LIVE dabei bei Tonis neuestem Launch FLOWERS FOR YOU - Sendung vom 31. März 22 · 03.31.2022 · ab 14:30 ansehen
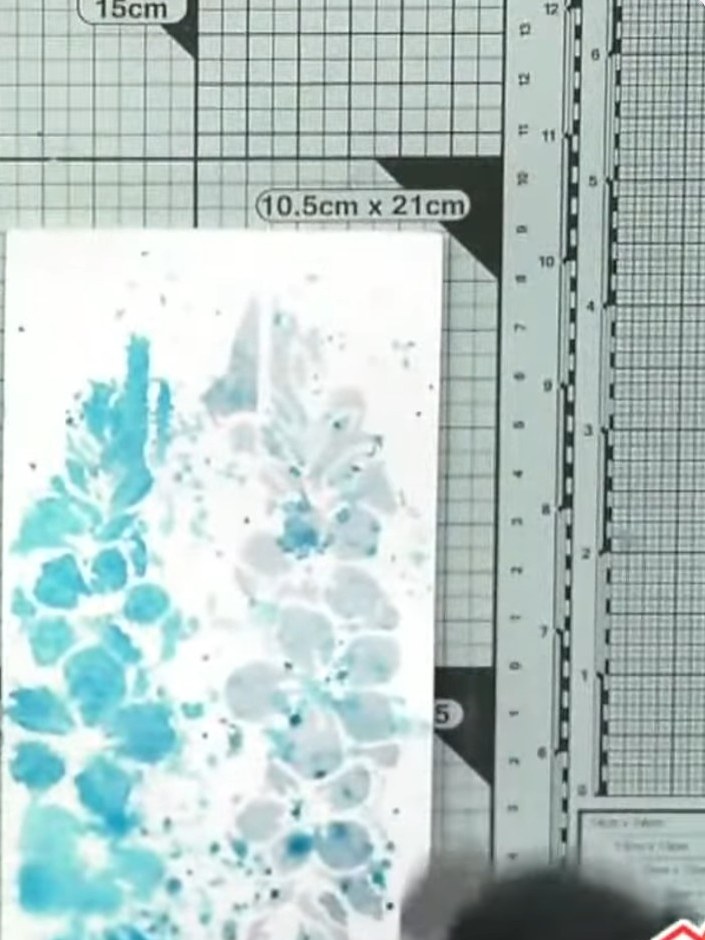
Create a beautiful watercolour card featuring an abstract sunray design in soft turquoise and grey tones. Using a die as both a stencil and decorative element, you'll build up delicate watercolour washes to create an artistic background, then frame it with an elegant die-cut border for a sophisticated layered finish. This technique combines die-cutting with watercolour painting to produce a unique, contemporary card perfect for any occasion.
DIESE ANLEITUNG HERUNTERLADEN (PDF)
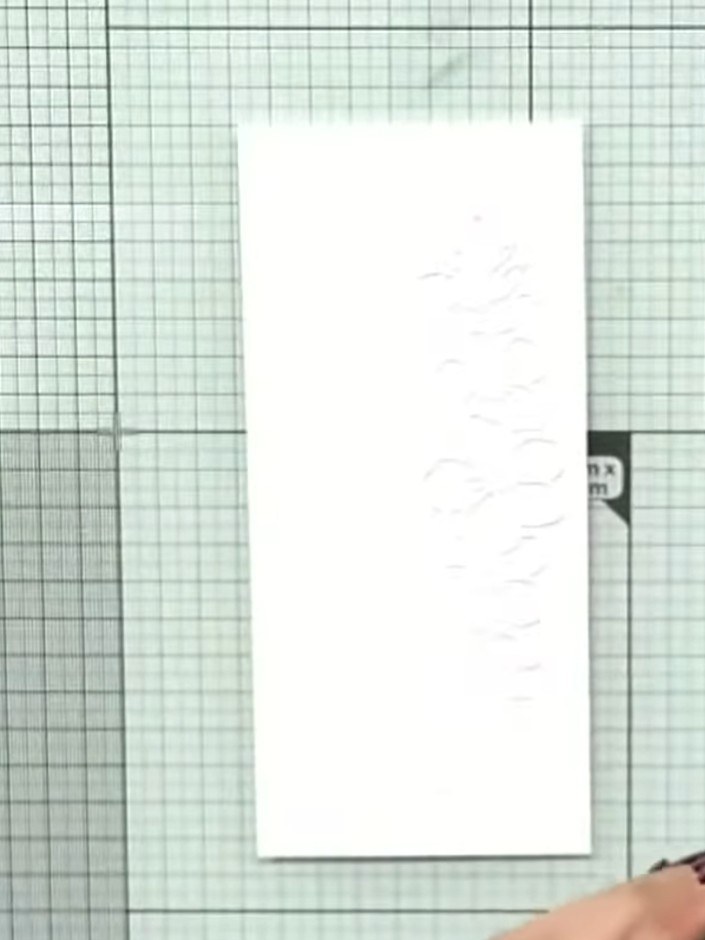
Place a piece of white watercolour card on your craft mat.
▶ diesen Schritt ansehen (14:30)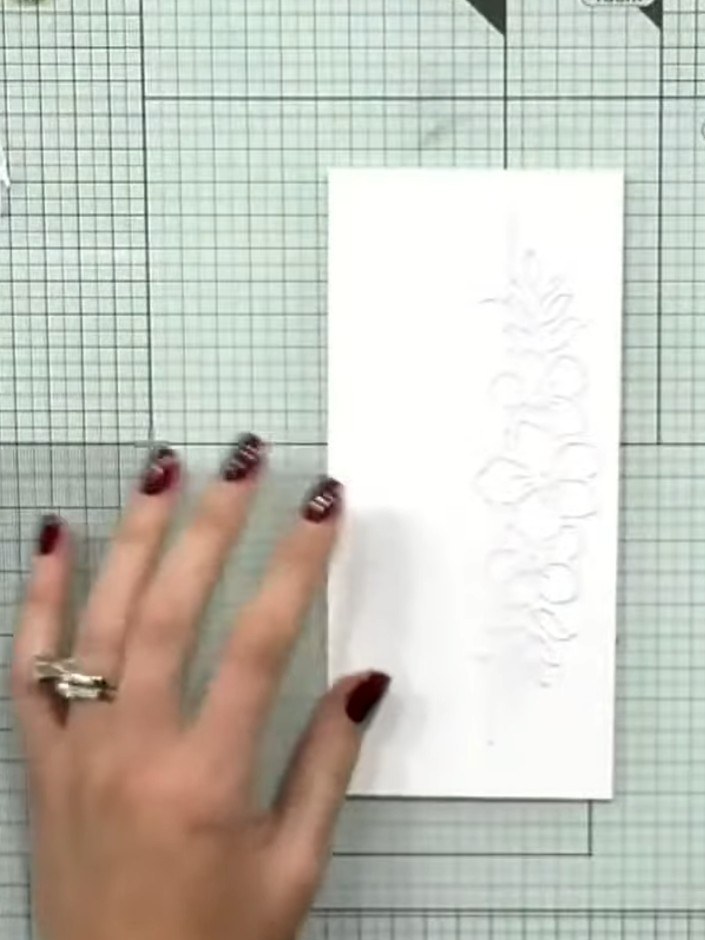
Position the Sunray die on top of the watercoloured card panel to use as a stencil. Centre it carefully on the card.
▶ diesen Schritt ansehen (14:45)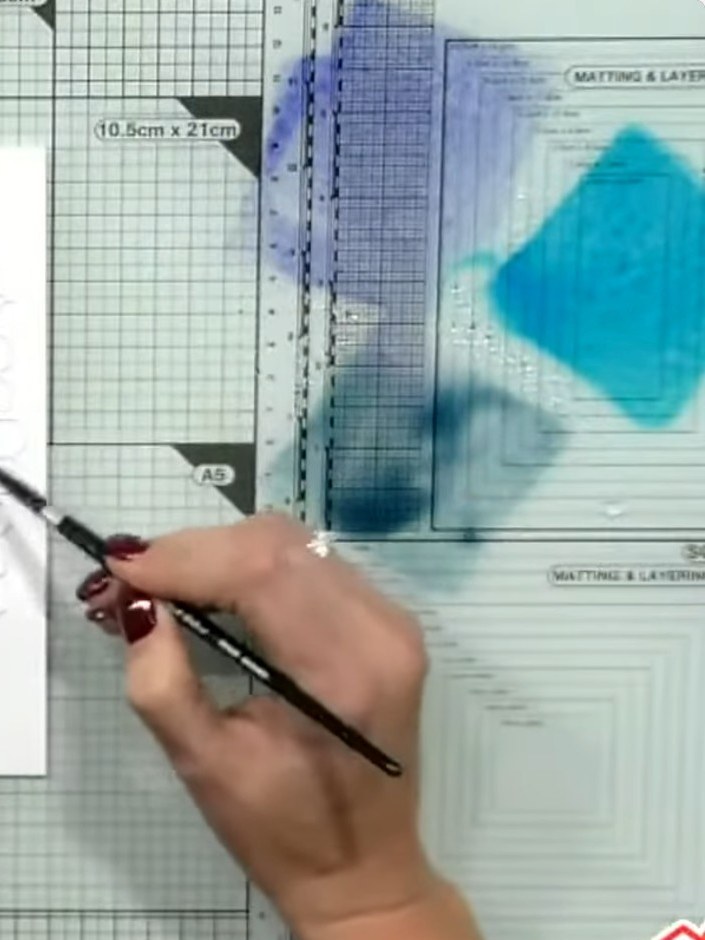
Mische drei Blautöne Aquarellfarbe auf deiner Palette an. Use your brush to blend the colours together, creating variations from light to dark blue tones.
▶ diesen Schritt ansehen (15:00)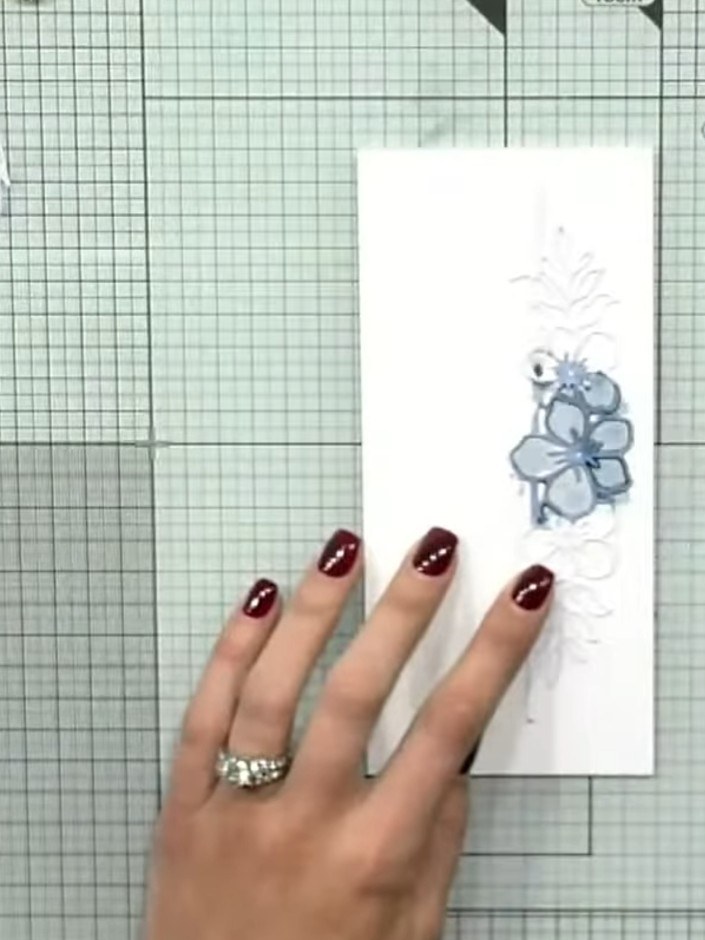
Using a paintbrush, apply the blue watercolours across the sunray die and onto the card beneath it, creating a two-toned effect that covers both the die-cut area and the background.
▶ diesen Schritt ansehen (15:15)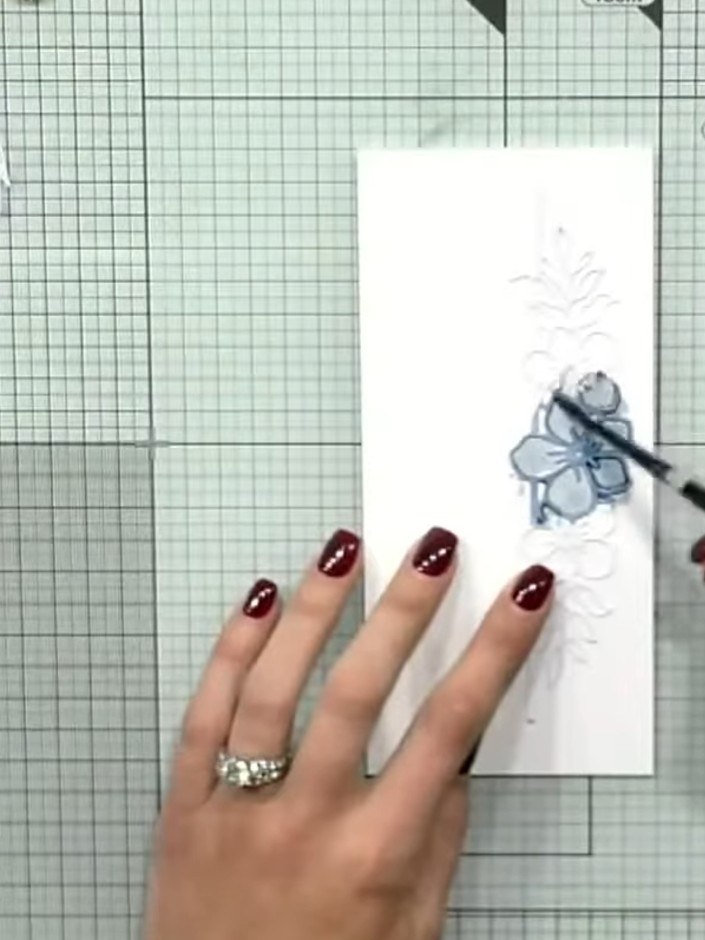
Carefully remove the die from the card panel and allow the paint to dry slightly before proceeding.
▶ diesen Schritt ansehen (15:30)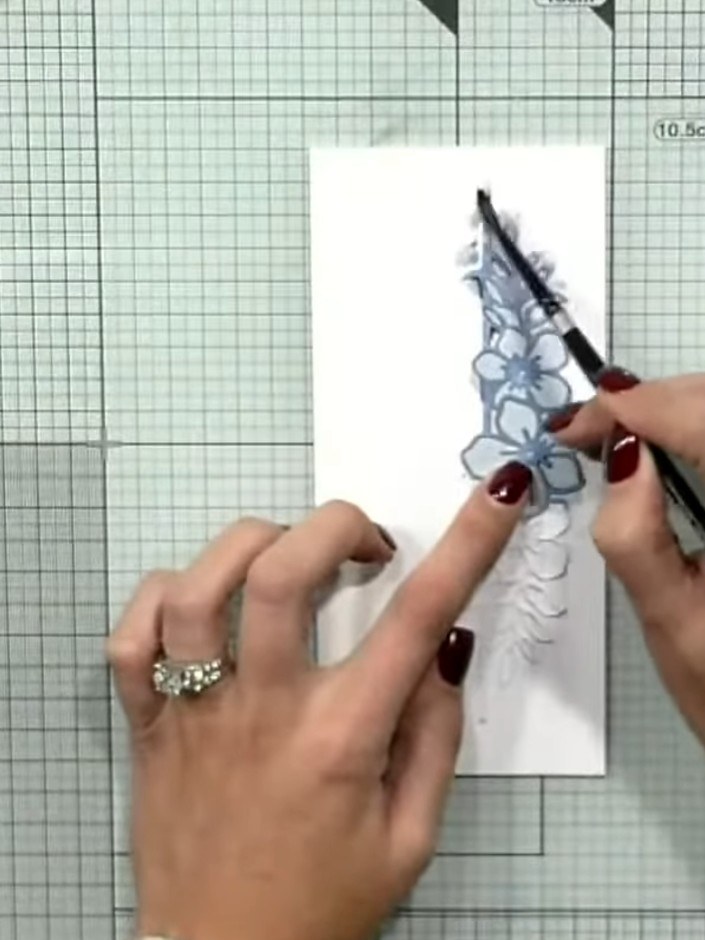
Using a paintbrush, add splats or additional ink details across the watercolour background for extra texture and interest.
▶ diesen Schritt ansehen (15:45)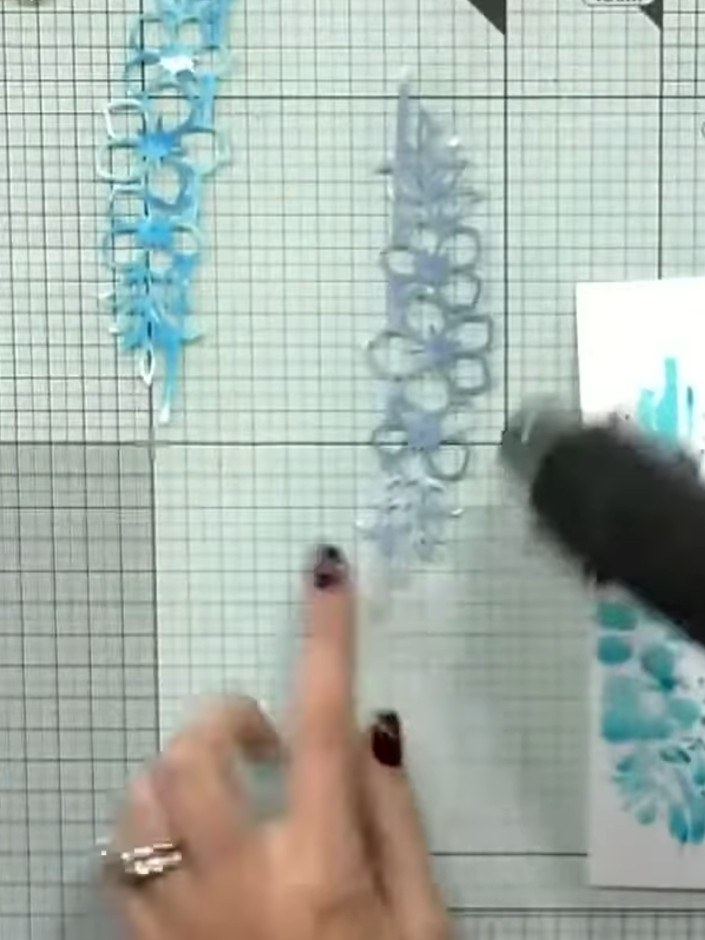
Use a heat gun to completely dry the watercolour background on your card panel. Hold the heat gun over the wet areas until the ink is fully dry.
▶ diesen Schritt ansehen (19:30)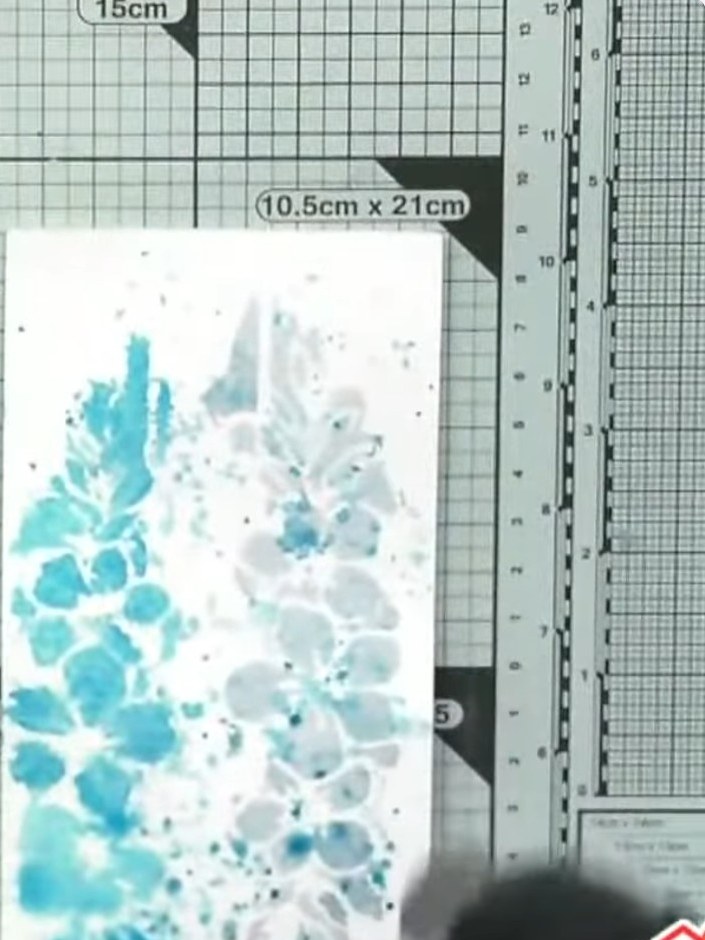
Mount the painted watercolour background onto a piece of black card to create a base layer. This will frame the design and add depth to your finished card.
▶ diesen Schritt ansehen (19:45)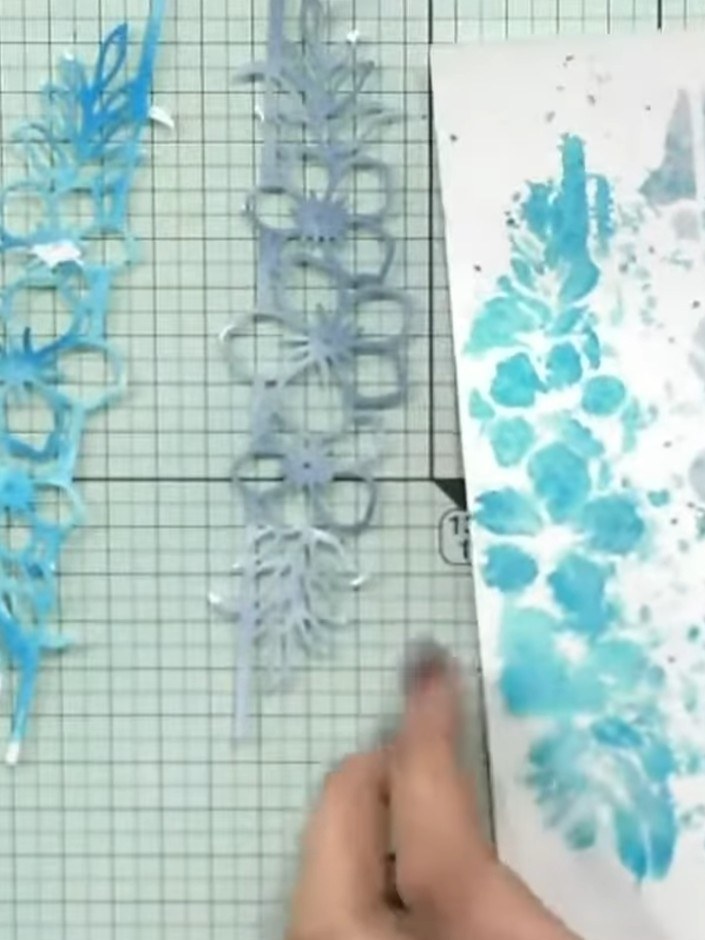
Die-cut the Sunray border from white card. Ink the die-cut piece with a dark ink pad using a brush technique, applying the ink to create depth and dimension.
▶ diesen Schritt ansehen (20:00)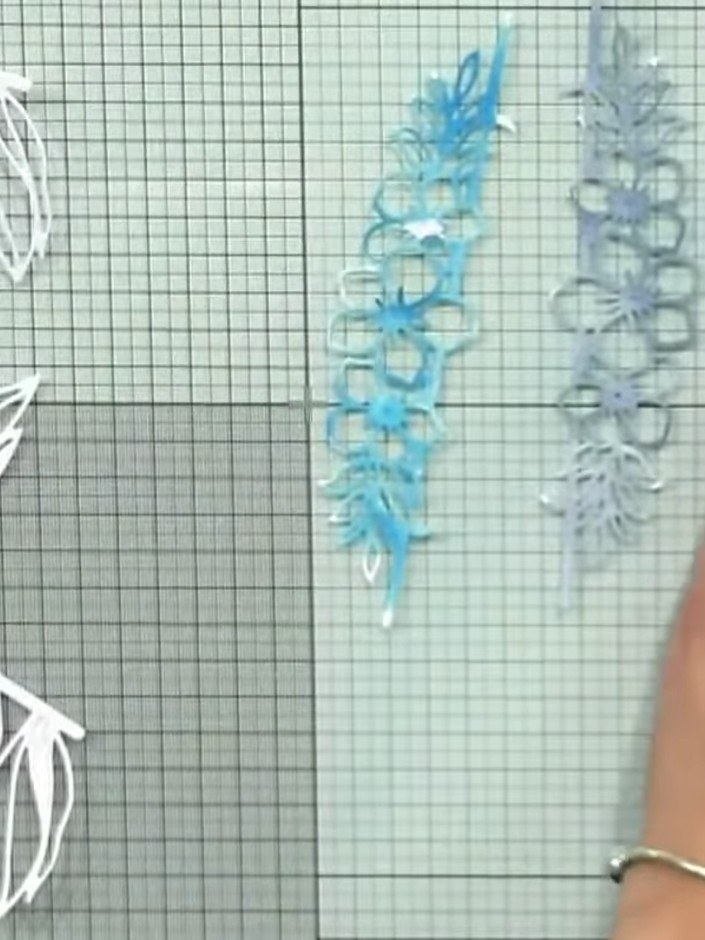
Apply plenty of glue to the back of the black-edged die-cut sunray border. Adhere it firmly to the top of the watercolour background card, ensuring it is well positioned.
▶ diesen Schritt ansehen (20:30)Direkt aus der Show aufgeschrieben. Alle Anleitungen aus unseren Shows ansehen · kostenlose Anleitungen · live auf My Telly ansehen
